Basic Use of the Silhouette Cameo
by Made Studio in Craft > Paper
619 Views, 1 Favorites, 0 Comments
Basic Use of the Silhouette Cameo
In this tutorial, we will be going over the basics of the using the Silhouette Cameo and its software Silhouette Studio.
Supplies
Silhouette Cameo
Laptop with Silhouette Studio program downloaded
12" x 12" Sticky Mat
Permanent Decorative Vinyl
Download and Install Silhouette Studio Software
Download Silhouette Studio for Mac or Windows and Install on your Computer
Link to Download:
https://www.silhouetteamerica.com/software
Open Silhouette Studio
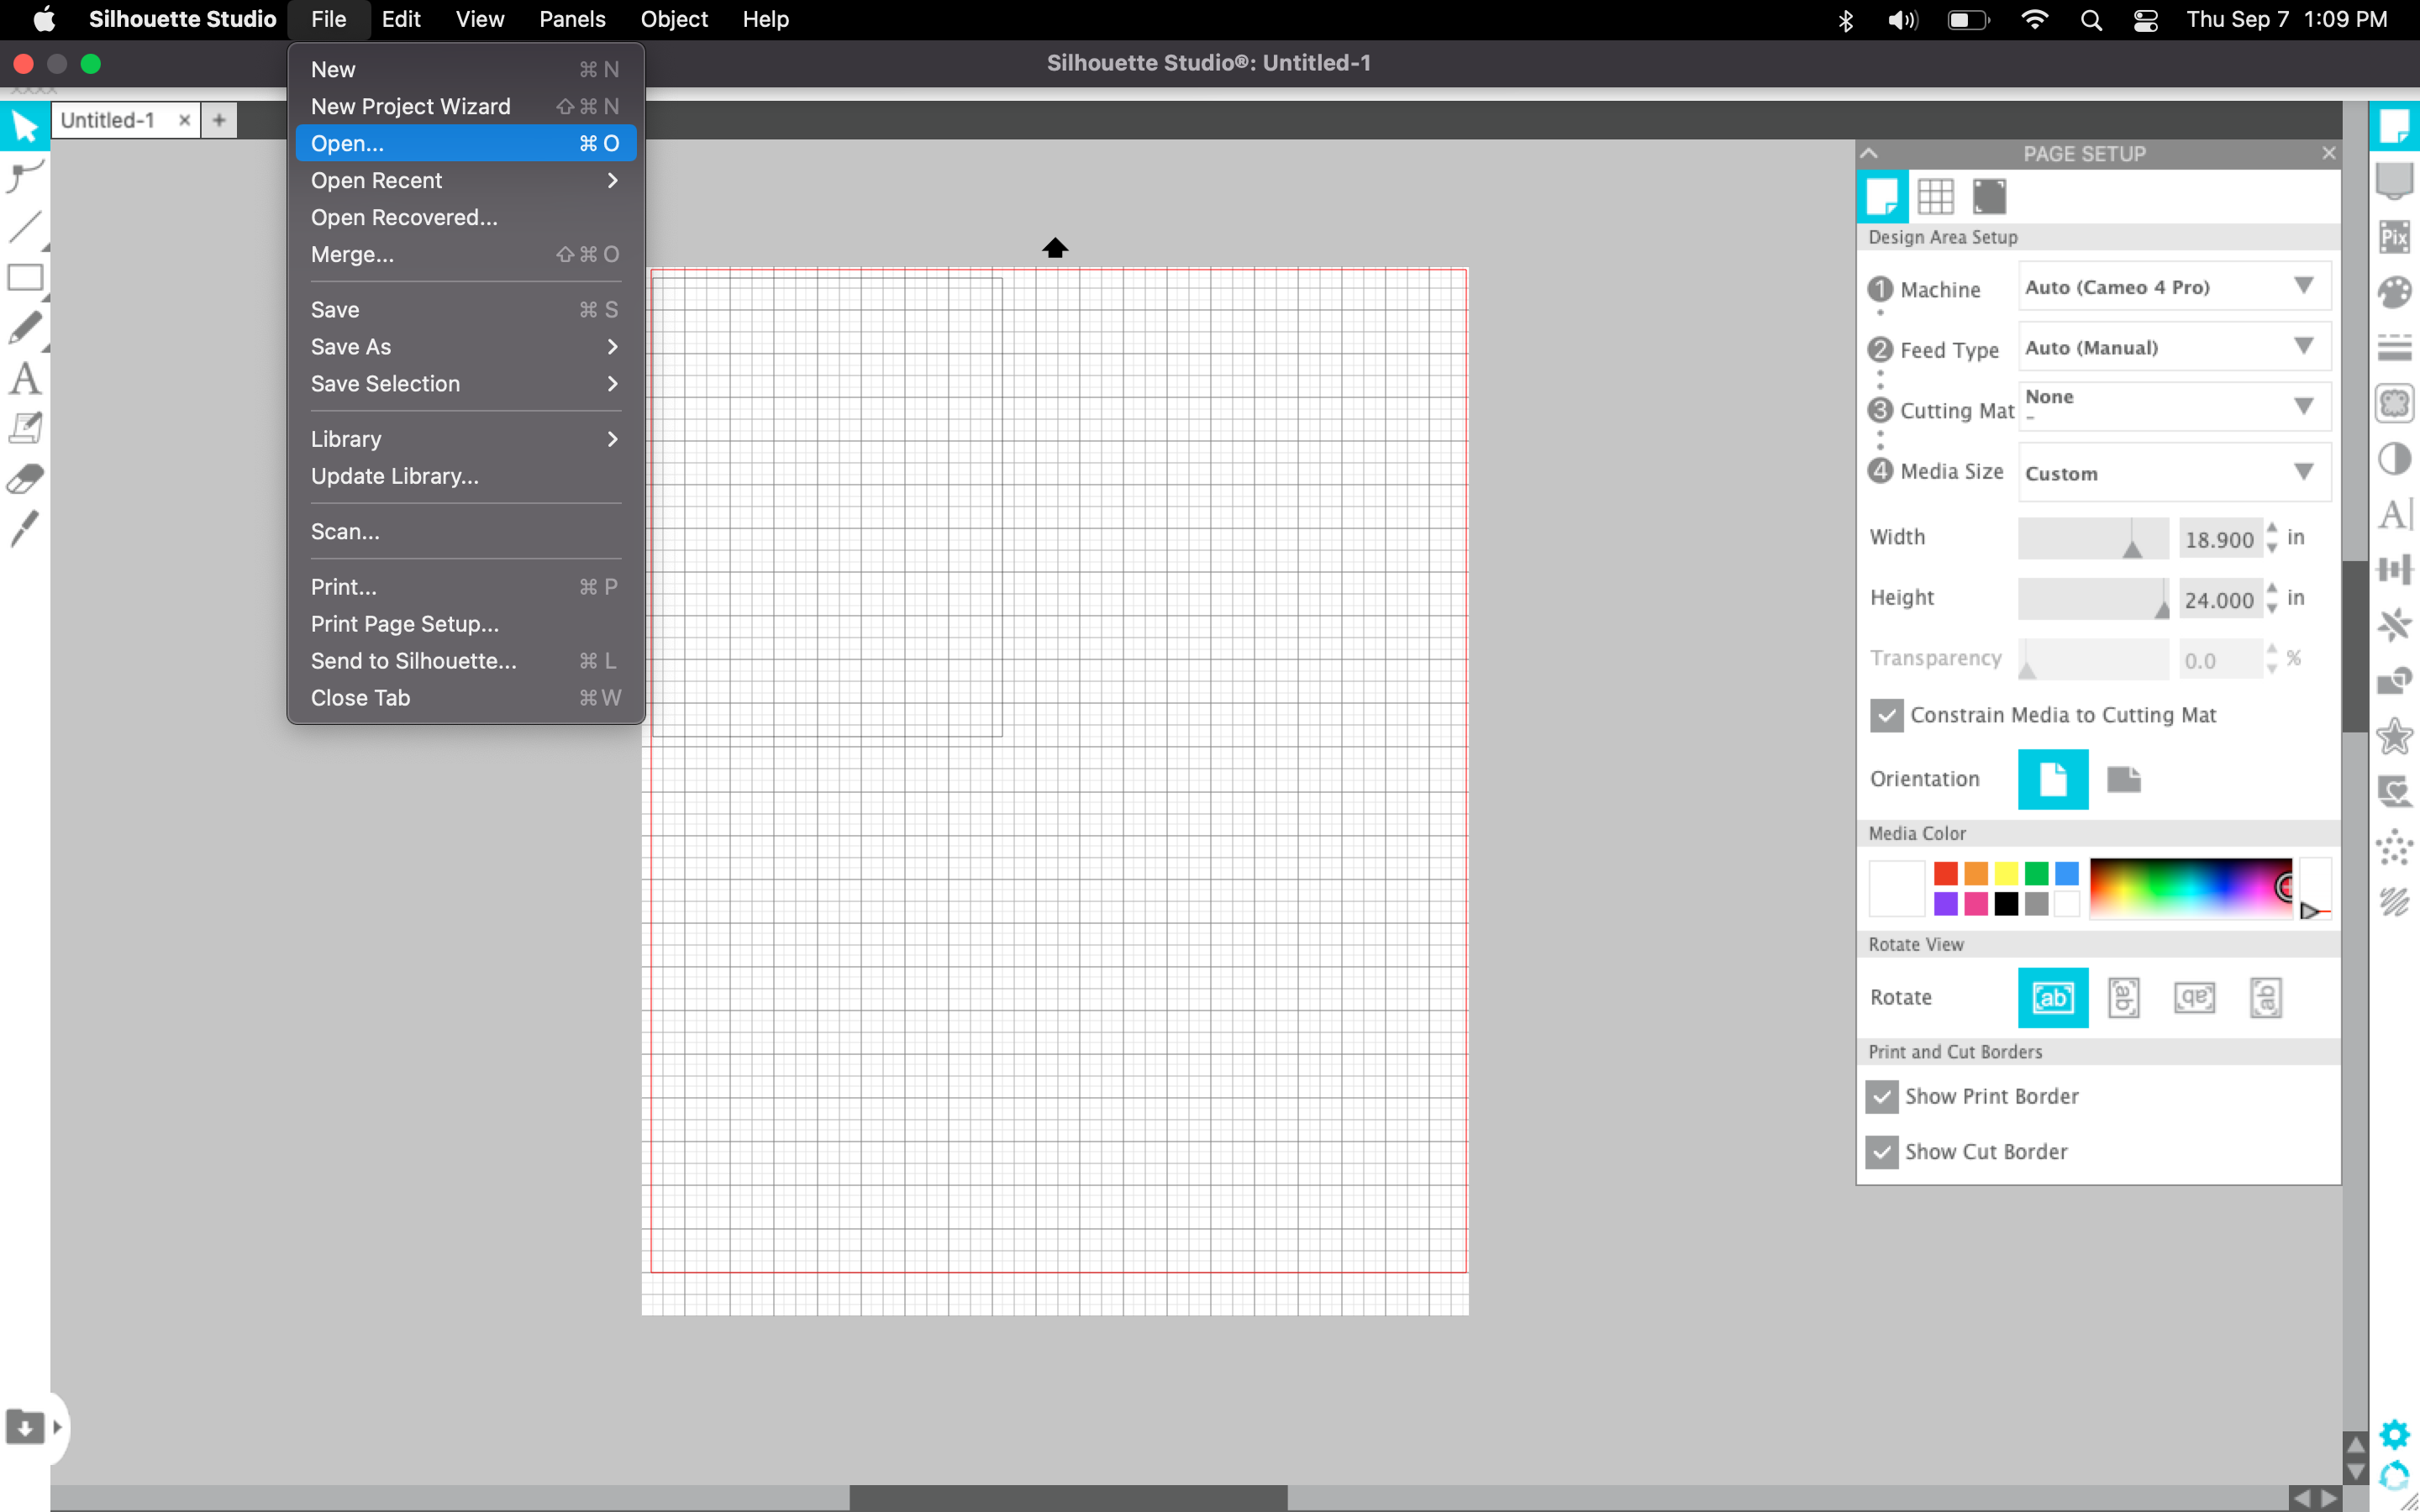
Silhouette Studio may open up to a default canvas with the incorrect side.
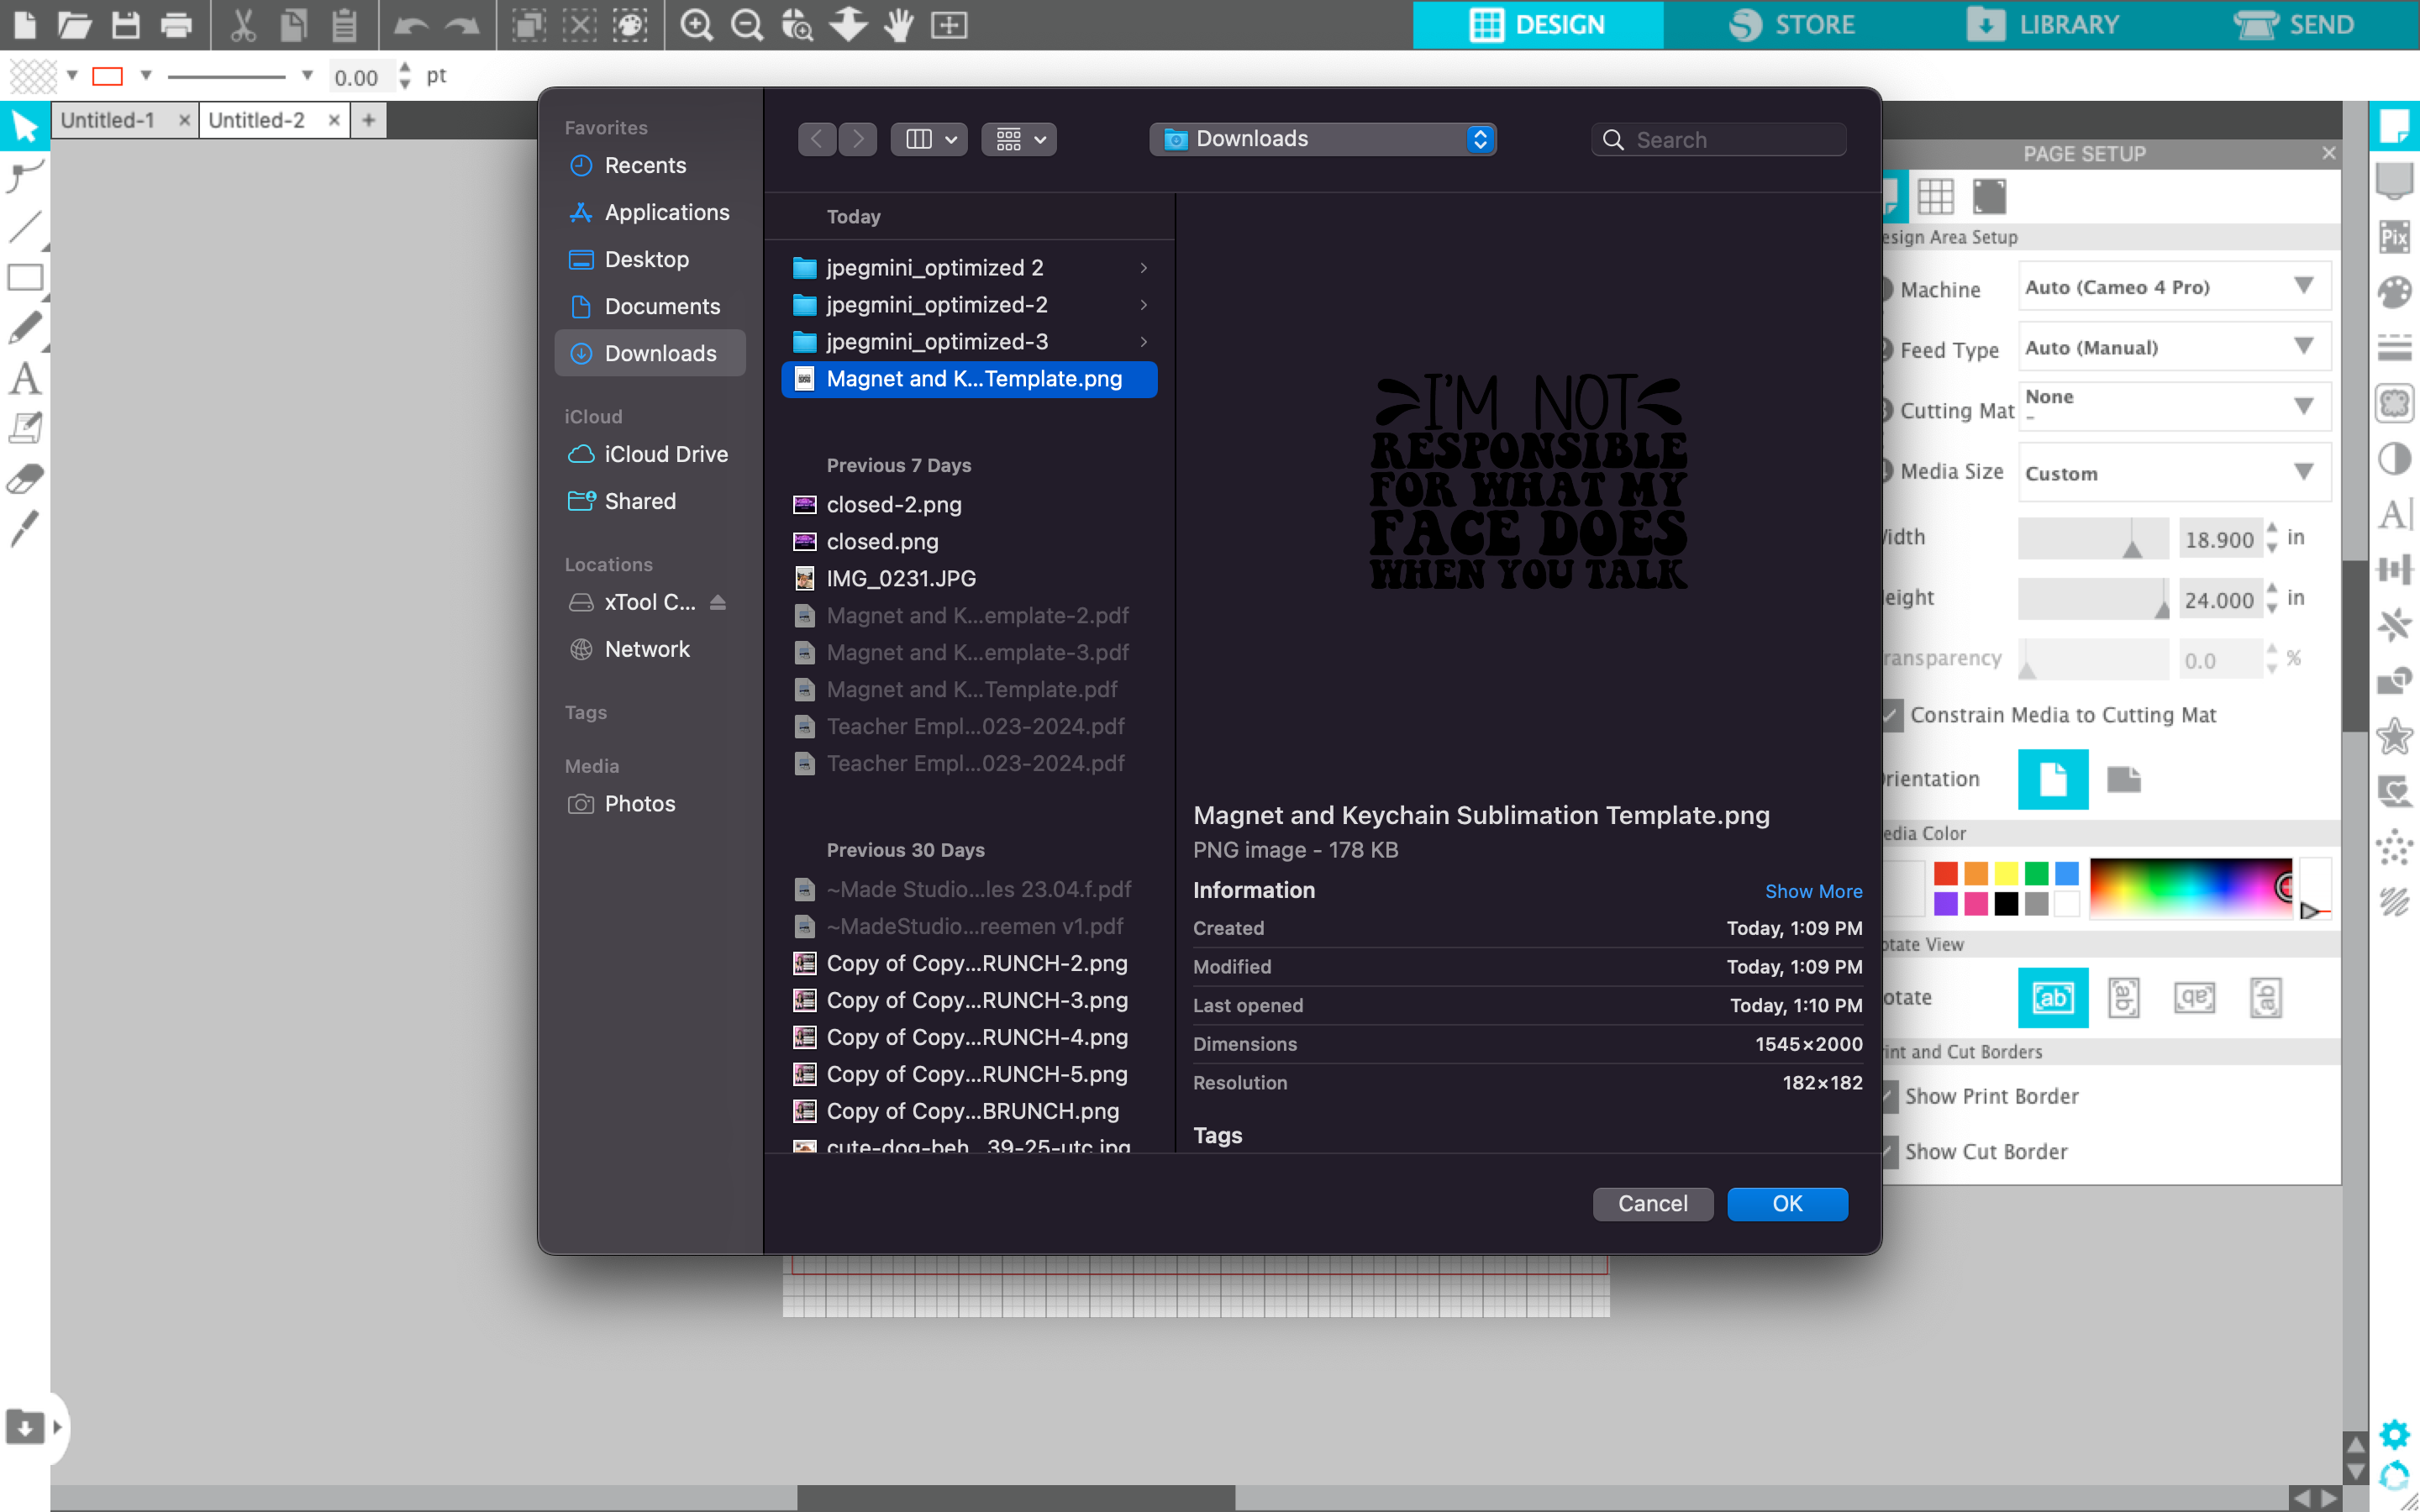
Upload Image of Your Choice My Navigating to File -> Import
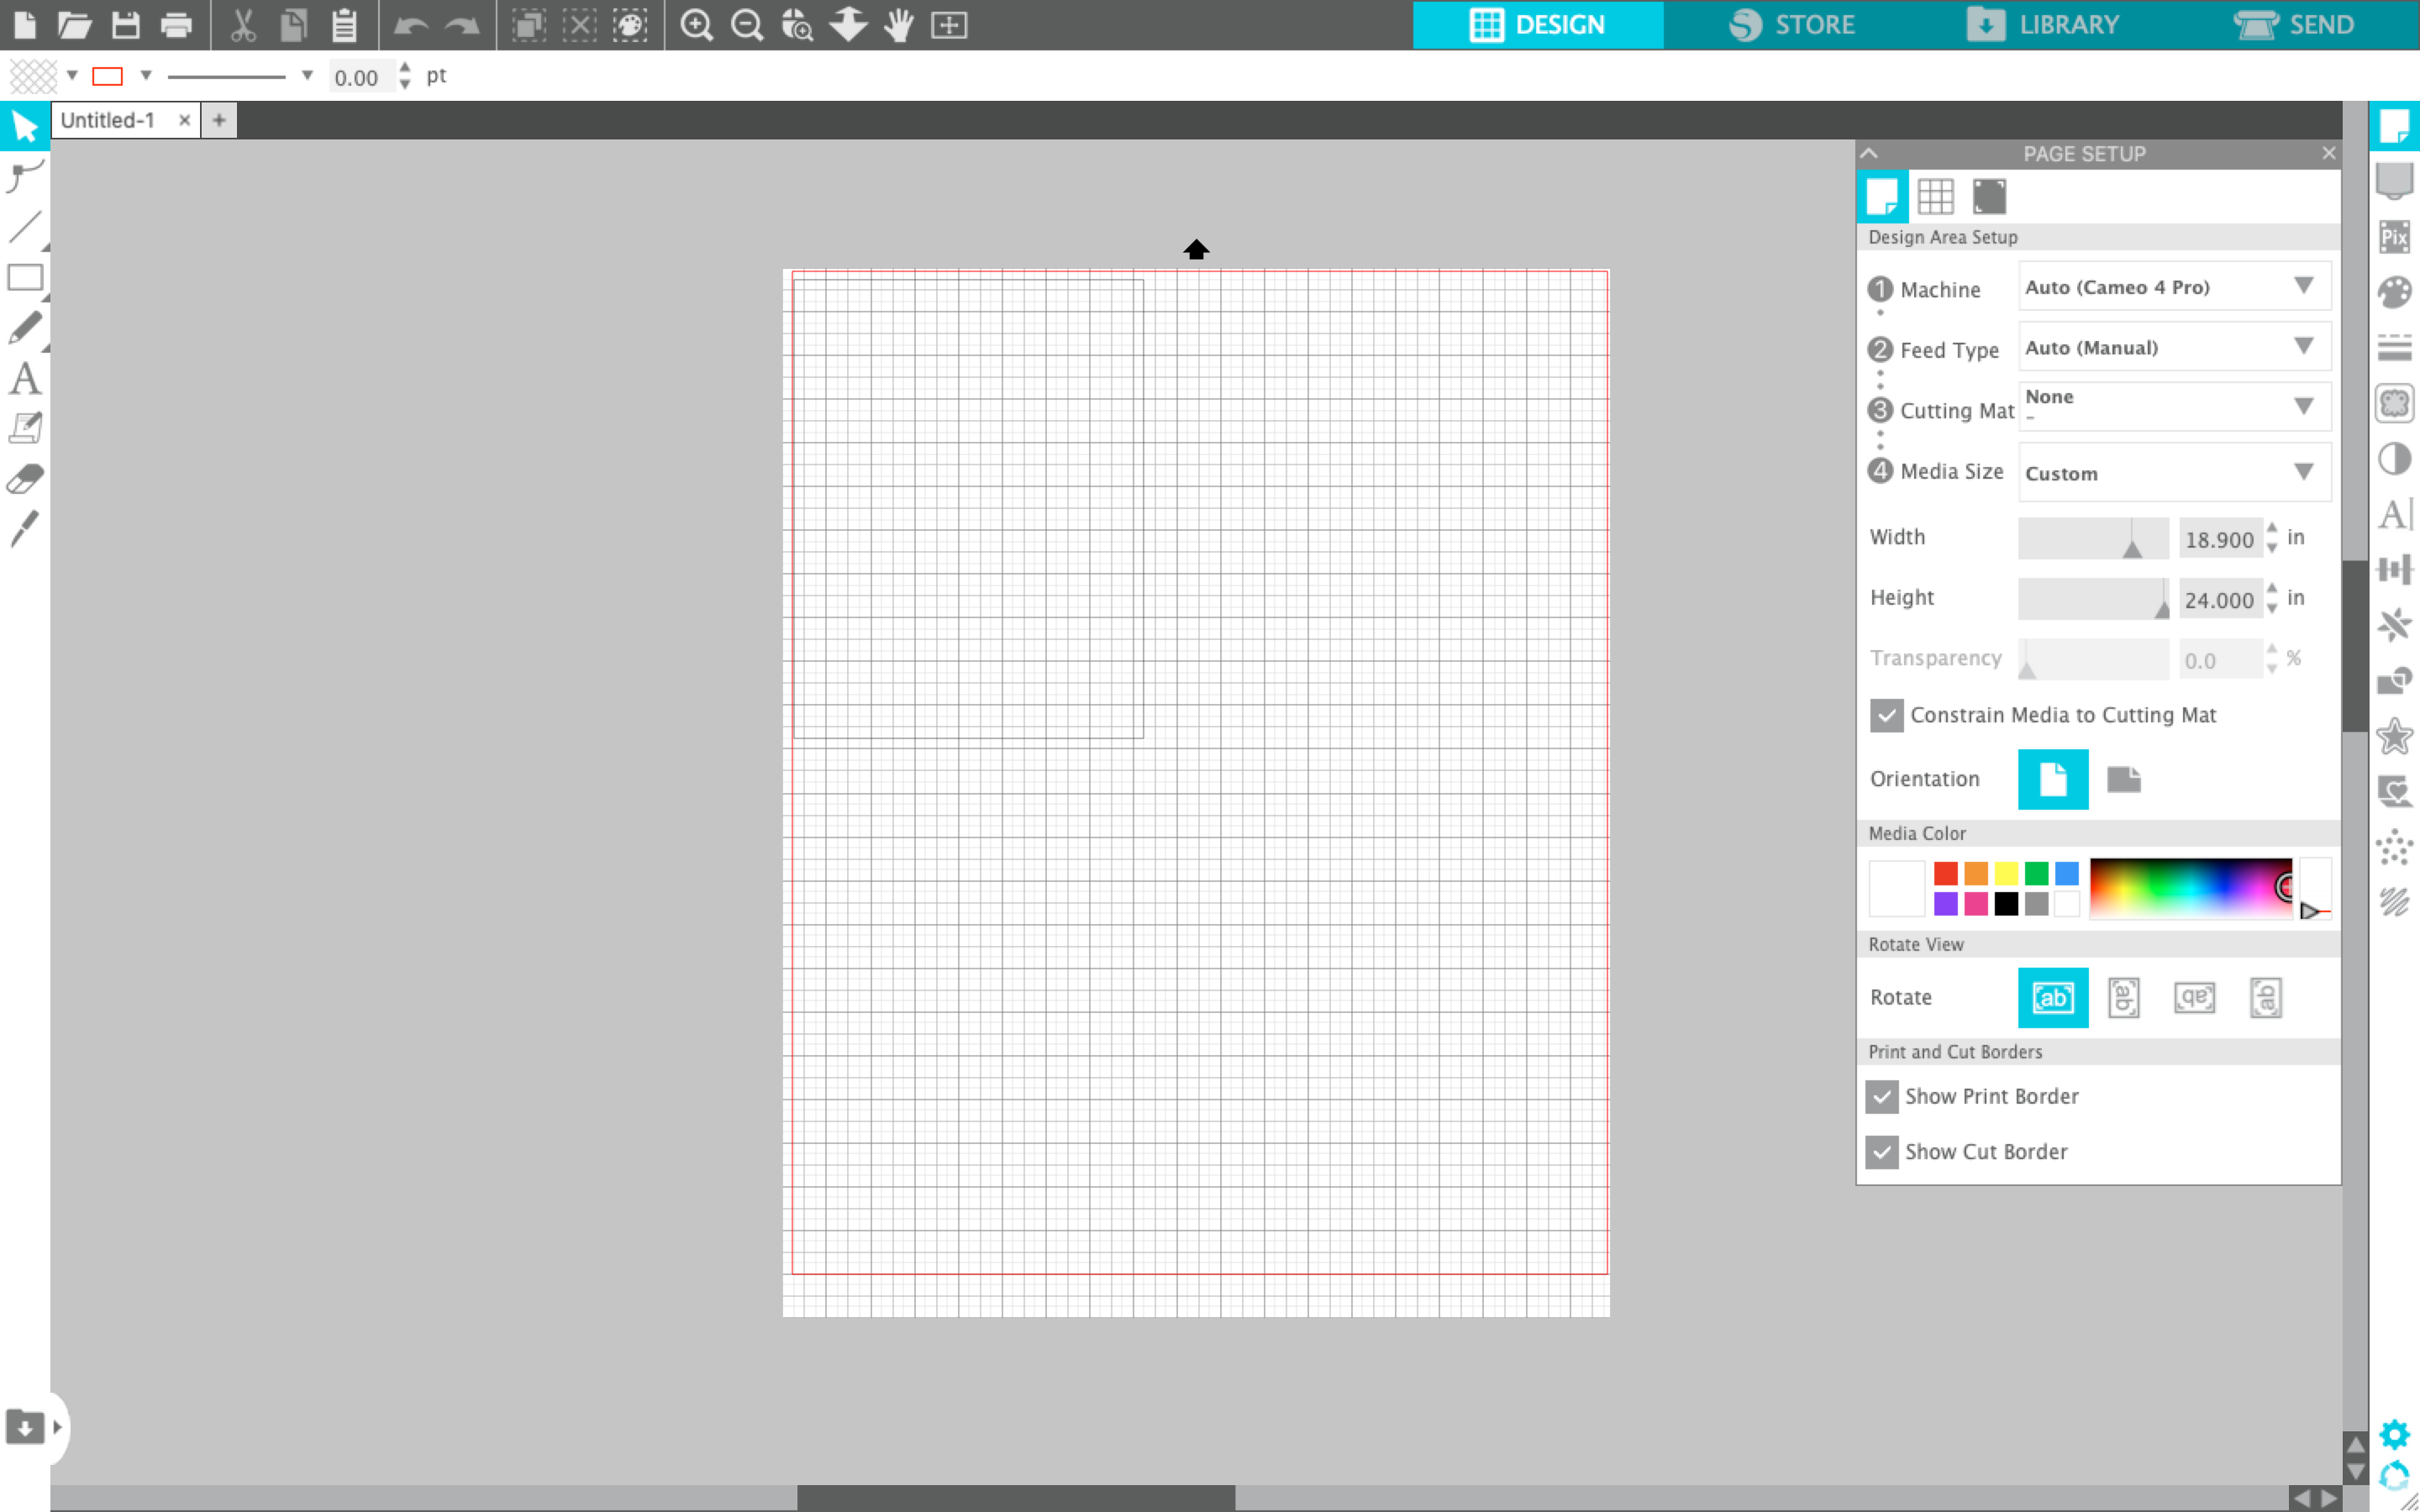
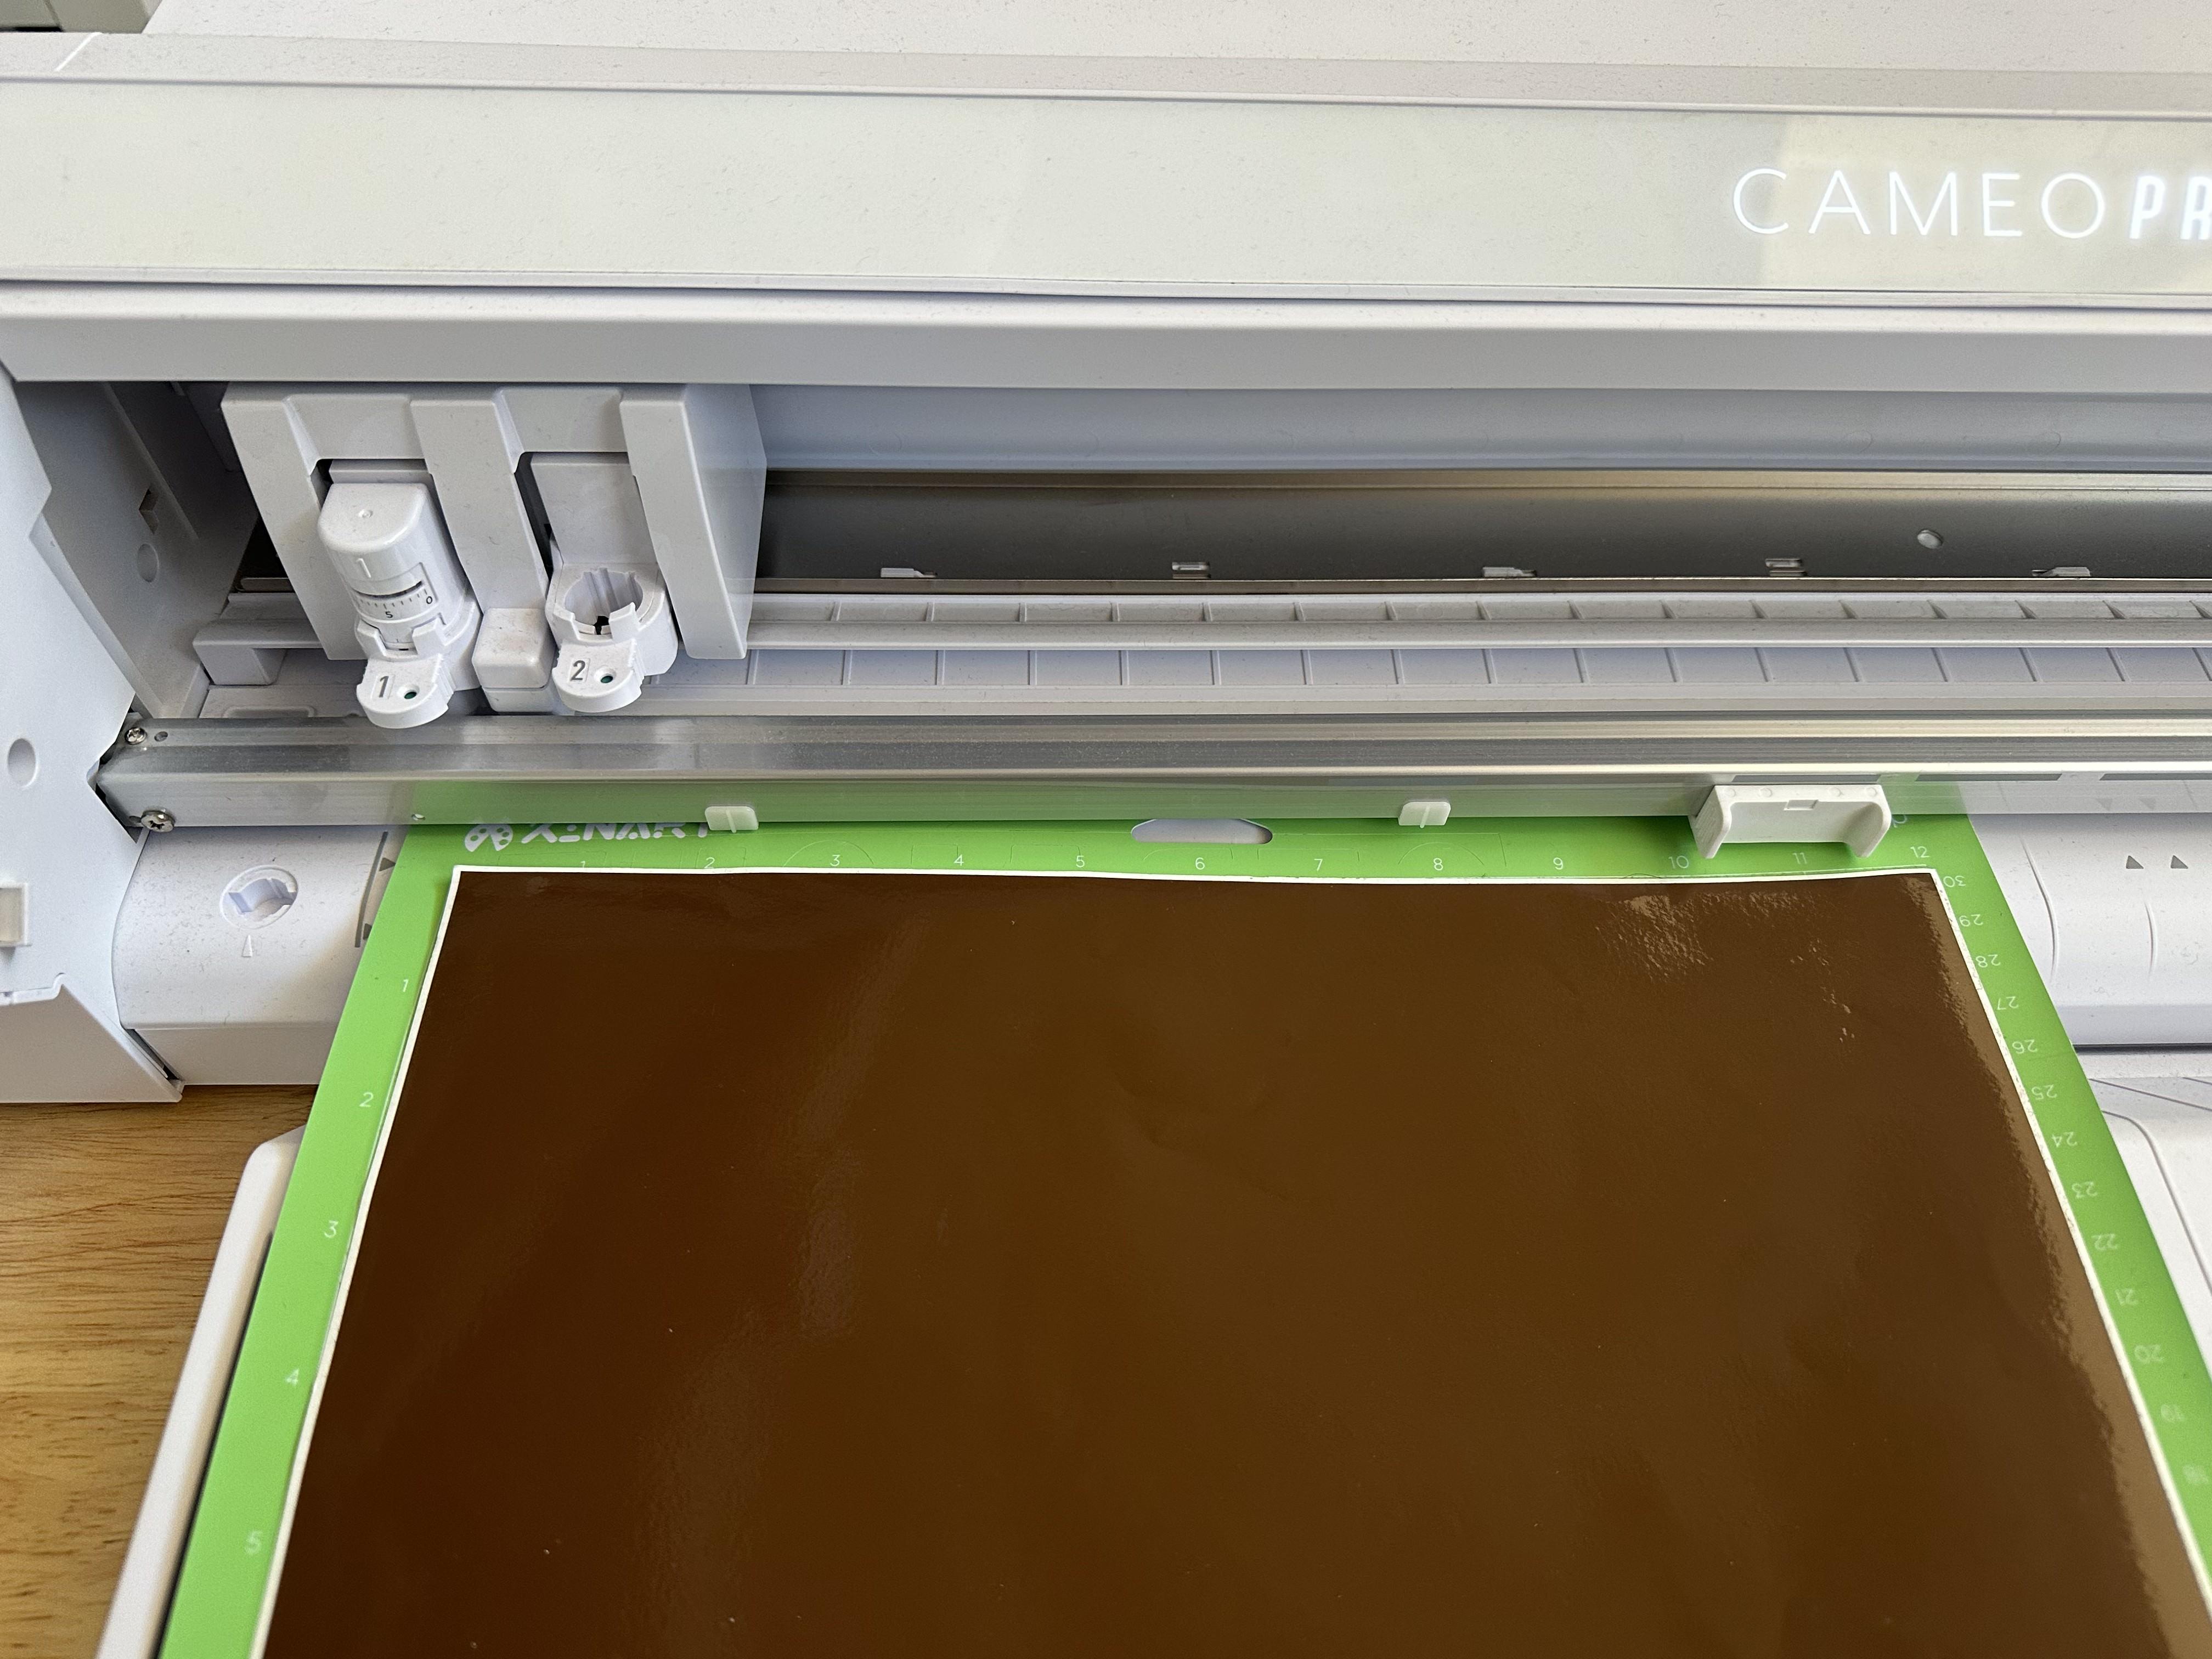
On the Ride Side of the Window, Change the Material Size to Match the Size of Mat Being Used

In this case, the mat we are using is a 12"x12" sticky mat. Therefore, I have selected "12 x 12" in the "Media Size".
Place the Image in the Corner of the Canvas
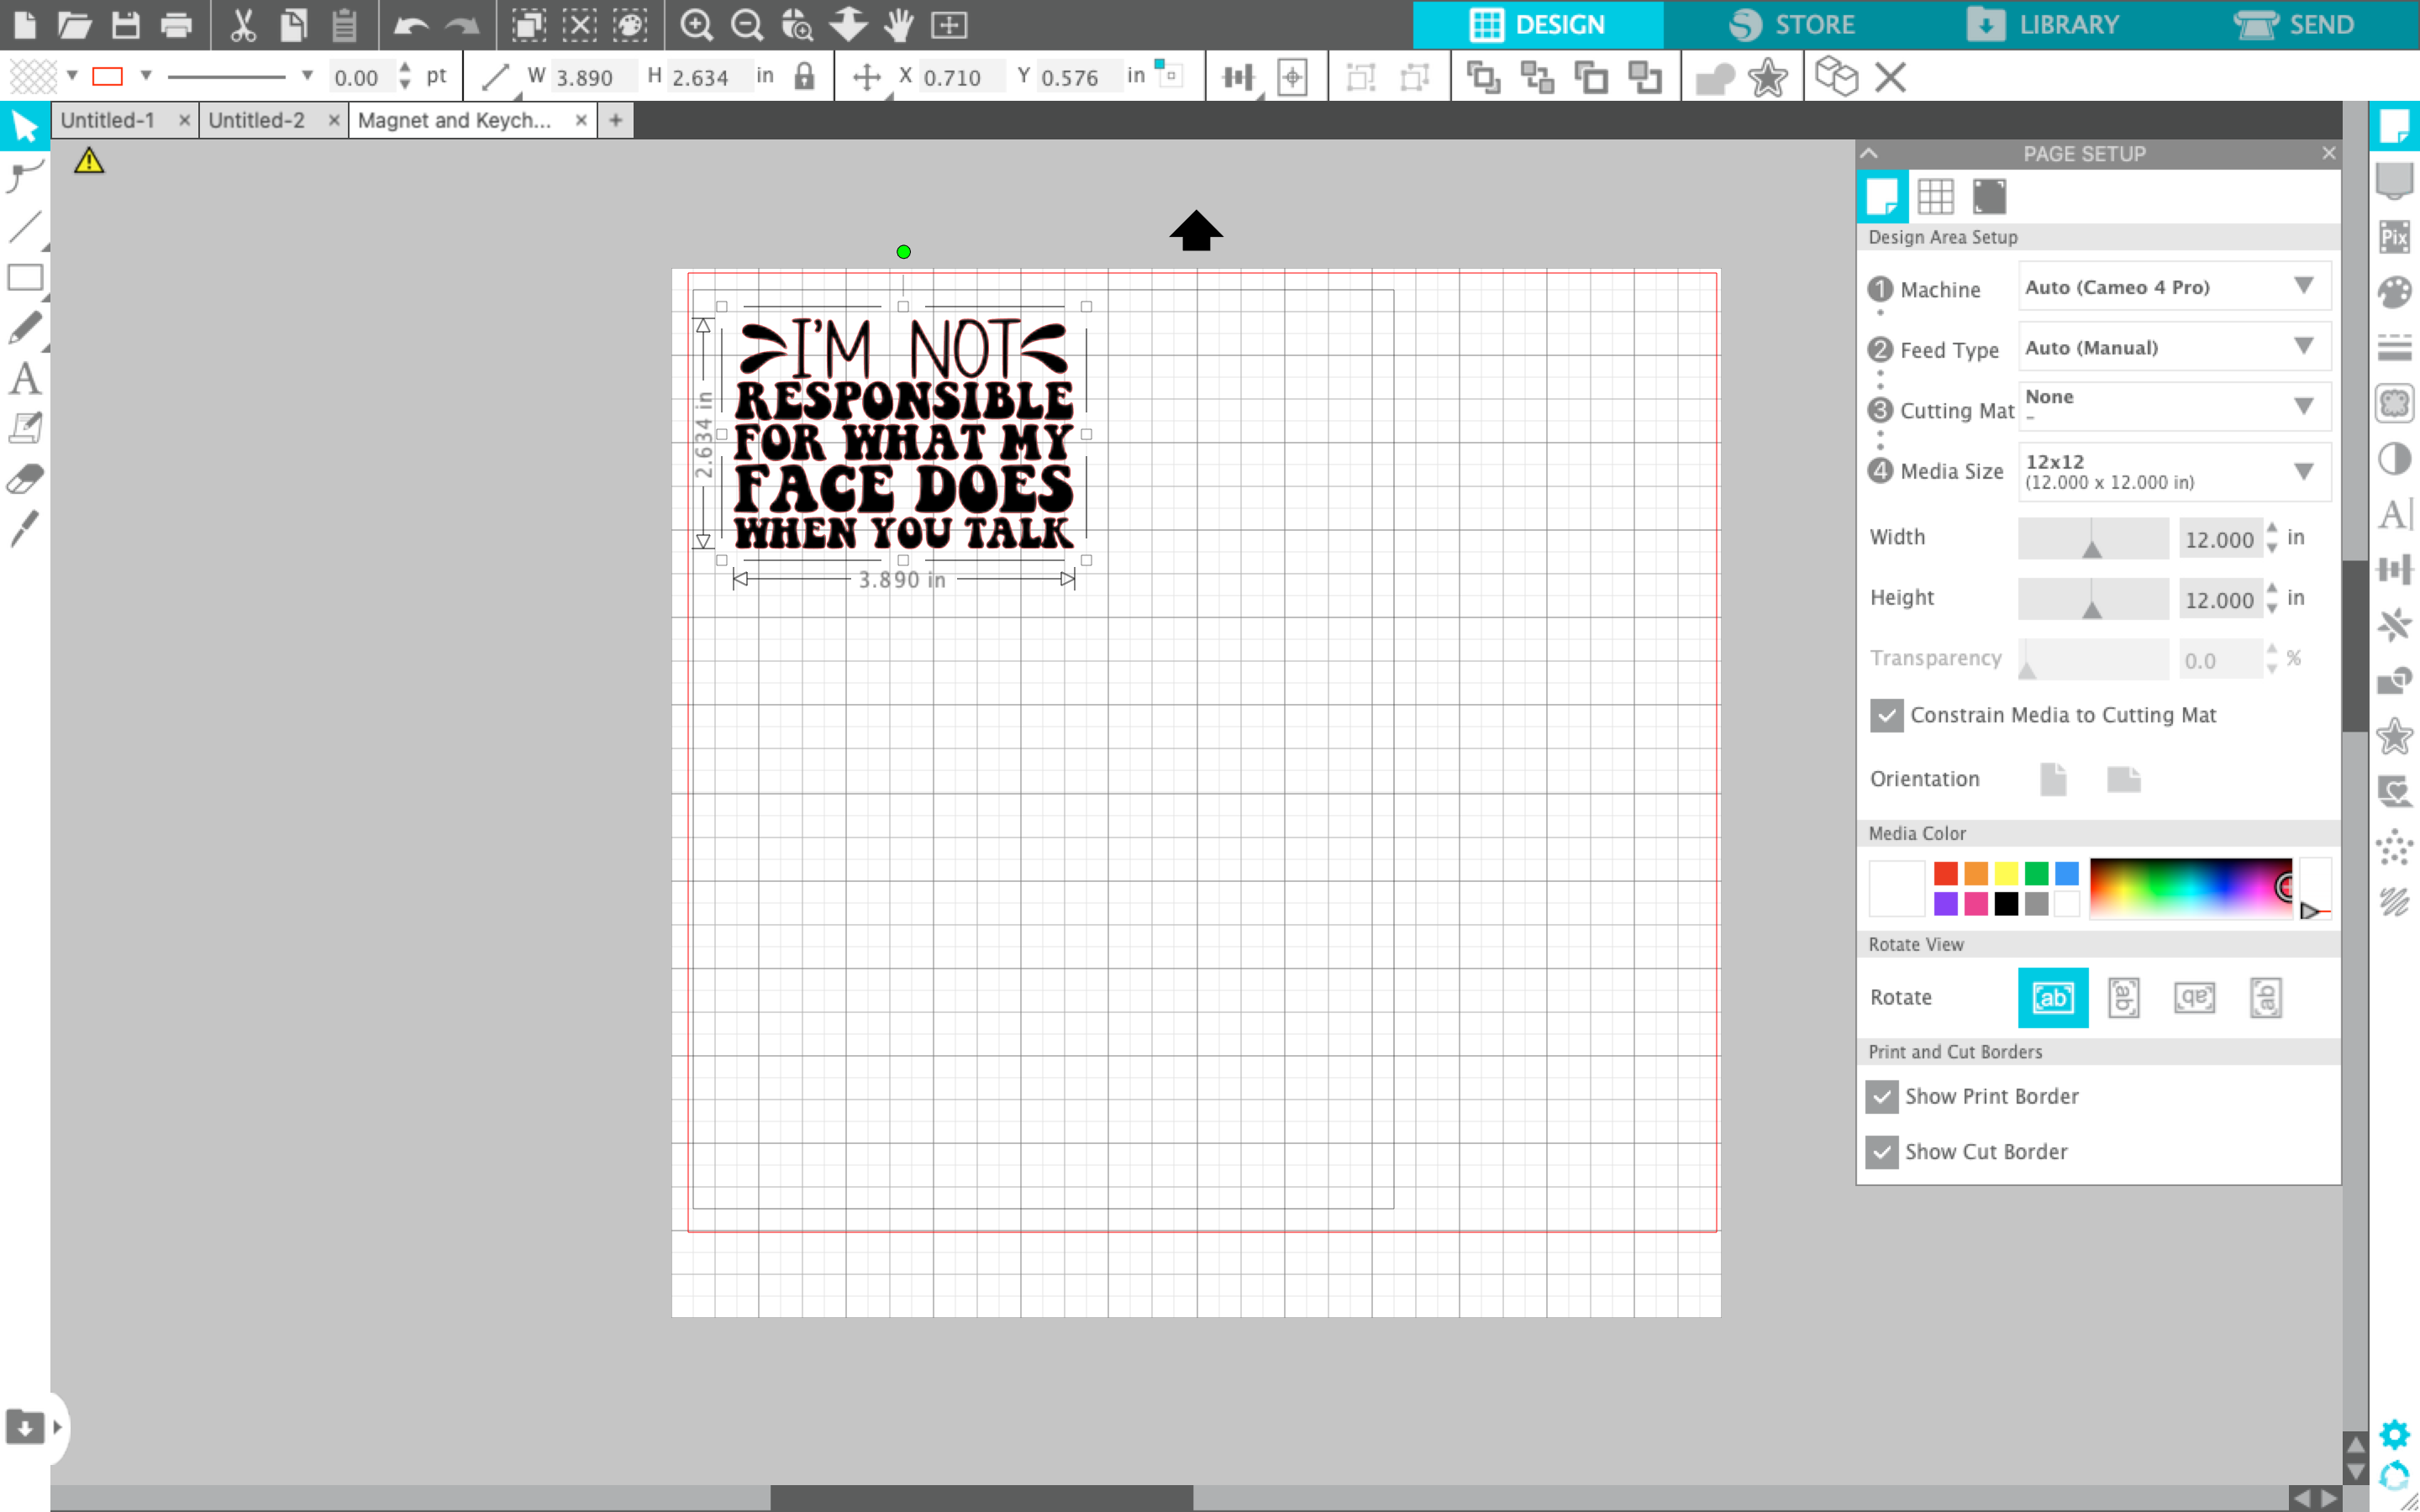
TIP: The red outline on the canvas is where the Silhouette will plan to cut the vinyl out.
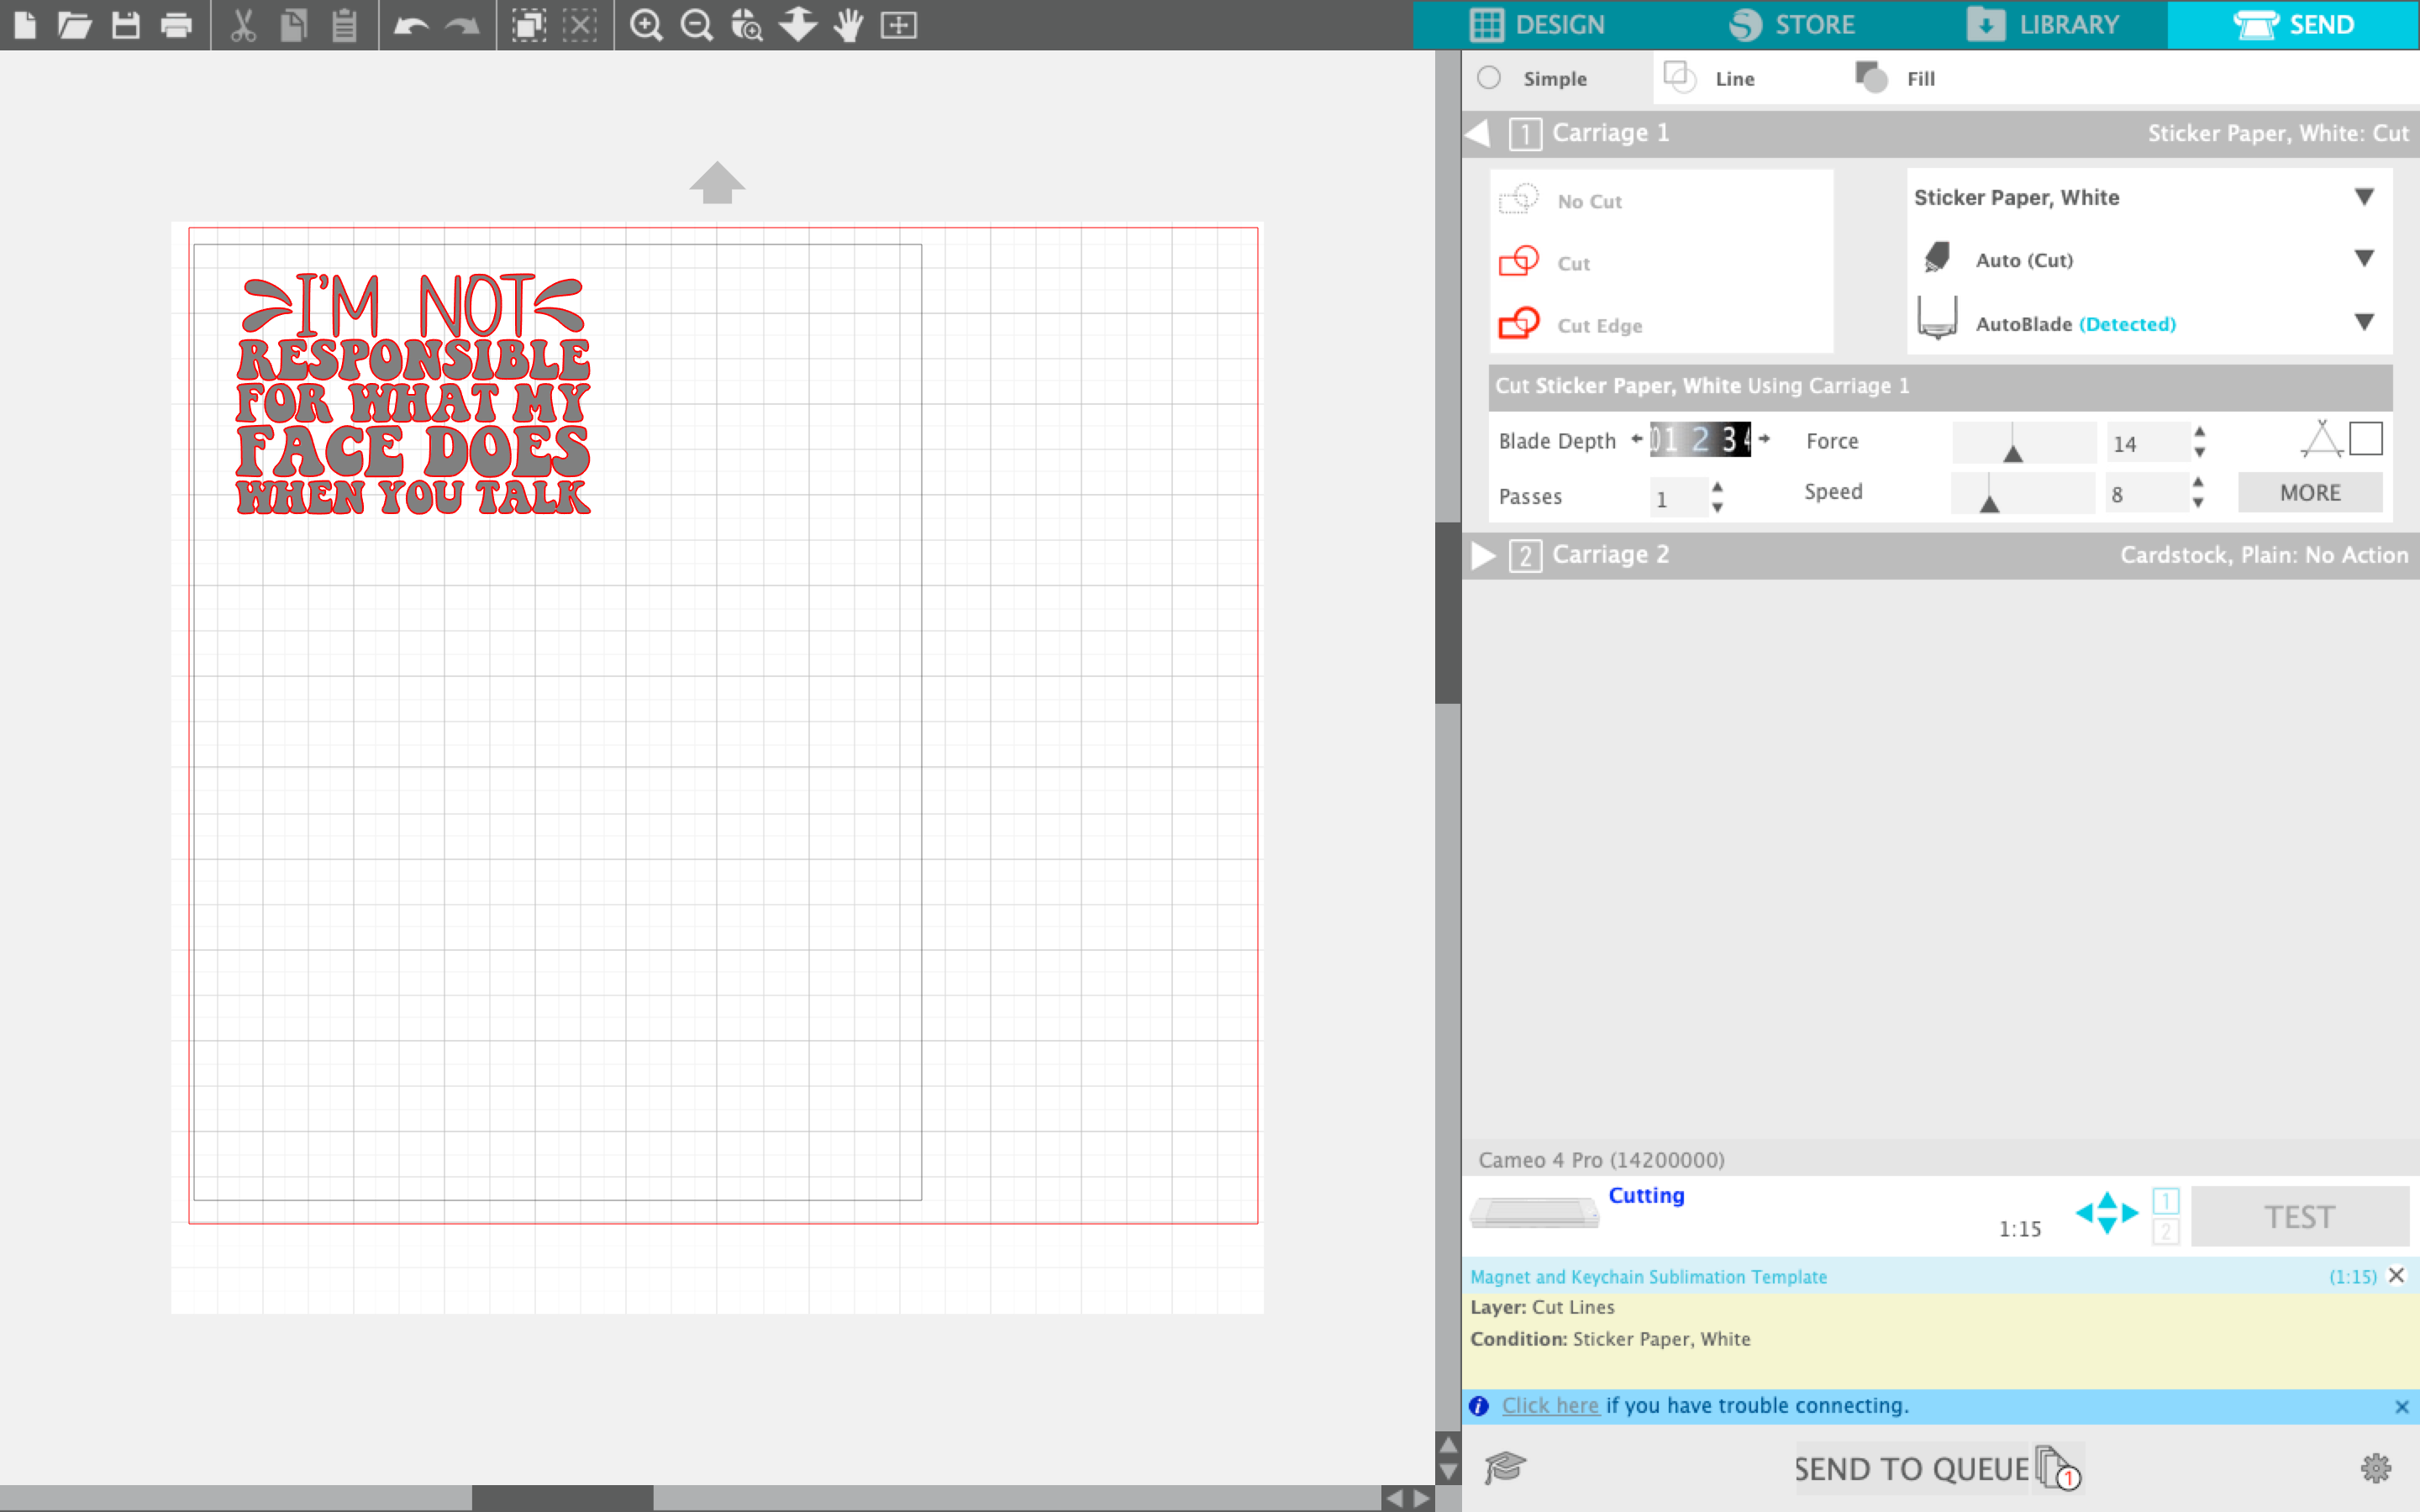
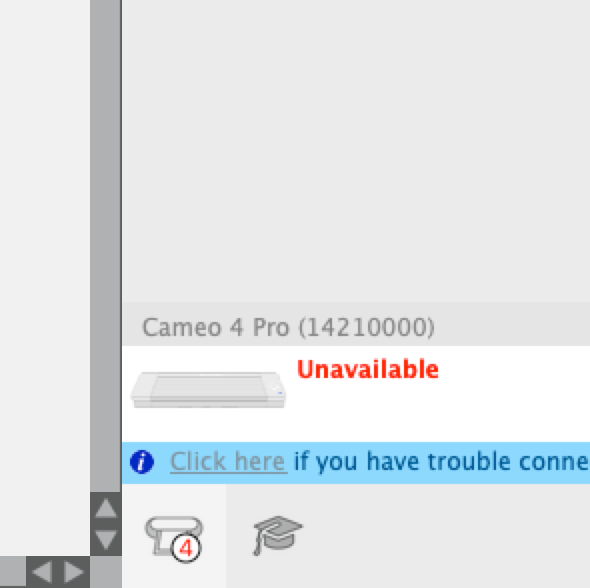
Navigate to the Send Tab on Top Right

Connect Silhouette by Selecting One Method on the Bottom Right Corner Printer Icon

Once Connected Select Material and Blade Pressure

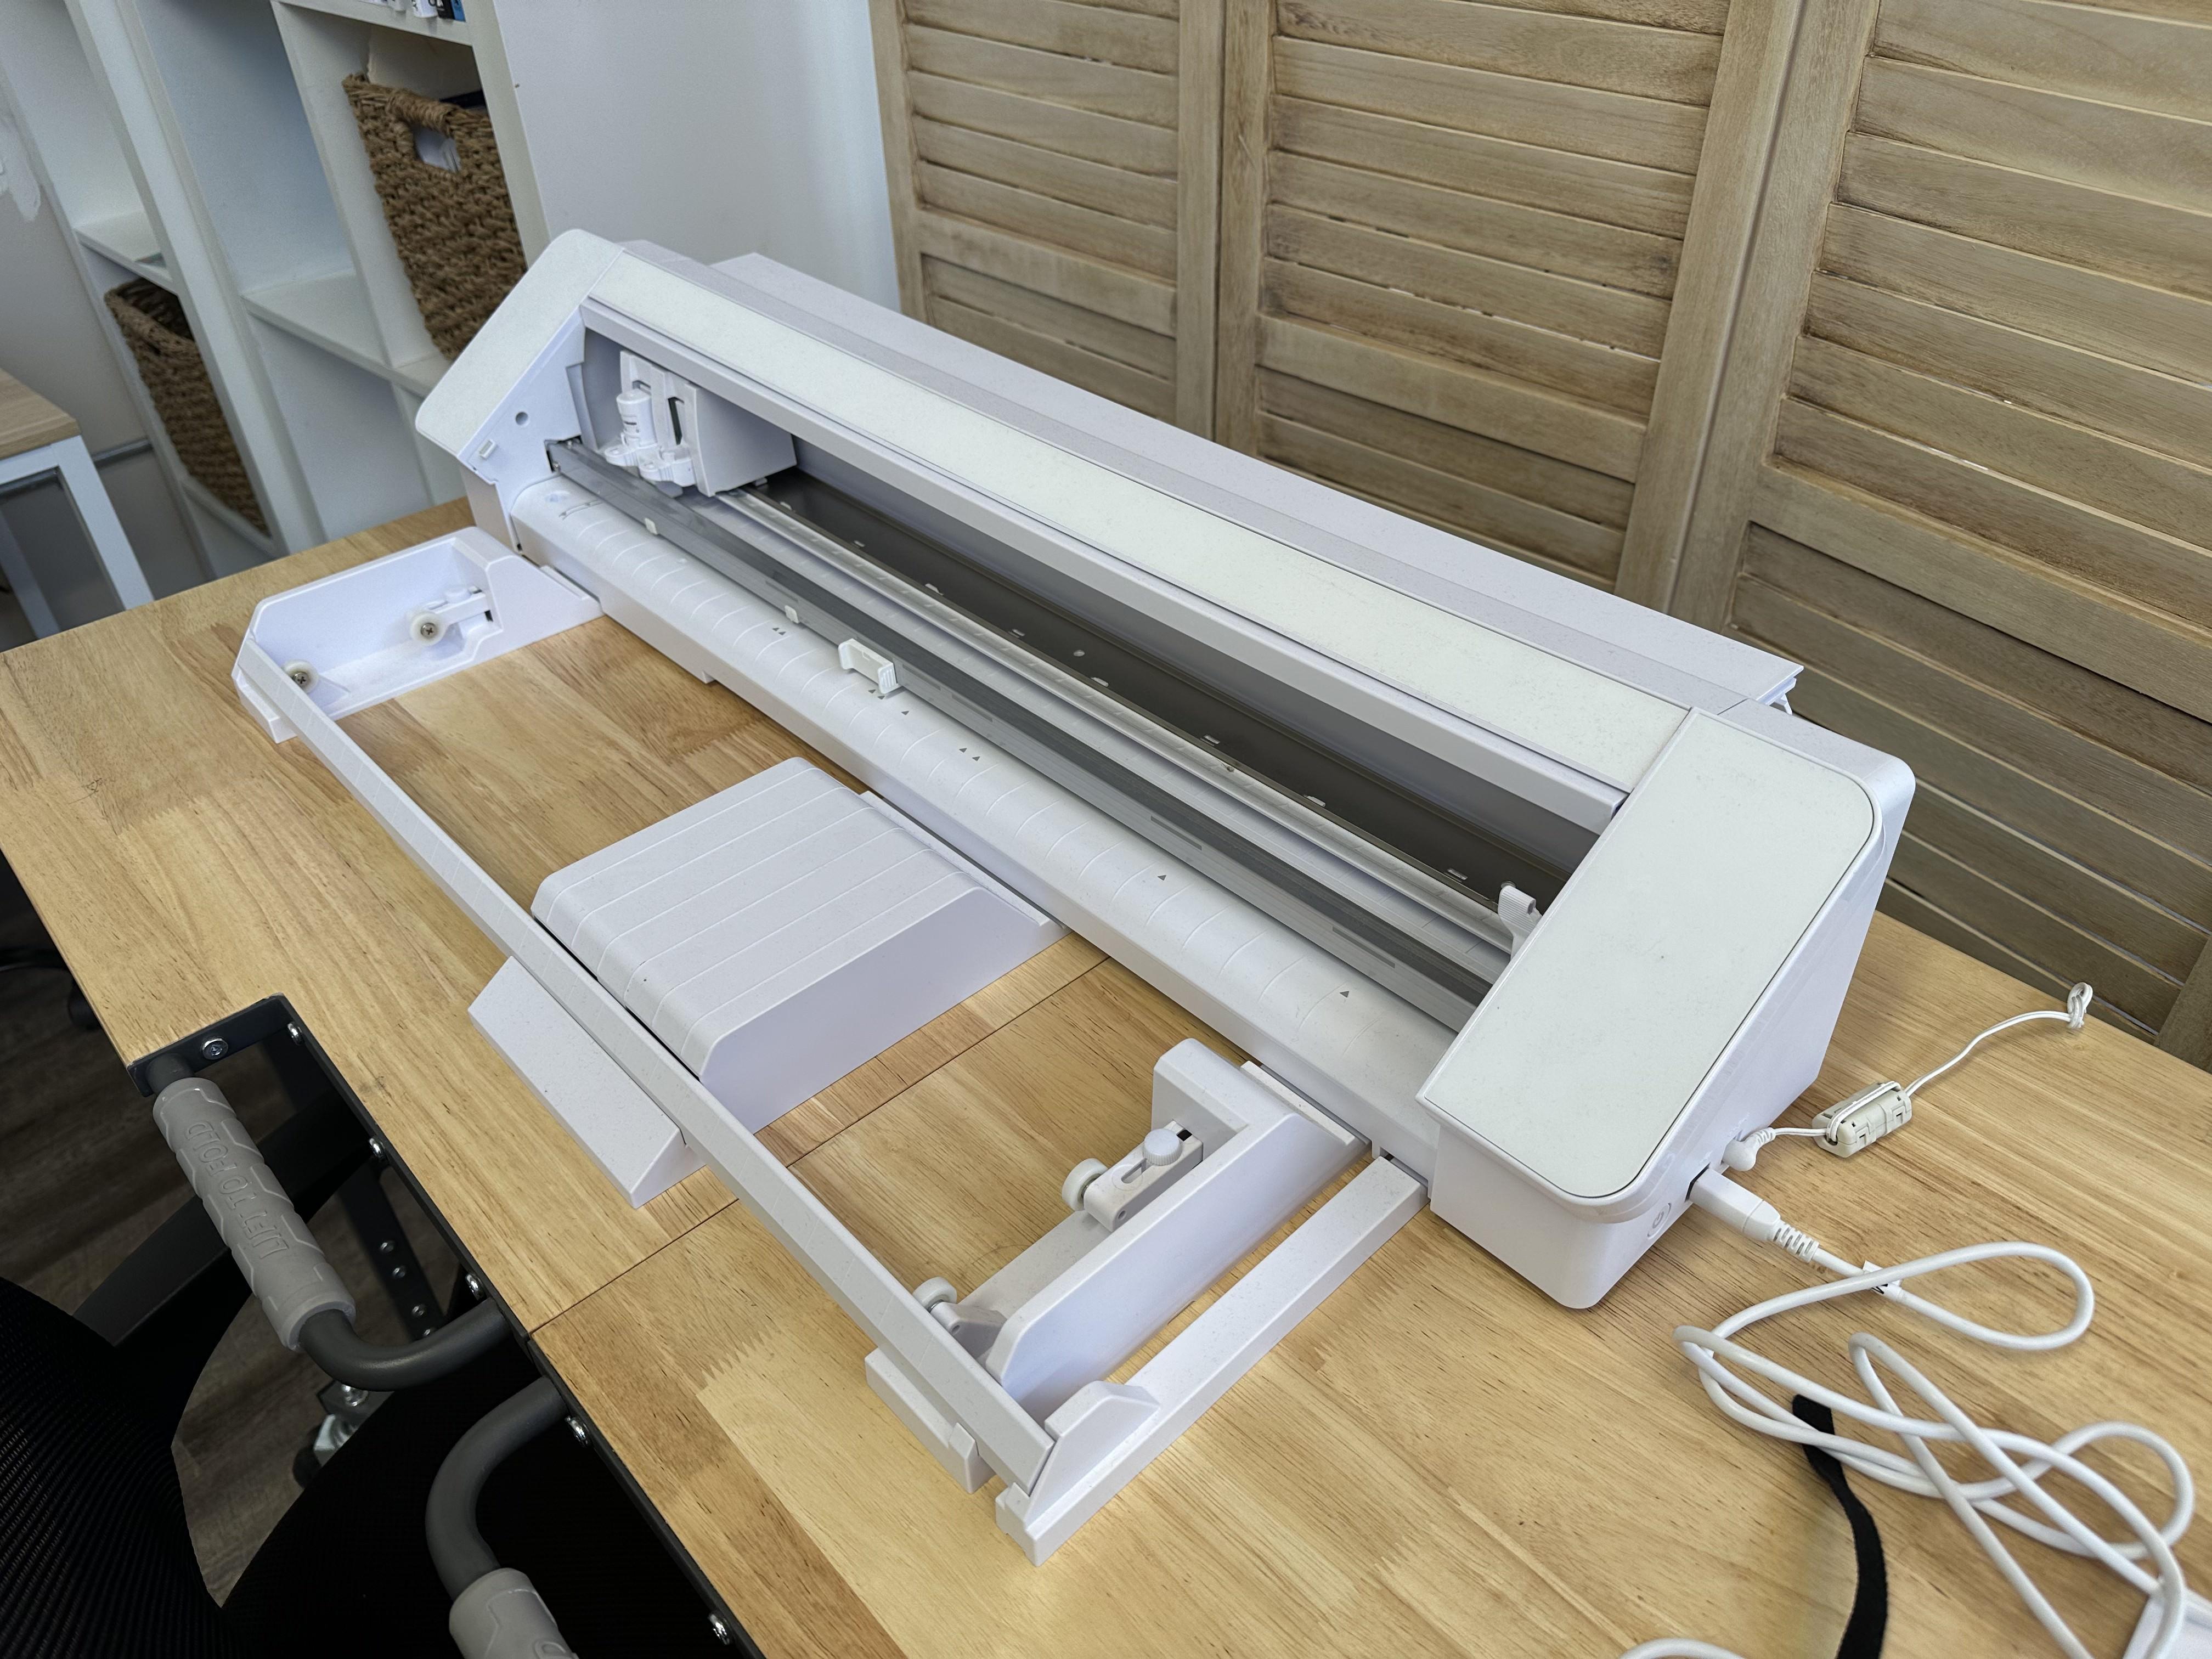
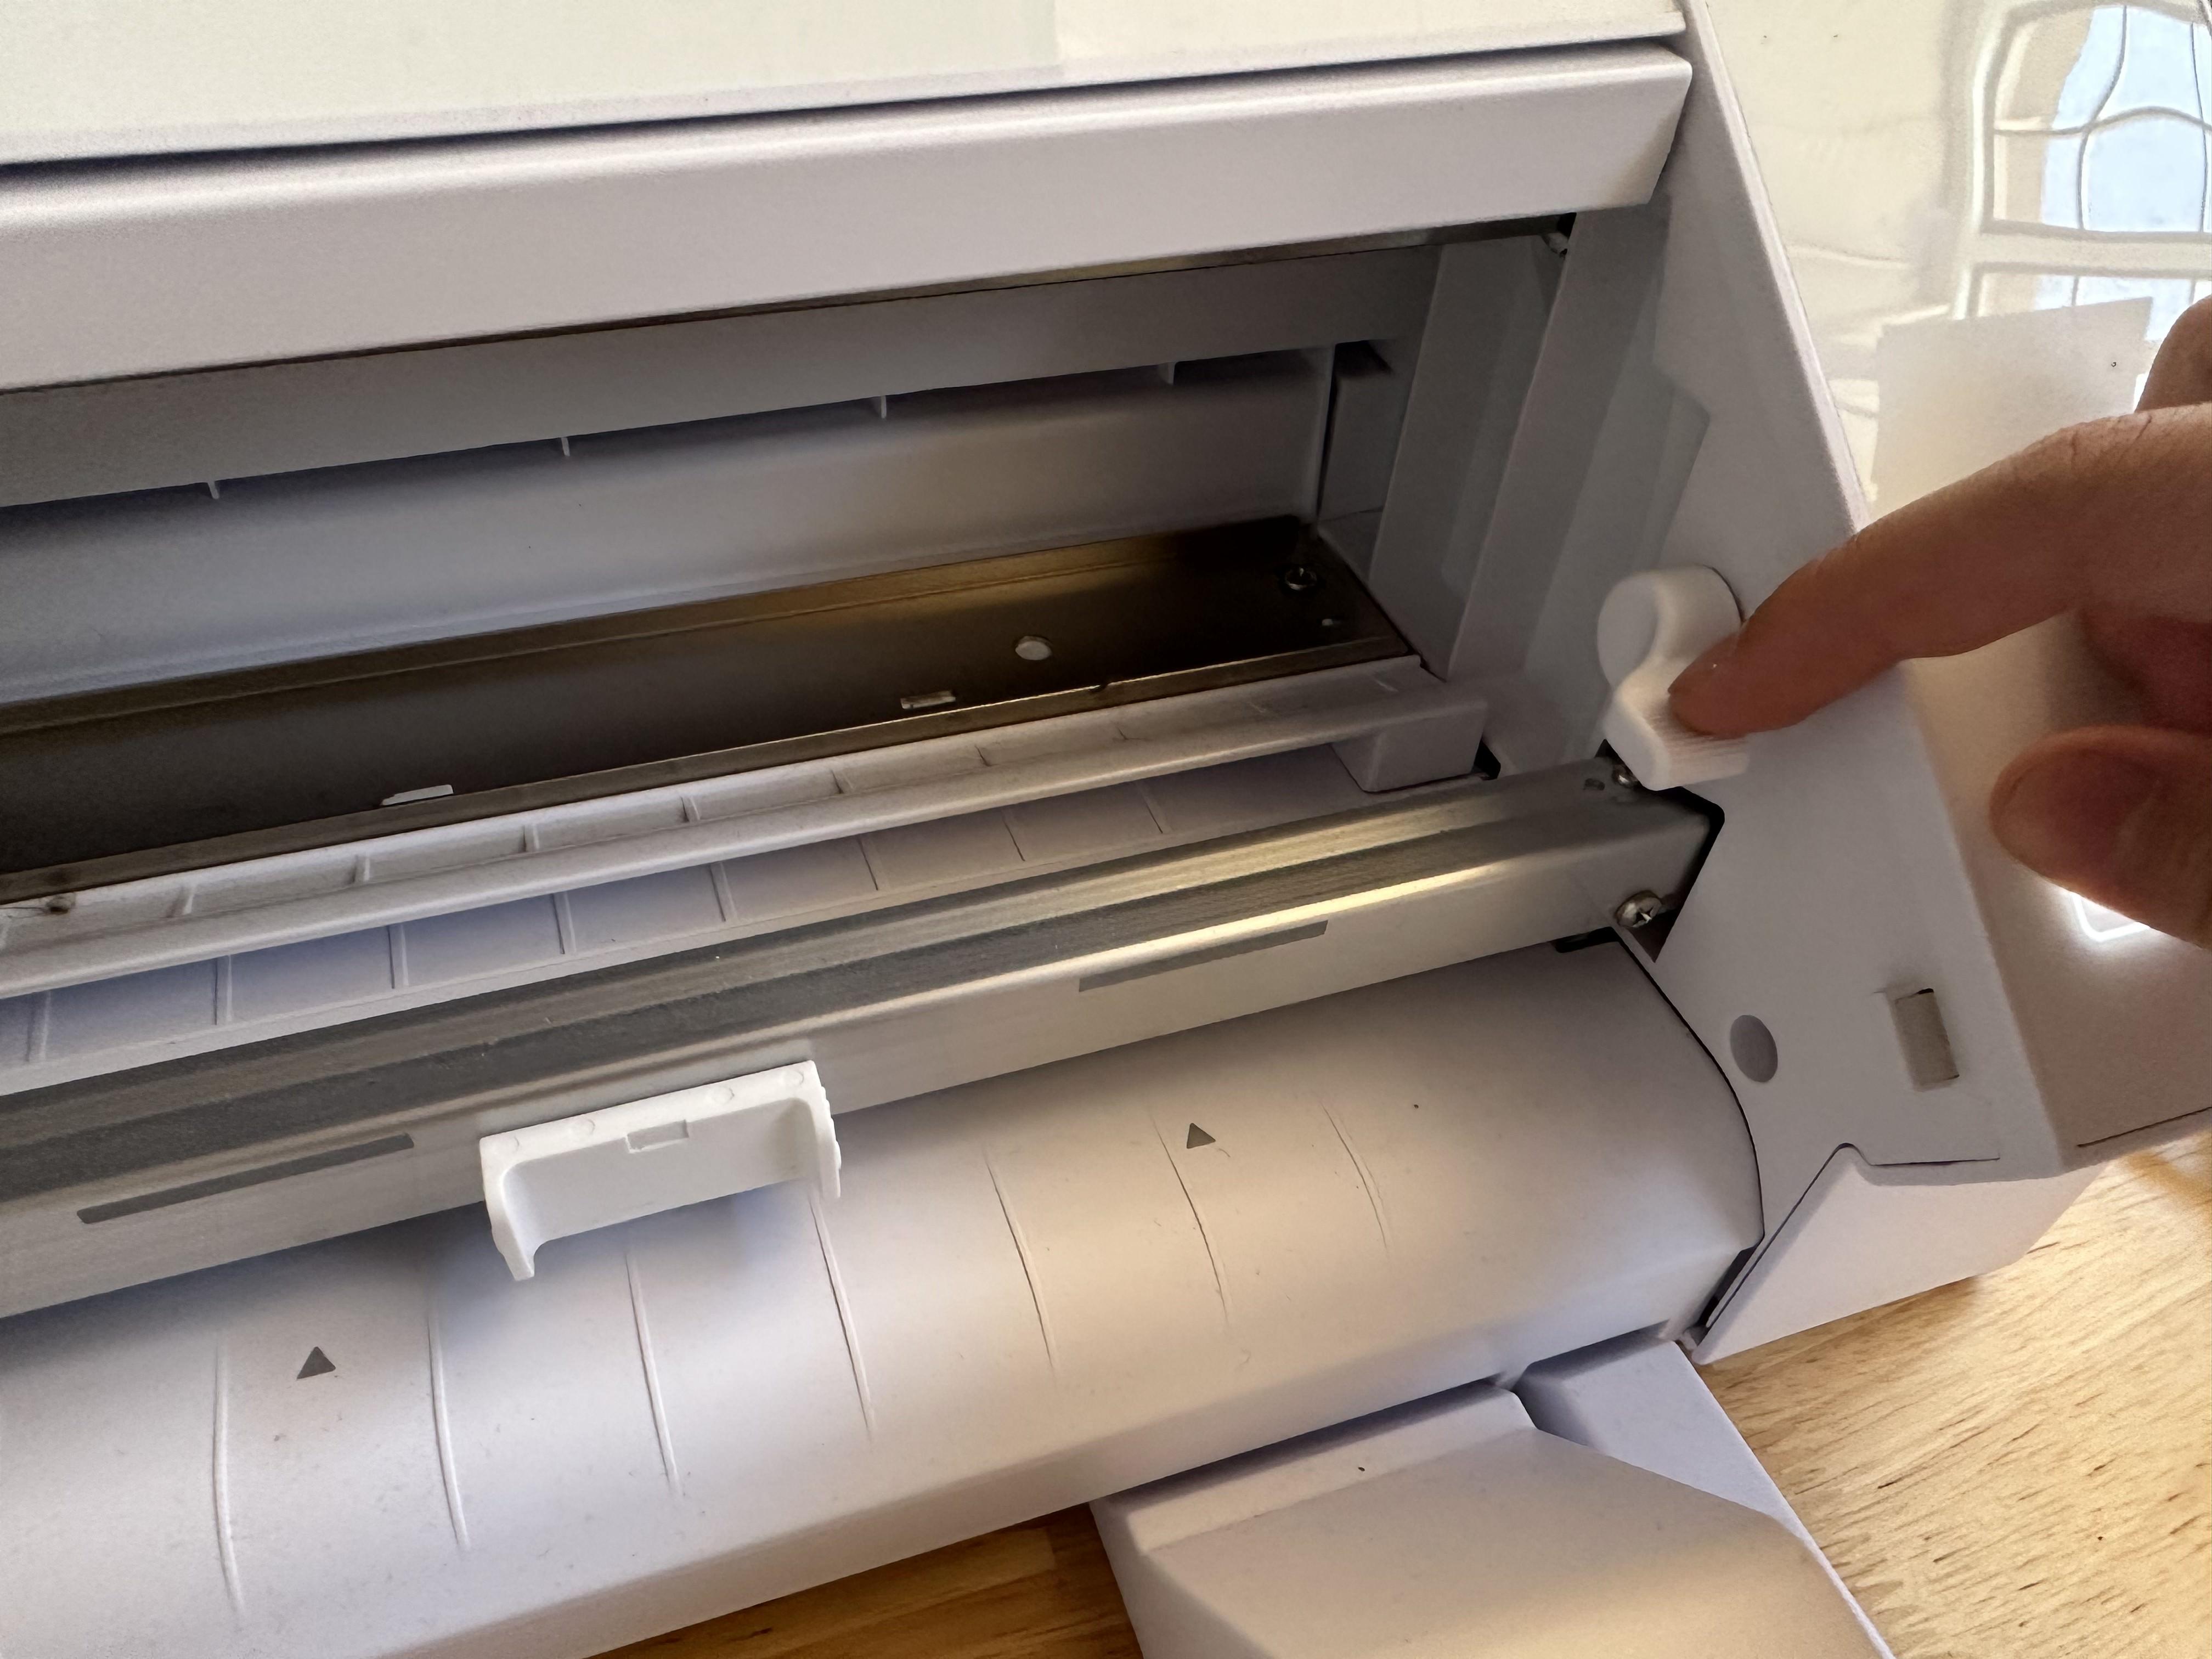
Lift Up Lever on Silhouette Machine
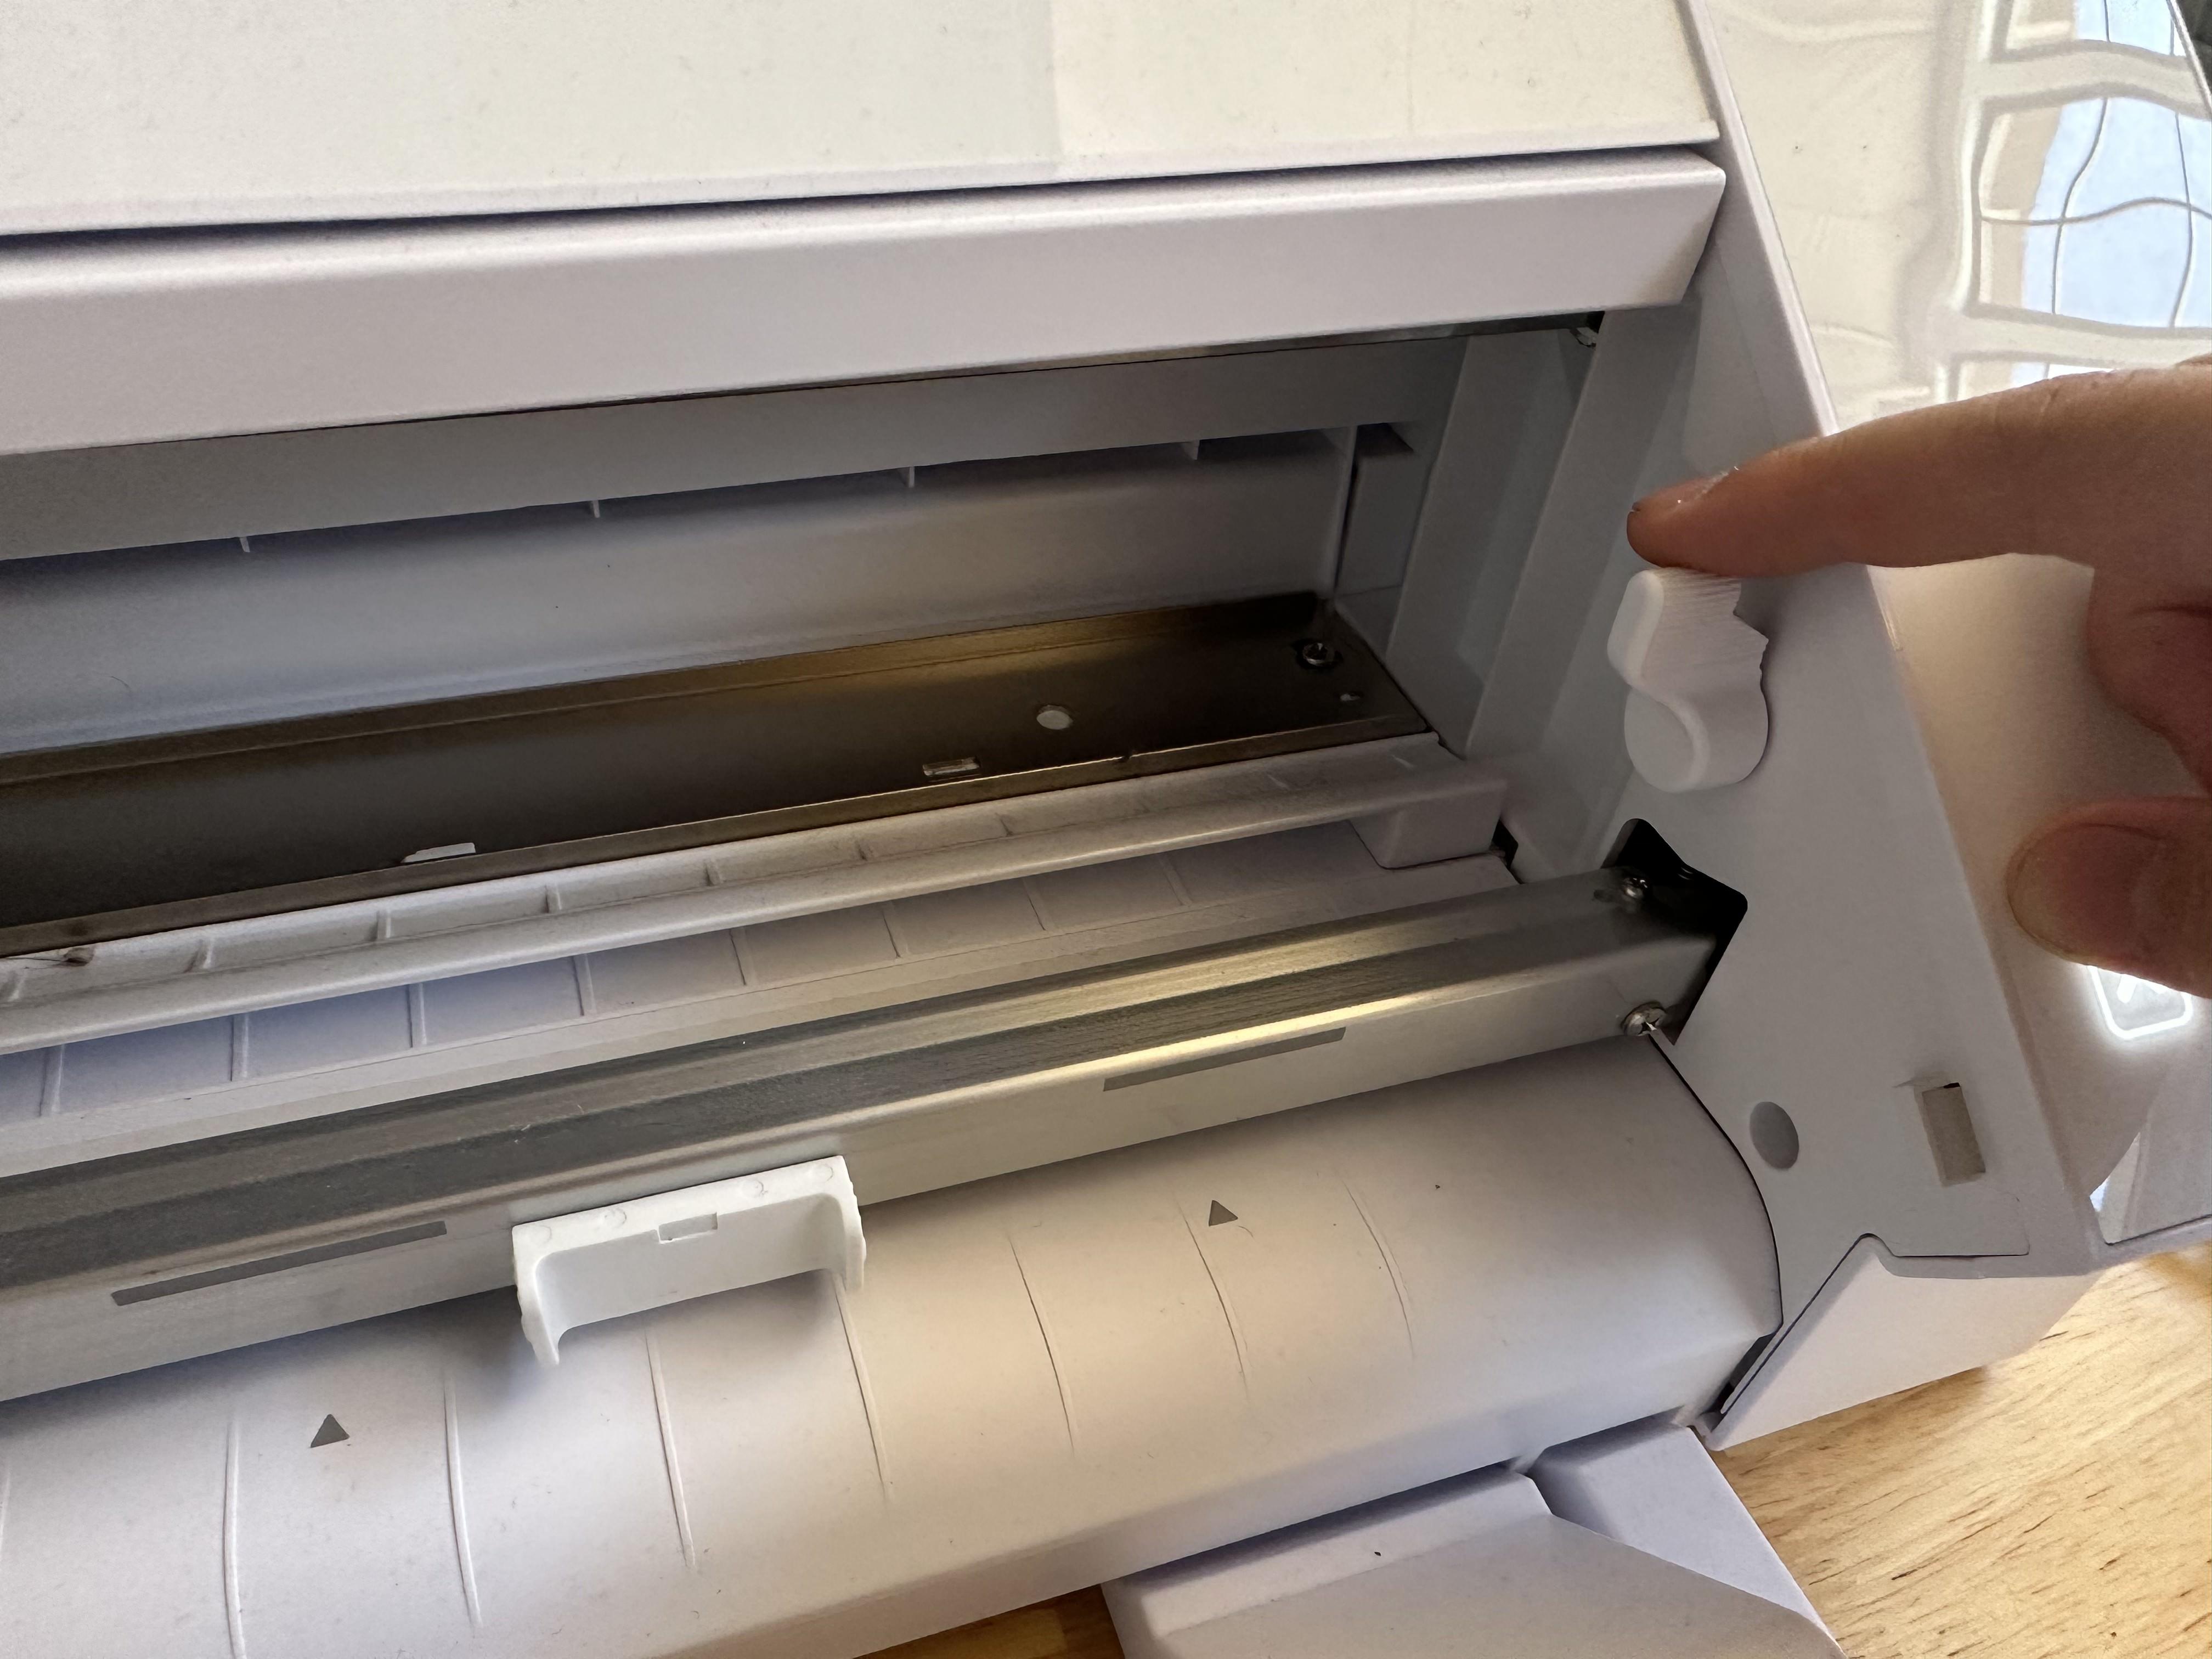
Place Mat So That Edge Lines Up With Leftmost Edge Marking

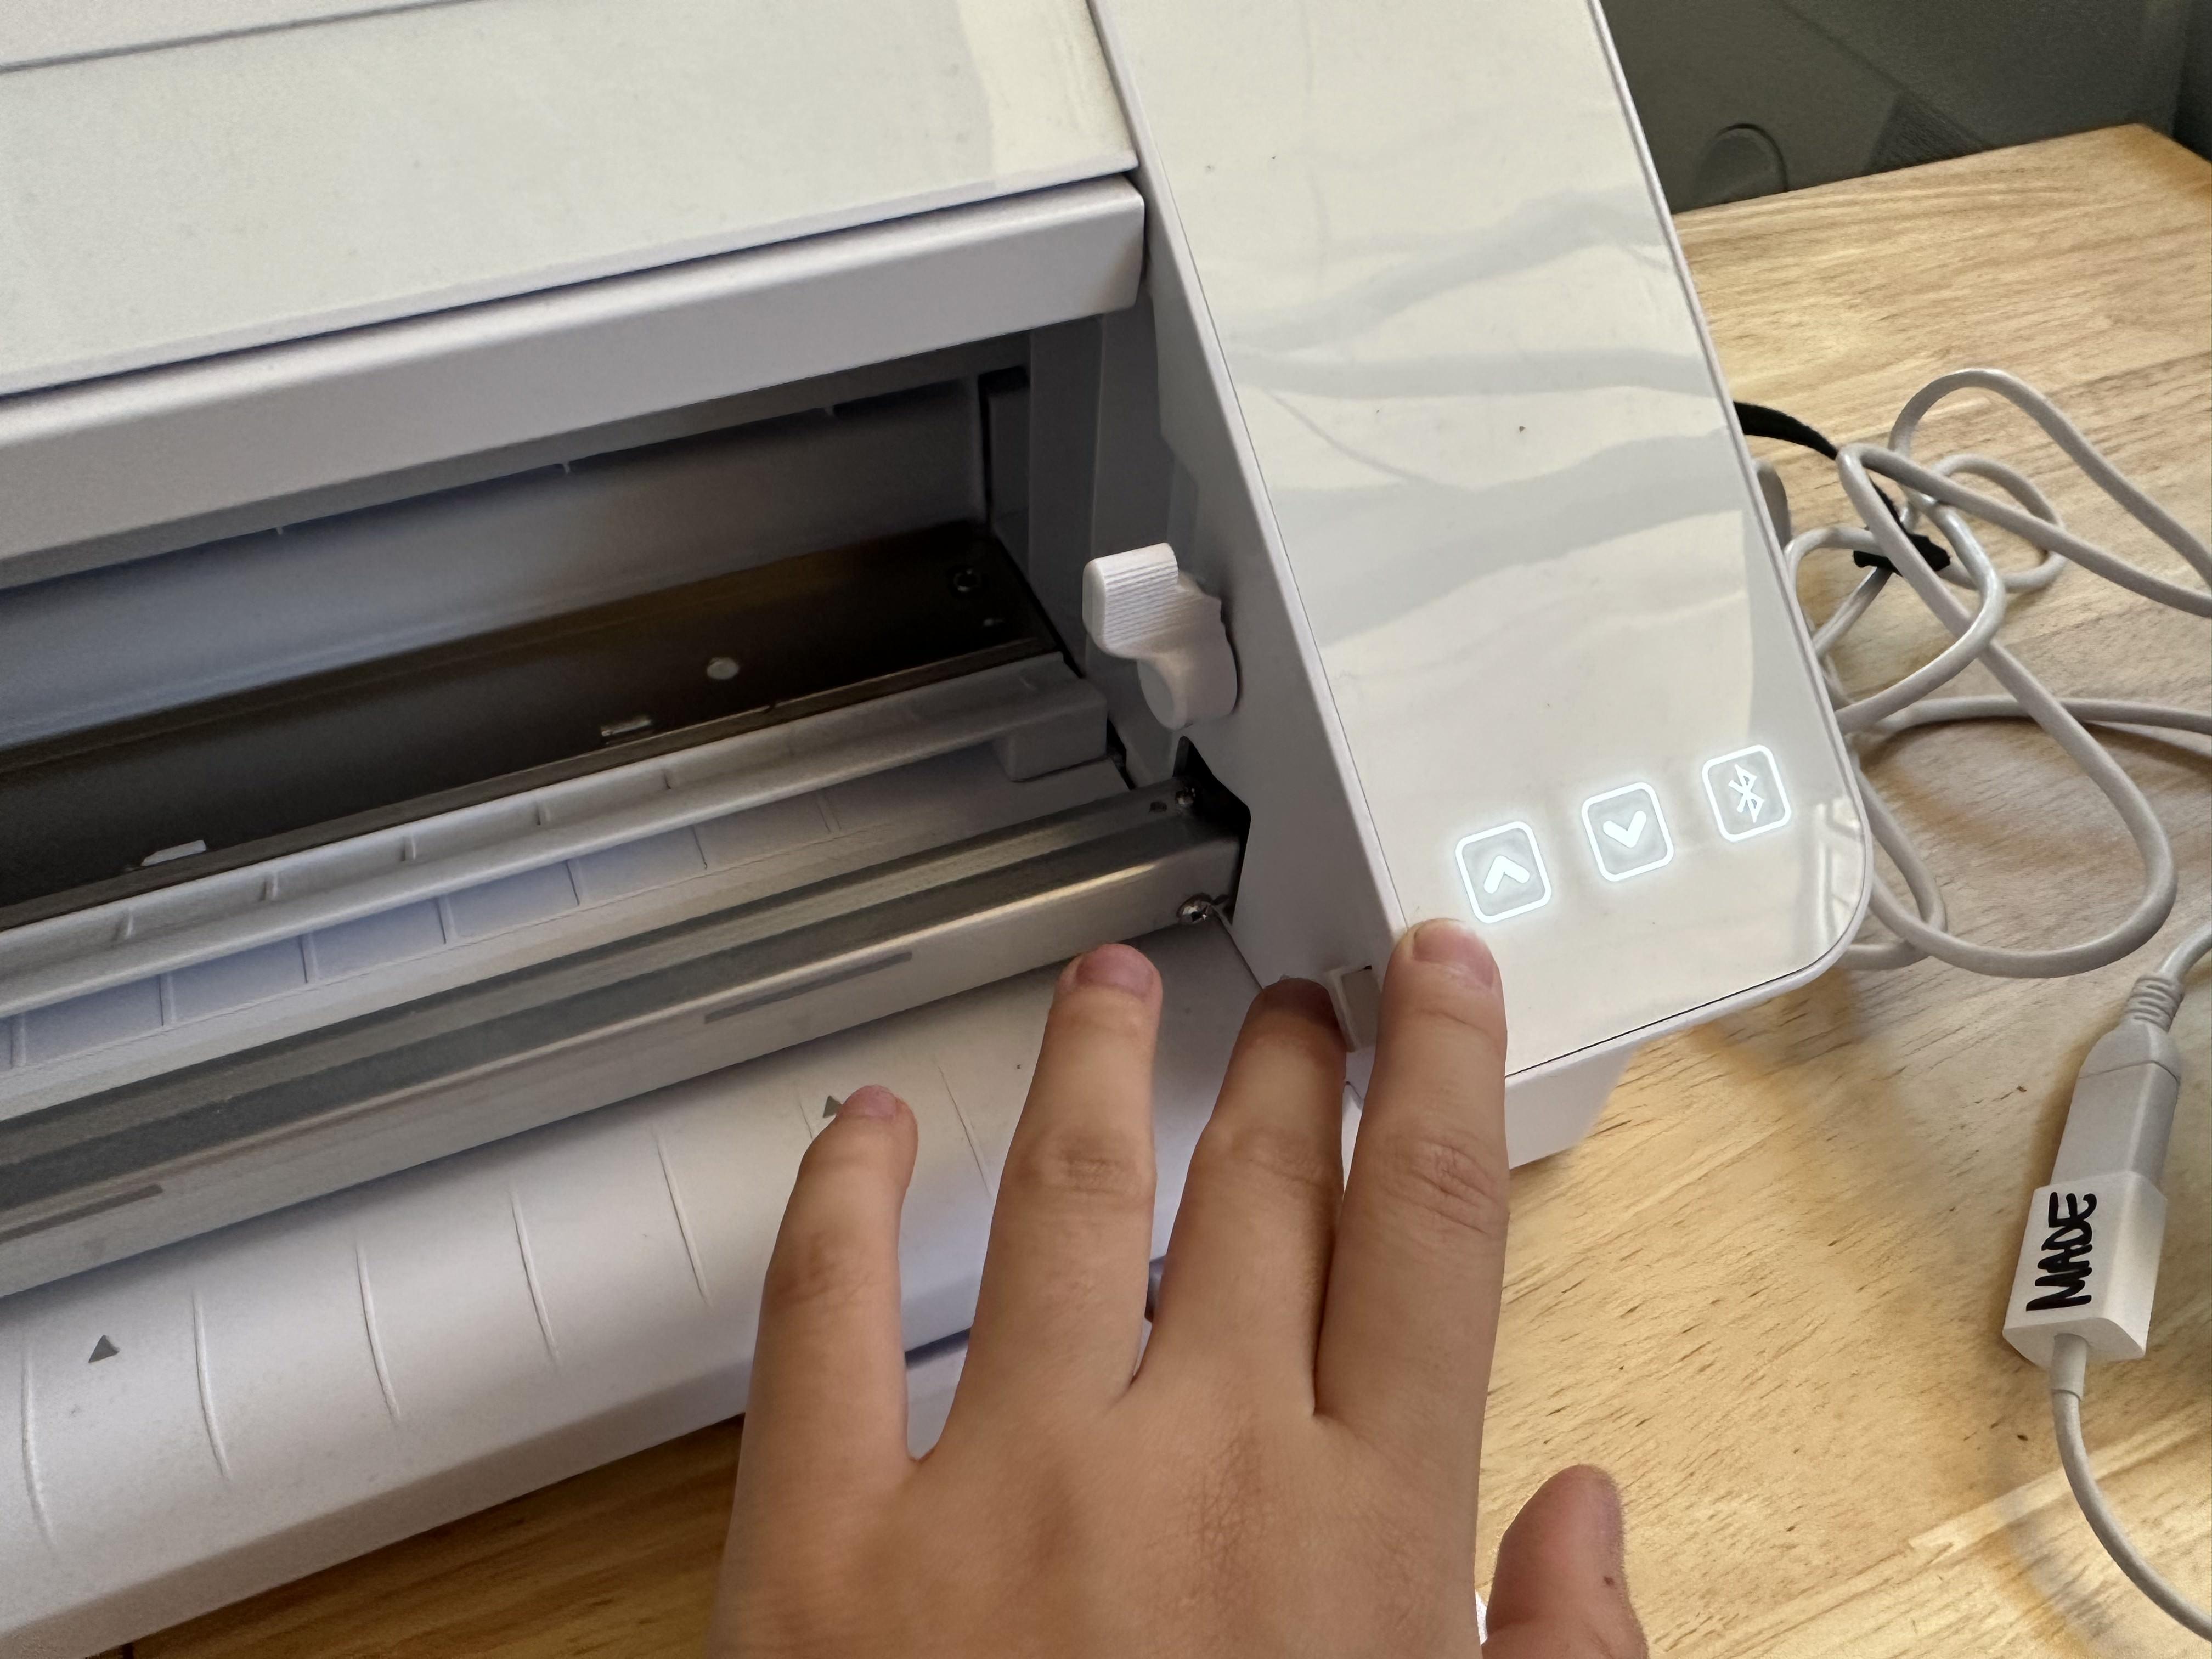
Clamp Lever Back Down to Secure Mat
Click the Upward Arrow on the Silhouette to Load the Mat
Press Send in Silhouette Studio