Basic Use Roland Sticker Maker
by Made Studio in Craft > Printmaking
1184 Views, 8 Favorites, 0 Comments
Basic Use Roland Sticker Maker
An introduction to the basic use of the Roland BN 20A sticker maker using adobe illustrator for file preparation.
Supplies
Roland BN 20A sticker machine
Computer
Roll of Sticker Paper
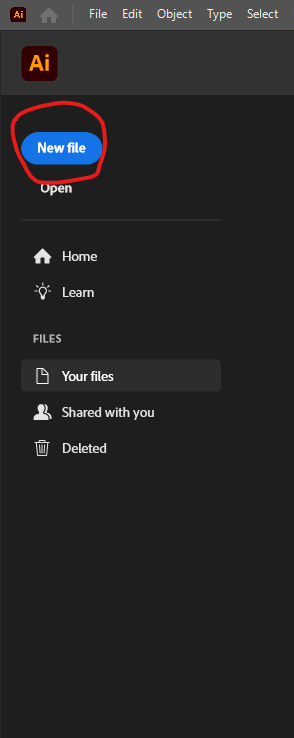
Open Illustrator

Open New File and Set Size of Canvas
Tip: Set the size of the canvas to be 0.25 inches larger than your desired sticker size.
Place Sticker
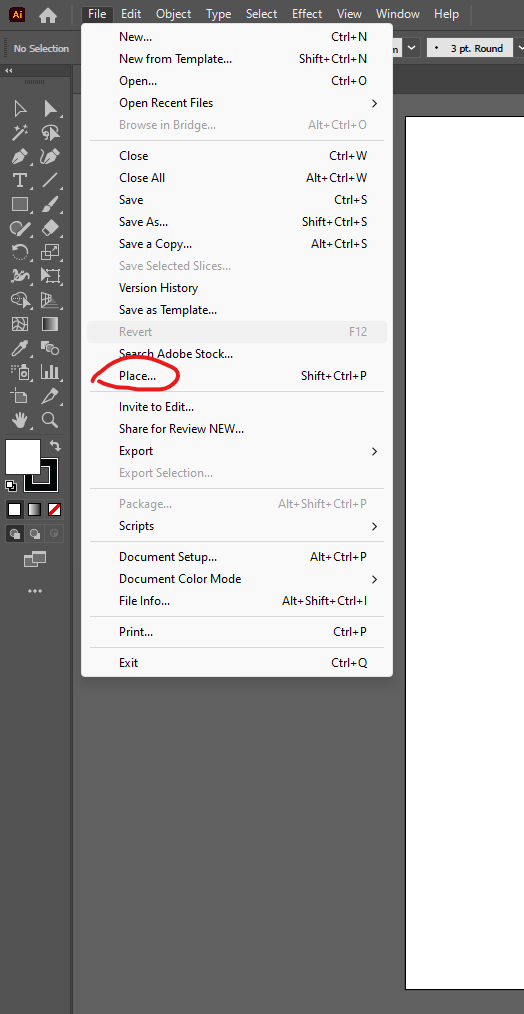
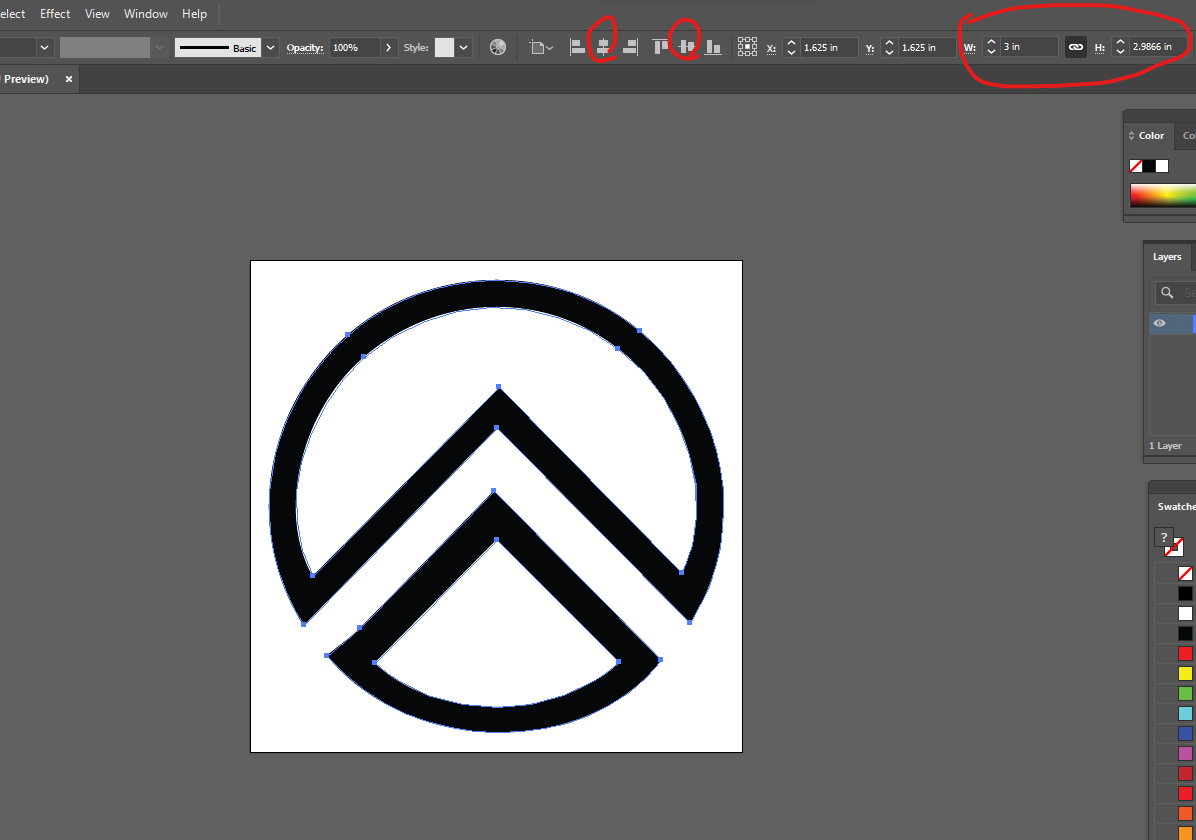
Place sticker image file and resize as necessary
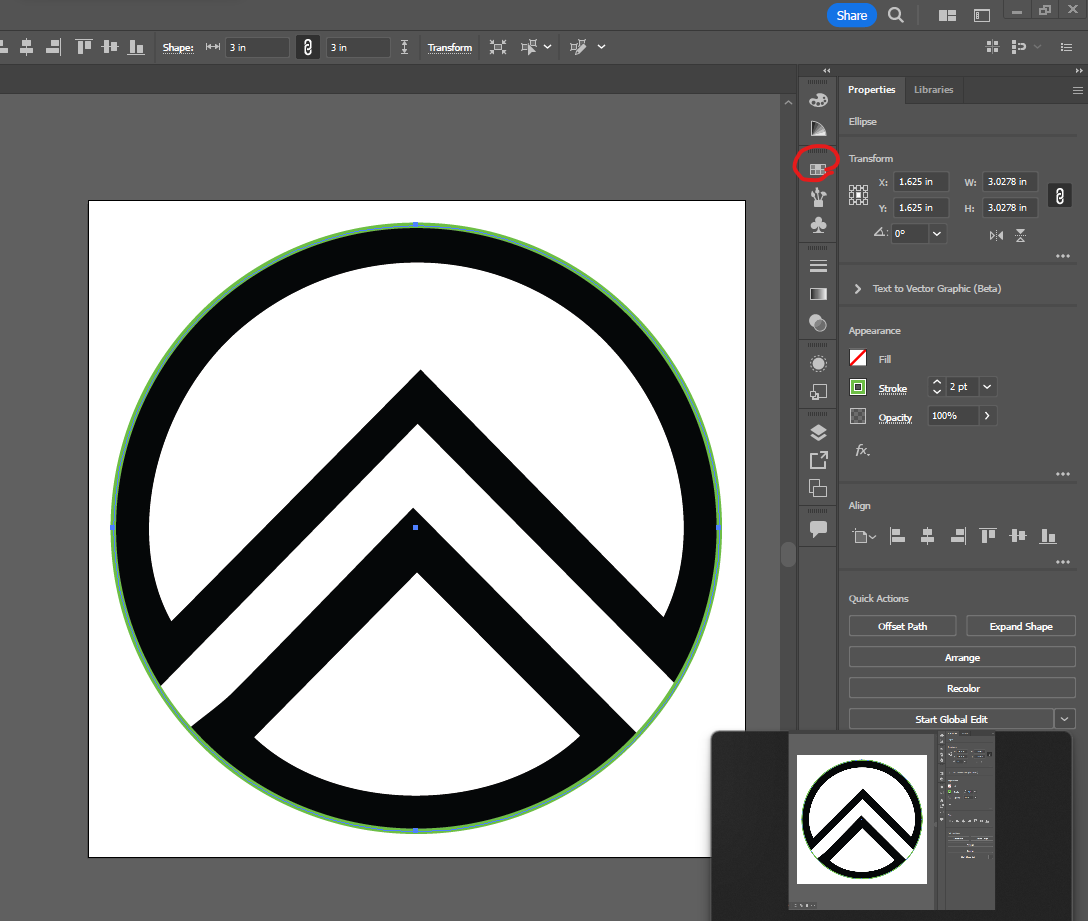
Tip: Use the Properties tab located on the left of the screen to input exact dimensions for your image. Also you can use alignment buttons to center the image on the canvas.
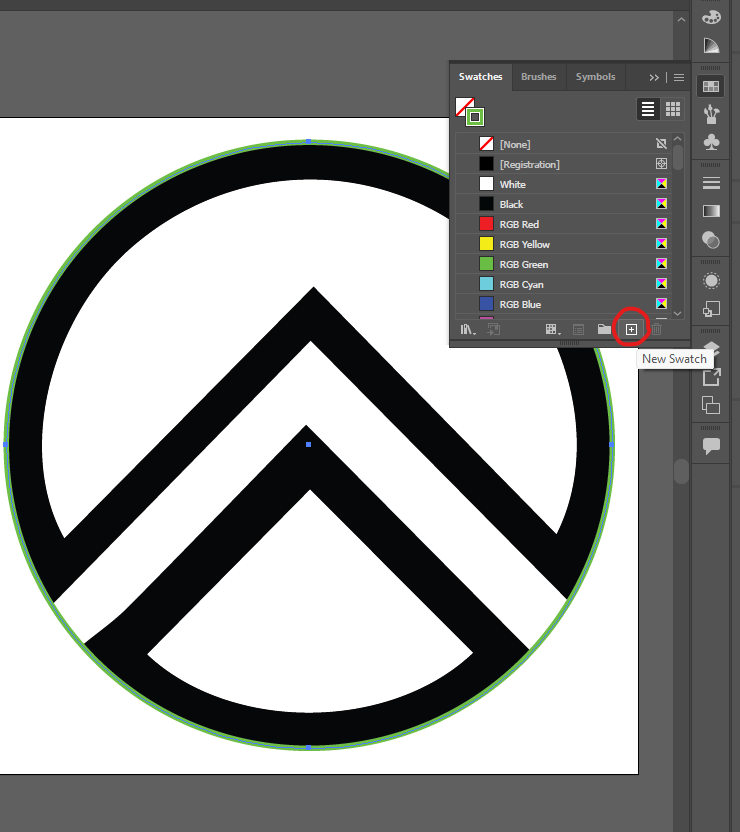
Shape Tool
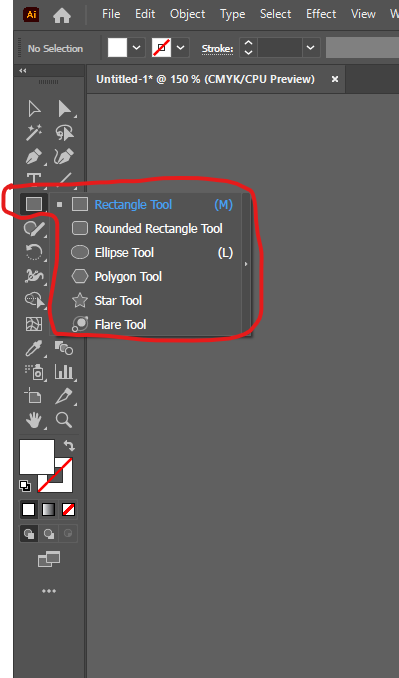
Use the shape tool to create cut lines for your sticker.
Tip: Use simple shapes like rectangle, rounded rectangle or ellipse to get the best cut results. Right click on the shape tool to change which shape it draws.
Change Appearance
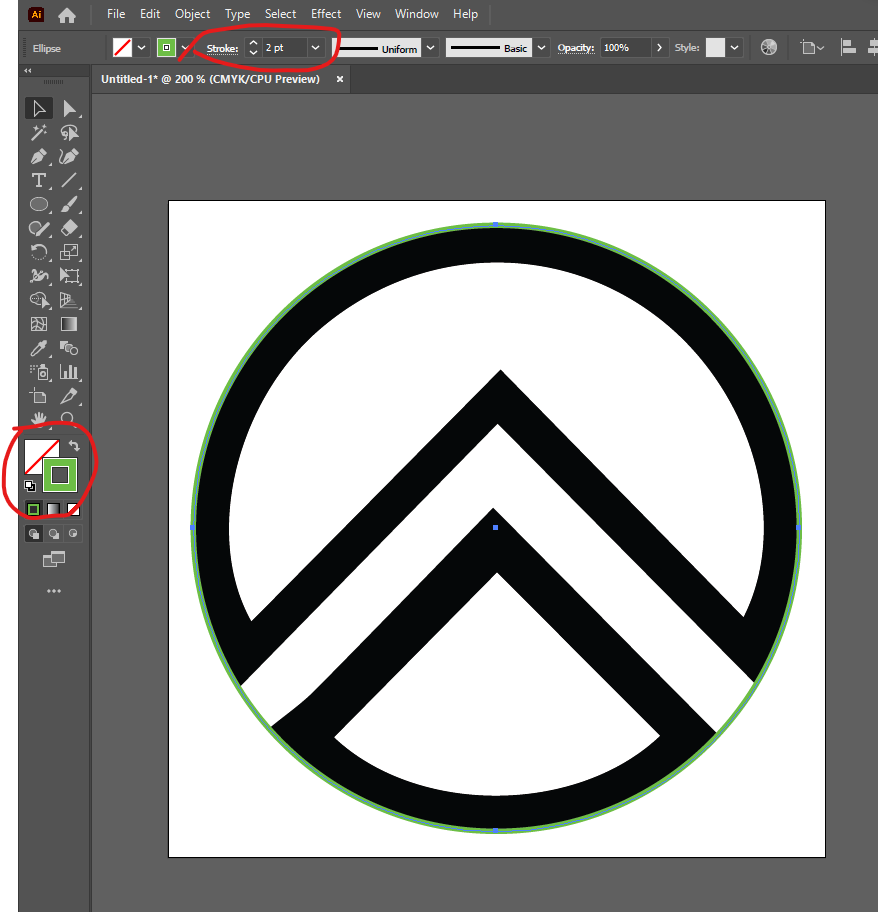
Set appearance properties of your shape to make it easier to visualize your sticker cut.
Tip: Make sure the Stroke property is in front by clicking it once. It should look like the example image.
Tip #2: The color you choose does not matter, but it is recommended to choose a color that is contrasting from your imported image
Black Arrow
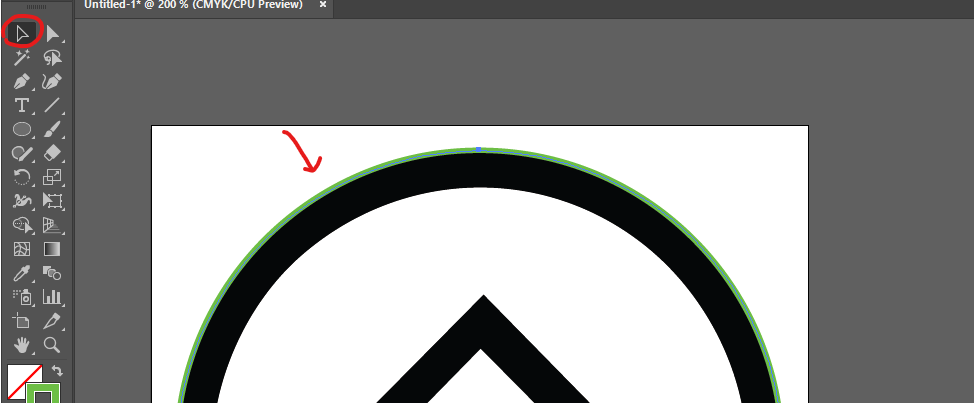
Select your shape with the black arrow open the Swatches Tab
Tip: If you do not see the Swatches tab, reset your workspace by clicking Window>Workspace>Essentials Classic or Reset Essentials Classic
Swatch
Select the Add Swatch Symbol (plus sign)
Name Swatch
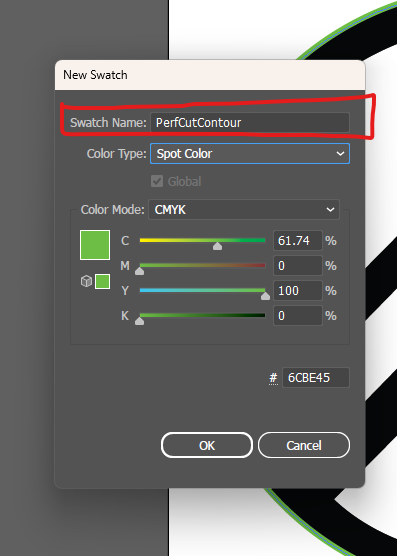
In the pop-up, name the Swatch “PerfCutContour” or “CutContour”
Tip: Spell the name exactly as shown above, otherwise printer will not recognize the cut
Tip #2: If you would not like to cut all the way through the sticker paper, and only the vinyl top layer, name the Swatch “CutContour”
Spot Color

Select “Spot Color” in the dropdown menu
Save As
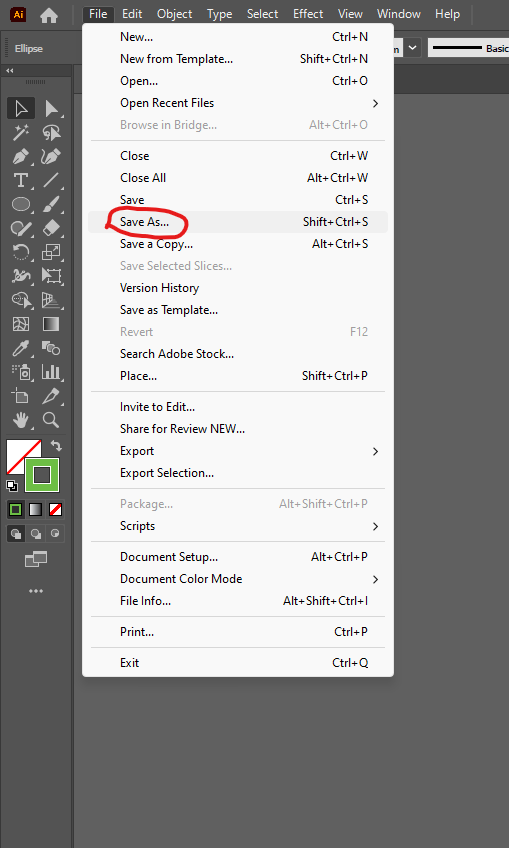
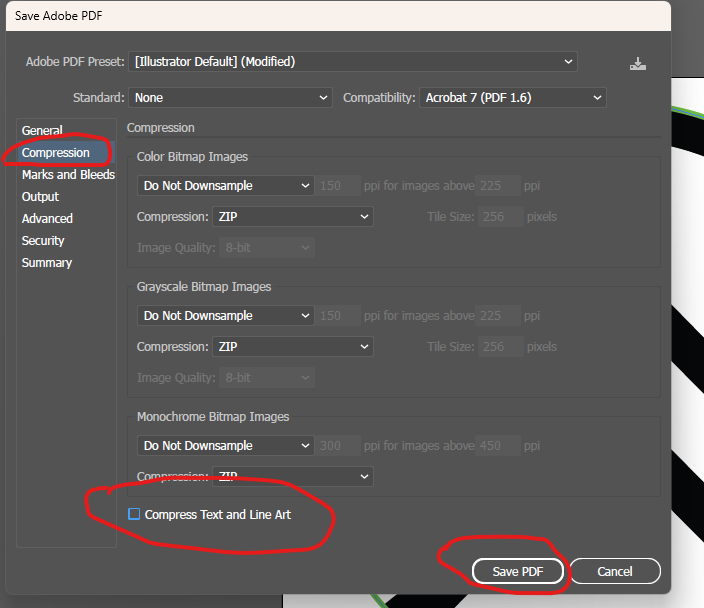
Save as PDF
(File -> Save As -> PDF)
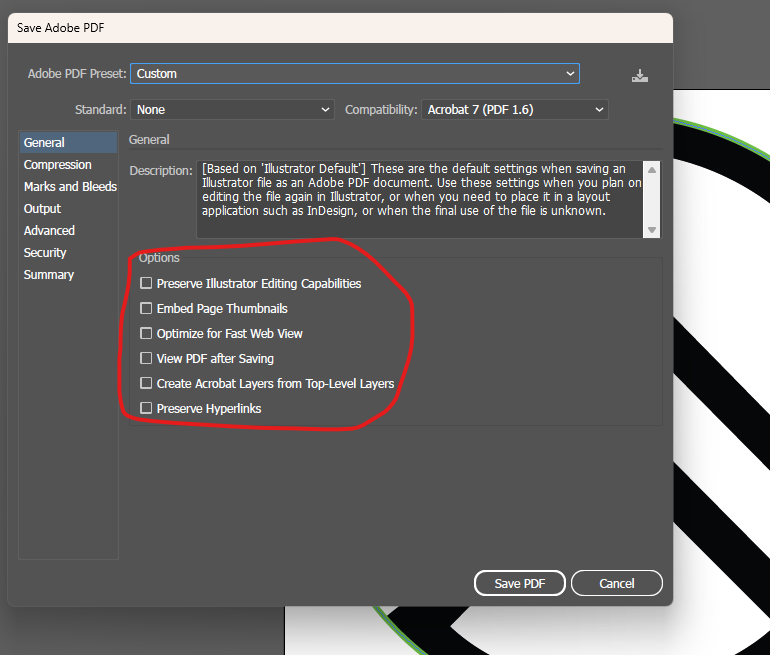
Tip: Uncheck all the boxes in General and Compression sections.
VersaWorks

Open VersaWorks
Into Queue
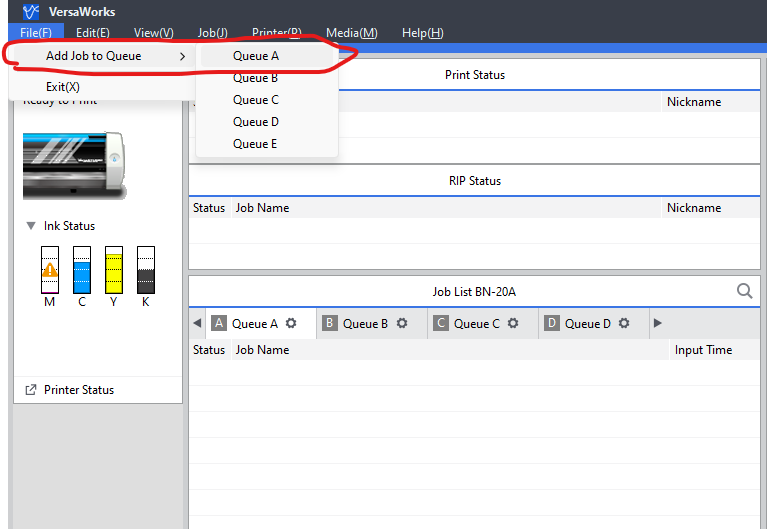
Add your PDF File into Queue
Tip: It doesn't matter which queue you choose
Special Character
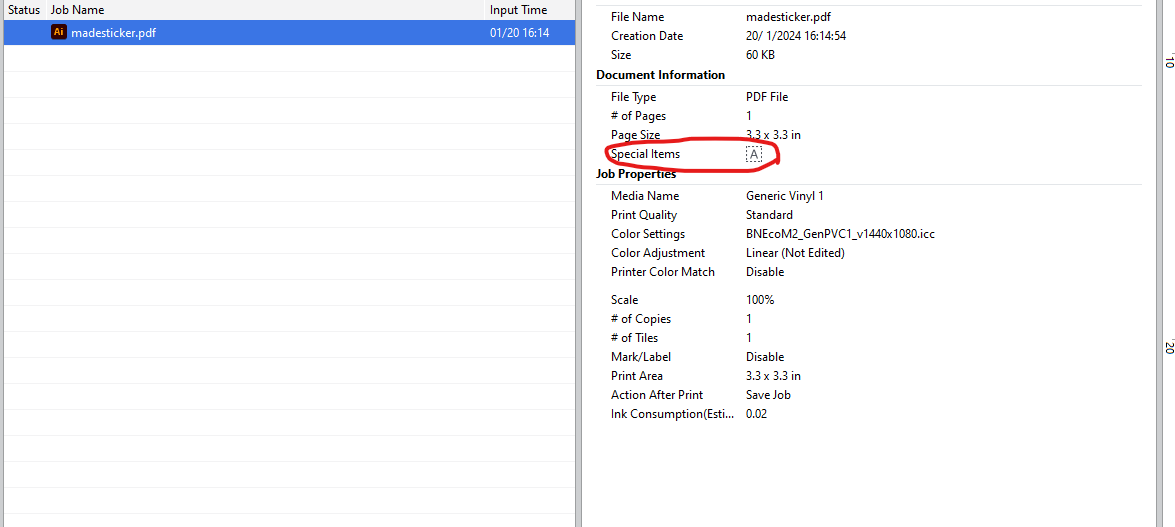
Look at the image properties and observe “Special Characters”
Tip: If “A” with the dotted lines are visible, your file is good to go for a Perf Cut and “A” with a solid line for CutContour.
Settings
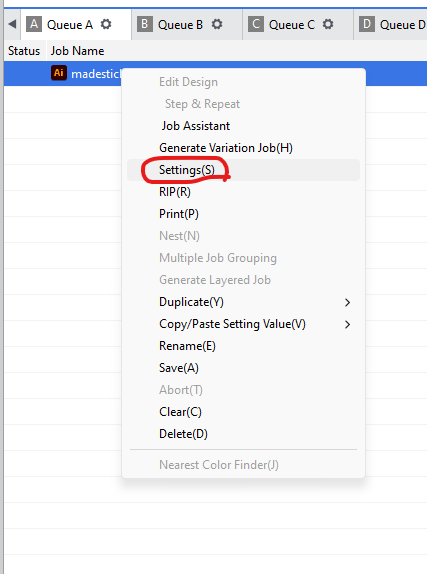
Right click your imported Job and go to “Settings”
Layout
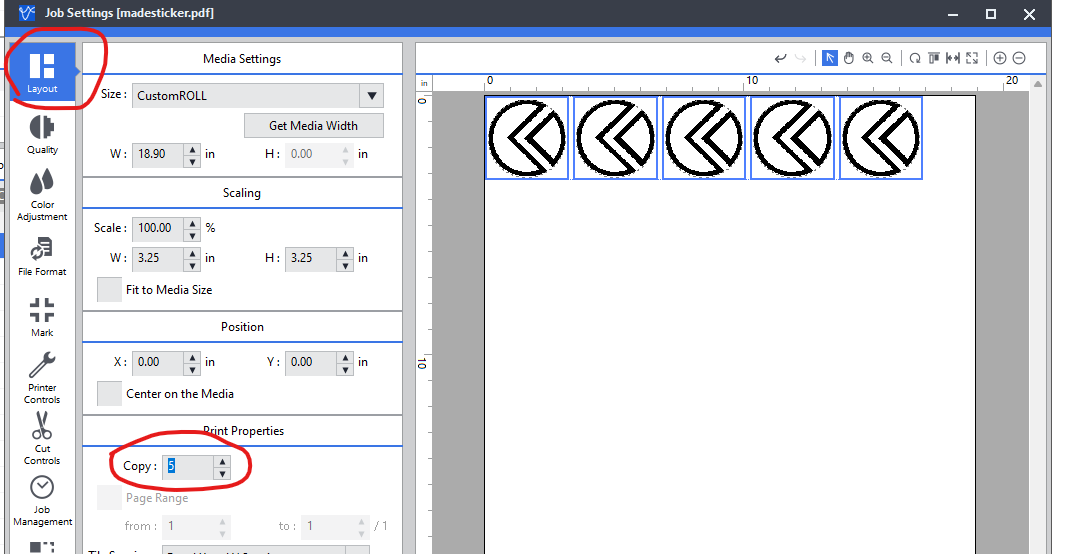
Go to “Layout” and add as many copies as you would like.
Cut Controls
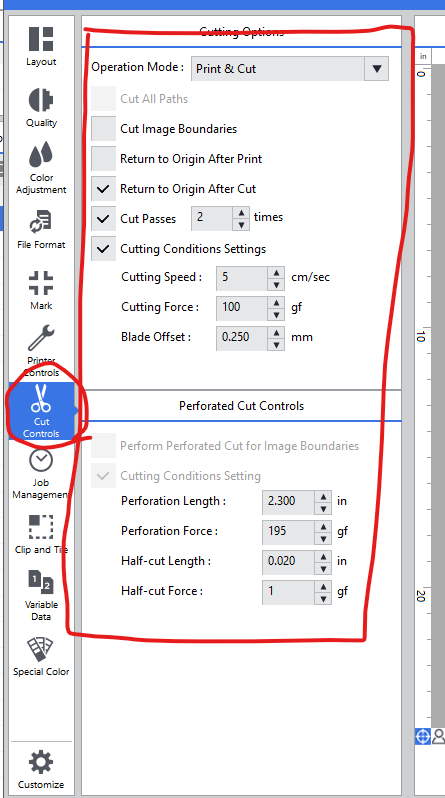
Go to “Cut Controls” and Cut Settings to match our default settings.
Disclaimer: The Perforated Cut Control Settings are constantly changing based on how used the cutting blade is. Look at the posted settings on the printer to adjust your settings accordingly.
Before You Print
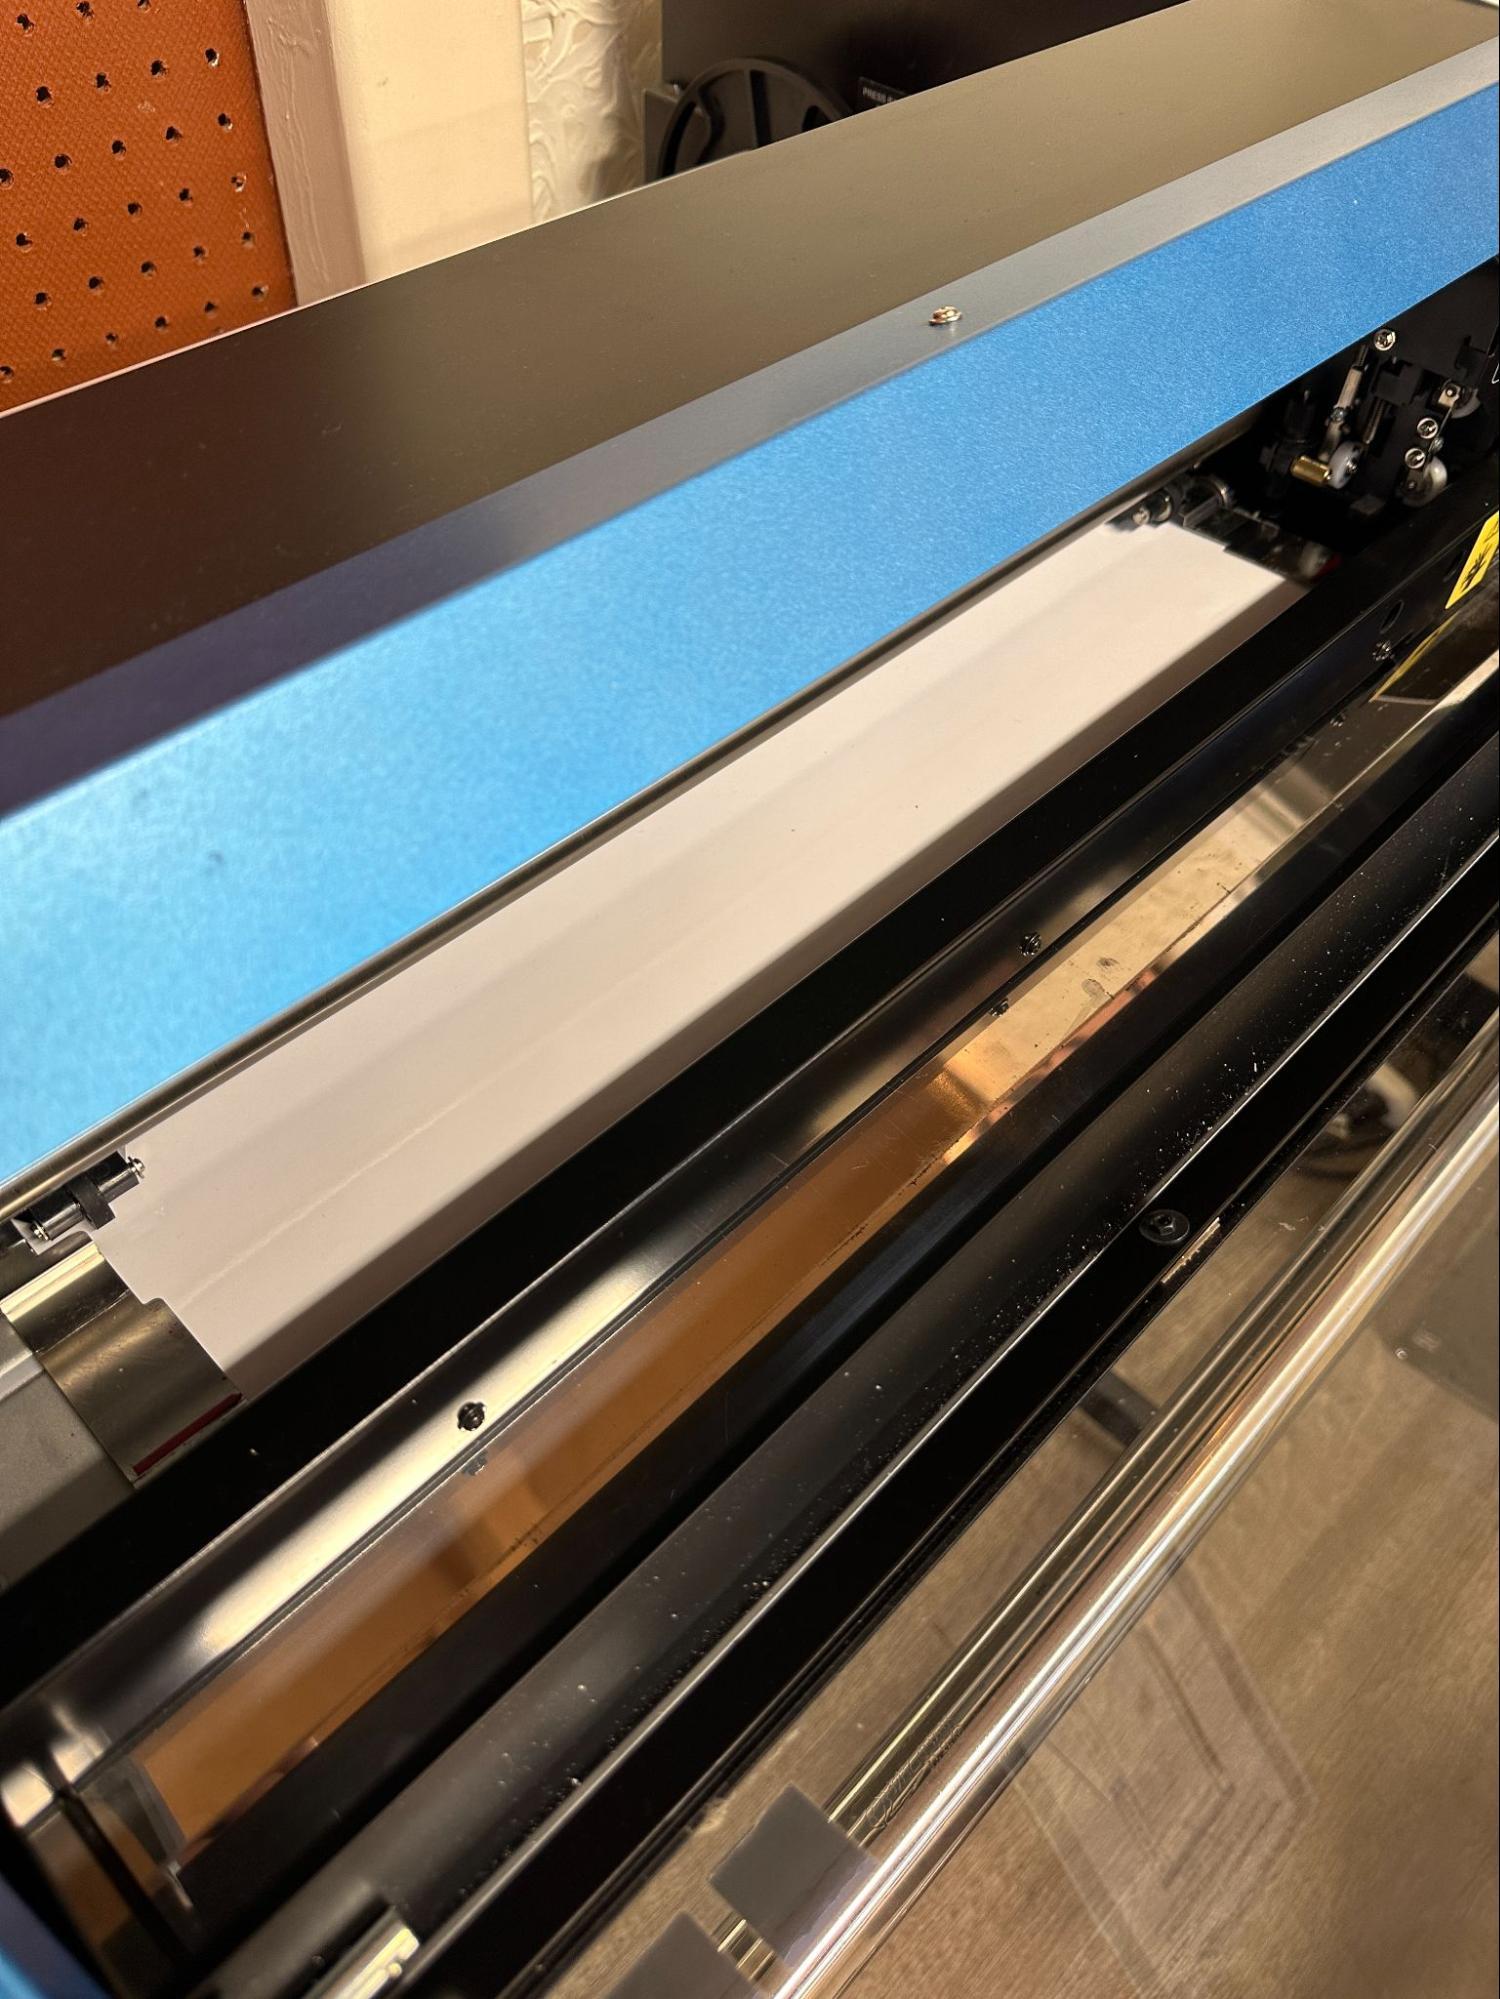
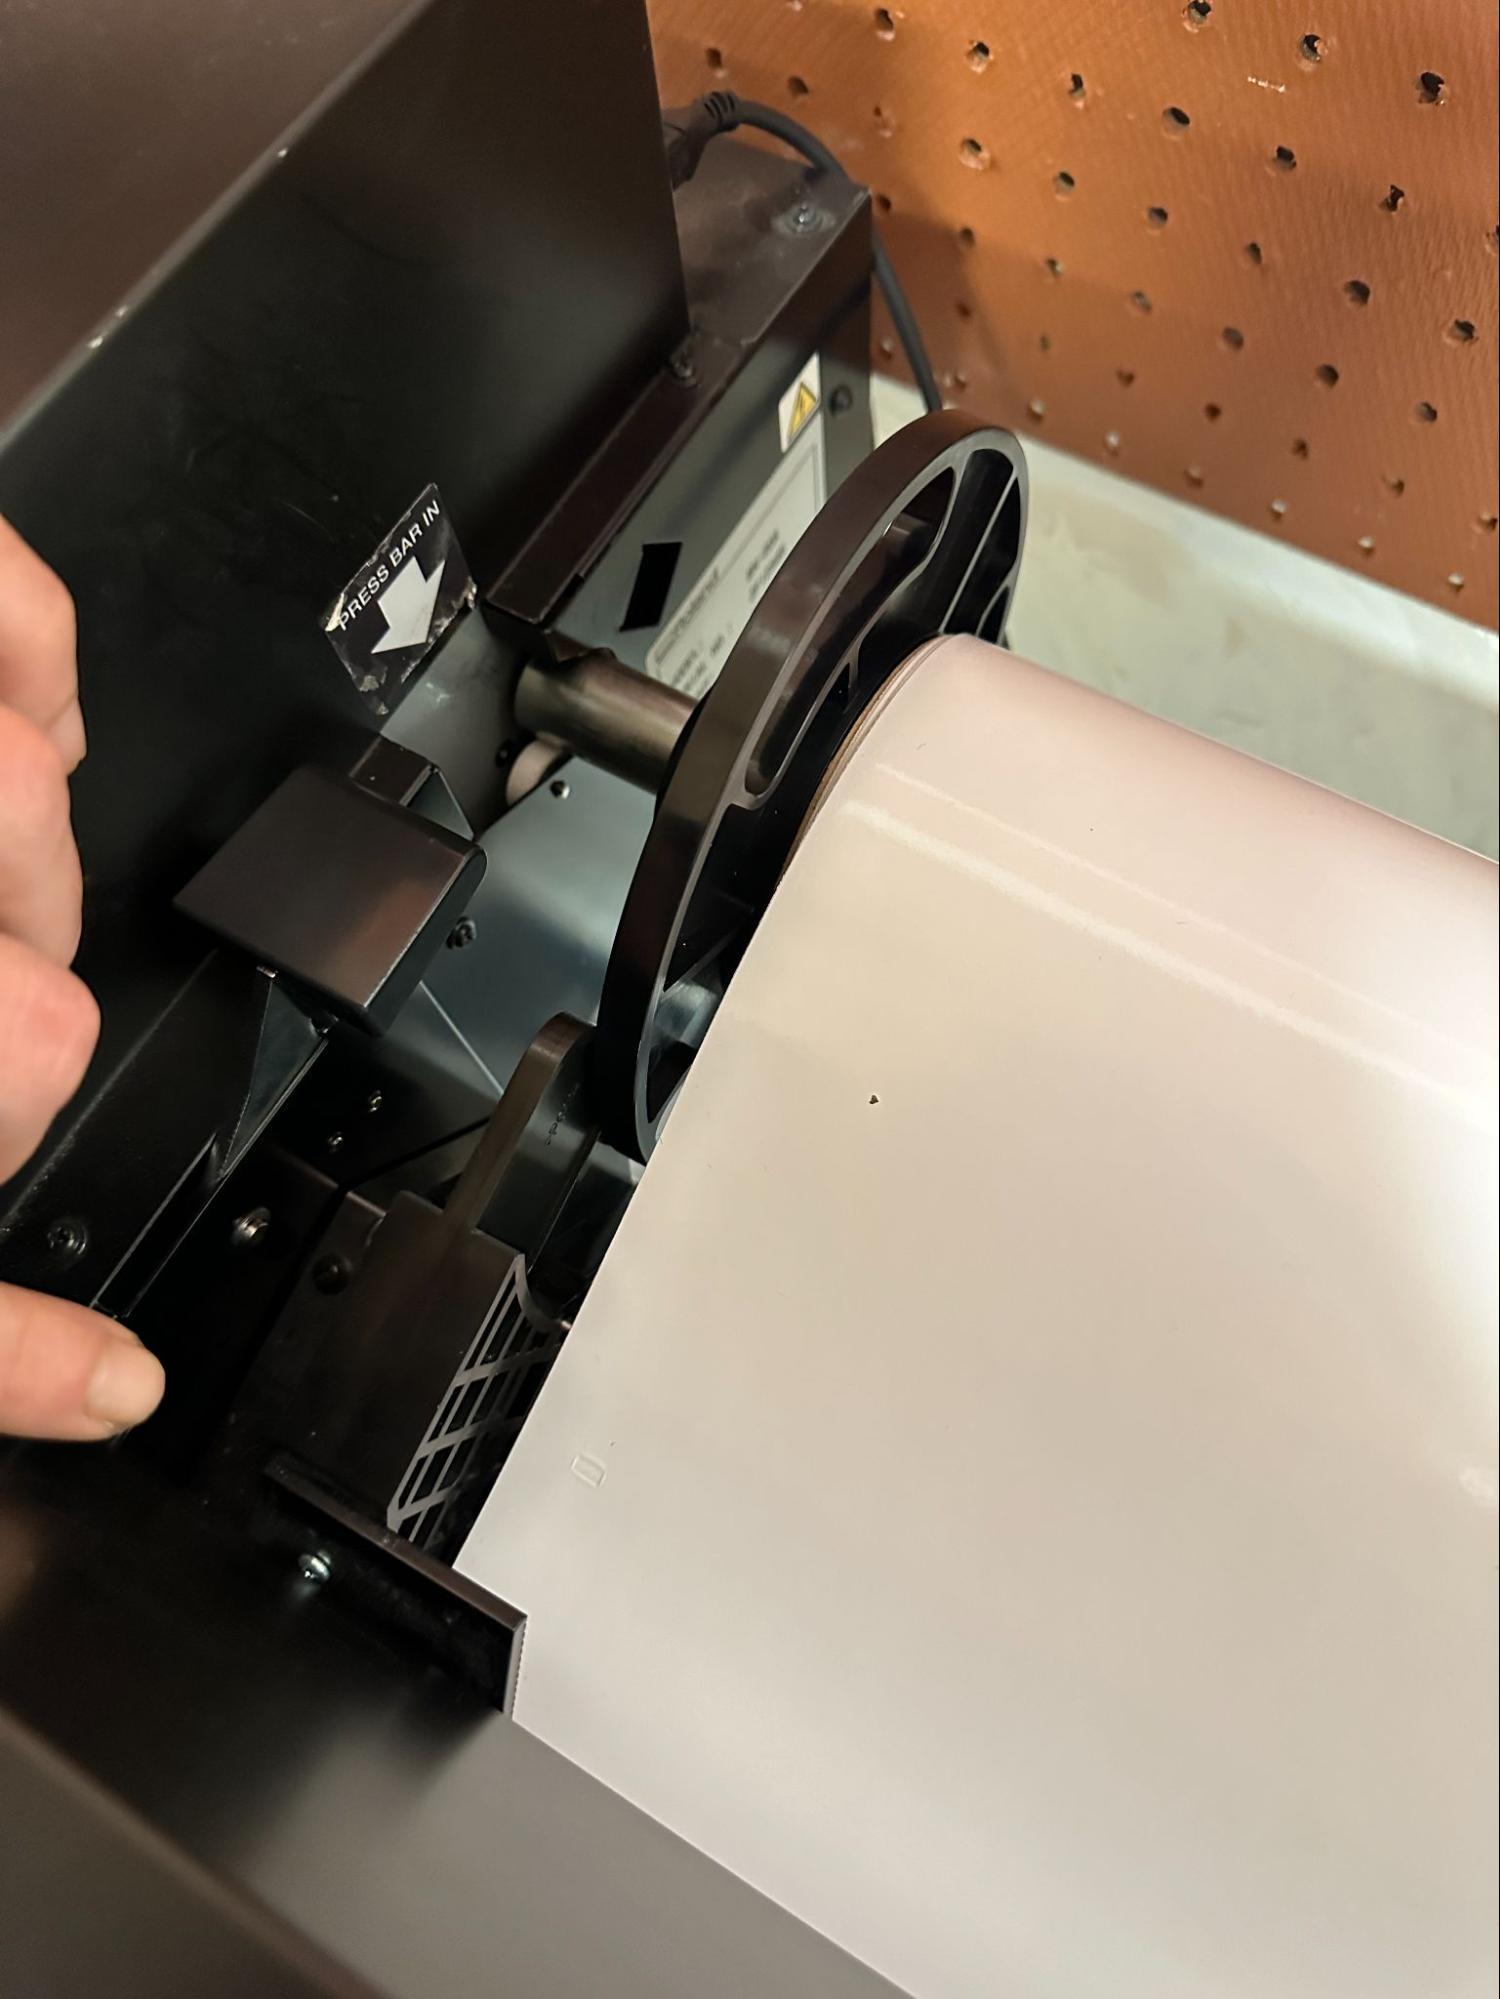
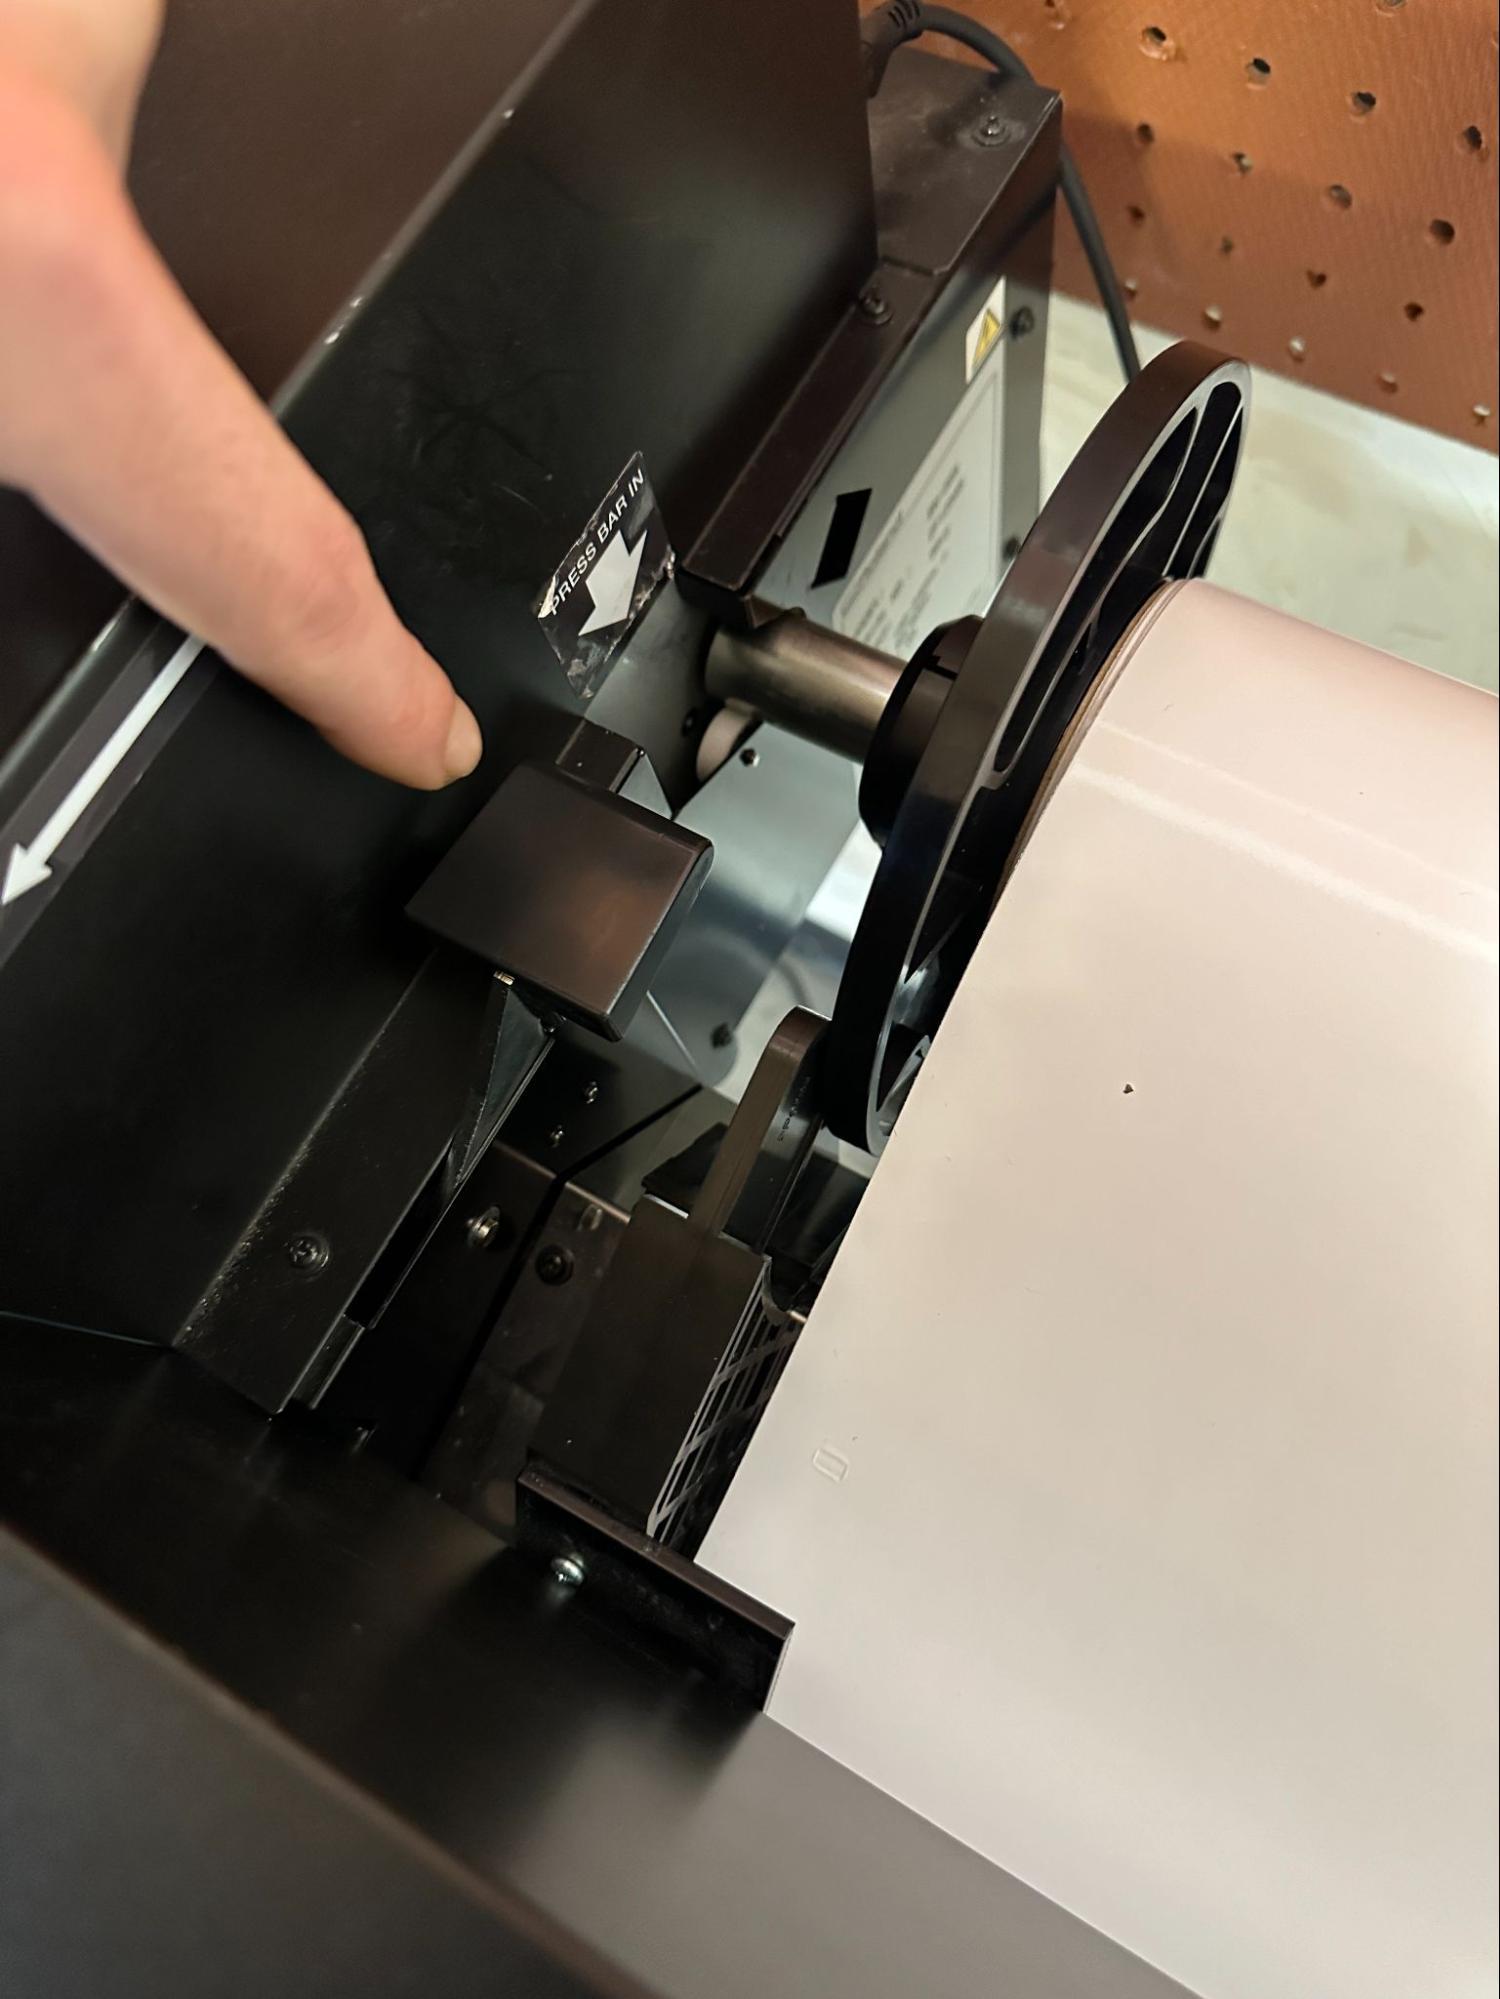
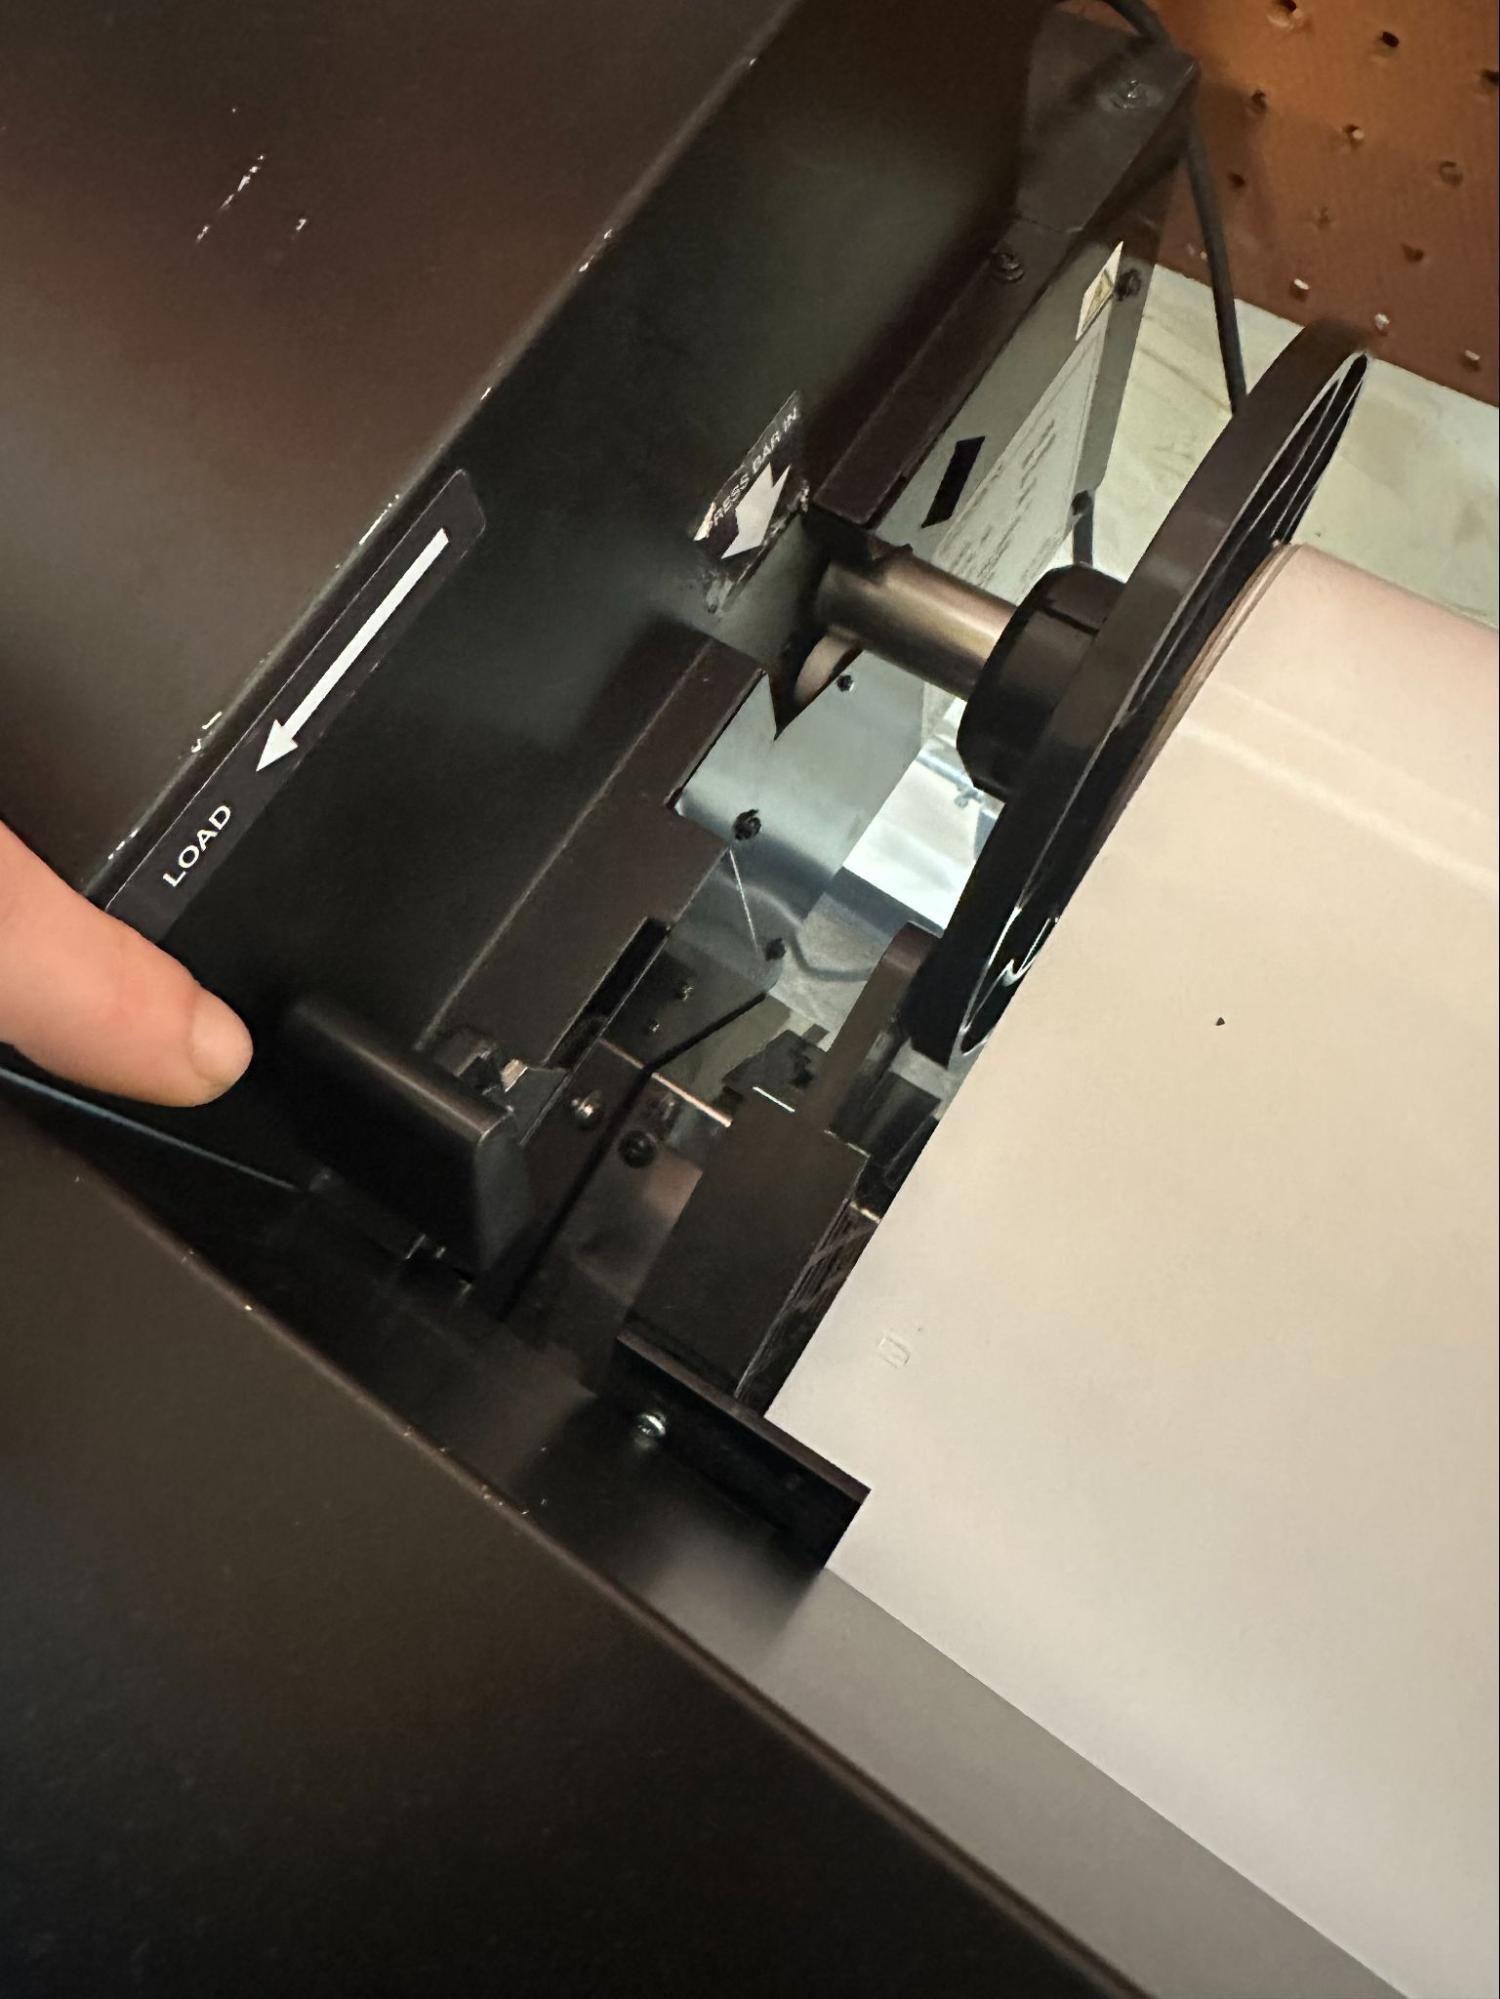
Before pressing print, make sure the roll of vinyl is inserted and aligned as you see in the image. There is a lever on the back left hand side of the machine that locks the roll into place, labeled with an arrow and ‘Load’. The end of the roll should be just past the red markings on the metal guide tabs. Also, ensure the left hand side roller and metal tab, which can be slid left and right for various roll sizes, are pushed against the roll so that the roll will feed properly.
Tip: If the roll is already aligned and inserted, you still need to push the lever back and re-engage it. If you don't do this between prints, the roll will retract beyond the rollers and the print will start onto the metal plate, requiring you to stop the print, by pushing the lever back and cleaning the metal plate before starting again.
Tip #2: Opening the front window of the machine will pause the job. Pushing the lever back will Cancel the job.
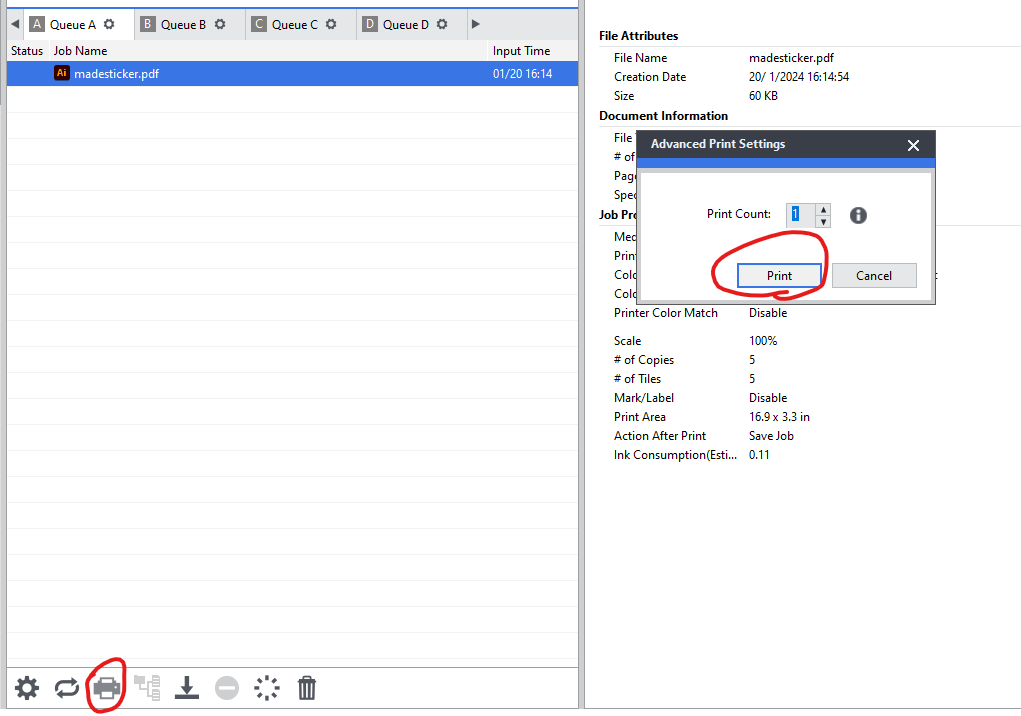
The job is ready to be printed. Click the print icon and leave it at 1 copy.
Slice
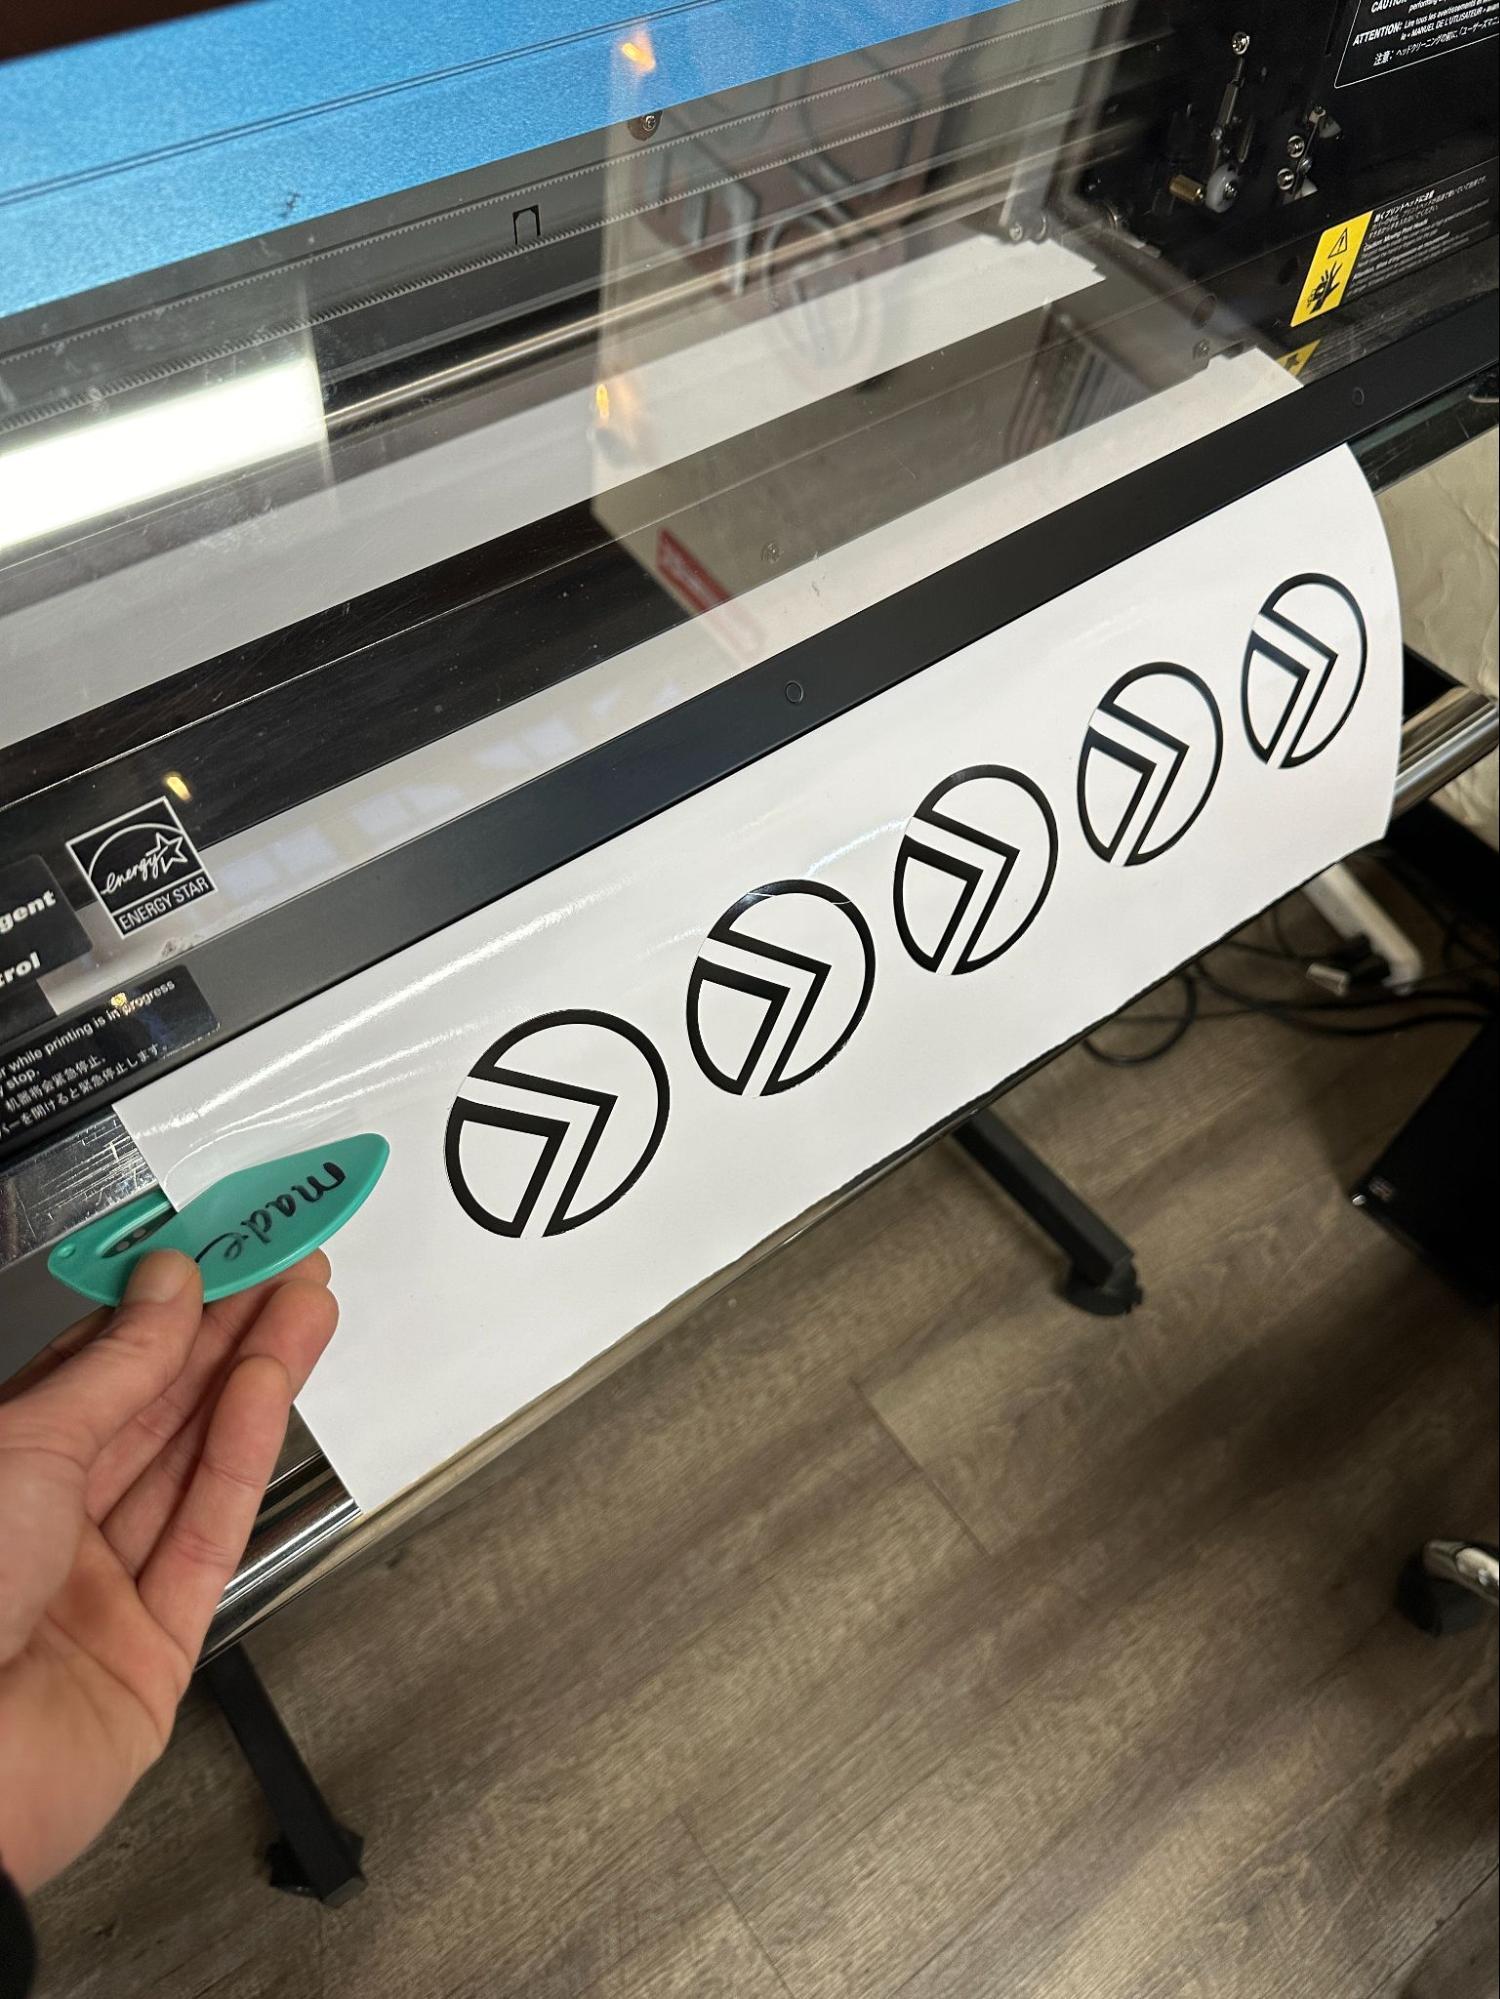
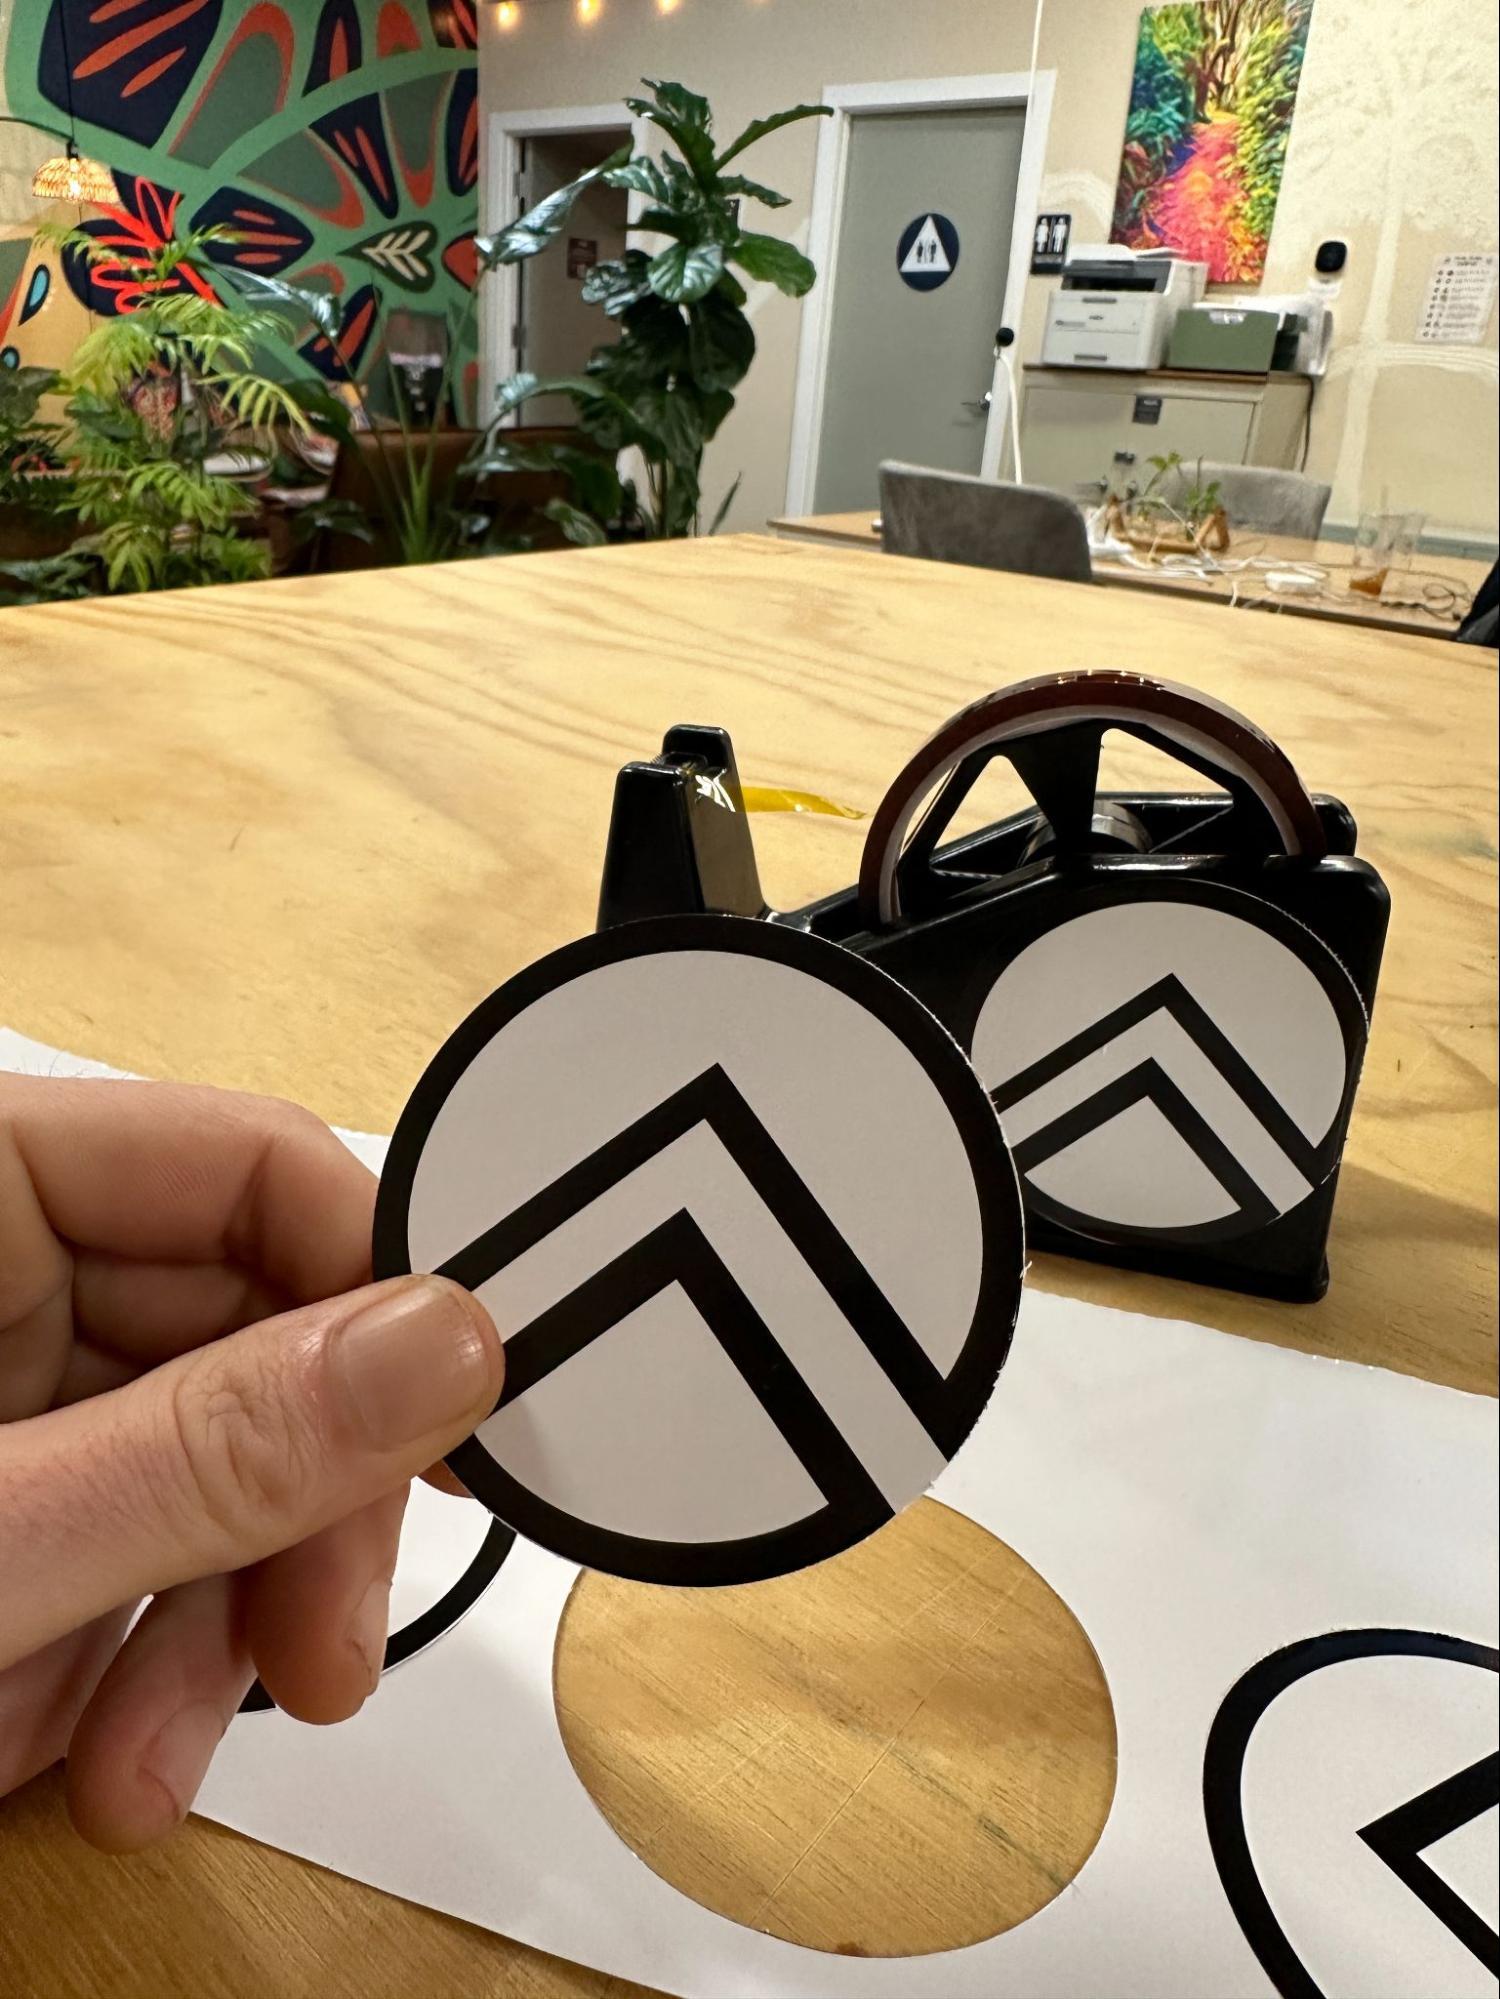
When the print and cut finish, simply slice off your stickers from the roll. Then push the lever back in order to unlock the roll. Roll it back into the correct starting position, just beyond the red markings on the metal tabs.