Basic Use: Button Maker Tutorial
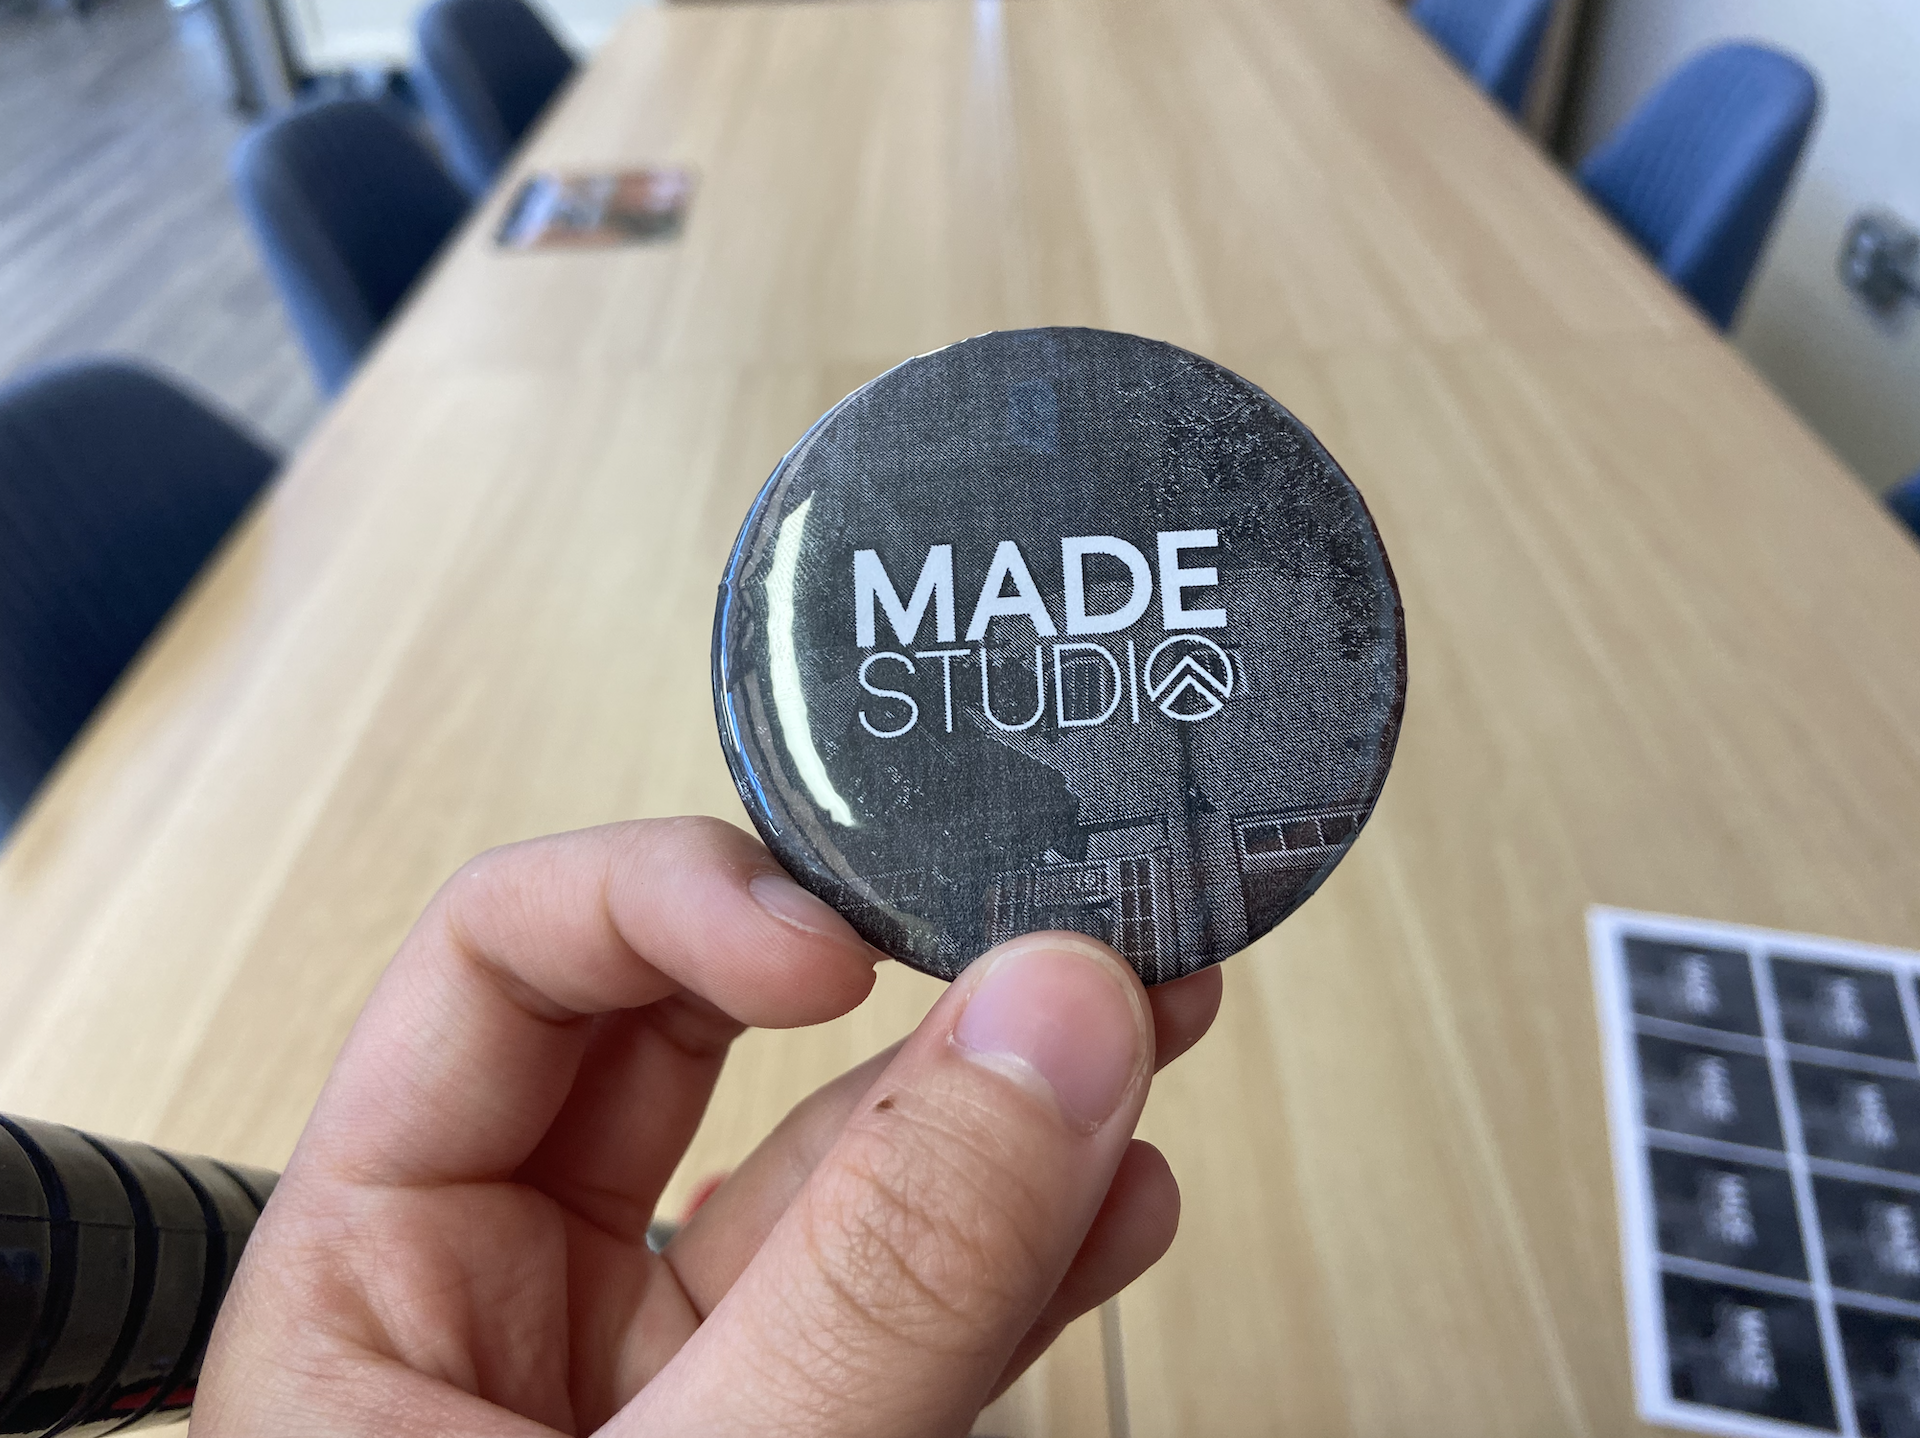
In this tutorial, you will learn how to make a simple button using our button press.
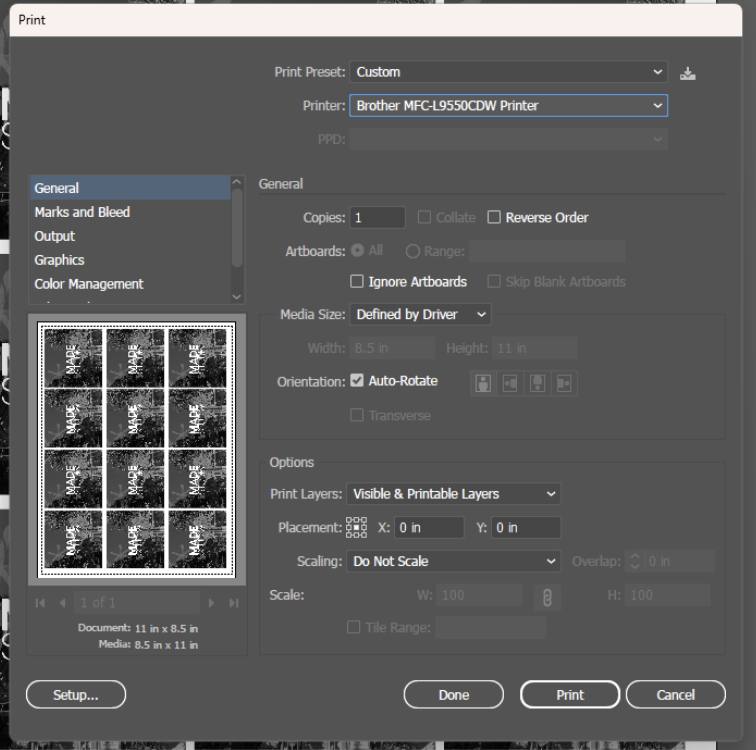
Open Adobe Illustrator and Create New File
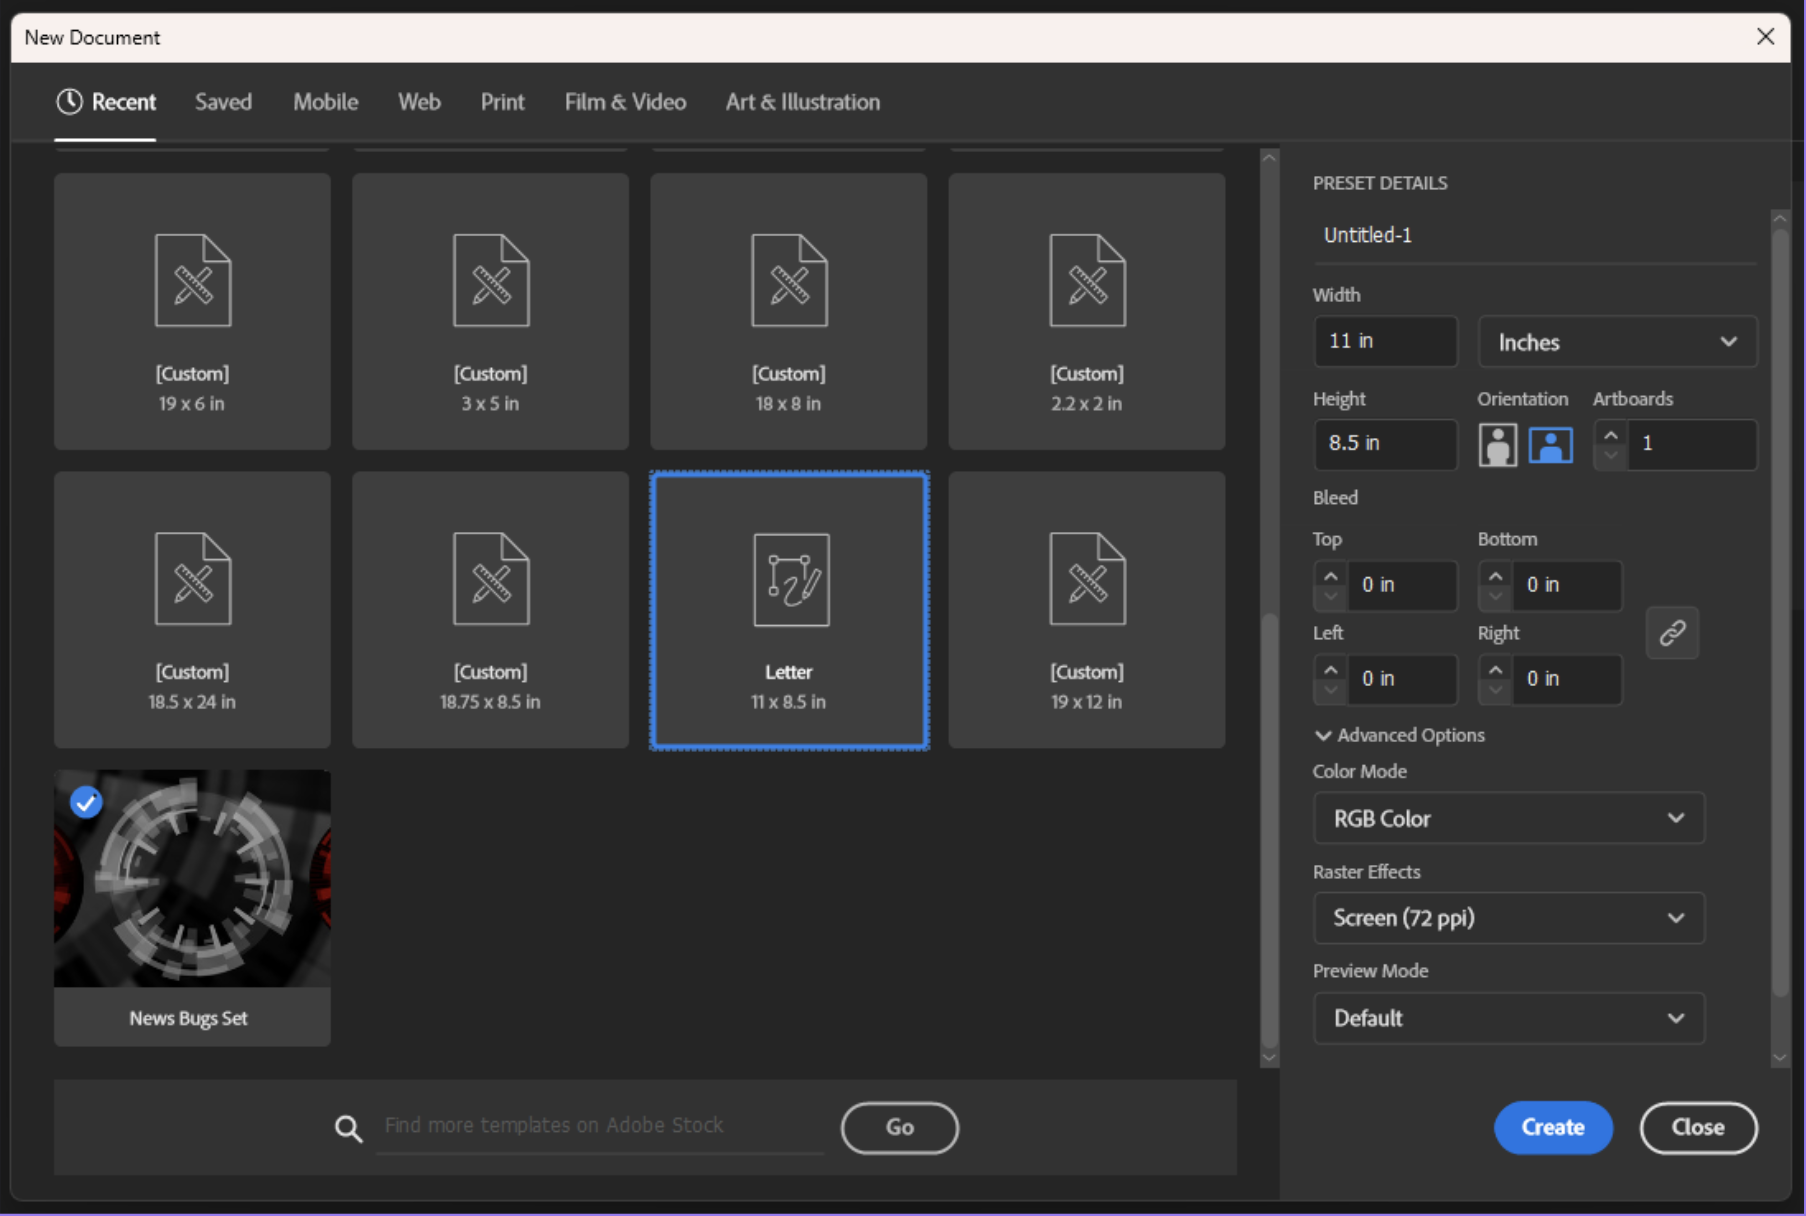
Make a canvas that is 8.5 inches X 11 inches in size.
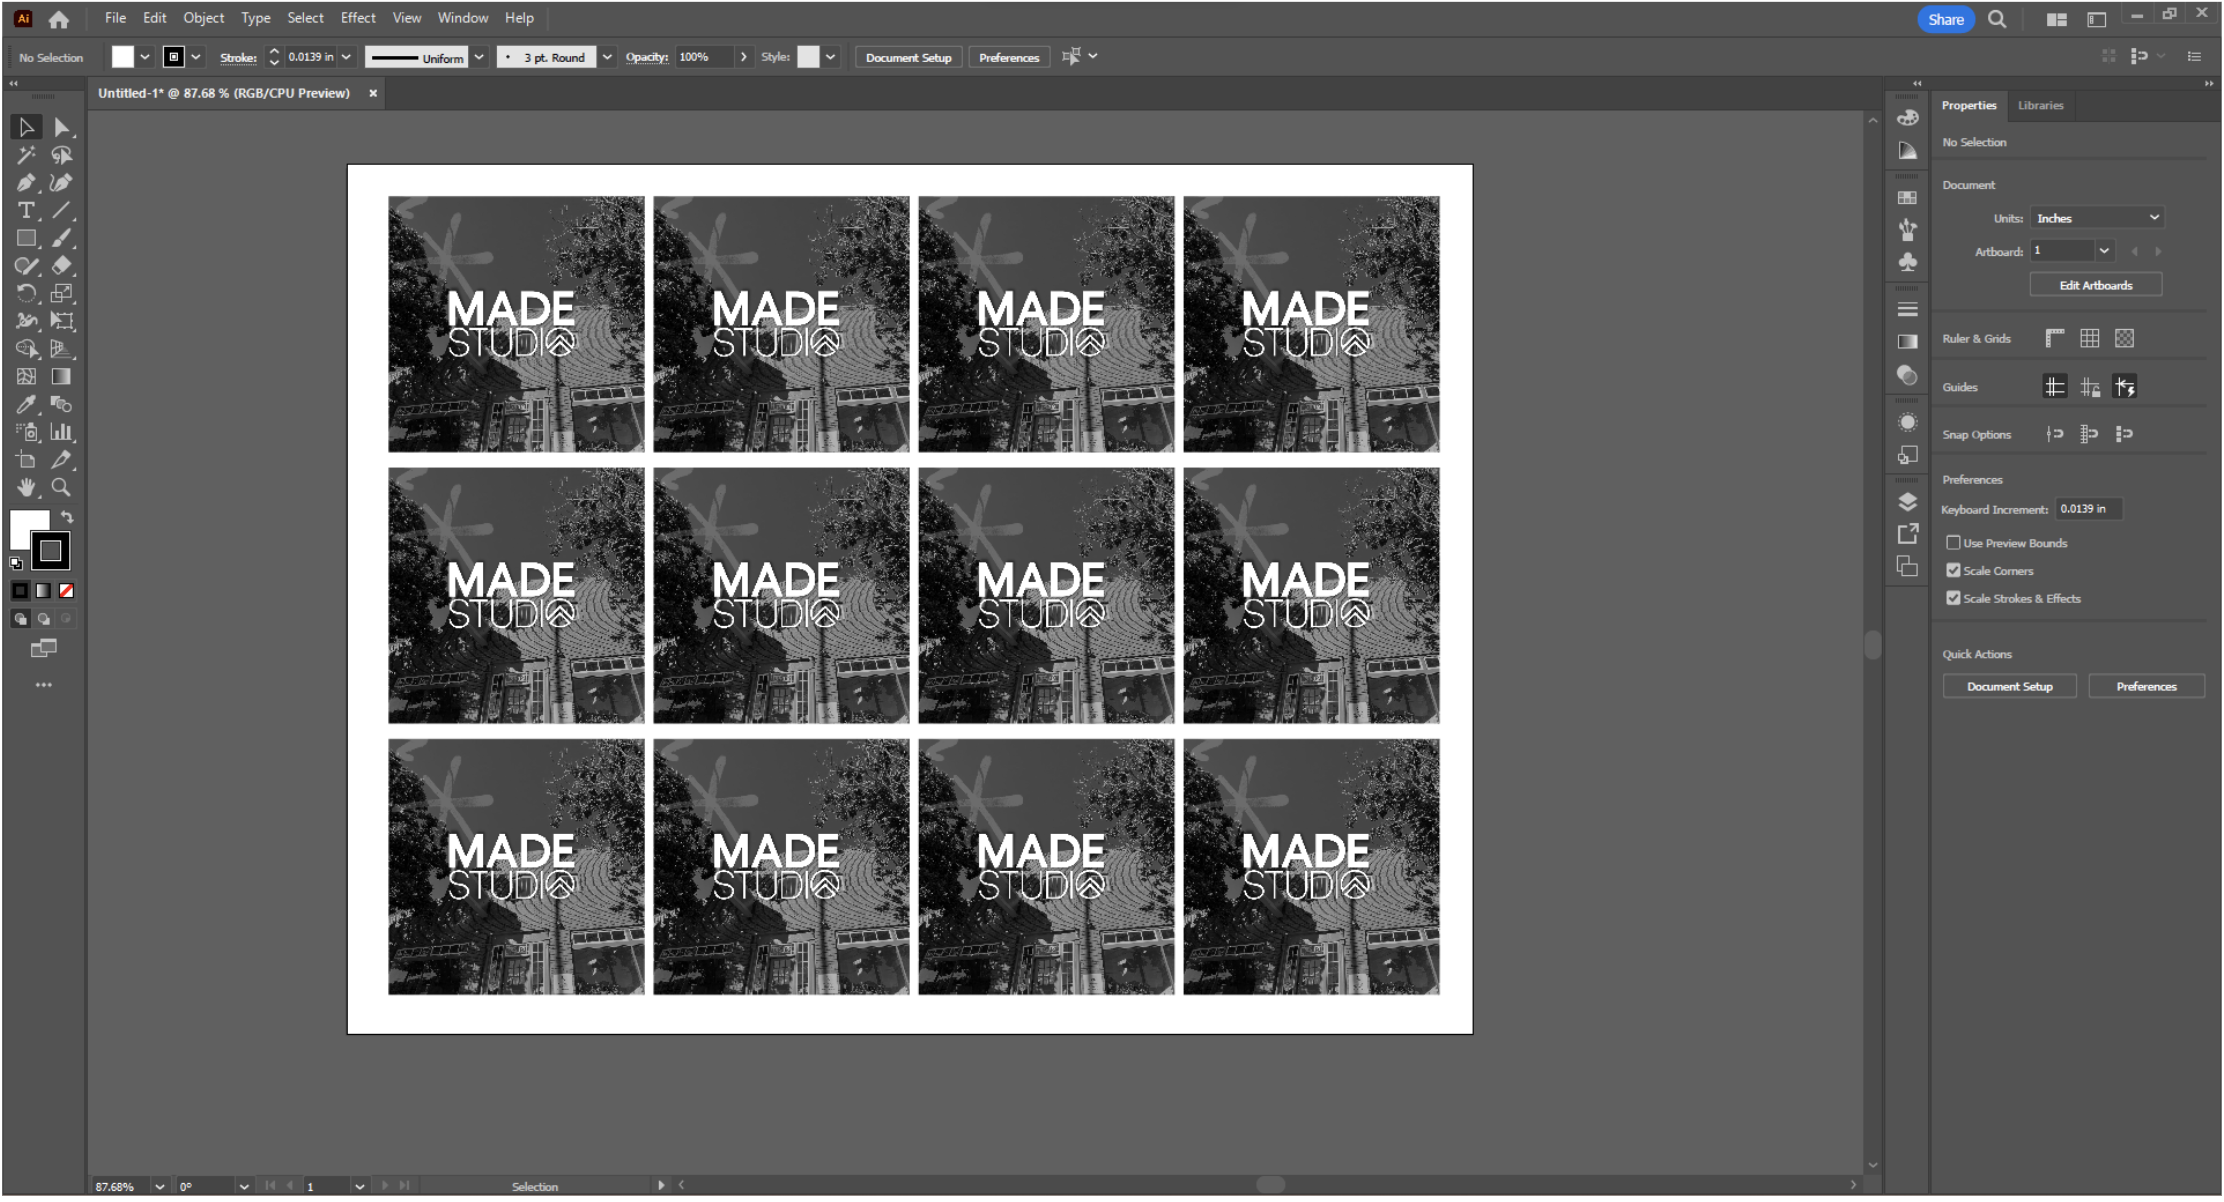
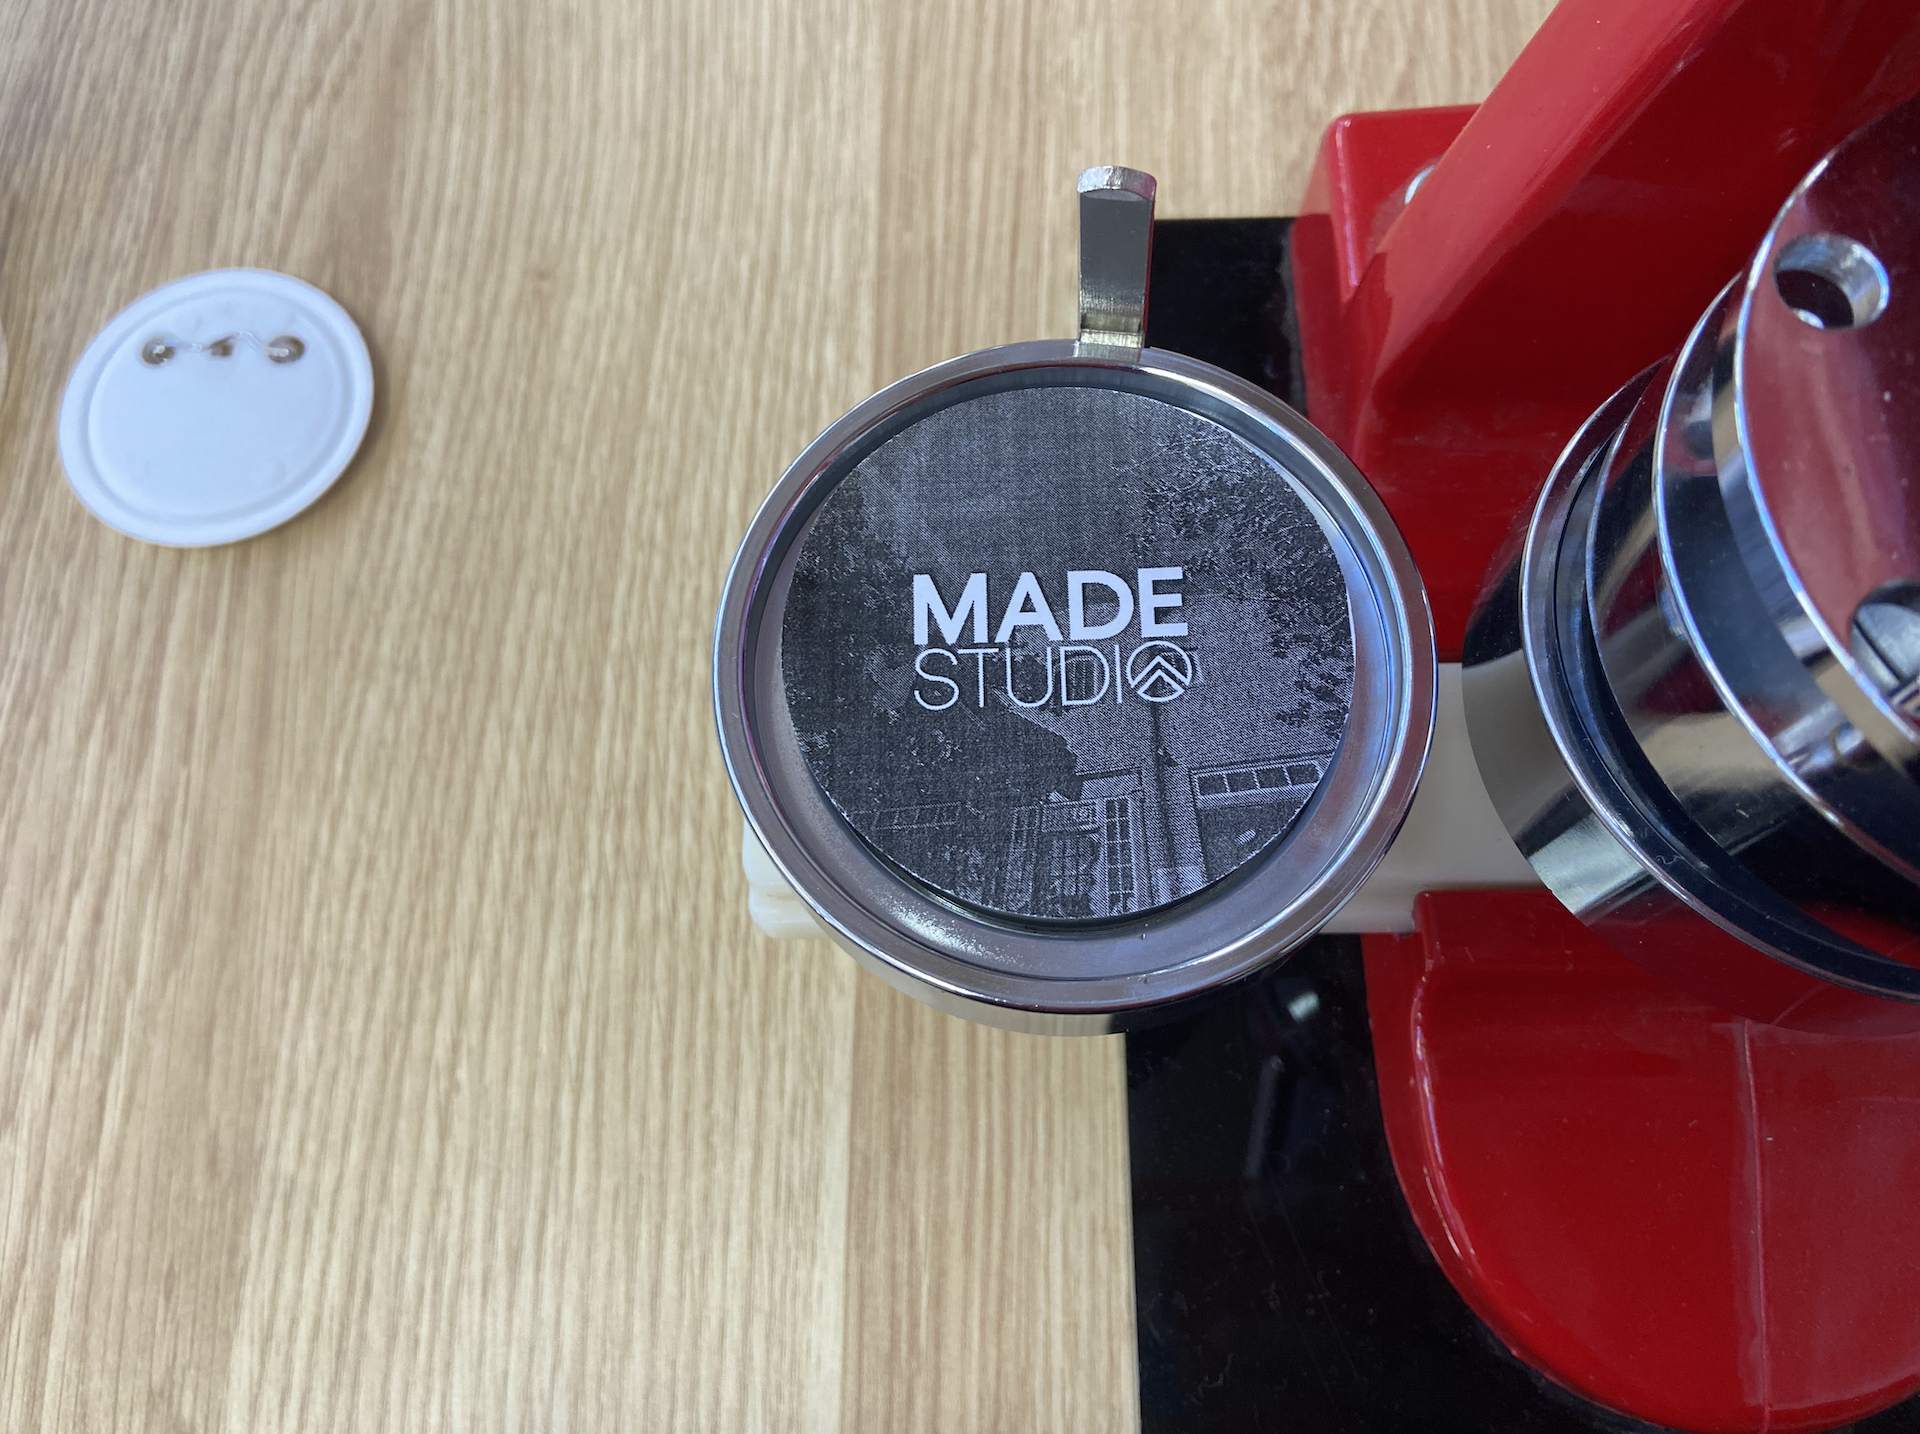
Import Your Button Image to Your Canvas

Select Image and Resize to 2.5 Inch by 2.5 Inch

Duplicate Image So That There Are 12 in One Document
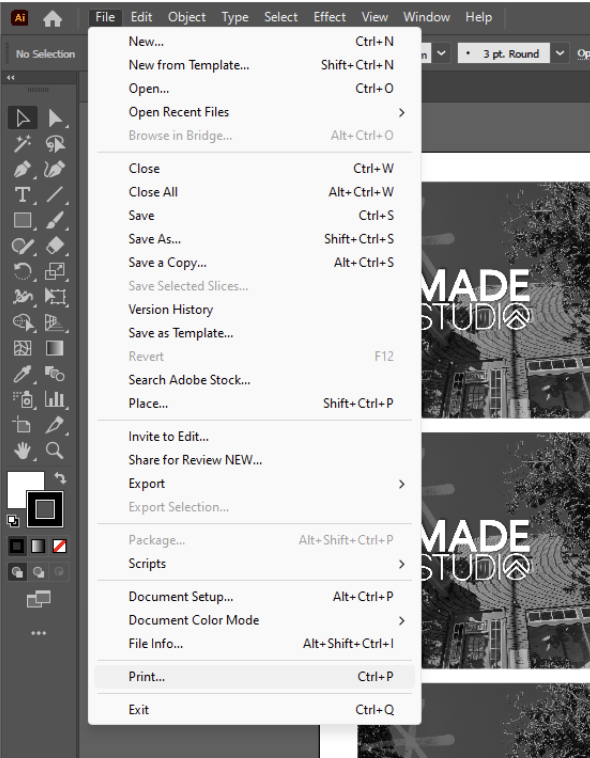
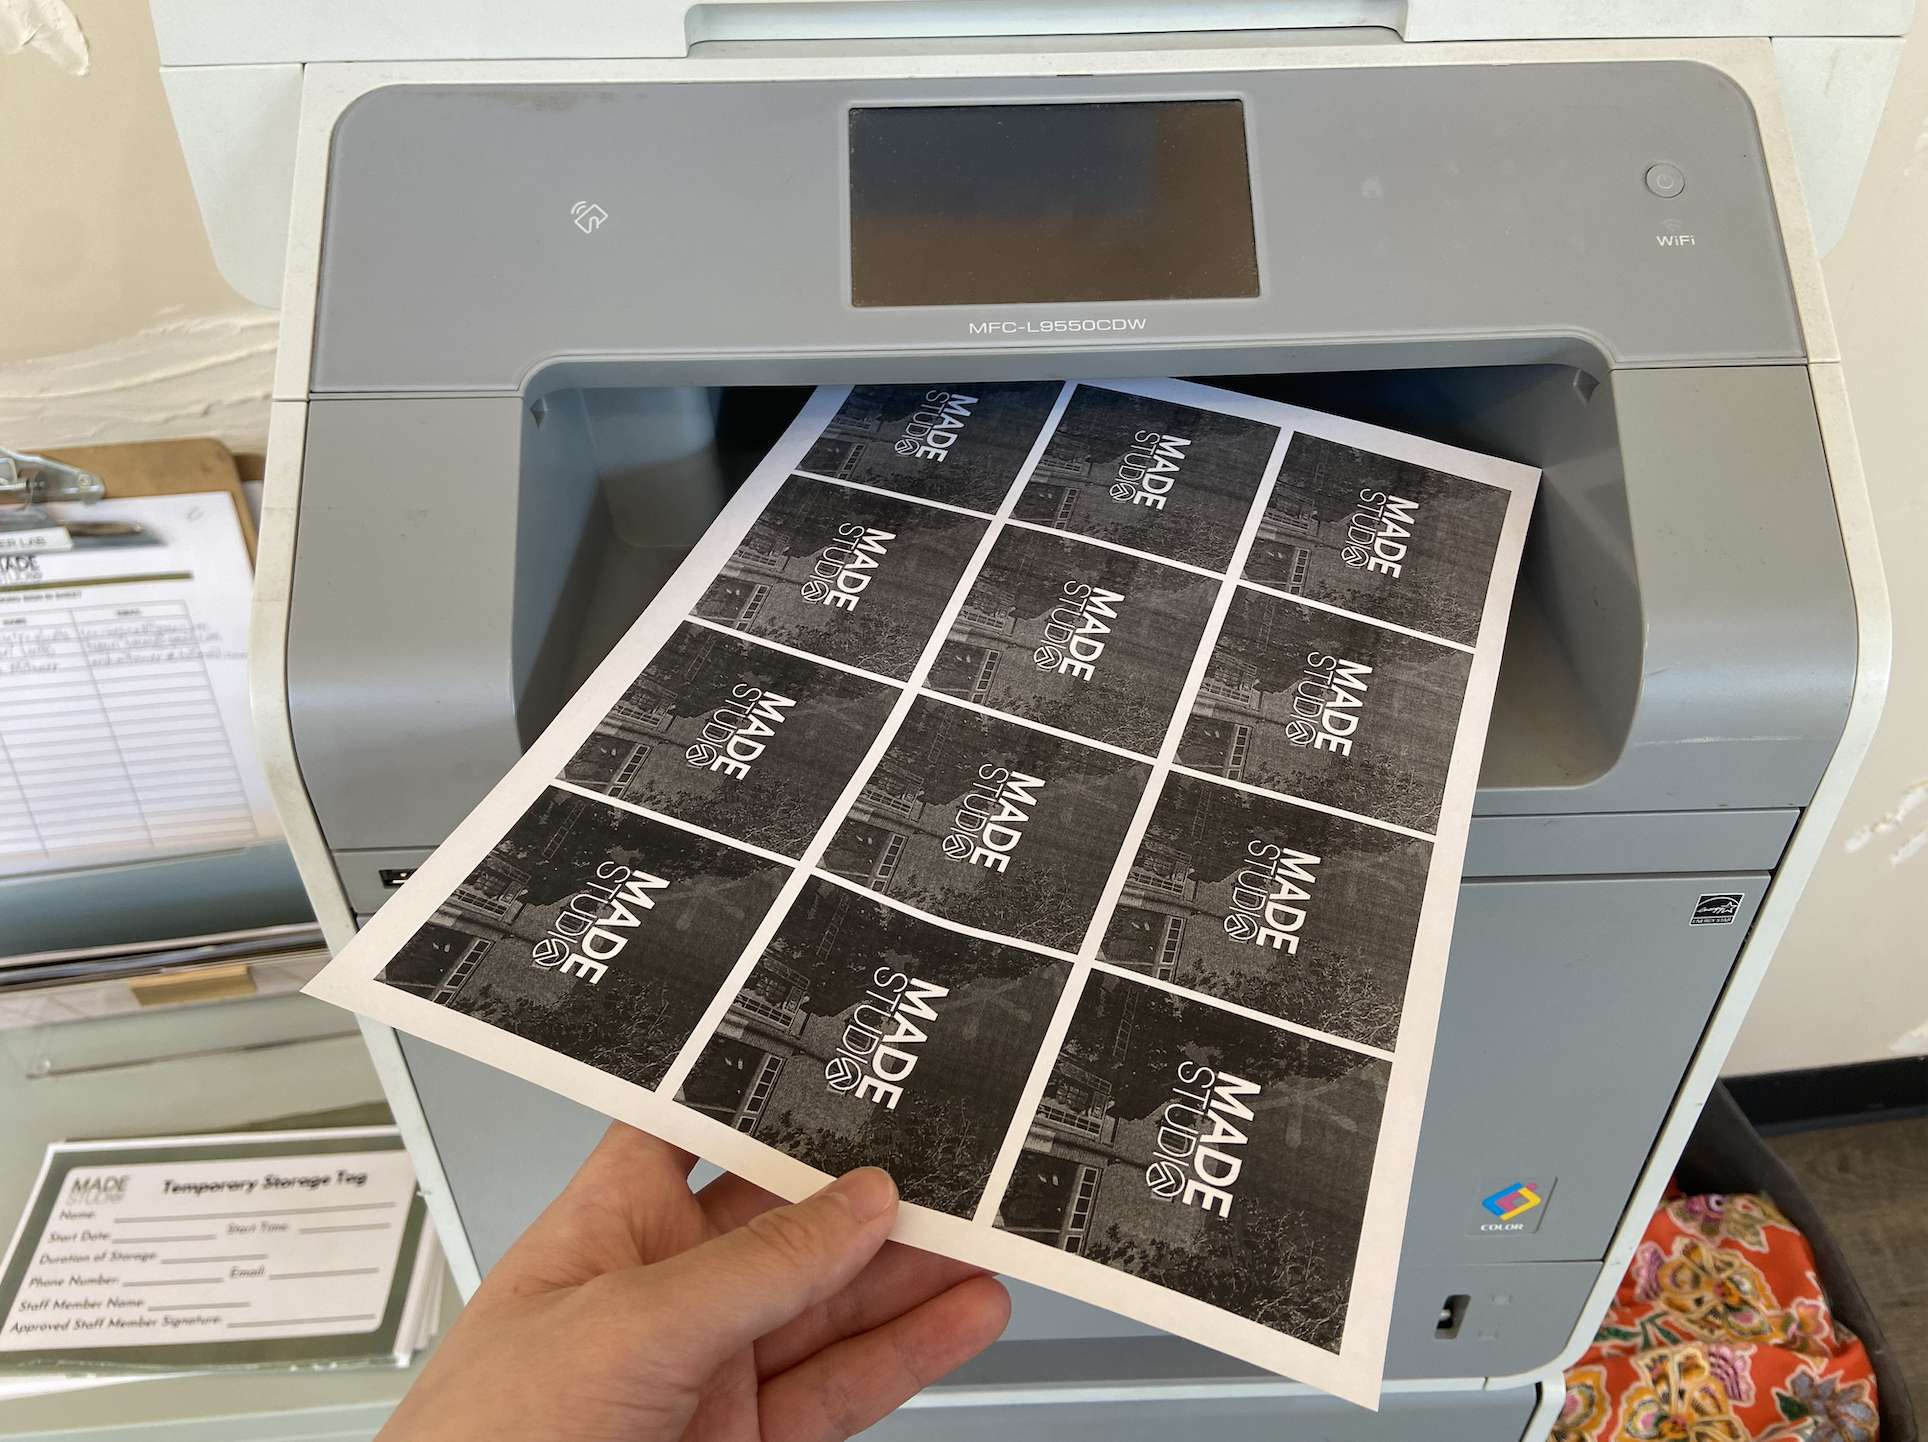
Send to Brother Copy Machine
Take Printed Paper From Printer
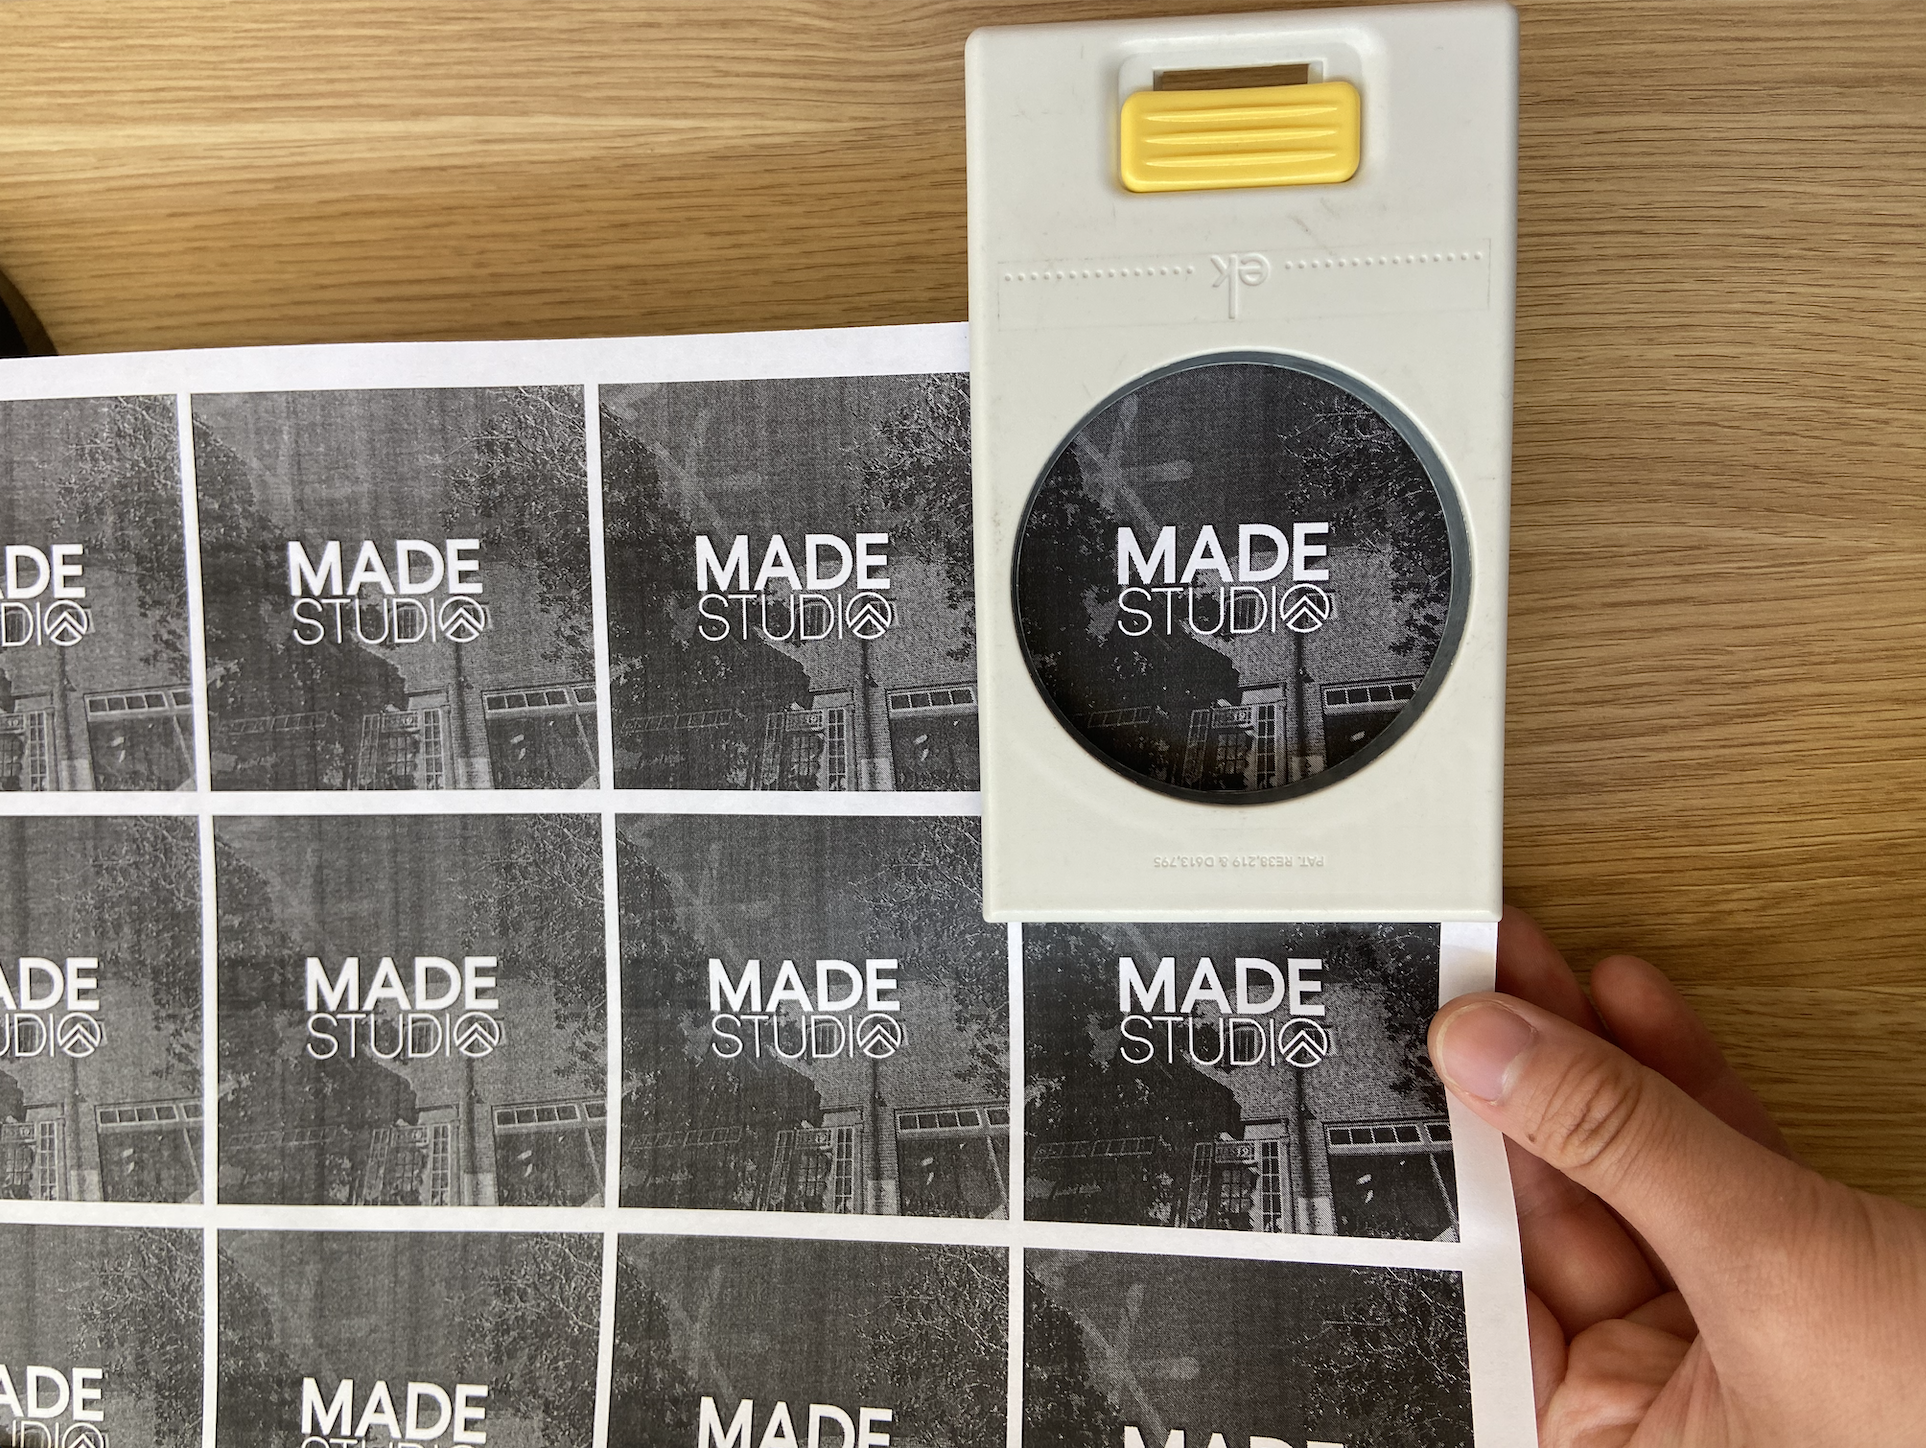
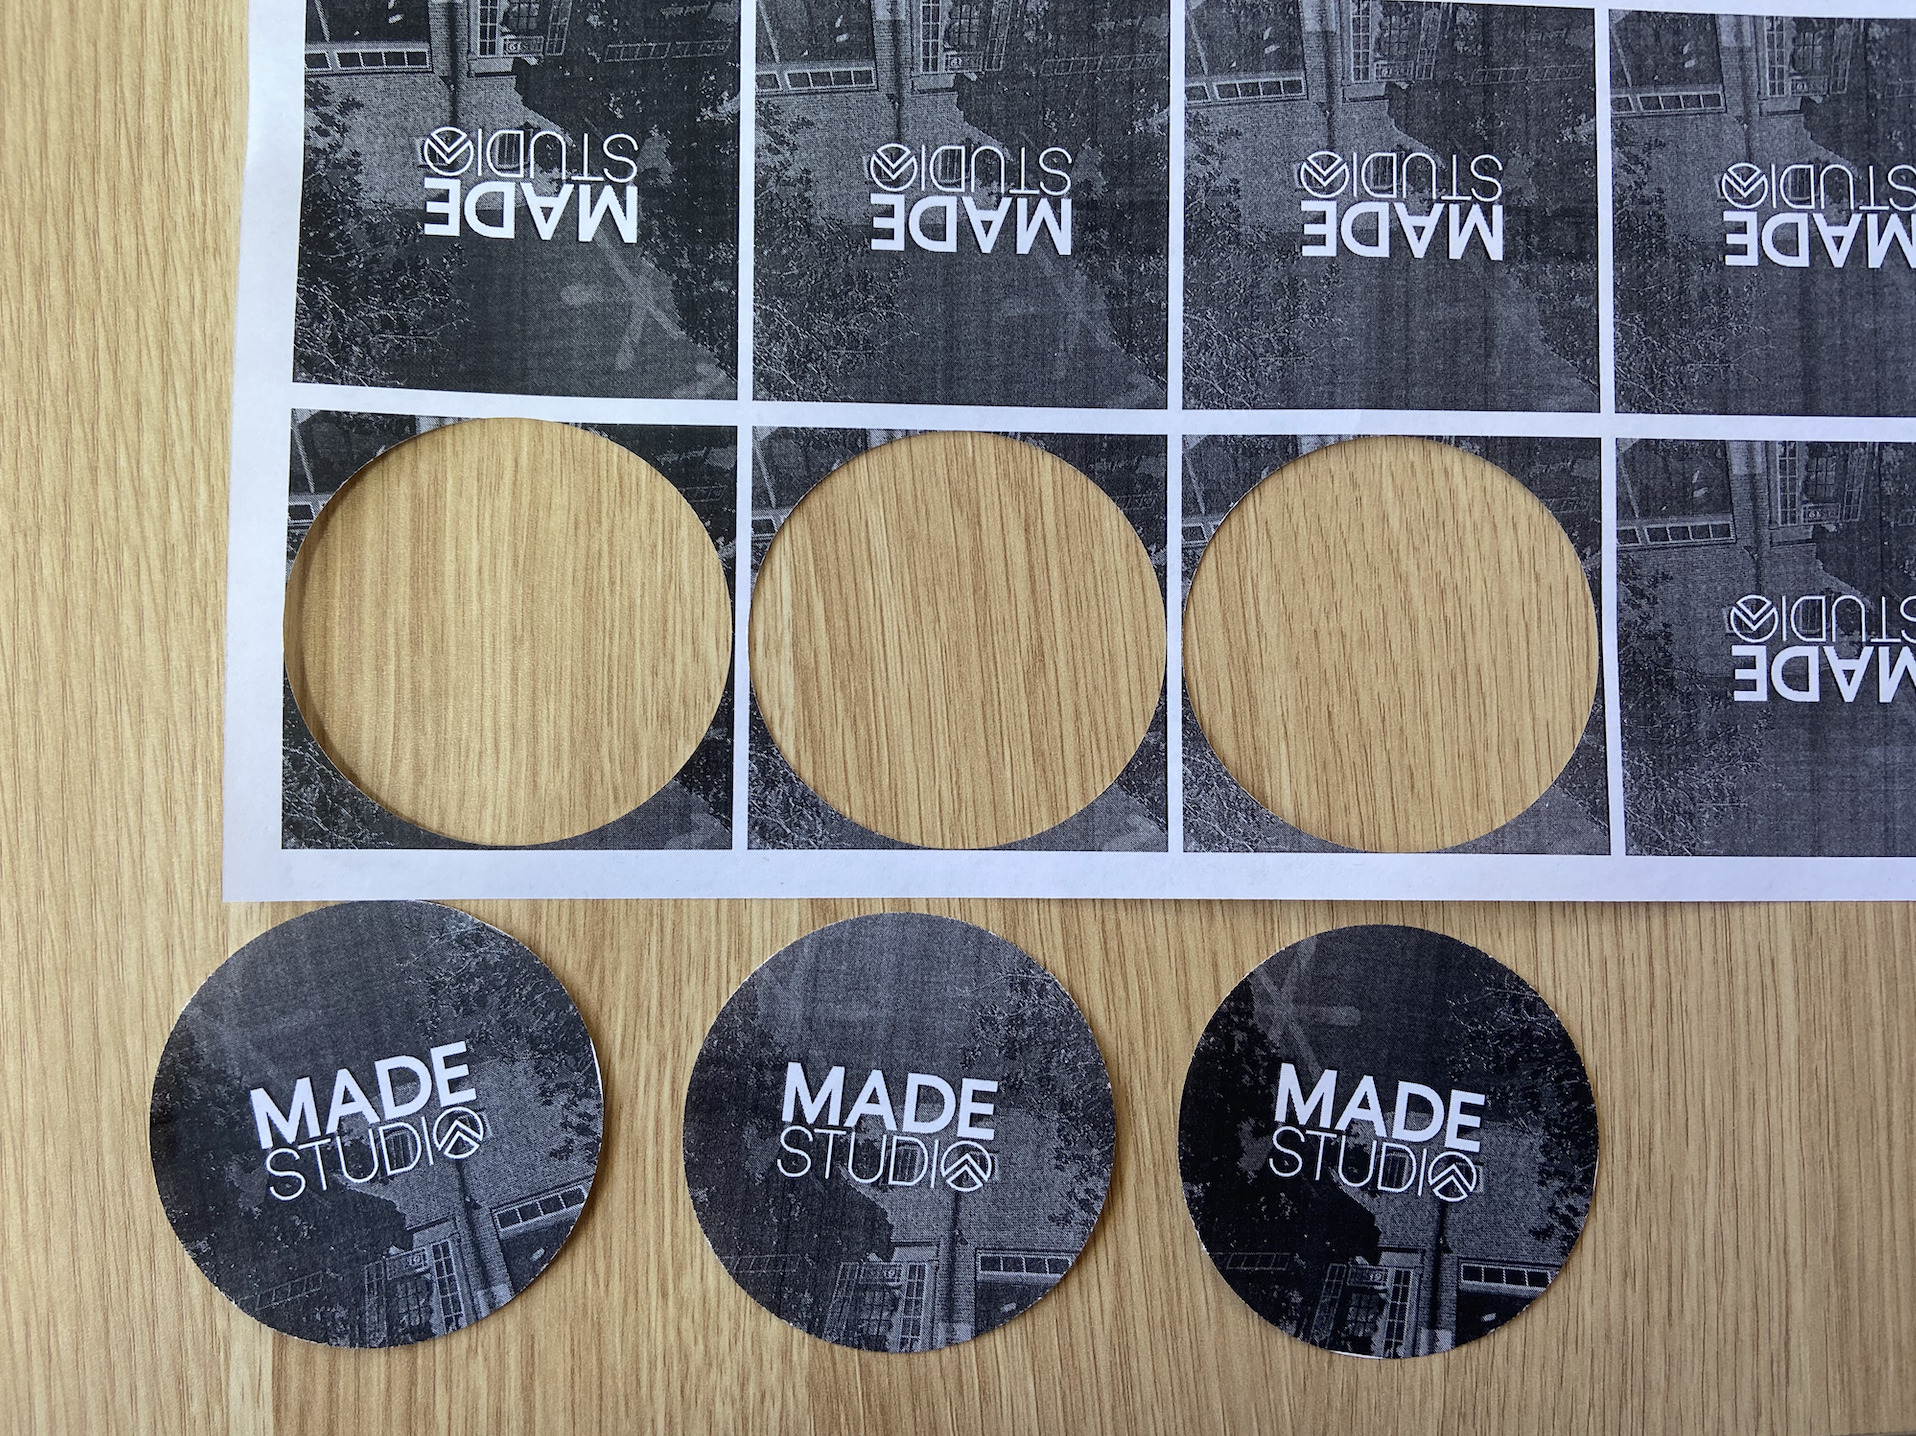
Use Circle Die to Cut Out the Paper Paper
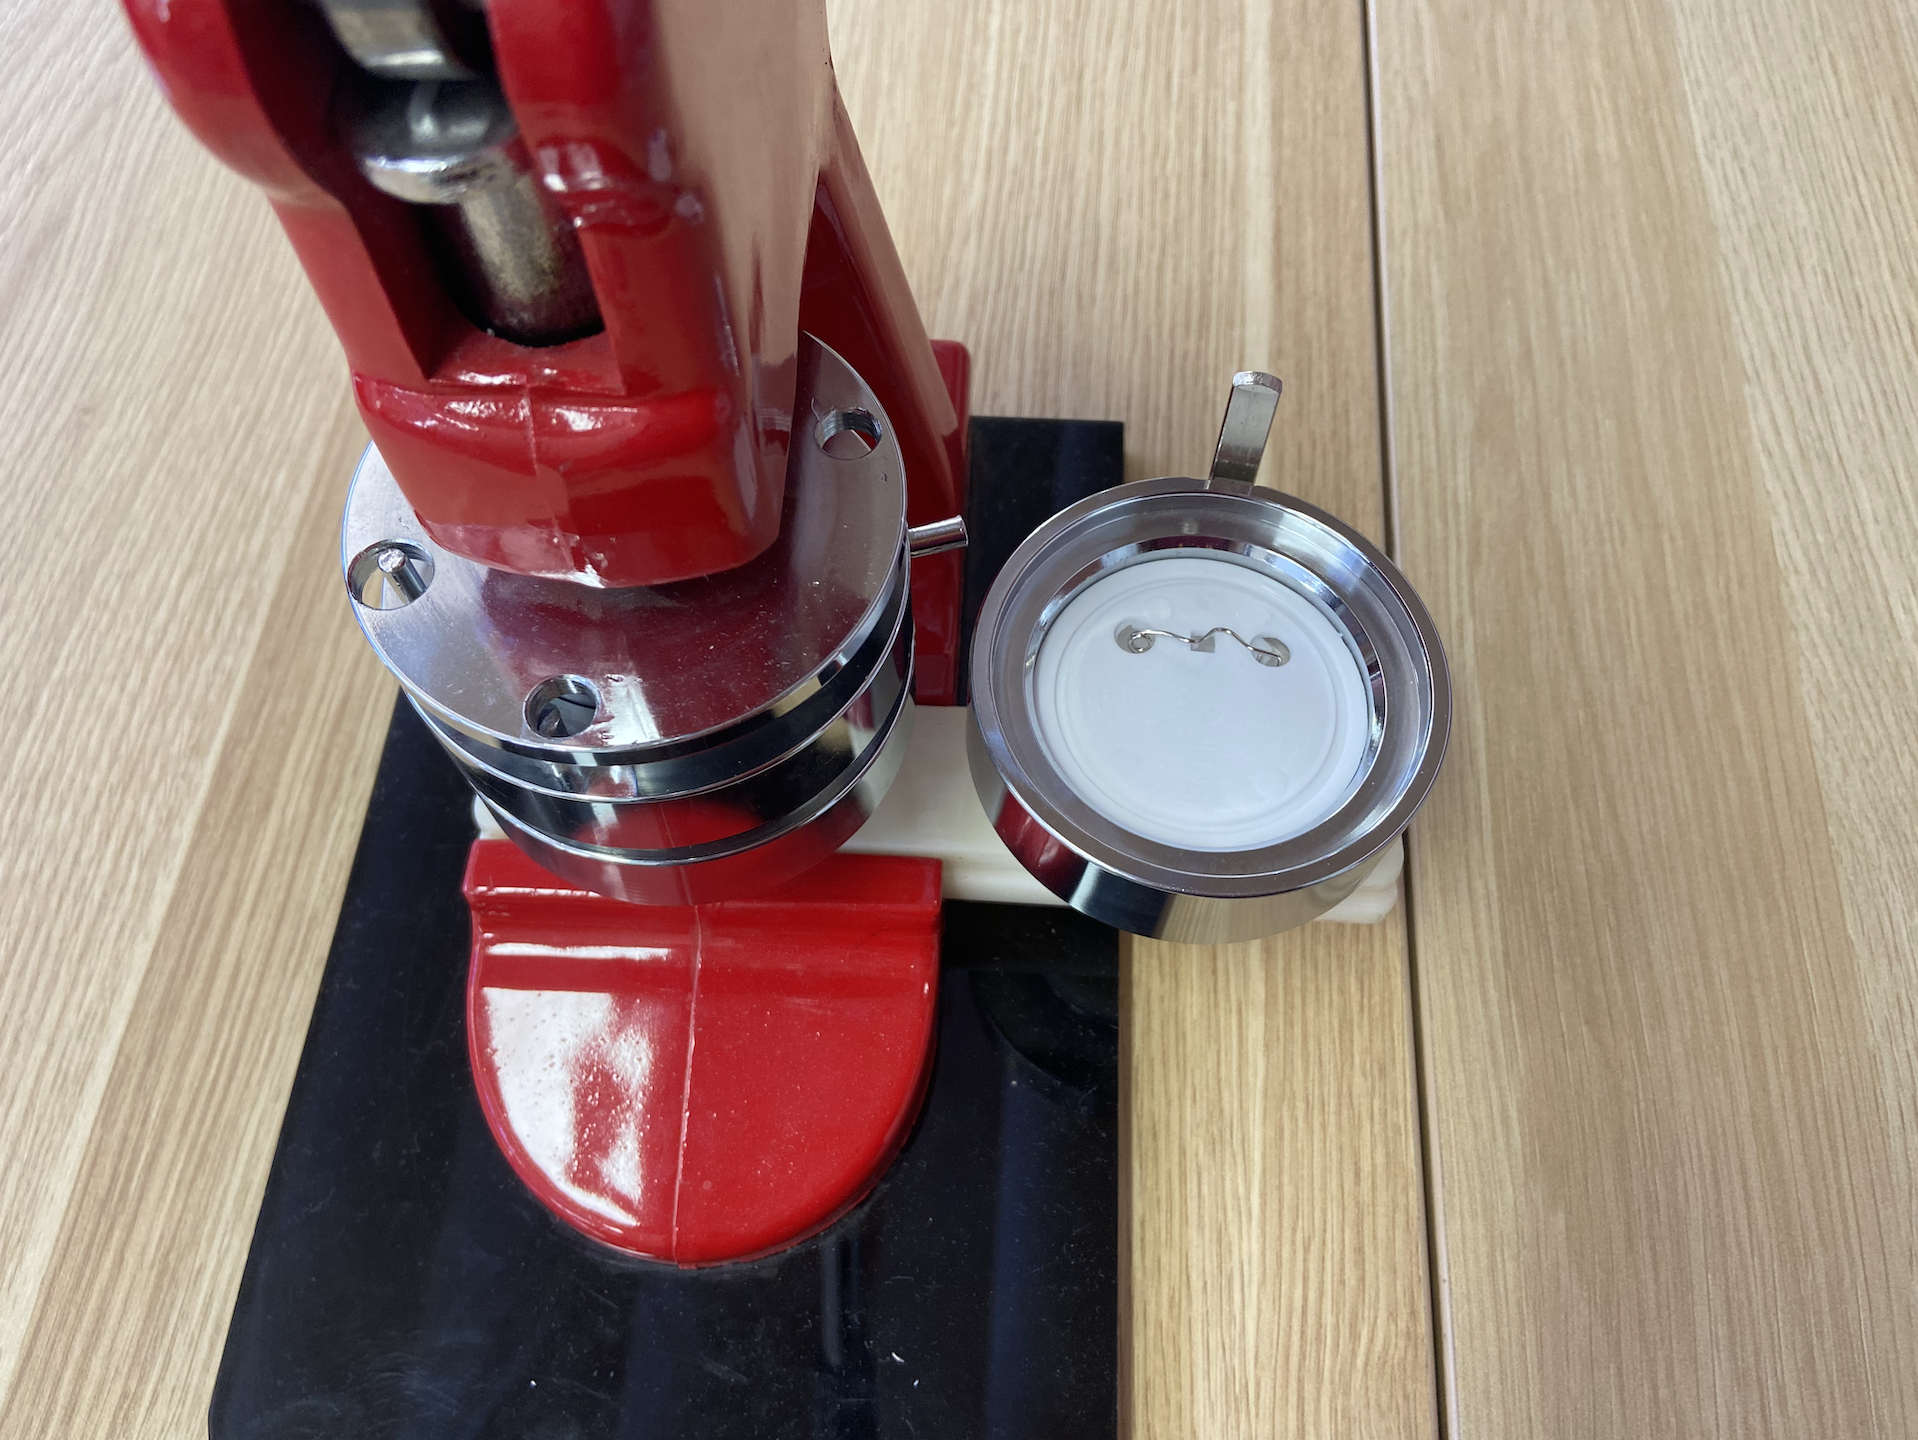
Place Metal Backing Into the Button Press
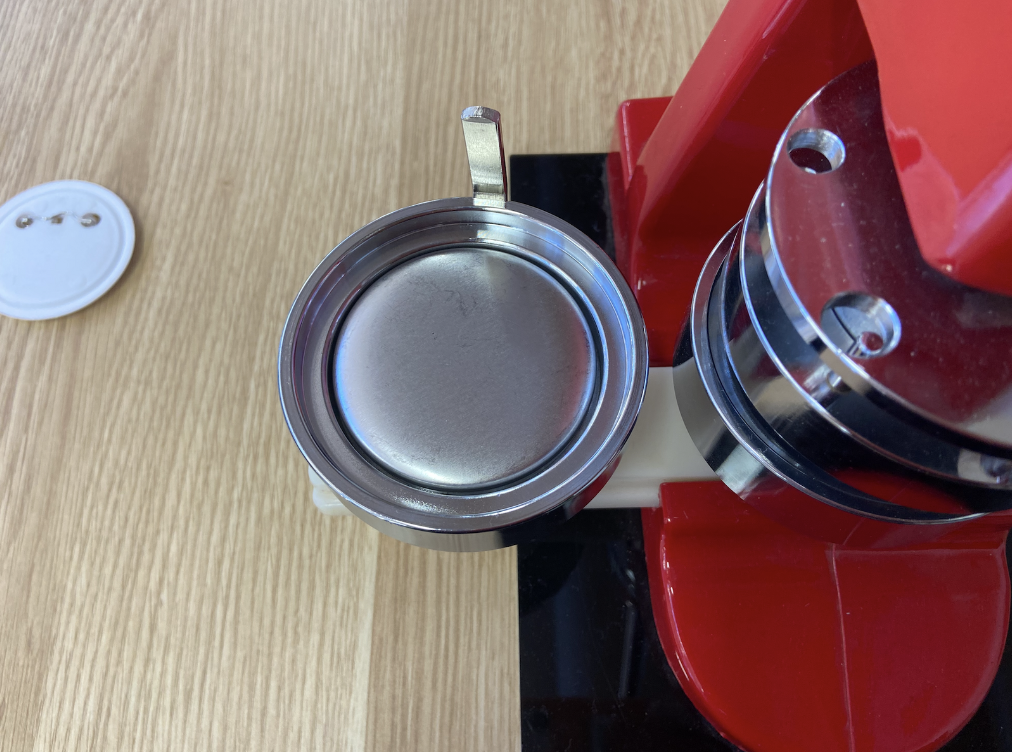
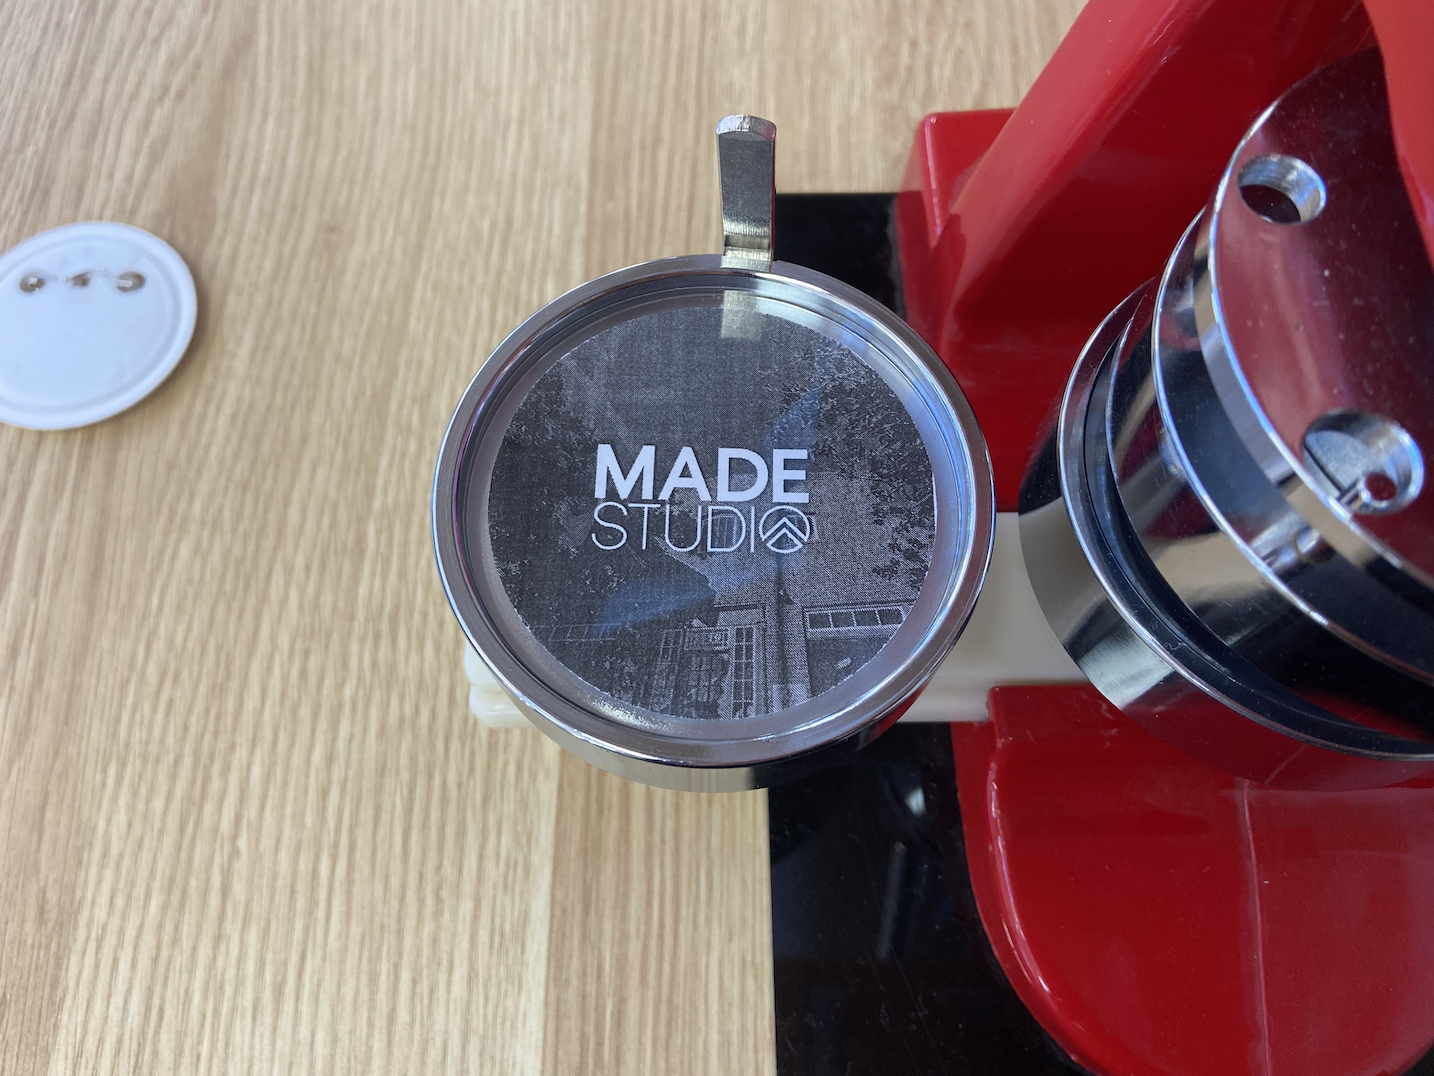
Place the Paper Cut Out on the Top
Place Plastic Cover on the Top
Push Material Underneath Button Press
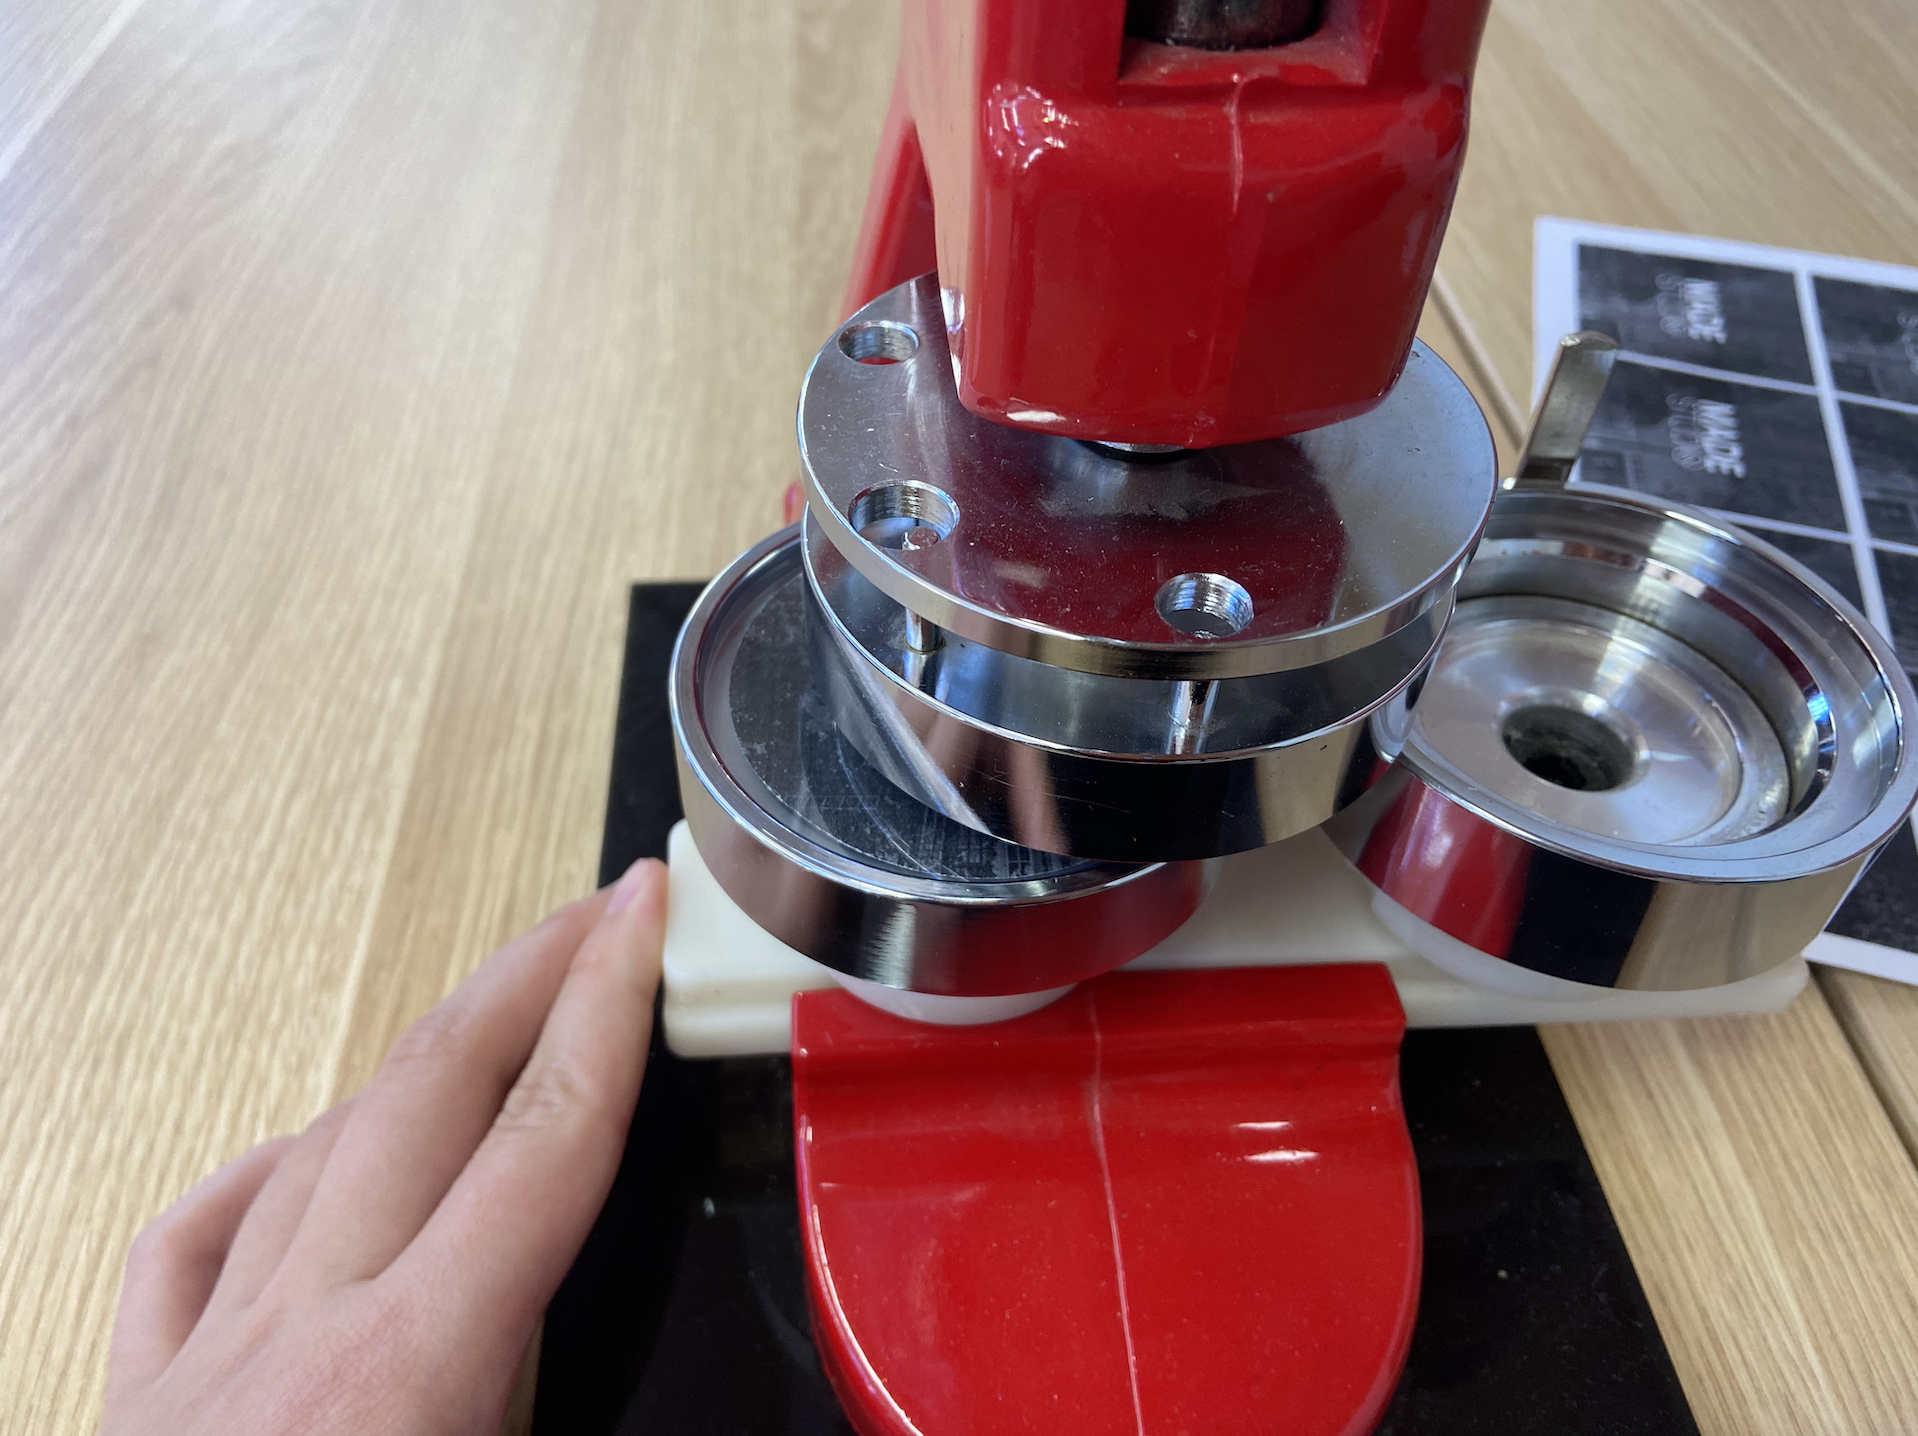
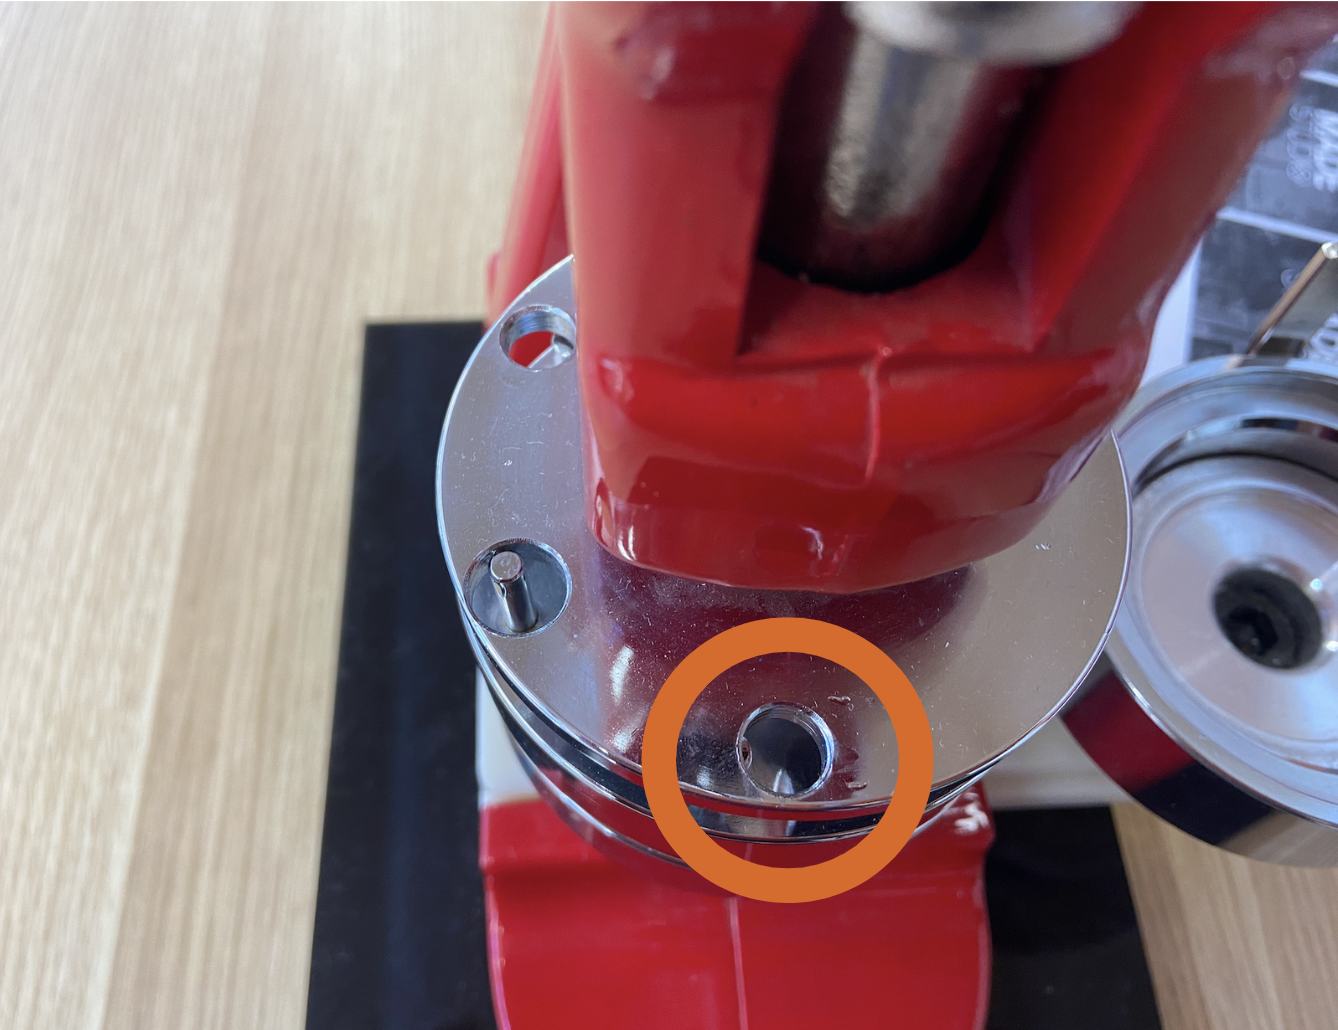
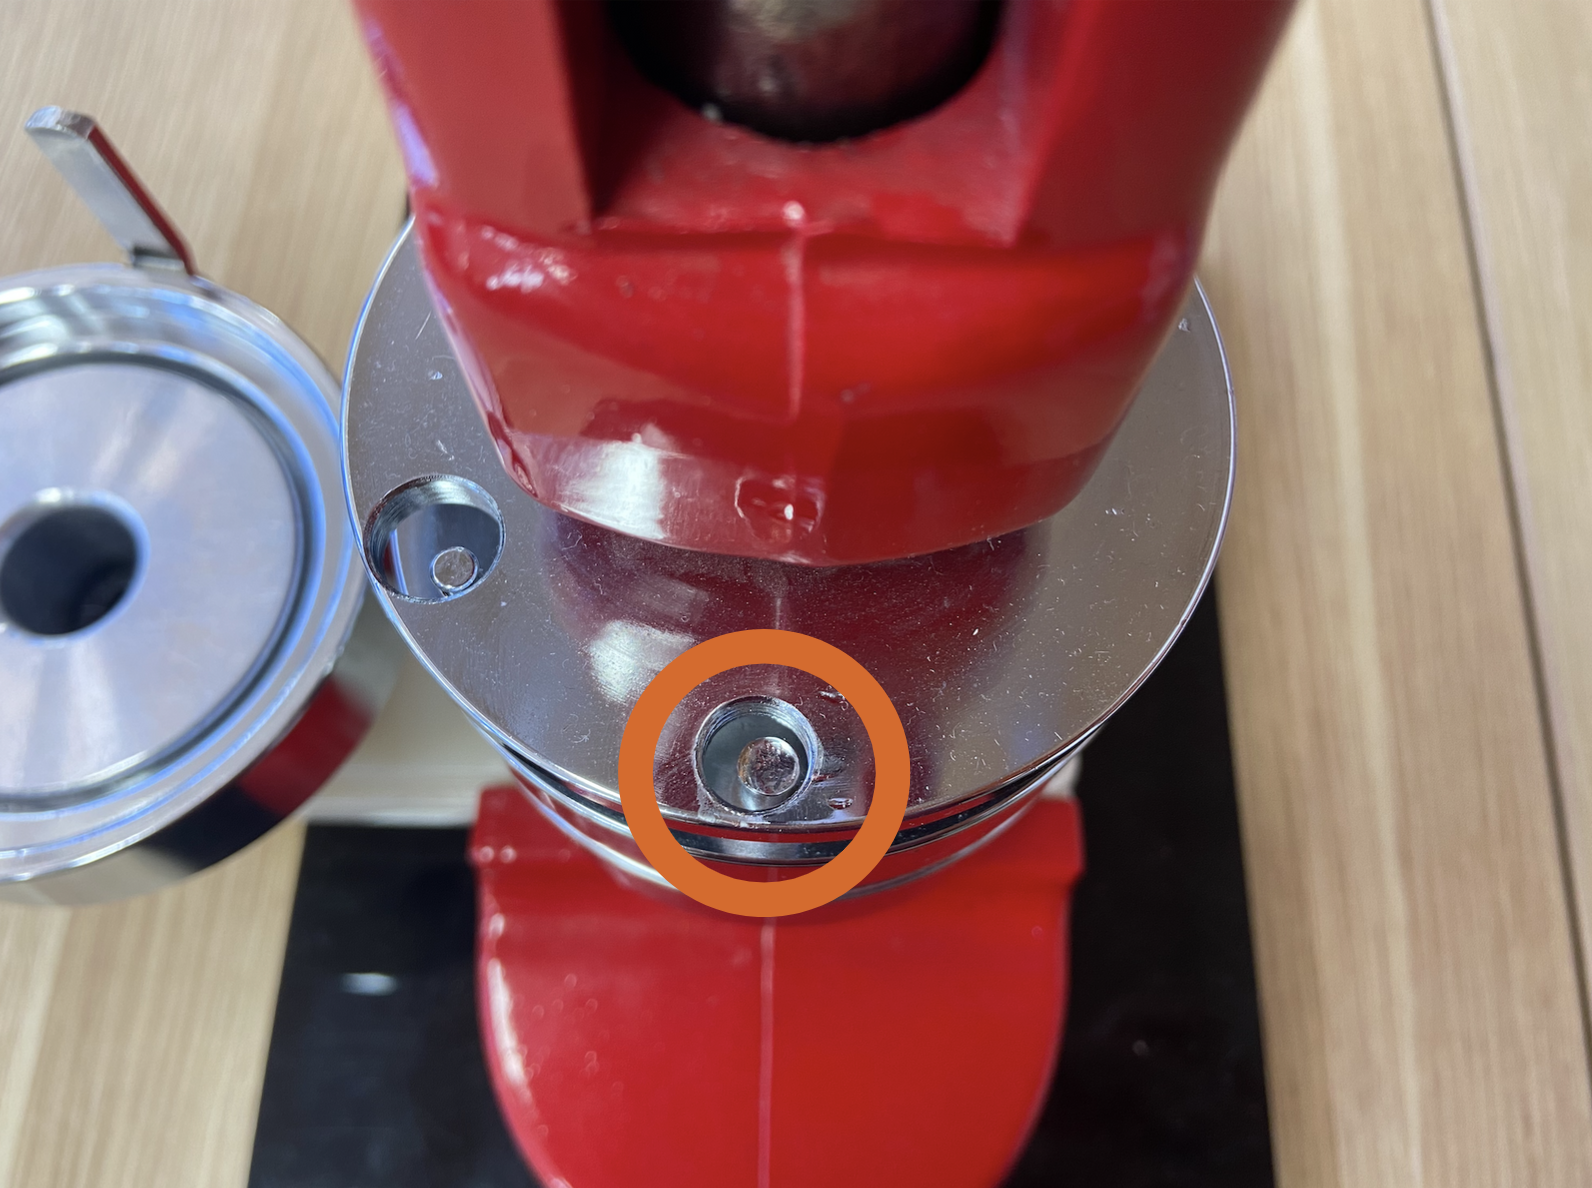
Align Pin So That It Is Not Showing
Press Lever Down All the Way

Place Plastic Backing on Right Side
Align Pin So That It Is Showing
Push Lever Down All the Way

Pay for Materials and Finish!
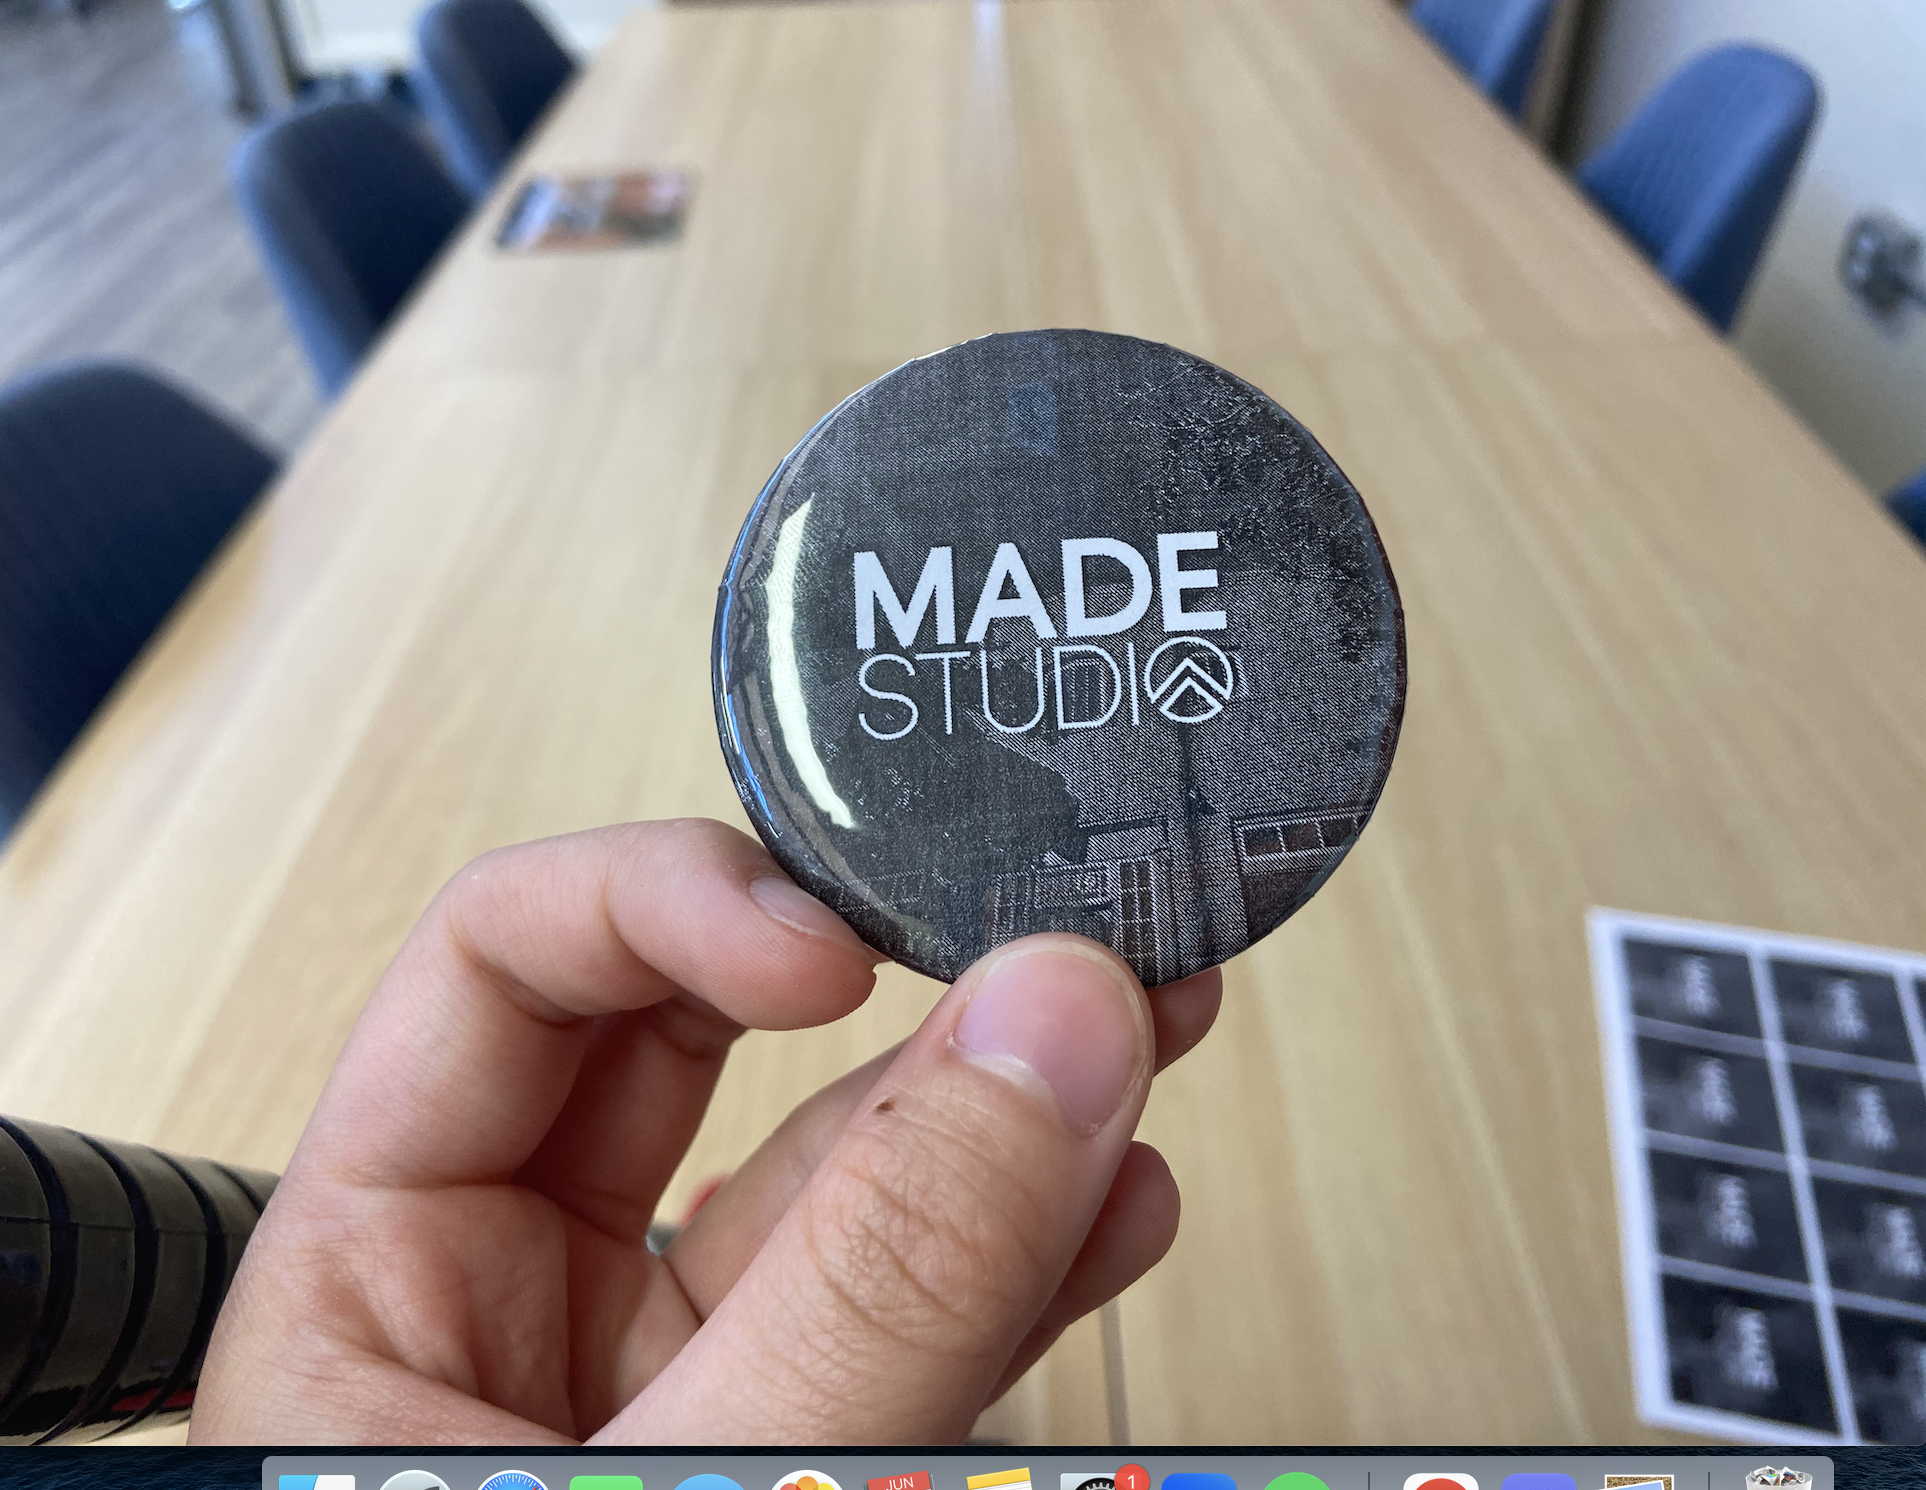
Each button is 0.35 cents.