Basic Shading With a Pencil.
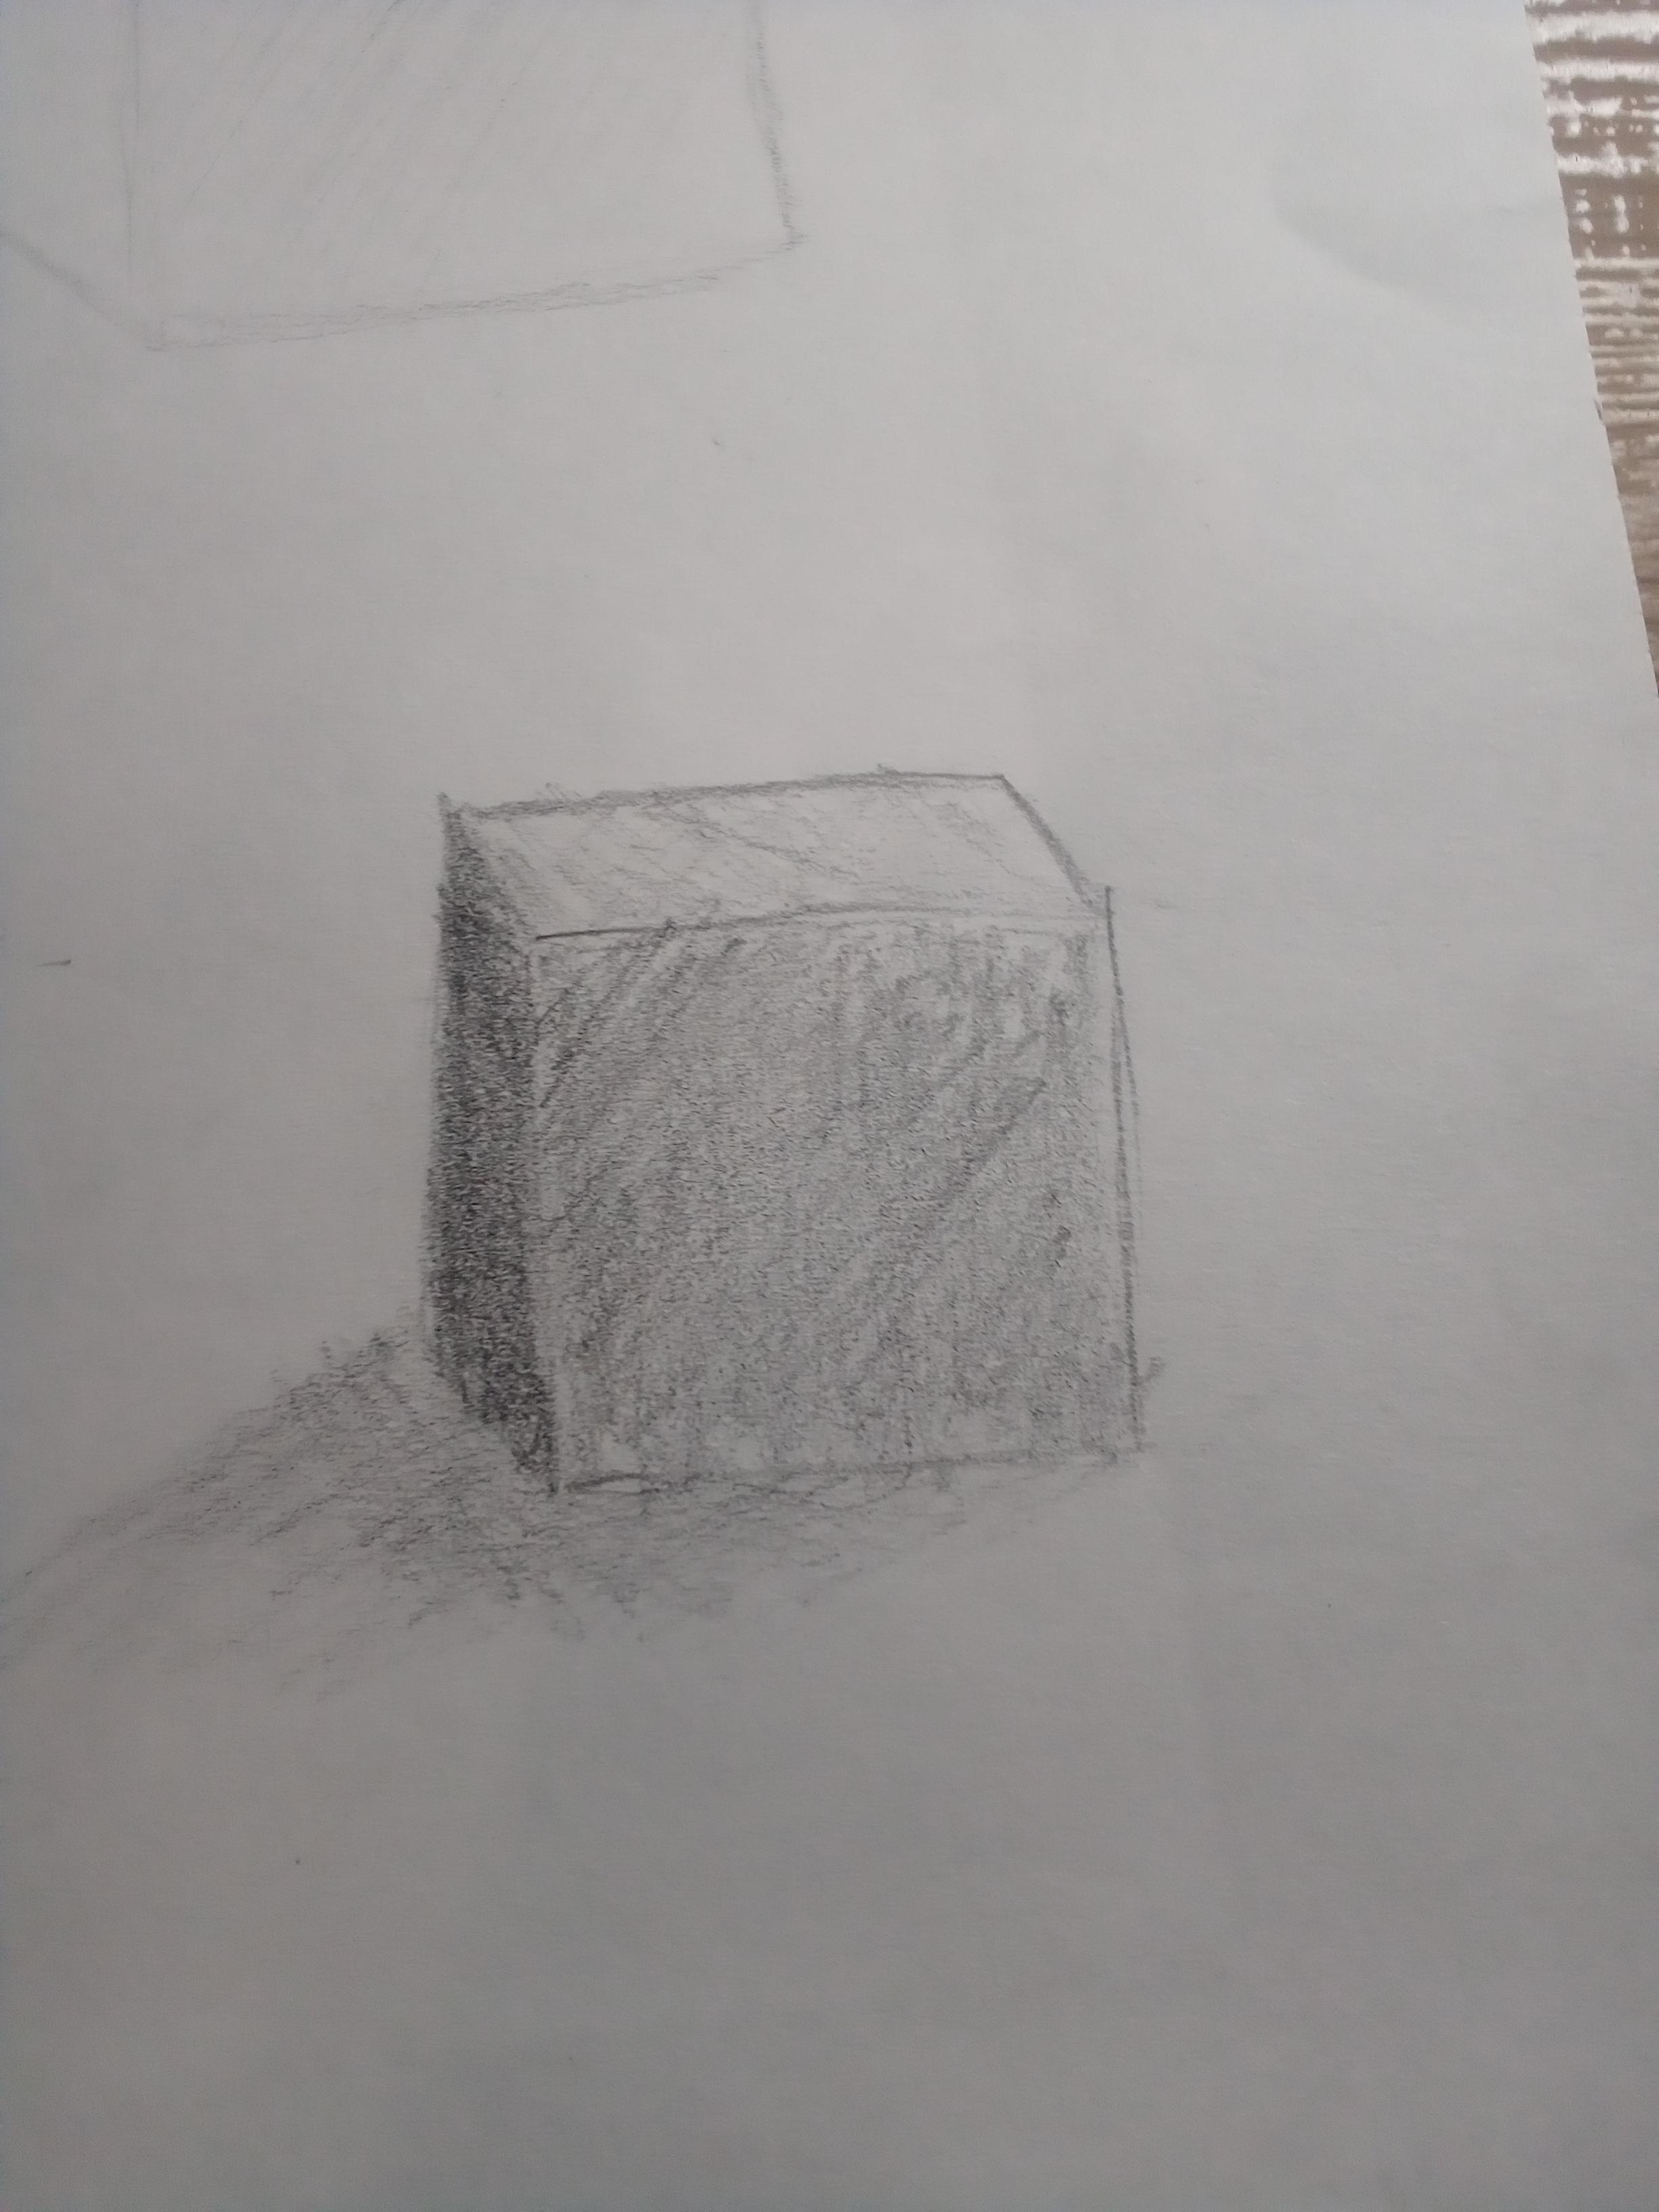
Hey everyone! Today we will be going through a tutorial of the process of shading. This instructable will be for beginners, or for anyone in general. Enjoy!
Materials
This step is easy, all you need is a piece of paper, a shape or thing you want to shade, and any type of pencil as long as it isn't a colored pencil.
Drawing Your Shape
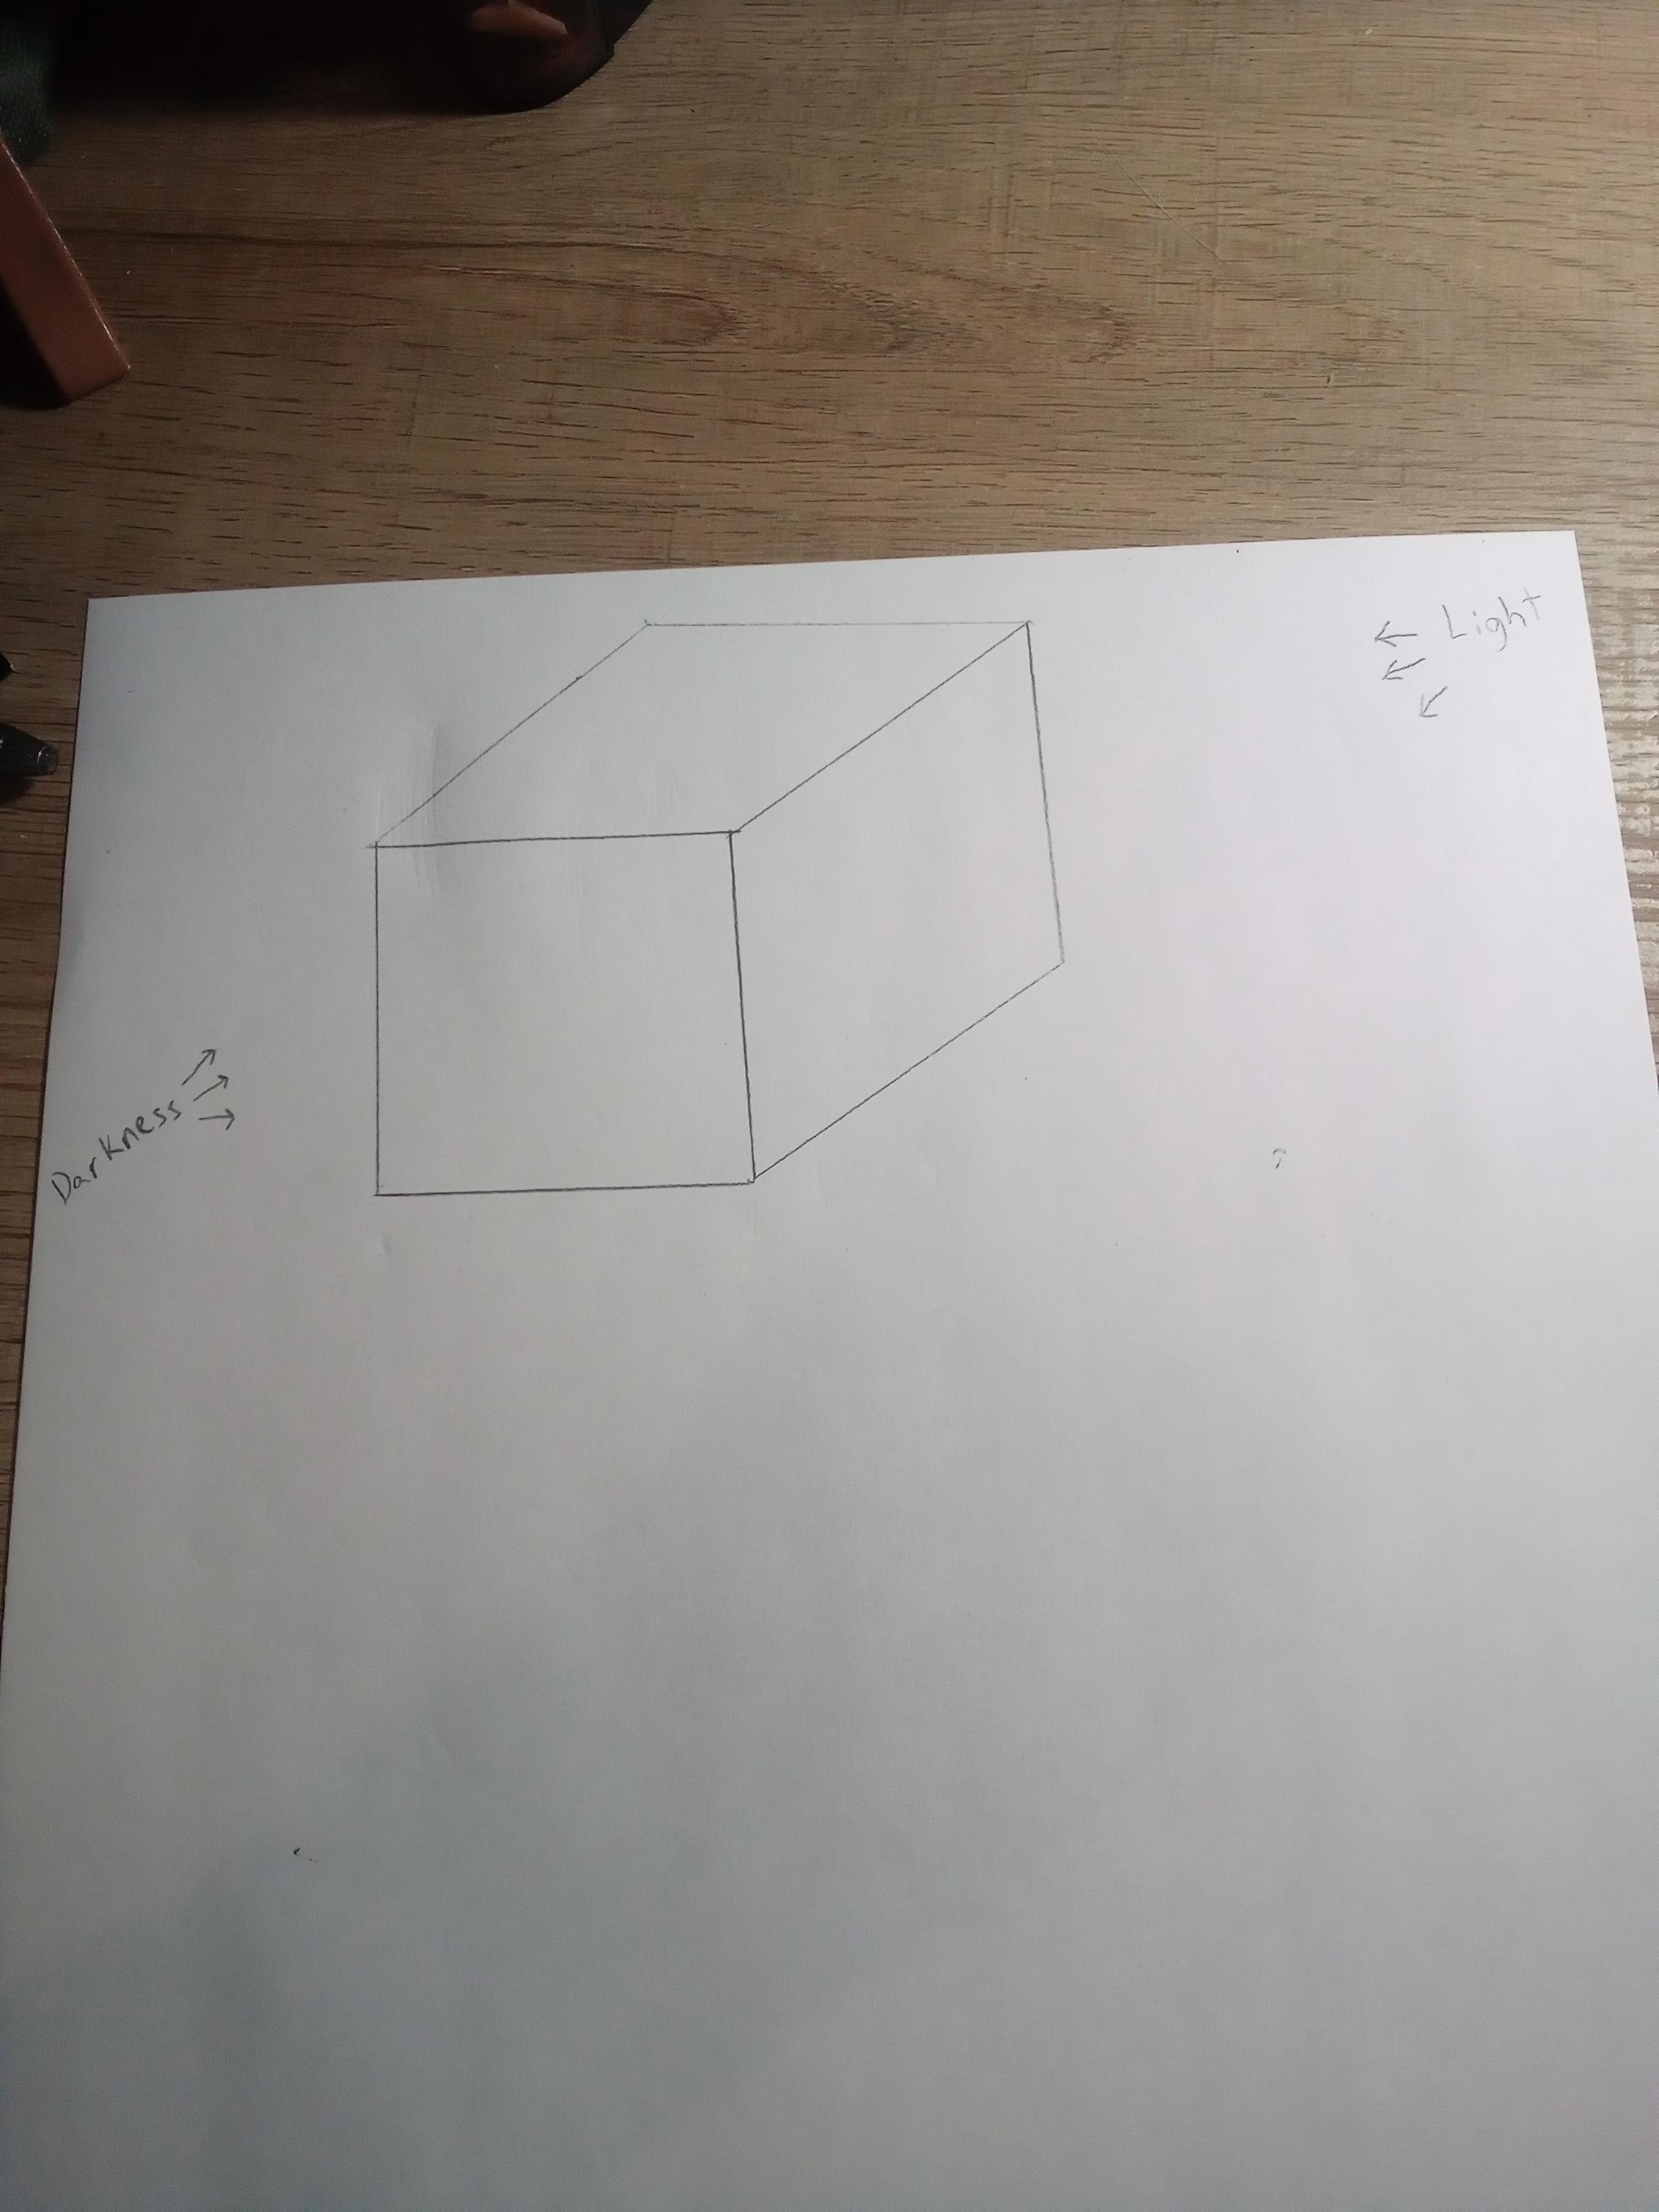
You can draw any shape you would like, but for now I am starting withe basic cube. Also take note on where your darkness and light are going to be. They are always opposite of each other.
Shading Pt. 1
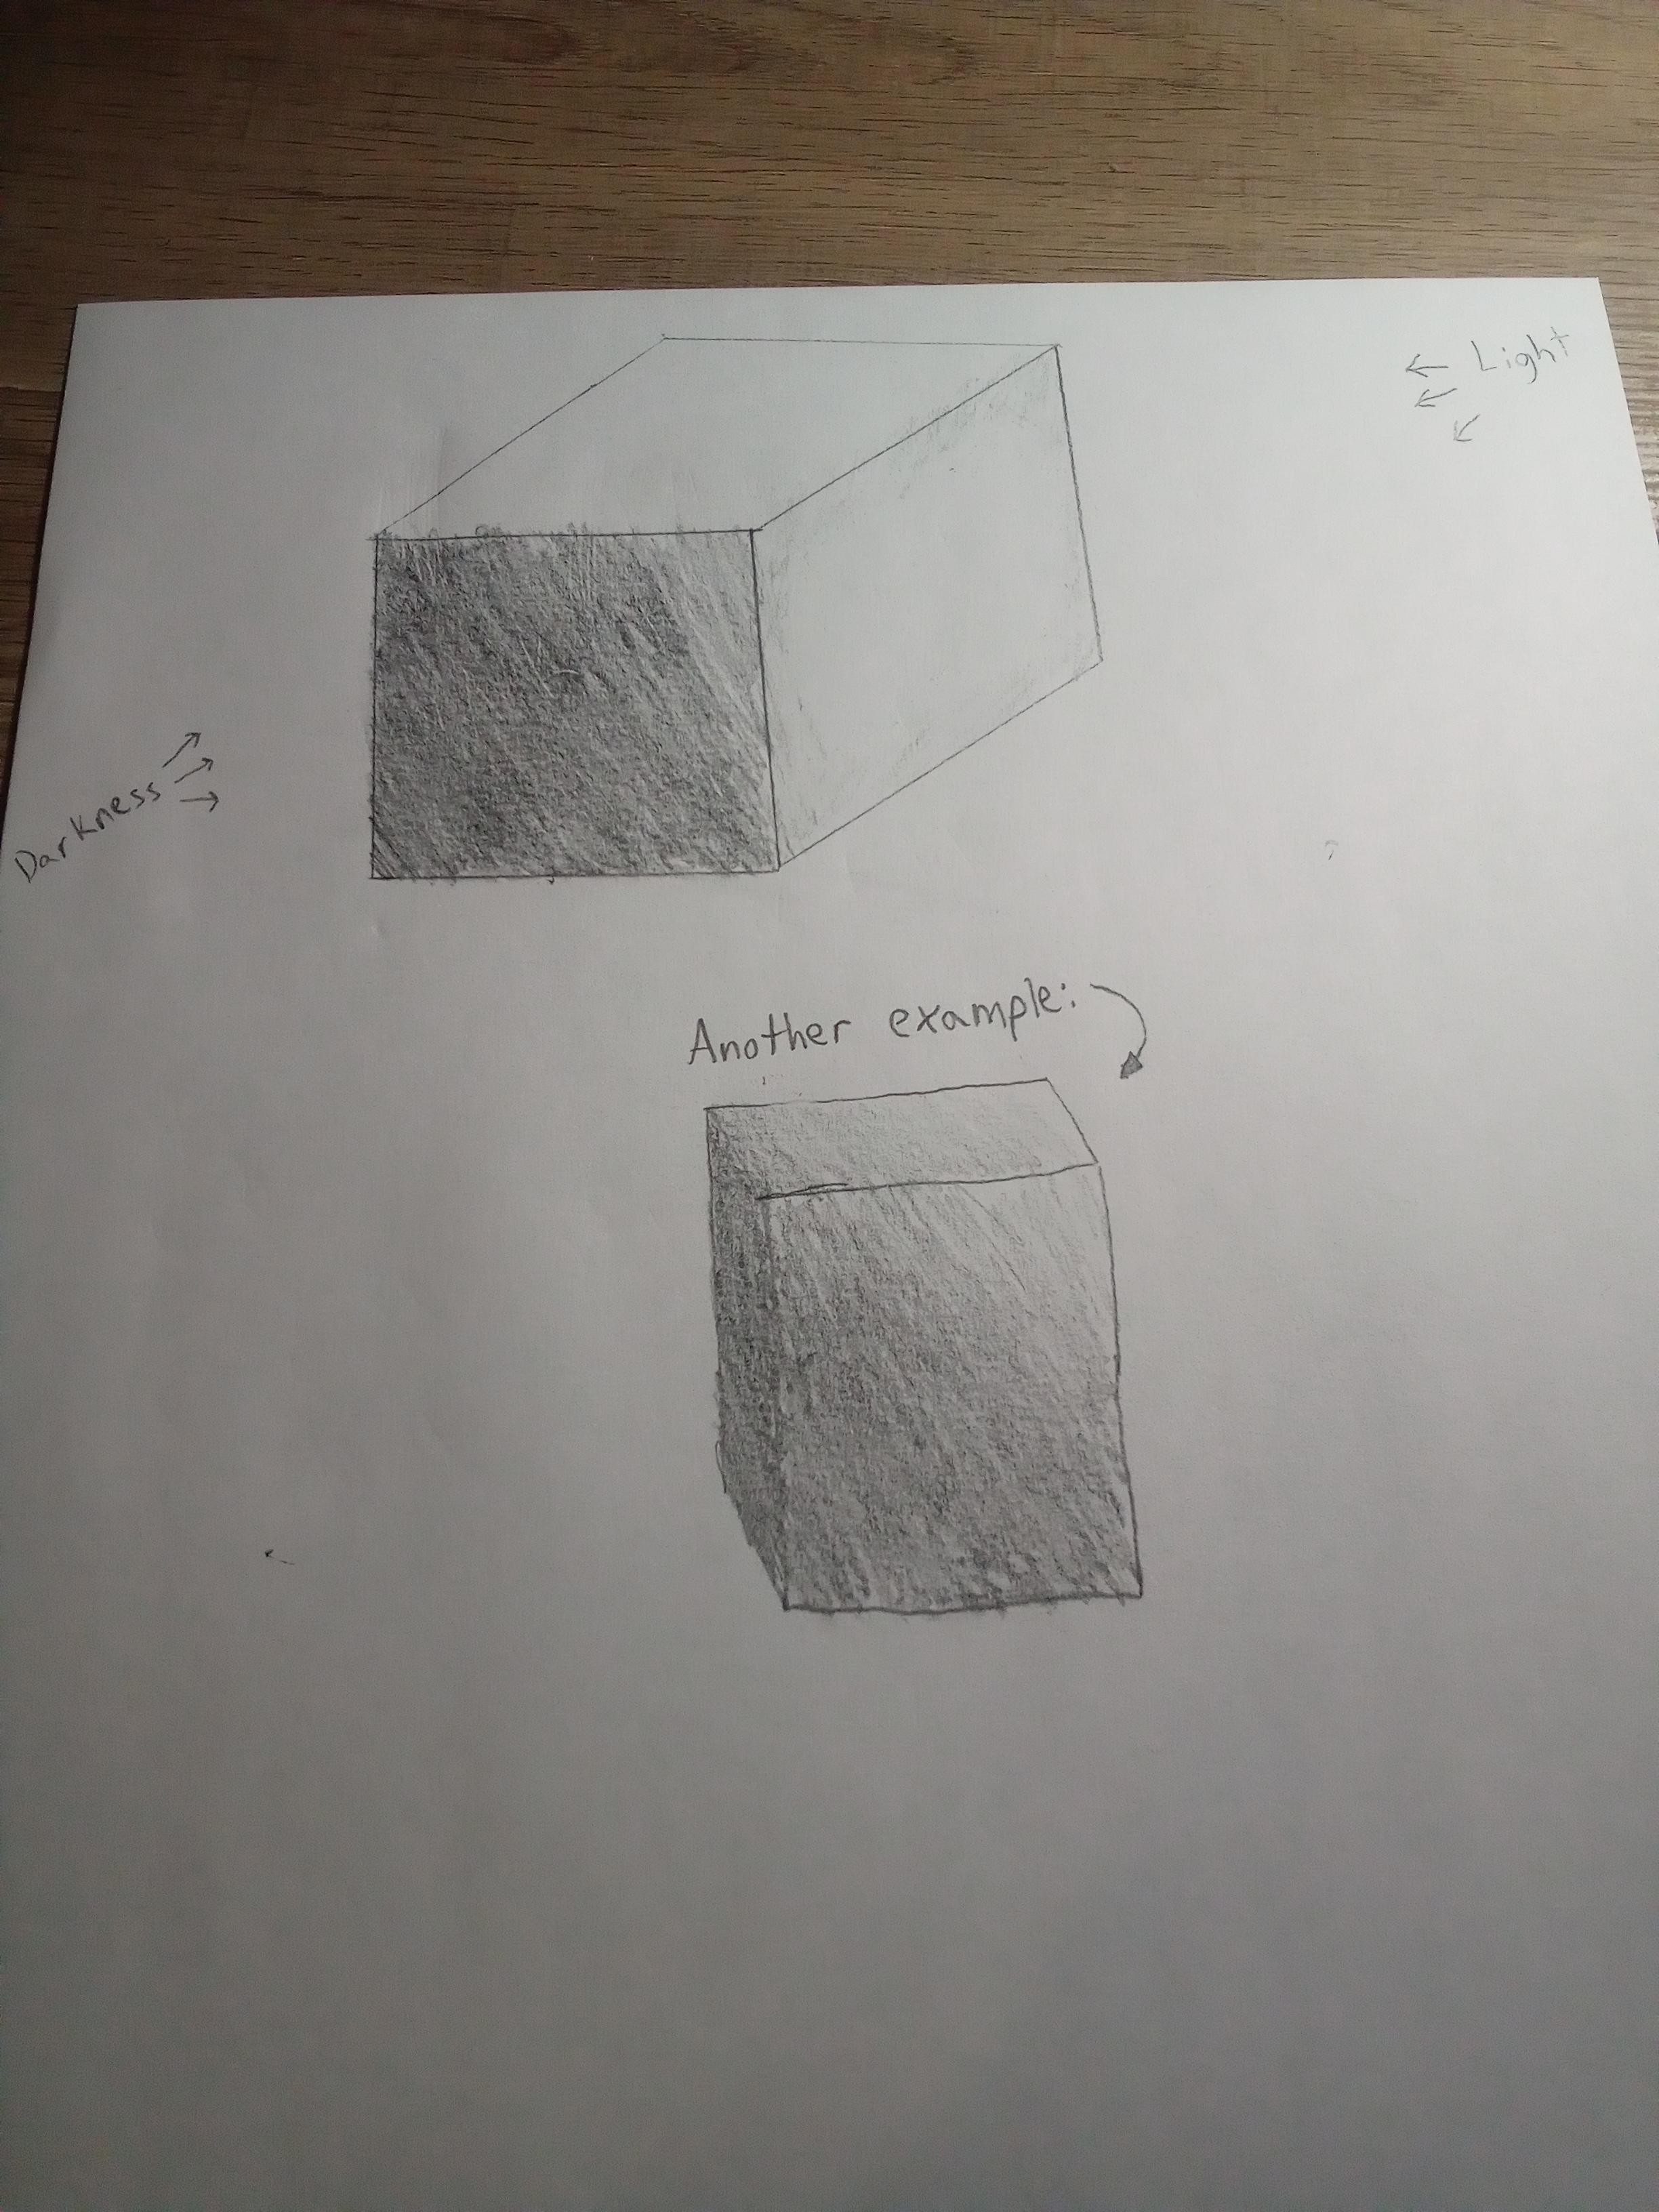
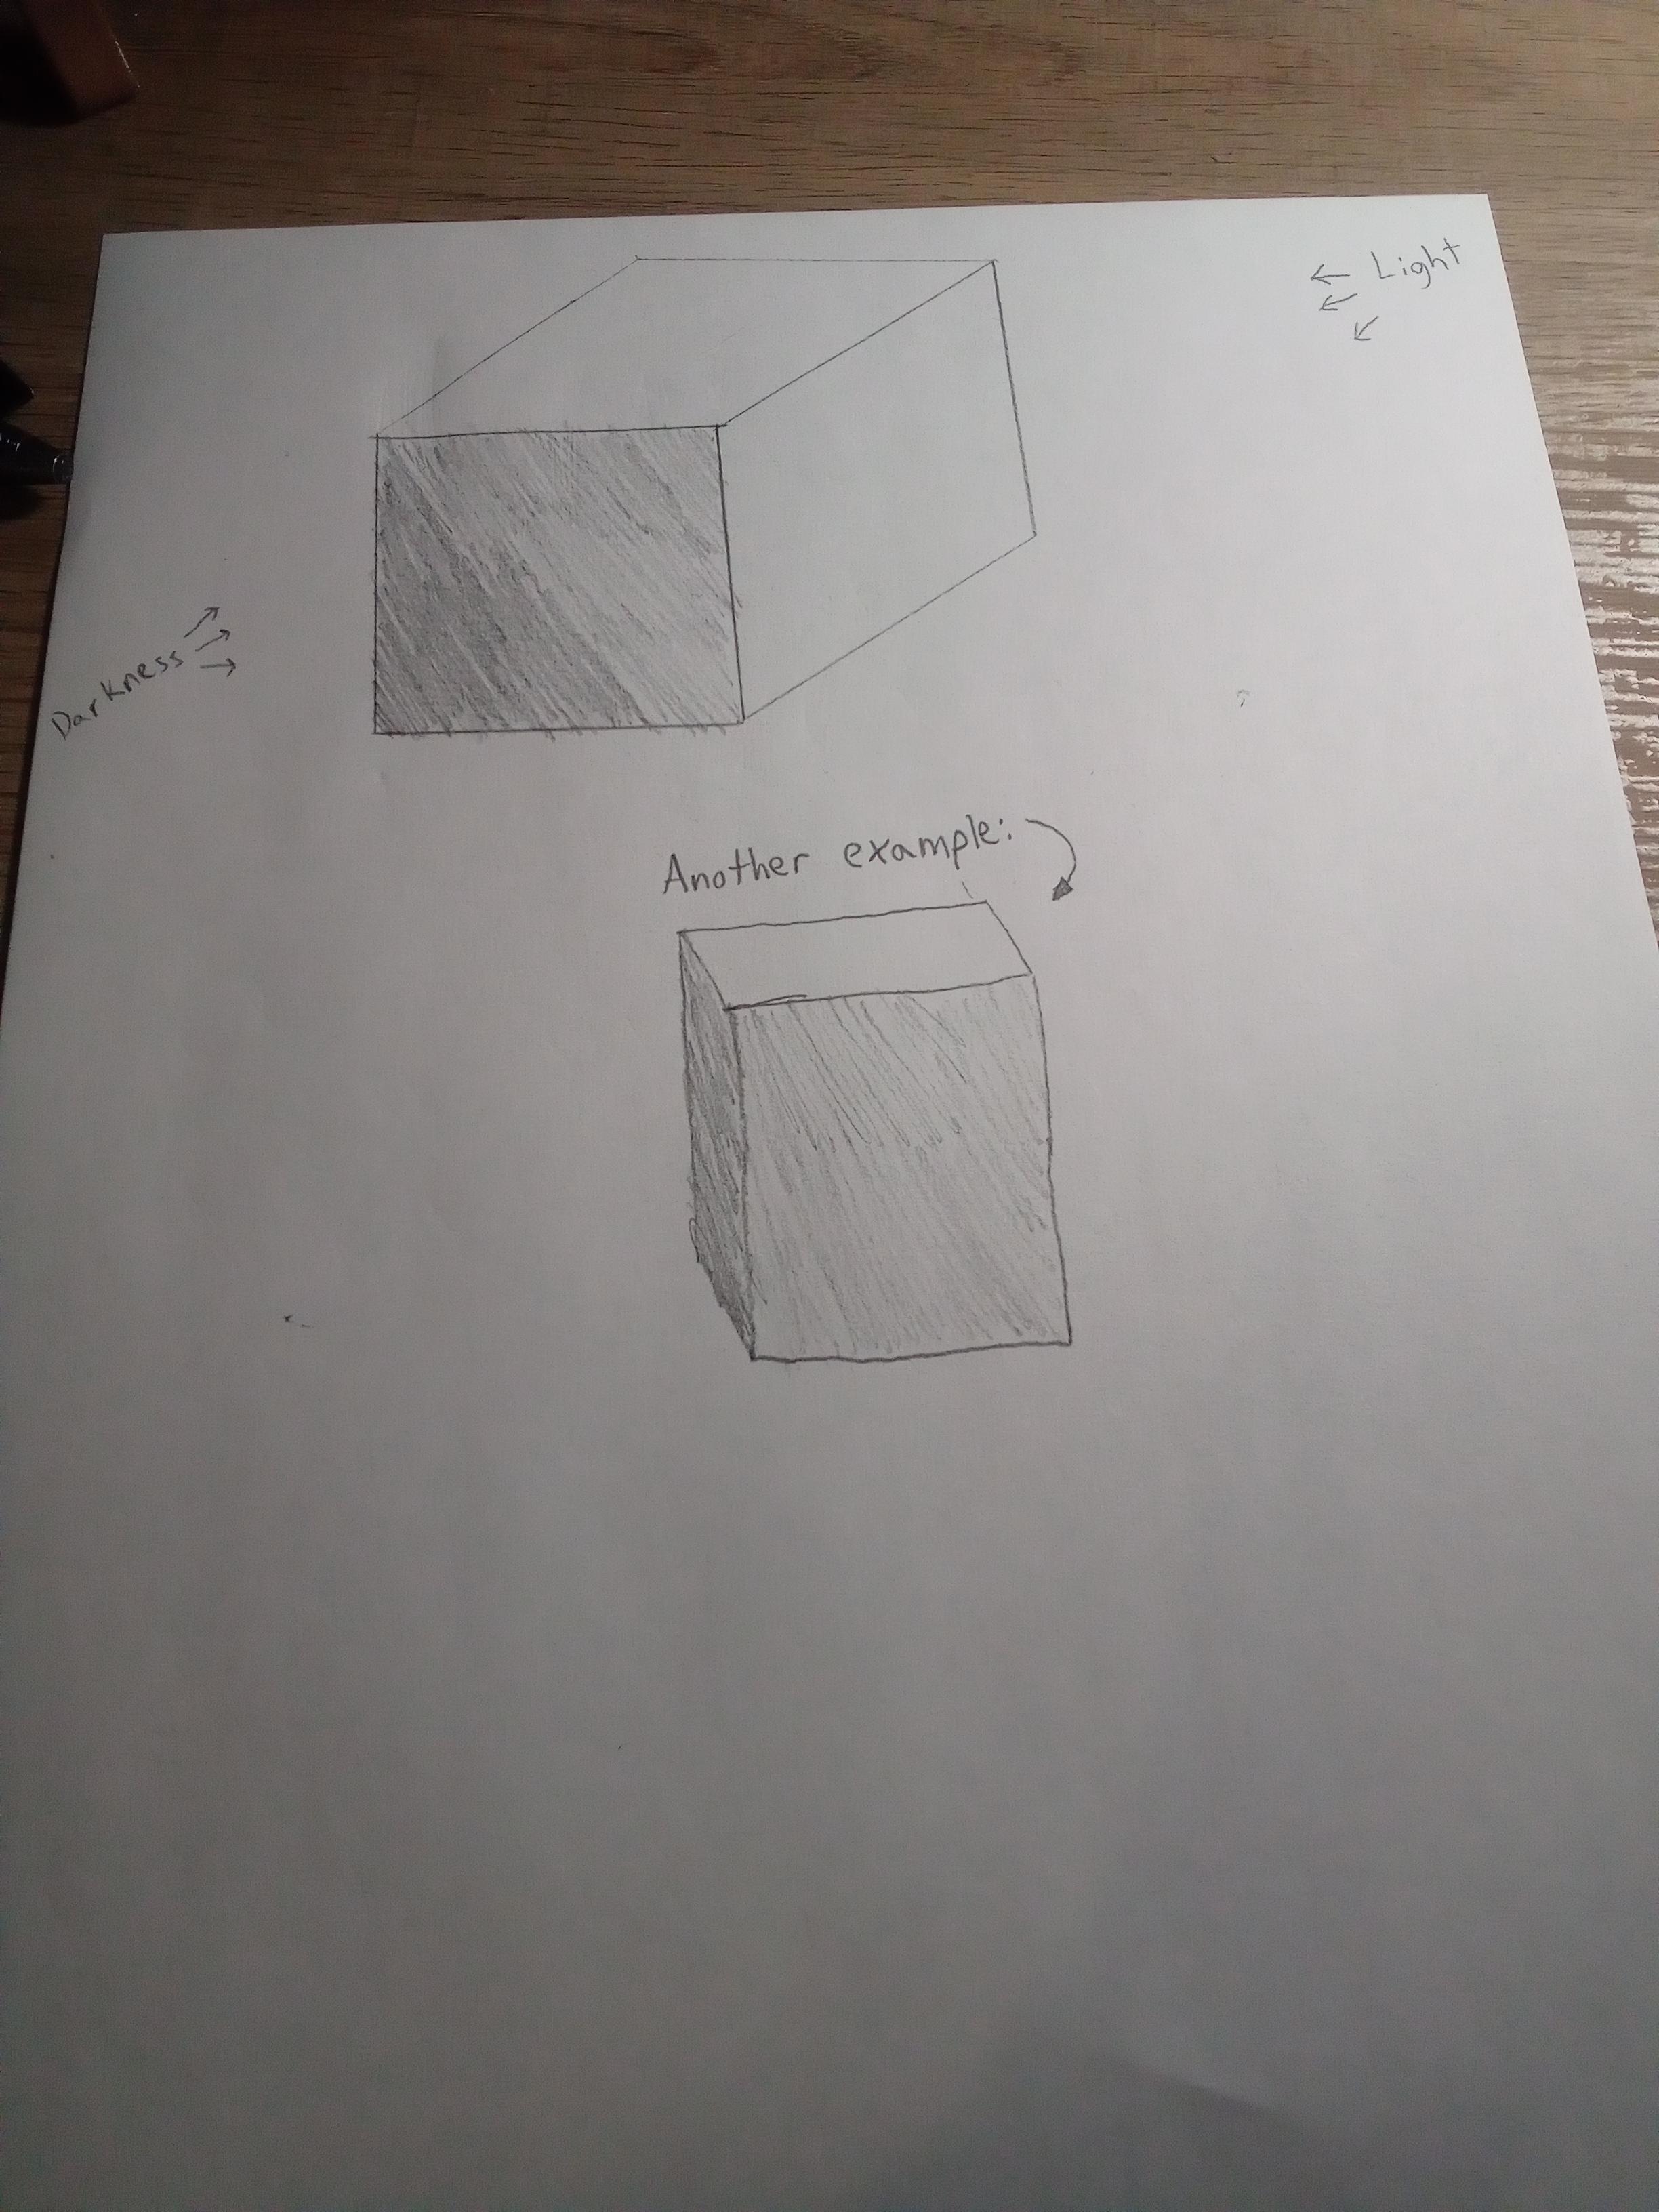
To make it easier, you will start with the darkest side of the cube, the bottom. Shading takes a little more time because of detail. Remember to never just color it dark. You must do it in layers.
Shading Pt. 2
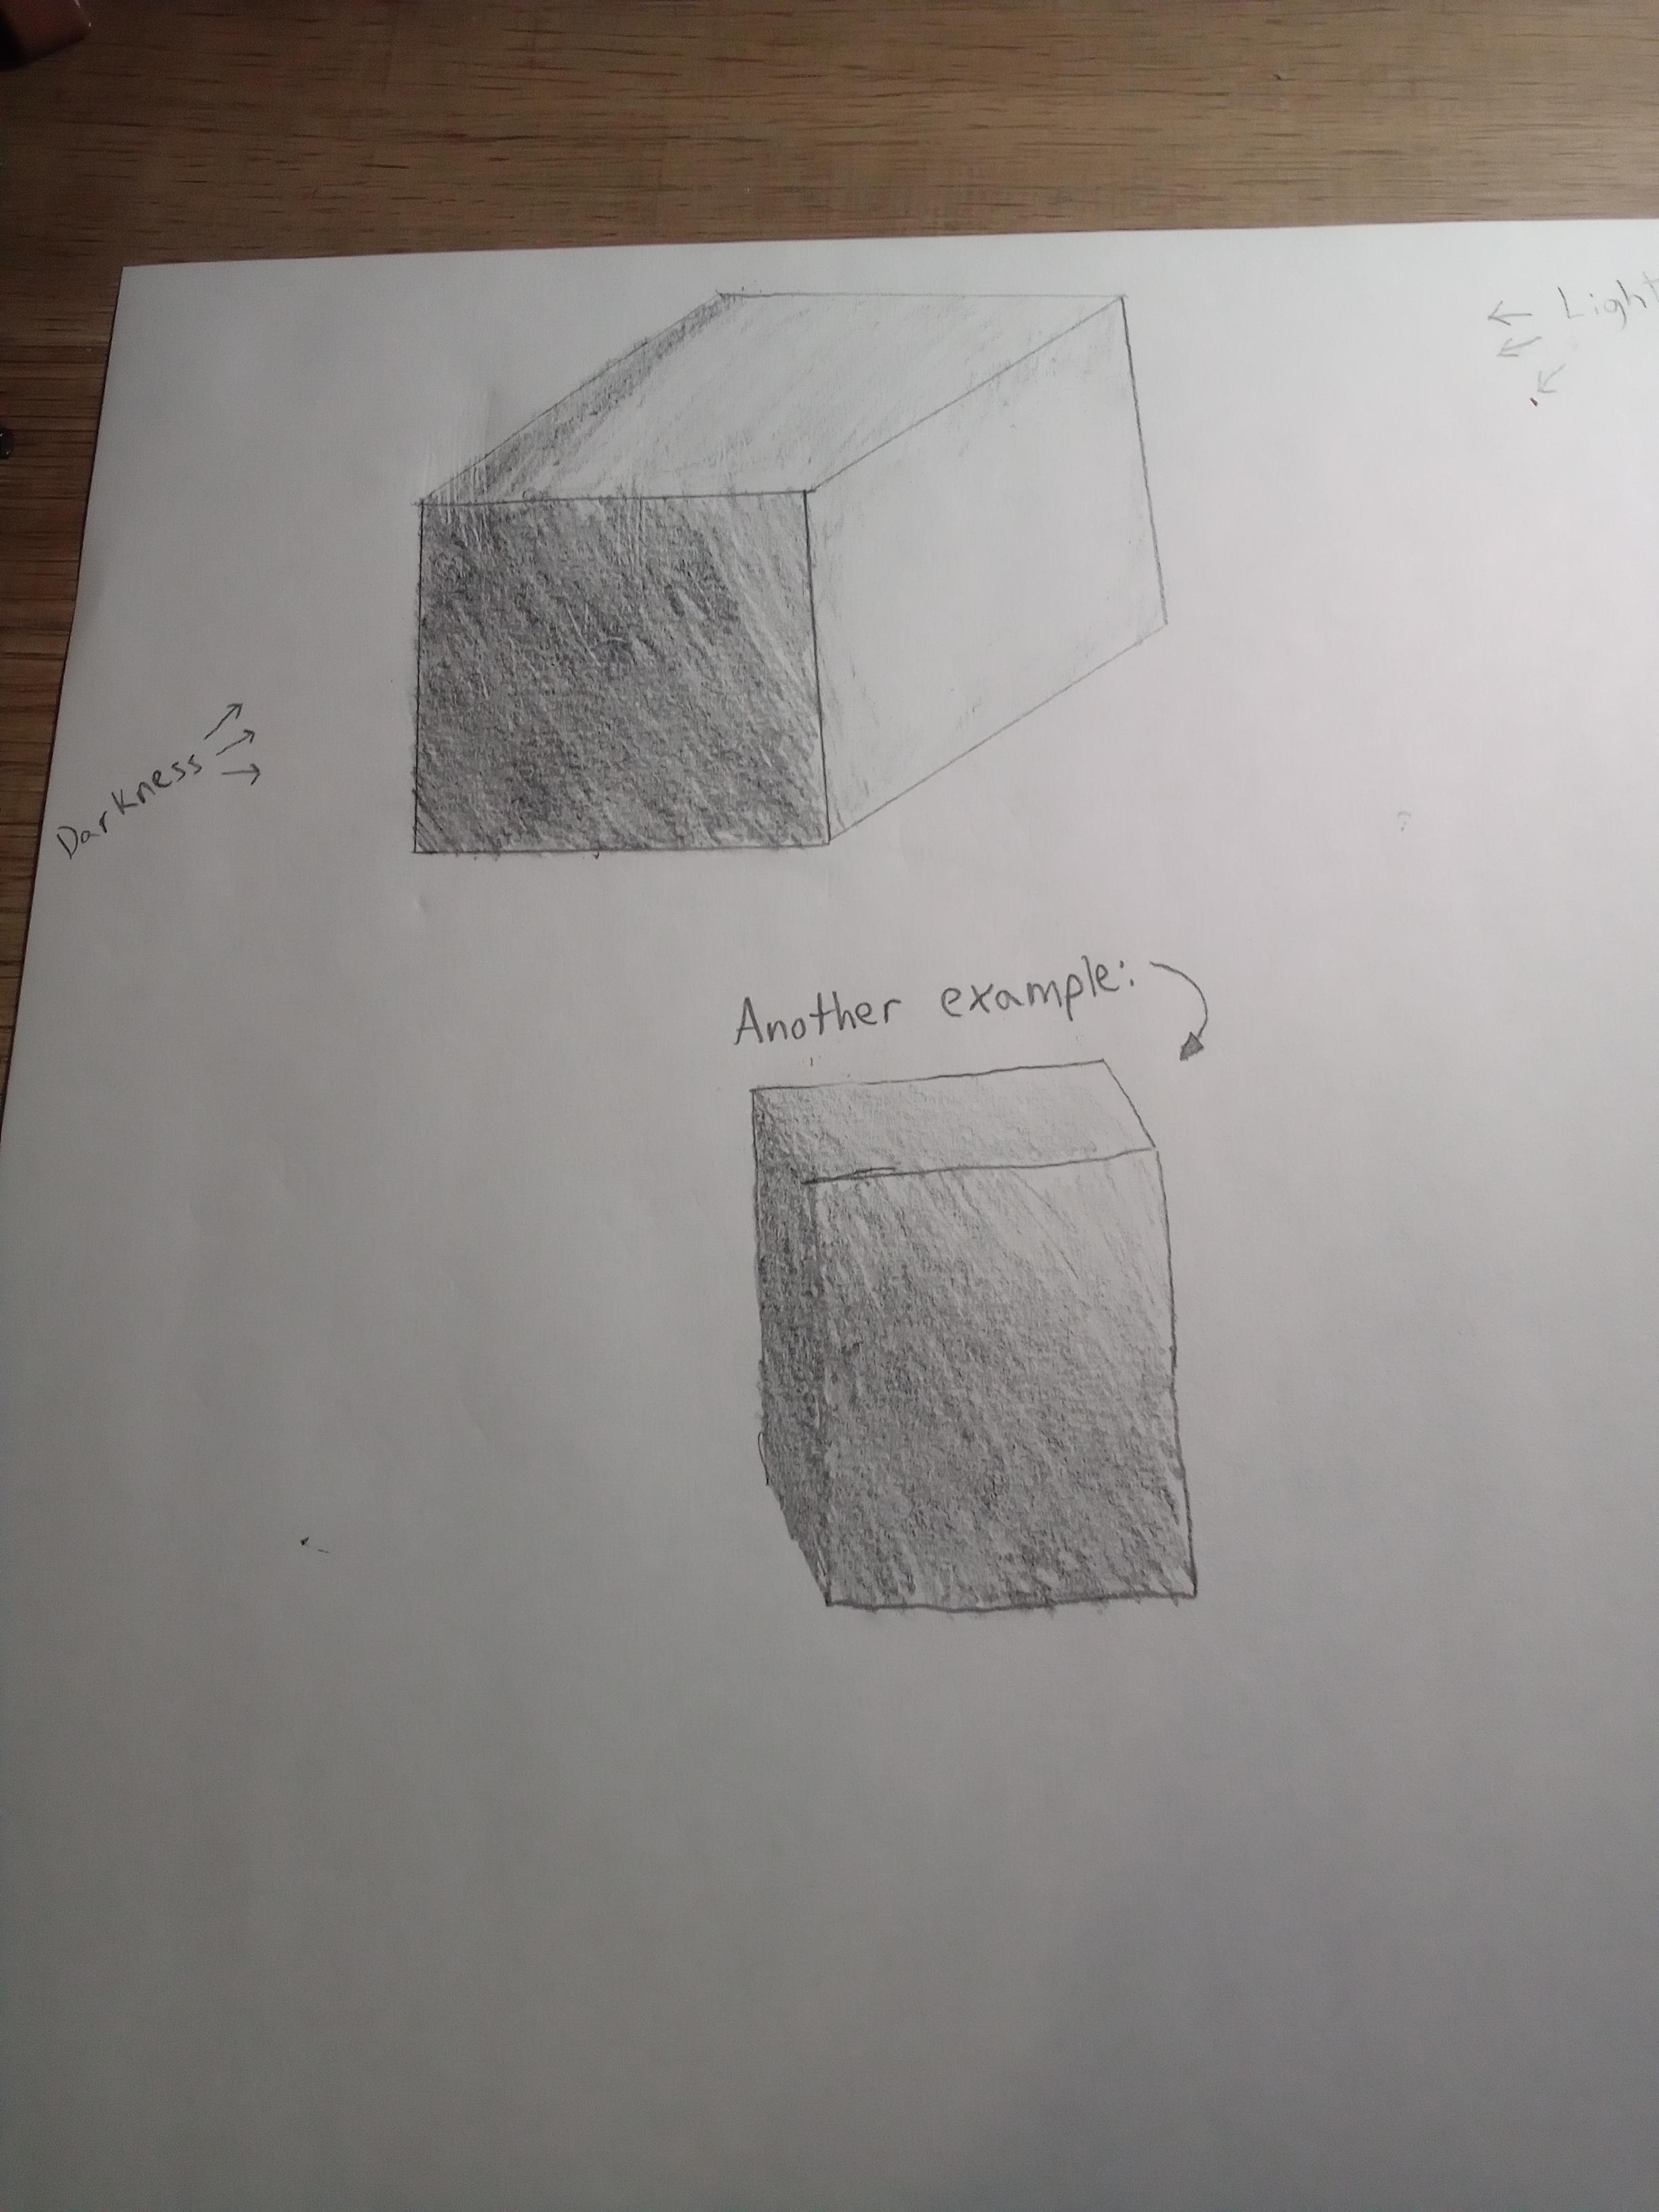
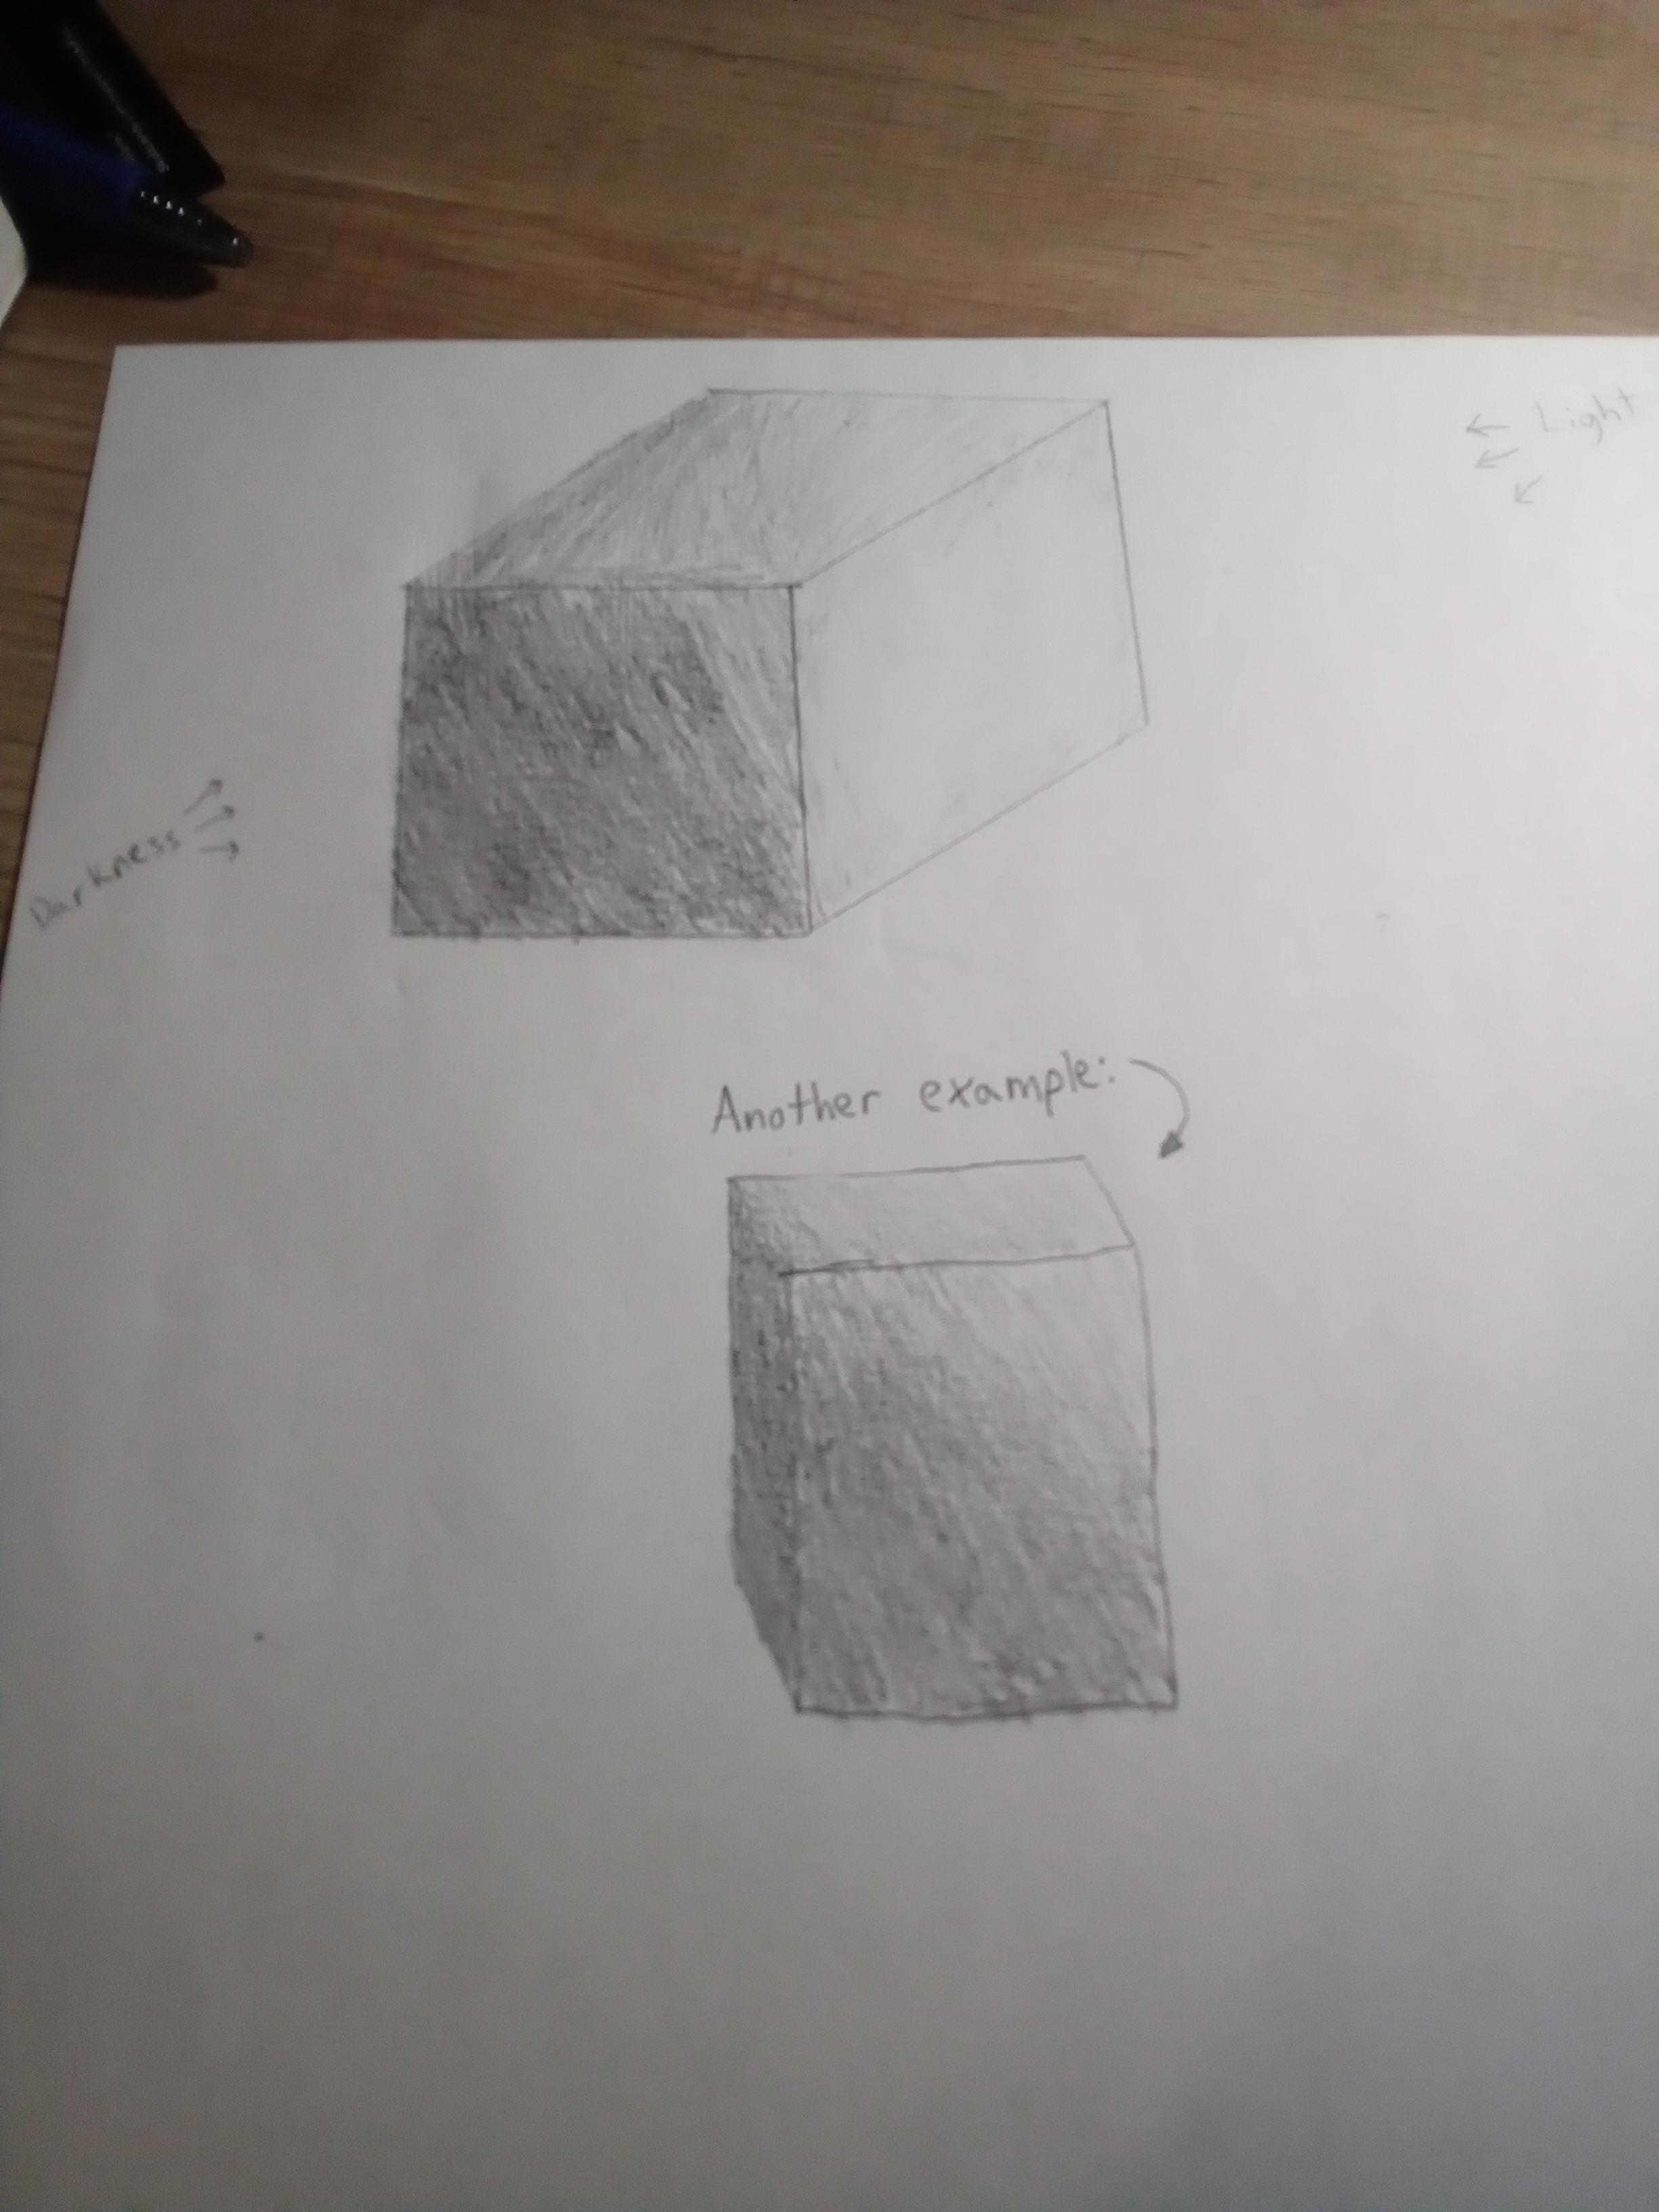
Next, you will do the lighter sides, (The top and the right sides) with the right side being the brightest. With the right side you won't do much, just VERY light shading on the border of it. With the top though, it will get darker as you move to the left.
Details & More
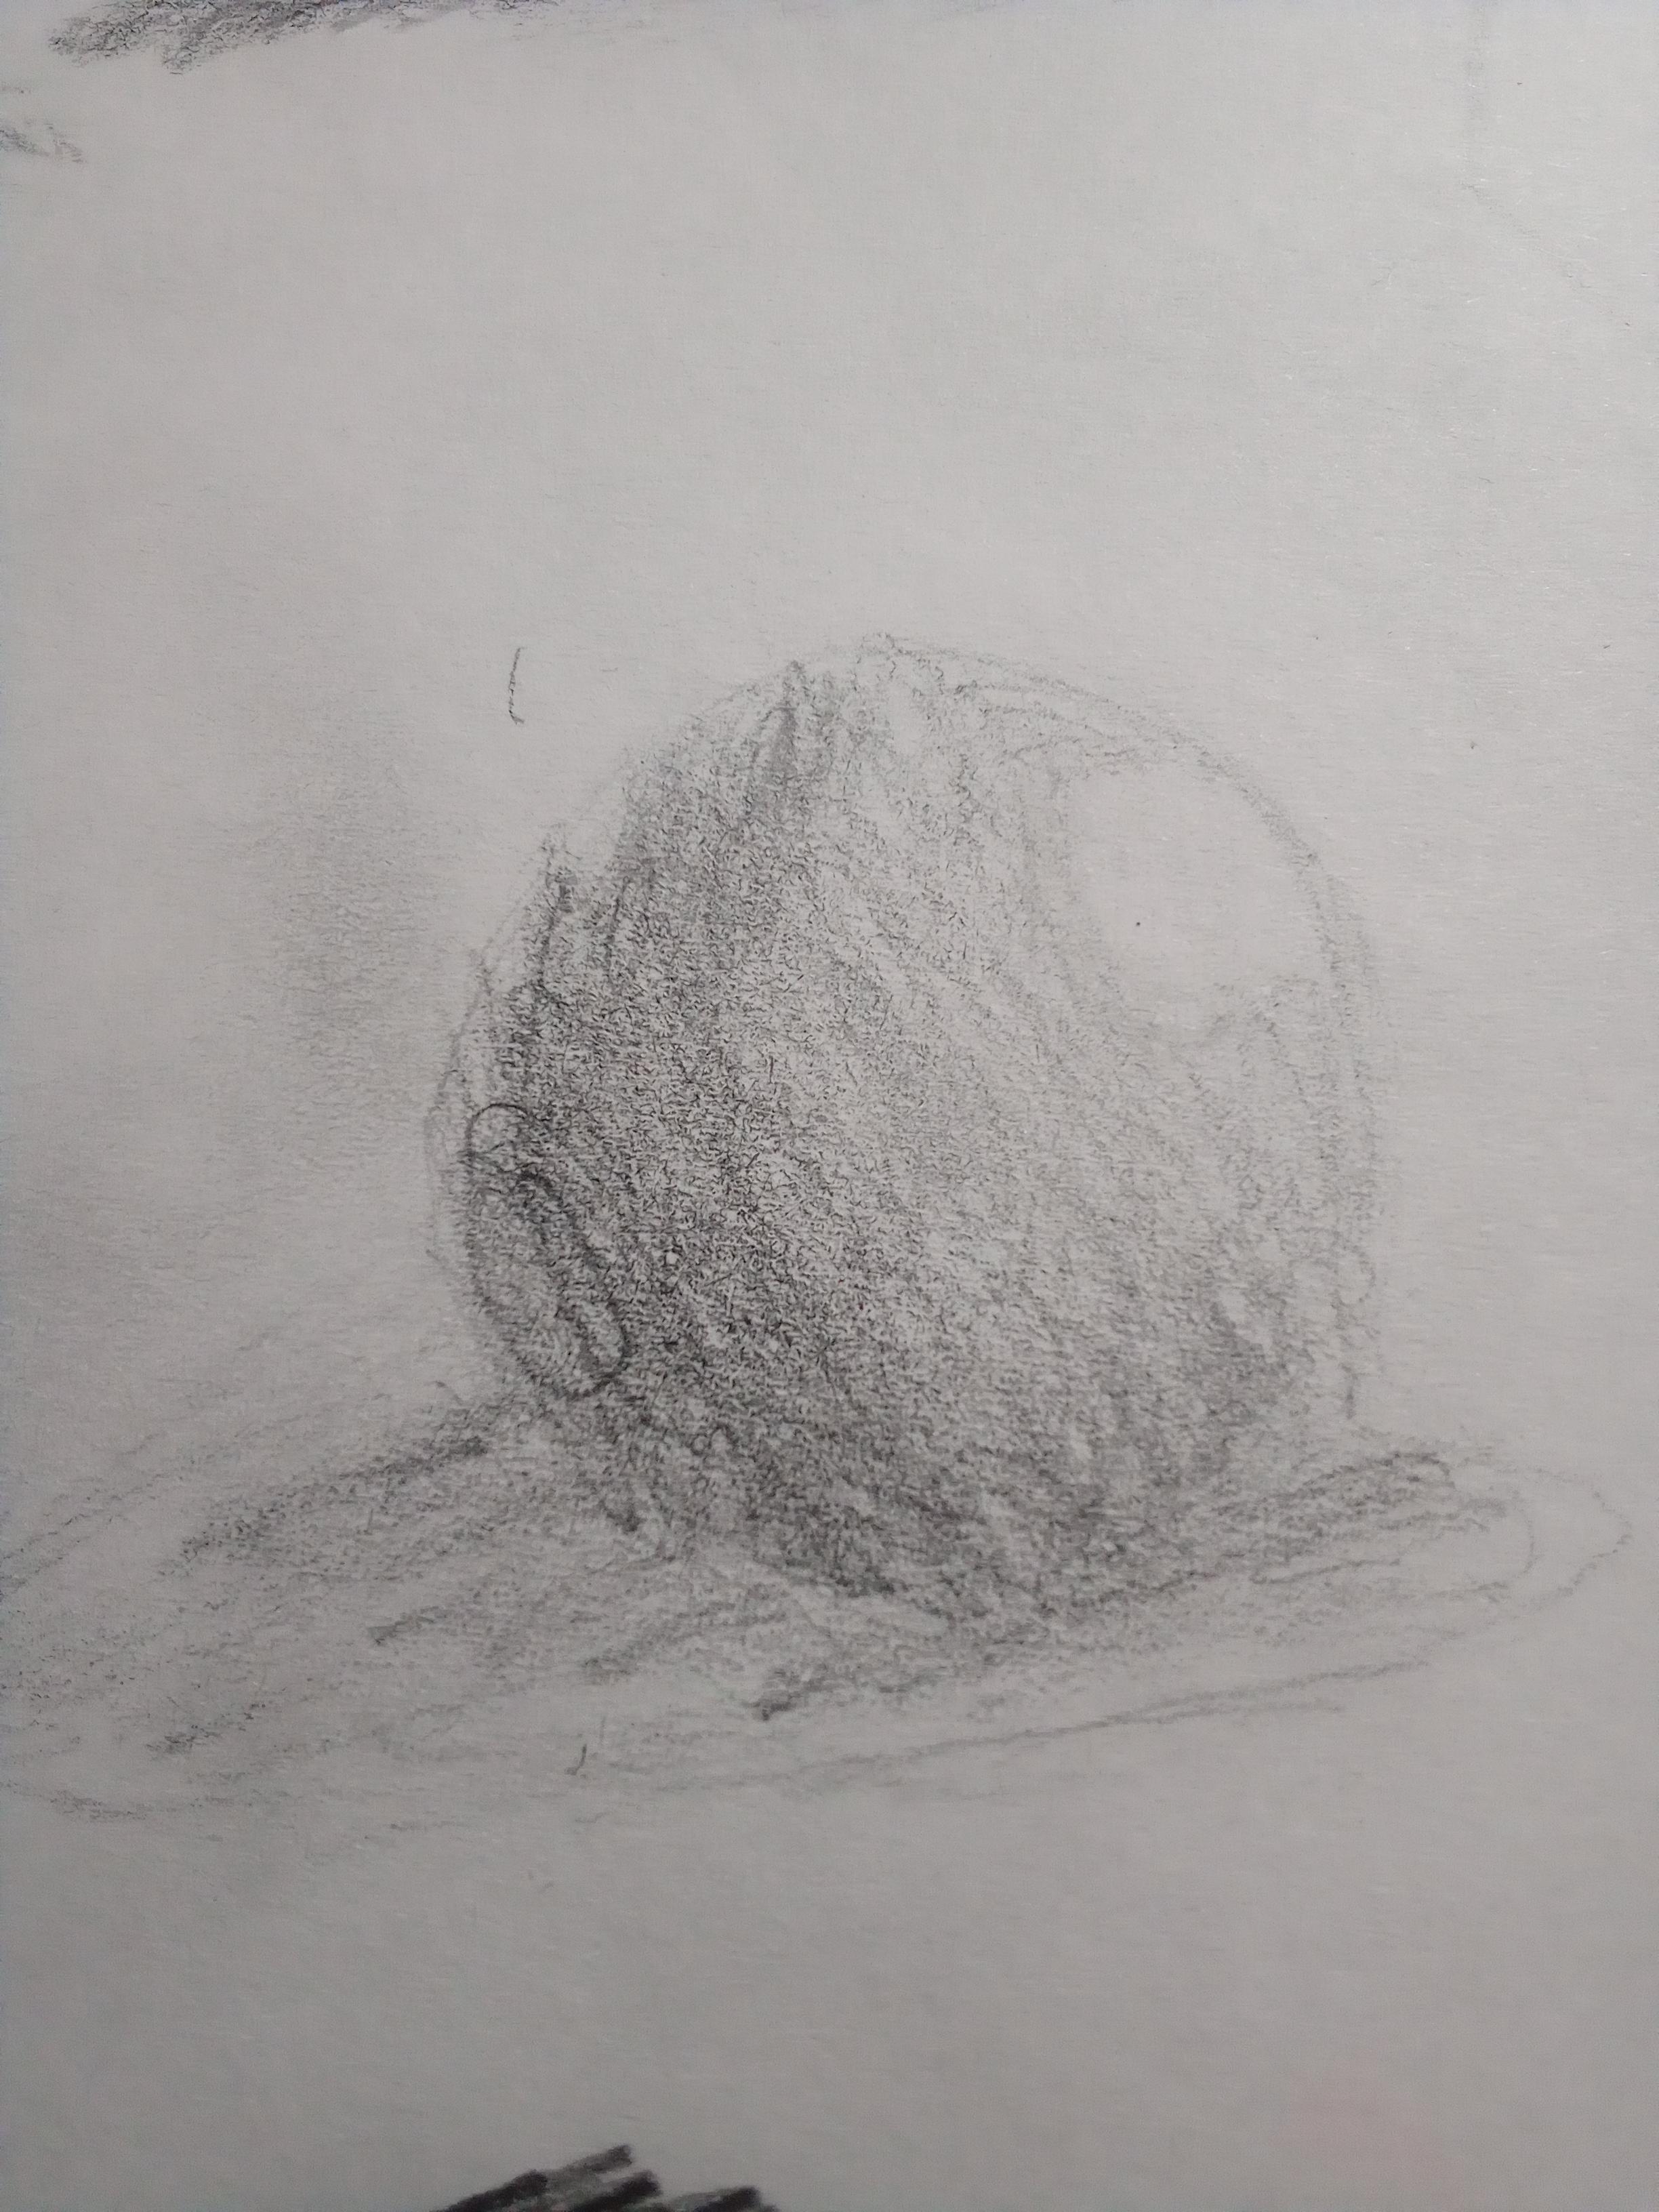
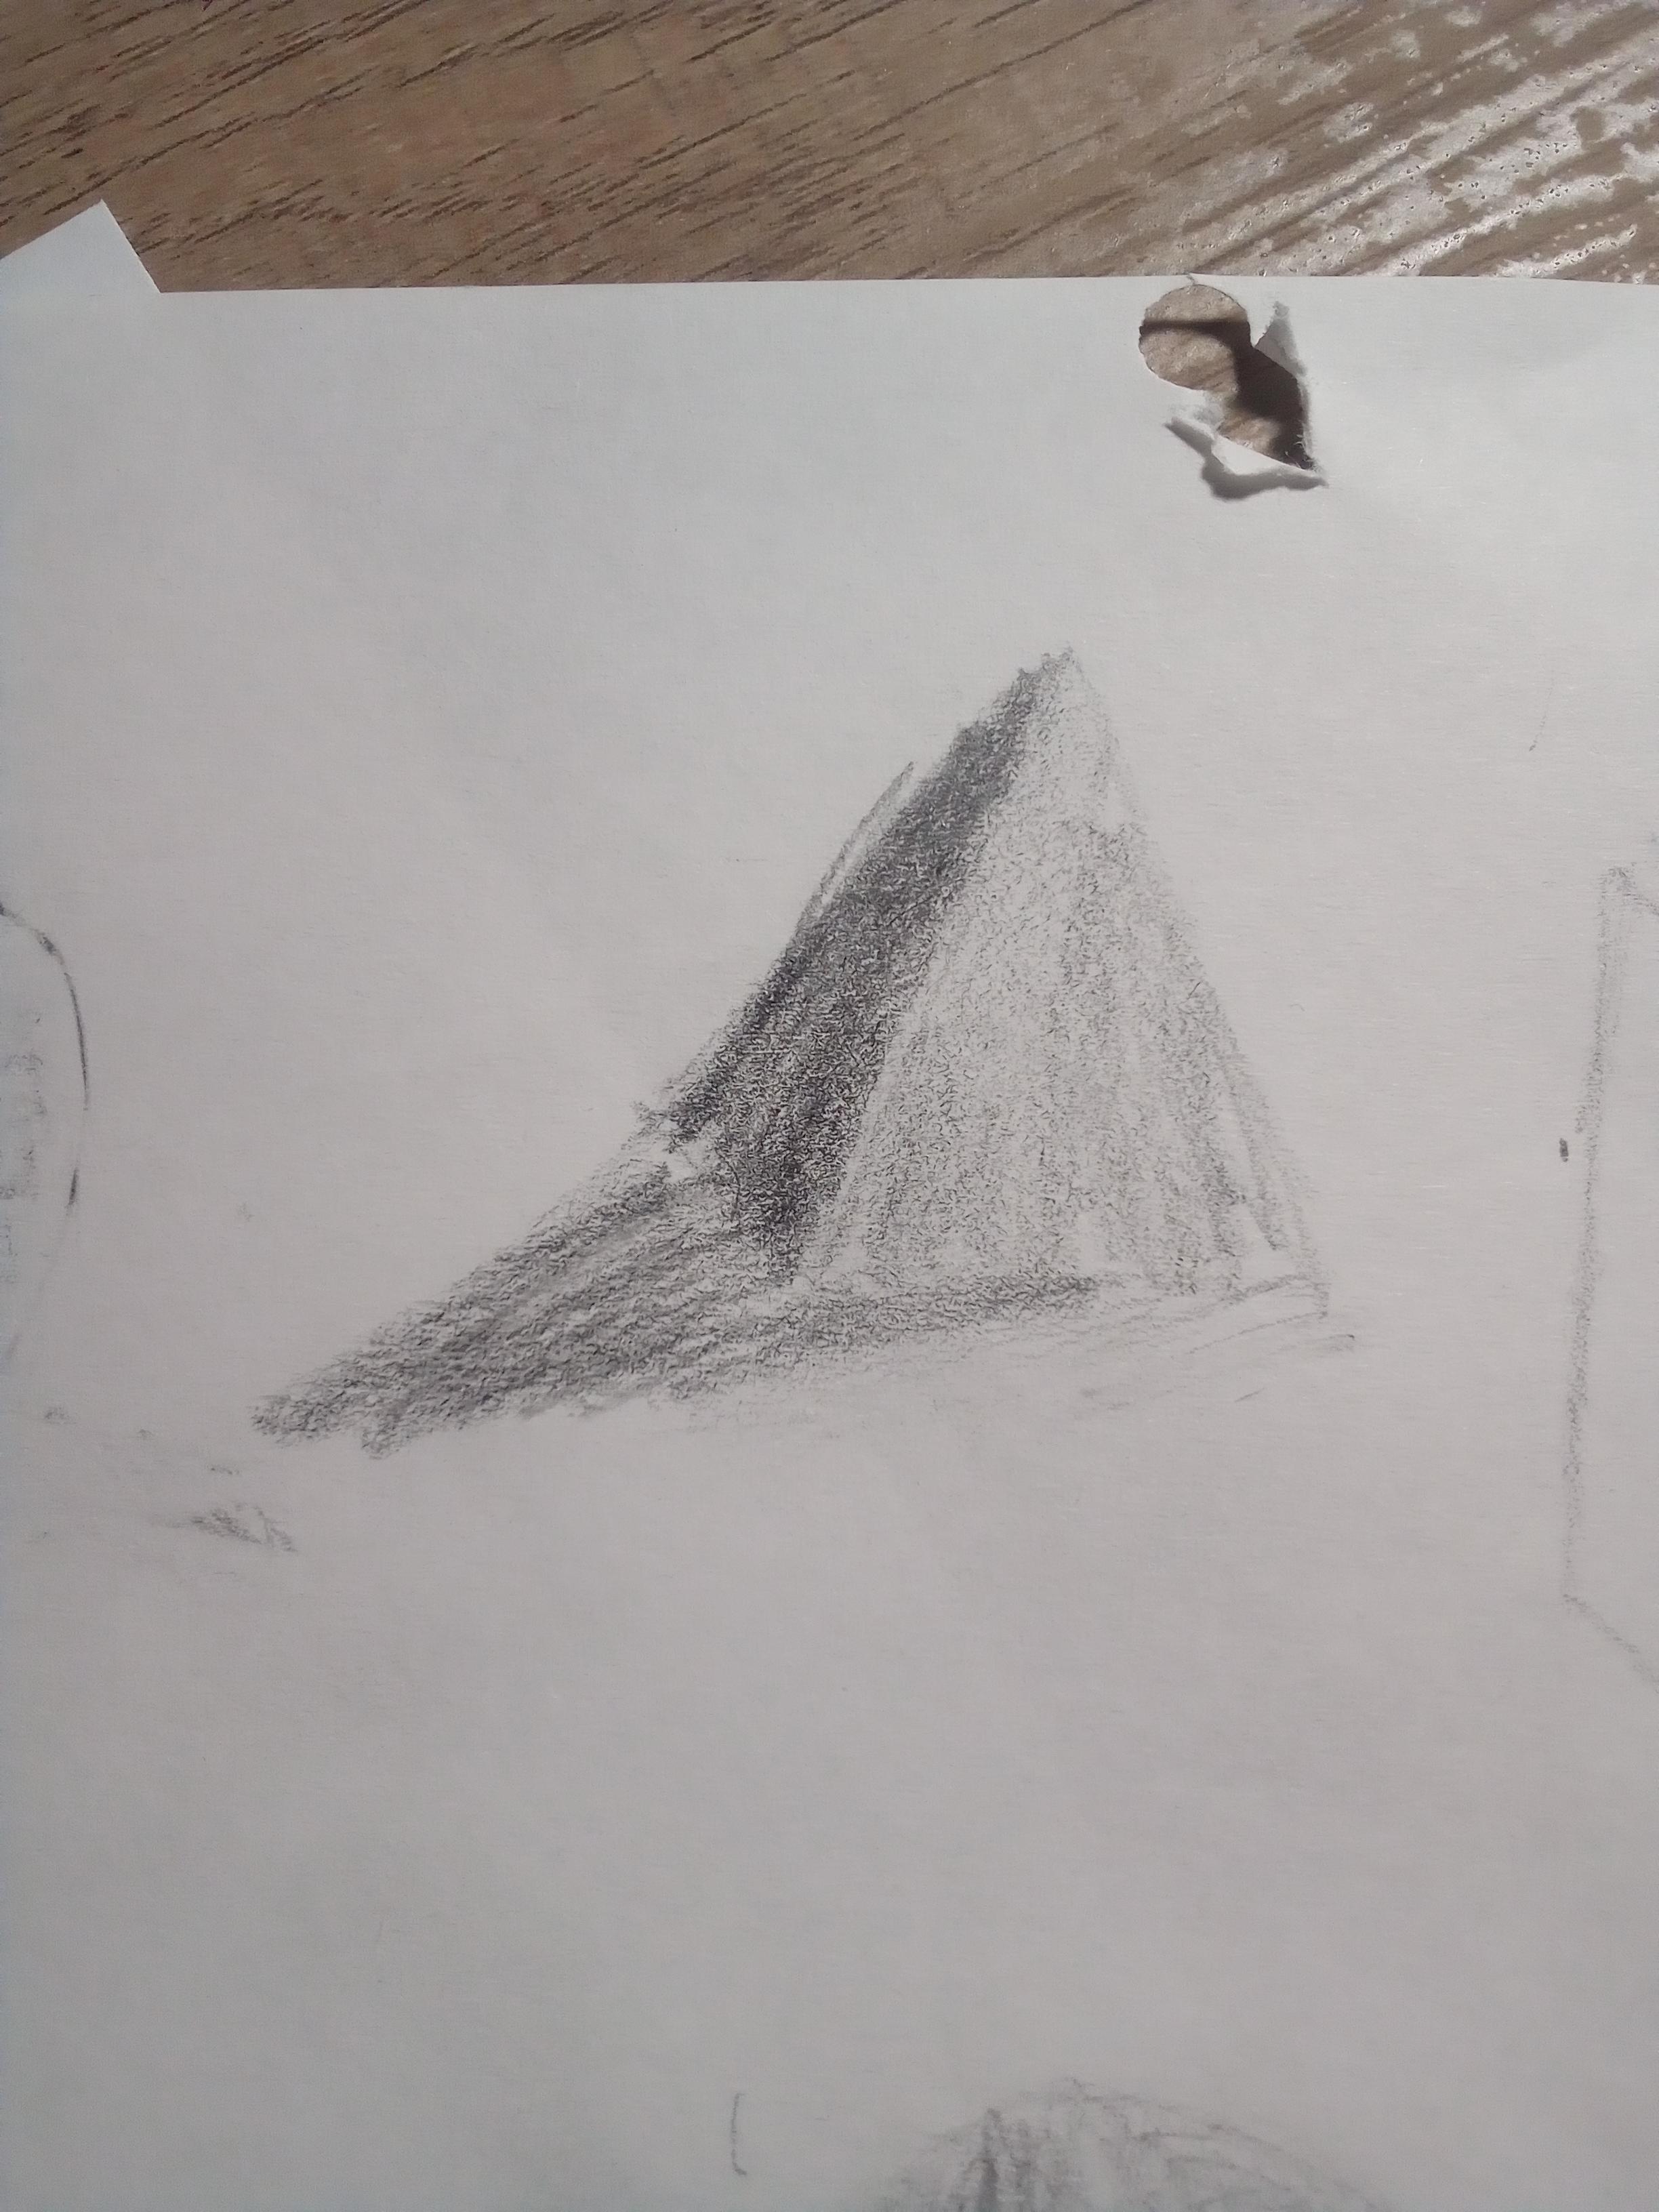
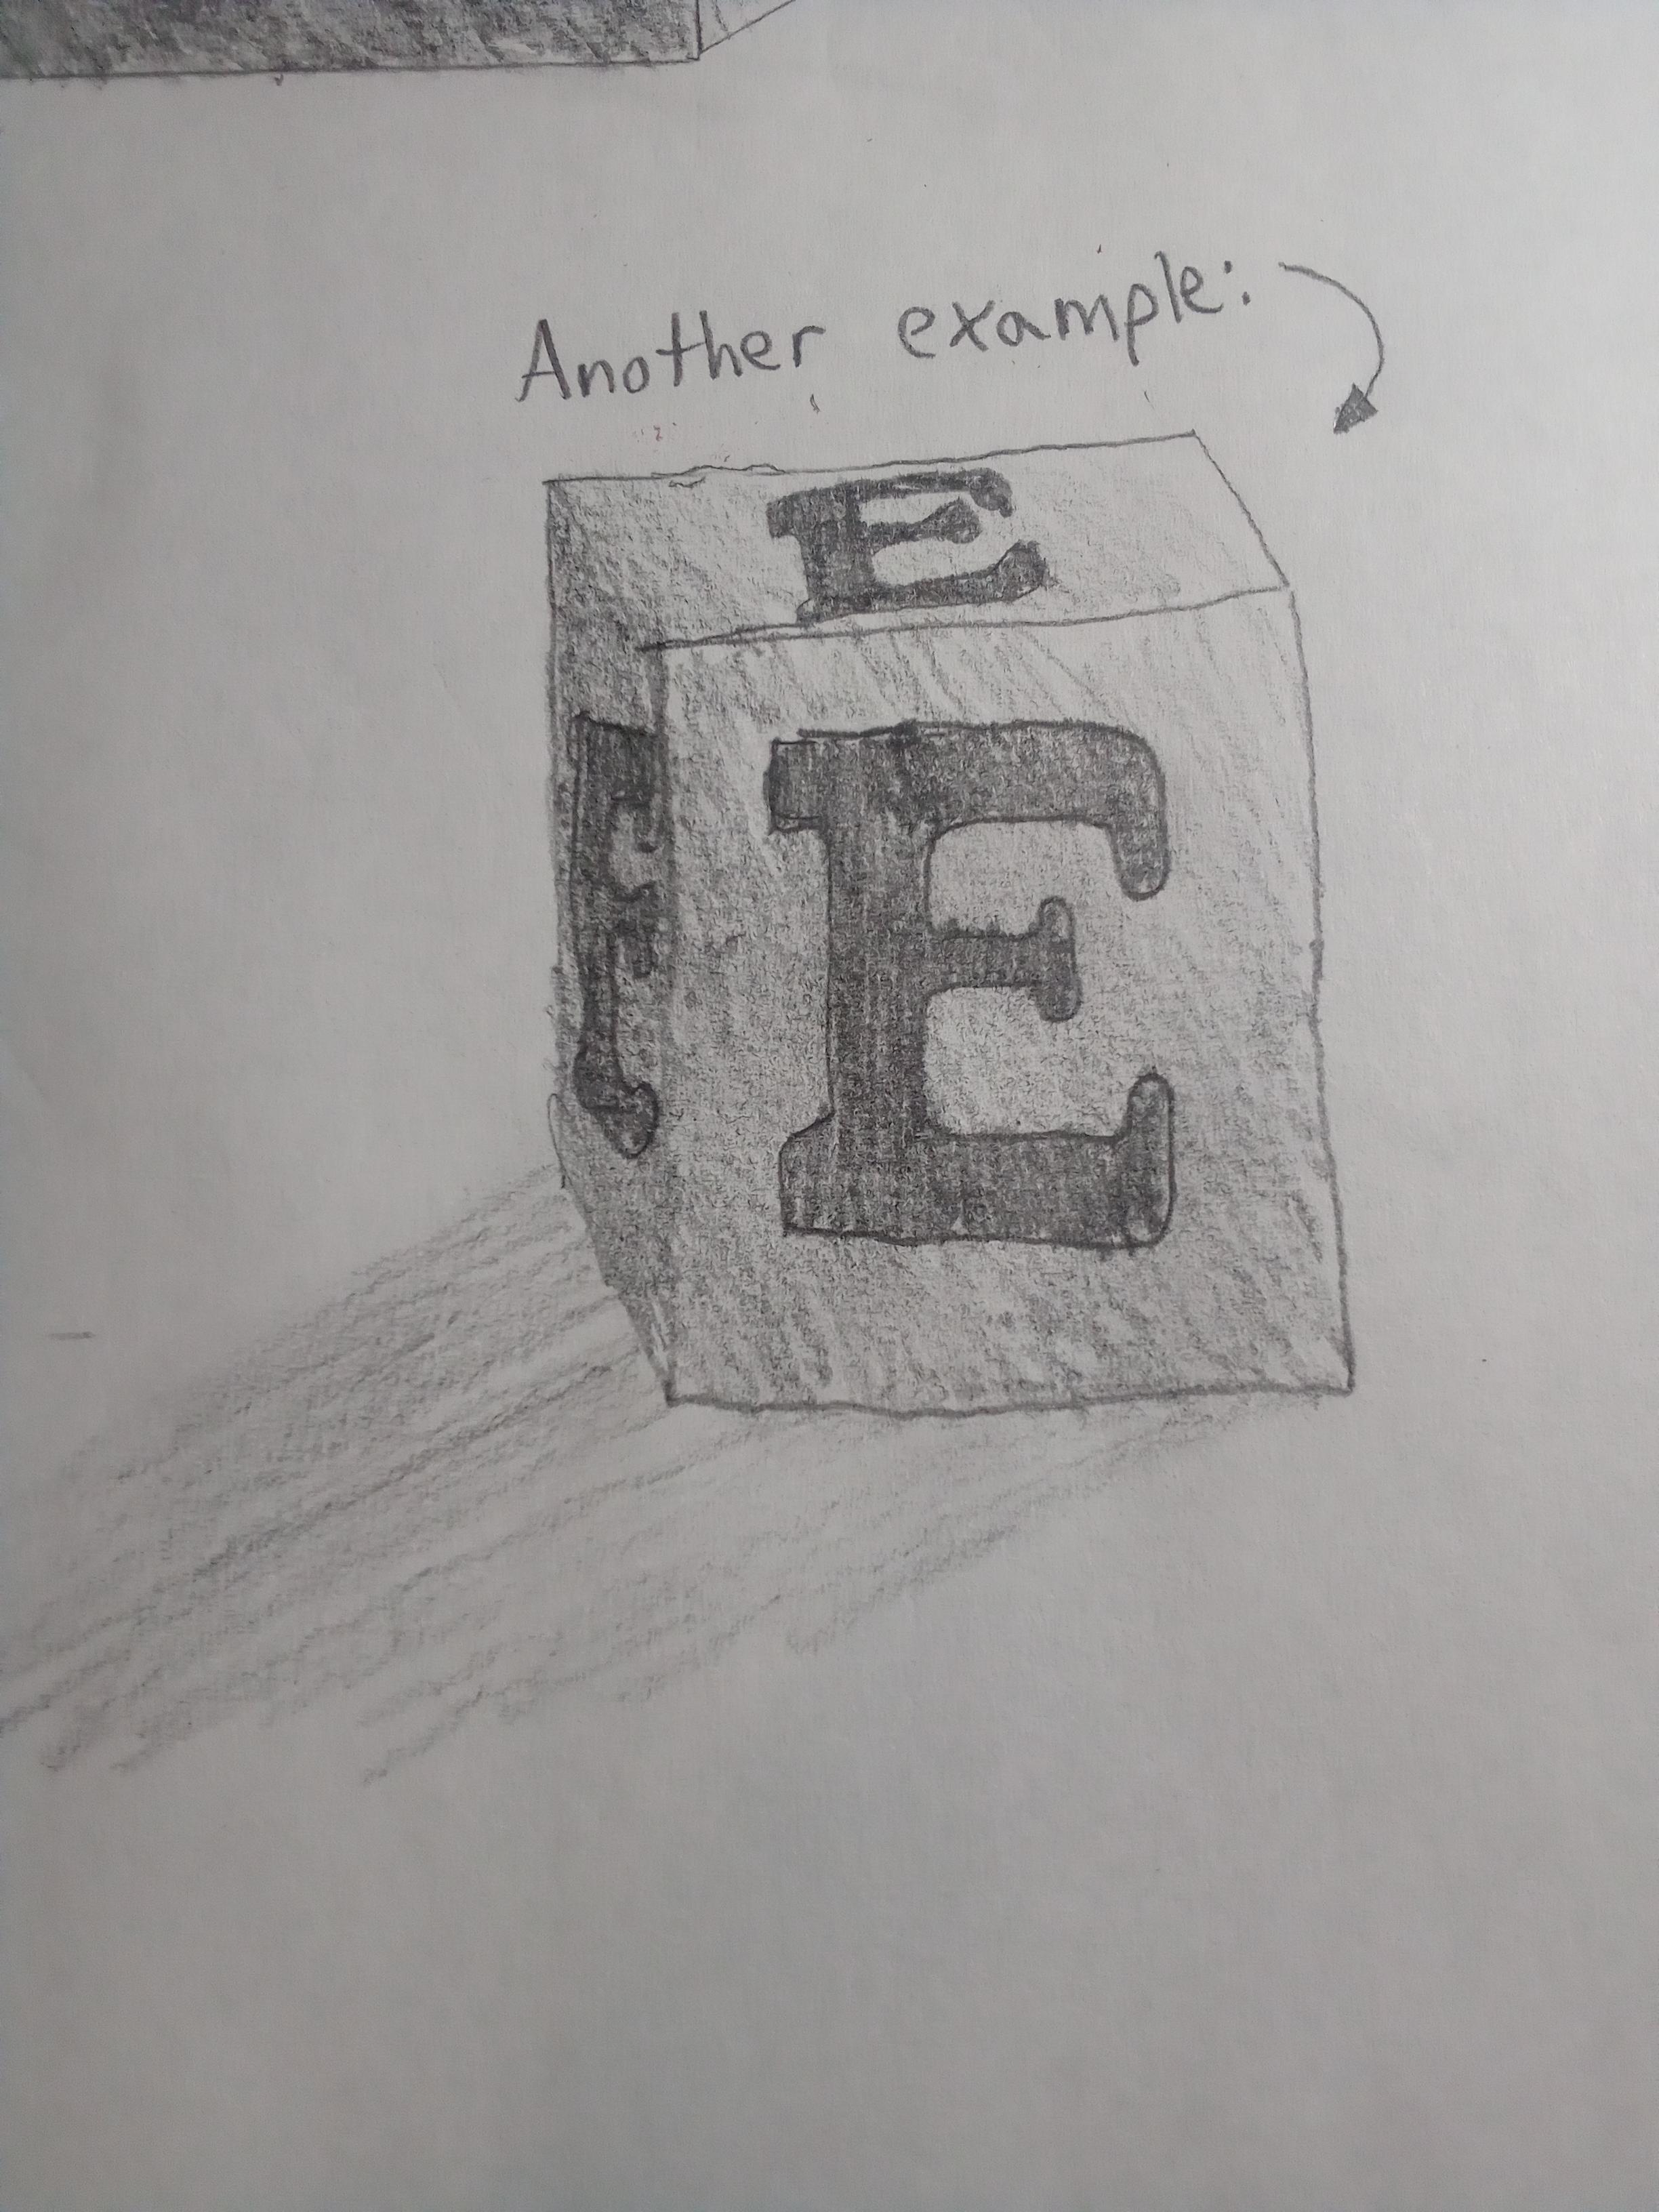
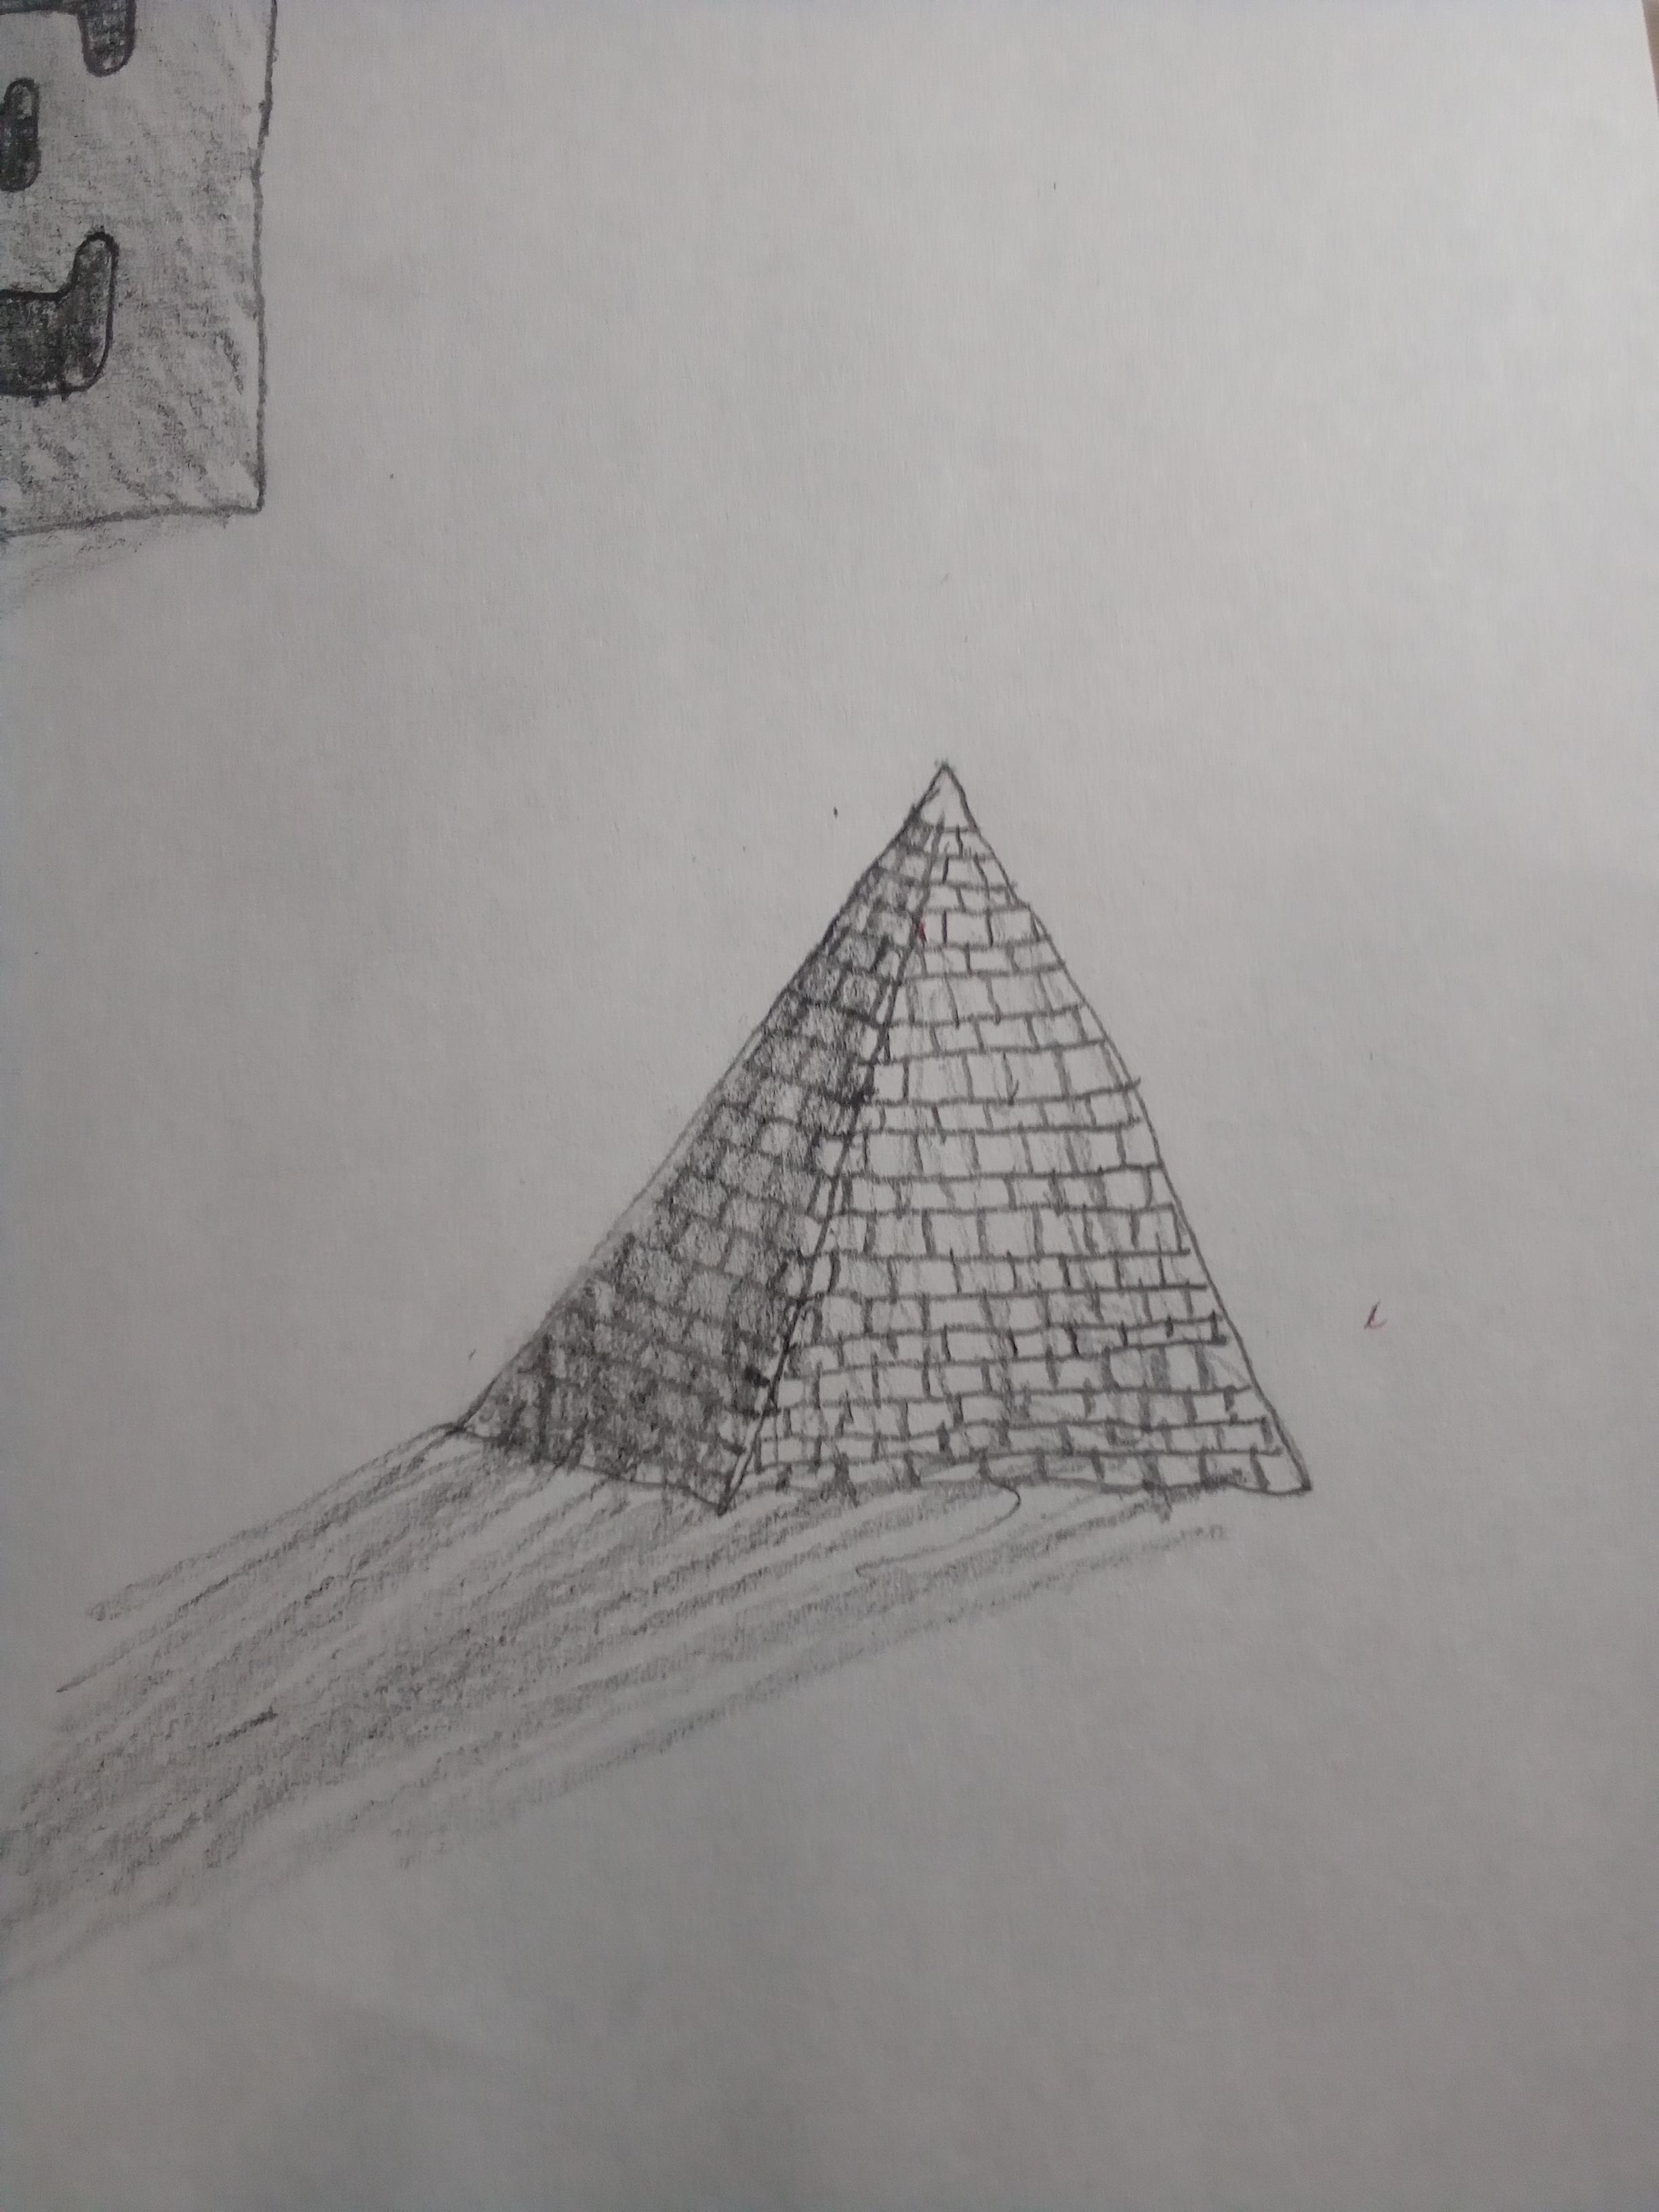
Now that you have created your own shaded cube, you can make into whatever you want. You may have seen my other cube, I have turned it into a childs building block. You can also make more shapes, such as a sphere, a triangular prism, a cylinder, etc.
I hope you have enjoyed this instructable!
Also, keep an eye out for the next instructable I make, Shading with colors. Stay creative!
I hope you have enjoyed this instructable!
Also, keep an eye out for the next instructable I make, Shading with colors. Stay creative!