Basic Lightburn Tutorial for Laser Cutting
by Made Studio in Workshop > Laser Cutting
2534 Views, 4 Favorites, 0 Comments
Basic Lightburn Tutorial for Laser Cutting
An introduction to the basics of Lightburn
Supplies
Lightburn
A computer
Open Lightburn
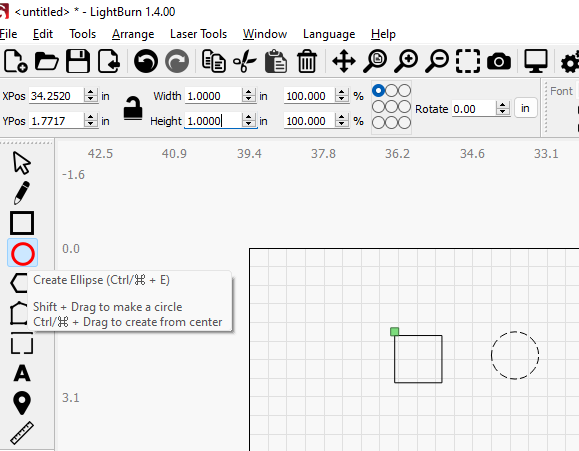
Open light burn and lets use the shape tool to draw 2 shapes(you can also use the text tool)
Resize
Lets size these to be 1” by 1” simply unlock the portion lock and put a 1 in both boxes.
Circle Up

Lets also draw a circle and size it the same way.
Organize
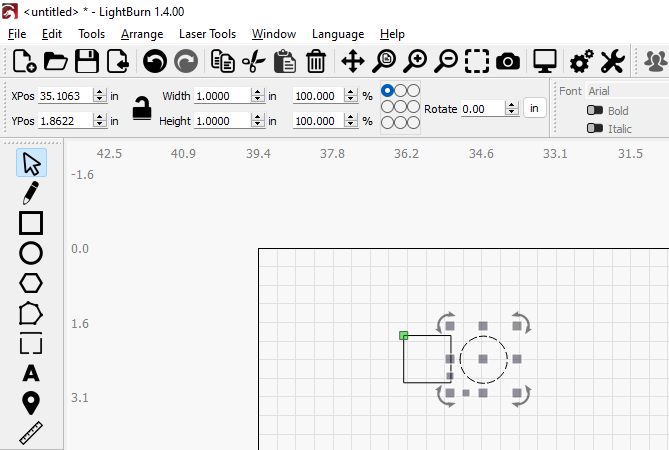
Switch back to the white arrow tool to move your shapes around. I moved mine closer together to not waste material
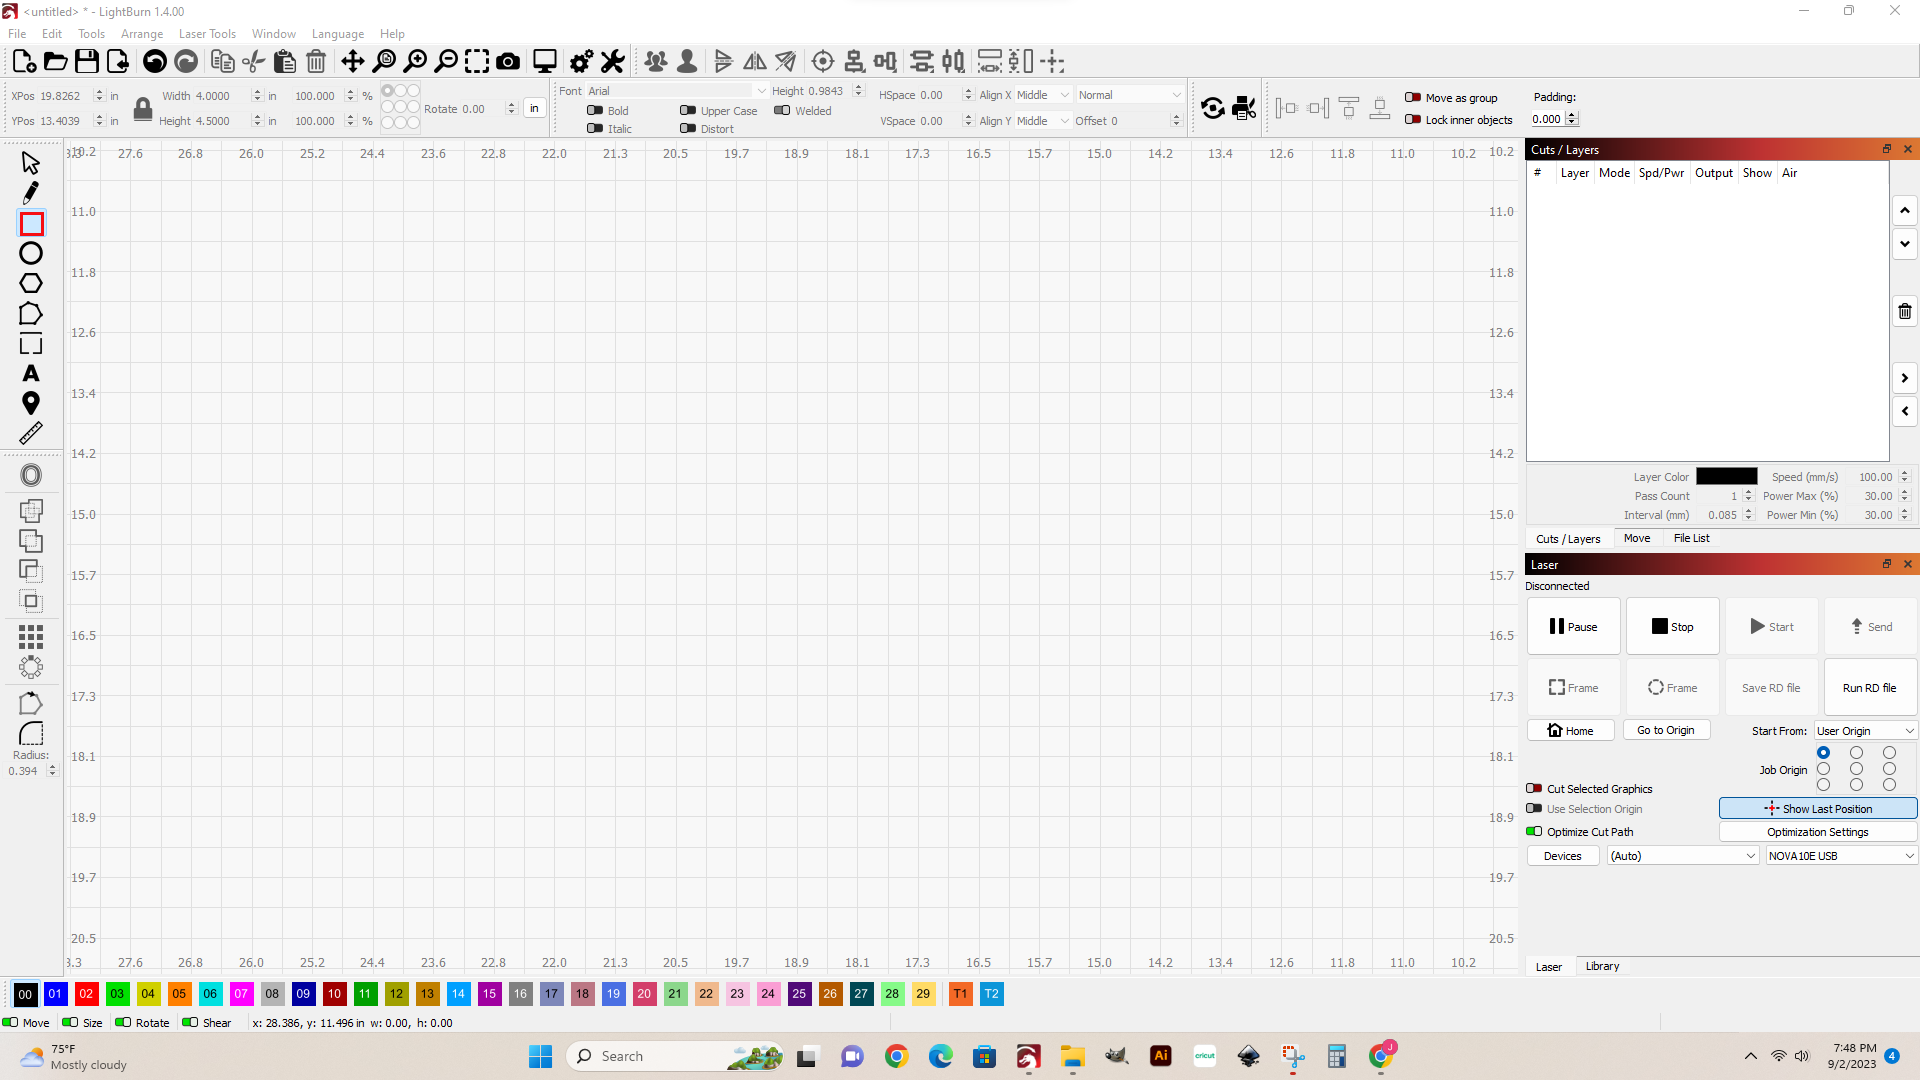
Settings
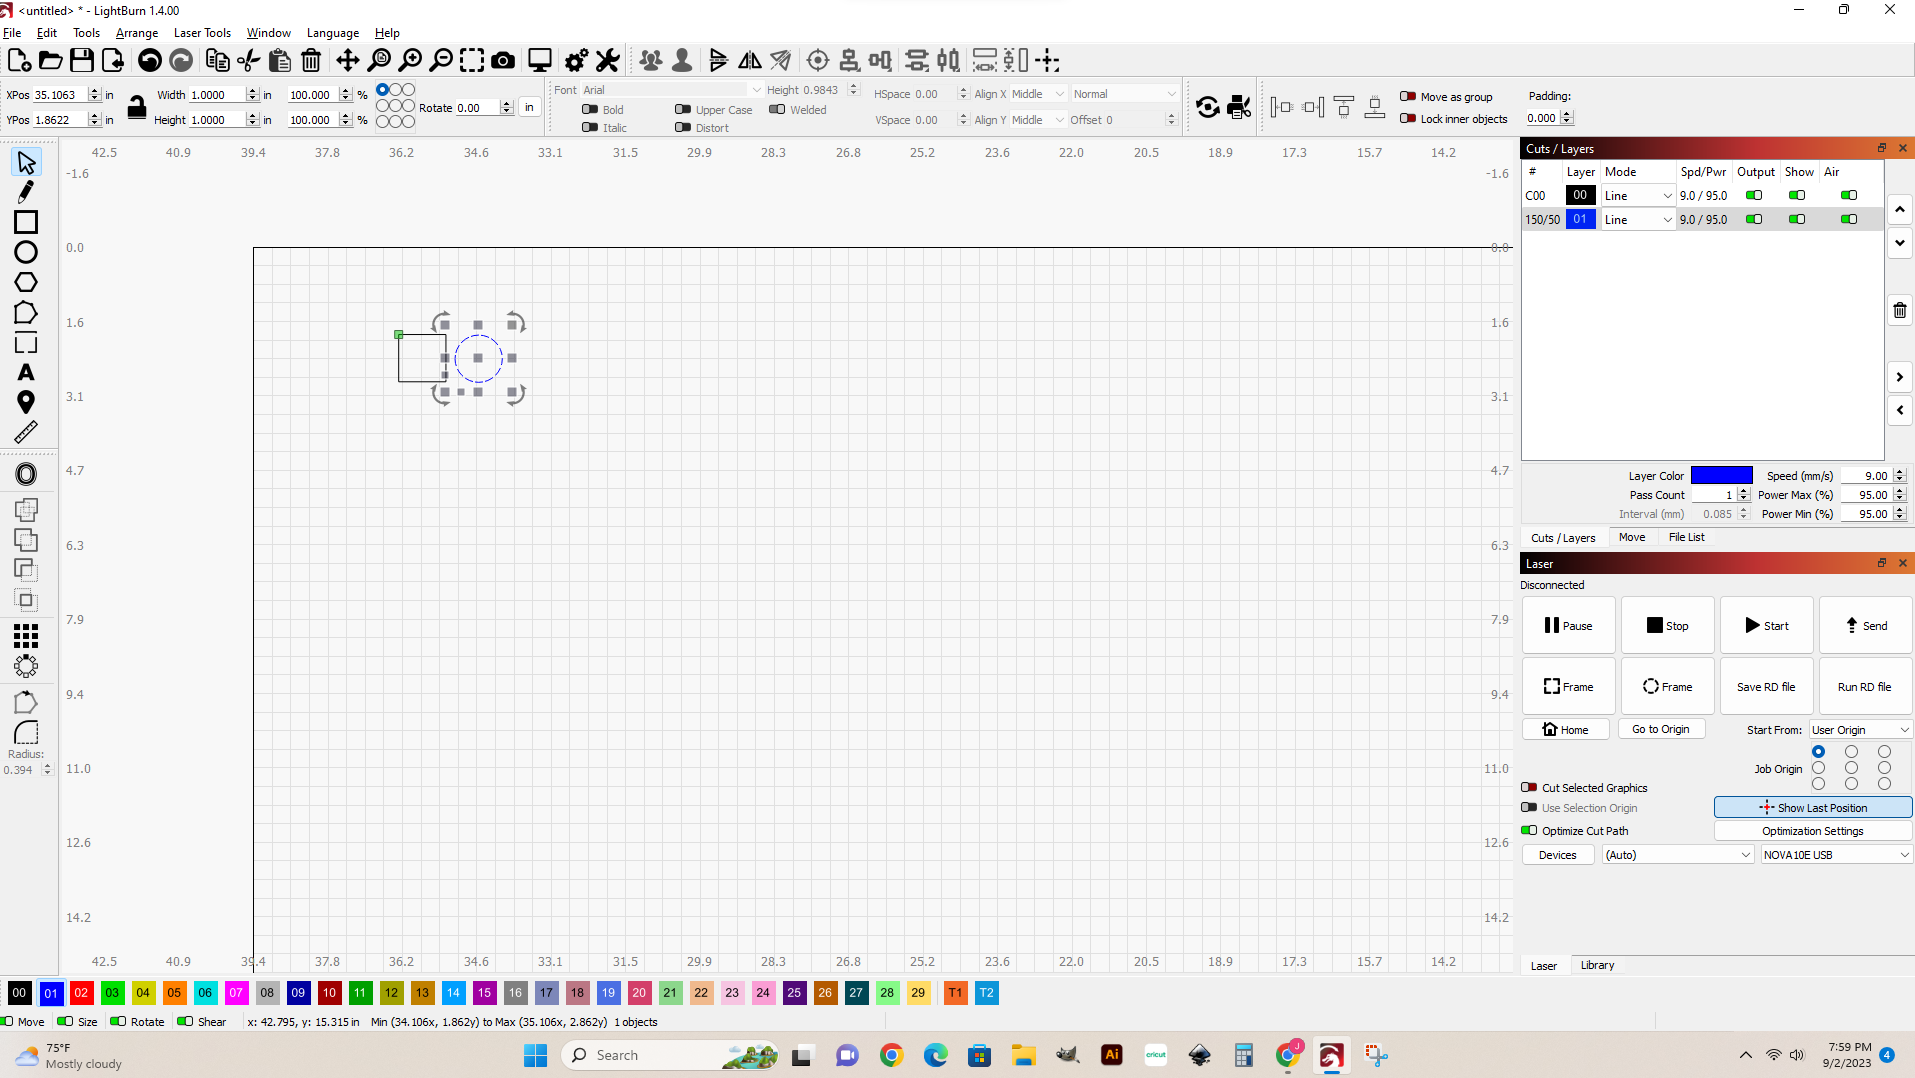
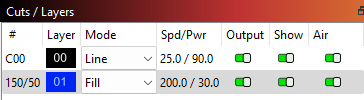
With that done we can move onto settings for the shapes, Let's set the shapes to two different colors so we can have individual settings on them. To do this I'm going to select the circle and then click down on one of the unused colors on the bottom.
Fill and Line
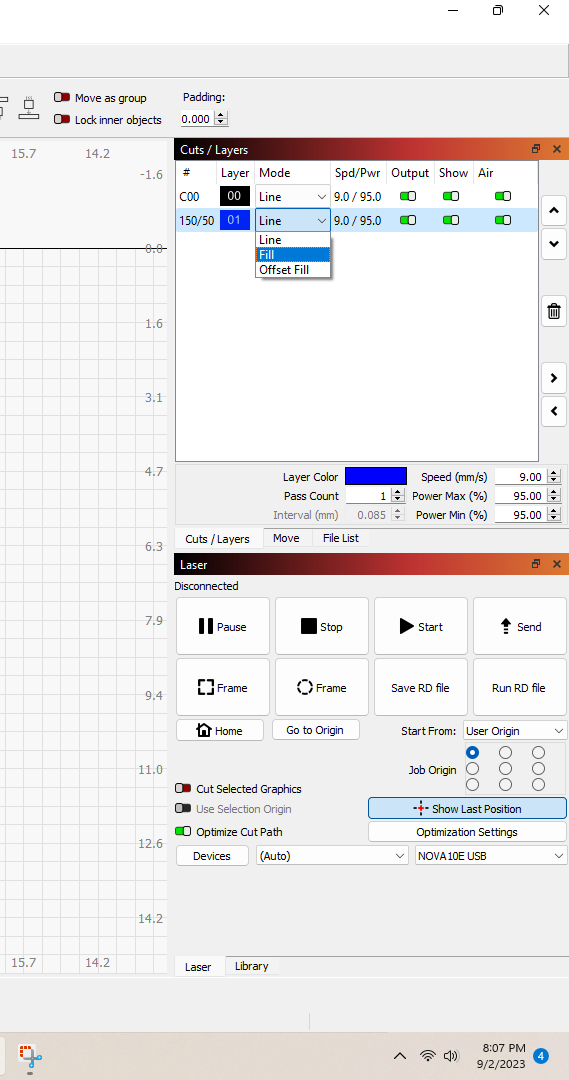
Now we see on the right that there are settings for each shape (note that the laser will go through these in sequential order) for the blue one im going to switch it from “line” to “Fill”. This means that instead of following the shapes outline it will instead laser everything inside of the shapes outline.
Speed and Power
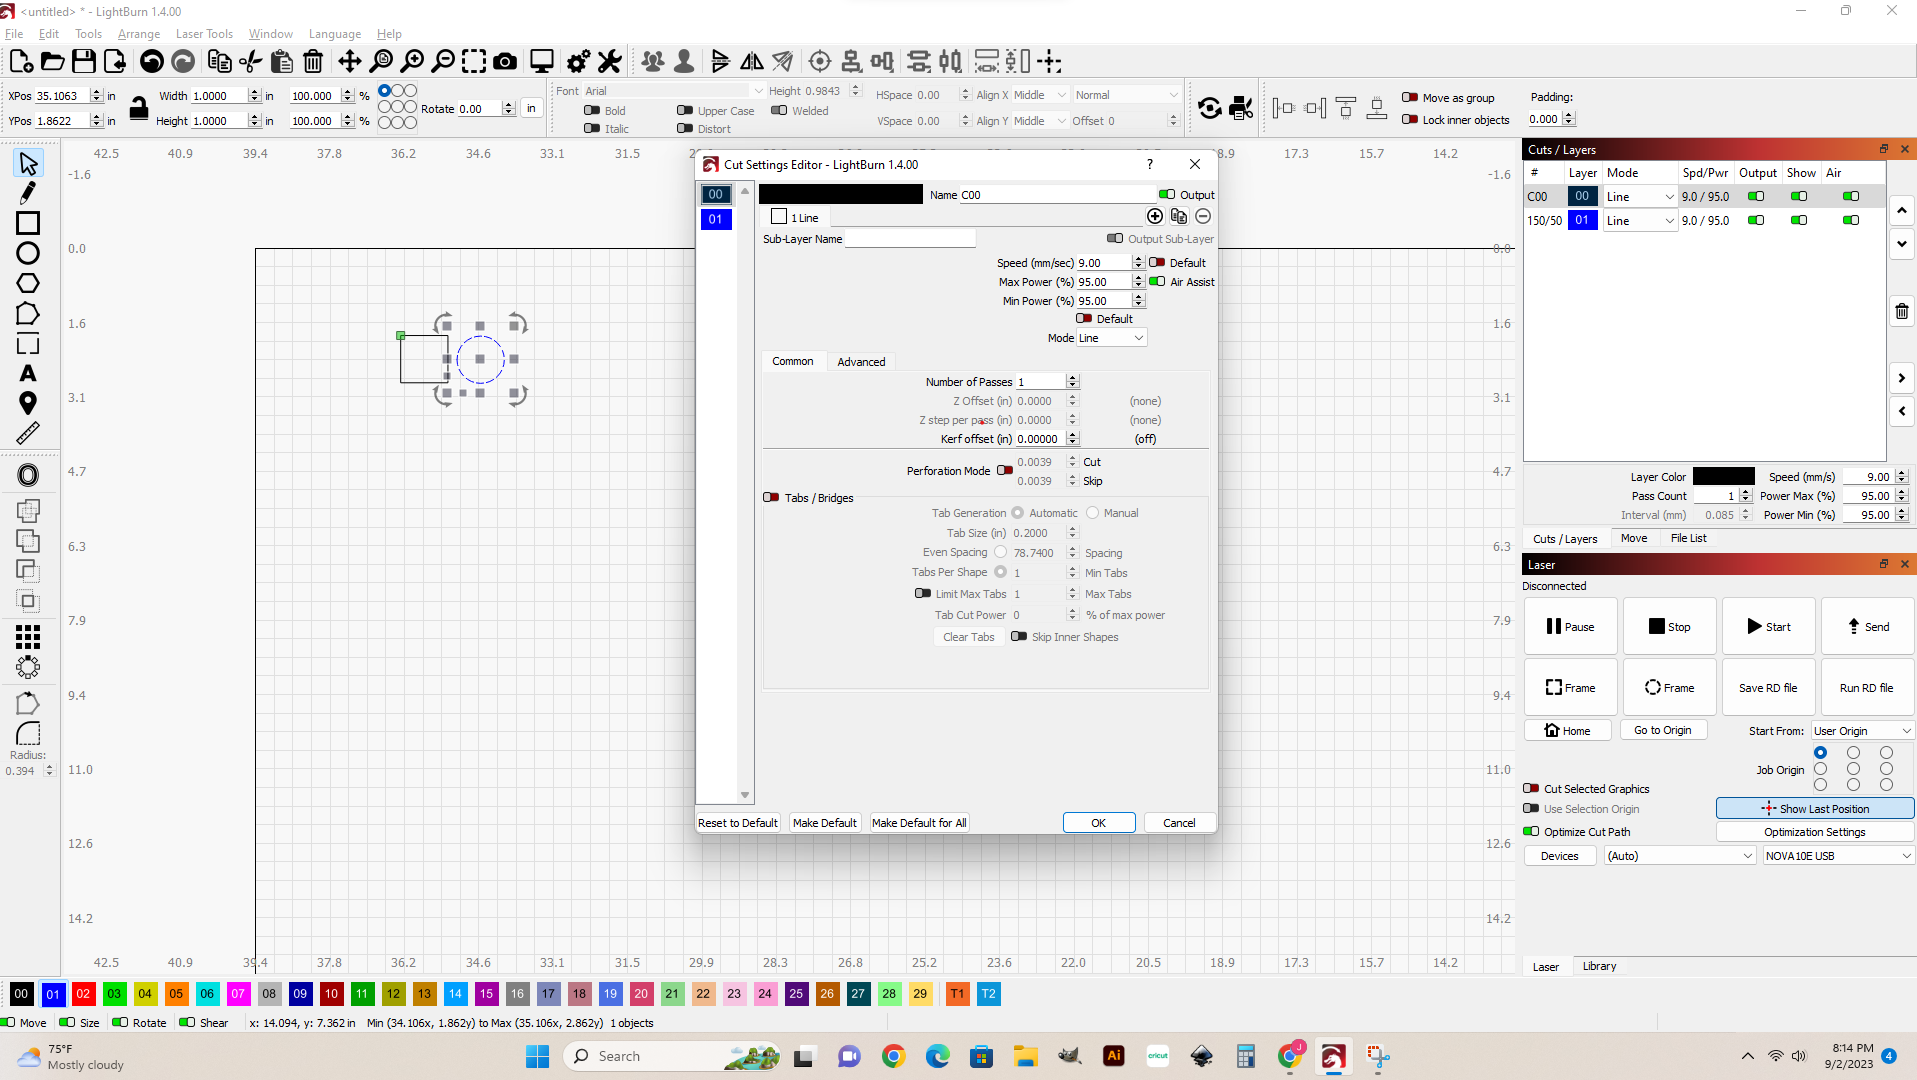
Next let's change the speed and power settings(simply double click on the entry in the cut/layers window)
Line Speed and Power
In general most lasers power shouldn't be used above 90% and it reduces the lifespan of your tube for your maximum speed check your lasers specification. For the square set to line mode im going to use the settings of 25 speed and 90 % power (min and max) This will generally cut through most thin woods but for your material specifically you'll need to do some trial and error testing. After you set those simply click OK
Fill Speed and Power
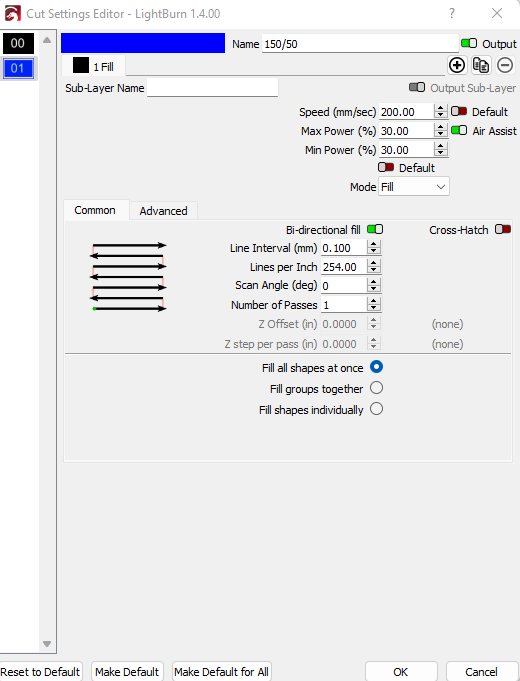
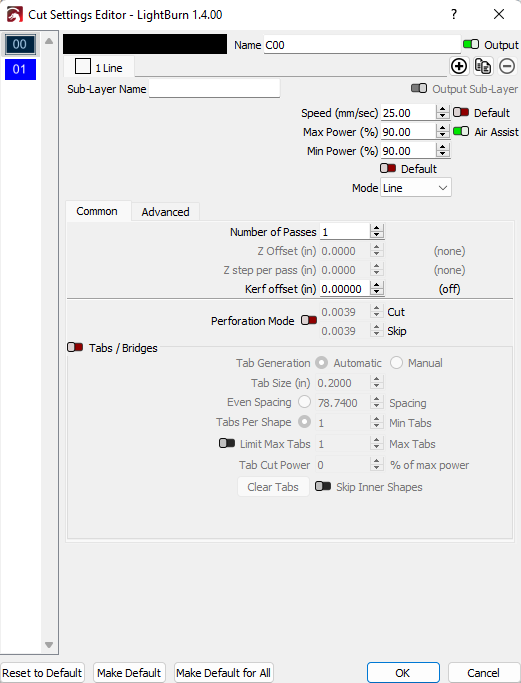
After that i'll double click on the blue entry and change the speed and power setting for the circle, Sense this will be a fill in. I don't want to use those cut settings. I'm going to use 200 speed and 30 power. Then simply click OK.
Double Check
Next just double check that air assist ,show and output are all check for both shapes.
Save RD File

Next we save the file as an RD file to a removable drive. Click teh save RD file and locate your removable drive and name the file
Save Lightburn Scene

You can also save the light burn scene with File>save as
Image Setting
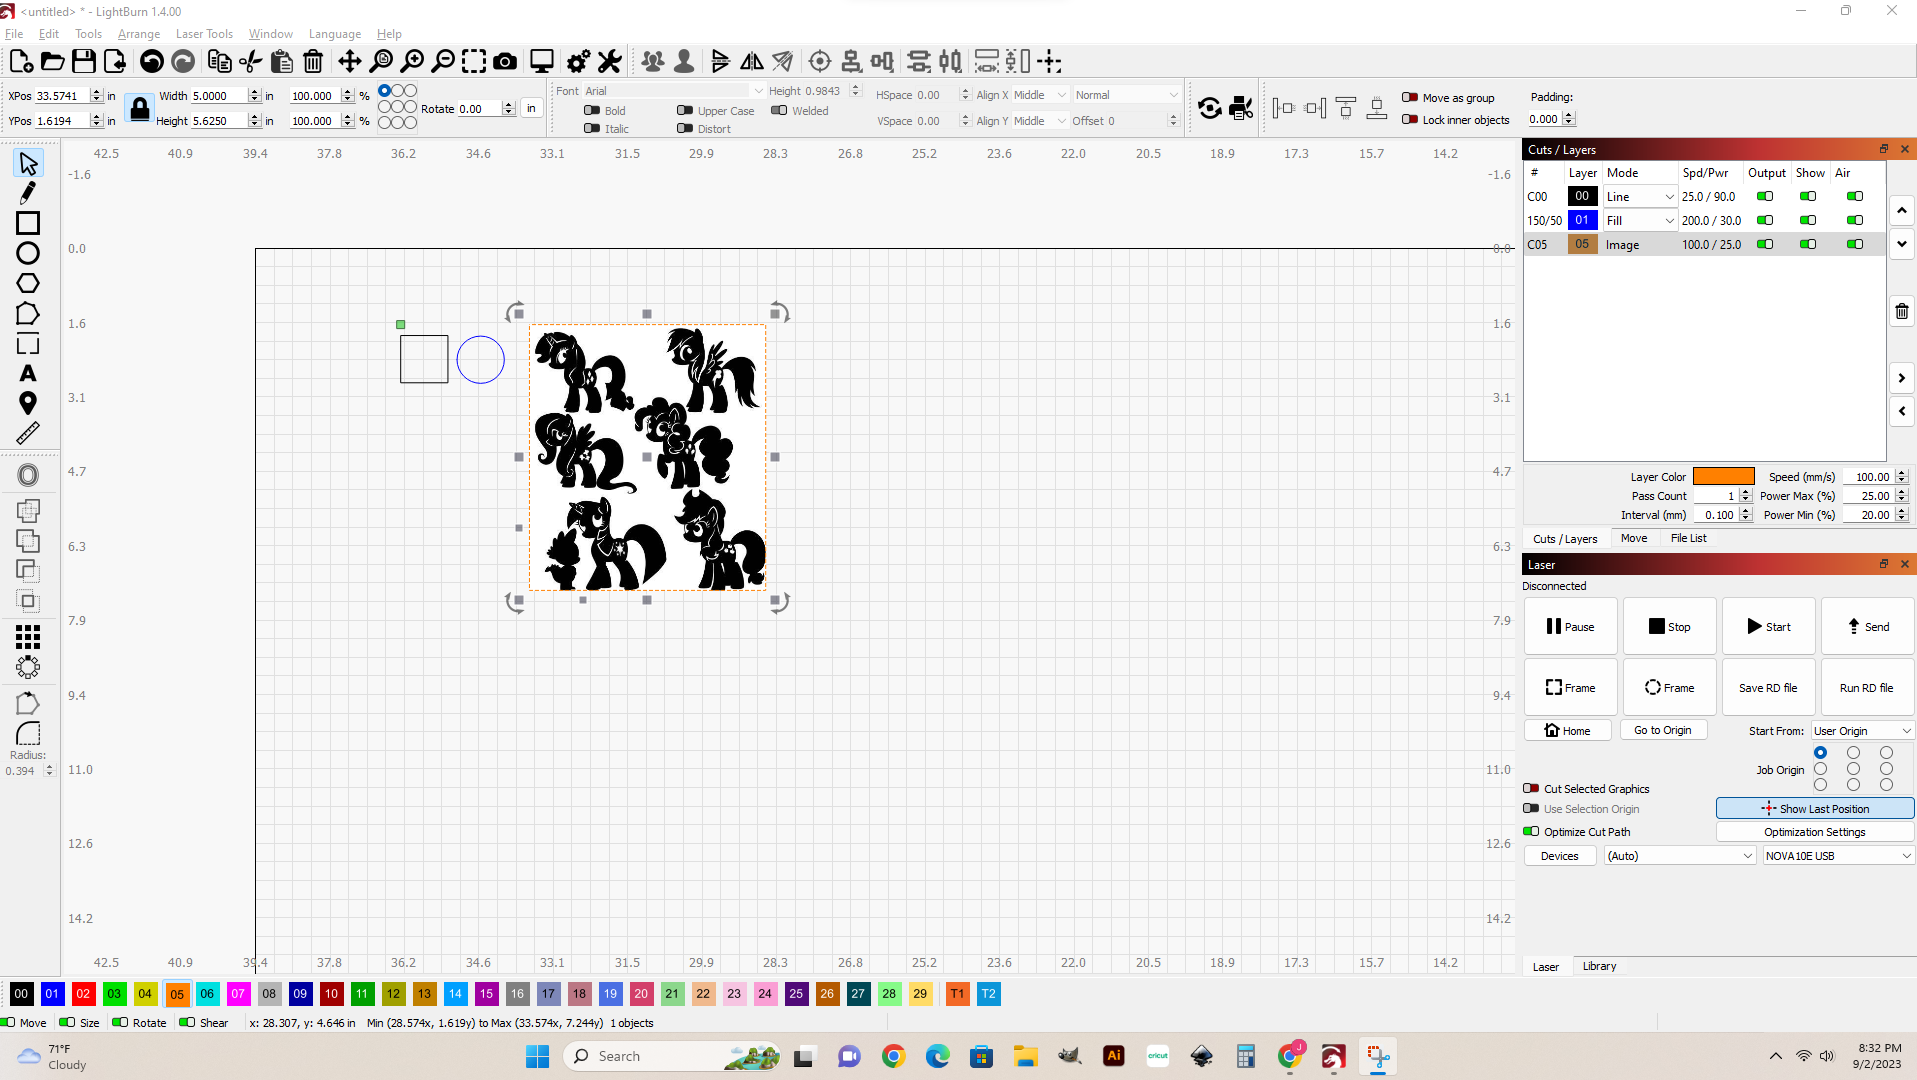
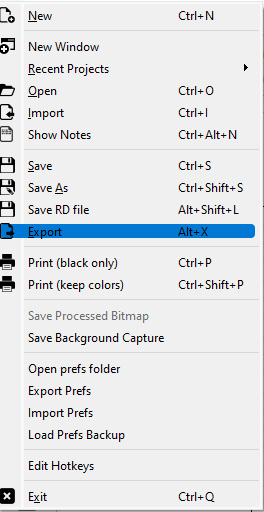
Extra tip if you import an image using File>import
If you look on the right youll notice the imported image isnt set to either line or fill its set to Image. Its worth noting that these are different and can turn out differently depending on what image settings you use.