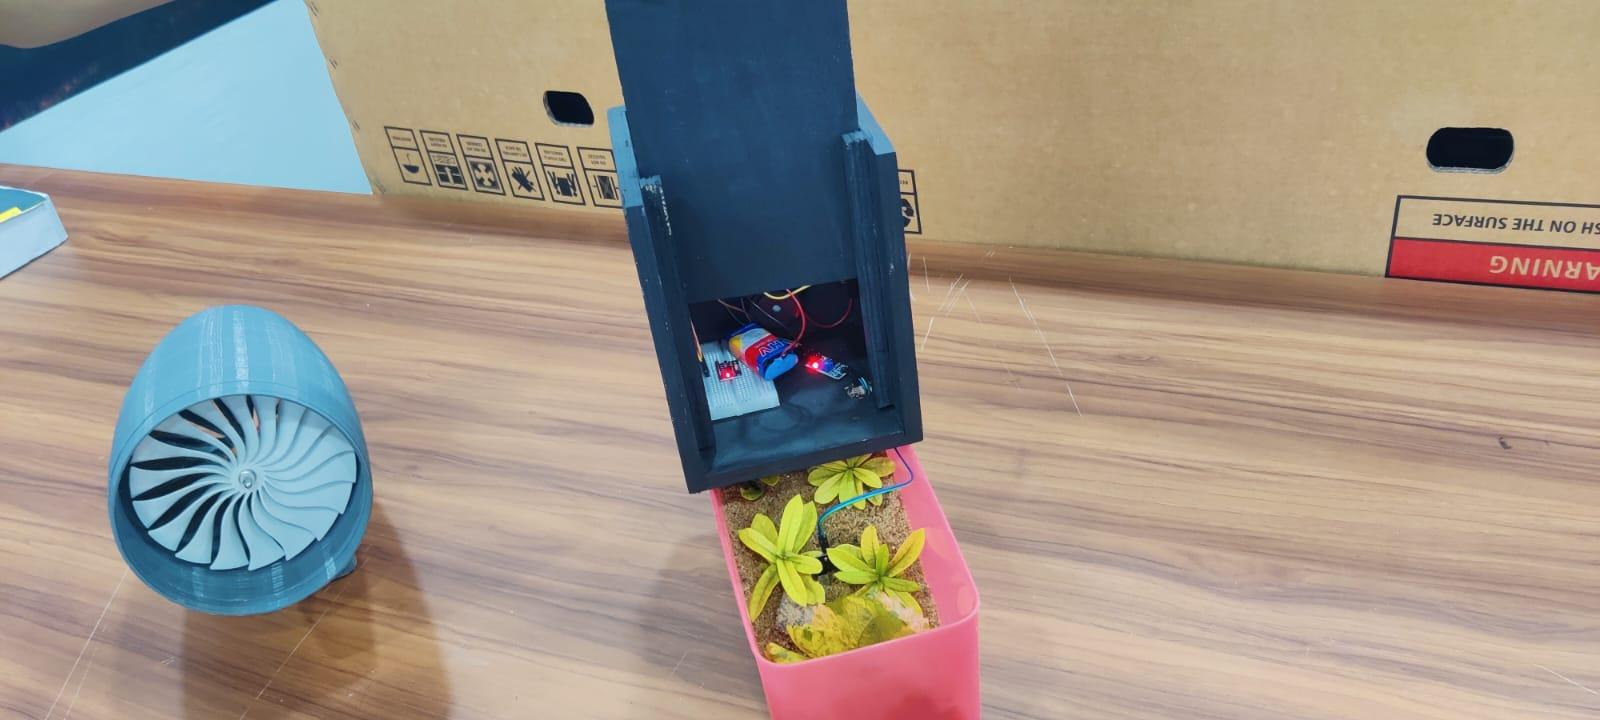
Basic Landslide Detector


This project uses a basic system to detect ground tilt and moisture levels, helping to monitor areas prone to landslides.
Supplies
What You’ll Need:
- MPU6050 sensor (for tilt detection)
- Soil moisture sensor
- Arduino Uno
- Buzzer
- Battery
- Enclosure box
Set Up the Enclosure
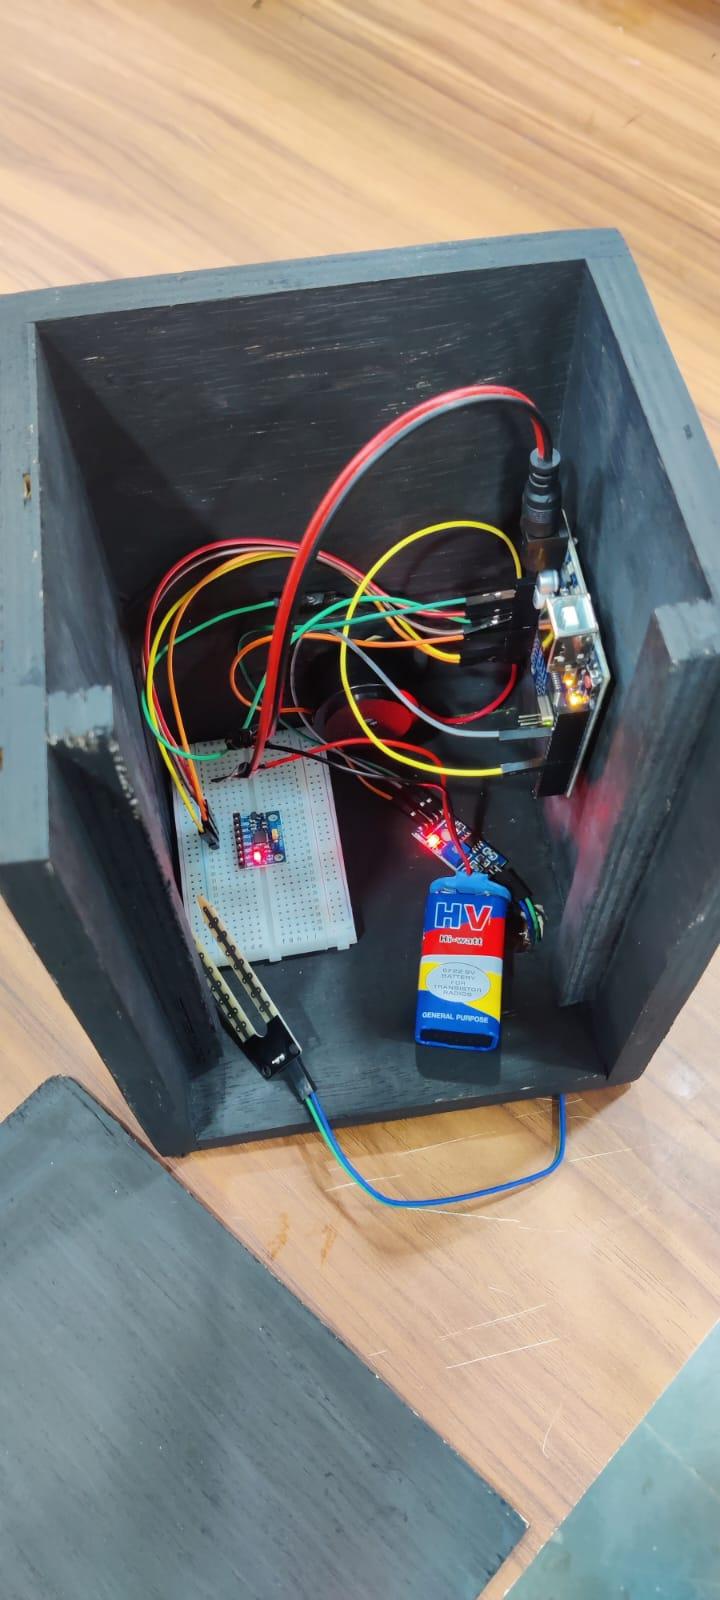
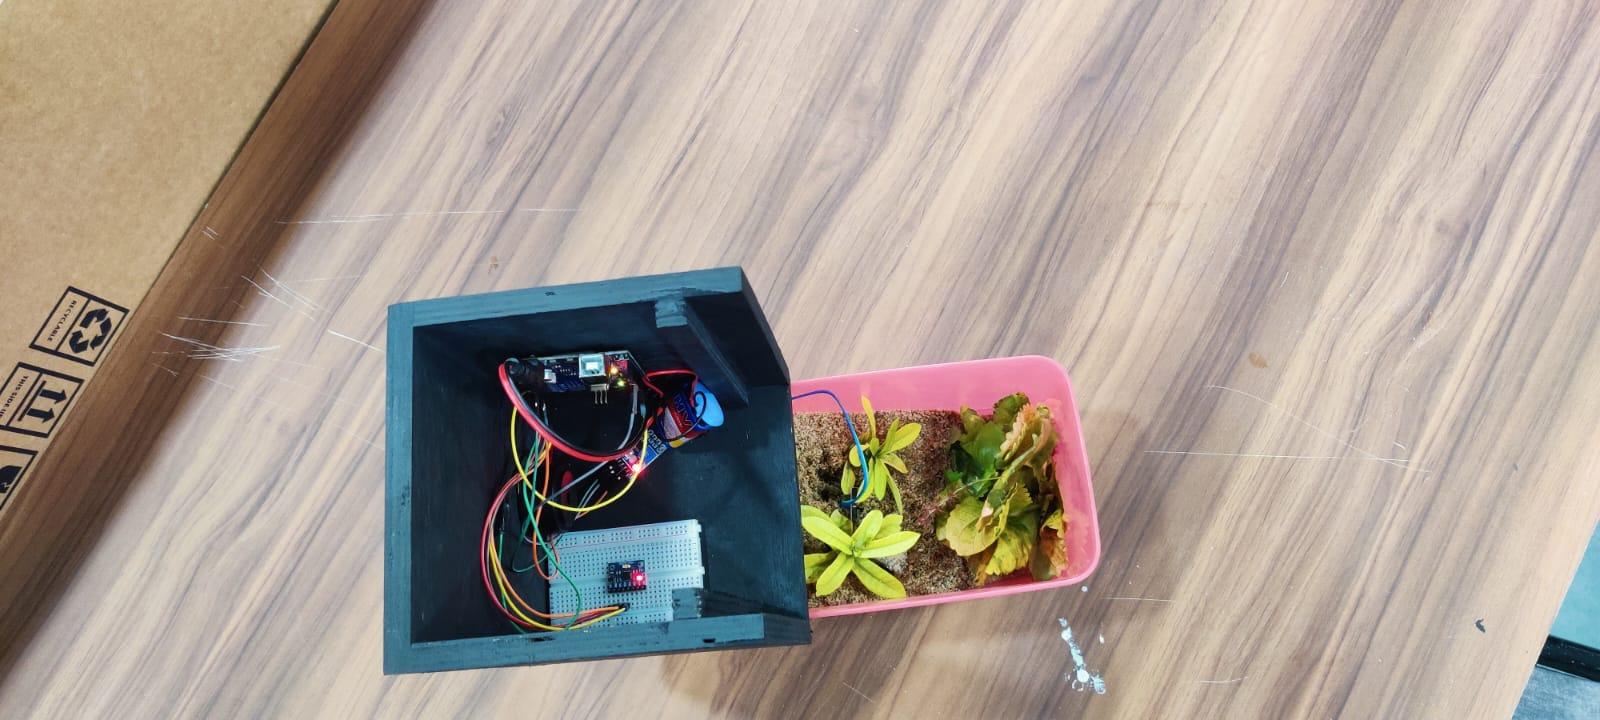
Start by preparing a small enclosure to house all the components. This will protect your sensors and make the device easy to set up in the field.
Make the Connections
Now, let’s connect everything together:
- MPU6050 sensor: Connect the VCC and GND pins to the Arduino’s 5V and GND, respectively. Connect the SDA and SCL pins to the Arduino’s A4 and A5 pins for communication.
- Soil moisture sensor: Connect the sensor’s VCC to 5V, GND to GND, and the output pin to one of the Arduino’s analog pins (e.g., A0).
- Buzzer: Connect one side of the buzzer to the Arduino’s digital pin 7 and the other to GND.
- Battery: Connect a suitable battery to power the system (ensure it matches your Arduino’s requirements).
Program the Arduino
Download the code and upload it to your Arduino board after selecting the correct board in the IDE. Don’t forget to install the MPU6050 library before uploading.
Downloads
Test and Place
If the MPU6050 isn’t working properly, like giving inaccurate or unstable values, here’s what you can do:
- Adjust Sensitivity:
- Open the code and find the section in setup() where sensitivity is configured.
- To adjust accelerometer sensitivity, look for this commented part of the code:
- Change the Wire.write(0x00) value to adjust the range:
- 0x00: ±2g (default)
- 0x08: ±4g
- 0x10: ±8g
- 0x18: ±16g
- To adjust gyroscope sensitivity, look for this part:
- Change the Wire.write(0x00) value to adjust the range:
- 0x00: ±250°/s (default)
- 0x08: ±500°/s
- 0x10: ±1000°/s
- 0x18: ±2000°/s
Update these values depending on whether you want higher sensitivity (lower range) or the ability to measure larger movements (higher range).
- Check Orientation:
- Make sure the sensor is placed flat and aligned with your setup.
- Use the Serial Monitor to check the roll, pitch, and yaw values as you adjust the sensor's position until they make sense for your setup.
- Recalibrate the Sensor:
- Keep the MPU6050 flat and stable.
- Run the code as it includes the calculate_IMU_error() function. This will print error values to the Serial Monitor.
- Update these values in the section of the code that corrects the sensor's readings.
Tinker Around
Now that your basic landslide detector is up and running, feel free to tinker around with it! You can experiment with adjusting the sensitivity of the soil moisture sensor or the tilt angle for better performance. Adding wireless notifications, improving the buzzer alerts, or even integrating a display for real-time readings are just a few ways you could enhance the project.