Basic Basketball Hoop With Fusion 360
by eklarsen159 in Workshop > 3D Printing
718 Views, 0 Favorites, 0 Comments
Basic Basketball Hoop With Fusion 360


Hello! My name is Eliza and I homeschool through My Tech High.
I've been wanting to learn how to use Fusion 360 for a while, so this is my explanation on how to make a very basic basketball hoop.
If you already know how to use Fusion 360, or just want to skip designing your own, skip to Step 6.
Onward!
Supplies
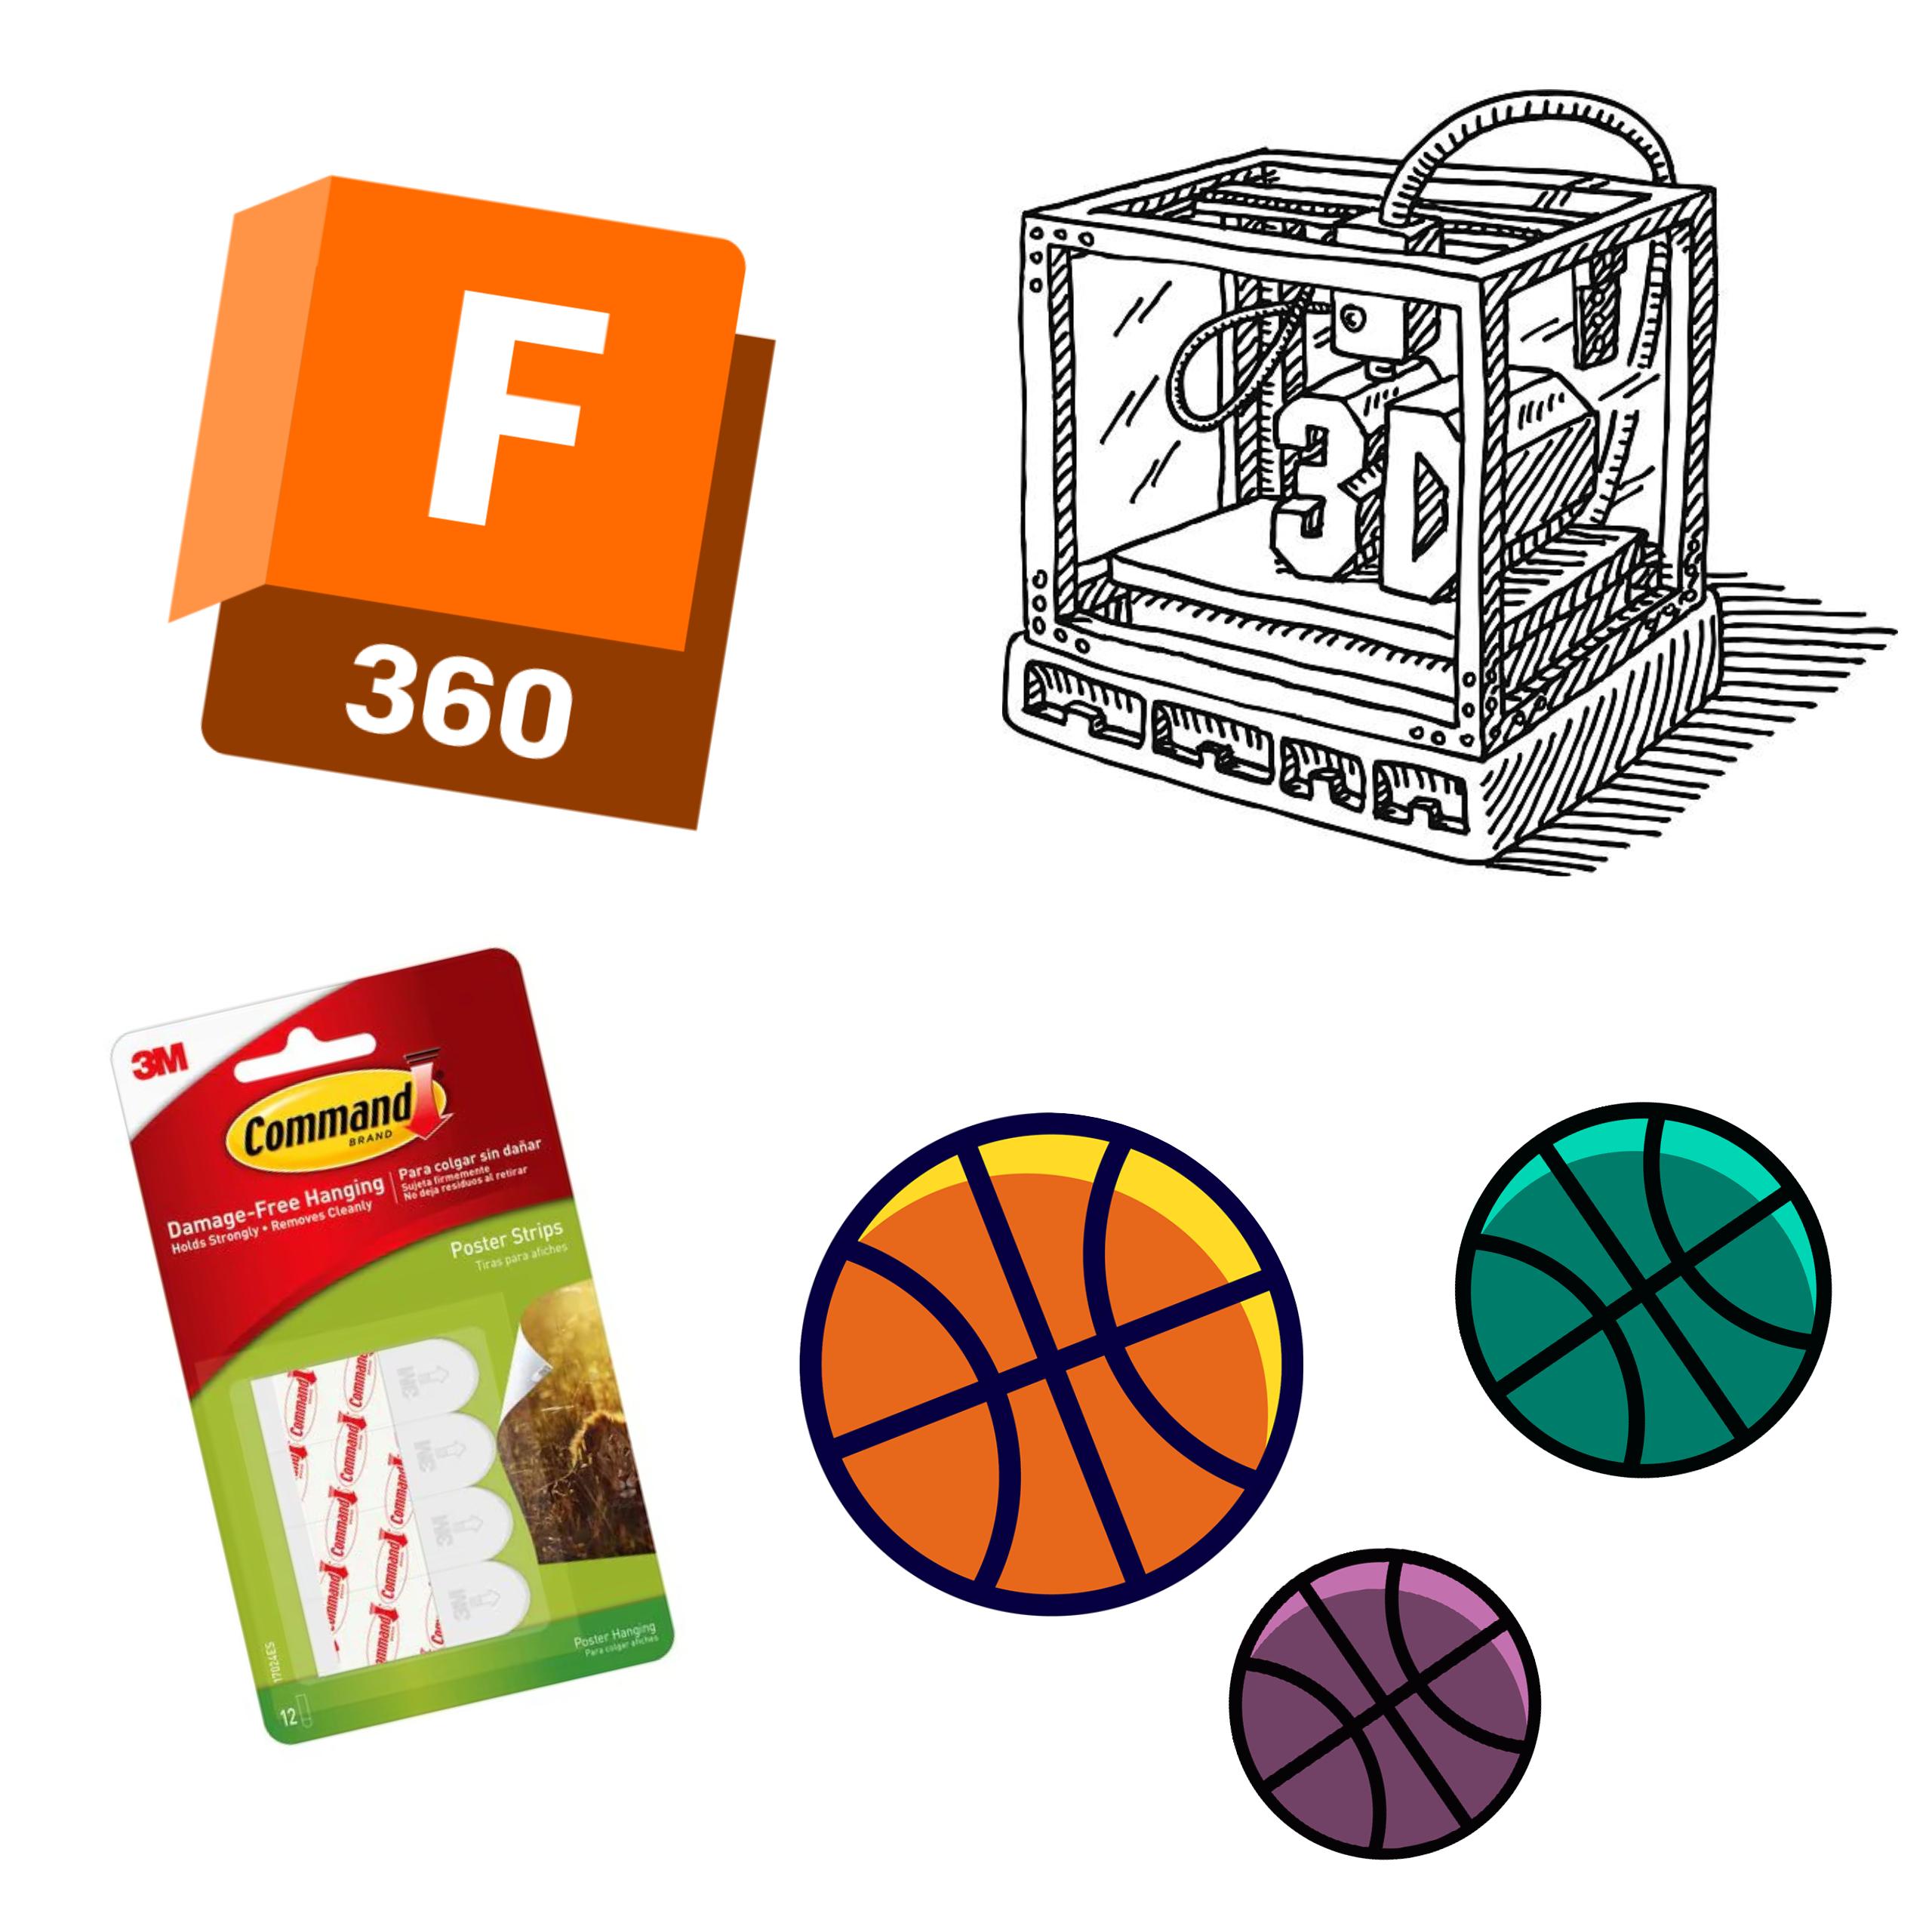
You will need:
- Fusion 360
- 3D Printer and filament
- 1-2 posterstrips (or something you can attach the hoop, to the wall with.)
- ≥1 ball
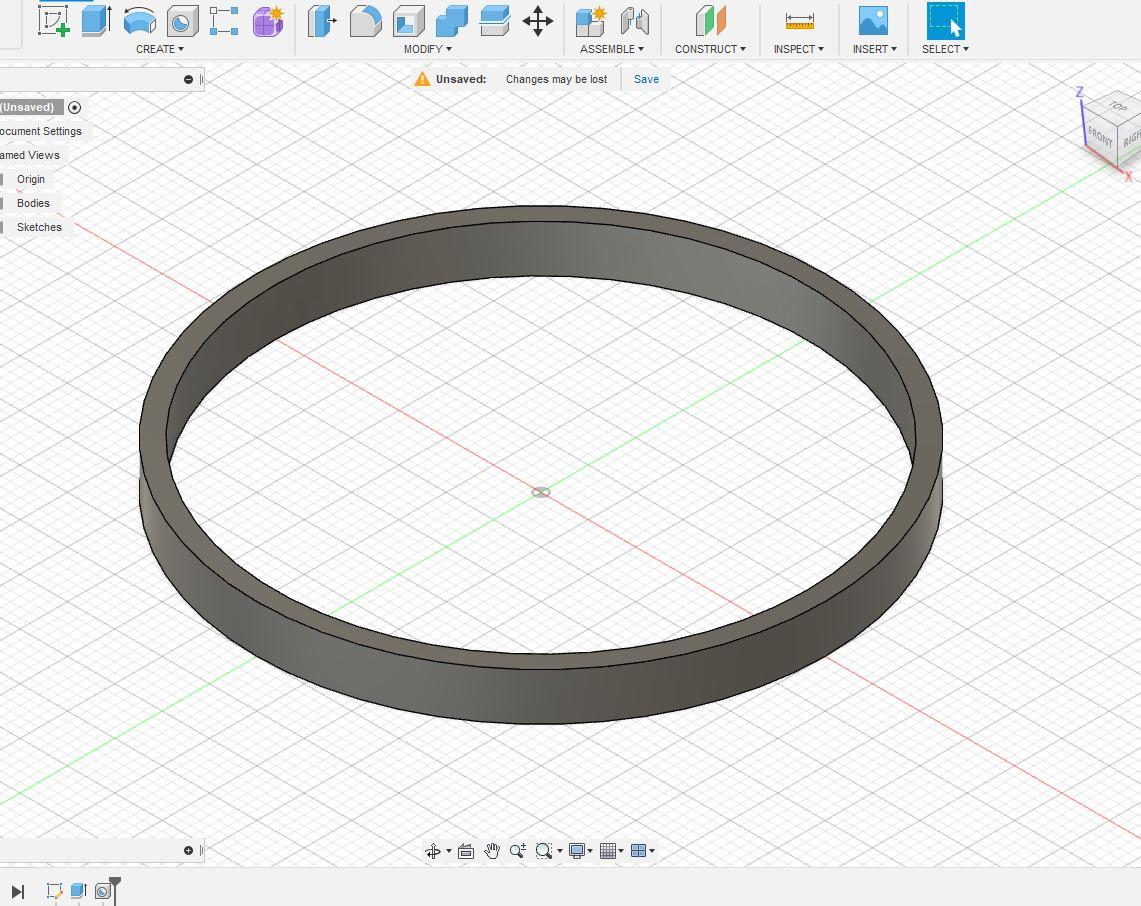
"Sketch" Circle
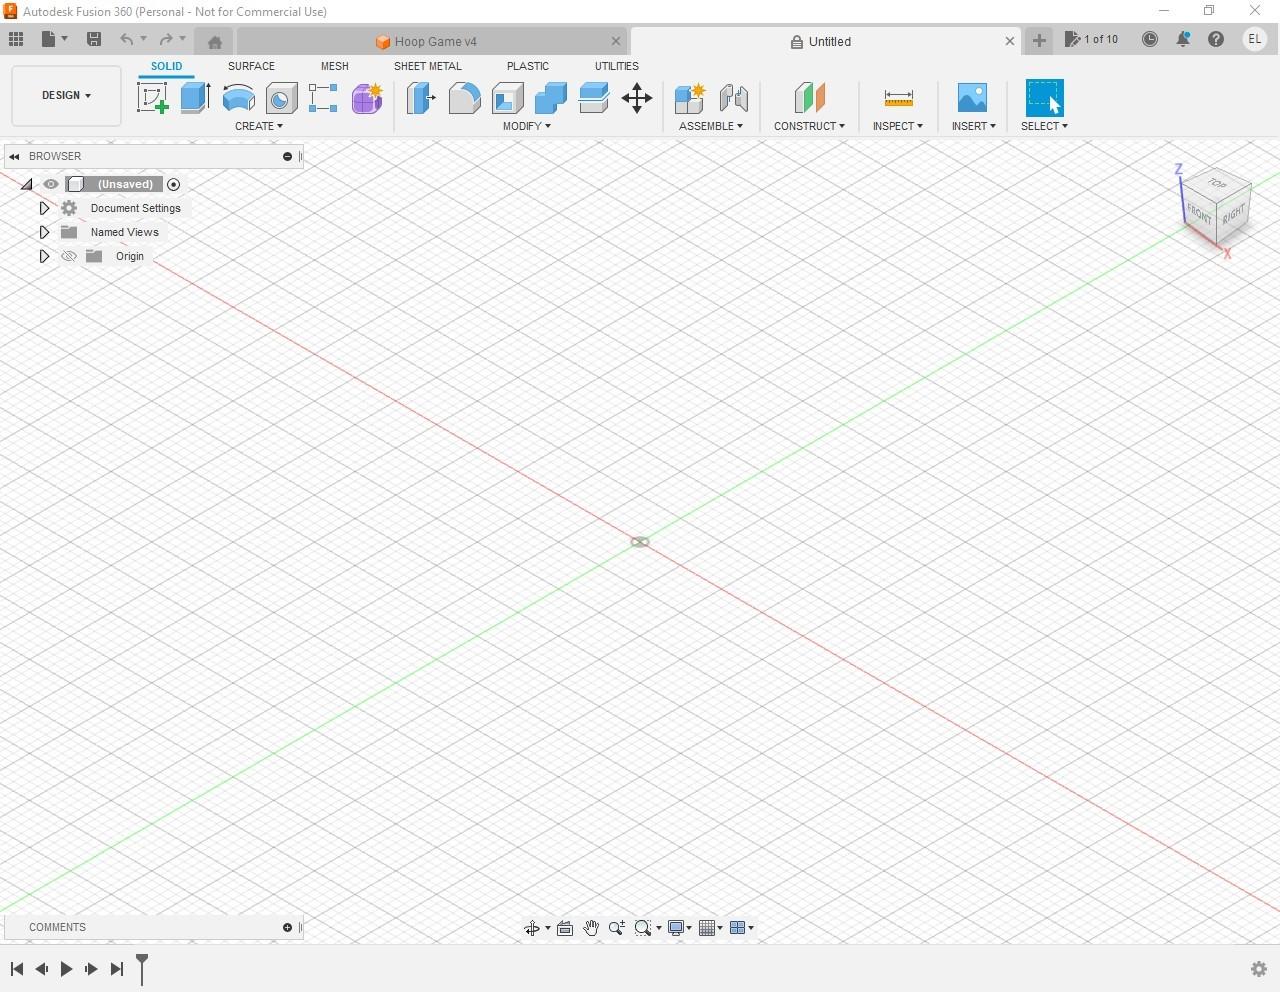
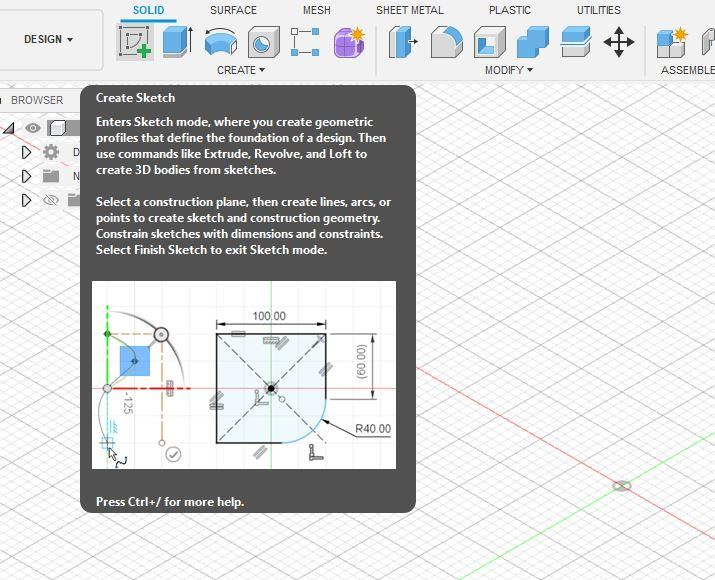
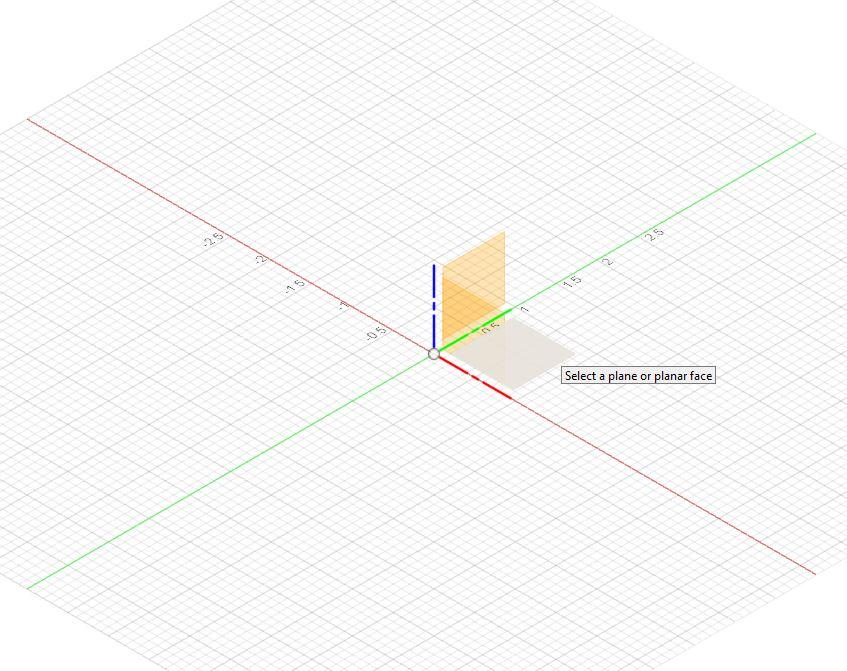
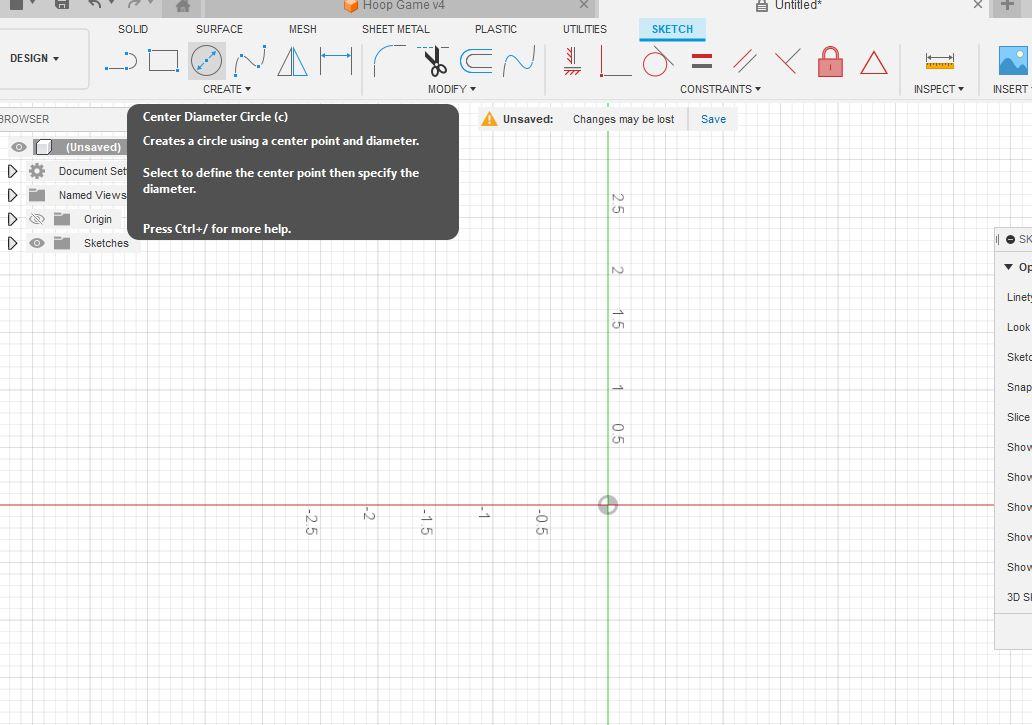
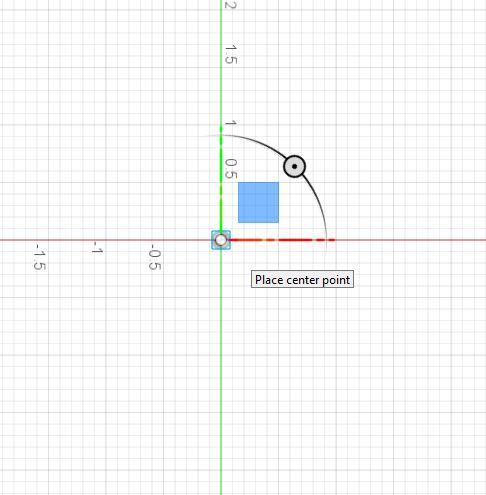
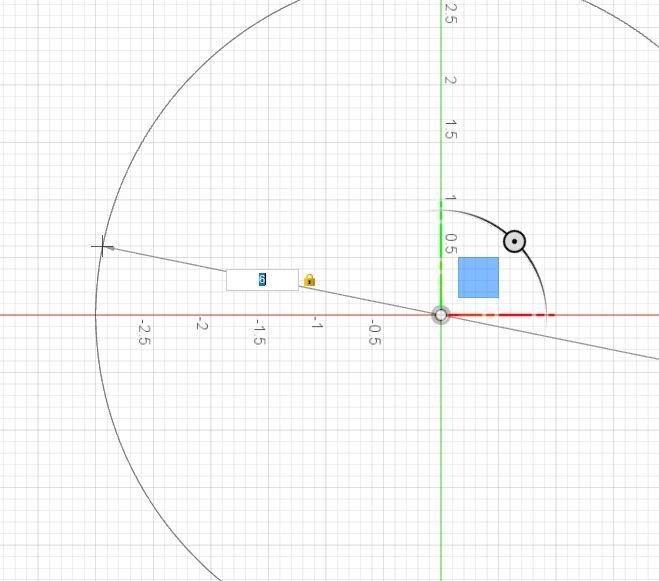
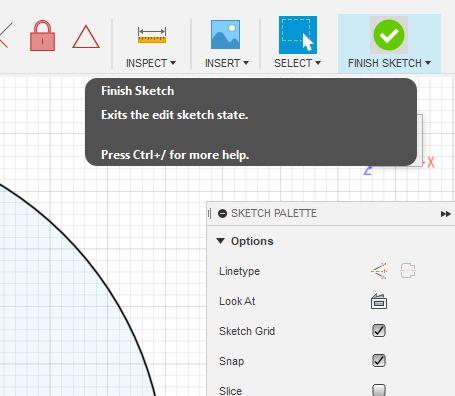
Open Fusion 360. Click "Create Sketch" button. Then select the plane in which you want the shape to be on, which should be . Now select the circle icon or "Center Diameter Circle". Now click the center point, then you can either manually pull, or type in the diameter you want the circle. When you have it the right size, select "finish sketch".
Extrude and Add Hole
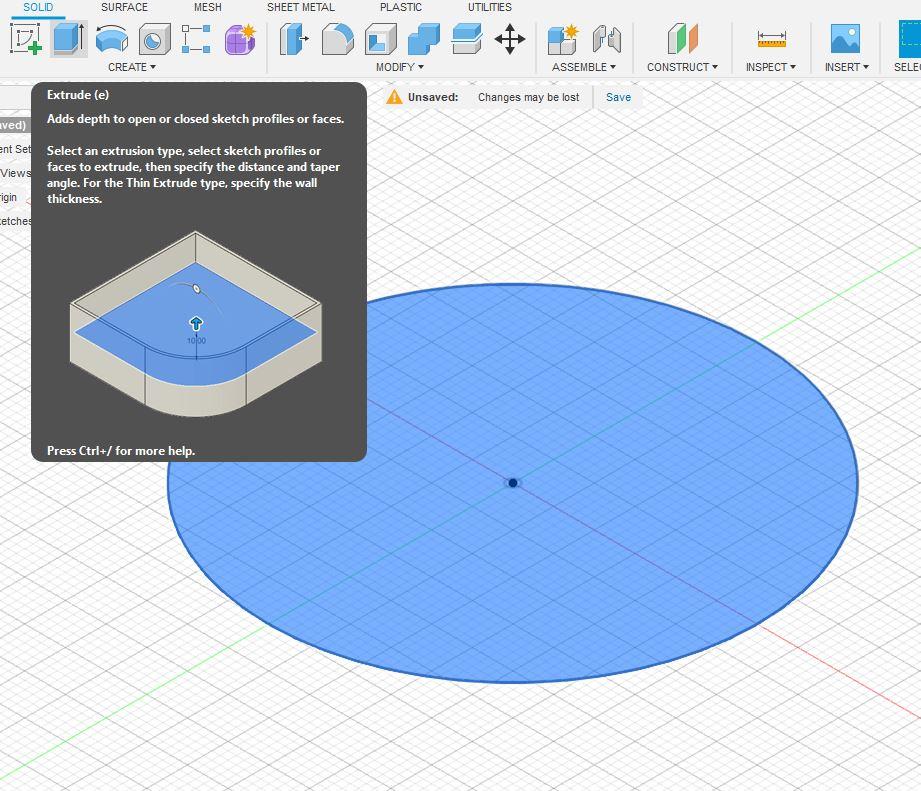
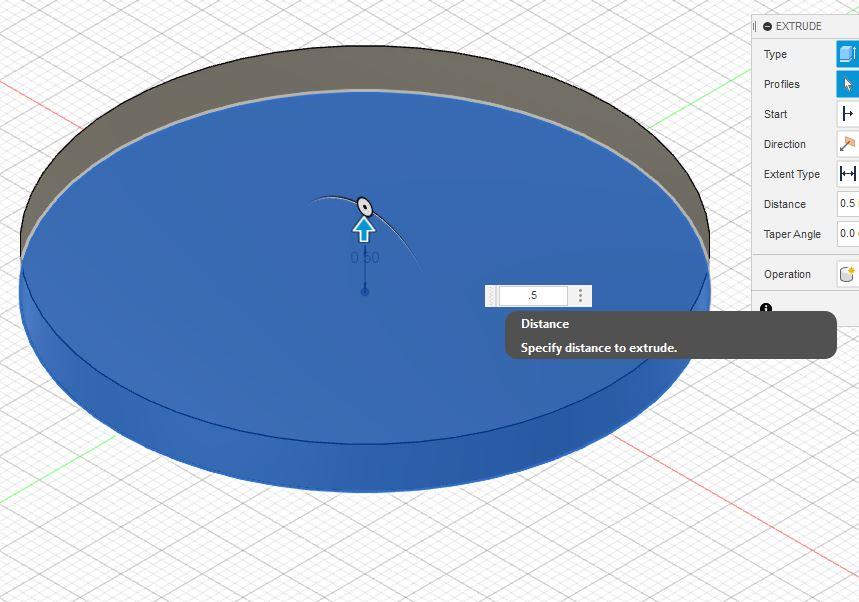
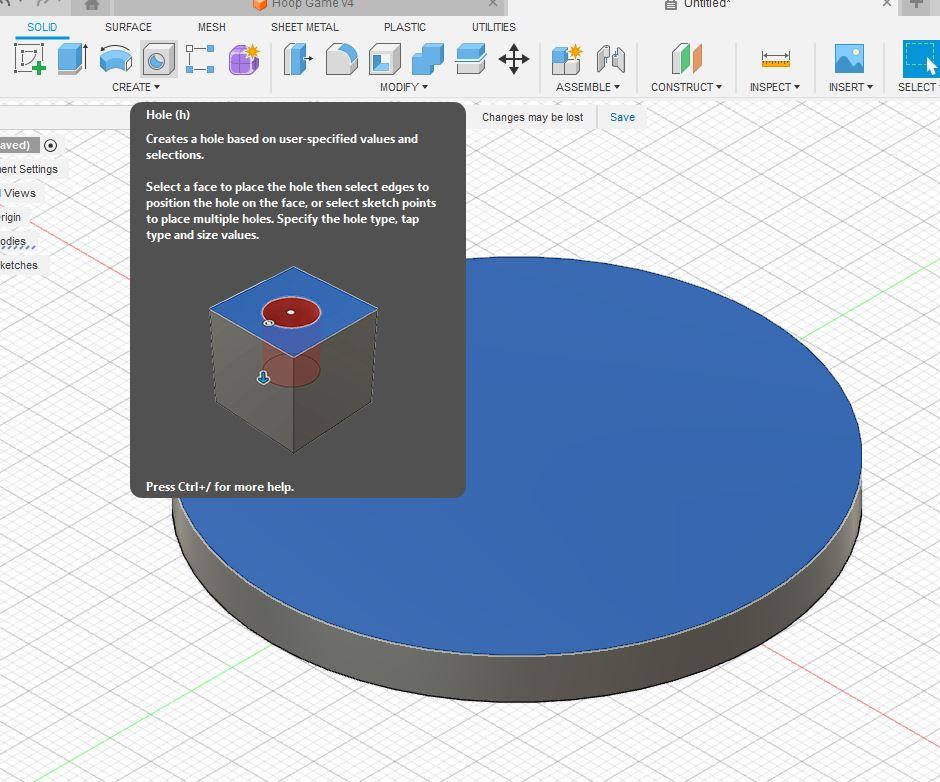
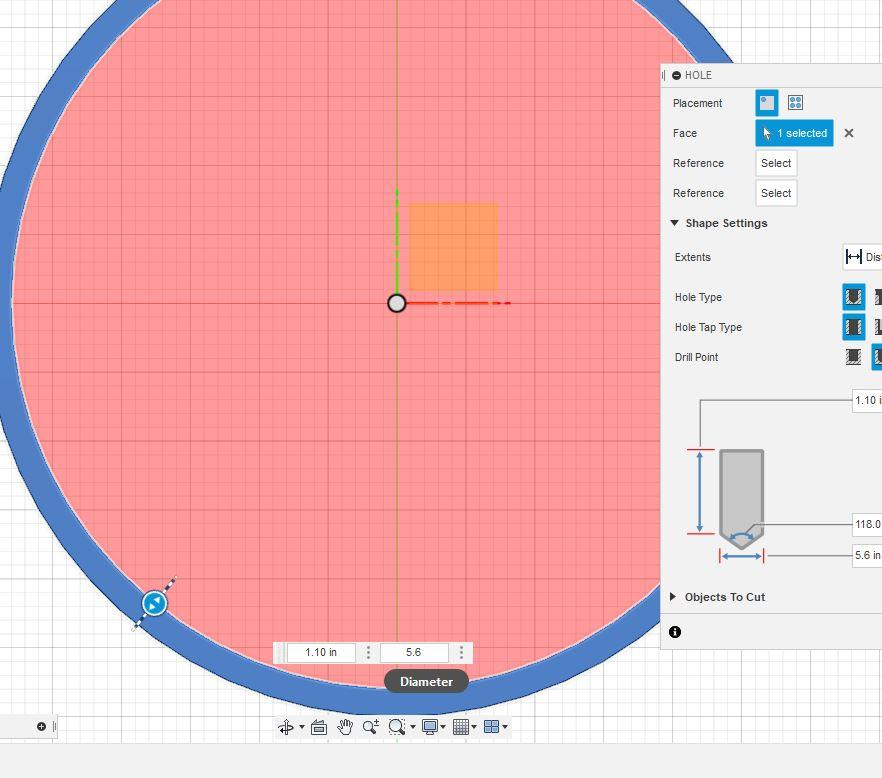
Now to make it 3d, select the circle, then "Extrude". You can now change the height of your cylinder. Once you have it the right height, select the top of the cylinder, then "Hole". Adjust the diameter of the hole until you make the right hoop.
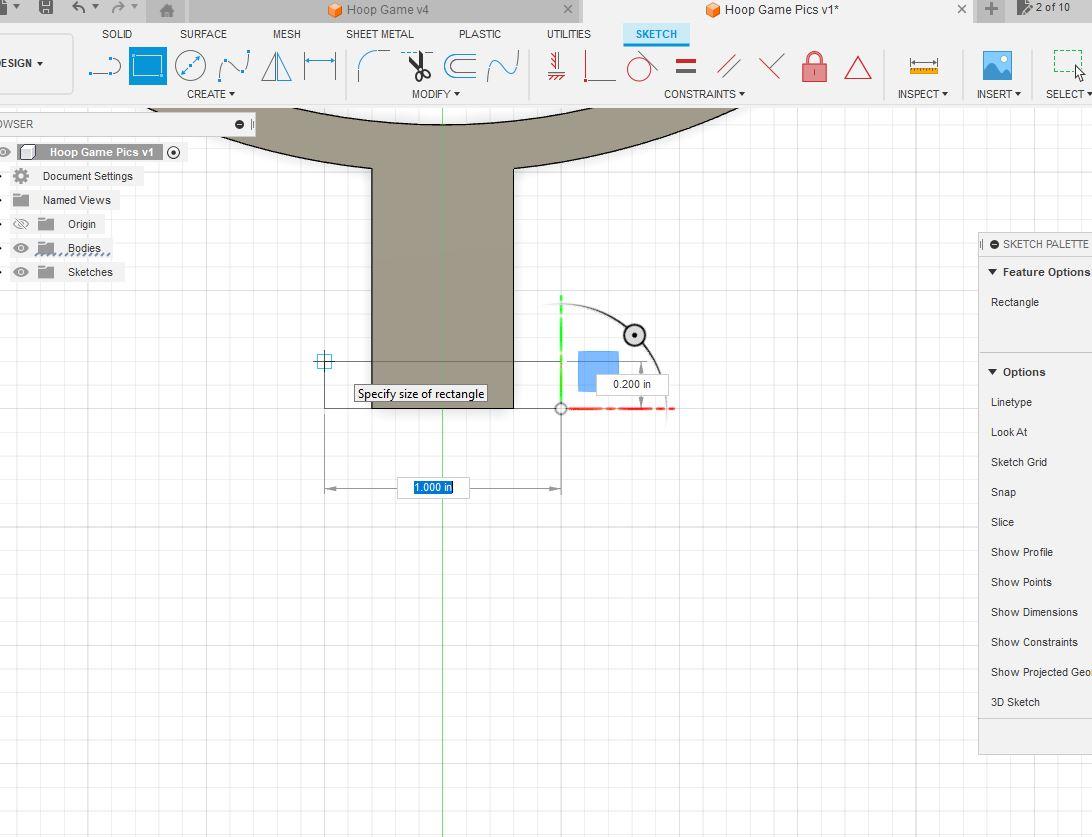
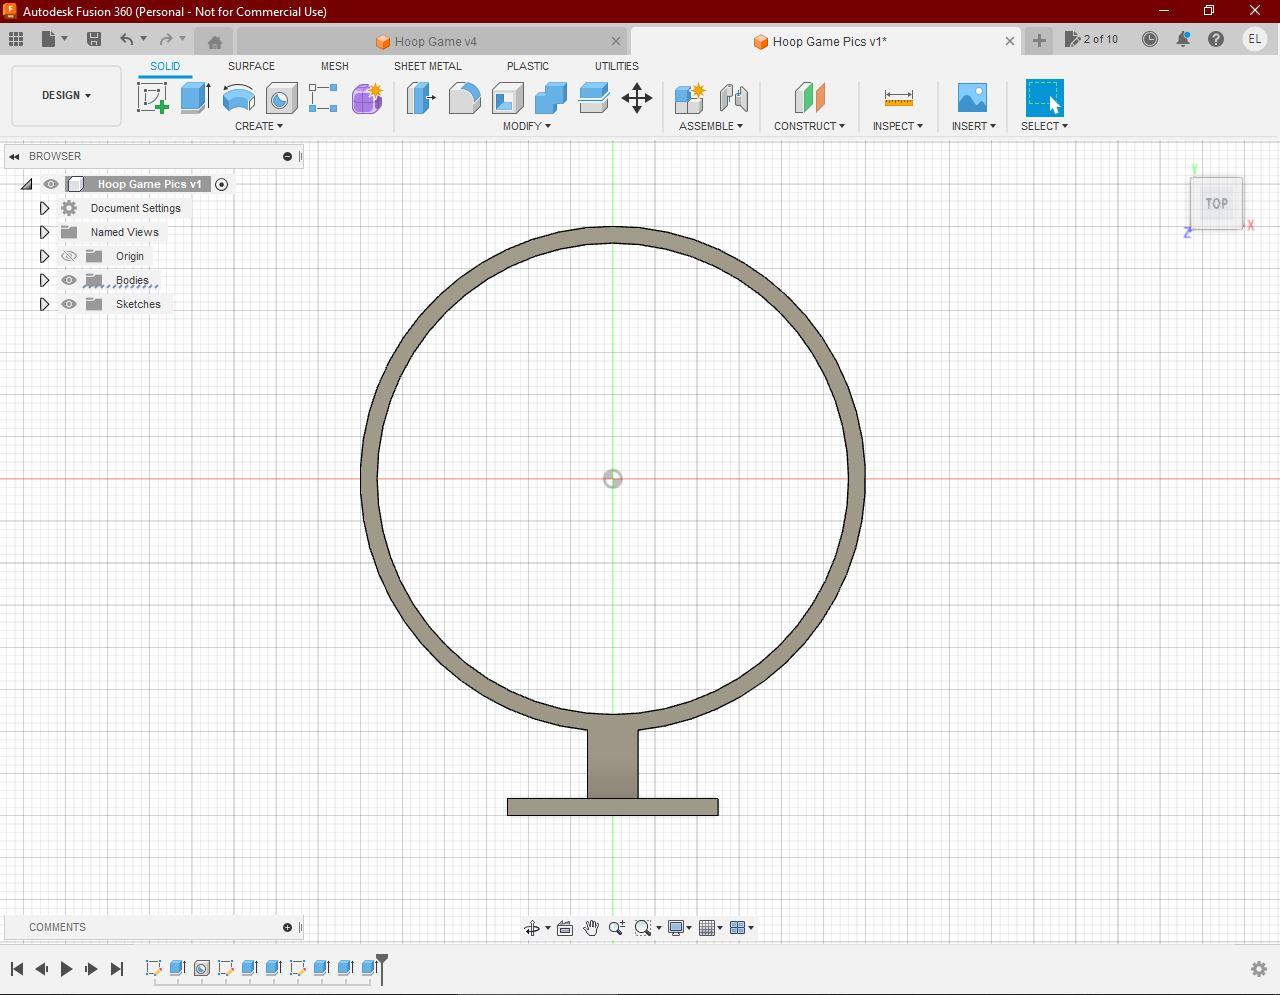
The Neck

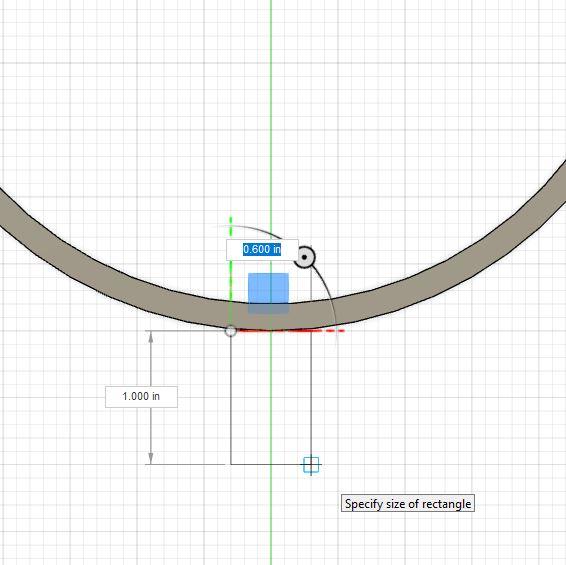
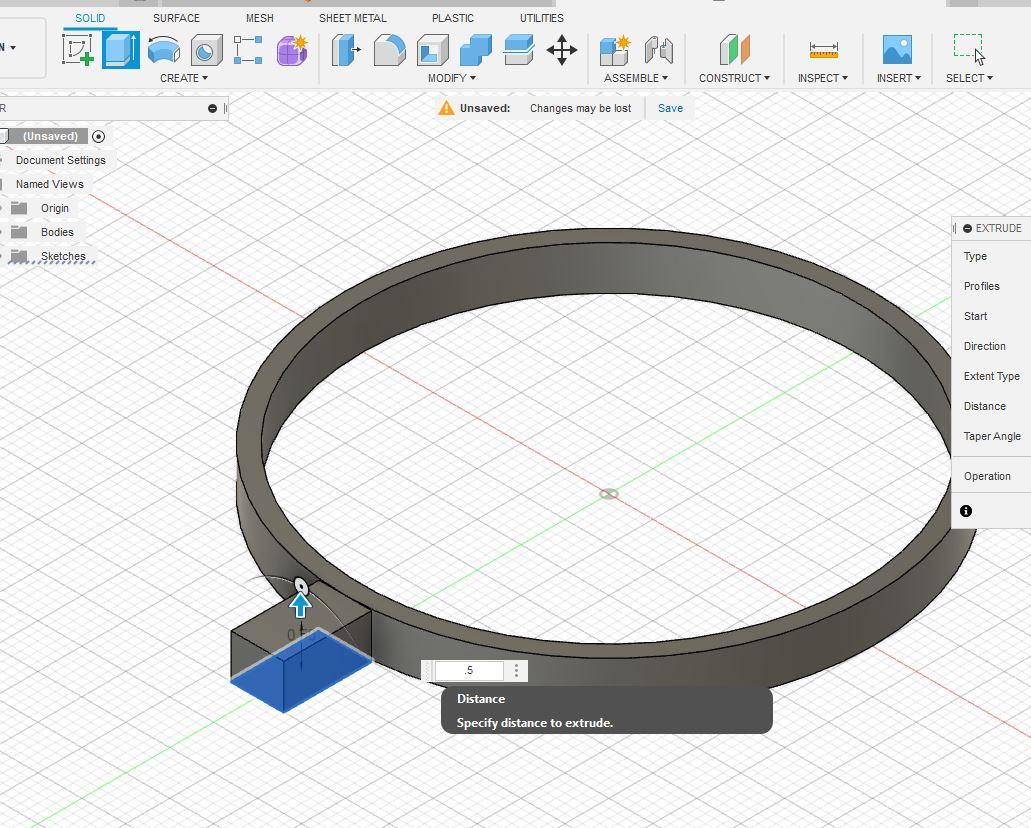

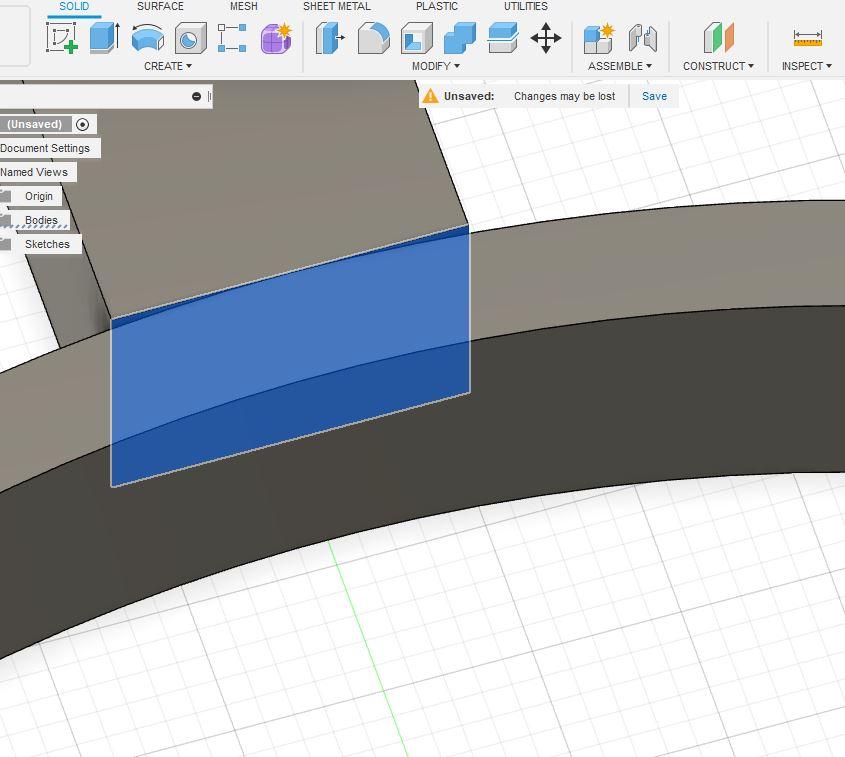

Now to make the neck, click "Create Sketch", select your plane, then "Two Point Rectangle". Adjust till it is the right width and length, then "Finish Sketch". Extrude the rectangle till it is at the height of the hoop. If it isn't quite touching the hoop right, zoom in to the face of the prism that faces the hoop, then extrude it so it fills the space between them.
Handle
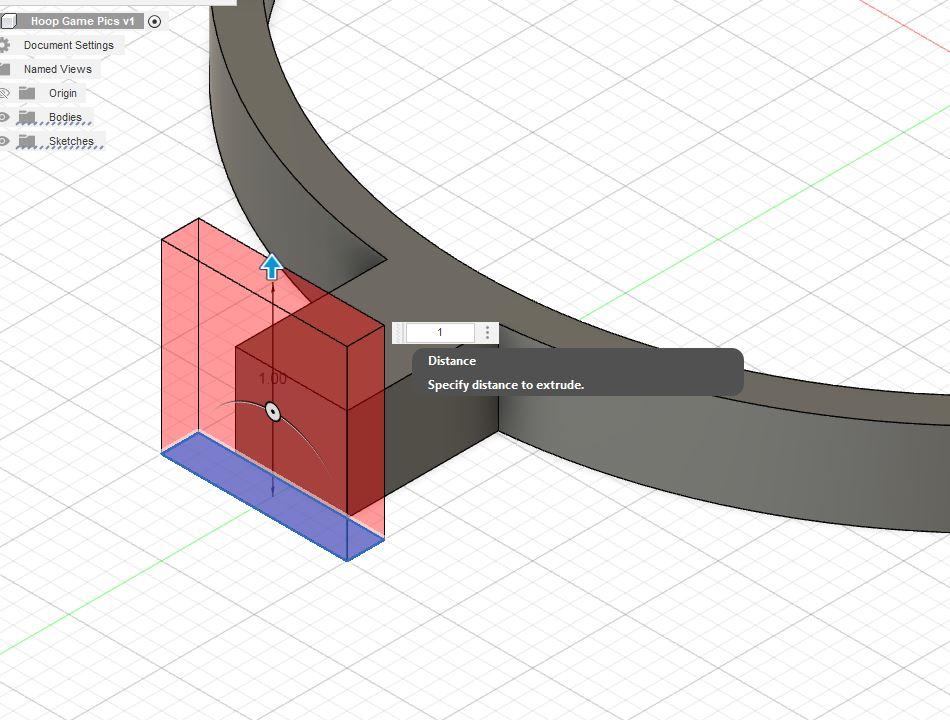
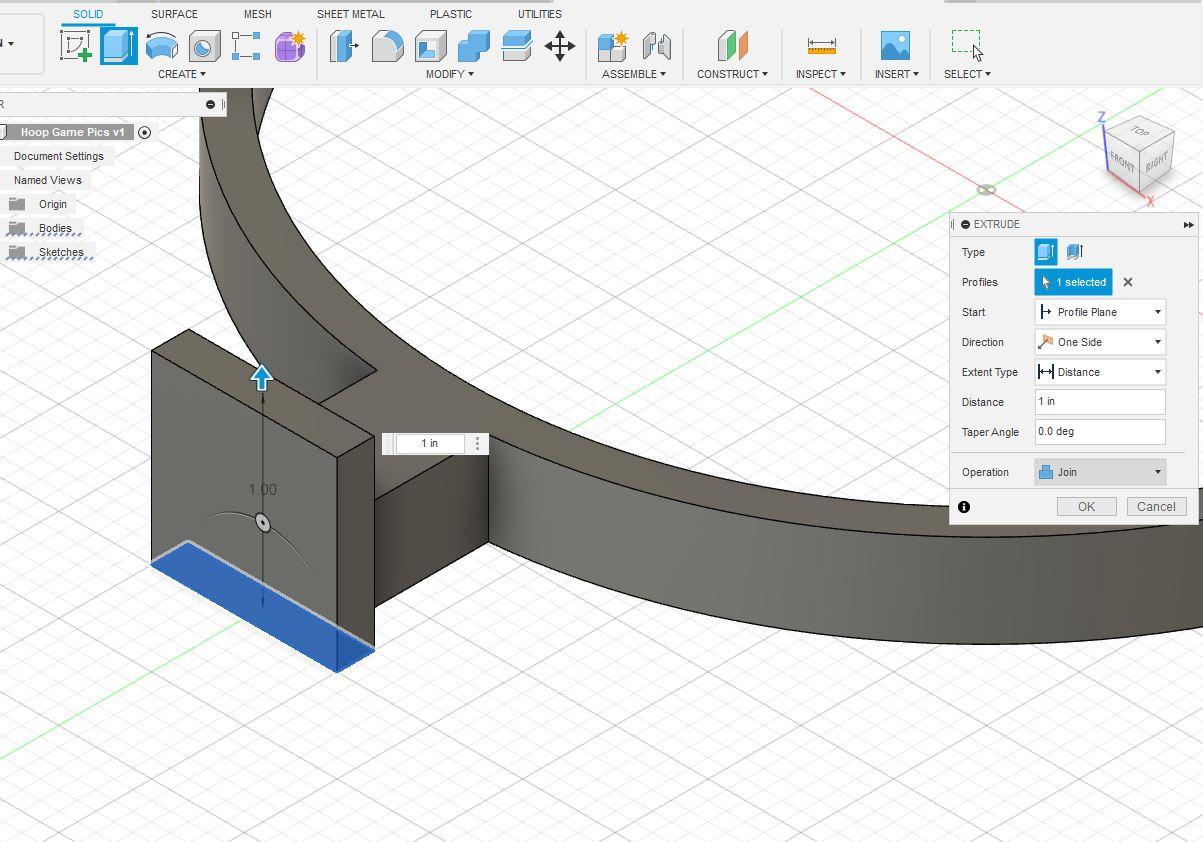
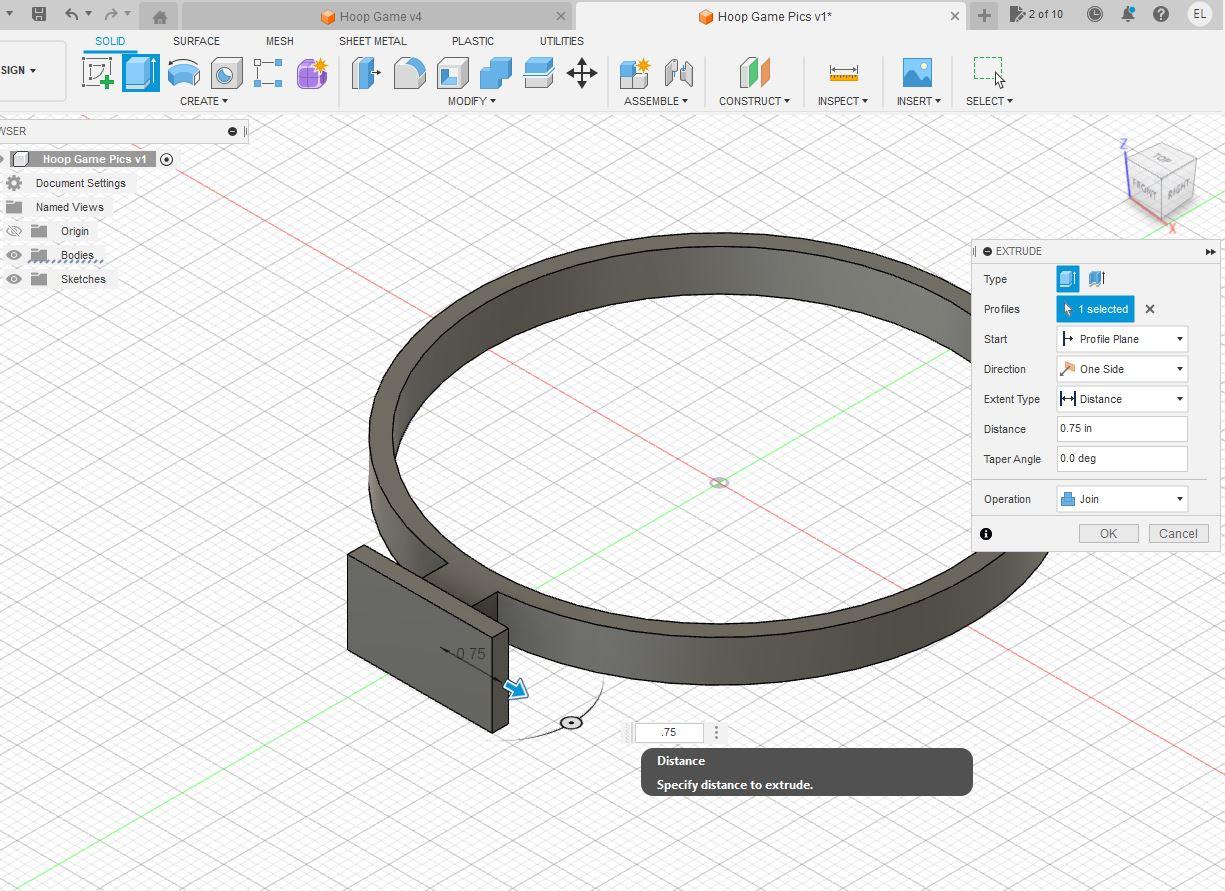
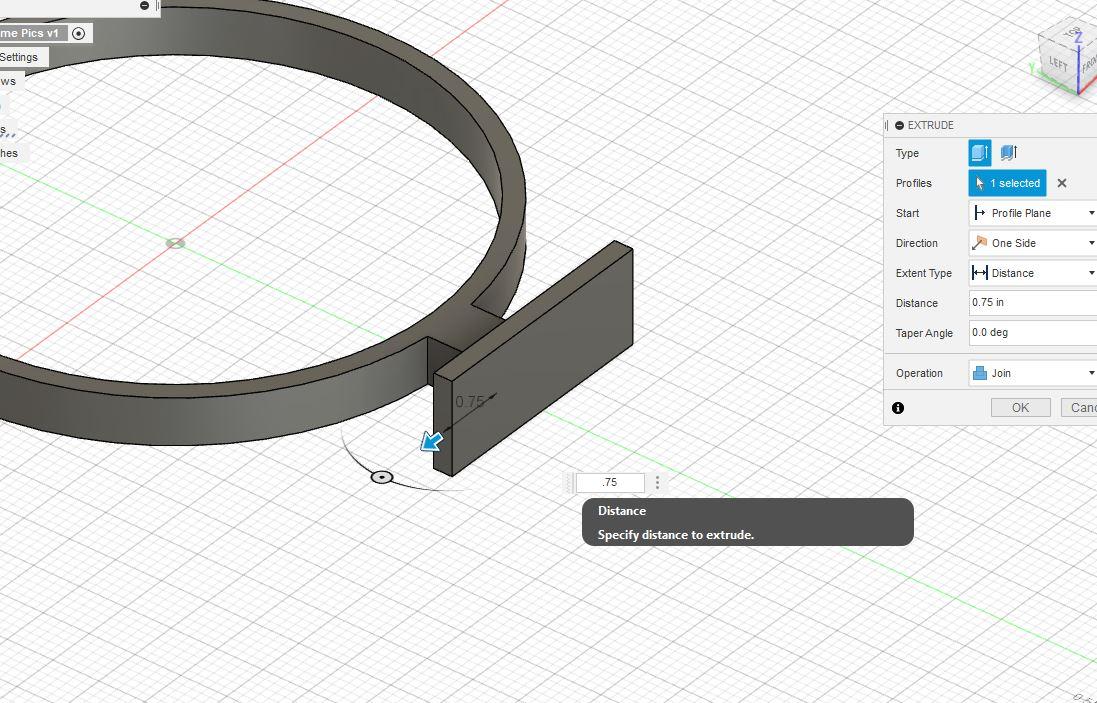
To make the handle, use the previous step to create a rectangle to attach and hide the poster strip. To make the handle overlap the neck, change the operation to "Joint", which in the picture, is the box on the side of the screen. I didn't make the original rectangle wide enough, so I extruded it a bit.
Printing
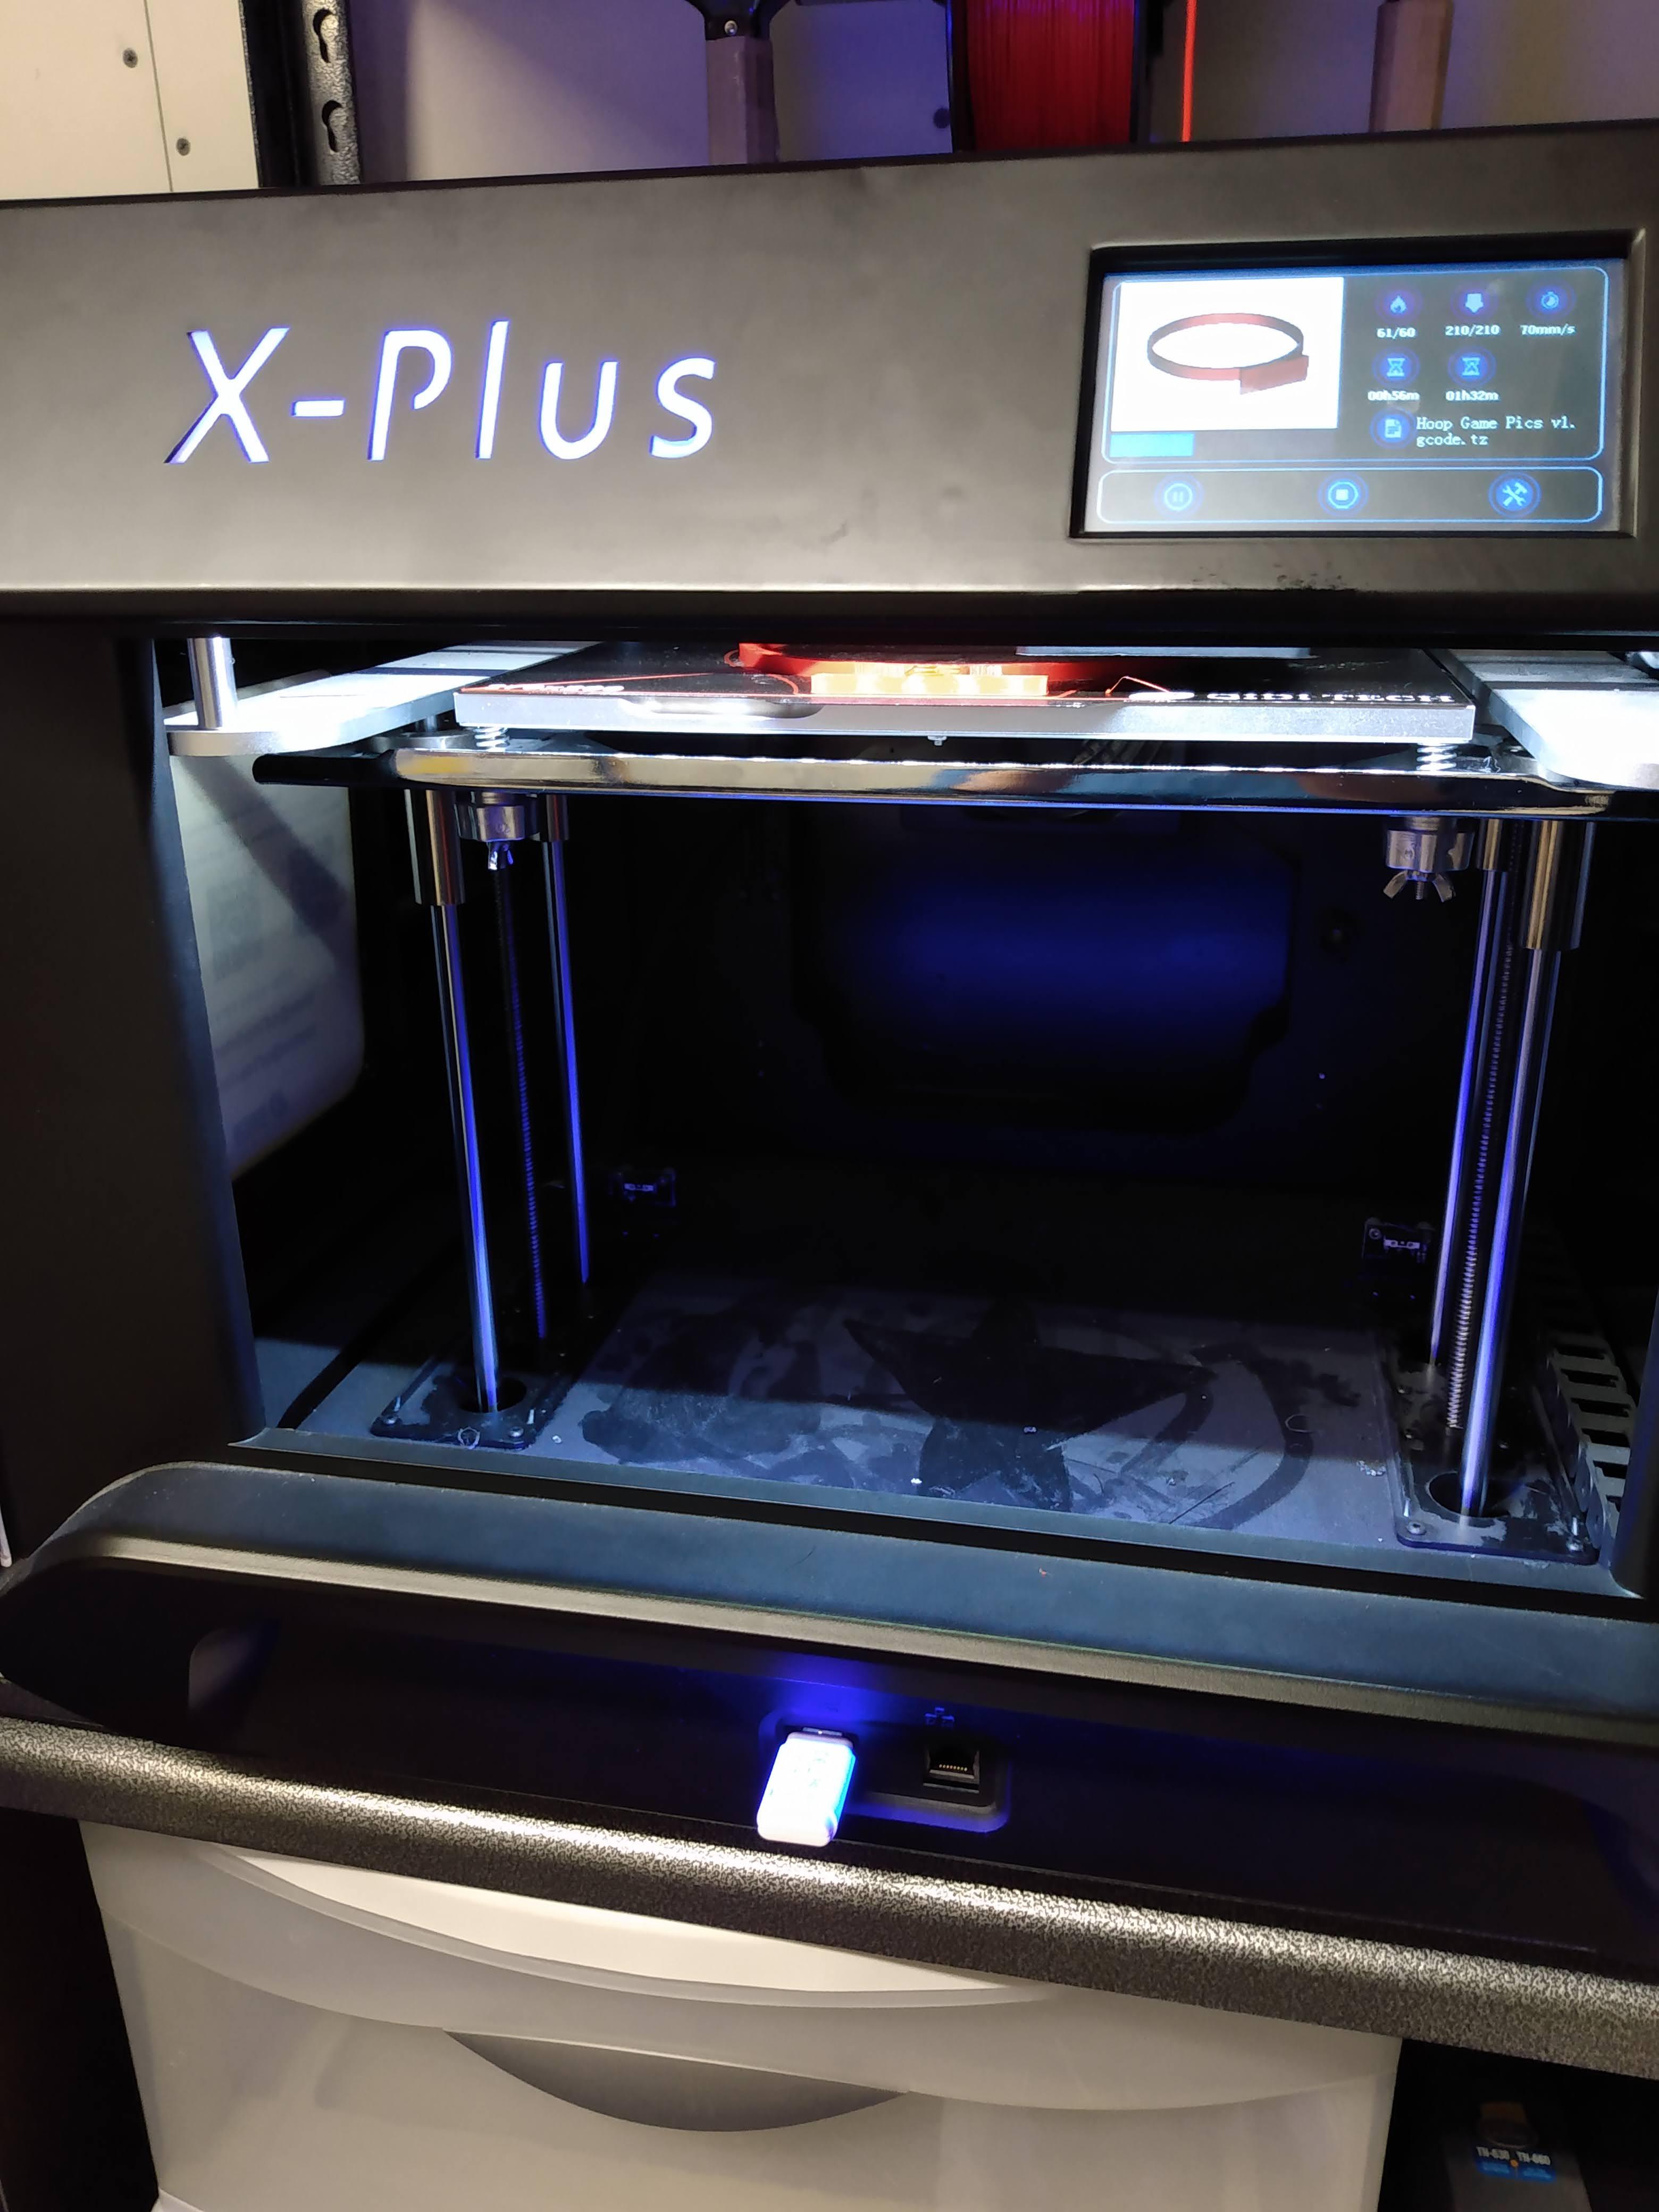
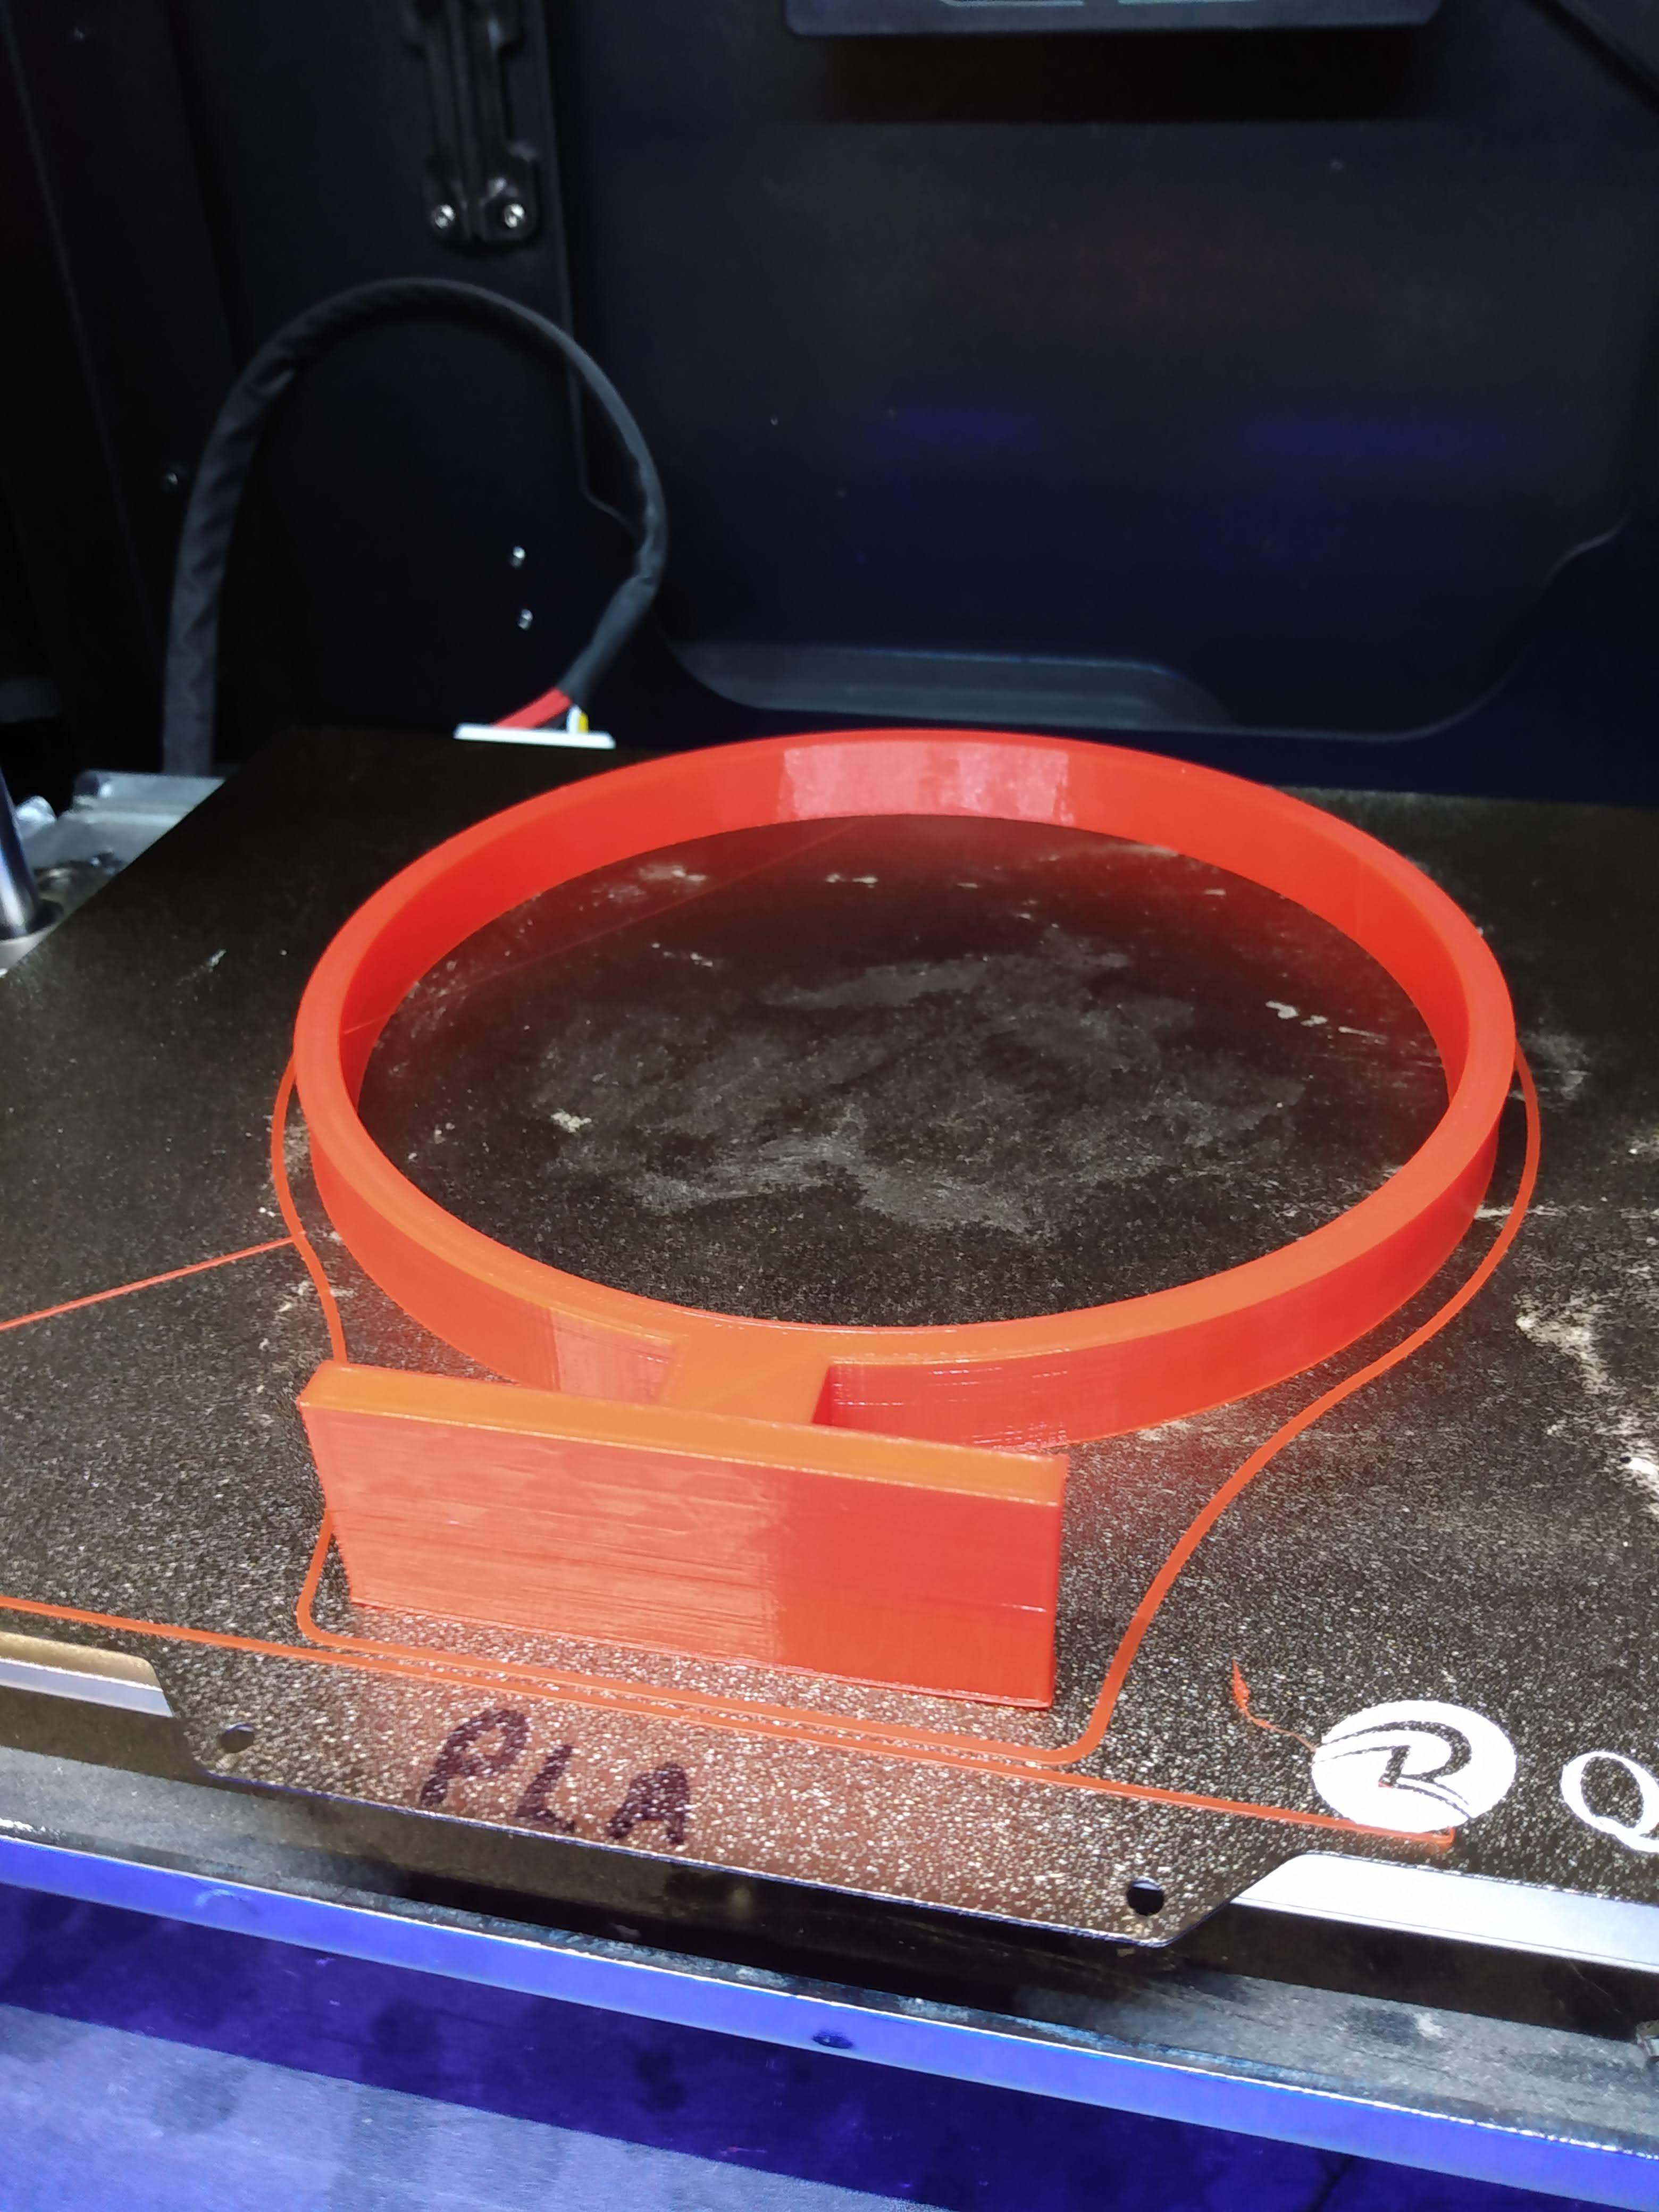
Export the file, and print!
Attached is the .stl I designed, it should have the right dimensions, as the hoop is about 6 inches in diameter. Print with 15% infill, and PLA, unless you're feeling fancy.
Downloads
Set Up
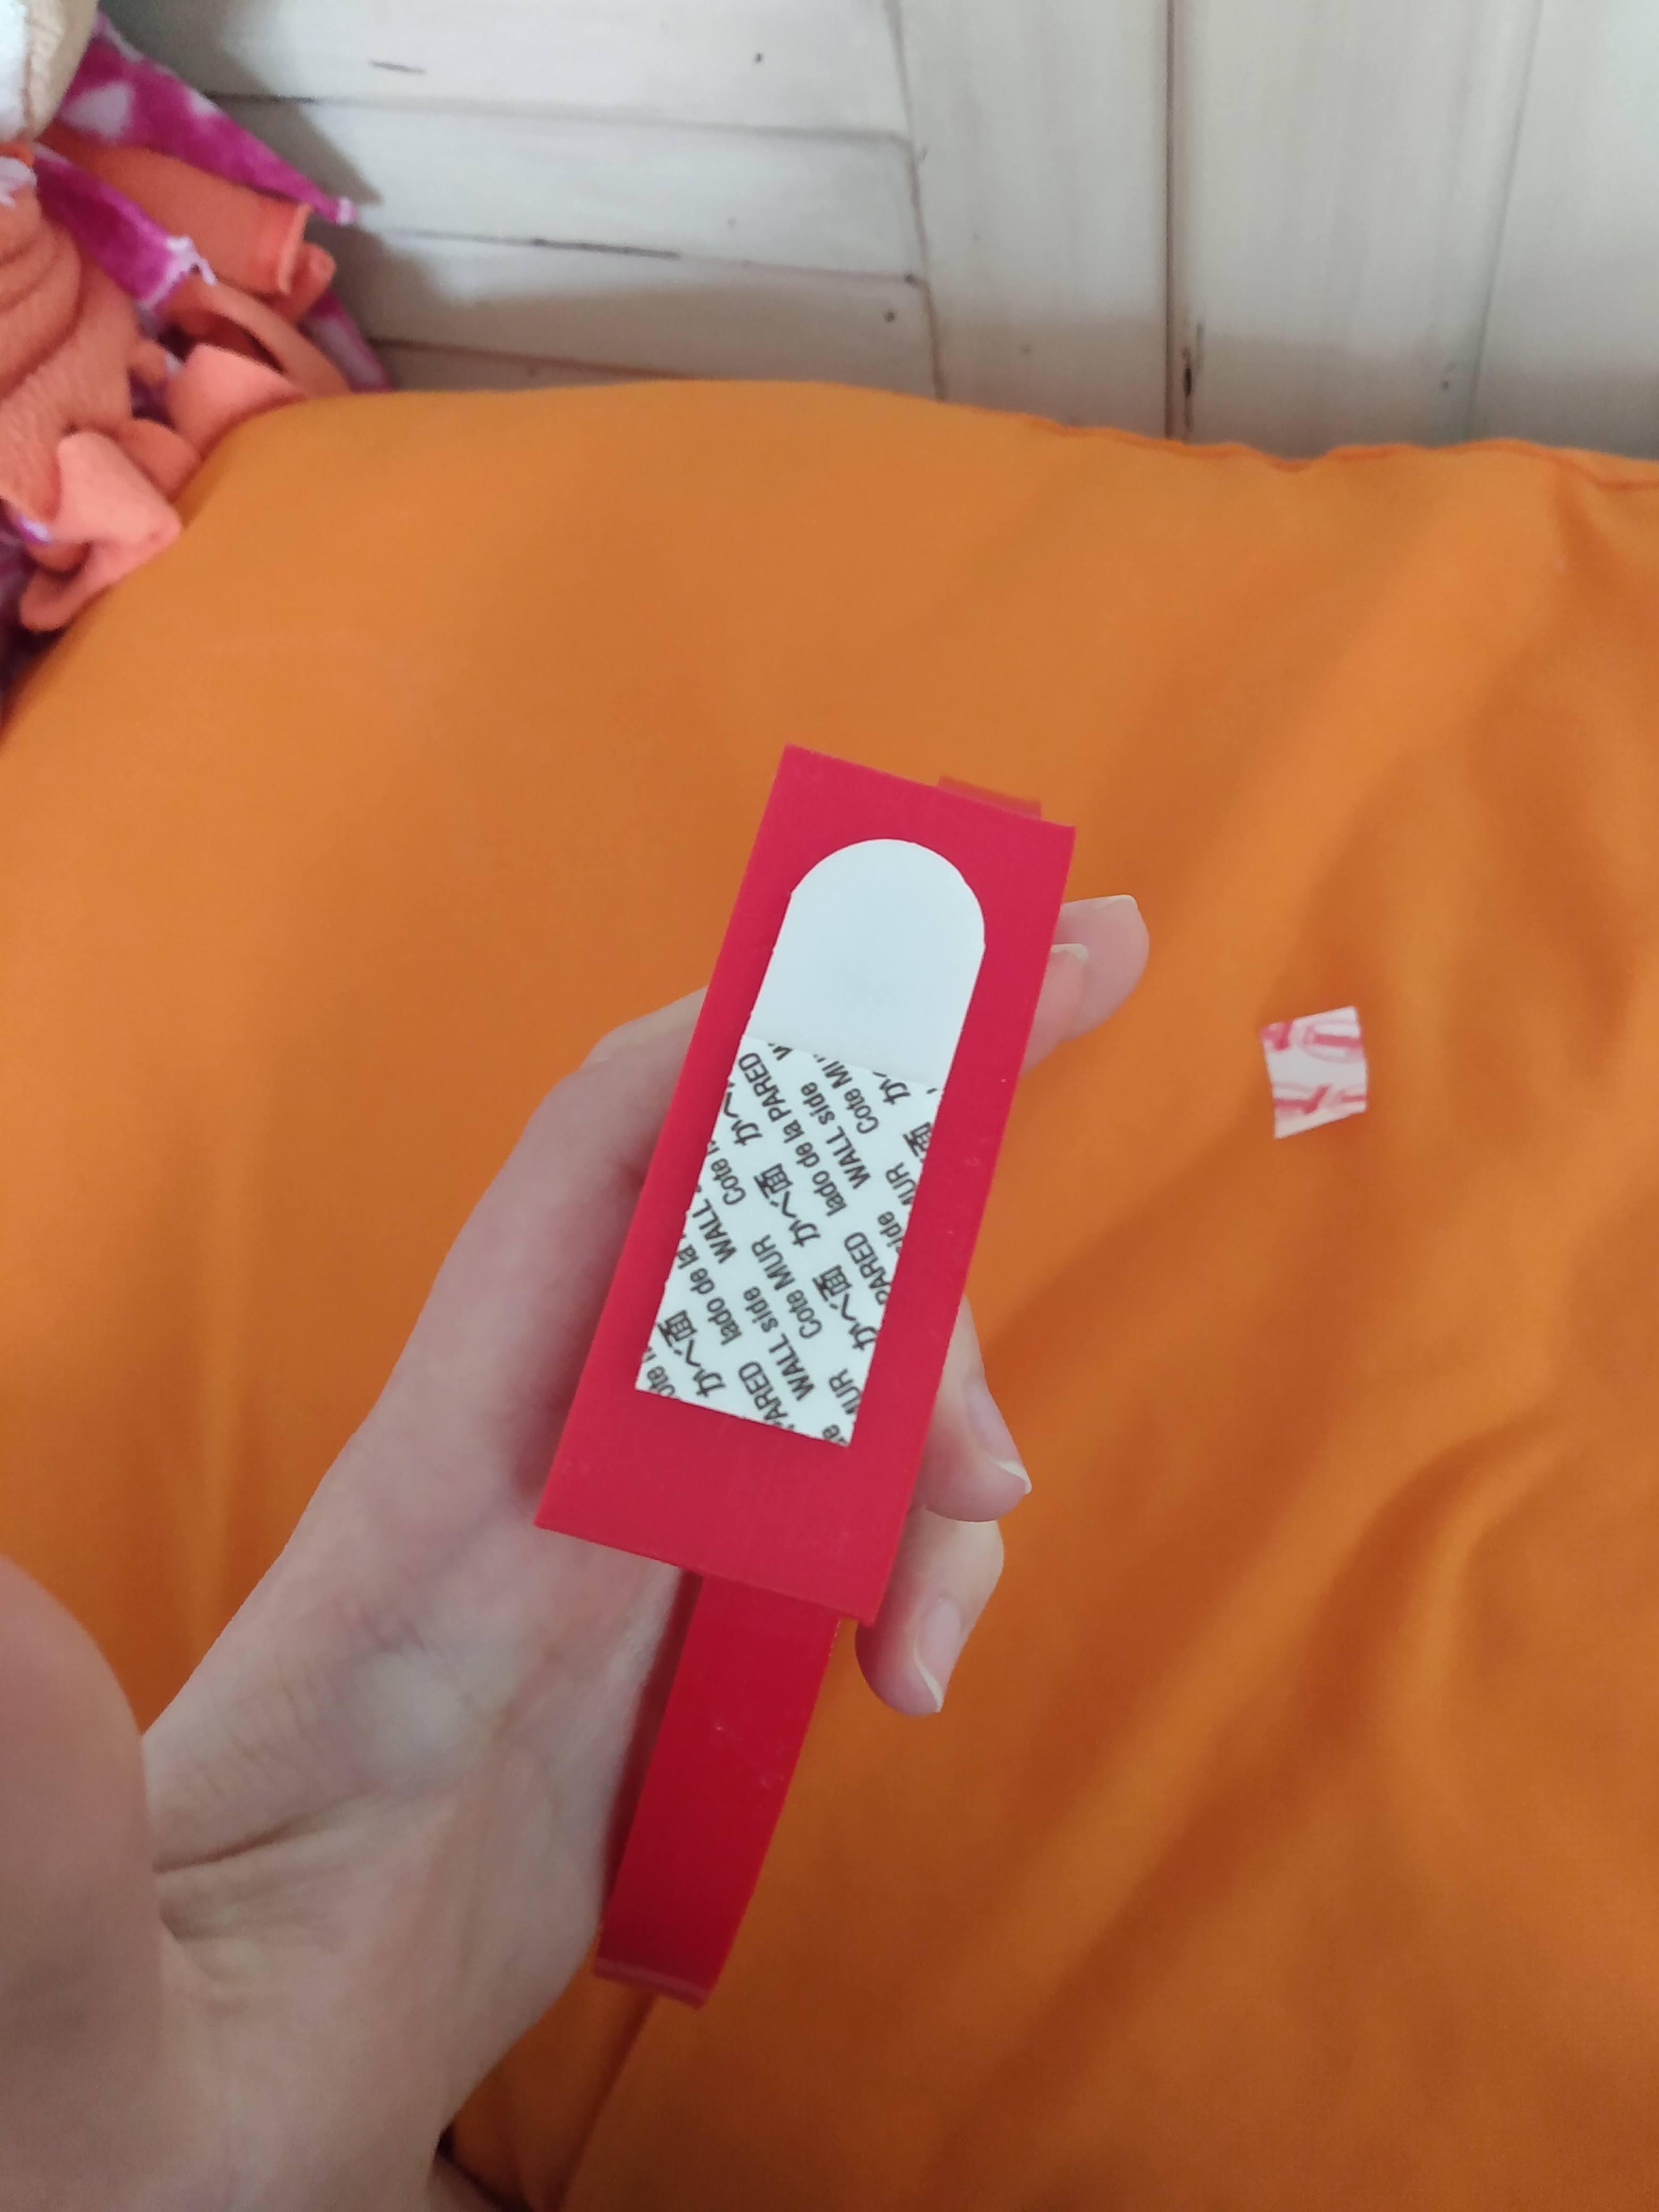
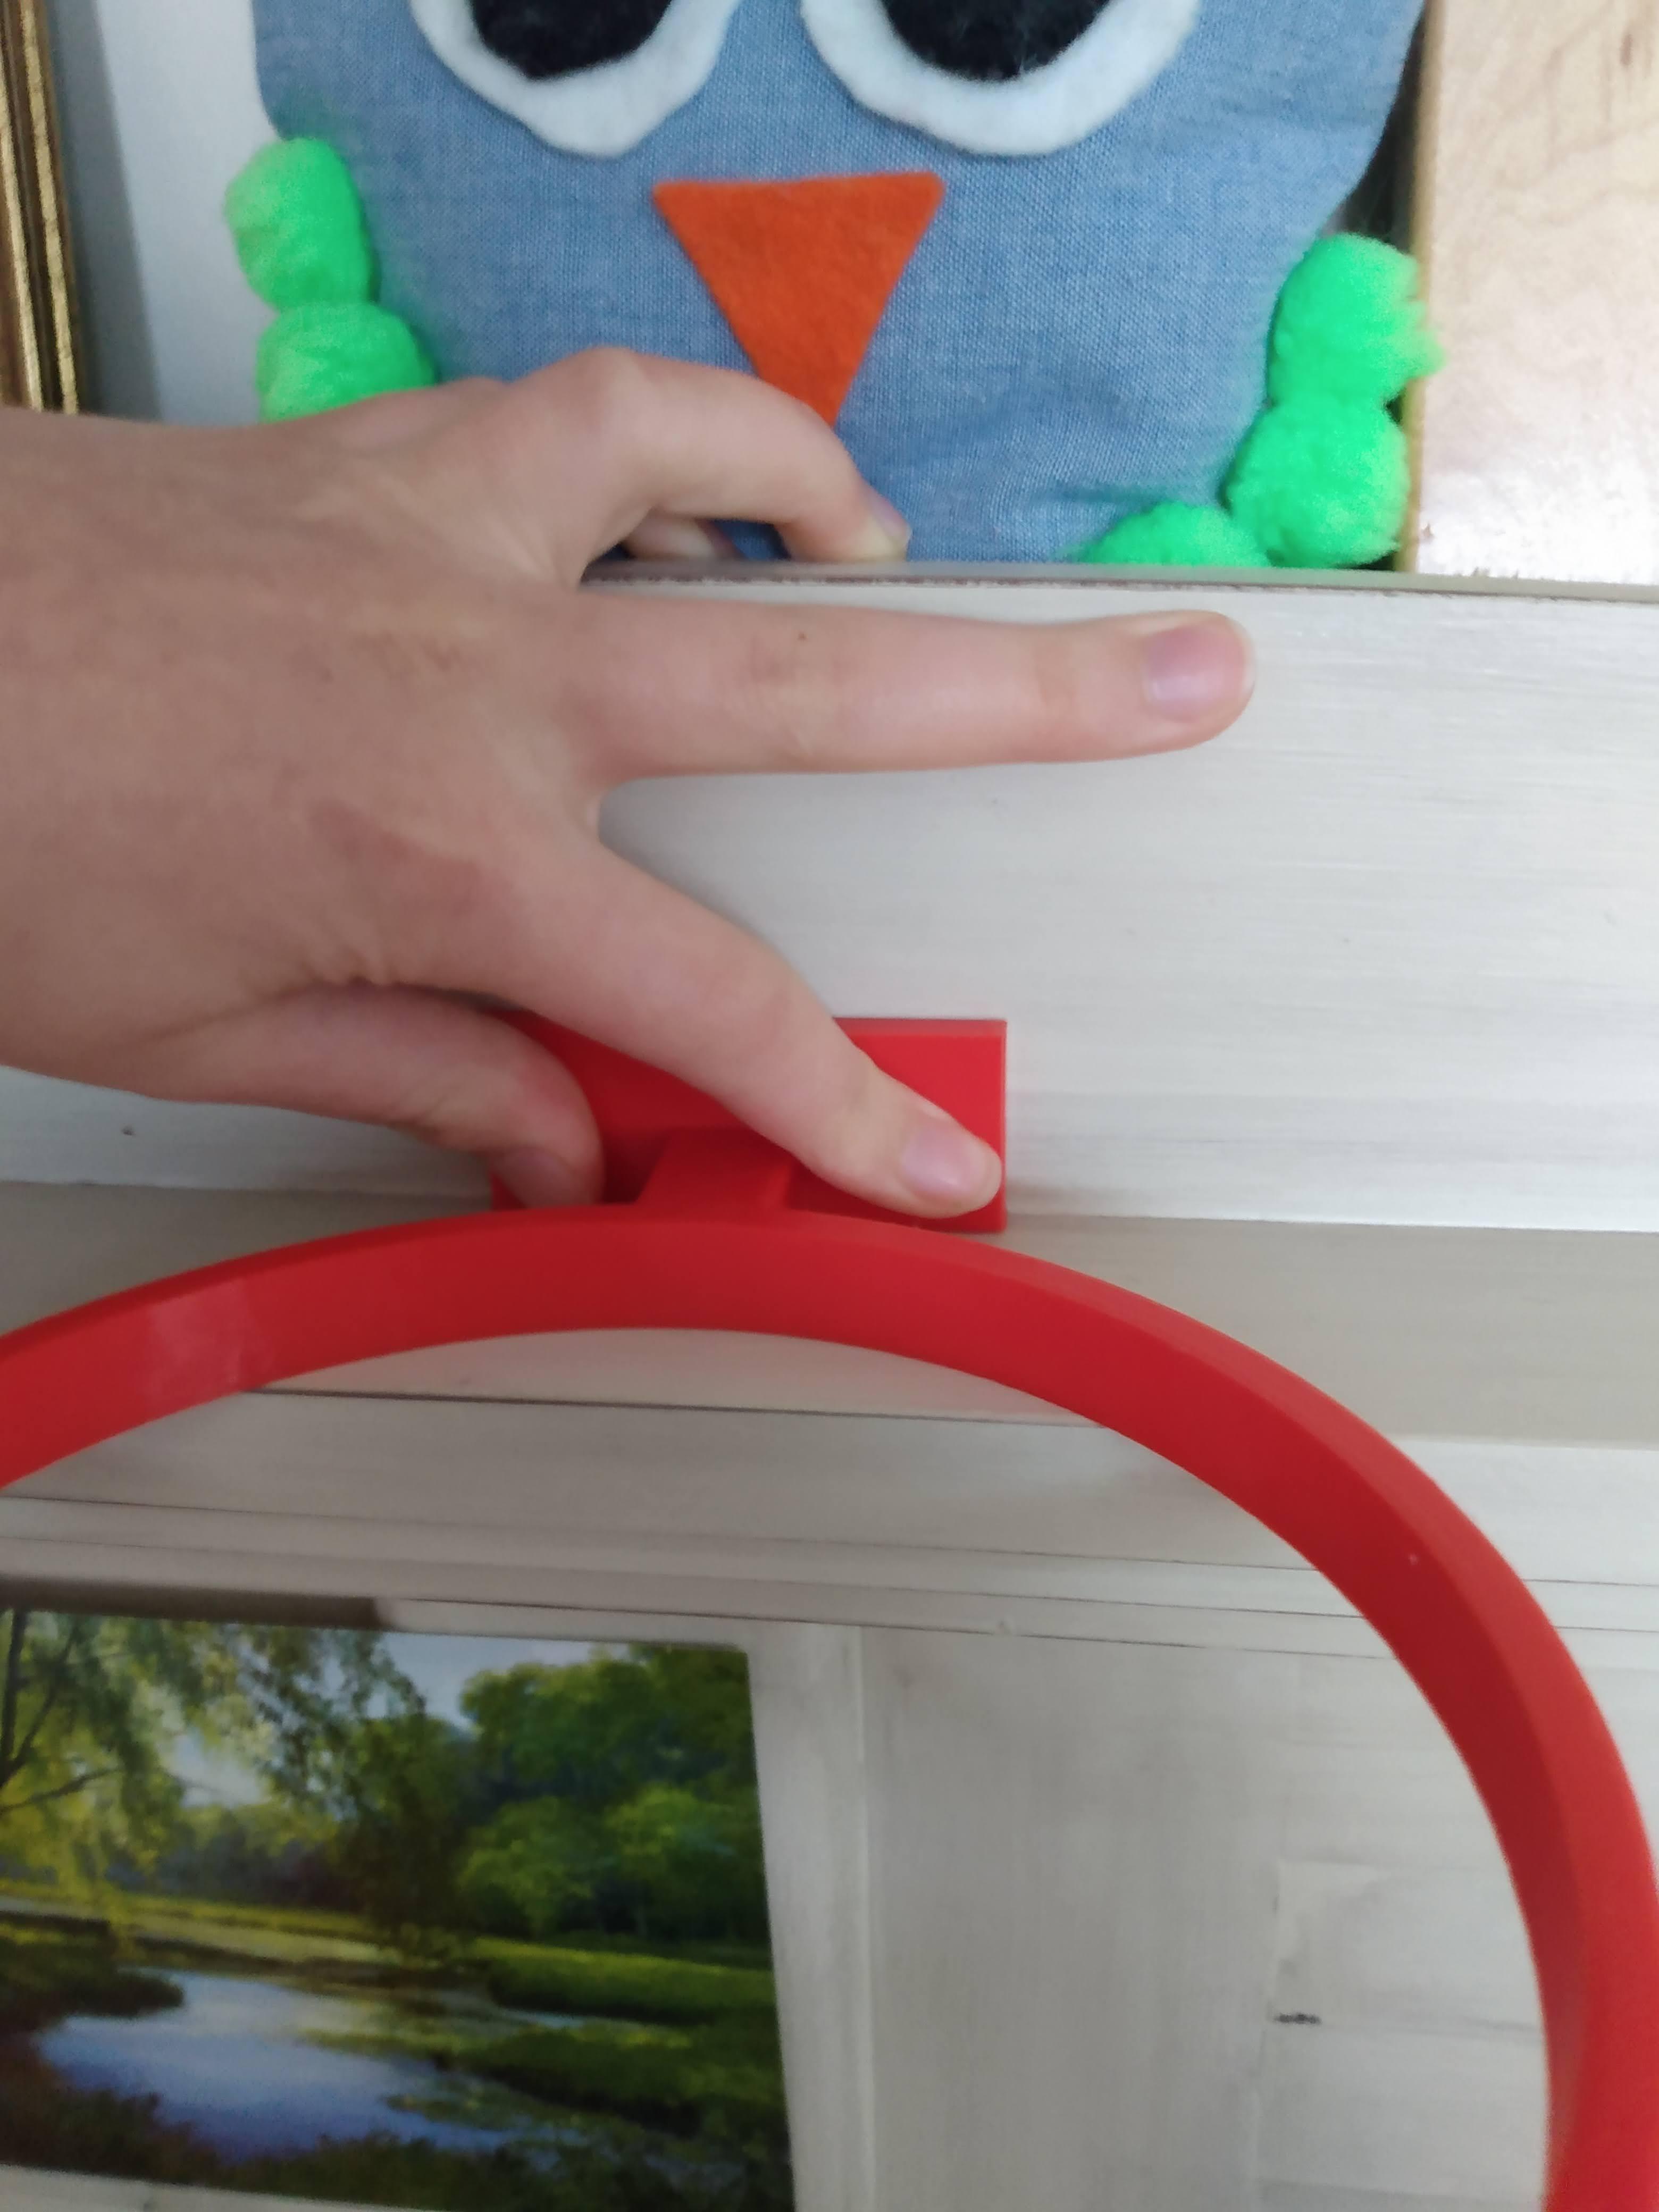
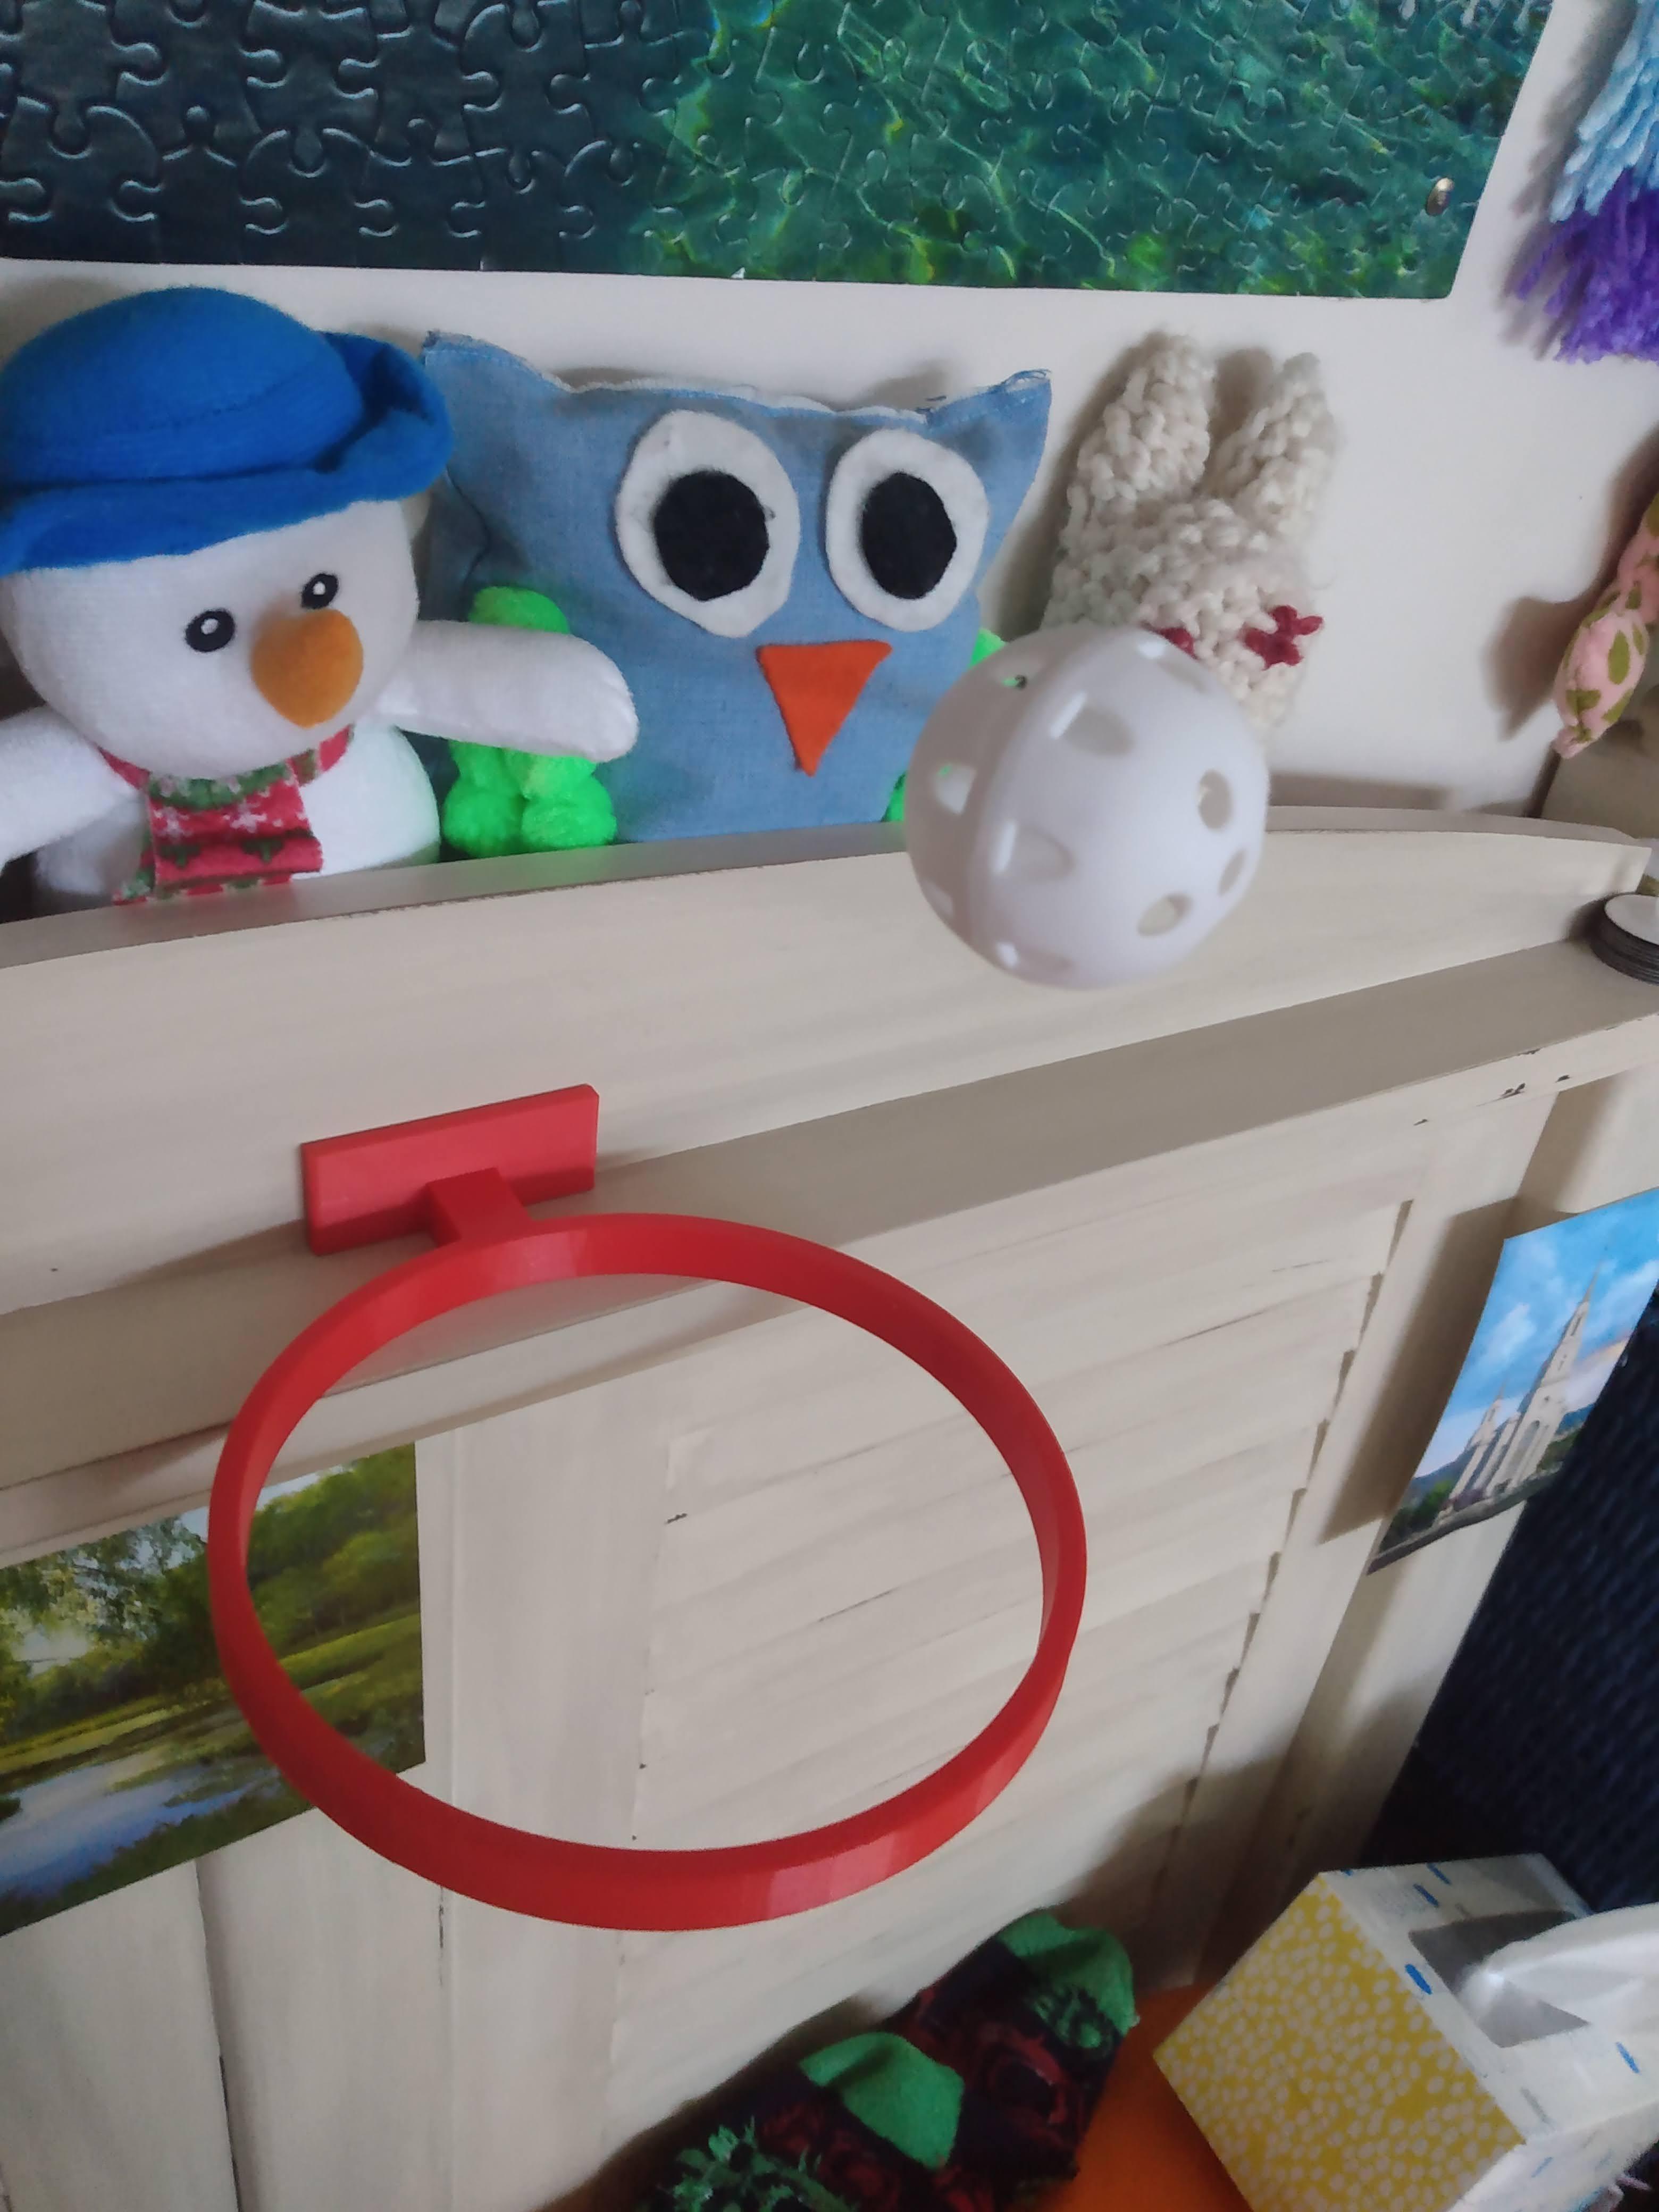
Once you have your fabulous new hoop made, it's time to hang it up! Follow the instructions that come with the poster strips, to attach it to its new home. If you don't have adhesive strips, use some painter's tape, or really anything, I just used the poster strips so it doesn't take paint off the wall.
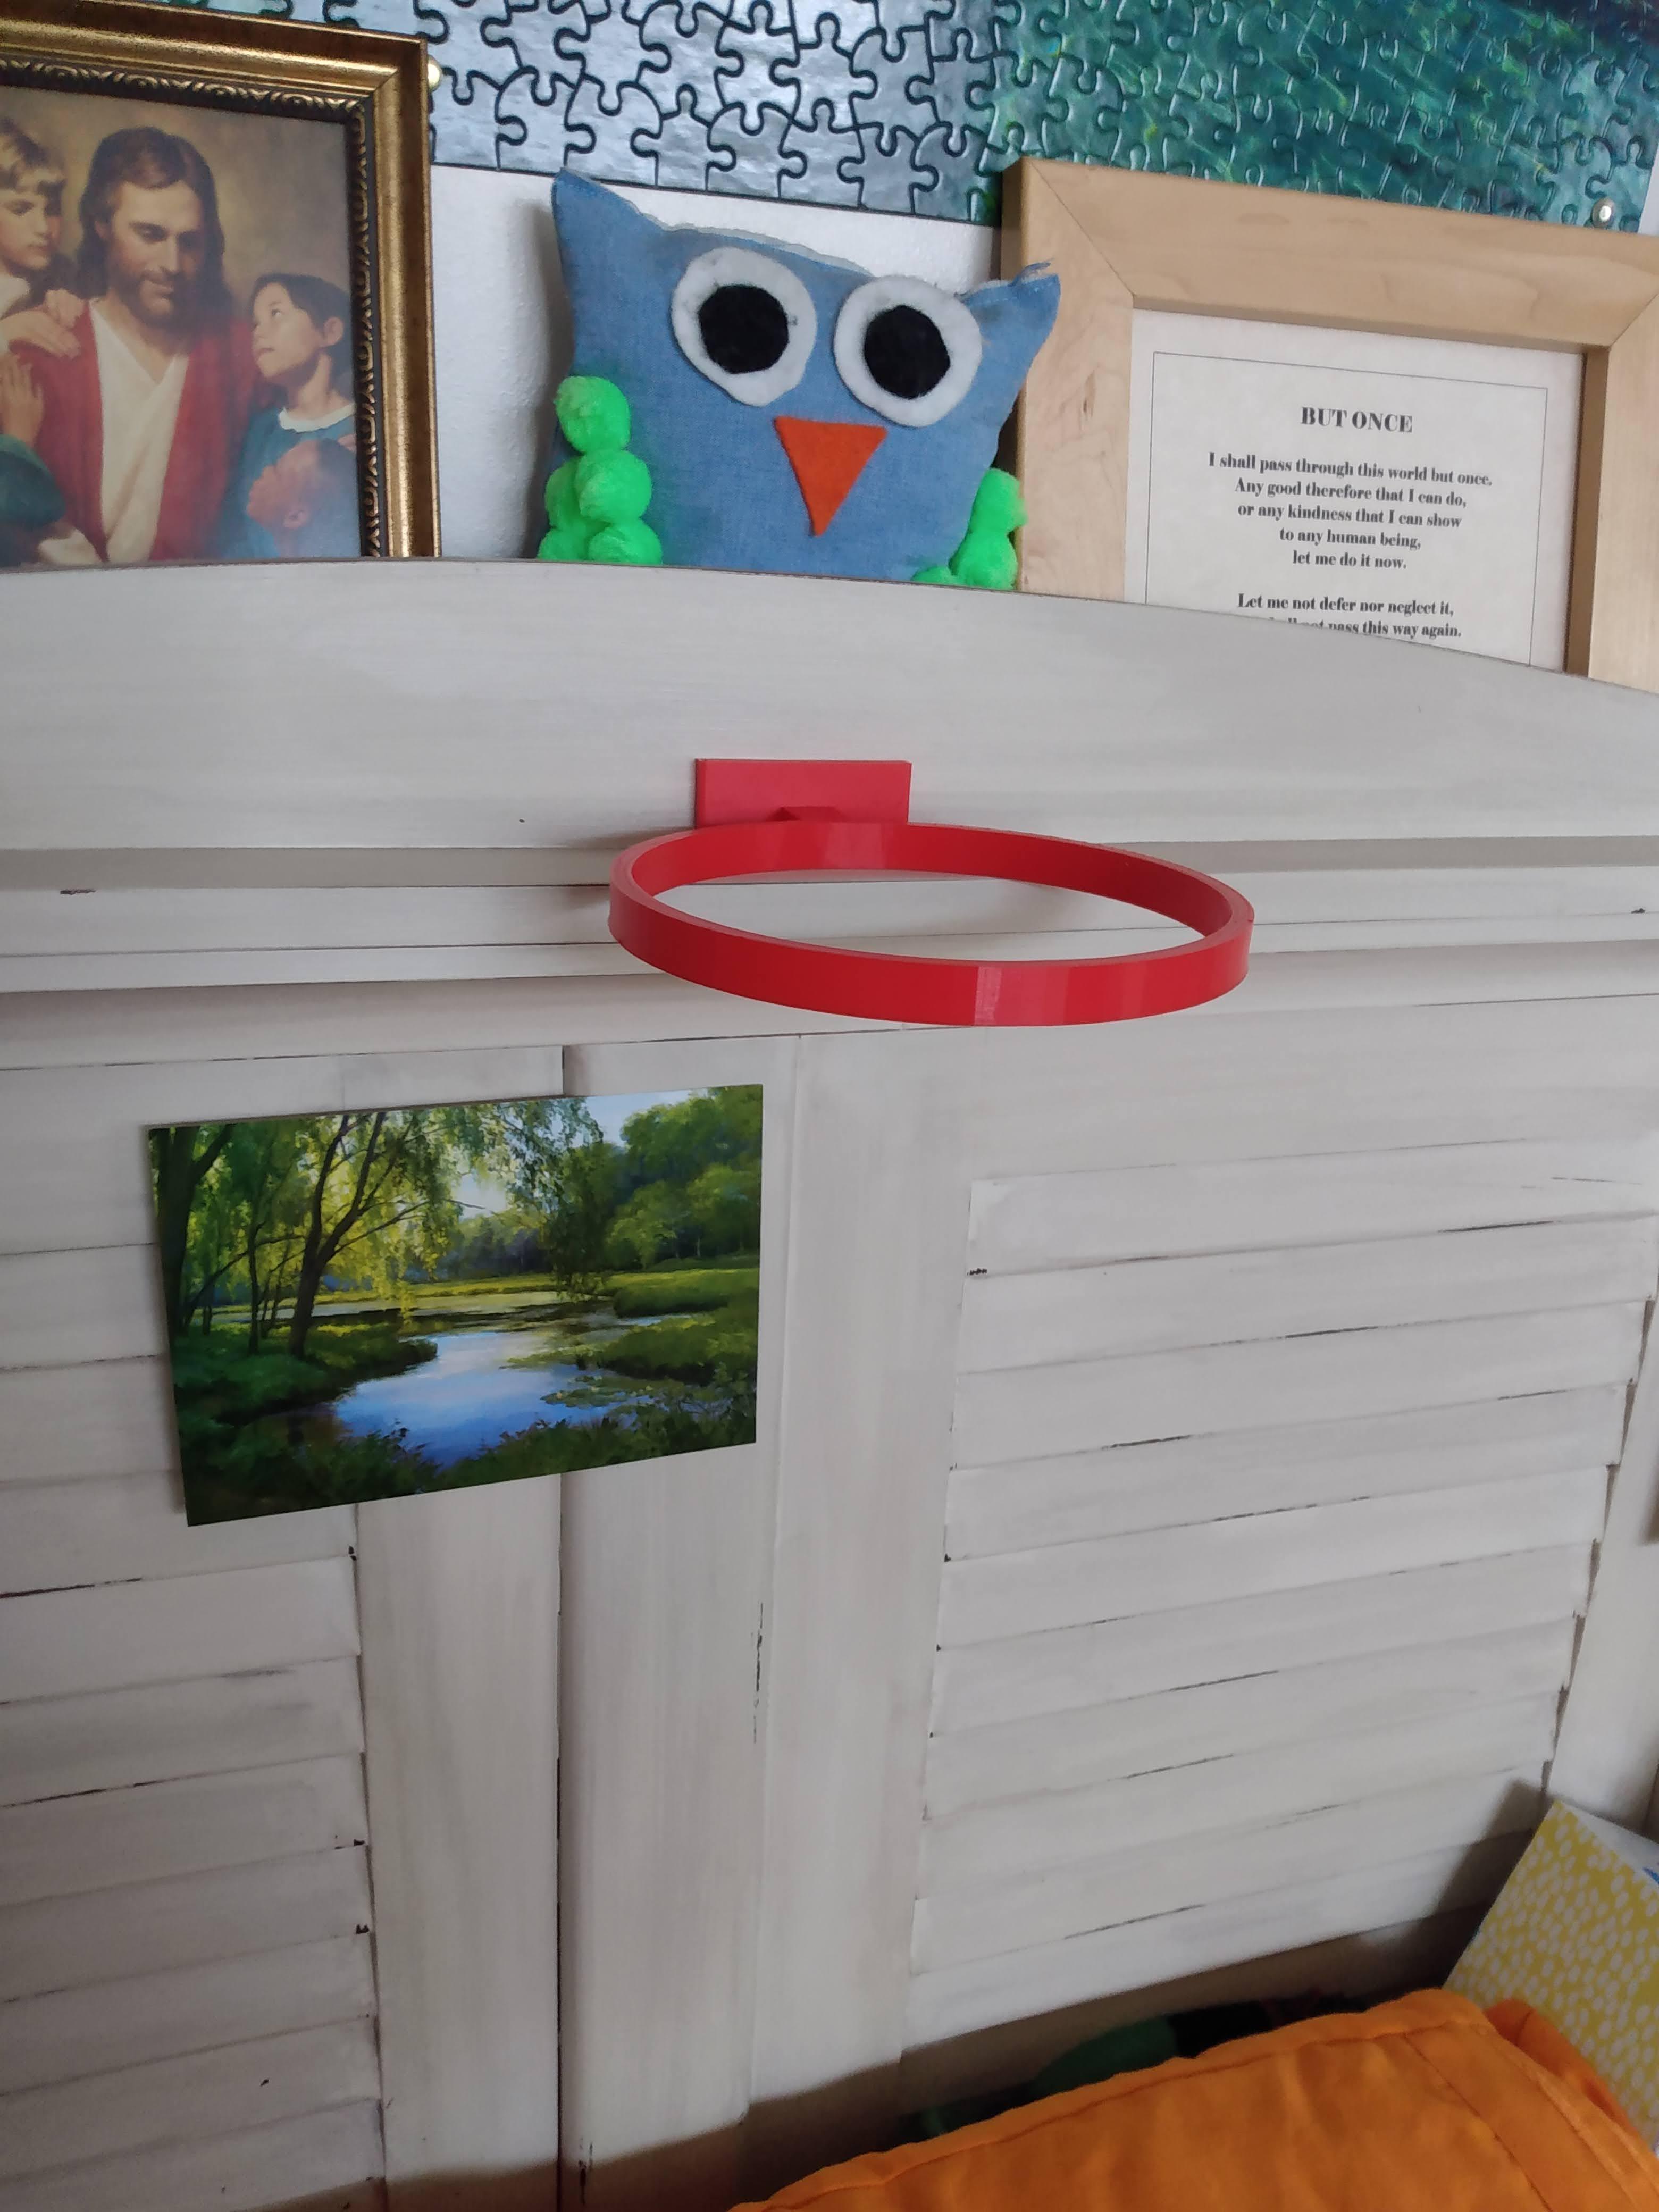
Enjoy!


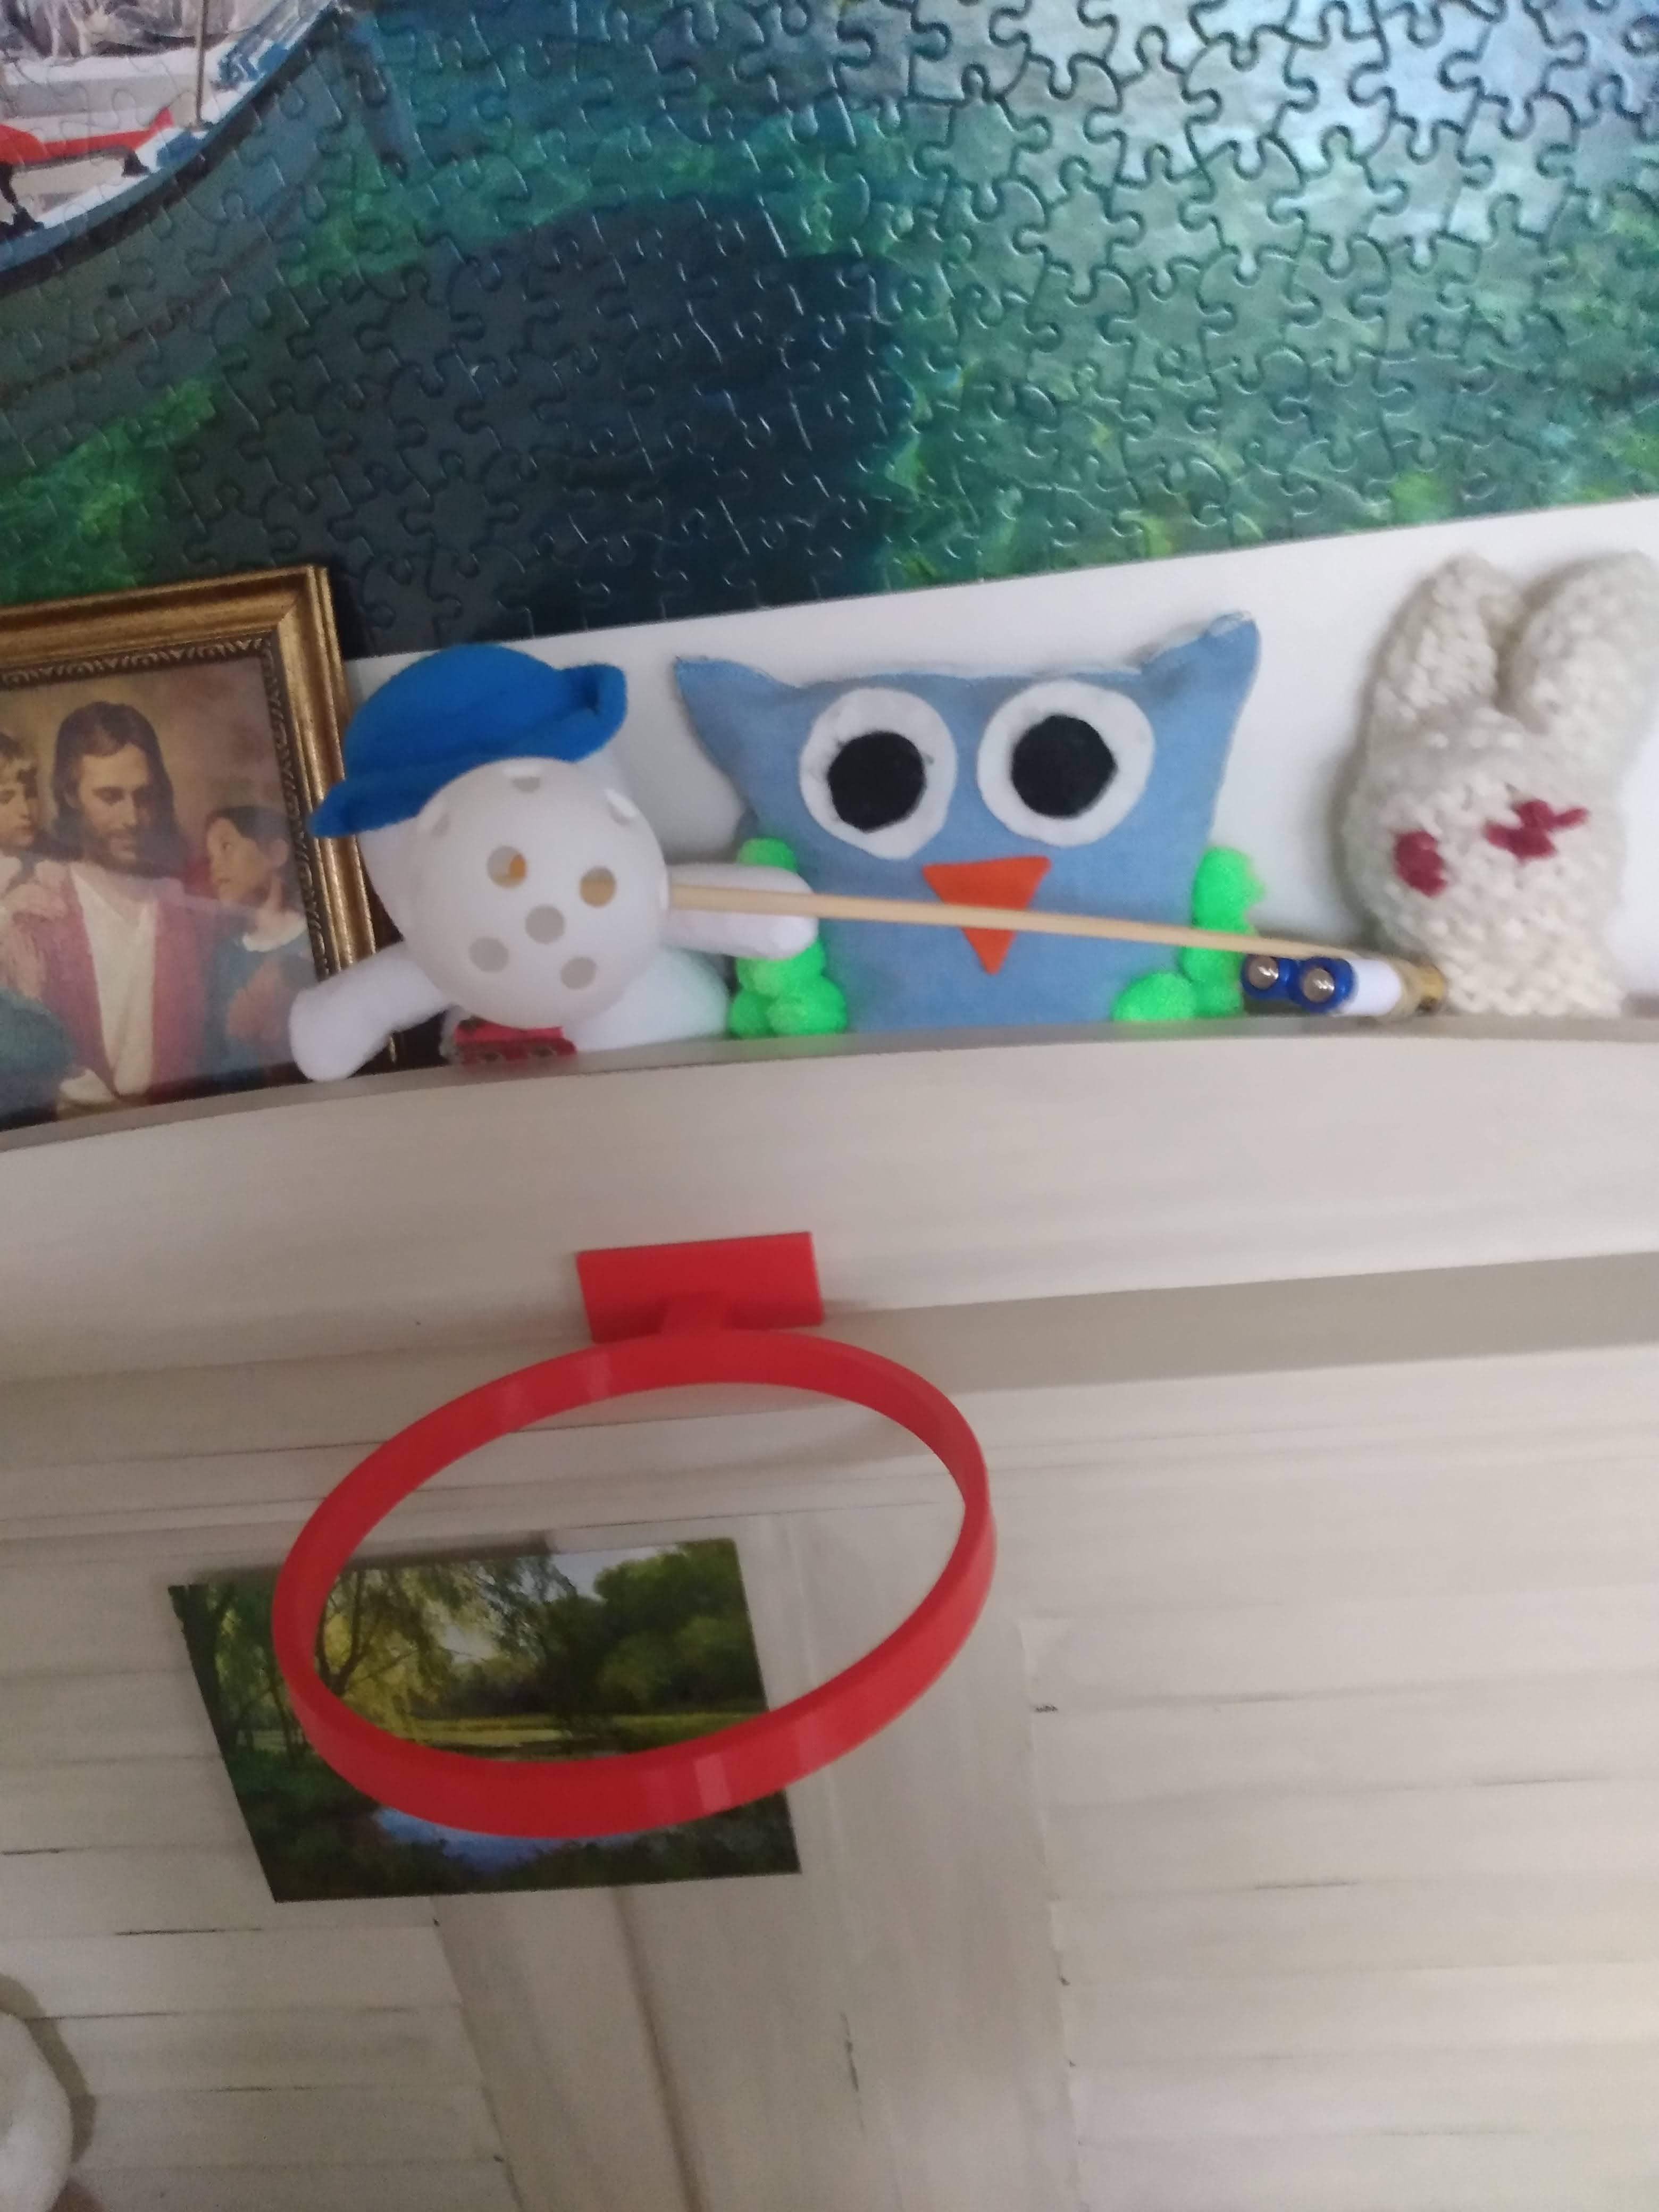
I feel this part is very self-explanatory.
Enjoy!