Bark & Steel
.png)
.png)
This knife handle is made from Ponderosa Pine Bark. The patterns in the material are spectacular with flecks of black and gold.
Tools & Supplies:
Stabilizing:
Vacuum Pump
Stabilizing Chamber
Stabilizing Resin
Assembly:
Drill: Stationary or handheld
1/4" drill bit
Blue Painters tape (better have lots)
Epoxy Resin
Rubber Gloves
Resin Mixing
Cups Mixing sticks
Shaping & Finishing:
Belt Sander
120 grit Sandpaper
Wipe-On Poly
Stabilizing Pine Bark
.png)
.png)
.png)
.png)
.gif)
.png)
A viewer sent me out a couple of pieces of Ponderosa Pine from a tree that had to be removed at his work. It was dead standing but the bark was so thick and interesting he hoped it could be used for a project.
As it was delivered it was too flaky and fragile to be worked. But I have a system for stabilizing wood and thought I would give it try with bark.
Stabilizing resin is a bit of a strange animal and quite different than casting resin. What happens is that we submerge the material in a special resin, so that no bark is cresting above the liquid.
Since the bark is prone to float given its low weight. (314 grams as we started) I use a large weight I made to hold it under the liquid.
I then turn on my vacuum pump and draw all air out of the chamber. Including all the air inside the bark. This a time-consuming process as the bark is a very porous material. For a block of wood this size, it takes about 4 hours to complete.
11 1/2 hours. Yep. Almost 1/2 a day to remove all the air from the bark. I then release the vacuum.
As the pressure in the pot equalizes the resin rushes into all the pockets that are now void of air and fills them with stabilizing resin. After that, you soak it.
Curing the Resin
.gif)
.png)
.png)
.png)
Due to neglect, I ended up leaving this sitting in the stabilizing resin for 12 days. As I removed the weight, the bark pops right up. It's not a great sign.
The bark, which resembles a cut of brisket at this point, Is then wrapped in foil and placed into a toaster oven where the resin will cure to a hard substance. 220*F for 45mins.
The leftover resin in the pot will be filtered through coffee strainers and can be reused indefinitely.
After it comes out of the over it is denser, stronger and will no longer fall apart.
I've been told that the cell structure of bark is made specifically to pass moisture through it rather than hold it as the wood cells do. Apparently this is just the nature of the material. It didn't retain as much resin as I had hoped, but it is a world better than before the stabilizing process.
Handle Time
.png)
.png)
.gif)
.png)
.png)
.png)
.png)
.png)
.gif)
.png)
As fate would have it, I received another item in my PO Box. A knife blank from a view in Australia. It seemed only fitting to marry the Pine Bark and Steel blade together. Colum & Austin I pronounce you joined.
I know next to nothing about knives. Its metal, and sharp. I've come to understand it might not be the best quality but it works well for this application.
I cut the bark down on the band saw into a couple of usable pieces. If I had done this before stabilizing it would be like layers of baklava all over my saw.
The tang is 1/4 thick and 4 " in length. I bore a corresponding hole. There are two shoulders attached to the bolster of the knife tang. I make space for them with two corresponding holes.
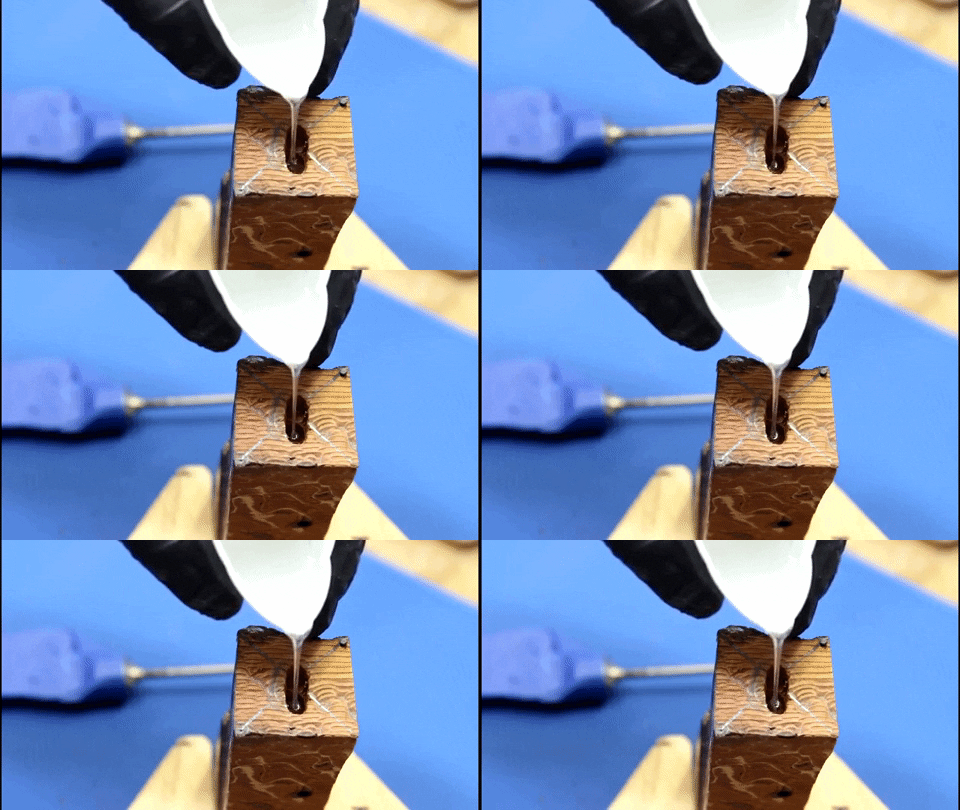
So as I don't cut my hands to shreds I wrap the stabby bits in tape. Also, I'd like to keep it resin-free. I decided to use some resin to secure the tang into the bark. It shouldn't take much.
I had a leak, so I wrapped the bark in painters tape as well. The tang is positioned against the bark and with some force. I want to minimize any gap there I can.
Shaping & Finishing
.png)
.png)
.png)
.png)
.png)
.gif)
After the resin cured (24 hours) It was off to the belt sander. This was the point I started to get excited as the grain of the bark began to show.
As the bark isn't very dense the sanding goes STUPID fast.
I first make the handle square on all 4 sizes...
Then added a bevel to each creating a very comfortable octagon handle. Then a couple of minutes with some 120 sandpaper pads allowed me to sand a transition from the straight lines of the handle into the oval of the knife.
For a finish, I used Wipe on Poly.
I ended up doing 8 coats. Which is more than they do for your flooring. It's a nice hard durable finish that should hold up to years of use.
Glamour Shots
.png)
.jpg)
.png)
I also left a natural edge. It makes the knife handle a little long but from a style preference, I really like it.
Thanks for looking! If you have any questions I'll do my best to answer them.