Bargain-Price Book Scanner From a Cardboard Box.
by daniel_reetz in Design > Photography
346333 Views, 458 Favorites, 0 Comments
Bargain-Price Book Scanner From a Cardboard Box.
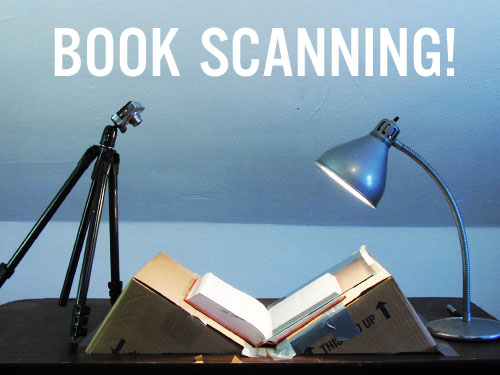
Reasons You Might Want To....
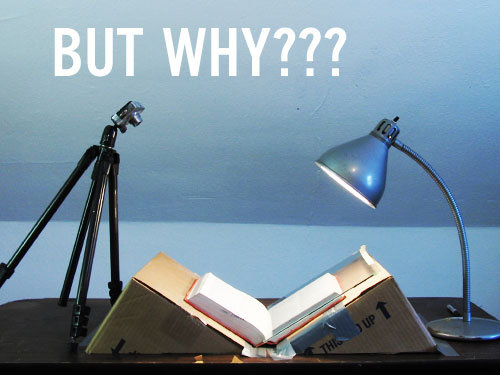
BEFORE WE BEGIN... Reasons you might want to do this include the following:
- You need to scan something, fast, but it doesn't scan easily.
- You don't want to build an entire DIY Book Scanner.
- You don't want to waste your time with a flatbed scanner.
- You have only one camera.
- You might not have a lot of tools or experience.
- You want digital copies of your books or notebooks.
ALSO... We've done this book scanning Instructable thing before. And answered many questions in the comments! And we love you guys completely, but sometimes (well, actually, all the time) we get the same questions over and over! So we've compiled a Fairly Annoying Questions (FAQ) Here are some answers before we get started!
1. Why not just take a picture with the book on the table.
- Why don't you. ;)
- Your camera doesn't have enough resolution for two pages.
- The distorted pages are not fun to read onscreen.
- Lighting is inconsistent.
- Cameras cast shadows. You cast shadows.
2. Why use a camera instead of a flatbed scanner?
- Pressing a book on the scanner breaks the binding.
- Flatbed scanners are slow.
- You need to reposition the book for every page.
- Flatbed scanners are slooooooow.
- Sloooooooowwwwwnesssssss.
3. Why not use a sheet-feed scanner like the ScanSnap?
- I don't like sawing the bindings off my books.
- A small part of me dies when I destroy a book.
- I don't have a tablesaw.
- I'm not willing to spend ~$500 just to destroy a book.
4. Can't I use a webcam?
- No.
Materials!
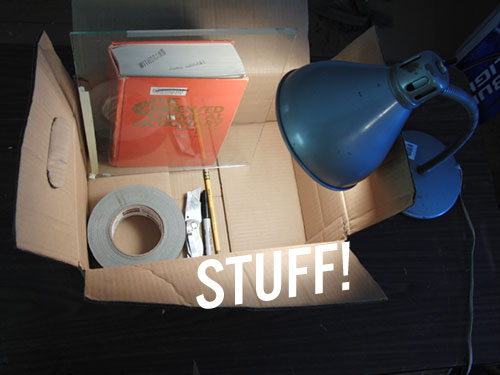
- Book.
- Box.
- Knife.
- Duct tape.
- Pencil/Marker
- Glass.
- Lamp.
- Tripod (not pictured)
How to Obtain Said Materials.
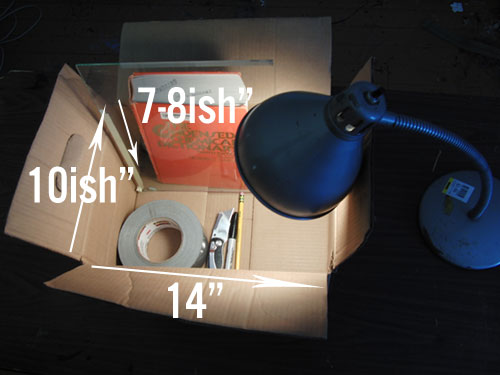
Where to get boxes:
- Dumpsters (we found great boxes from a comic book store).
- Fast food places.
- Grocery stores.
- Bookstores.
- Cardboard Recycling Dumpsters.
- College campuses.
Where to get glass:
- Hardware stores sell glass called "double strength". They cut it for you and it's cheap. $2 or $3 a sheet! Get one that's bigger than your book.
- Rip apart your worthless, laggard flatbed scanner and take the glass out. That's what we did.
Where to get the tape, knife, pencil, lamp, tripod...? Well, we trust that you can find these on your own.
CUT THE BOX MAN!
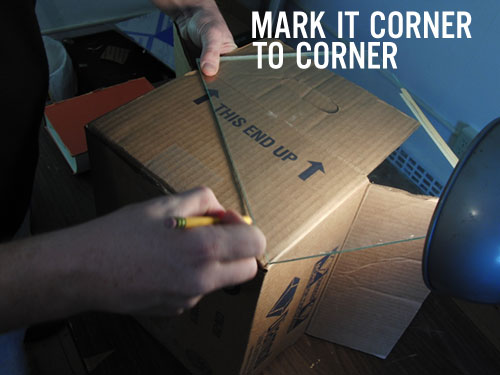
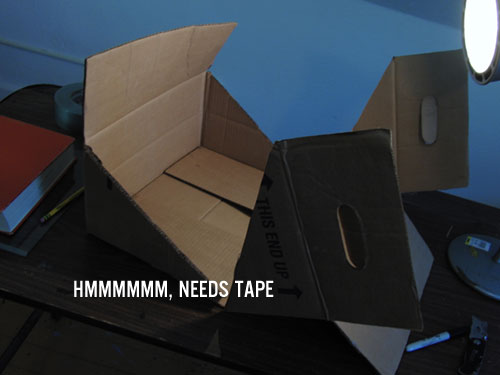
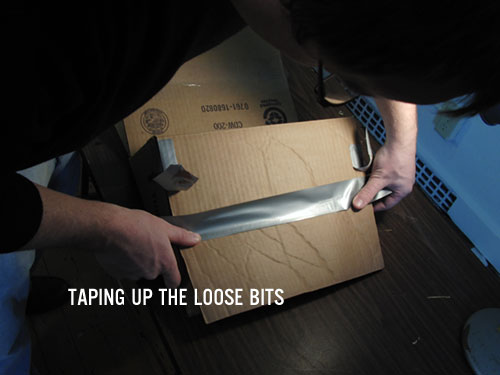
Find a box that is roughly this shape. We got this box from a comic book shop. It's nearly perfect. 7x14x10.5". Box size really isn't that critical but after cutting ~10 boxes this one seemed to work best. Of course, you could make your own box.
Tape the box completely shut (we neglected to do this starting out; learn from our mistakes!)
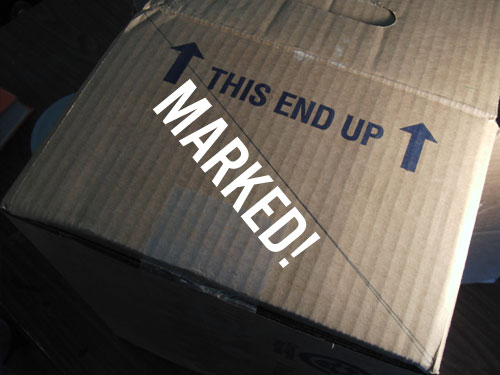
Take your piece of glass and use it as a ruler to mark the diagonal line from corner to corner.
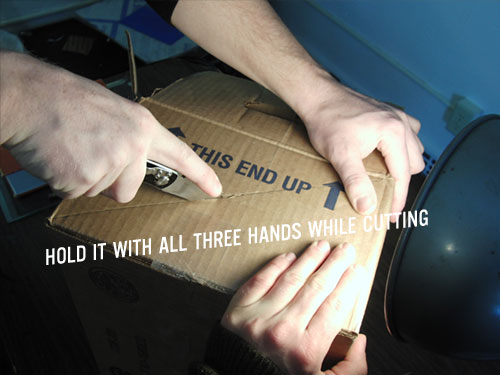
Cut across the diagonal.
Do the same thing on the other side.
If there are any remaining parts of the box hanging free, tape 'em up. If you taped your box completely shut at the beginning, you shouldn't have these kinds of problems.
WEDGES FOR FUN AND PROFIT

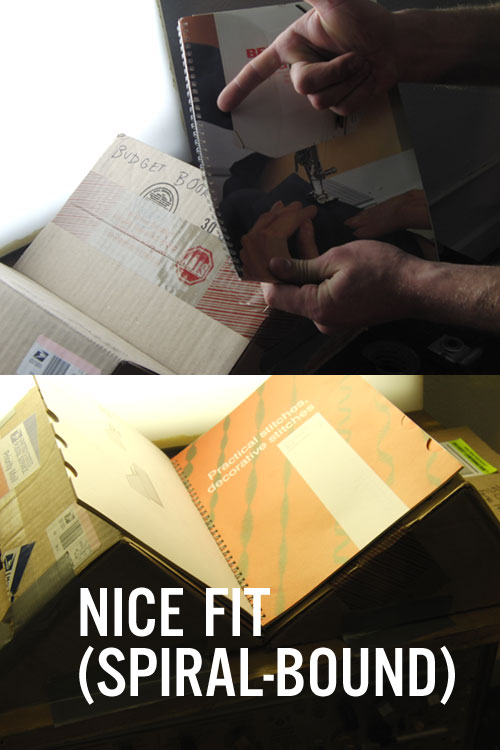
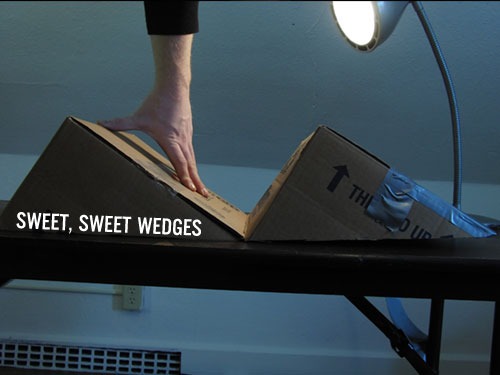
Unfold the box so you have two wedges.
Good job so far. Question: What are you scanning?
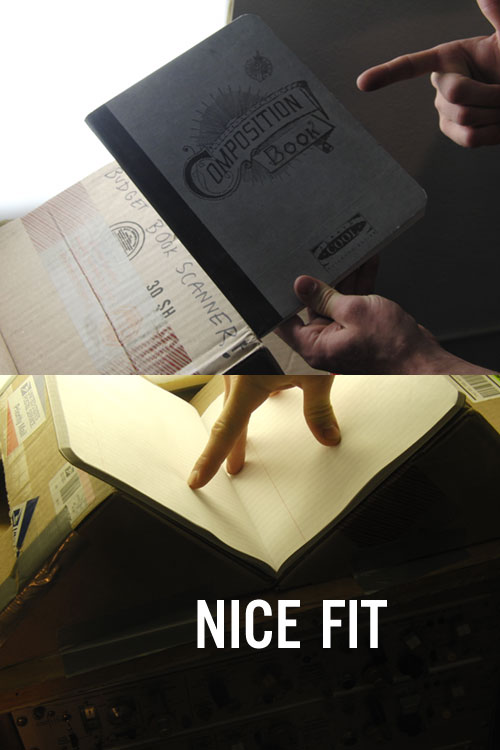
If the thing you are scanning is very thin, like a magazine or composition book or lab notebook, leave the two wedges connected. Same if it is a spiral-bound notebook. These things all work well without further cutting. If the diagonal you cut across was not square, however, you might want to cut anyway. Like in our case, because the angles weren't equal, we had to flip one of the wedges around.
WEDGES PART II
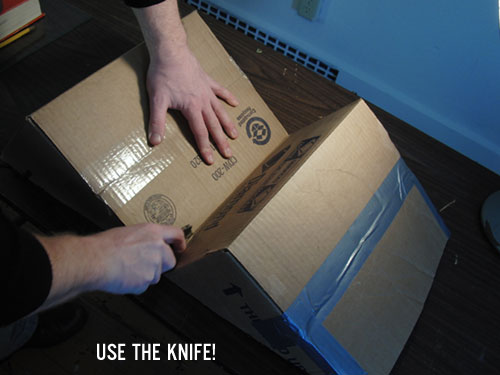
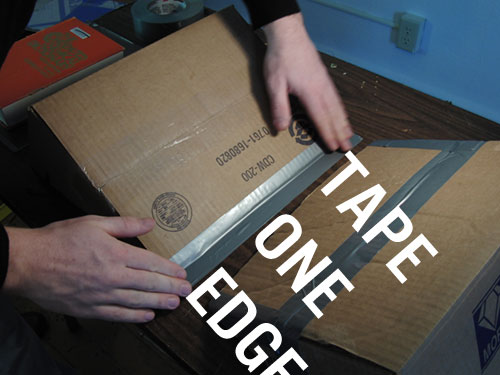
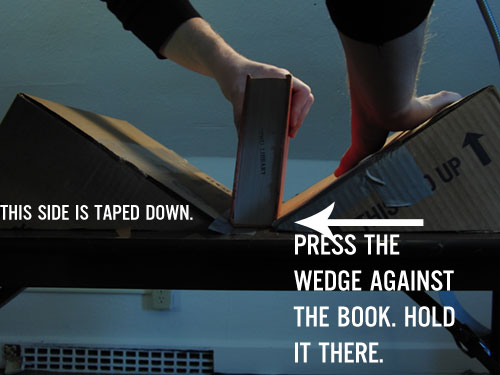
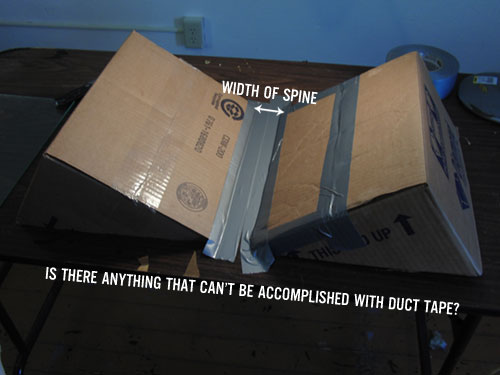
LIGHTING
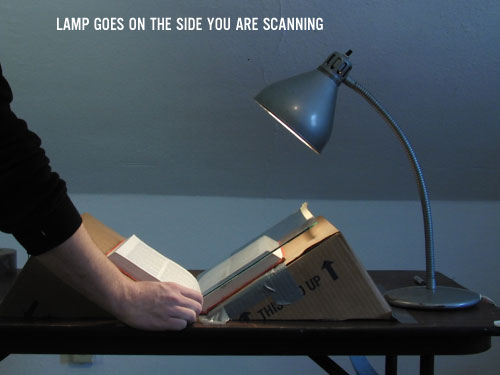
OK, now for some lighting. You want your camera to be taking pictures nice and quick, so you need to give it plenty of light. We used a simple desk lamp. $3.99 at Savers, a local thrift store. Though this is not the world's most even or perfect light, it is GOOD ENOUGH and, most importantly, the camera has a white balance setting for it (called "Incandescent" -- set your WB to incandescent, PLZ!). Doing so ensures the colors come out perfectly. Consult the manual for your camera for instructions.
After you set up your camera in the next step, you may have to adjust your lamp because it will show up as a reflection in the glass. It's easy, just move it up or down to get it out of the picture. But you can't do it until we set up the camera, so... let's set up the camera!
CAMERA SETUP.
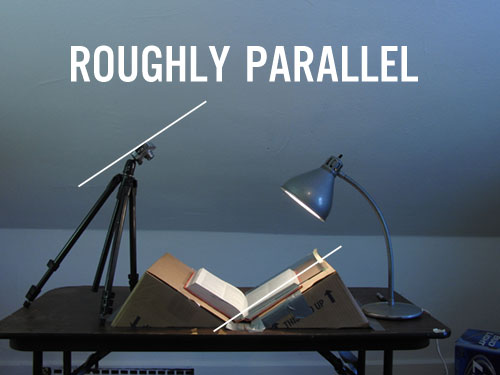
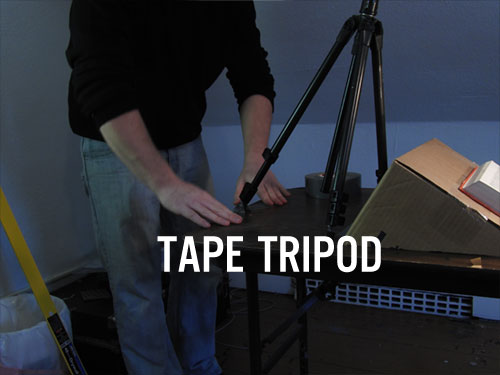
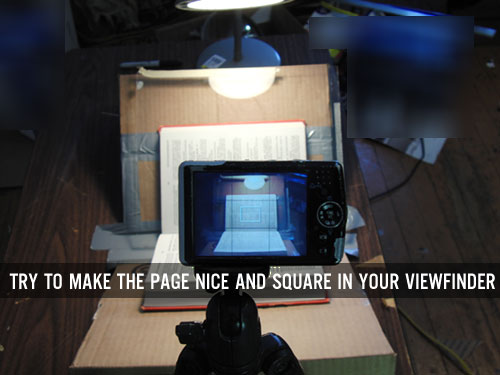
Here's the thing. You need a camera to look at your stuff and take pictures. And I guess you could hold it in your hands, but the shake, moving position, and so on would reall complicate the post-processing of your images. What you need is a stand to put your camera on. We used a tripod, but of course you don't really need a tripod. In fact, there are dozens of tripod-like objects on Instructables. If you don't have a tripod, check 'em out.
Ideally, you want your camera to be facing the page so that the screen on the back of the camera is parallel to the page. If things are straight-on, there is less correction to do in software. It's worth playing around a bit to get your camera perfectly positioned. Once you have it set up, you might find, as we did, that it's ready to fall over! In this case, tape the back leg of the tripod to your table.
SHOOT!
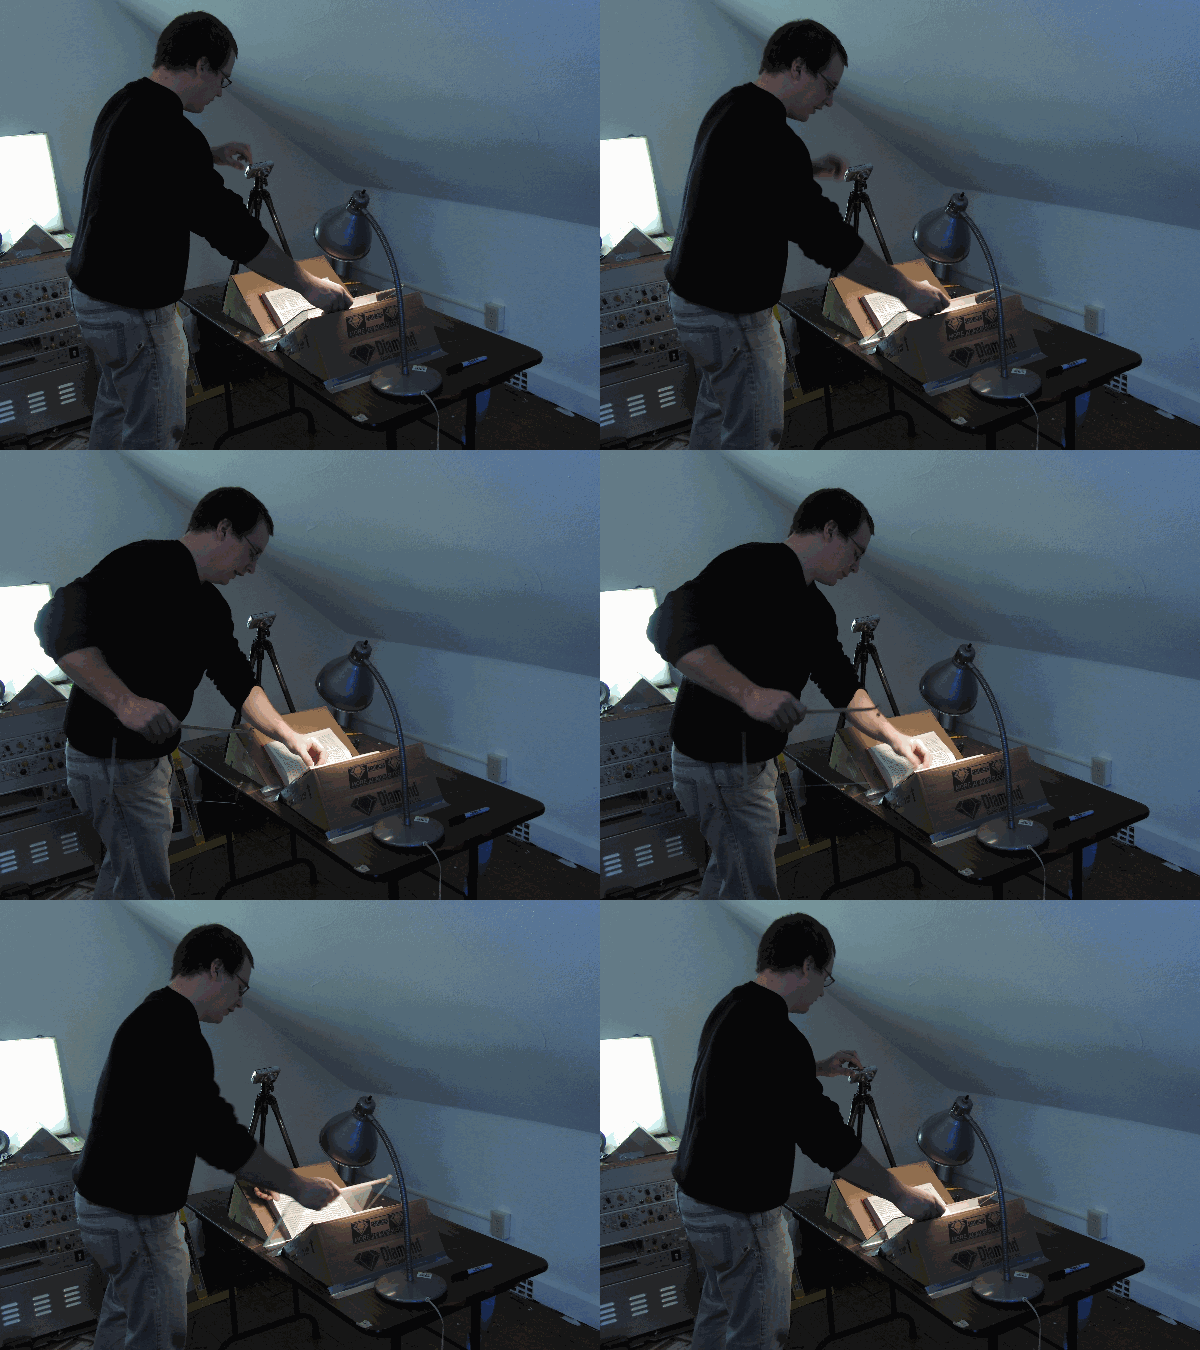
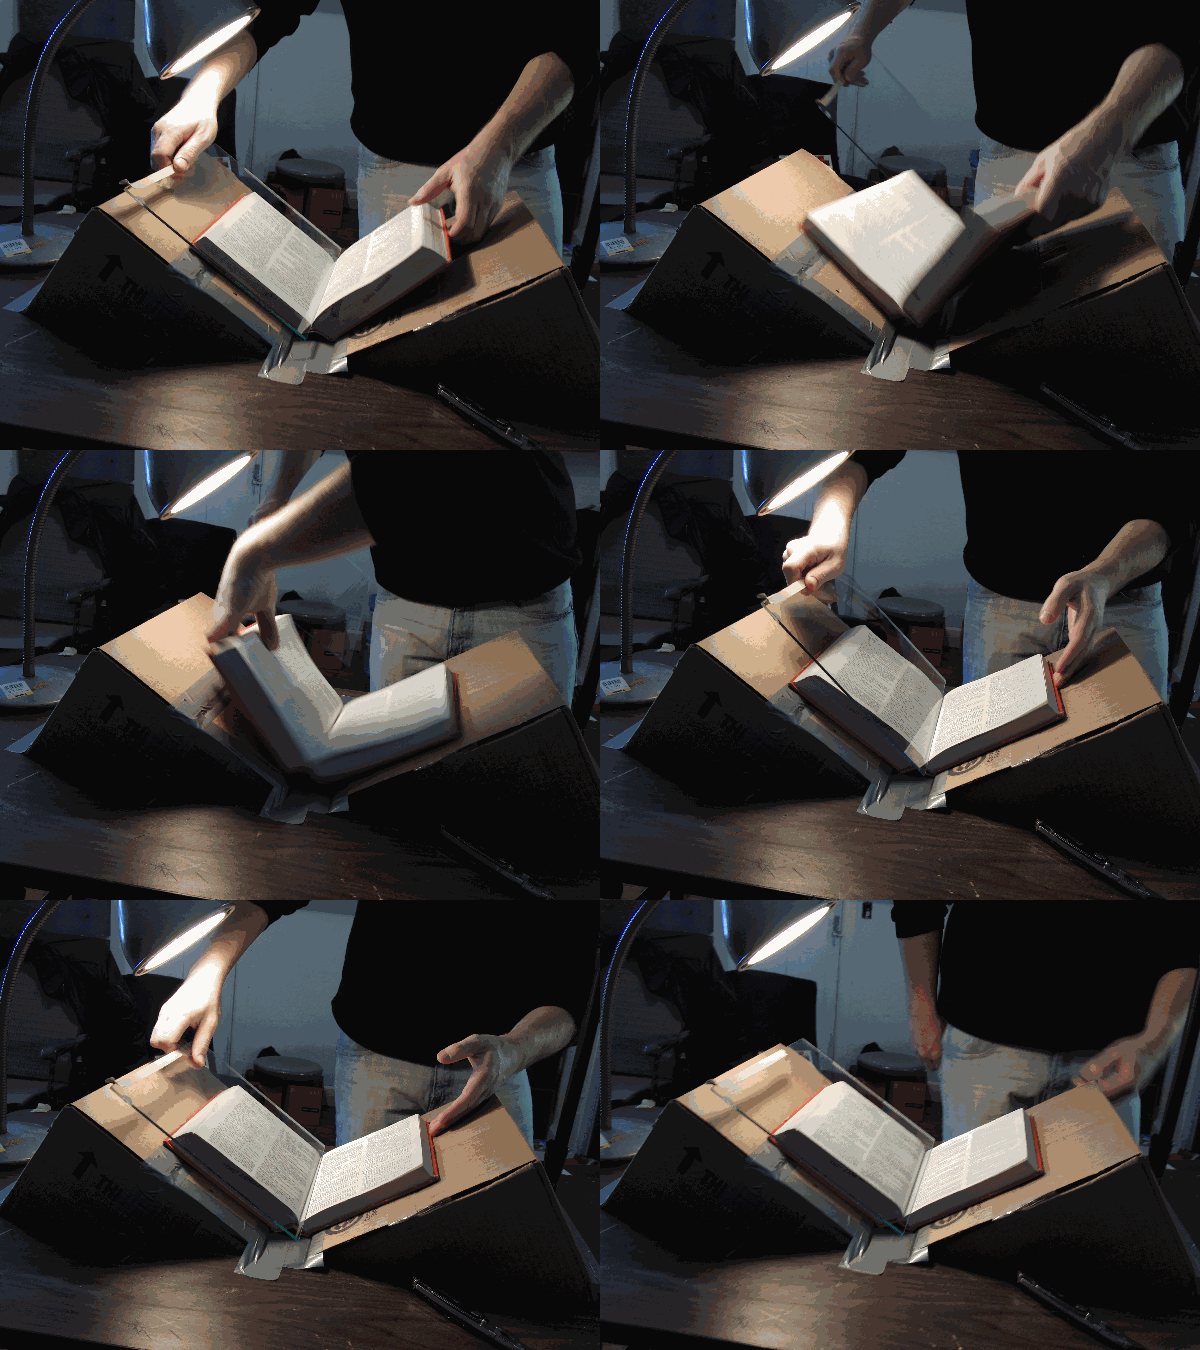
This part is easy. From the previous step, you should have ensured that you have some slop aroud the image of the page you are interested. This allows you to crop later, which is especially important if it is a thick book or magazine.
The way we prefer to do this is to shoot all the right-side pages first, and all the left-side pages second. Shooting all the pages this way simplifies post-processing later.
Below, you can see Matti shooting all the right-side pages of a book. He places the glass, presses the shutter button, replaces the glass, presses the shutter button... ad nauseam. Do this until you have reached the end of whatever you are interested in scanning.
Then flip the book.
Continue as before, but now shooting all the left-side pages.
Post Processing
- If you followed our instructions and took pictures of the right-hand side of the book all the way to the end, then flipped the book and took all the left-side pictures:
- If you didn't use a tripod and instead took pictures of each page, alternating right then left, starting with the right-hand side of the book:
The Better Way
Over on the DIY Book Scanner forums, we prefer to use Scan tailor. Scan Tailor was originally written by Joseph Artsimovich for processing scanned-in books from flatbed scanners; it does a wonderful job of automatically finding the content of the pages and generally makes them look a lot better than the original camera shots. Following our directions, your images will be out of order (all right-hand pages first, then all left-hand pages.) It'd be a pain to rename all of these so they were in the right order, so Matti wrote a little utility to copy/rename all the images:RenameAll.exe (Source code) copies and renames the first half of the images 000001-a.jpg, etc. then the second half 000001-b.jpg, etc.
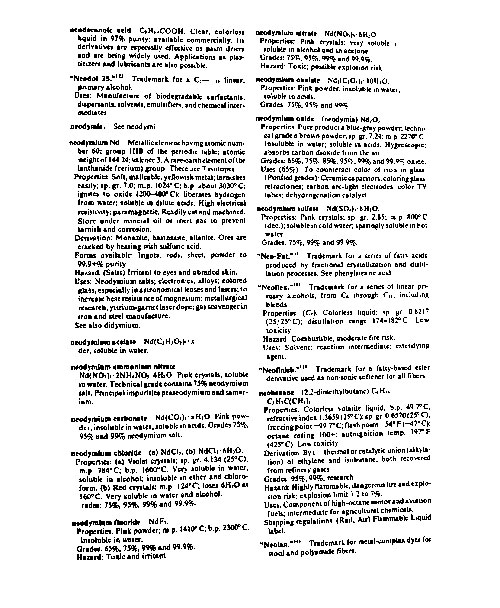
To use this program, just drag and drop the folder containing your images onto the RenameAll.exe file, and the images will be copied and renamed into the same folder.Using Scan Tailor When you load up the Scan Tailor program, you'll want to create a new project, and then select the directory containing all of your images as the input directory, and some other (empty) directory for your output directory. When the "Fix DPI" window pops op, select All Pages, change the DPI to 300 x 300, hit Apply, then OK. Now we're in the main window. On the right you'll see the task list: Fix Orientation Split Pages (optional) Deskew (optional) Select Content Page Layout (optional) Output At the bare minimum, you need to fix the orientations of the images, select the content boxes, (skipping split pages and deskew) then output the processed images. After rotating the on-screen image to the correct orientation, use the "Apply to..." button and select how you'd like to fix the other images in the project. Use "Apply to..."->"This page and the following ones" if your images are all right-hand pages, then all left-hand pages. Use "Apply to..."->"Every other page" if your images are sequential pages. In the "Select Content" tab, first hit the little arrow to automatically detect each page, then quickly scroll through each image to make sure the box is the right size in each image. Finally, select the "Output" tab, and deselect the "despeckle" option, and hit "Apply to.."->"Every page". Hit the little arrow, and Scan Tailor will save all the nice, crisp output images to the output directory you specified. Now you have all your pages ready to be turned into a PDF, or you could put the pictures into a zip file. Your output will look something like this:
PDF Creation
