Bambi Pie

by NathanaelScheffler in Cooking > Pie

2712 Views, 8 Favorites, 0 Comments

Bambi Pie

P1090437.JPG
P1090433.JPG
P1090441.JPG
P1090442.JPG
P1090439.JPG
Hey Instructables!  This is my entry to the Serious Eats Pi Day Pie Contest.  My Bambi Pie is a Venison Meat Pie, with a crust decorated with egg white paints.  This Instructable will show you how to make this pie.
Please Vote for Me in the Serious Eats Pi Day Pie Contest!

Ingredients

P1090388.JPG
P1090389.JPG
P1090391.JPG
P1090393.JPG
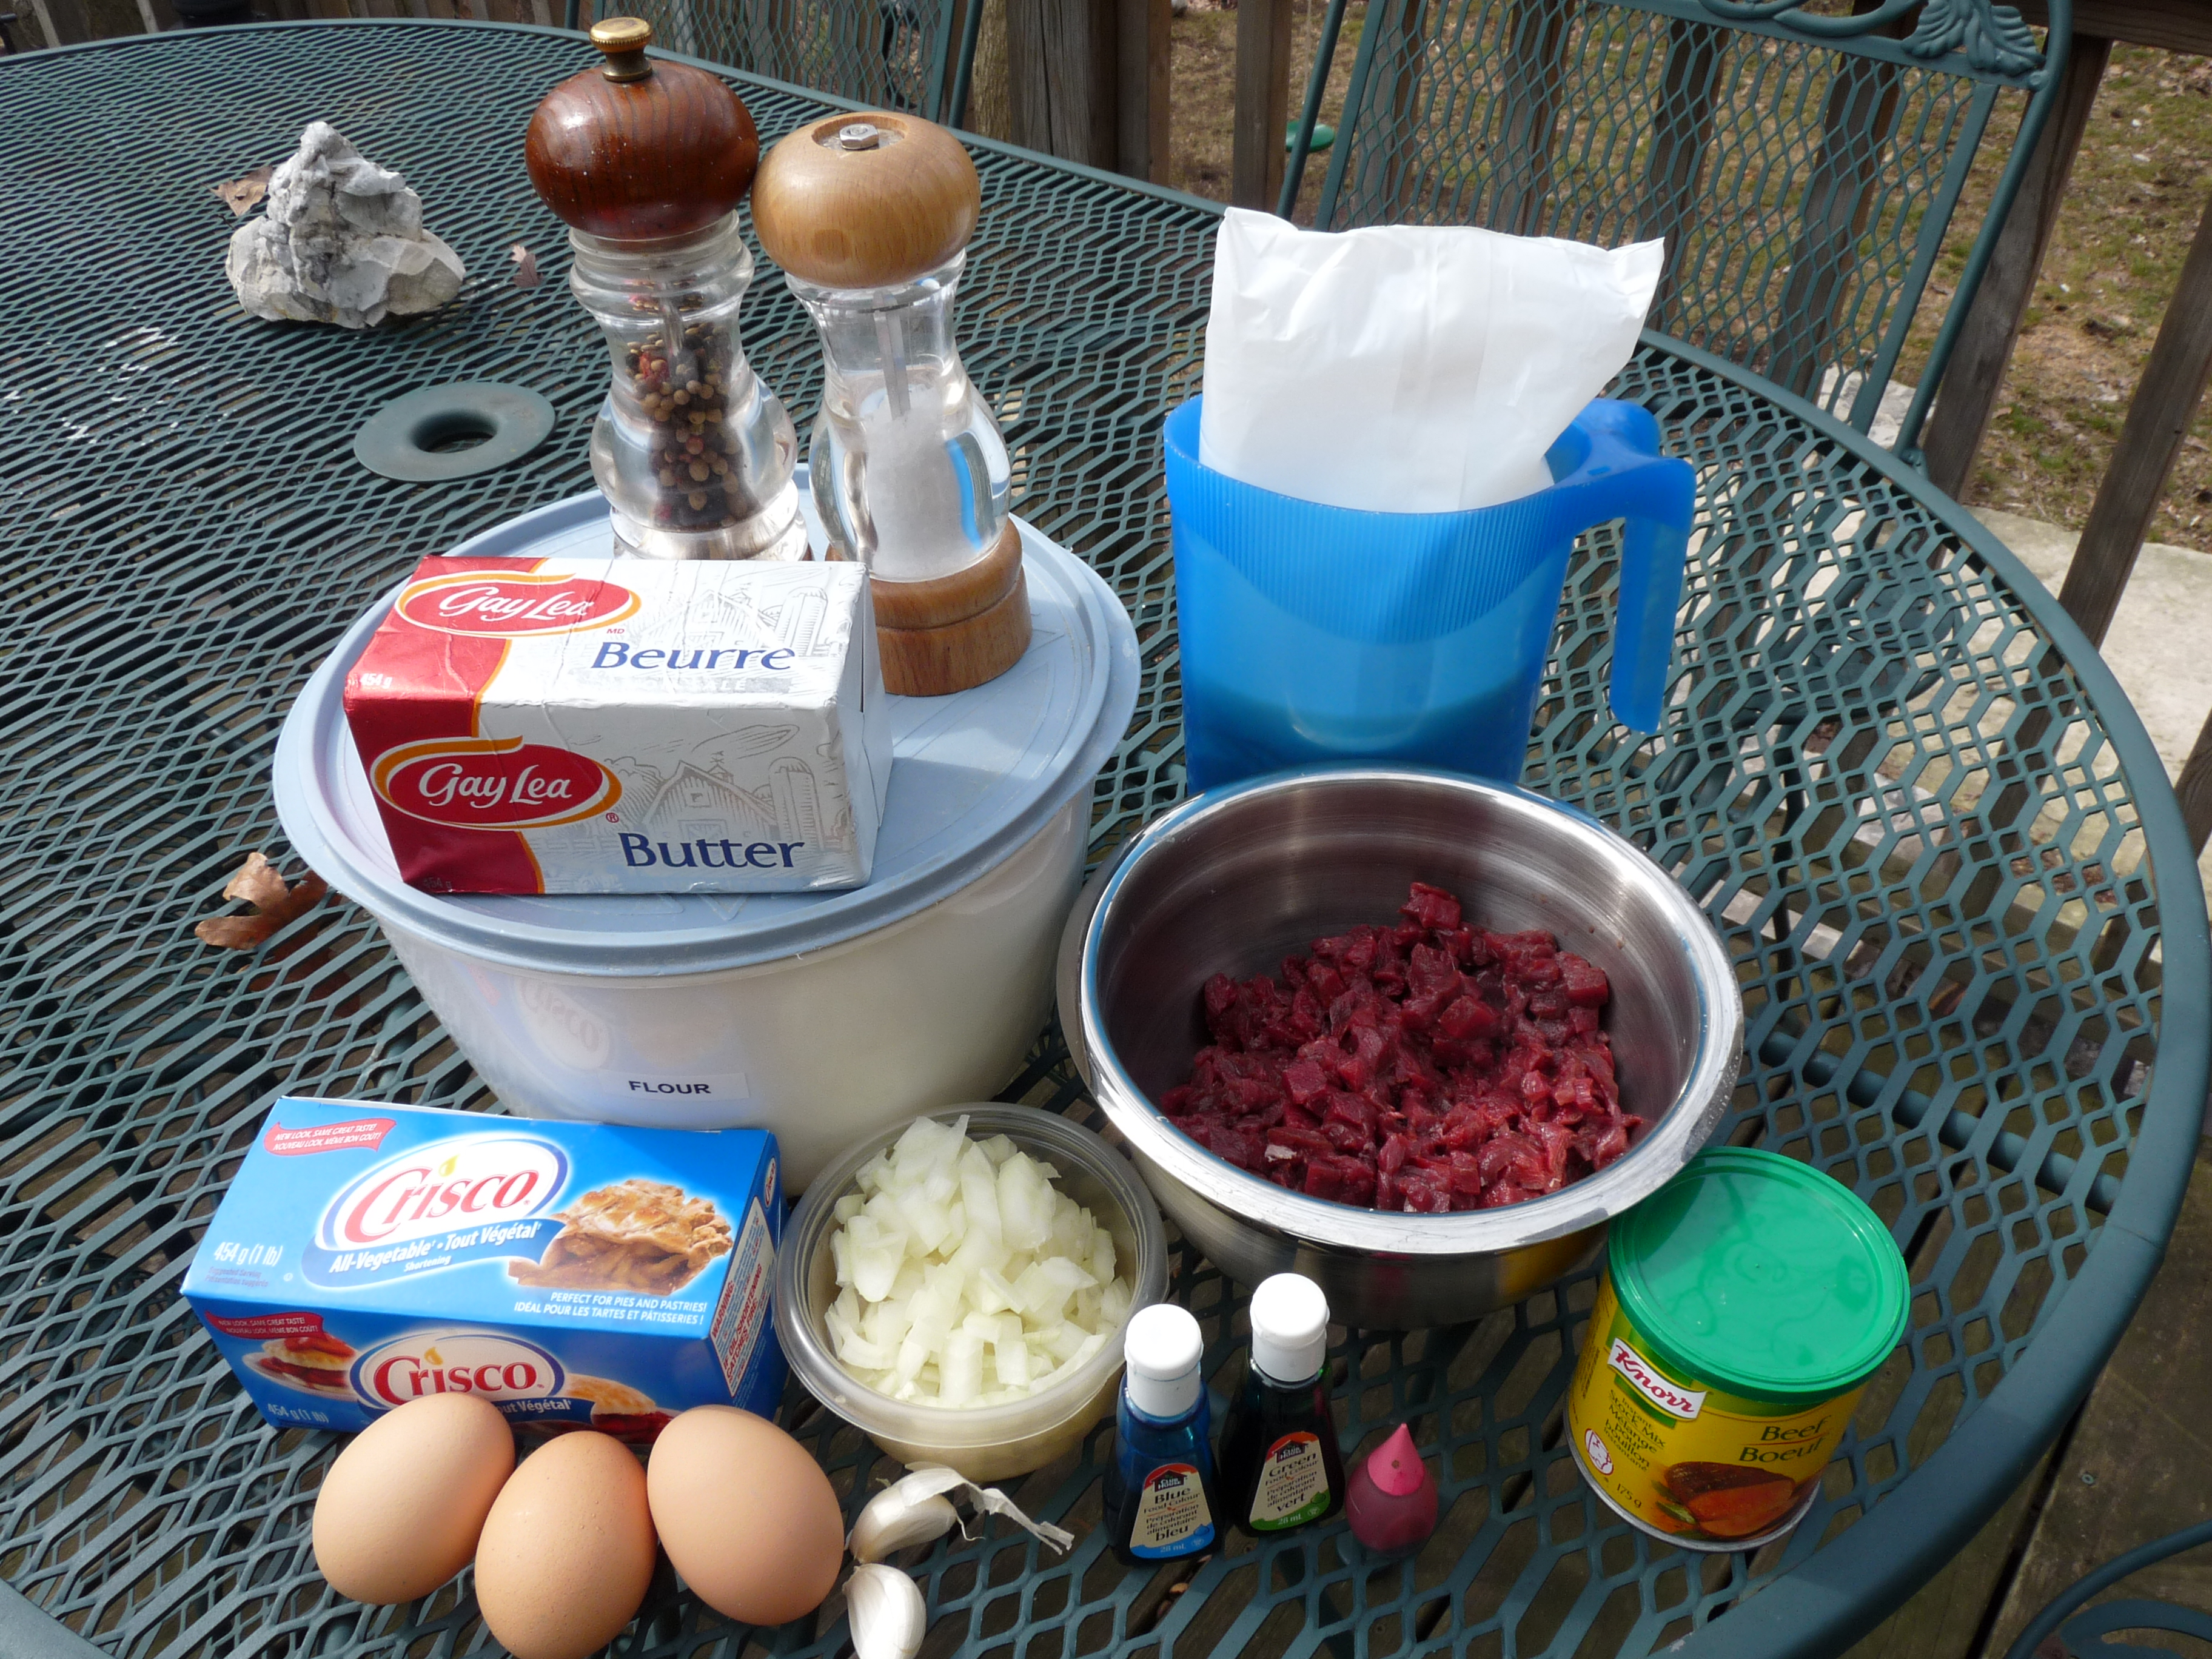
To make your own Bambi Pie, you will need the following:
- 1 pound venison meat, ground or minced
-Instant Mashed Potatoes
-Milk
-Water
-Butter
-Crisco (or other type of vegetable shortening)
-Eggs
-Food Colouring
-Salt and Pepper
-Flour
-Instant Beef Broth Powder
-2 Cloves of Garlic
-Oil
-an Onion
-Cheese

Prepare Your Design
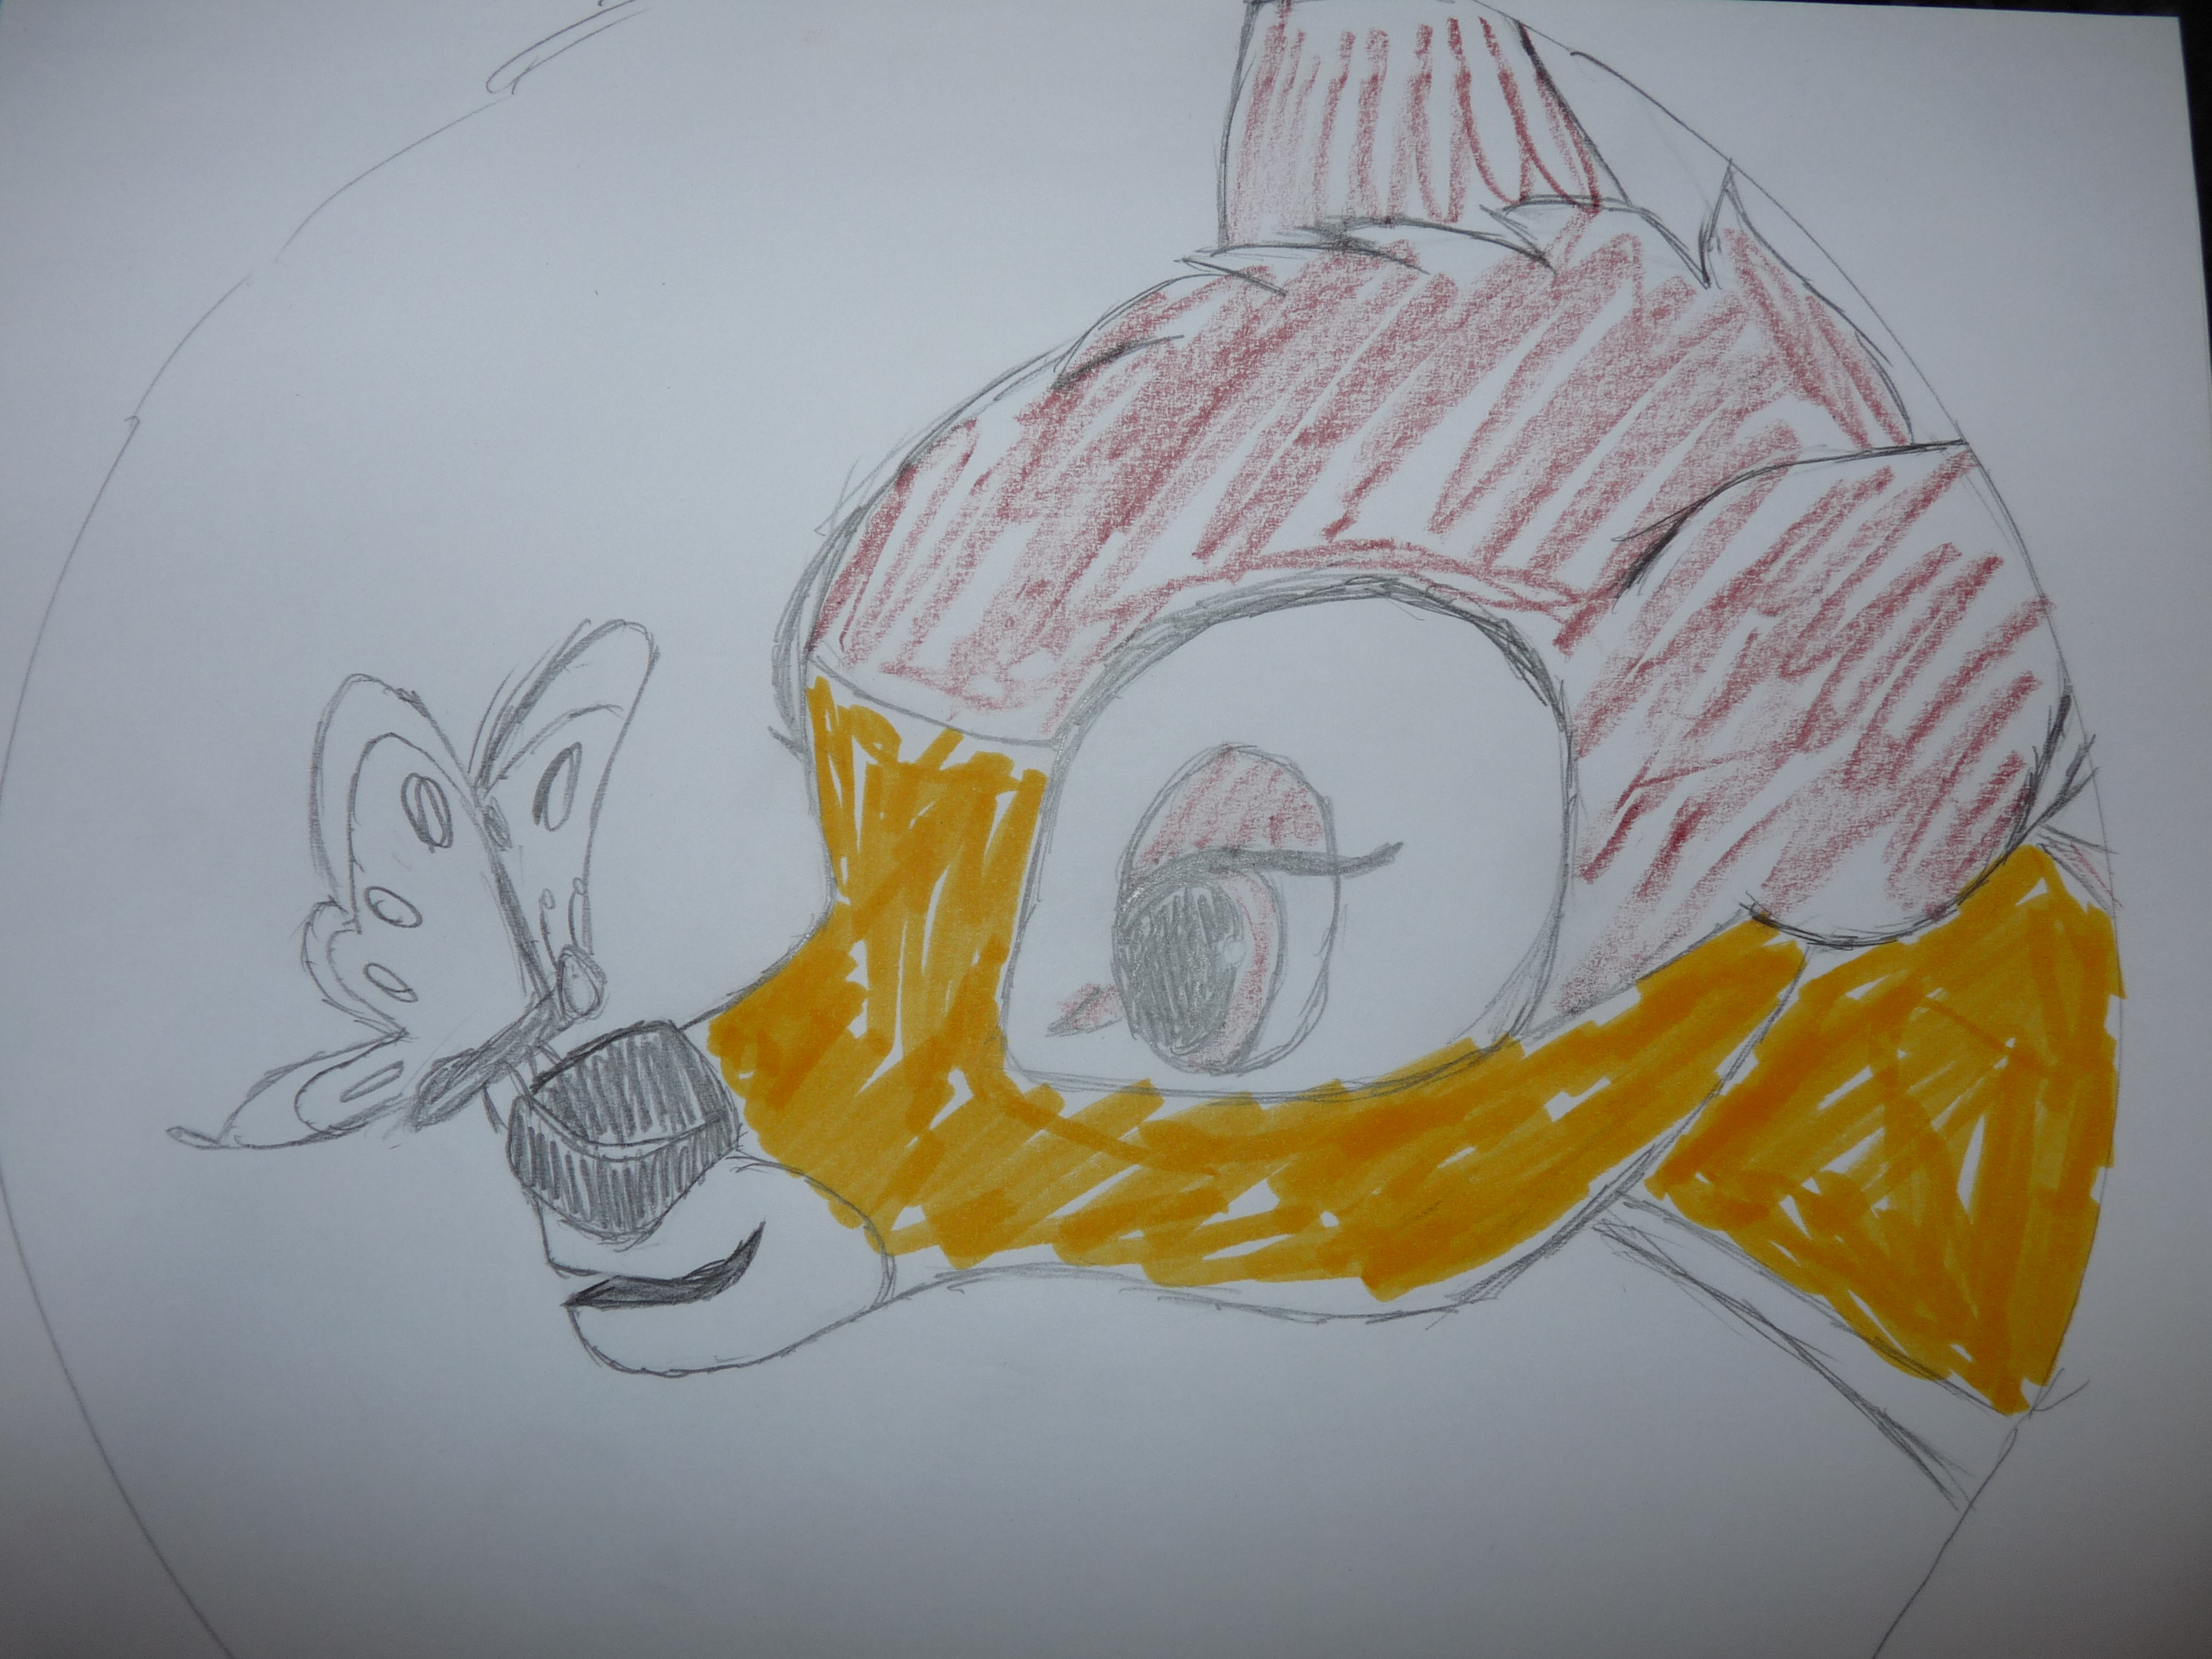
P1090390.JPG

Sketch your design on a peice of paper, and colour code the areas so that you will know what colour goes where when it is time to paint the pie crust.  Try to keep the design simple, because a crust is not the best canvas.  I thought that a picture of Bambi would be befitting, seeing as it is a Venison Pie.

Make the Crust

P1090402.JPG
Follow the Directions given on the pack of Vegetable Shortening to make the pie crust.  When Finished, place the crust in the fridge.

Make the Filling

P1090398.JPG
P1090394.JPG
P1090395.JPG
P1090396.JPG
P1090403.JPG
P1090404.JPG
P1090405.JPG
P1090406.JPG
P1090407.JPG

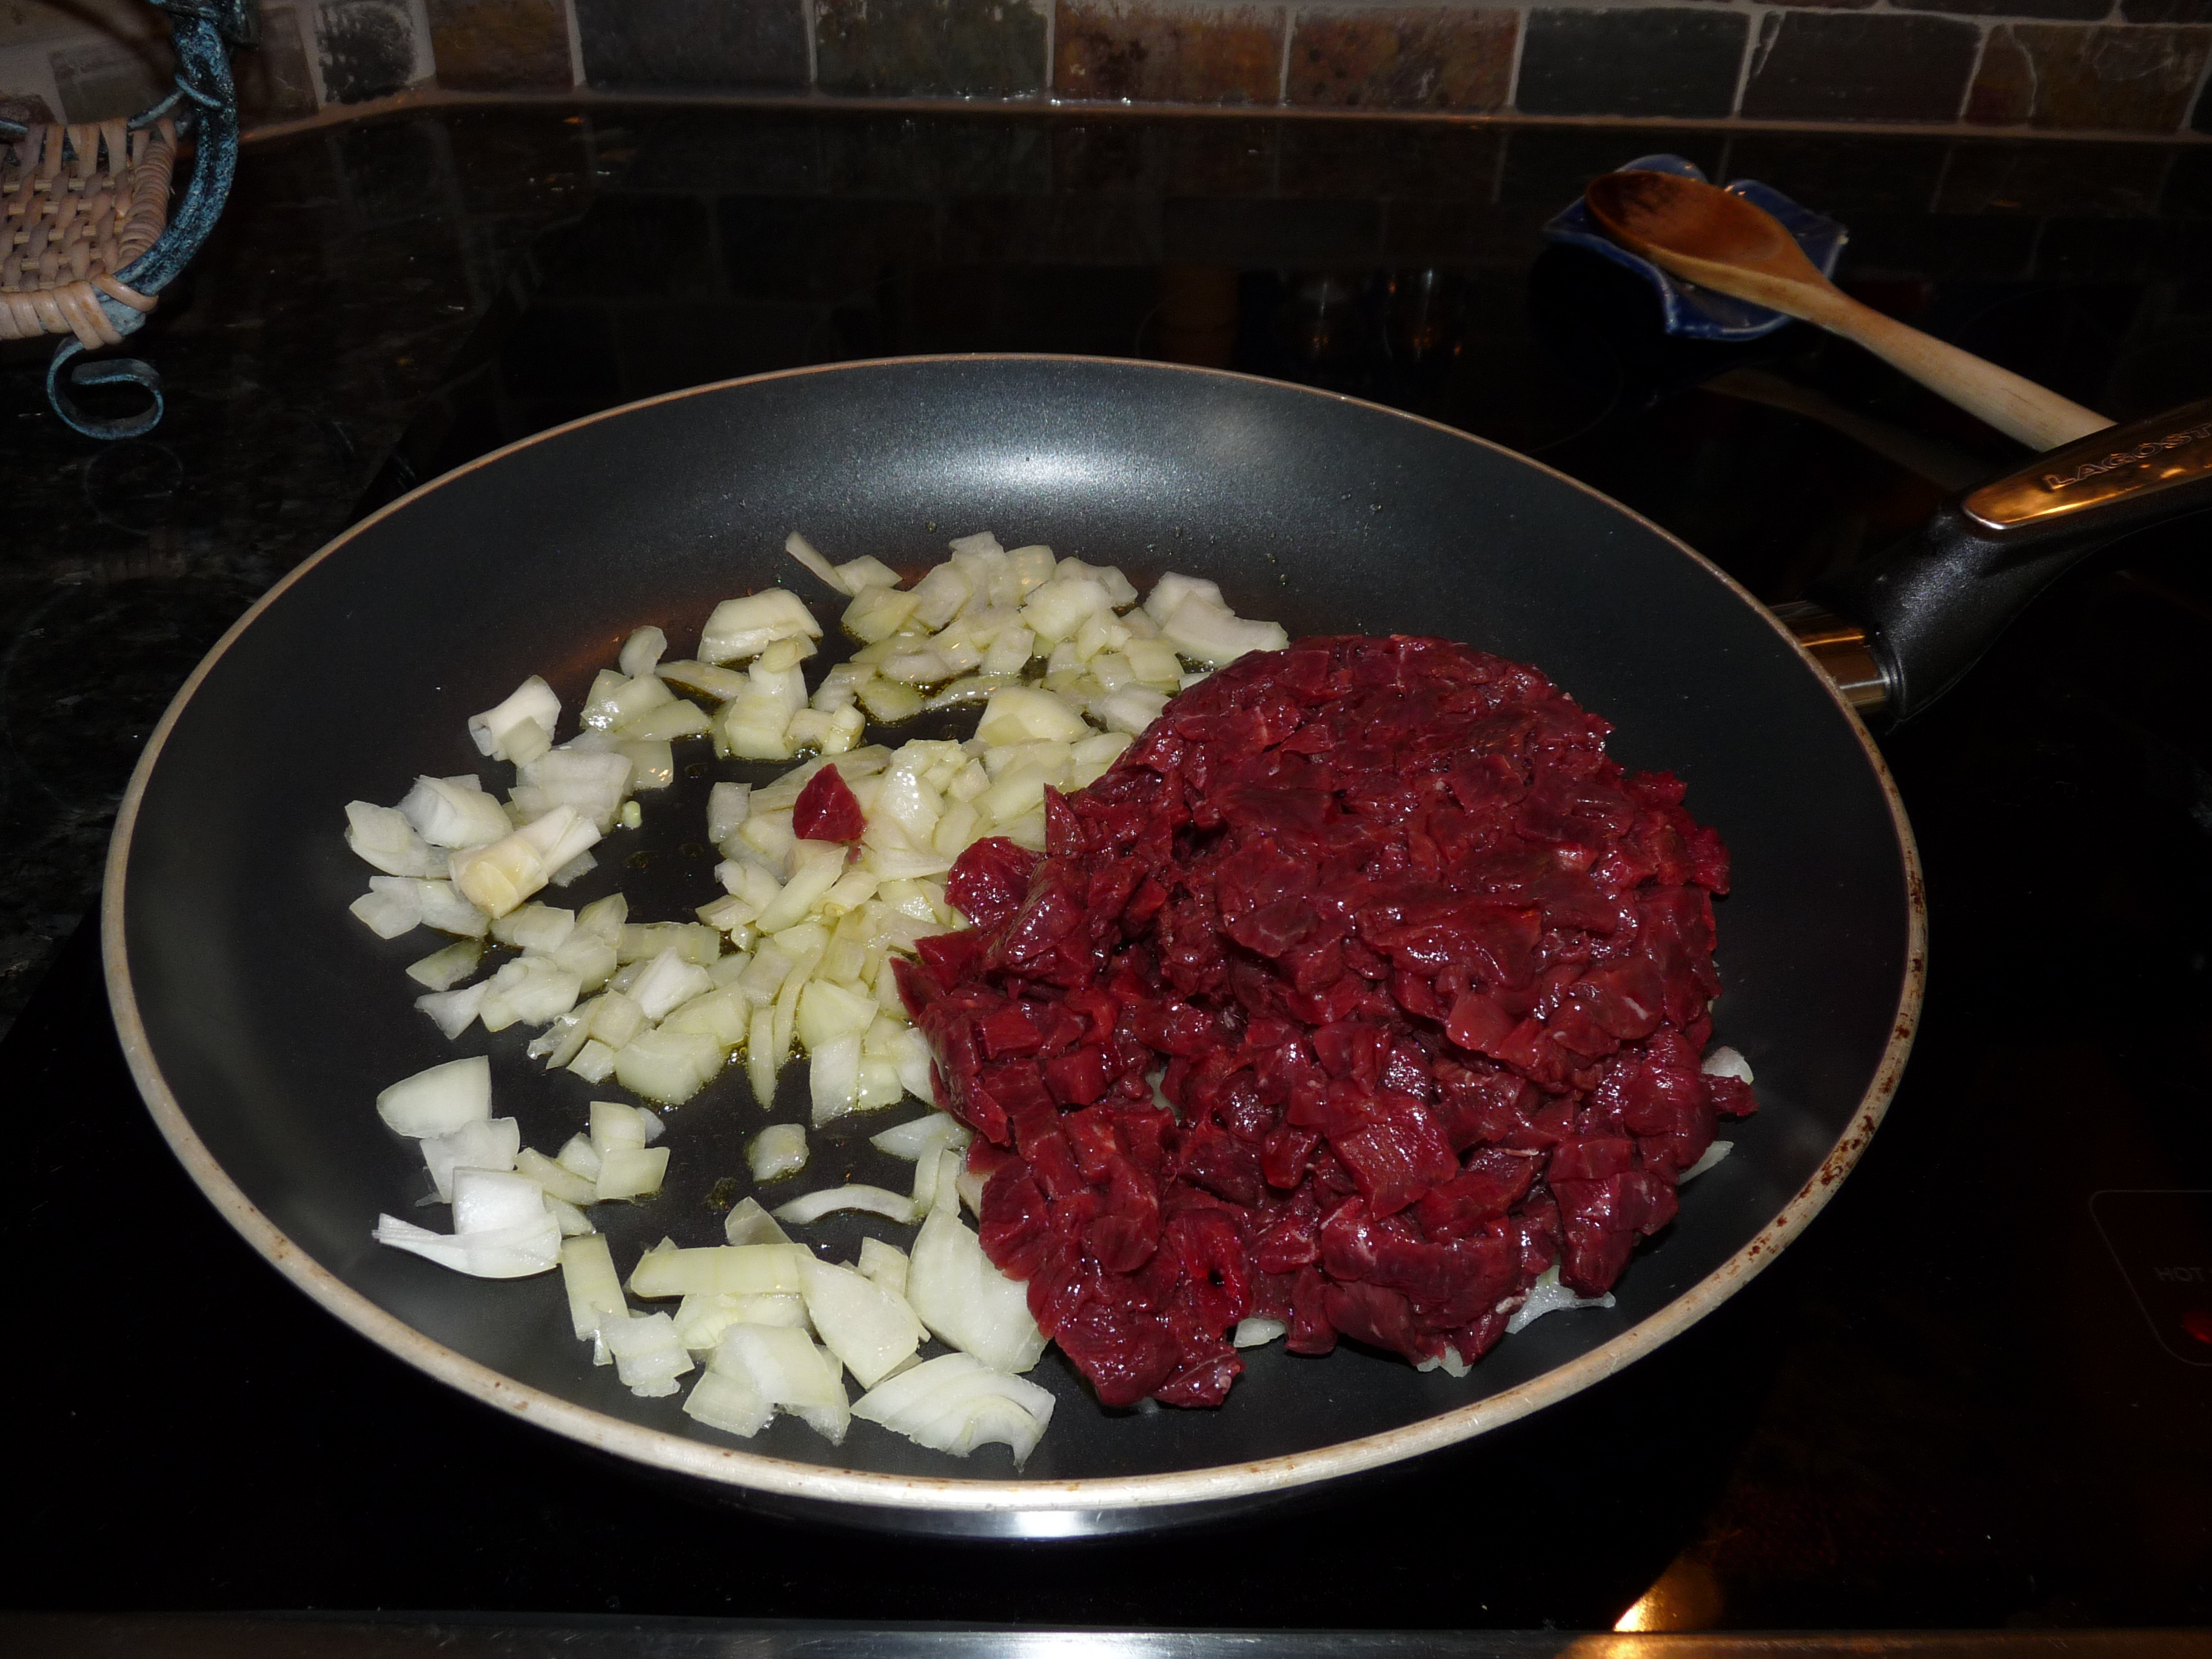
Dice the Onion.  Heat up Frying pan and add oil.  Saute onions nd venison until venison is browned.  Then take the pan off the heat.  Then make half of a packet of instant mashed potatoes in a medium sized pot.  Instead of using water to make them, use beef broth powder to turn the water into beef broth.  This will make the filling more flavourful.  Once the potatoes are finished, add the venison and onions, and mix well.  Press the two cloves of garlic and add them to the pot also.  Season with salt and pepper, and mix well.

Assemble Your Pie!

P1090409.JPG
P1090410.JPG
P1090411.JPG
P1090413.JPG
P1090414.JPG
P1090415.JPG
Take the Pie crusts out of the fridge.  Place the larger on on the bottom of the pie pan, and make sure it reaches to the edges.   Once it is in place, add the filling.  Grate  your prefered type of cheese over top of the filling.  I know, I forgot to take a picture.  After the cheese is evenly spread place your top crust.  Then use a fork to press down the edges of the pie, and poke some air holes in the top so that the top crust is not forced off by steam pressure when it is baking.  If you want to take a break, you can put the pie in the fridge. 

Transfering the Pattern

P1090419.JPG
P1090418.JPG
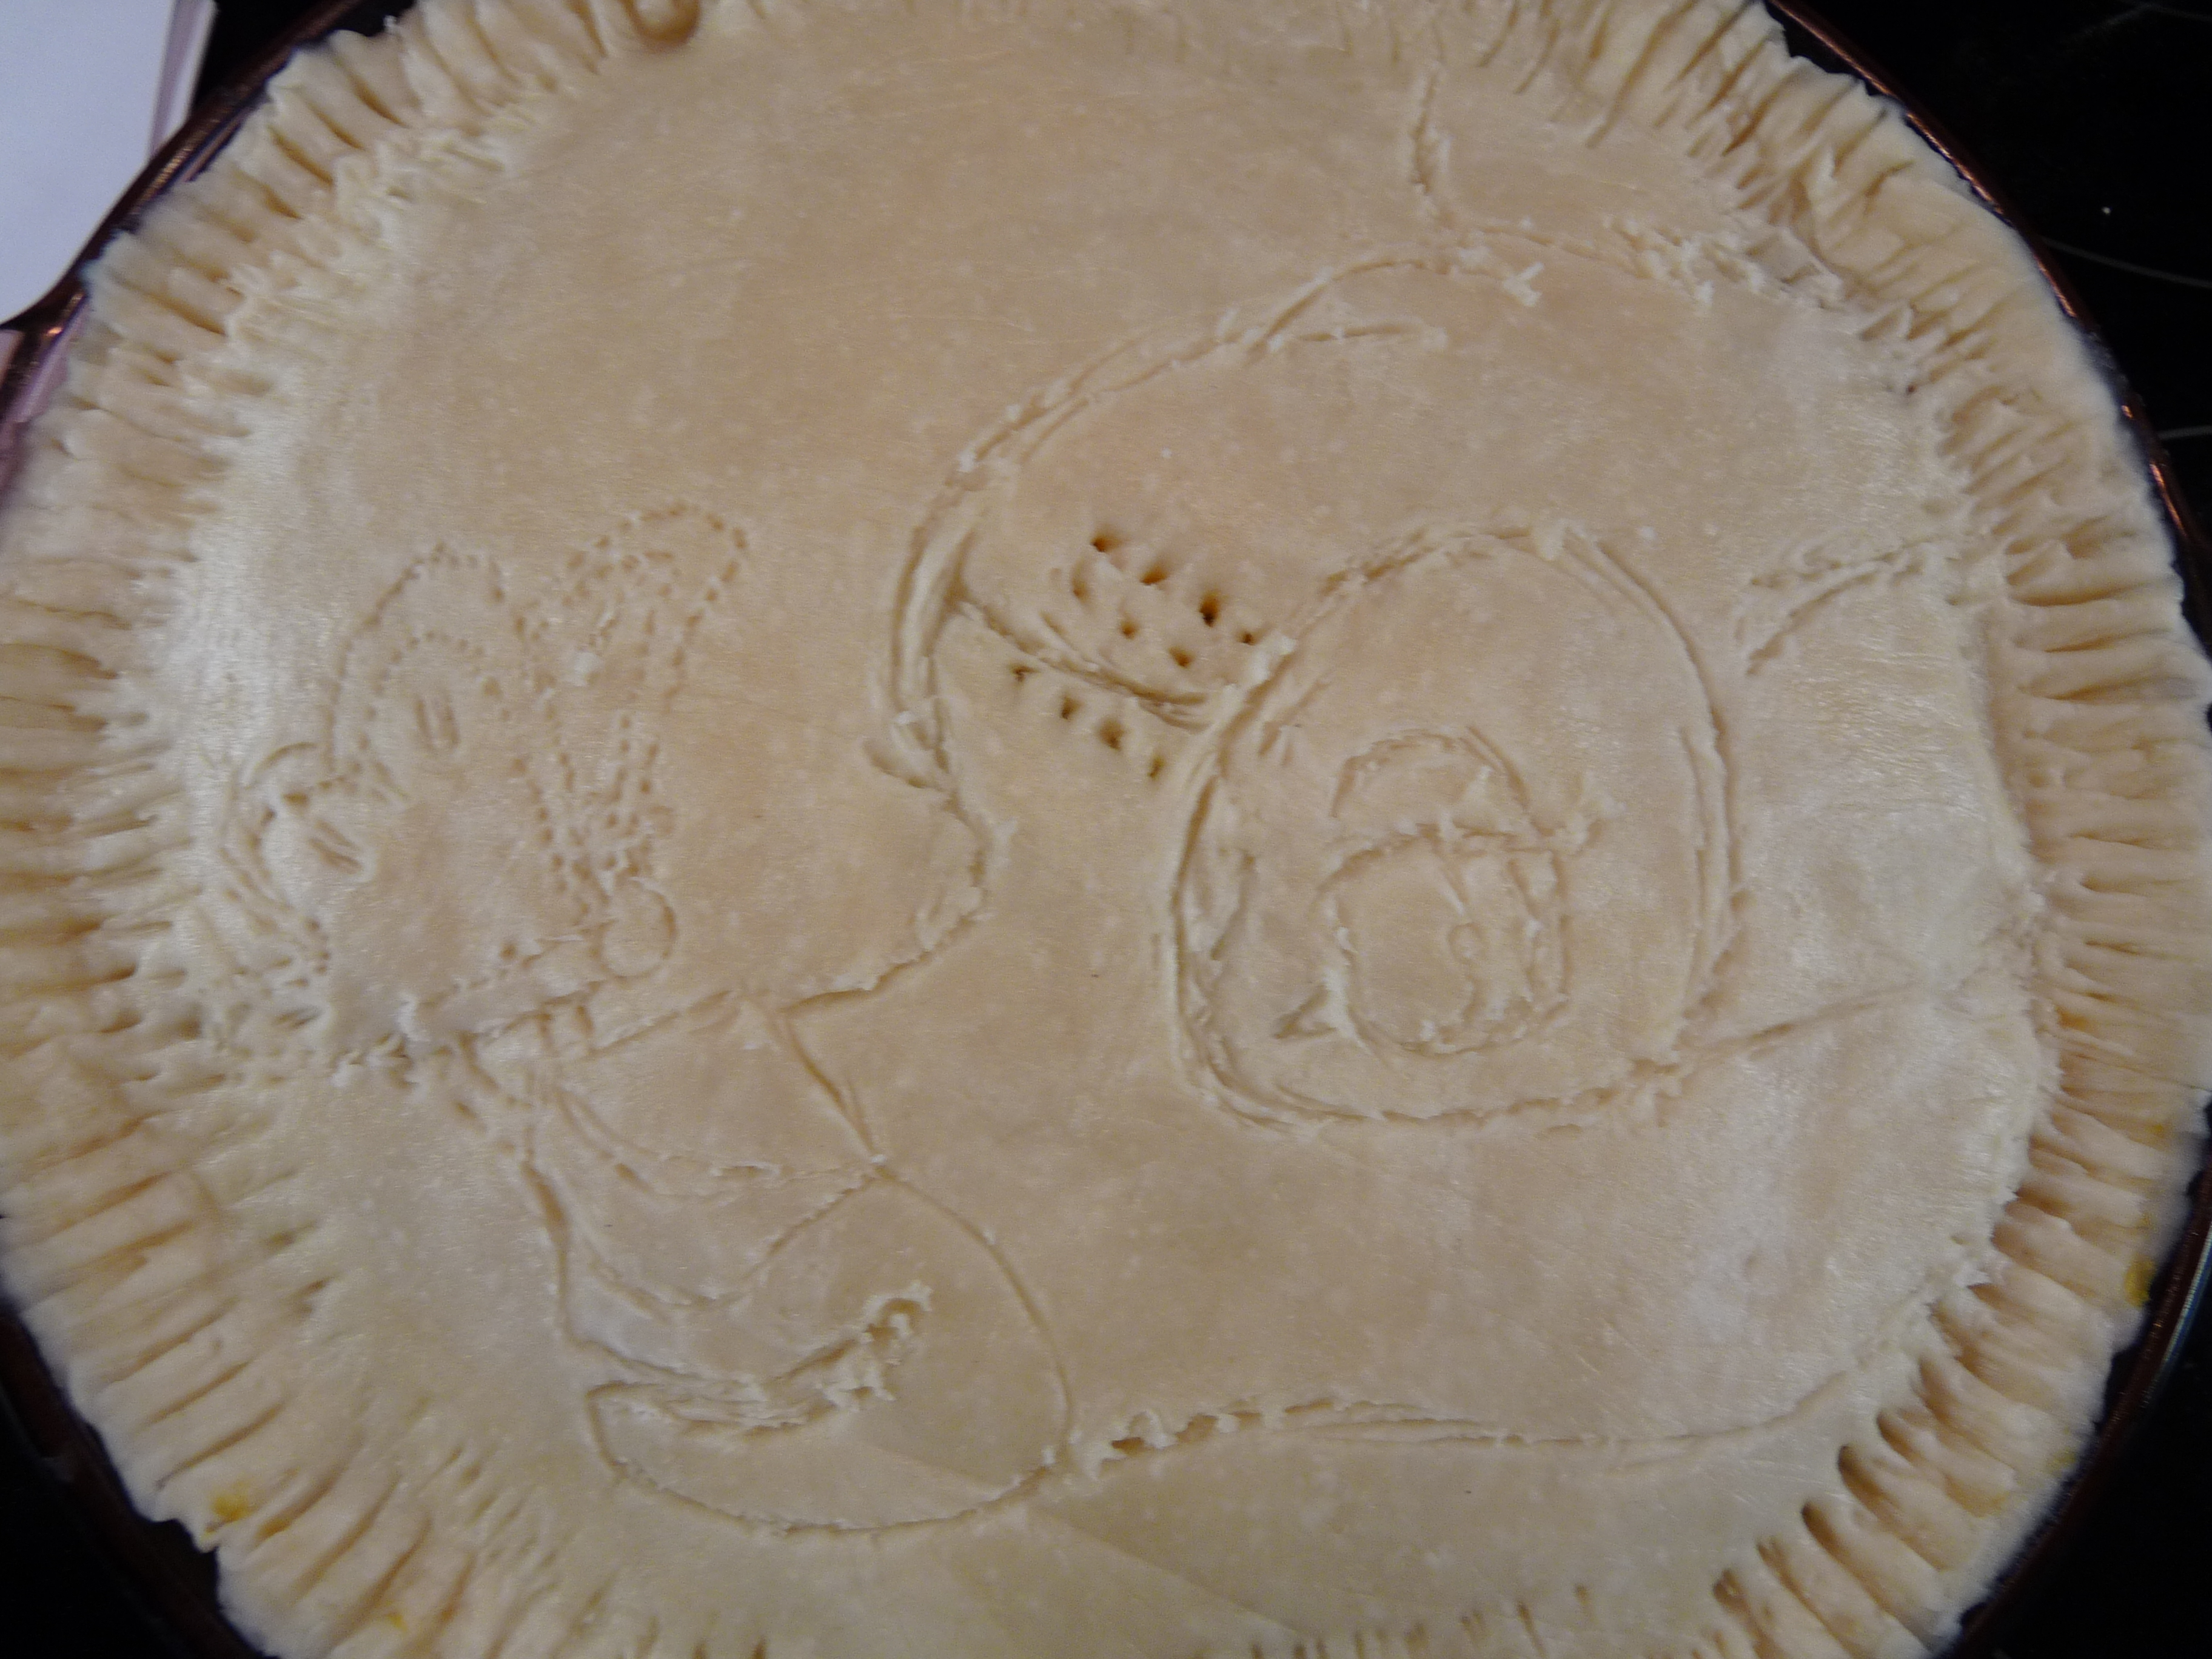
This is where it gets delicate.  Trace your design on to the crust of the pie lightly using a toothpick.  If you make any lines that are in the wrong place, just press your finger over top of them to fold them back into the crust.

Adding Colours

P1090420.JPG
P1090421.JPG
P1090422.JPG
P1090423.JPG
P1090425.JPG
P1090433.JPG
P1090435.JPG
Now you need to add colour to your pie!  To do this, we will be making egg white paints.  Seperate some egg whites from the yolks, however many colours you need for your design.  place each of these in a seperate container.  Experiment with some water and your food colouring to make sure you get the right mixture.  No body want to eat a pie that is the wrong colour!  Write down the mixtures that seem to get the right colours.  Once you are confident that you have the correct mixture, colour the egg whites.  Then use a fork to mix in the colour.  Once you have the food colouring mixed evenly throughout the egg, you can start painting!  Use a clean (or preferably new) paintbrush to colour in your design.  I also tried using plain food colouring by itself, without egg whites, and that seemed to work well to.  I only used that technique for the butterfly.

Bake It!

P1090436.JPG
You are finally nearing the end of the creation of the ultimate pie.  Preheat your oven to 350, and put in your pie for 45 minutes.  make sure not to put the crust too close to the elements, or the image will be discoloured.  If you notice that the crust is turning too dark, you can cover it with tinfoil to help keep it the colour that it is.  If the pie is not cooked after 45 minutes, you can put it in for up to 15 more.

Eat It Up!

P1090437.JPG
P1090439.JPG
P1090441.JPG
P1090442.JPG
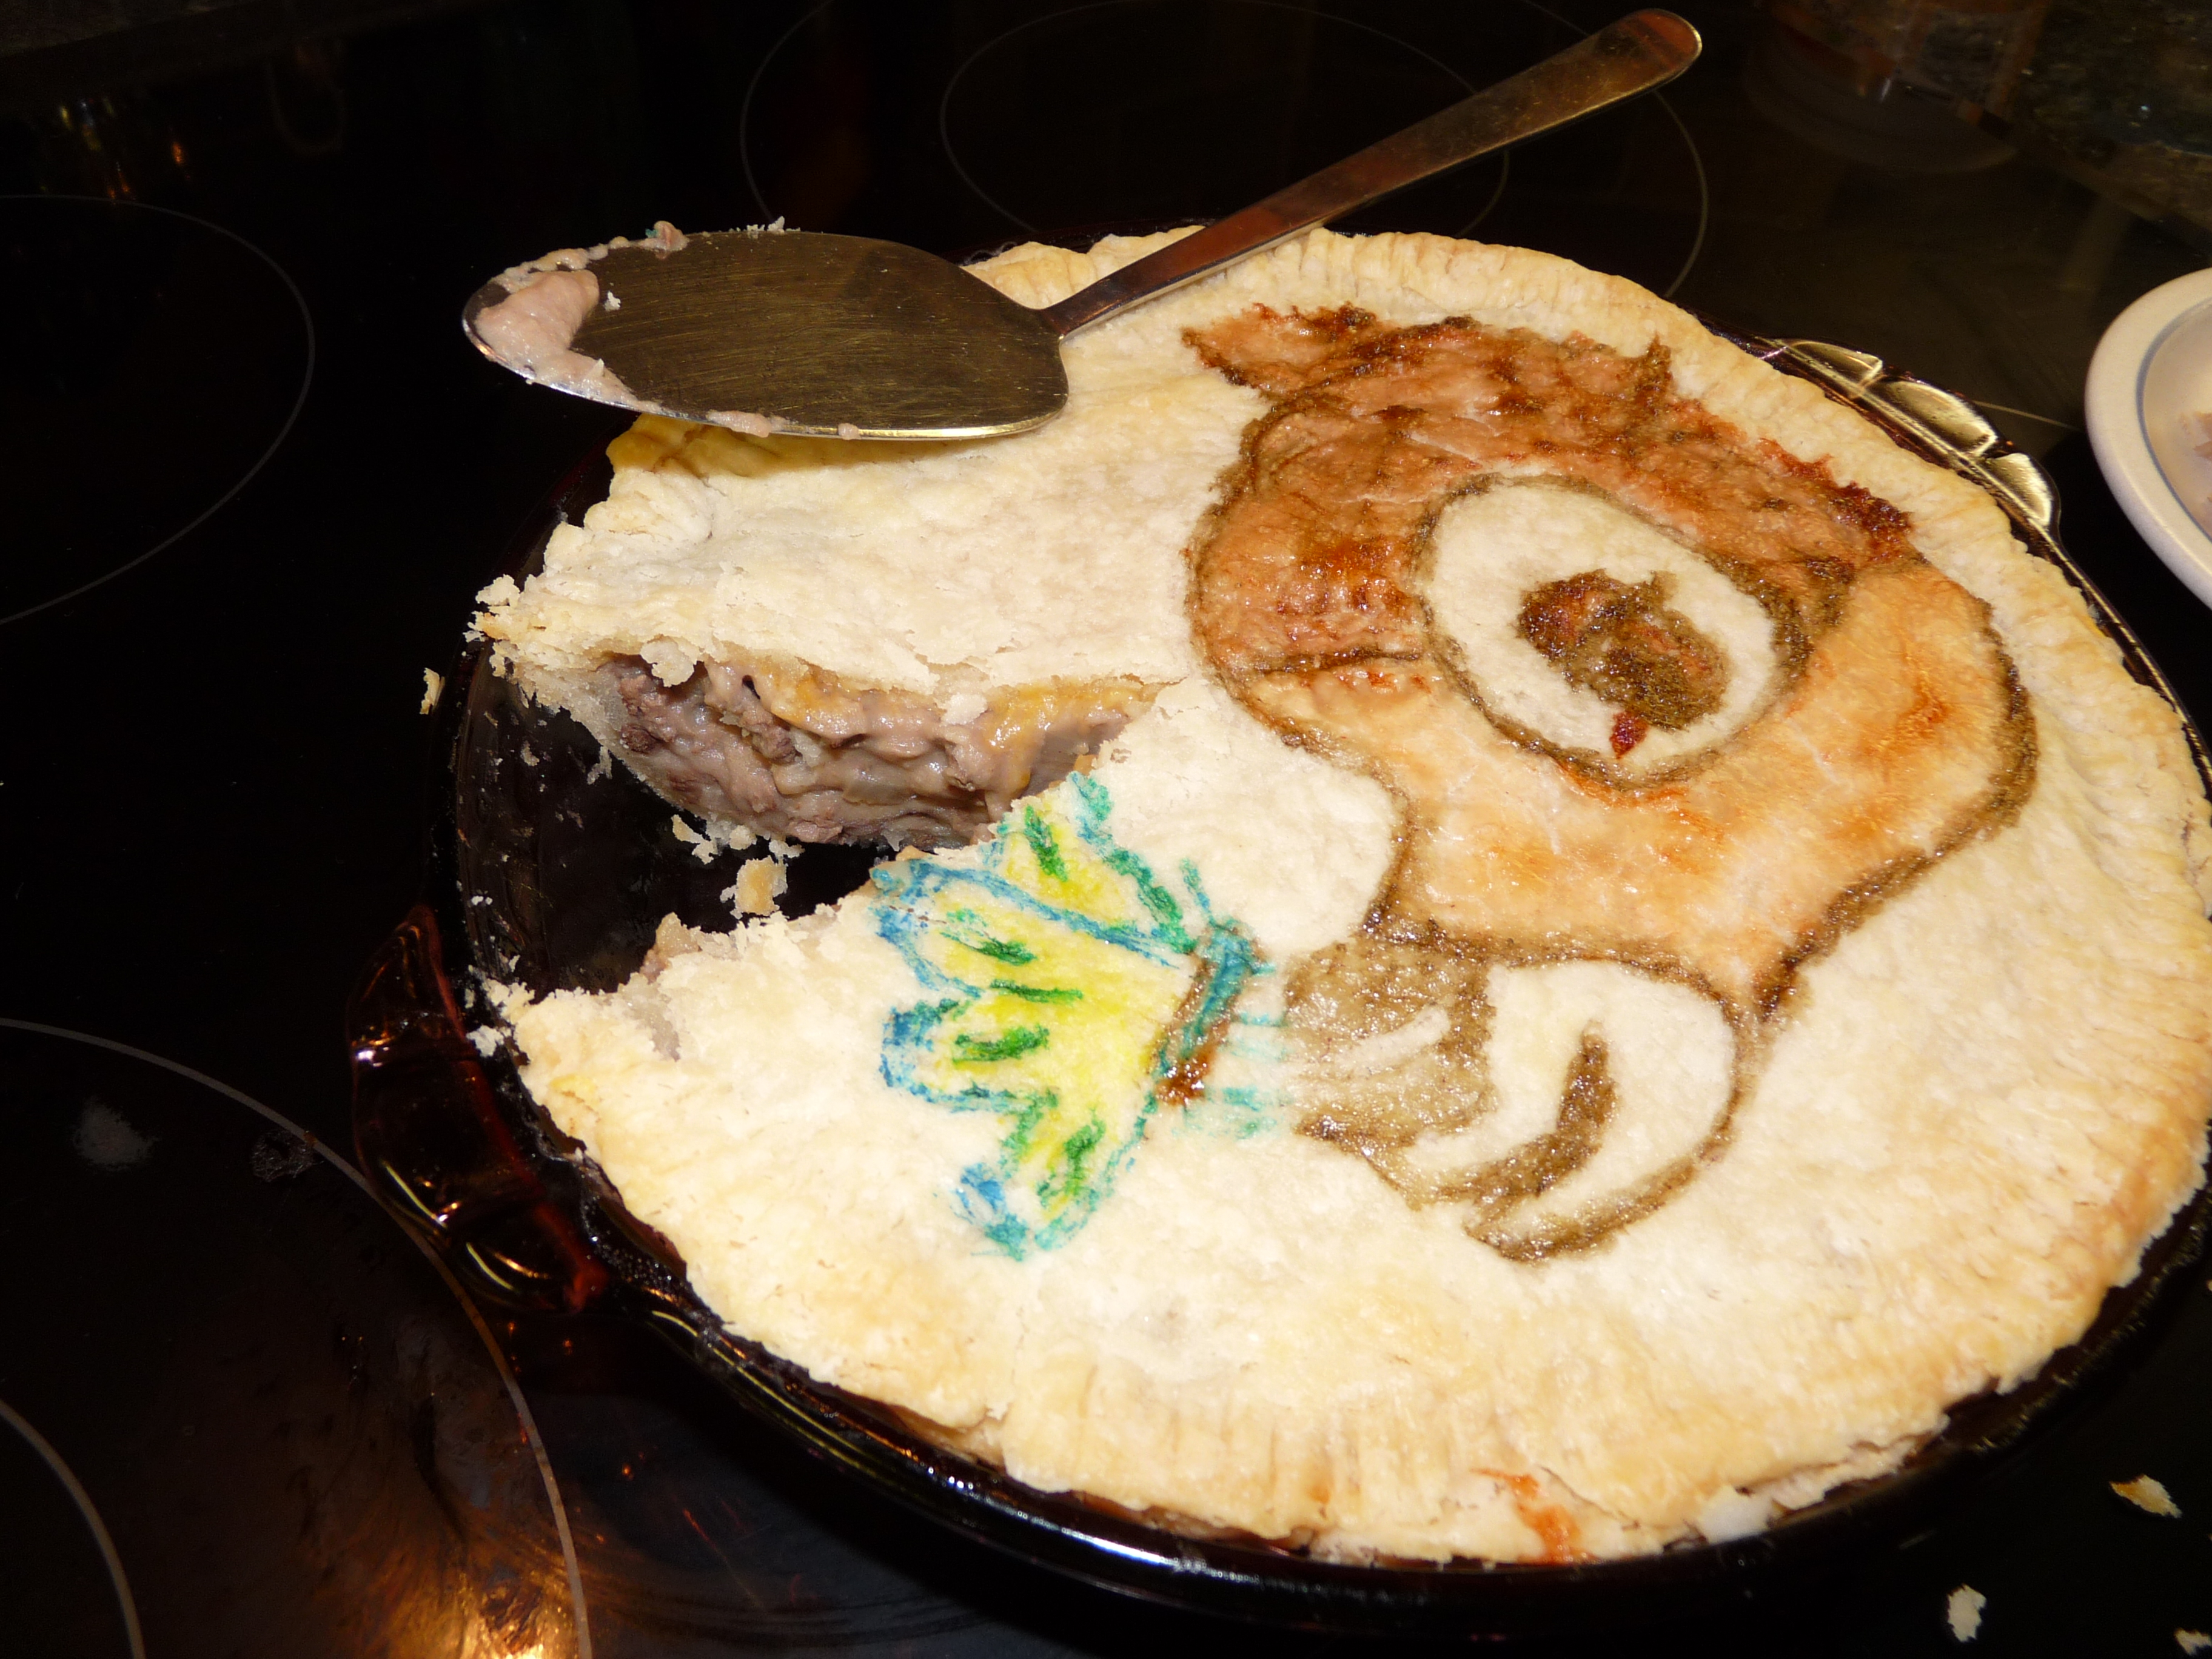
It is almost sad, but eventually you will have to eat your marvelous creation or it will go bad.  Bambi looked a lot better after I took him out of the oven, because all of the colours darkened up a bit.  If you enjoyed this Instructable, Please vote for it in the Serious Eats Pi Day Pie Contest!  Thanks!