Baking Soda and Vinegar Upcycled Rocket Racer
by eitanmakestuff in Craft > Reuse
2544 Views, 12 Favorites, 0 Comments
Baking Soda and Vinegar Upcycled Rocket Racer
.jpg)
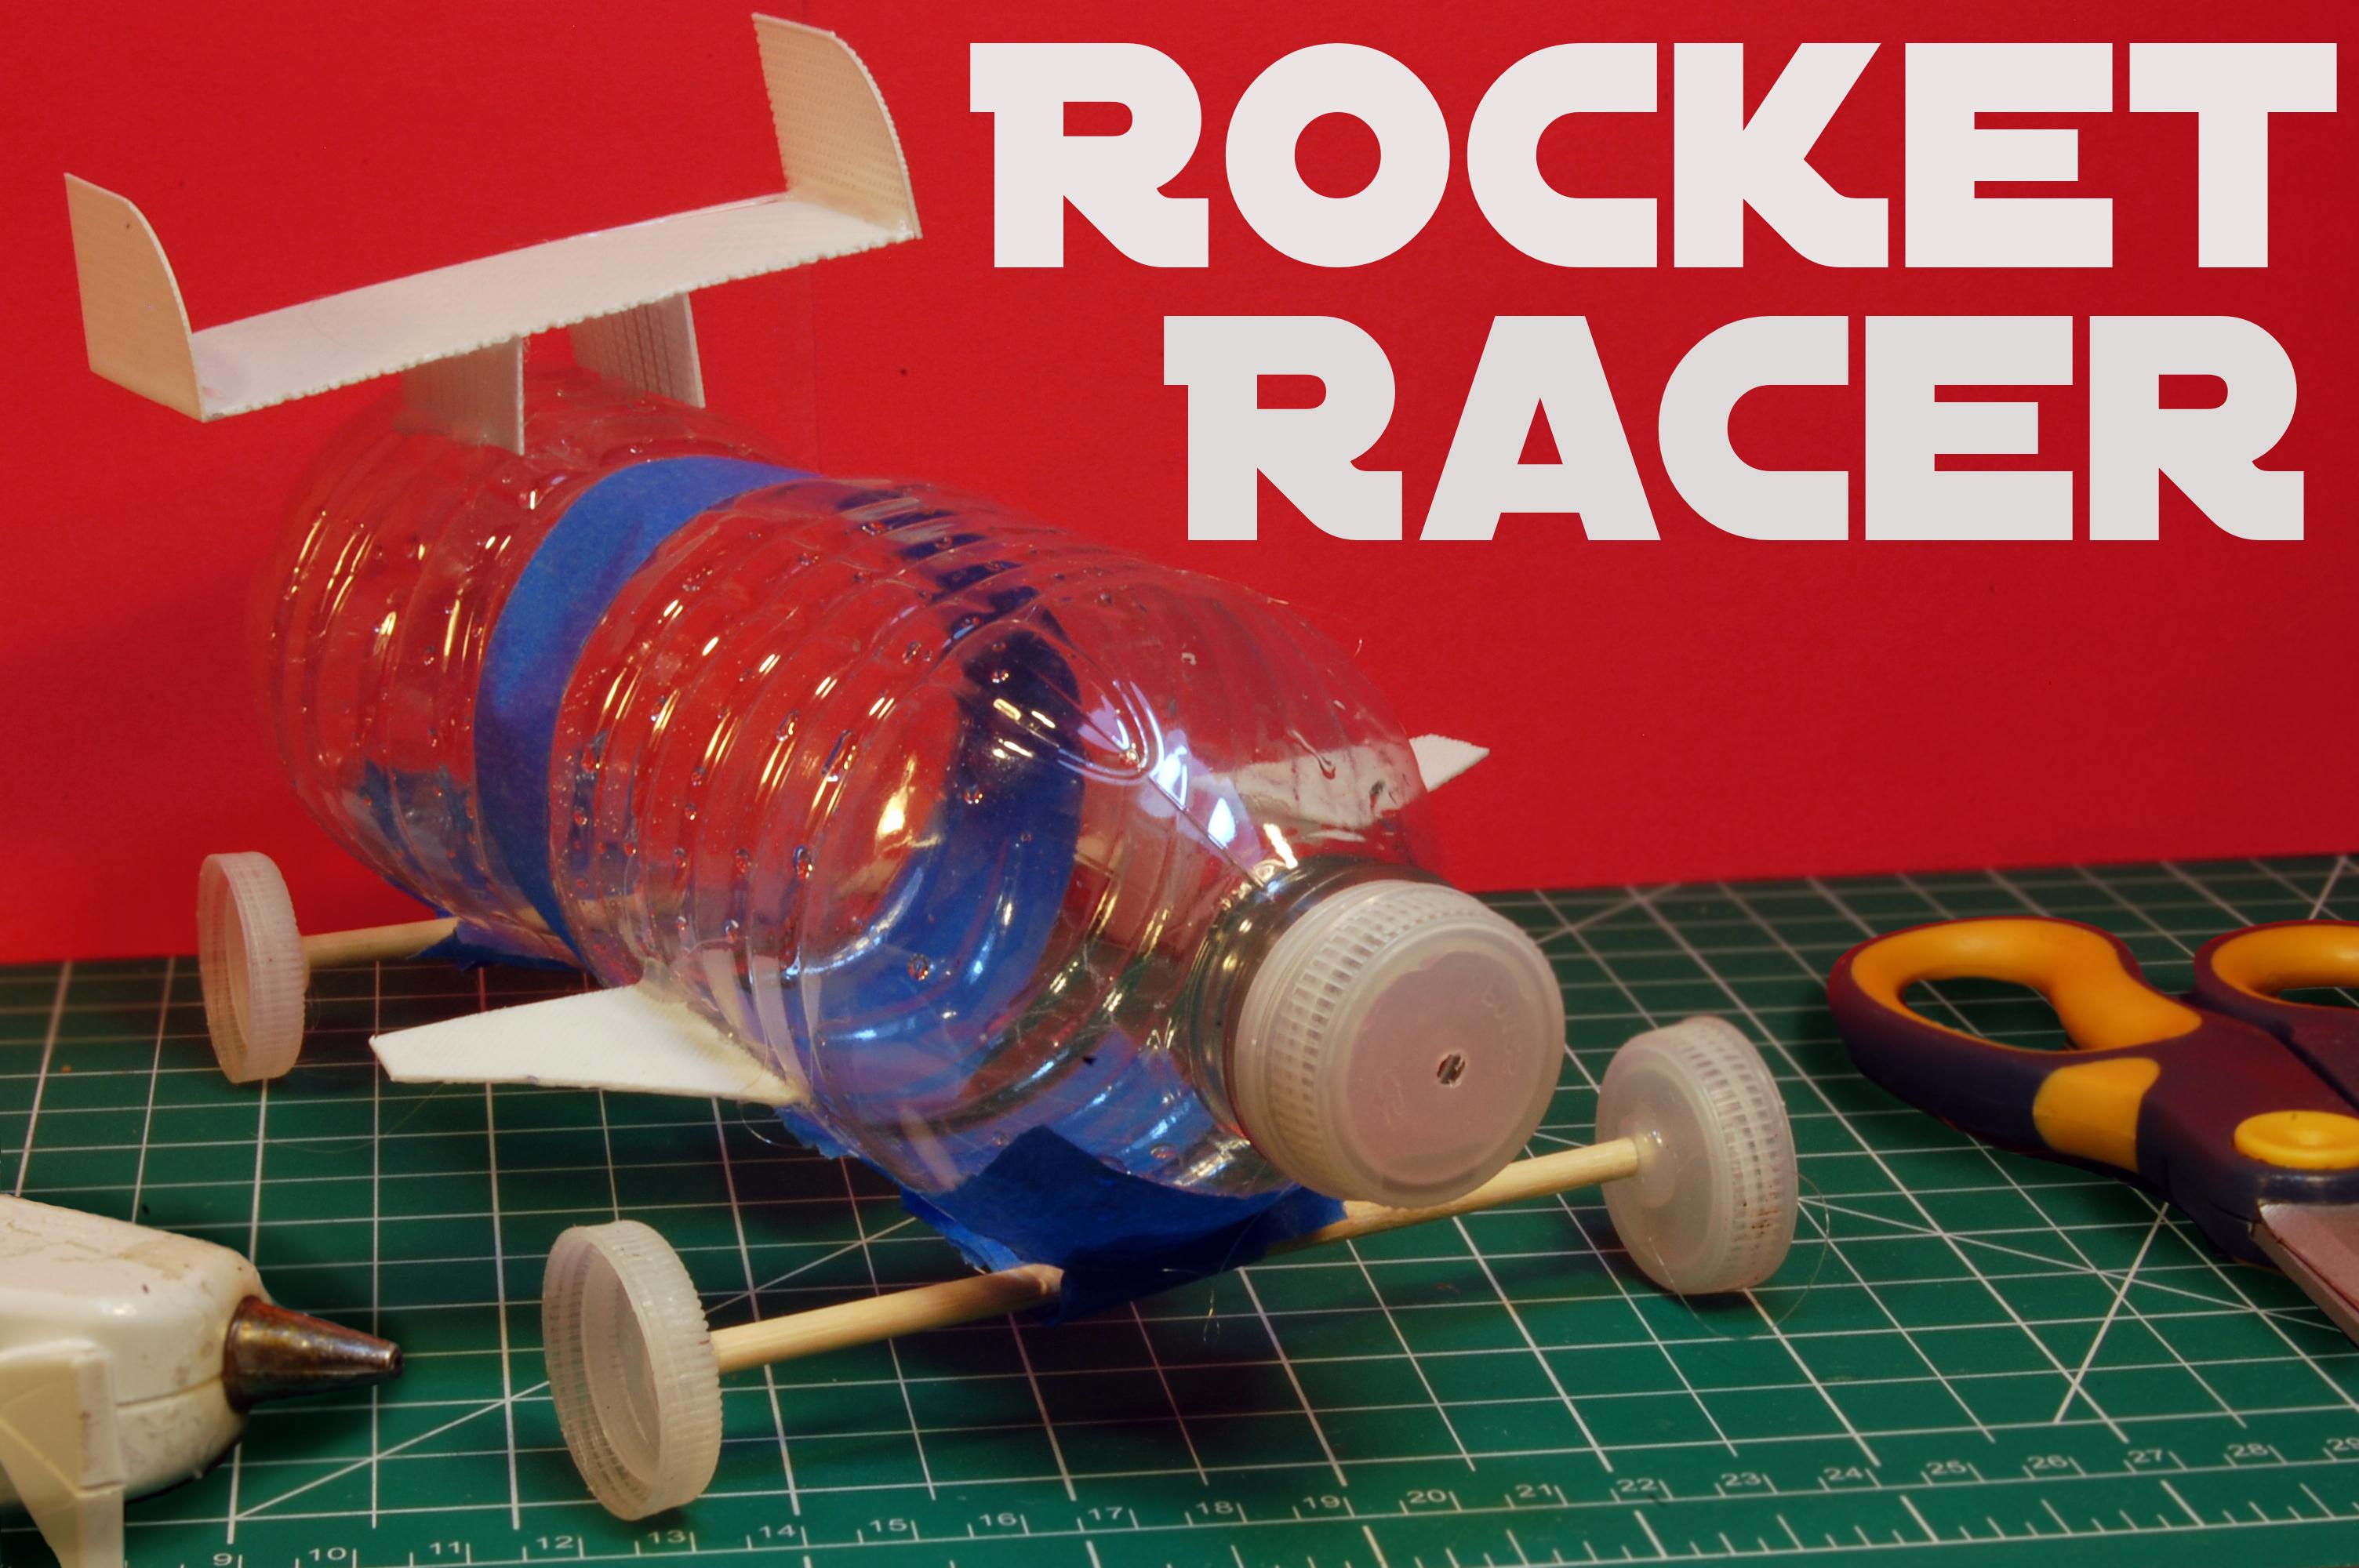
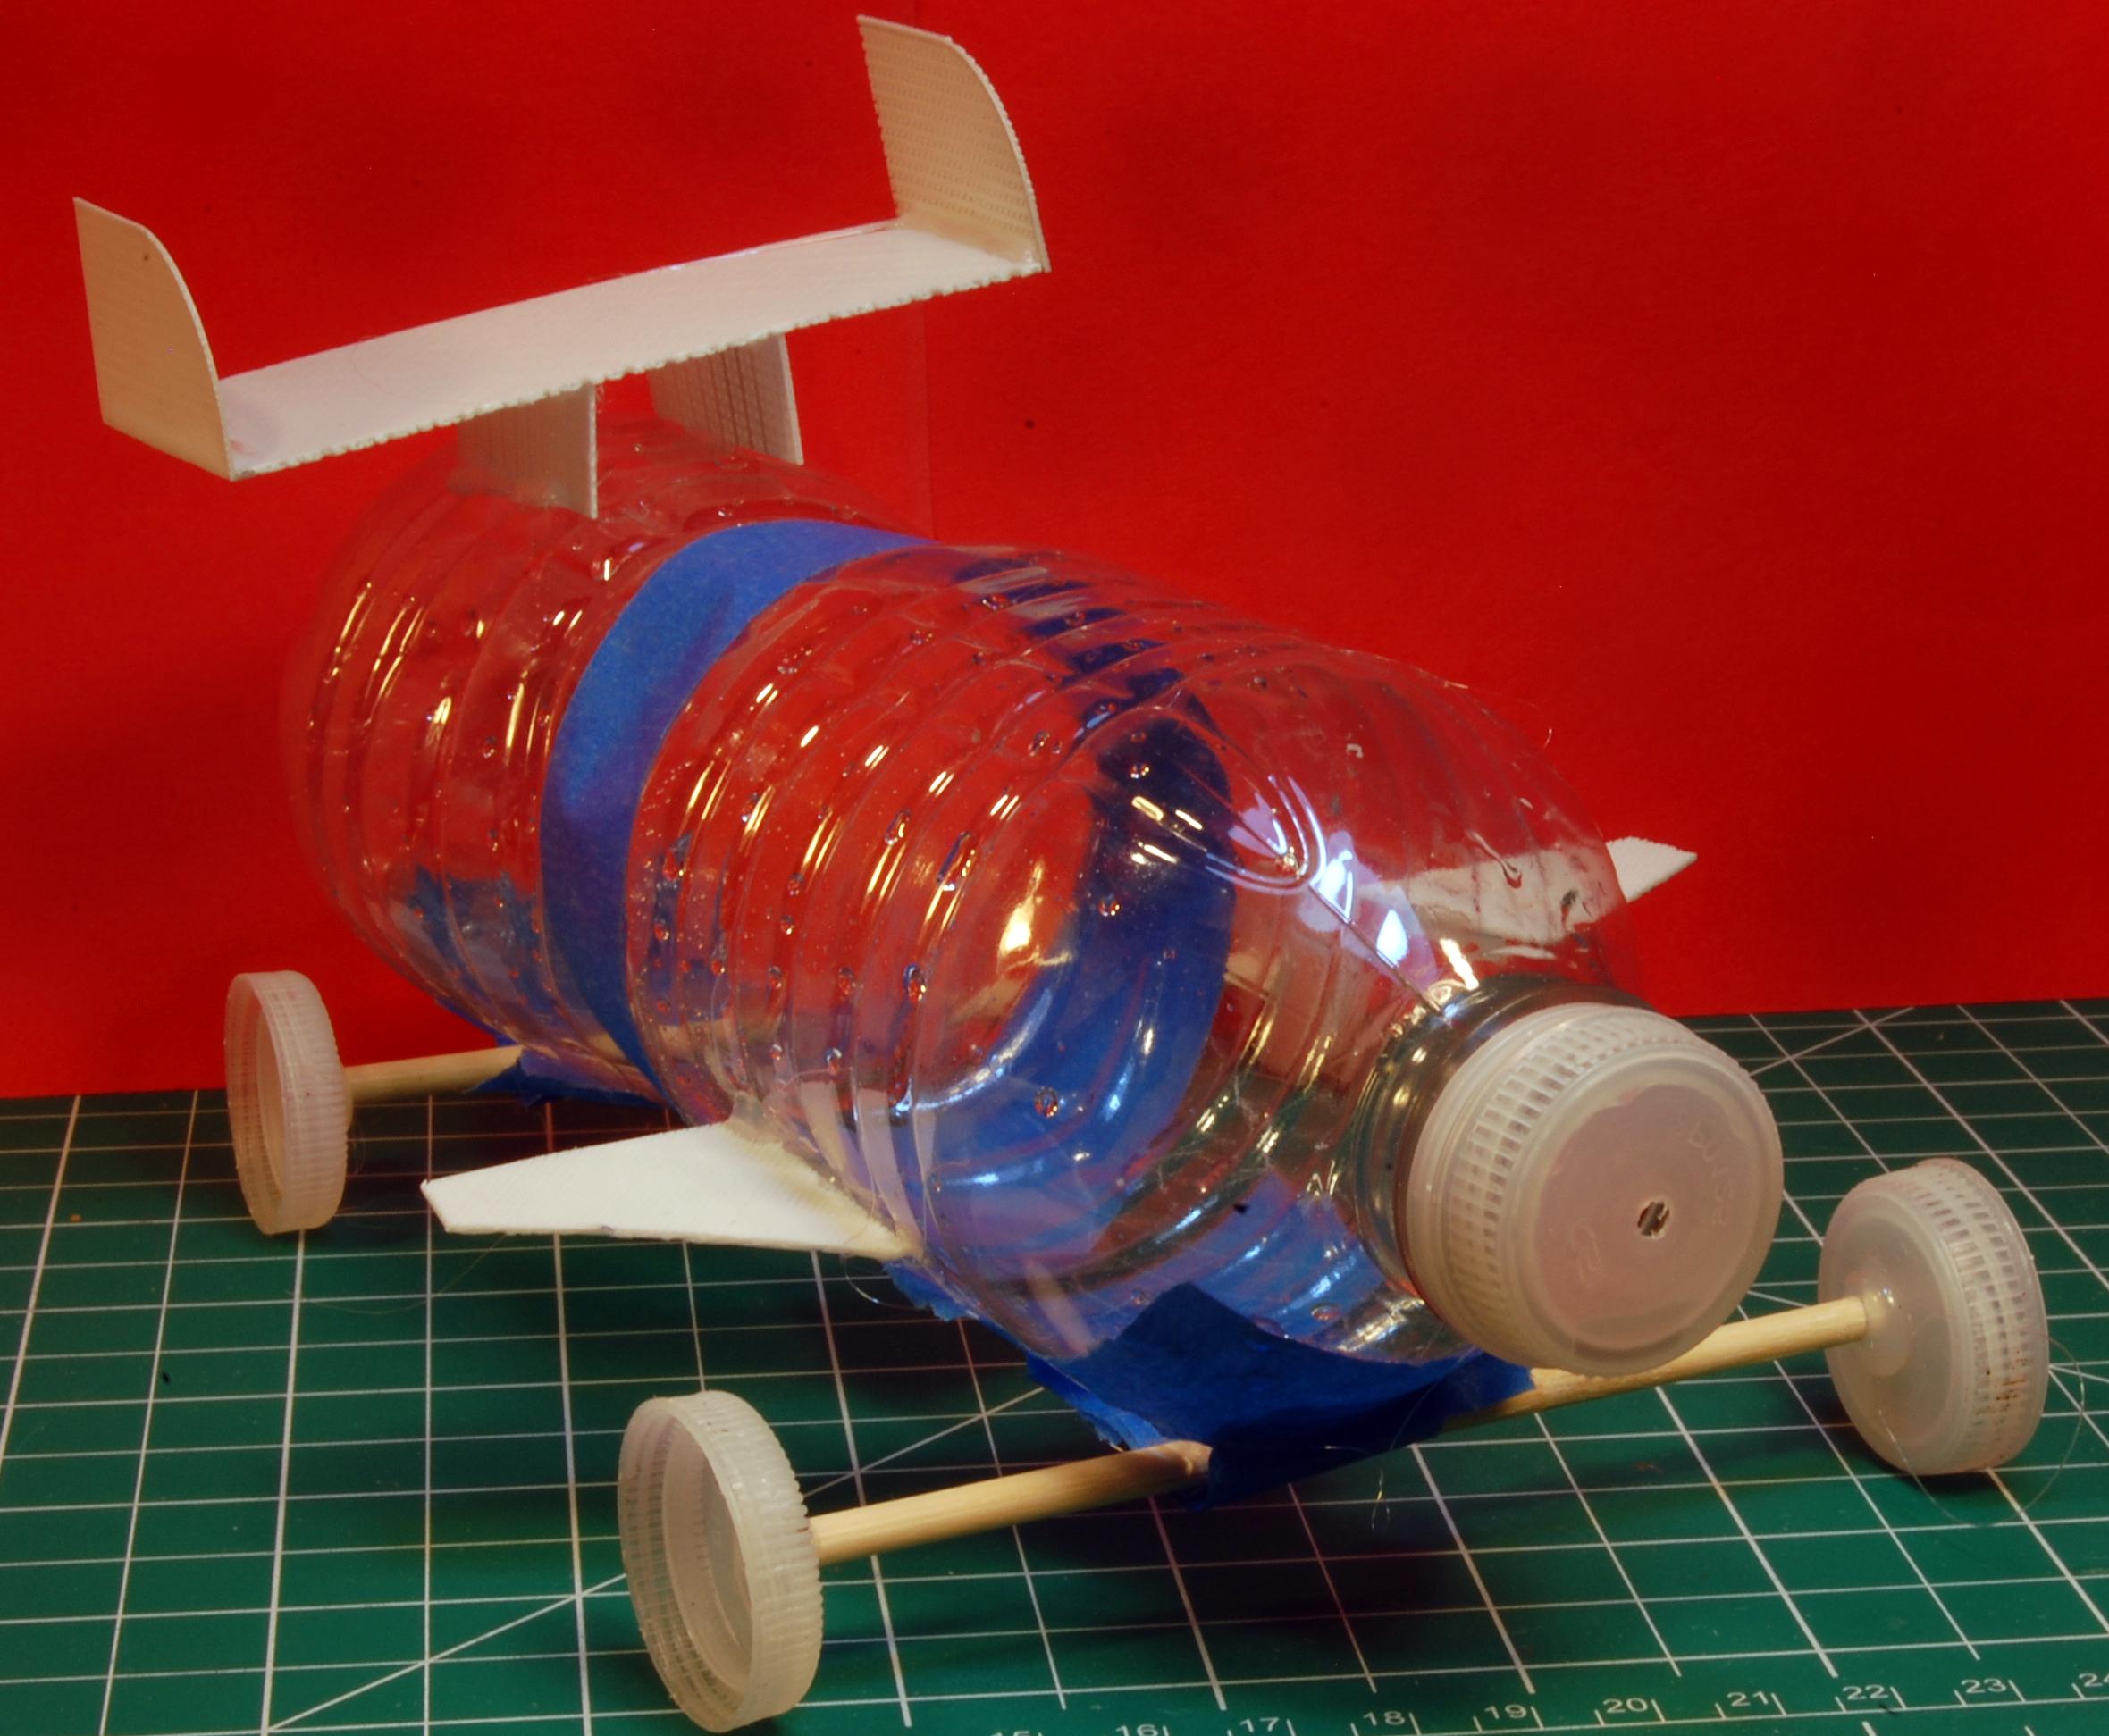
Everyone knows the classic baking soda and vinegar reaction. Mix the two together, and they create an awesome bubbly explosion. In this instructable, I will show you how you can use plastic water bottles and other recycled materials to turn the power of baking soda and vinegar into your own custom rocket racer!
Supplies

For this project, I wanted to find a way to build an educational and fun science demo without having to go and buy a ton of supplies. As I was cleaning and picking up all of the half-drunken water bottles around the house, I realized that they would make the perfect chassis for something propelled by baking soda and vinegar because the cap could be easily modified and then taken off to put the reagents in. I decided that I wanted to make the entire build out of upcycled containers and parts that would have been thrown away otherwise. The result is an awesome science experiment, an educational and entertaining project, and a creative way to keep plastic water bottles out of the environment and landfills.
To make your own Rocket Racer, you will need:
- 1 Plastic Water Bottle
- 5 Plastic Water Bottle Caps
- 1 Wooden Skewer
- Painters Tape
- Hot Glue Gun and Glue Sticks
- (Optional) a 3D printer, construction paper, markers, stickers, for decoration
Create the Nozzle


Once the baking soda and vinegar reaction happens there must be a place for the gas and liquid to exit the bottle. By creating a small hole in the cap, the gas and liquid can escape, and in the process push the bottle forward. This works because of Newton's Third Law, that for every action there is an equal and opposite reaction. As the gas and liquid are pushed out of the nozzle, the car is pushed back in return, similar to how rockets and jet planes work.
To create the aperture, the hole in the cap where the gas and liquid will exit, take a thumb tack or a small nail, and while holding the cap securely from the sides, push it through the center of the cap. Make sure to push through the inside of the cap as shown in the photo, so the hole is smooth leading out of the bottle. If you want, you can run through the thumb-tack hole with a slightly larger drill bit to enlarge the hole, or even use the end of a sharpened pencil. Experiment with different size apertures to see what works best, or even change the shape!
Cutting the Axels


To create the axes for the car to roll on, find a barbeque or kebab skewer made out of either bamboo or wood. The skewers I used were 3 mm in diameter, but as long as it doesn't bend easily it will work perfectly. Measure out and cut the skewer into two even pieces with a pair of scissors. The length of the axles will depend on the size of the bottle you use. For a standard single-use plastic bottle, I found that 4 inches work best, but you might want to go up to 6 inches if using a 2-liter soda bottle for instance.
Gluing on the Wheels


The wheels of the racer are made out of recycled bottle caps. The size of the caps doesn't matter as long as they are all the same so that the car rolls flat on the ground. Place a dab of hot glue on the center of the outside of each cap, and then carefully insert one end of the axle. Hold it perpendicular to the cap until the glue sets enough that it will stand on its own, and then let dry for at least 15 minutes.
Complete the Axles


Repeat step 3 with the second cap using the other end of the axle. Following the second process, create the second axle. Now your rocket racer can move!
Attaching the Axles to the Chassis


In this step, we will attach the axles to the chassis so the racer can roll. Instead of using bearings, I was able to find a method of having the axles roll freely while still staying in place, and that was with painter's tape. By double-taping a section of the connecting strip, makes for a low-friction contact surface, allowing for the axle to rotate freely and not get stuck on the sticky side of the tape.
Start by using your scissors to cut a 2-inch section of tape and a 1-inch section of tape. Place the 1-inch piece of tape in the center of the 2-inch piece as shown in the photo, leaving about 1/2 an inch of stick-sided tape on either side. On one end of the bottle, stick one side of the tape, slide the axle in, and then stick down the other side. Rub it with your finger to make sure there aren't any air gaps beneath the tape, and then repeat for the other axle on the other side of the bottle.
Complete Your Racer

With the wheel and axles completed, your Rocket Racer is finished! Give it a little push on the ground to make sure it rolls freely. If it seems like there is too much friction between the tape and the axles, loosen by moving one of the sticky ends of the tape slightly closer to the axle, giving the skewer more room to rotate.
Preparing for Launch


It's now time to launch your Rocket Racer! I found that Distilled White vinegar worked best, along with any baking soda fit for culinary use. Start by filling the bottle with vinegar about 1/3 of the way full, and be careful not to spill any on the axle tape or it could start to come loose. For the baking soda, there is a little bit of a challenge though. You want the cap to be fully on before the reaction starts, and just dumping soda into the bottle and trying to close the lid fast doesn't end well as I've learned from experience. To avoid the rapid reaction and give you some time to place down the car and step back, the paper towel method works perfectly. By wrapping the baking soda up in a paper towel, slipping it into the neck of the bottle, and then closing the lid, it keeps the soda contained until you shake it loose. Depending on the size of the hole in the cap you might need to use aluminum foil instead, as with smaller holes the paper towel can create a clog, preventing any of the gas and liquid from escaping.
To wrap the baking soda, prepare a square piece of paper towel about 3 inches on each side. Place 2 tablespoons of baking soda in the center, and then fold the paper towel square in half, over the baking soda. Then, starting at the edge of the square, roll the paper towel tight, and check that it is still slim enough to fit through the mouth of the bottle. If using aluminum foil, follow the same process, but with a 4-inch square piece instead to account for the reduced thickness.
Time for Launch!!!

It's time for takeoff!!! Find a smooth, concrete surface outdoors, and clear a path for your Rocket Racer.
I always find it fun to know the science behind why things happen, and if you do too, here is what happens during the classic baking soda and vinegar reaction: When baking soda, scientifically called sodium bicarbonate, and vinegar, scientifically called acetic acid mix, a chemical reaction happens called an acid-base reaction. During the reaction, the bicarbonate ions from the baking soda combine with the hydrogen ions from the vinegar to form water and carbon dioxide gas. Carbon dioxide gas, commonly known as Co2, is actually the same gas that makes soda drinks fizzy, so it's no surprise that after enough baking soda and vinegar react, a ton of fizz is created and it reaches a high enough pressure to shoot out the opening in the cap. Pretty cool right?
To launch: With the cap securely fastened all the way down, give the bottle two hard shakes and then quickly set it down on the ground. Take a step back, and watch it take off!!!
Customize!!!
.jpg)
Congratulations, you've successfully launched your first Rocket Racer! Now to customize!
There are all sorts of modifications and upgrades you can make to your racer, both for performance and style points, here are a few suggestions on some awesome possible upgrades:
- Racing Stripes - Using tape, line the sides of the bottle to create racing stripes in any pattern you can think of
- Fins - Attaching fins to the side of your racer can help it stay stable at high speeds. I designed mine in Autodesk Fusion, 3D printed them out of PLA plastic on my Ender 3 V2, and attached them with hot glue. Not only do they look awesome but really make a difference in performance! You can 3D print them, or cut them out of thin plastic or cardstock.
- Spoiler - Common, what's more epic on a rocket-powered vehicle than a massive spoiler? It also keeps the racer steady under high speeds and can provide downforce if angled correctly. I designed mine in Fusion, 3D printed, and then attached them with hot glue.
- Decals - Add style to your racer with stickers or printable decals. Give it the Formula-1 look, or make it personal!
- Wheels - The wheels have a big impact on performance, so feel free to experiment! Try using larger bottle caps, coins, or even CDs for wheels, and take note of the impact they have on speed and stability.
- Ratio of Ingredients - And of course, you can mess around with the amount of baking soda and vinegar you put into your Rocket Racer before launch. Run tests with different amounts, and note down which works best.
Models if you want to print your own spoiler and fins for a standard reusable bottle:
Thanks for Reading!!!
It was really fun to build these, and even cooler to see them take off. I'm excited to see what the community thinks and hope that a lot of other makers can have fun building their own Rocket Racers. Thanks so much for reading!