Bag Holder
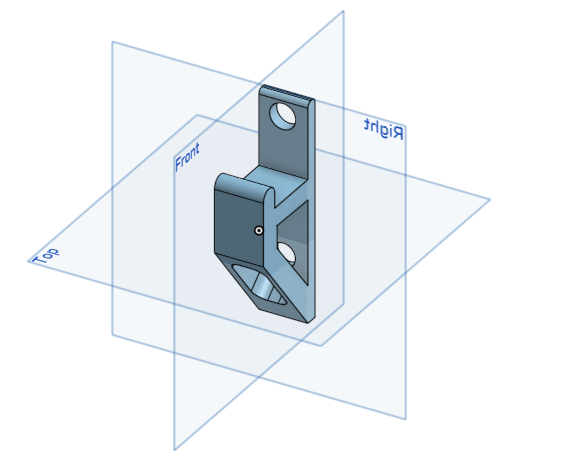
This is a bag holder that can easily be installed. Not only can it be used as a bag holder but other things too, like coats and more.
Step 1
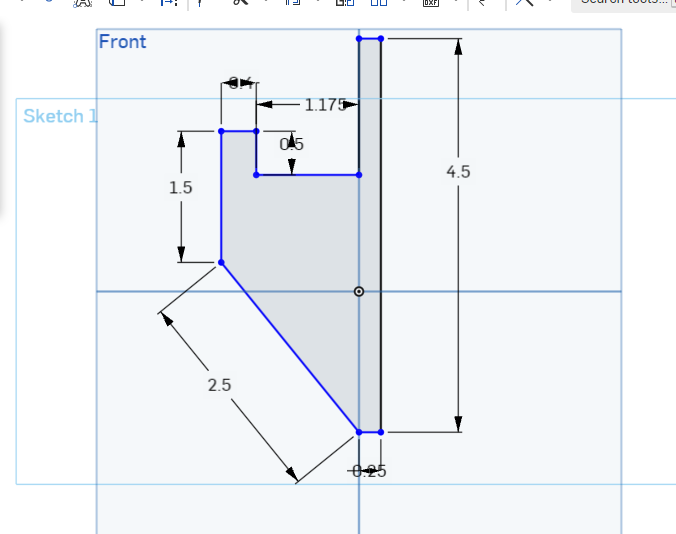
For the first step, you are going to use the ling tool to recreate this shape here, and use the measurement tool to use the exact measurements unless you want to do things a little differently.
Step 2
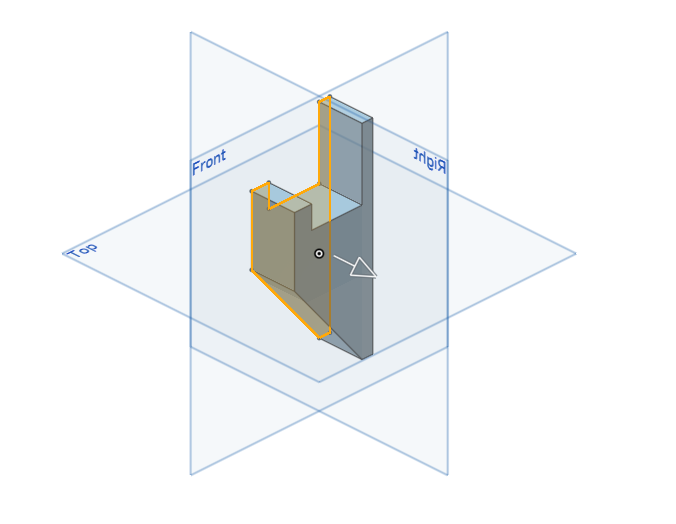
In this step you are going to use the extrude tool and make it to one inch
Step 3
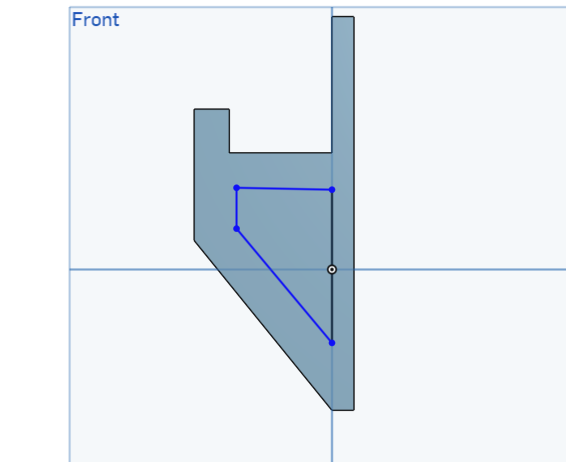
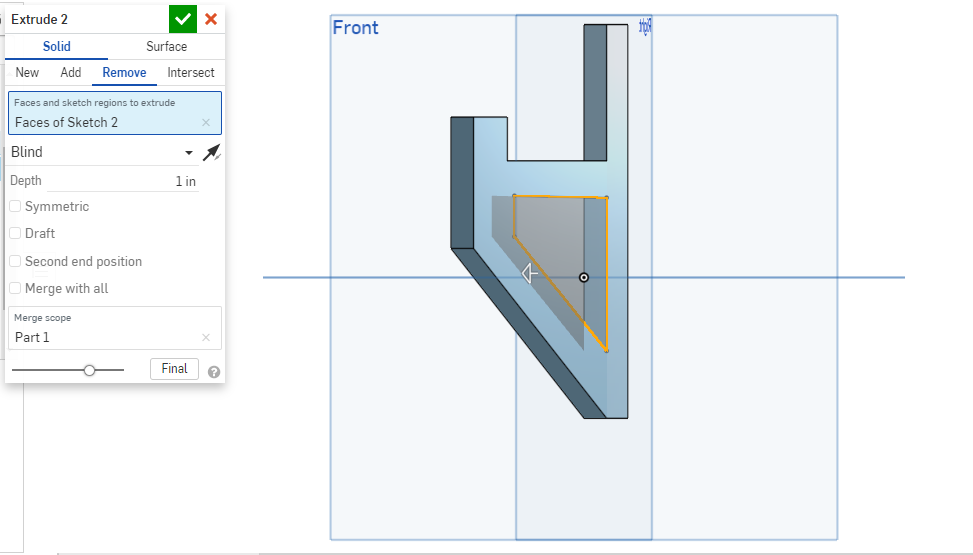
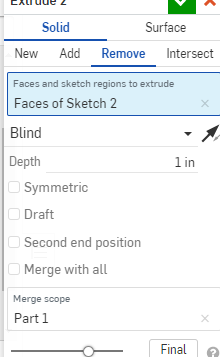
In the step you are going to want to build a quadrilateral that is somewhat built like a triangle, after you make that shape you are going to want to extrude, but instead of just extruding you re going to use the remove button that should be found on the sketch name.
Step 4
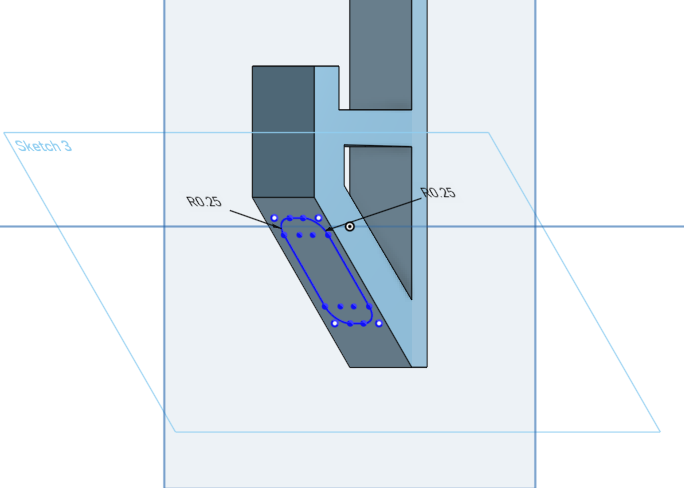
For step four you are going to make a rectangle it and then use the fillet shape tool to make the corners round, after you are going to extrude the shape .5 inches but make sure to use the remove tool just like the last step.
Step 5
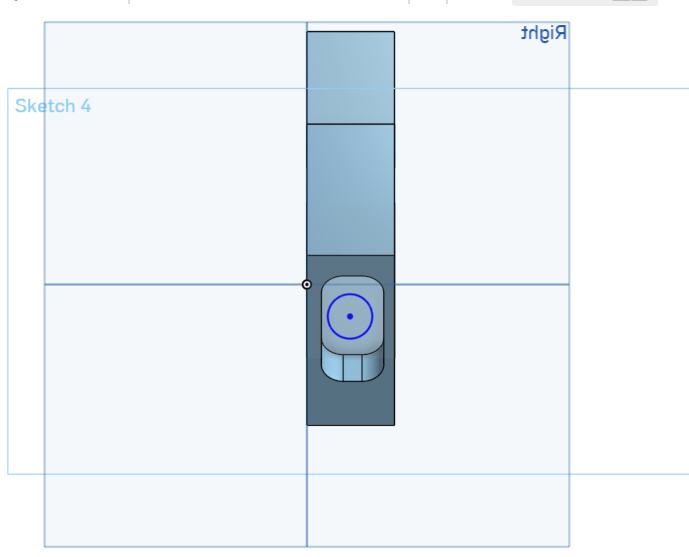
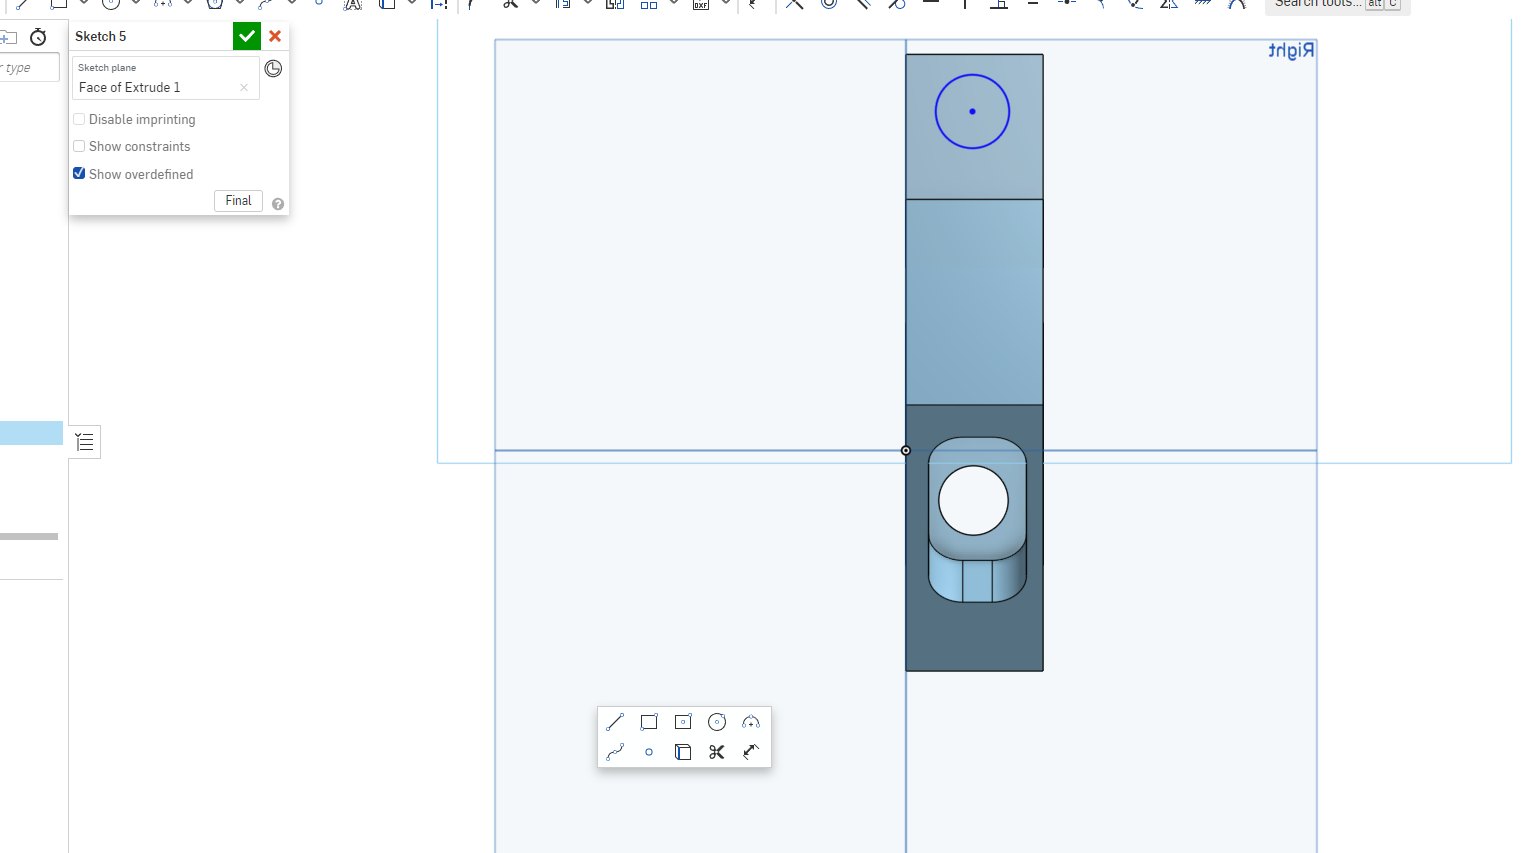
For this step you are going to make a circle where the screw will go, after you make the circle you are going to extrude and use the remove tool and then do the same at the top.
Step 6-Final Step
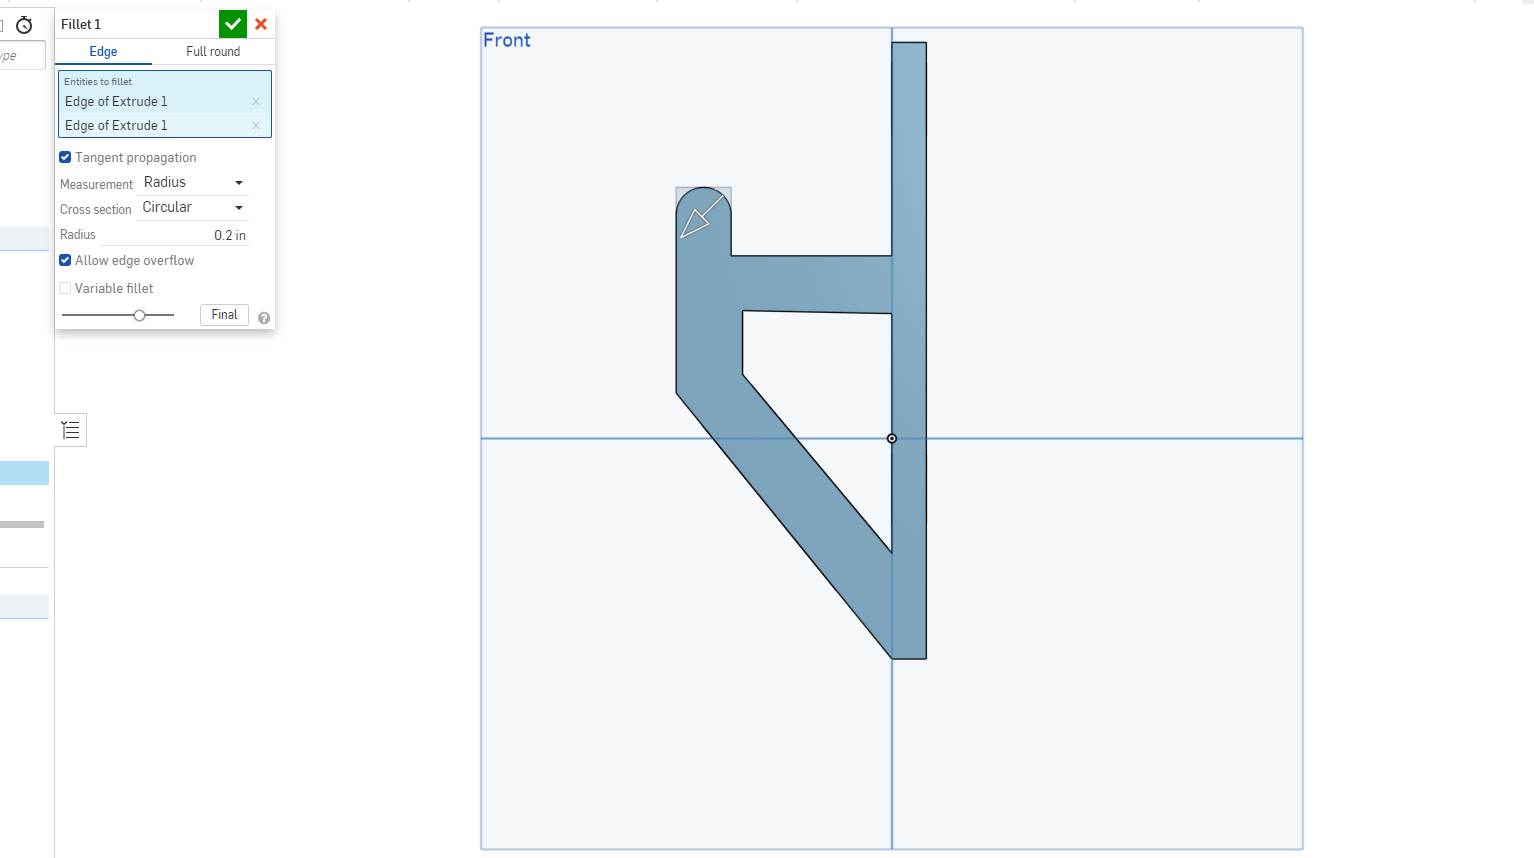
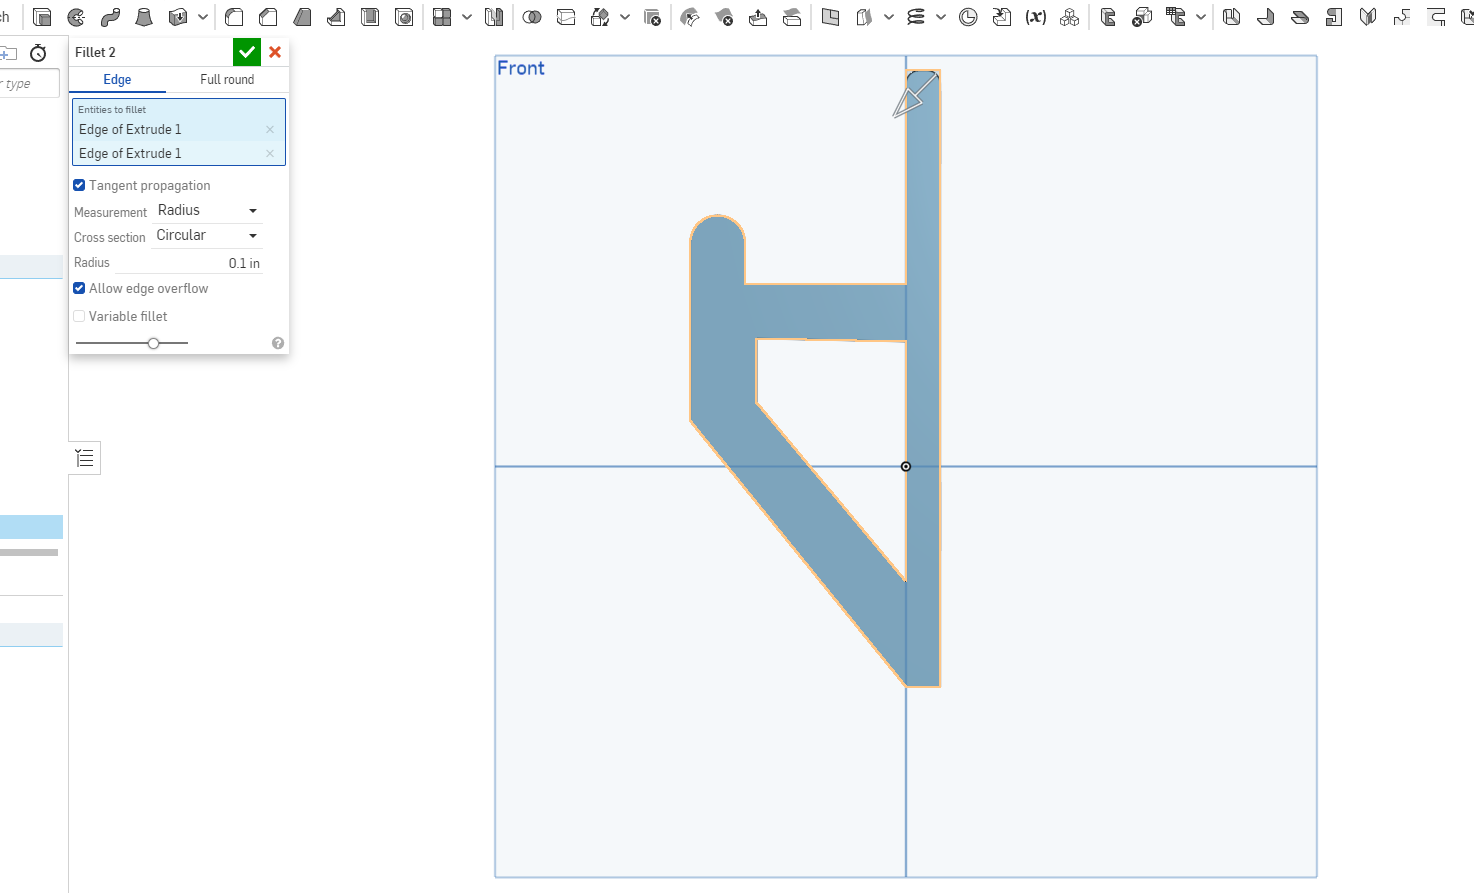
Then you are going to use the fillet tool to make the edges round so you don't damage the material being hanged