Badges With Tinkercad Codeblocks
by Tinkercad for Education in Teachers > 5
15423 Views, 77 Favorites, 0 Comments
Badges With Tinkercad Codeblocks
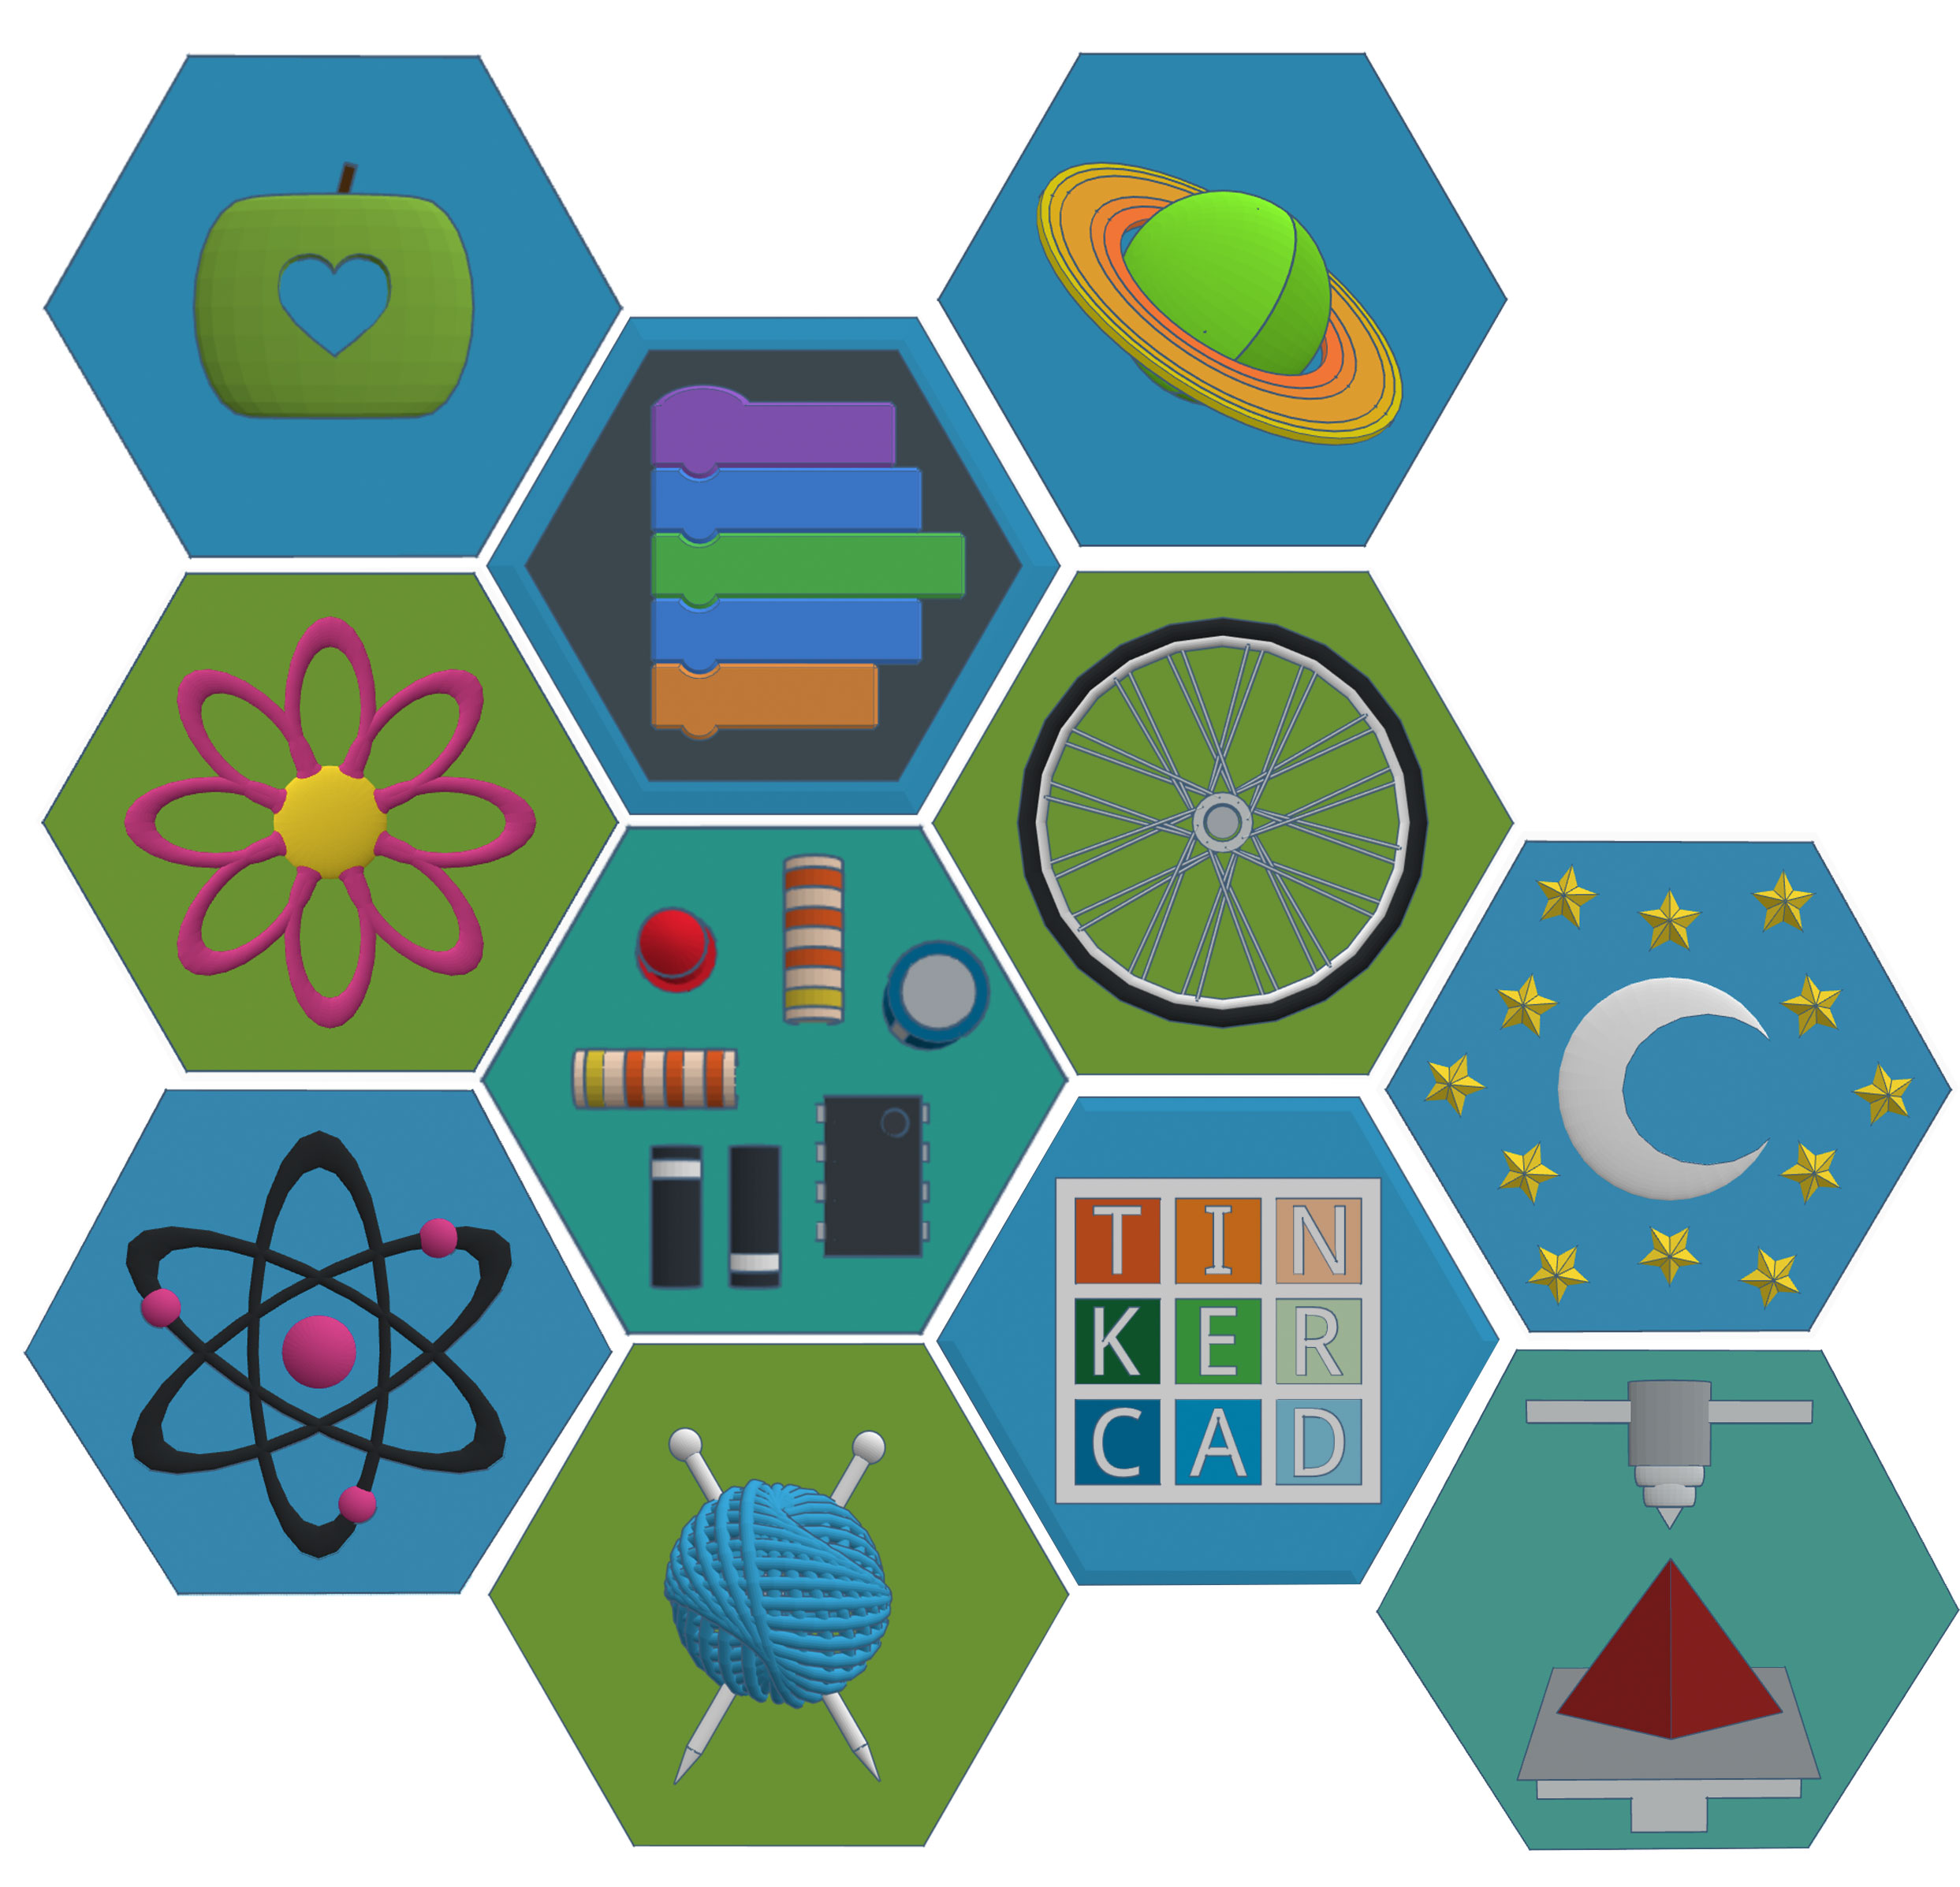
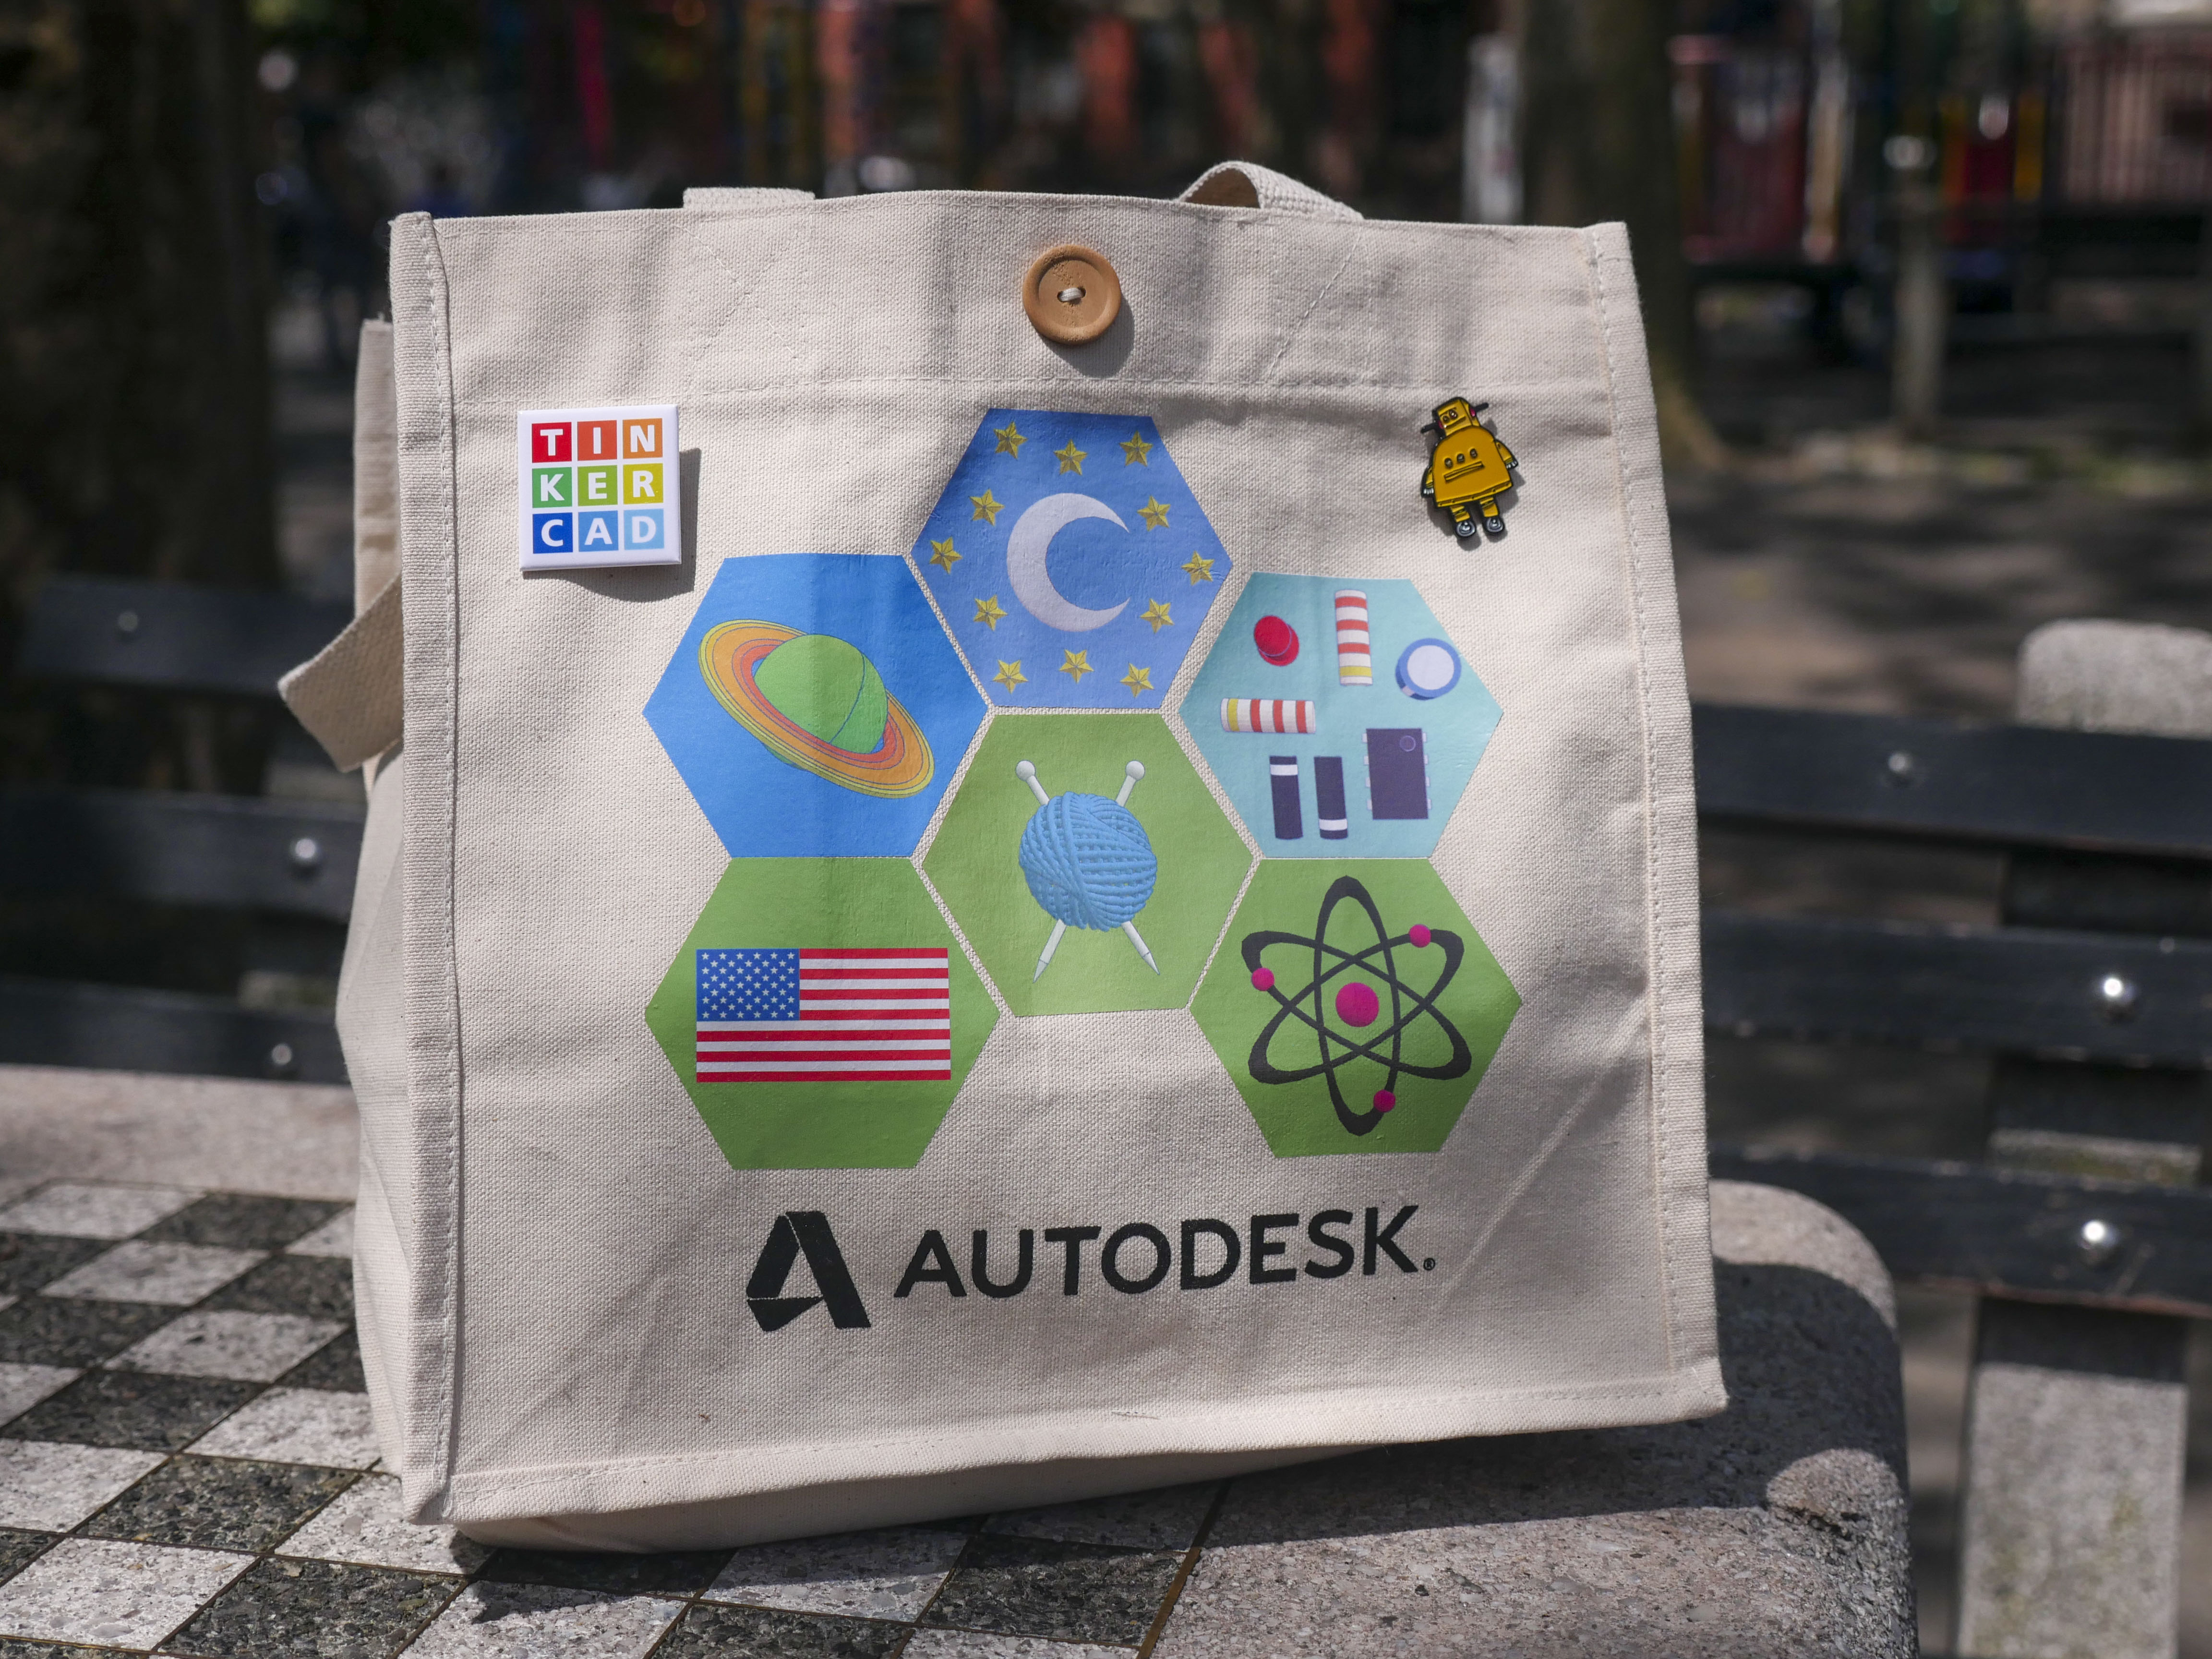
Creating badges with Tinkercad Codeblocks is an awesome project to do at any point in the school year (or even summer camp), but Back to School is a special time of year for teachers and students and a great time to do a project that gives students the opportunity to design something to share their interests and learn about their classmates, and this Codeblocks activity is the perfect way to do just that.
Recommended grades: 4-6
Estimated instructional time: 60 minutes
Skills taught:
- Create a computer program that generates 3D shapes
- Modify, remix, or incorporate portions of an existing program into one's own work, to develop something new
- Combine mathematical and visual thinking to to explore symmetry through repeating loops
Lesson overview:
How can shapes and patterns be used to create badges that symbolize different characteristics of ourselves and the world around us? In this lesson, your students will explore the importance of symbols and badges throughout history and apply their knowledge in the context of coding to create a badge design that represents who they are.
In this lesson students will:
- Discuss how badges have been used throughout history and how symbols are used to represent or stand for different things.
- Explore Codeblocks and build a program to create patterns and symbols using a variety of shapes, modifications, and controls.
- Combine CAD and code to make an awesome badge they can share!
Supplies
- Computers with internet
- Tinkercad (free, browser-based program for 3D modeling and more)
Optional Supplies:
- Color inkjet printer (for printing badges on paper or iron-on transfer and making color printouts of the Codeblocks used in this lesson)
- Iron-on transfer sheets
- Scissors
- Iron & flat surface as per transfer sheet instructions
- T-shirts, tote bags, or other fabric to iron badges onto
- 3D printer
Building Background Knowledge (Optional)
The concept of badges dates back to the middle ages when knights wore a coat of arms to represent their loyalty and allegiance to a kingdom. Over time, badges have grown to symbolize all sorts of things. From Police Officers to the Scouts, as well as digital games and other online achievements, modern badges seem to have found a place in many areas of our lives, so it's likely your students will already have some Badge background knowledge.
Take some time before starting this activity to have a class discussion about badges throughout history. Ask students to explain how symbols are used to represent or stand for different things. Continue the discussion and see if they can name any widely recognized symbols or badges, including those from organizations like the Red Cross. This will help students visualize the goals of a badge and prepare to be able to design a symbol and badge that represents them.
Further reading: "How the History of Merit Badges Is Also a Cultural History of the United States" (Smithsonian)
Explore the Codeblocks Editor
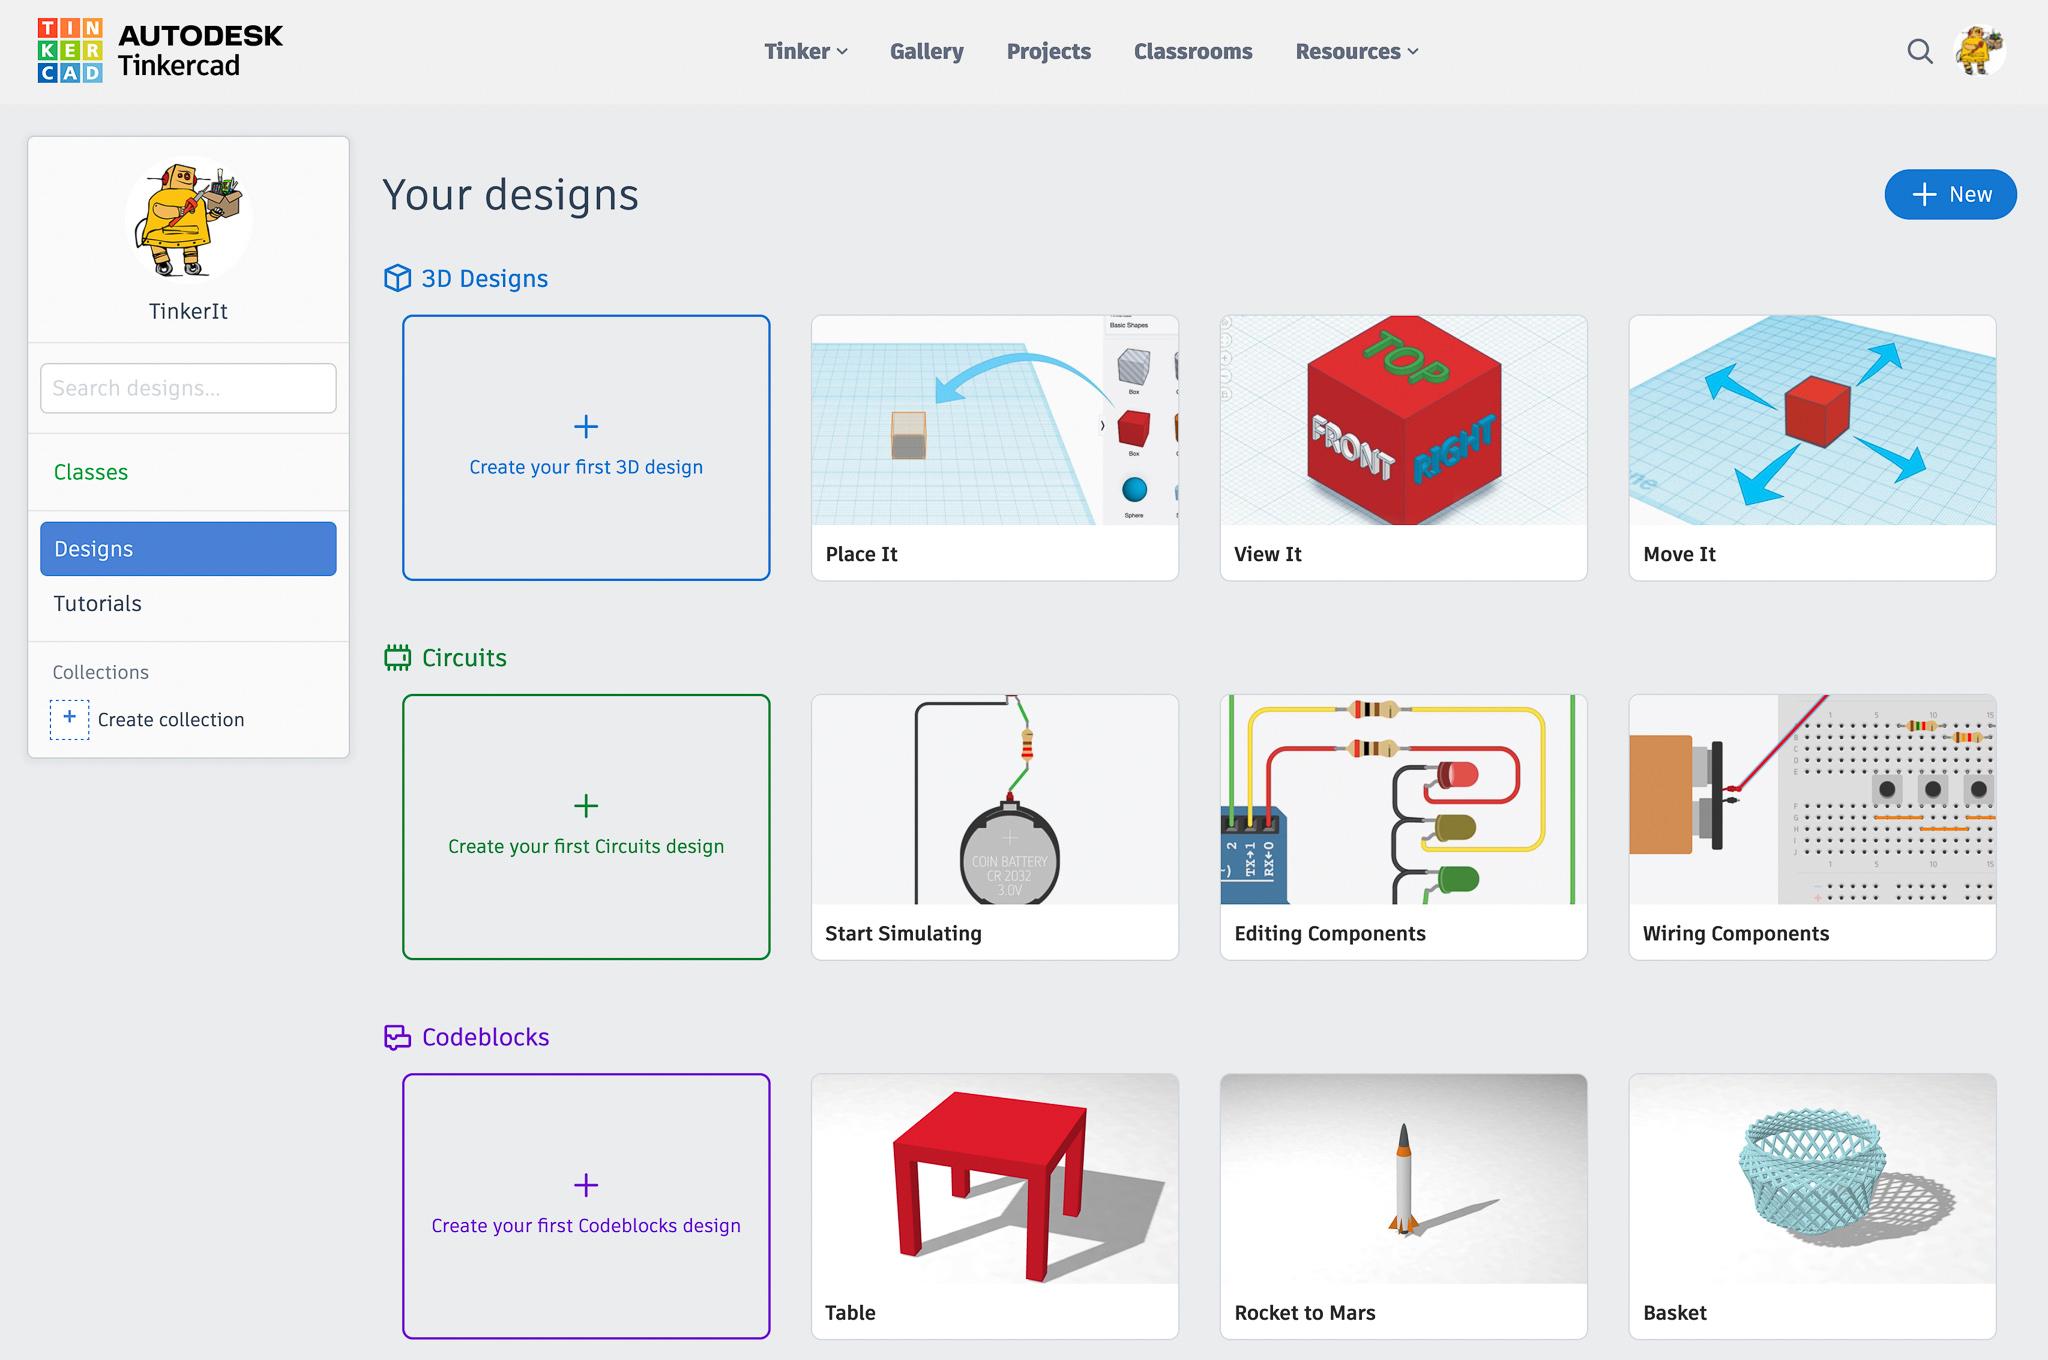
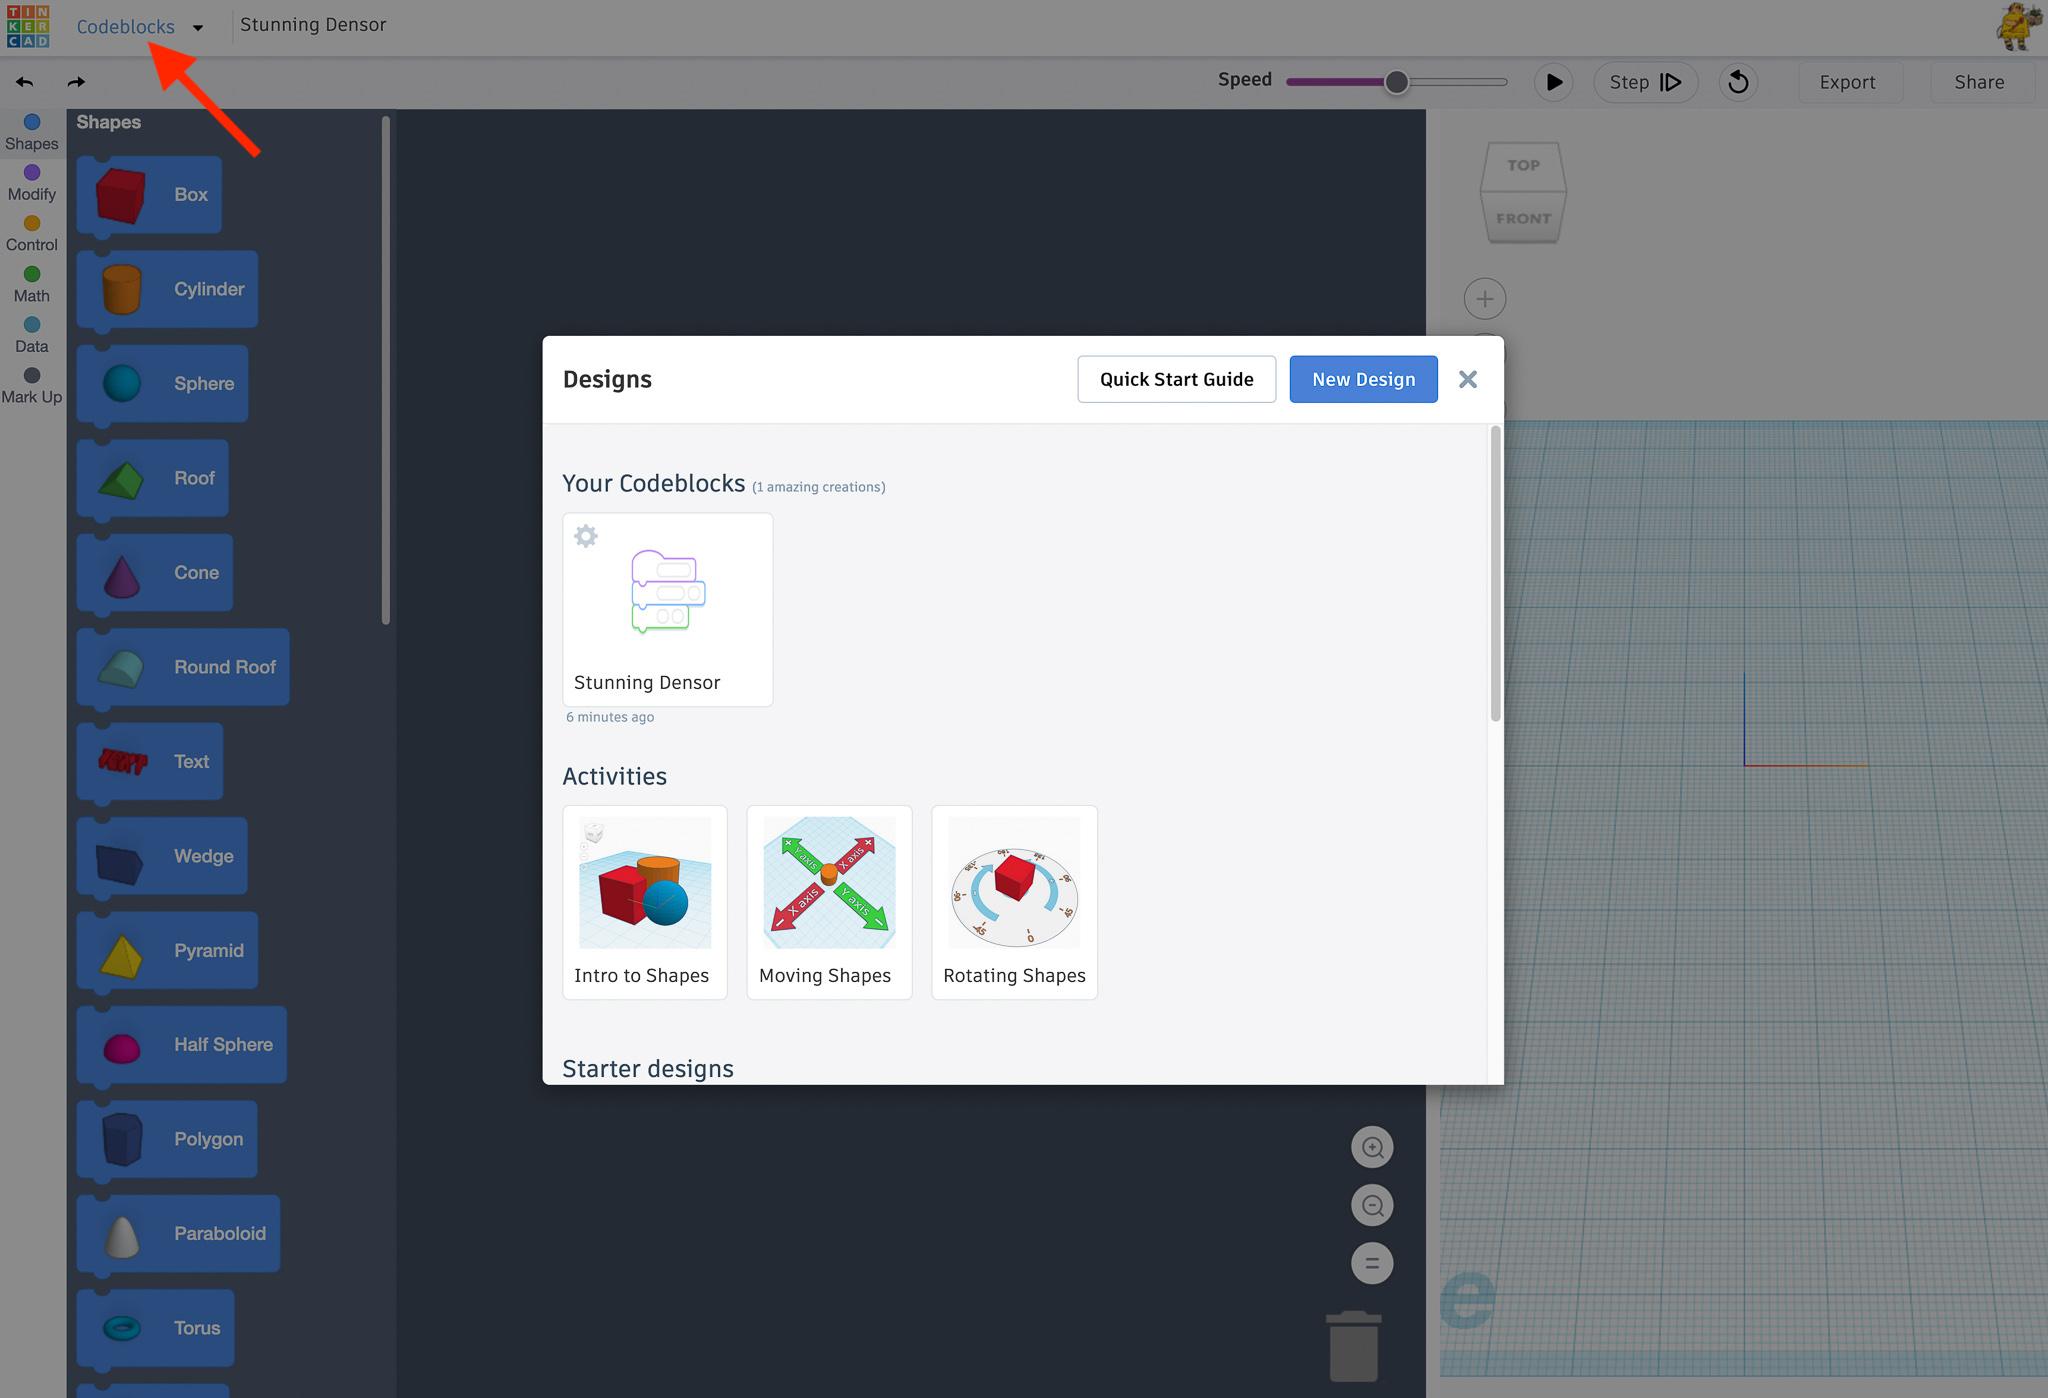
After you have discussed the concepts of badges, symbols, and patterns and how they are used, invite students to begin exploring Codeblocks in Tinkercad.
Once they are logged in, they can access the Codeblocks workspace by scrolling to the bottom of their user dashboard and clicking "Create your first Codeblocks design." (First image above.)
We also offer a Quick Start Guide for Codeblocks. Click the "Codeblocks" menu in the upper left hand corner of the workspace to bring up the window shown in the second image. From here, you can work your way through our Quick Start Guide, try our Codeblocks Activities, or check out one of our Starter Designs to see how they were made.
Provide a bit of guidance and structure
It may be best to have students work in pairs if they are exploring Codeblocks for the first time so that they can check each other's mistakes and talk about what they are noticing each block is doing. (This also means fewer questions for you to answer as you are learning yourself!)
Some pointers for you, the teacher:
- Students should notice that when creating Codeblocks, once one of the Shapes is added to a script, the word "Add" appears, as well as settings for changing the color or turning the shape into a Hole.
- Encourage students to give a name to each new badge they create. Click the title in the upper left to rename the file.
- If you are printing sample Codeblocks on paper for students, using color ink is best, since the different types of blocks are different colors.
- Encourage students to iterate and remix. Duplicate any design by clicking on its gear icon in the upper left of the thumbnails in the Your Code section. Their designs will be saved in their Tinkercad accounts in case they want to return to them for more tinkering.
Depending on your students' familiarity with block-based coding and engagement in this exploration activity, you may extend this exploration time and hold off on moving to the following steps until the next session.
Hexagonal Badge Template
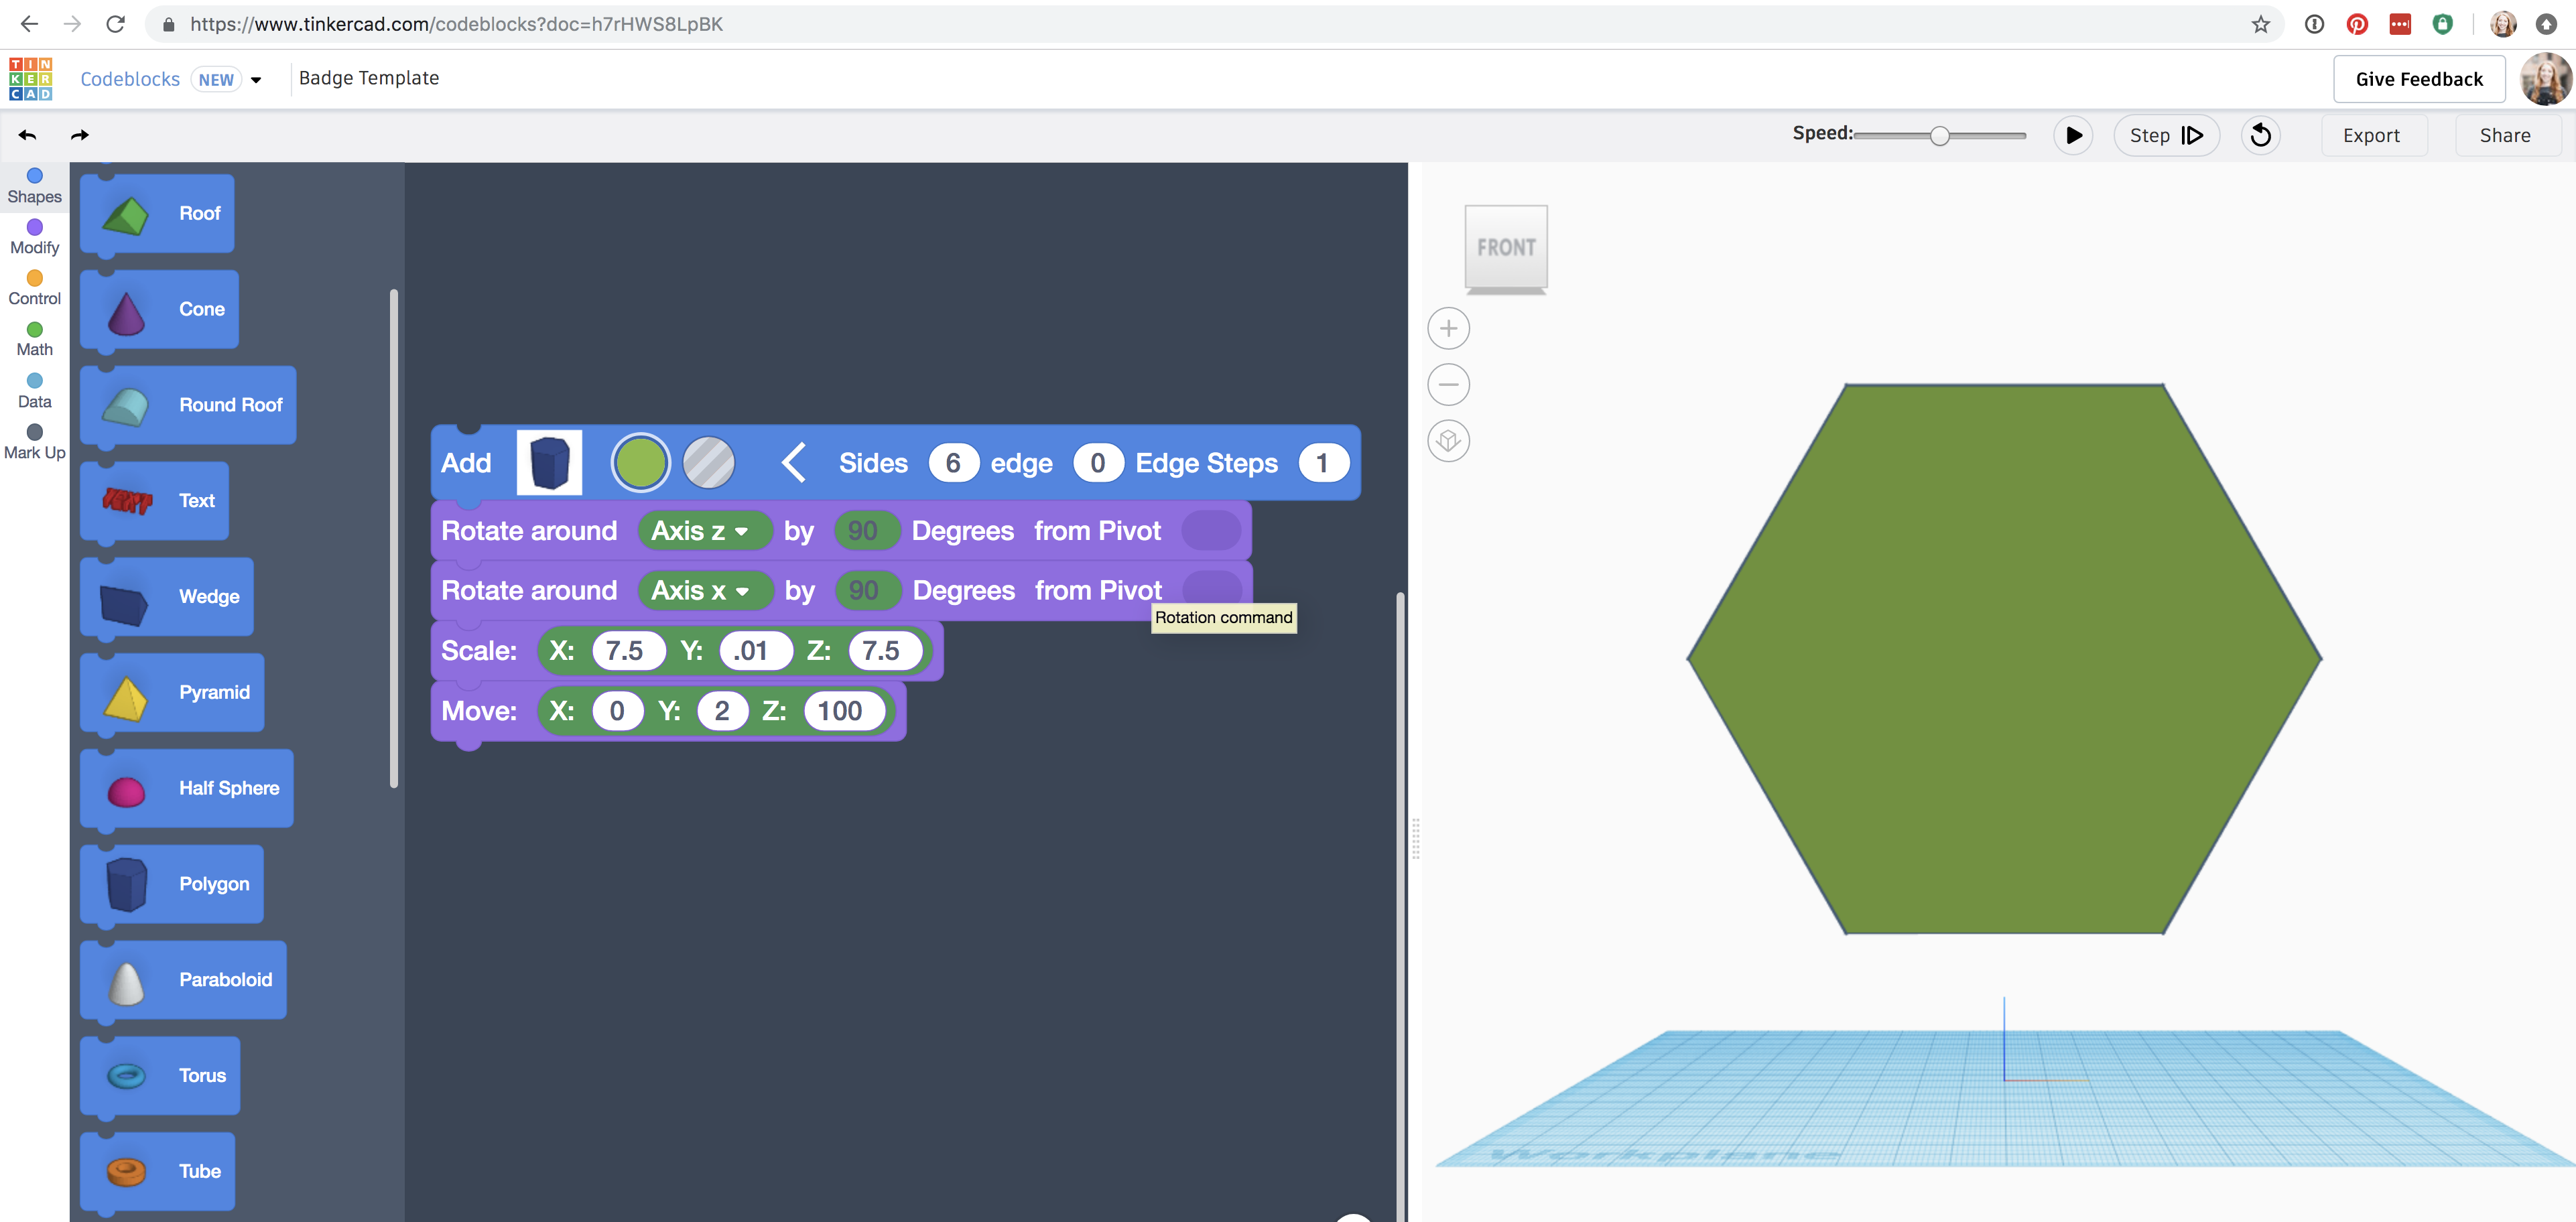
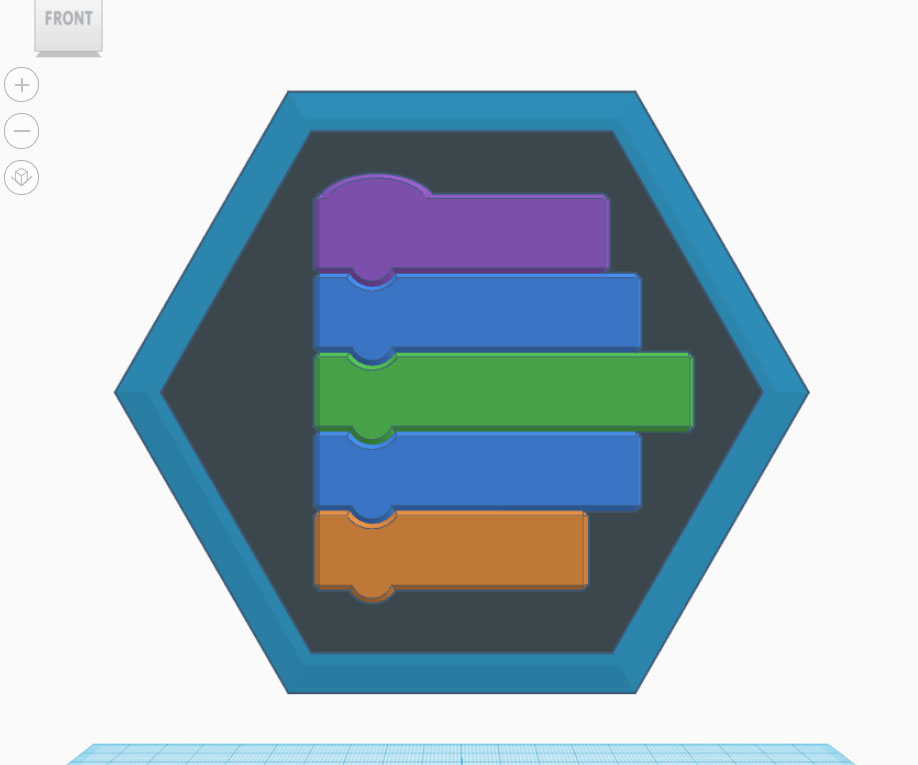
When they are inside the Codeblocks editor, students can replicate the script below to make the simple hexagonal badge template as a starting point. Starting the students with the same uniform shape to frame their designs will help the badges look more cohesive when they are all printed out as a collection. This code simply creates a hexagonal pancake flipped up on its edge to provide a clean background. Feel free to modify or skip the template if you want to allow for more open-ended exploration.

- Add a new Polygon shape and configure the color
- Attach two rotate blocks, one configured to the z axis, the other to the x axis, both at the default of 90 degrees
- Attach a Scale object, configured to X: 7.5 Y: .01 Z: 7:5
- Attach a Move object, configured to X: 0 Y: 2 Z: 100
From here, you can have your students replicate a sample badge and modify its parameters, or skip the next step and go directly to creating a new badge from scratch.
Modify Existing Badges
.png)
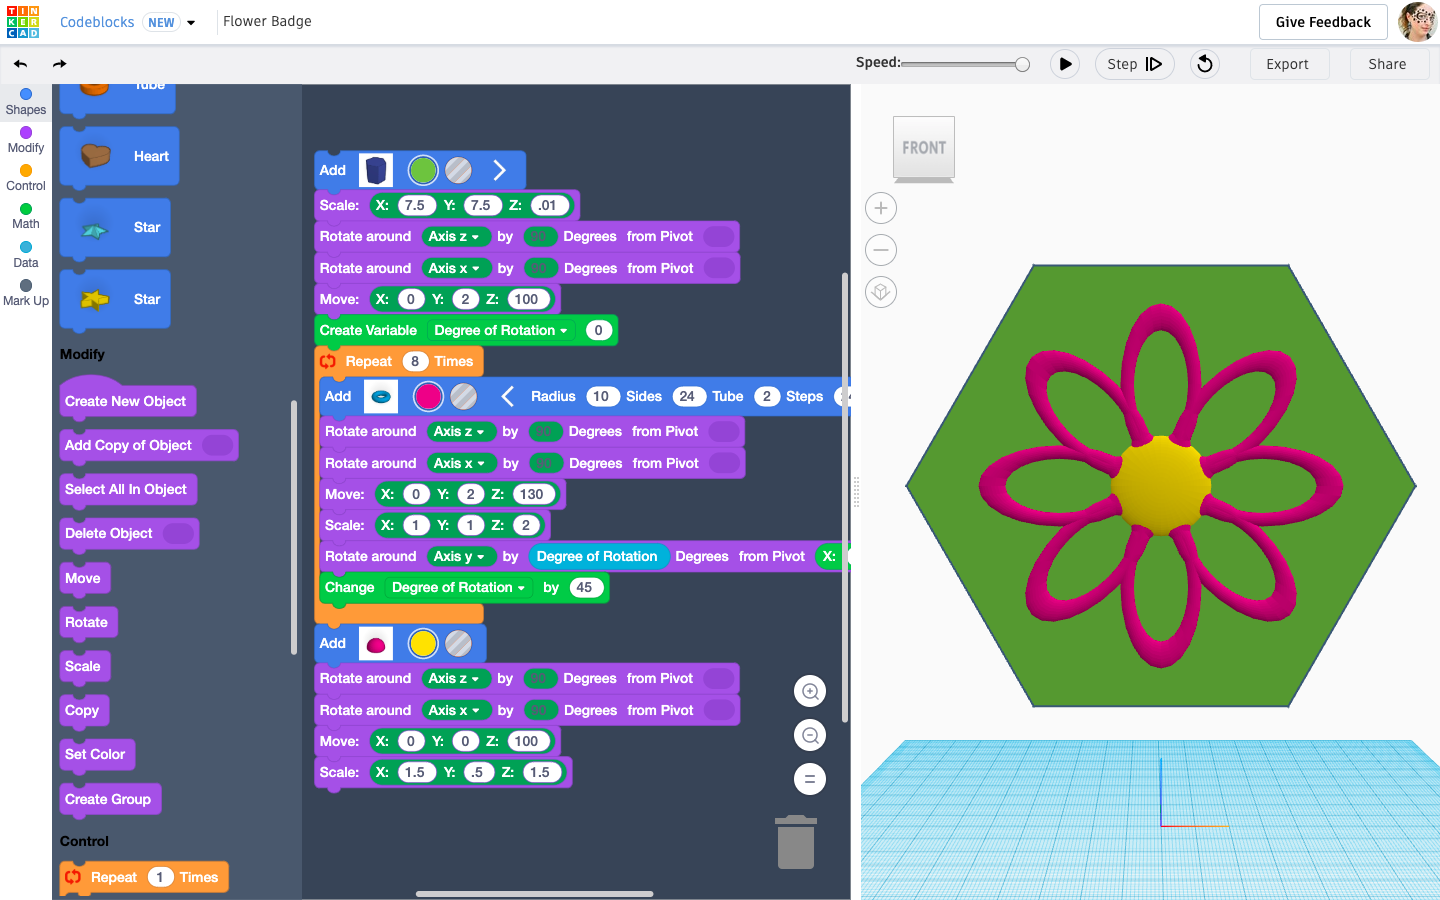
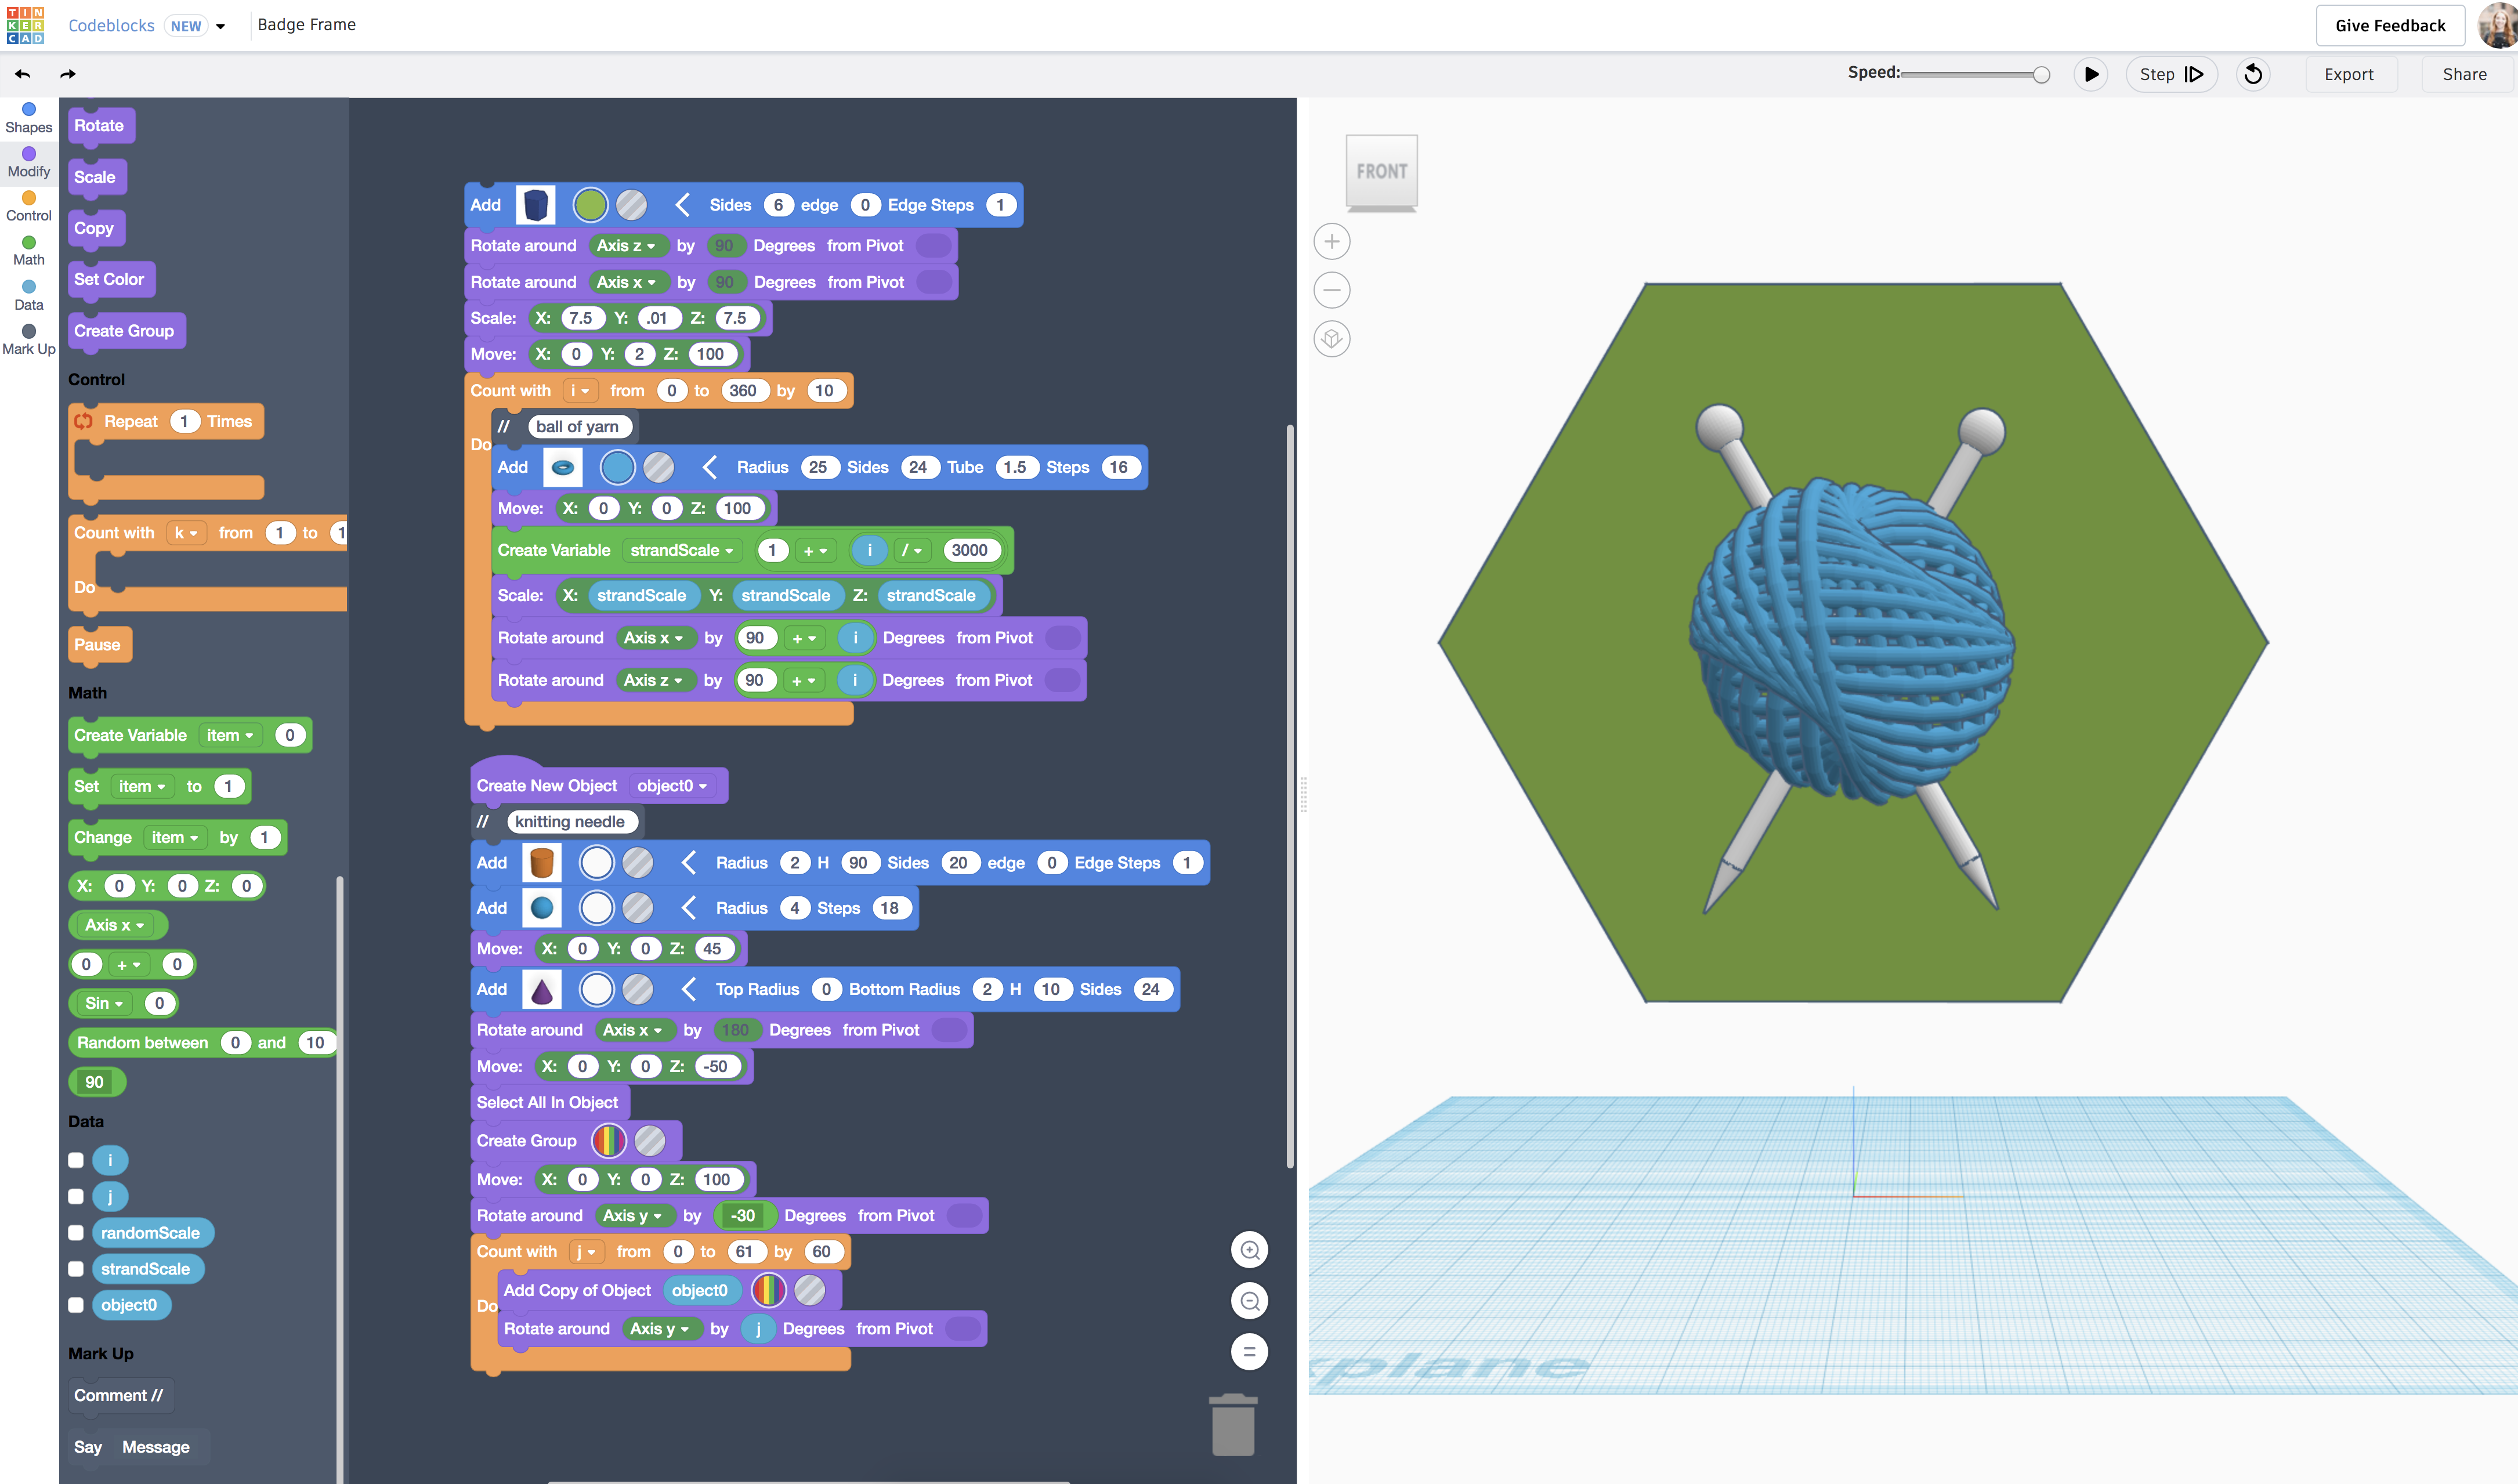
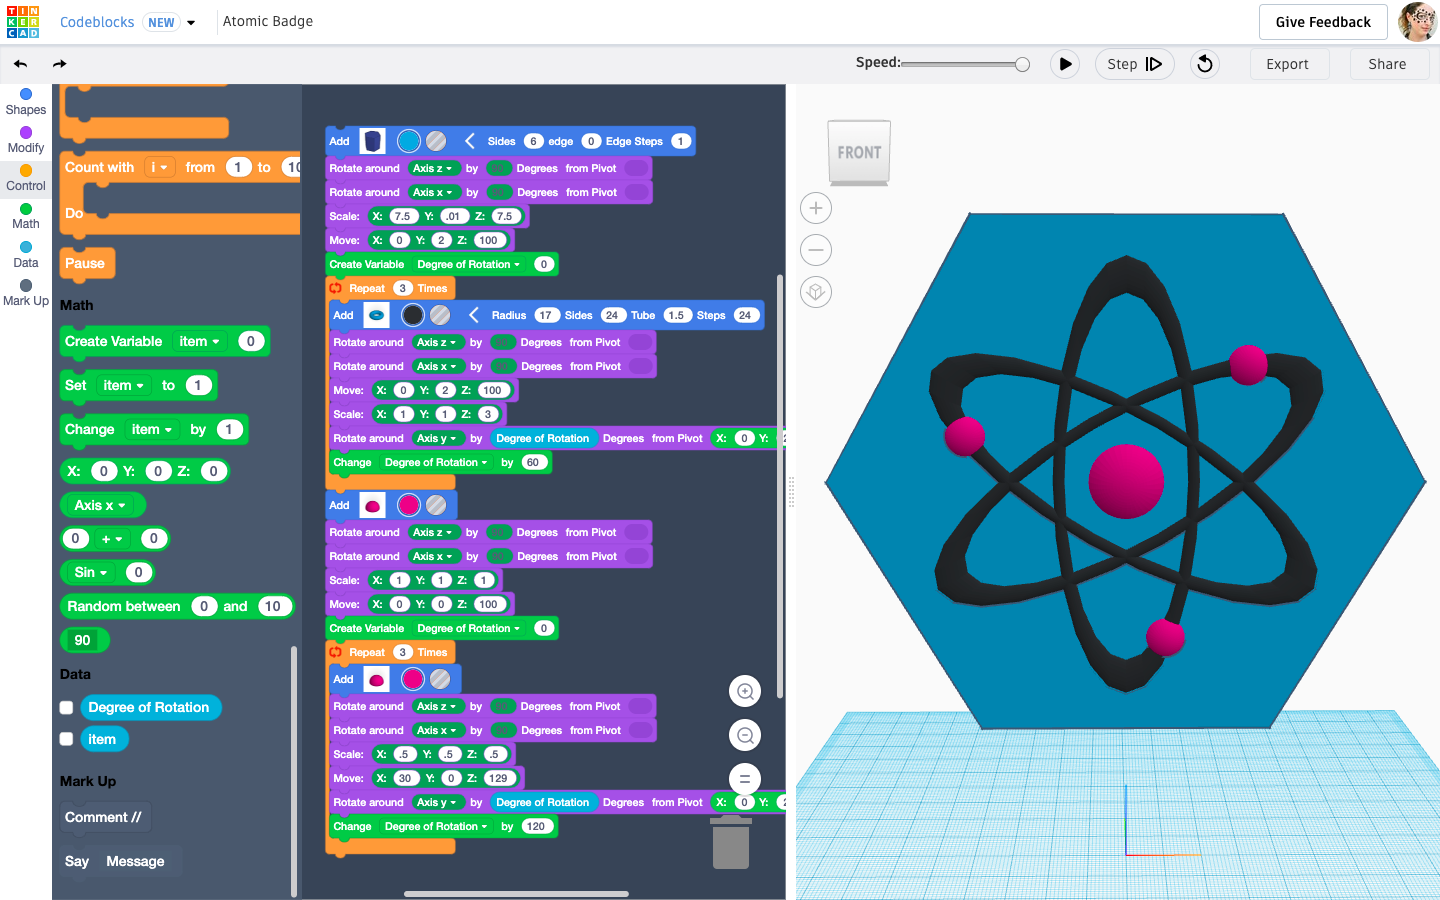
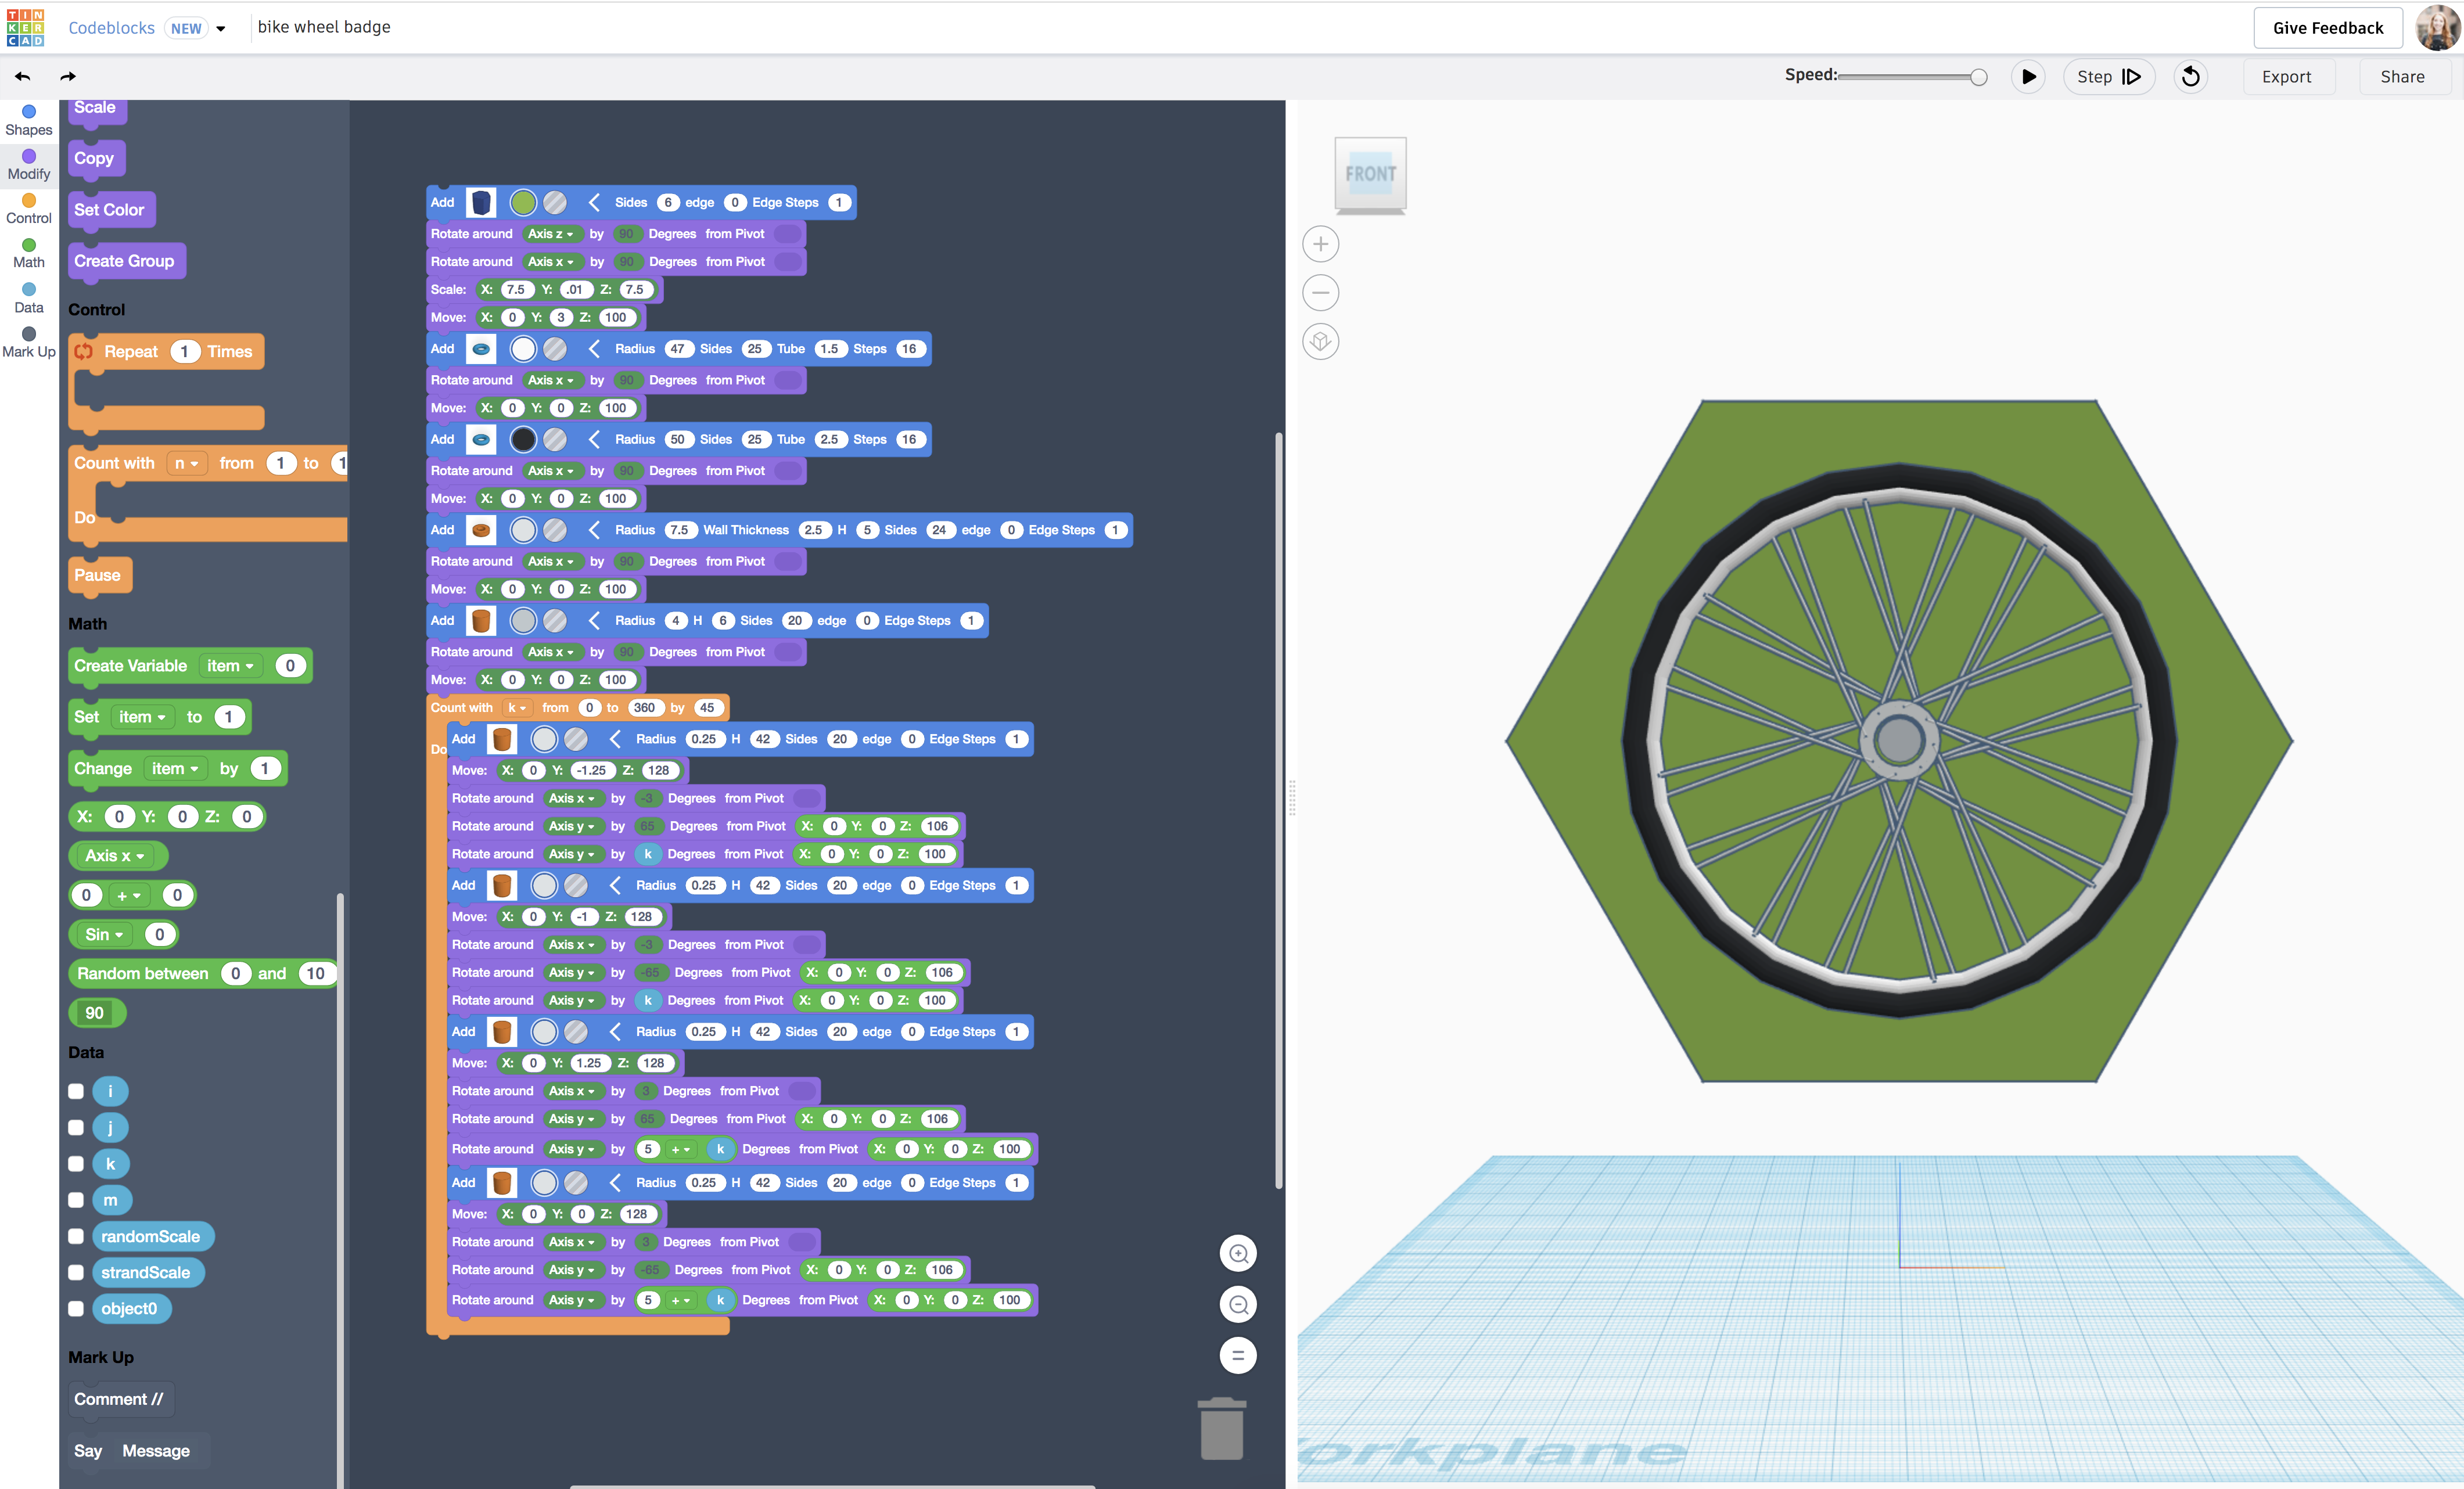
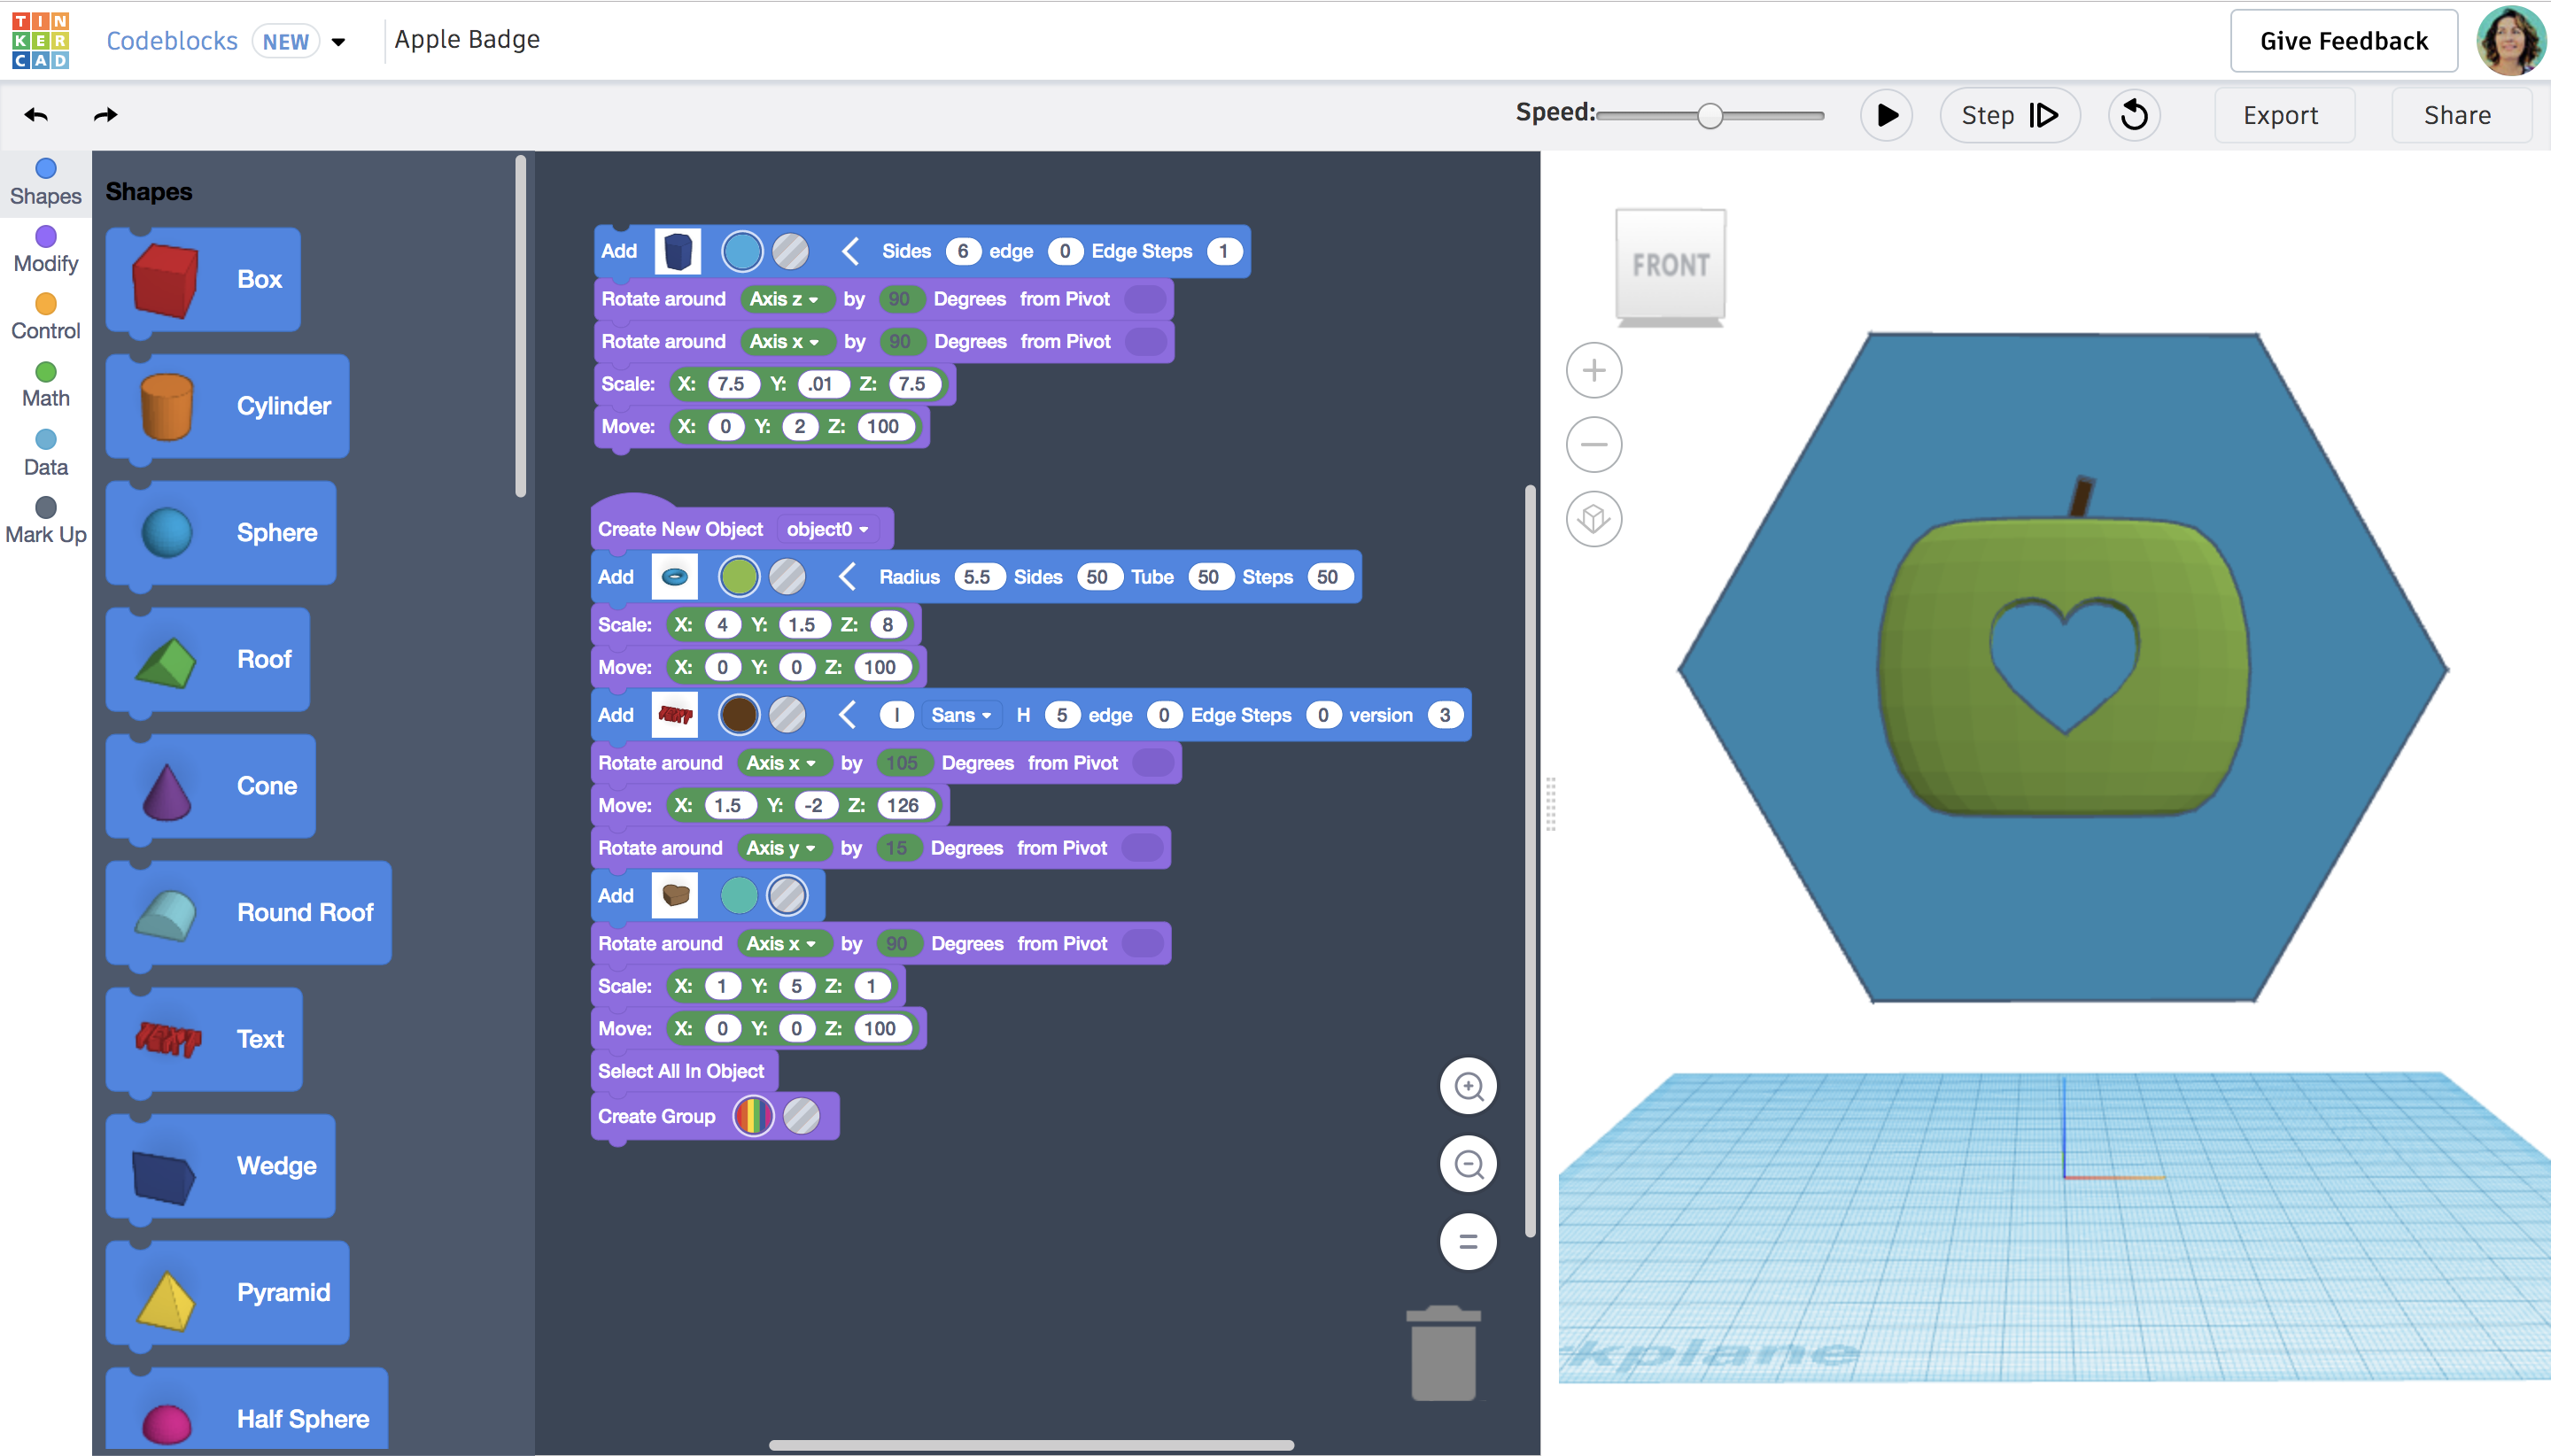
Included in this step are some sample badges created by Tinkercad and Instructables teams. Students can change the parameters of any object, from the color to the size, position, and shape of each object. Coding skills are a bit like a muscle that benefits from repeated workouts. These samples can help students experience some Codeblocks success while they are still learning how the whole thing works. Much in the same way you learn to cook from recipes before creating your own, replicating and modifying sample code helps reinforce the general concepts needed to approach new compositions. To see the full size version of the screenshots above (so the blocks are visible), click the image once to expand it, then click the arrow icon in the lower left corner of the image.

Apple with Heart:
- Drag out a purple Create New Object block.
- For the body of the apple, add a Torus shape configured to the color of an apple and Radios: 5.5, Sides: 50, Tube: 50, Steps: 50
- Attach a Scale block configured to X: 4, Y: 1.5, Z: 8
- Attach a Move block configured to X: 0, Y: 0, Z: 100
- For the stem of the apple, add a Text block with a lowercase L in a brown color.
- Attach a Rotate block to turn the stem on its x axis by 105 degrees.
- Attach a Move block configured to X: 1.5, Y: -2, Z: 126
- Attach a Rotate block to turn the stem on its y axis by 15 degrees.
- To create the punchout heart, add a Heart shape block configured to be a hole.
- Attach a Rotate block to turn the heart on its x axis by 90 degrees.
- Attach a Scale block configured to X: 1, Y: 5, Z: 1
- Attach a Move block configured to X: 0, Y: 0, Z: 100
- Attach a "Select All In Object" block
- Group the objects together to punch the hole out of the shape by attaching a Create Group block

Butterfly:
- Add Spheres, Half Spheres, and Parabaloids for the butterfly's head, thorax, and abdomen.
- Add Heart shapes to create the wings
- Add additional shapes to create a pattern on the wings
- Download the PDF attached to this step for the exact blocks code used to make this butterfly, or access the folder of images included in the PDF.
Downloads
Creating New Badges
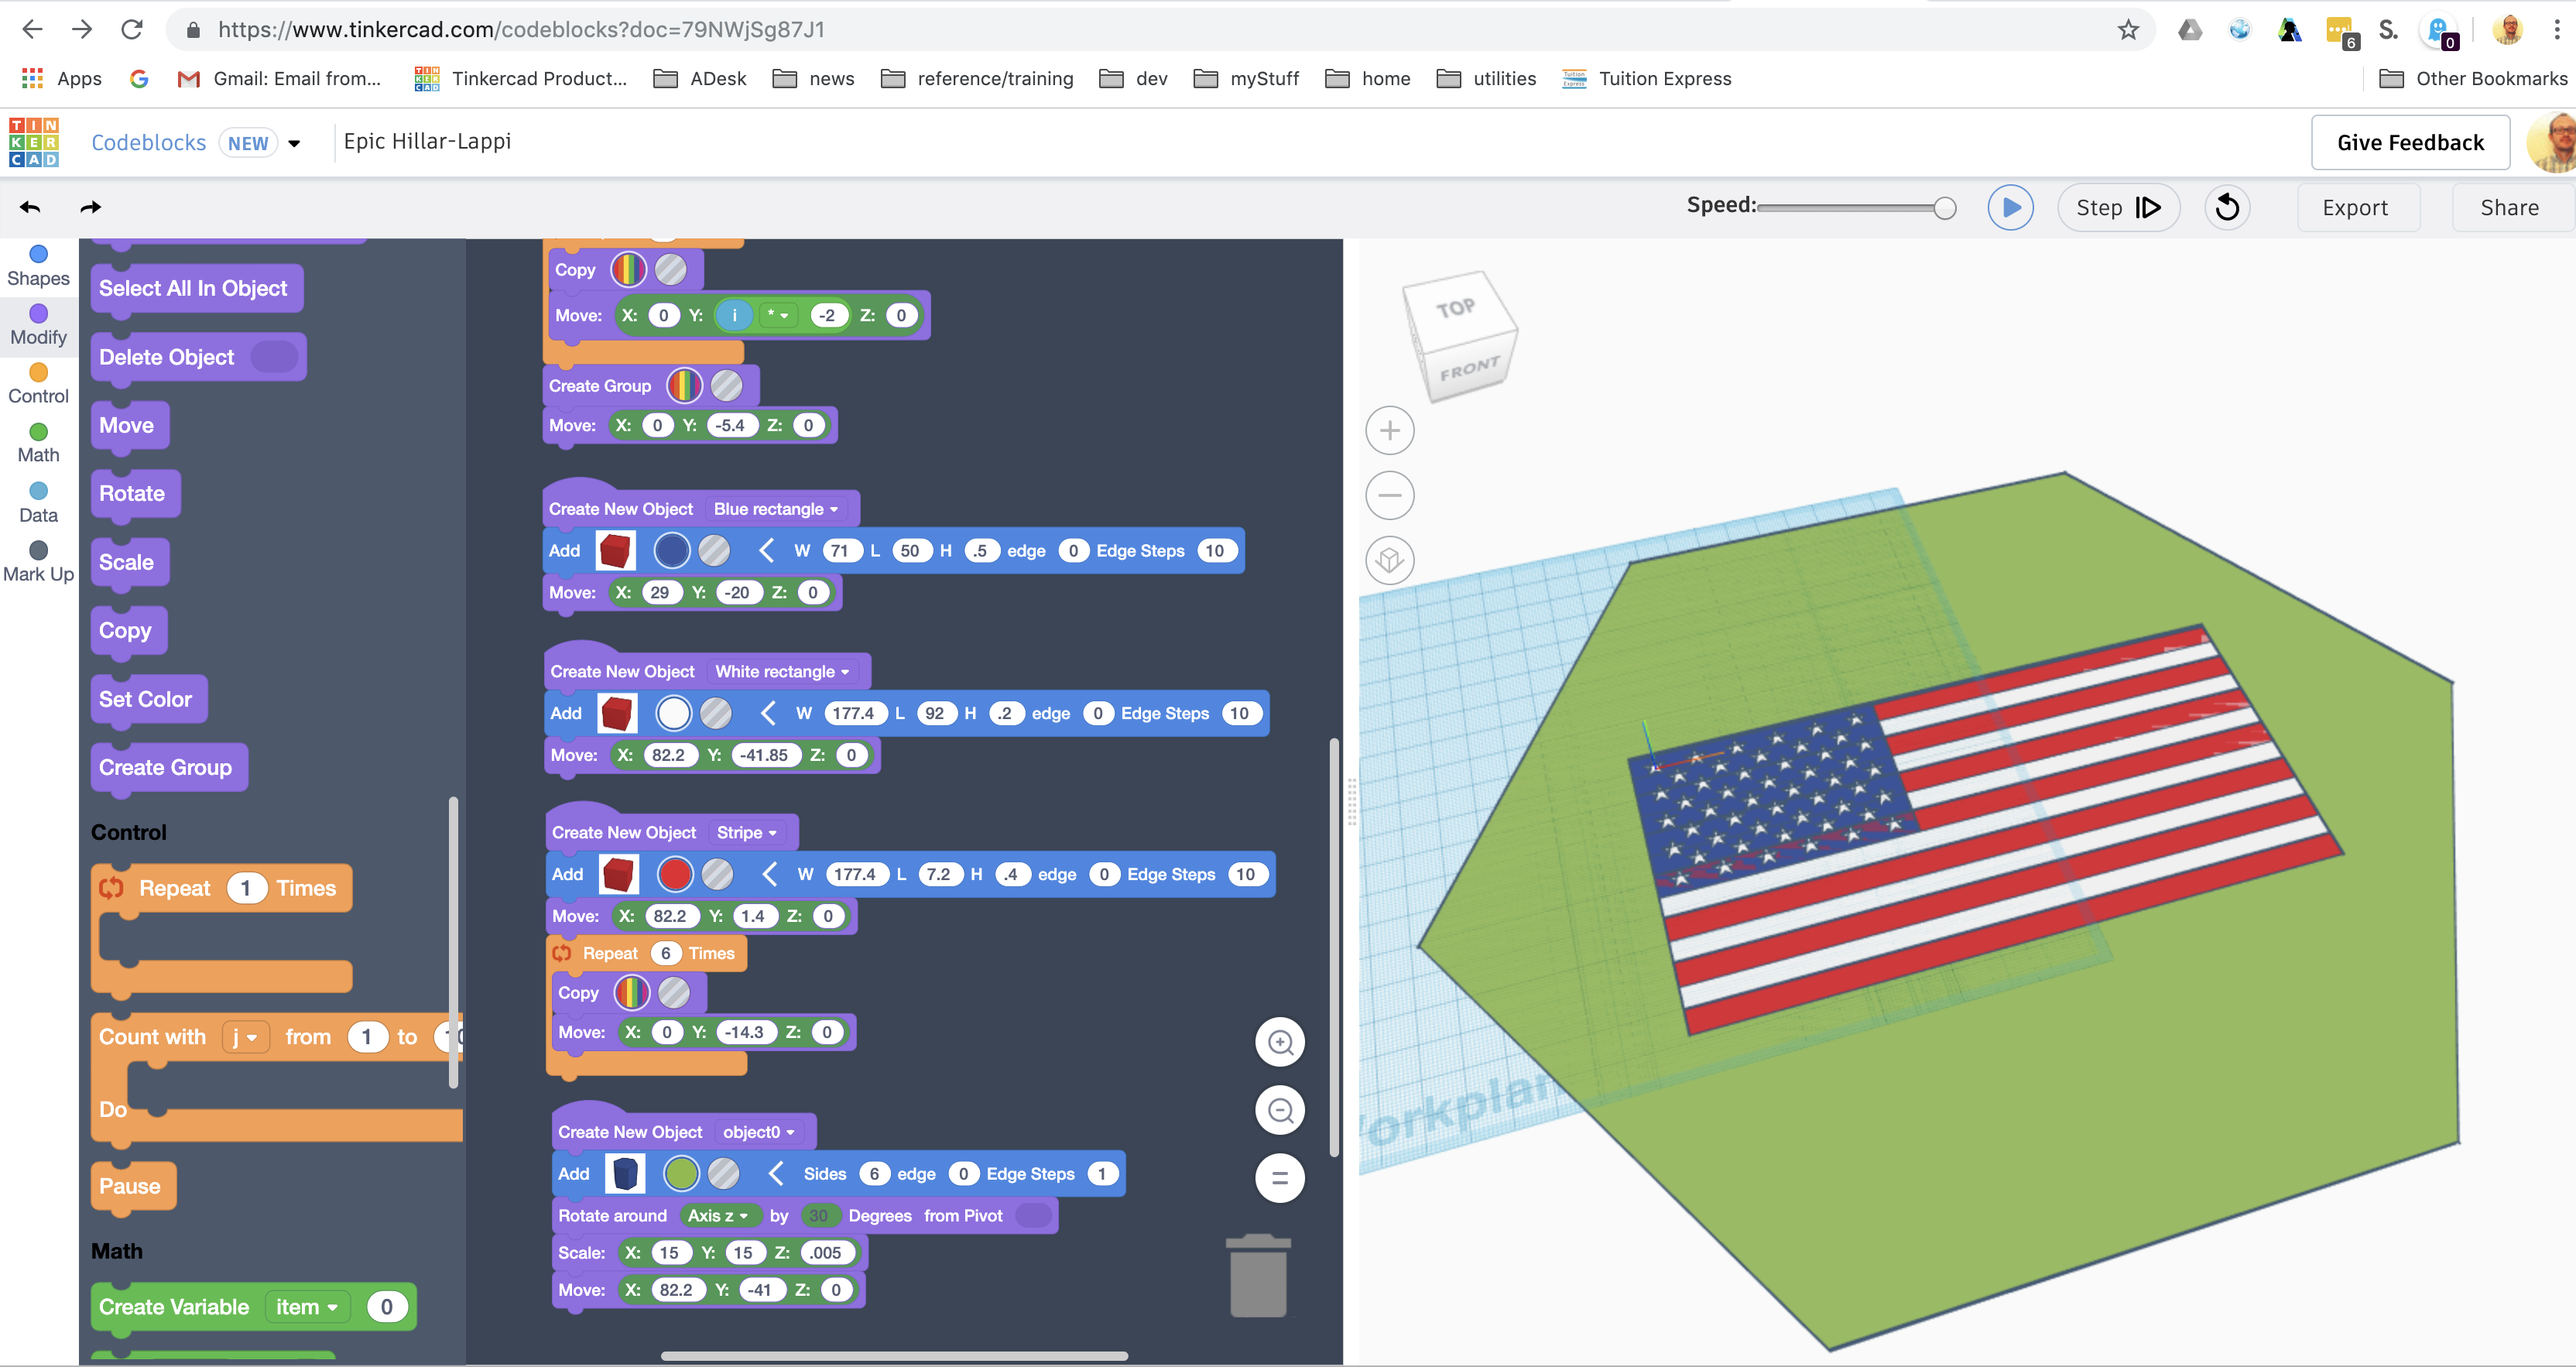
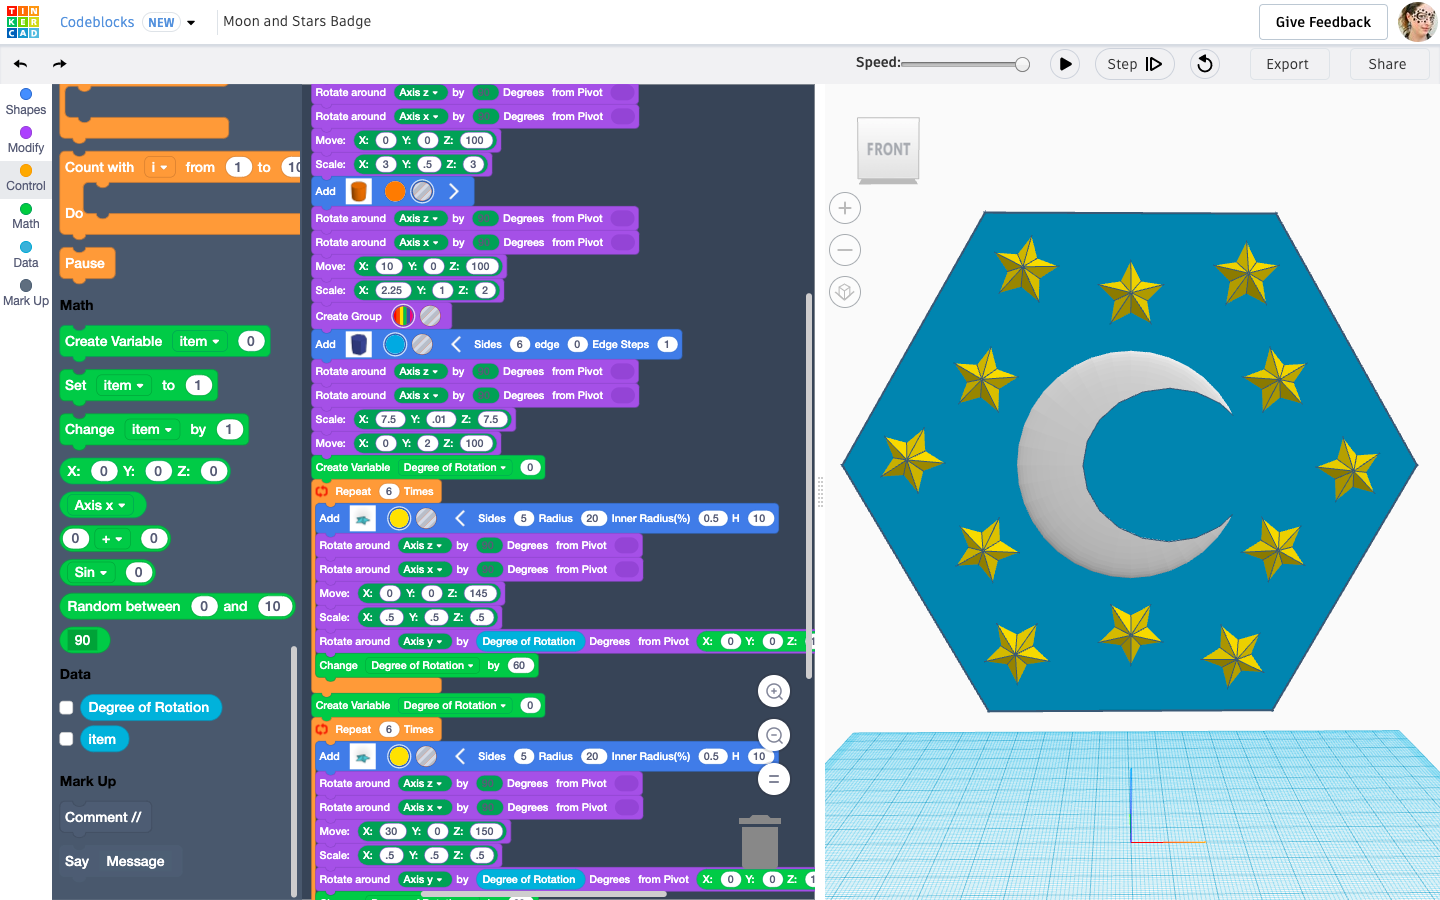
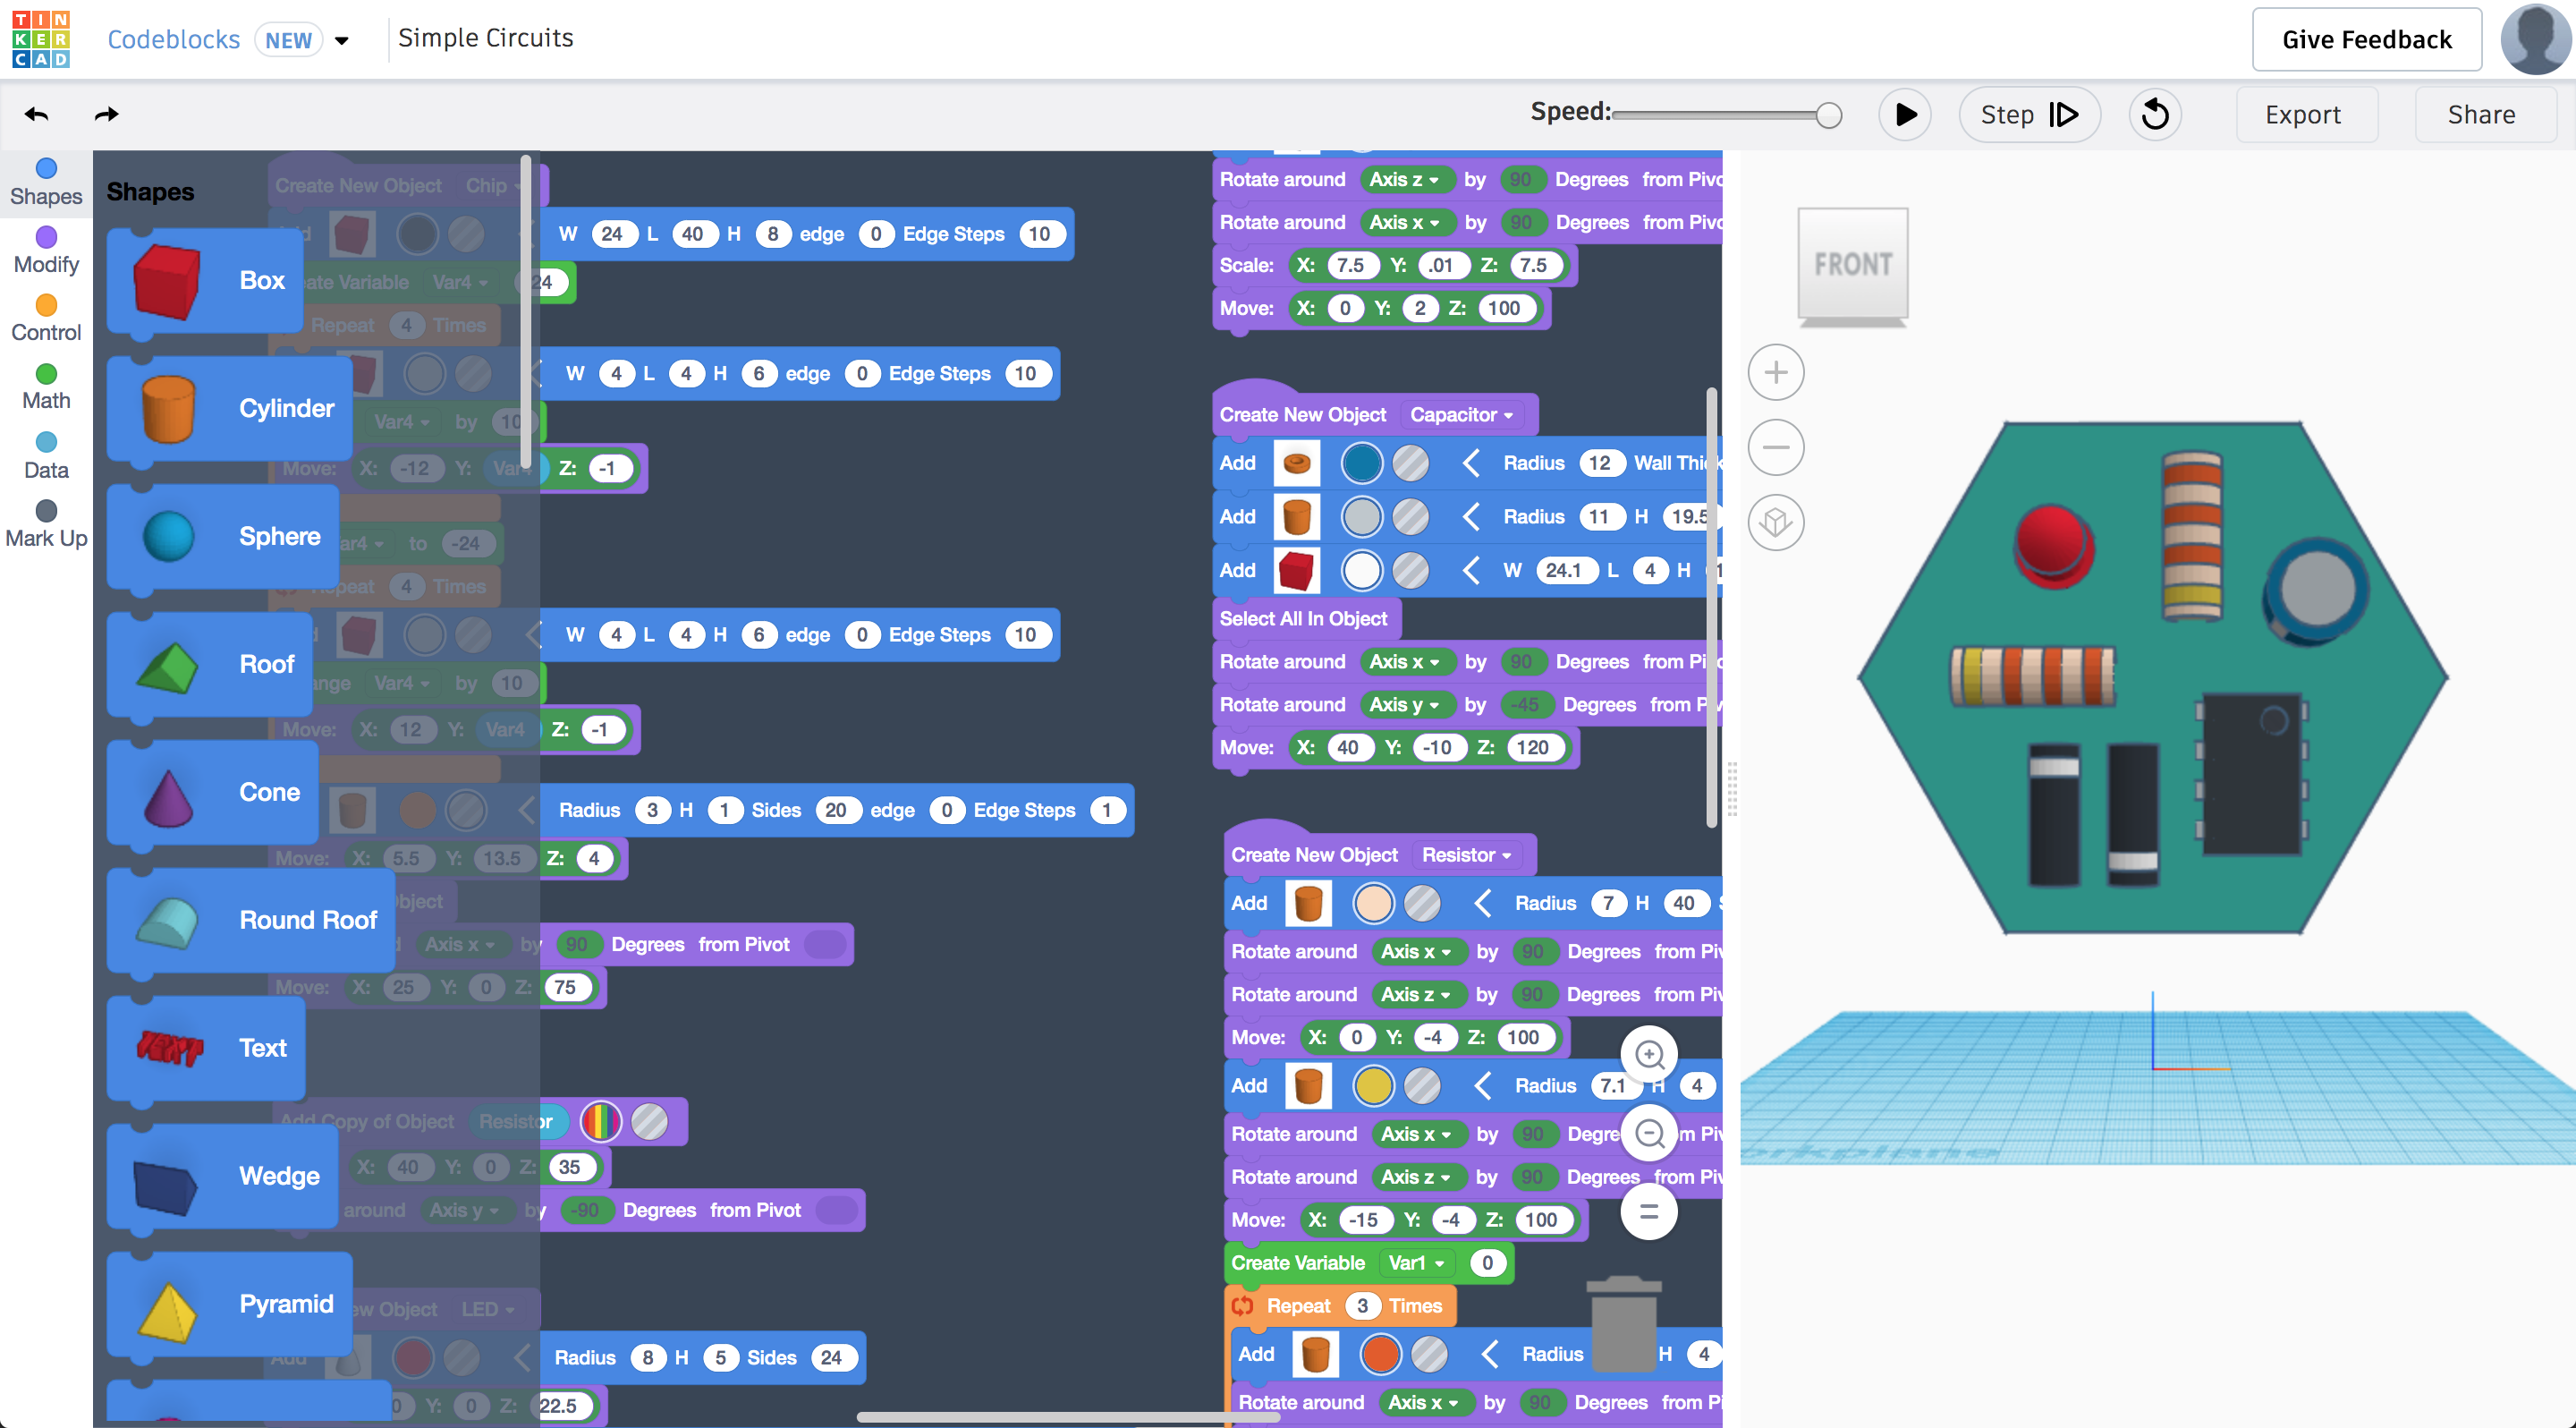
Whether you choose to start with the hexagonal template or not, here are some ideas for prompting your students to explore their own badge designs:
- Explore rotational symmetry by creating multiple objects that vary in position inside a "Count with" block.
- Experiment with randomness by substituting any positioning number for a combo Arithmetic block and Random block.
- After creating a design, look for ways to optimize the code by performing the same action with fewer blocks.
Smart Habits
Students should be encouraged to name the variables that are preset to 'item.' This is an excellent organizational skill that makes understanding code much easier. In the Data section of blocks, right click on any variable name to select the option to rename it. This will rename every instance of the variable in your program.
Print and Iron on (Optional)
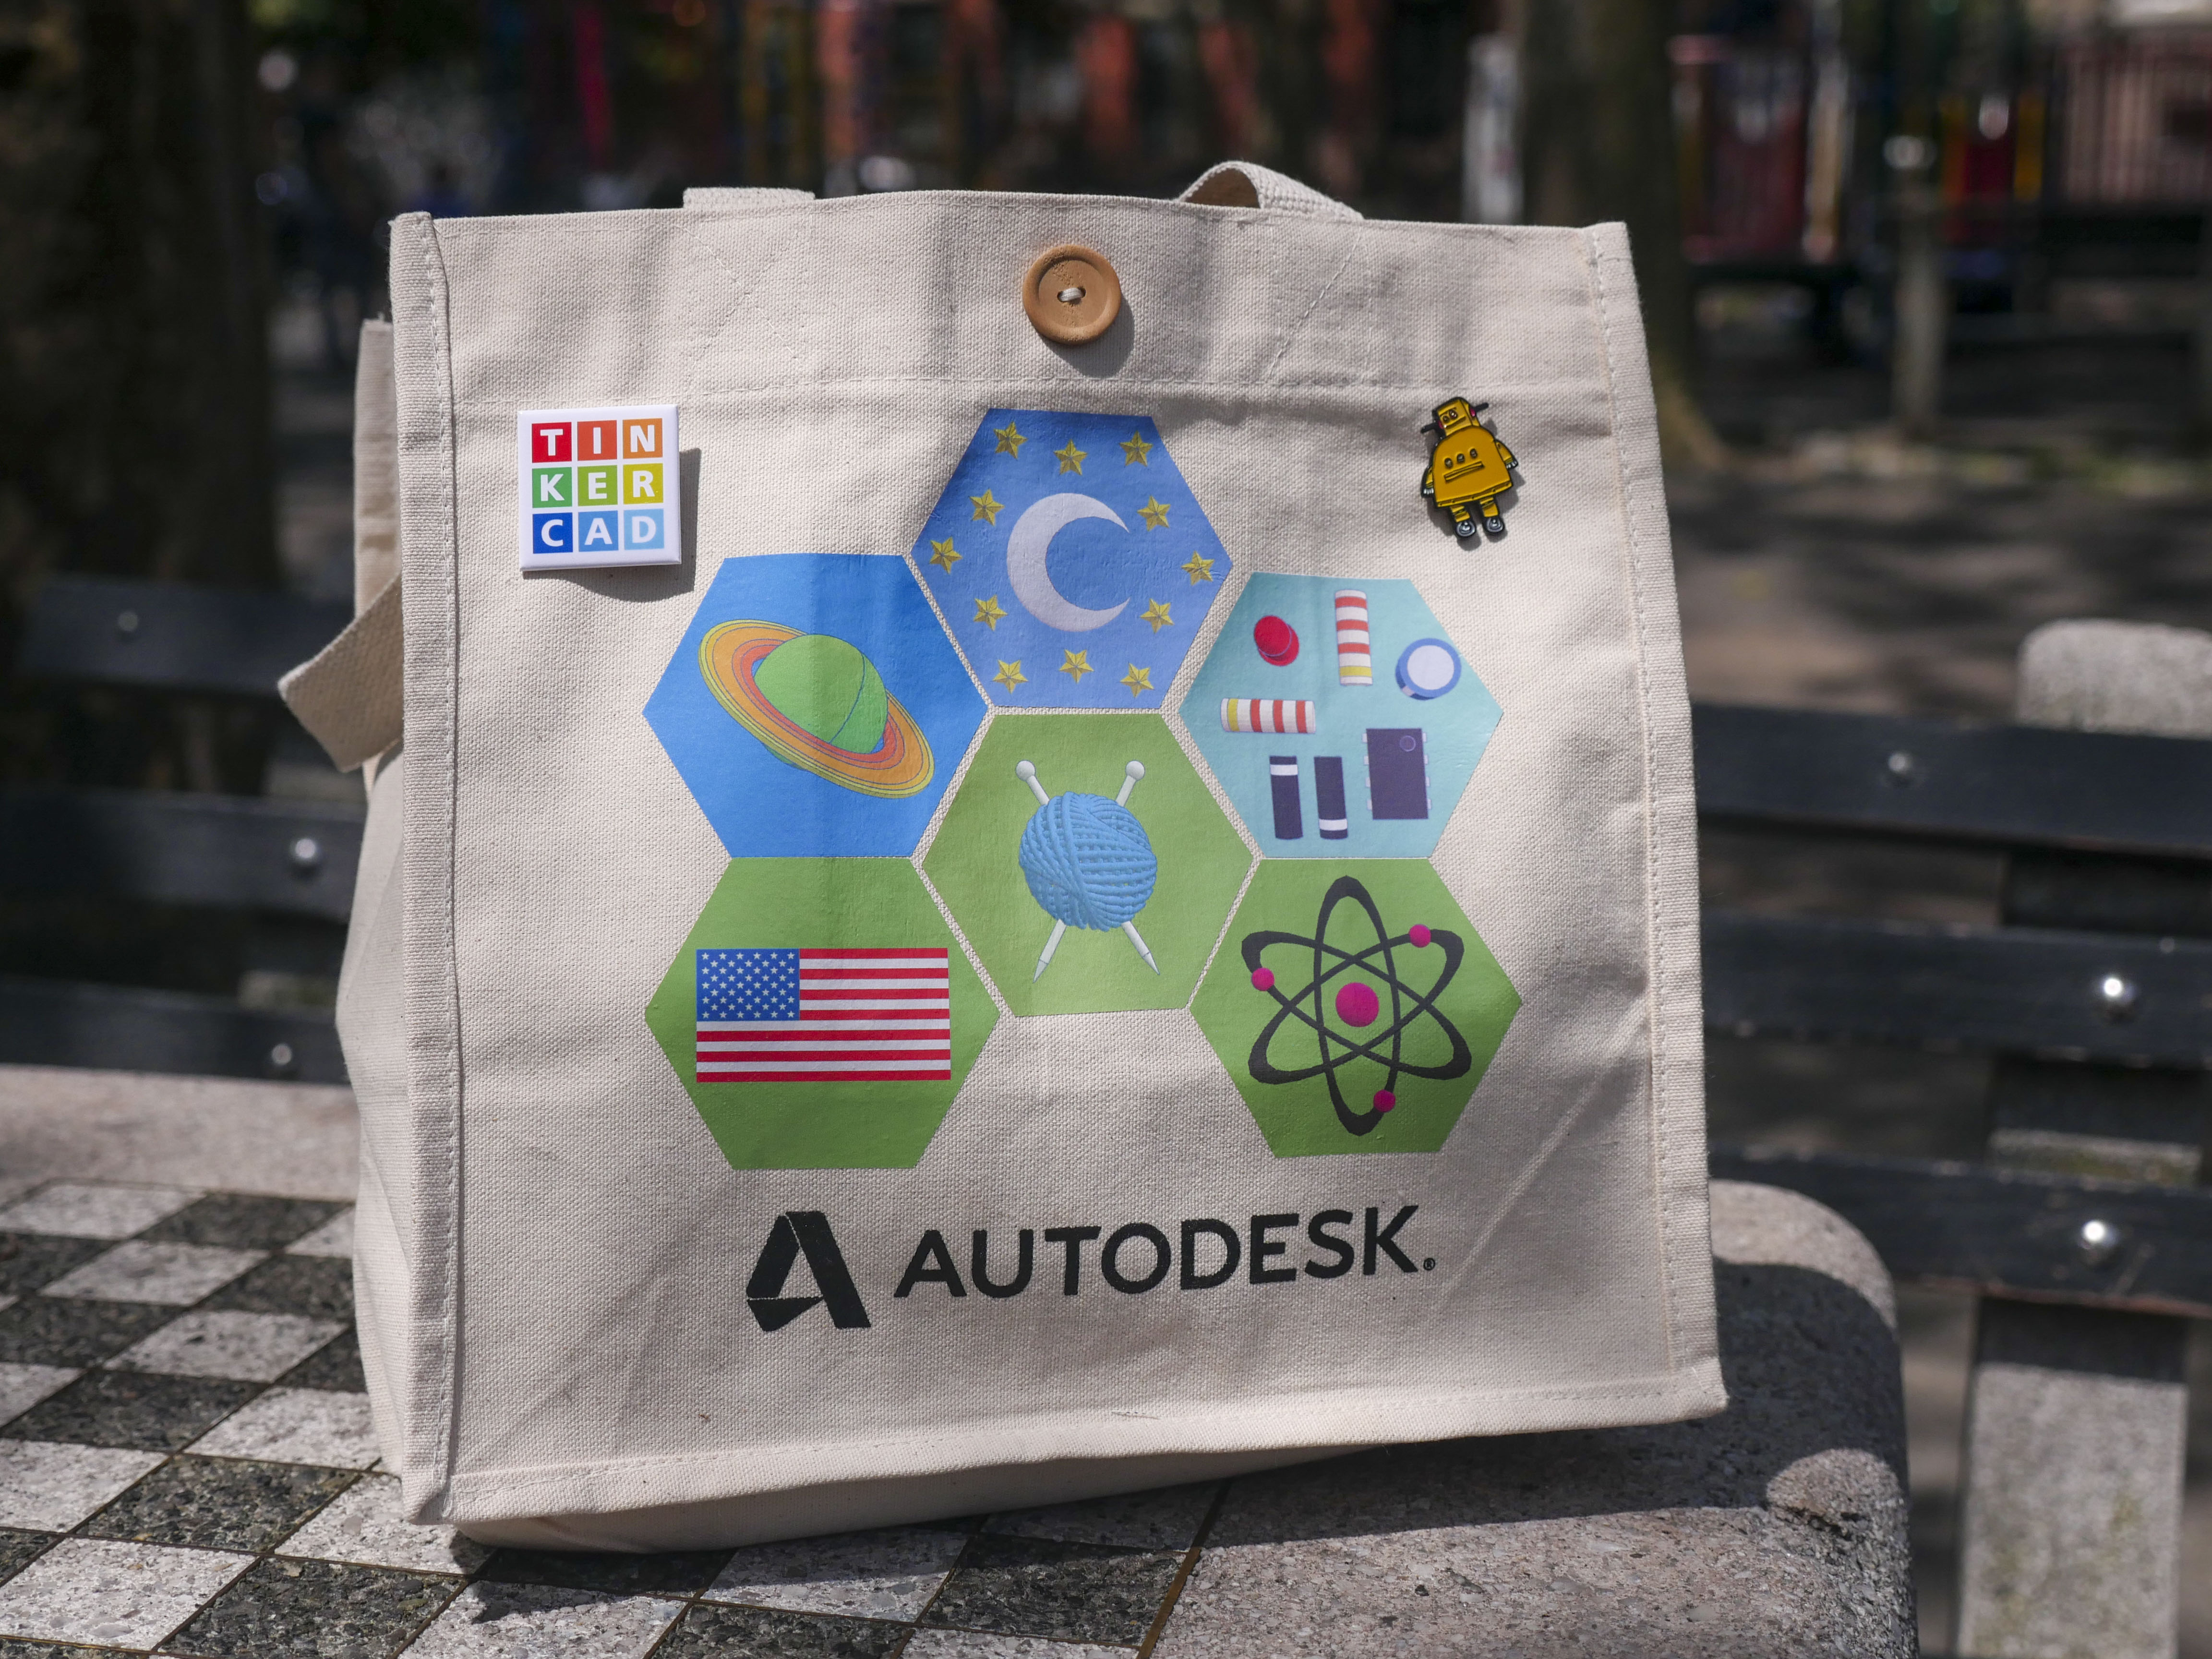
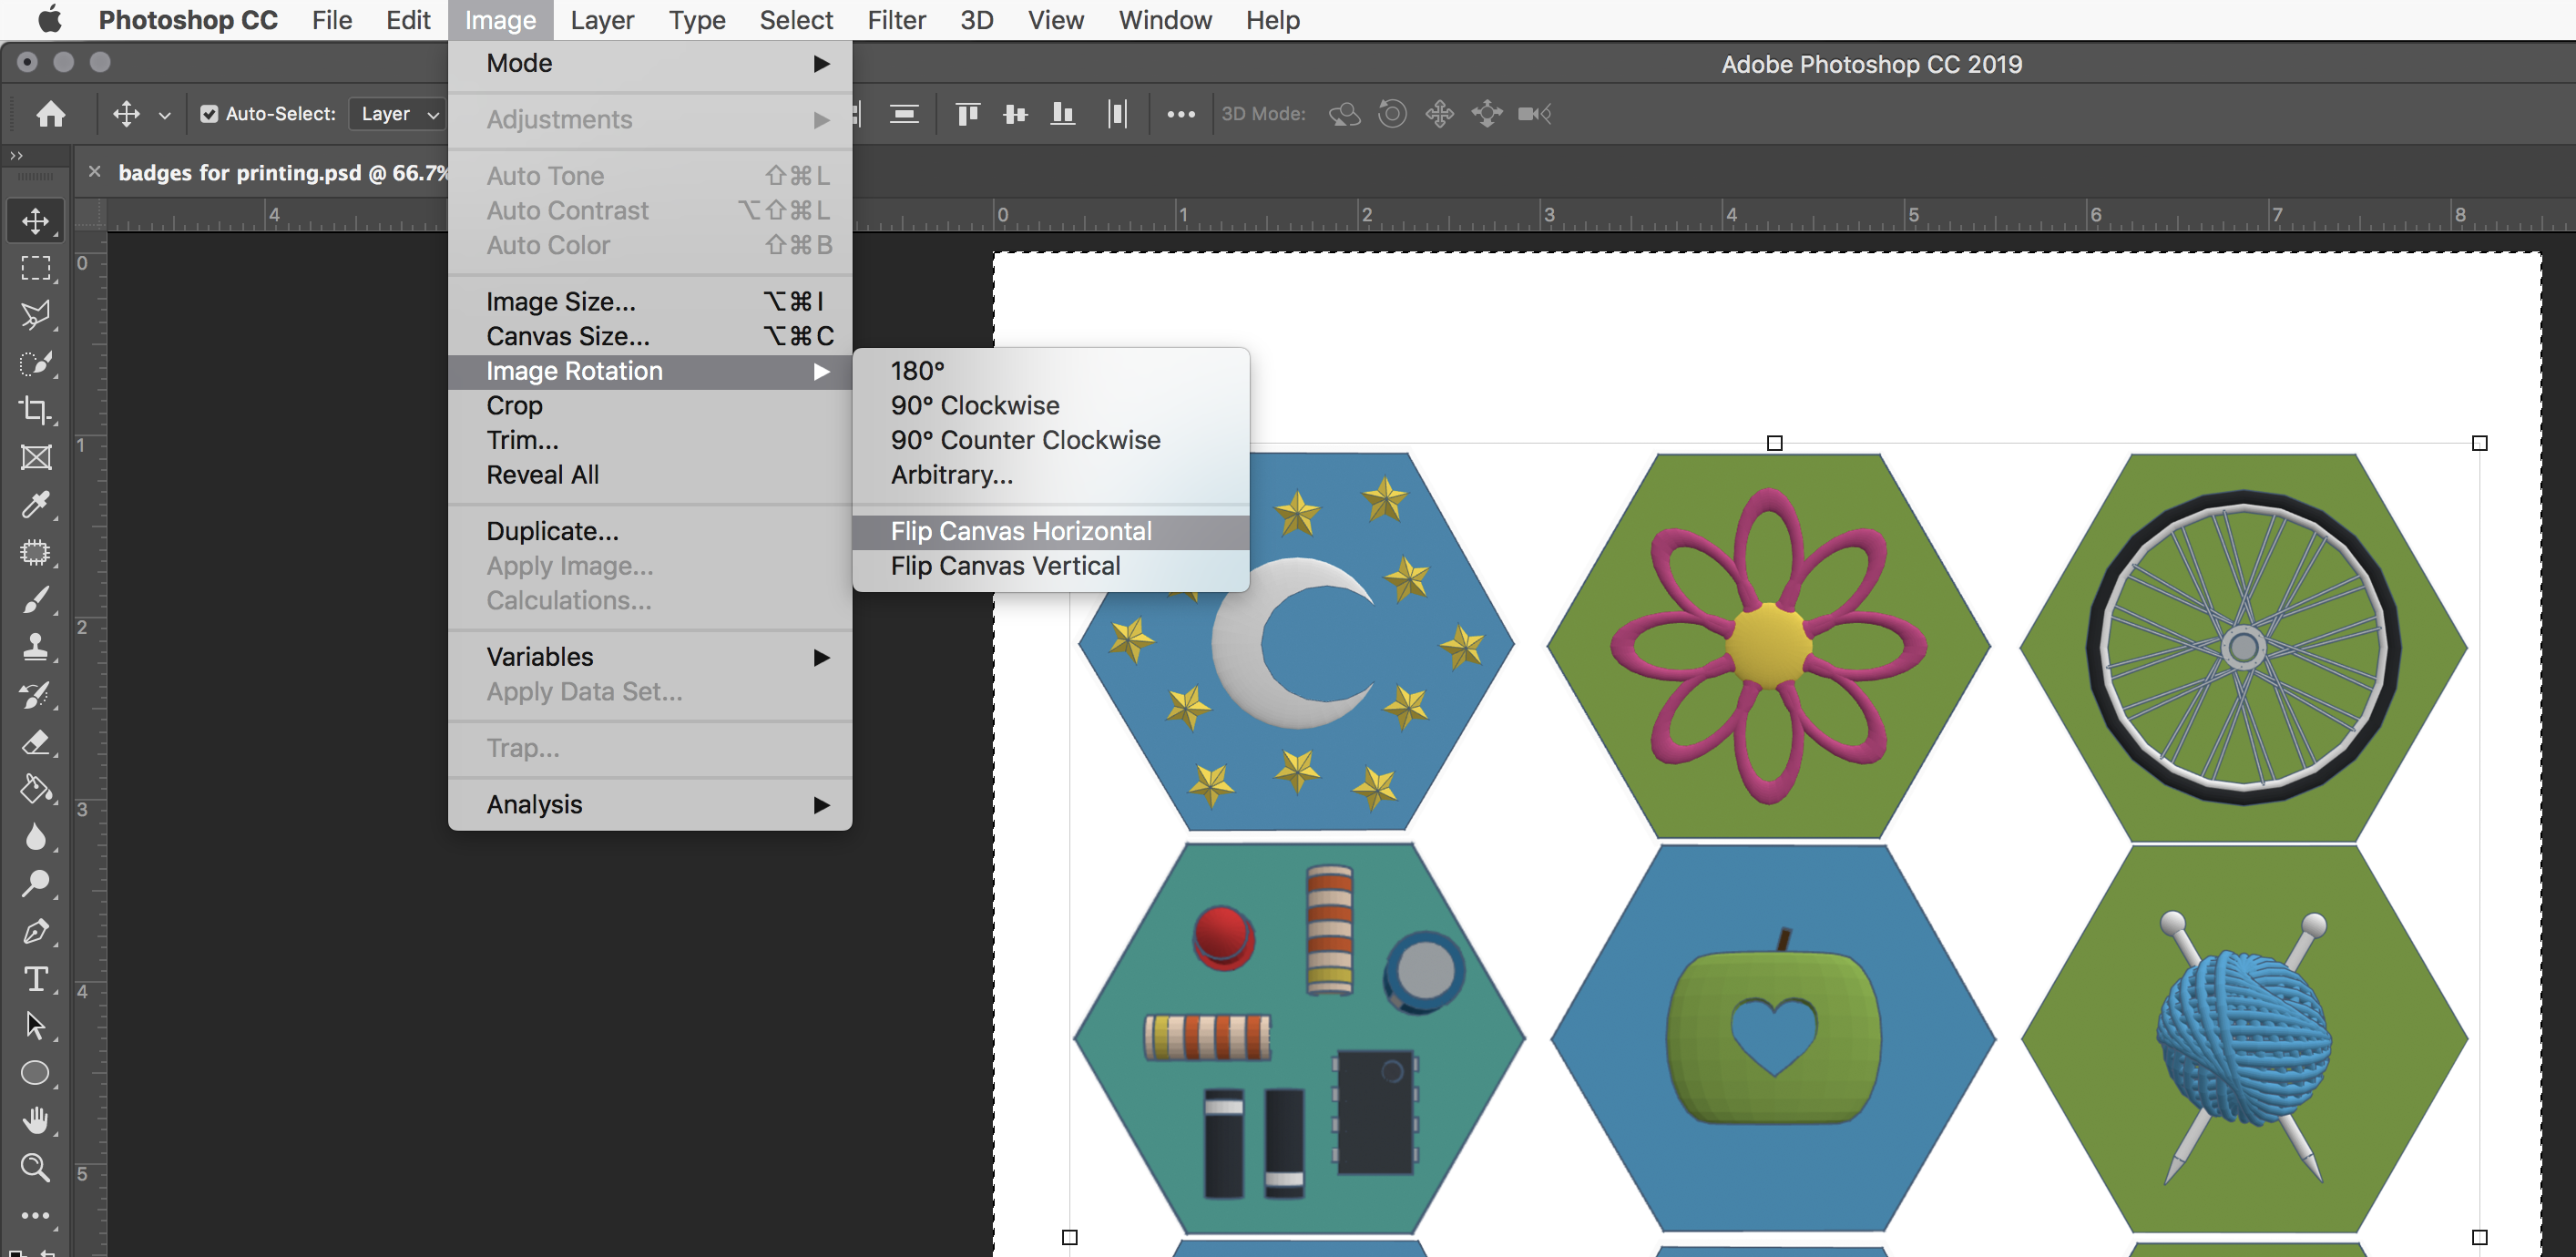
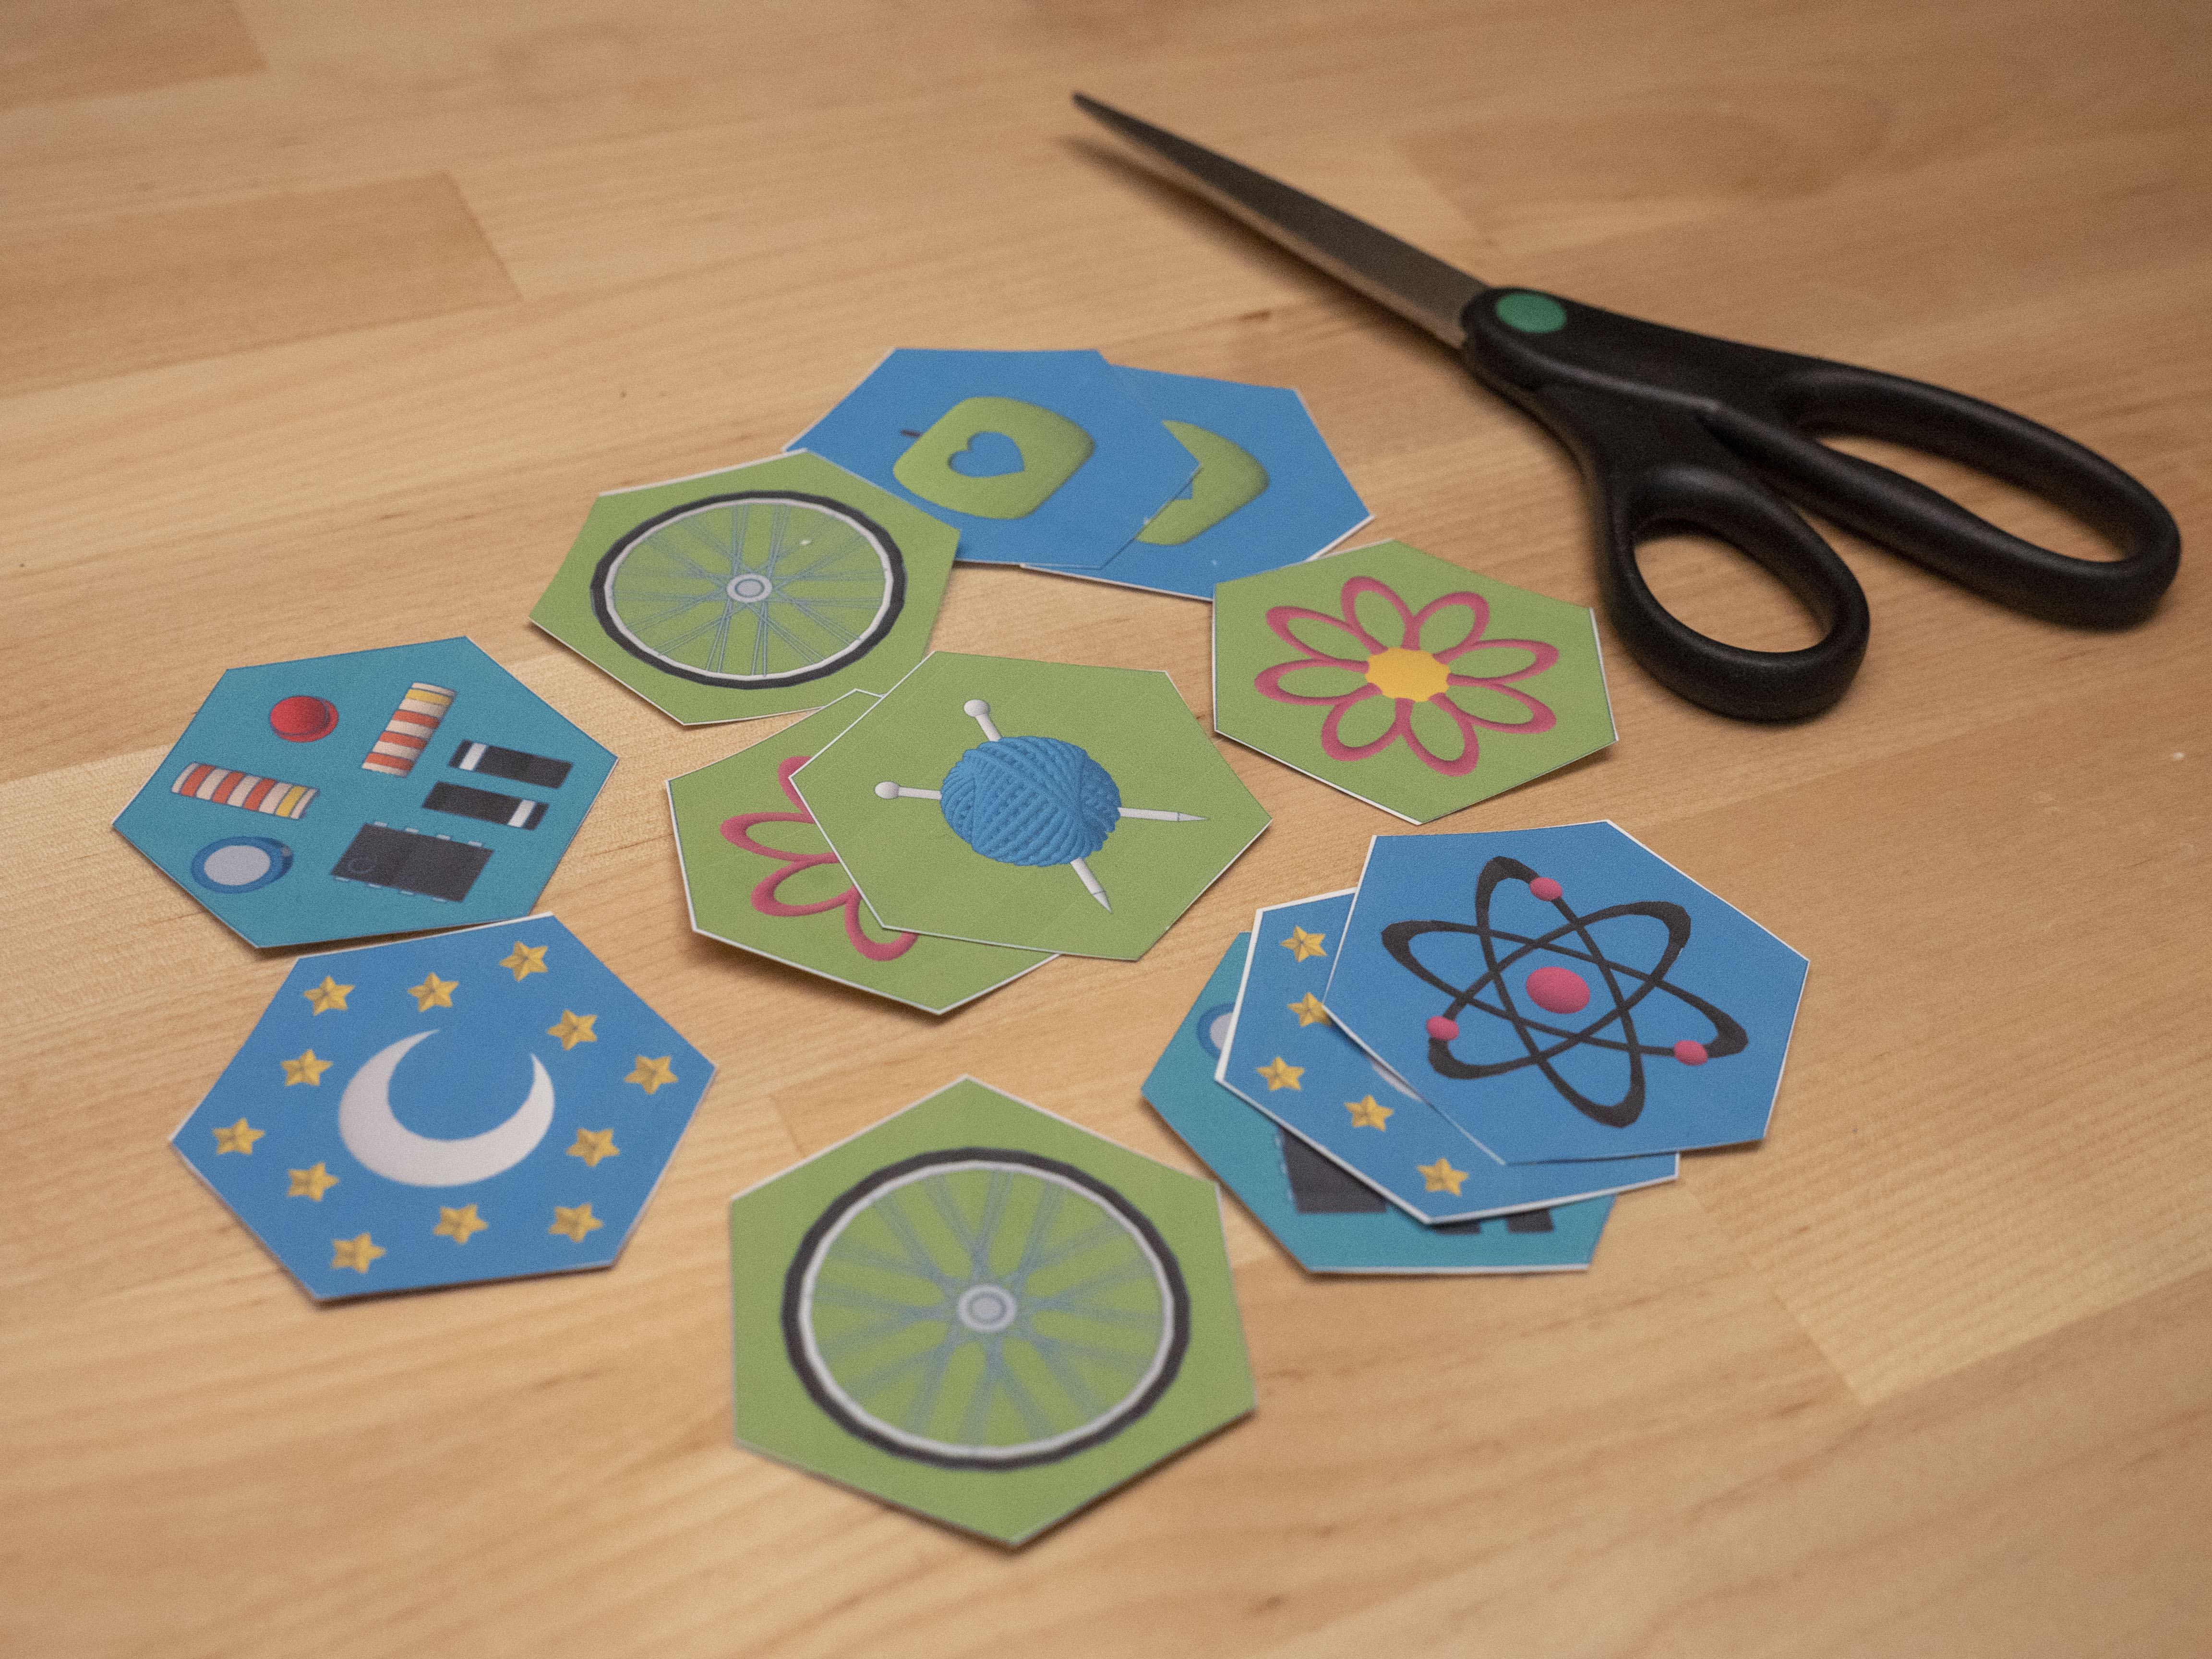
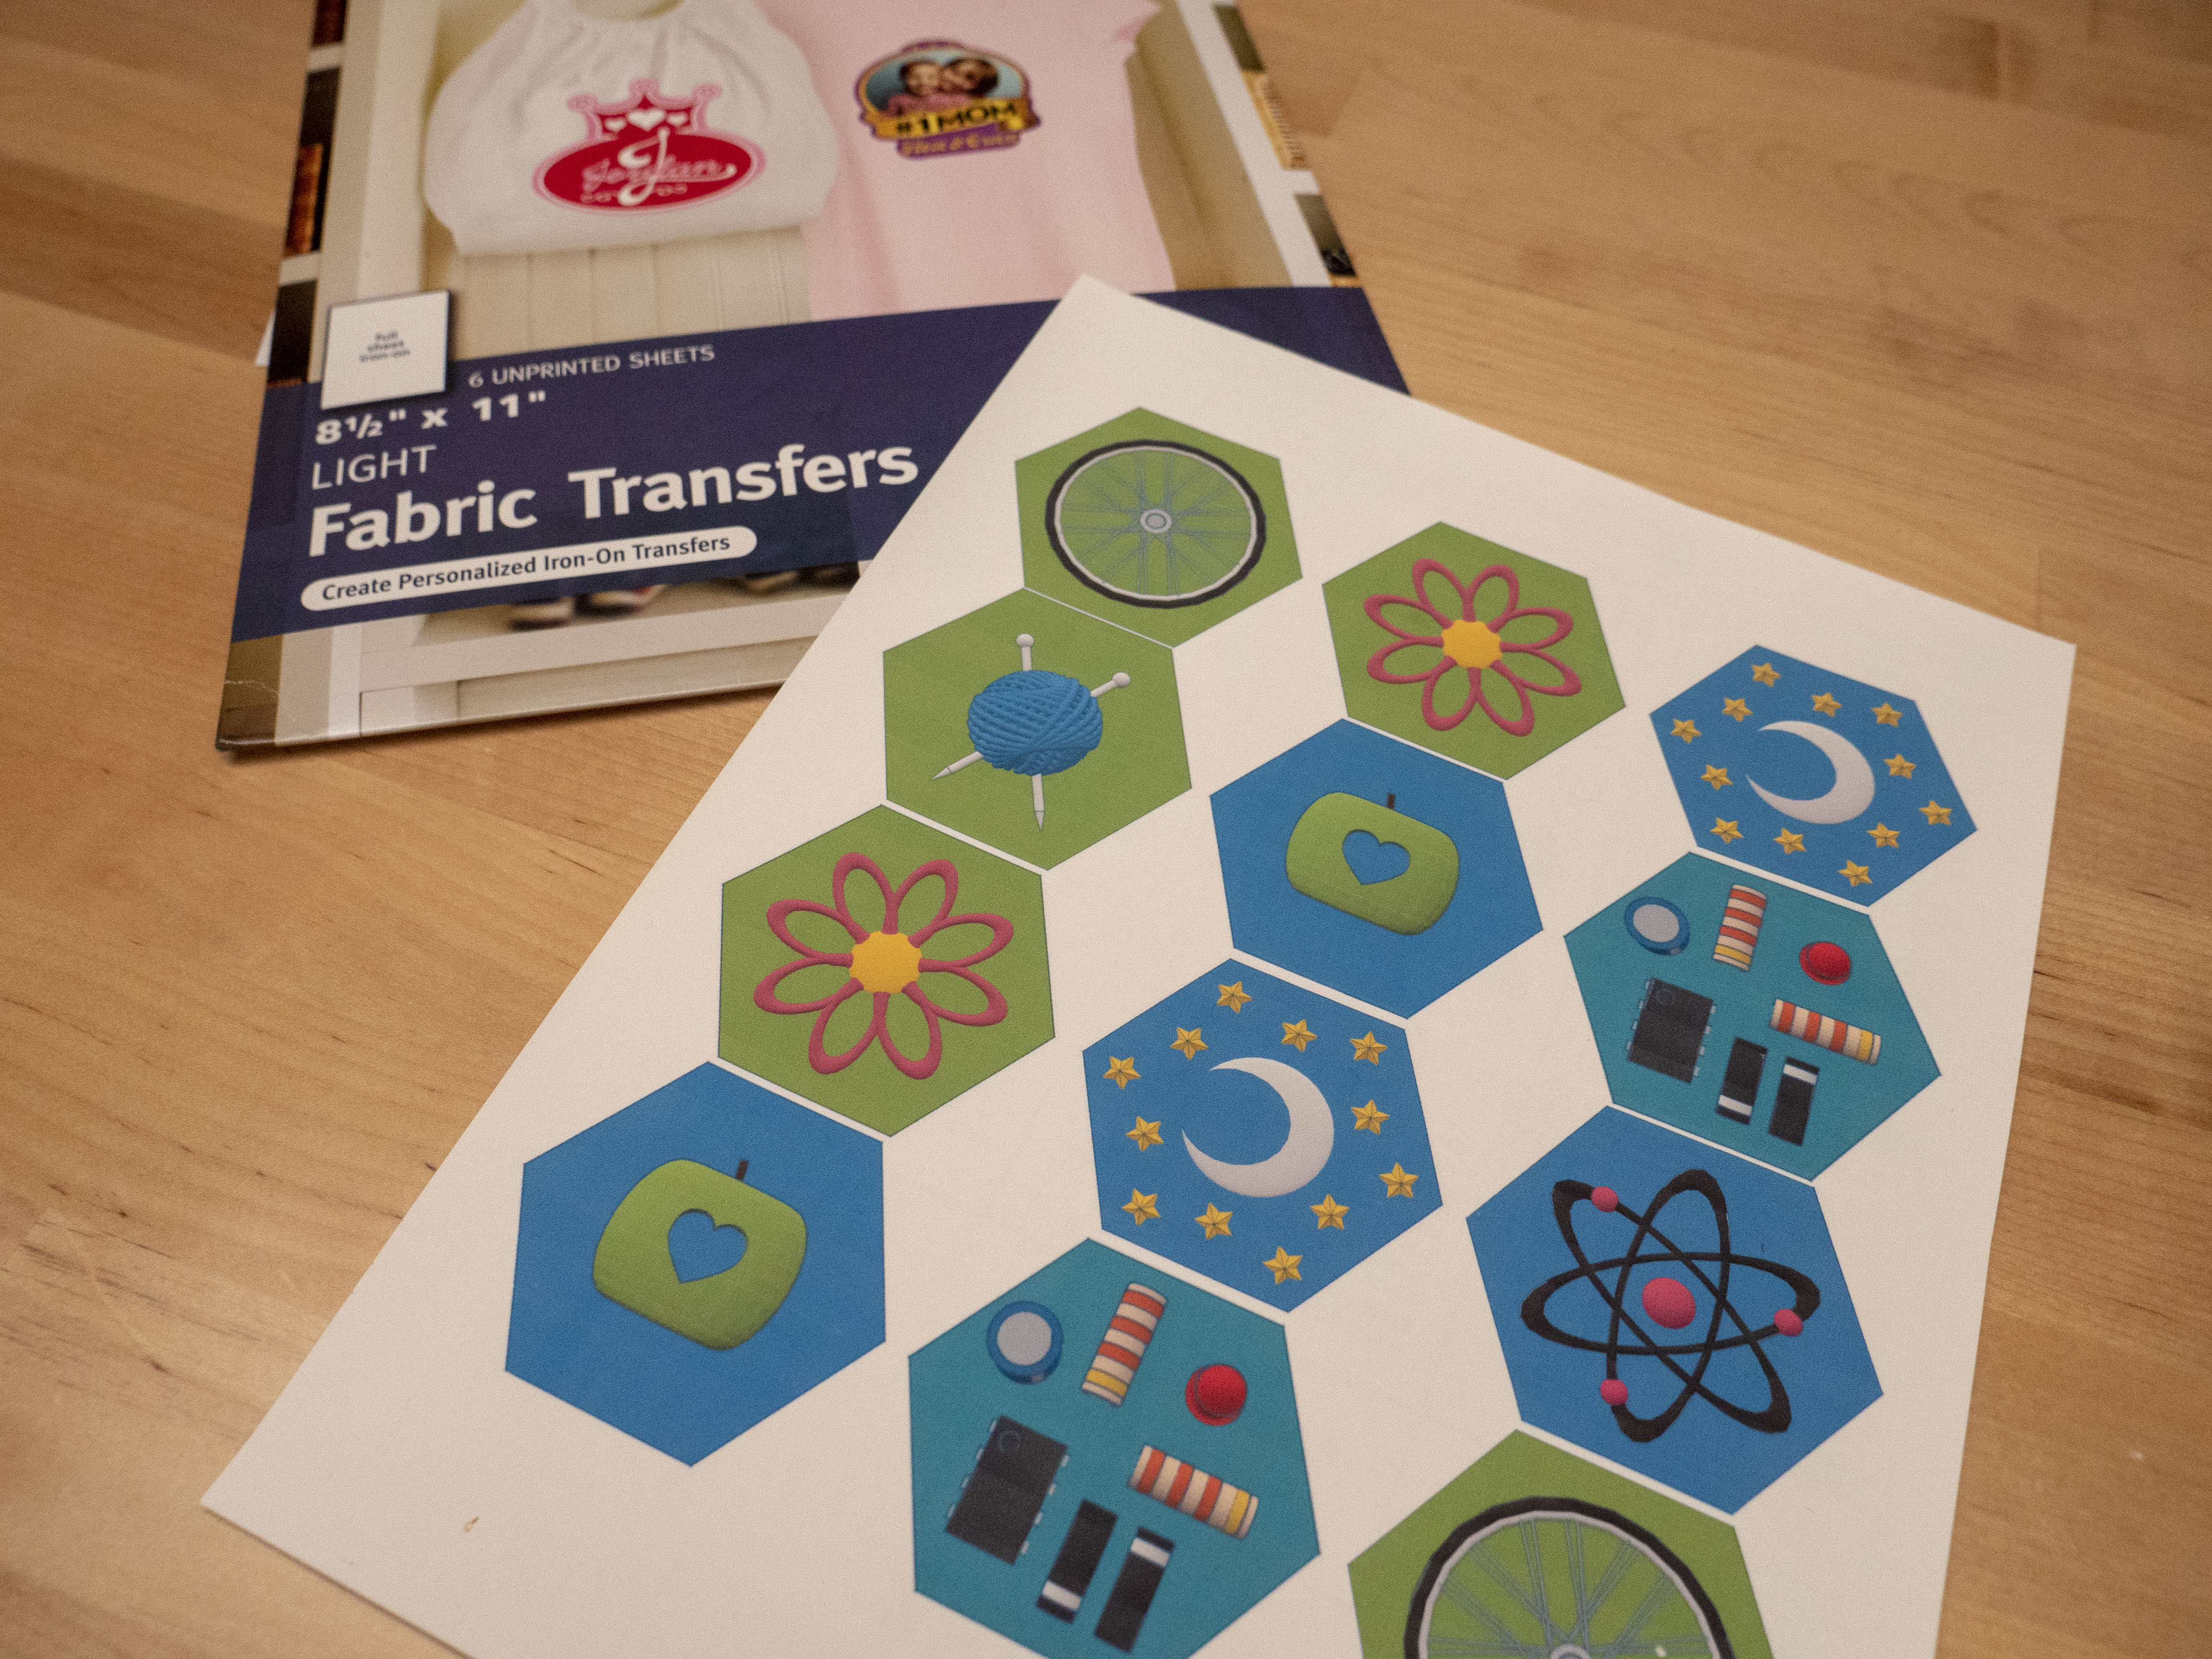
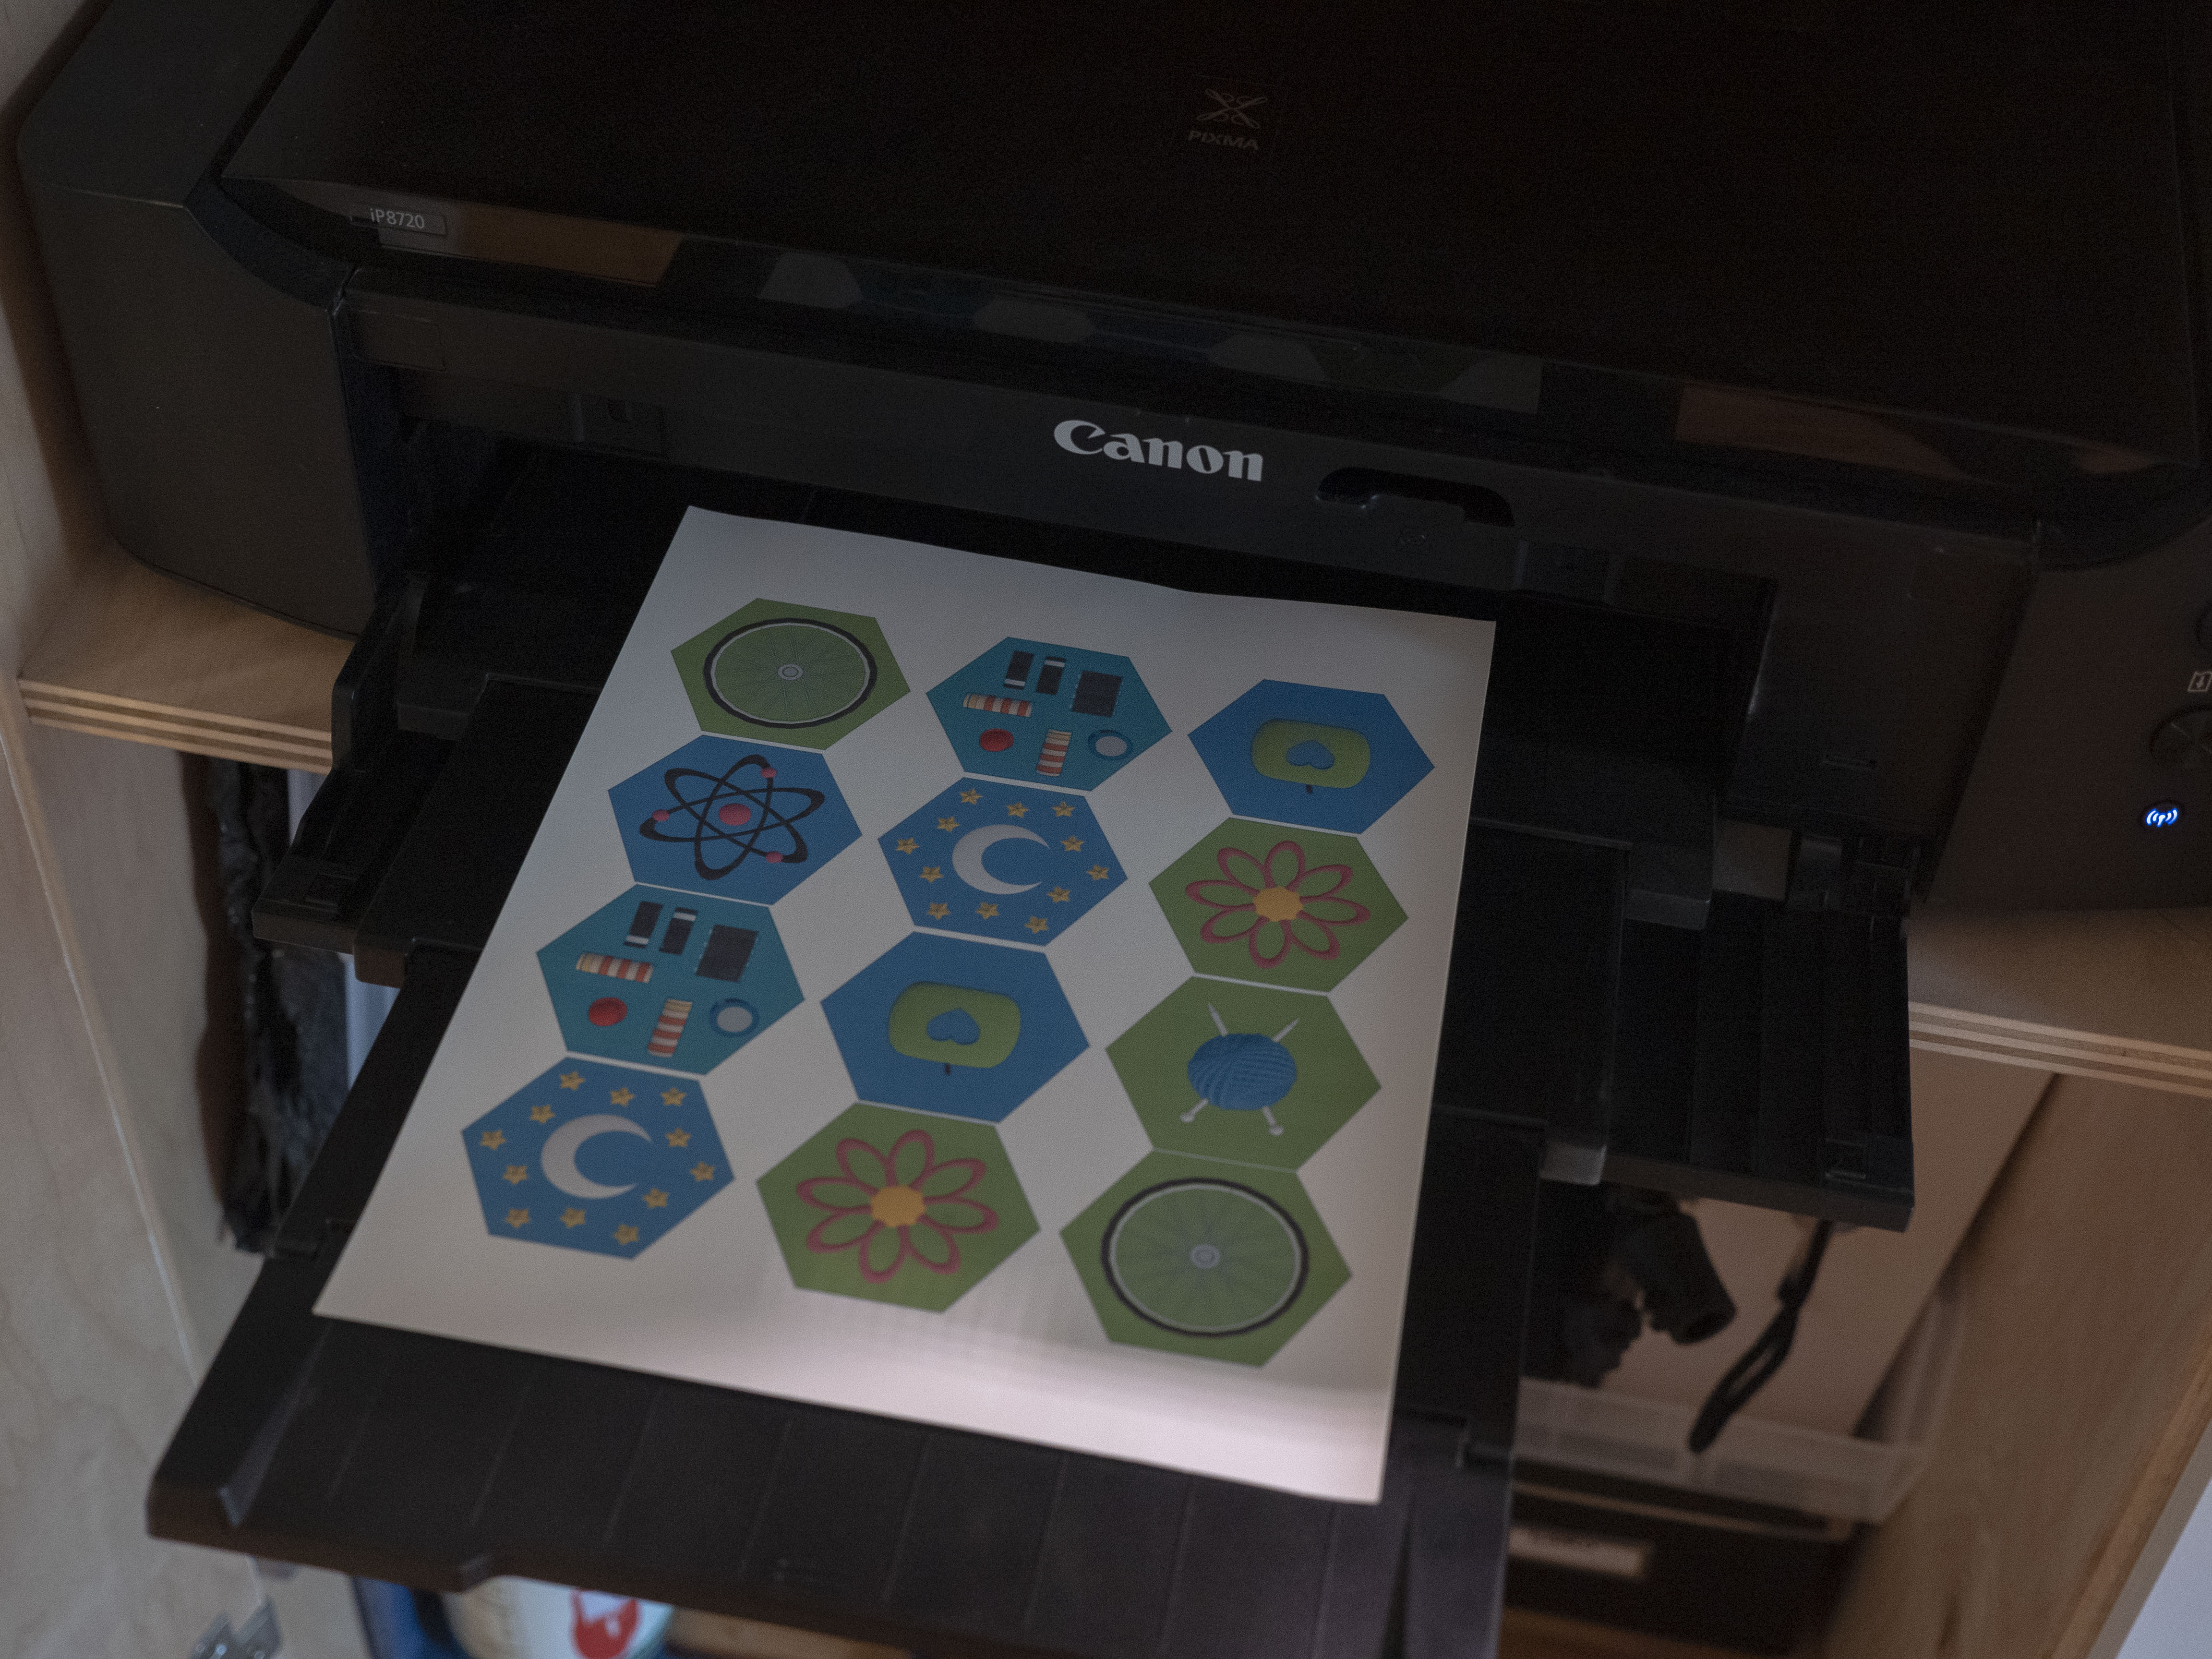
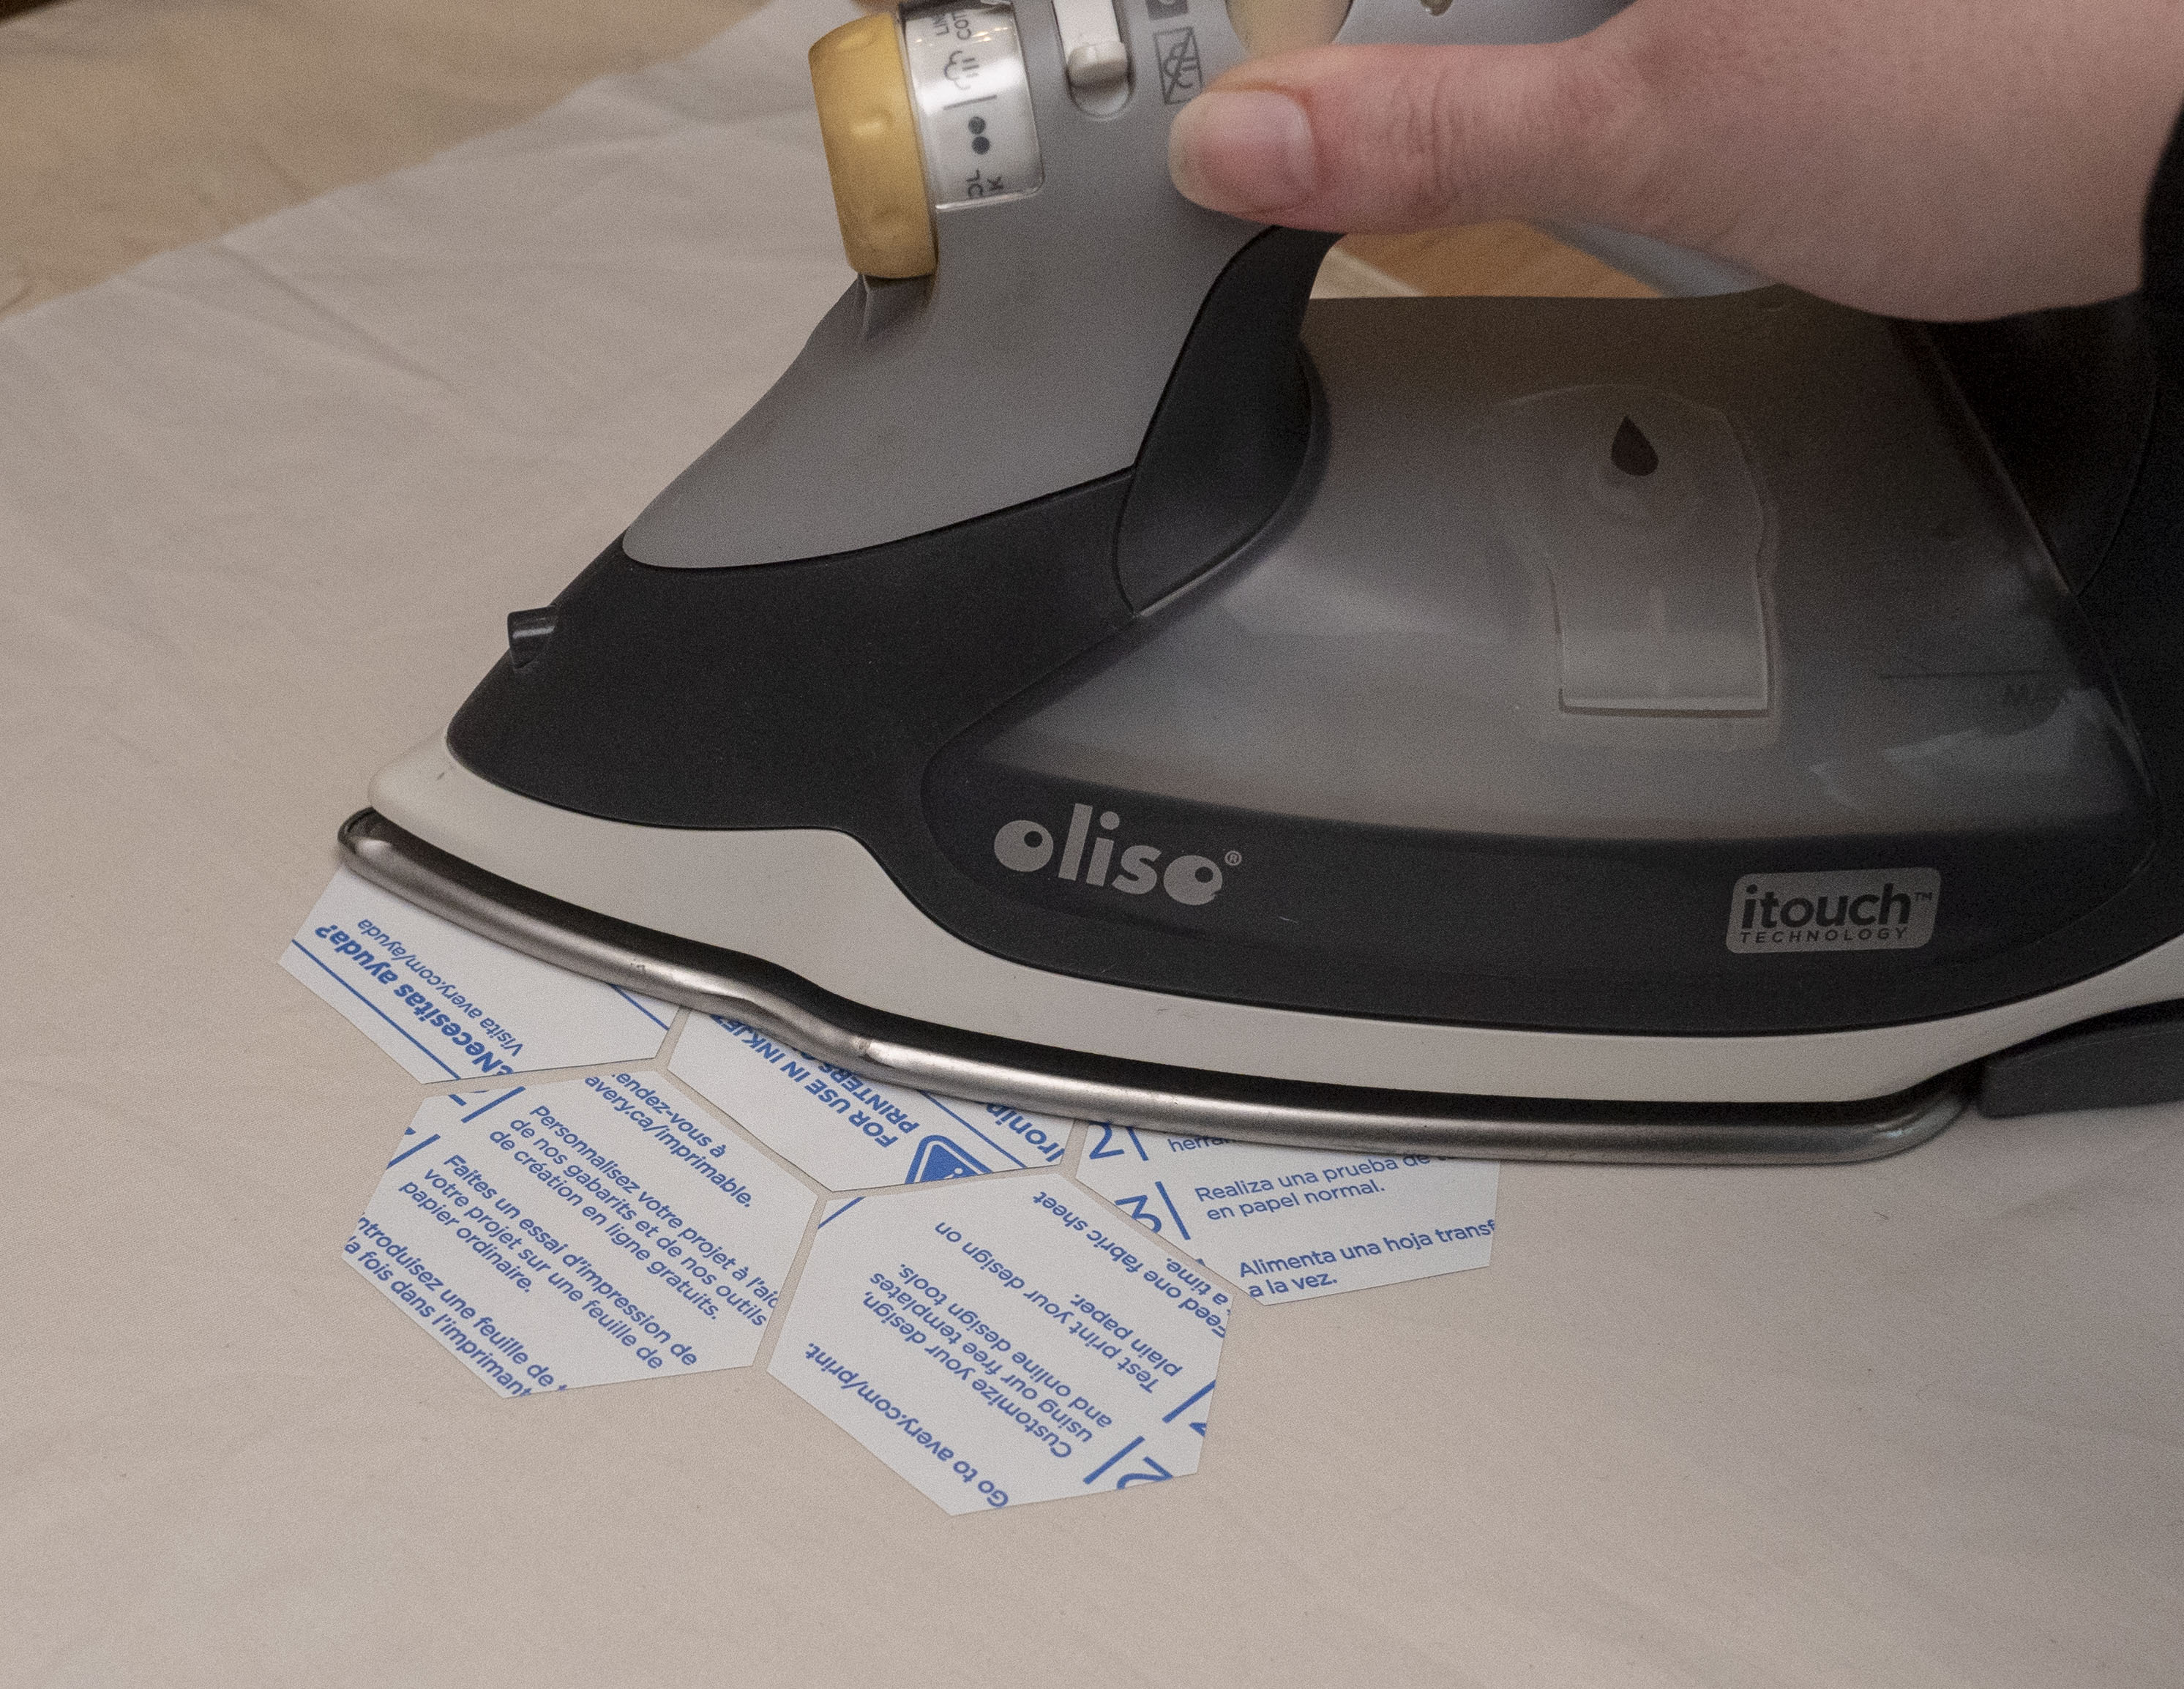
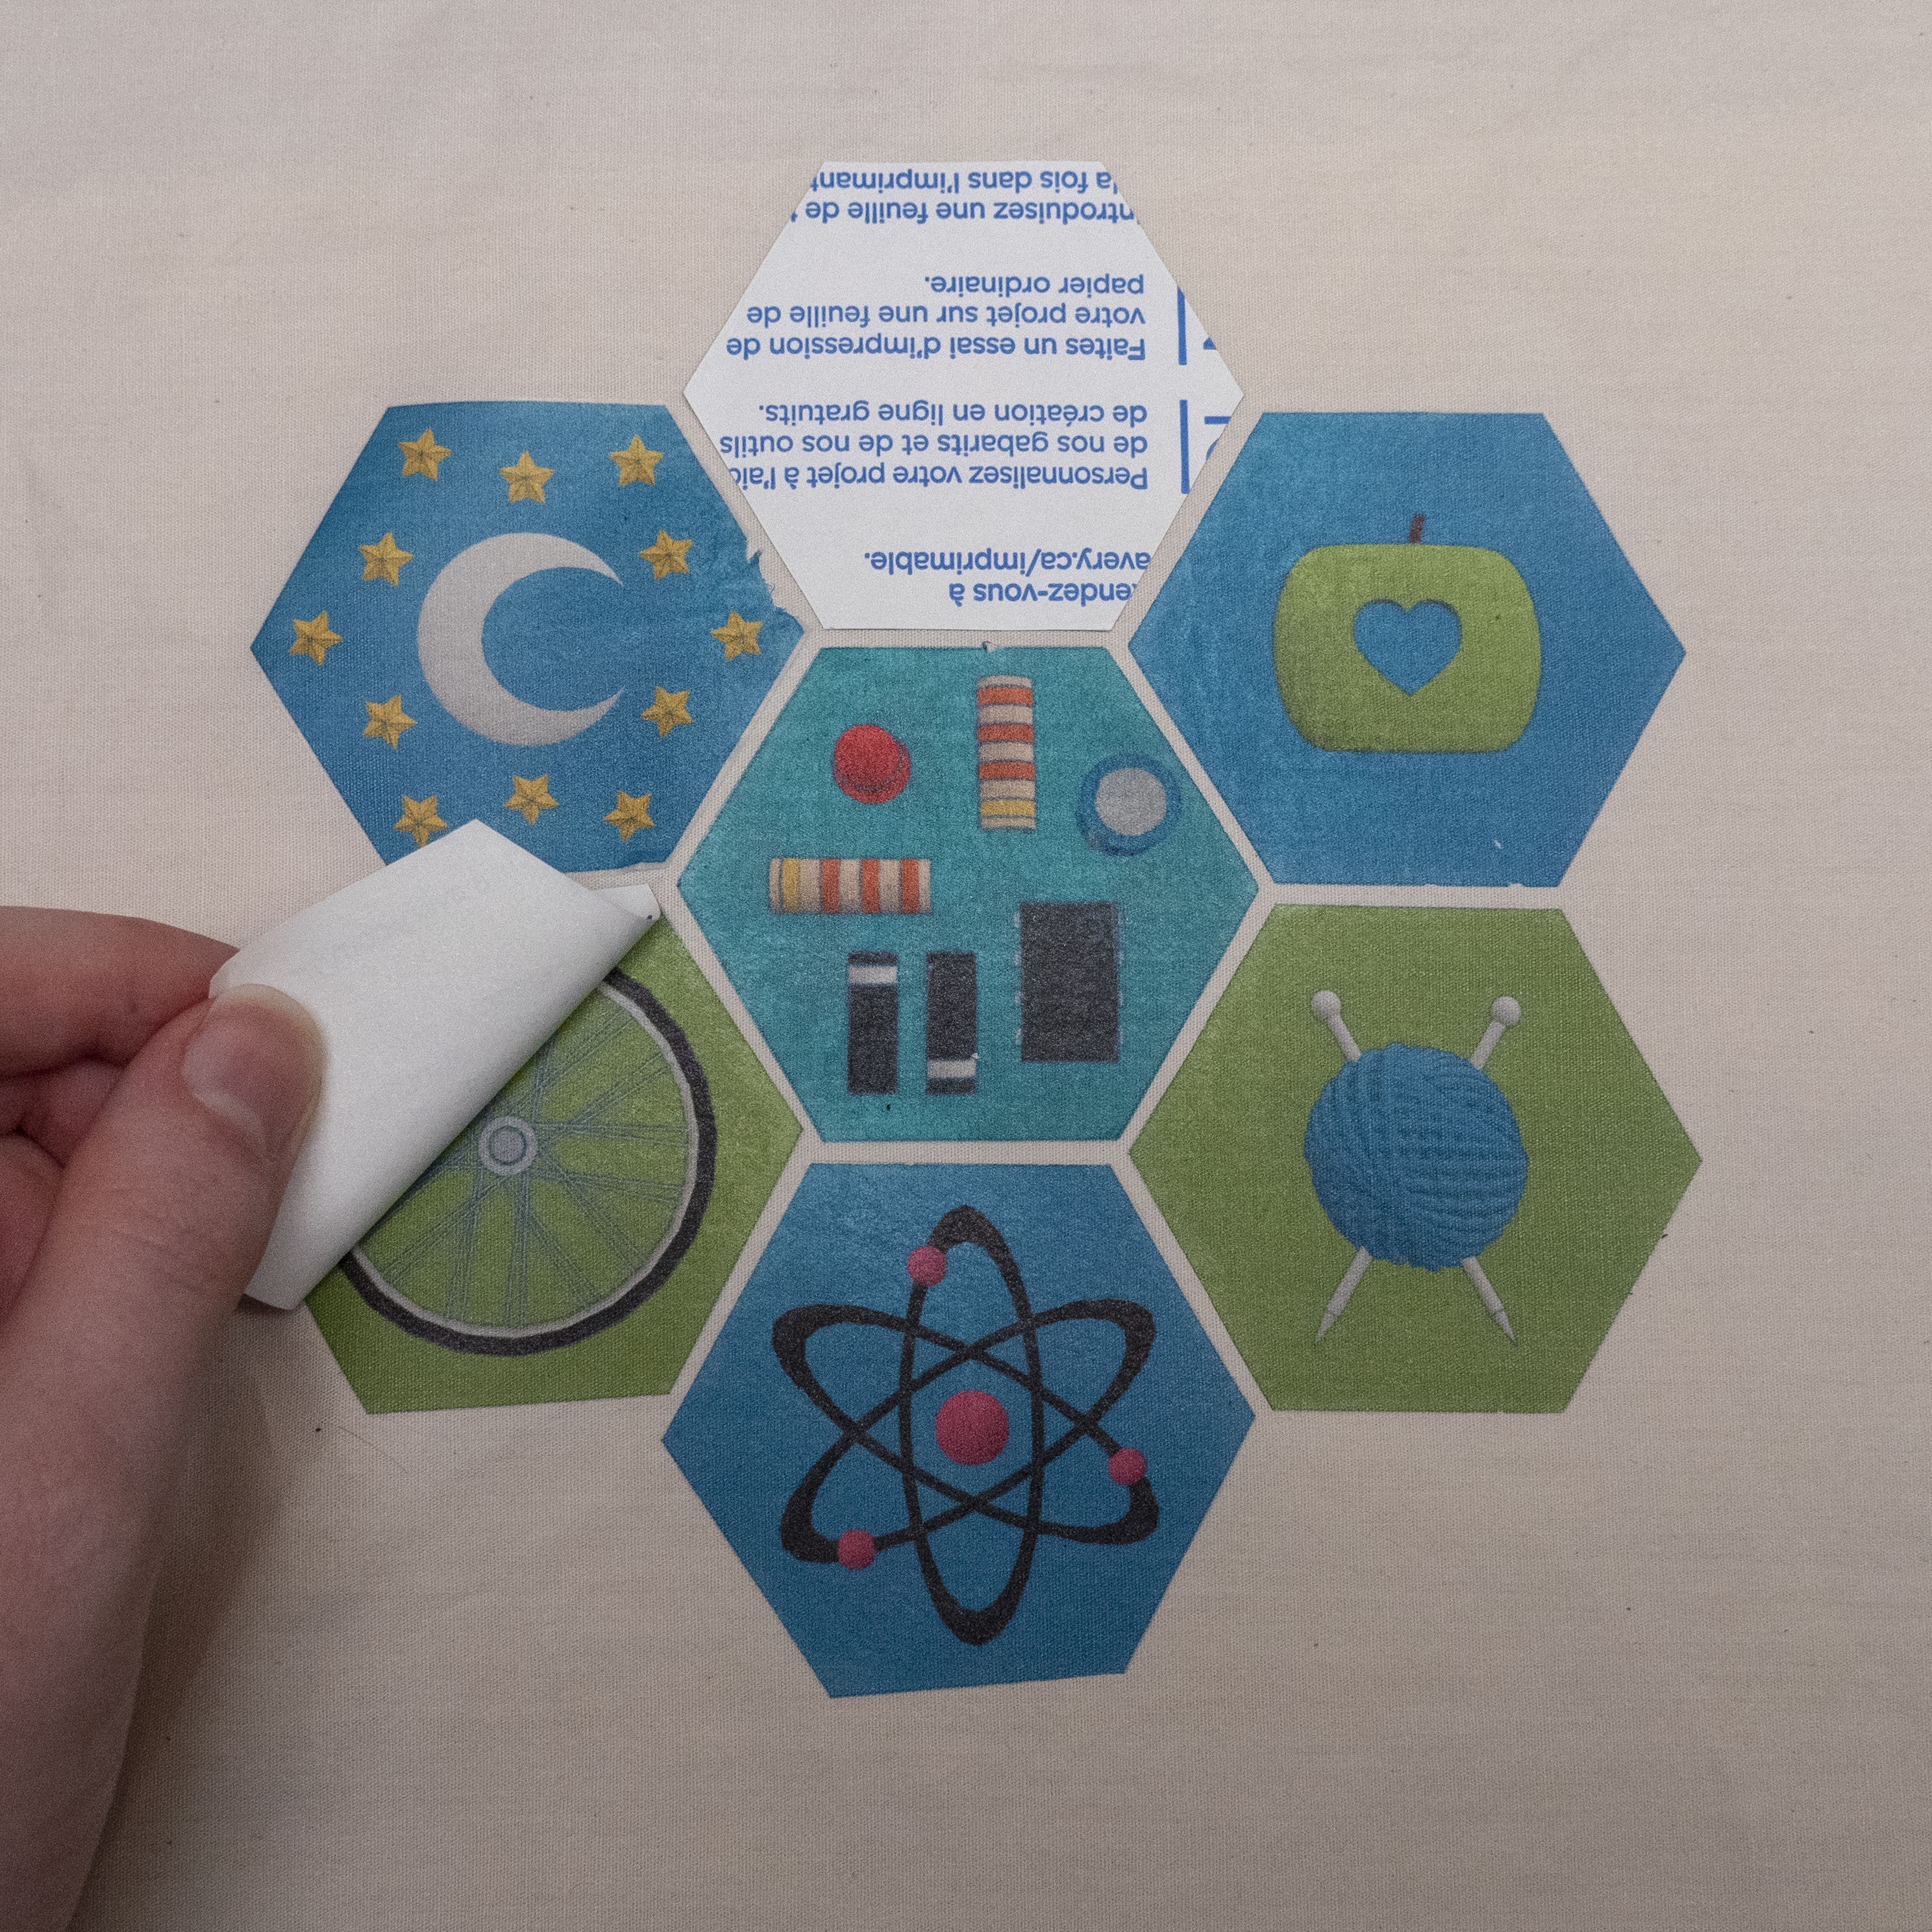
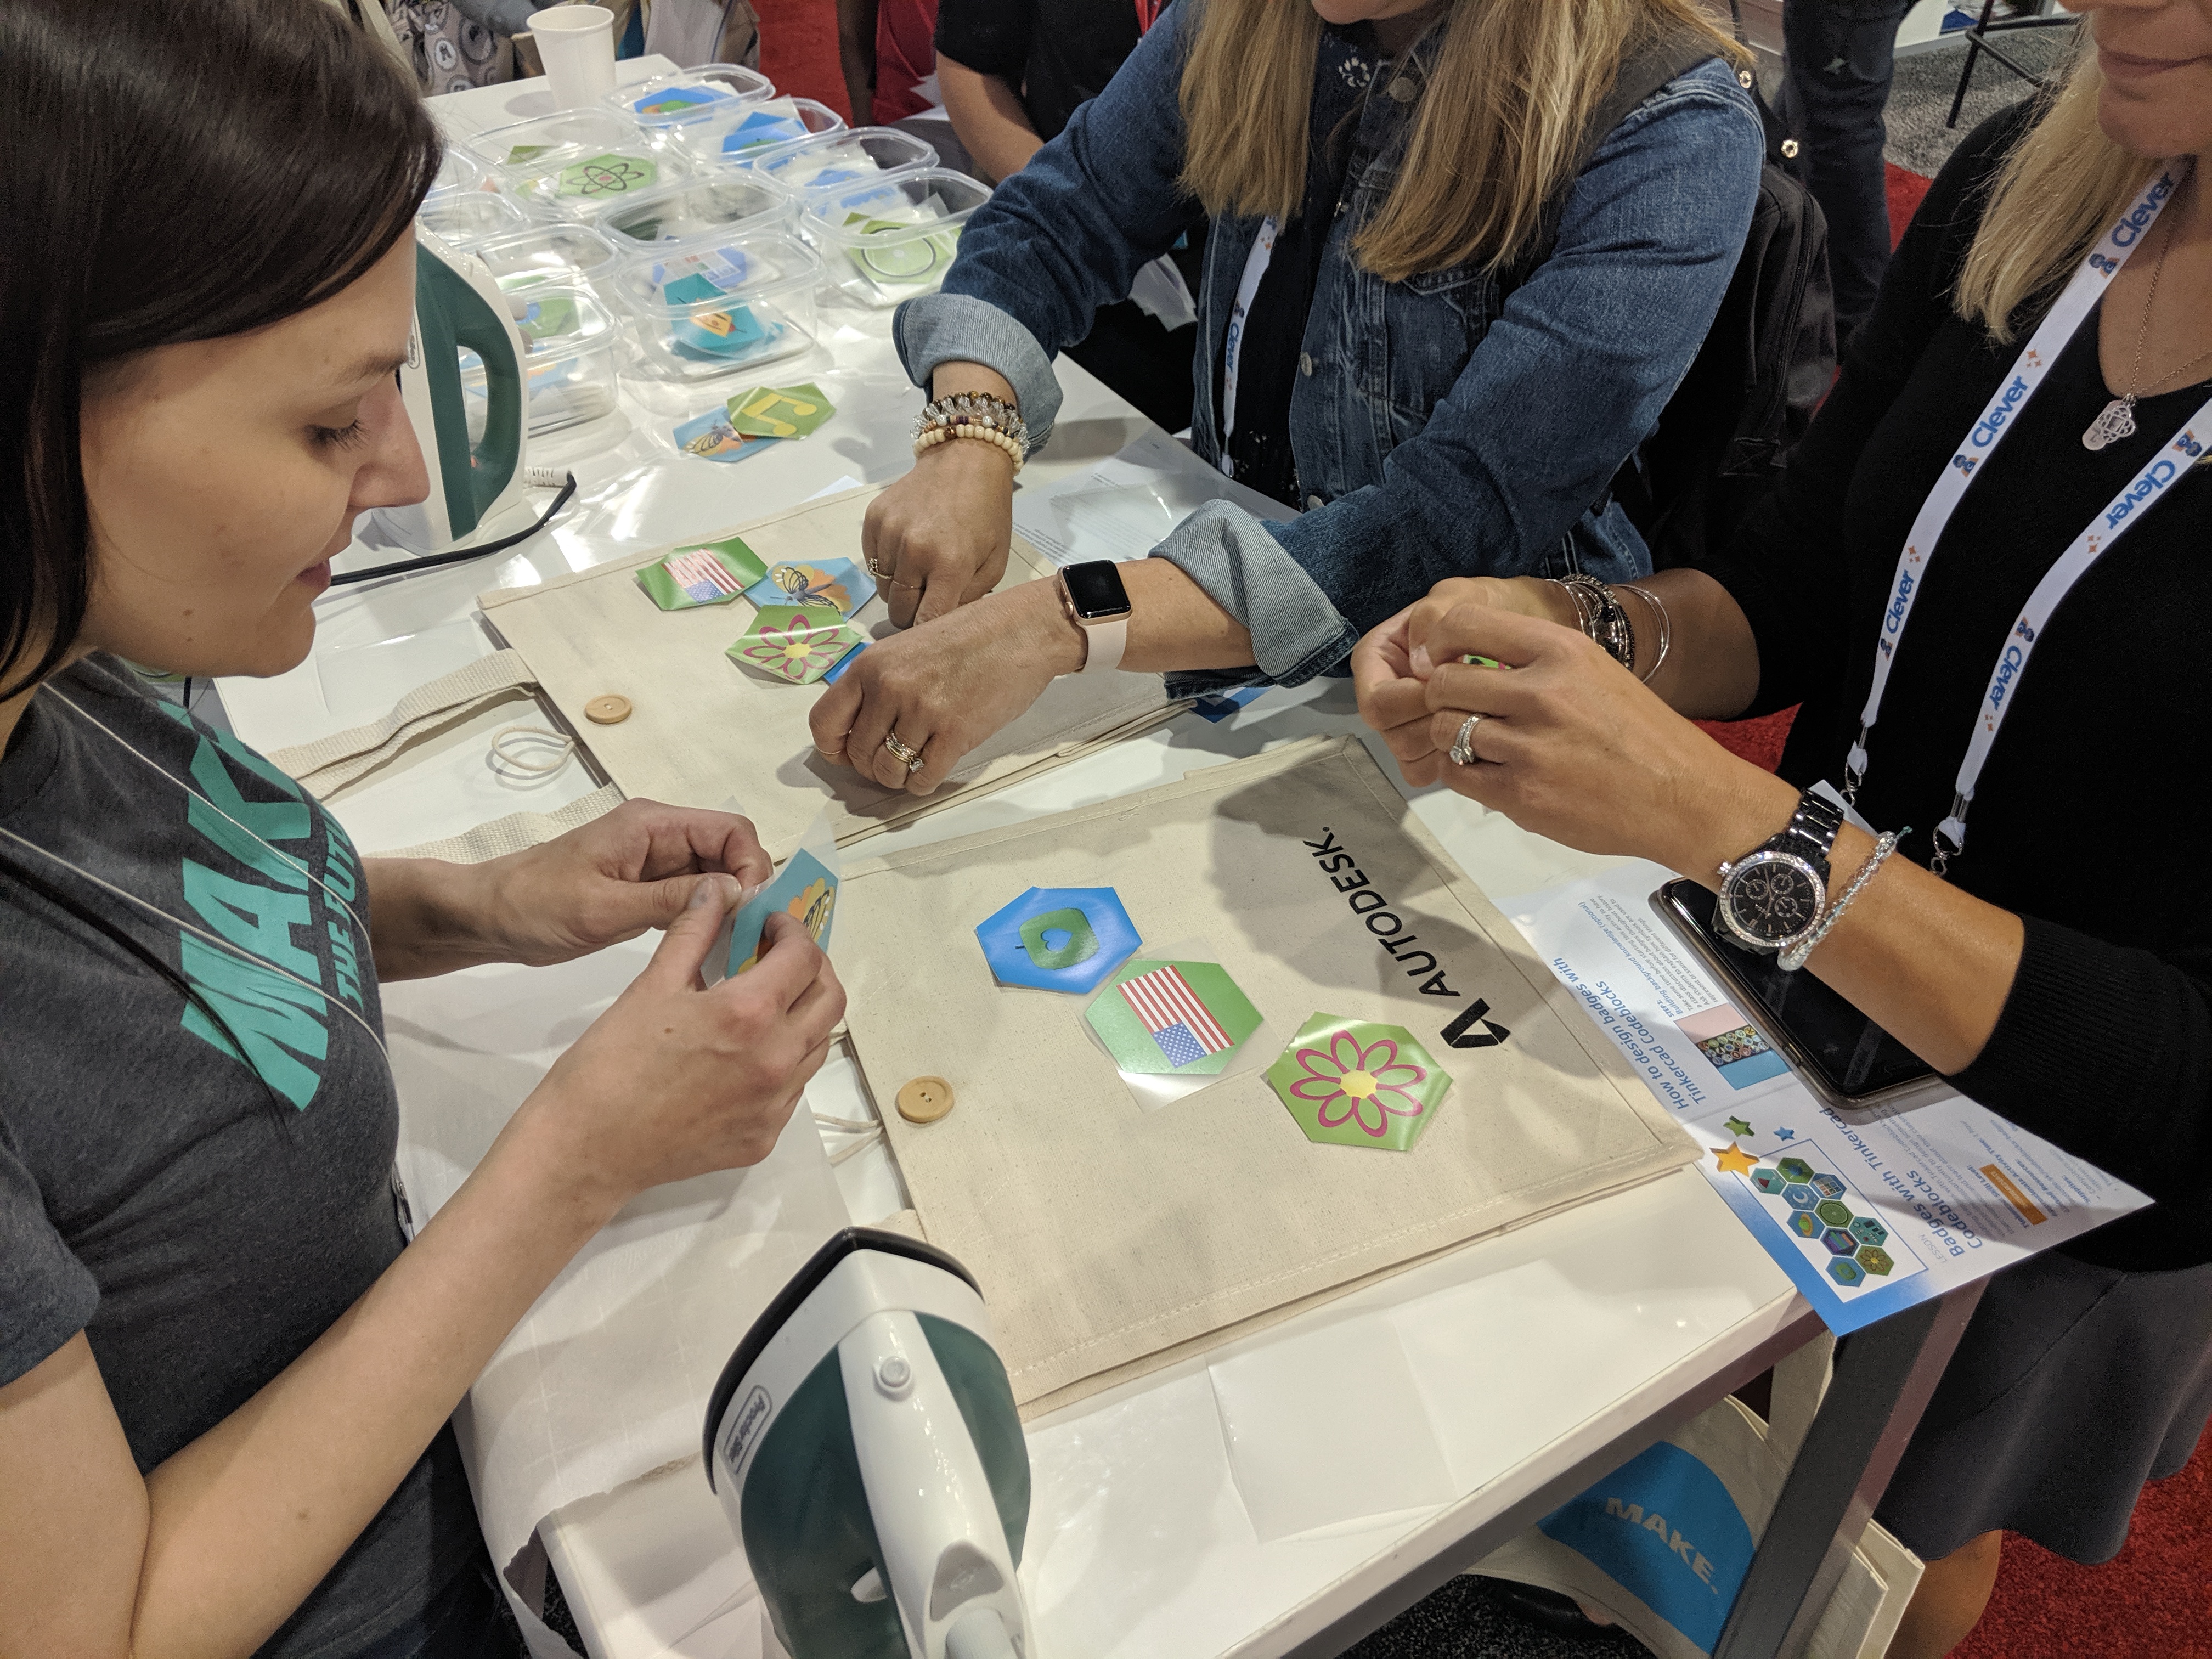
To get the best image for printing out on iron-on transfers, we want the badge to have a white background, which is why all the samples aren't laying flat on the workplane. To prep for printing, it's best to rotate your badge designs upright (if you haven't already) using a Rotate block configured to the x axis by 90 degrees, and attach a Move block with Z set to 100. Make your 3D shape the biggest you can on your computer monitor, and position your view to see the FRONT (click the word FRONT on the Viewcube in the upper left corner).
Take a screenshot of each badge and assemble them in one file.
Don't forget to mirror-flip your entire page before printing, since the iron-on transfer process reverses the image.
Follow the instructions that came with your iron-on transfer material to affix the badges to any fabric surface, such as tote bags, backpacks, flags and banners, or clothing.
Other ideas for extending this lesson into the physical world:
- 3D print badges and mount them tiled together on a classroom wall
- Try 3D printing your badge designs directly onto fabric
- Order custom stickers based on your students' badge designs
Did you make a badge or use this lesson in your classroom? We'd love to see your badge designs in the I Made It section below! And please let us know your questions and tips in the comments.
More Codeblocks projects: