Backup Alarm + Optional Camera
by Justin Weiss in Circuits > Arduino
1668 Views, 6 Favorites, 0 Comments
Backup Alarm + Optional Camera
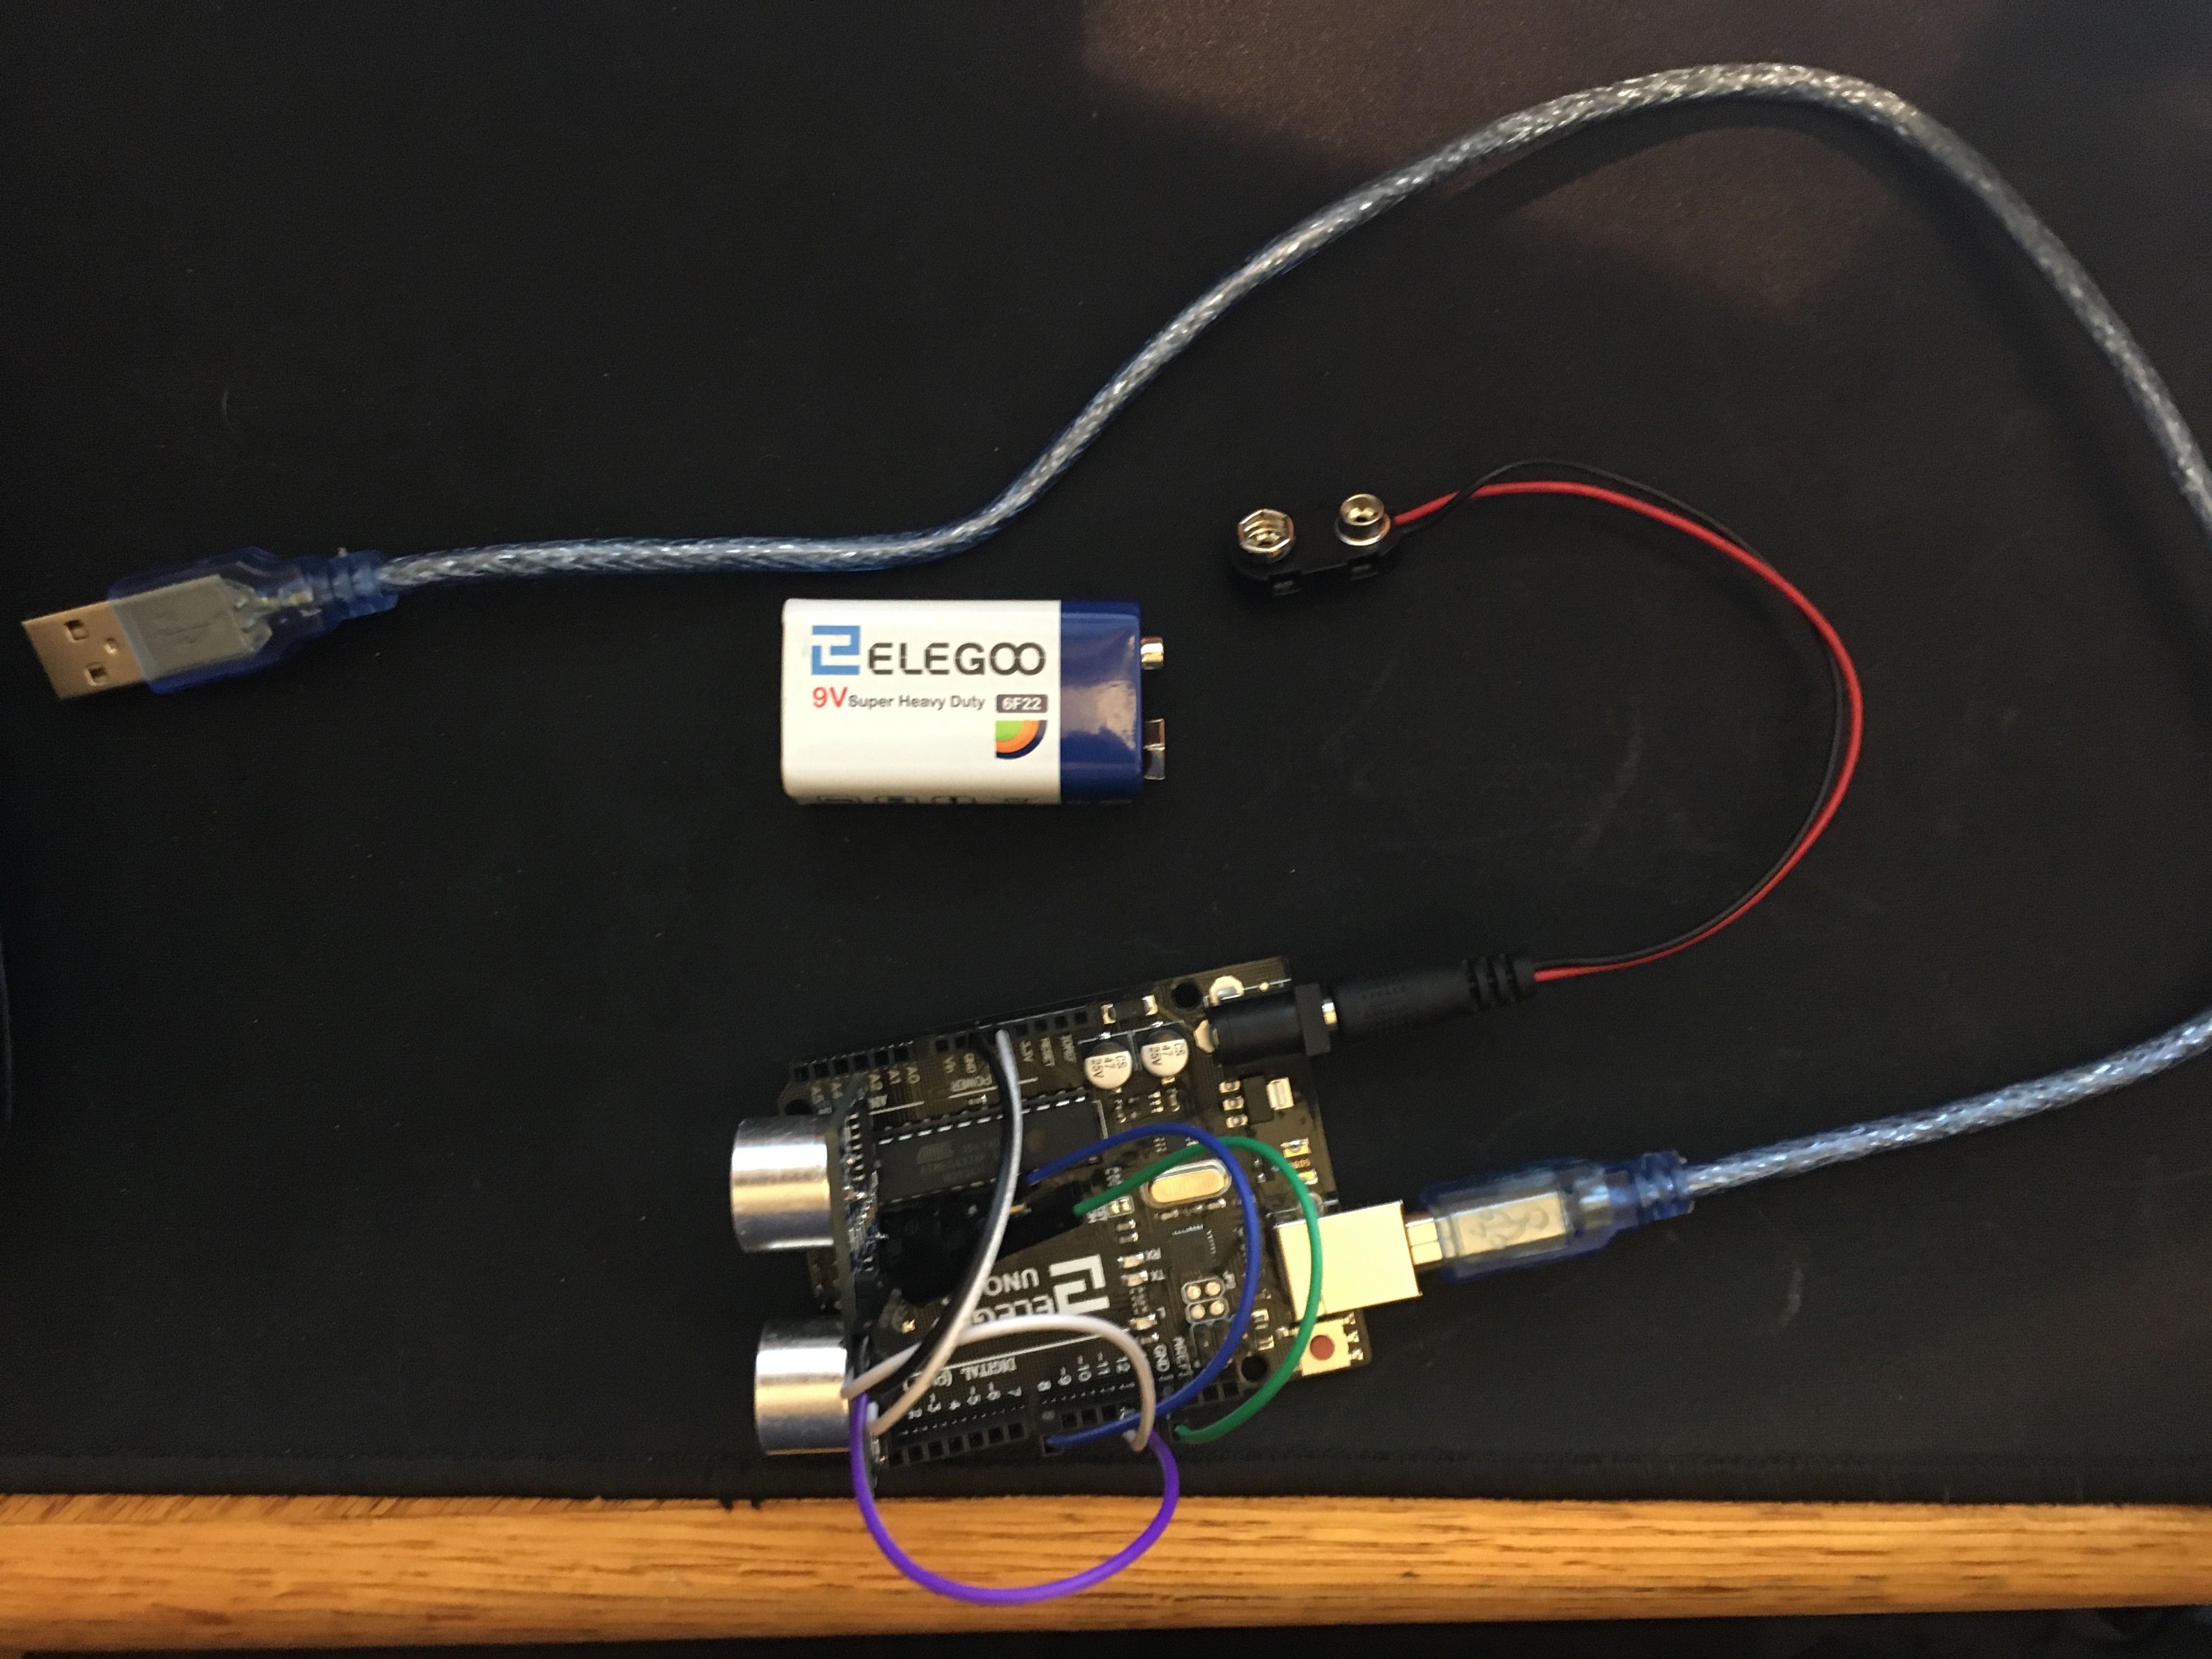
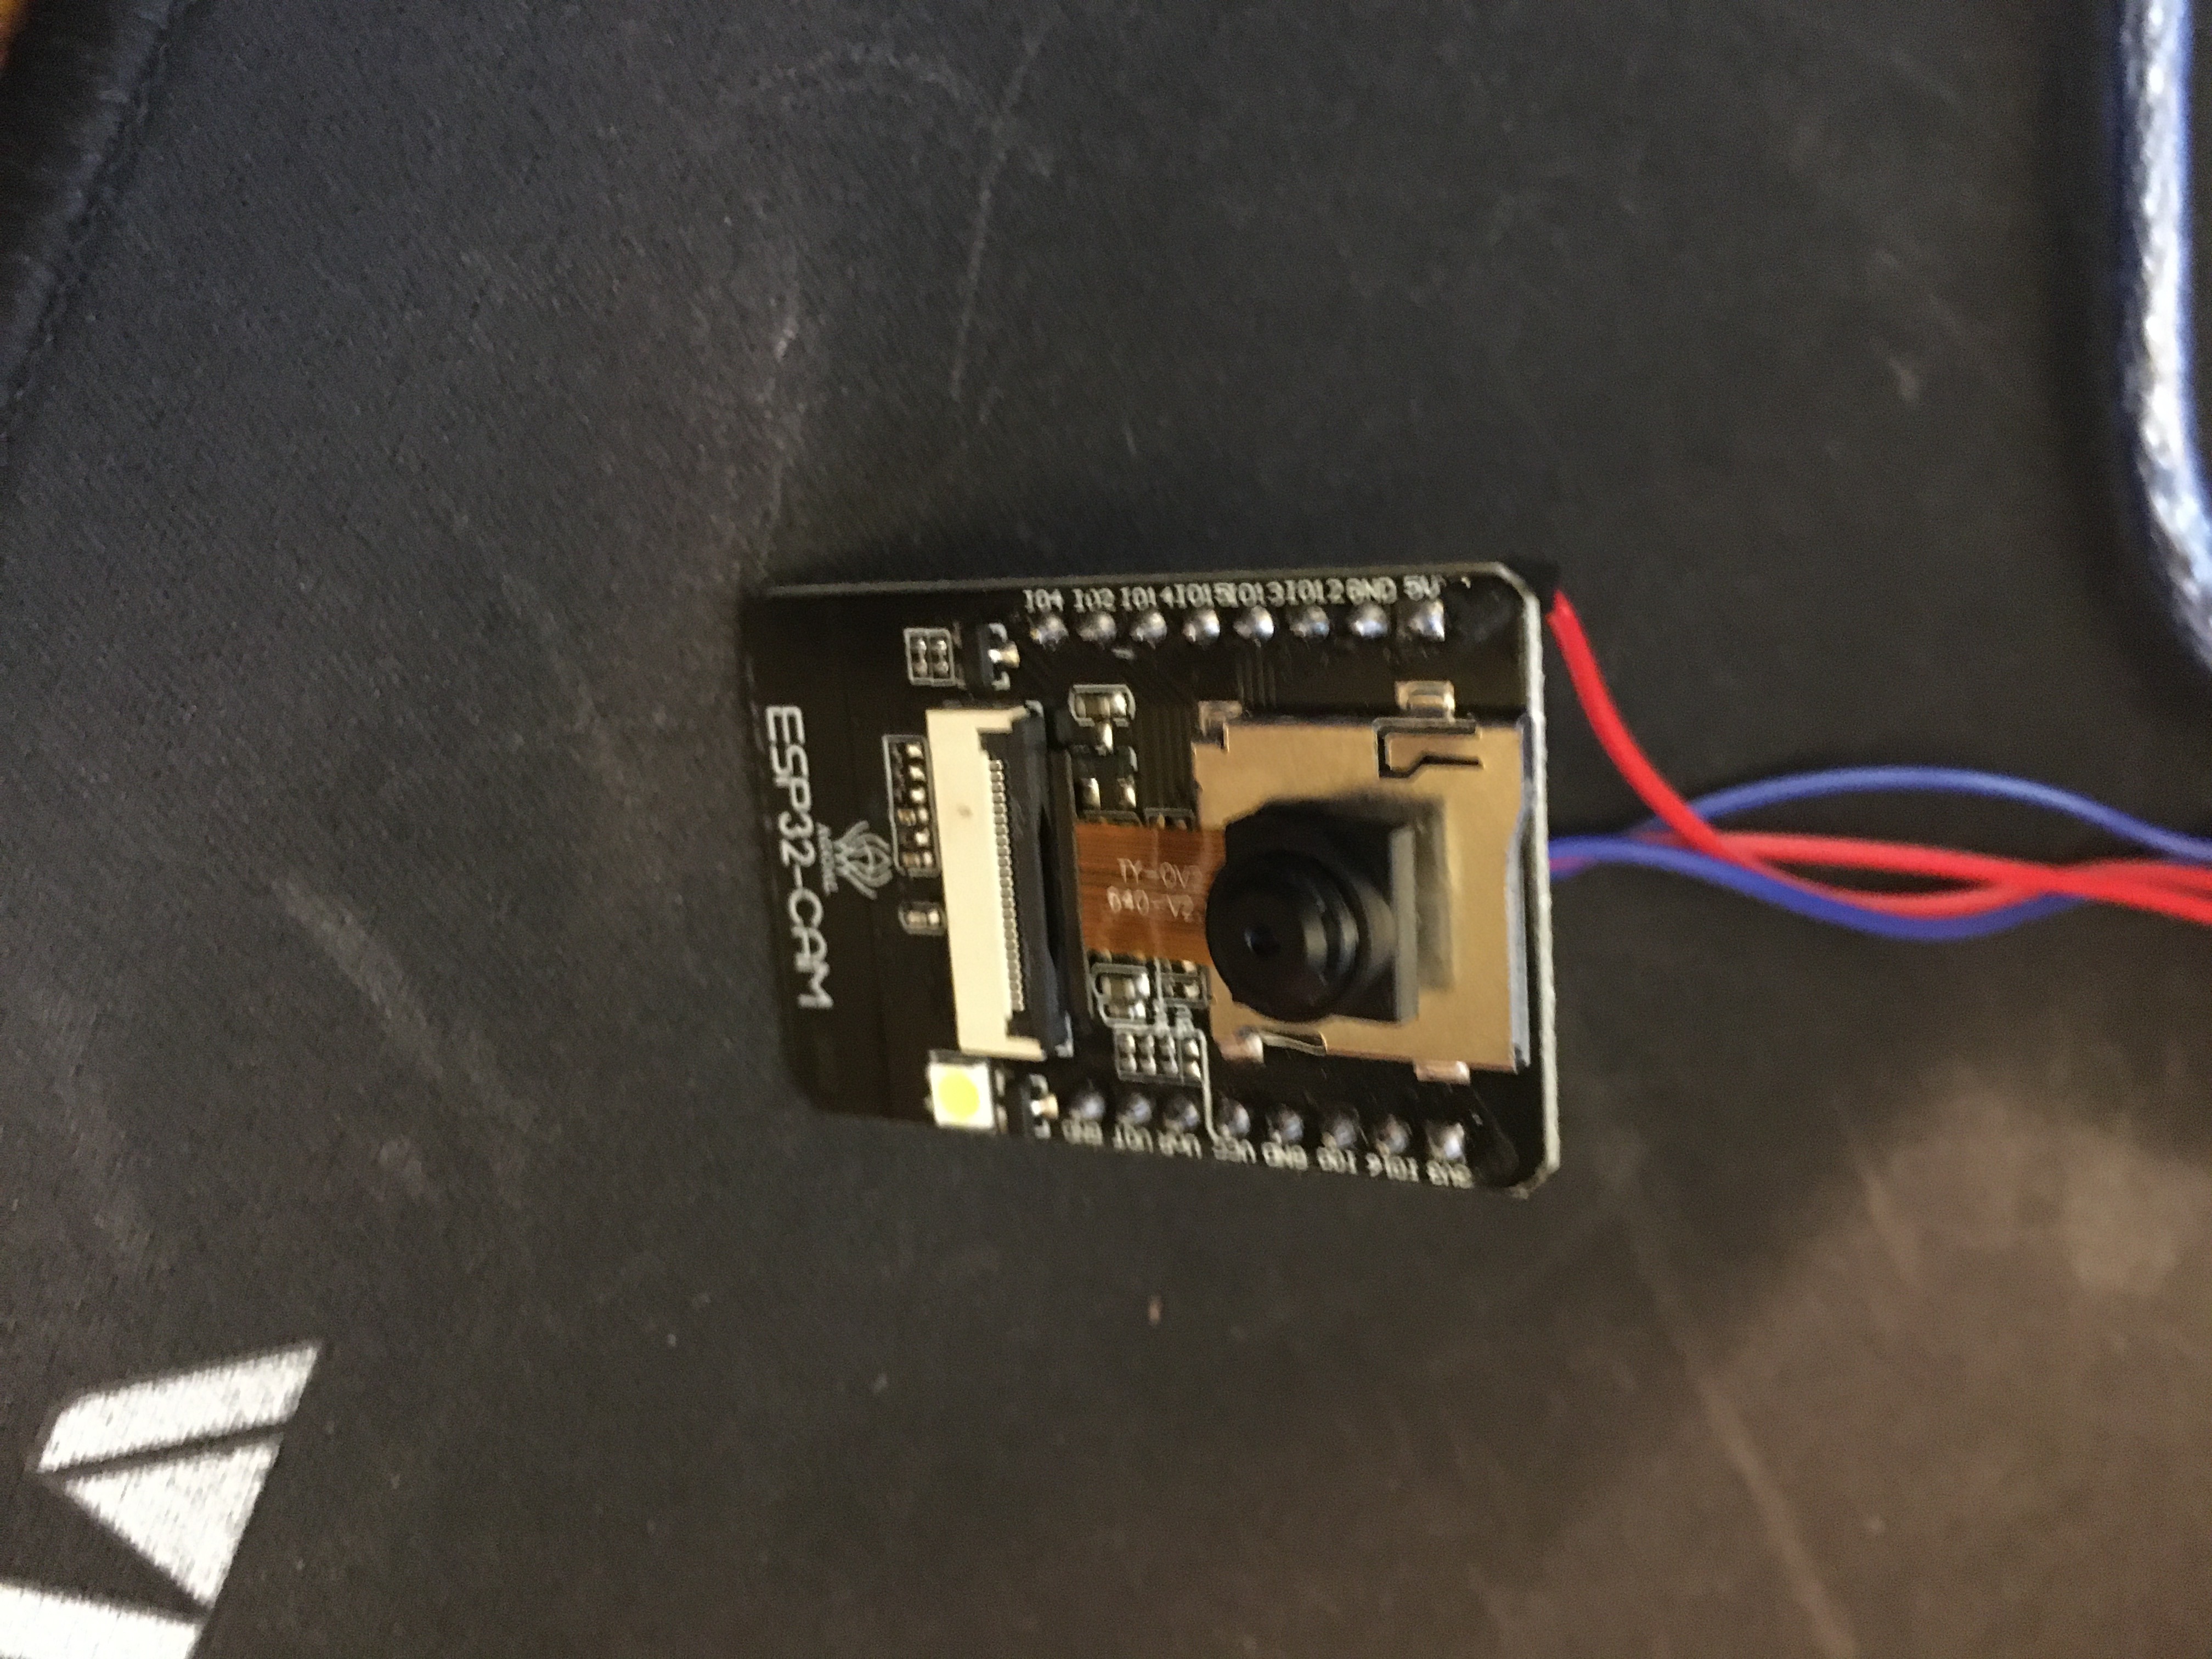
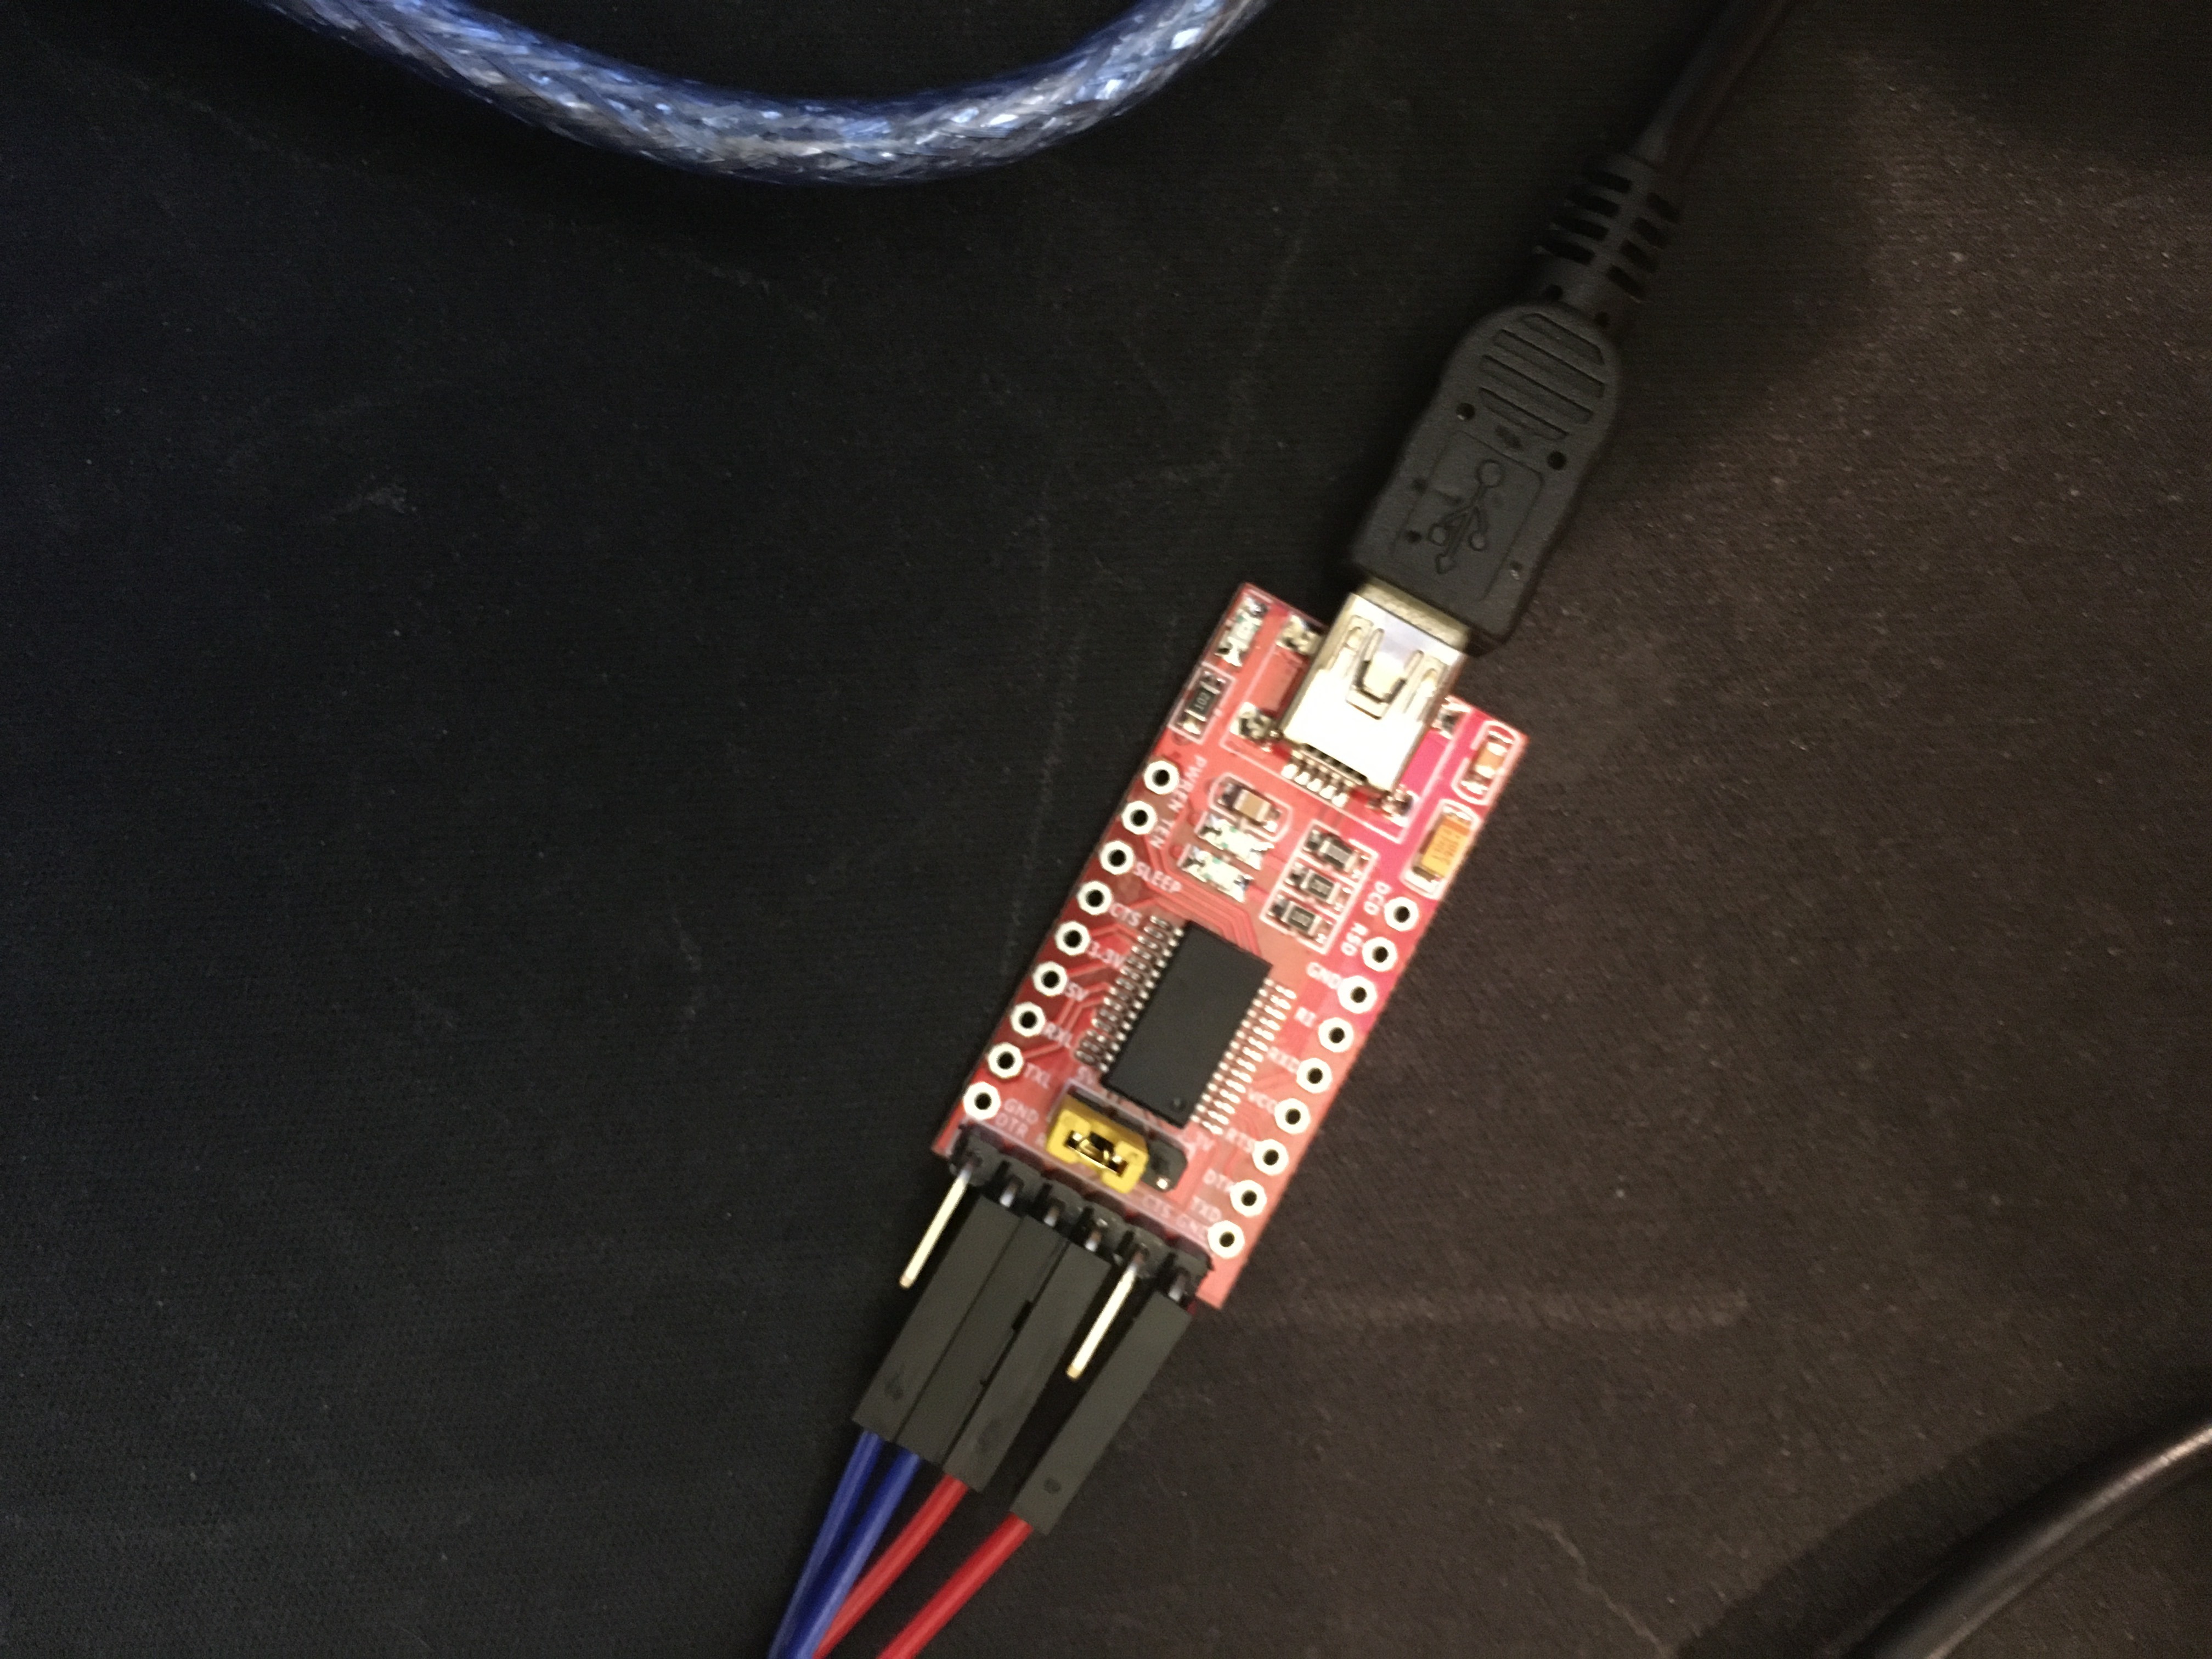
Today I will be showing you how to make your own backup alarm for your car with an Arduino. I will also be showing you how to add an optional camera as well.
Supplies
For the backup alarm you will need:
1. Arduino Uno
2. A computer with Arduino IDE
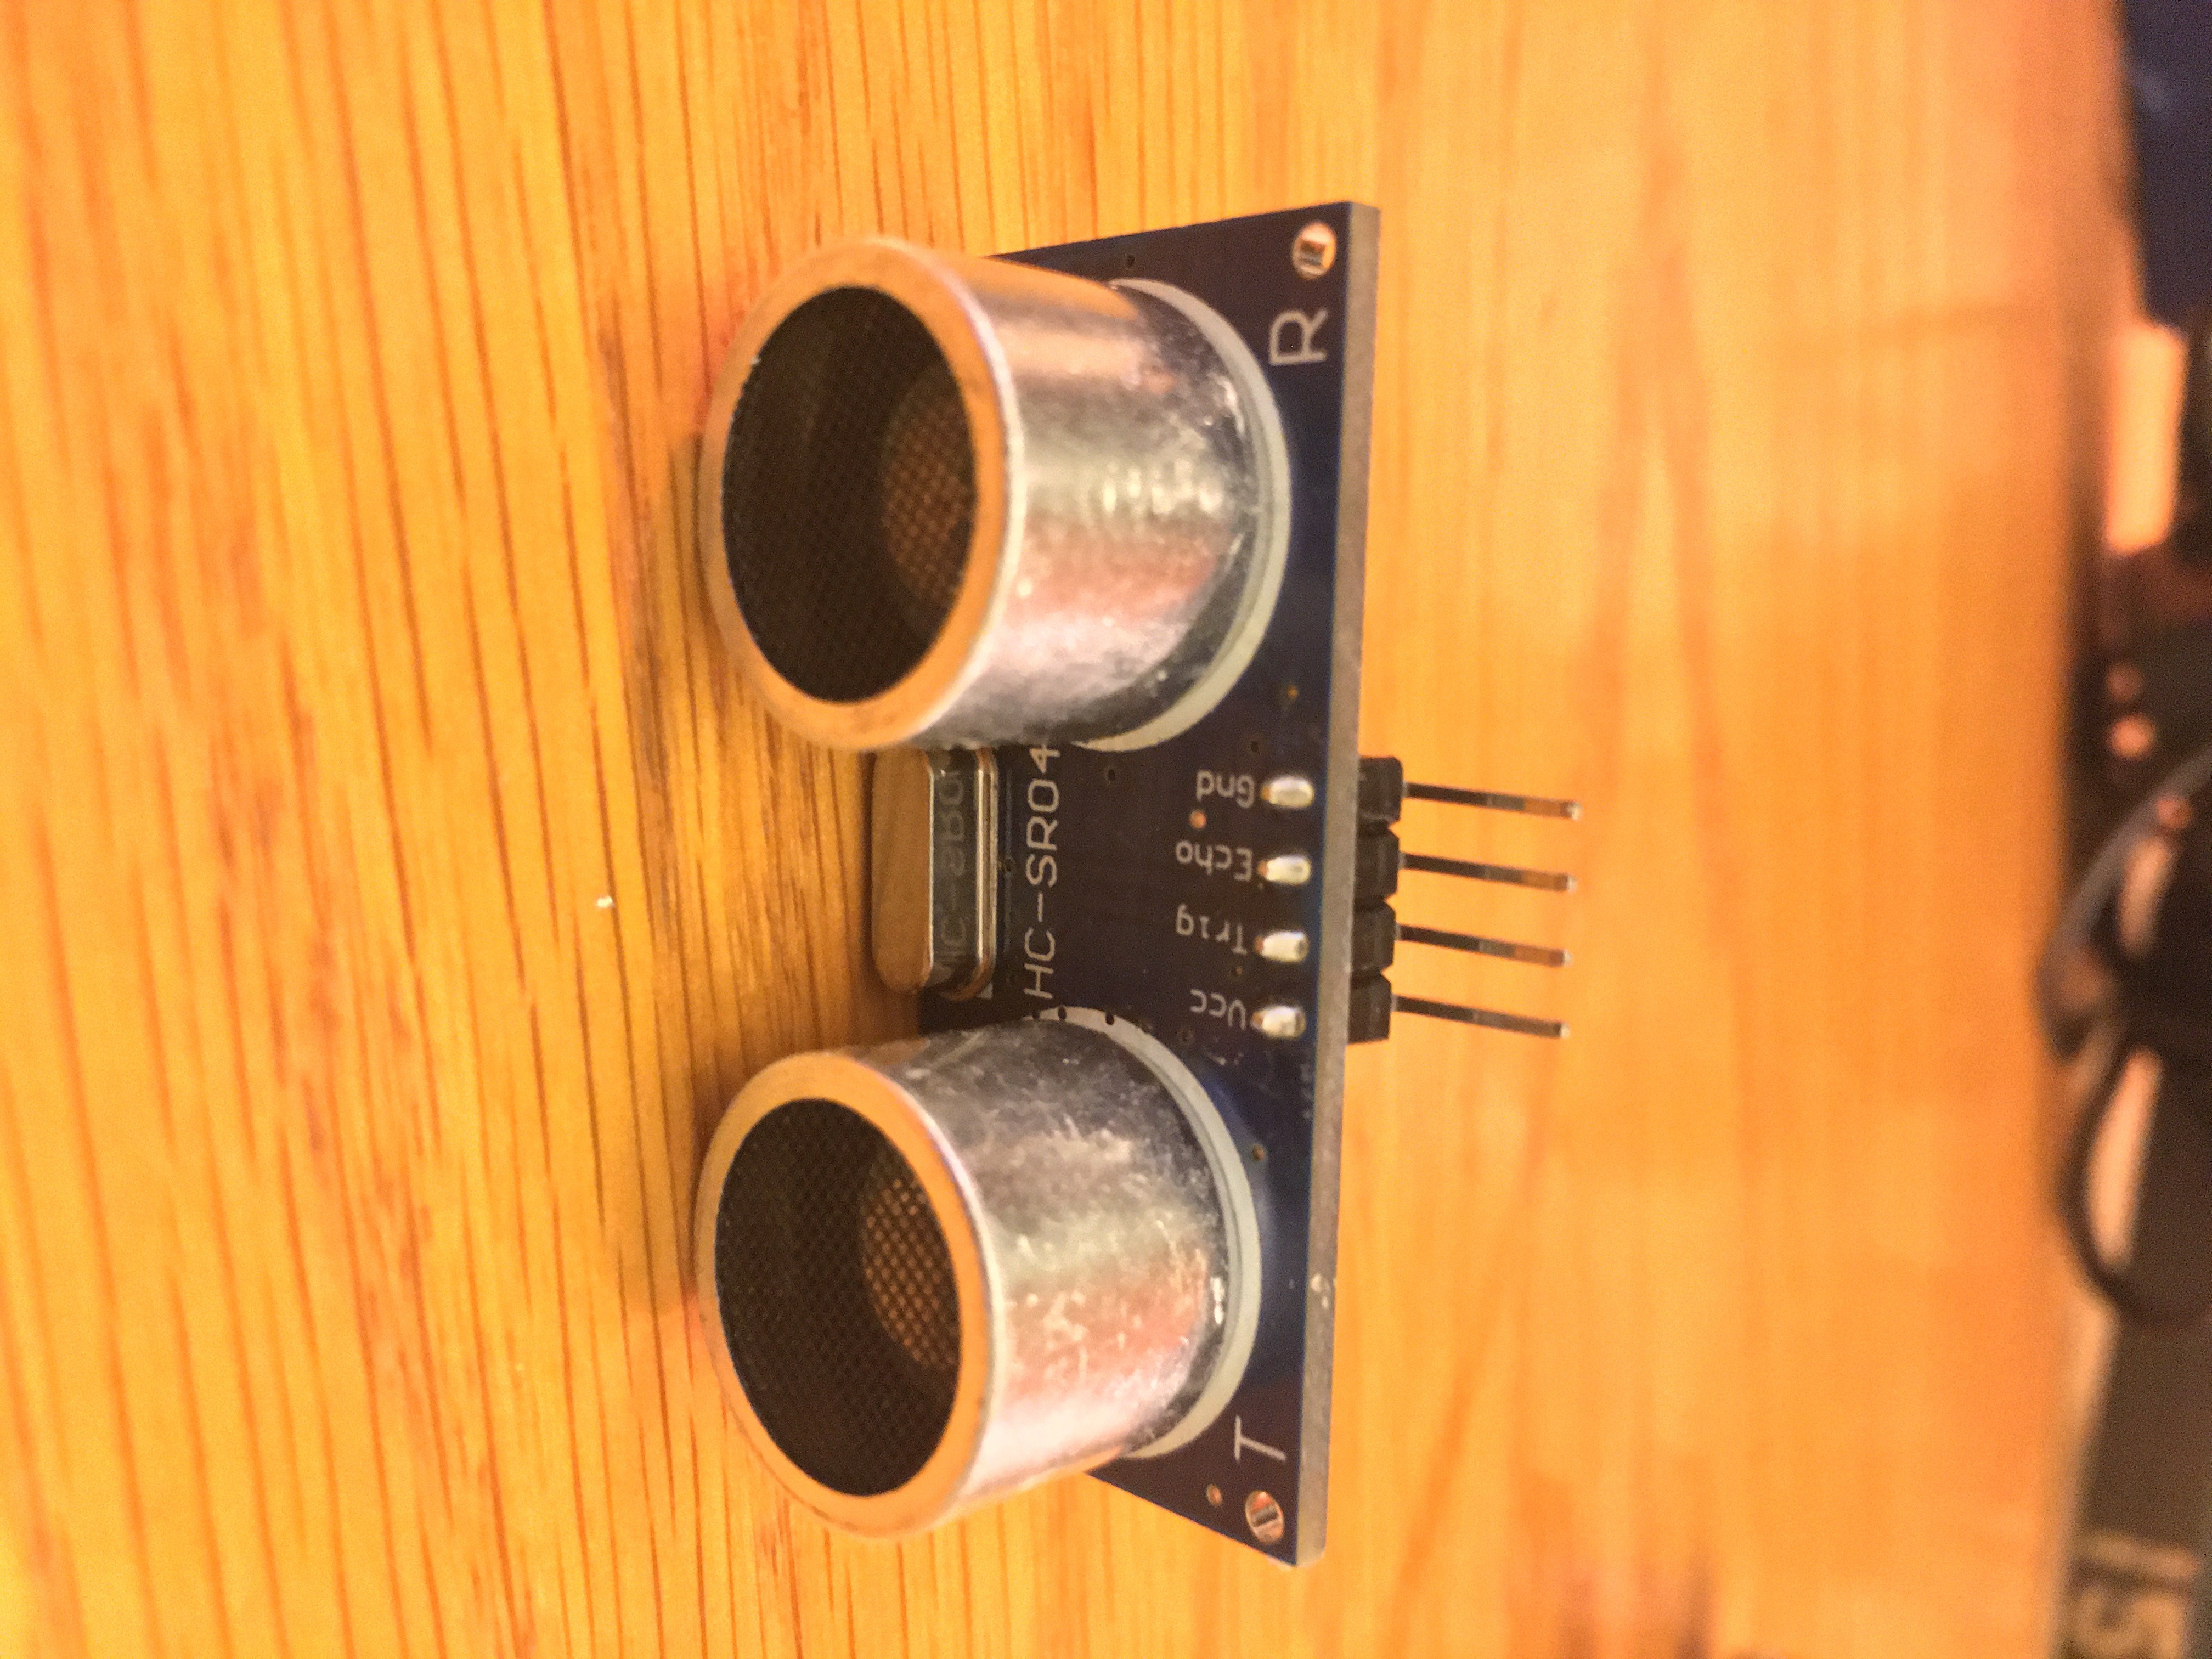
3. An Ultrasonic sensor
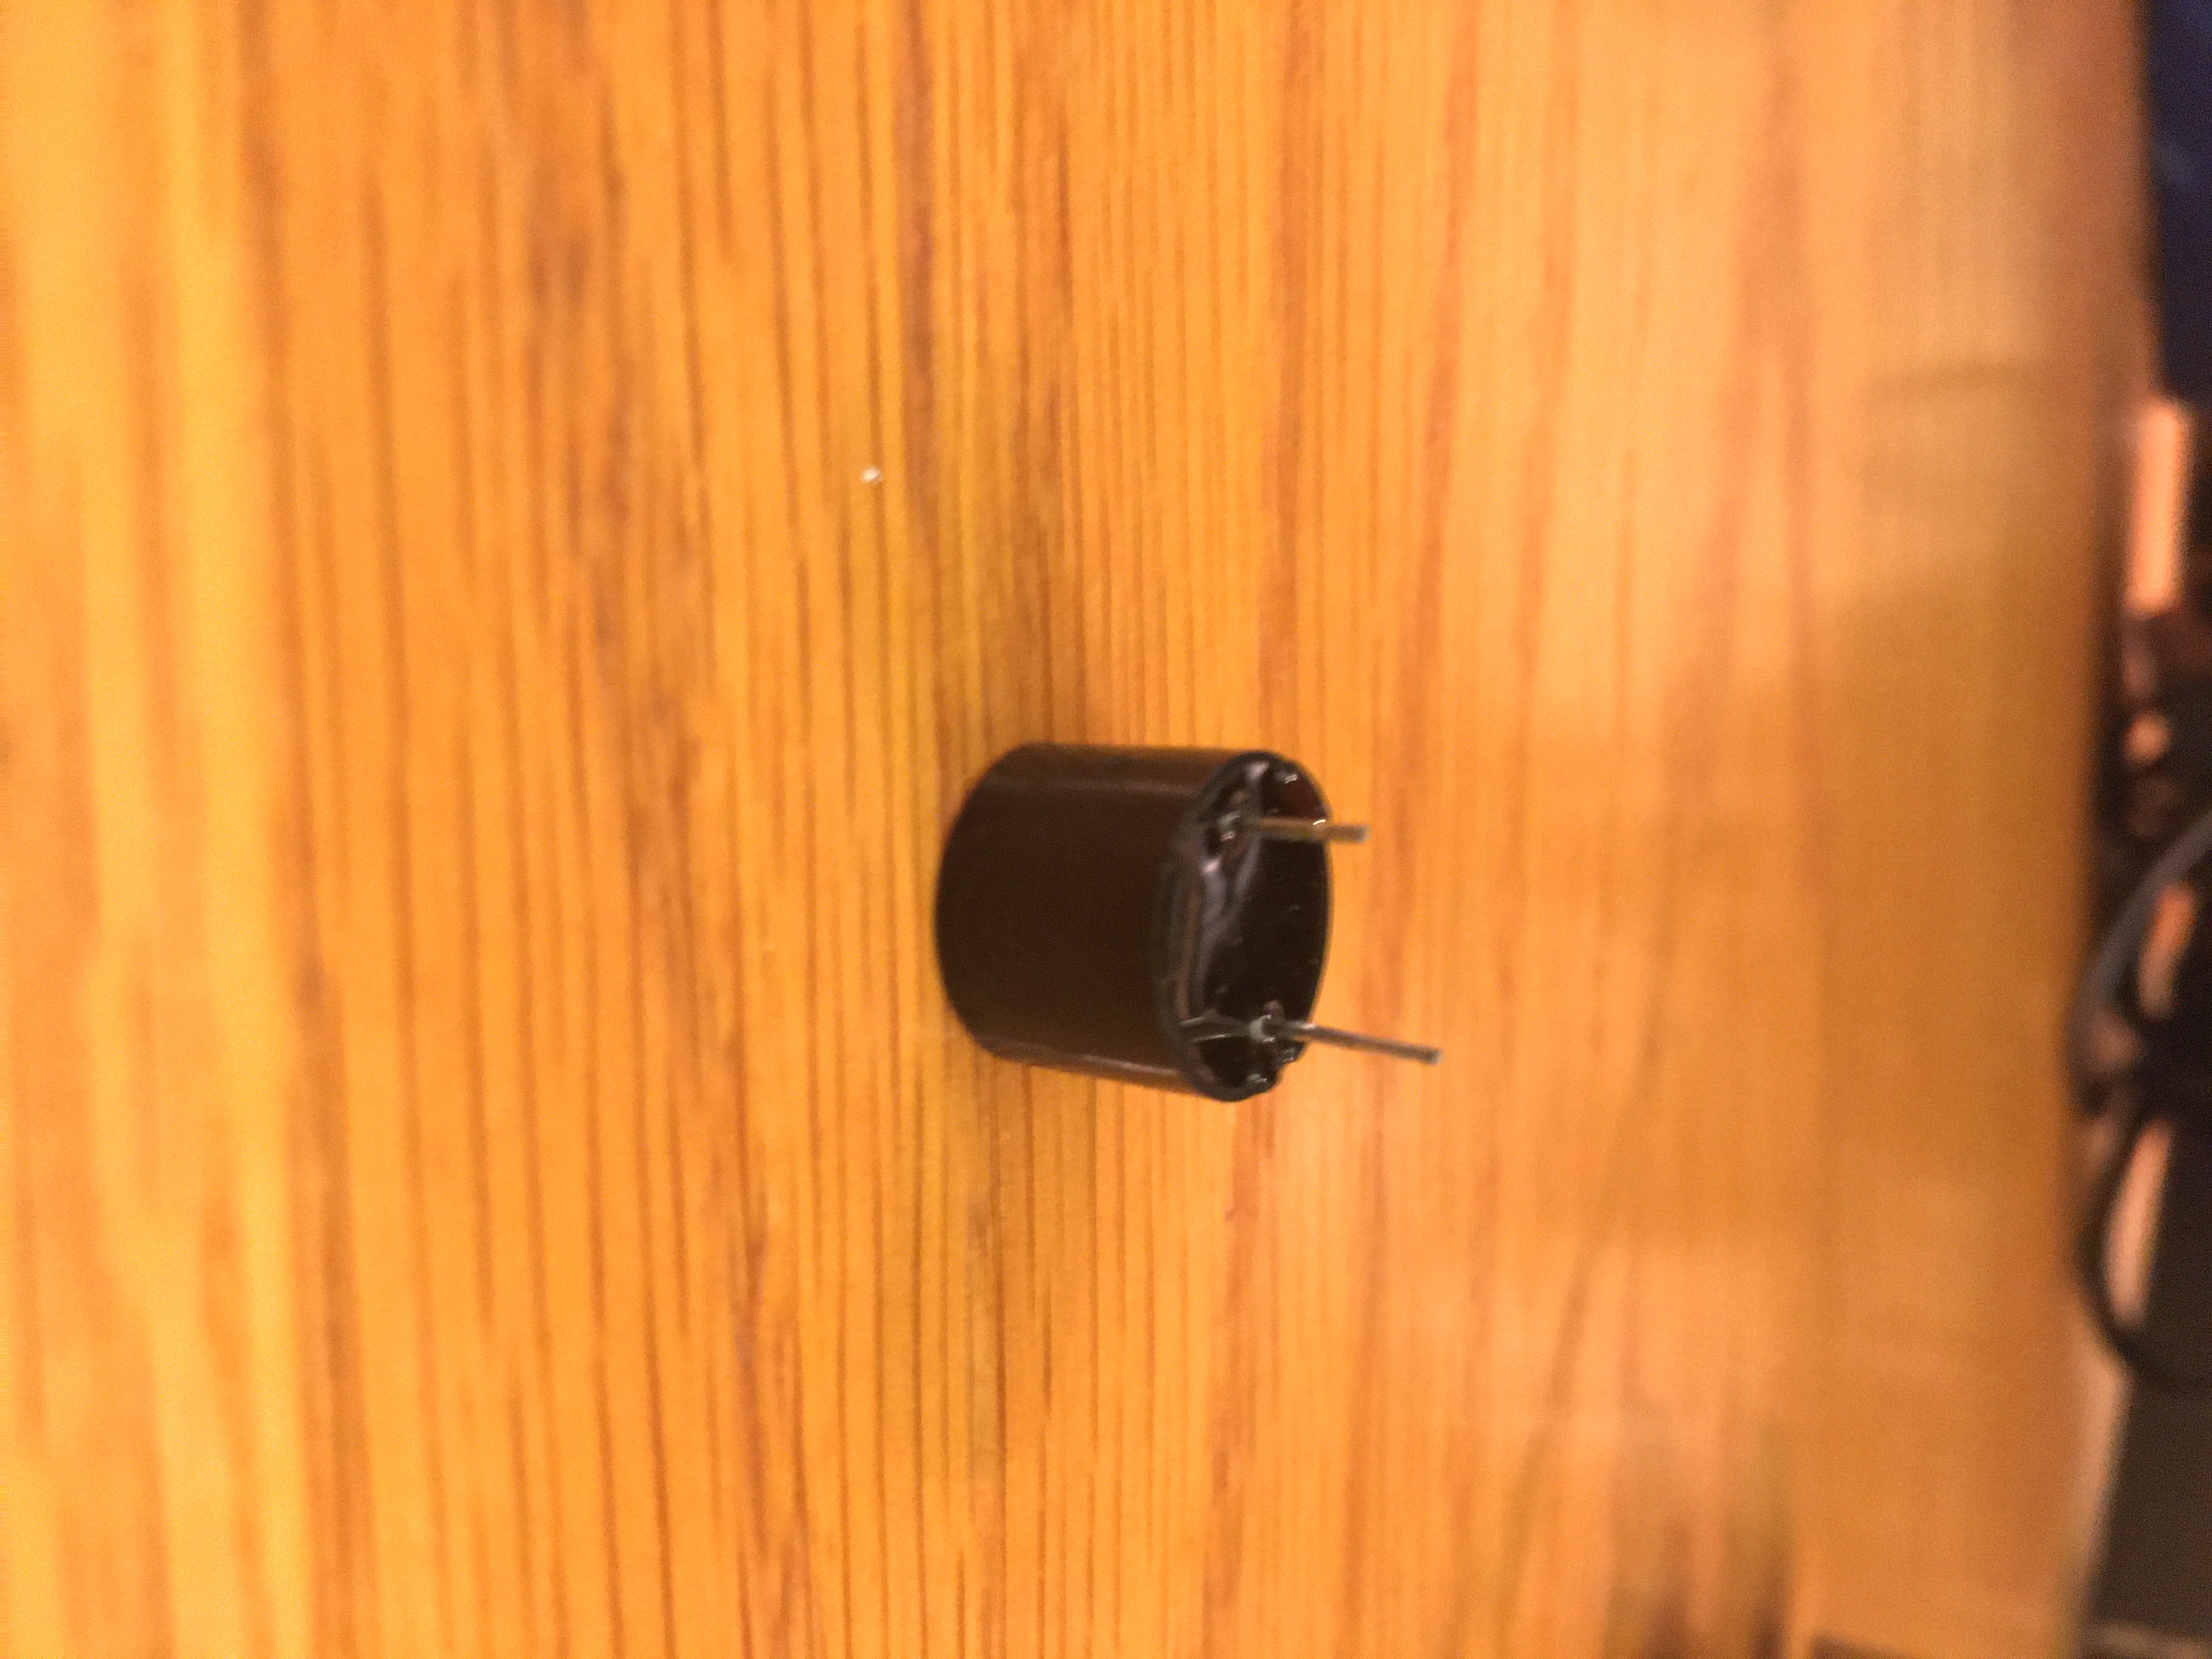
4. active Buzzer
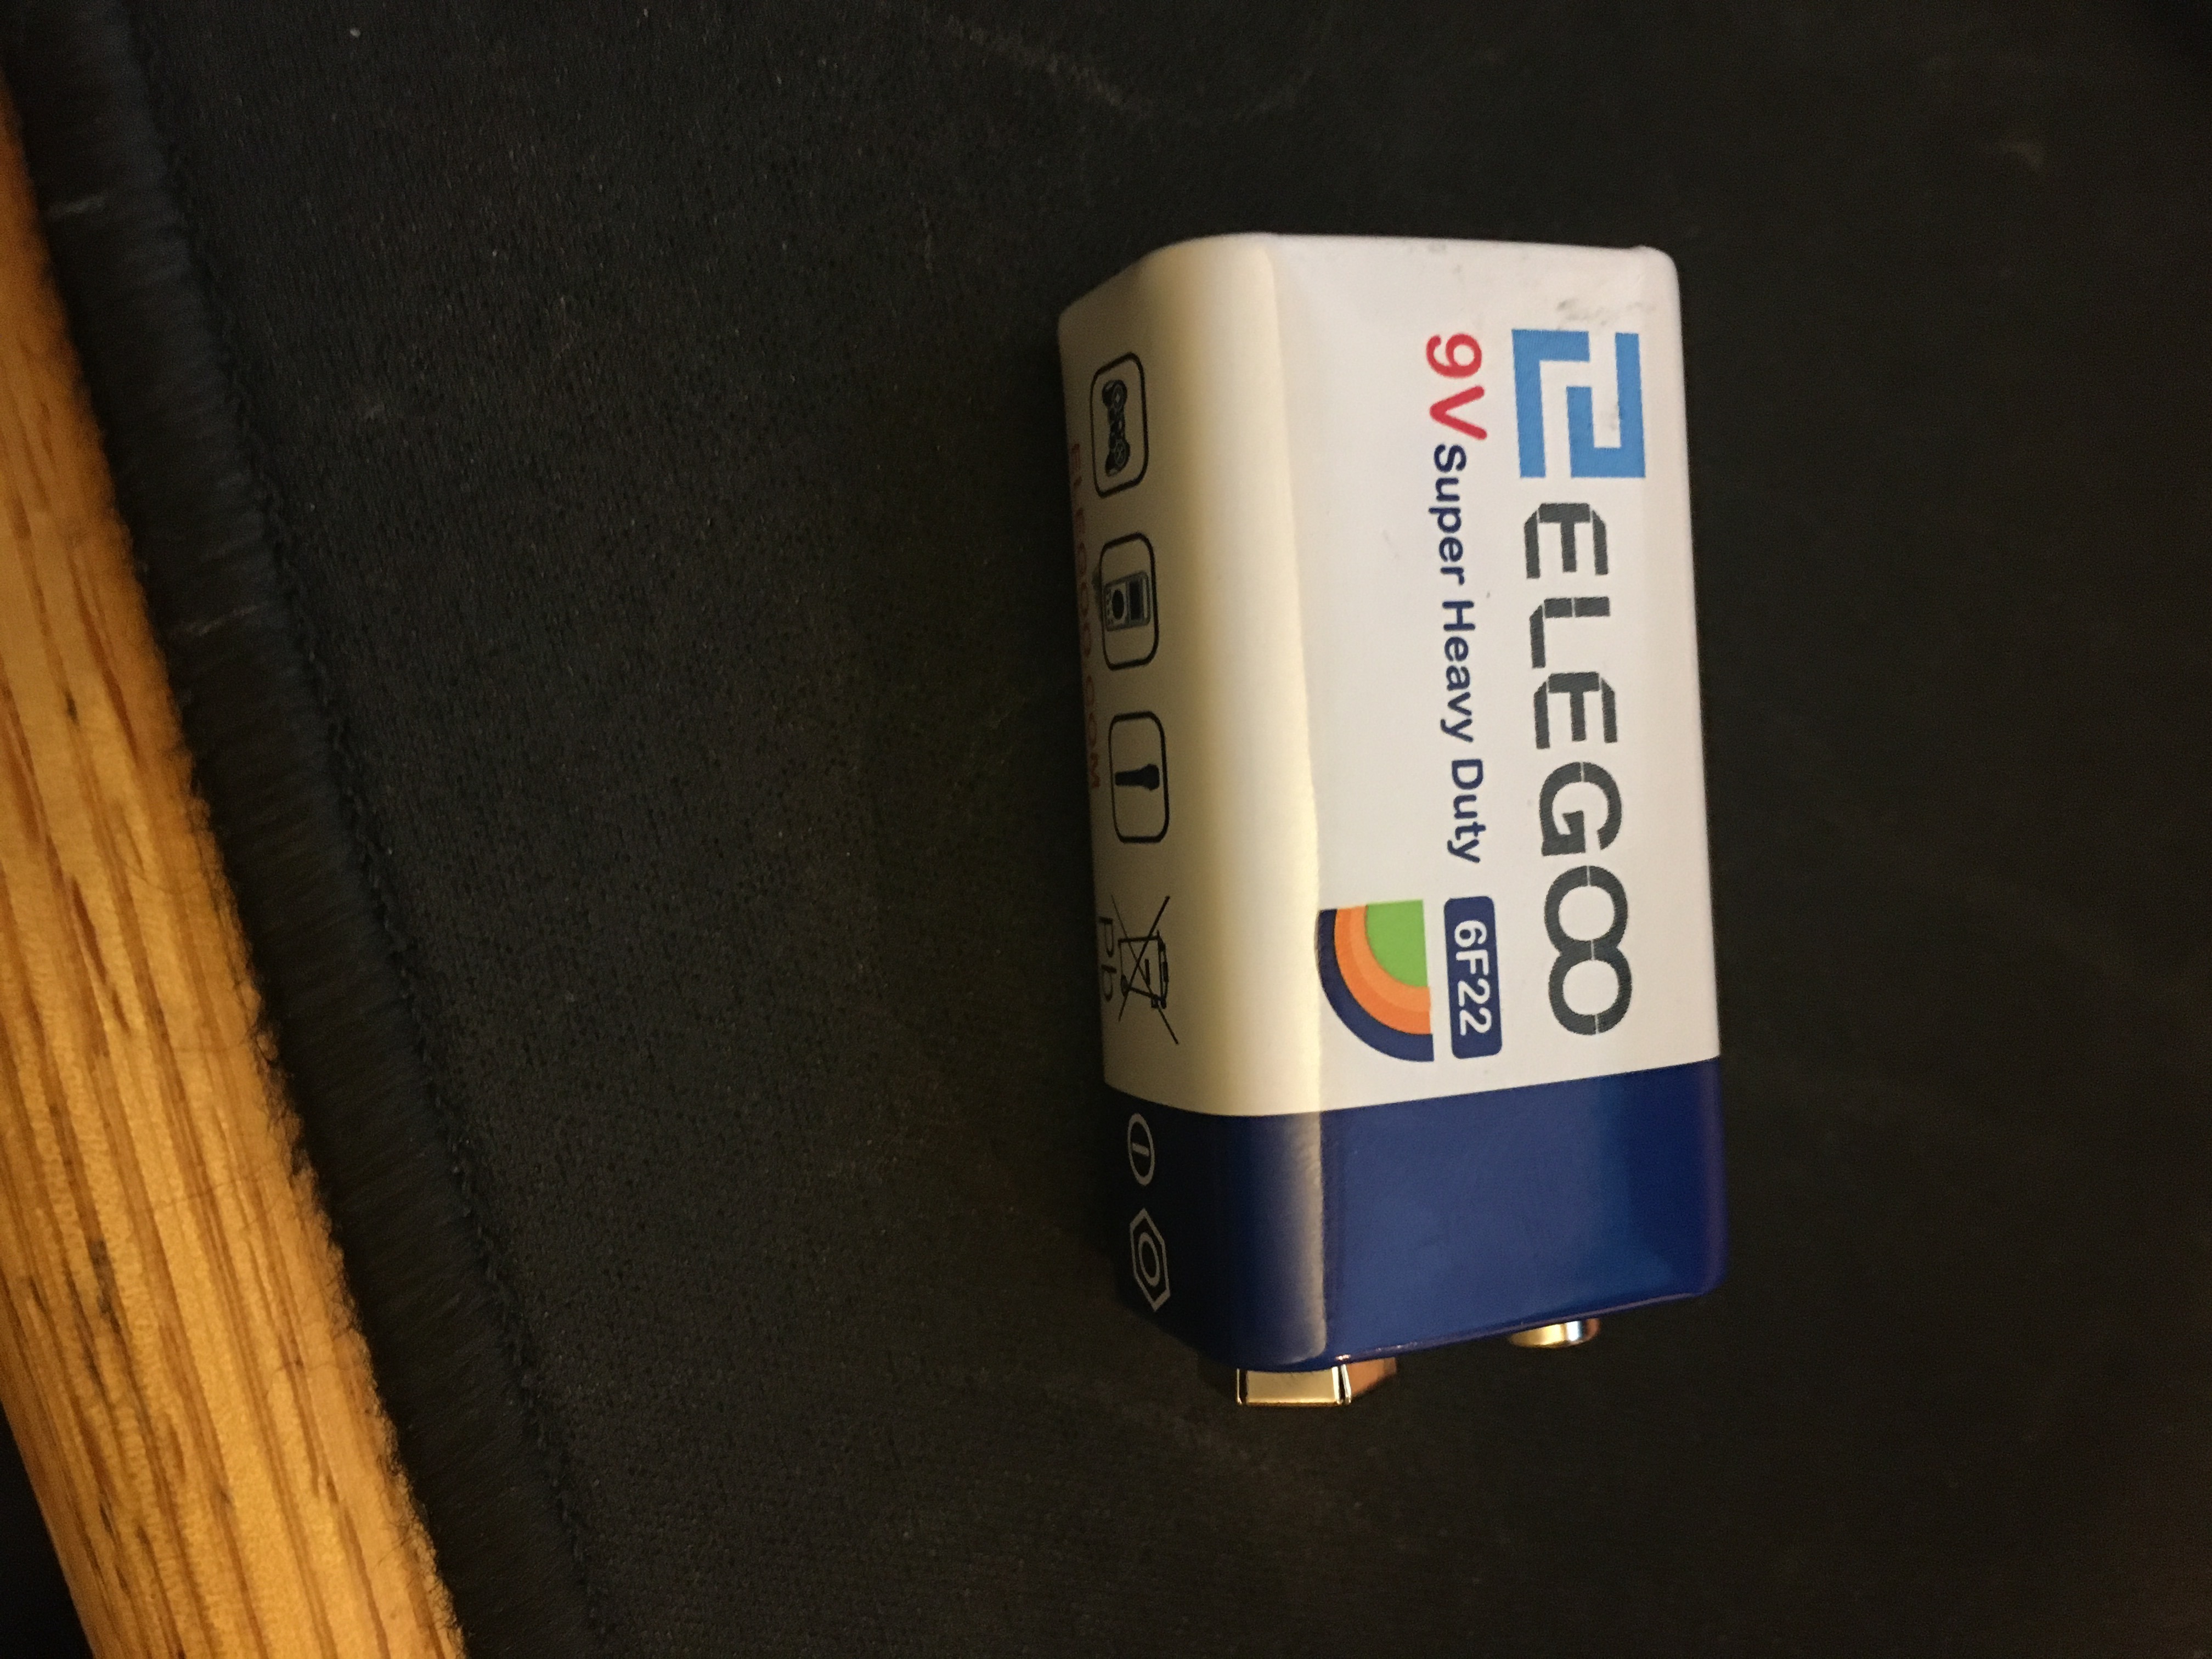
5. Battery for Arduino (with adaptor)
5. Jumper wires (6 male to female)
7. USB to Arduino adaptor
OPTIONAL CAMERA:
1. ESP32 Camera
2. FTDI Programmer
3. Micro USB to USB adaptor
4. 5 female to female jumper wires
Wiring and Setup
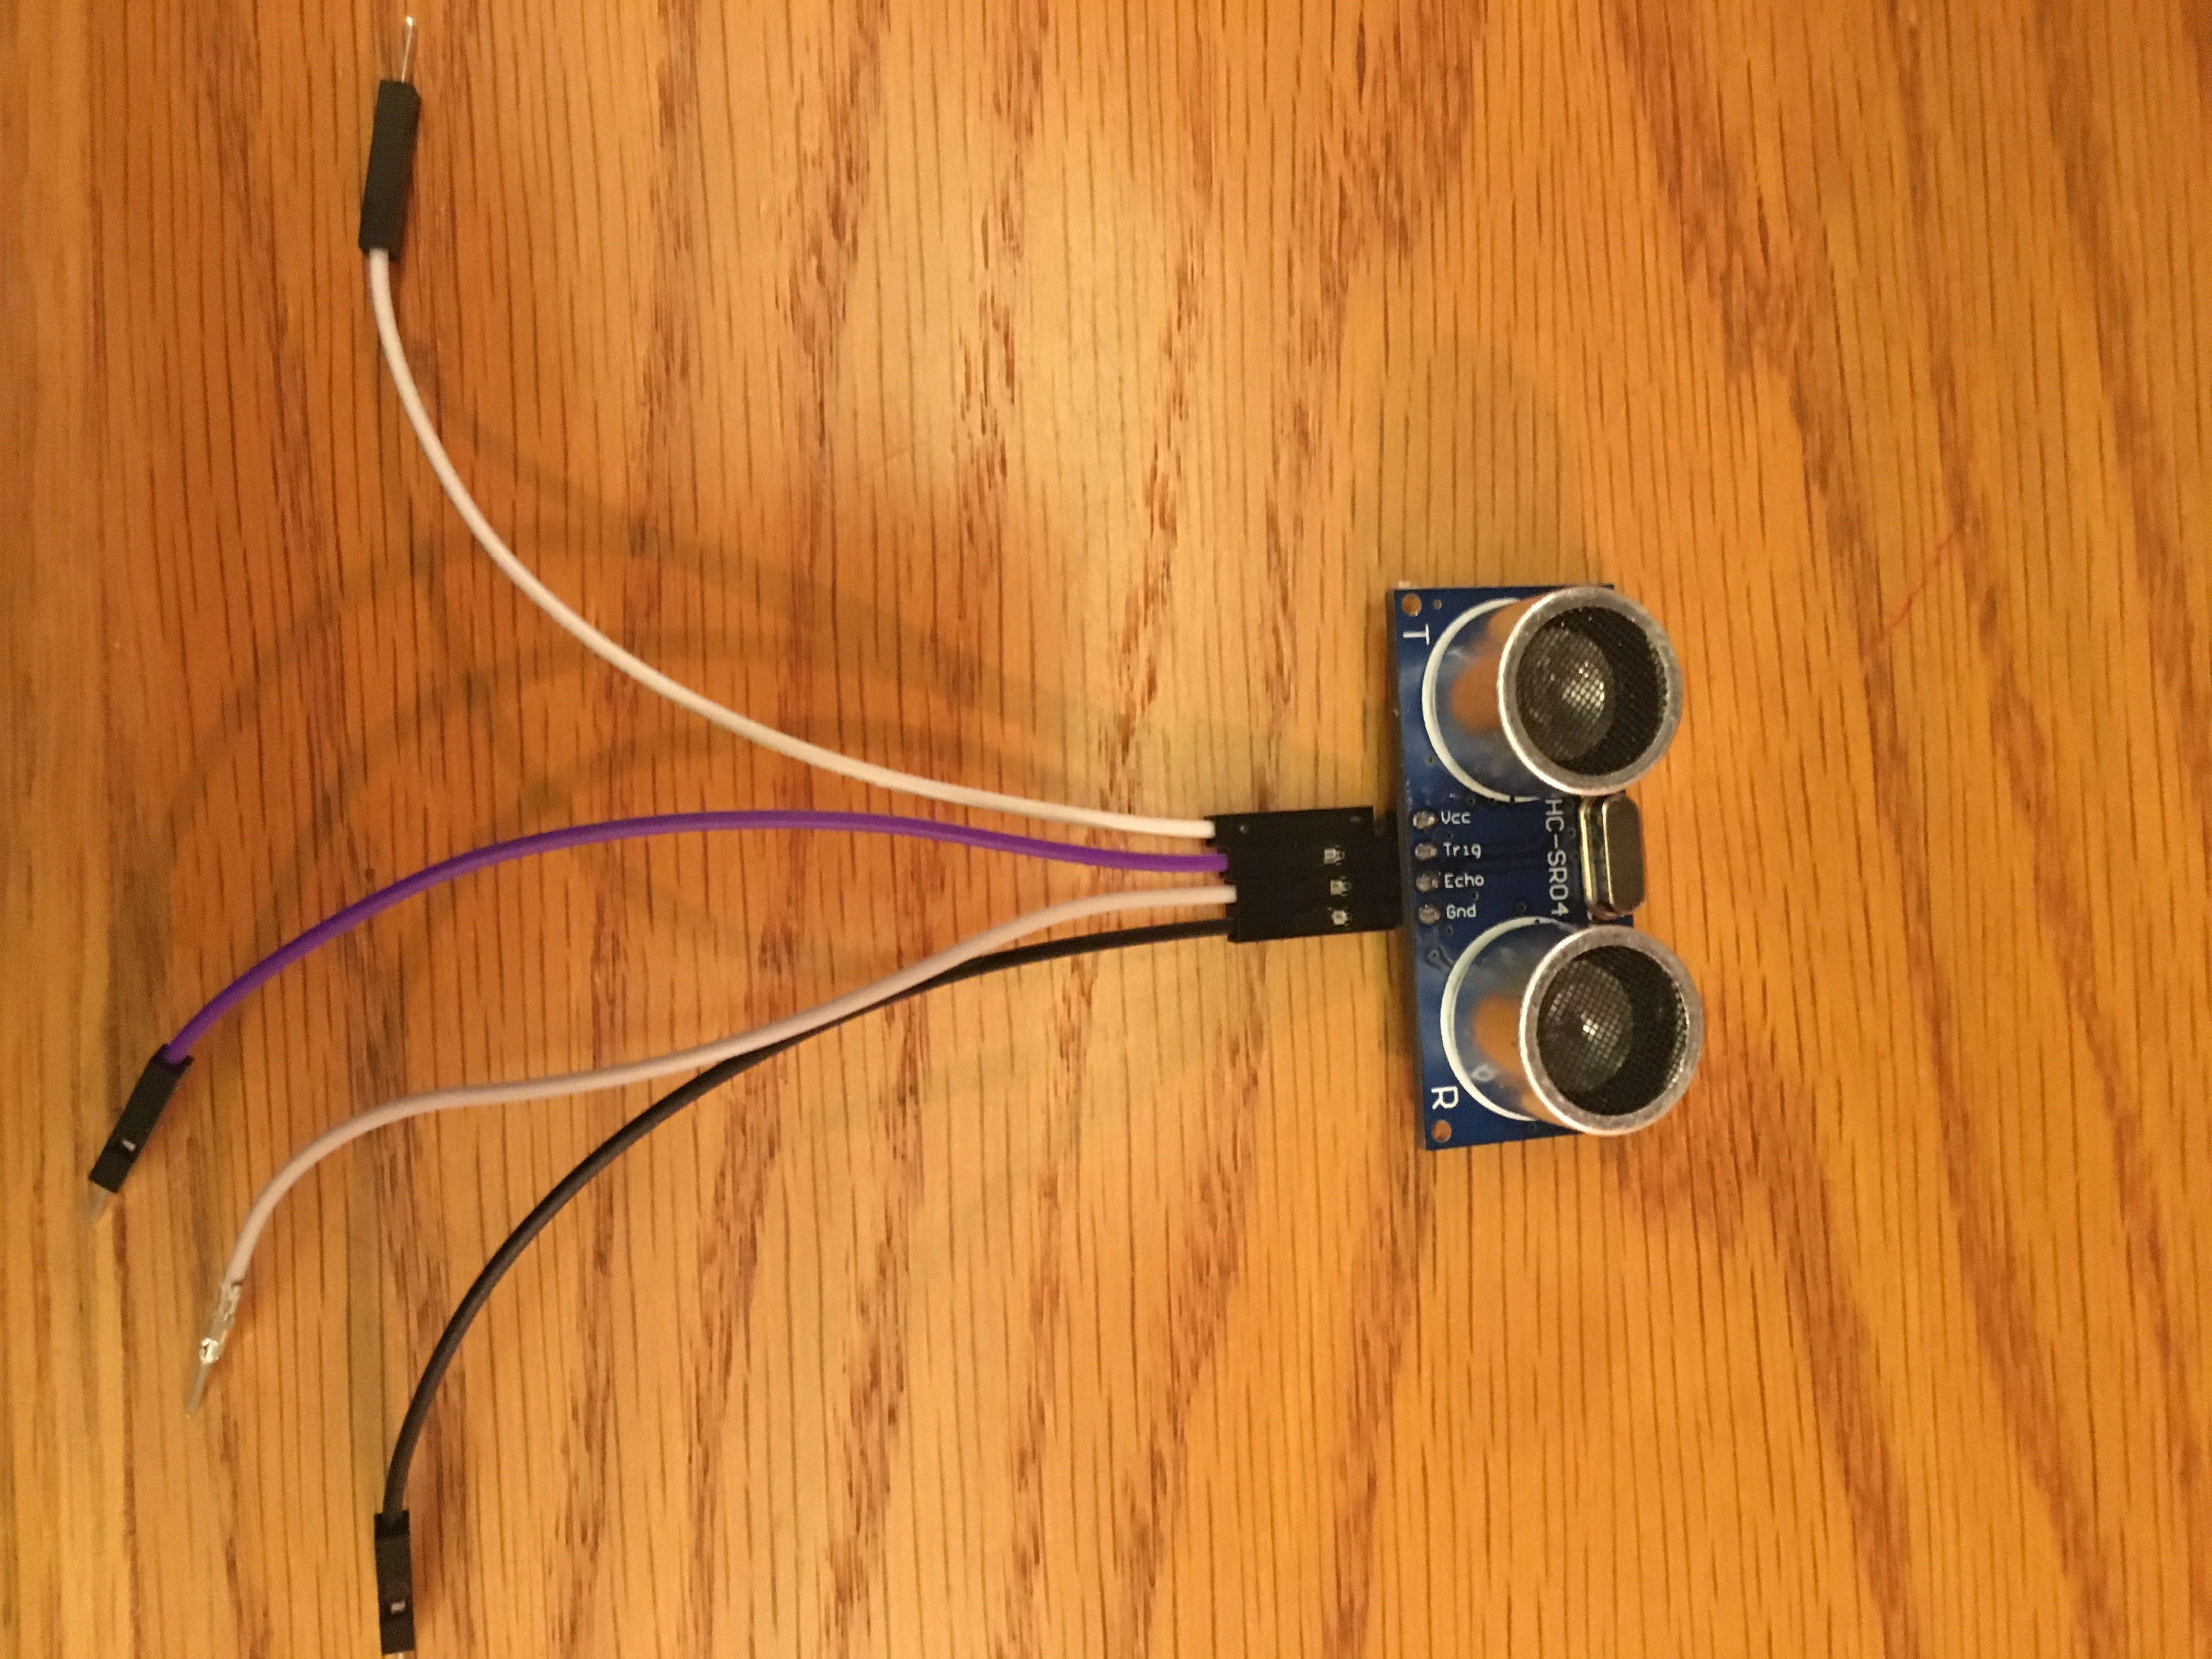
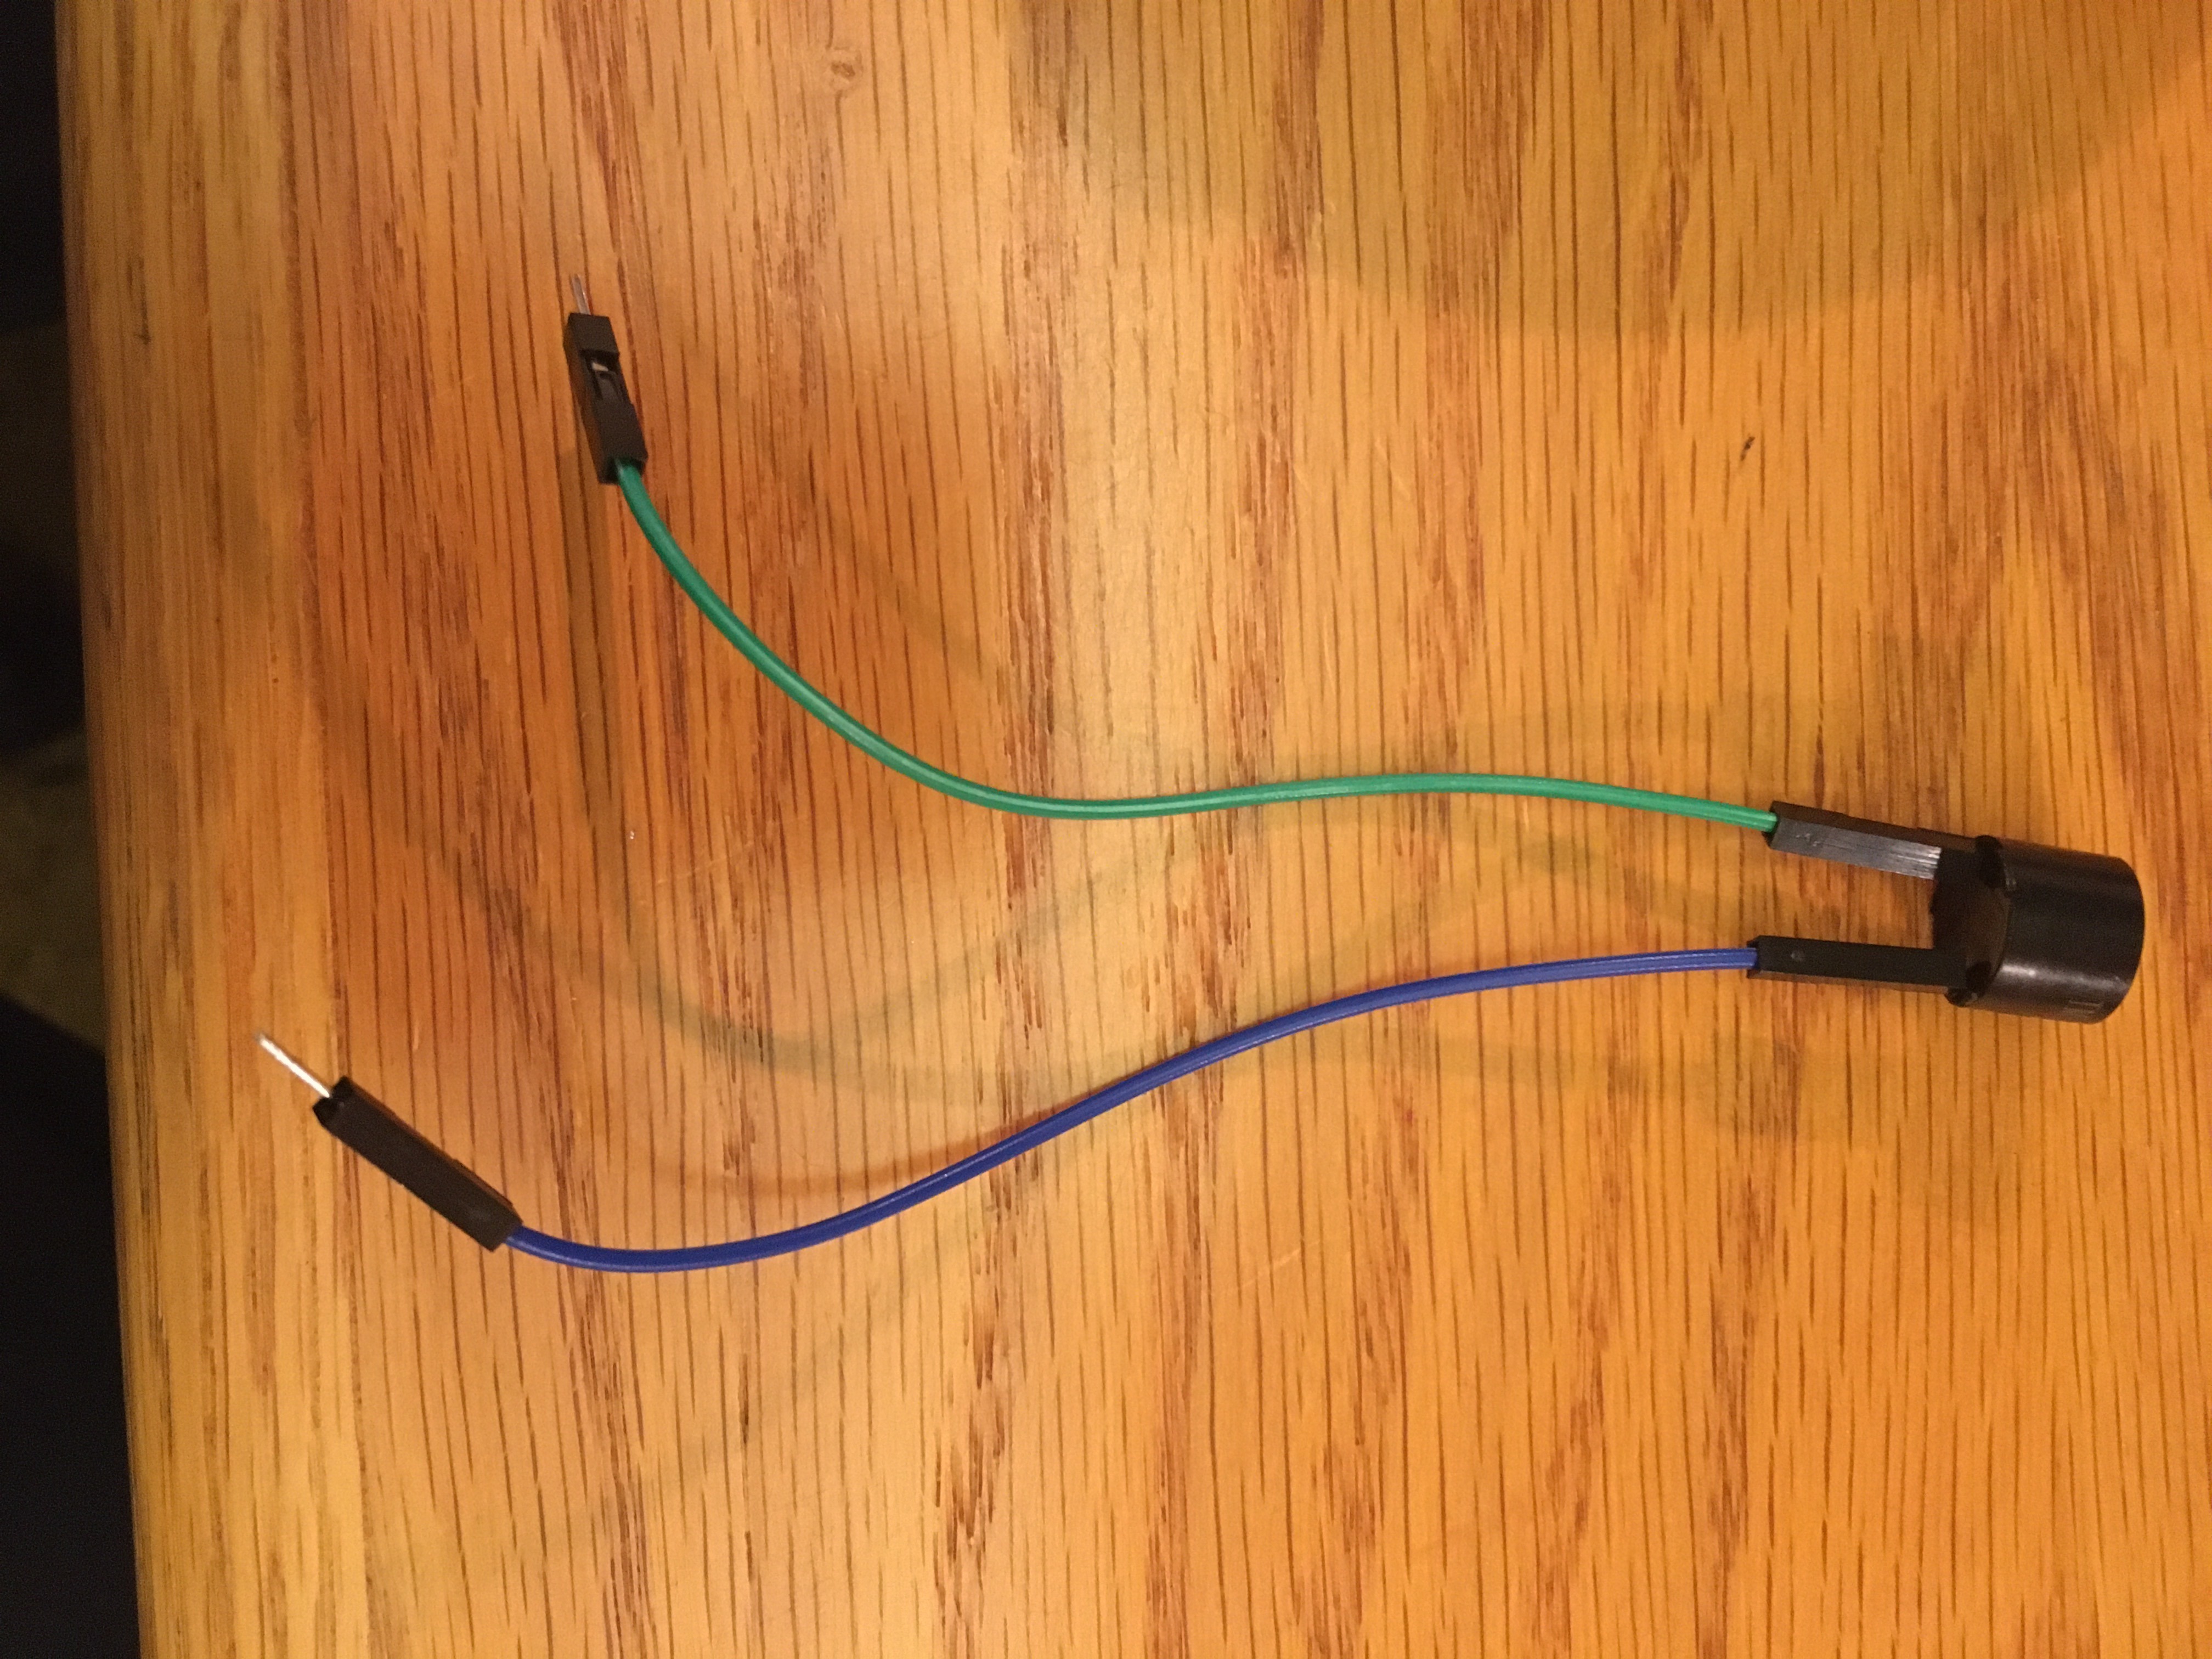
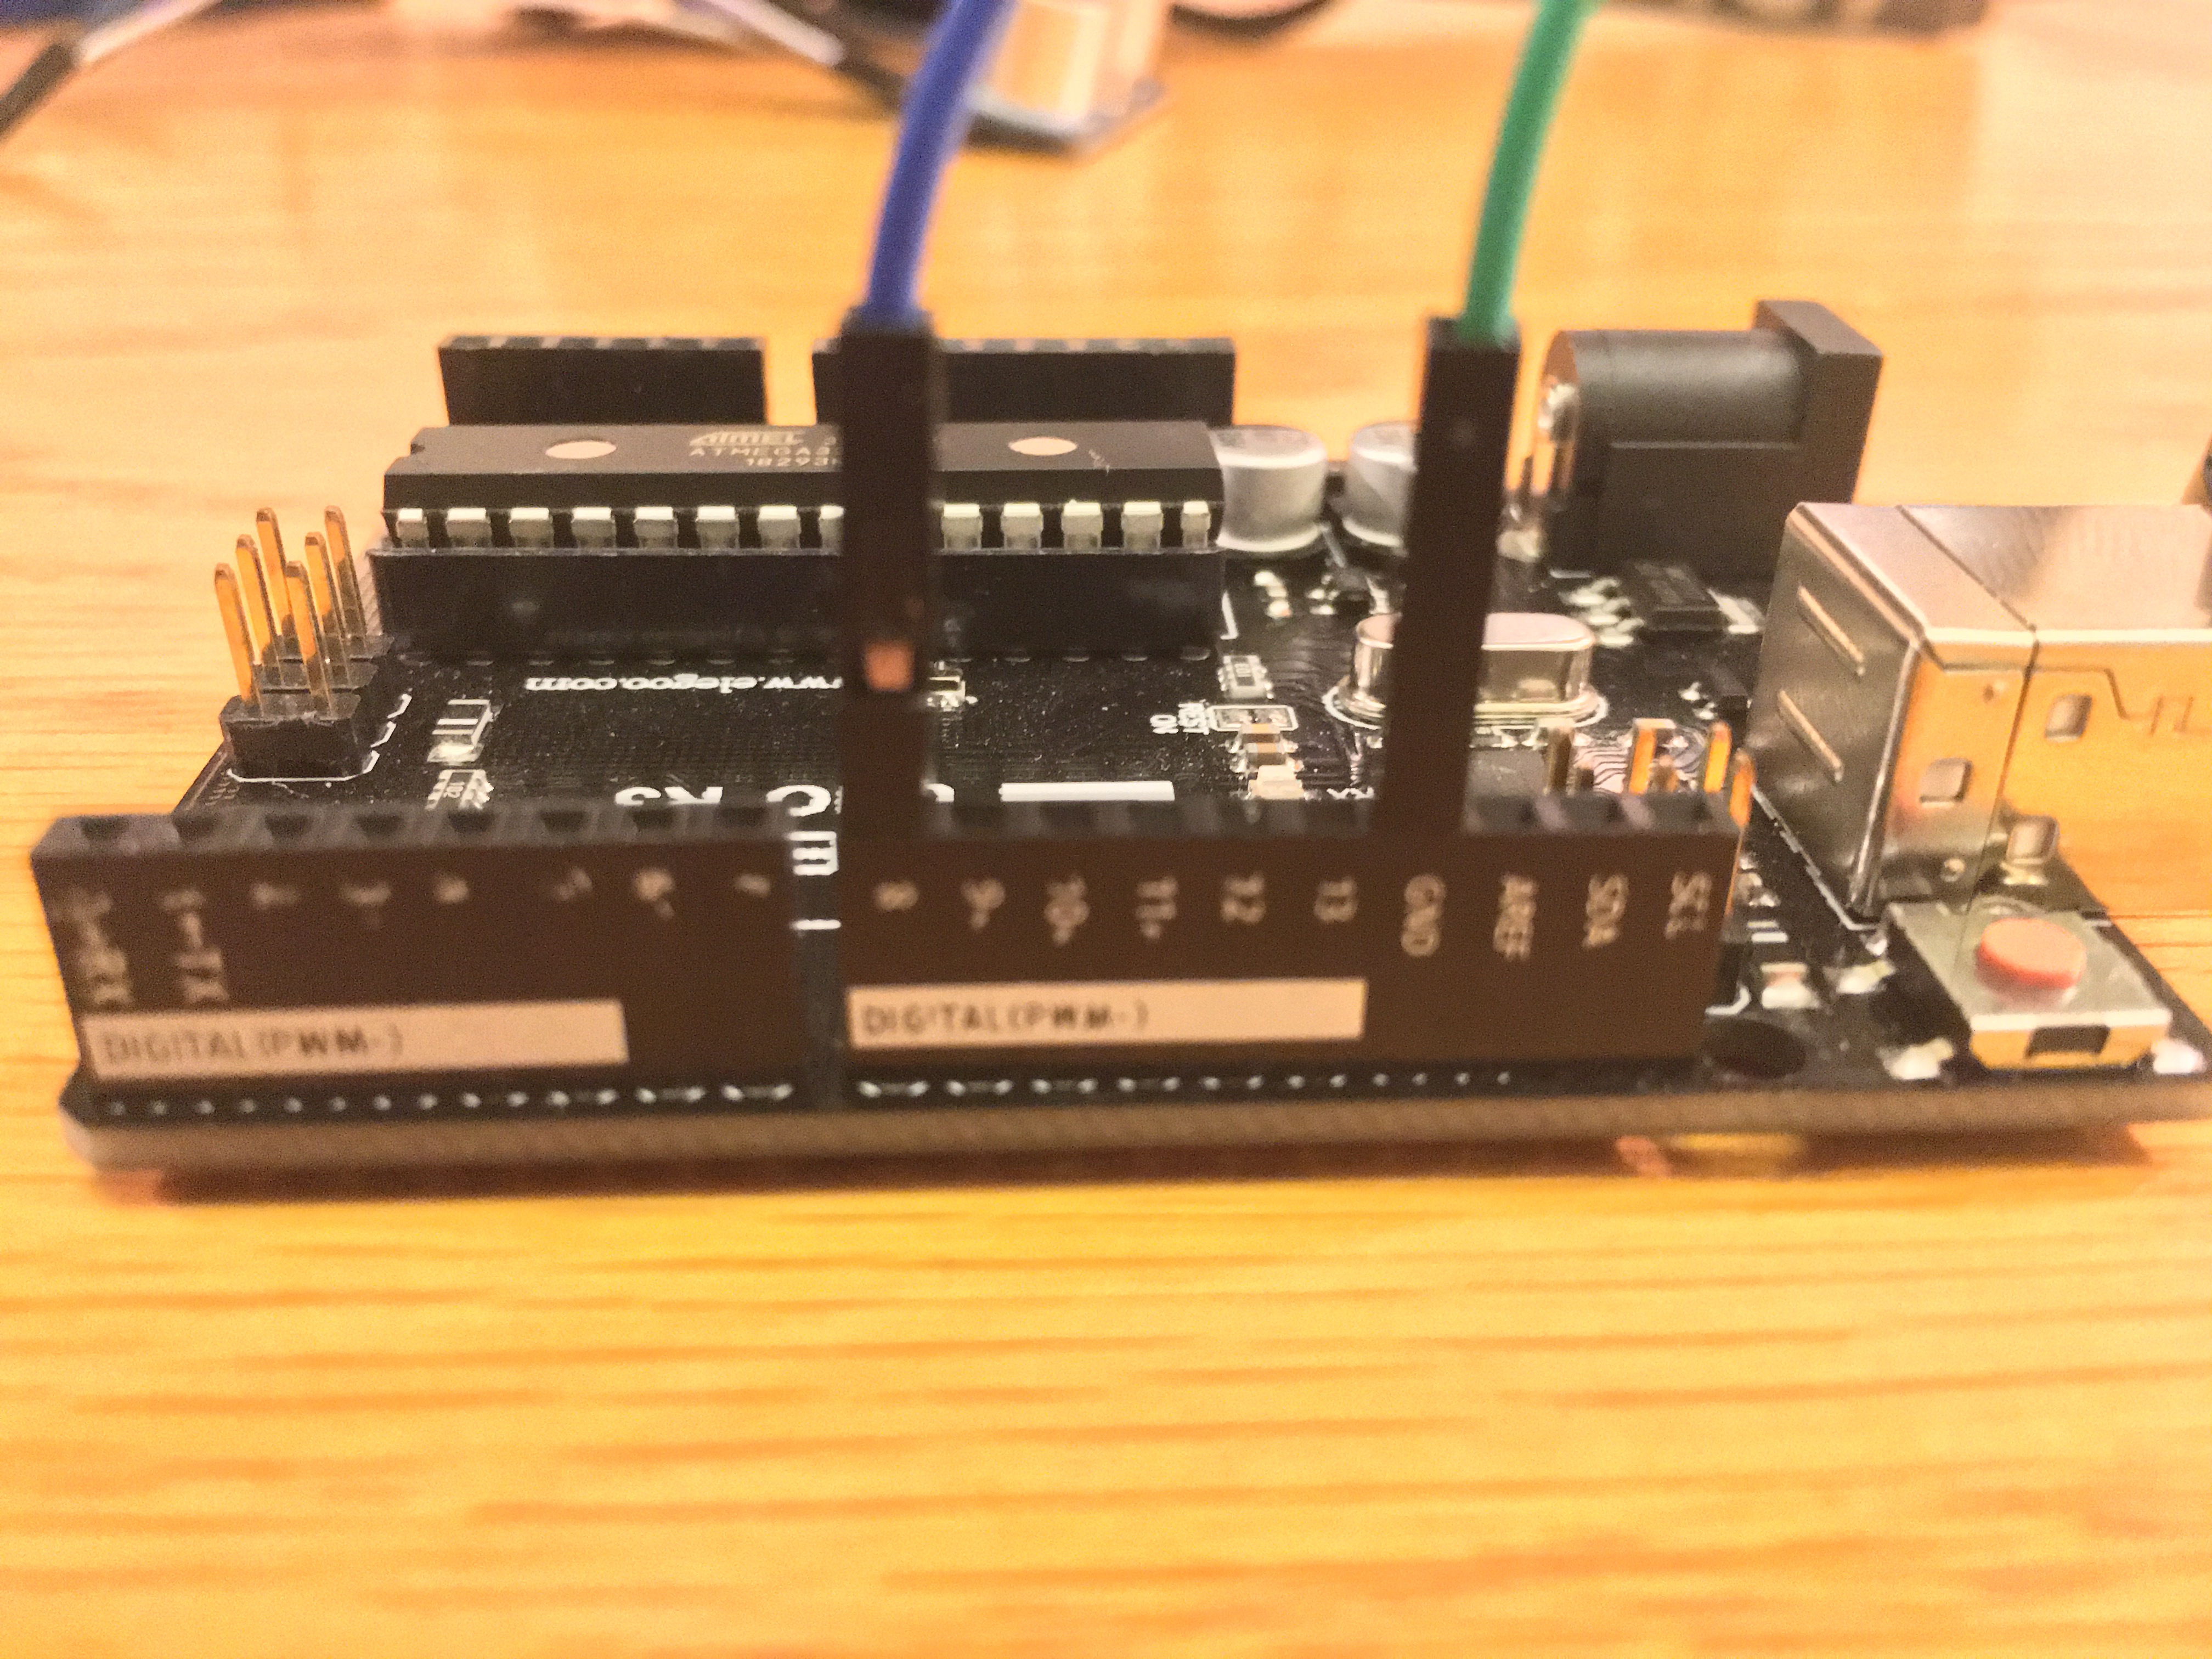
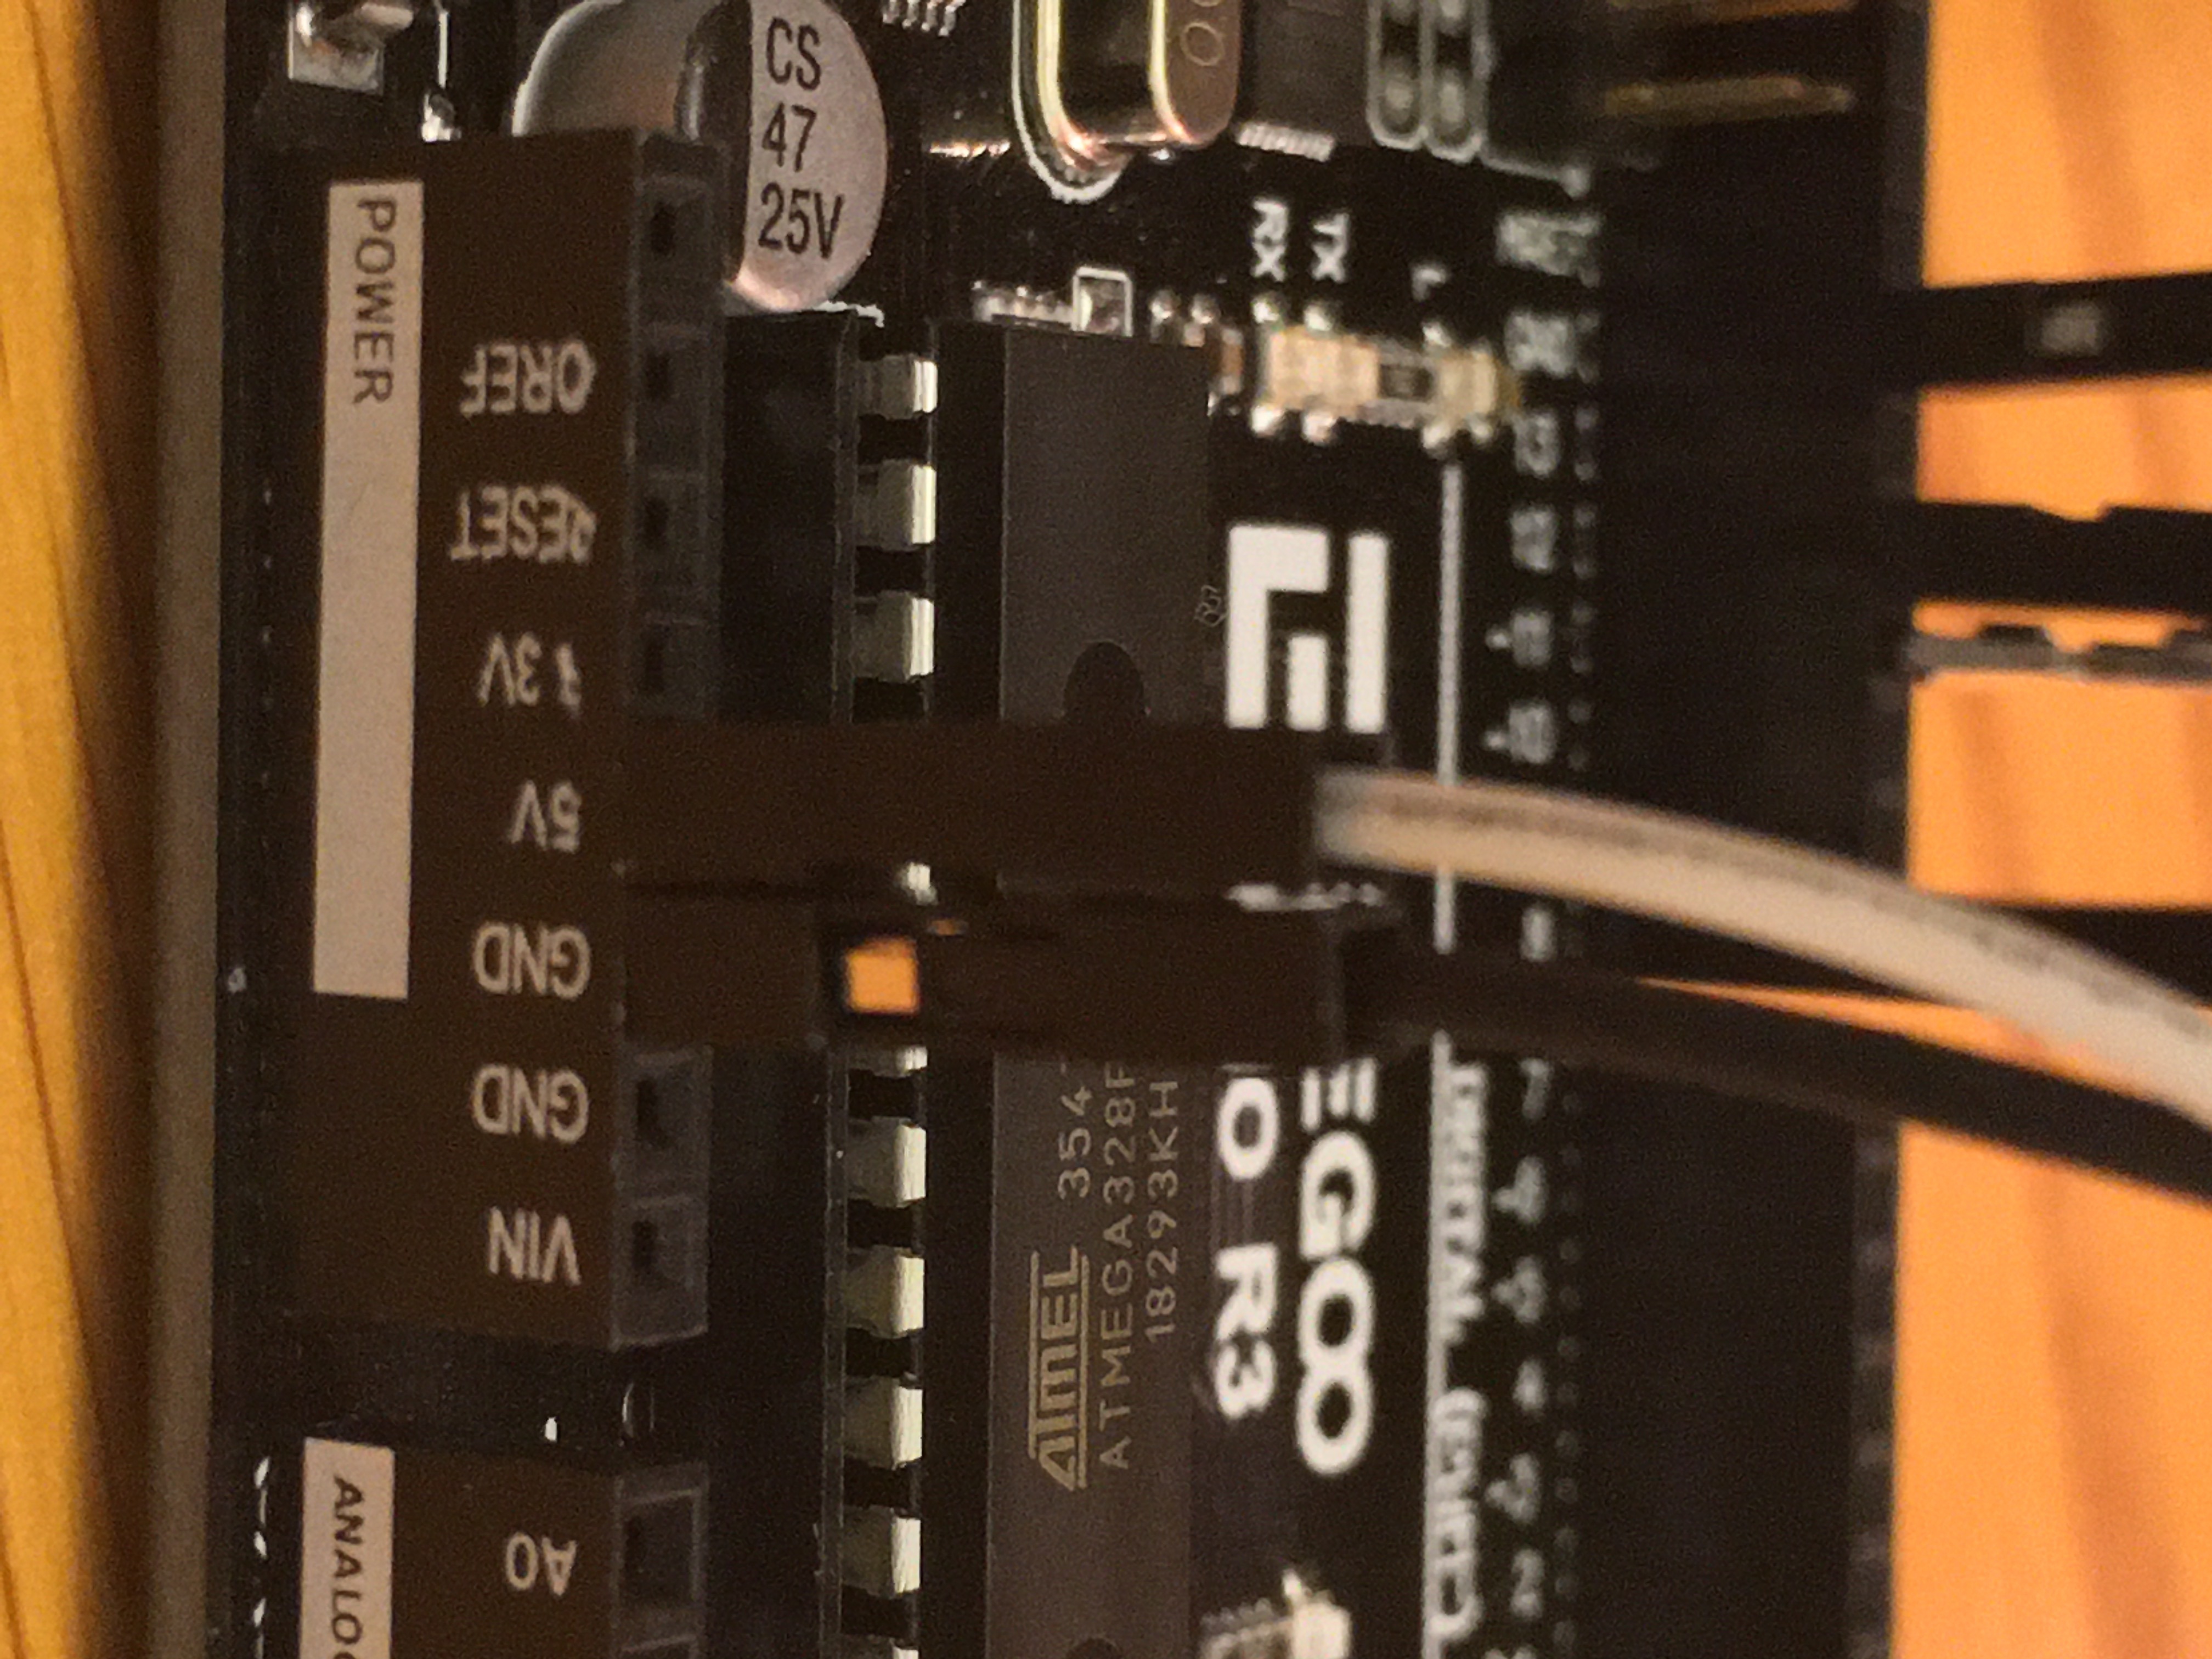
1. Connect the jumper wires to the buzzer and ultrasonic sensor.
2. Connect one buzzer wire (long prong) to slot 8 in the Arduino, and one wire (short prong) to ground, or GDN, next to the other numbered slots.
3. Connect the wire from Vcc on the ultrasonic sensor to the 5v on the Arduino.
4. The wire from Trig on the sensor to 12 on Arduino.
5. The wire from Echo on the sensor to 11 on the Arduino.
6. The wire from GND on the sensor to GND on the Arduino ( Next to 5v)
Setup for Coding
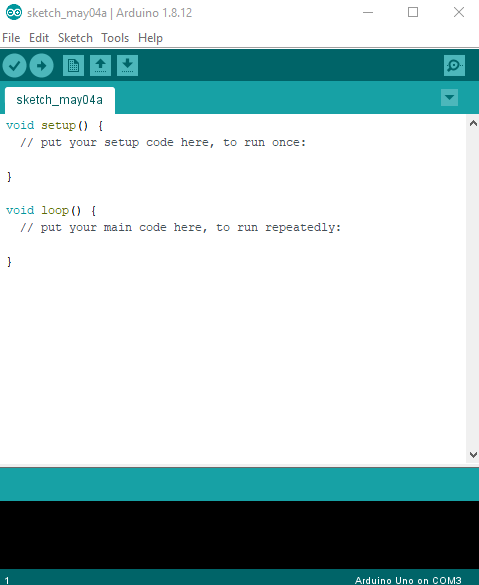

1. To upload the code, plug the Arduino into your computer via a USB adaptor.
2. if you have not already done so, download Arduino IDE. (https://www.arduino.cc/en/Main/Software)
3. Open a new sketch on Arduino IDE.
4. Click on Sketch -> Include Library -> Manage Libraries -> Search in the top box for "SR04" by Martin Sonic.
5. Install the latest version, and wait for installation before closing.
Code
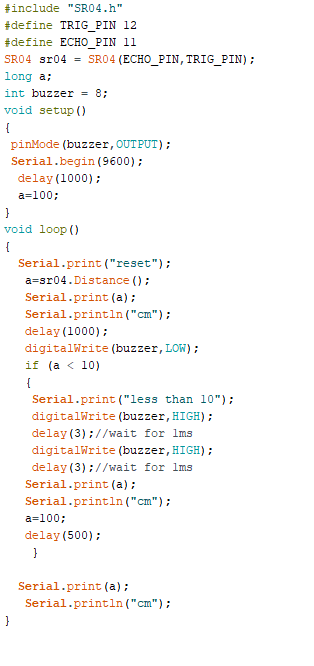
I won't be telling you what to write for everyline of code, instead you can copy and paste it here:
#include "SR04.h" //What library to use for this code
#define TRIG_PIN 12 //what pin is the sensor connected to
#define ECHO_PIN 11
SR04 sr04 = SR04(ECHO_PIN,TRIG_PIN); //Assigning pins
long a; // Define a variable
int buzzer = 8; //Another variable defining the pin for the buzzer
//Voide setup will run once before the looping code
void setup() {
pinMode(buzzer,OUTPUT); //Assign buzzer pin as output
Serial.begin(9600); //begin a serial link (sort of like a chat link with your computer)
delay(1000); // Short delay
a=100; // Set a to 100 in order to reset the variable.
//void loop runs continuously after void setup
} void loop() {
a=sr04.Distance(); // Assign a as the distance given from the ultrasonic sensor
Serial.print(a); // Print that distance in the serial monitor mentioned earlier
Serial.println("cm"); // print the units
delay(1000); // short delay
digitalWrite(buzzer,LOW); //turn buzzer off or low
// If function will check for a is less than 10, and then run the code if it's true, or skip it if it's false
if (a < 10) {
Serial.print("less than 10"); //Print to tell us that the distance is less than 10
digitalWrite(buzzer,HIGH); //turn on the buzzer
delay(3); //short delay
digitalWrite(buzzer,HIGH); //keep the buzzer on
delay(3); //short delay
Serial.print(a); //print the distance again.
Serial.println("cm"); //print the units with the distance
a=100; //reset the distance variable, this allows us to recheck incase the distance has increased.
delay(500); // shorter delay
}
Serial.print(a); //Print the distance and units one last time
Serial.println("cm");
//Code repeats the void loop again.
}
Upload Code to Arduino

To begin uploading code, we must first assign the Arduino as the target code receiver.
1. Click on Tools -> Board -> Arduino Uno
2. Click on Tools ->Port -> Select the port with your Arduino (There should only be one, if not you may have something else plugged in.
3. Once that is done, and your Arduino is plugged in, you can begin uploading with the upload button (the right arrow at the top left)
NOTE: BEFORE UPLOADING-> The buzzer can be really loud, I recommend unplugging the ground wire on the buzzer for the first test run.
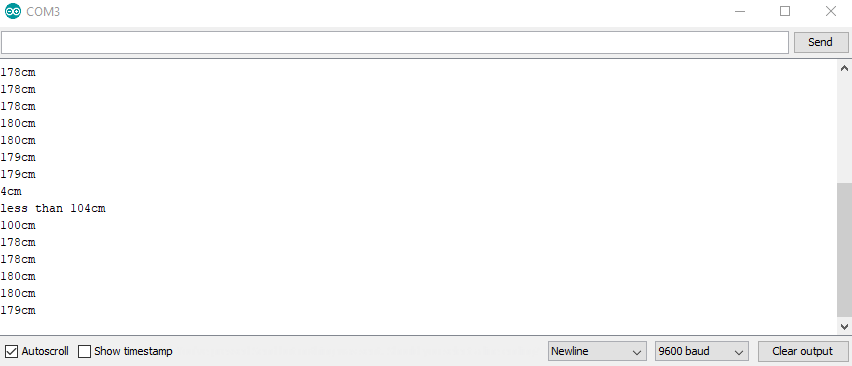
4. In order to make sure the code is working, open the serial monitor on Arduino IDE with the magnifying glass button on the top right of the window. Make sure to select a 9600 baud rate in order to read the data. Now you can see how the distance will change if something passes in front of the sensor or it gets closer or farther from something. now make sure that the distance is more than 10cm reading, and plug in the buzzer. If the distance is less than 10, it will buzz, and if the distance is then changed to more than ten it will shortly stop.
Battery & Conclusion
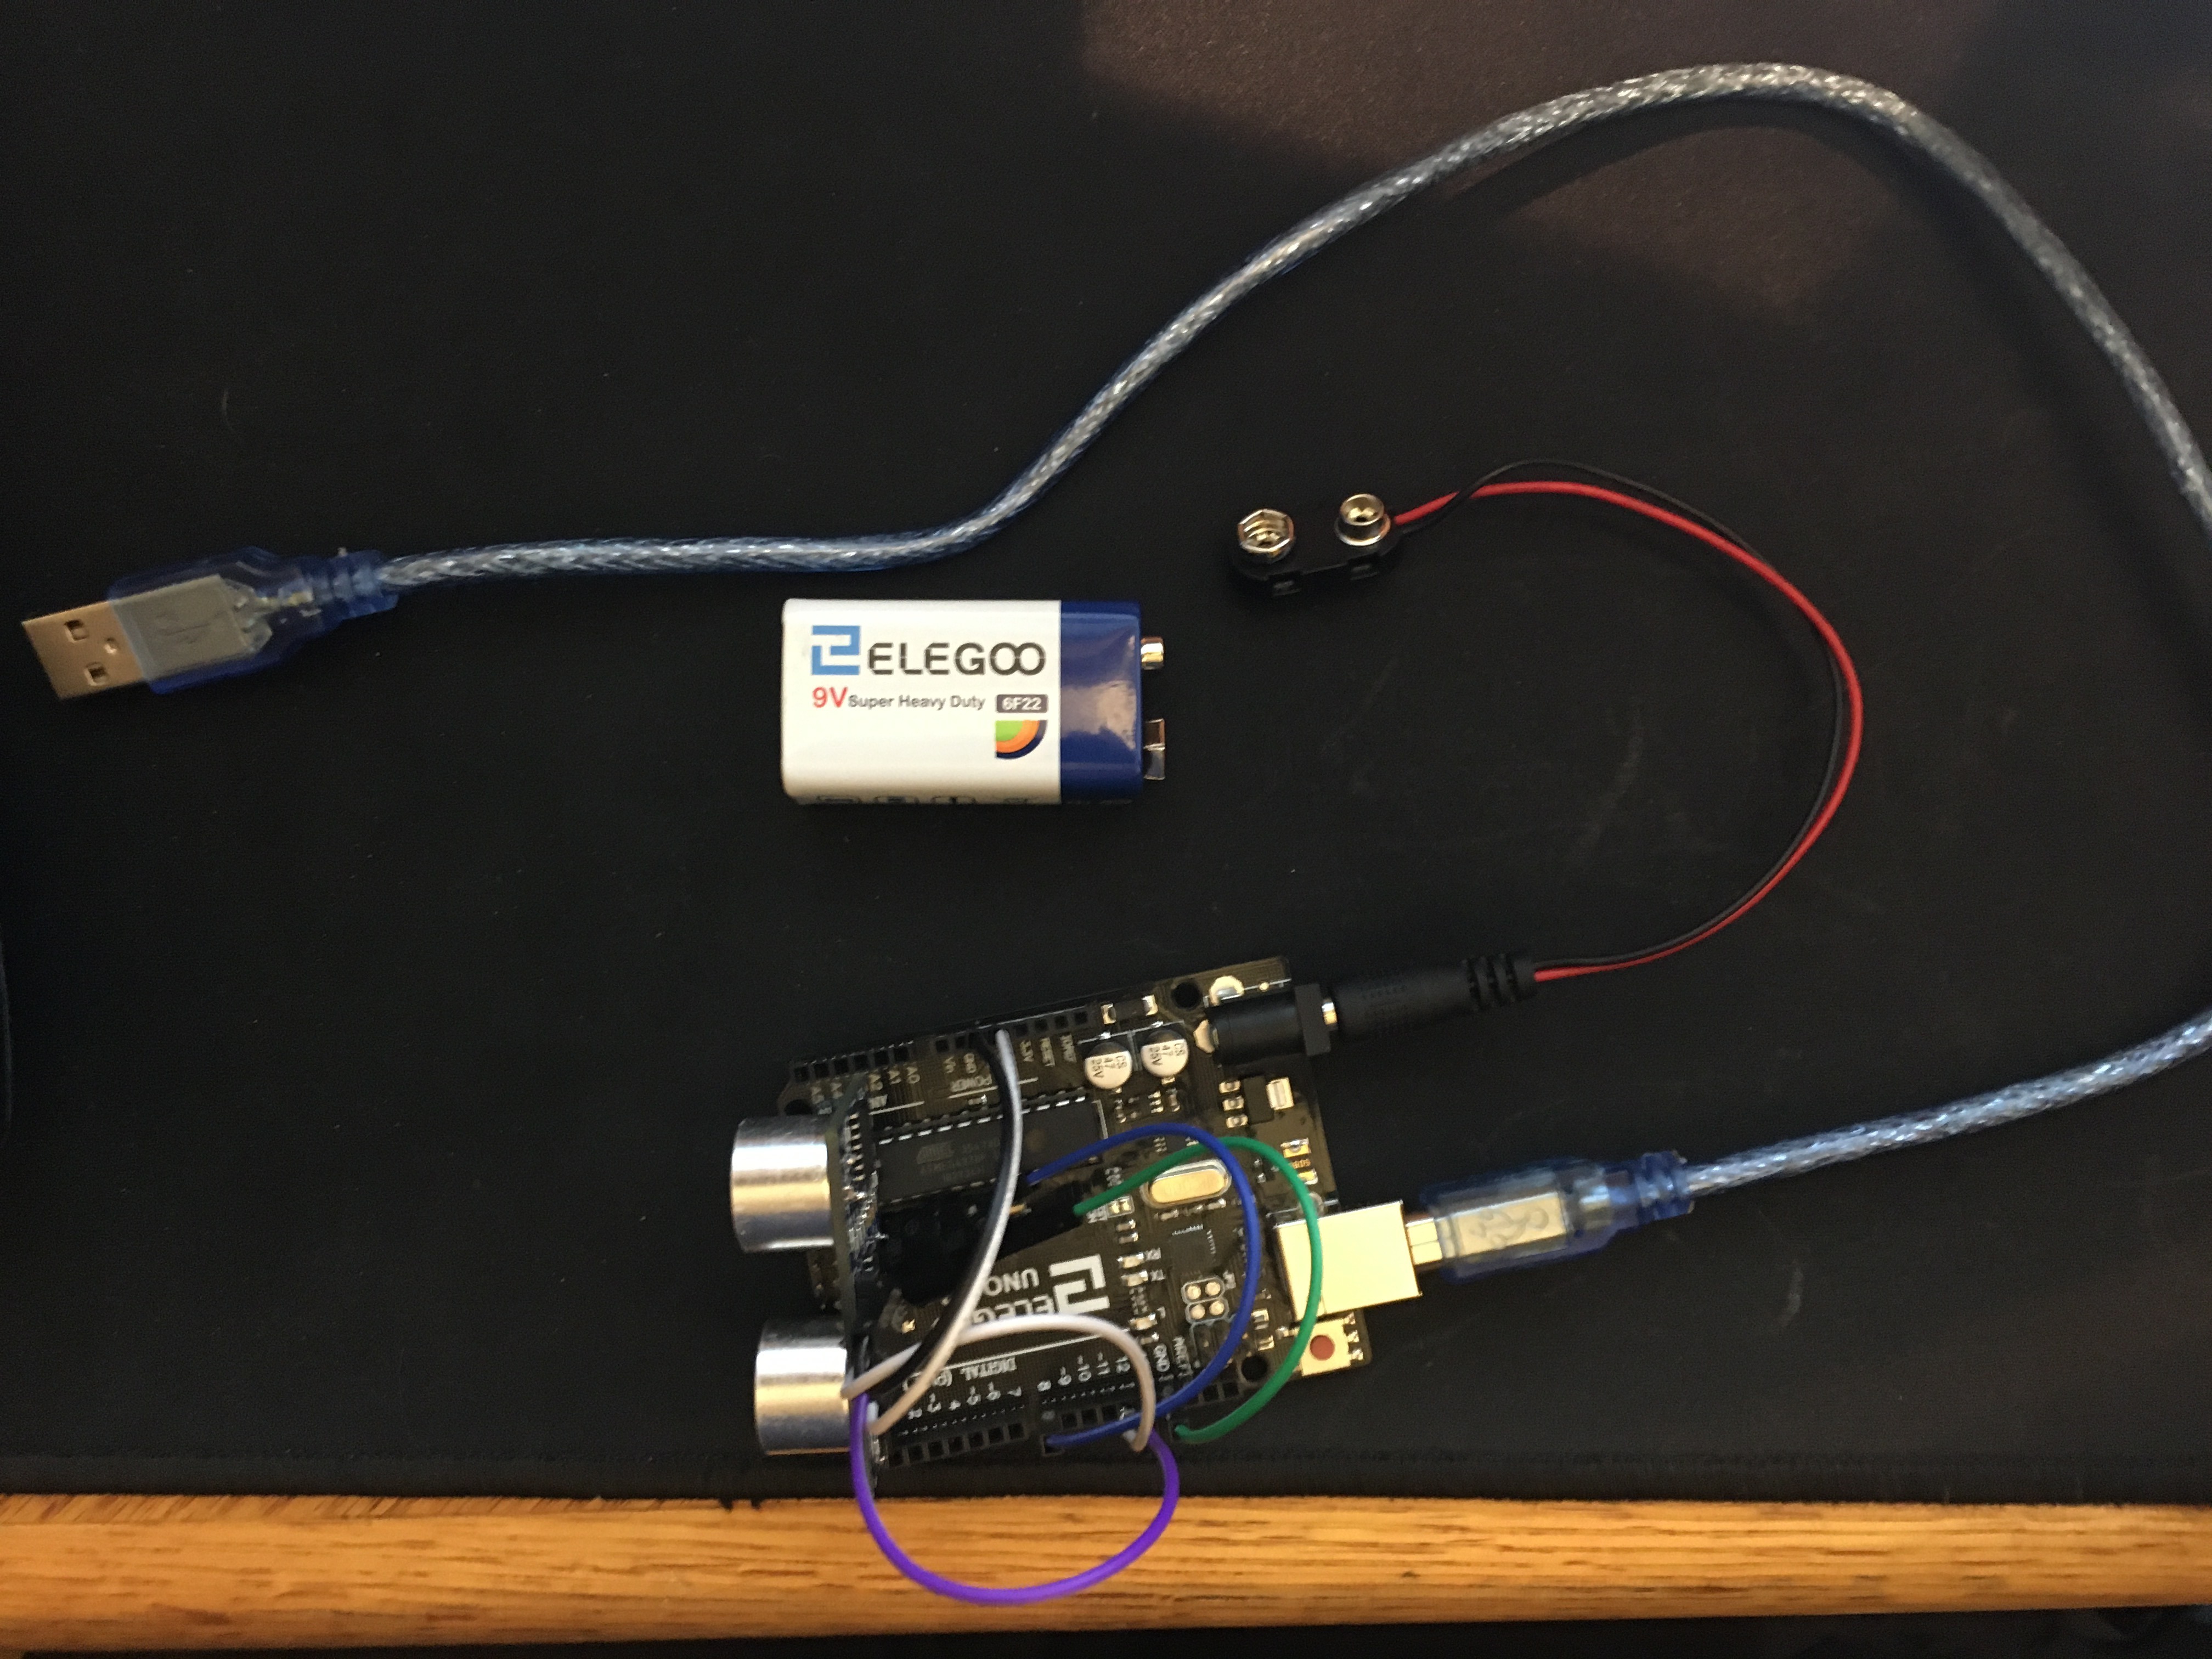
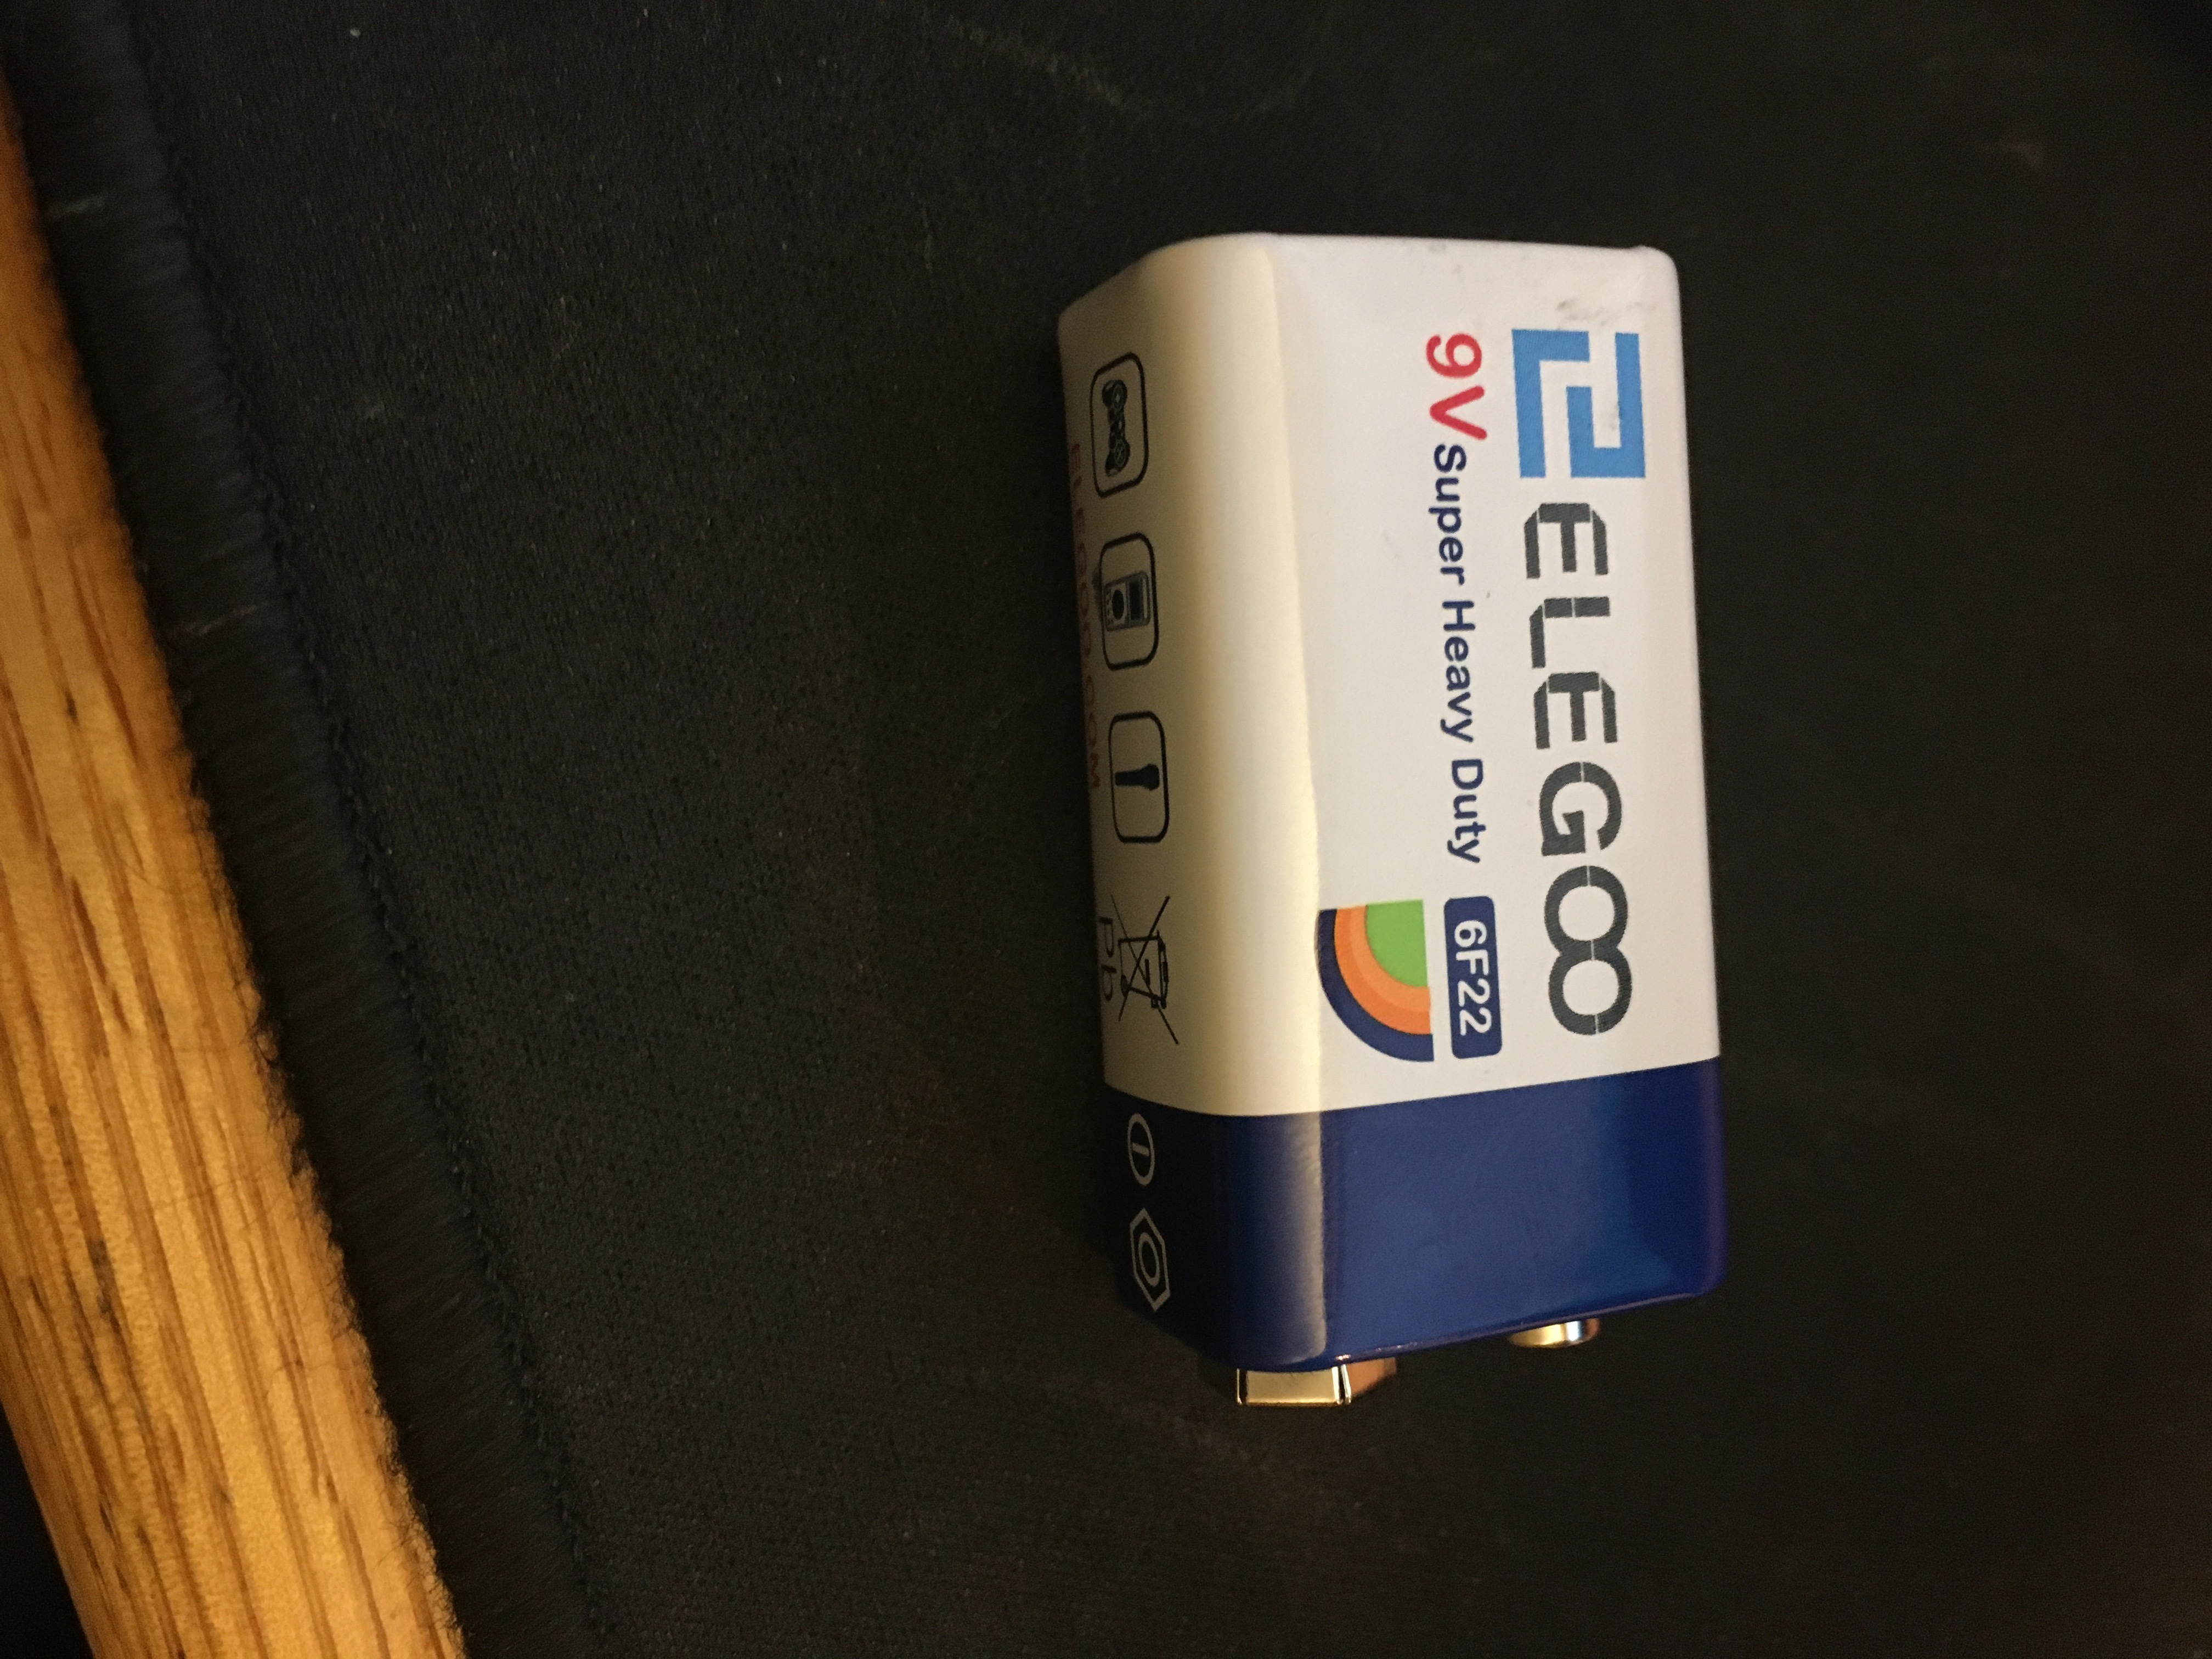
Now, this will work plugged into your computer however this will not work if you were to use this in your car. In order to have the Arduino run the code by itself, all we have to do is plug in the battery.
Now that the Arduino is no longer connected tot he computes, the serial monitor will not work, however, the buzzer and sensor will still do their required functions.
This can be attached to a car in many ways, as long as the sensor is pointed straight behind and the buzzer is able to be heard, ( you might need extended jumper wires to get it wired throughout your car) the system used to attach it is up to you.
To change the distance when the buzzer activates, simply change the 10 in the if function to whatever distance you want.
If you are interested in the optional camera, it will be covered in the video linked at the beginning of the guide.
This will be needed and explained in the video: https://dl.espressif.com/dl/package_esp32_index.json
Feel free to comment on any issues or problems you had, I will do my best to answer.
Thanks,