Backpack Resurrection: From Dead to Dope
by Rhonda Chase Design in Workshop > Repair
3073 Views, 4 Favorites, 0 Comments
Backpack Resurrection: From Dead to Dope
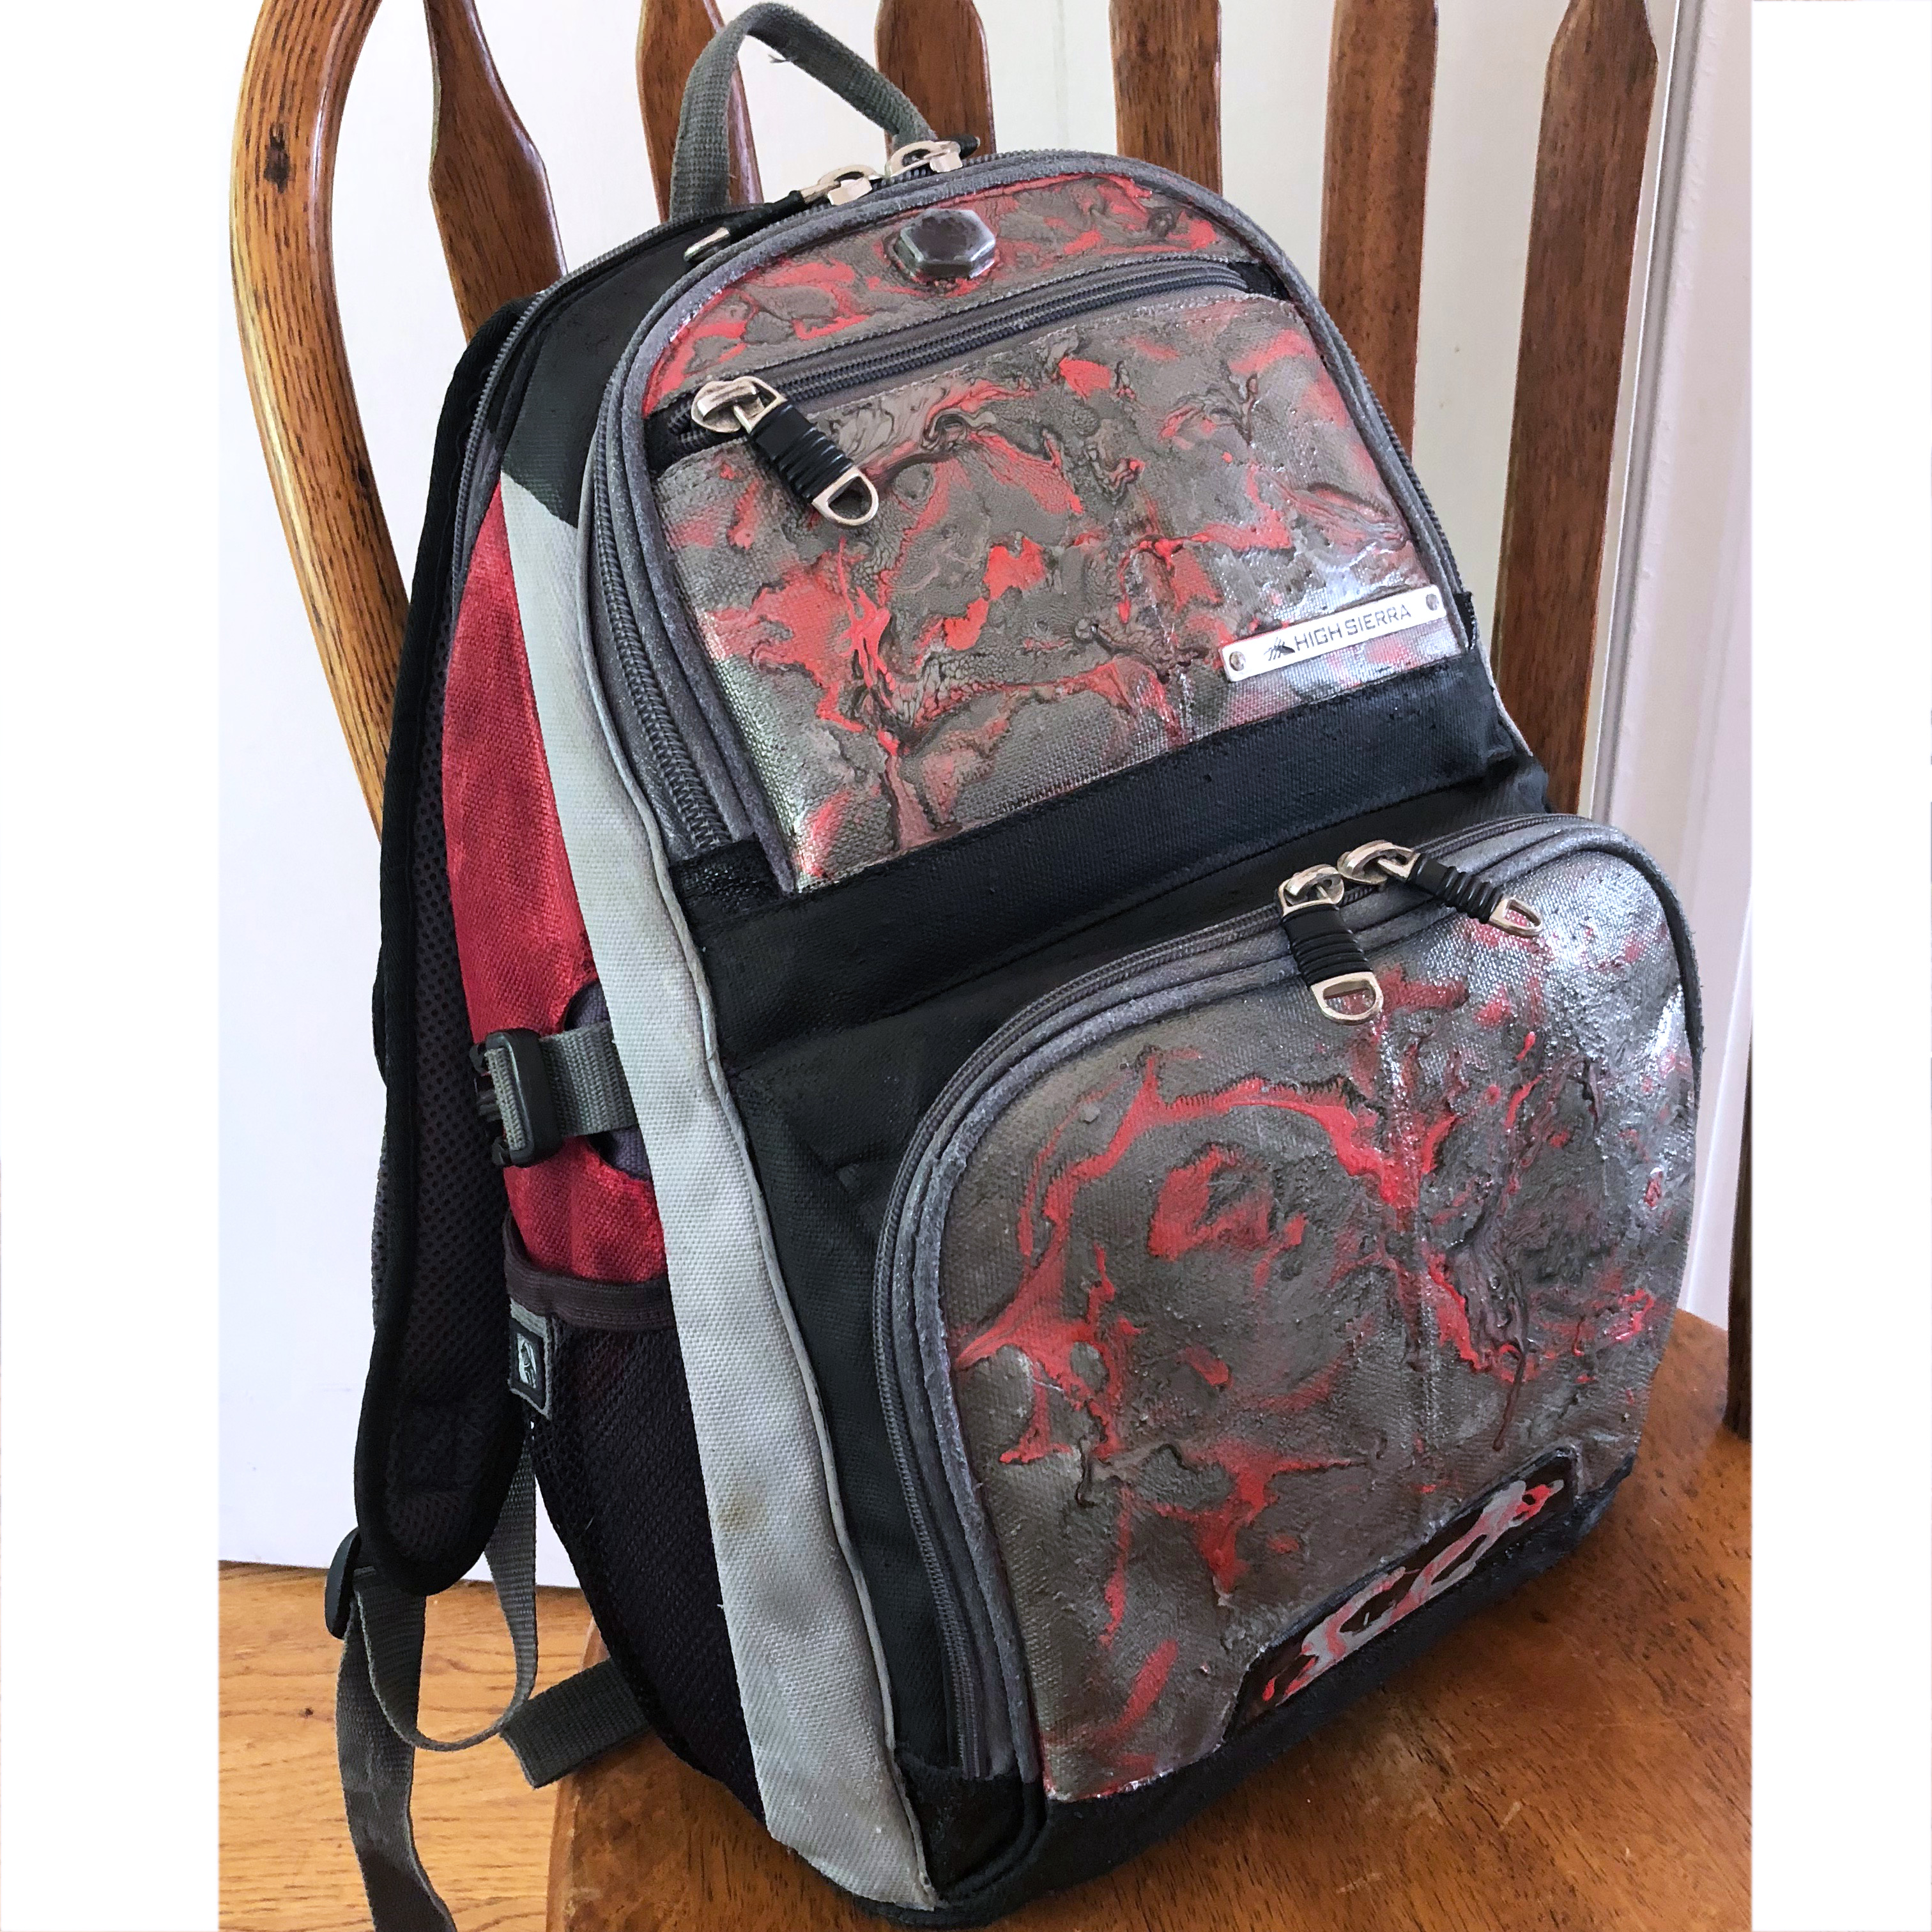
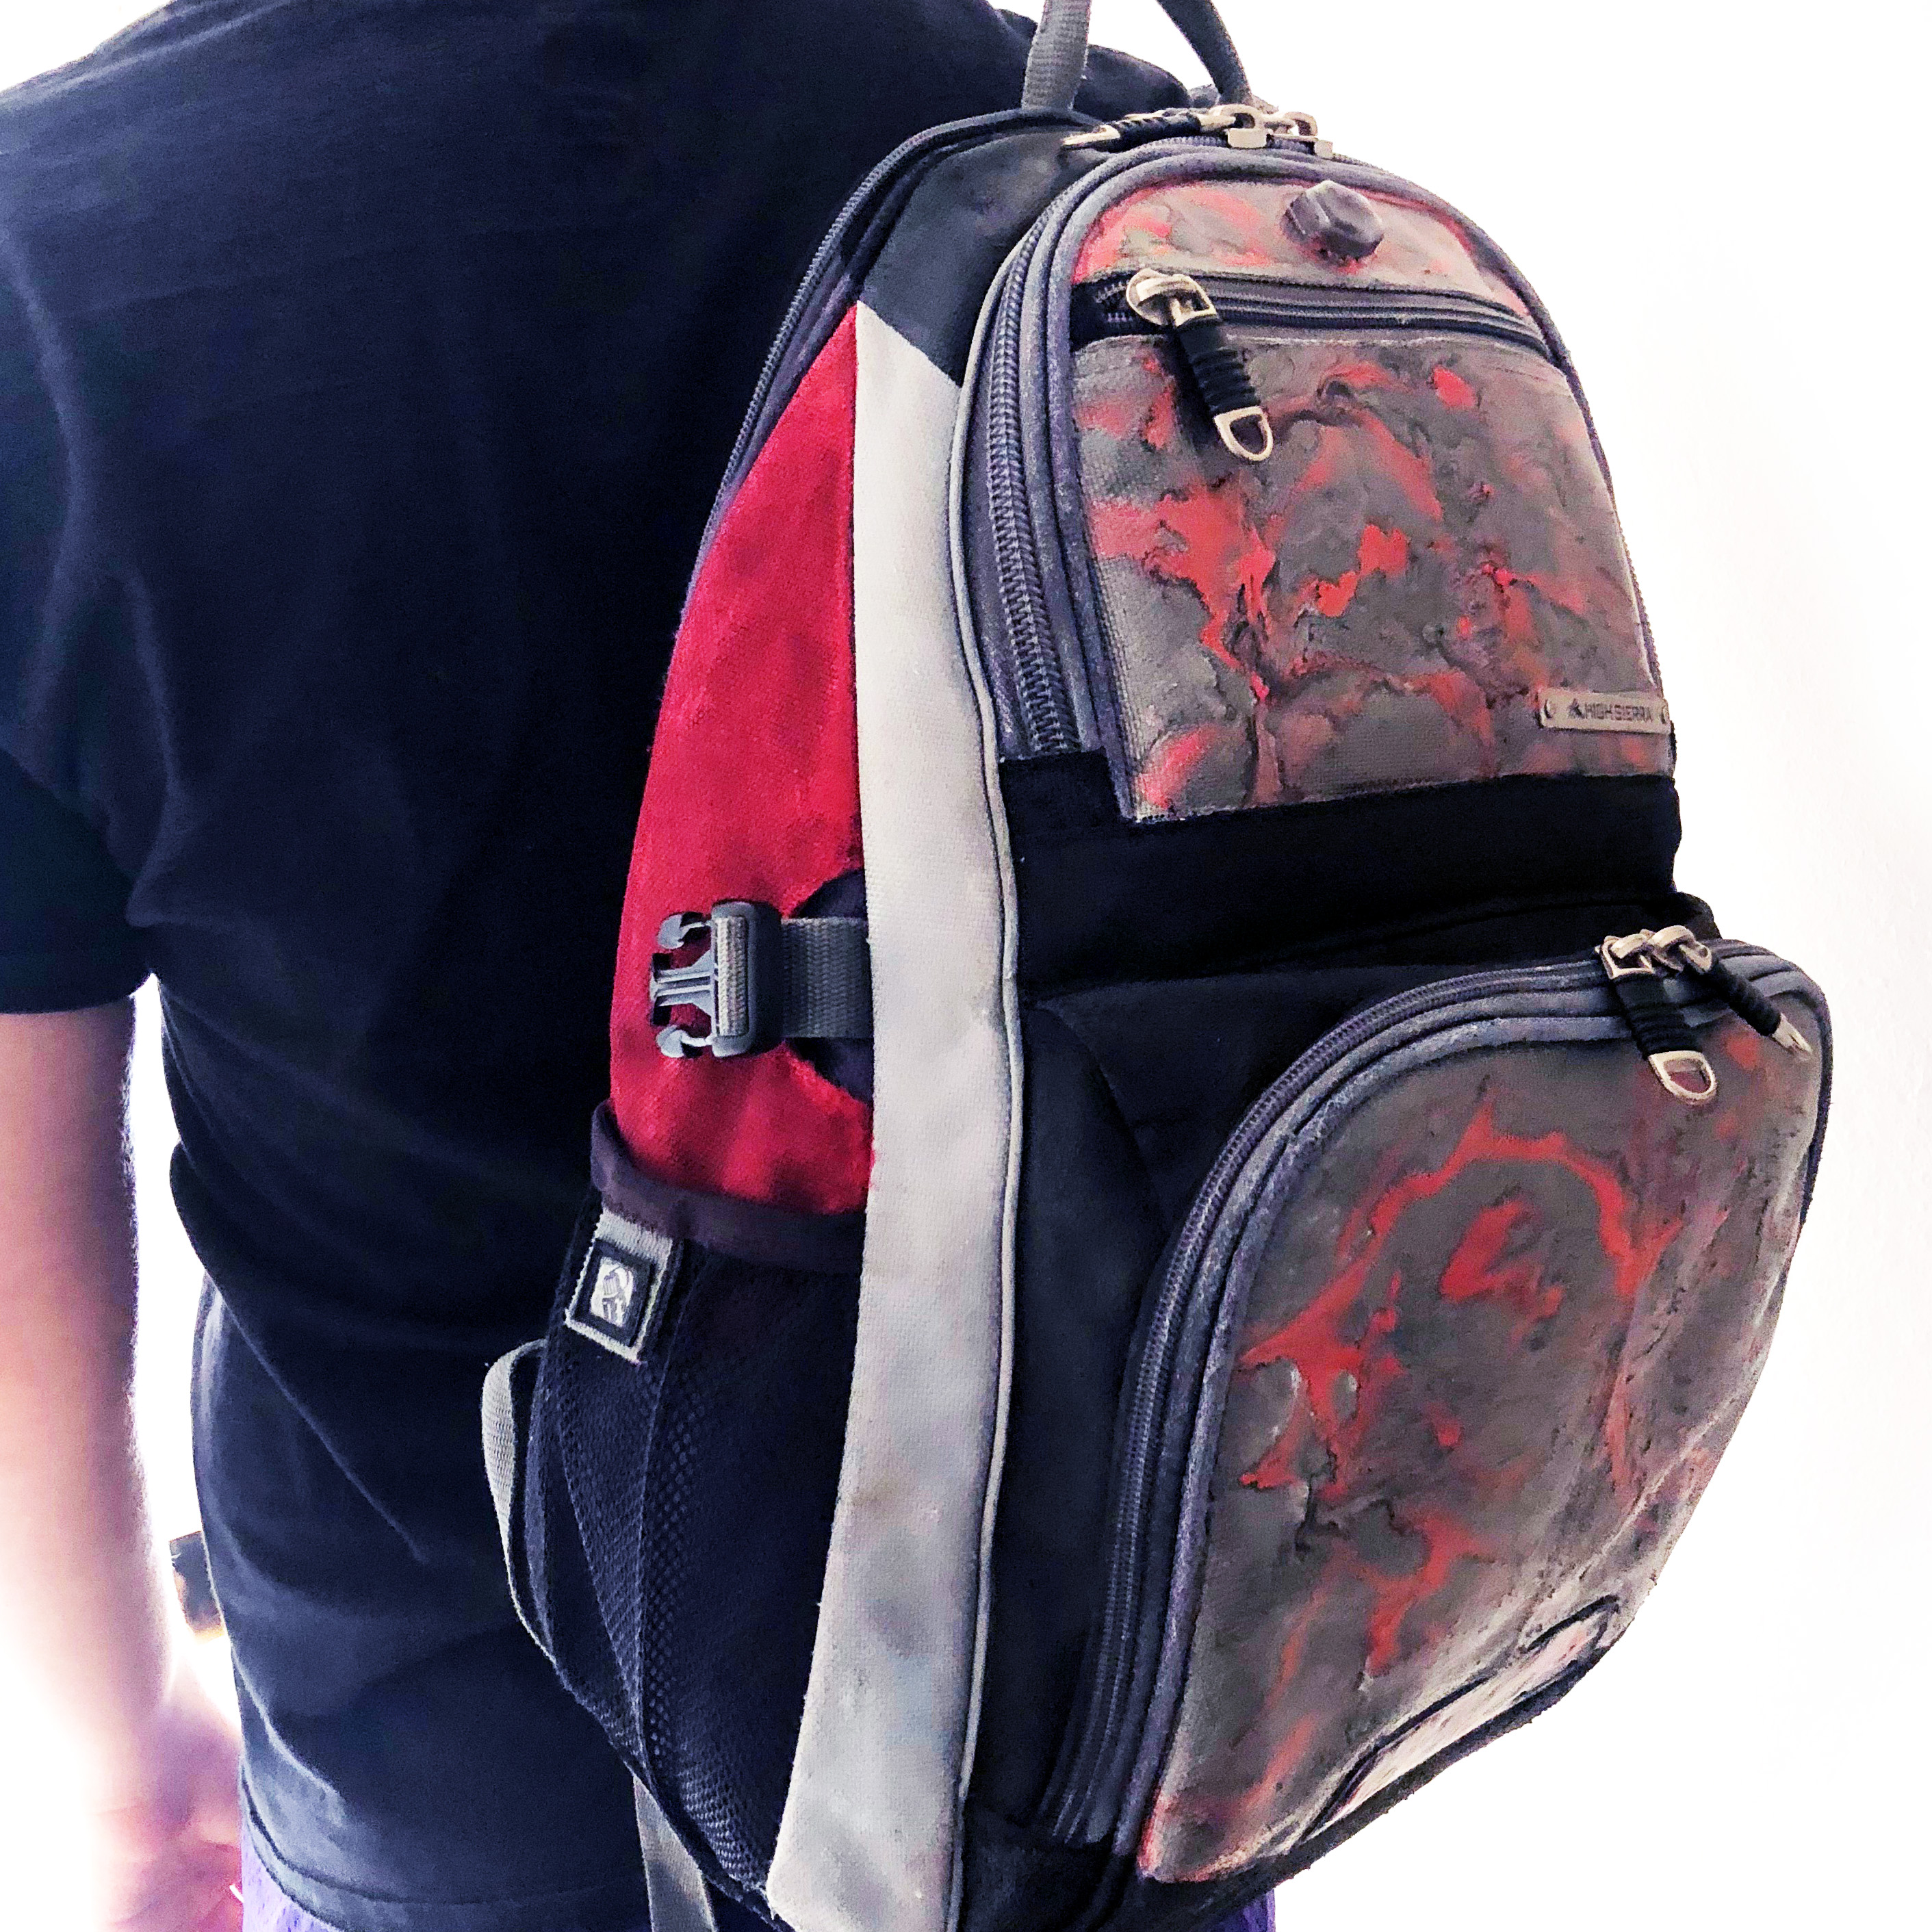
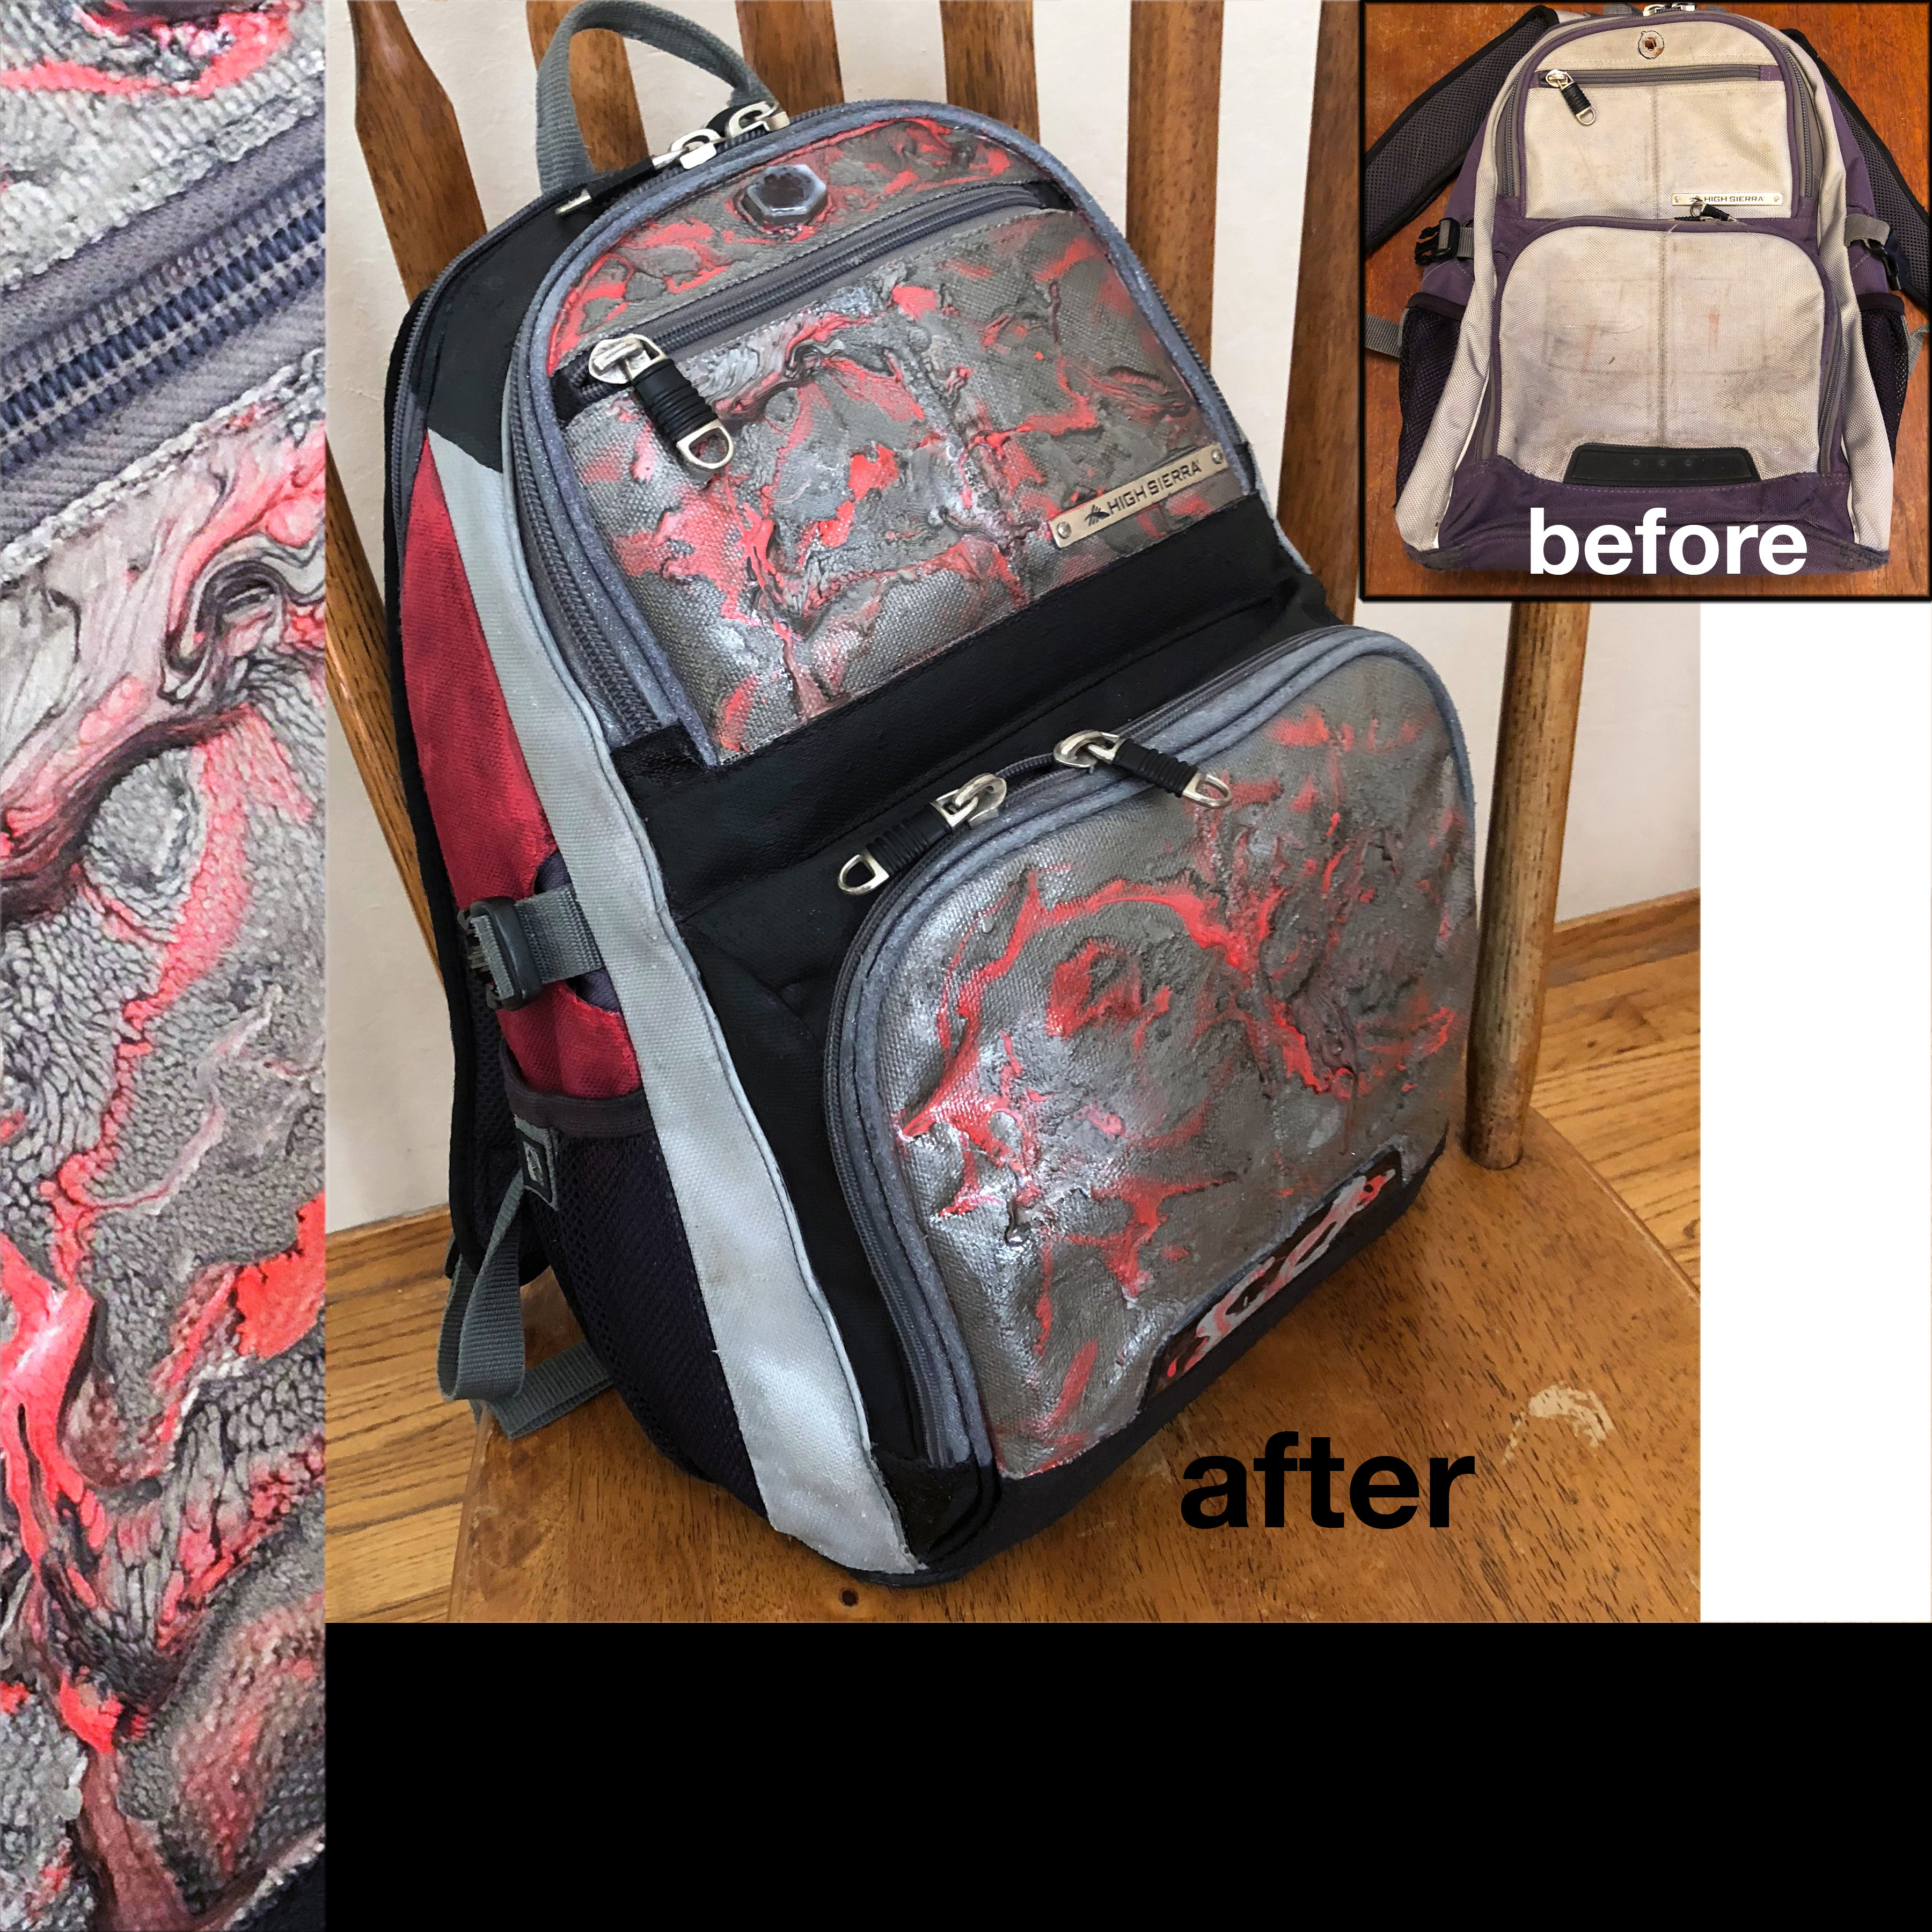
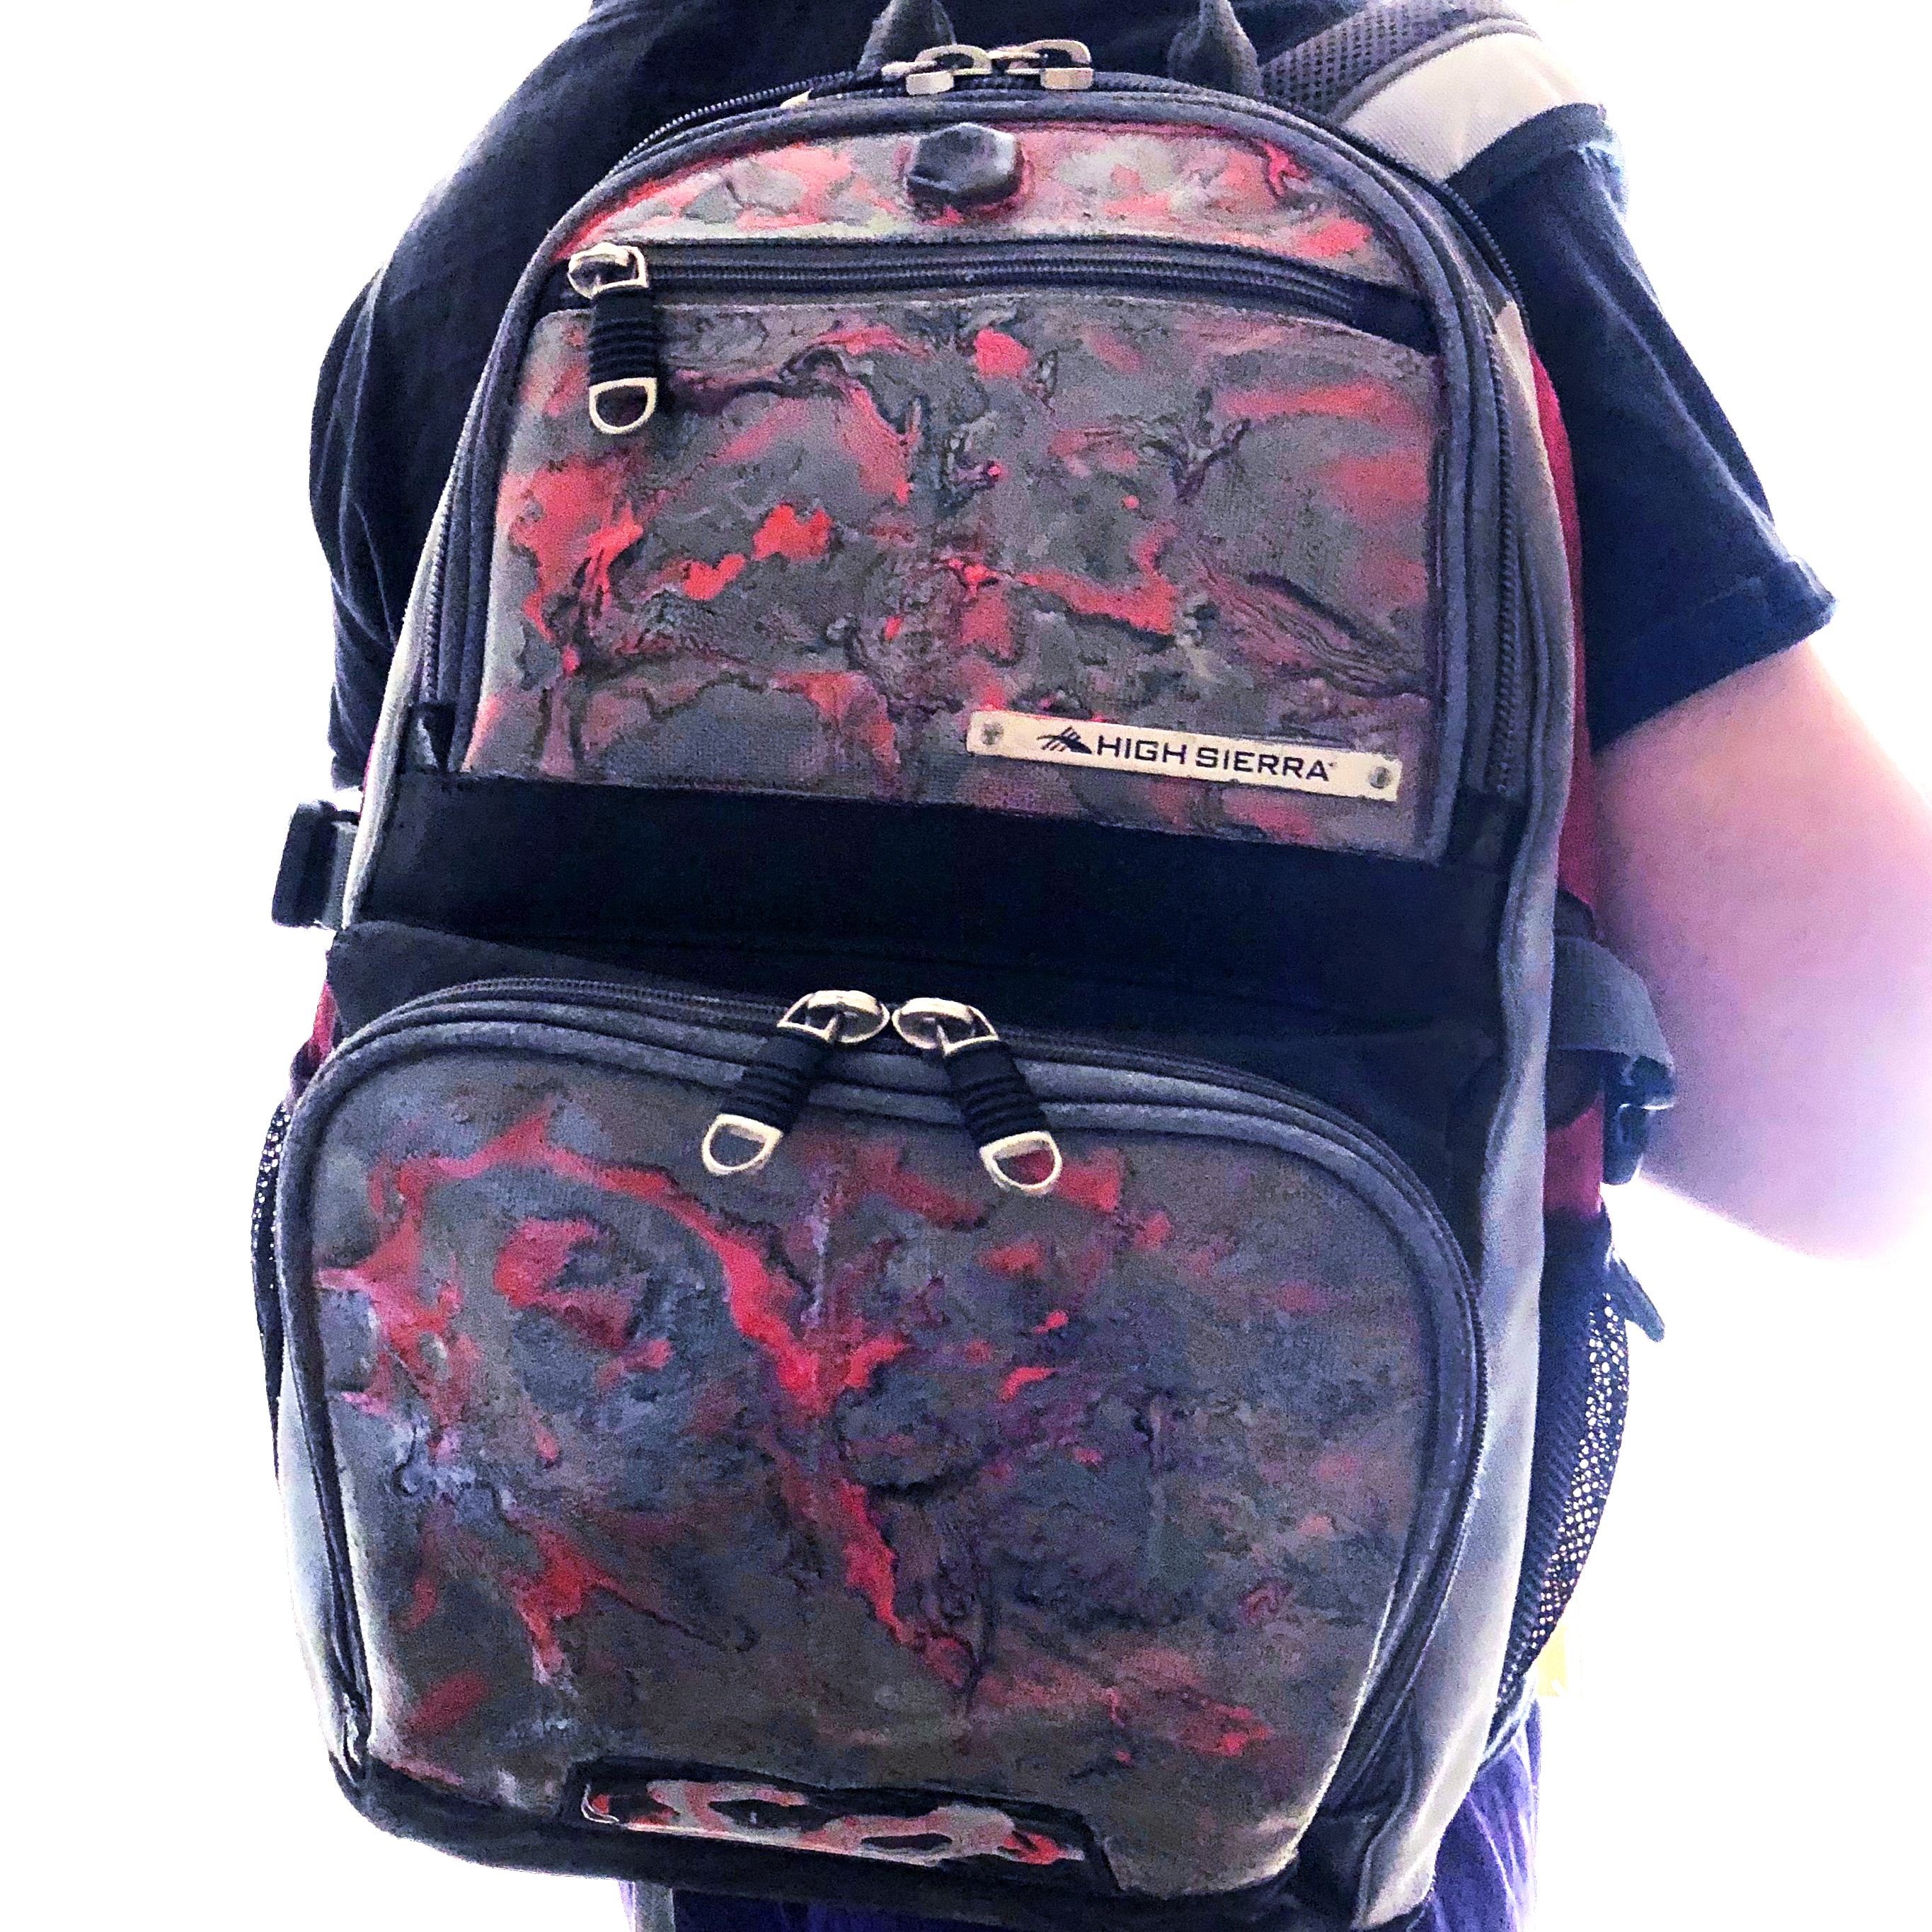
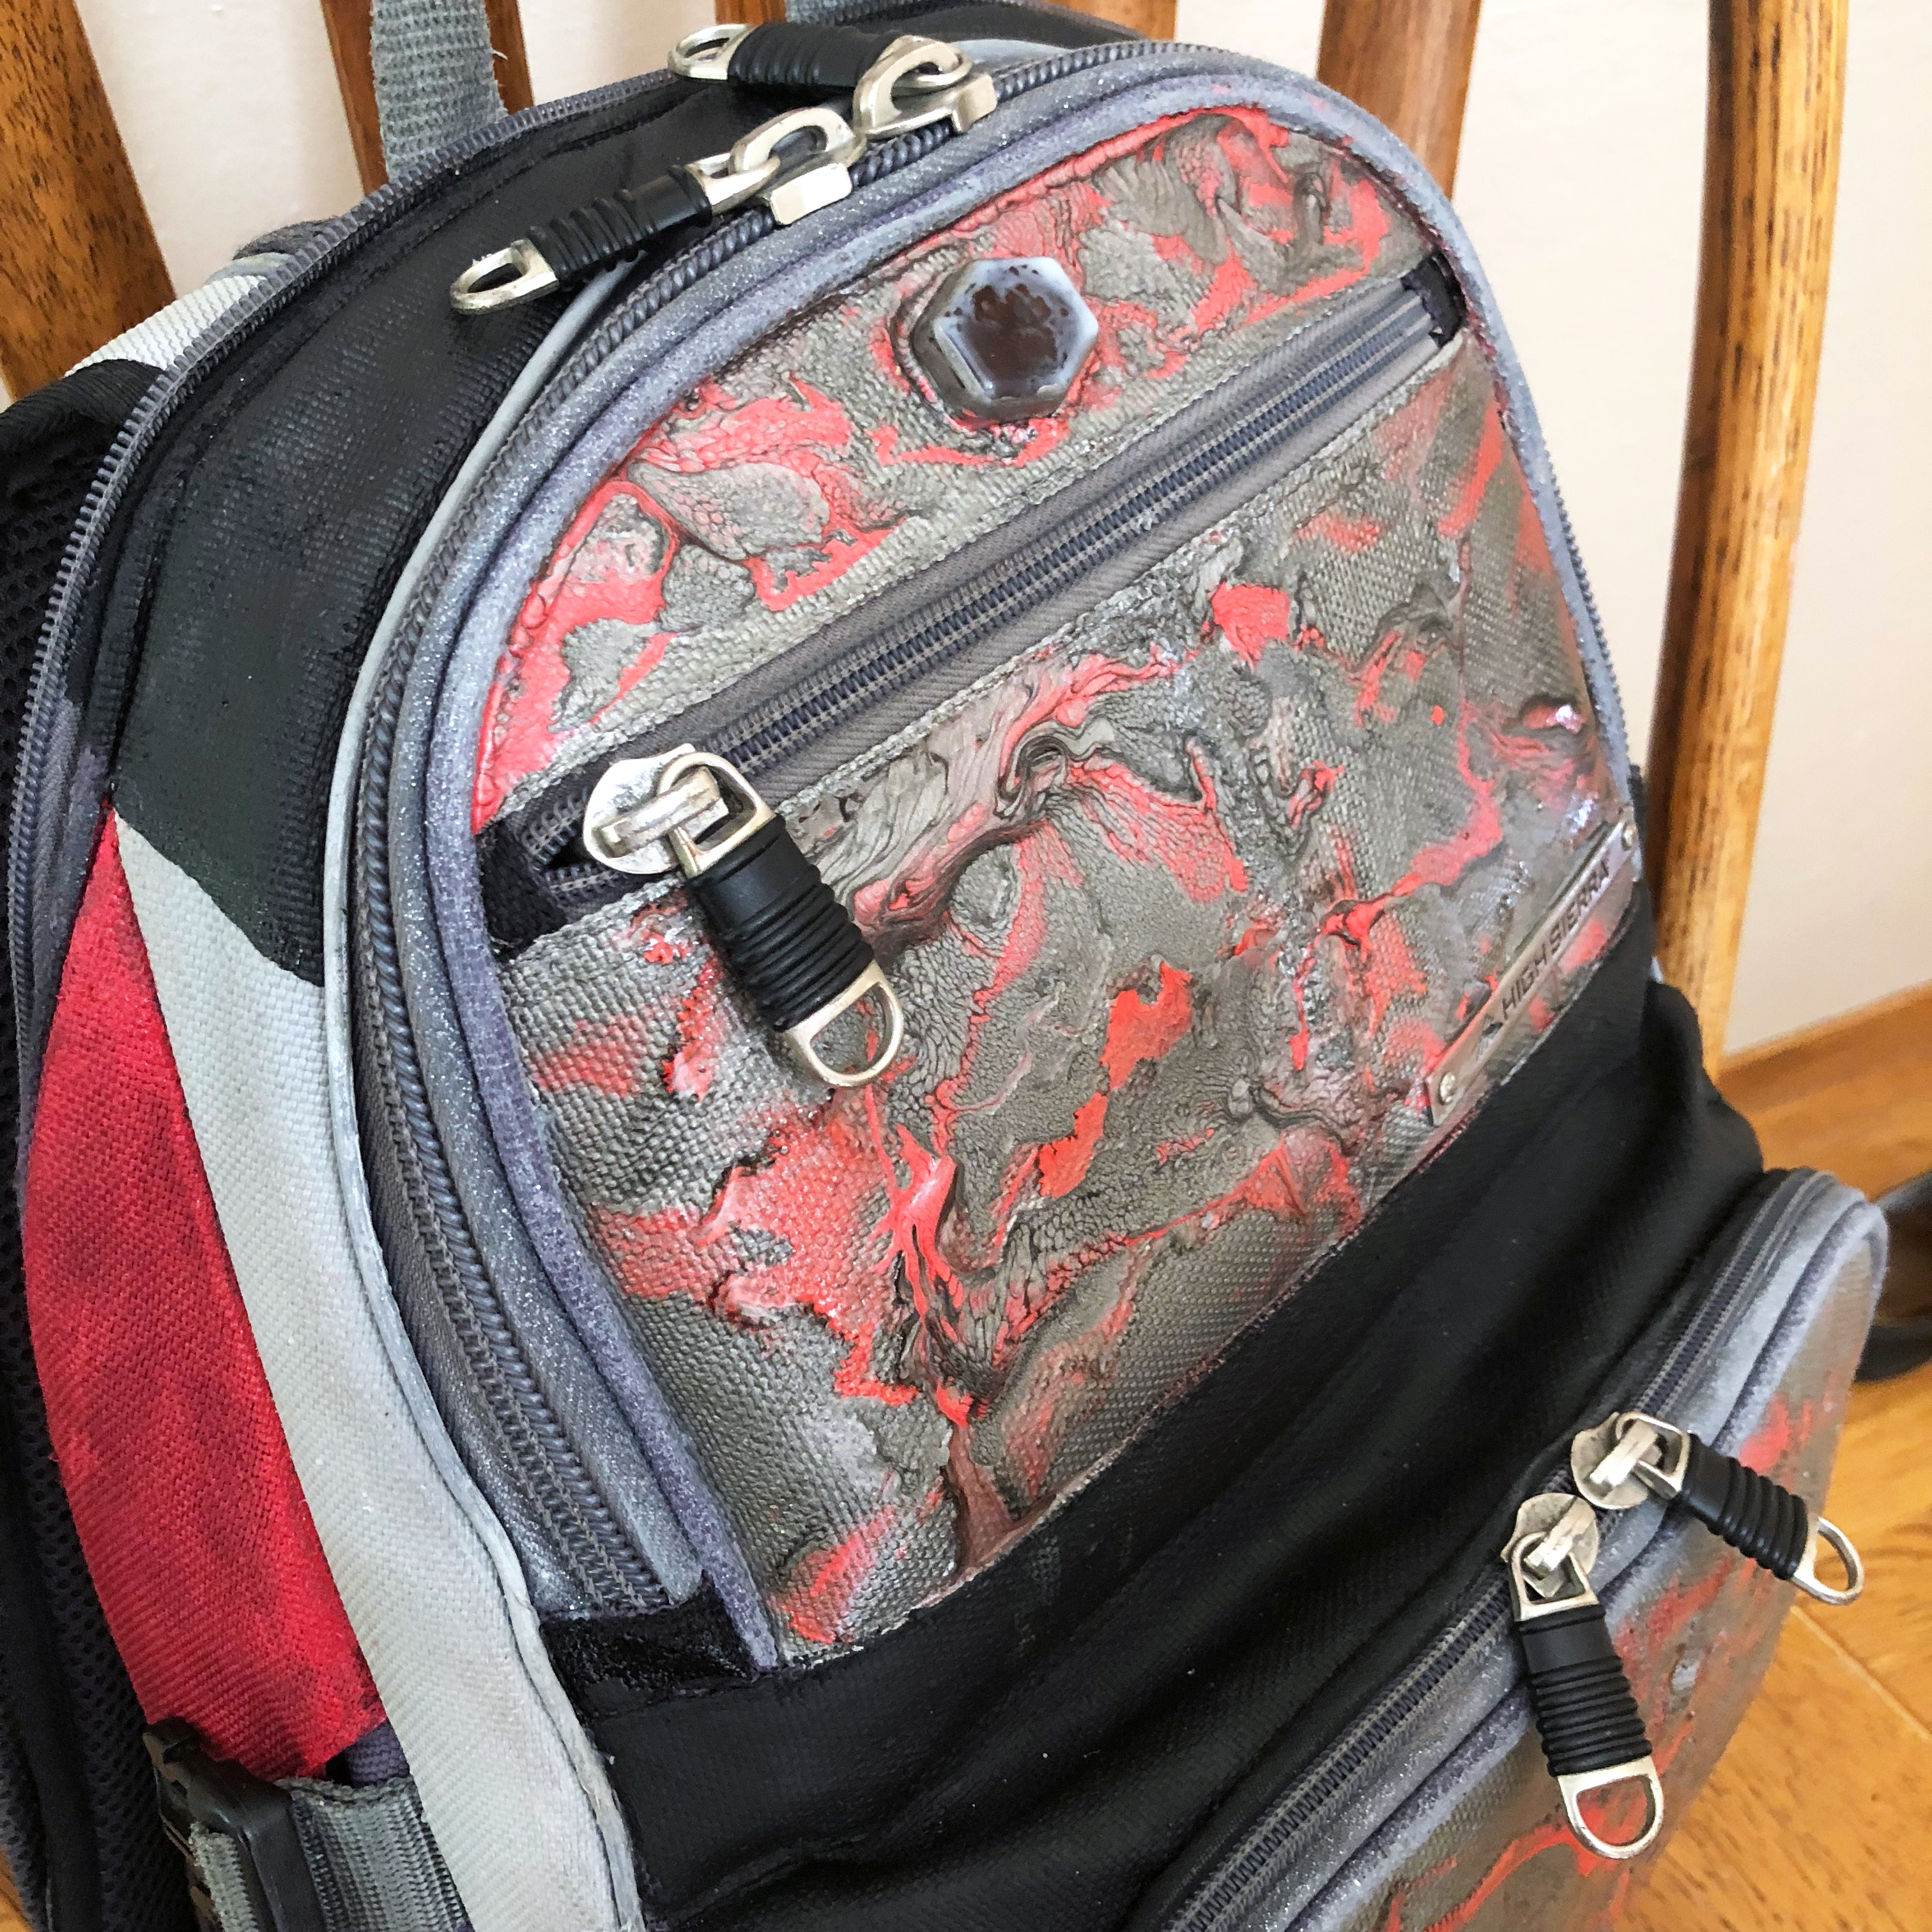
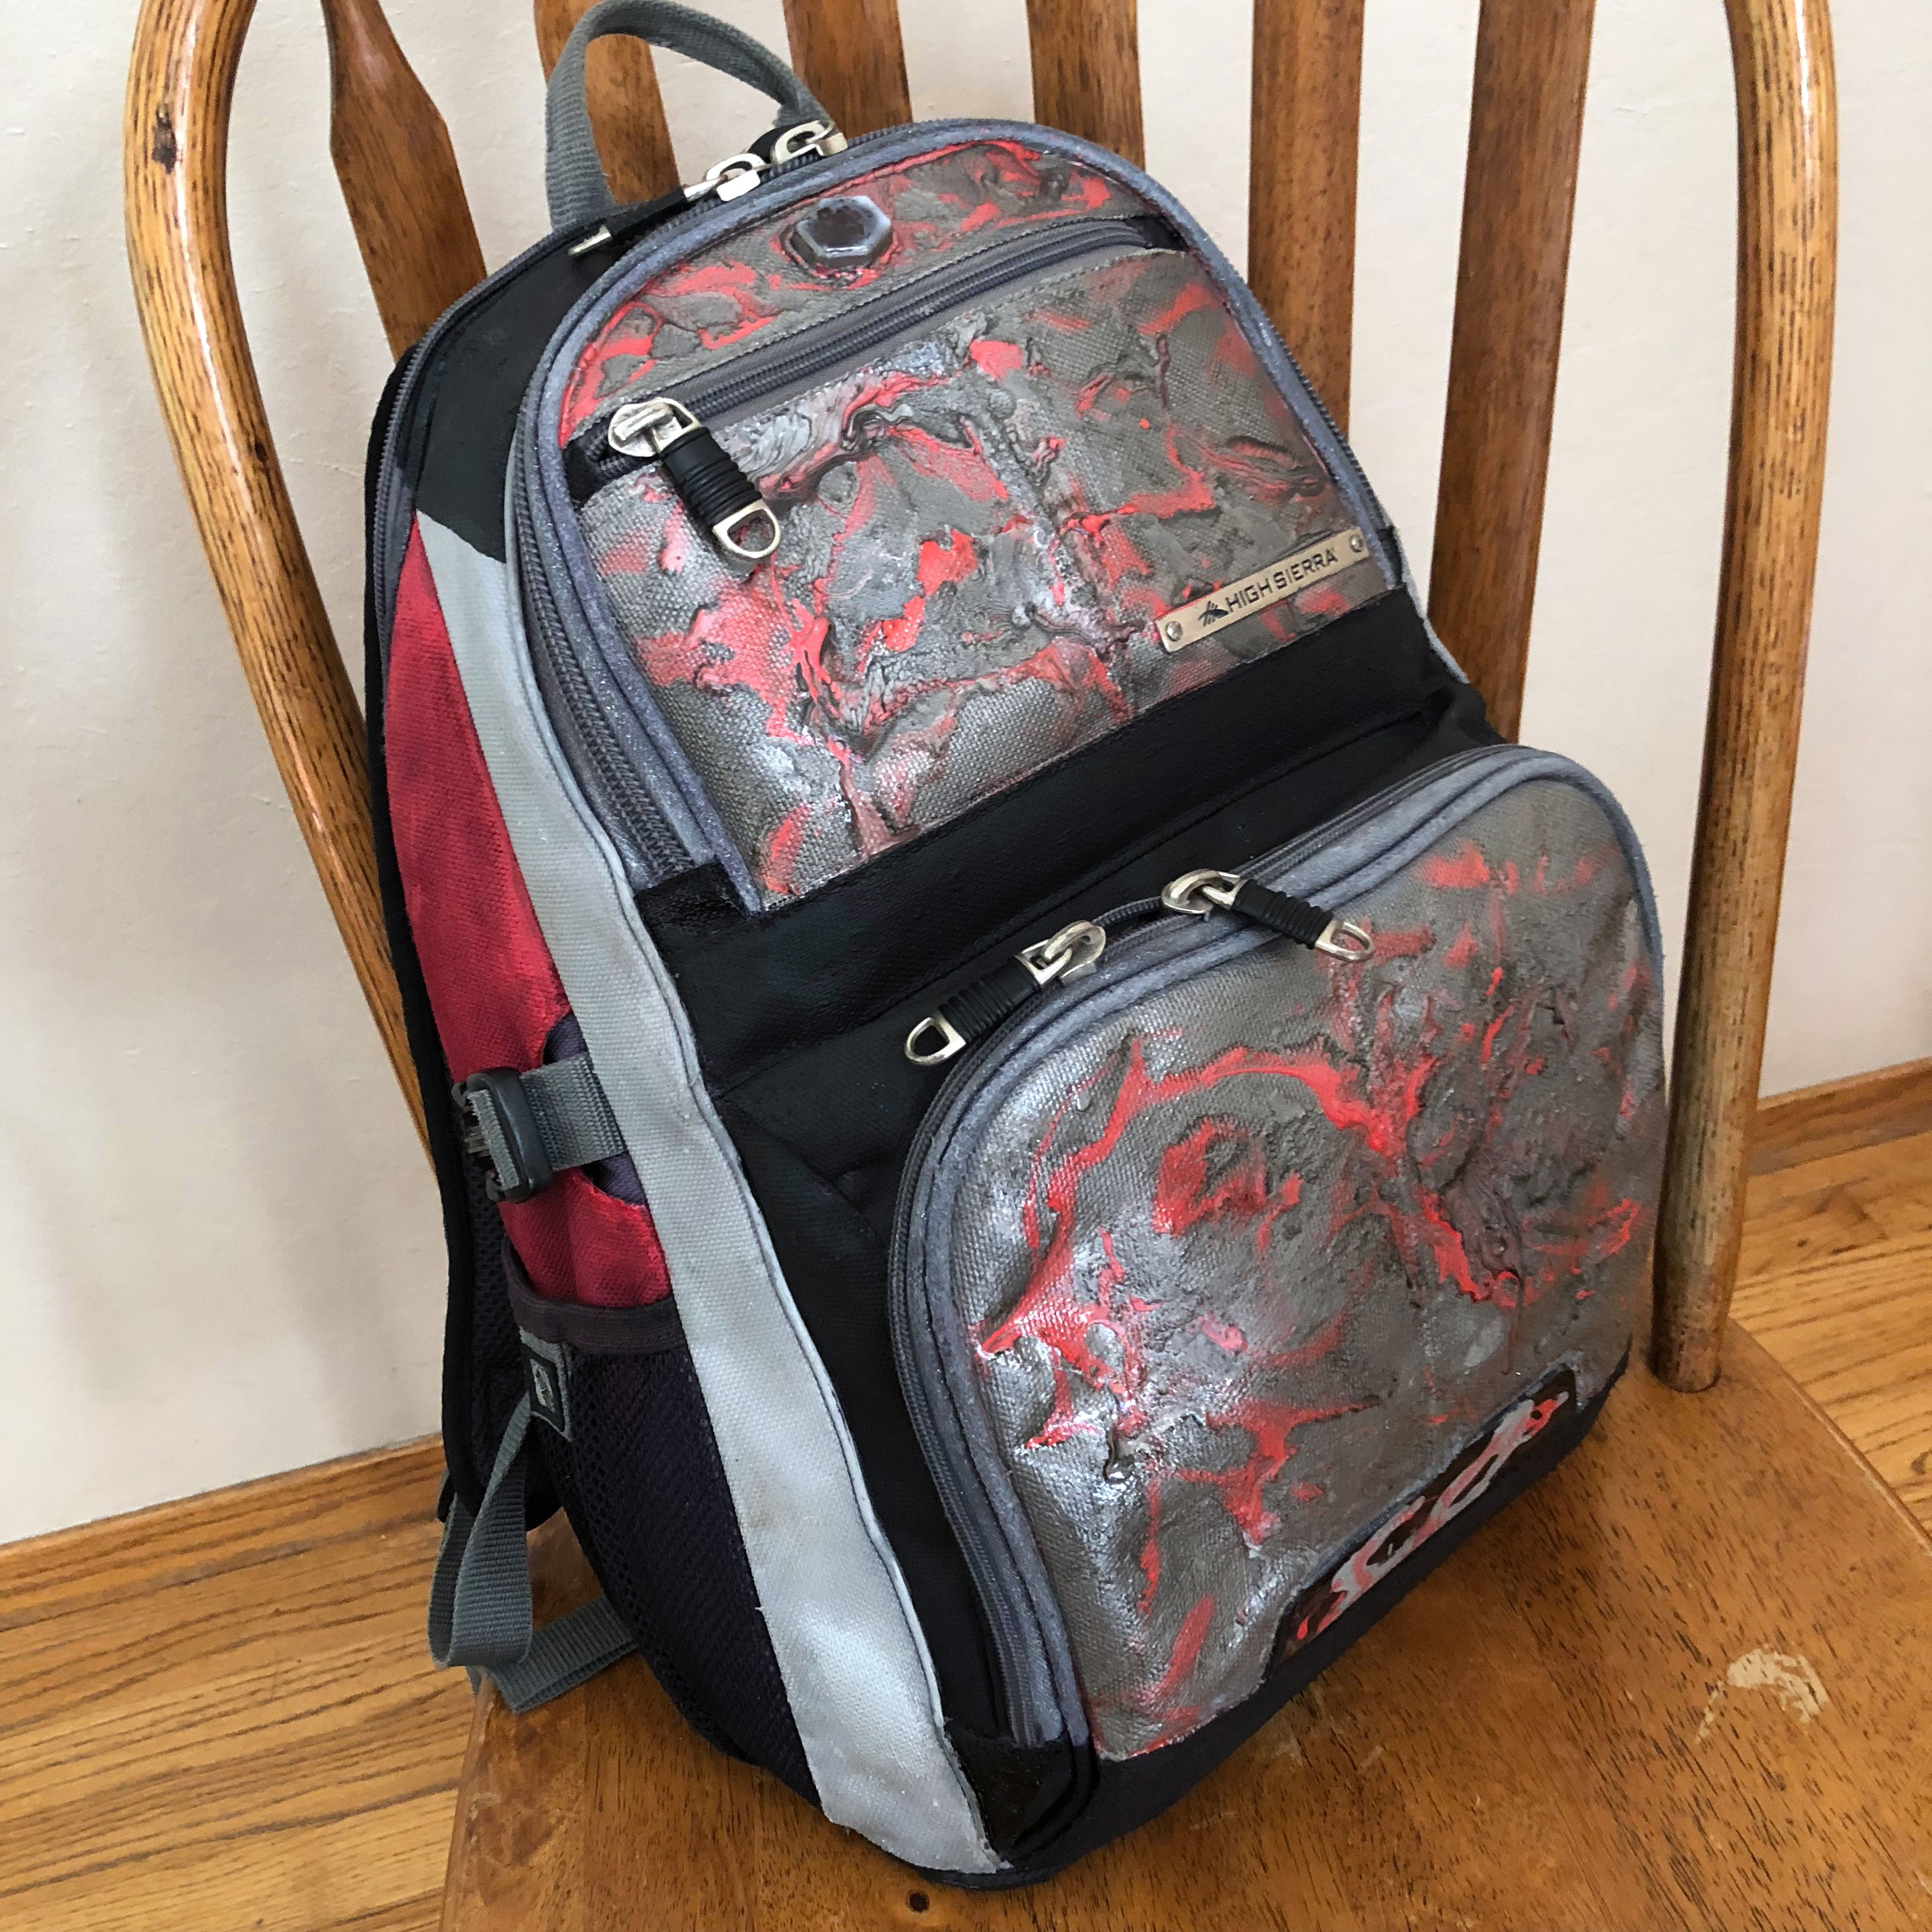
My son's travel backpack had been with him all over the US and half a dozen other countries, but was clearly ready to be thrown out. It had missing pieces and holes and looked like it had travelled the world. He was bummed to give it up, but being a compulsive maker-mom I saw an opportunity. I'd try to bring his favorite backpack back to life, and maybe even better than before.
Here's the whole process of how I made his backpack go from dead to dope.
What You Will Need
This is an overview of supplies. They may change depending on what you need to fix on your own backpack. I'll go over exactly what I used at each stage so you can go through the same process if you want.
An old backpack worth saving
Acrylic medium or gesso
Acrylic gloss medium
Acrylic paints (I used red, black, and silver)
Pebeo reactive prism paints (I used onyx and red)
Black enamel paint or nail polish
Epoxy or polyester resin
Resin colorant (I used black and white alcohol inks and silver powder)
Resin mold
E 6000 glue
Brushes
Stirring sticks, toothpicks, mixing cups
Packing materials
Inspect & Assess
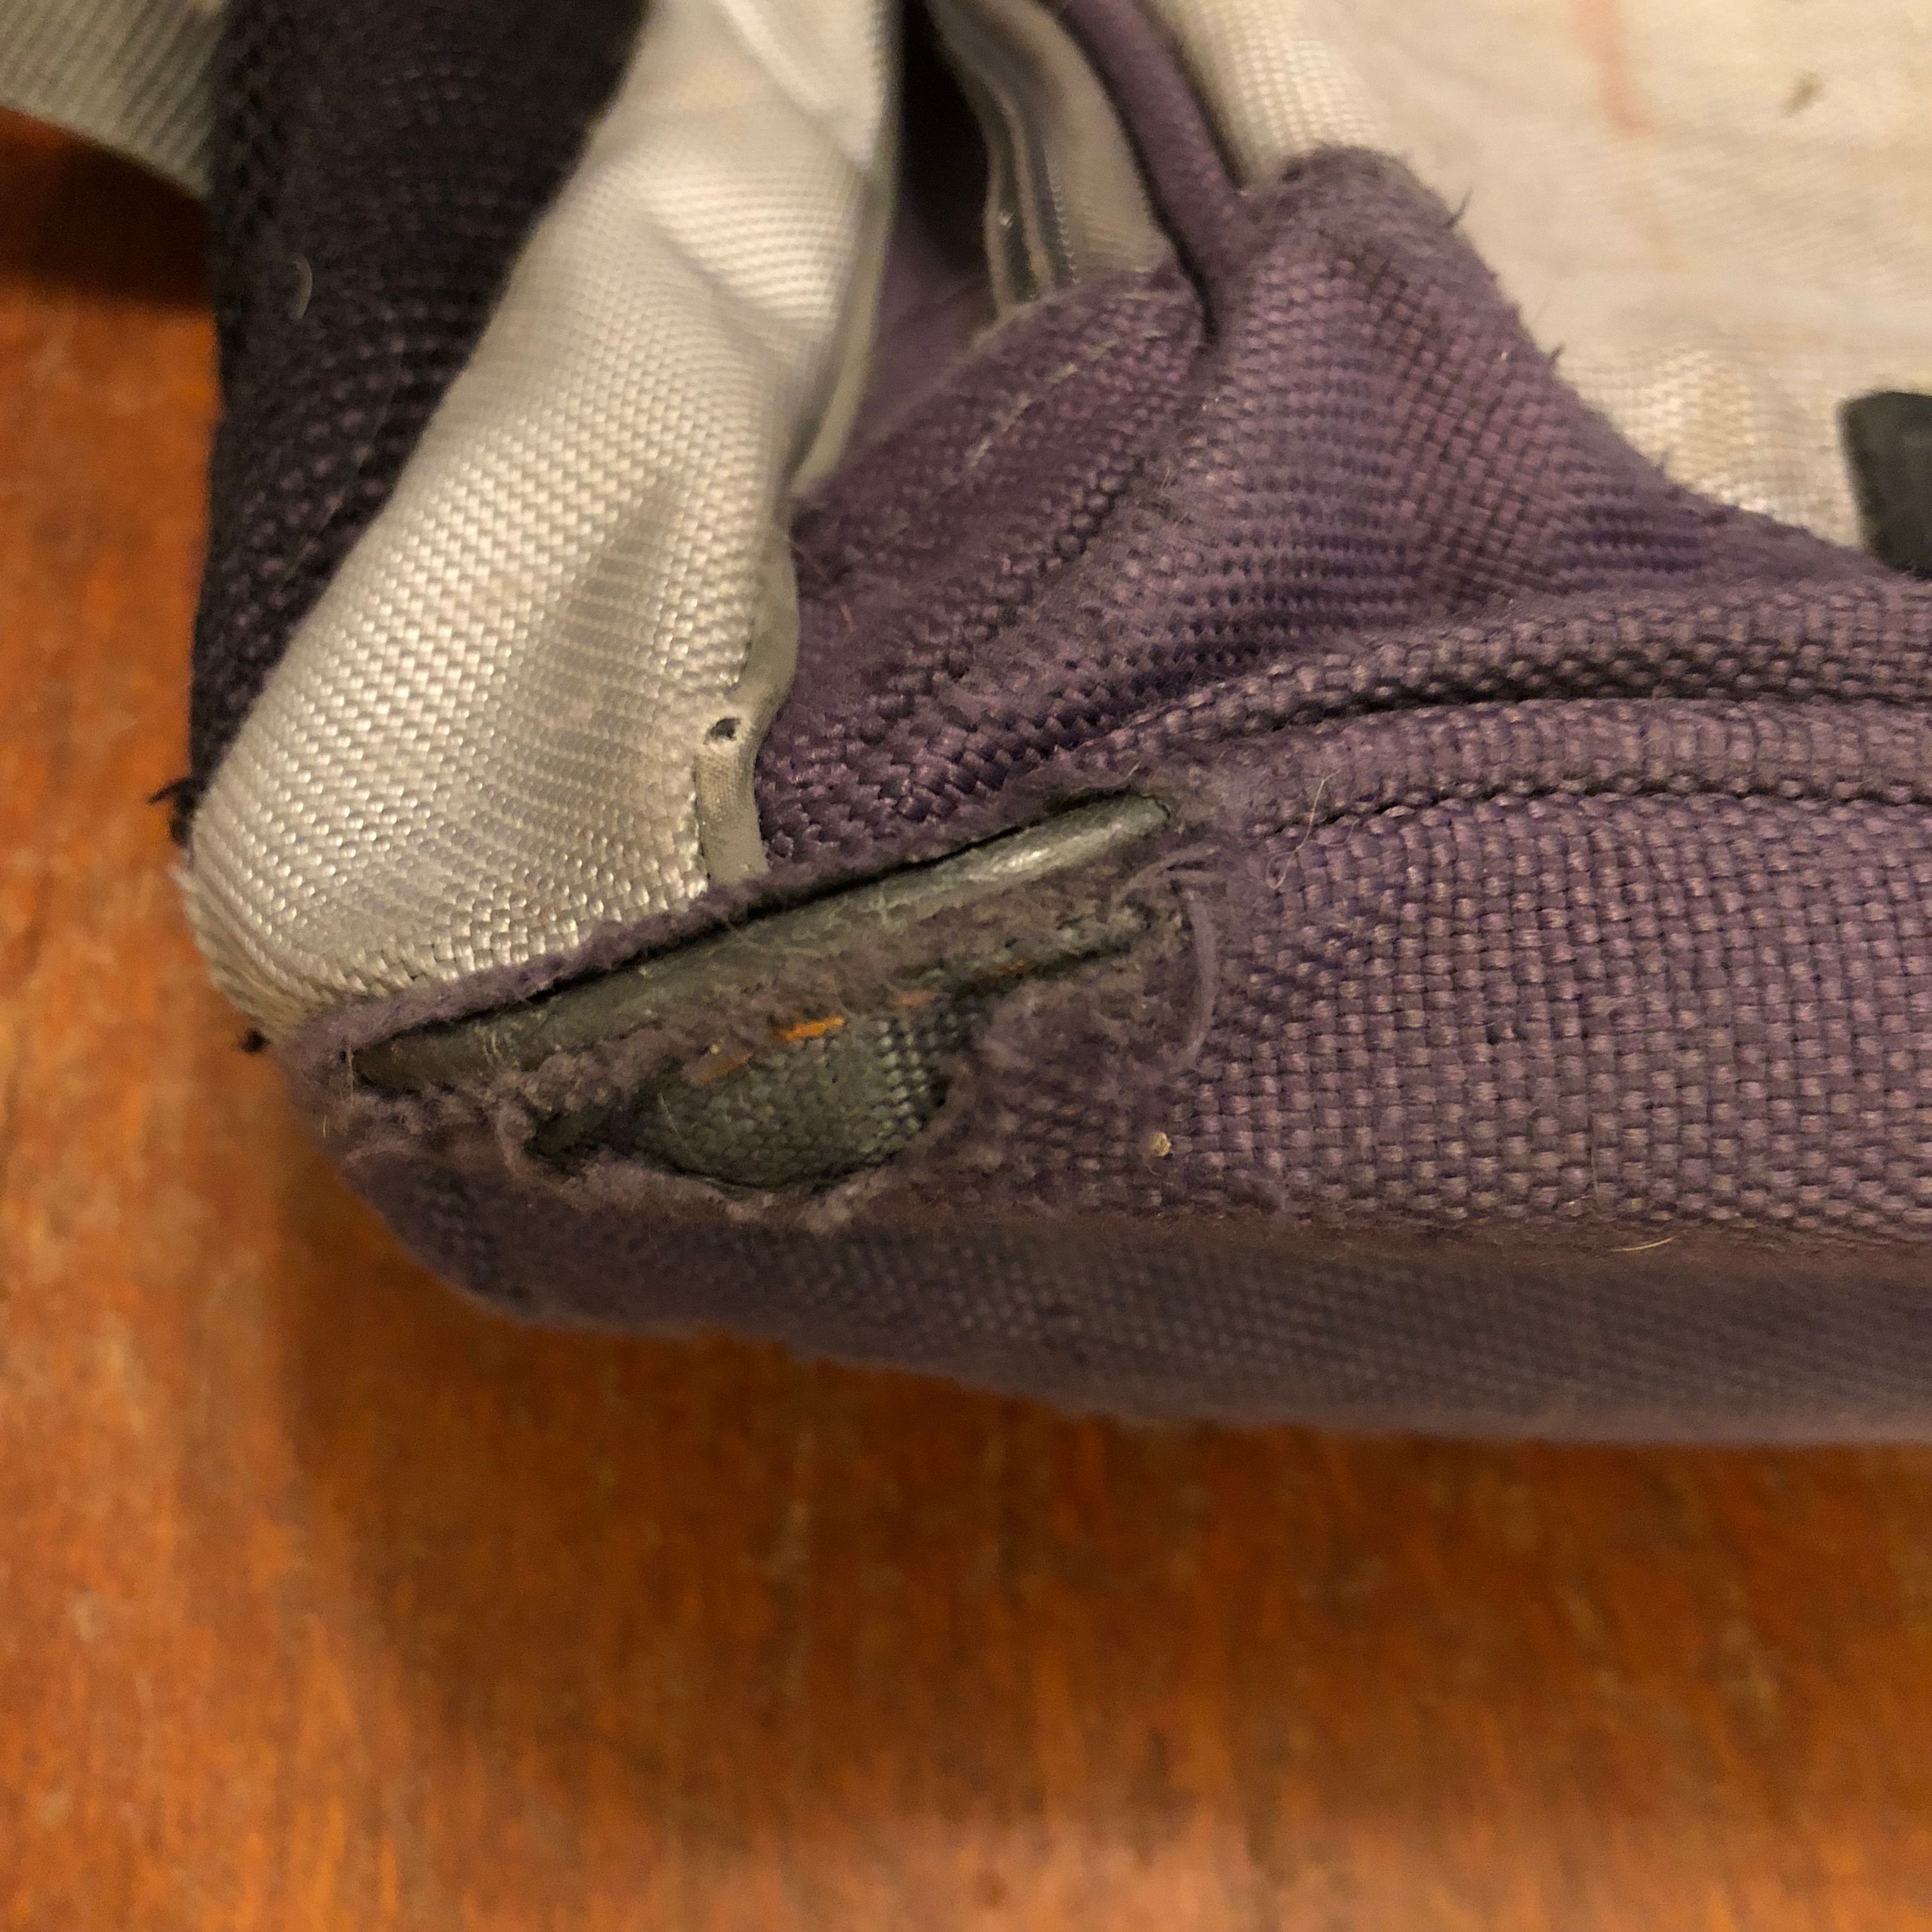
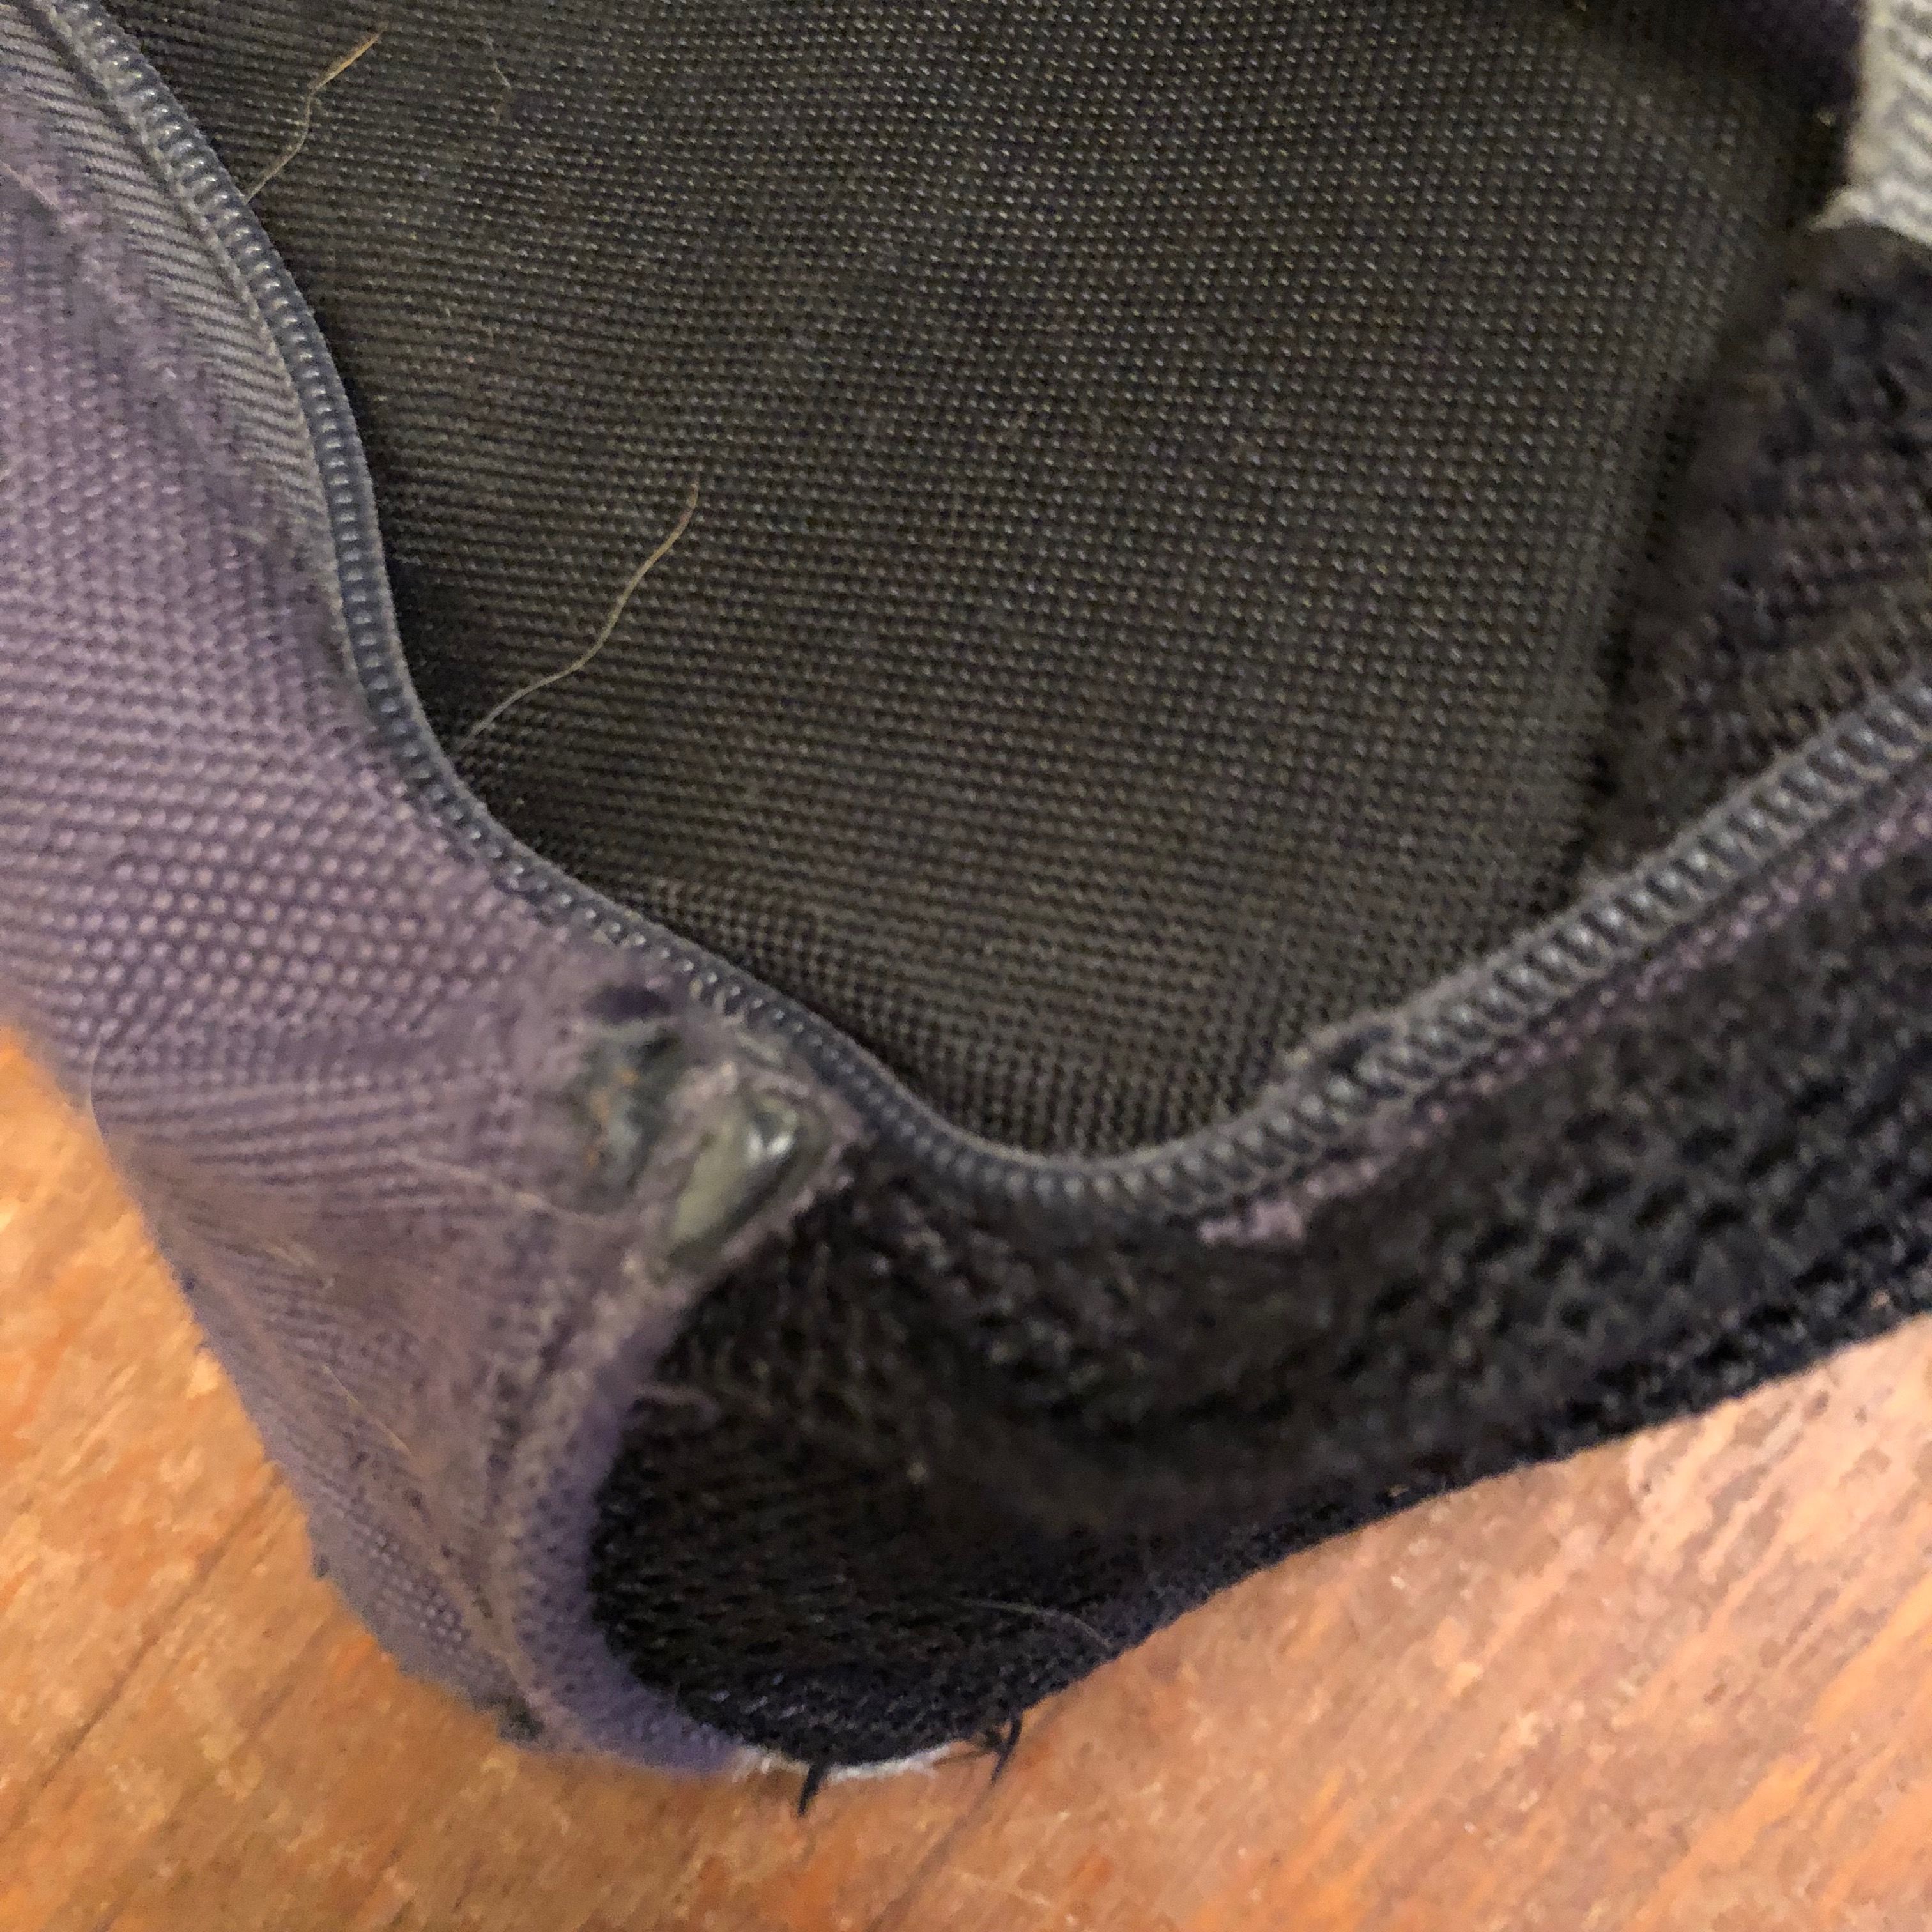
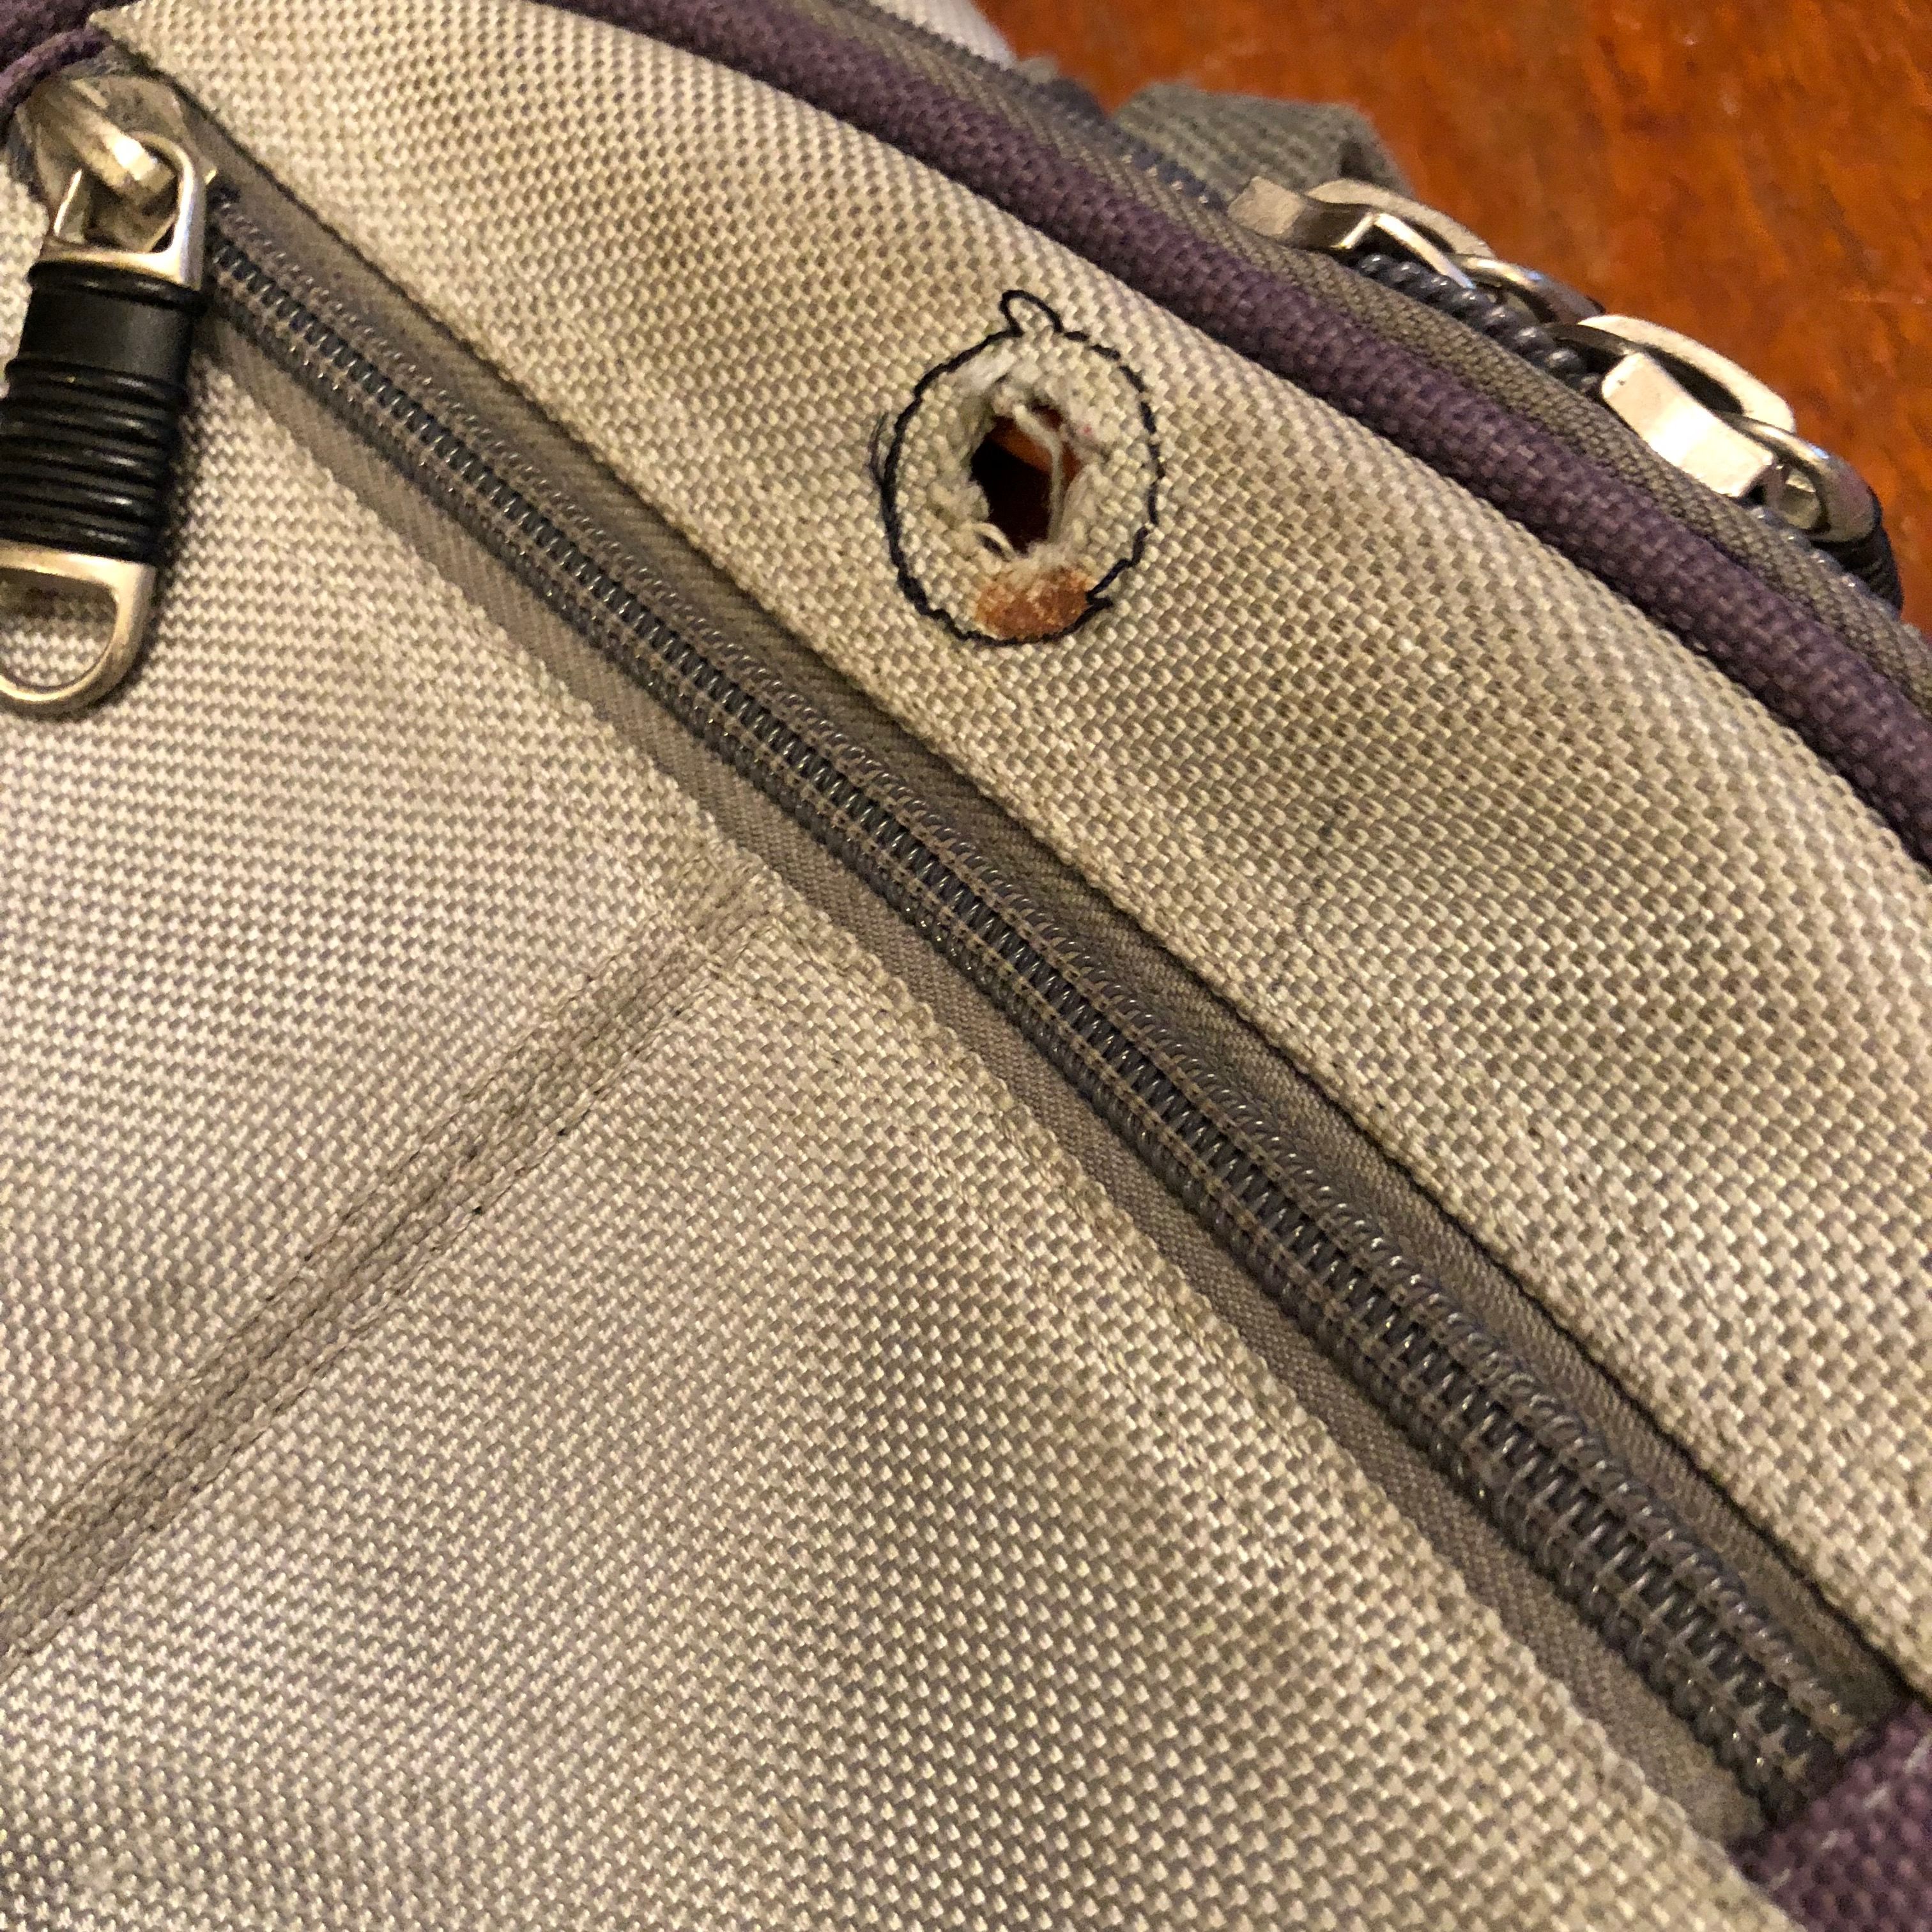
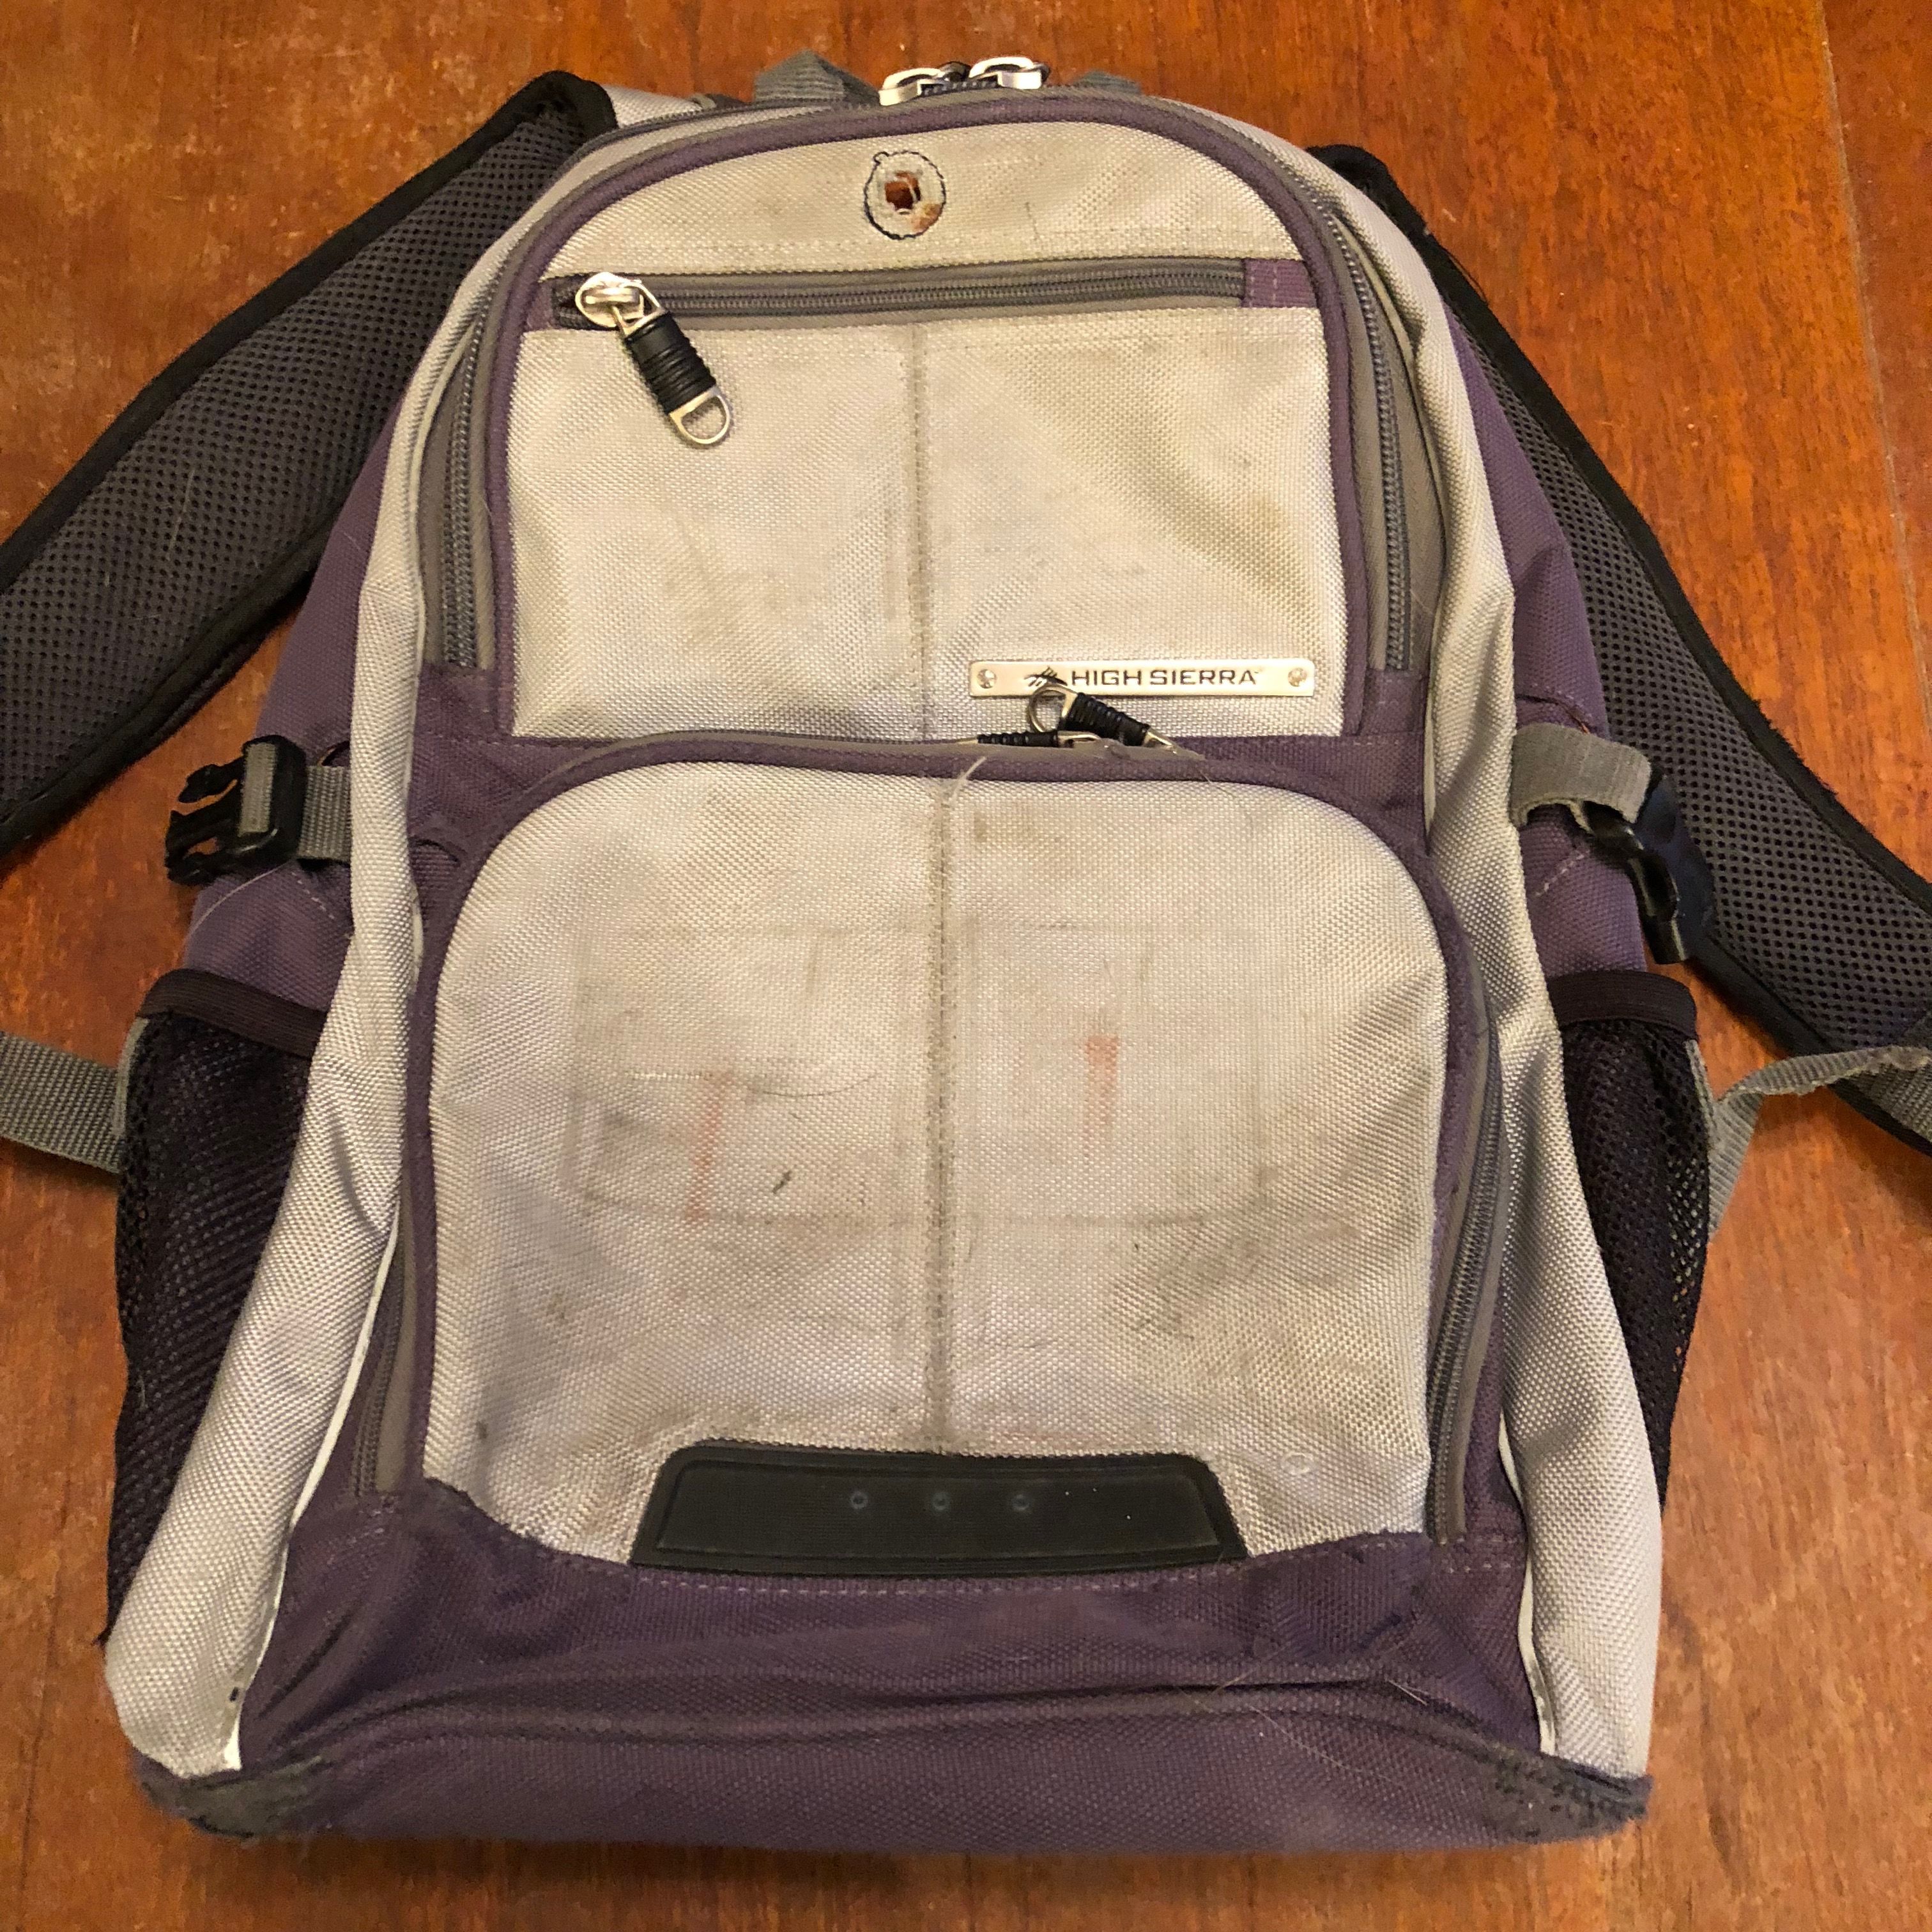
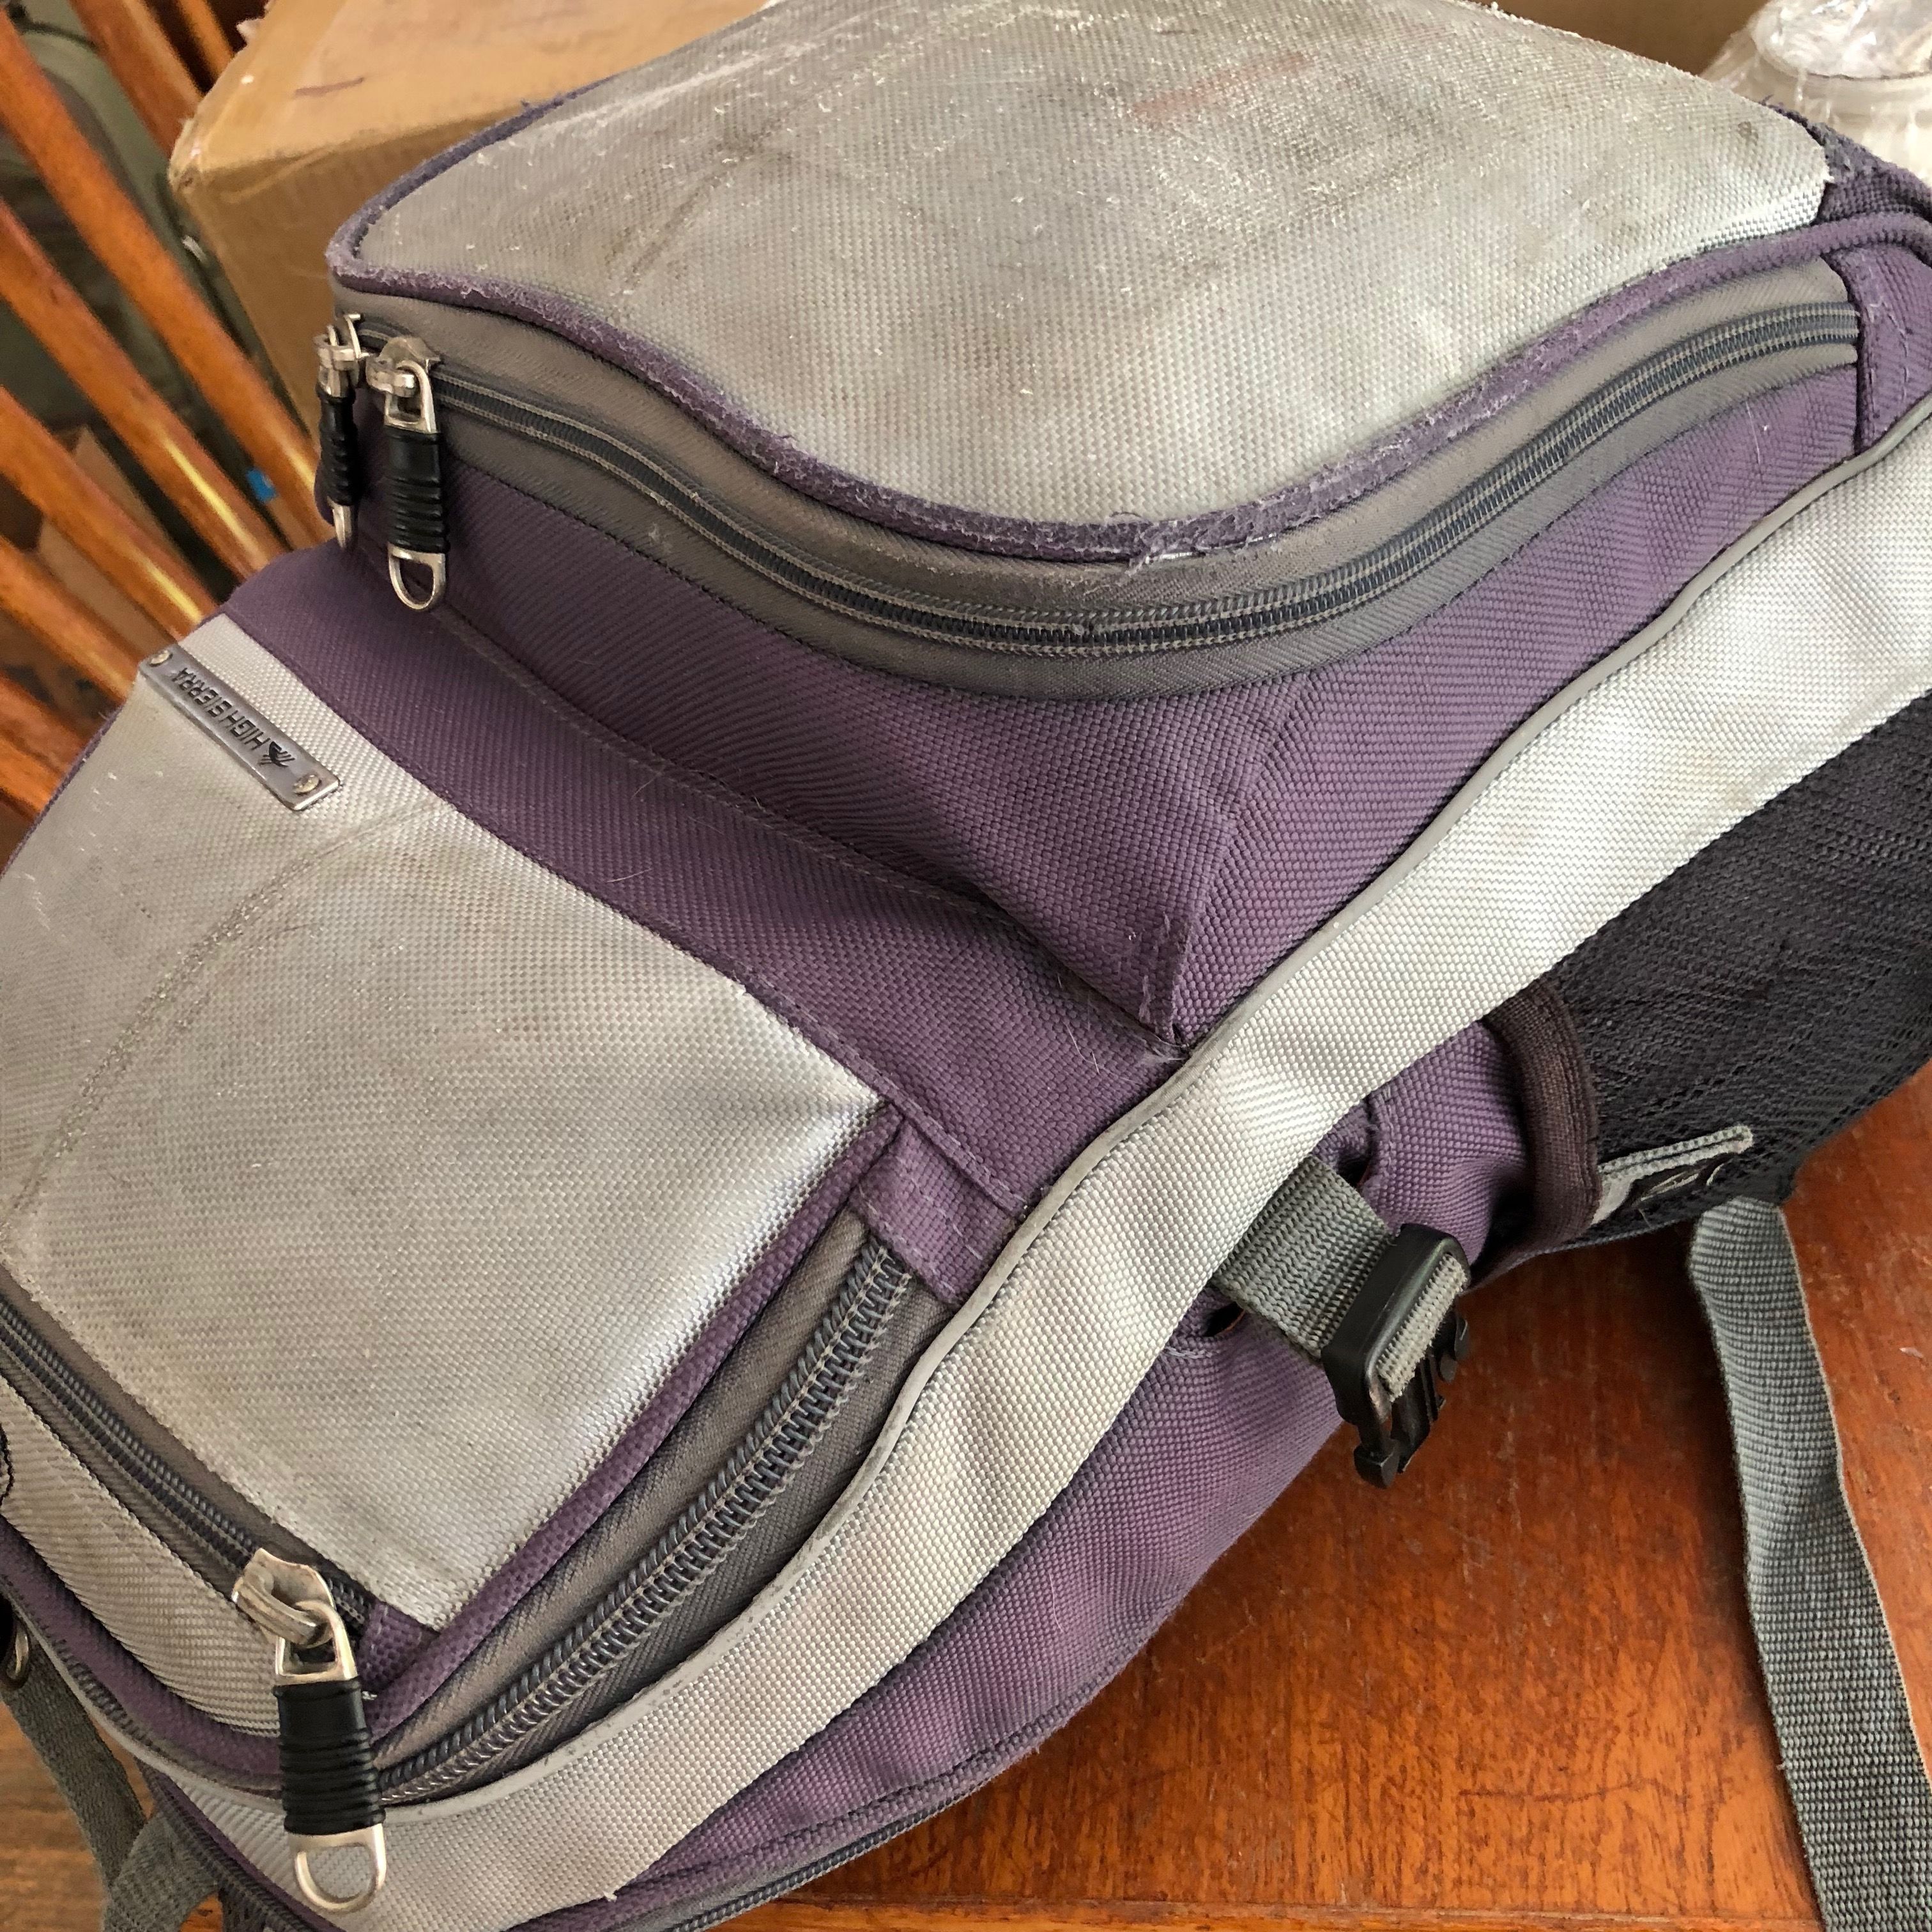
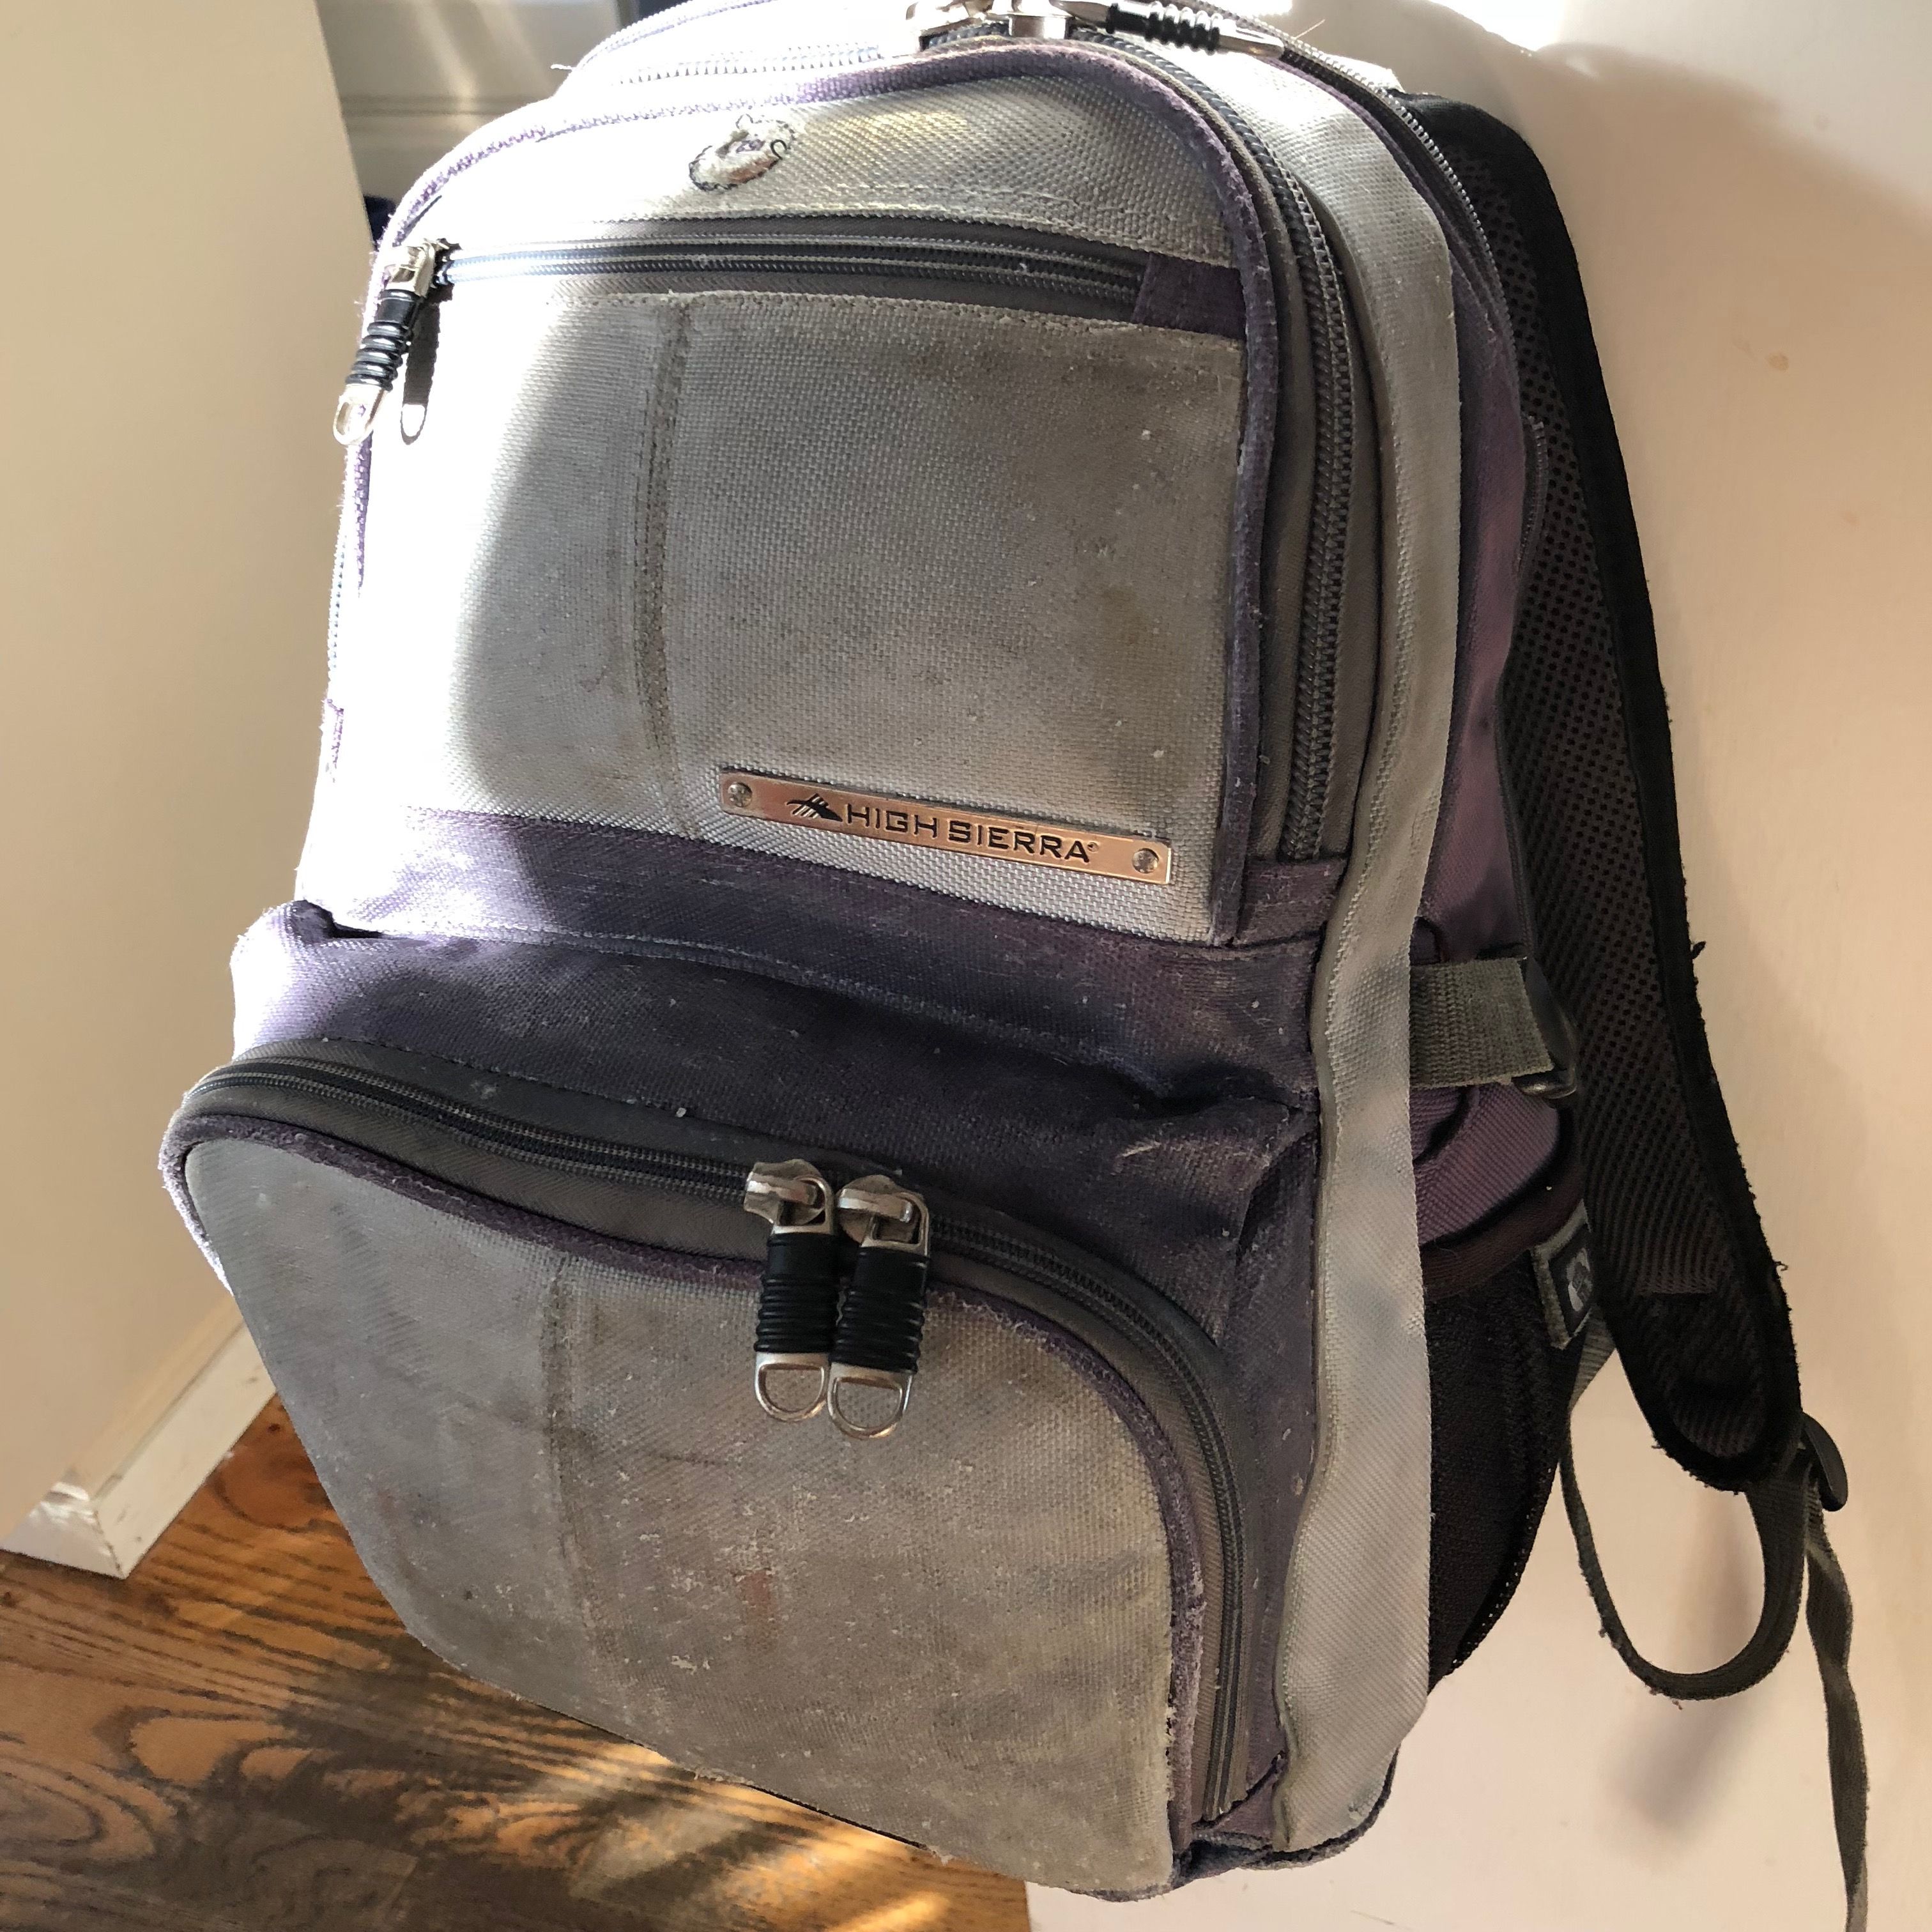
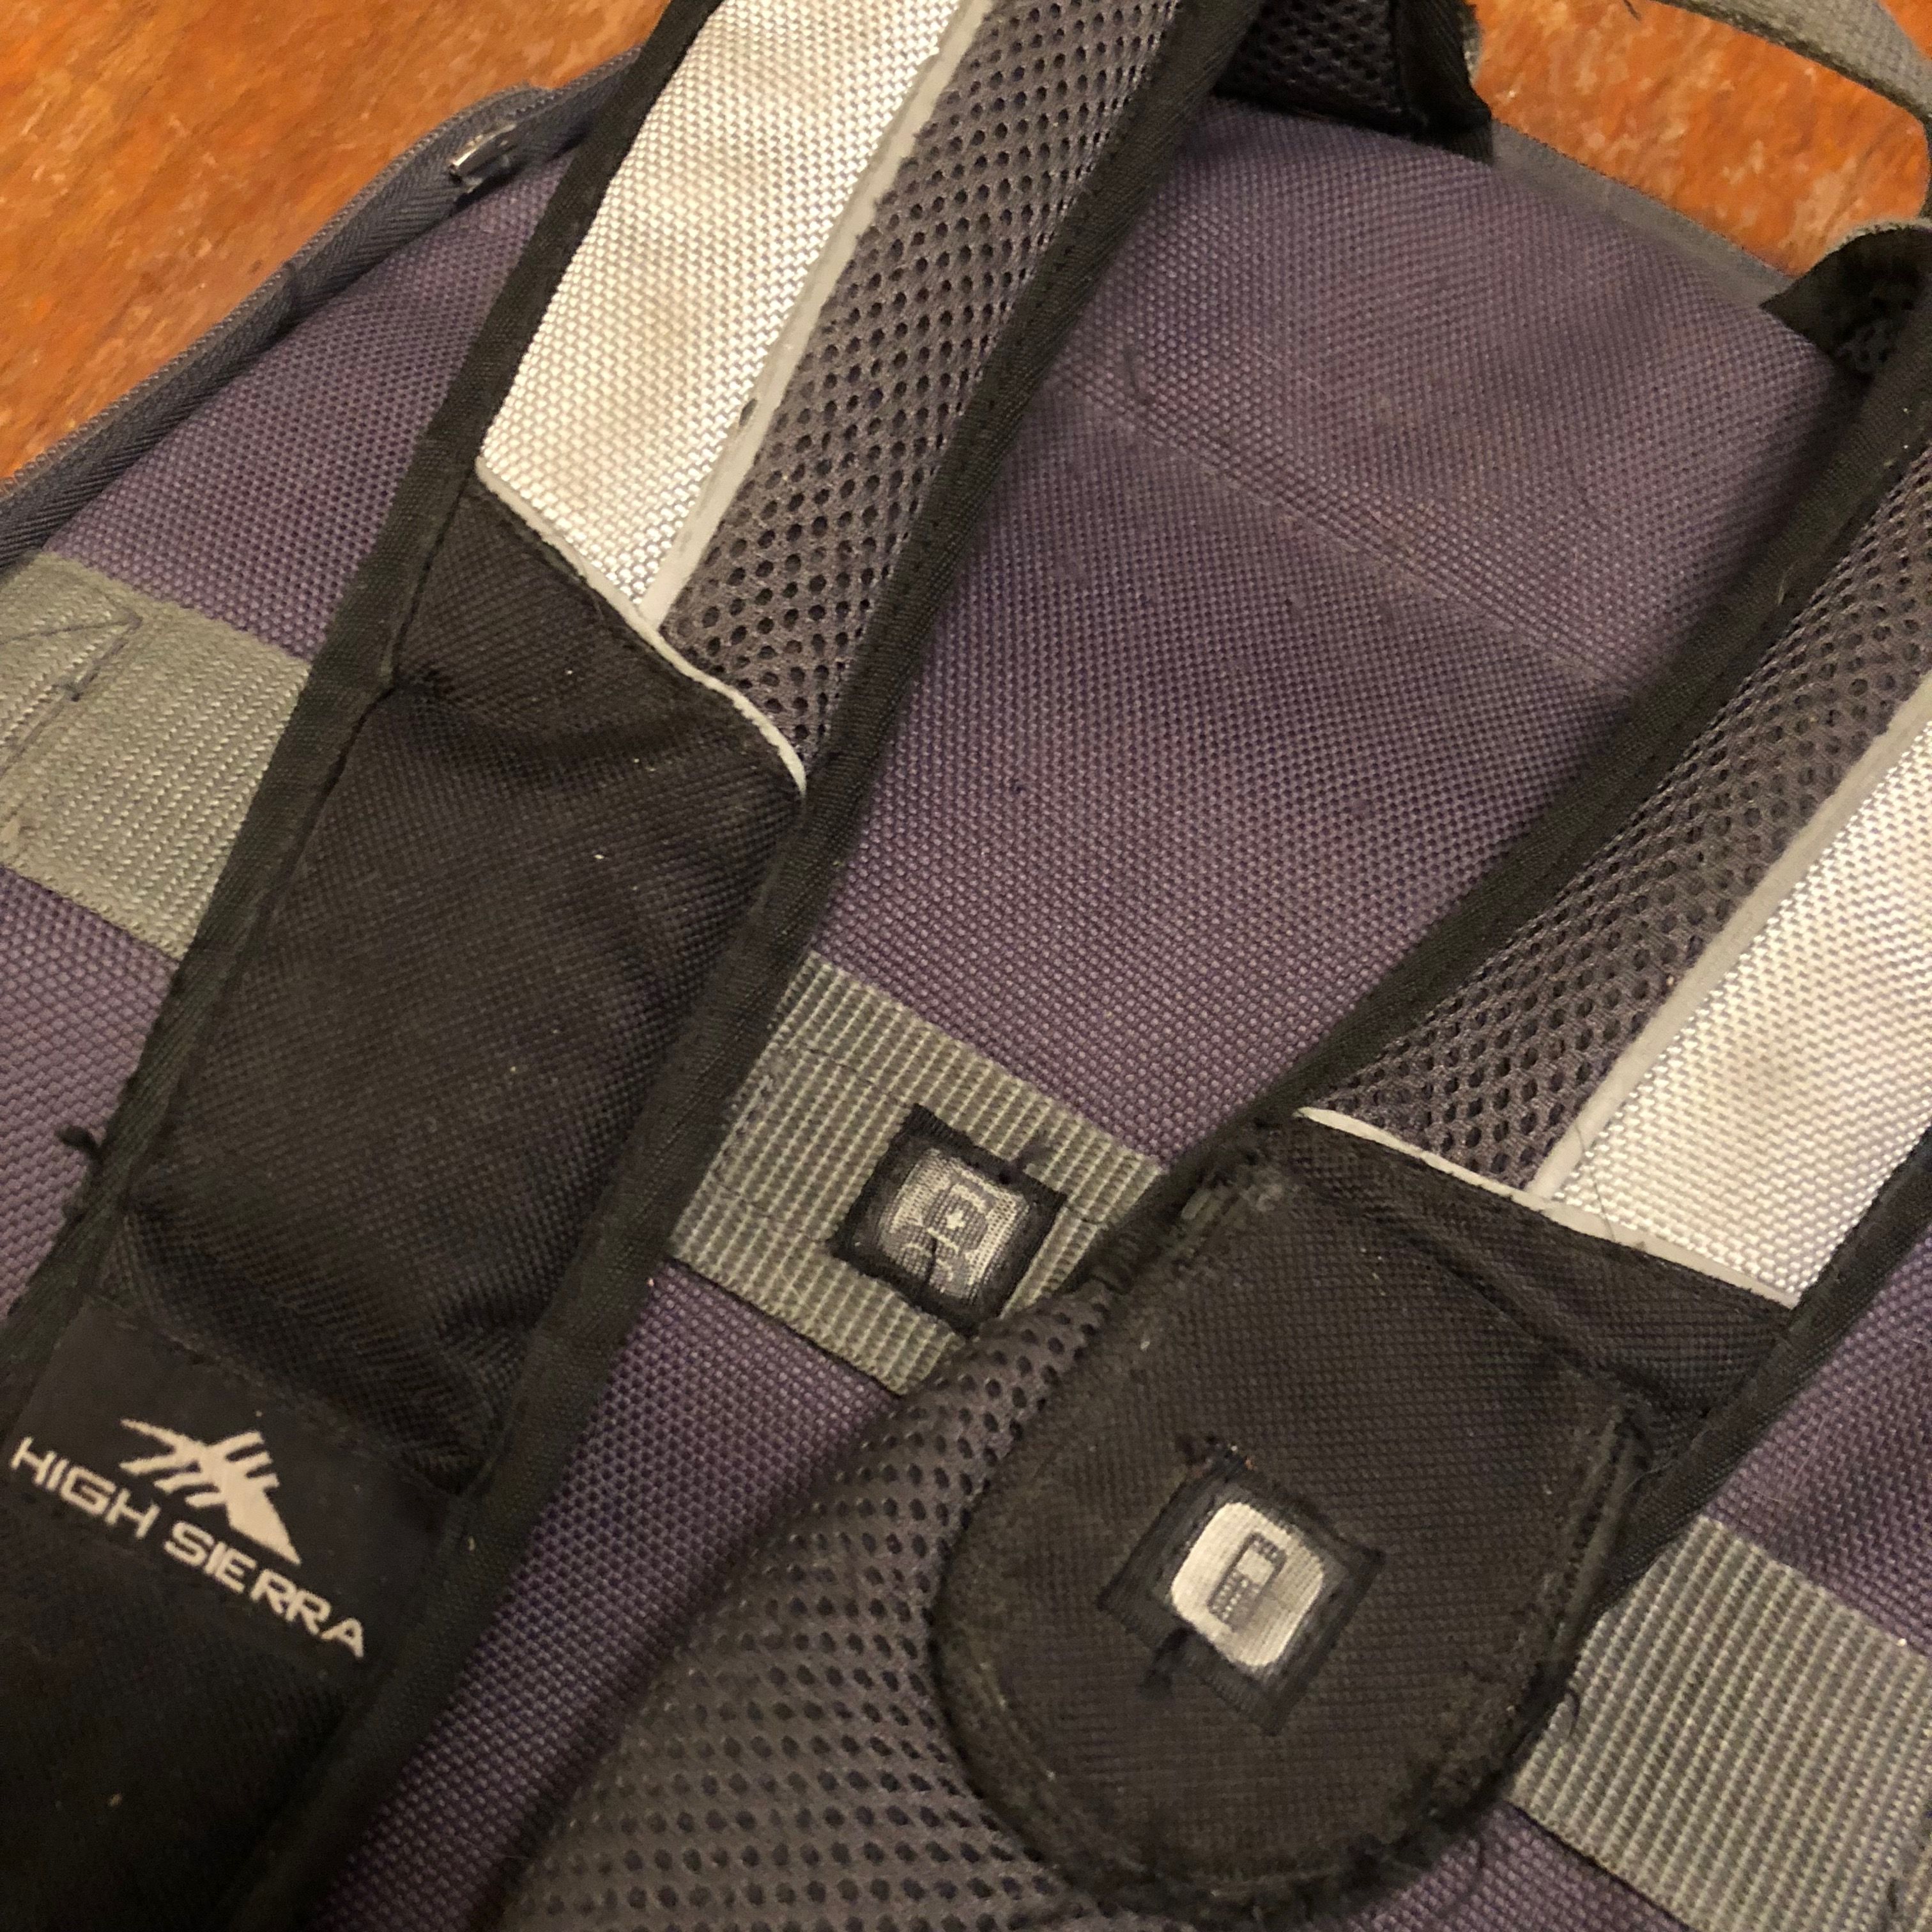
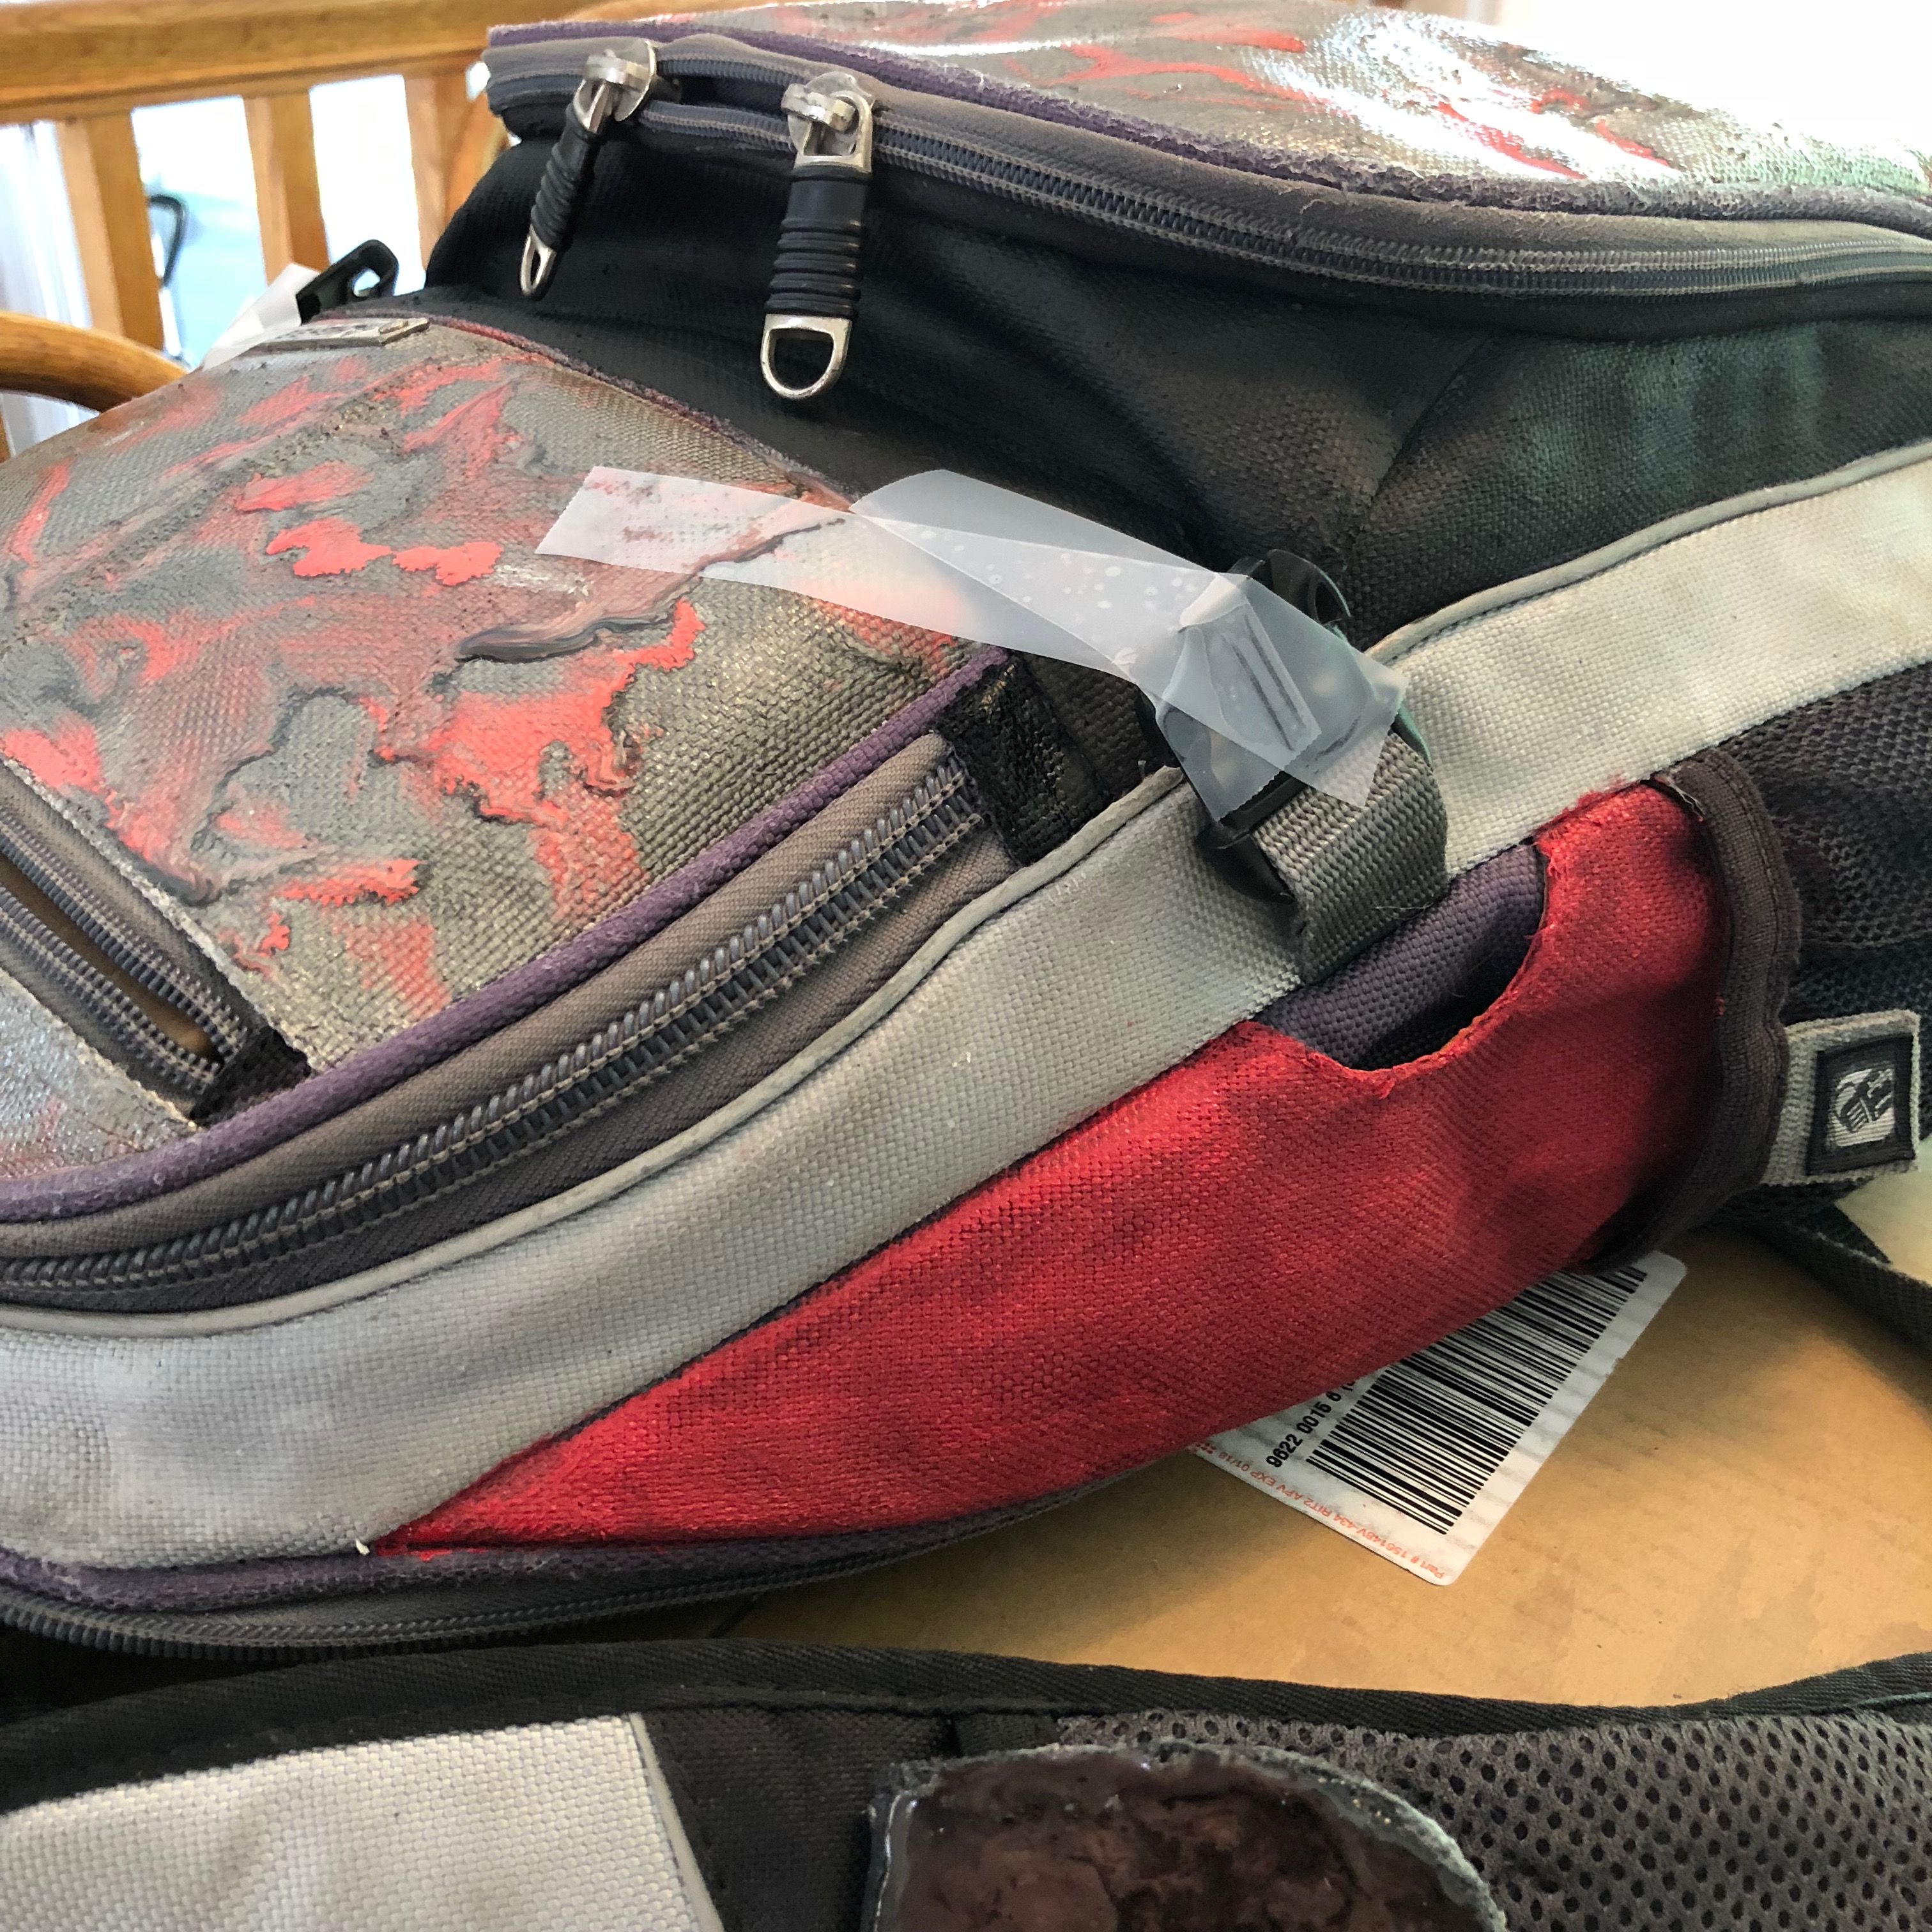
See what still works and what needs to be repaired or covered up. My old backpack had decent straps and good zippers. However, the fabric was discolored, worn and frayed. There were holes on the bottom where the pack hits the ground and there was a weird hole at the top center that used to have a large eyelet for head phone cords. There was also a panel that used to have something attached on the lower front (see next step photos) The inside was in good shape - the outside was really bad.
Getting Started
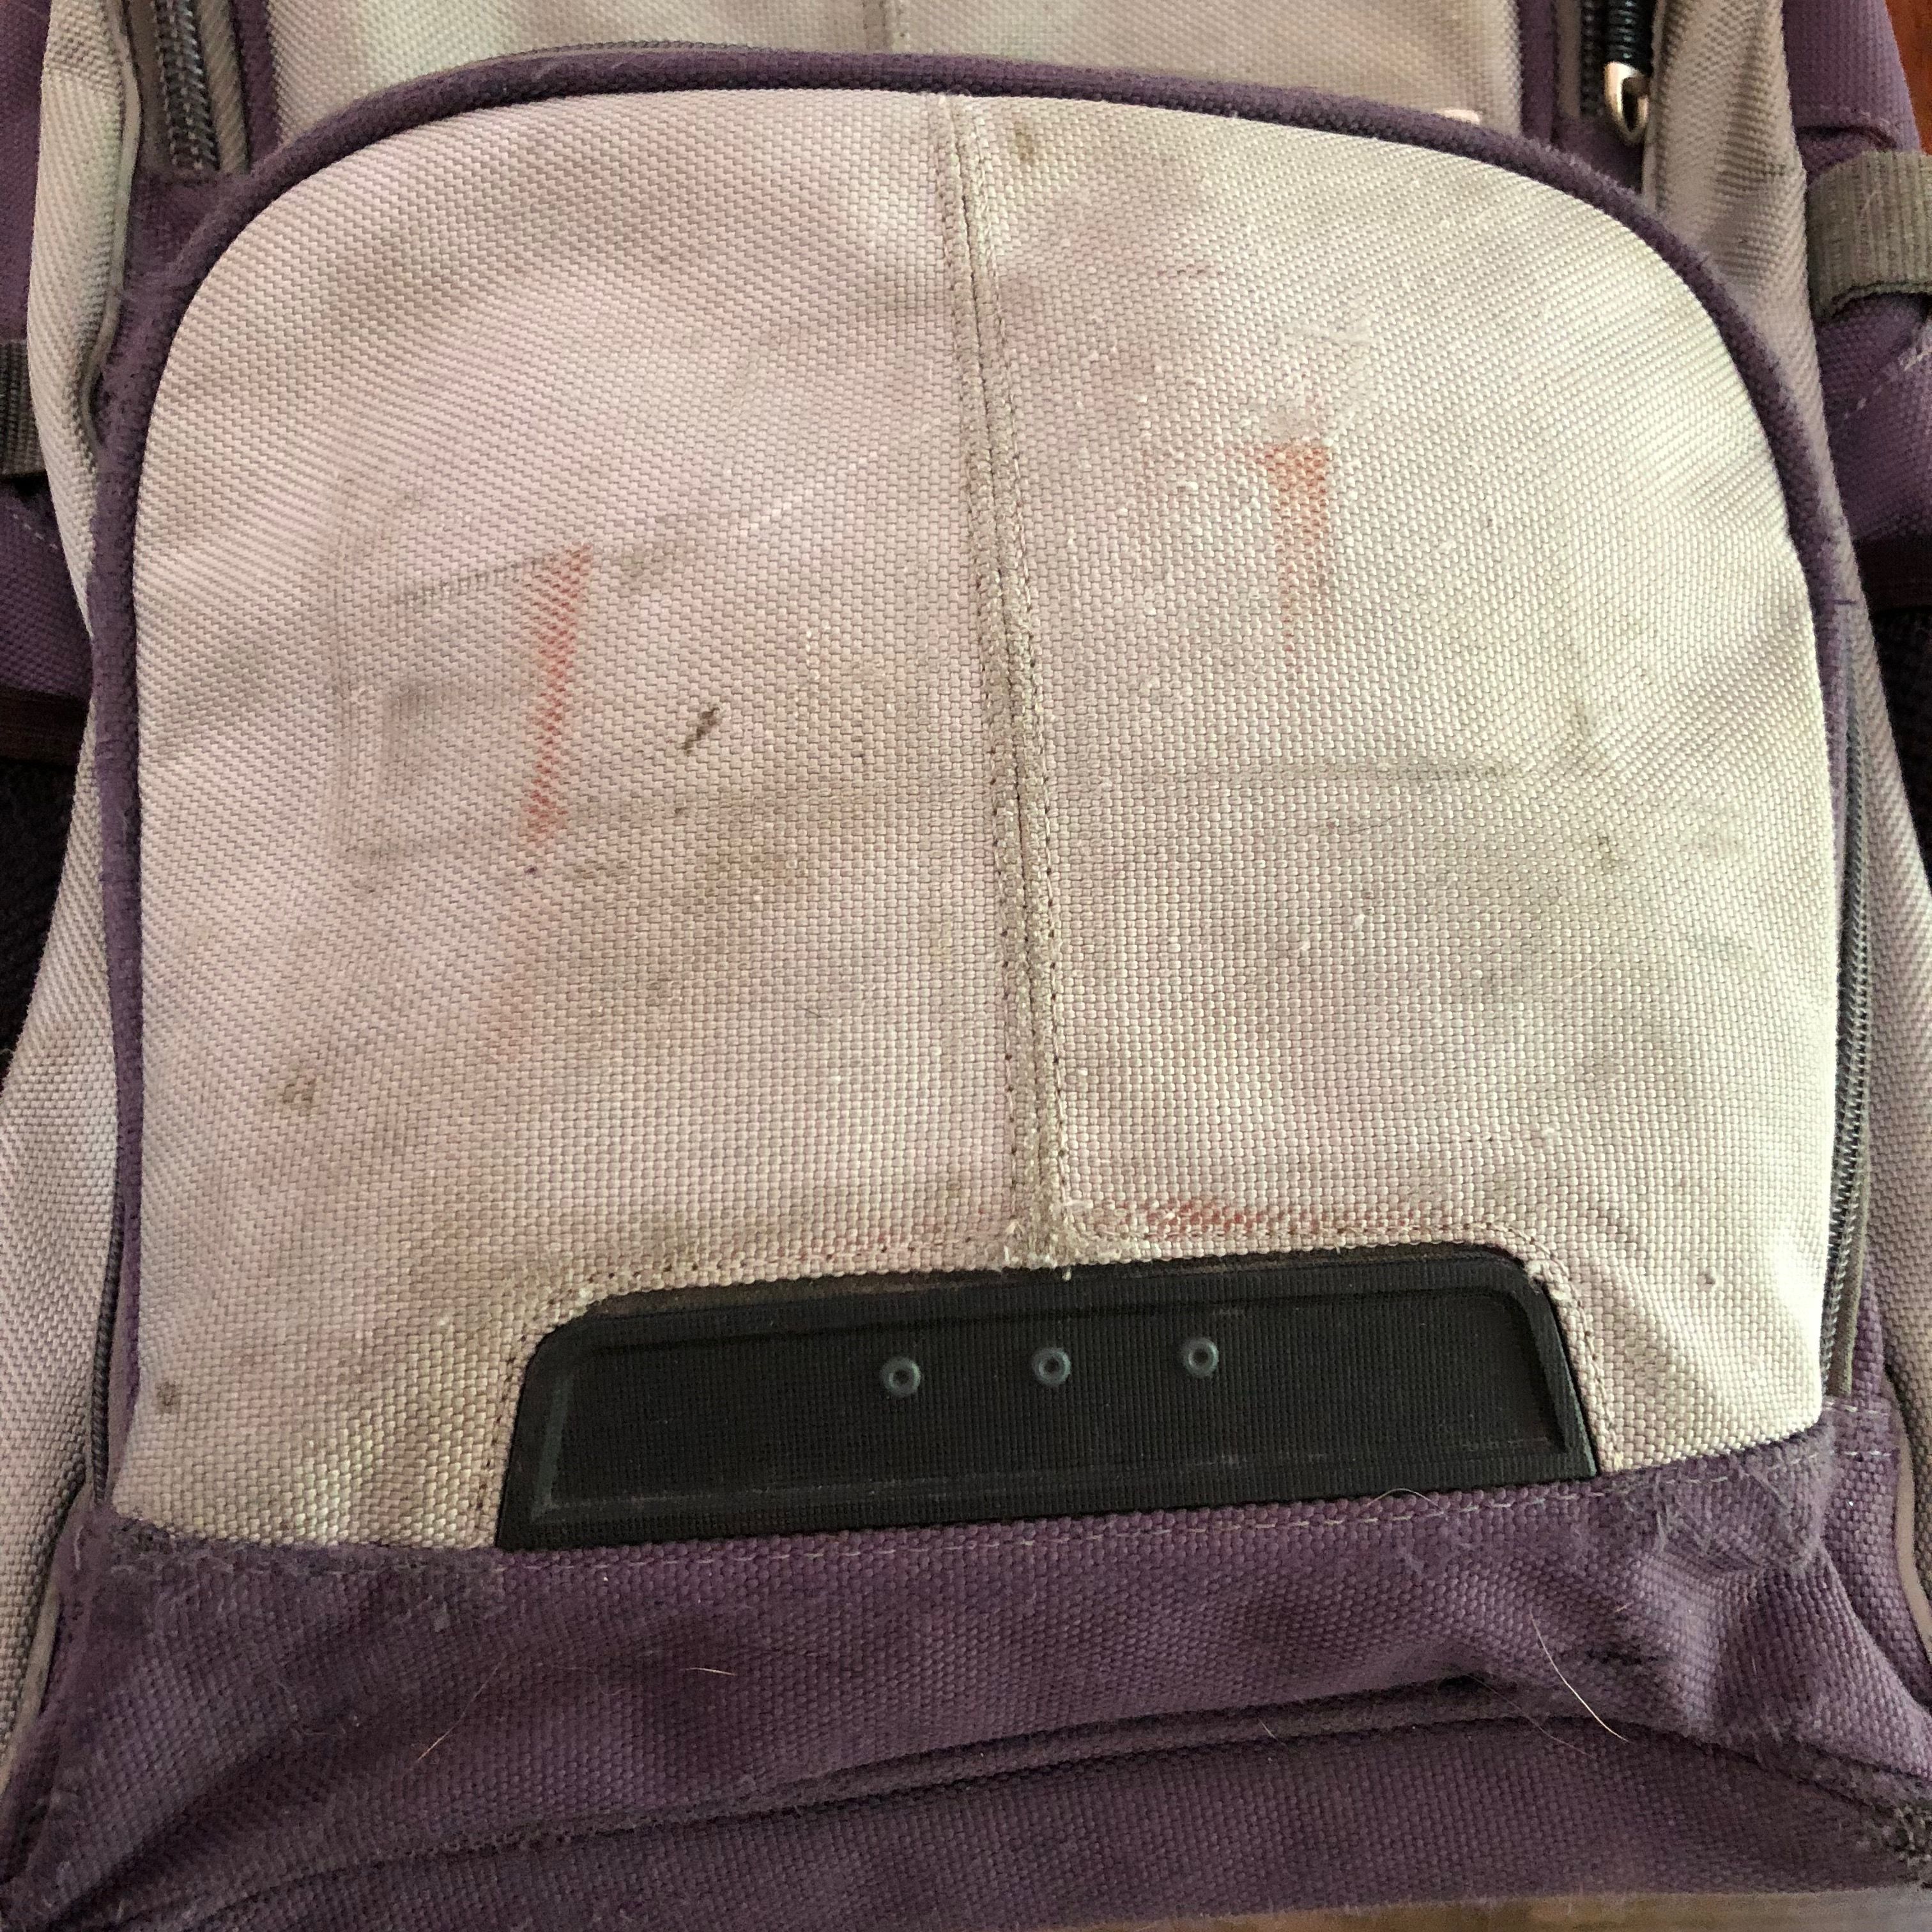
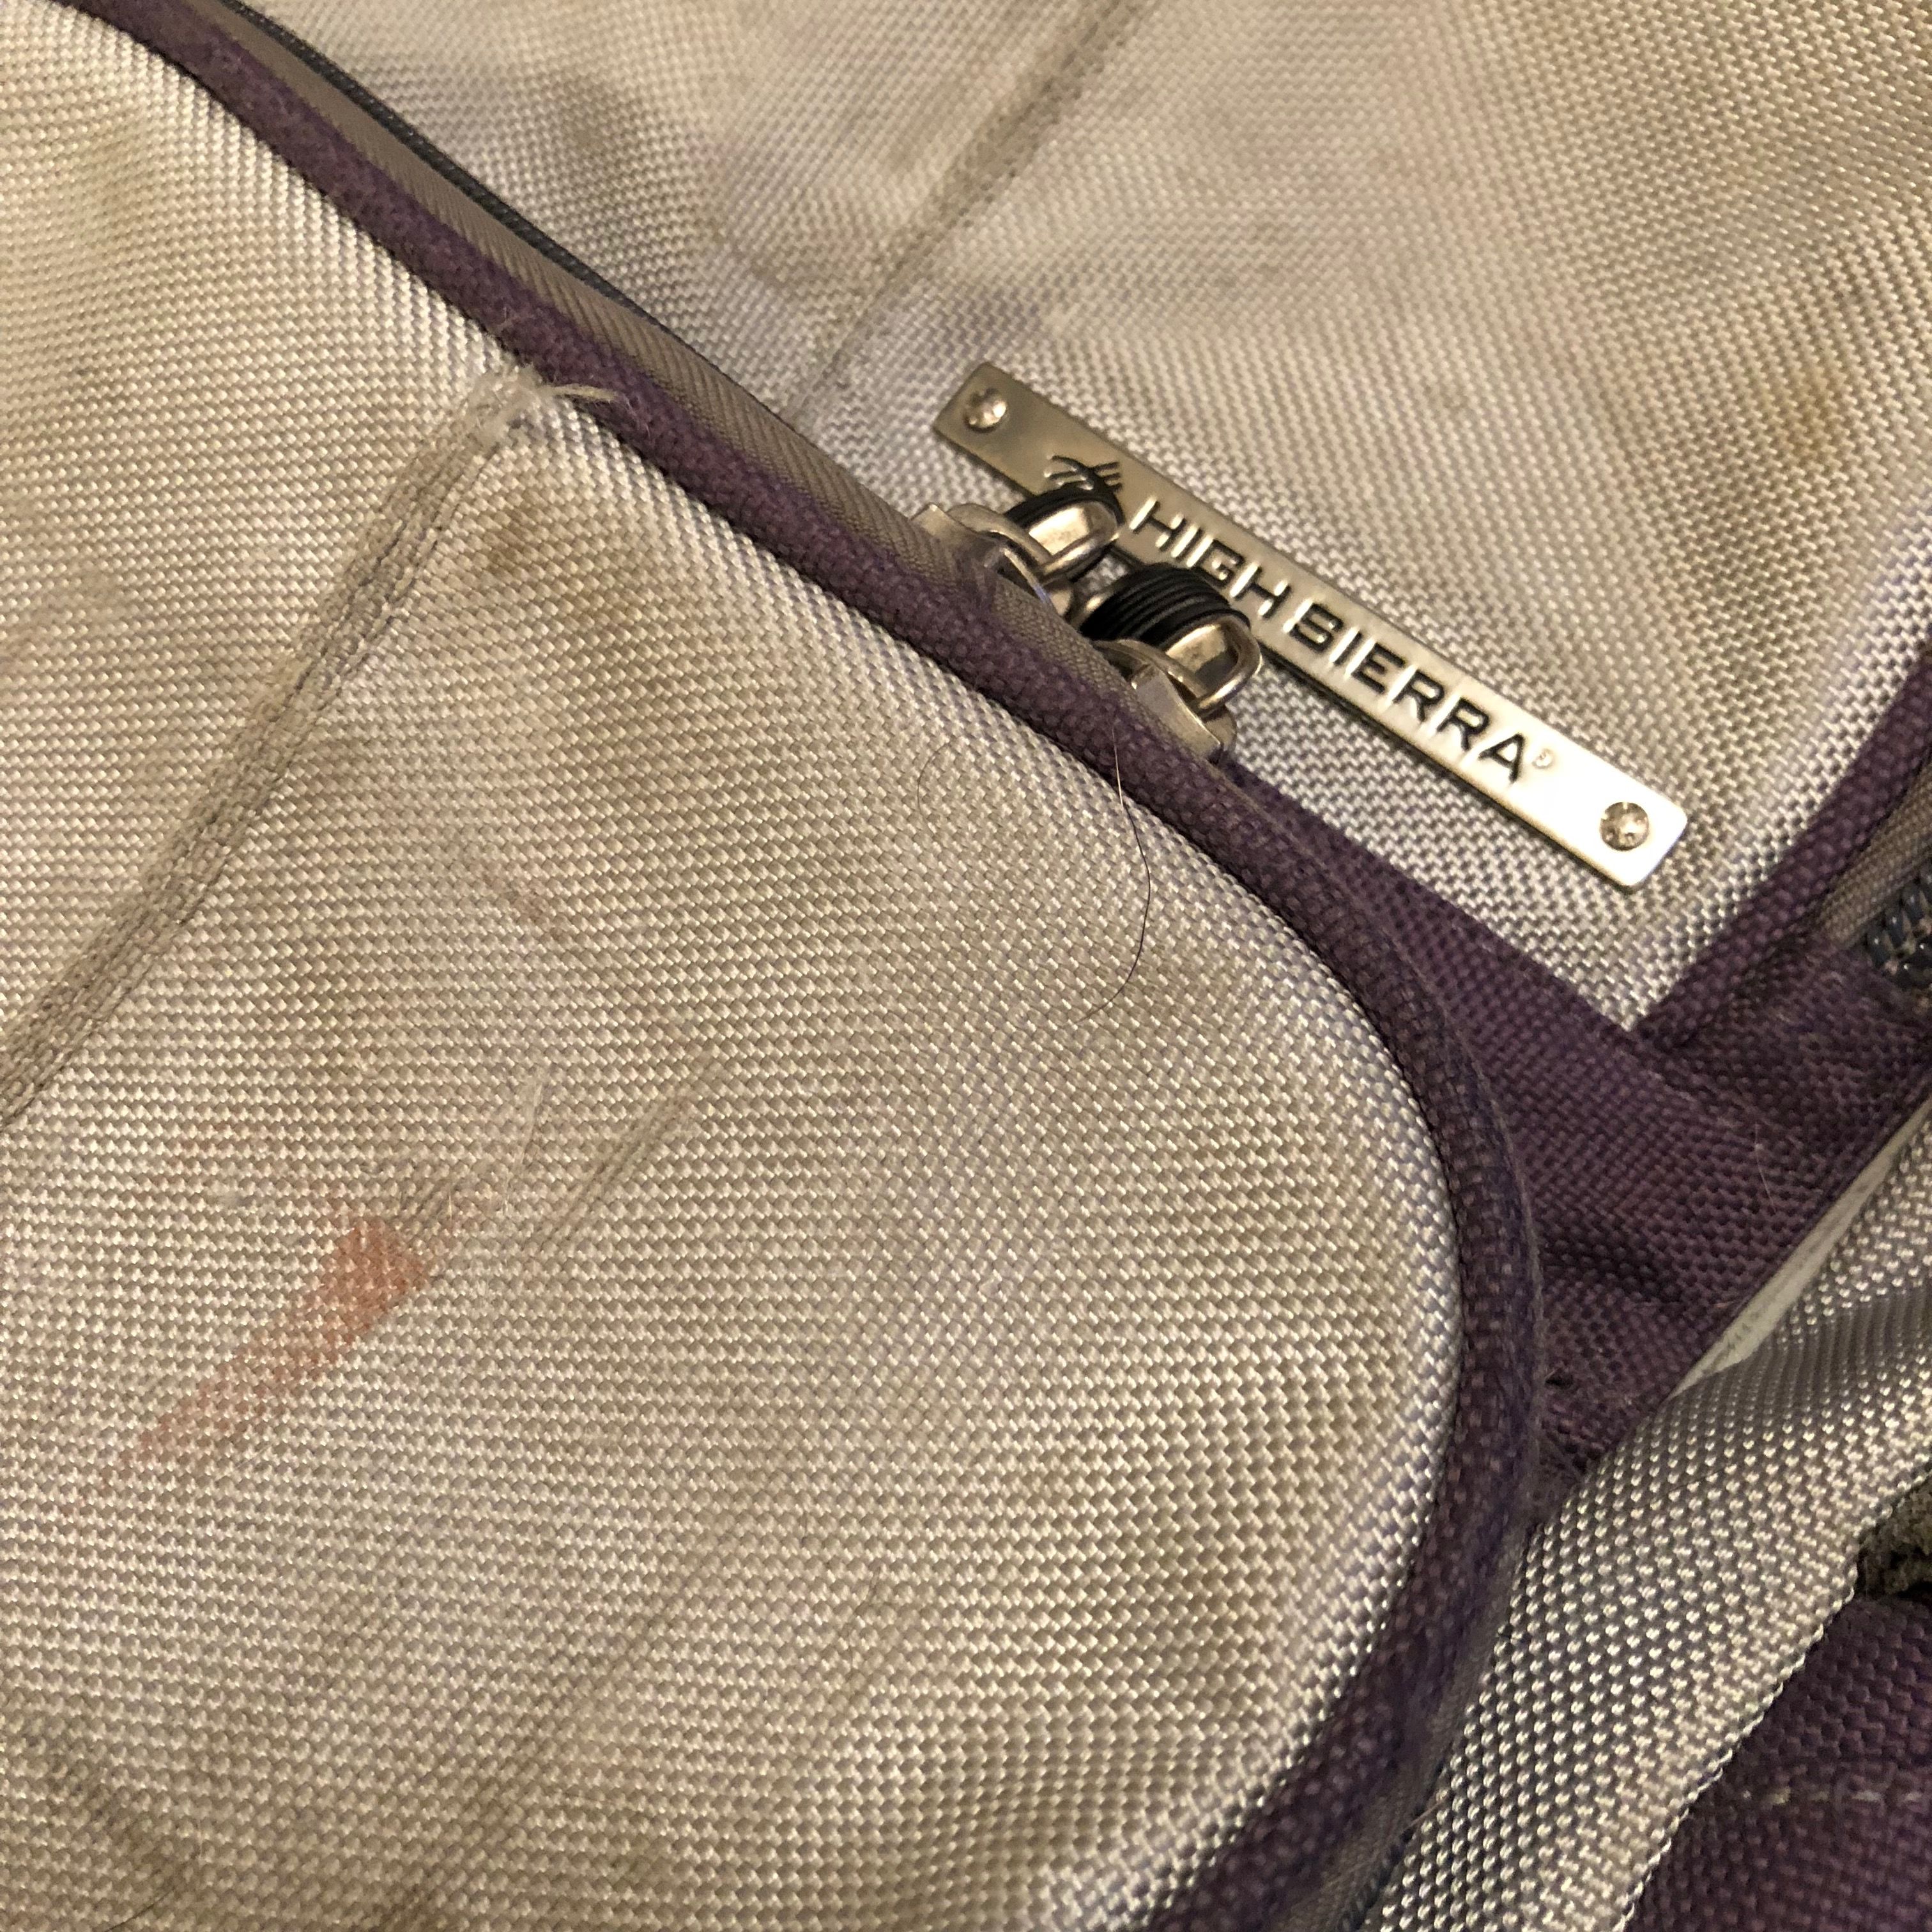
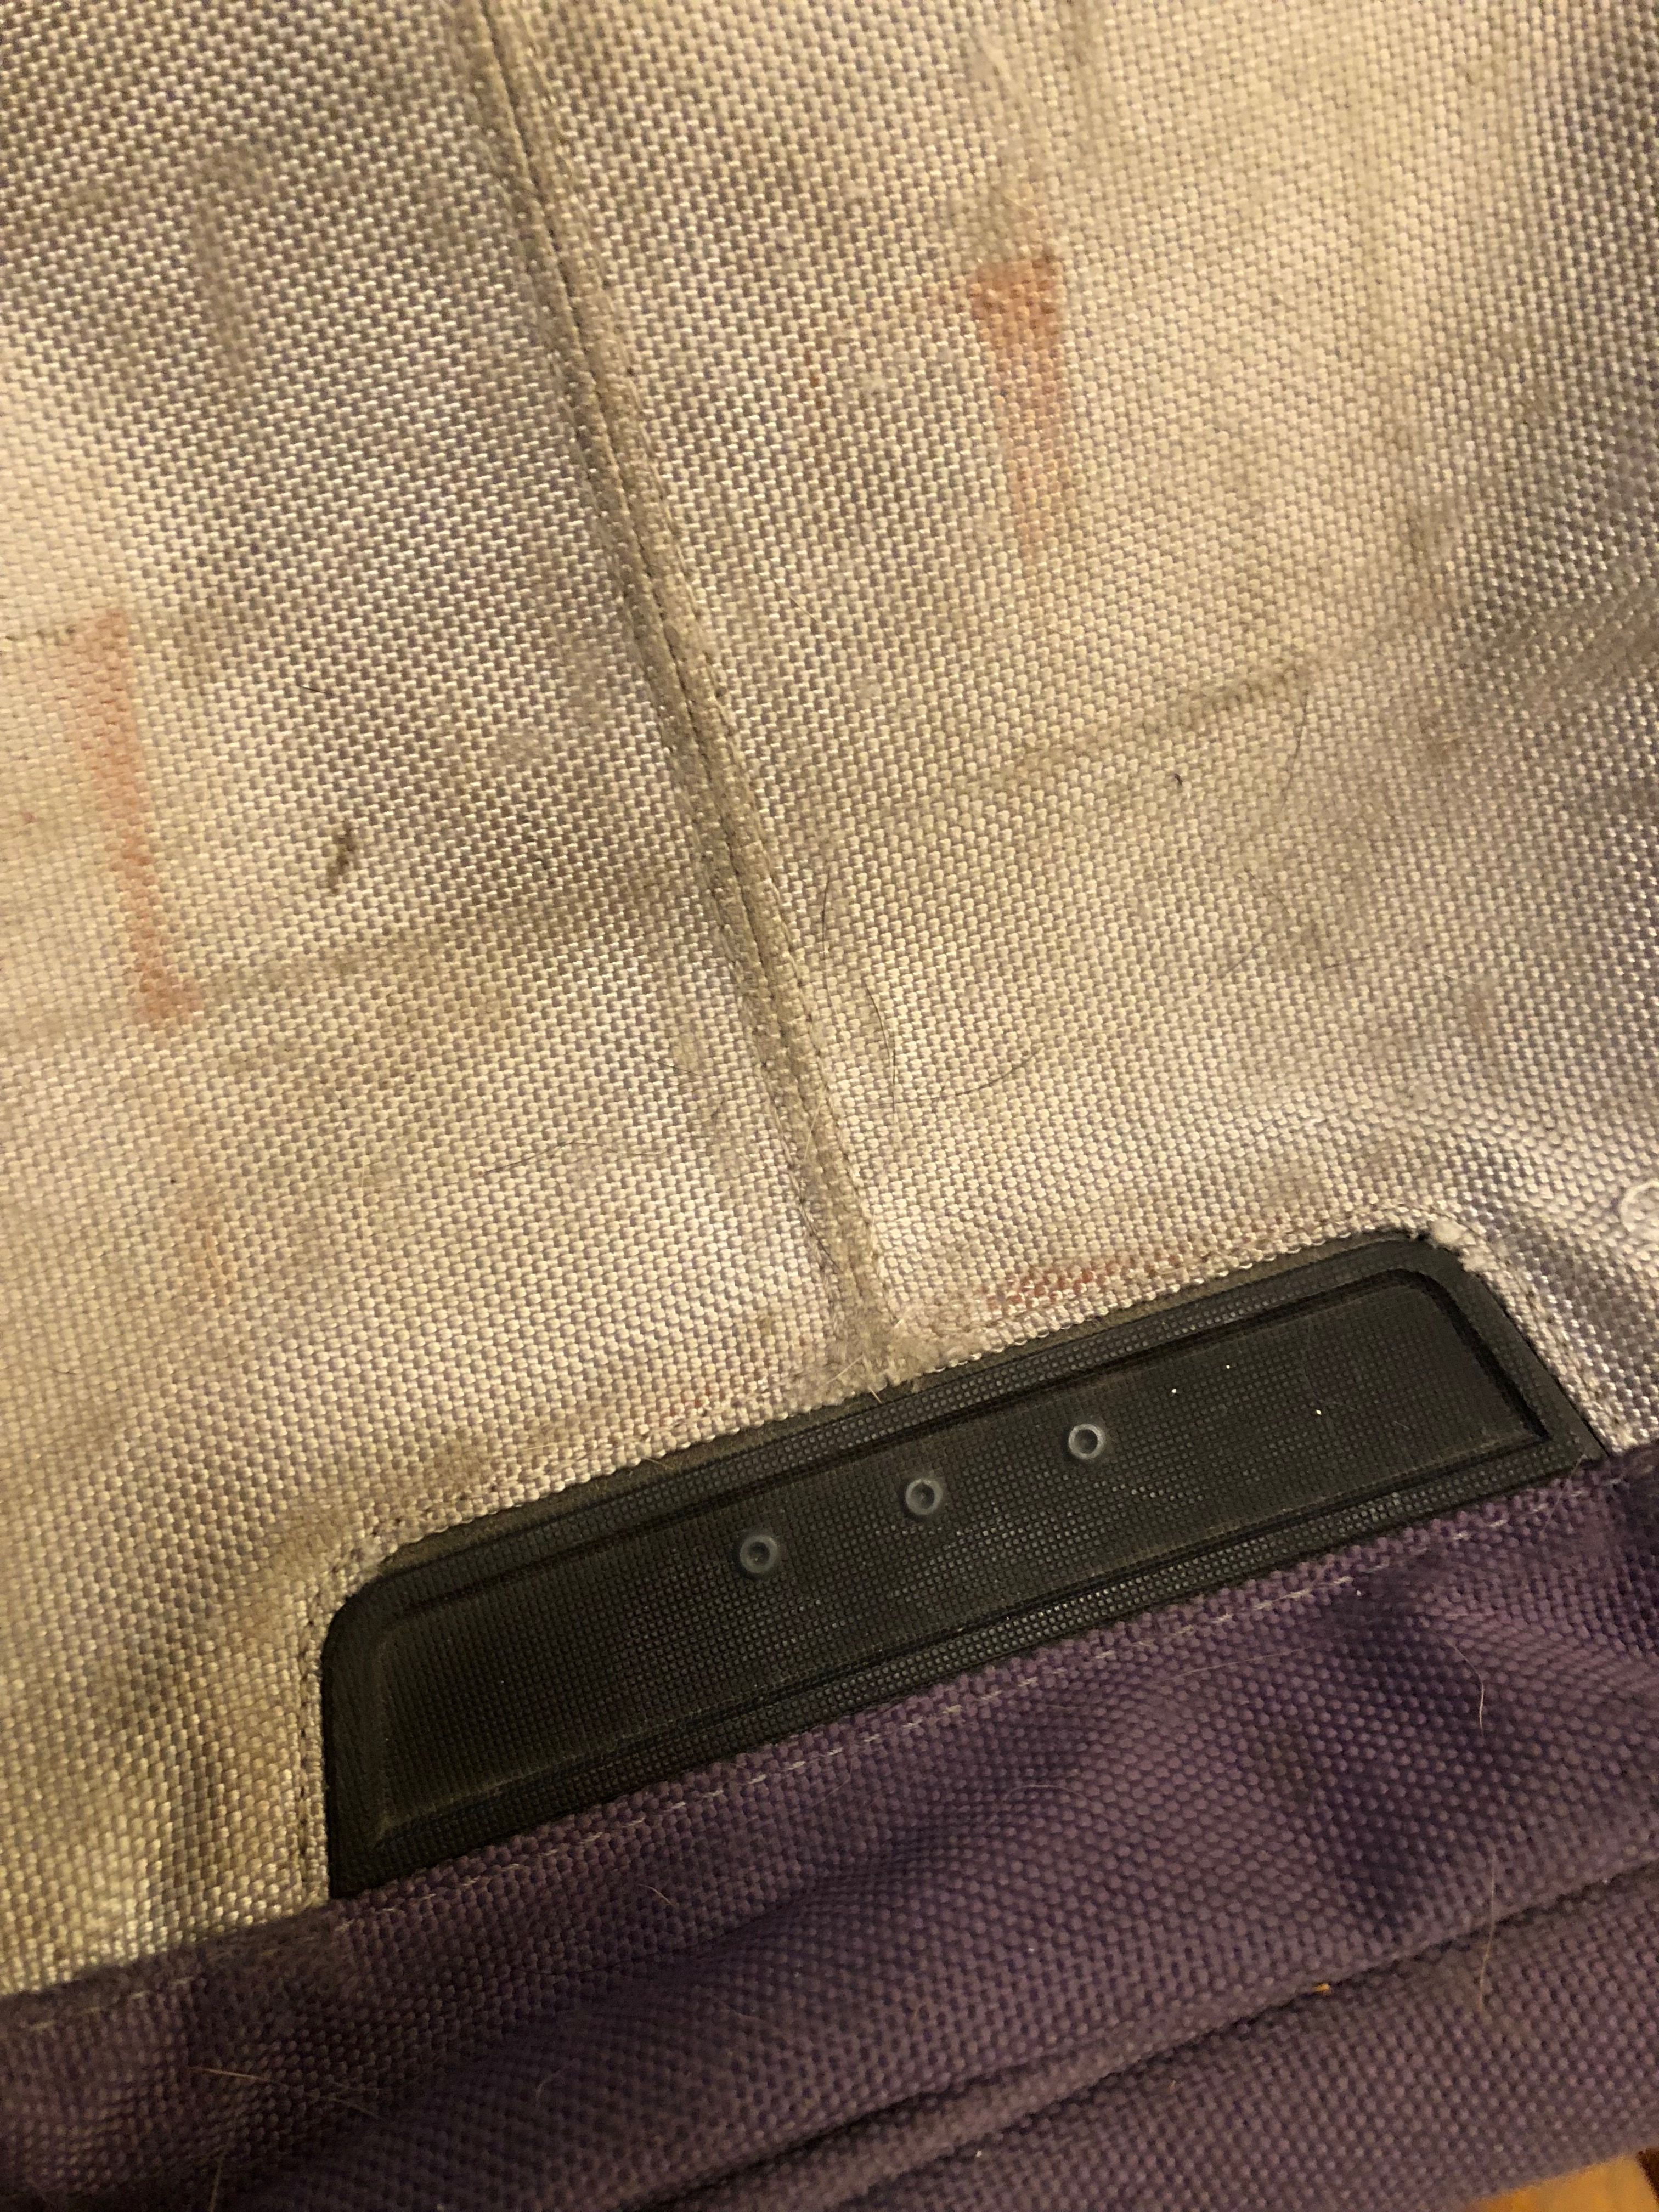
First I wiped the backpack down with a wet soapy rag to get off whatever exterior dirt I could. And let it dry.
Trim
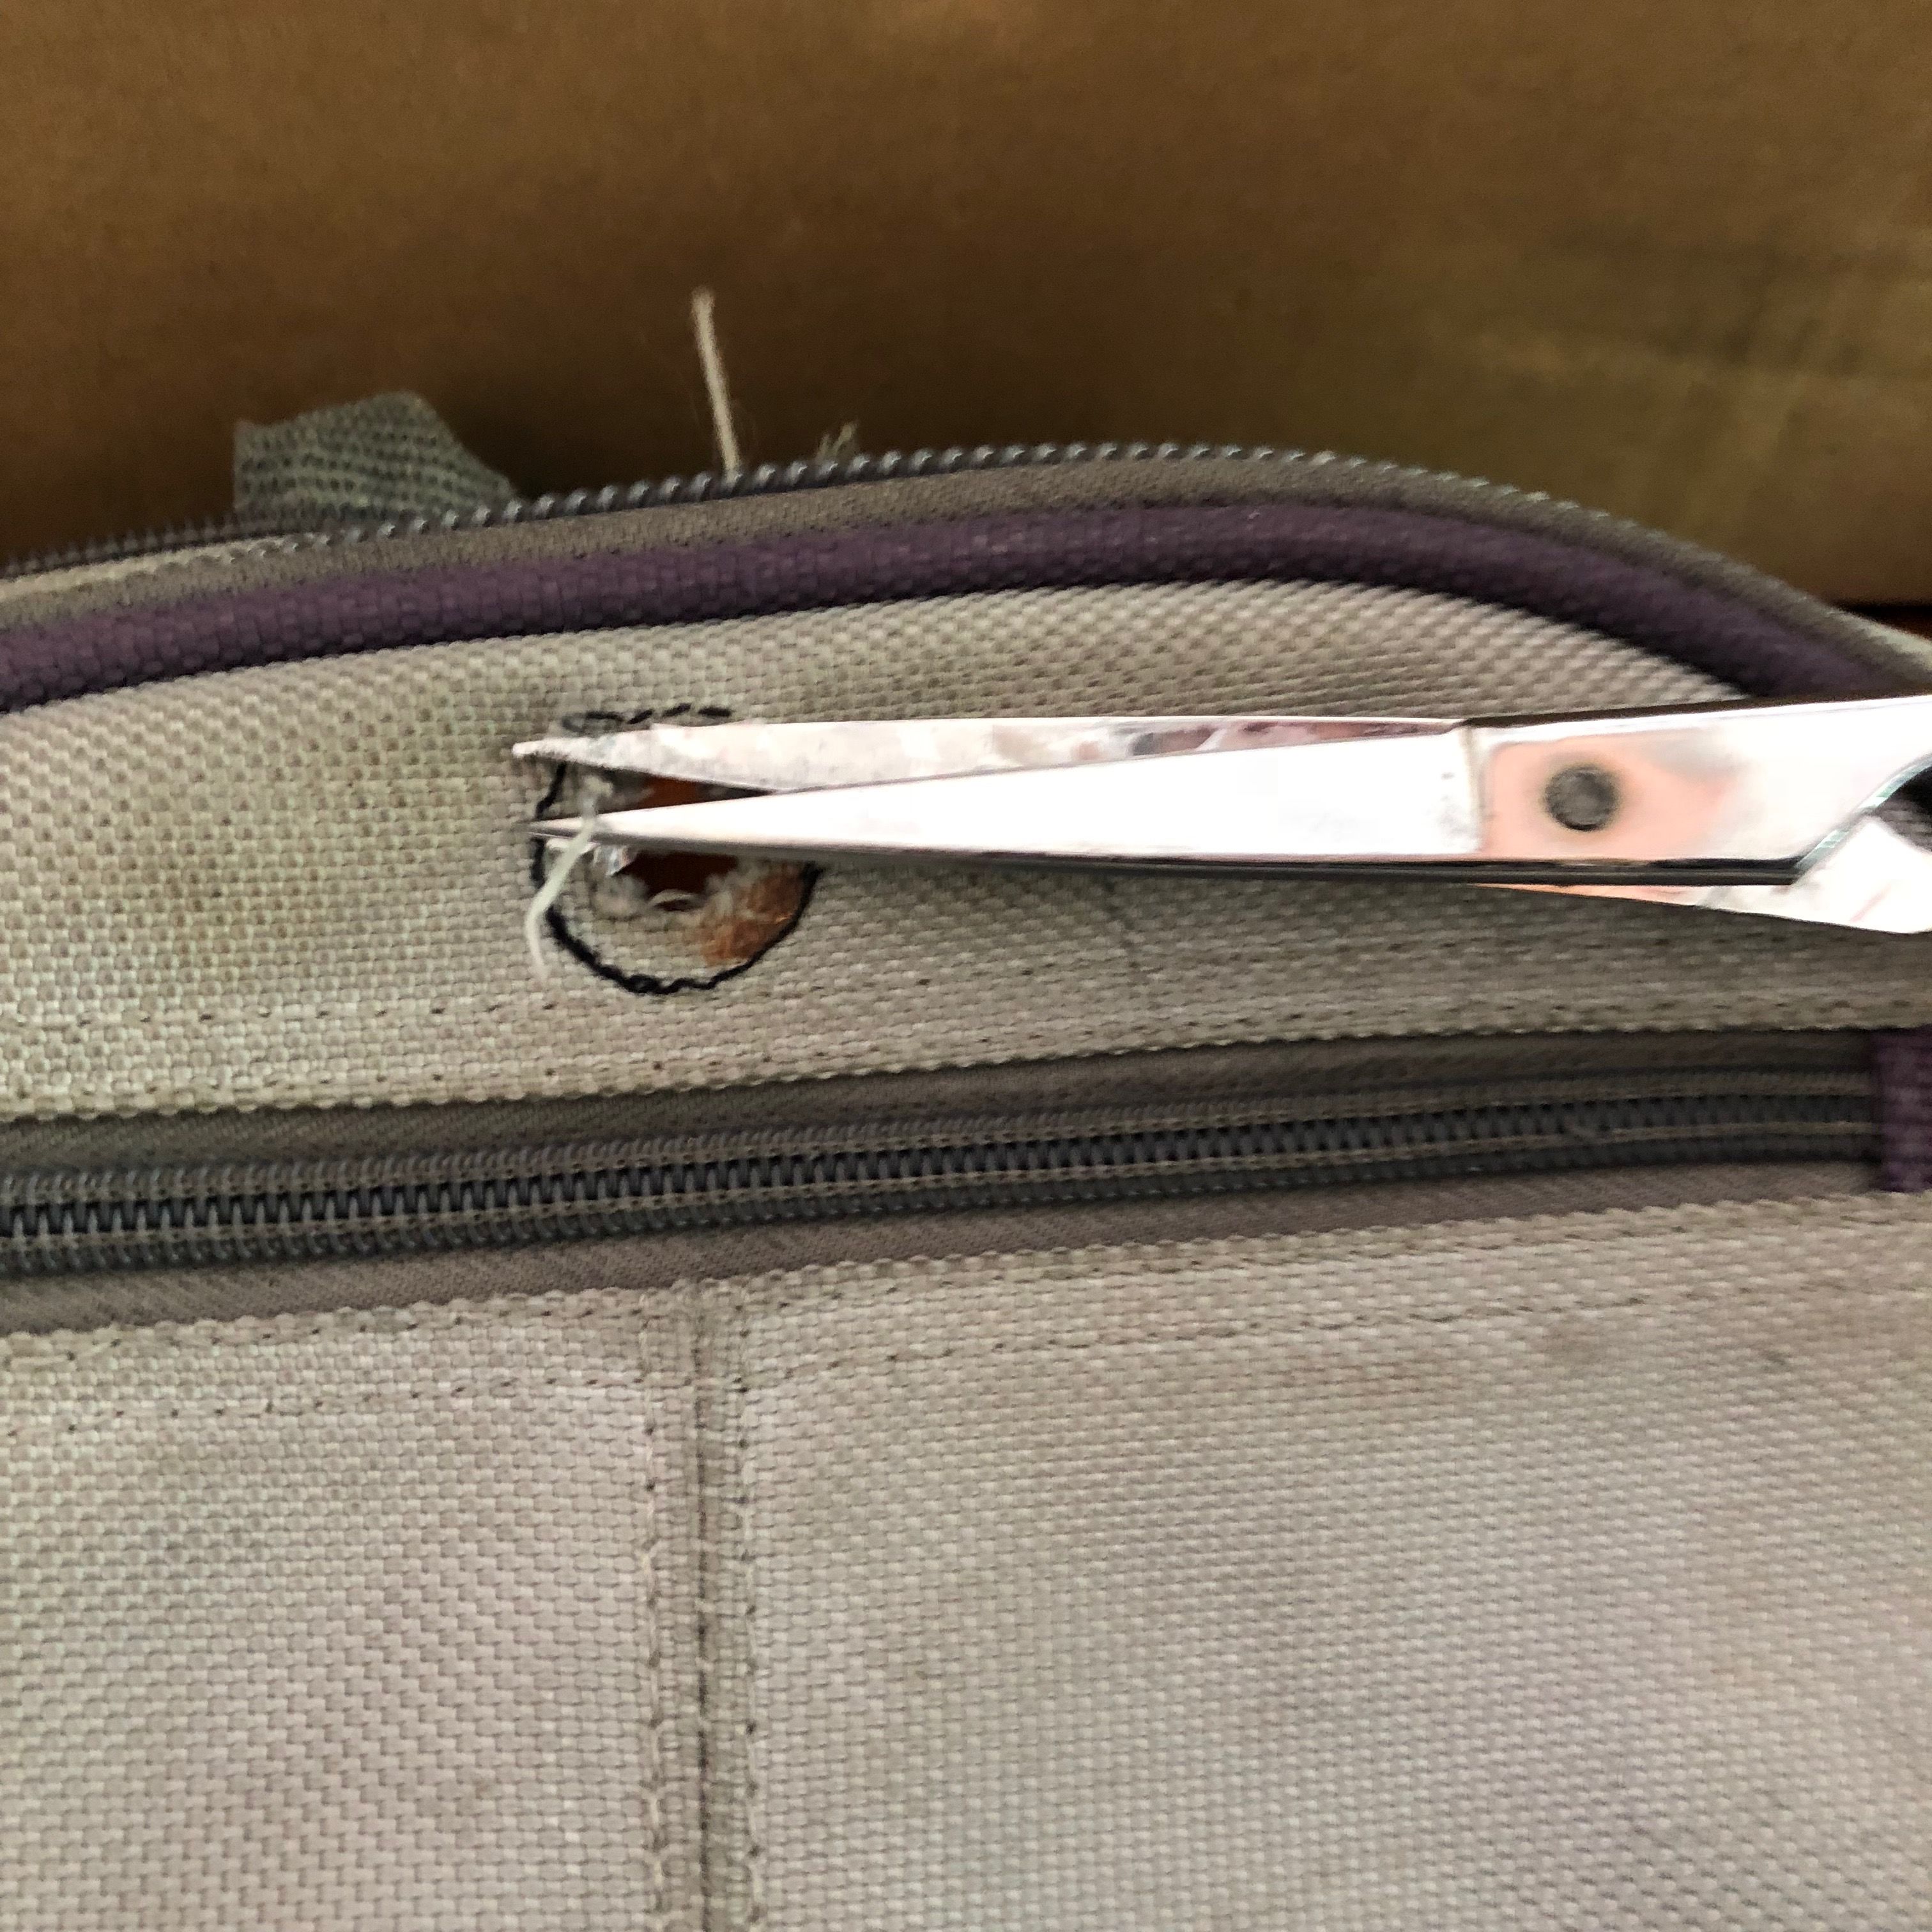
Then I carefully went around the whole backpack and trimmed off any loose threads.
Use a sharp scissor and take off as much as you can. It will make the painting much easier. It’s OK if there are little bald spots because I will be covering these up later.
Note: I wish I has removed more threads...Next time.
Stuff It
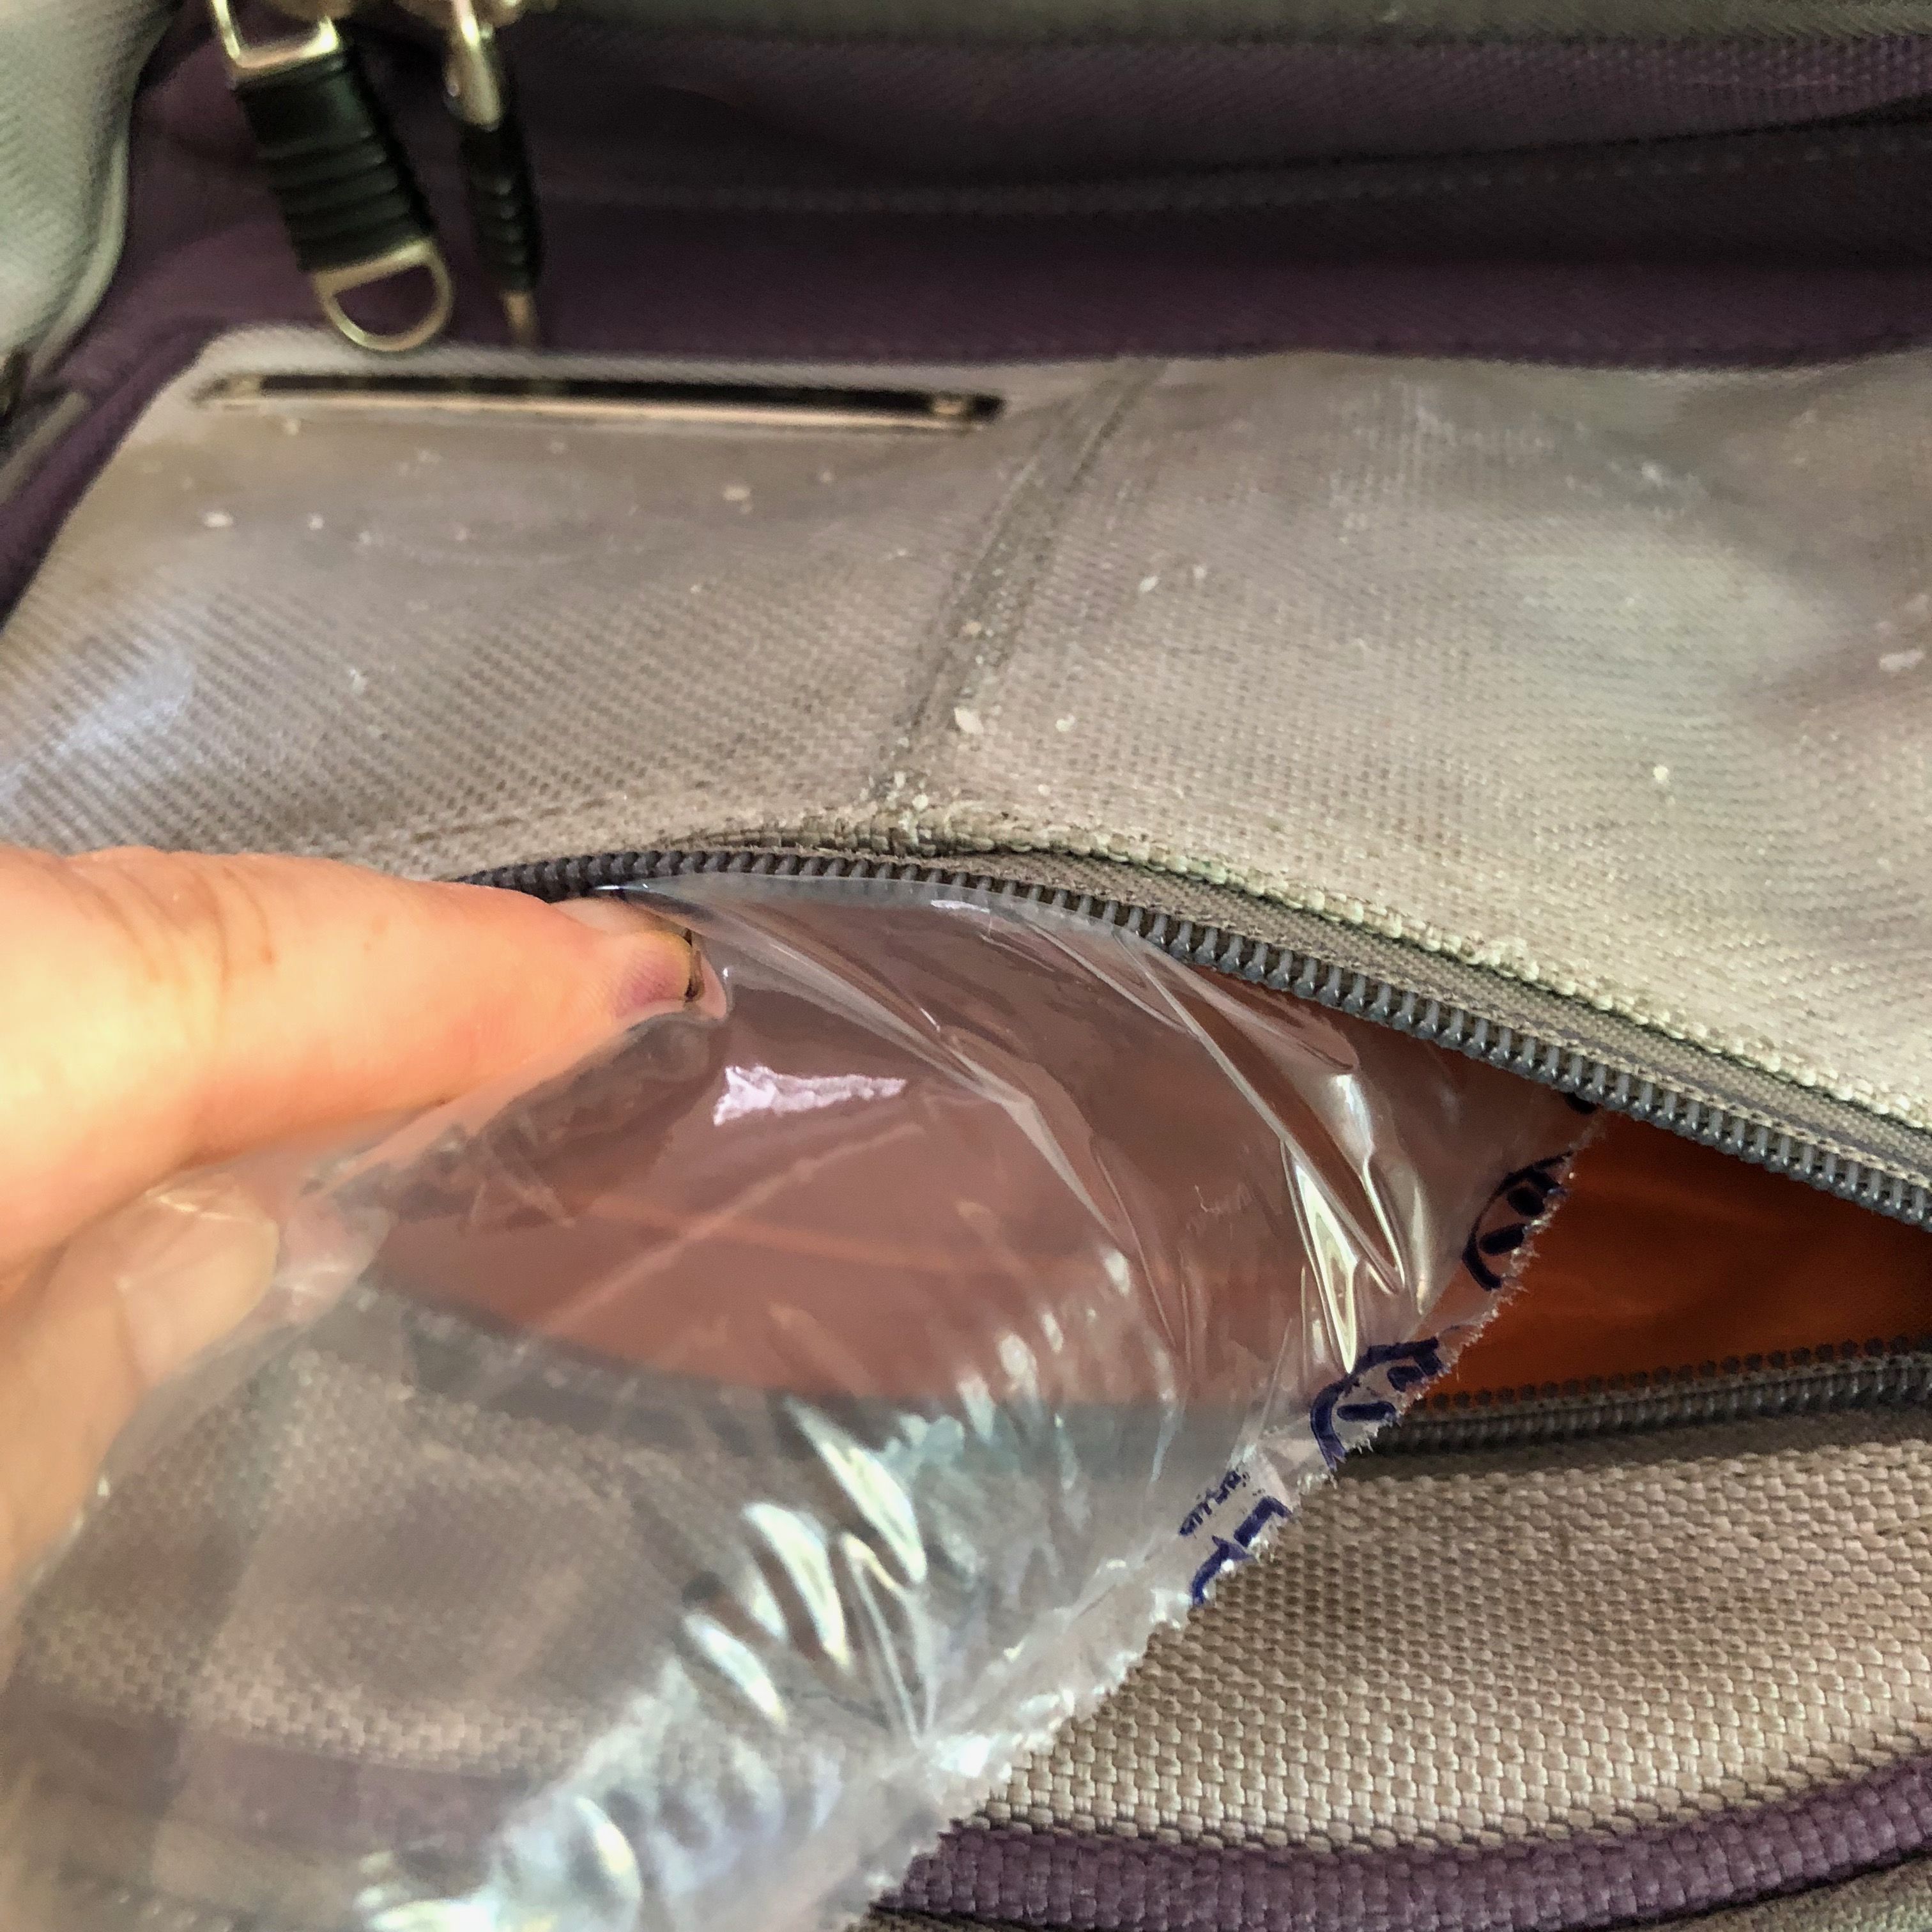
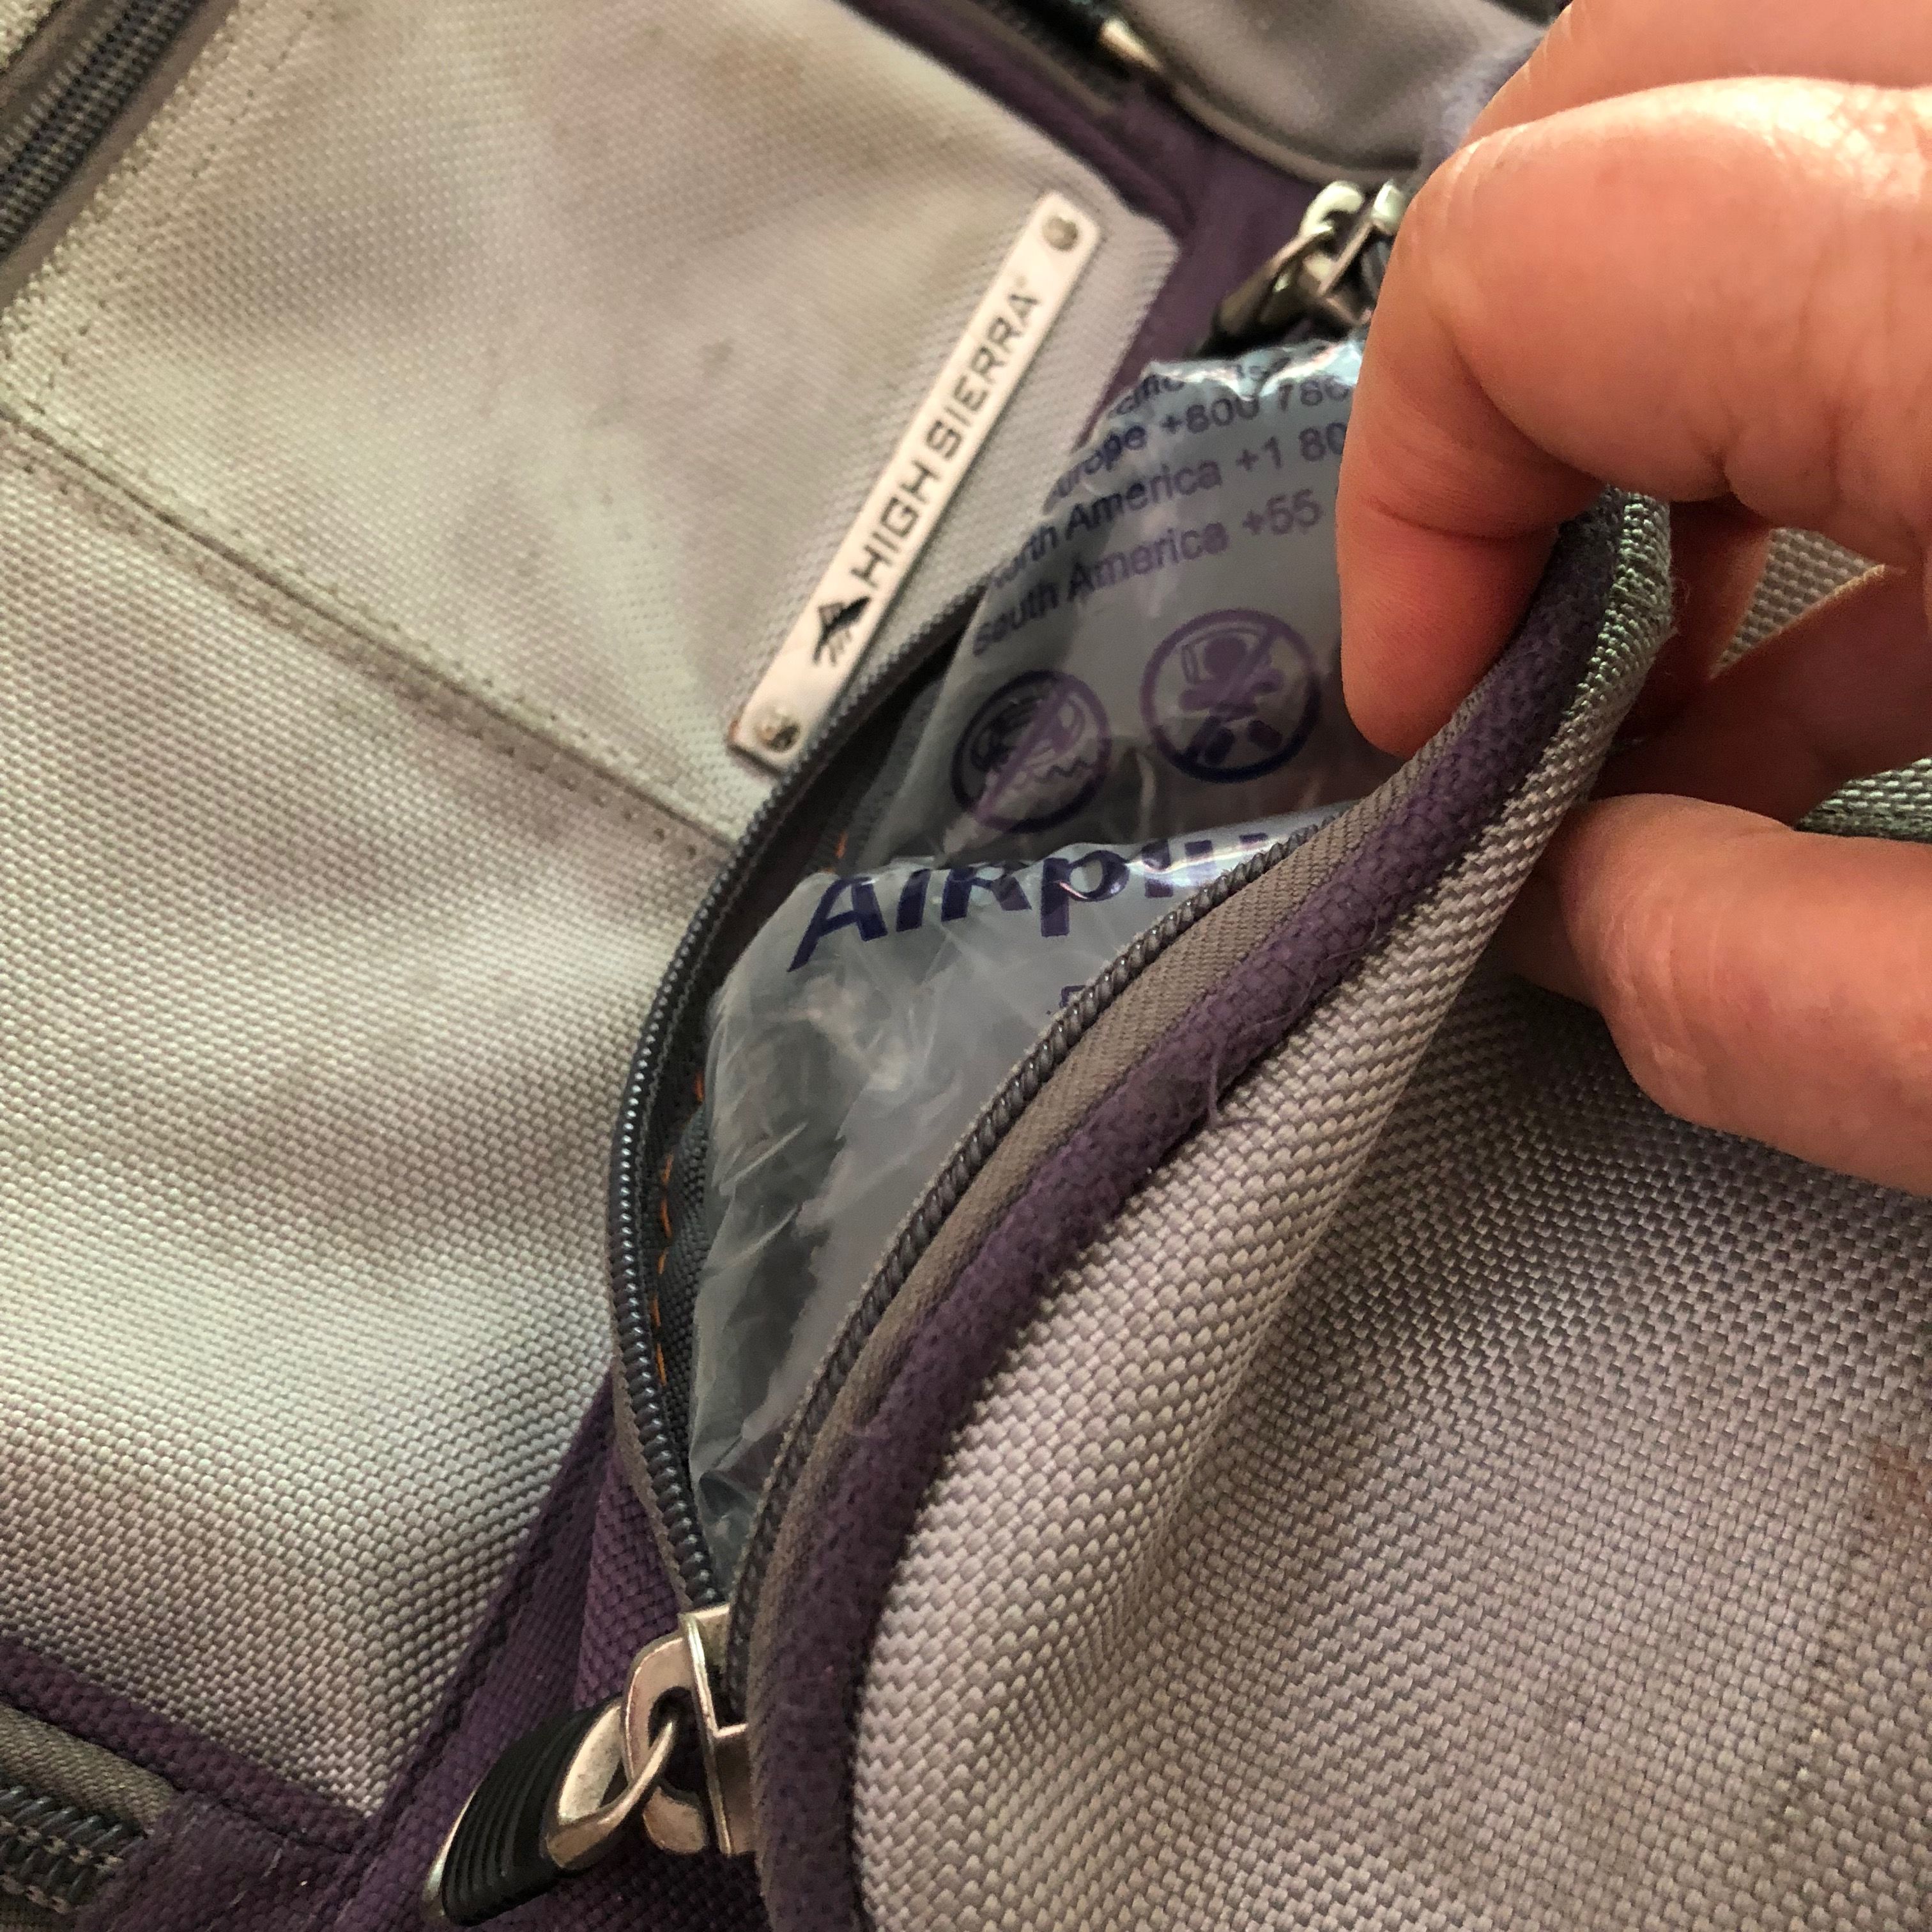
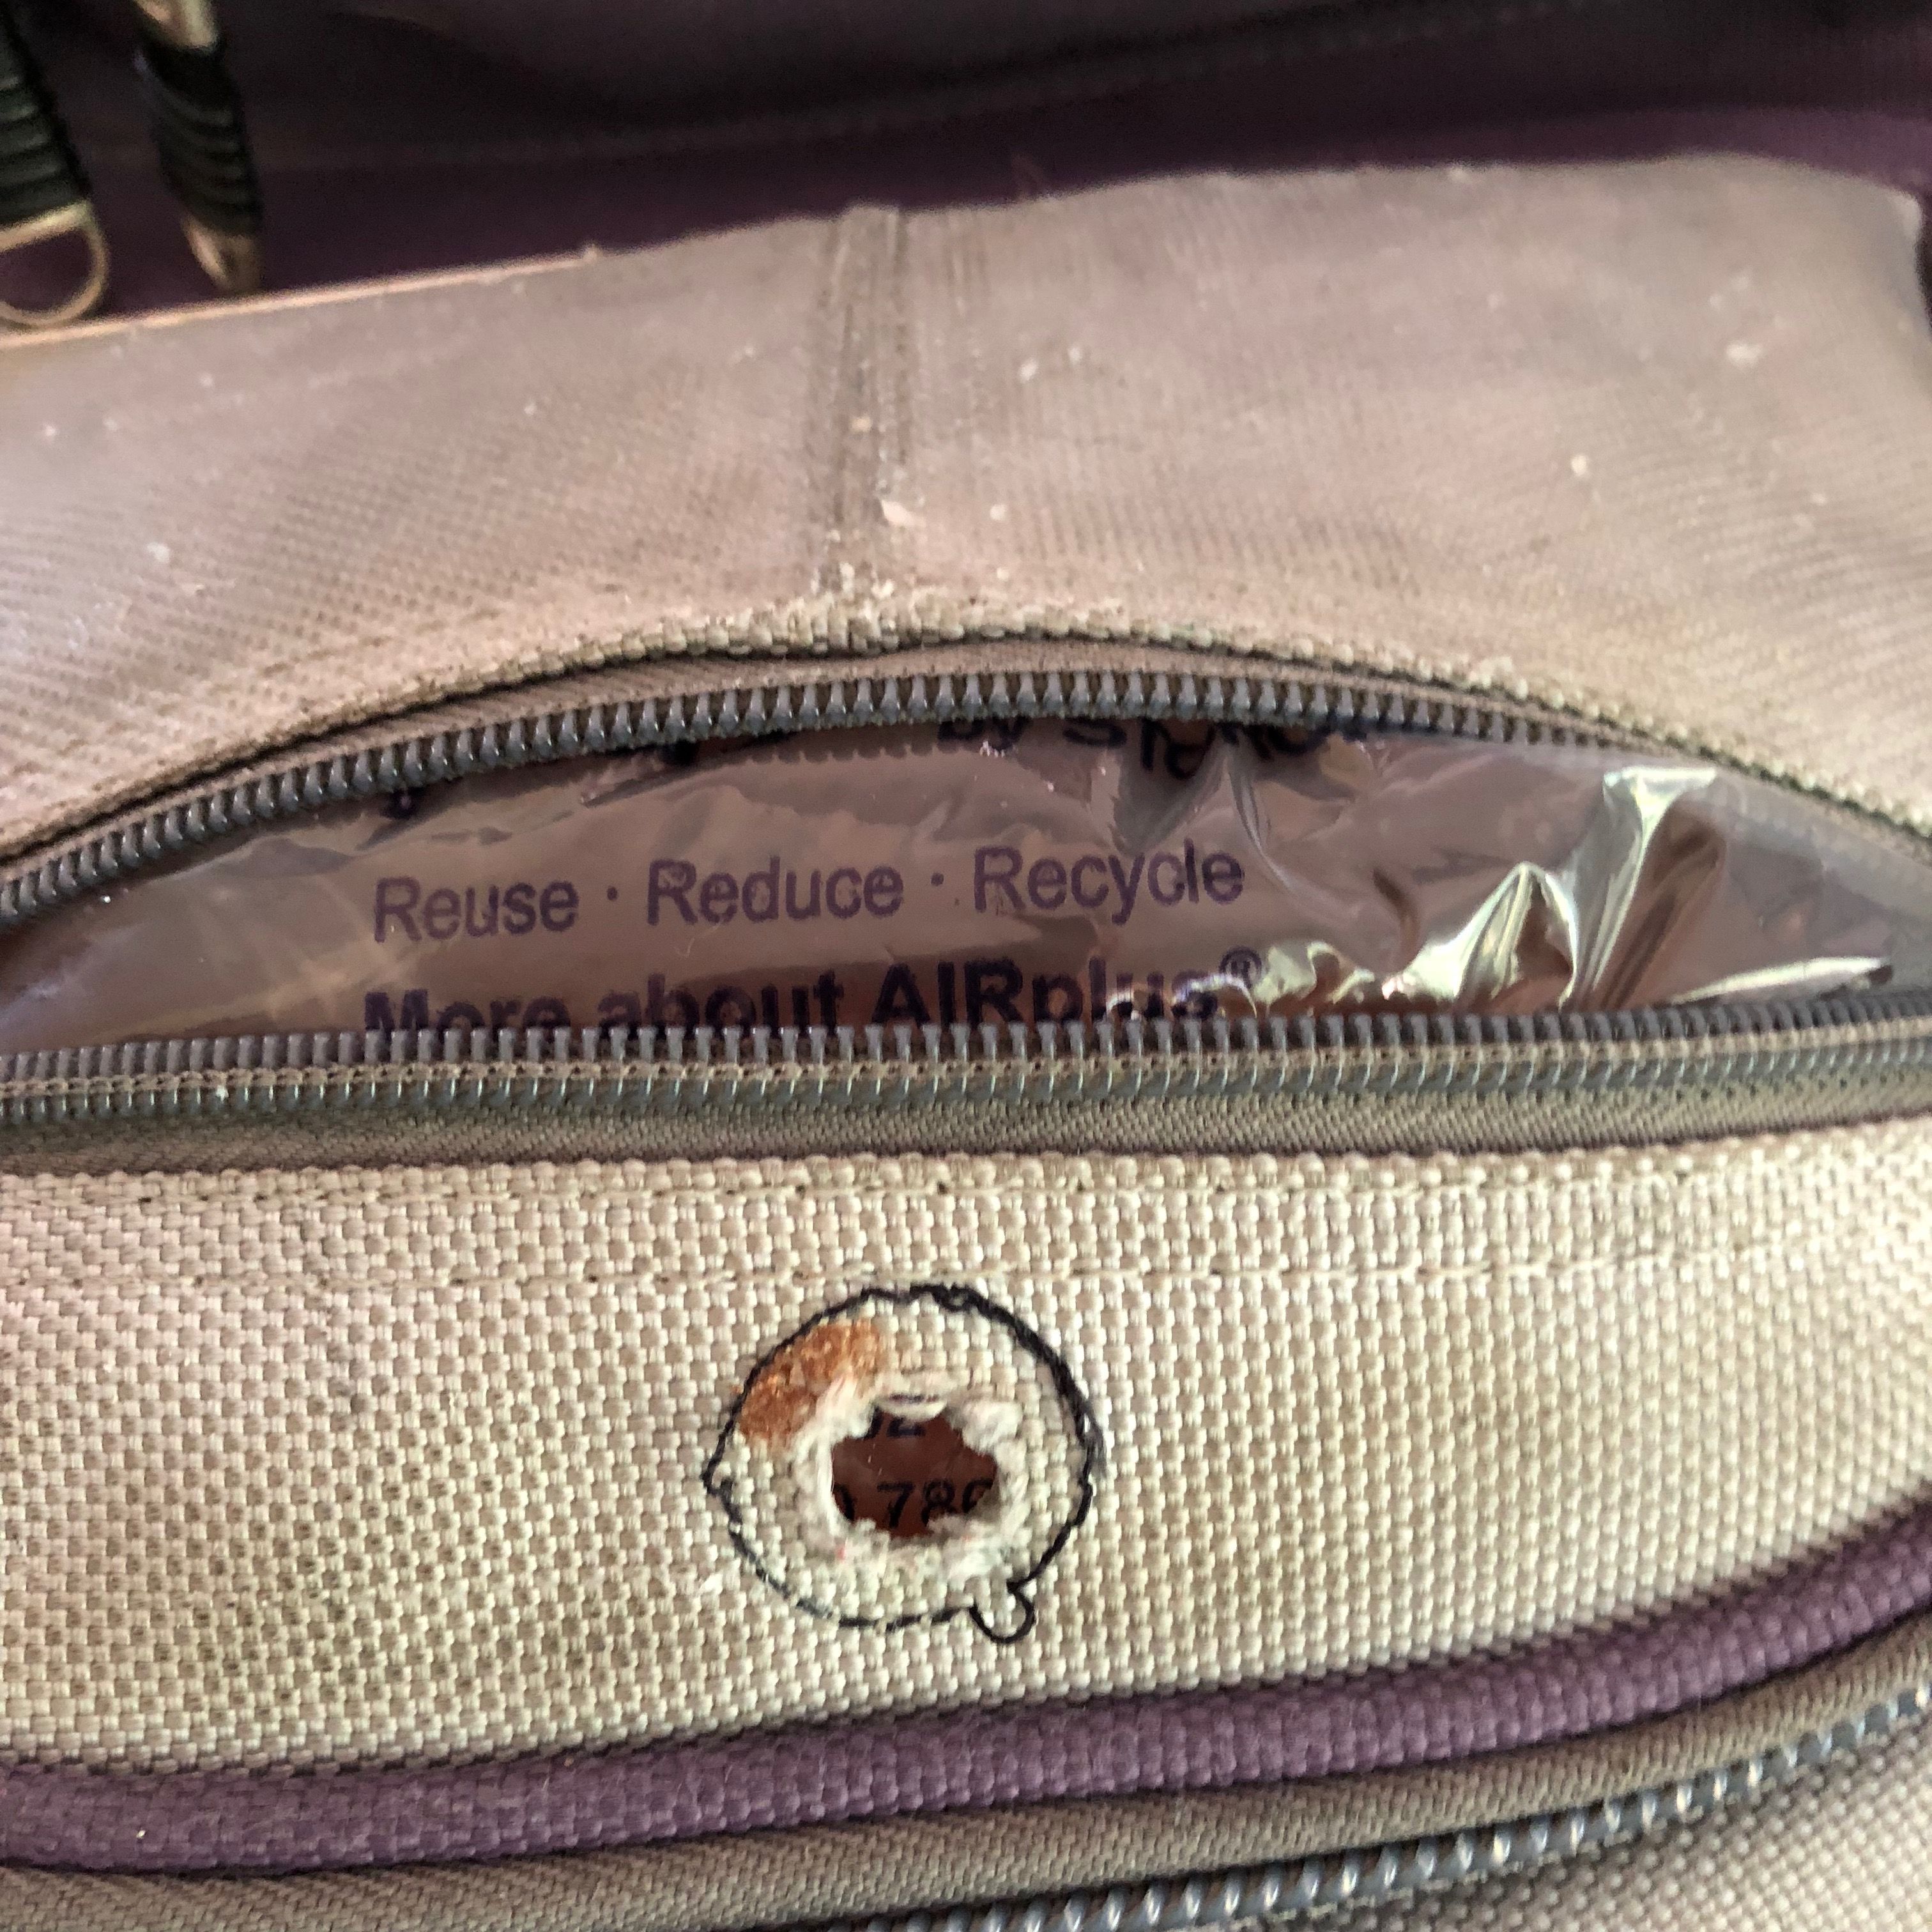
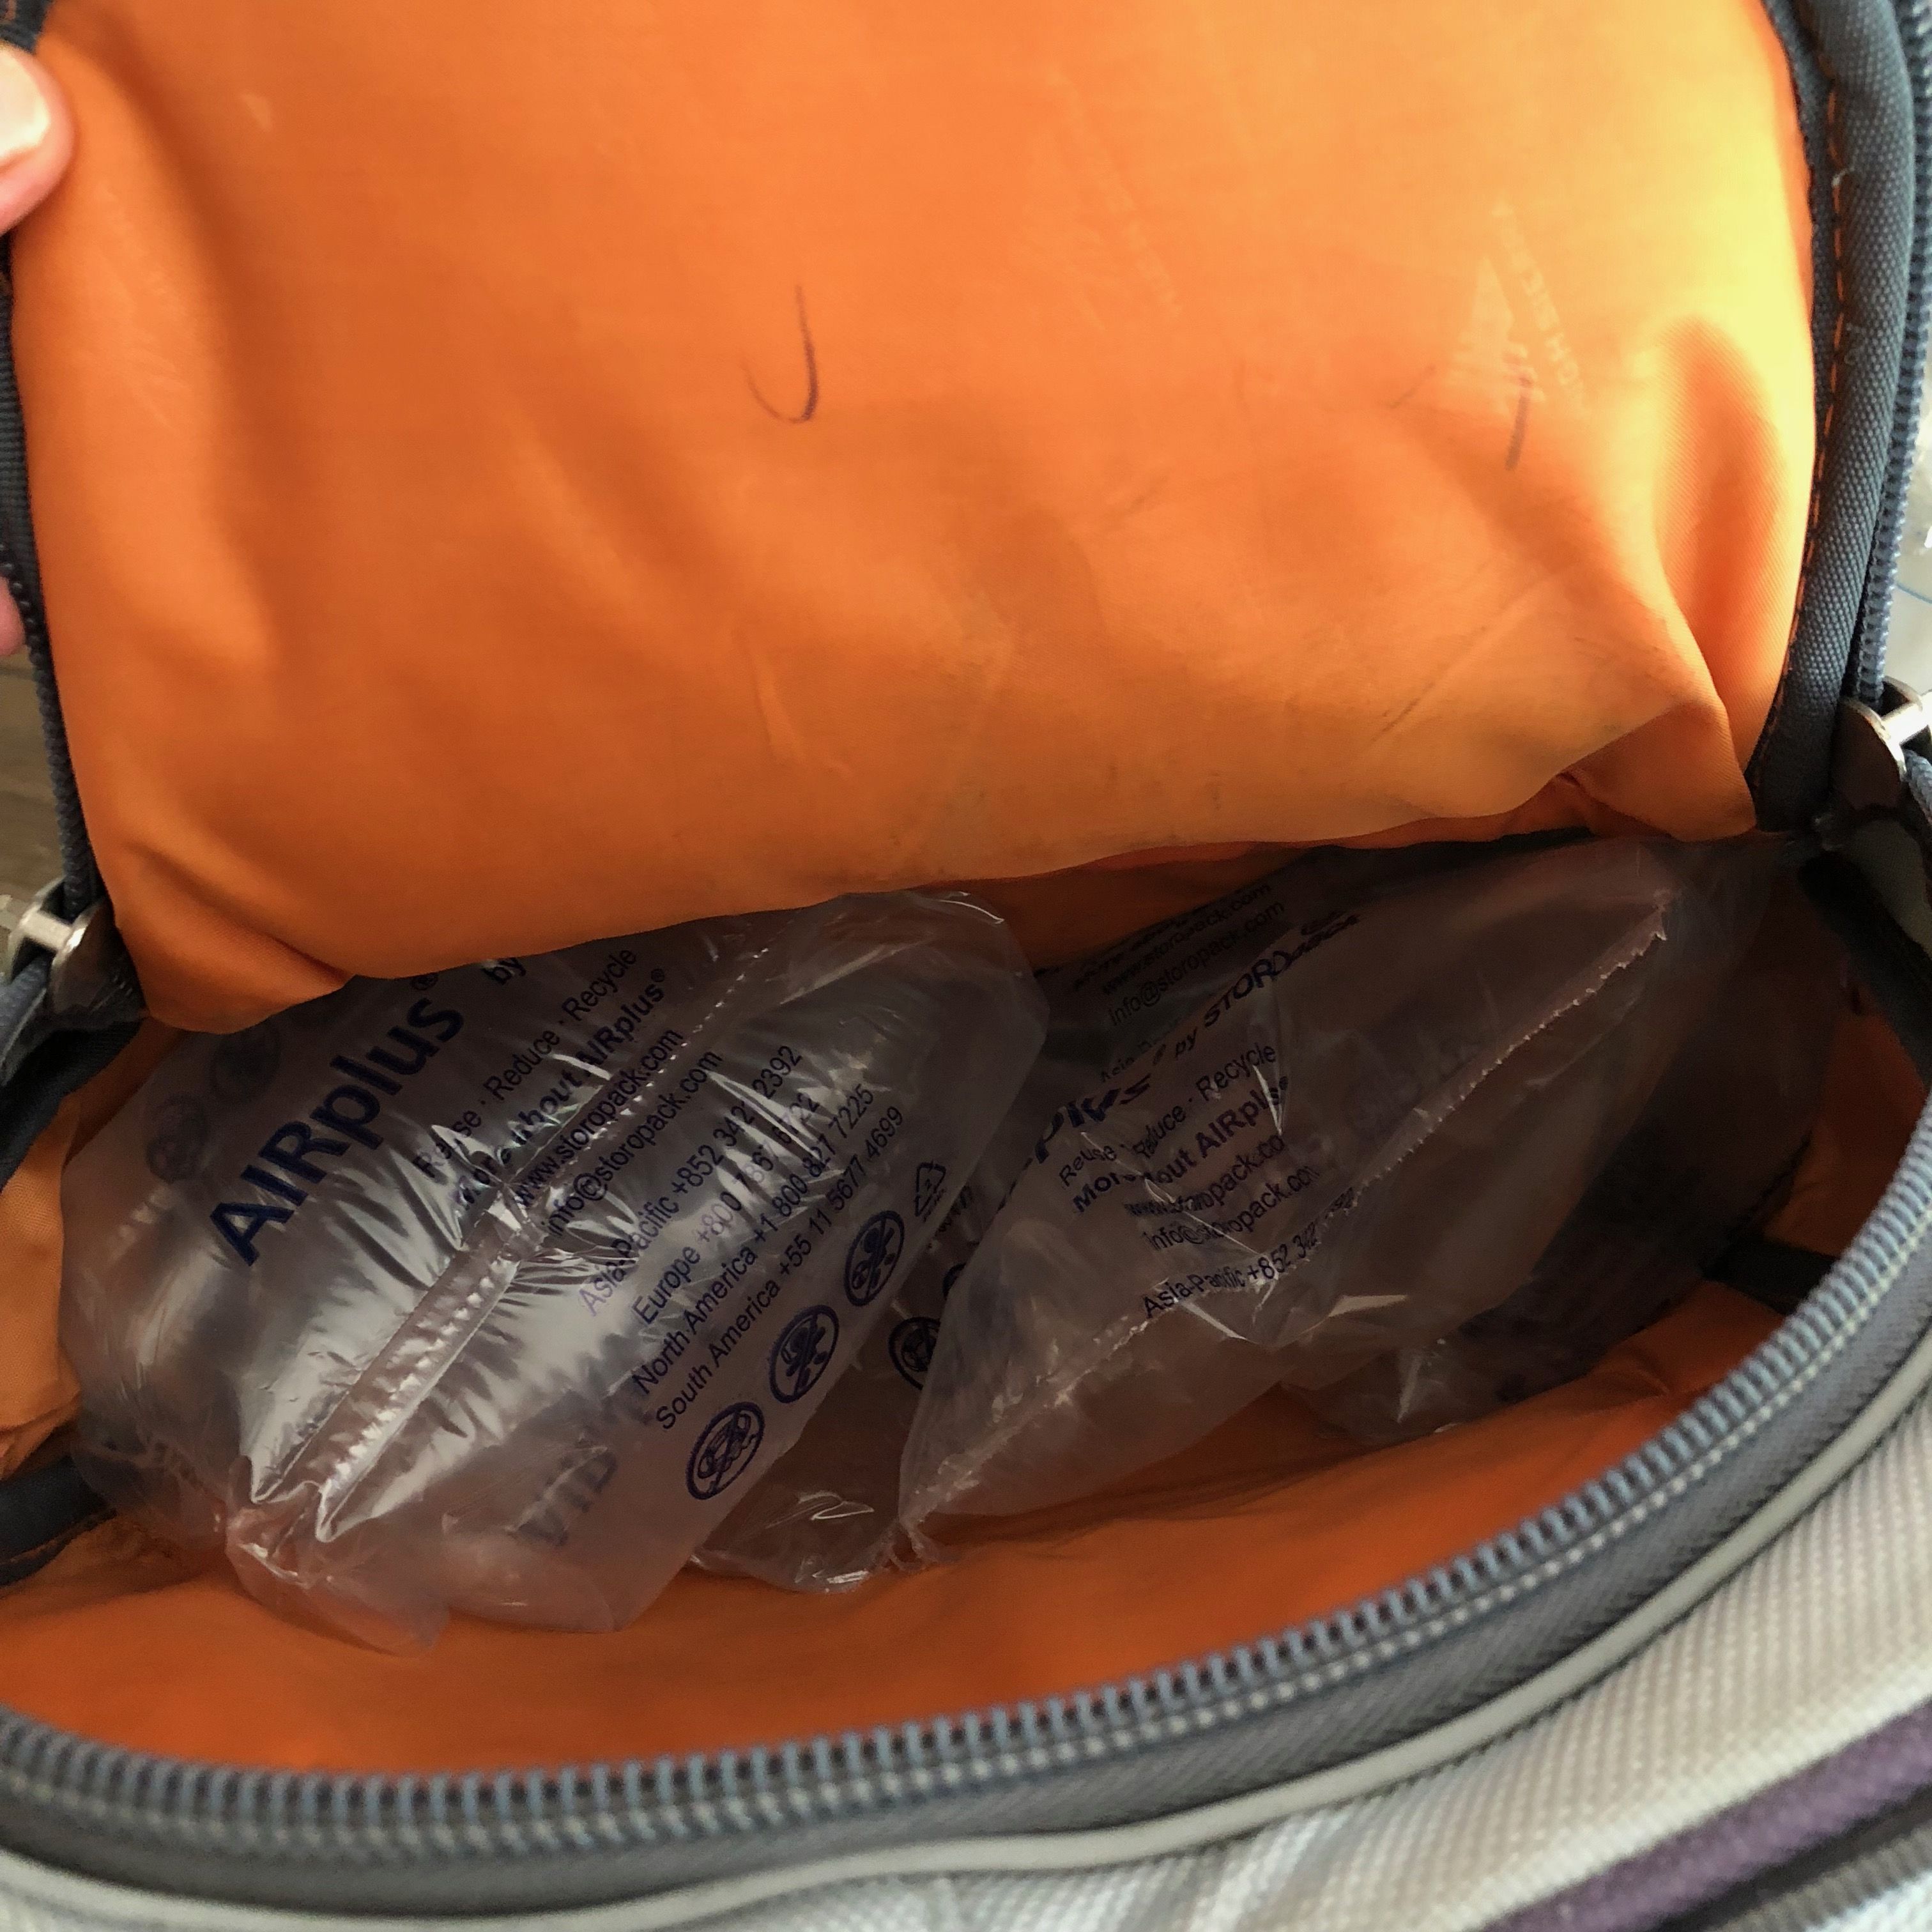
After trimming as much as possible, I stuffed the backpack. I found that using old packing supplies work great. I stuffed crumpled packaging tightly into the corners and filled larger areas with packing pillows. This will help keep the pack smooth for painting and make it much easier to work on.
Seal the Pack
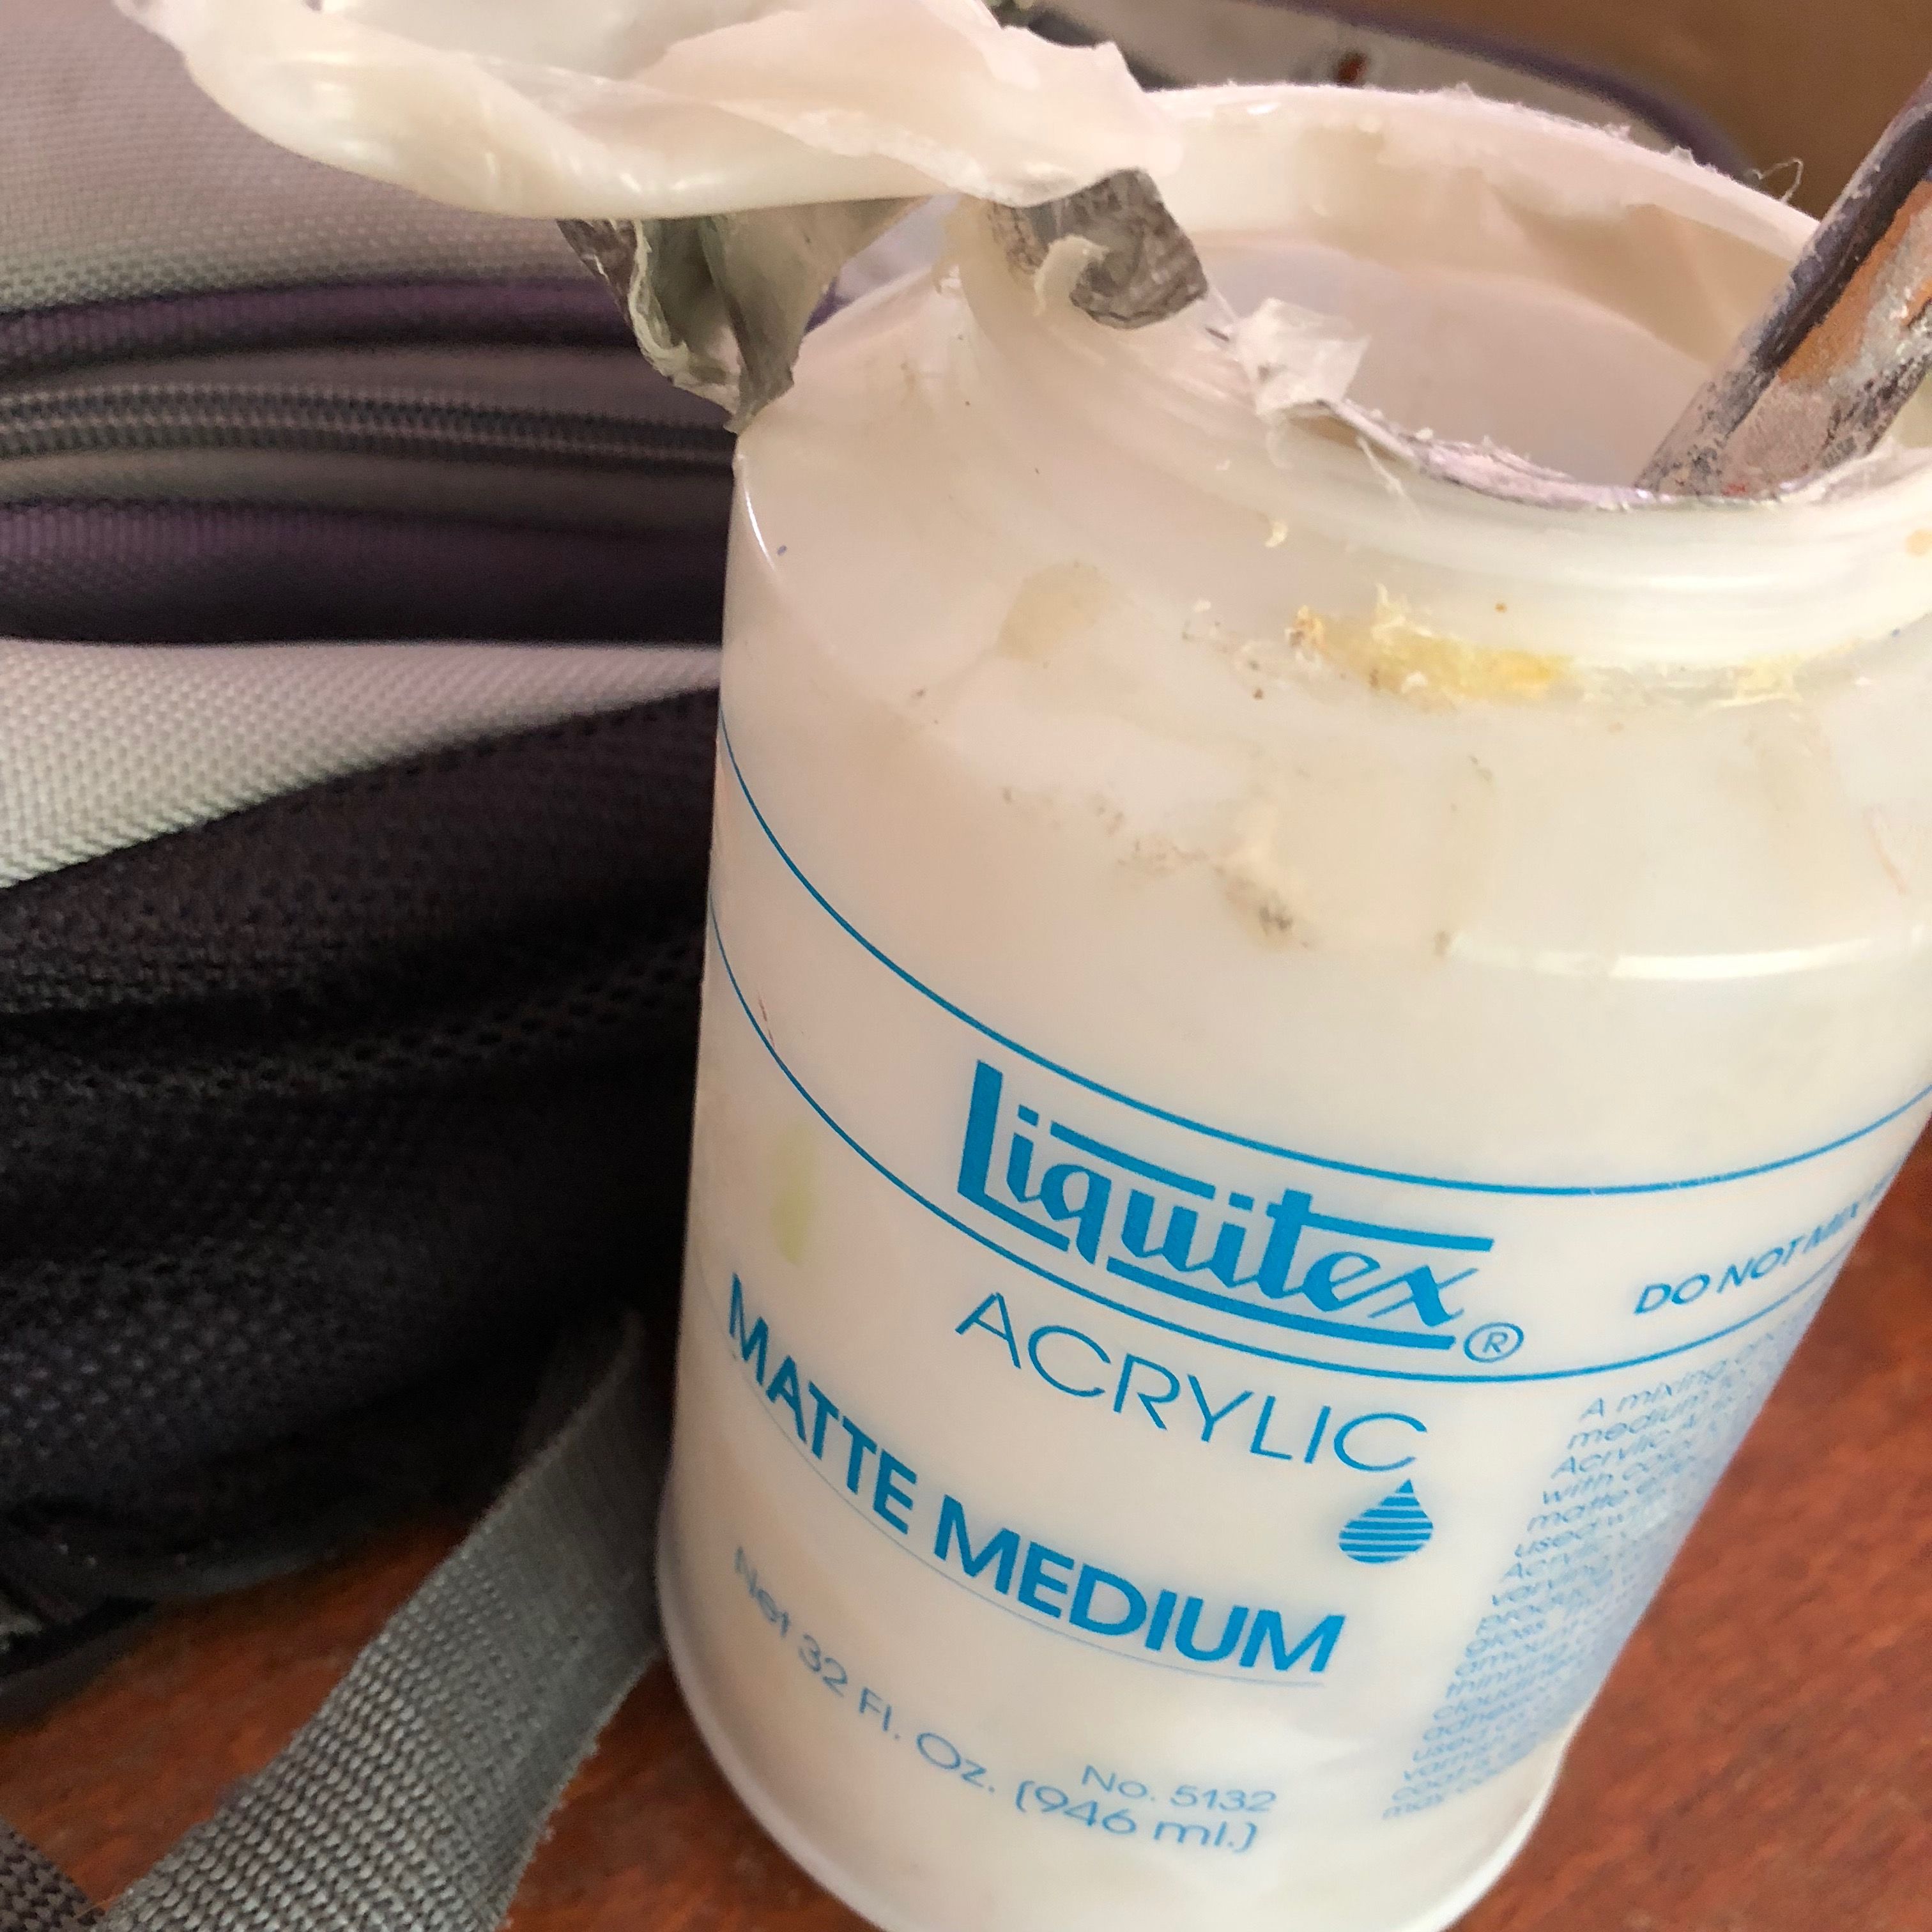
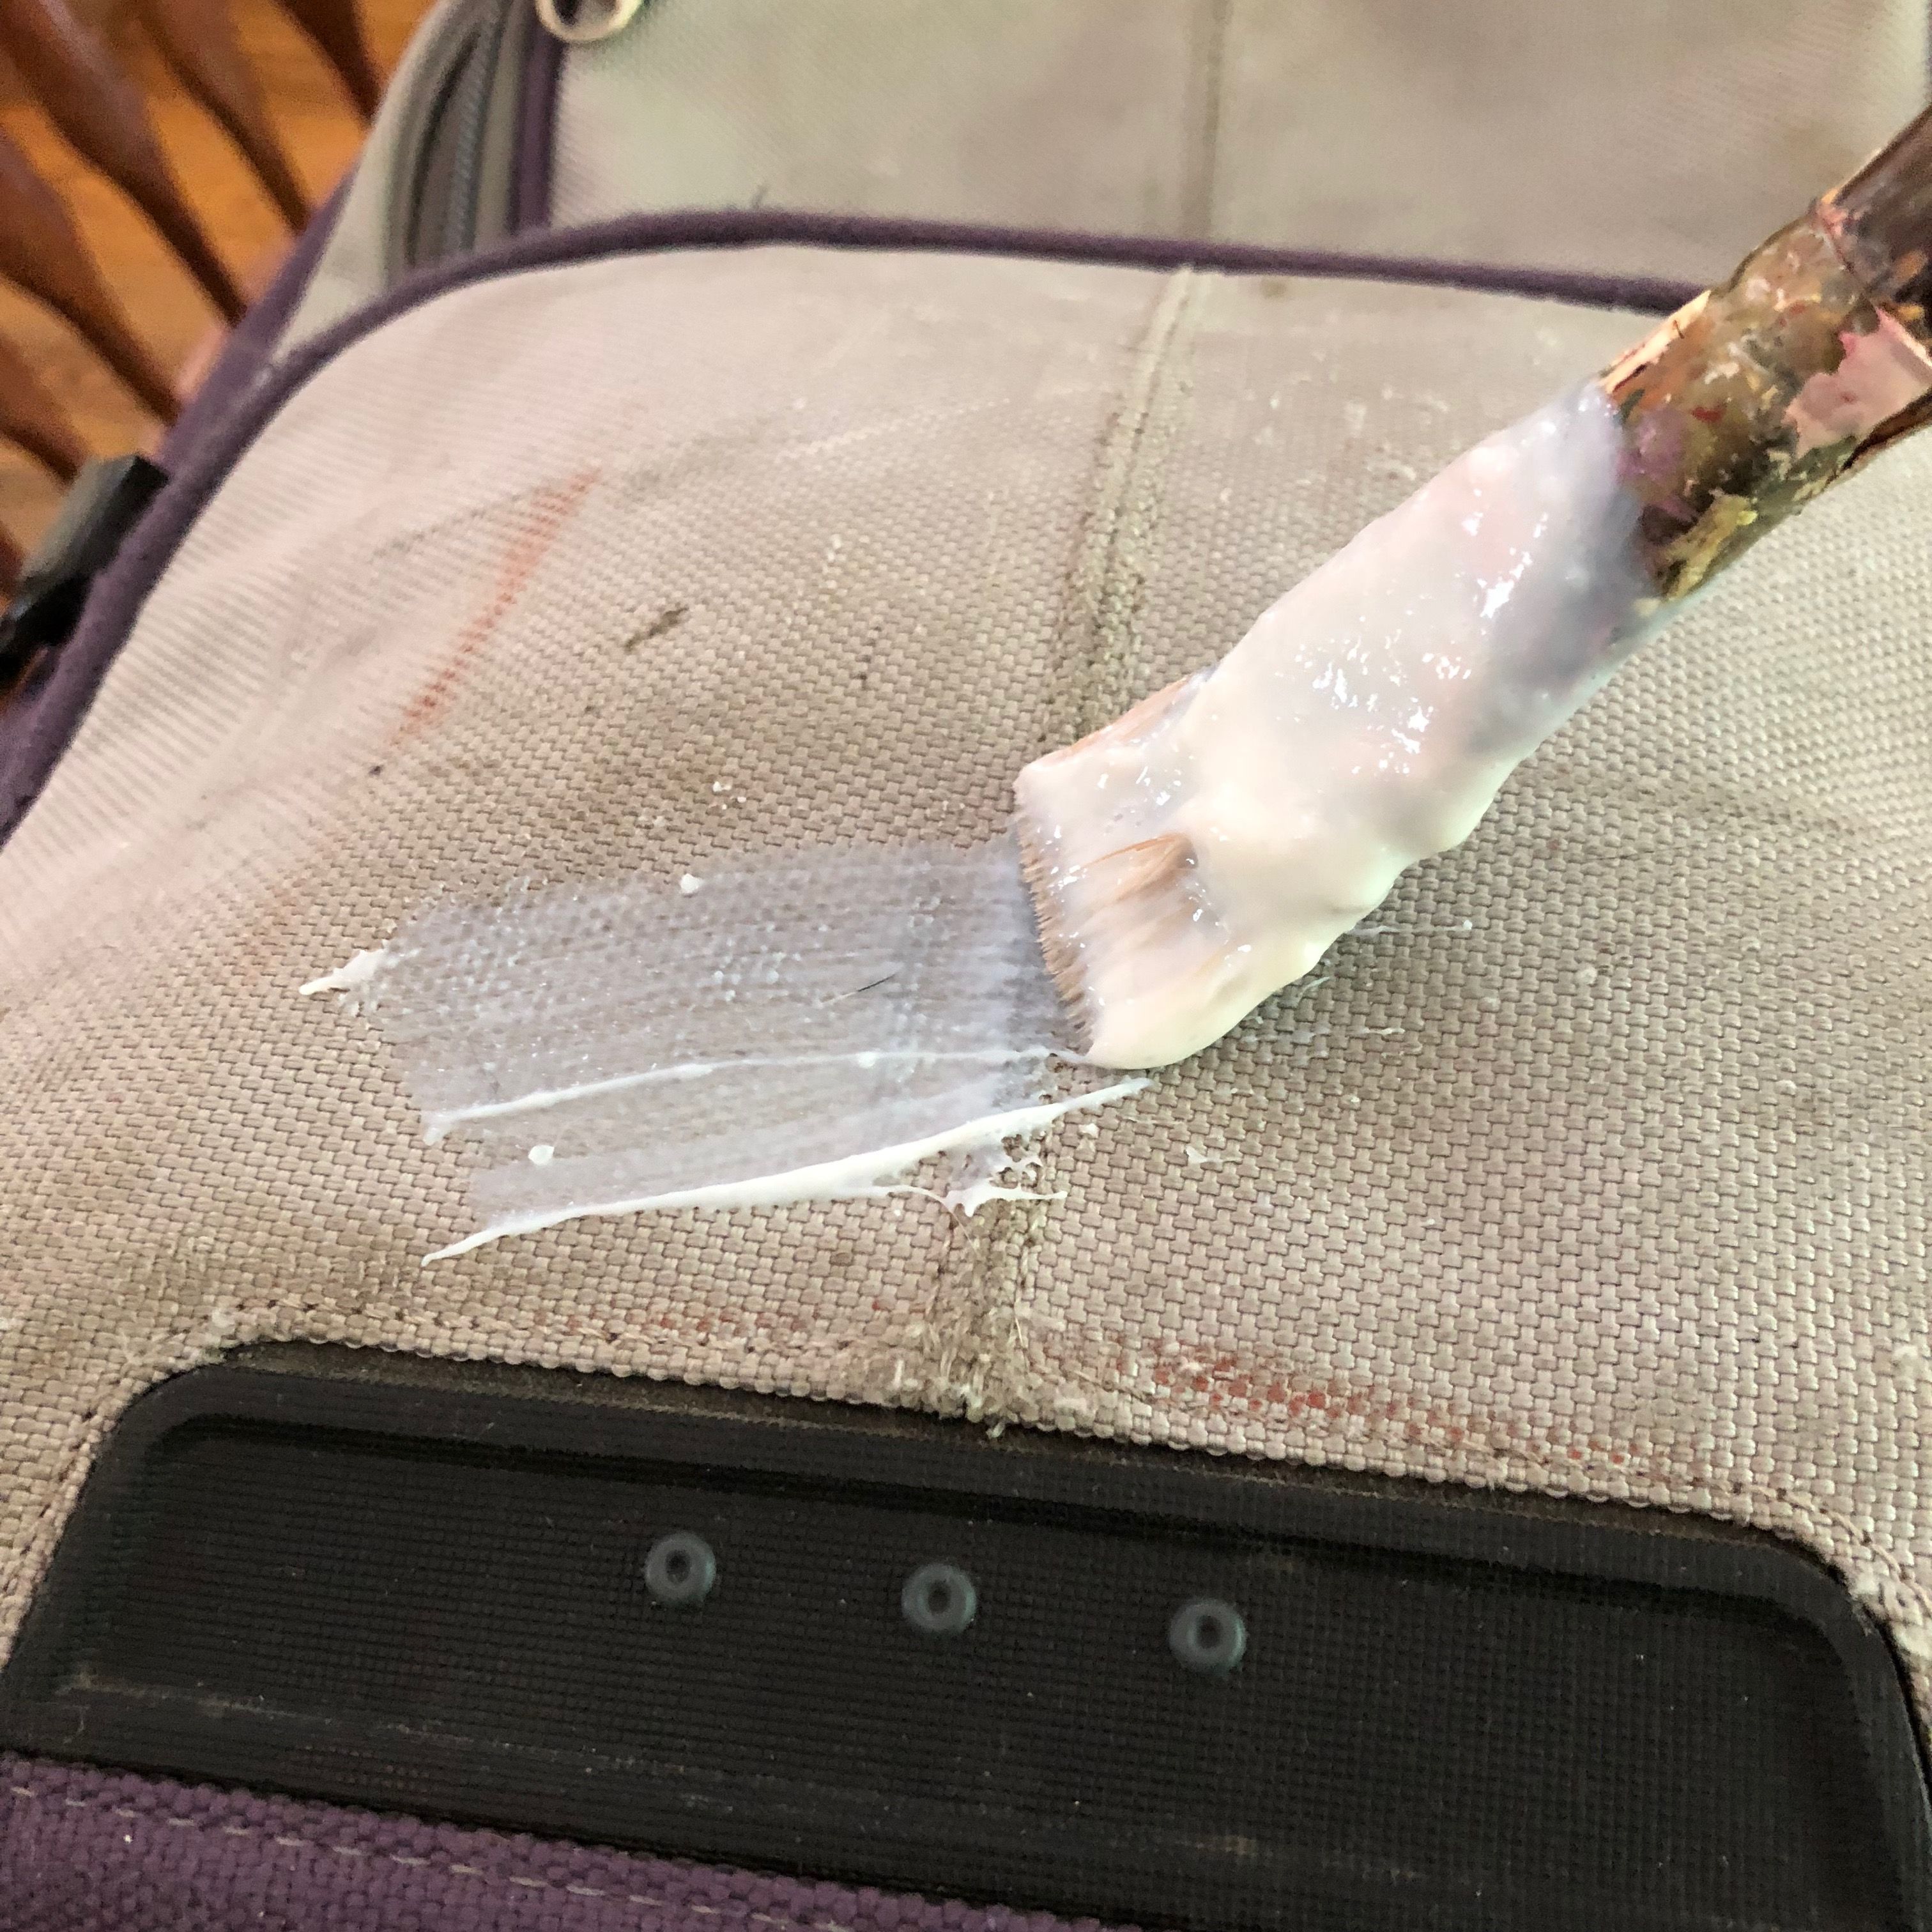
Next, I wanted to create a paintable surface.
There are many products you can use to seal and prime the backpack. Gesso is probably best (and some backpacks might be smooth enough to start), though I decided to use acrylic medium since that’s what I had around. Also, it's strong, clear, flexible and waterproof.
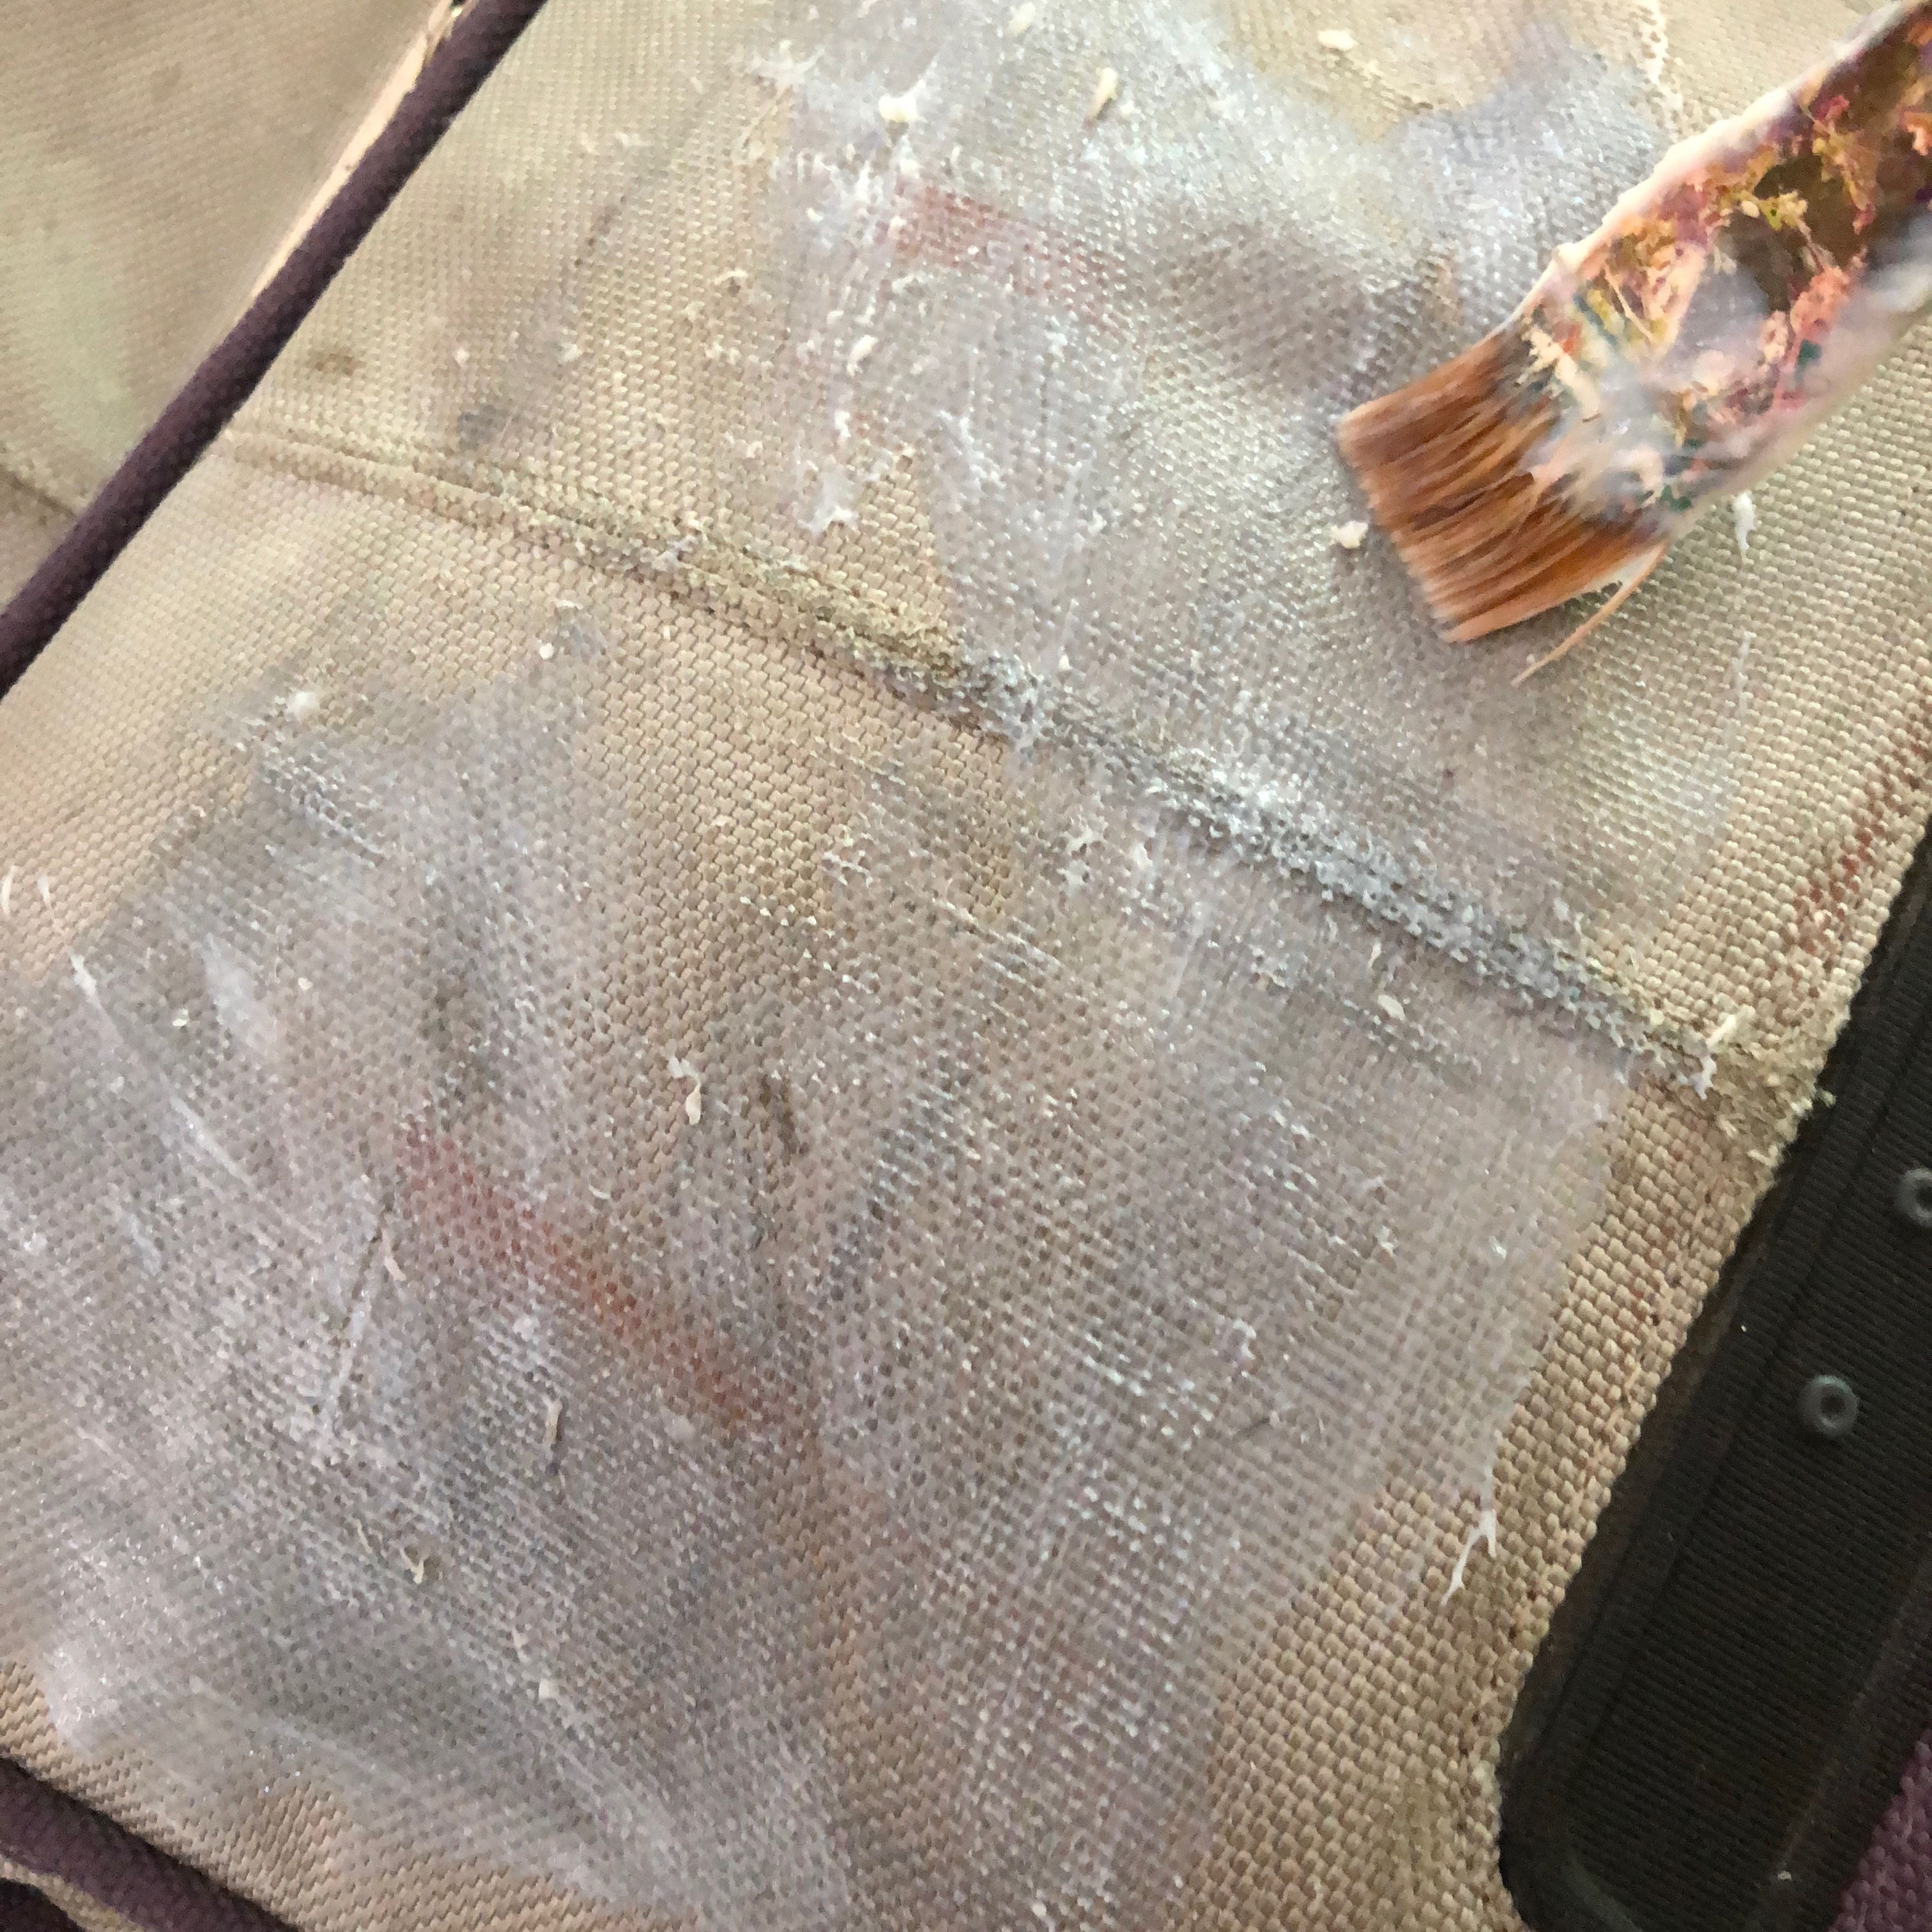
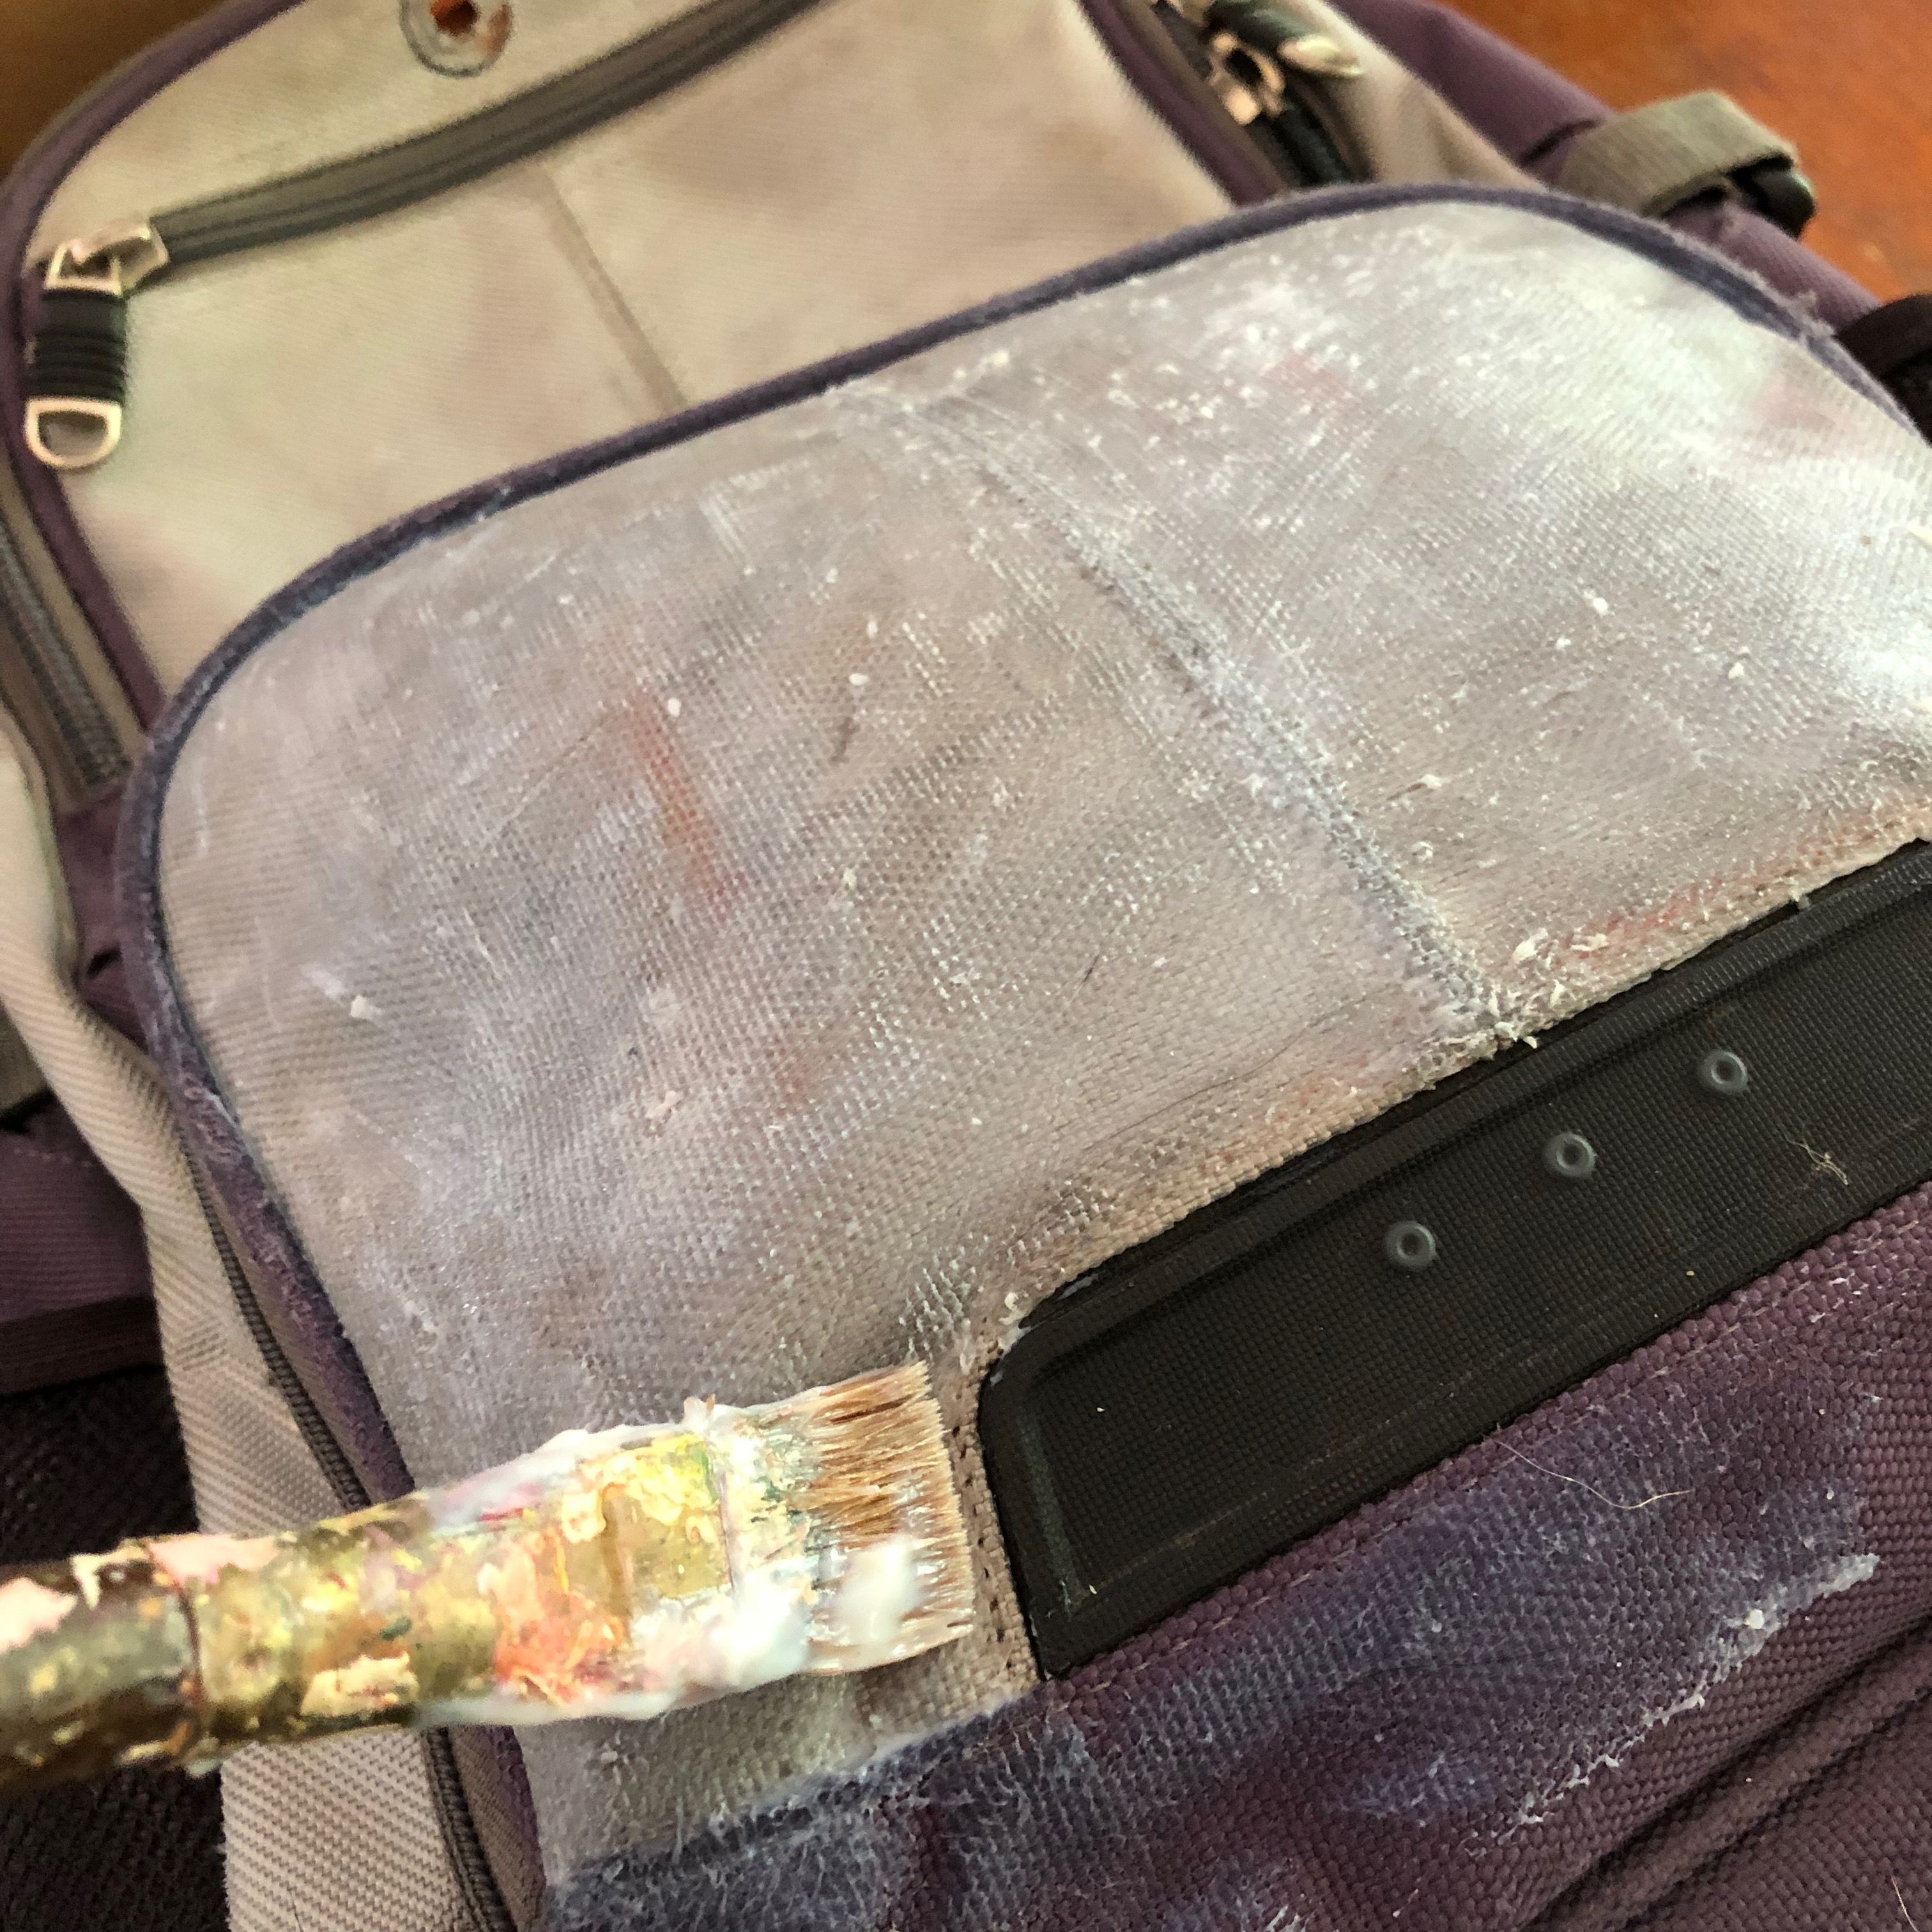
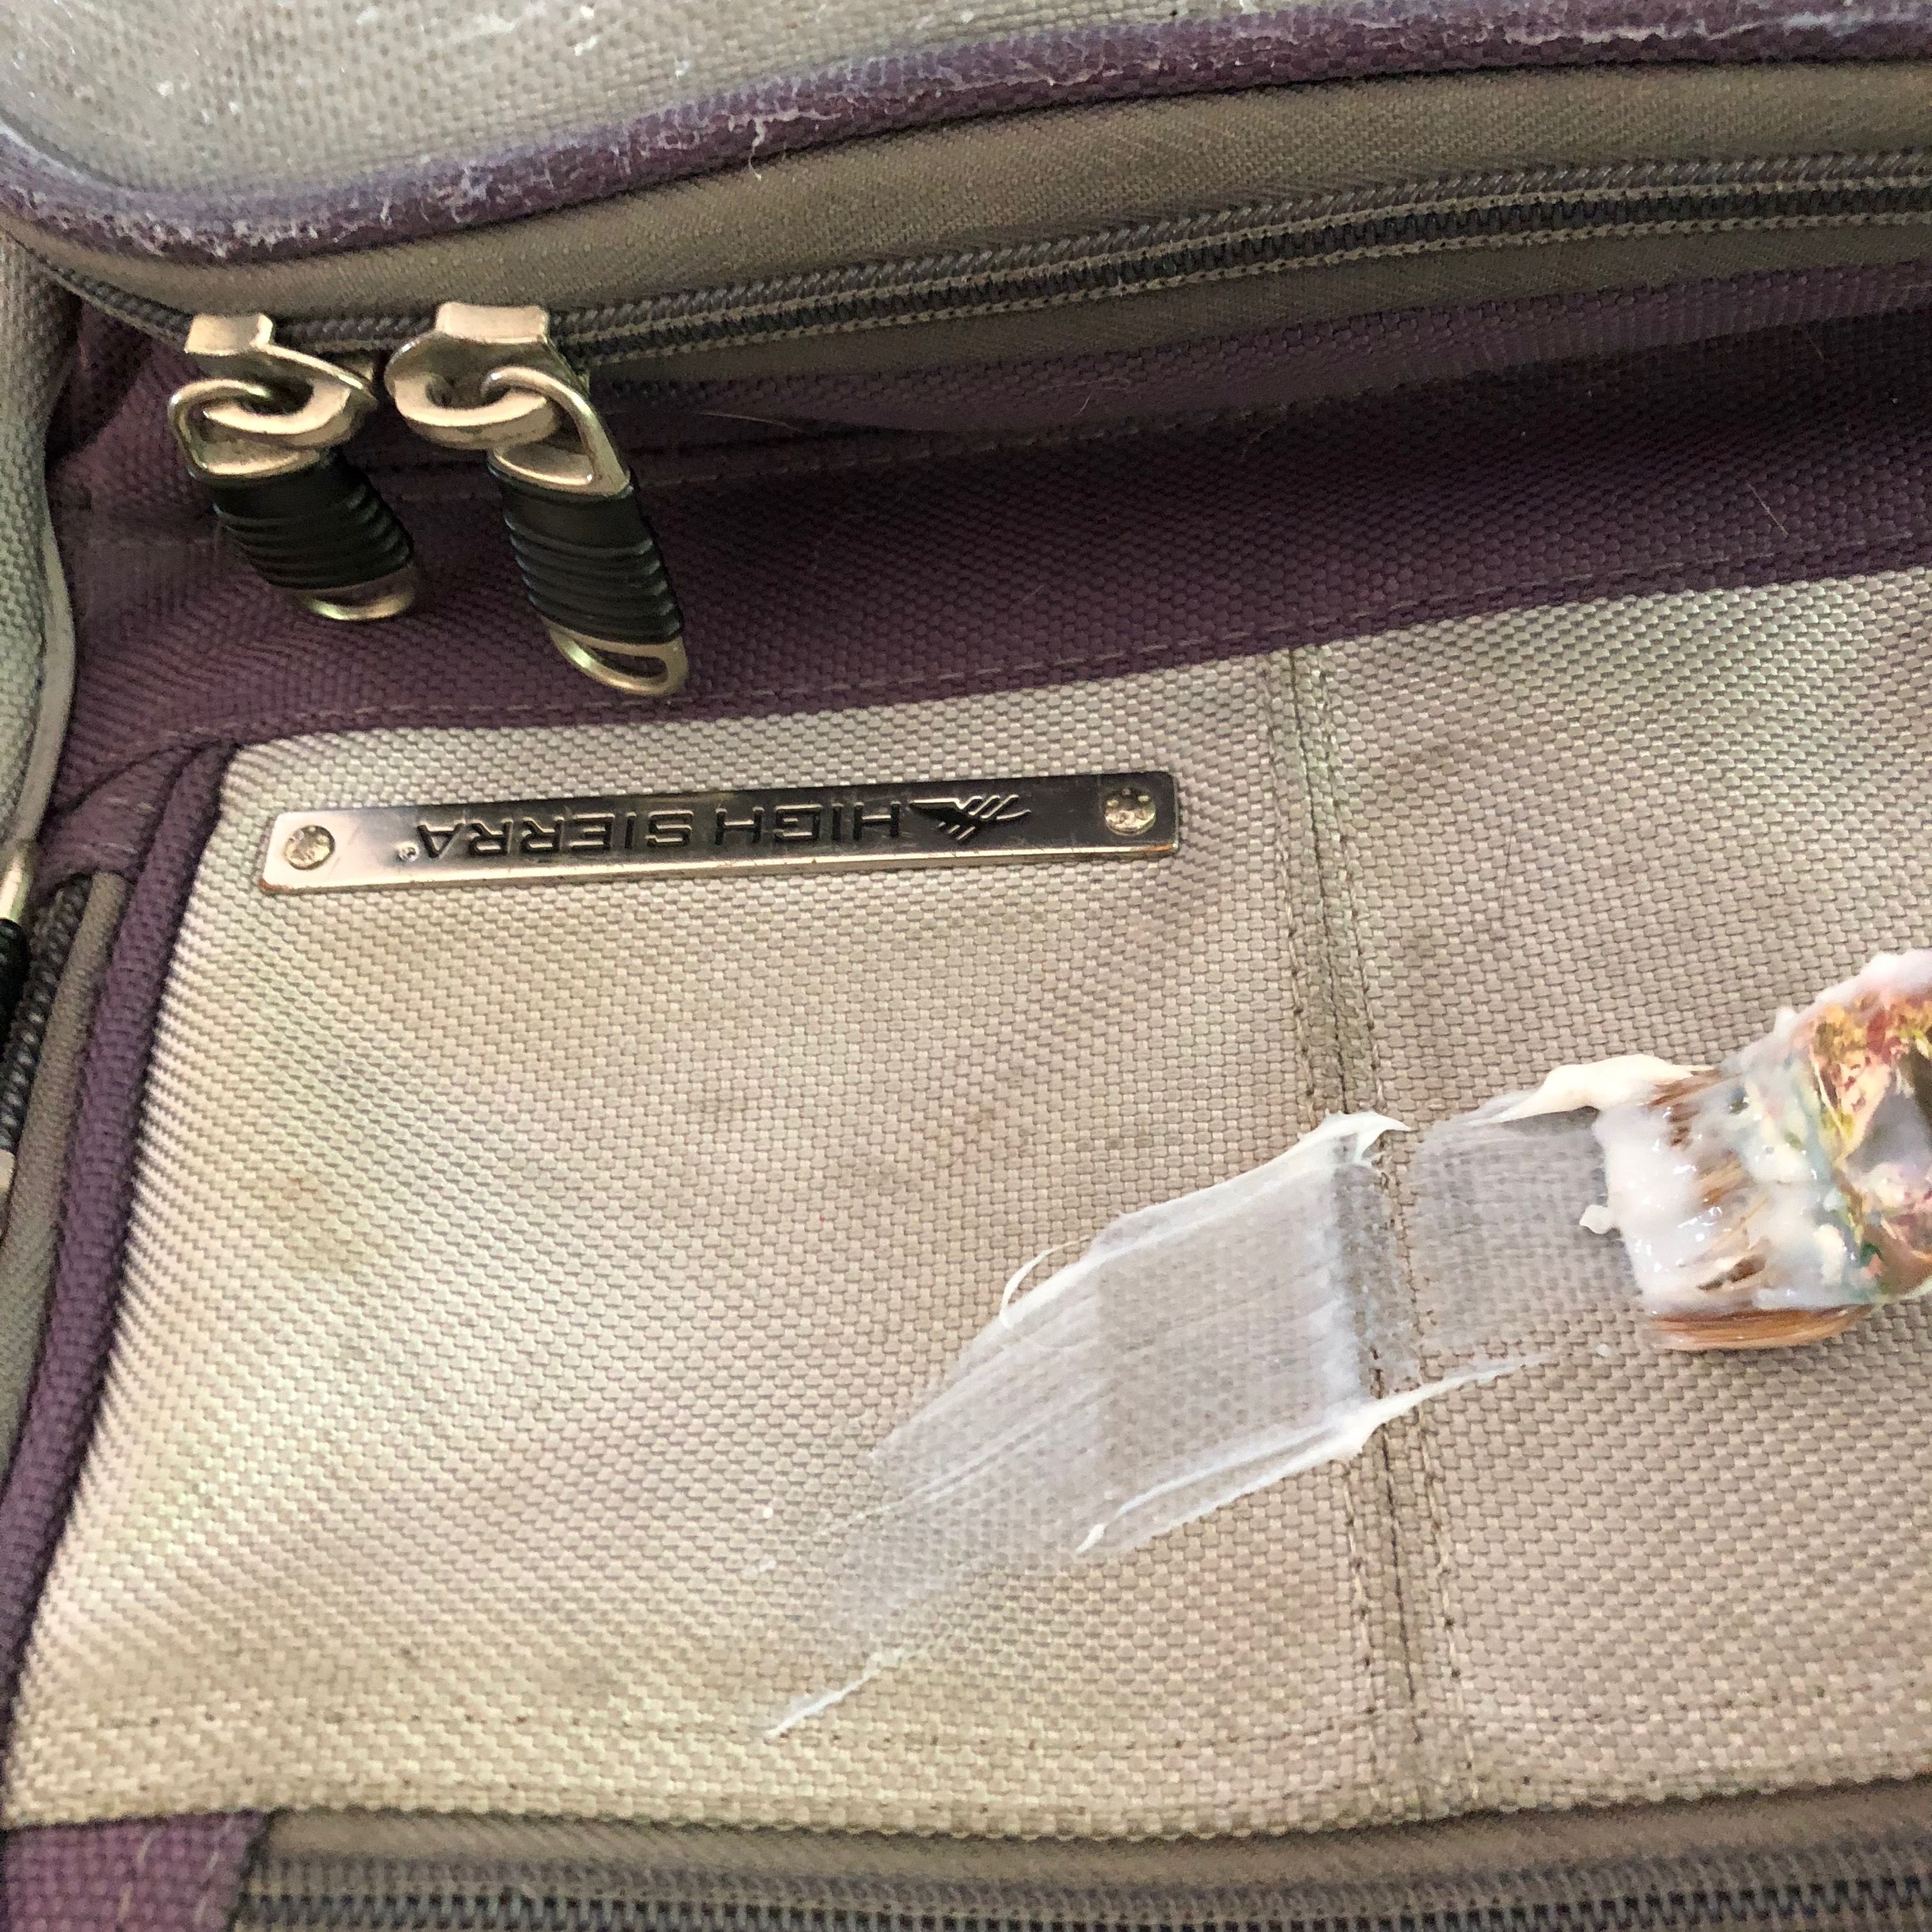
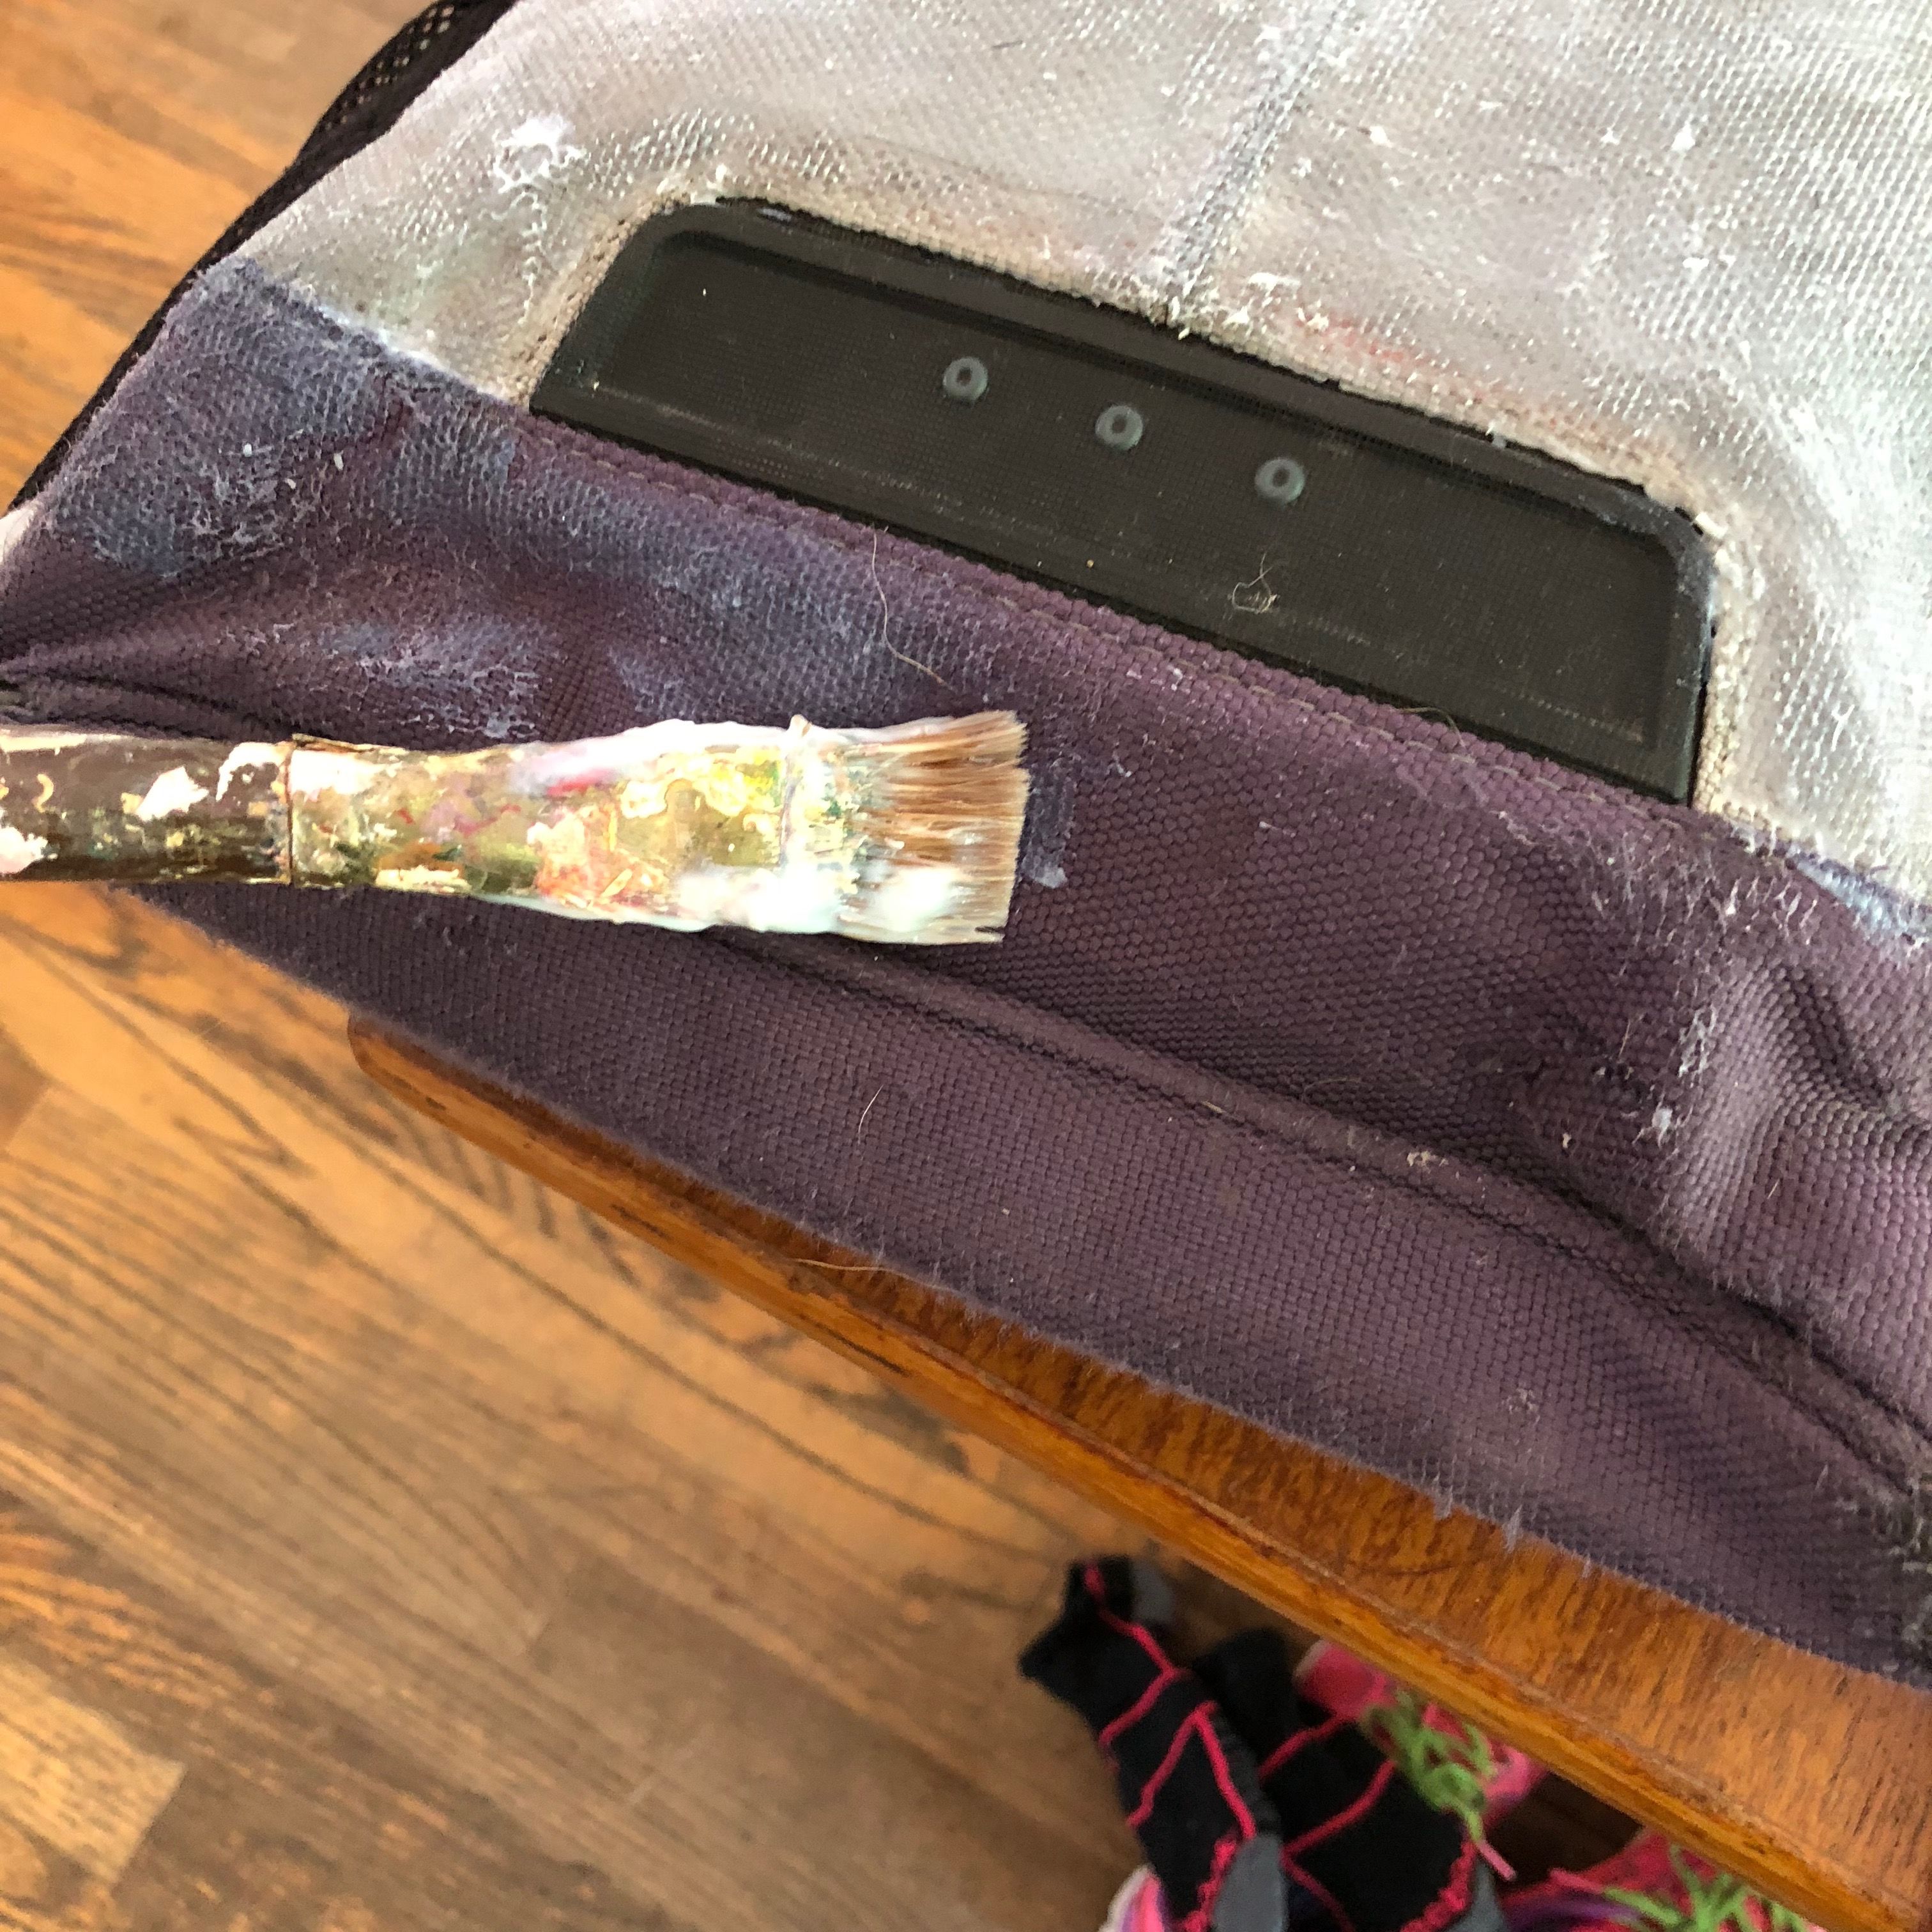
I brushed on a layer of acrylic matte medium everywhere I planned to paint the backpack. This surfacing also waterproofs the backpack. I made sure to go over the stitching, but not get any acrylic on the zipper teeth. Some areas were stubborn and needed a second coat. I purposely did not seal the back so it wouldn’t be sweaty against your back. I put extra layers of acrylic on bare/damaged spots to reinforce them.
Let the sealer dry fully before proceeding.
Preparing the Surface
Sealing the Edges
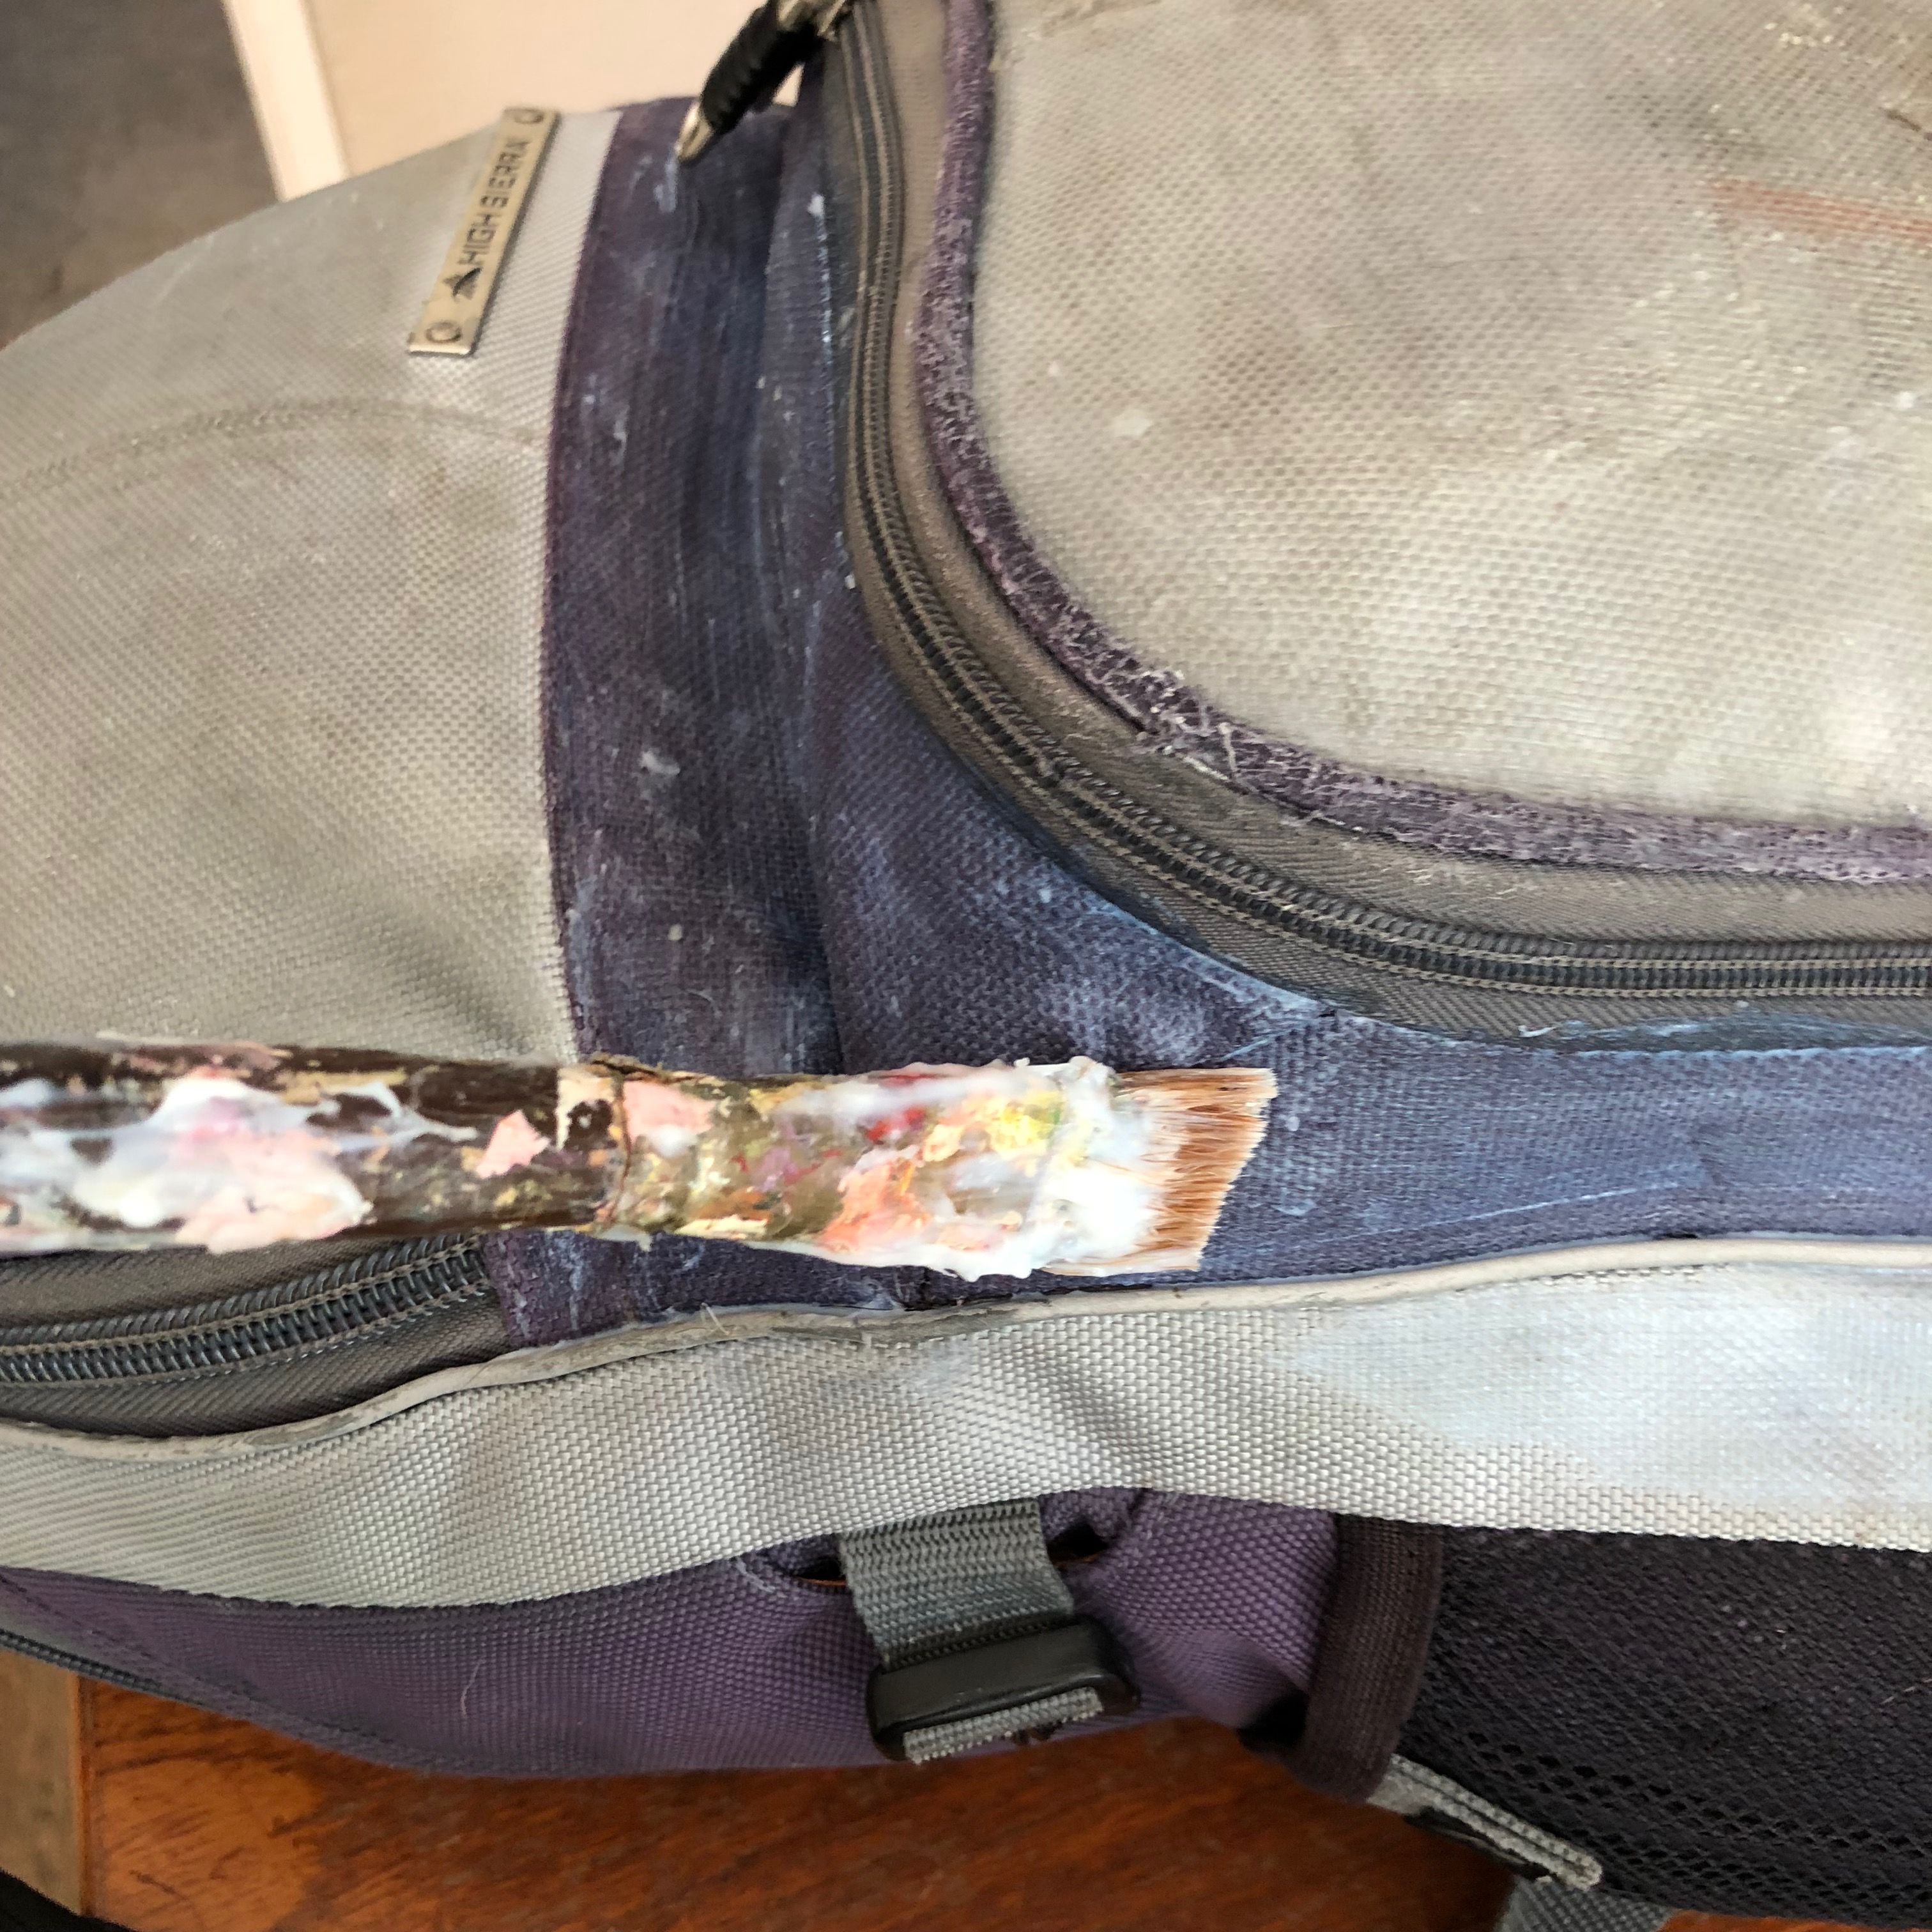
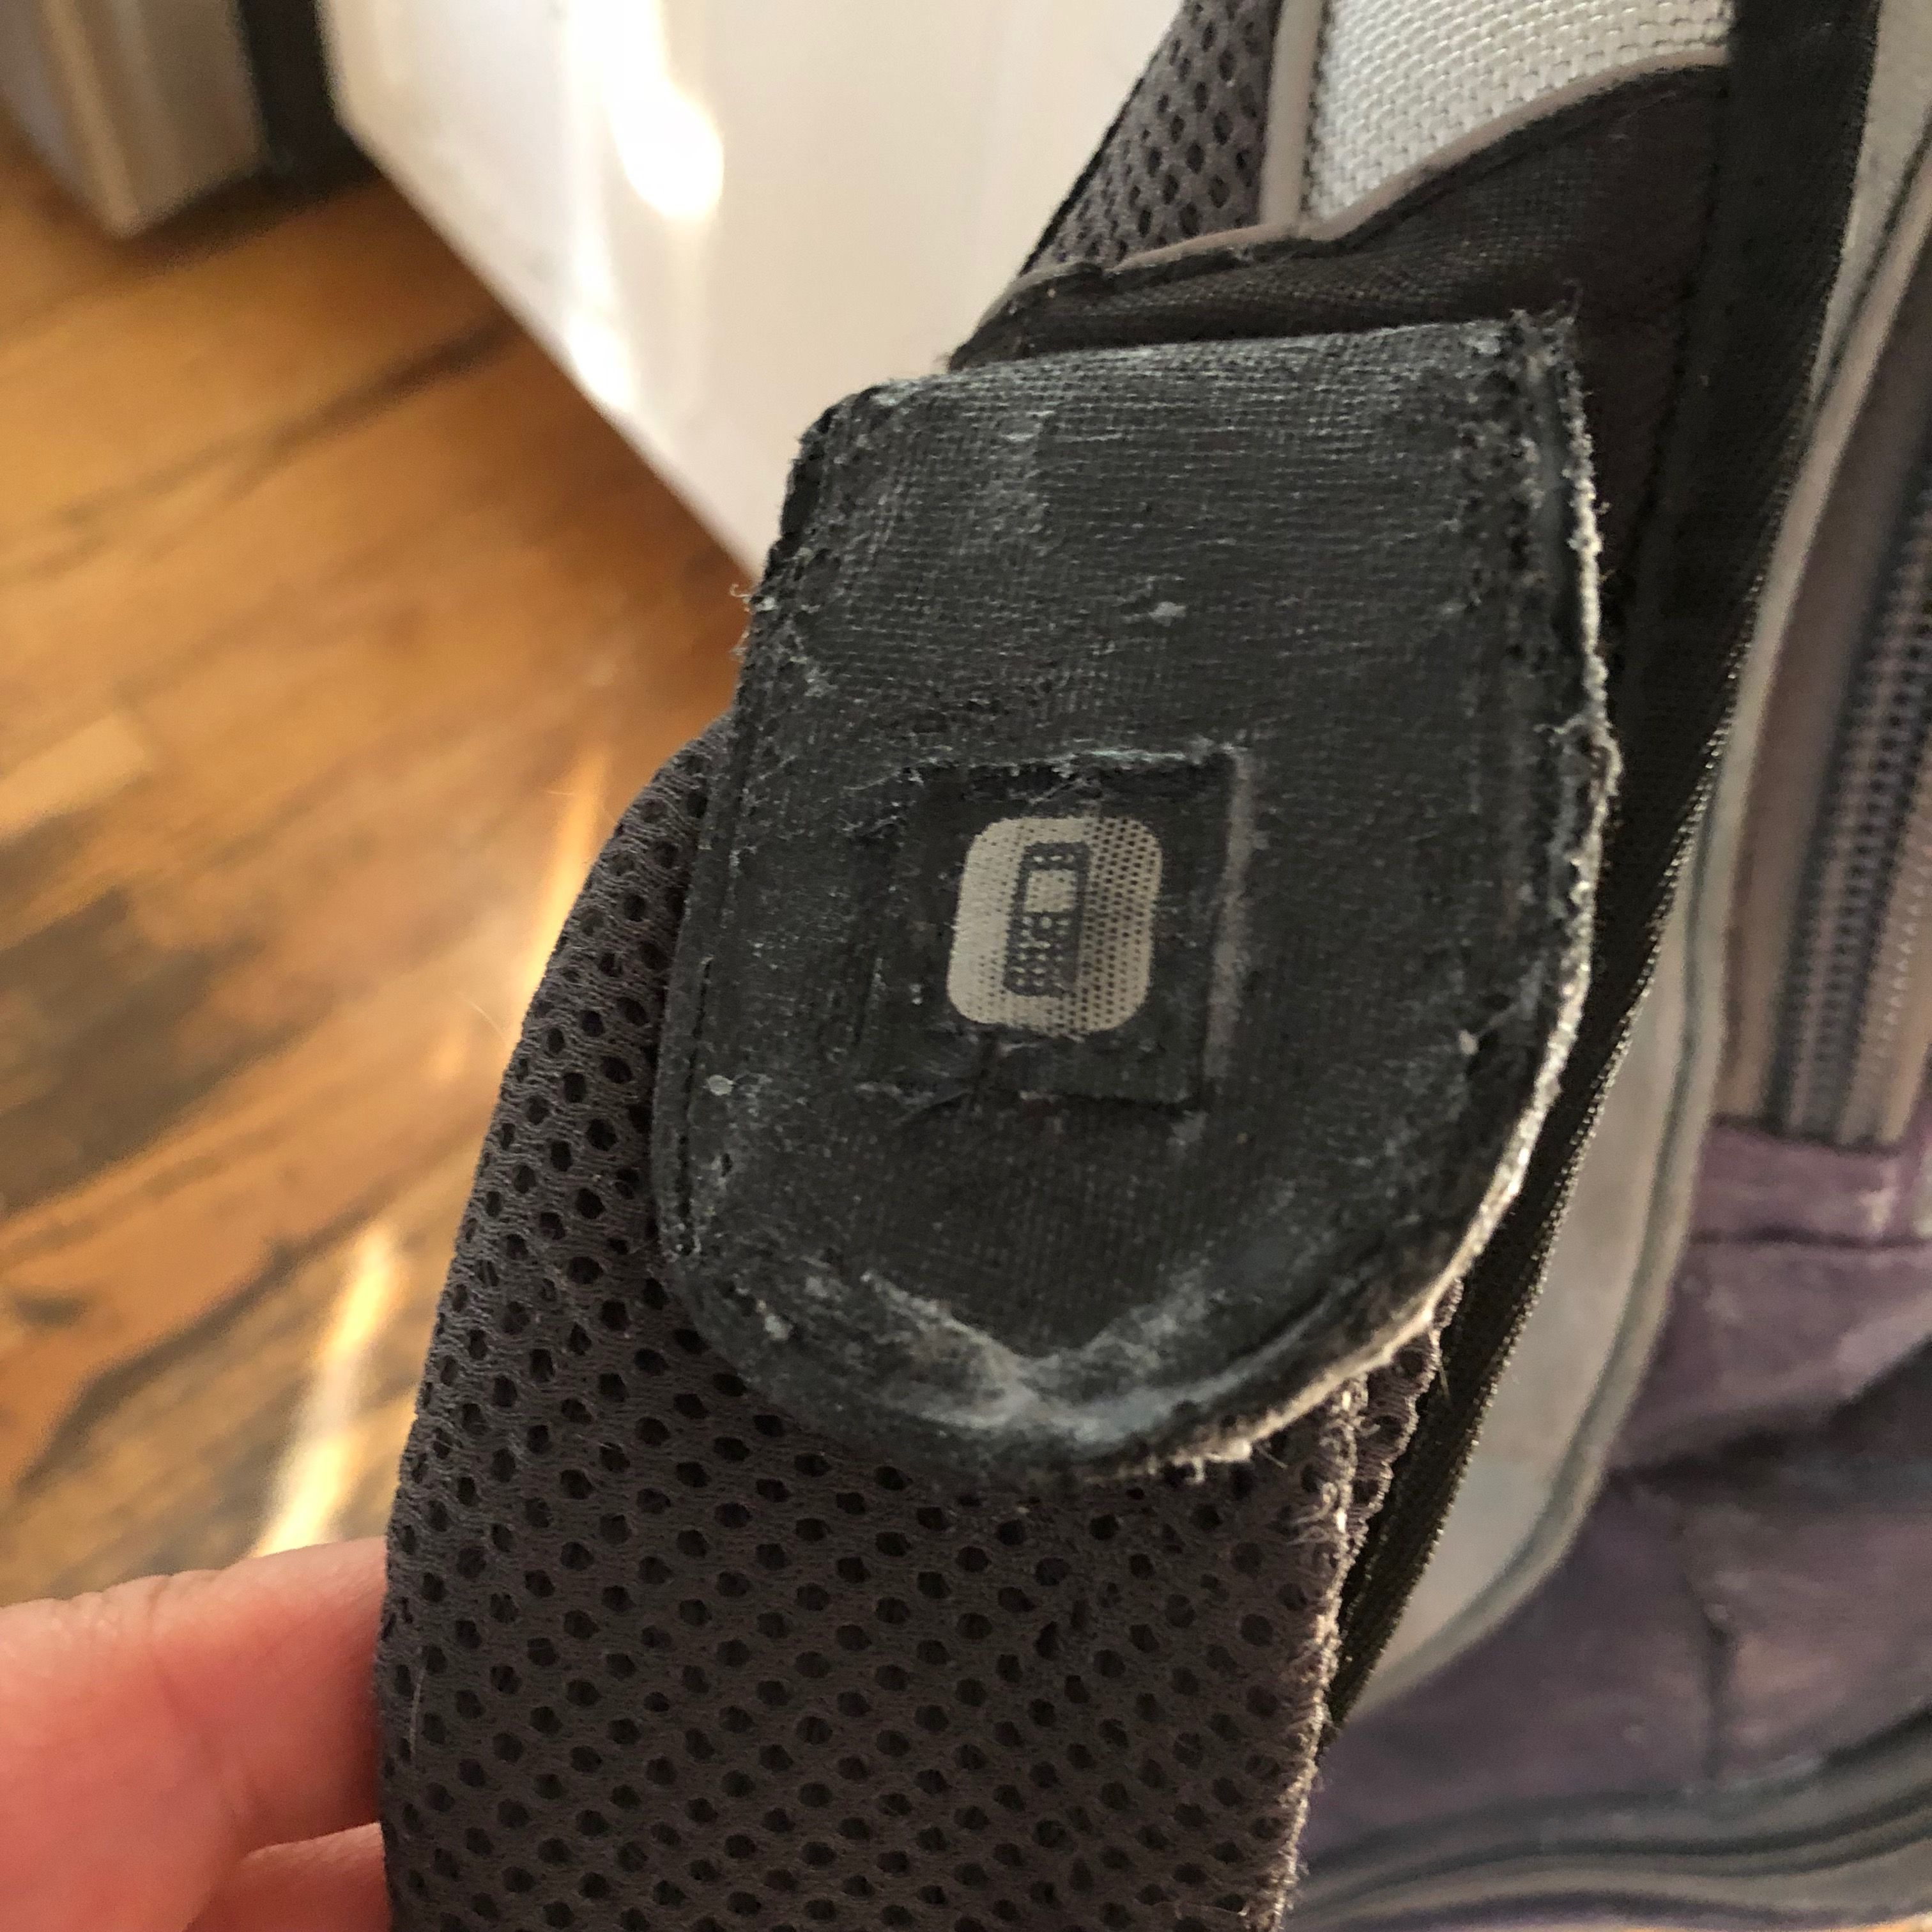
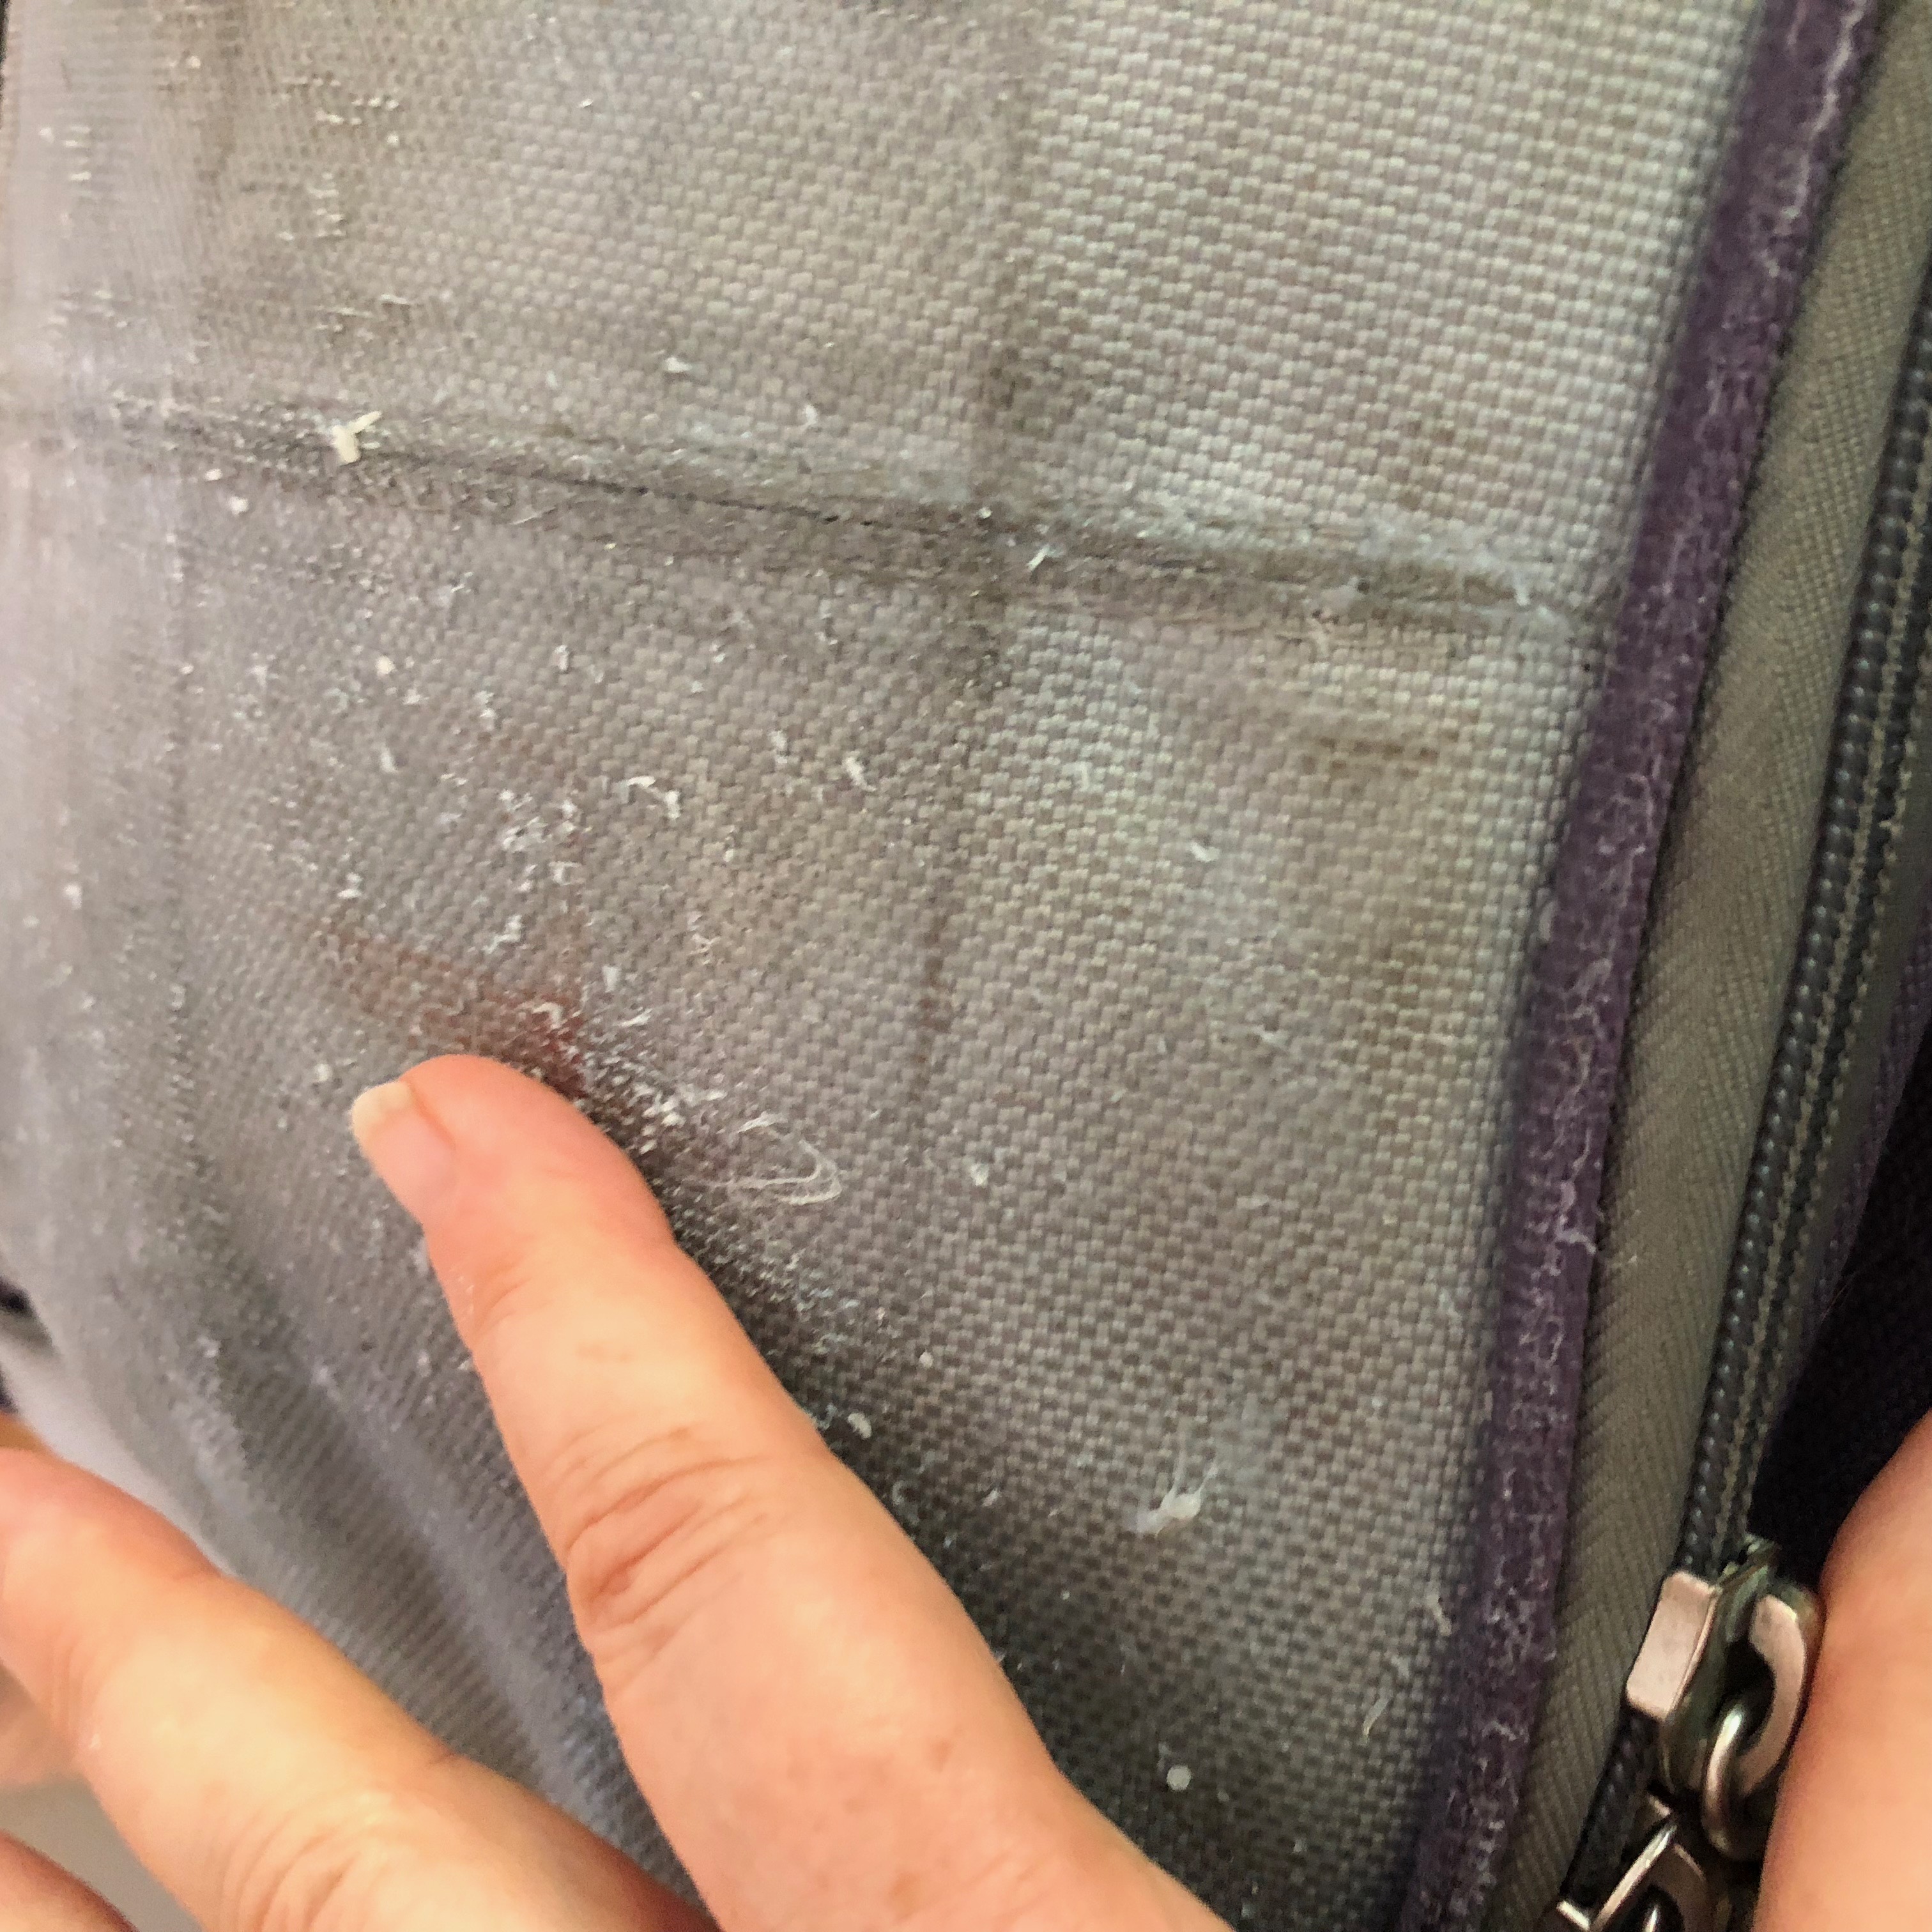
You can use the acrylic medium to go over frayed edges and flaps.
Experiment
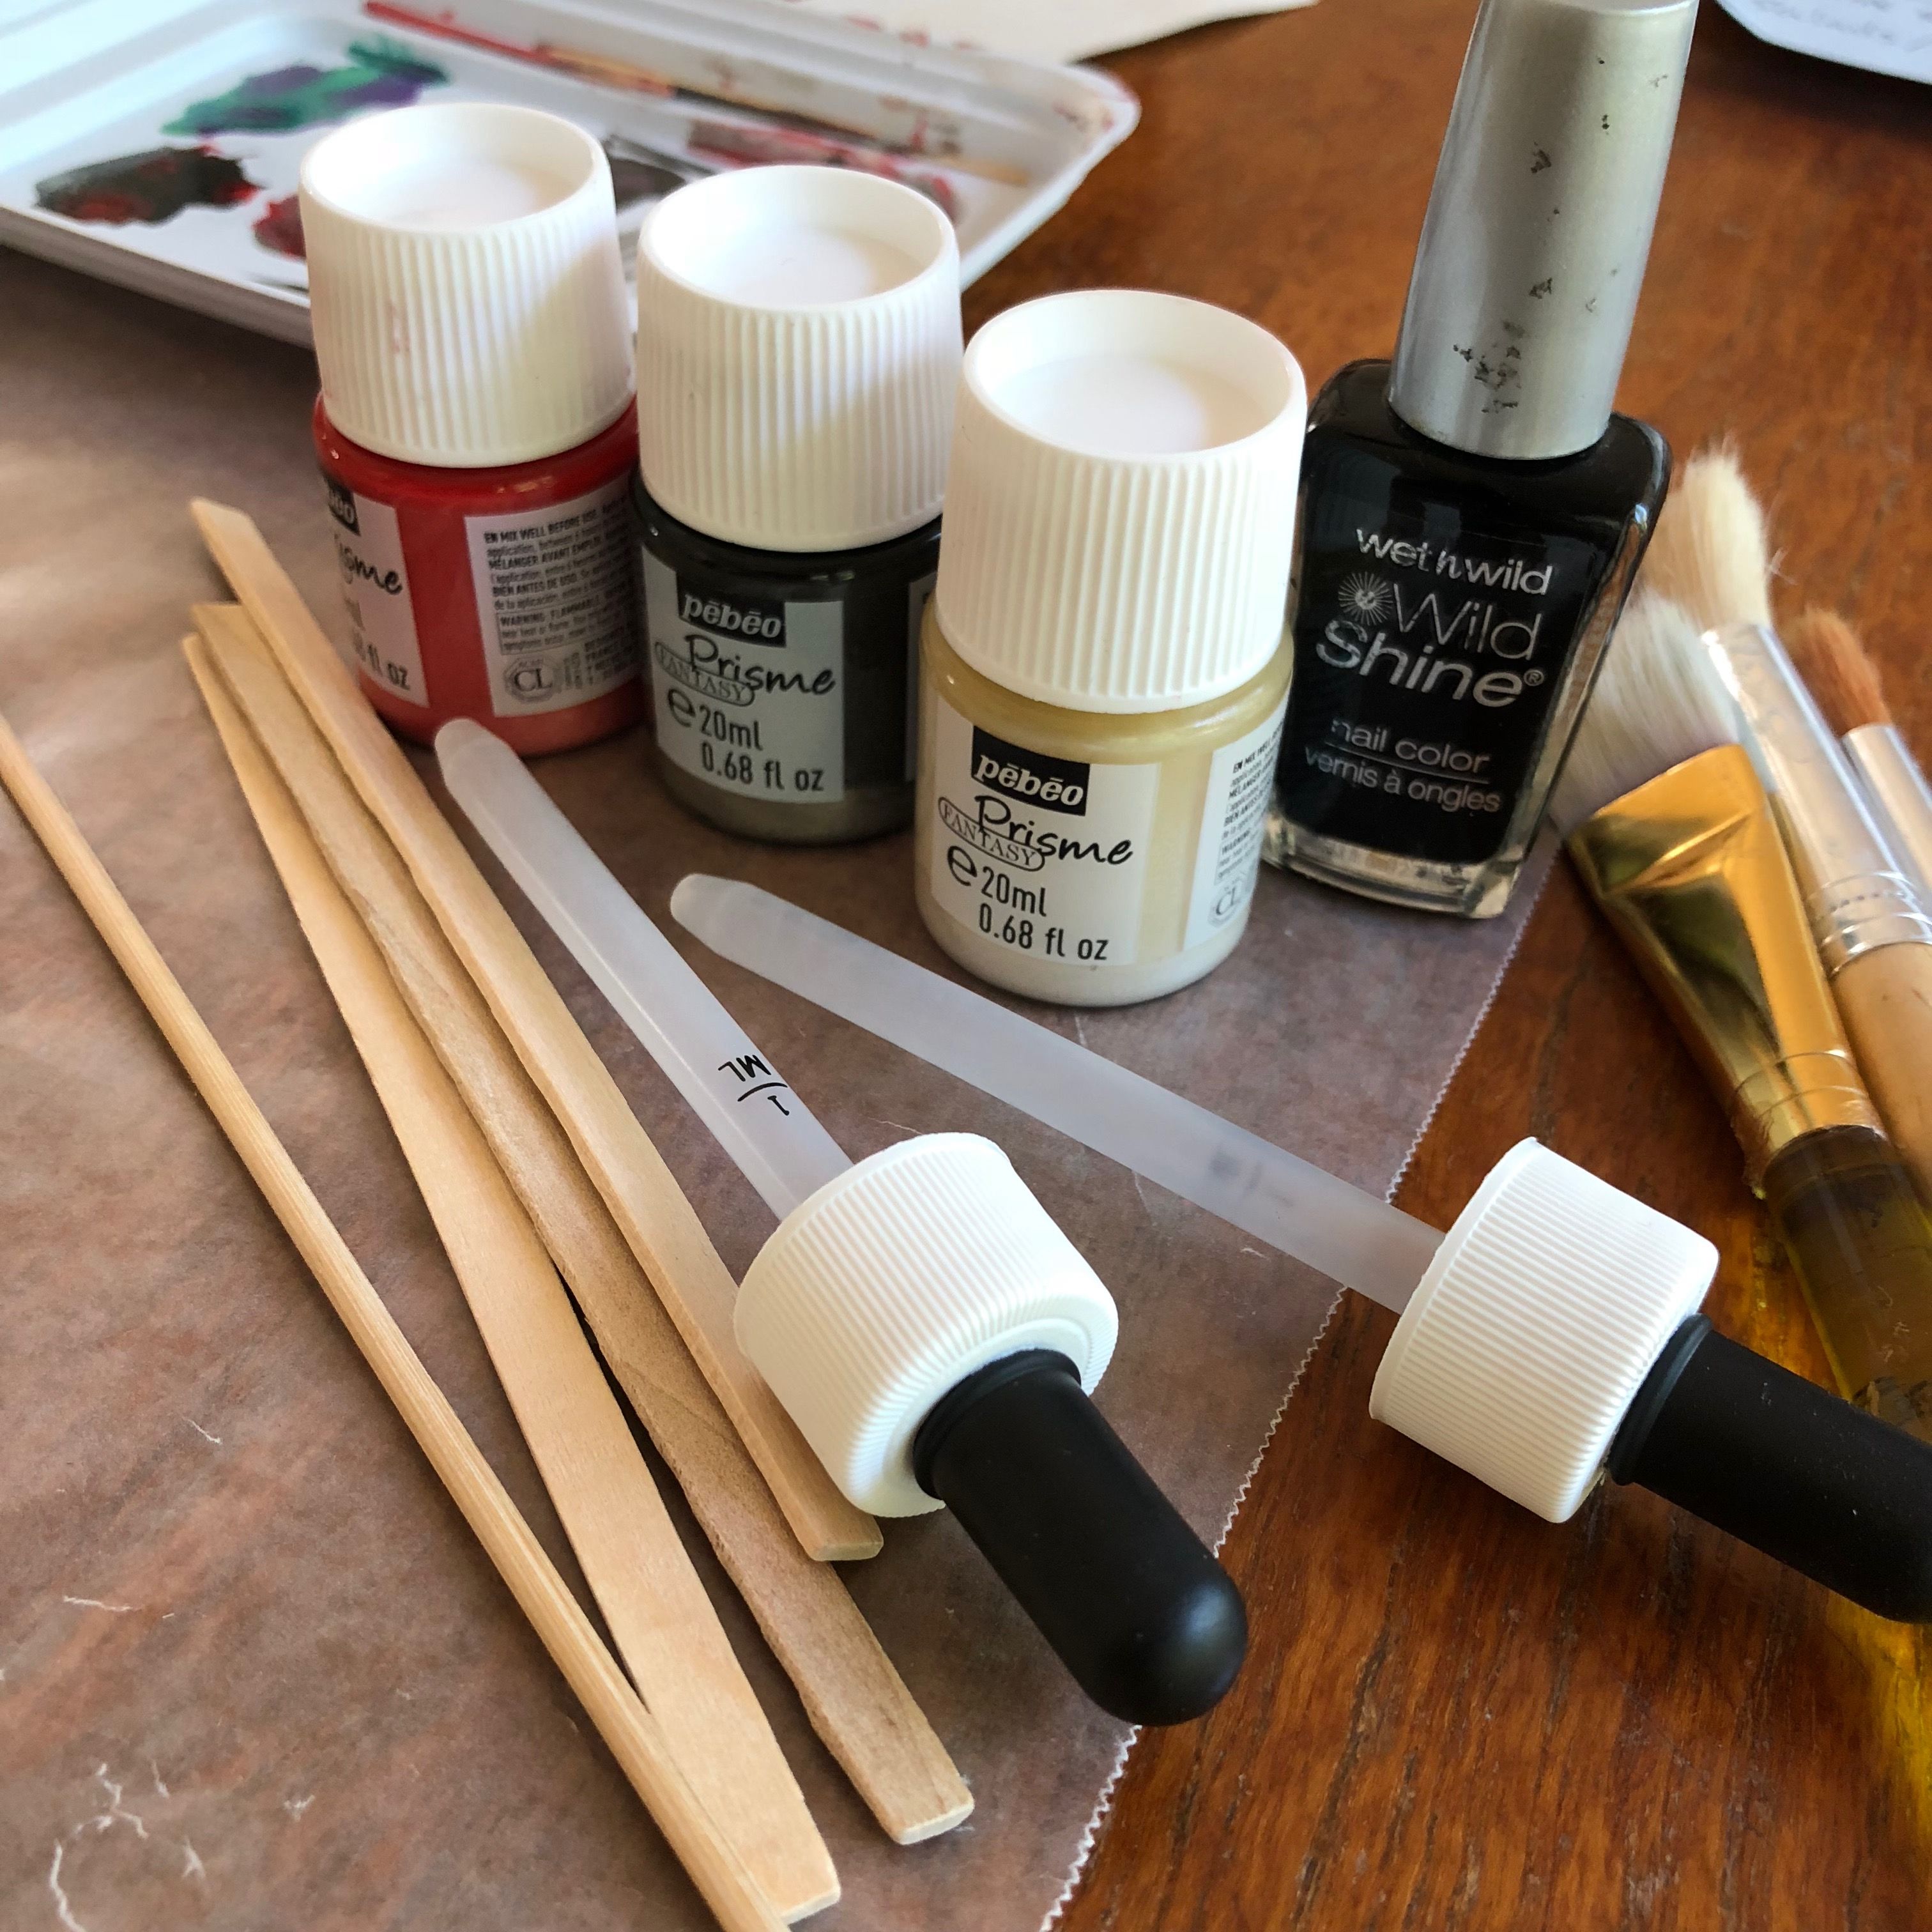
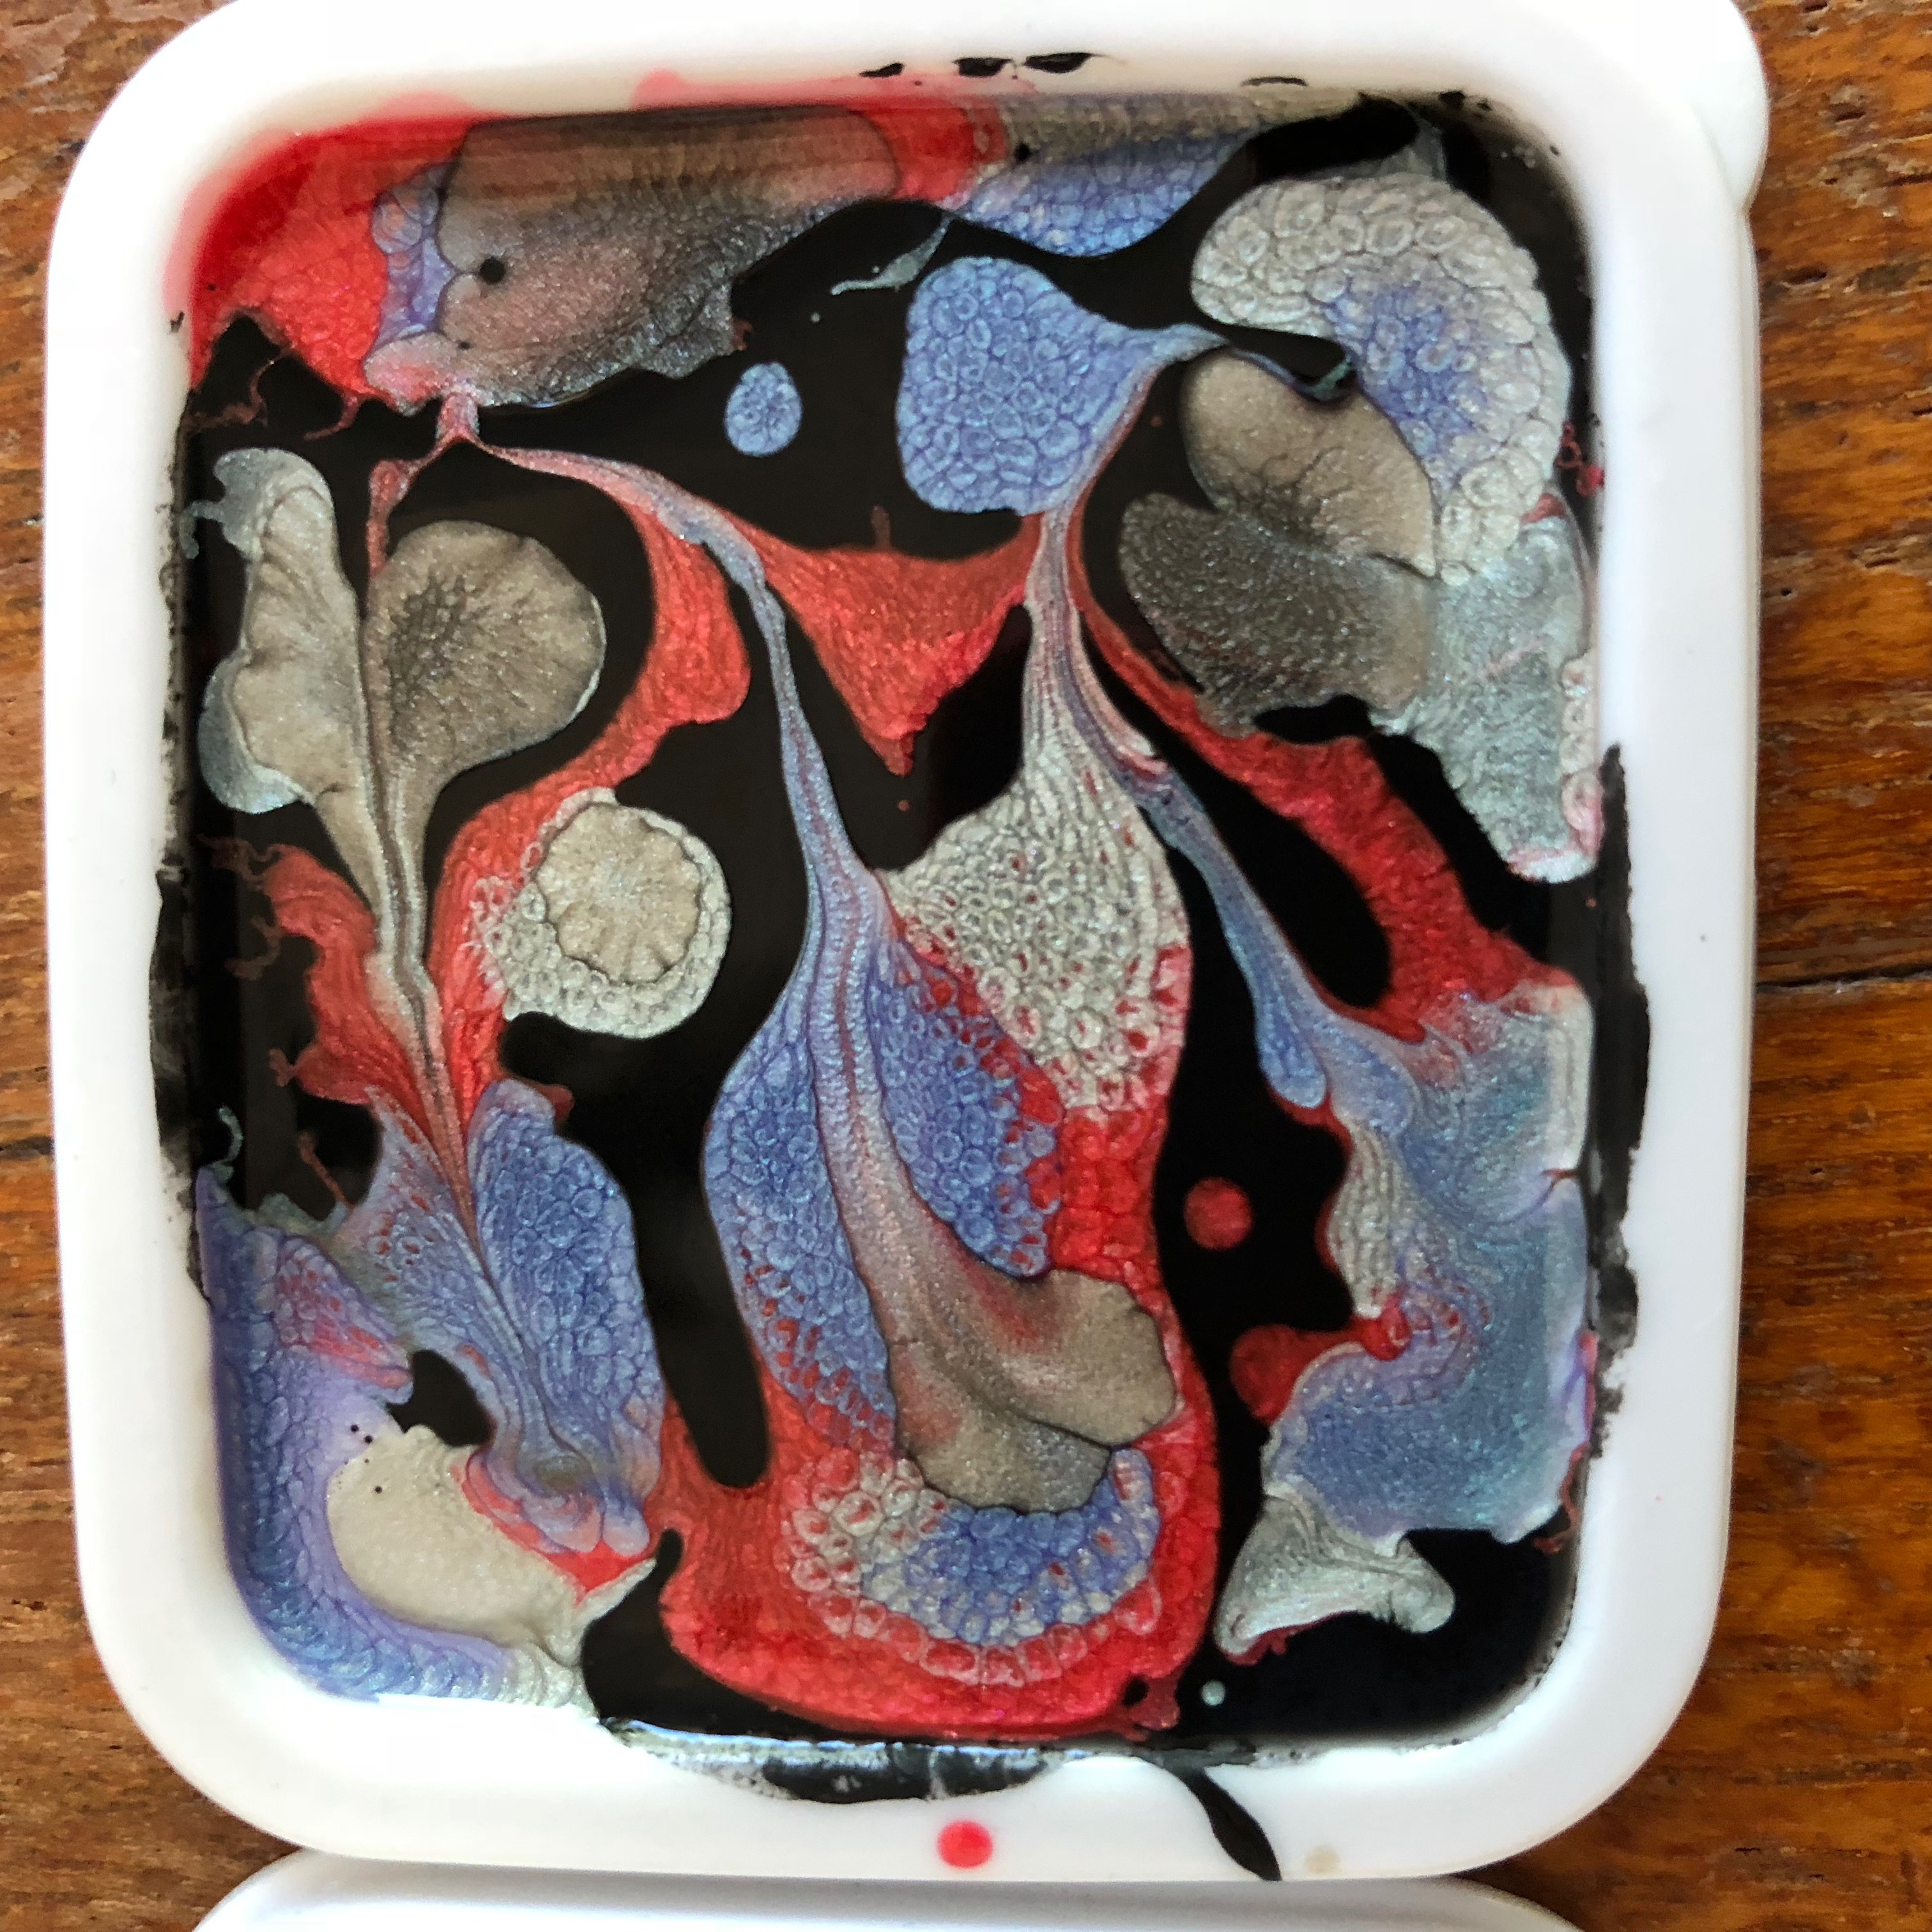
While the pack was drying I experimented with my new Pebeo reactive paints. The thing about these paints is that when combined they slowly form patterns. They work best if you stir them well and drip them on to smooth flat surfaces and wait to see what happens. You can also swirl them or create color blocks.
I really wanted to try reactive paints, so I bought a set of Pebeo Prism paints just for this project.
My Tests
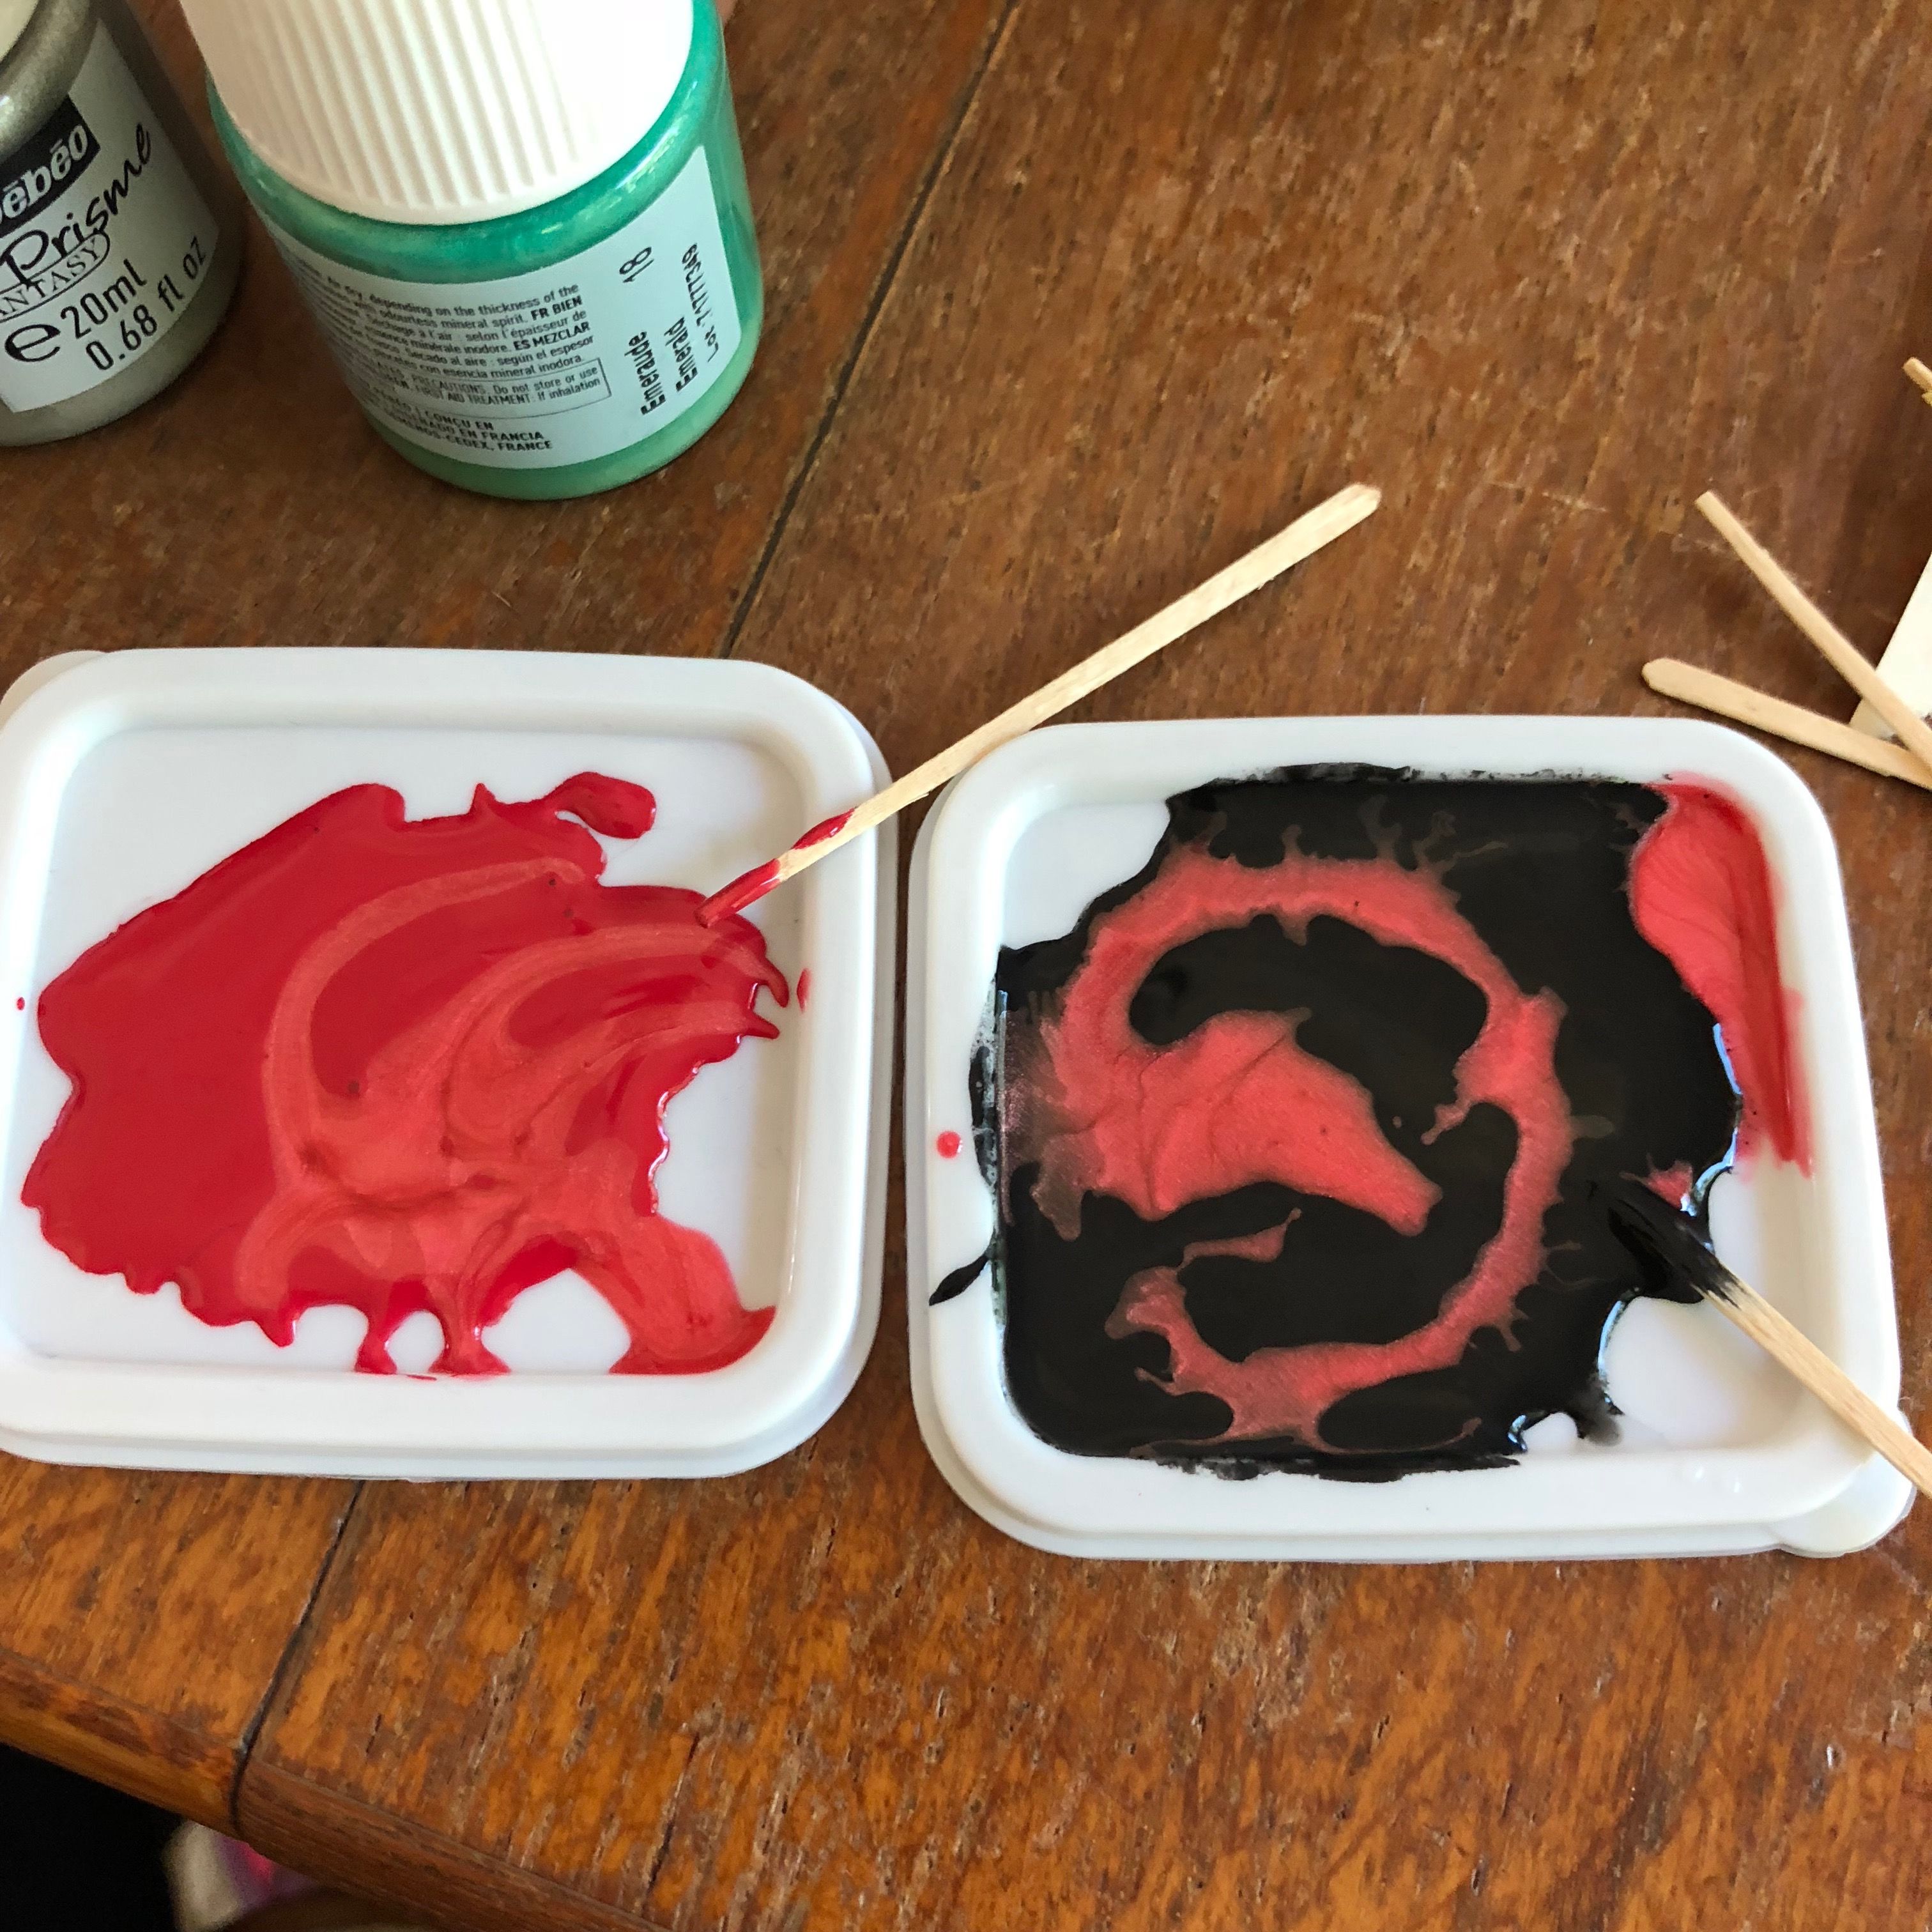
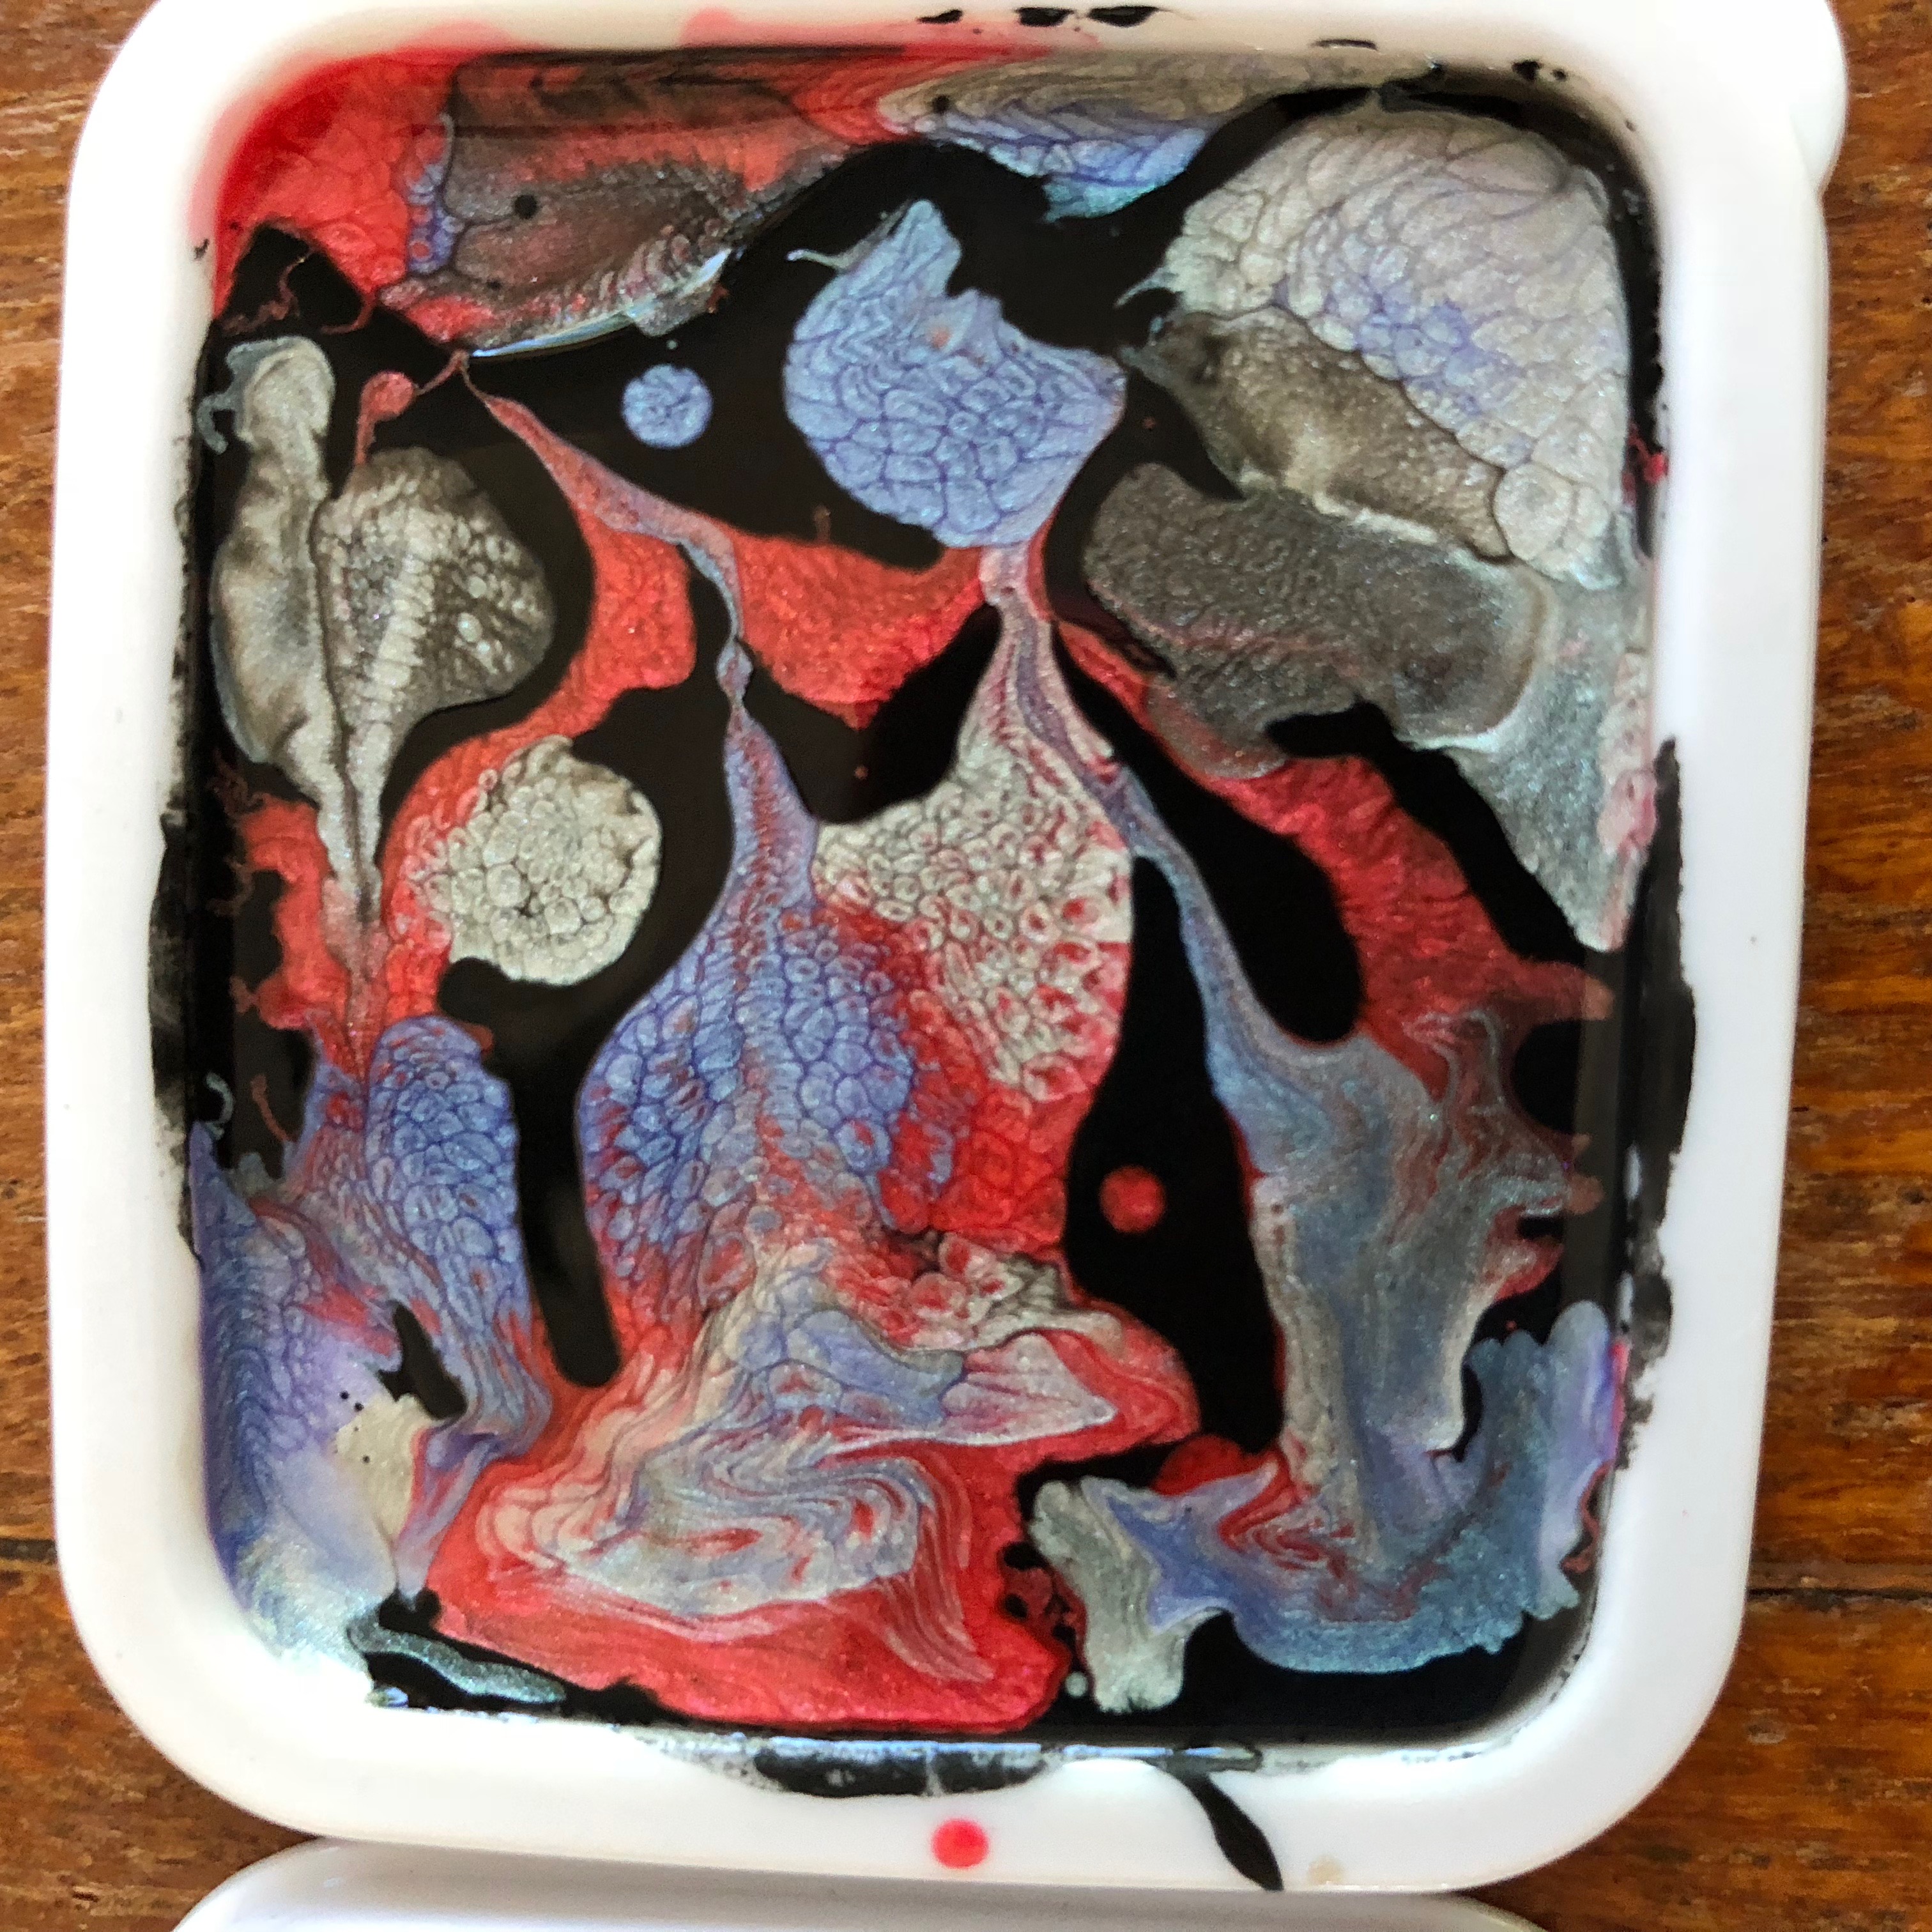
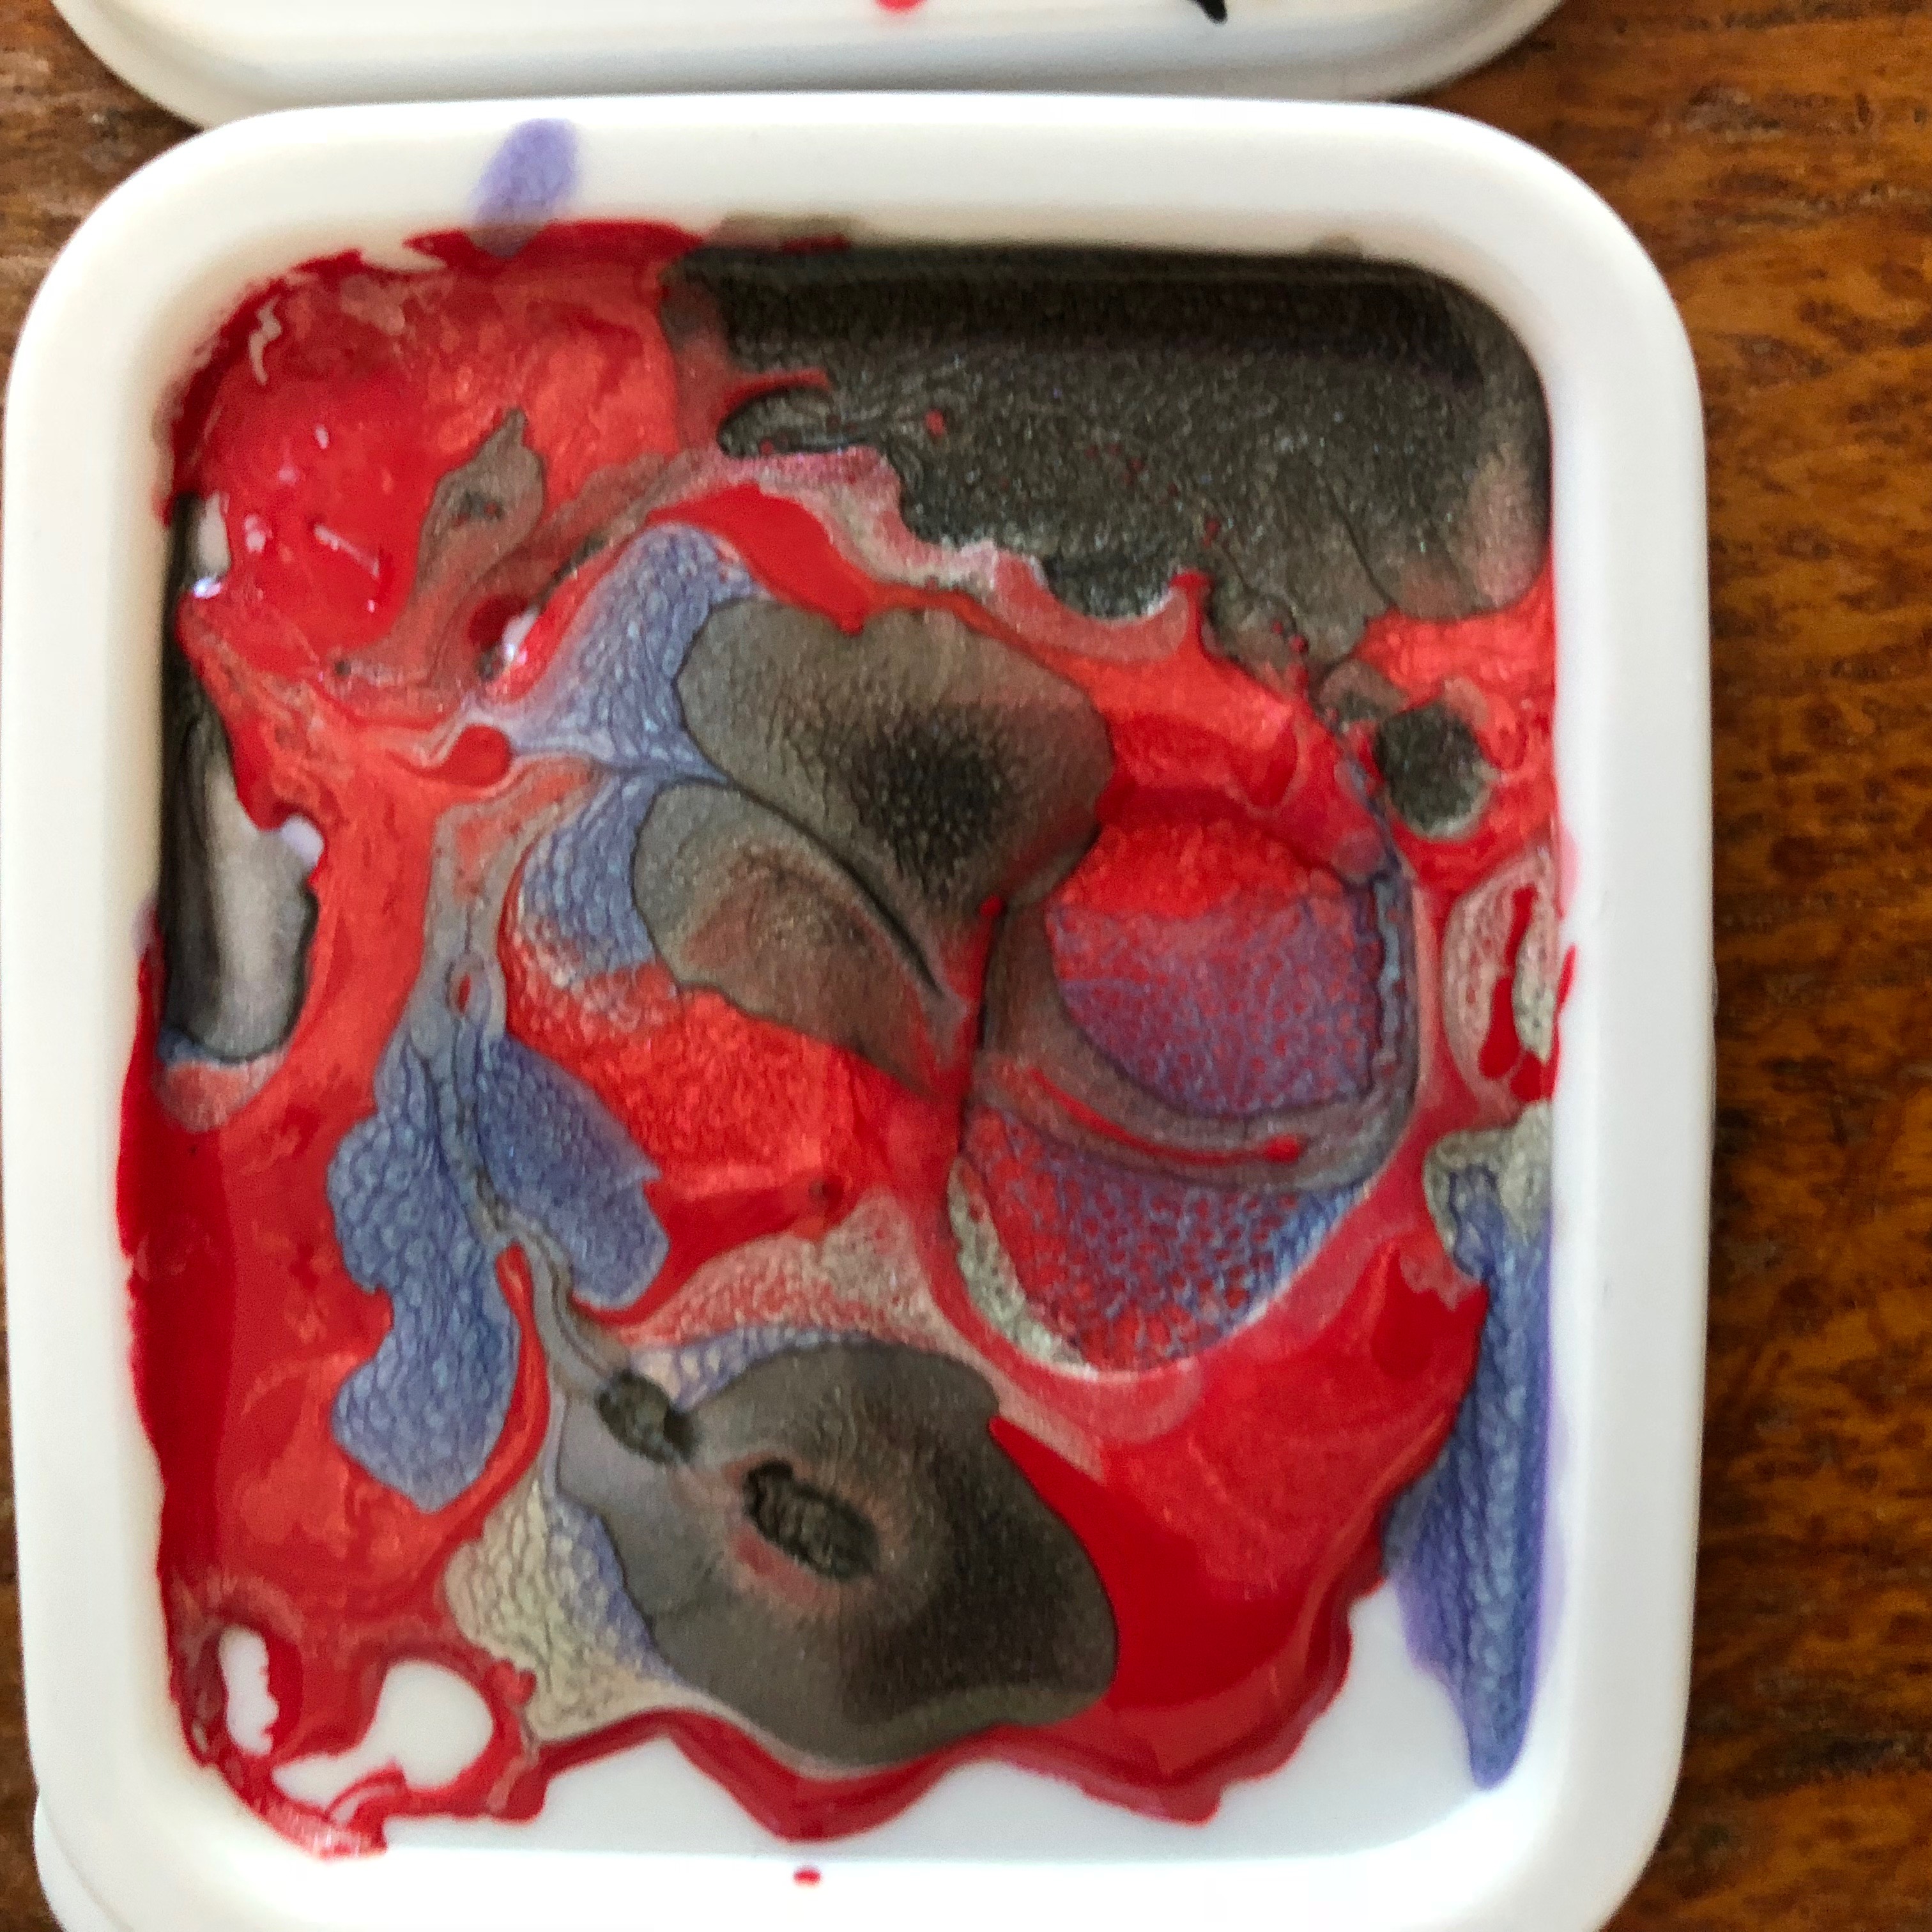
I picked out a few masculine colors of the reactive paints and dripped them onto two different color bases, one red and one black. The bases were acrylic and they were wet when I added the Pebeo colors. I also added a little gloss medium to the bases so the paints would flow better.
More Tests
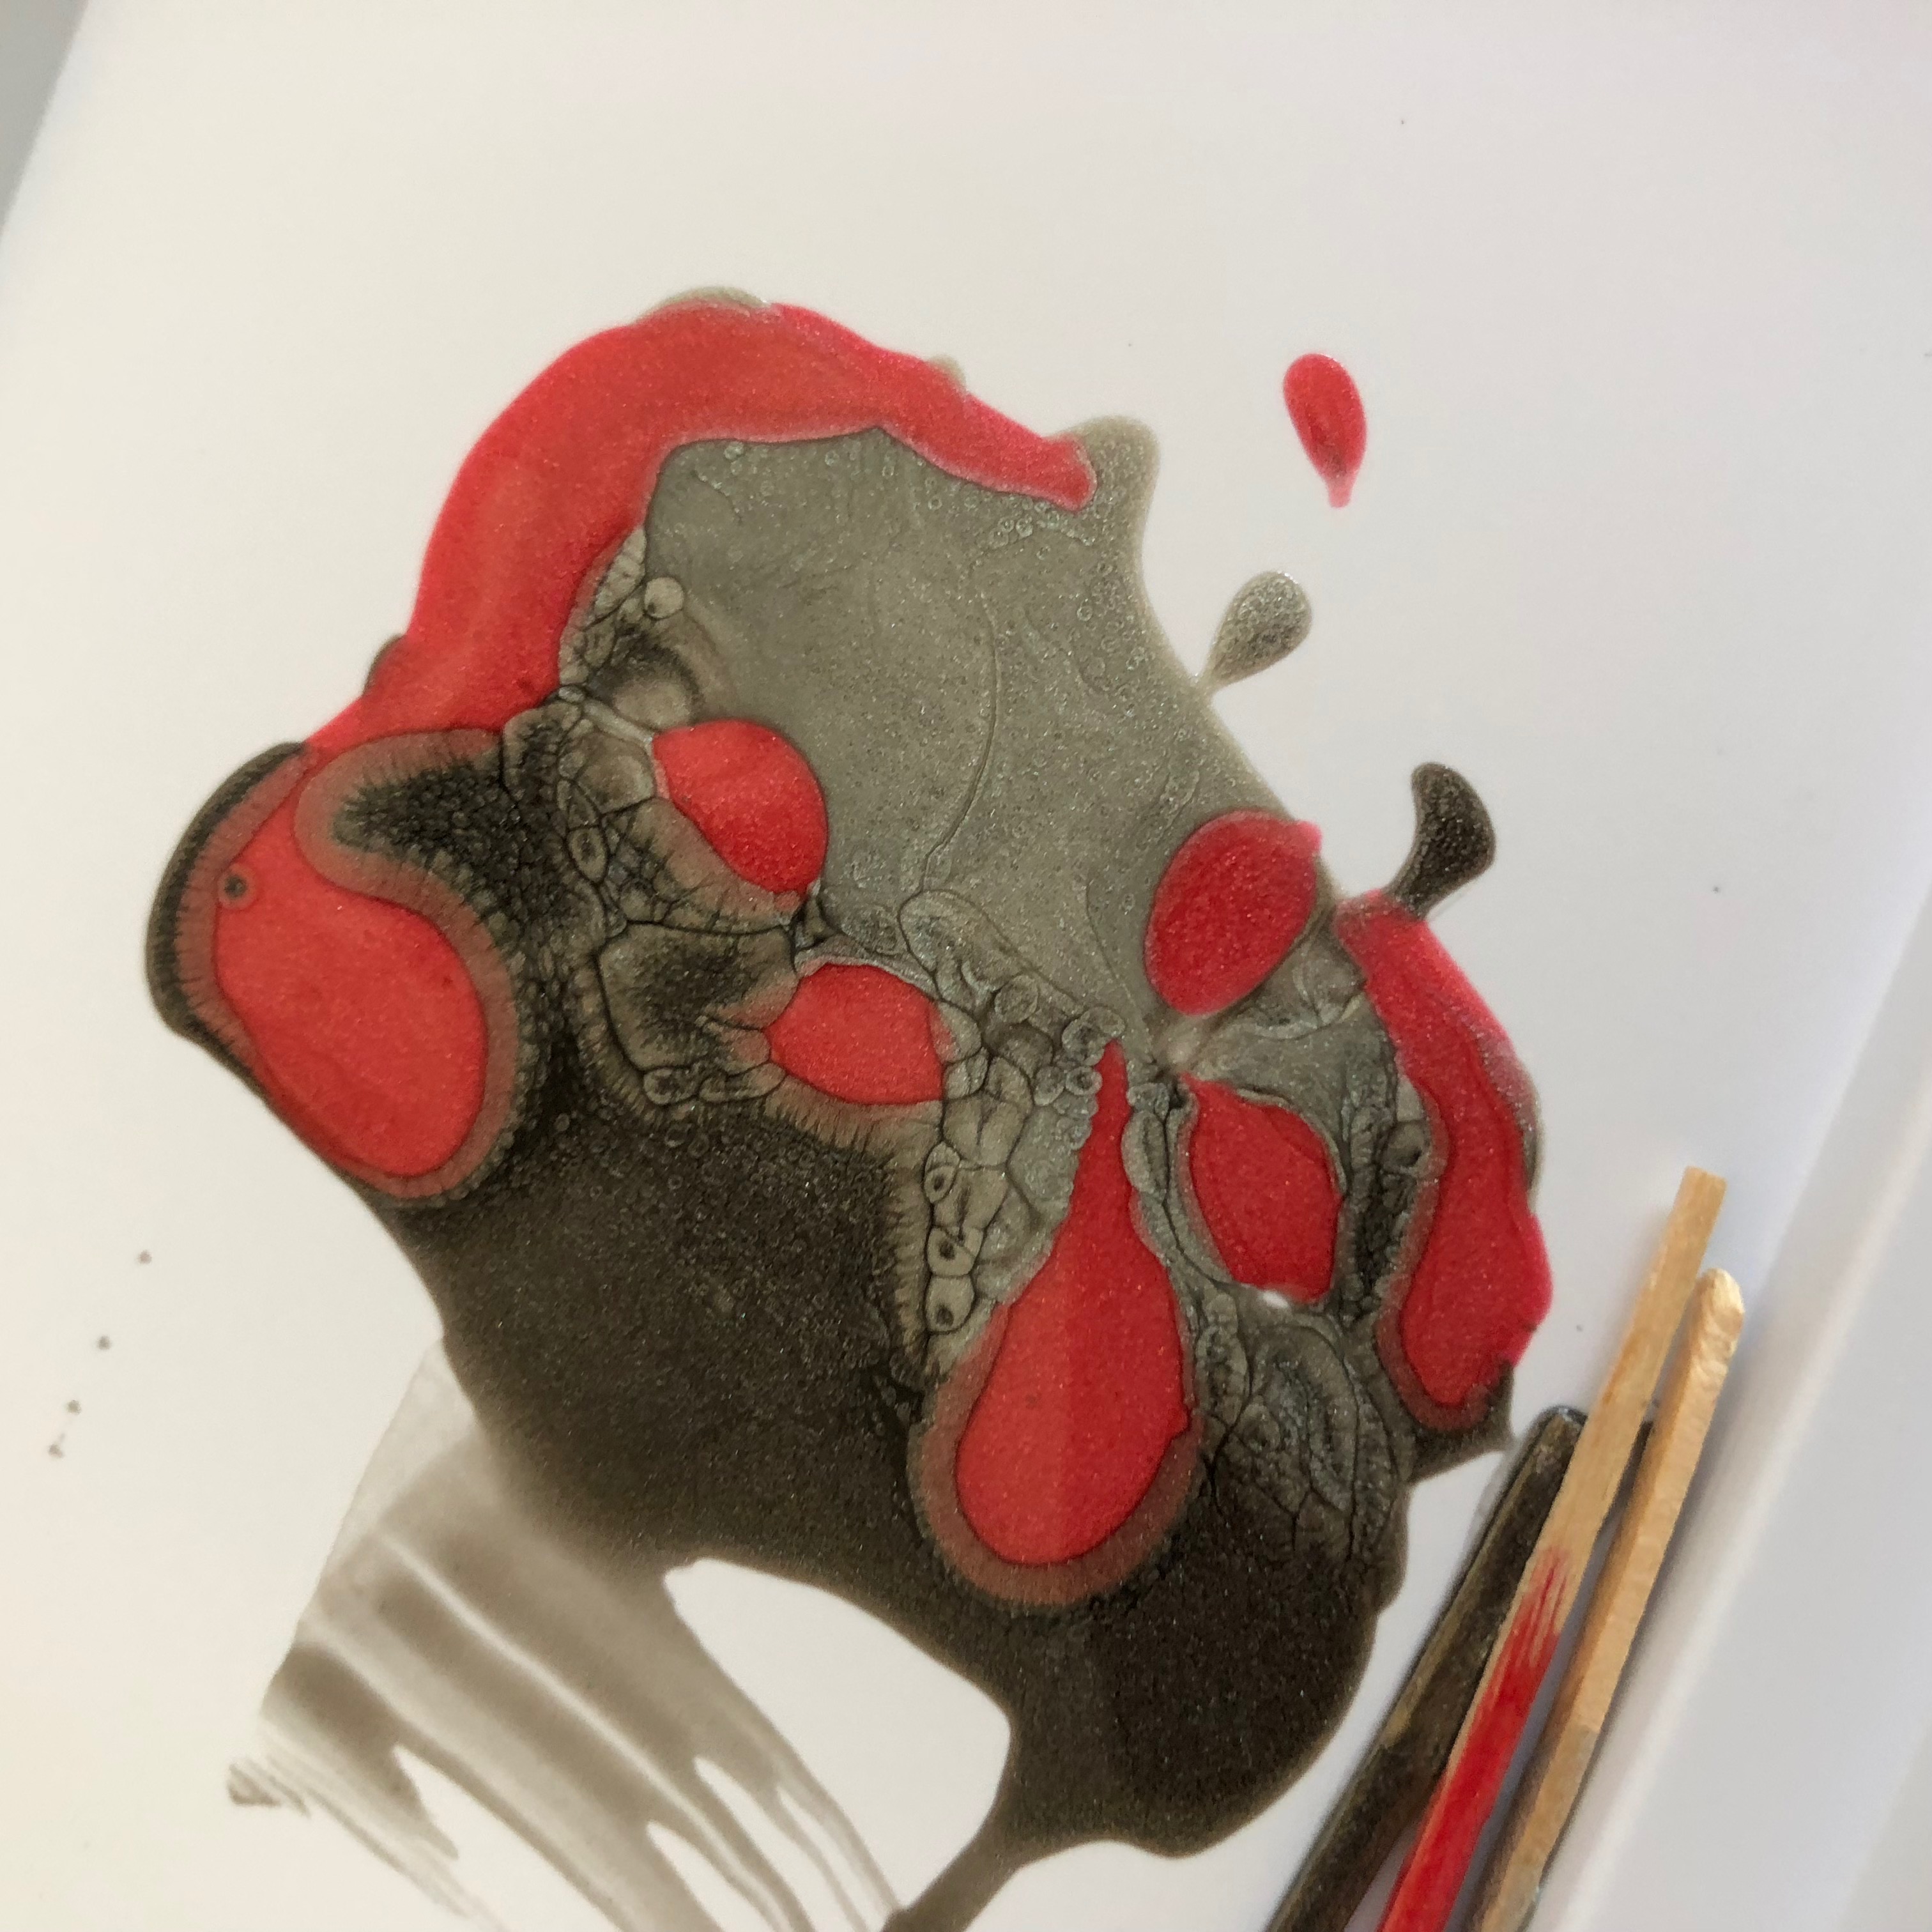
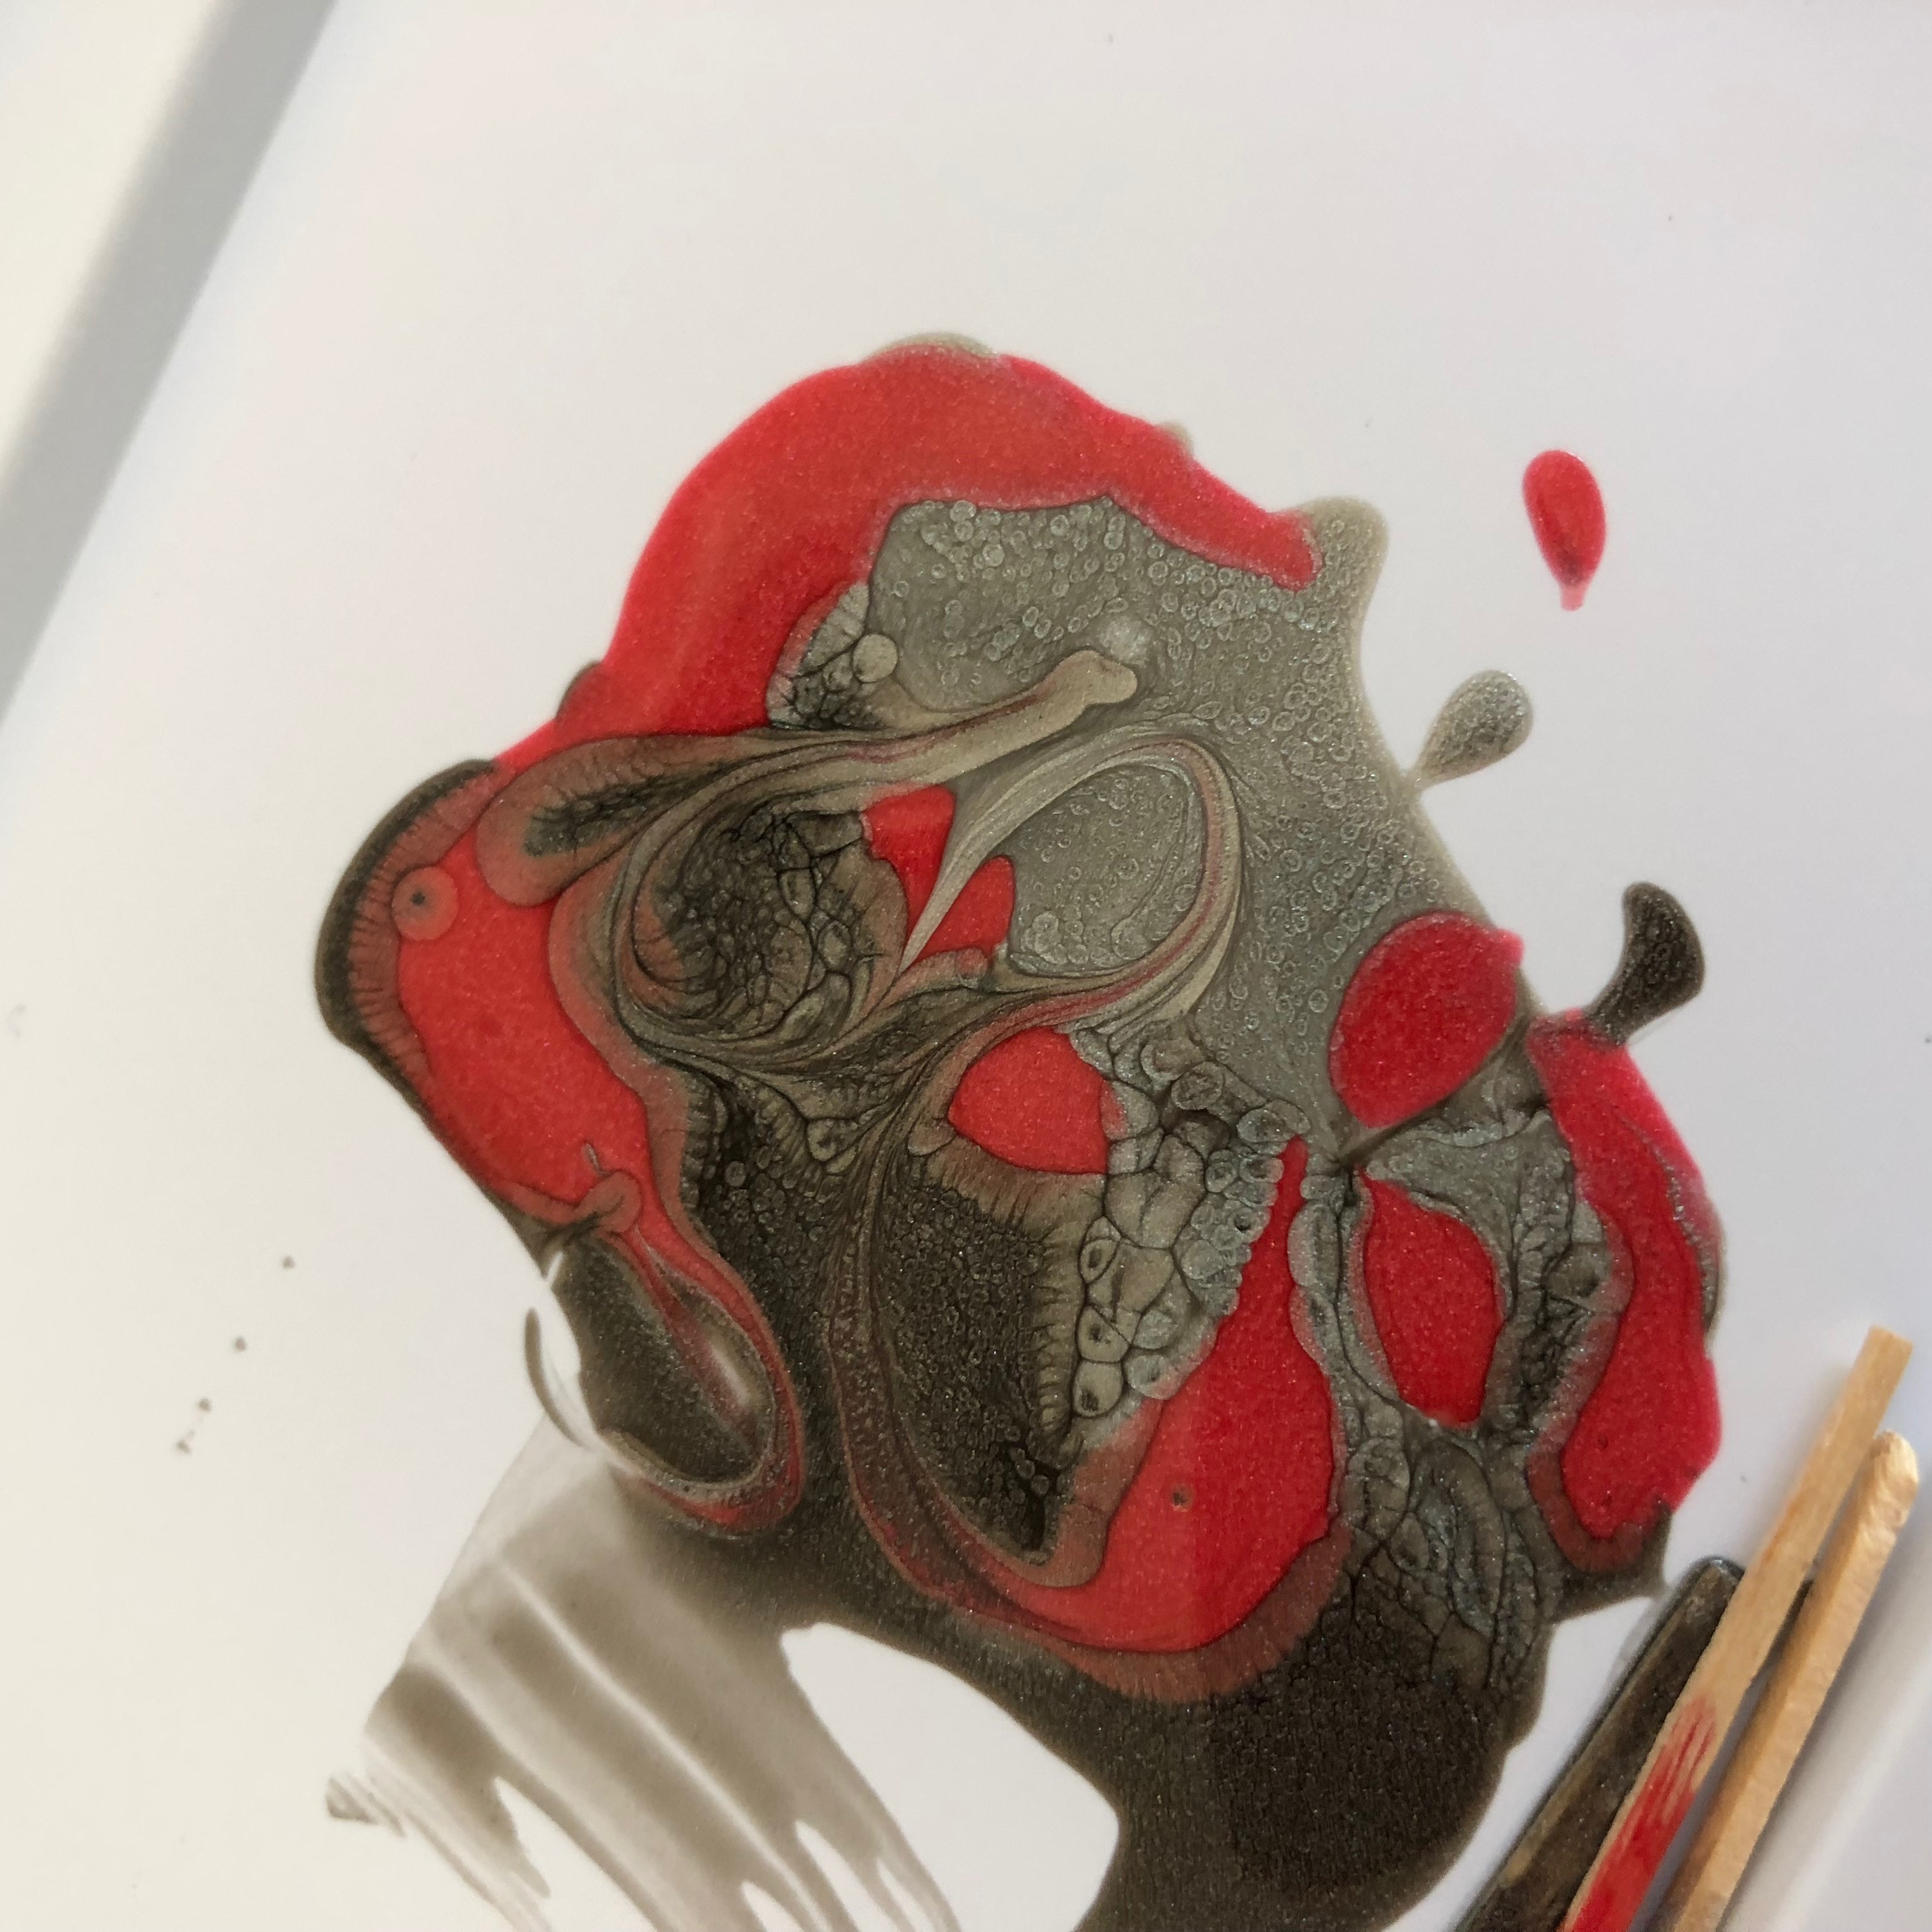
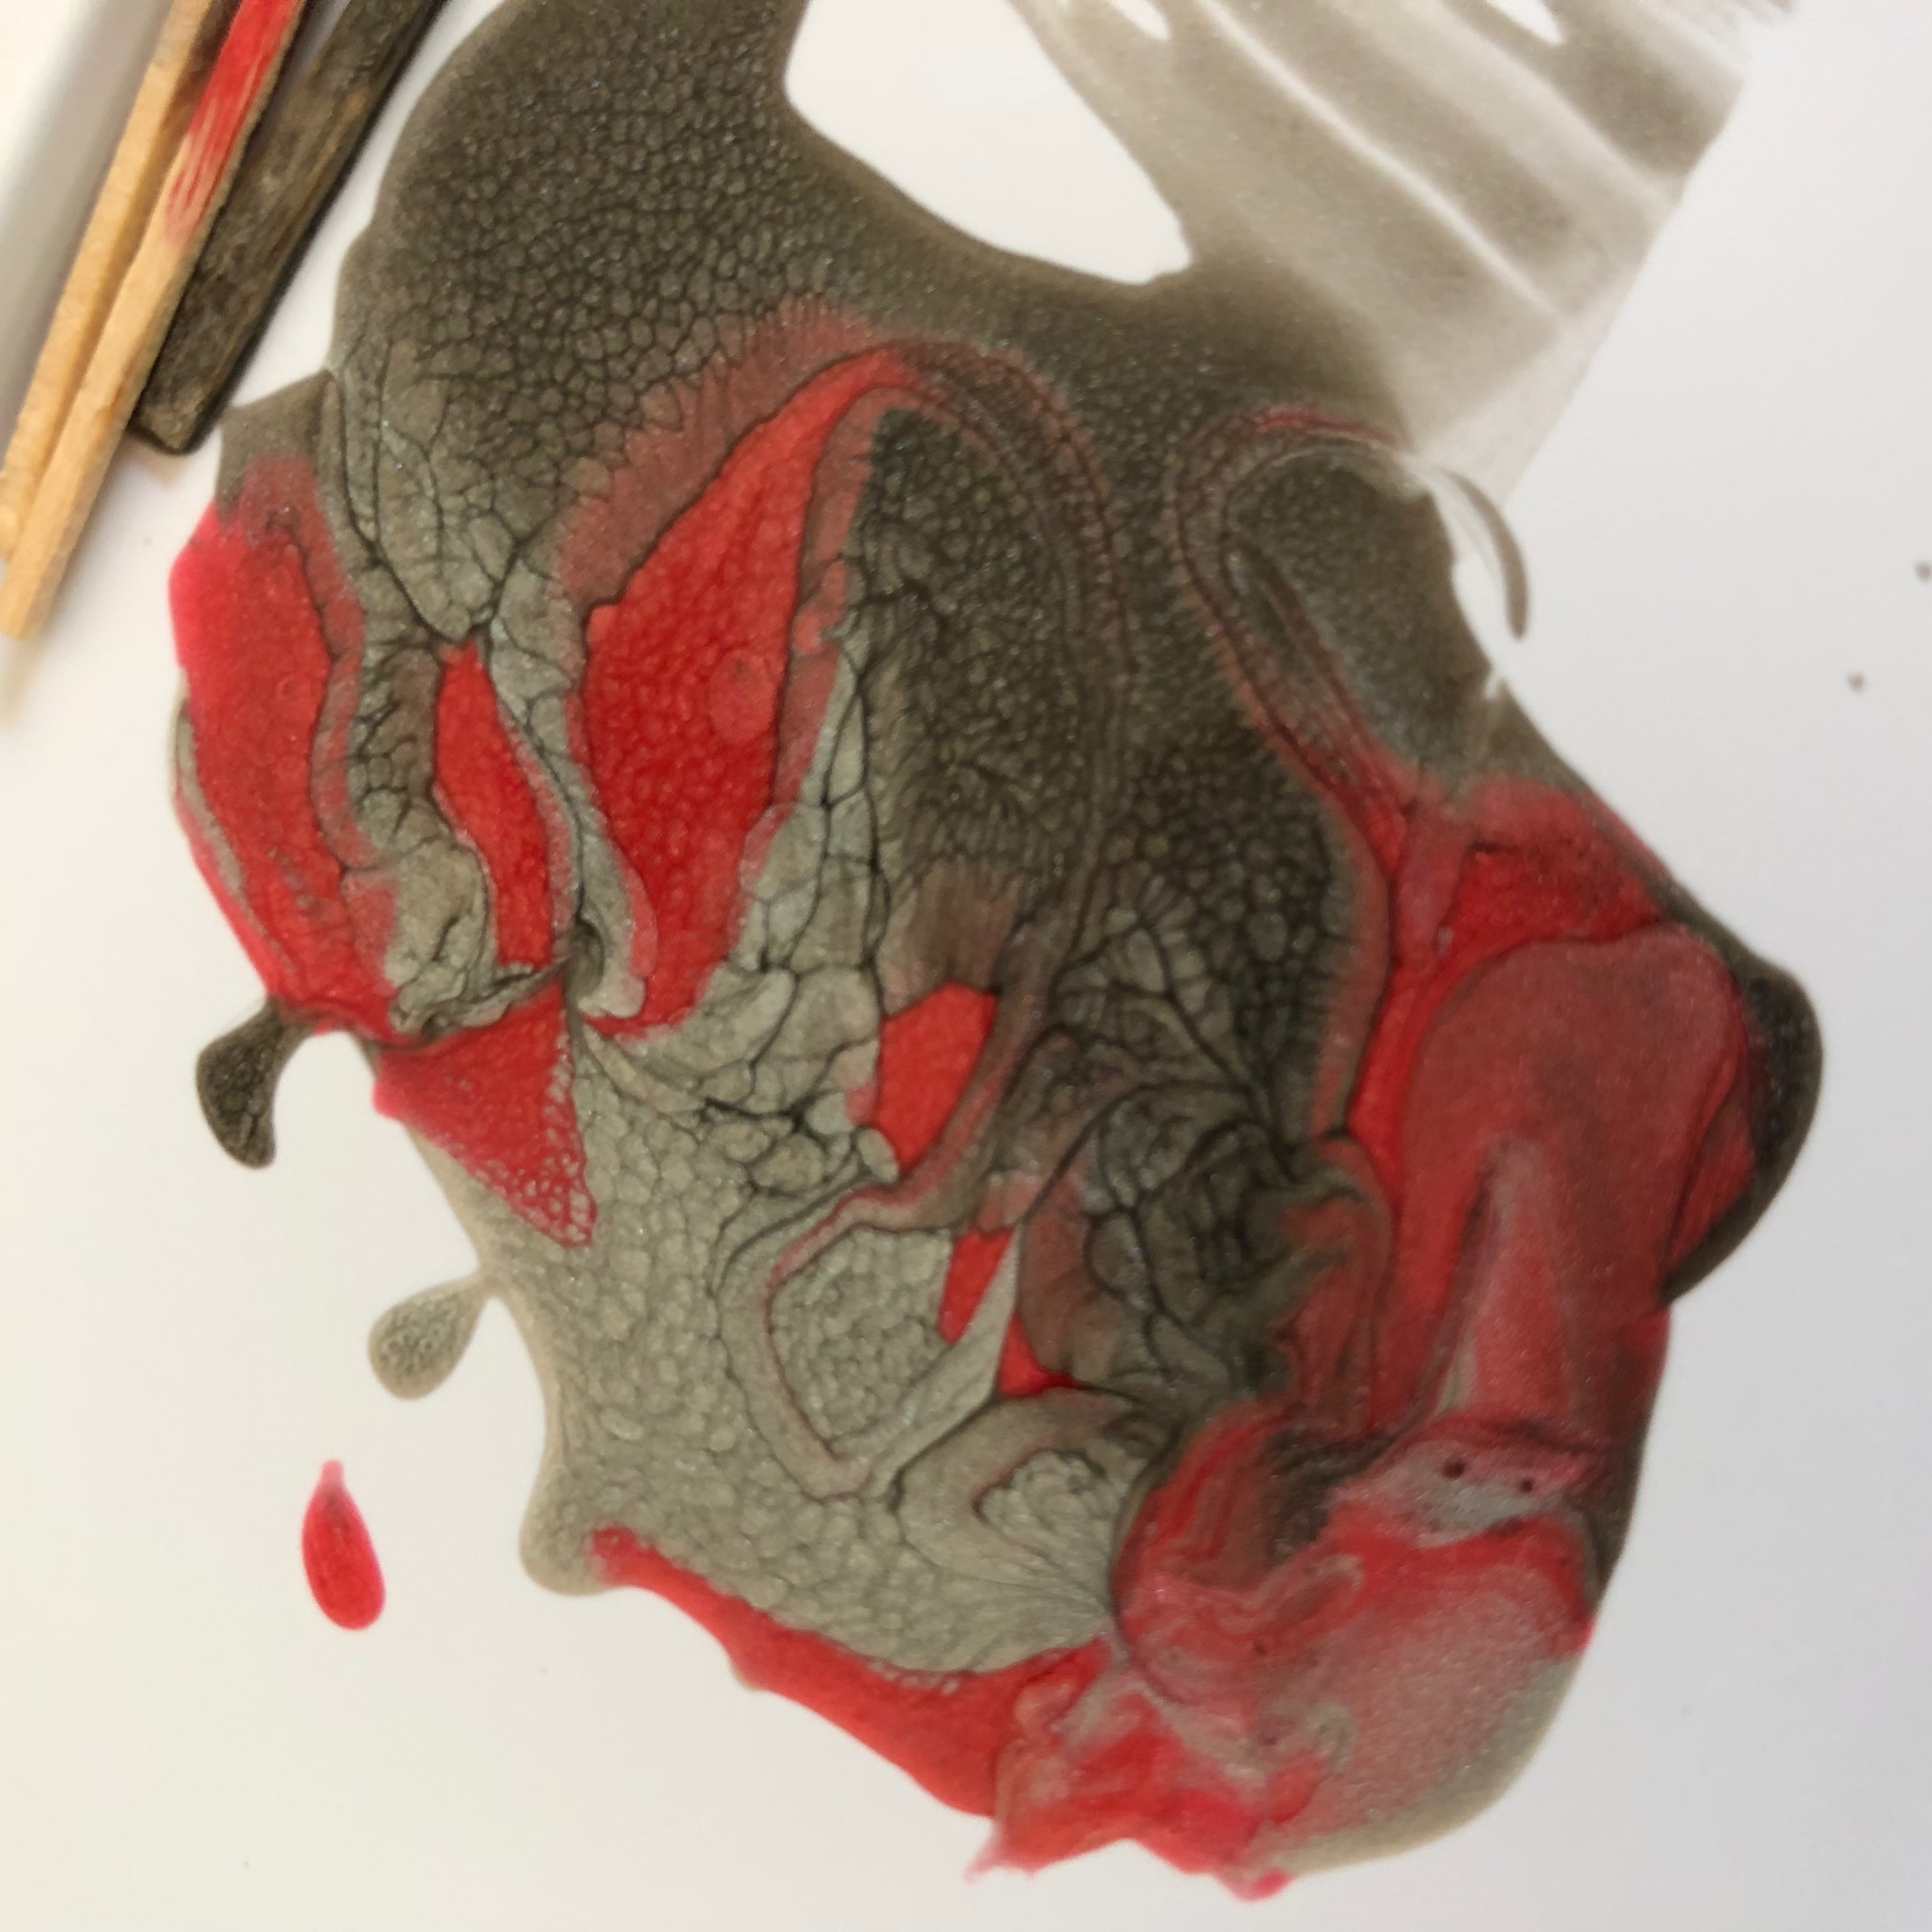
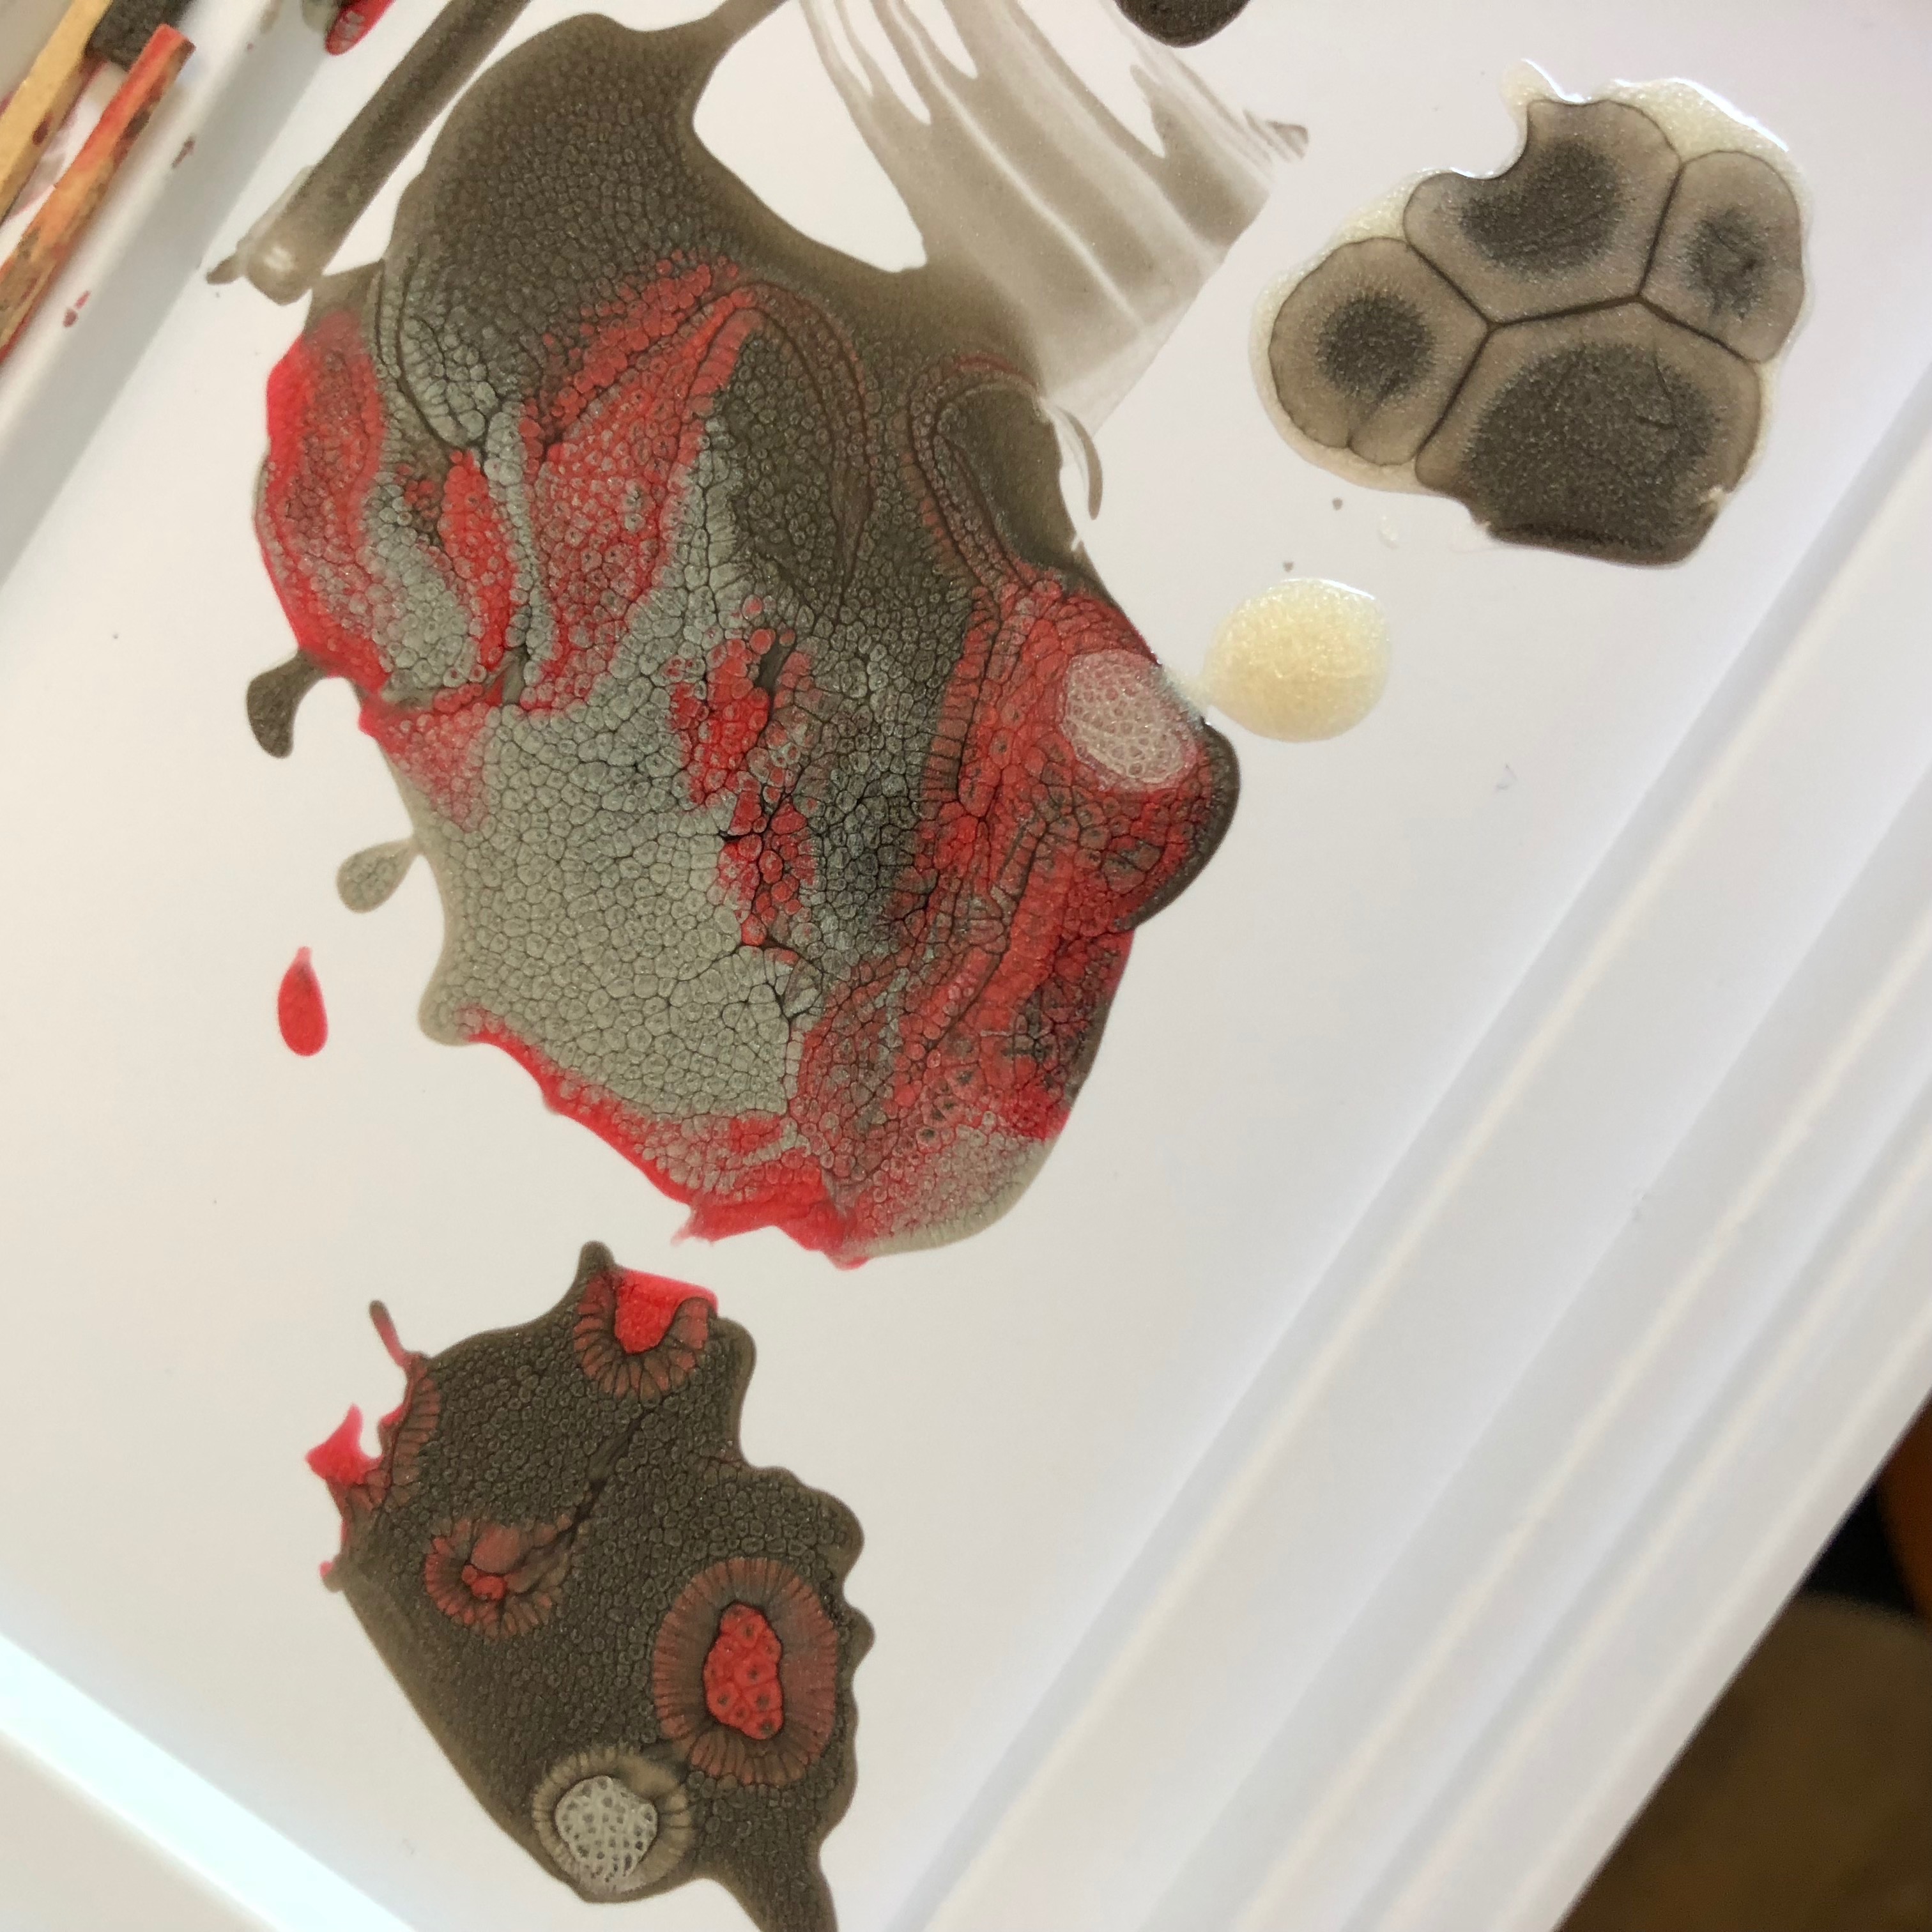
In addition I painted some sample Pebeo colors straight onto a flat surface in a few different combinations.
Results
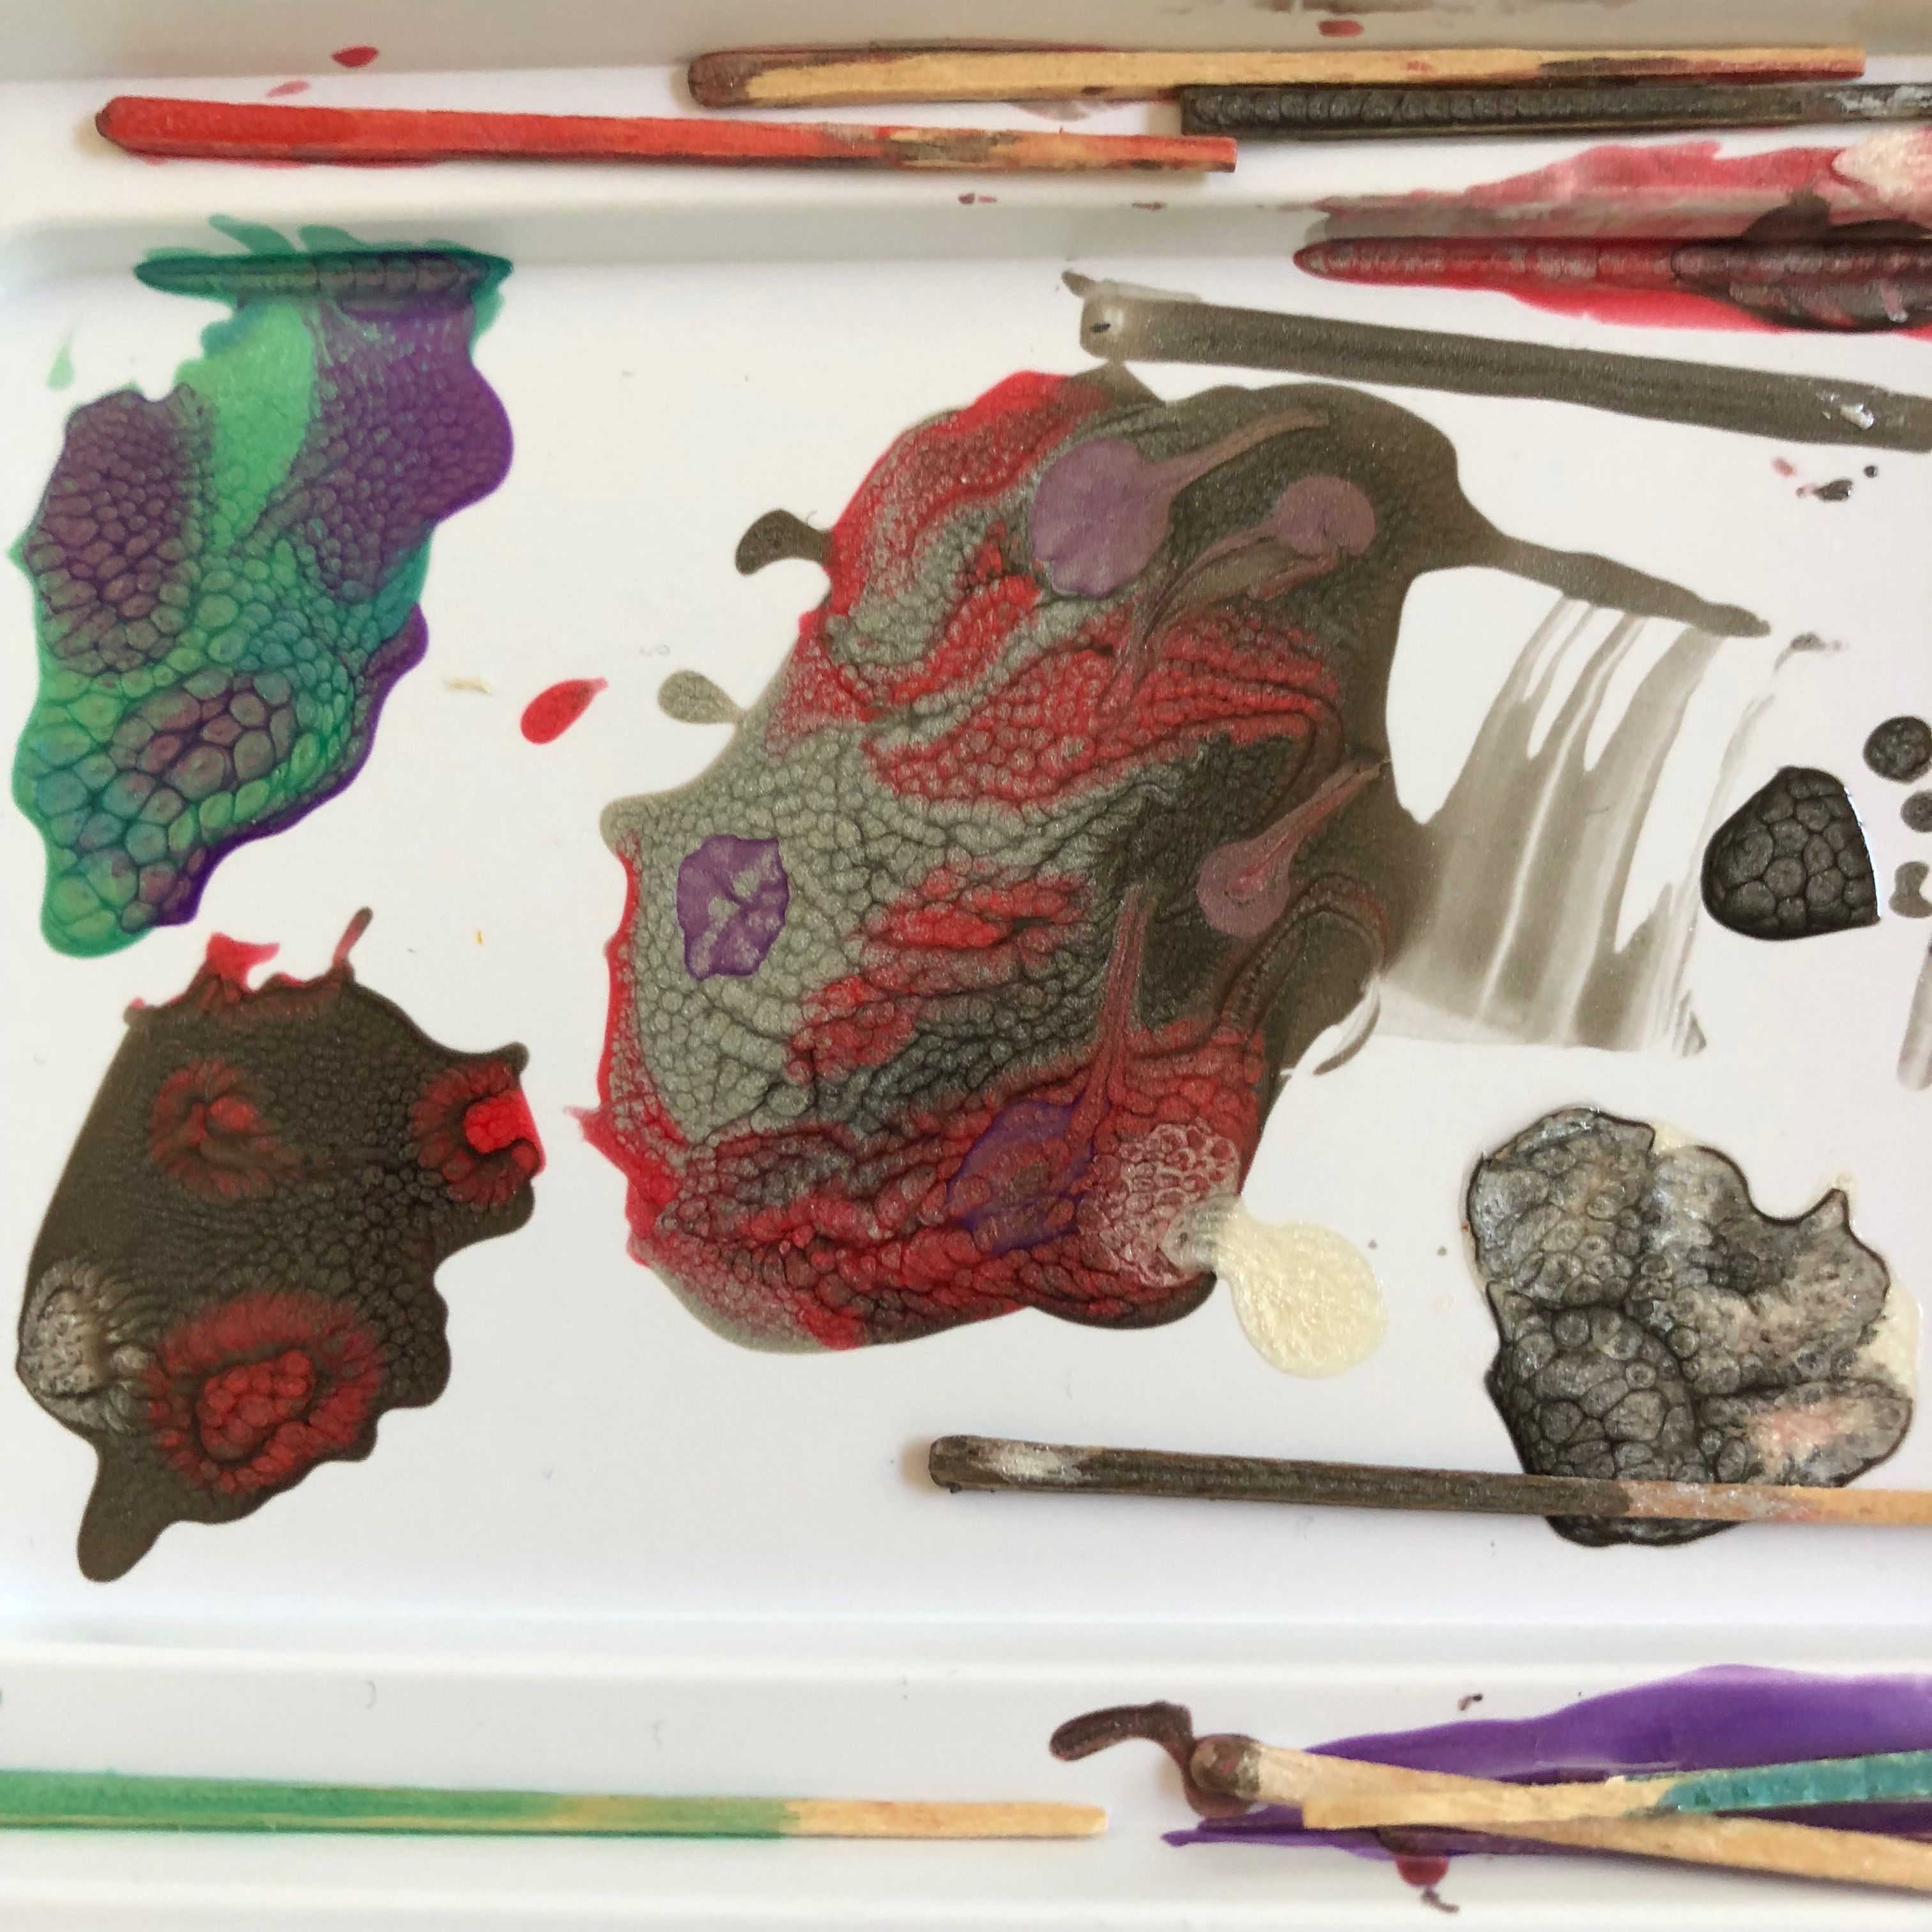
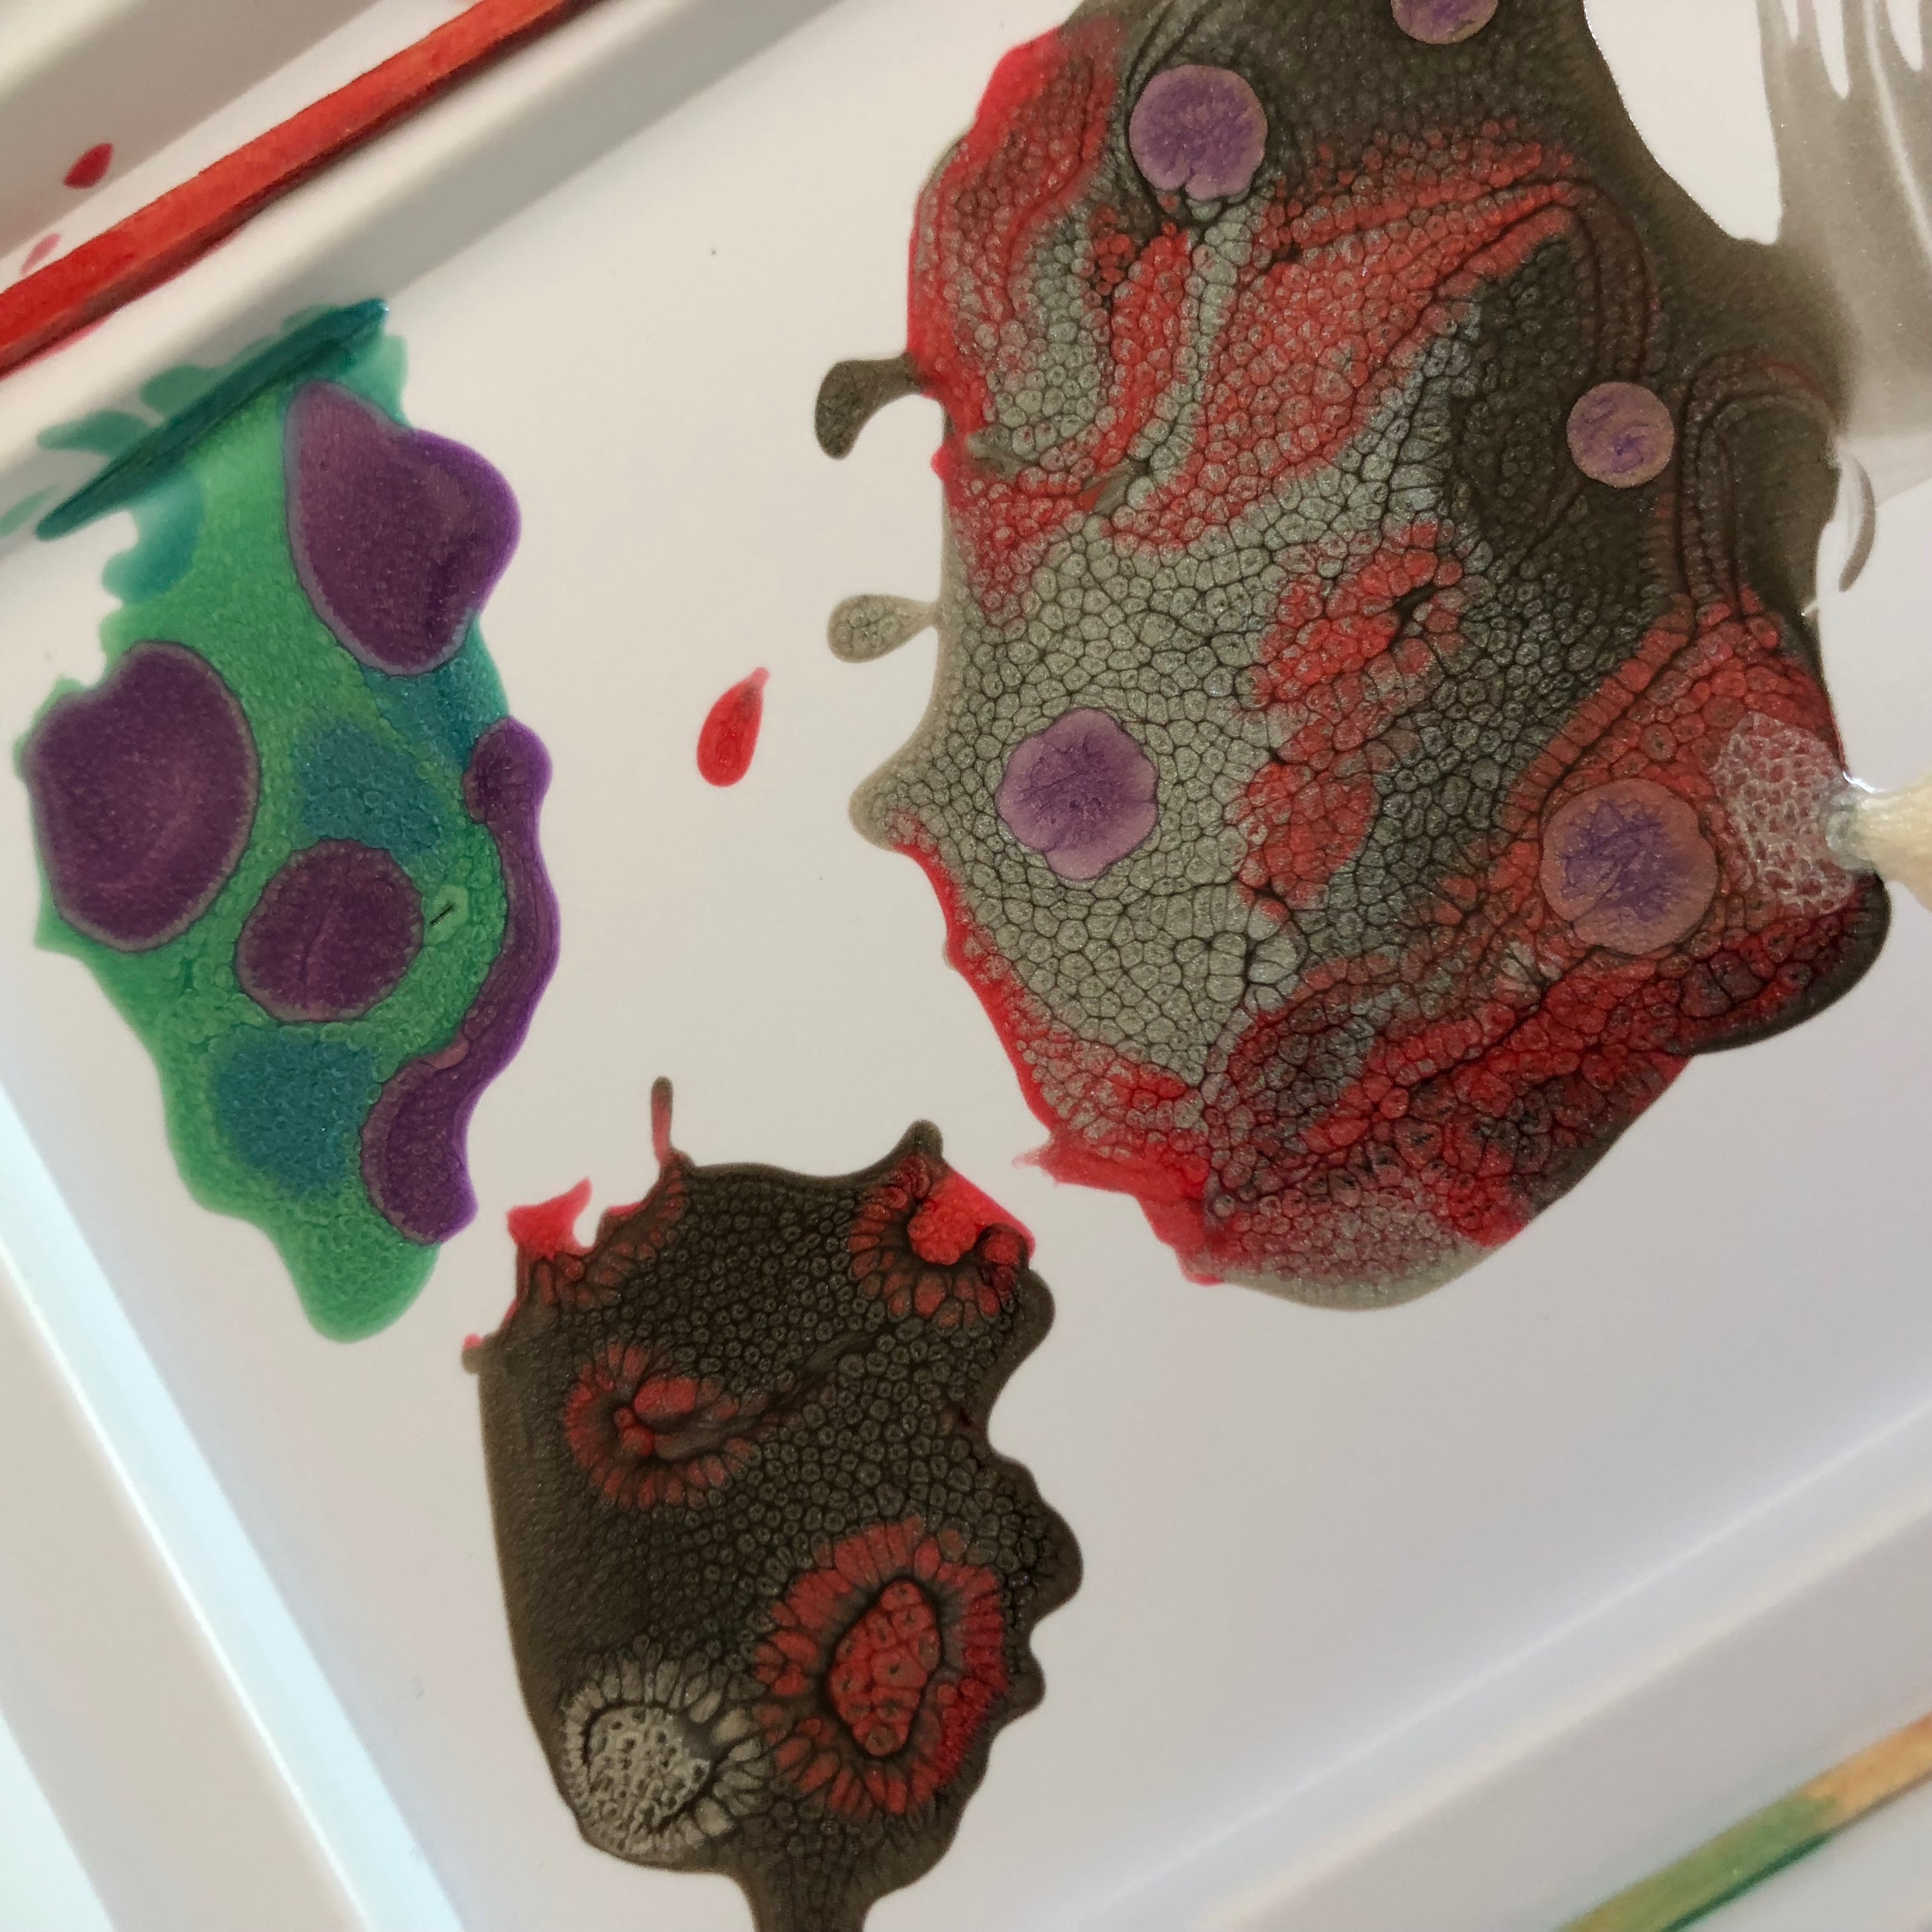
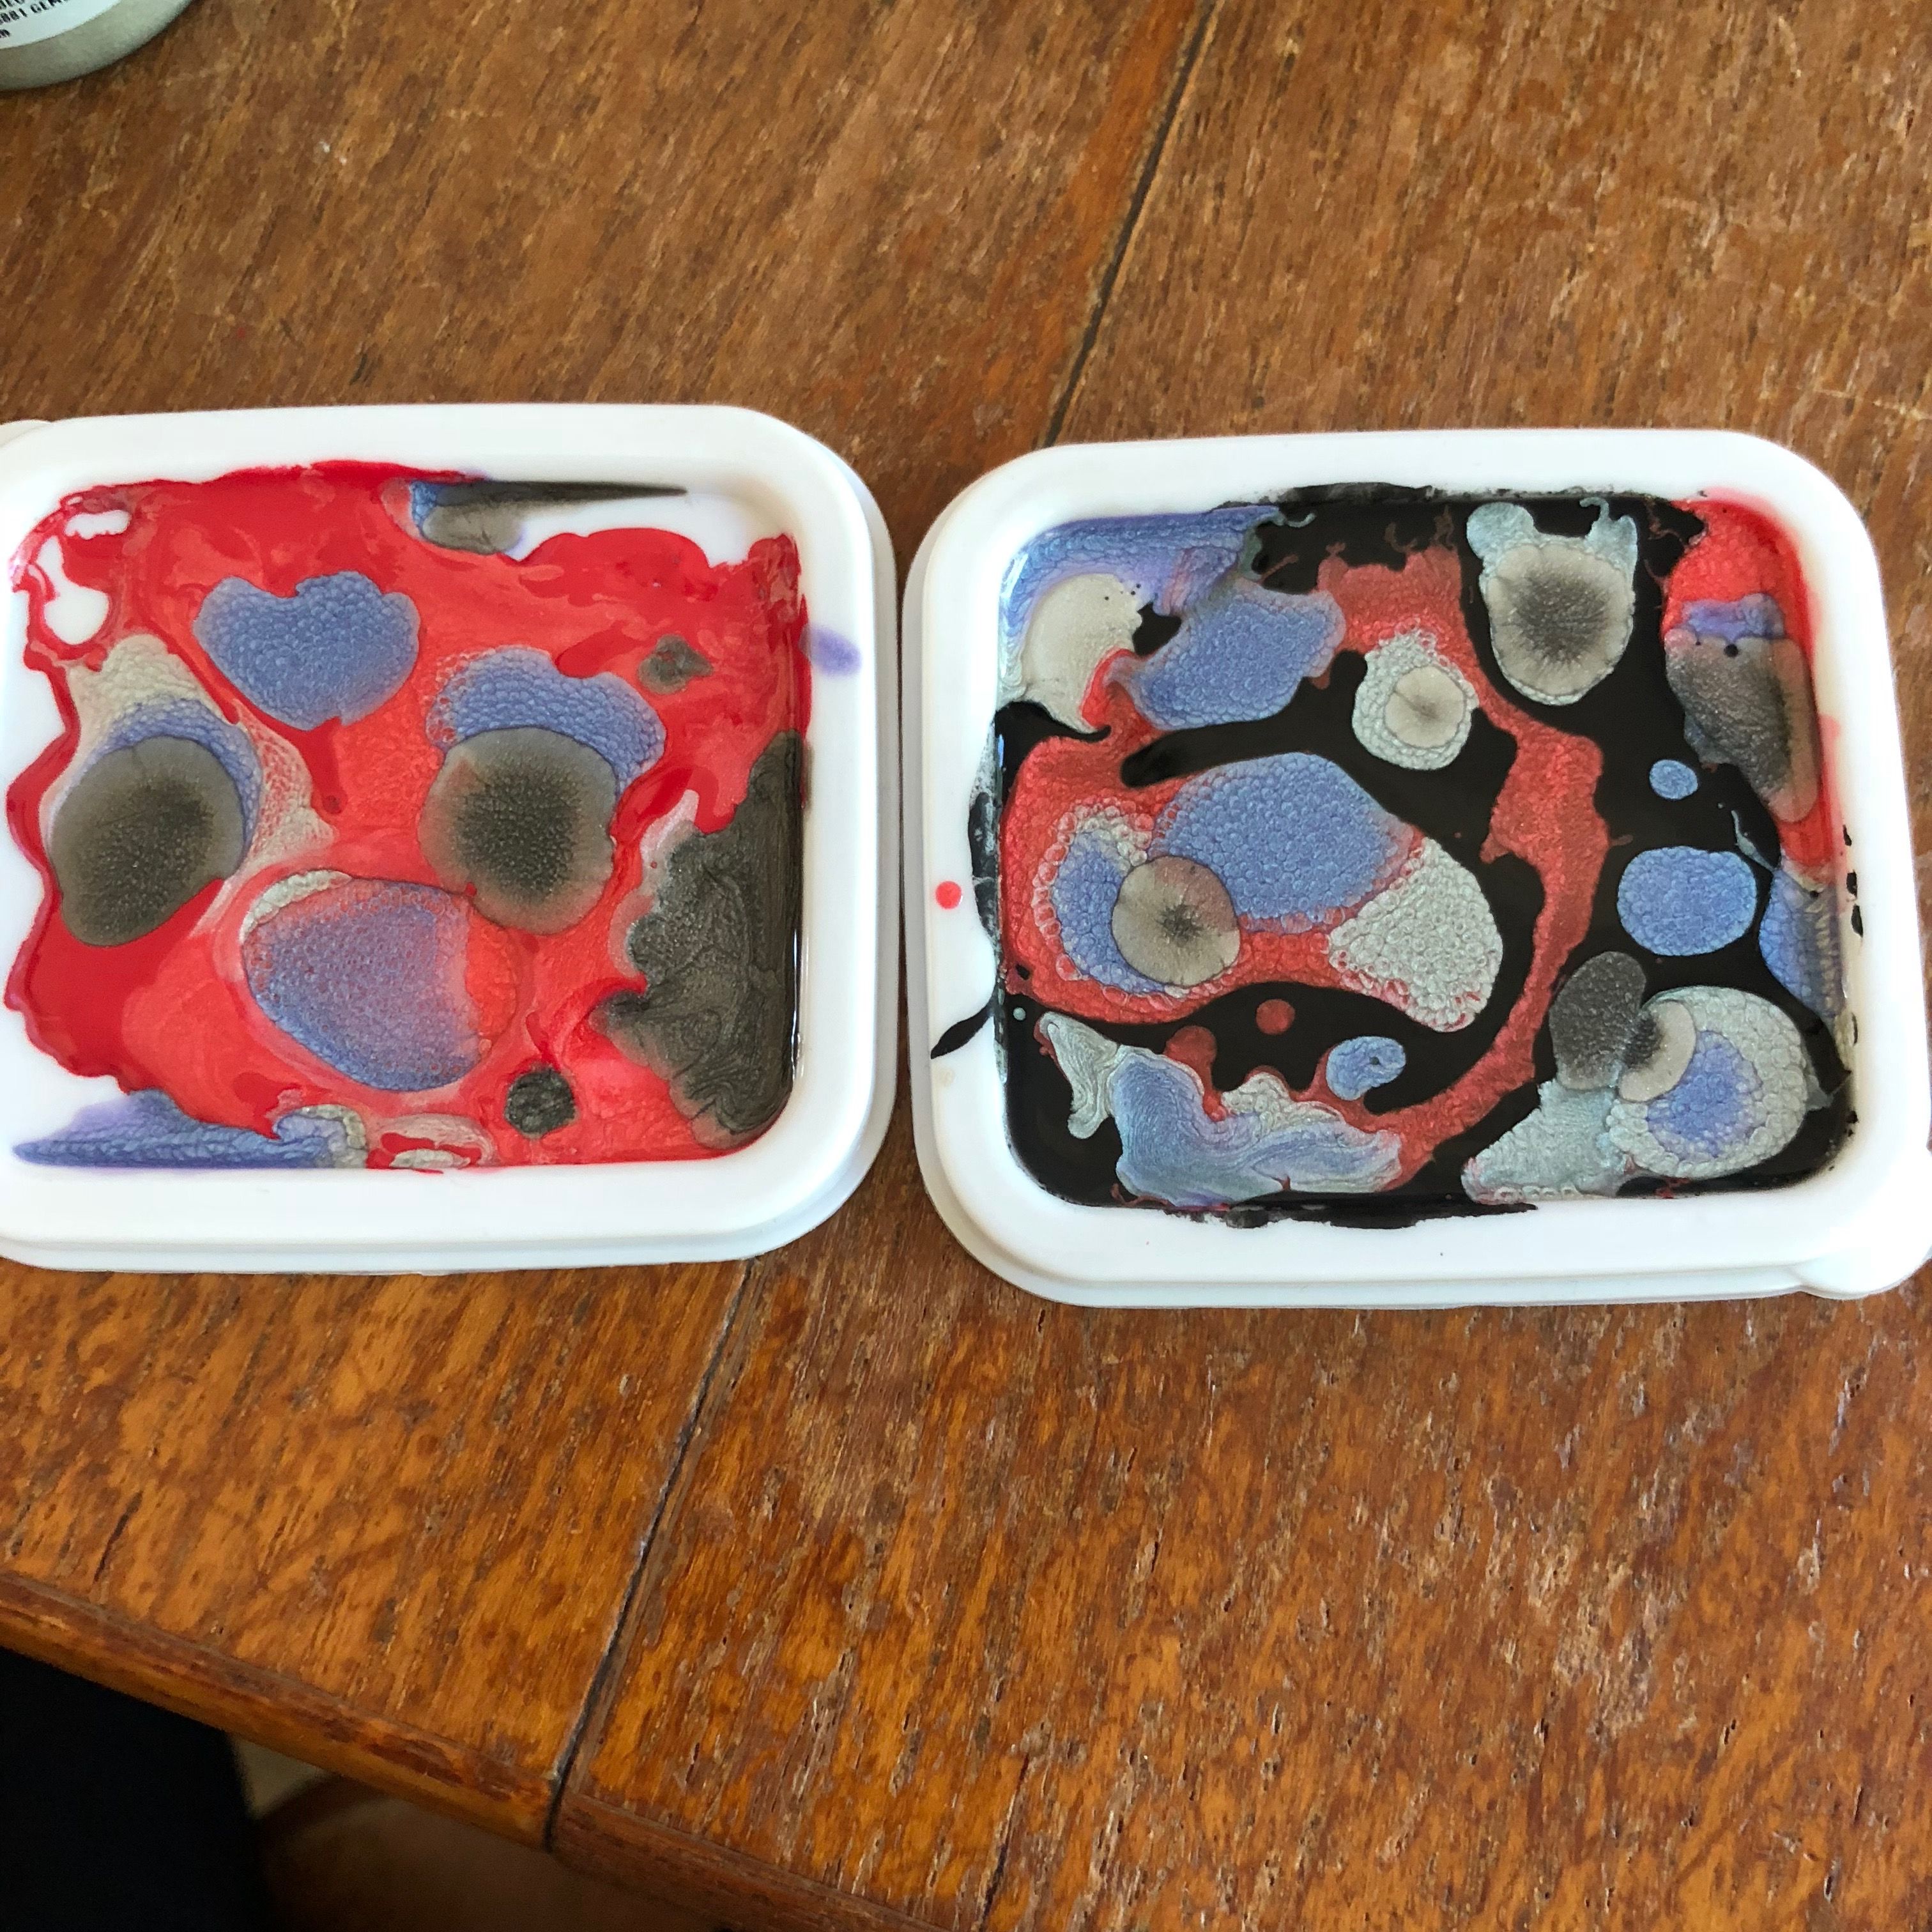
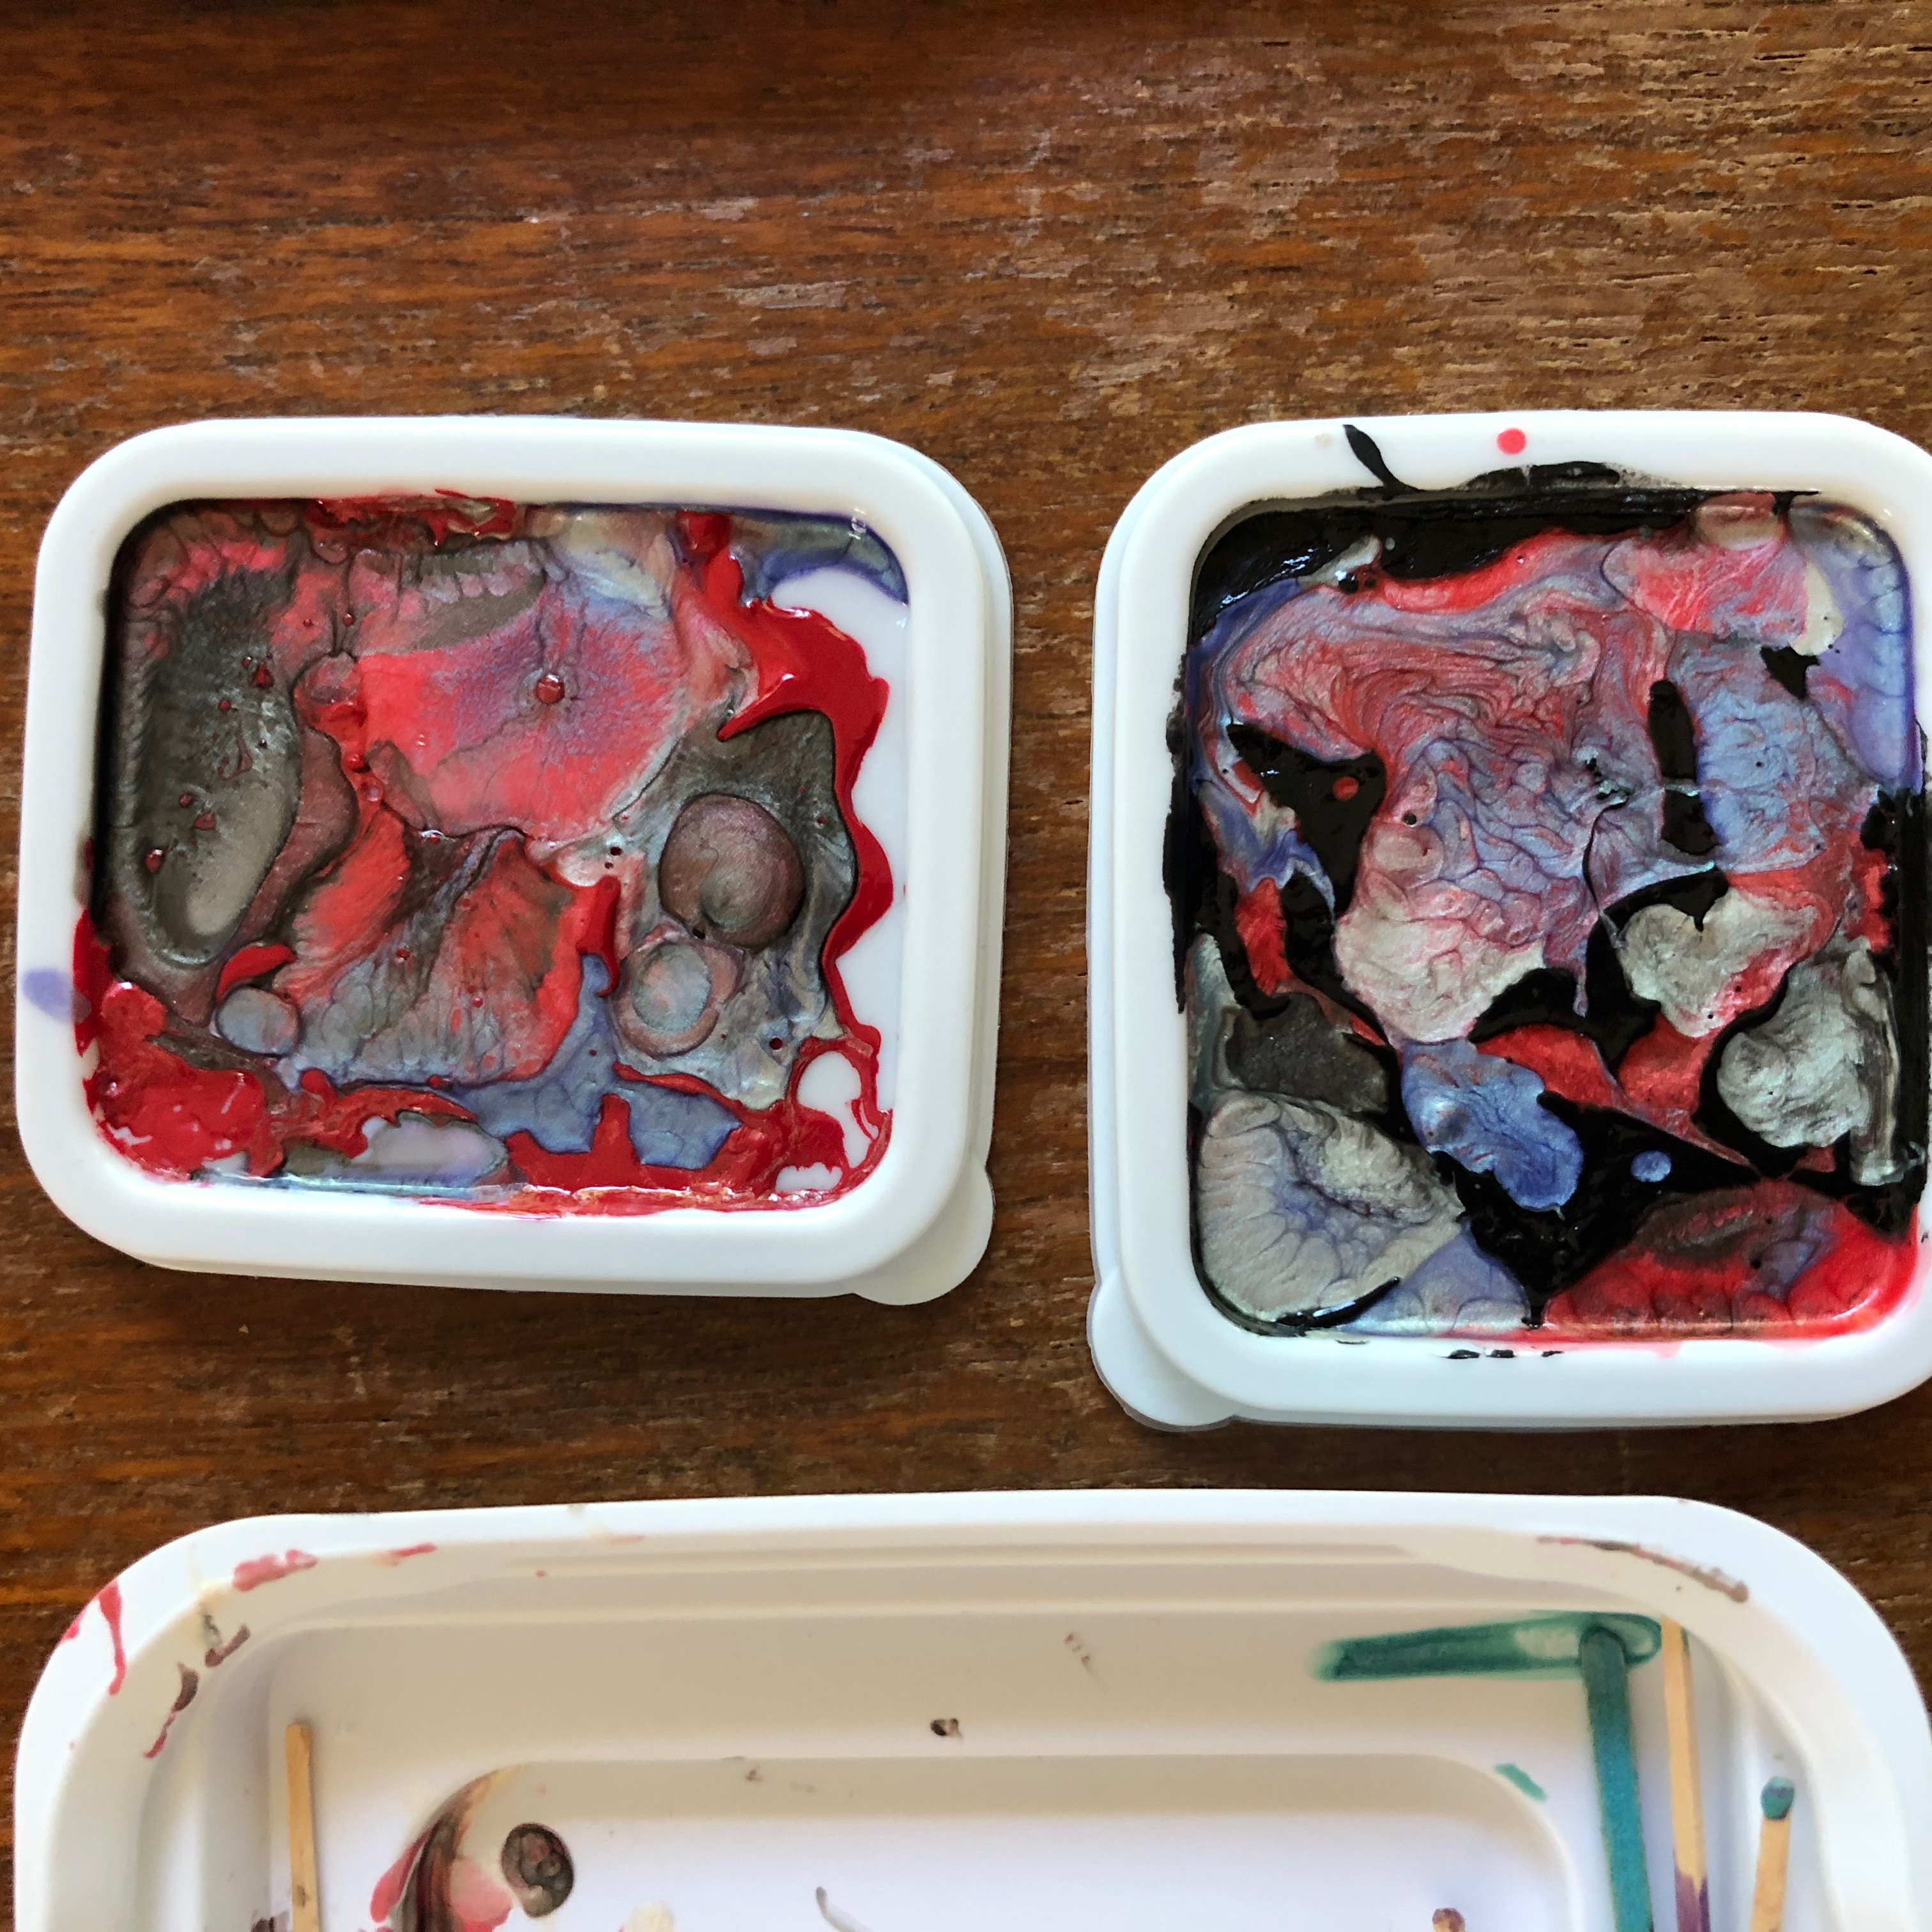
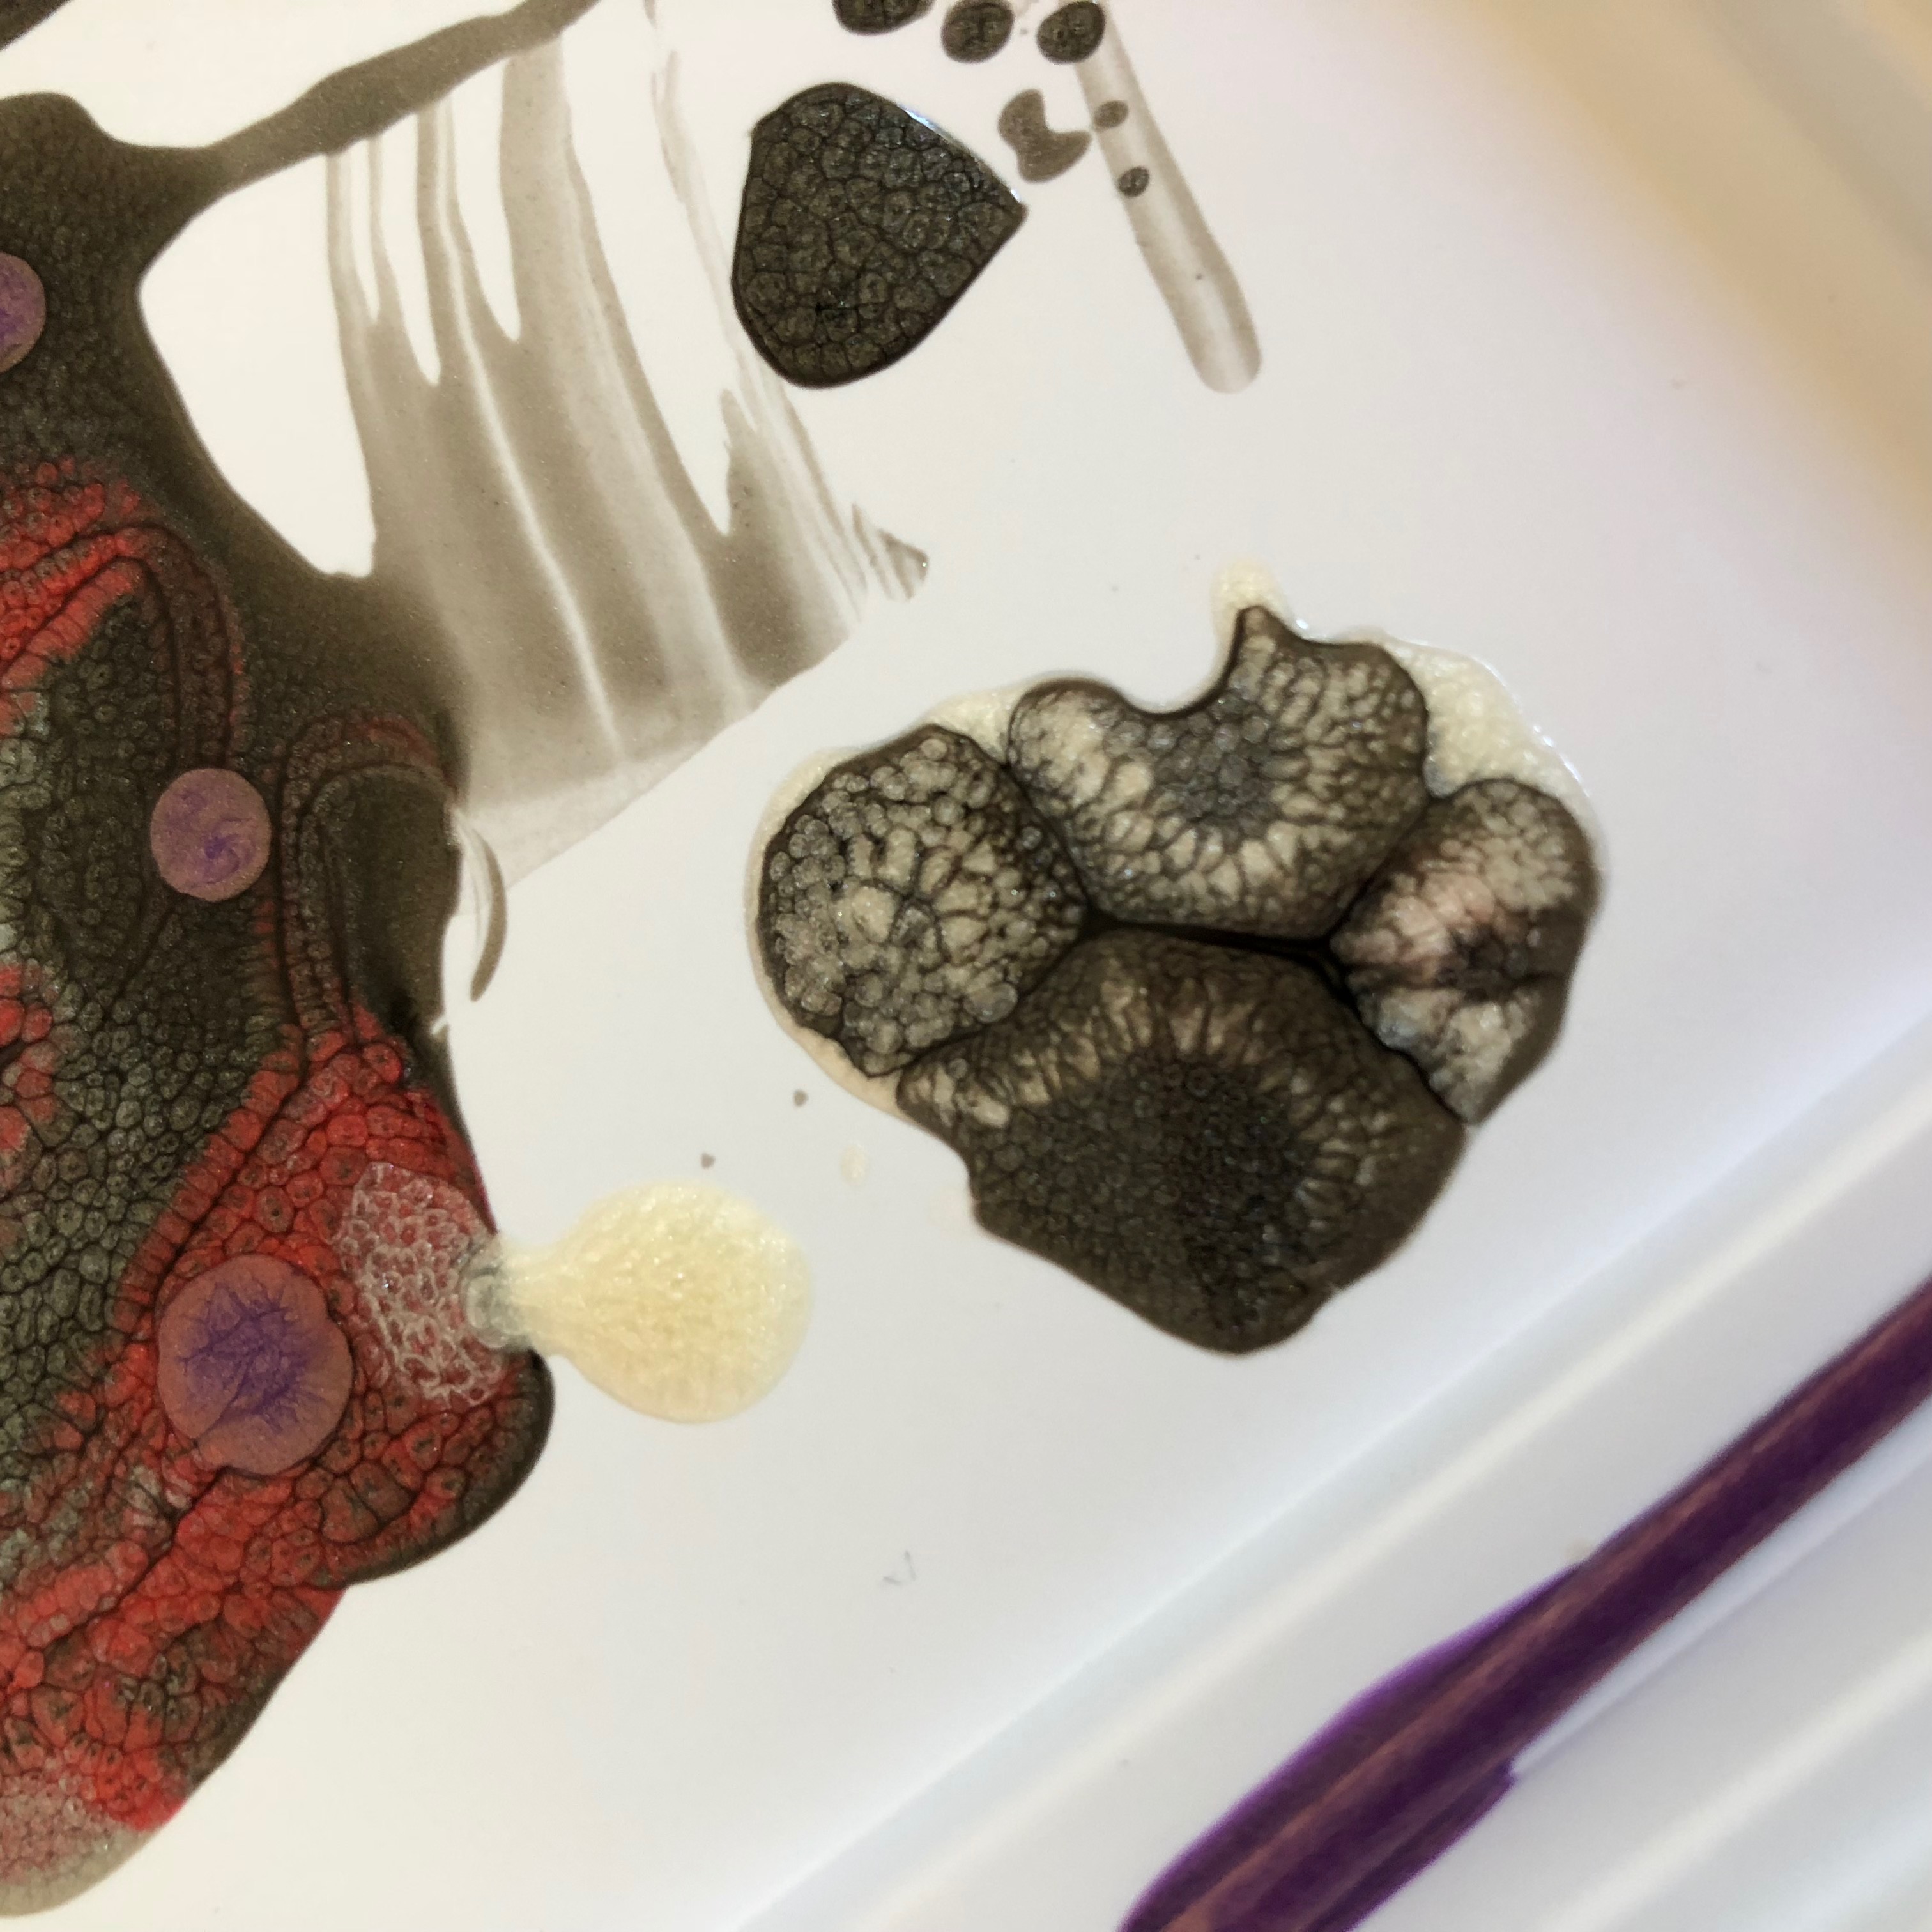
I let everything dry overnight and took a look at the results the next day. Some interesting patterns formed, but the samples mixed with acrylic bases came out ugly. They had awful lumps and two different finishes.
Fortunately, the samples using only the reactive paints looked great.
Dark grey with red was the final pick.
Start Painting
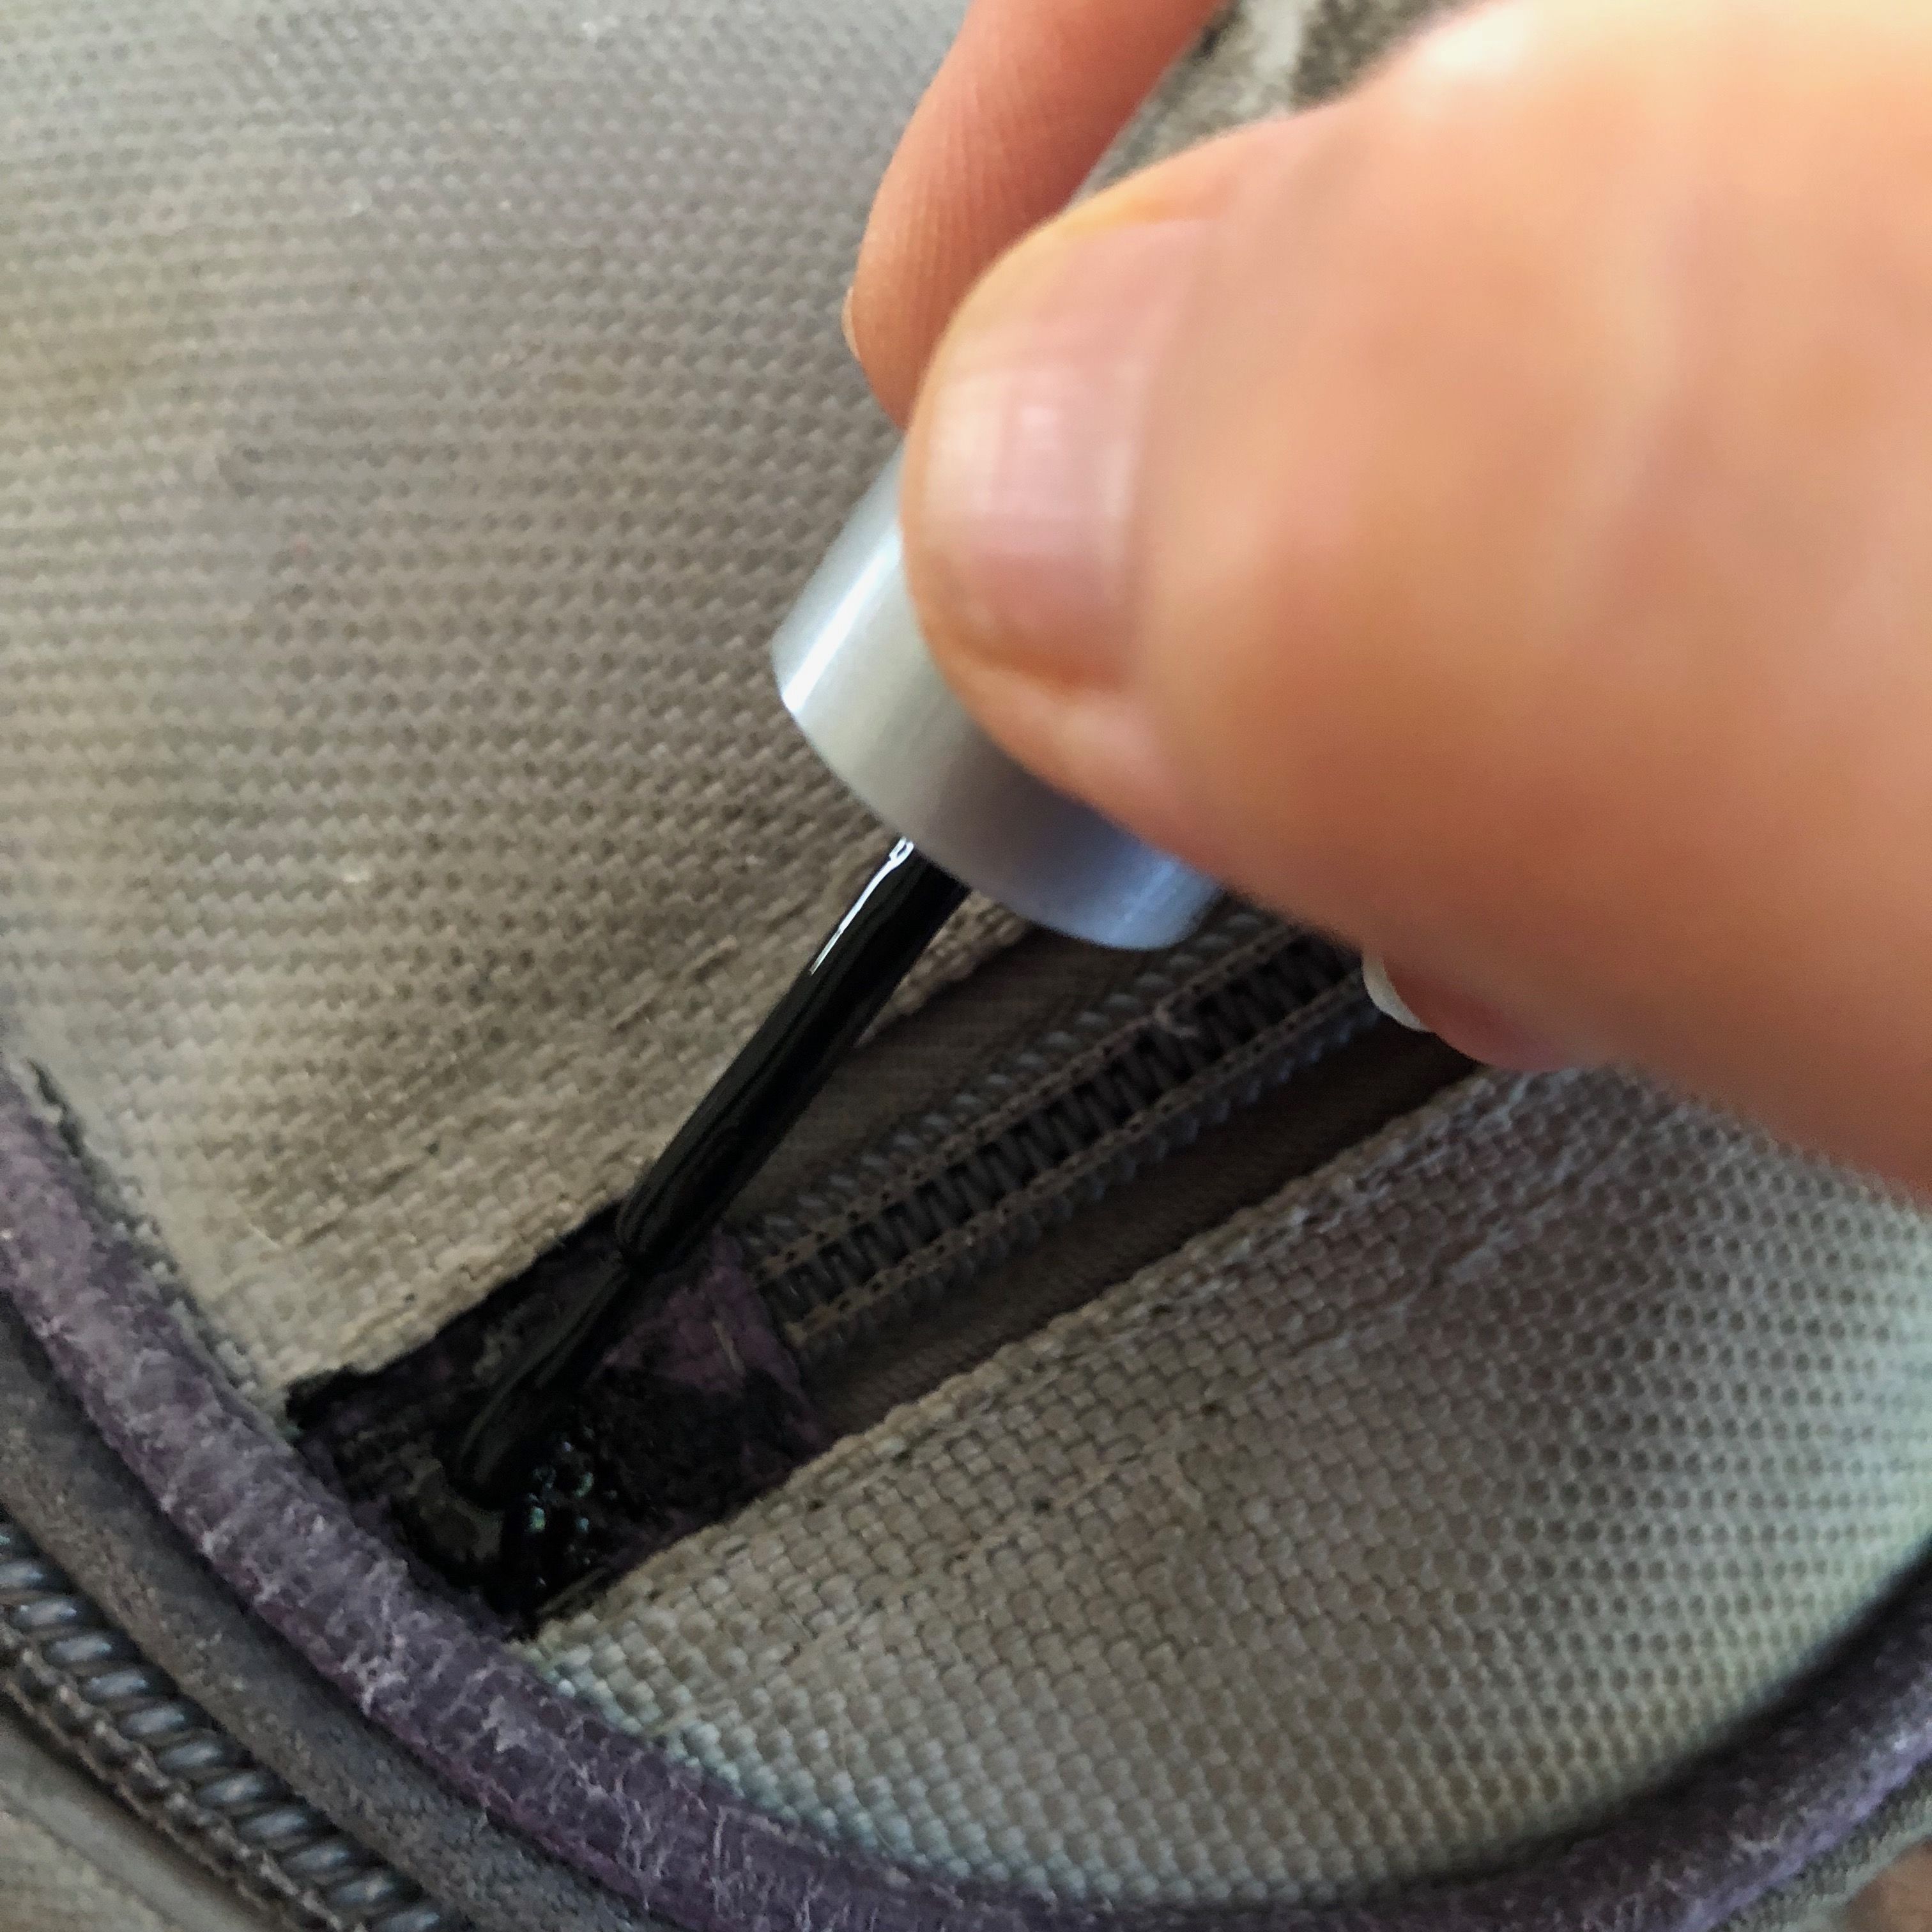
Now that the pack is prepped and the big decisions are made, the creative fun begins.
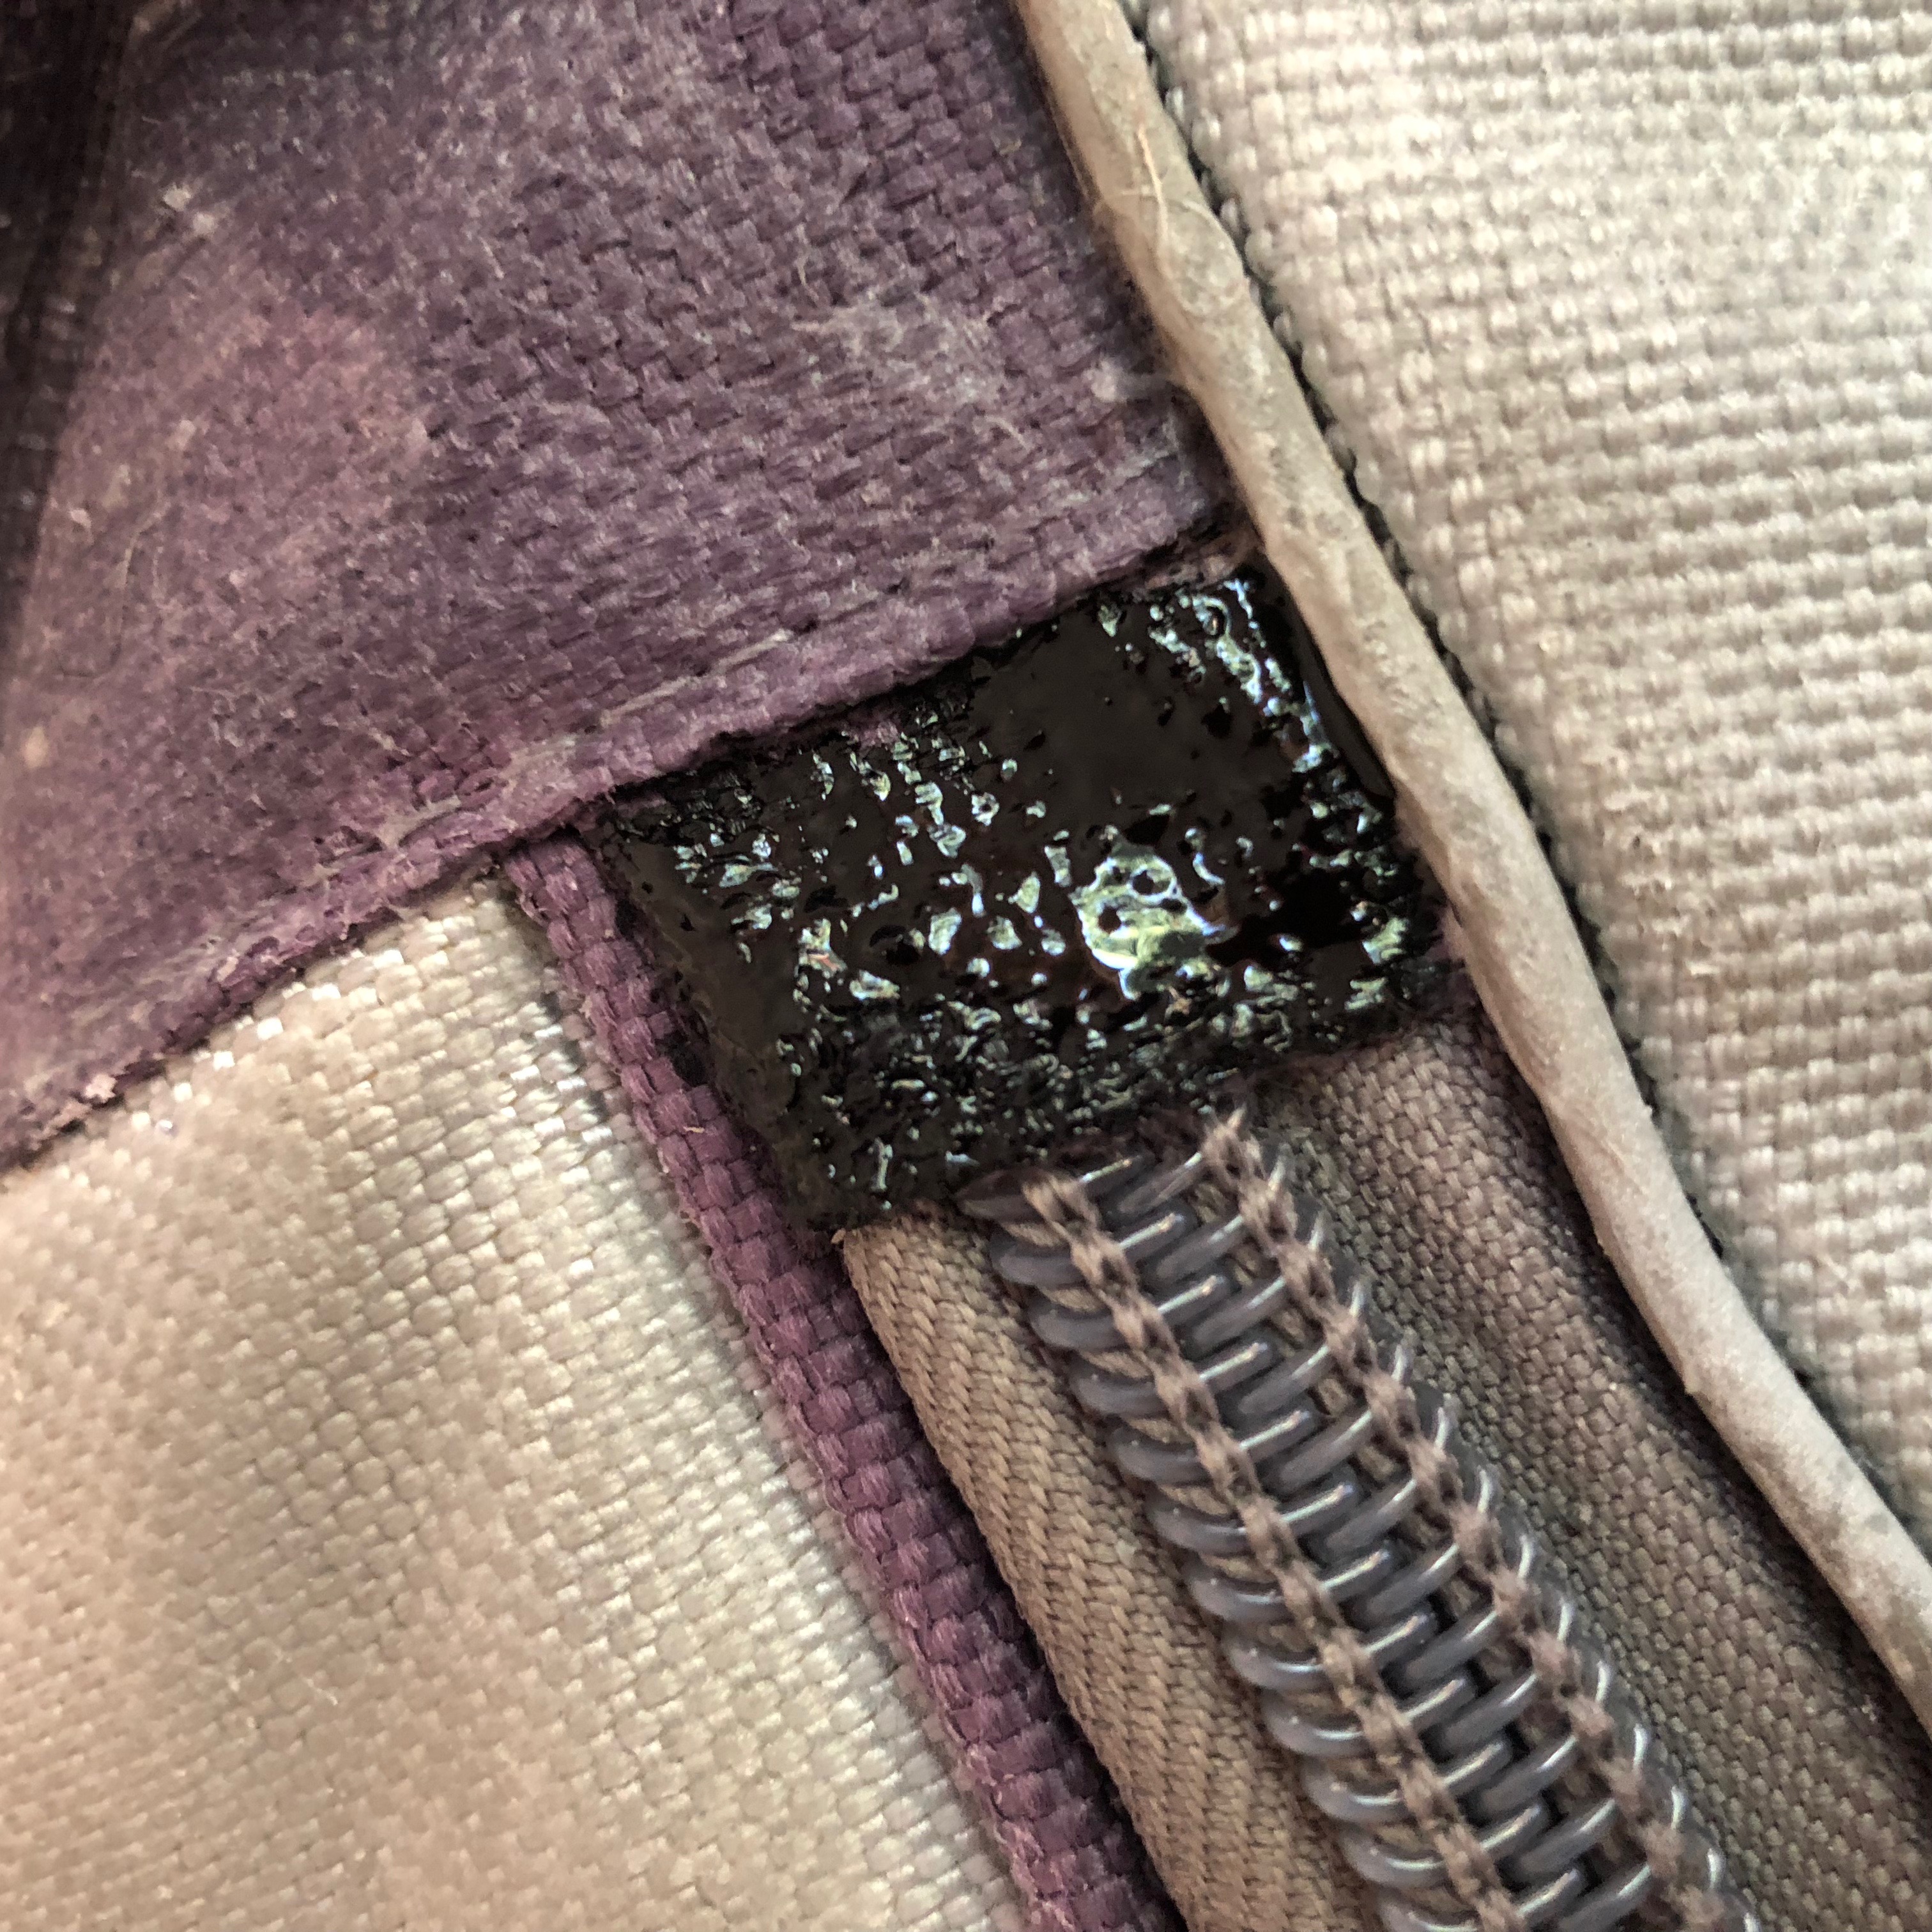
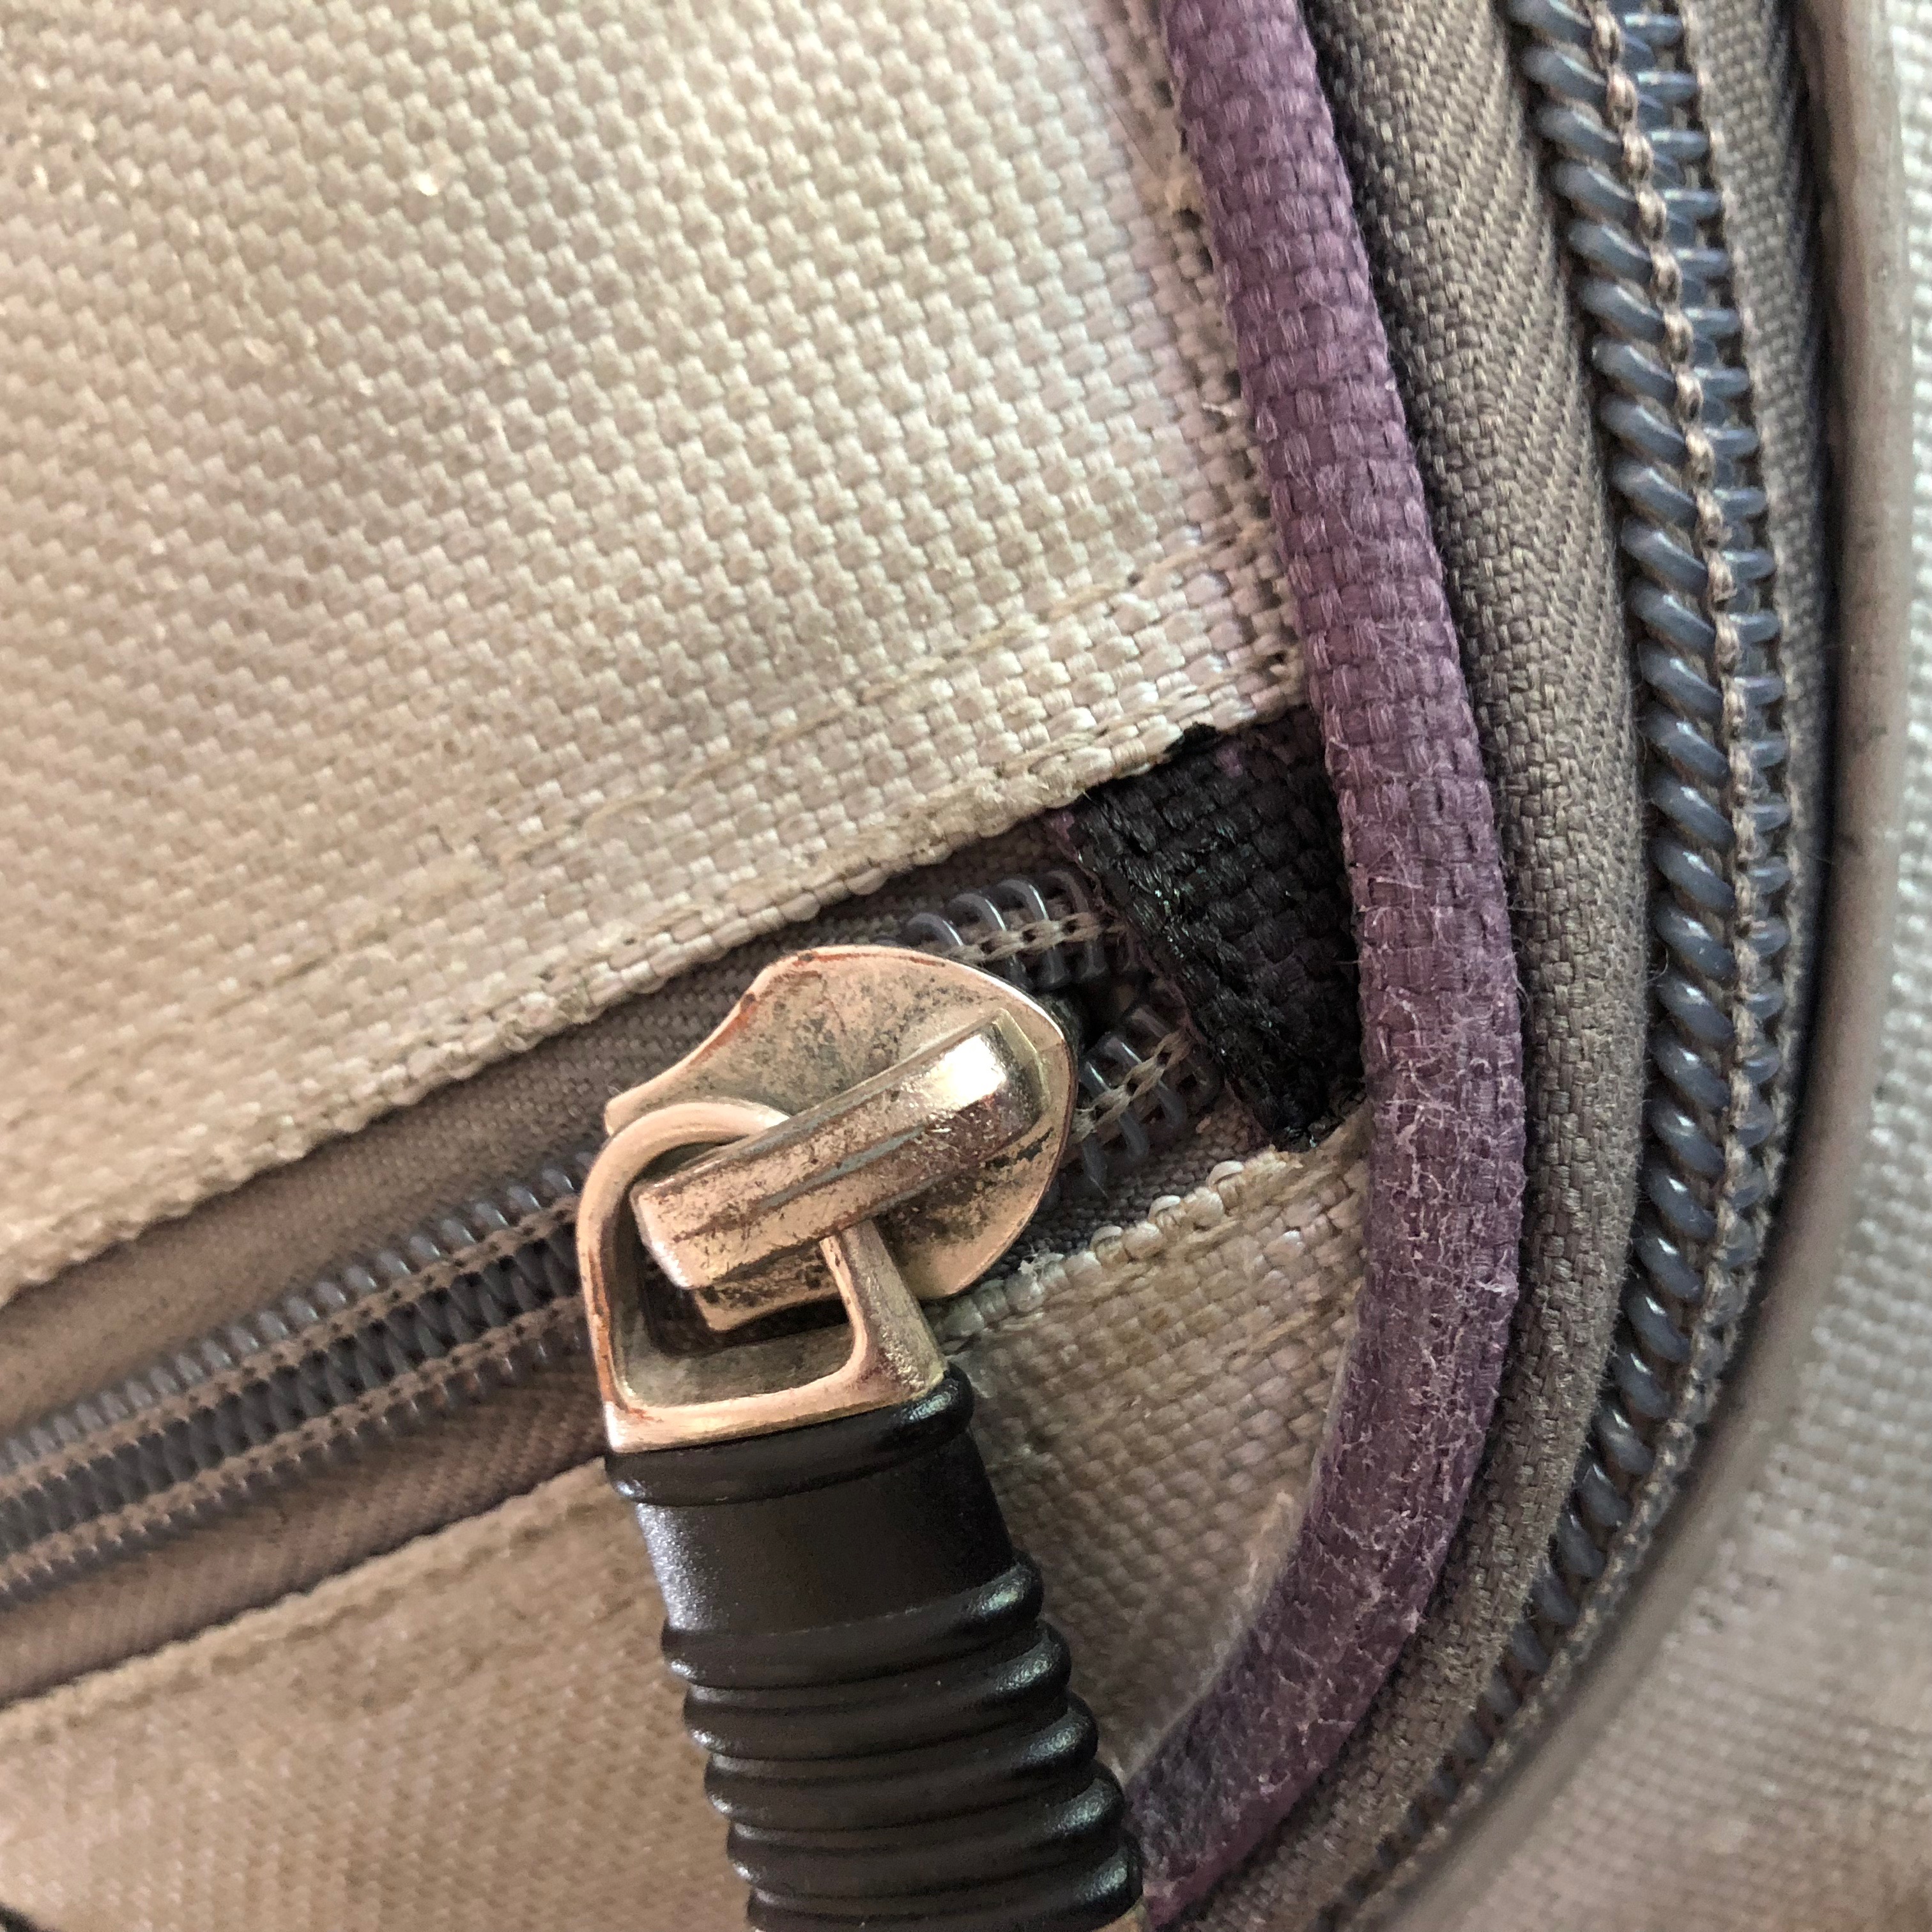
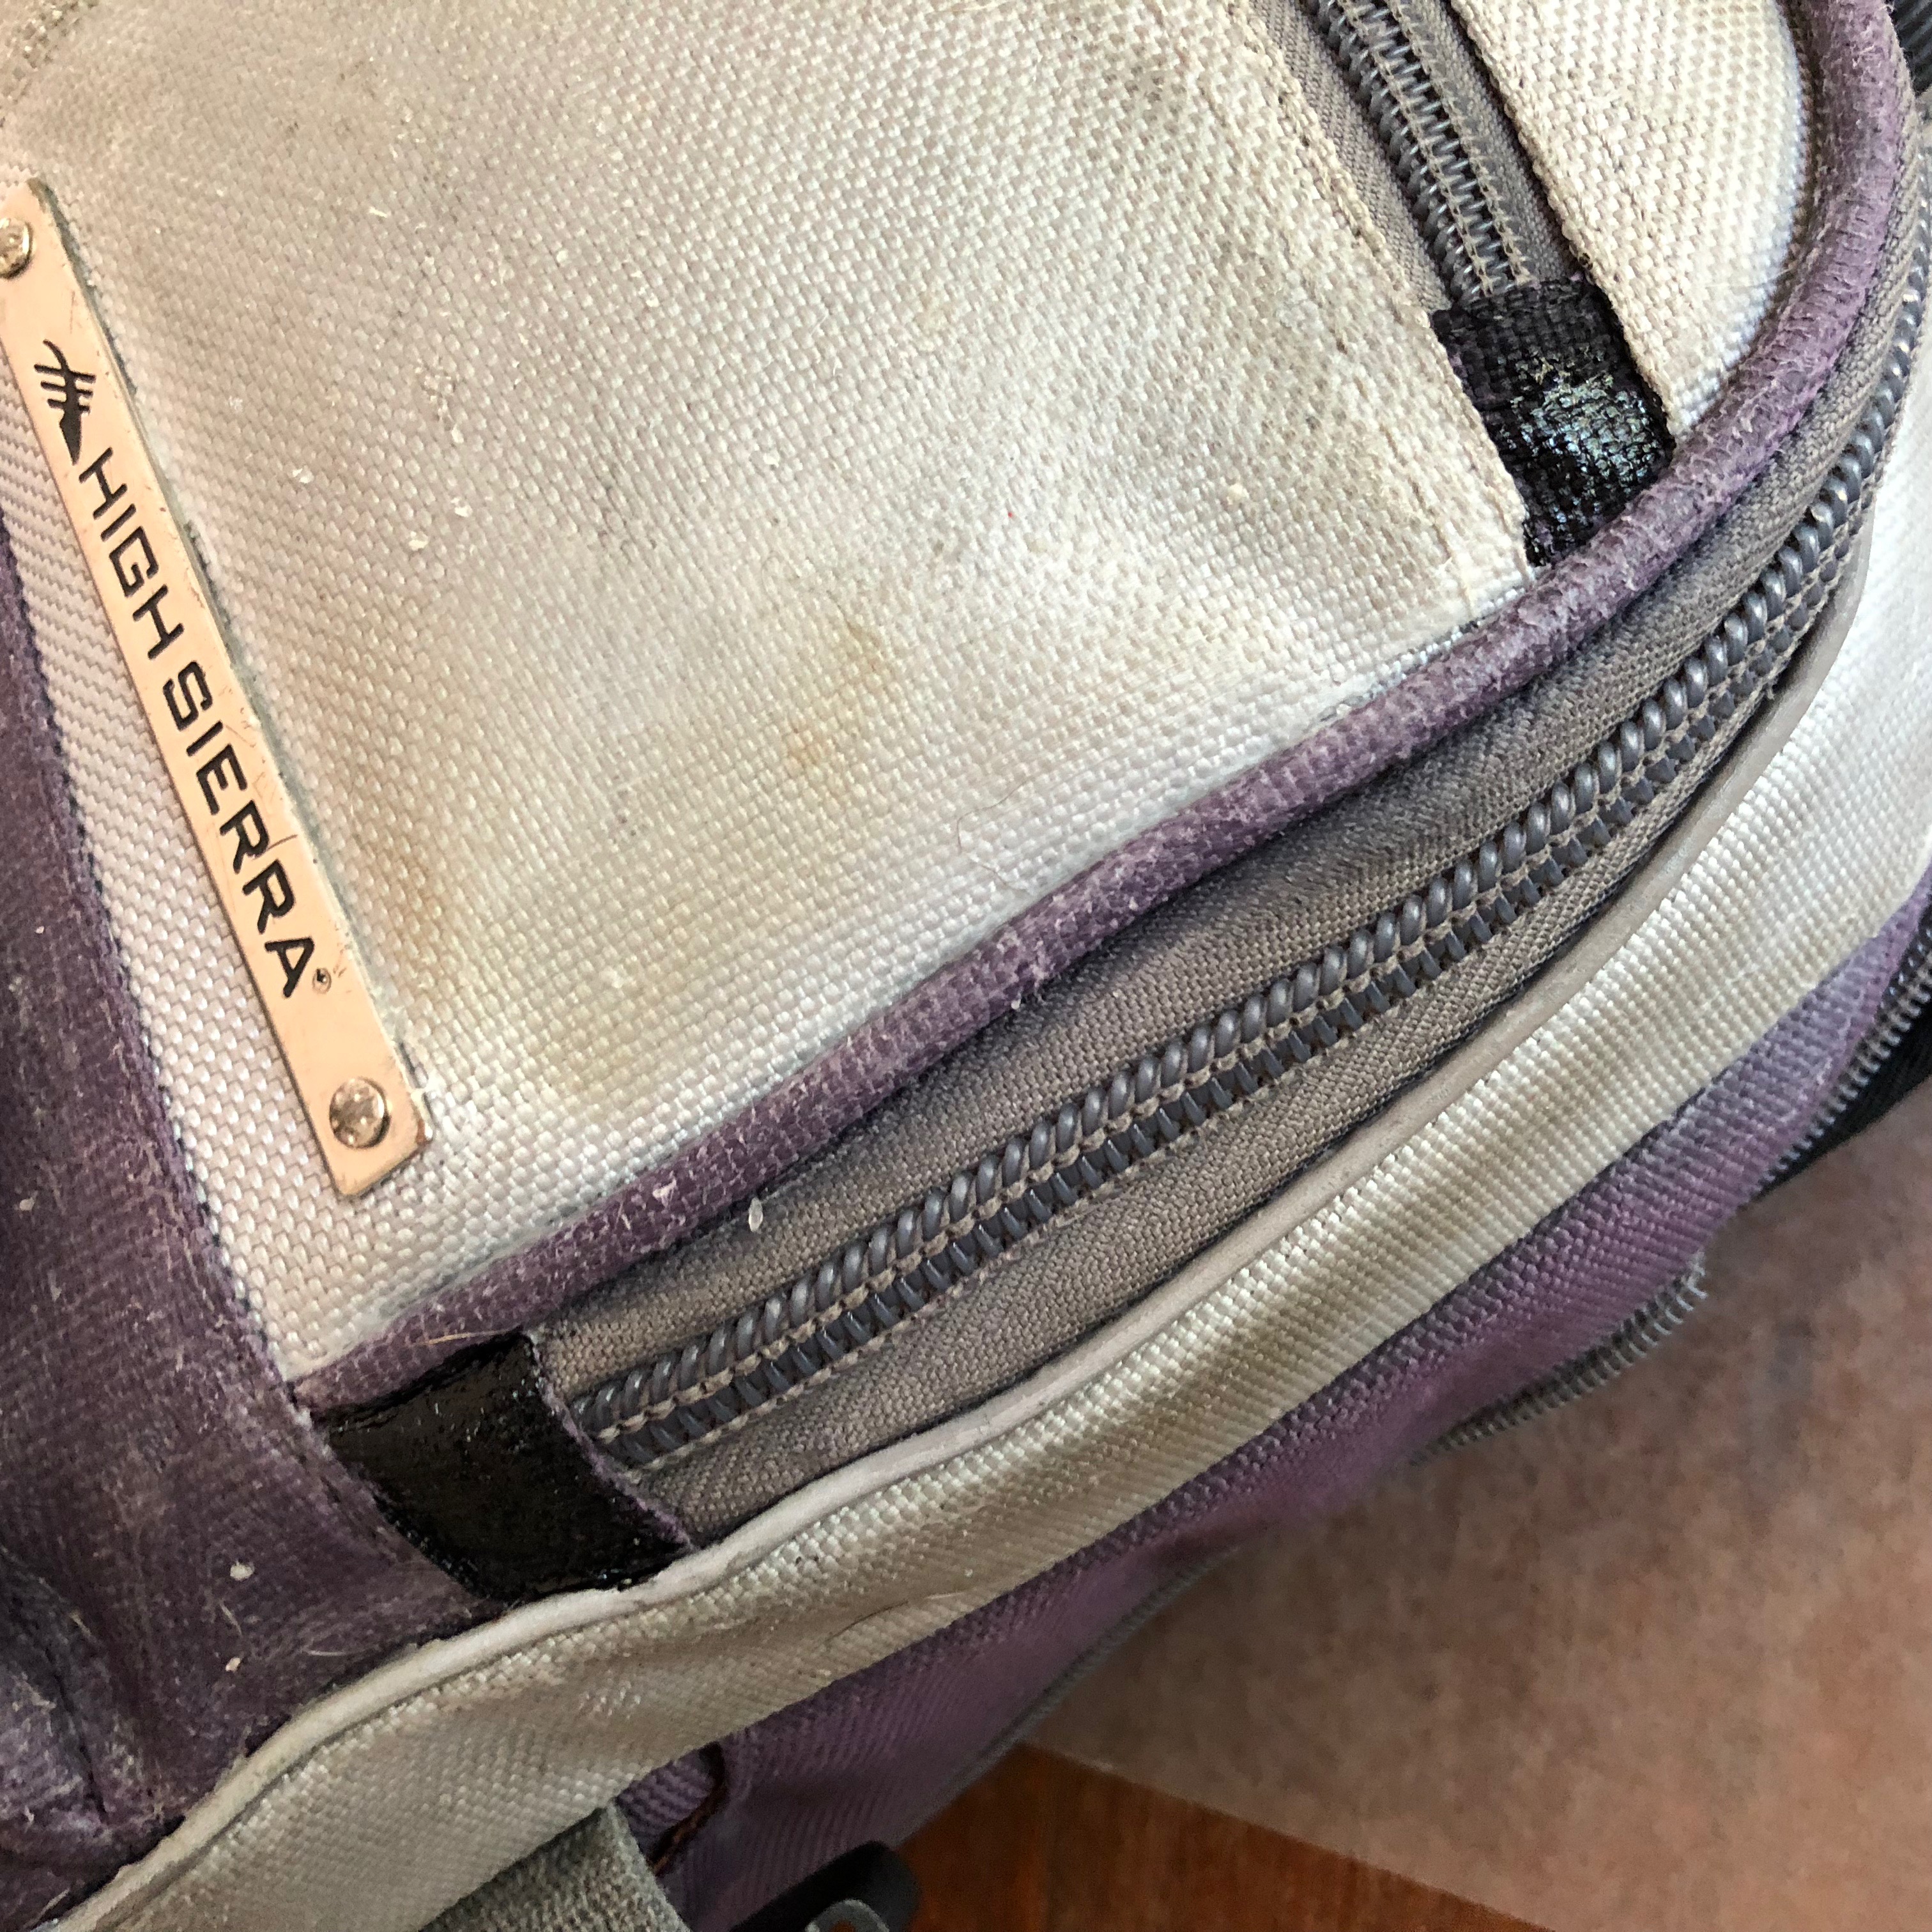
I started with black enamel paint and filled in some of the smallest backpack sections.
Reactive Painting
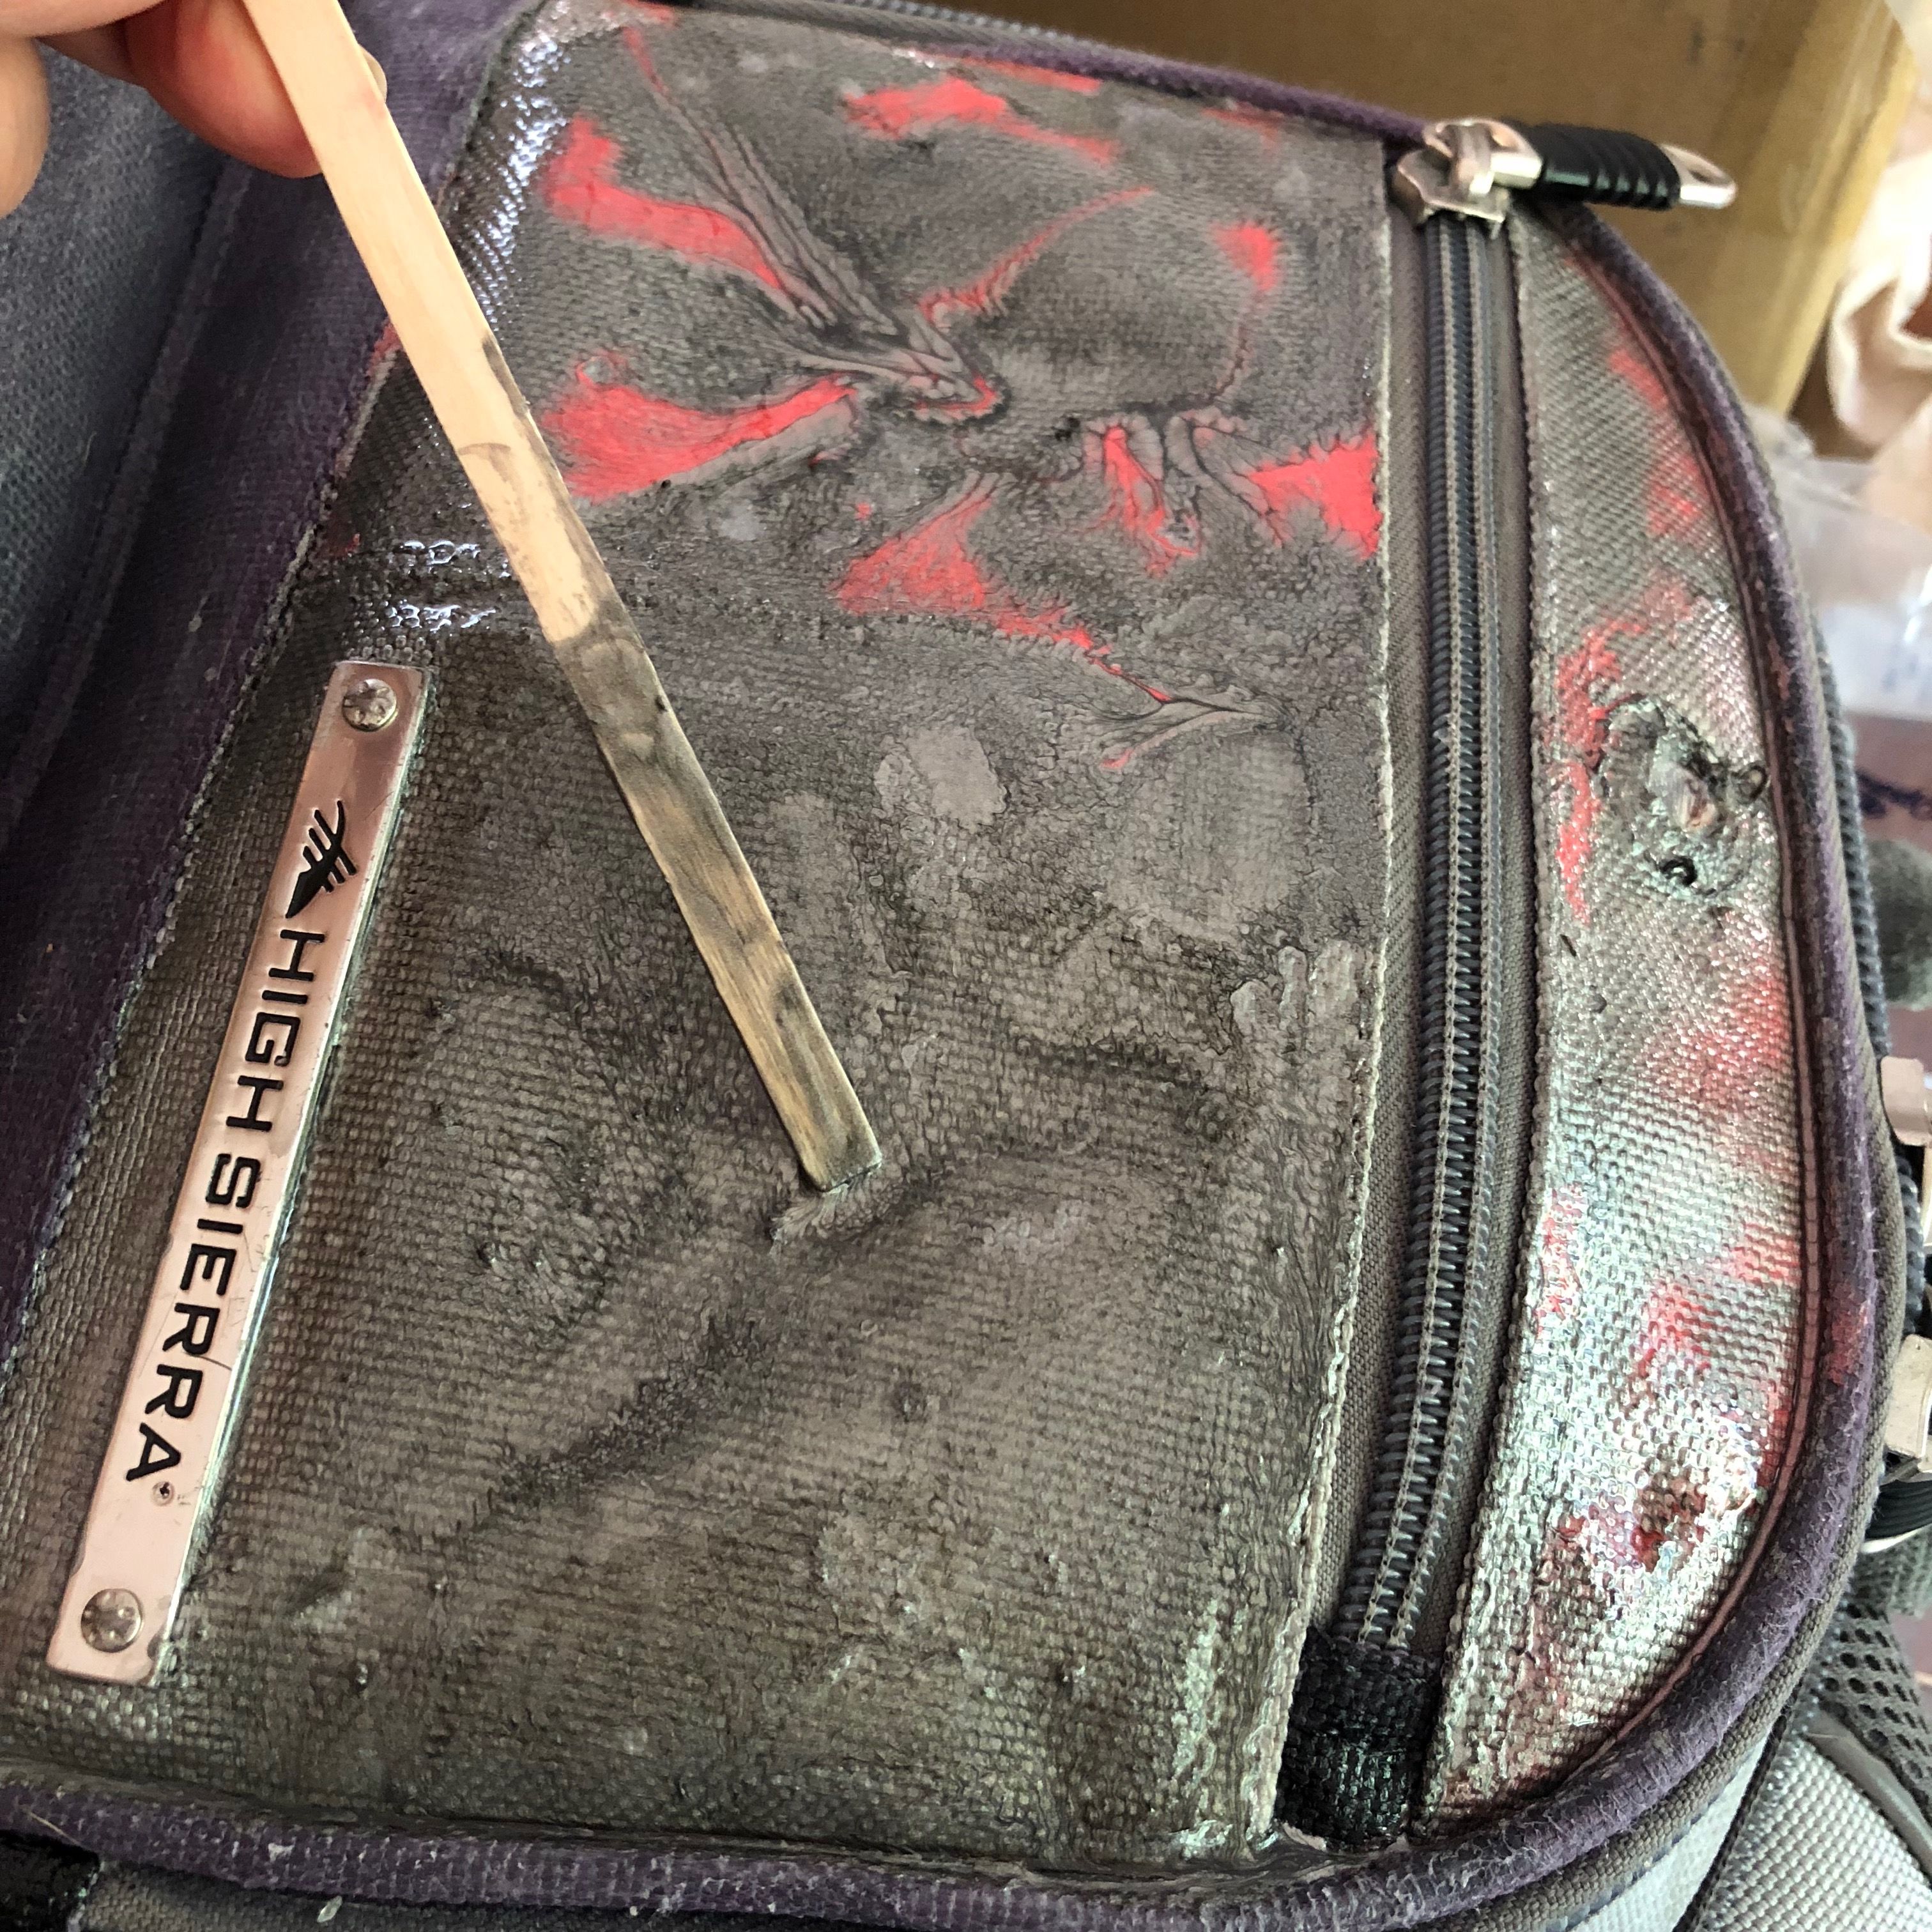
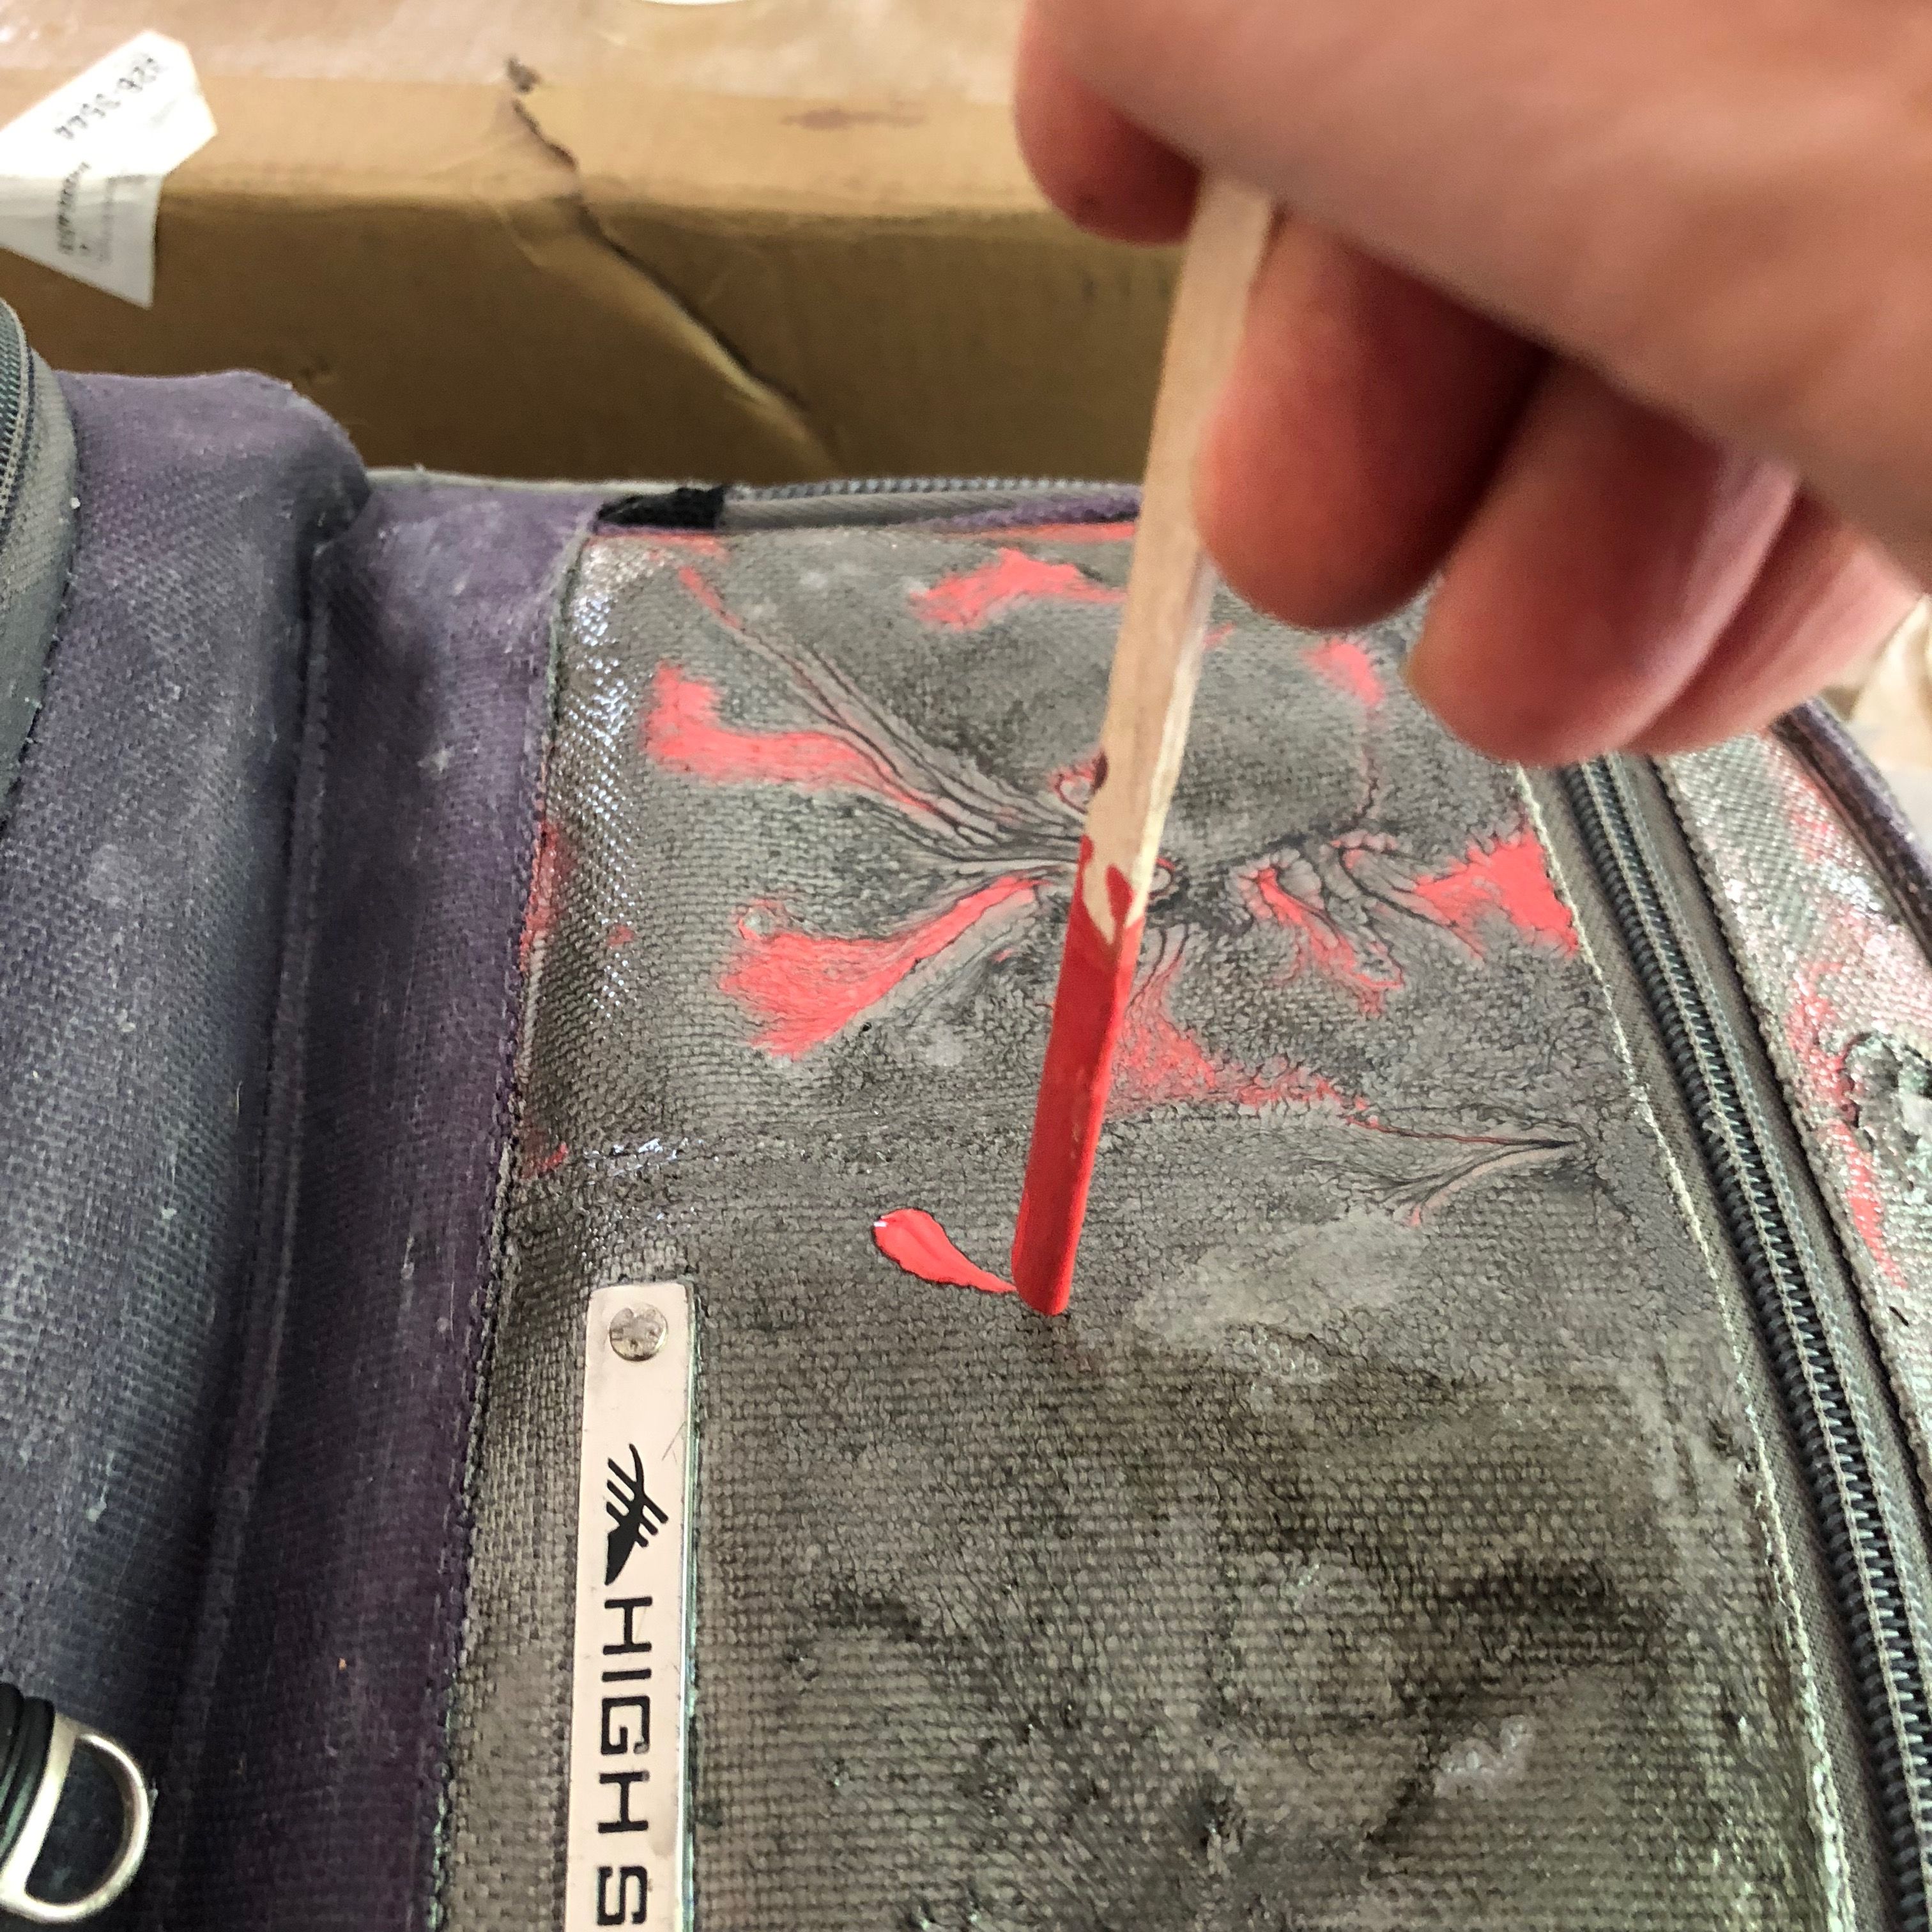
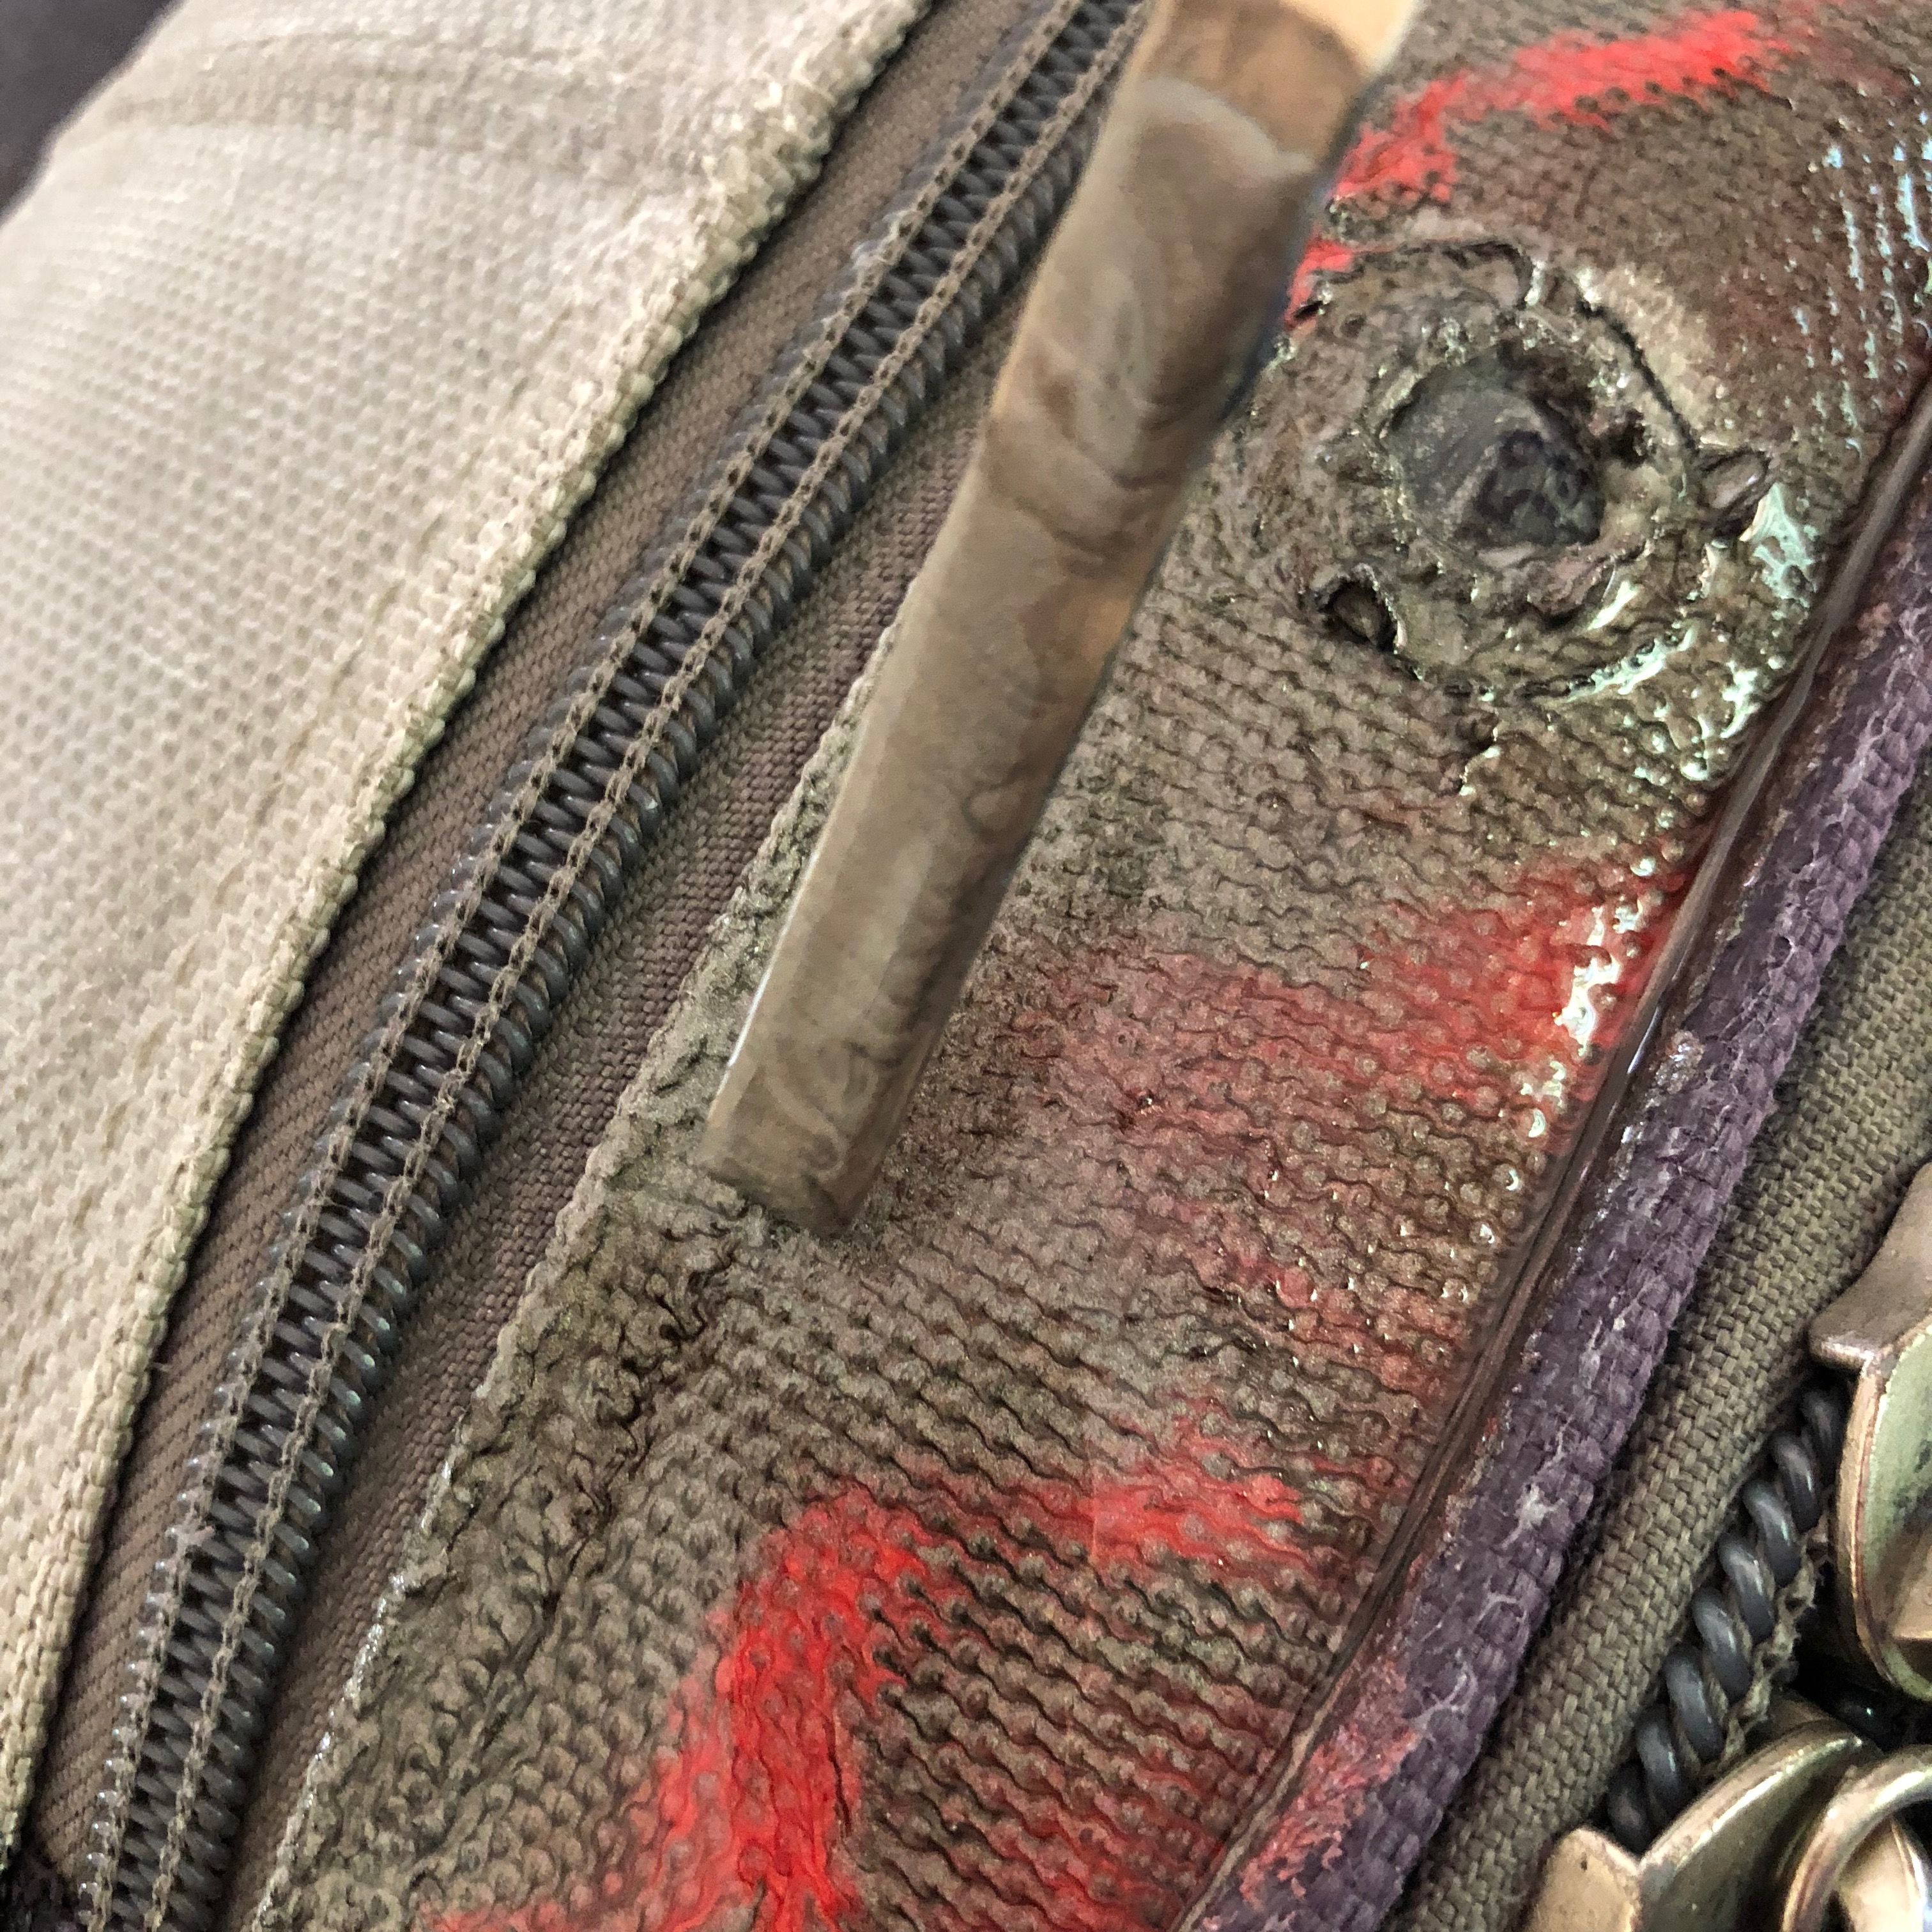
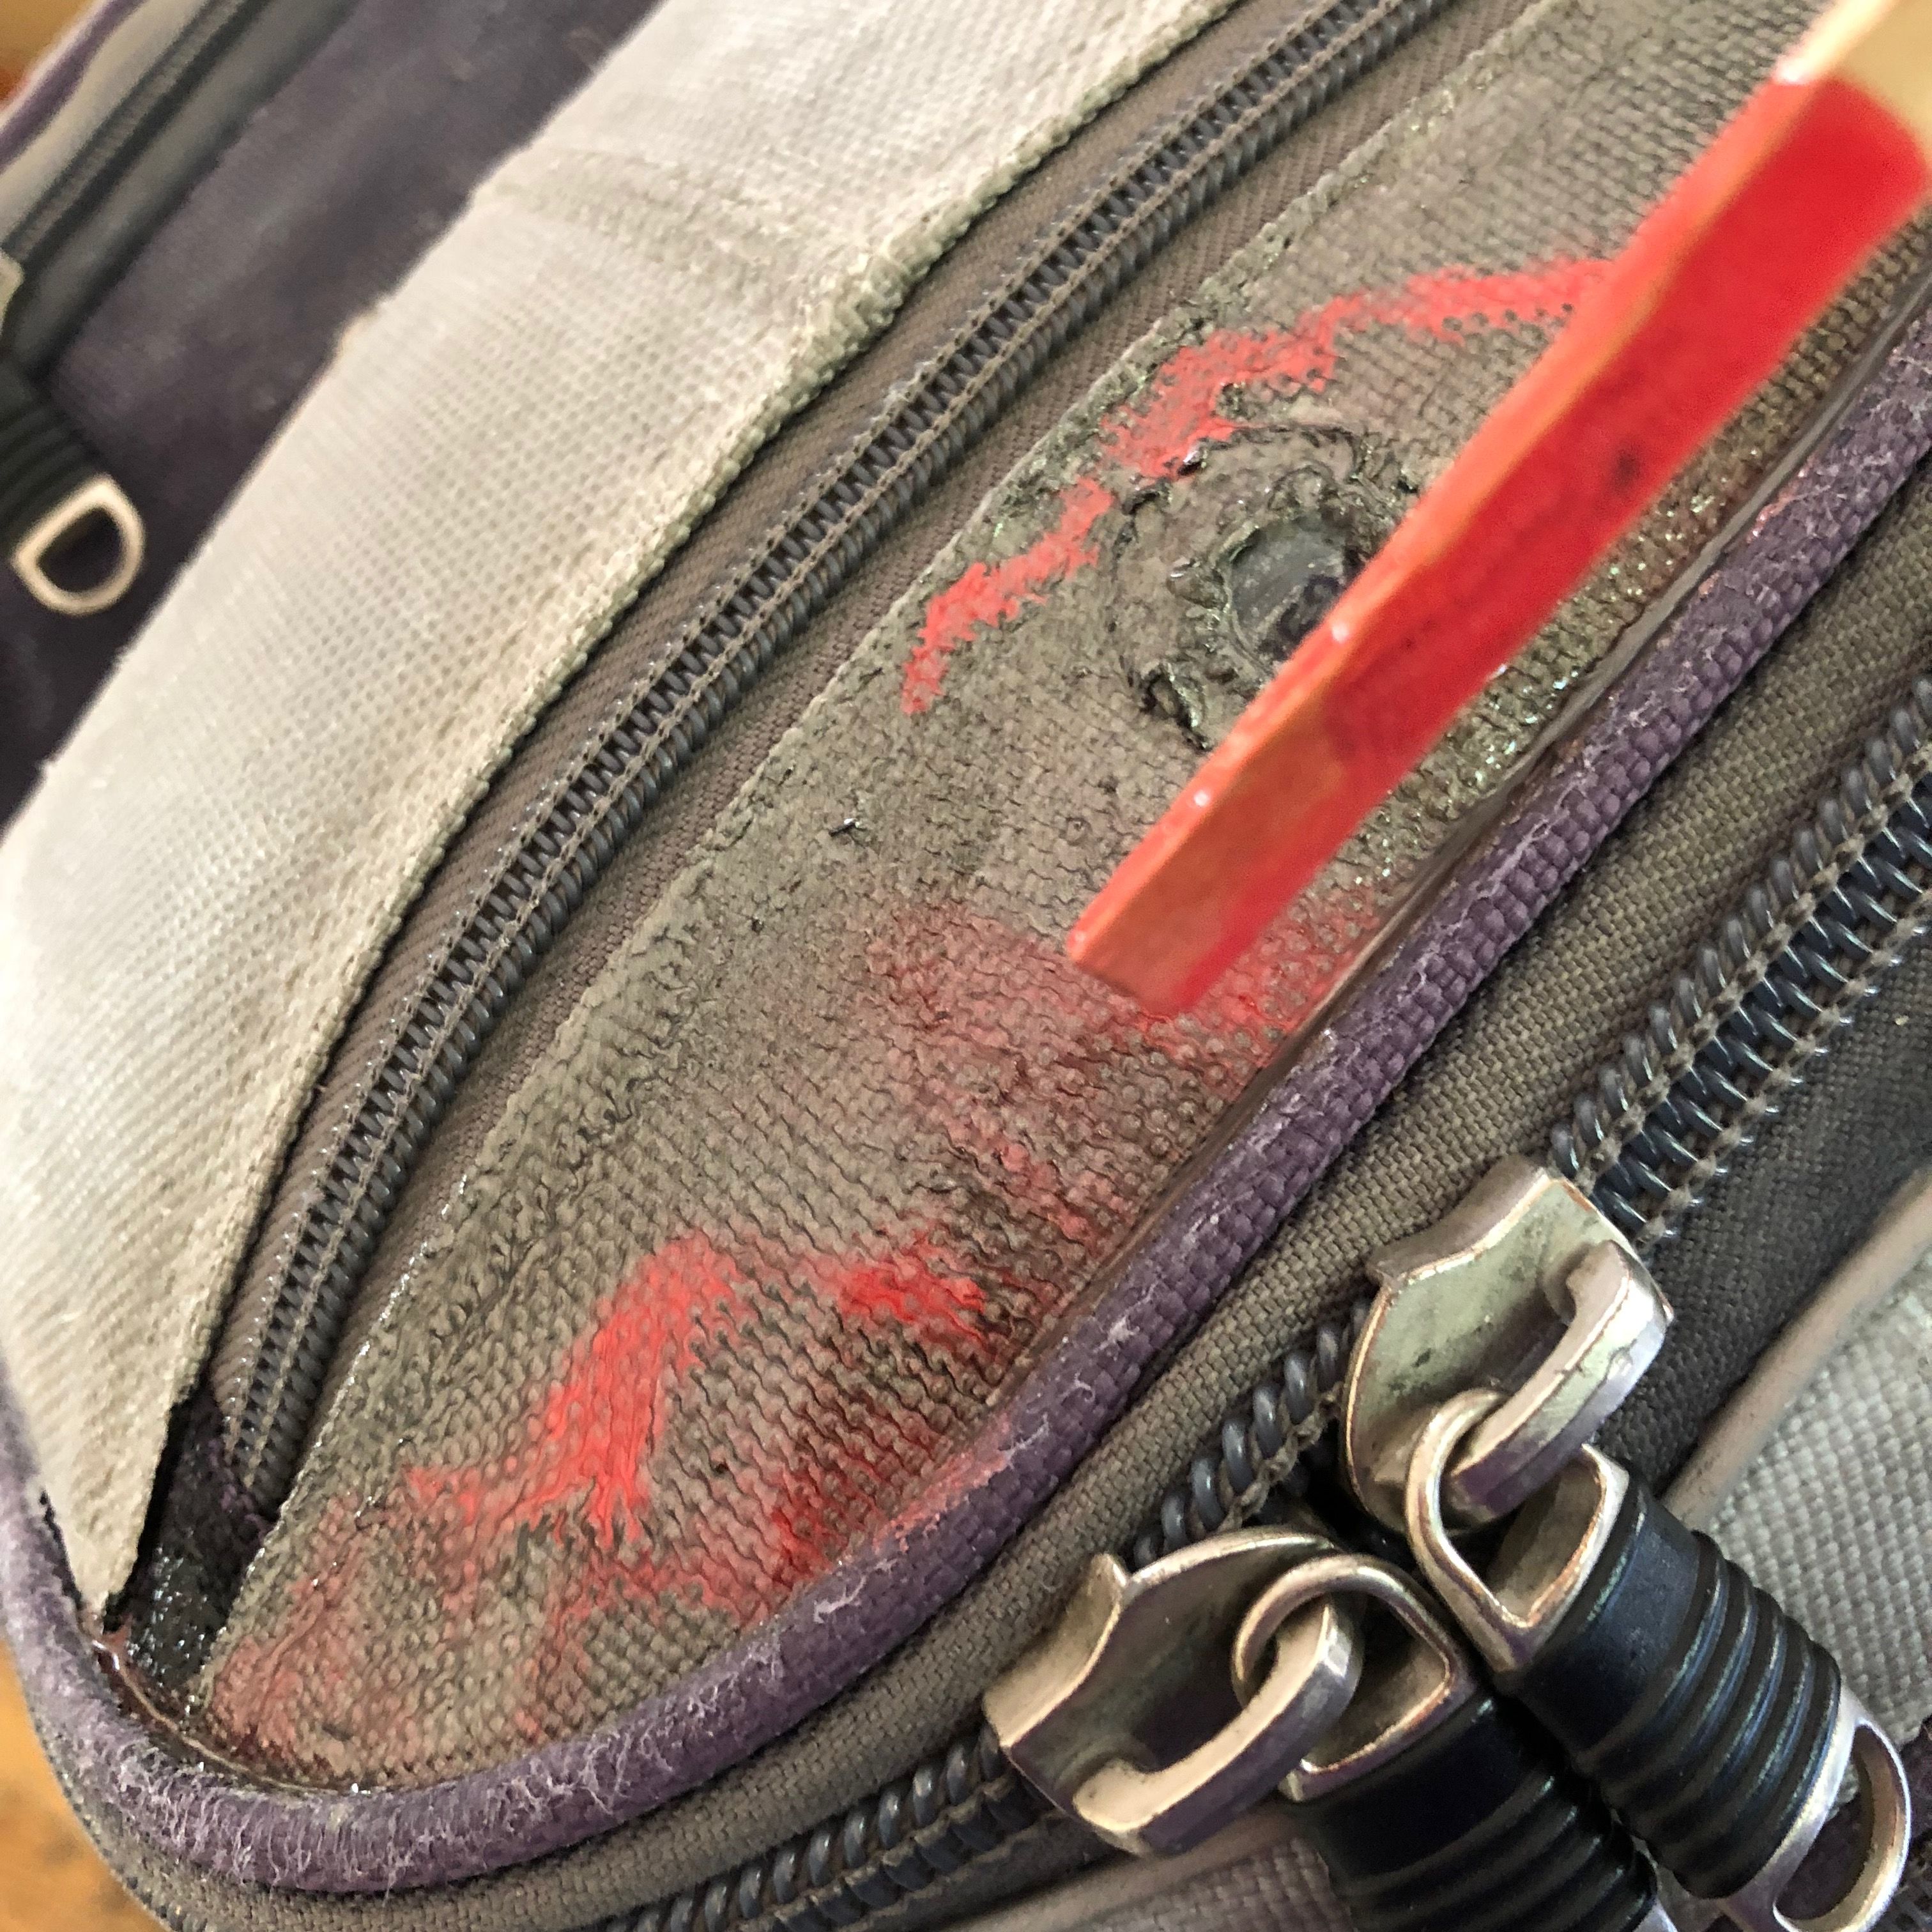
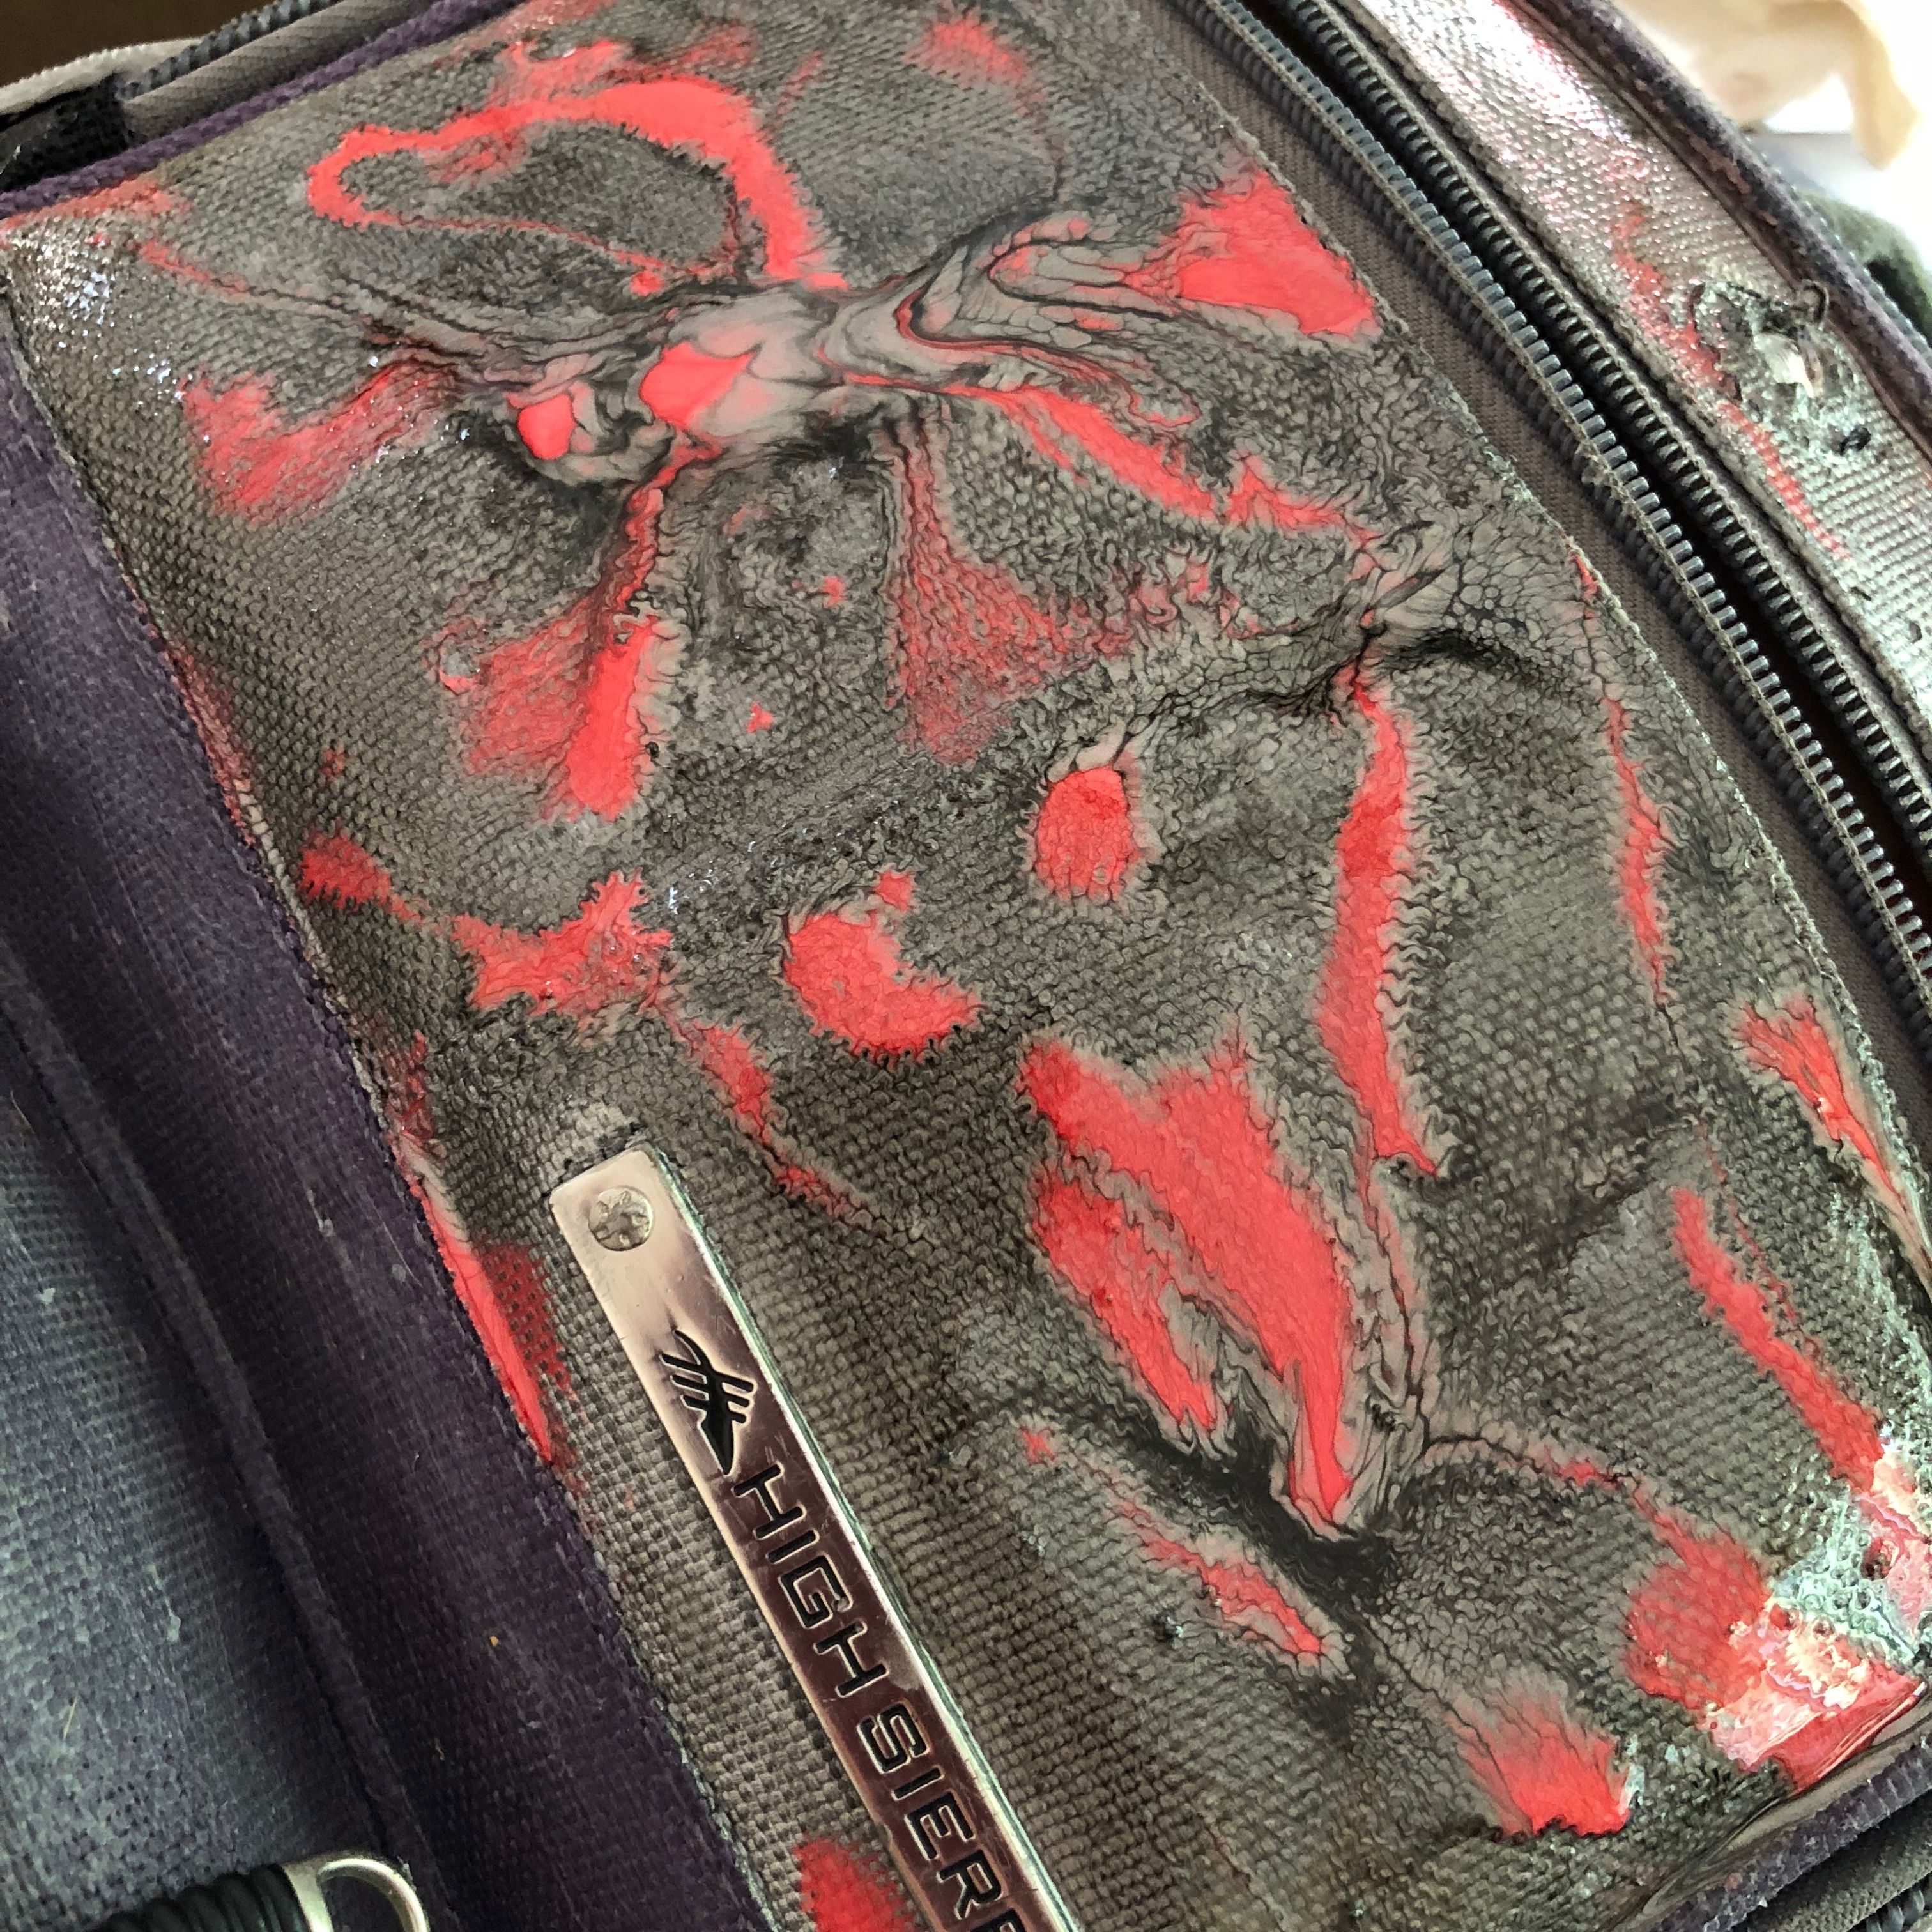
Then, starting with the top panel of the backpack, I began applying the reactive paints. I started with the gray, since this would be my base color.
Using a stick I covered the entire panel in a thin layer of paint. Then, also using a stick, I dripped the red onto the wet gray paint base.
Lots of Paint
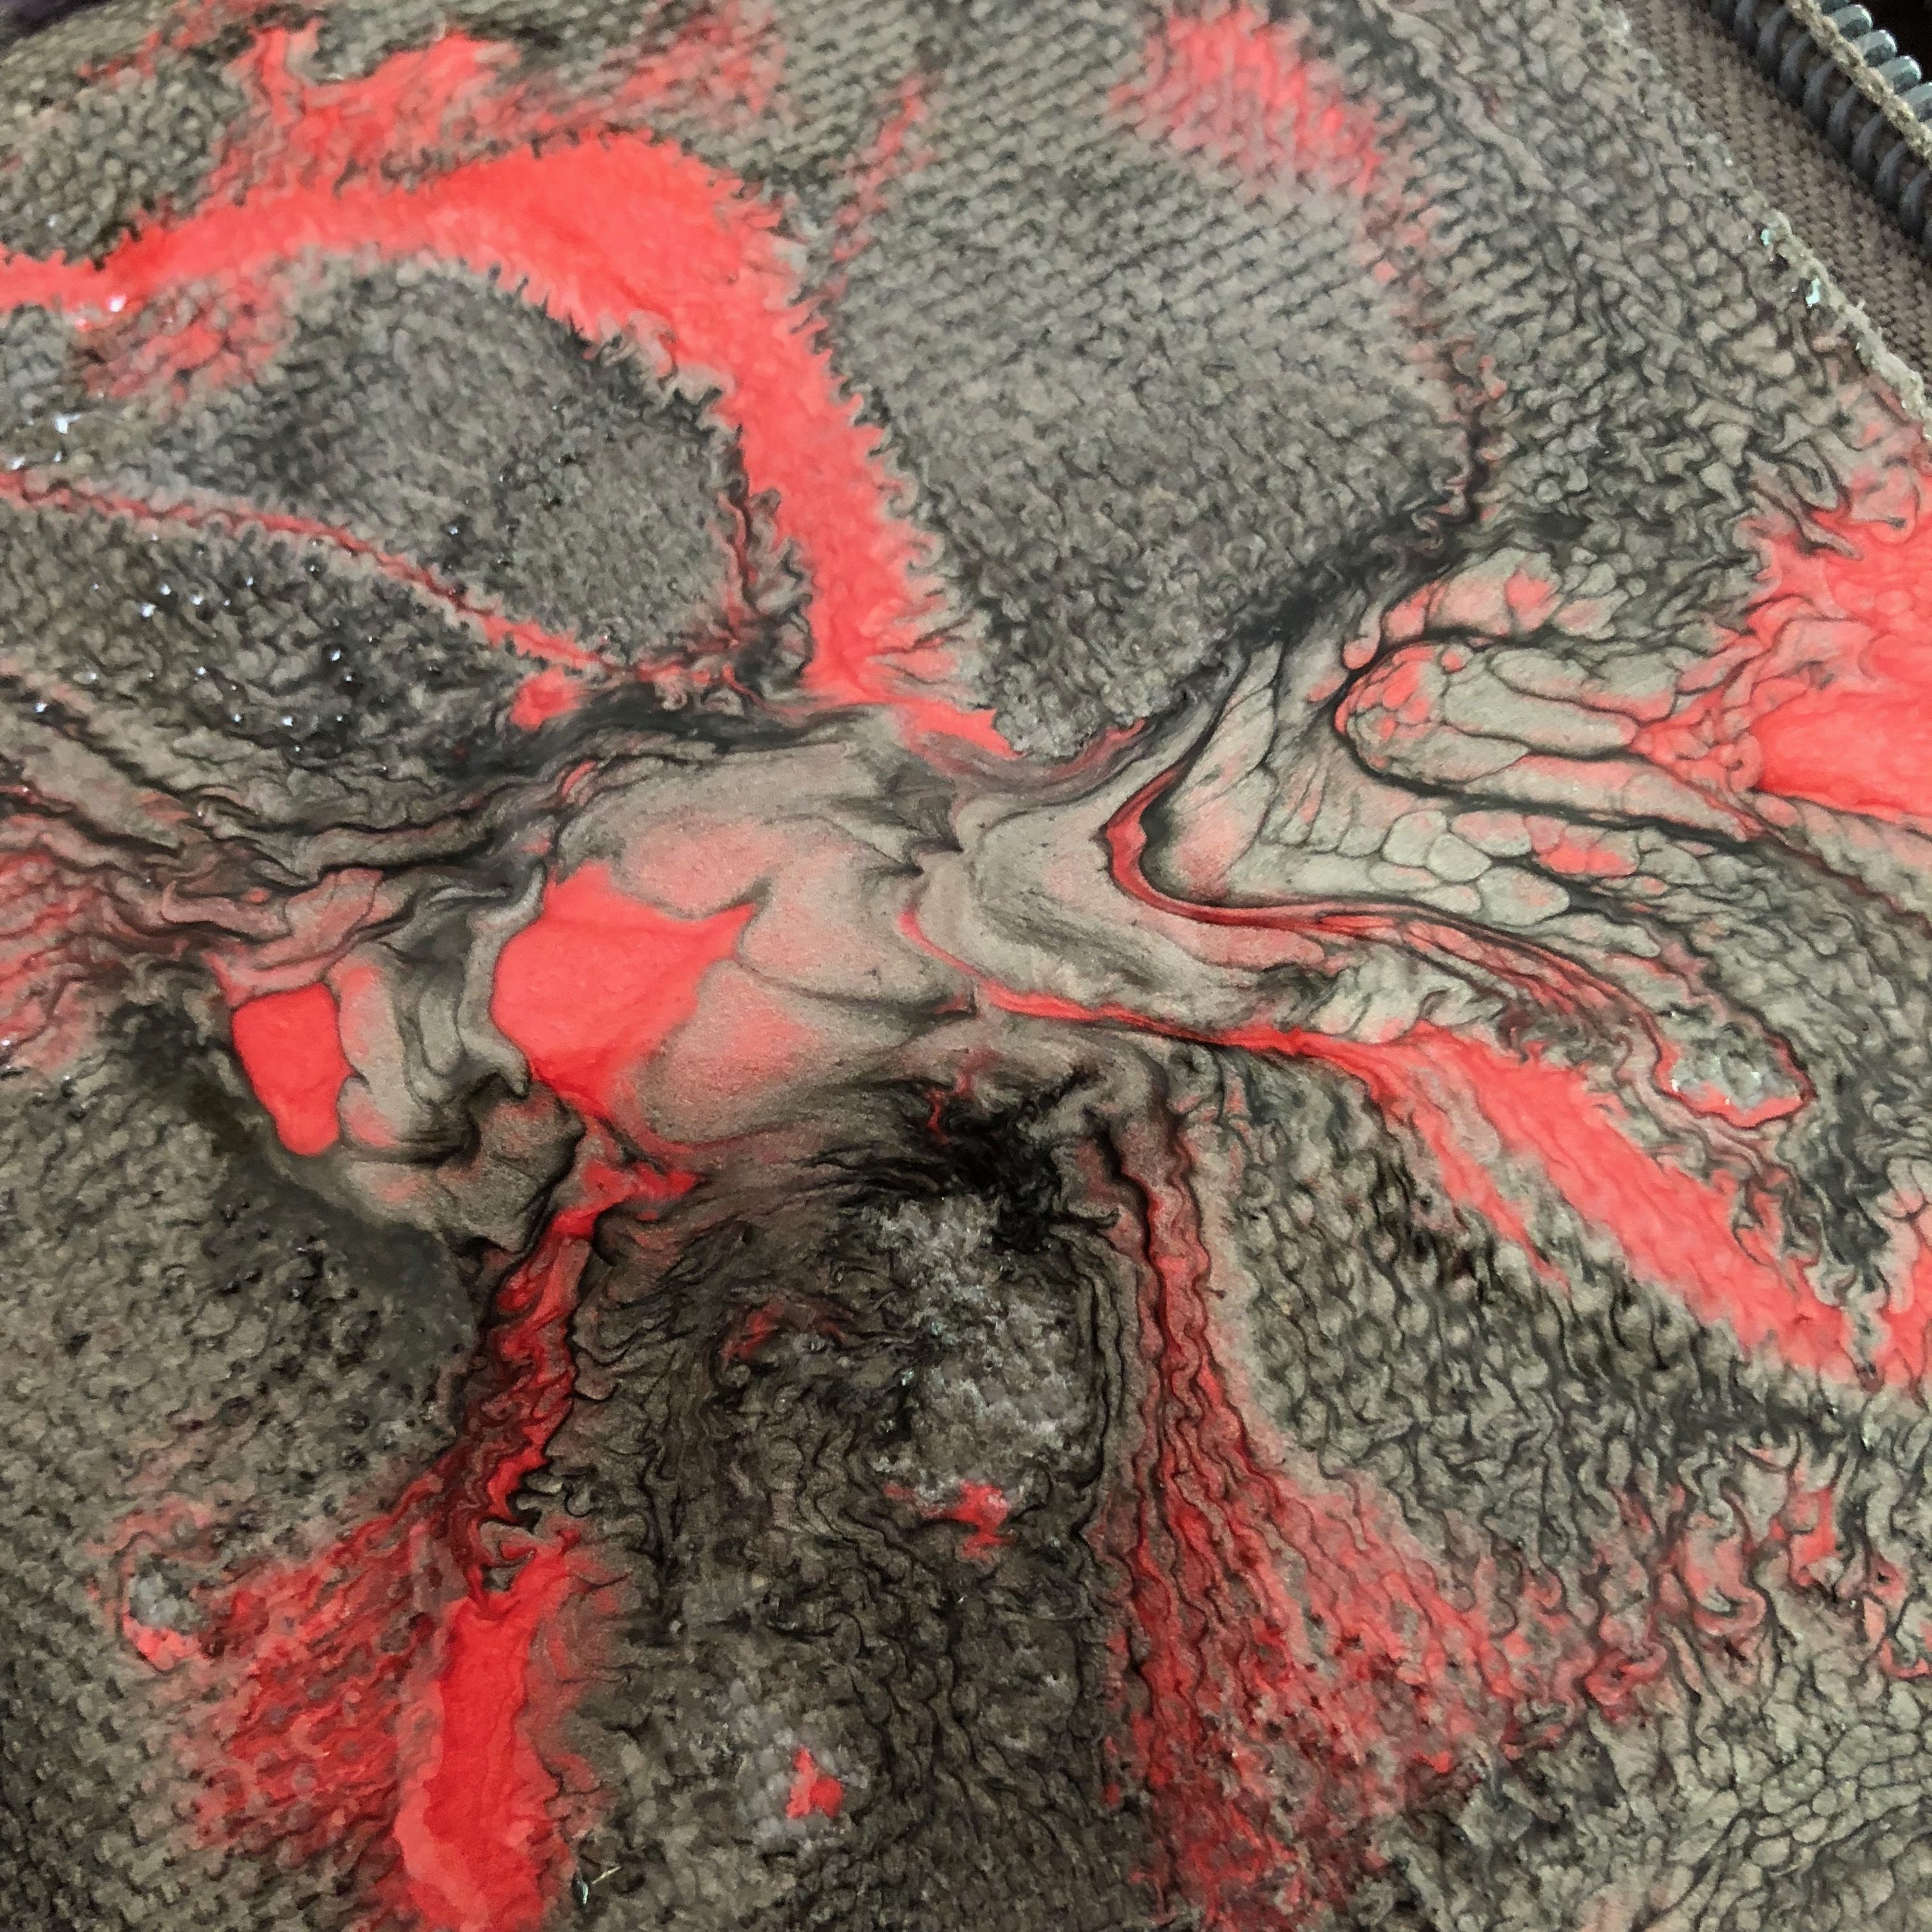
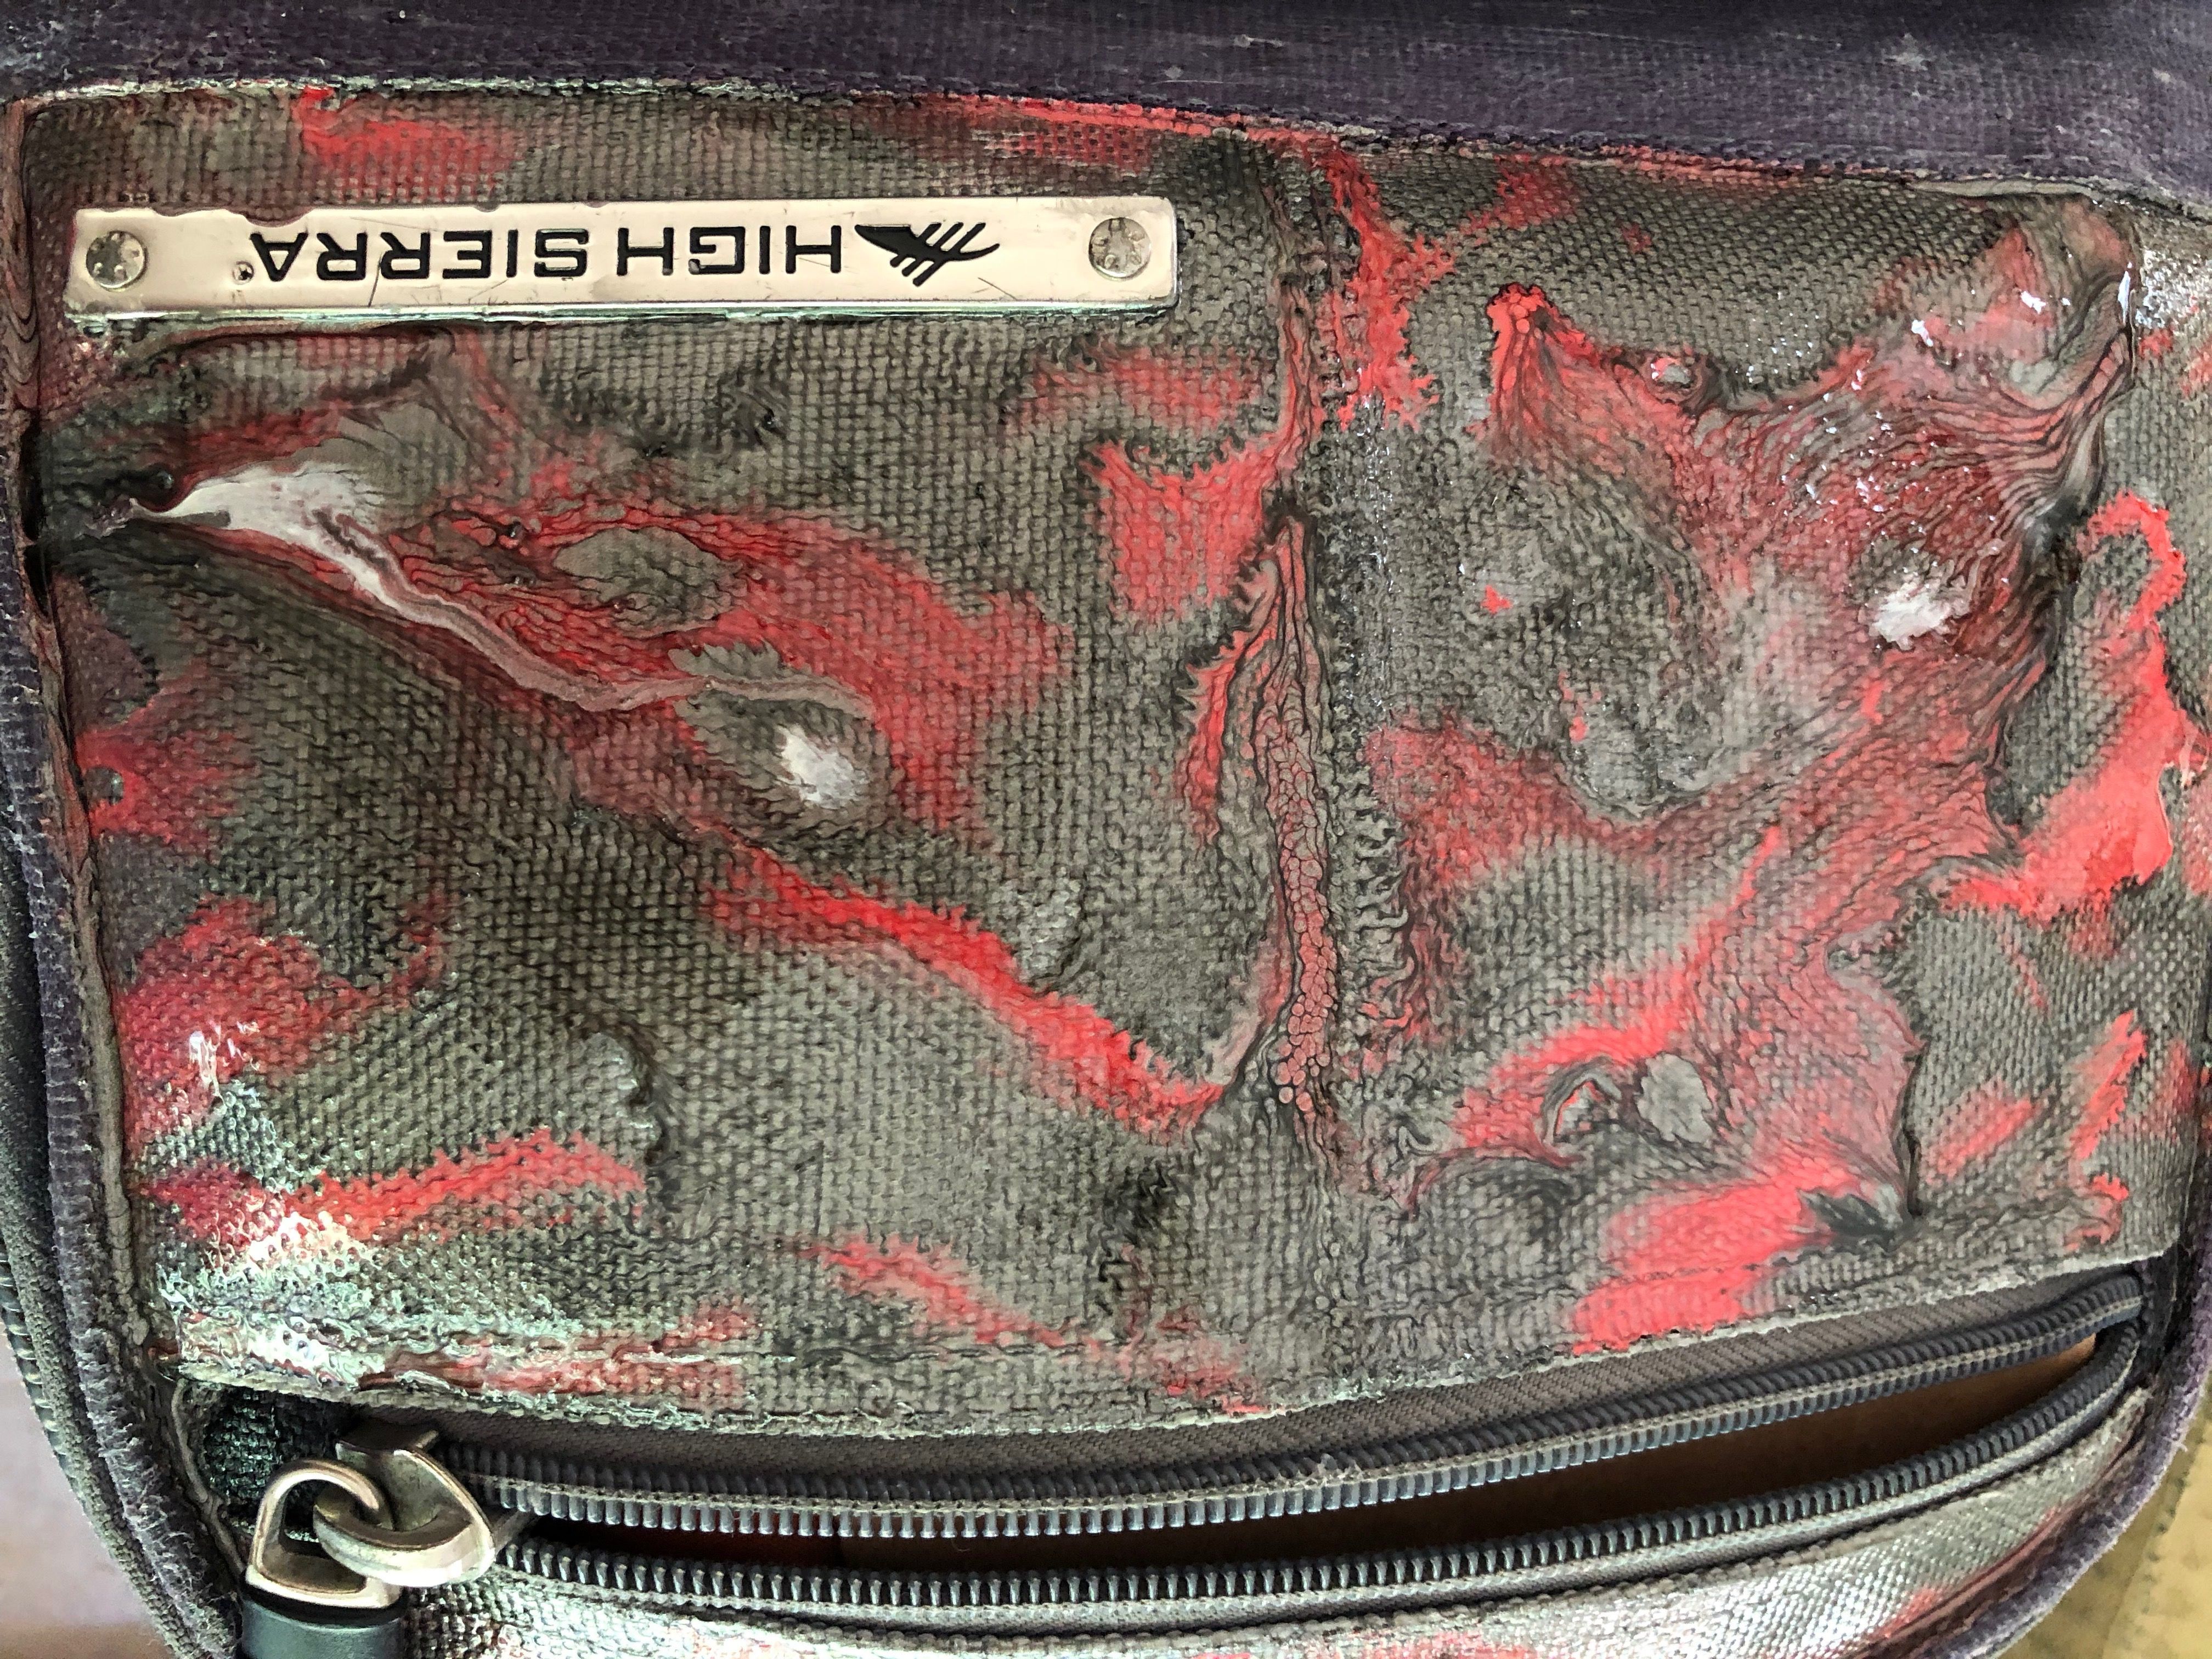
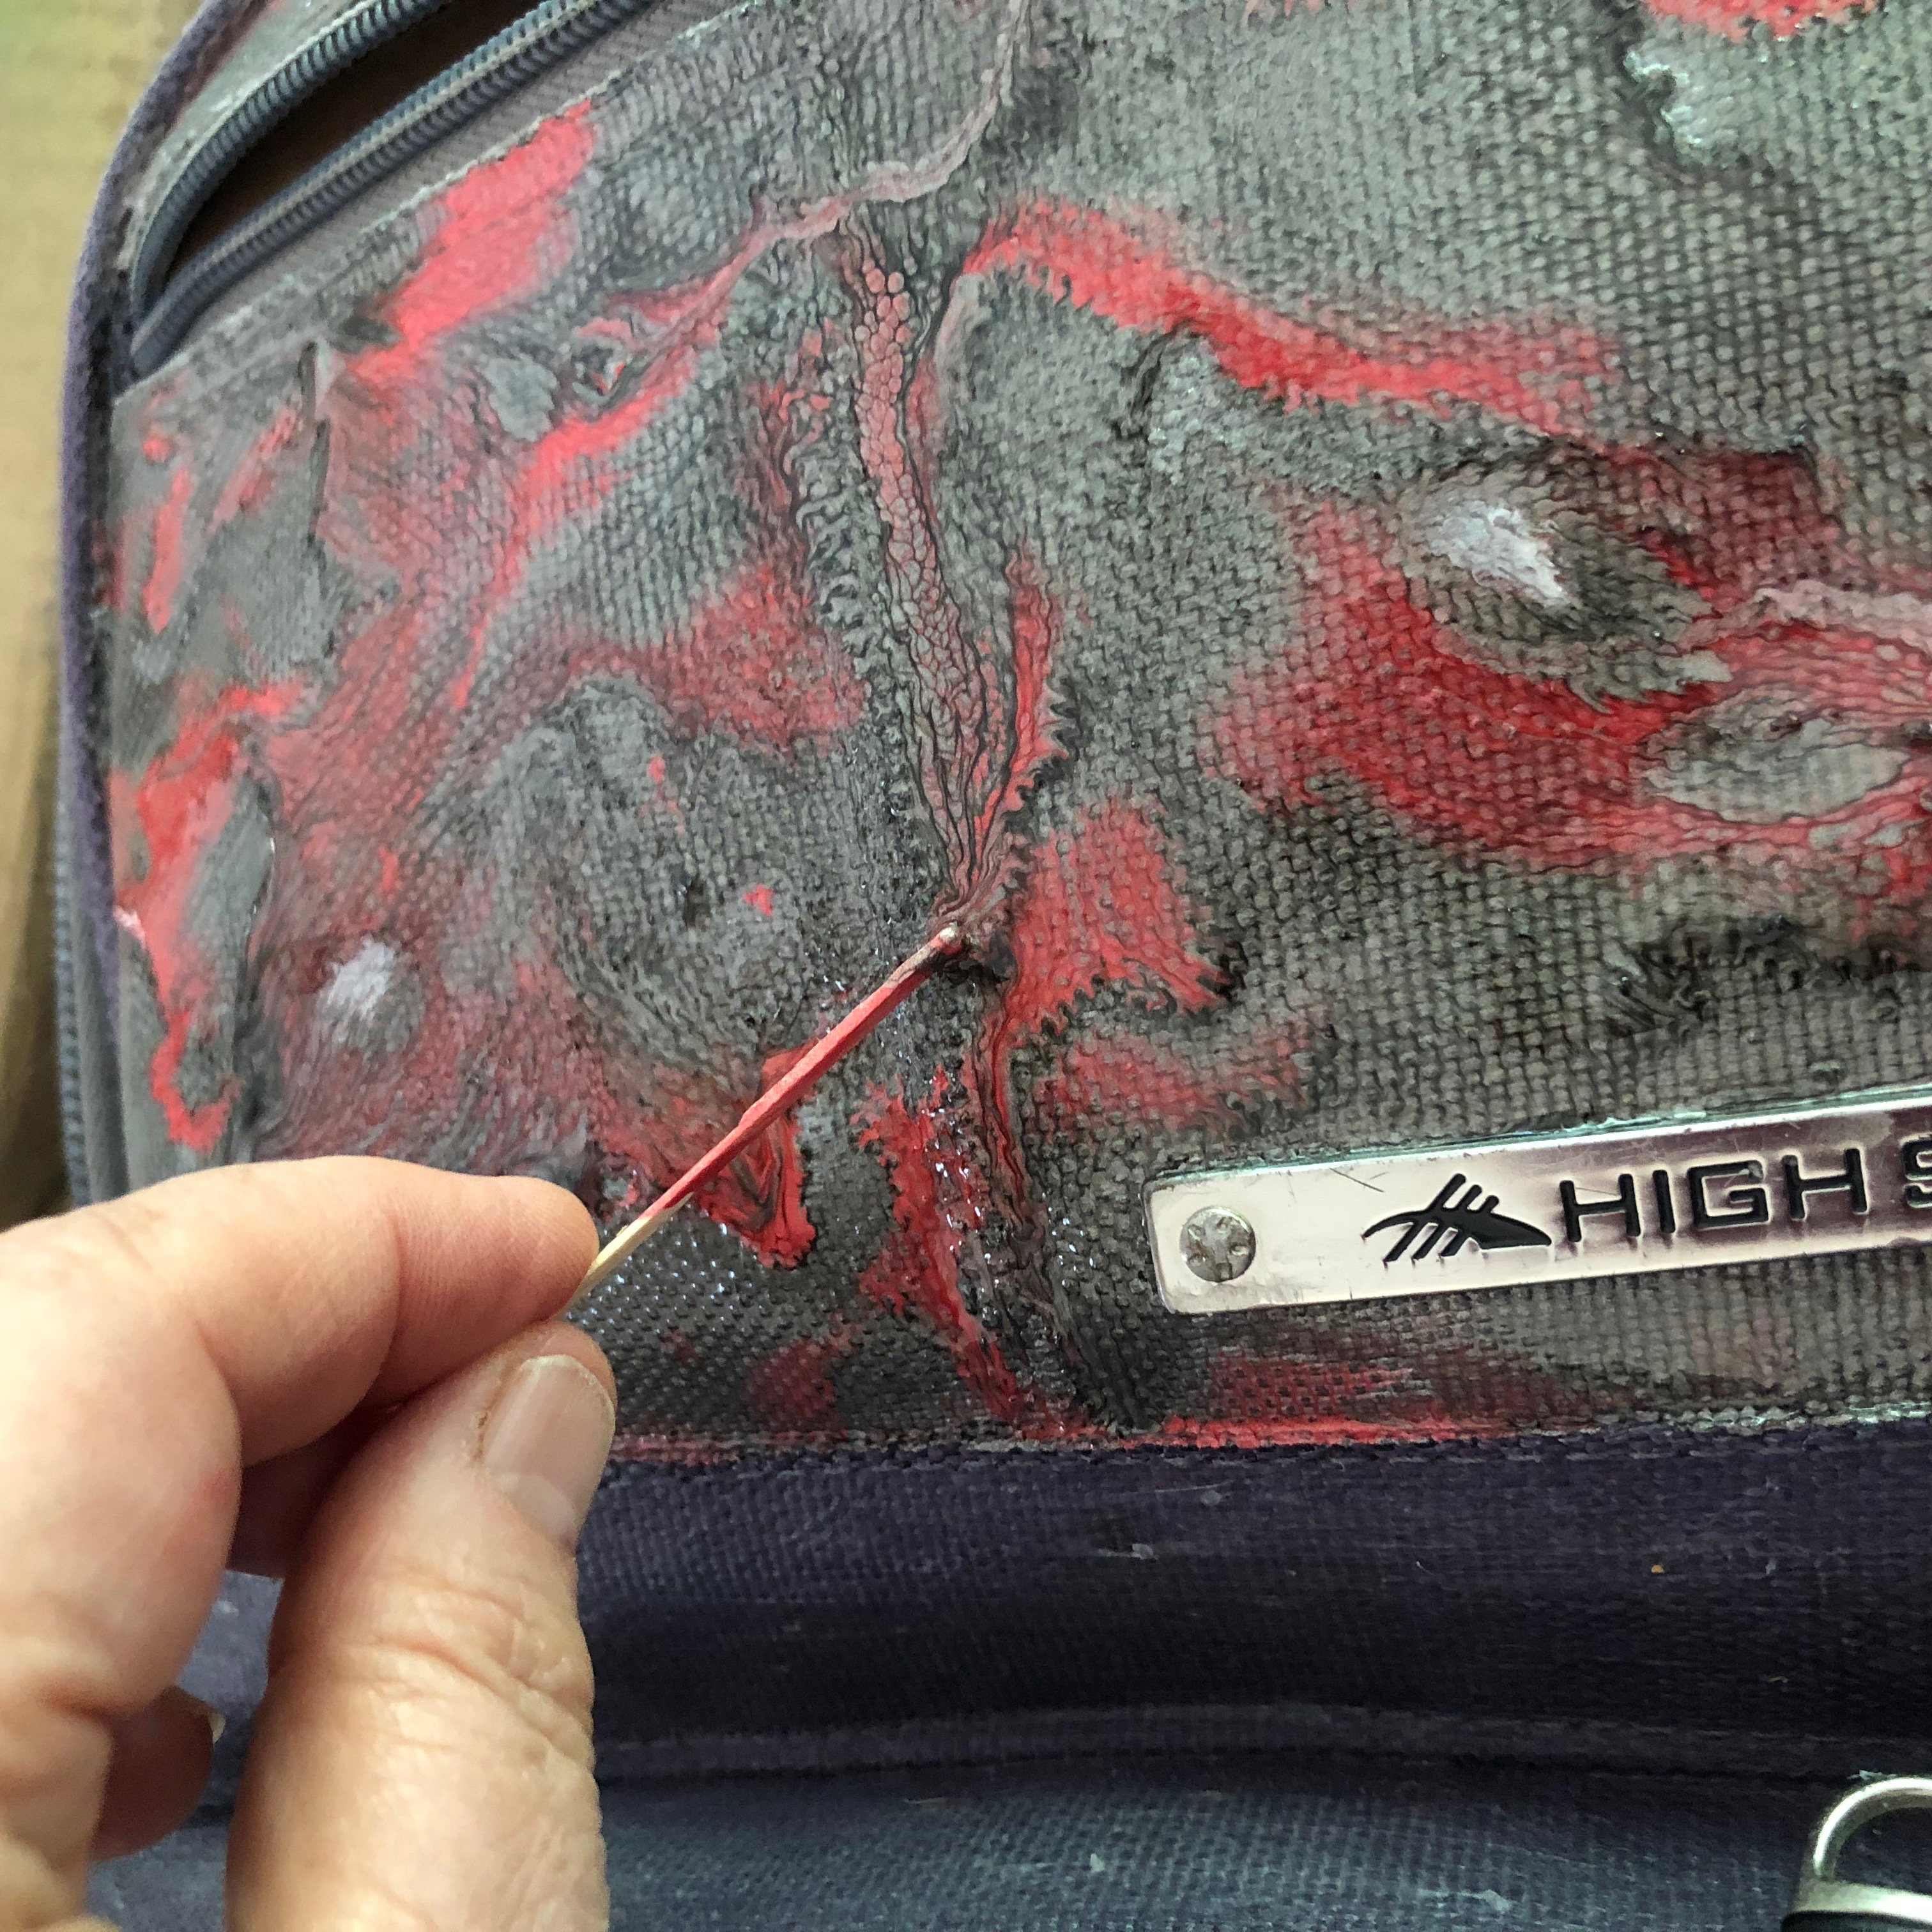
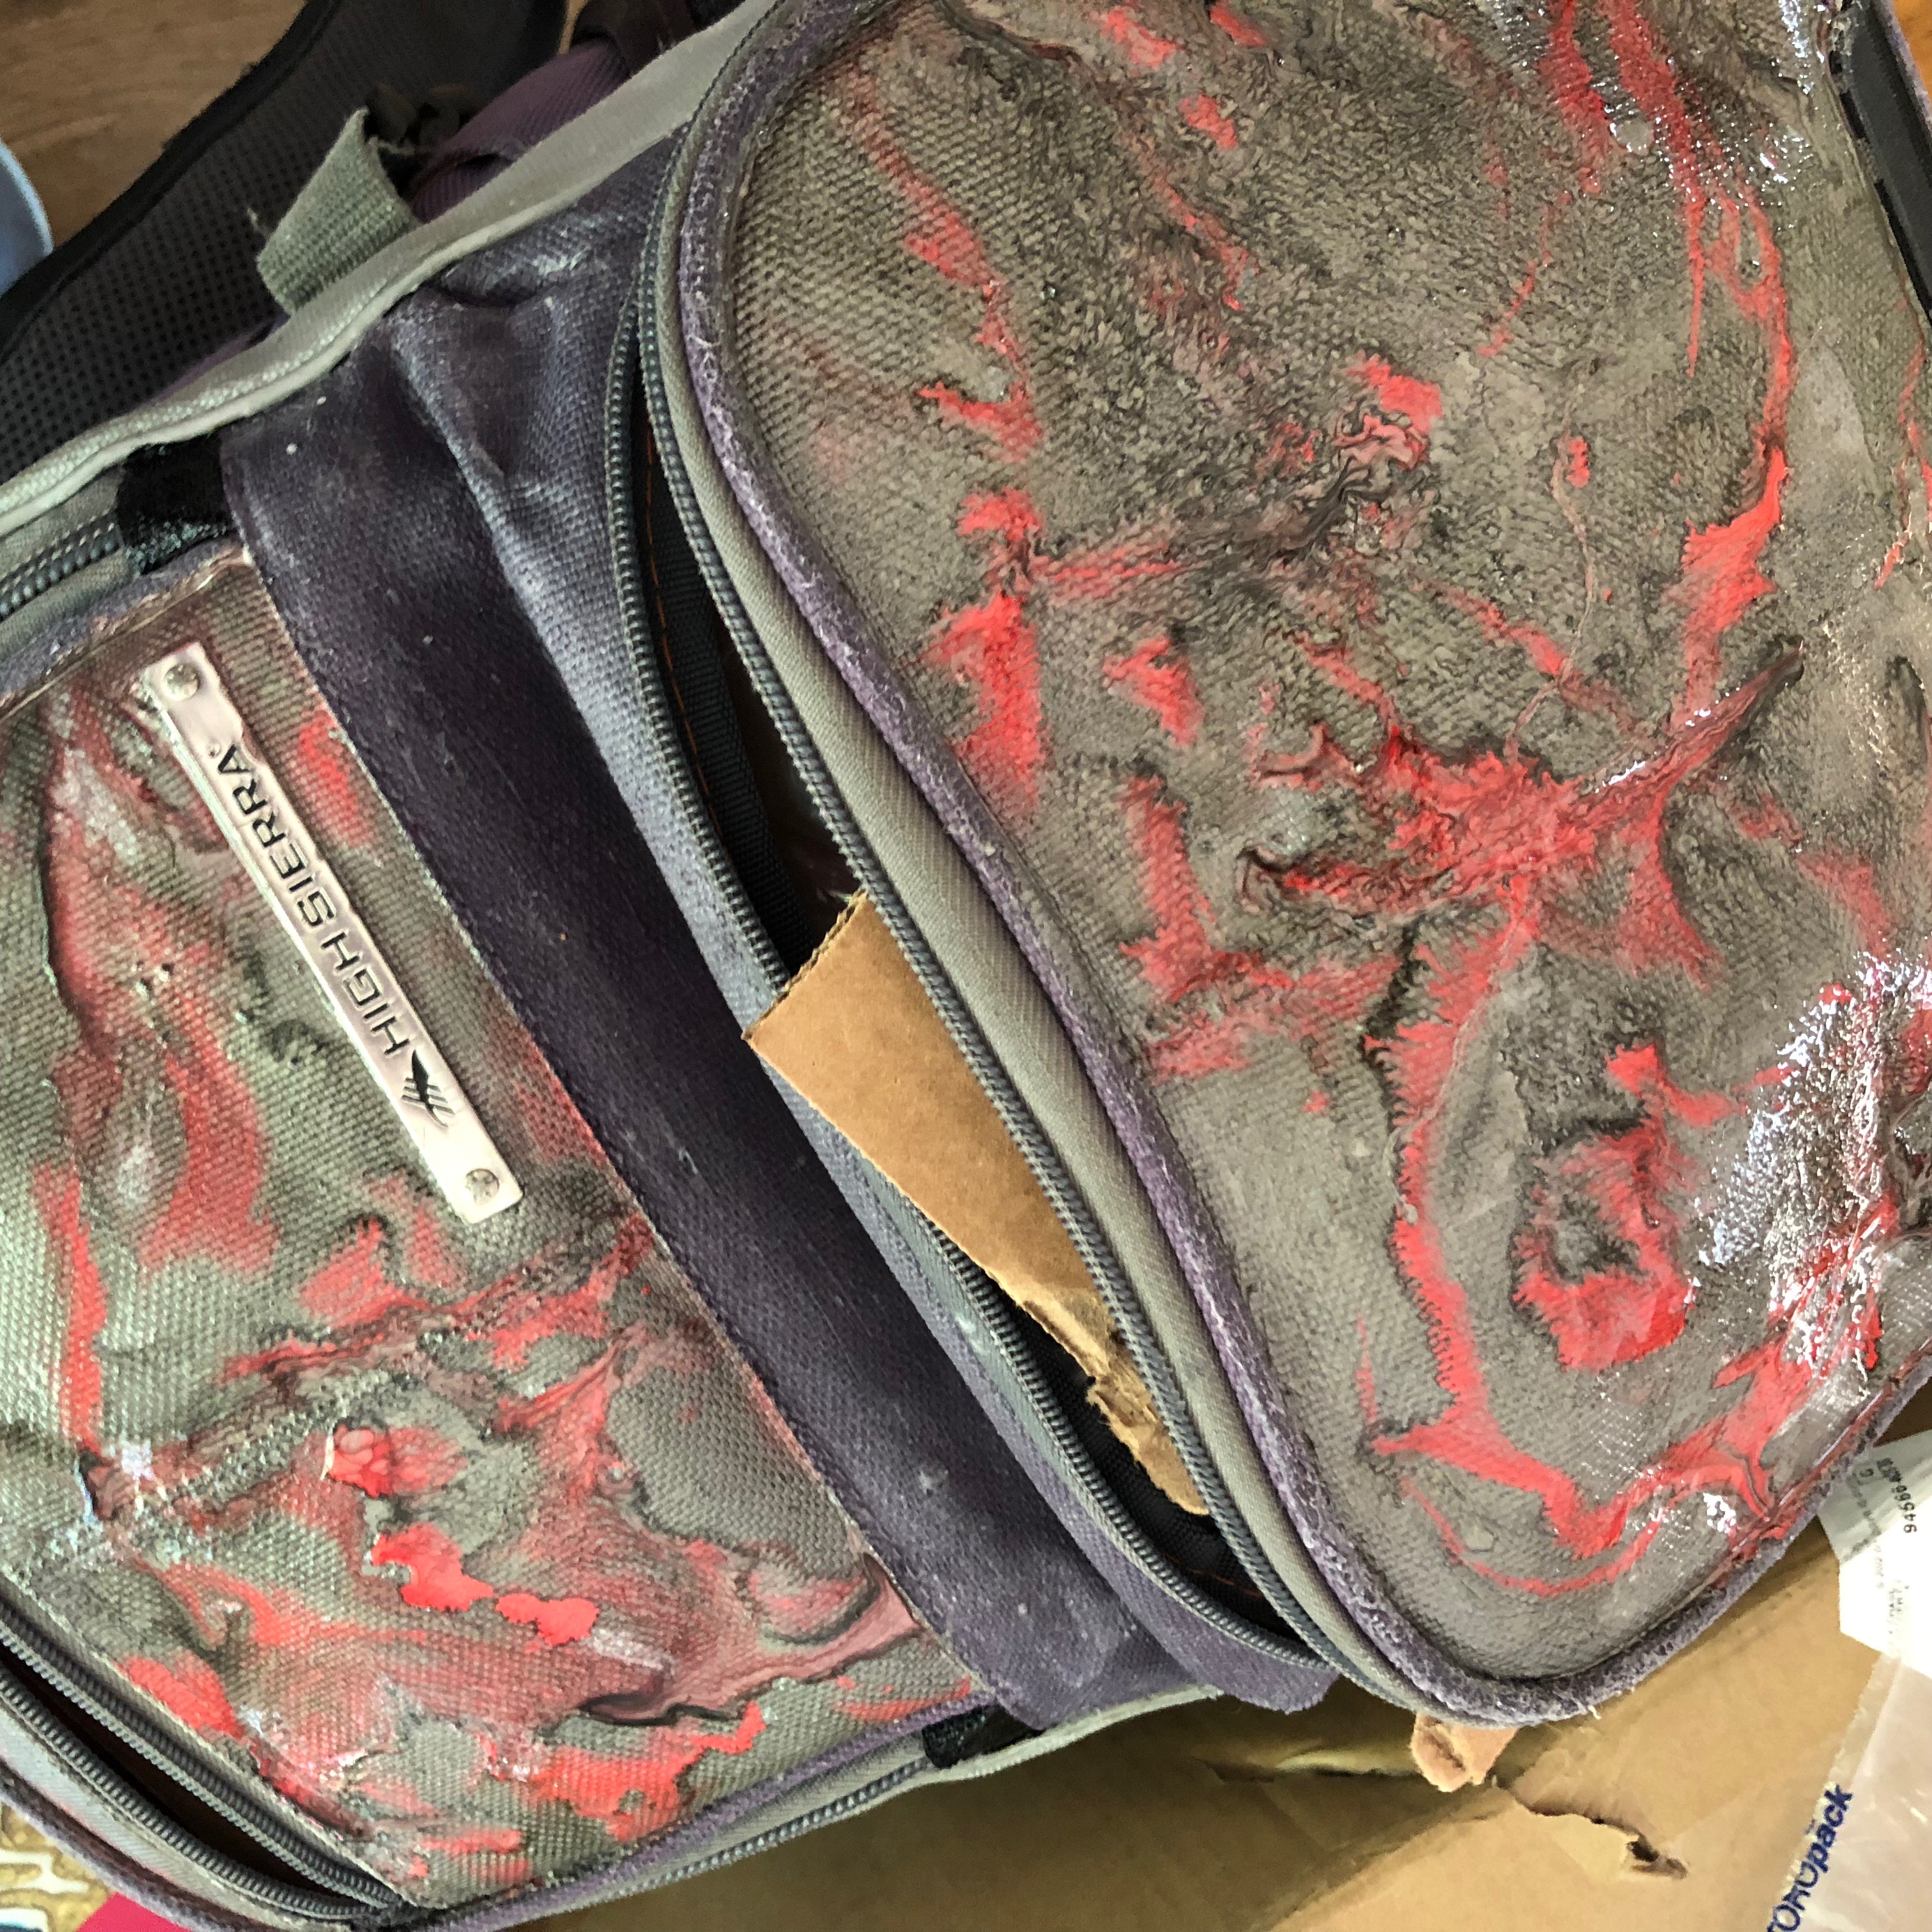
I added more paint to get more of the reactive effect, though as the paint got thicker, I had to work in smaller sections. And because the backpack wasn’t flat, I had to add paint to small flatish areas and rotate the backpack so I could control drips.
I used the piping on the backpack as my paint boundaries and that worked very well.
I used a toothpick to swirl the paints and direct the drips.
Flatter
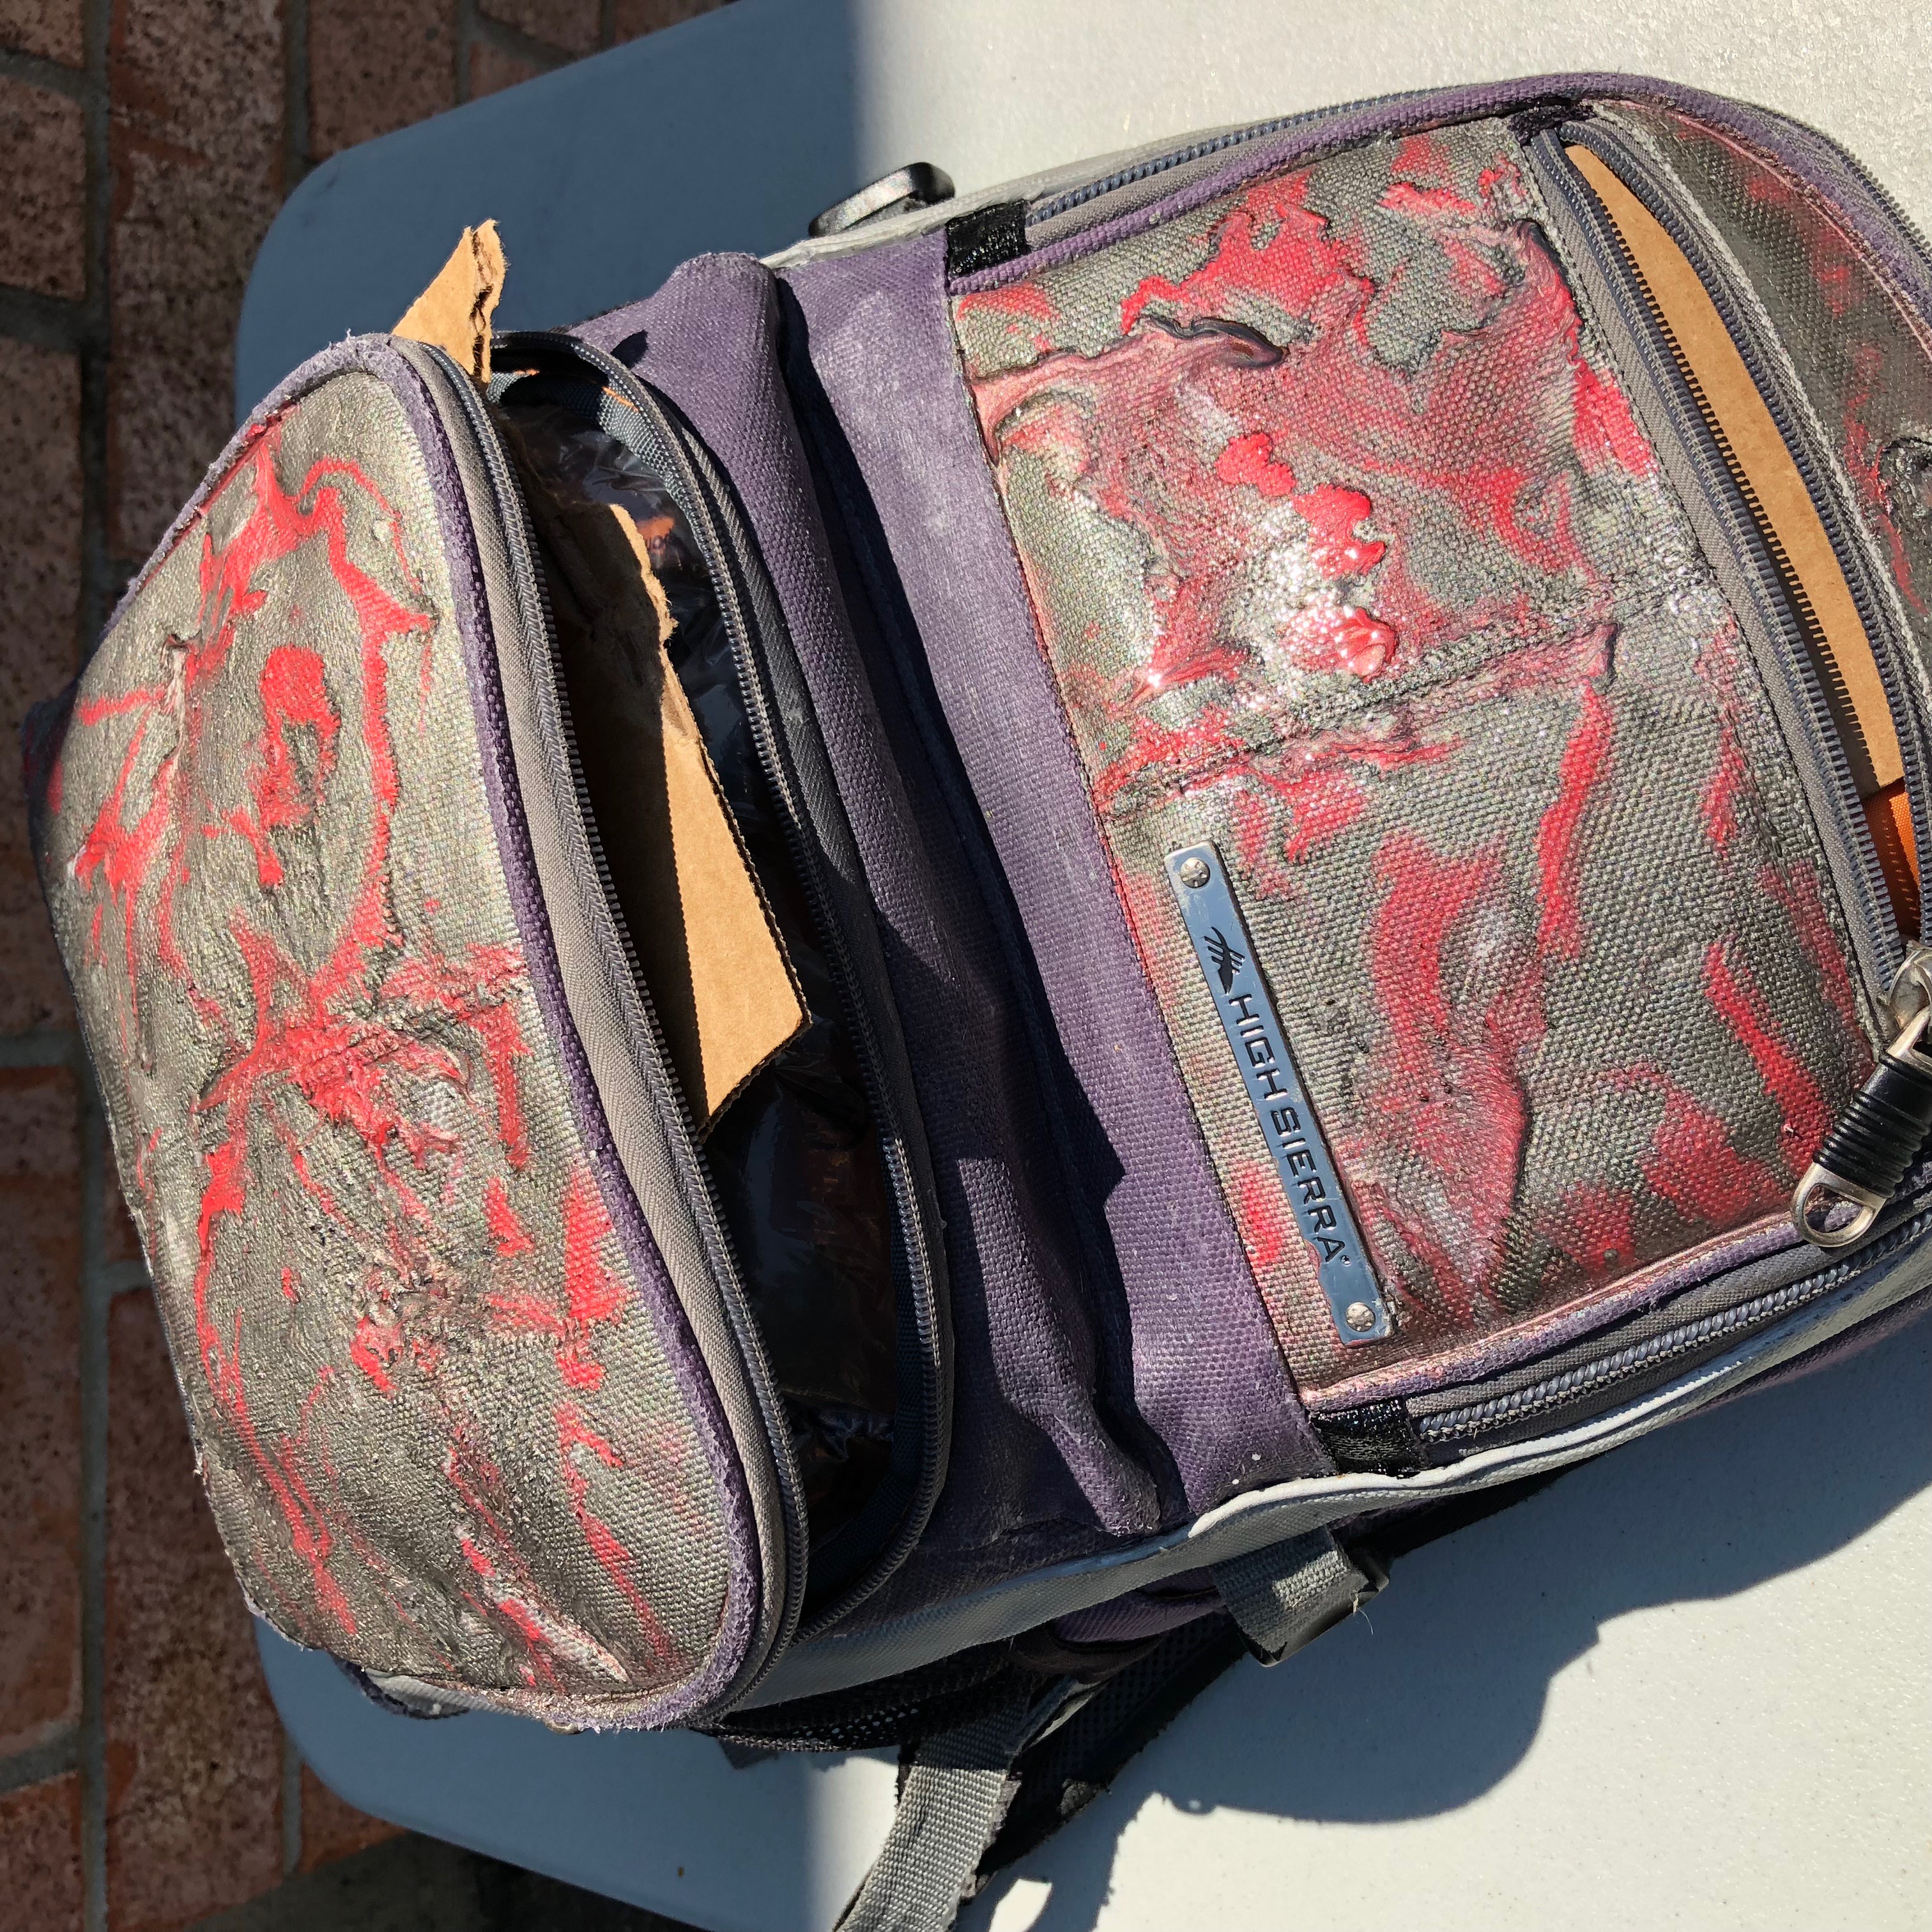
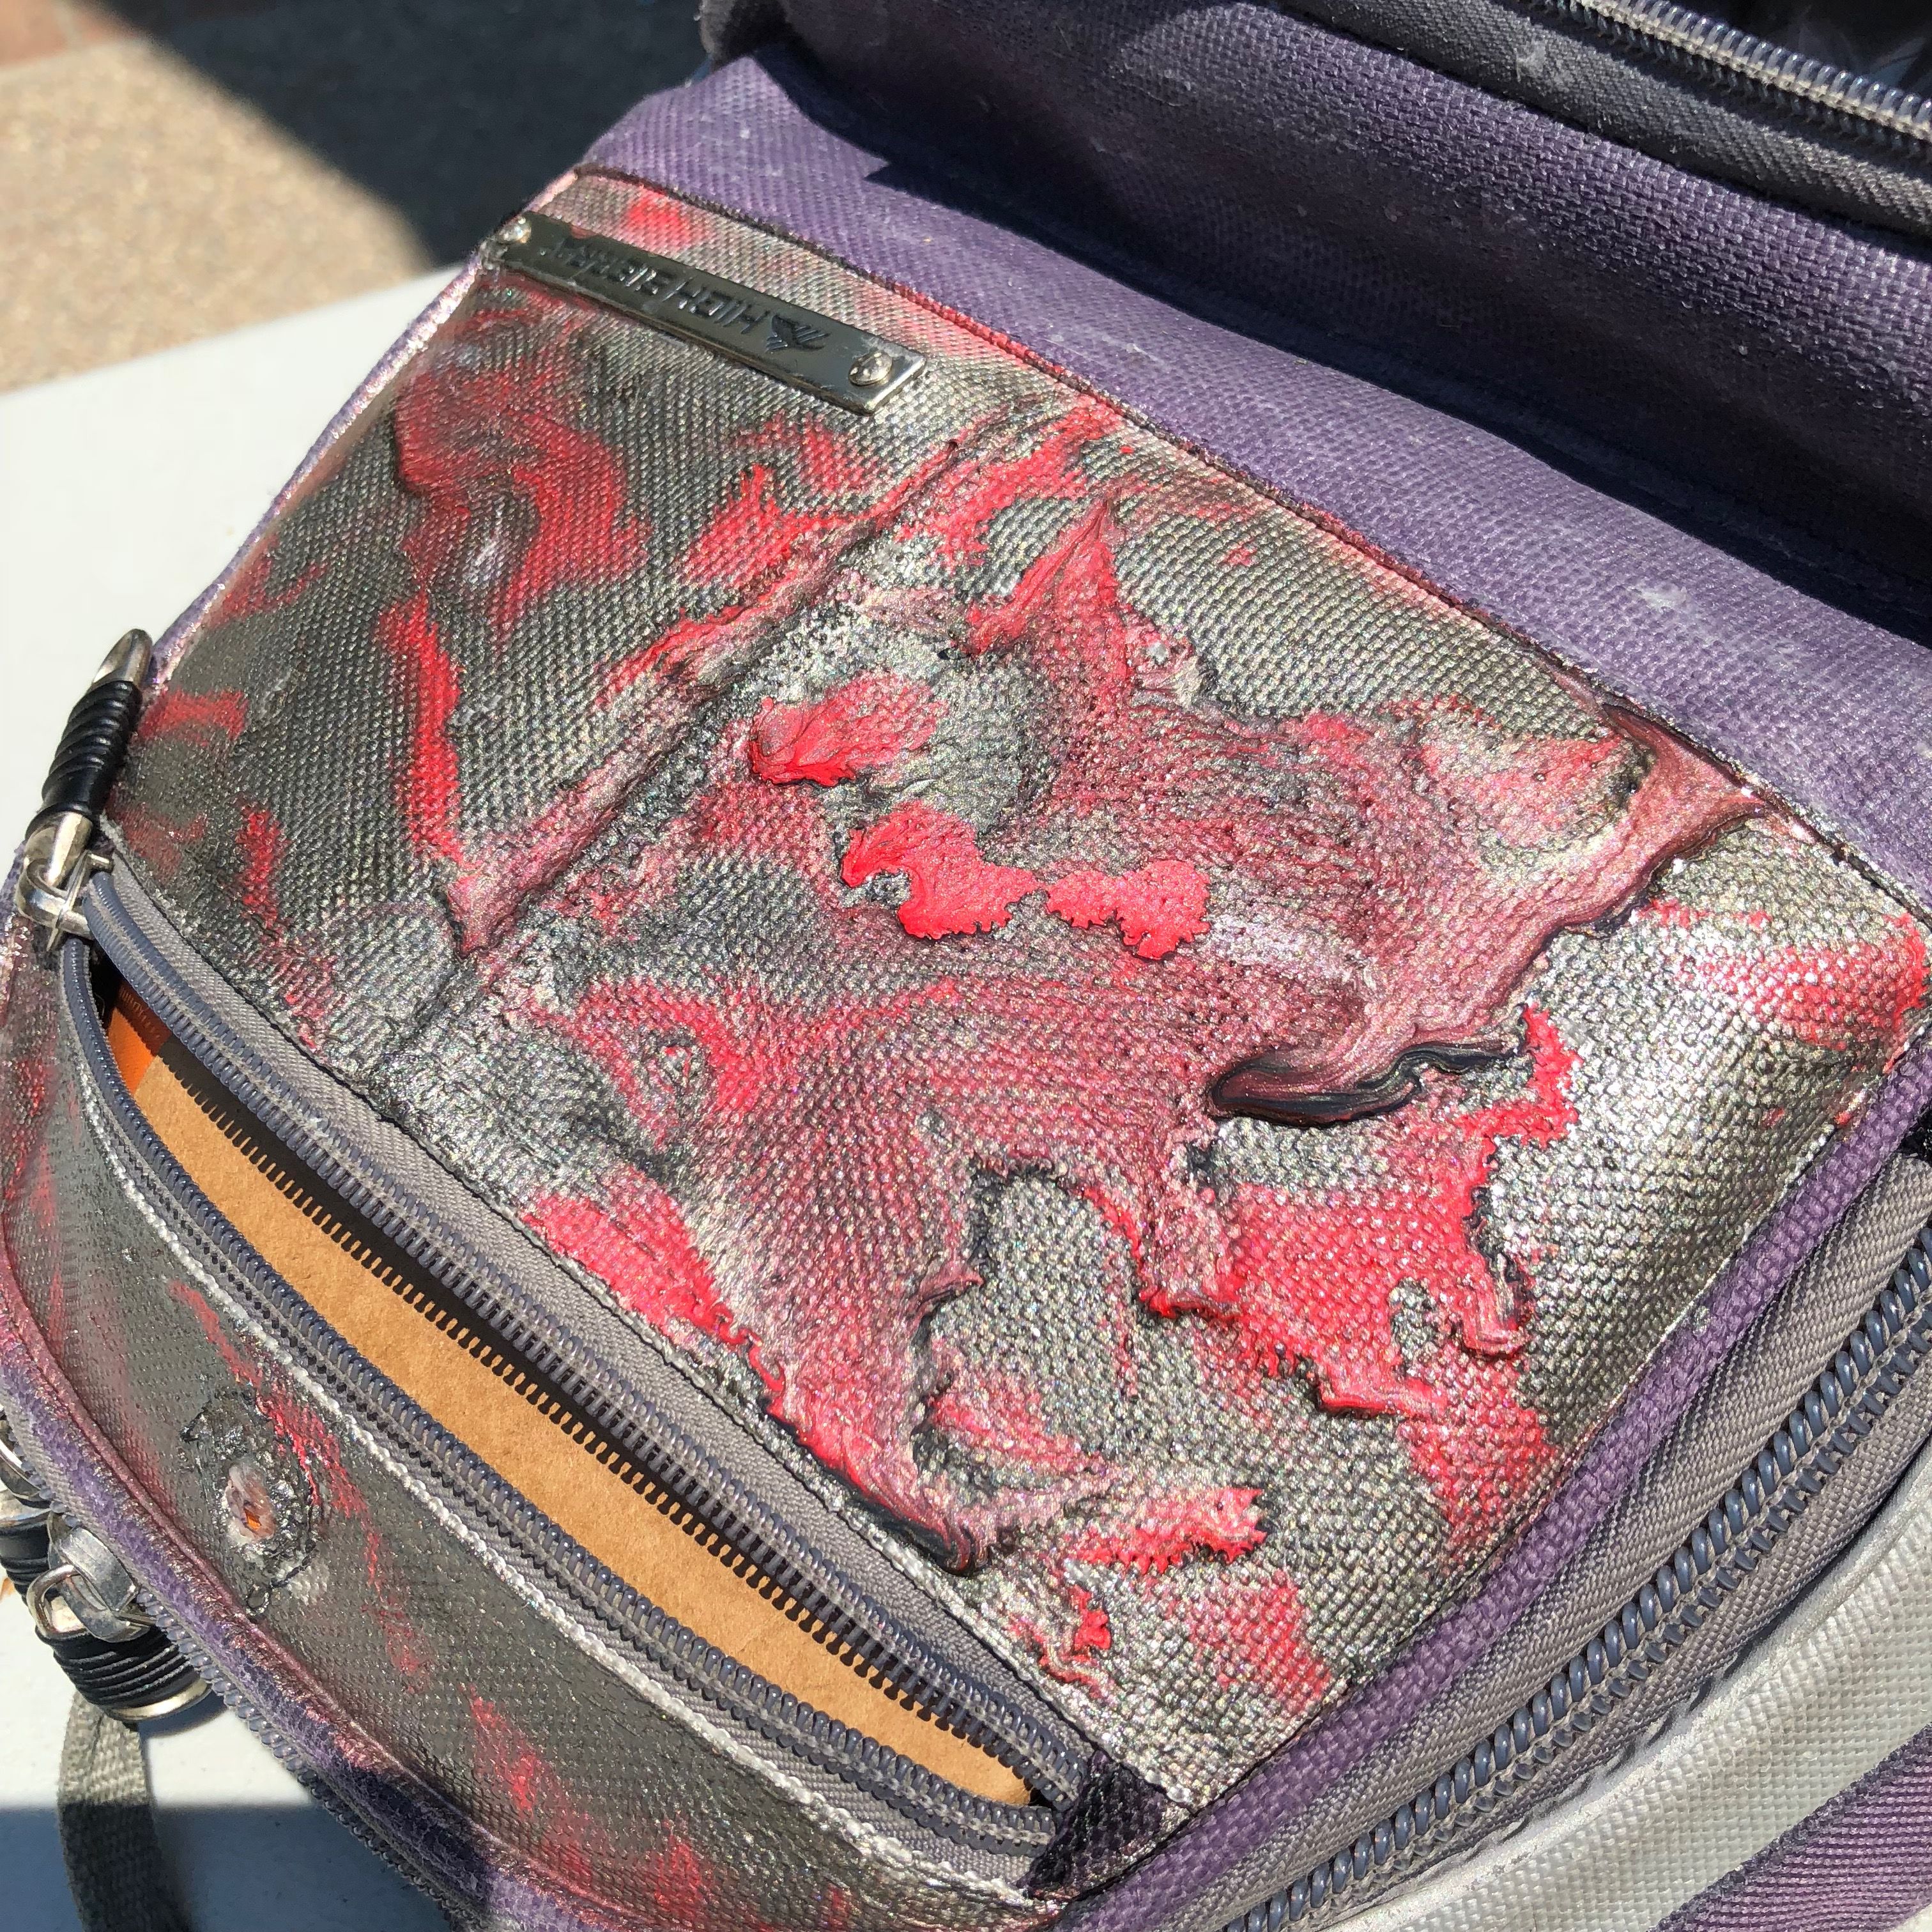
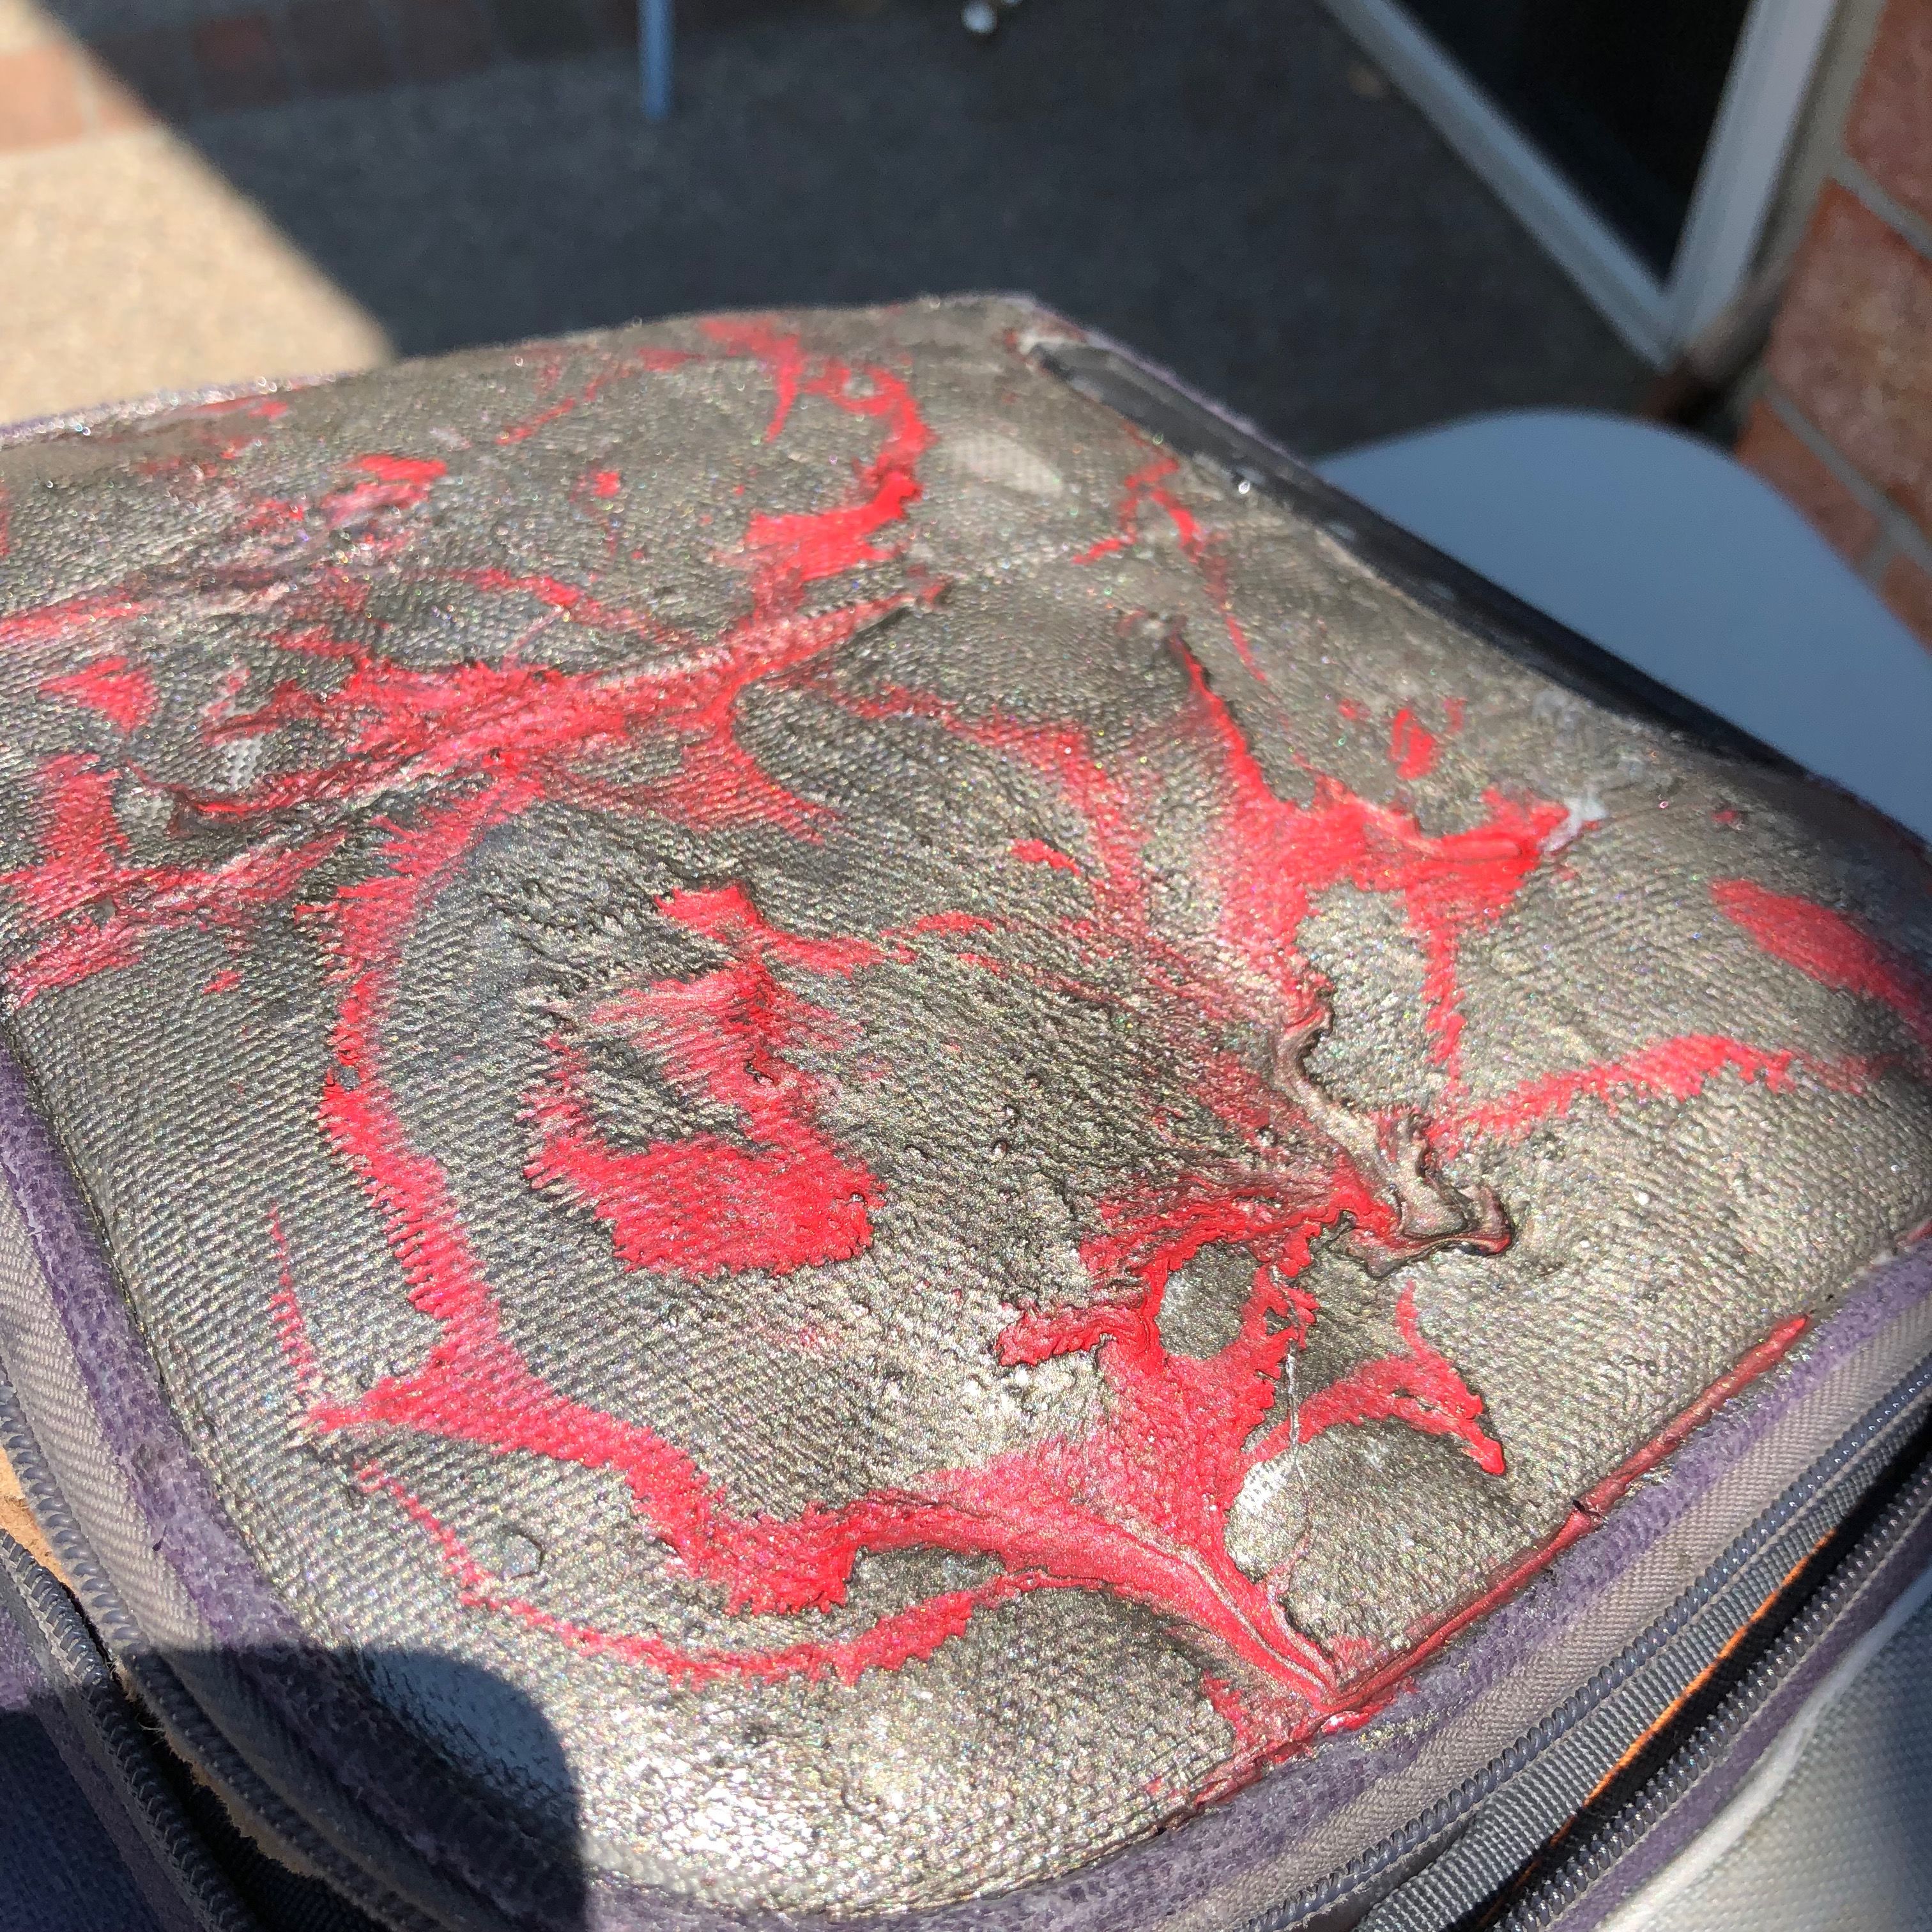
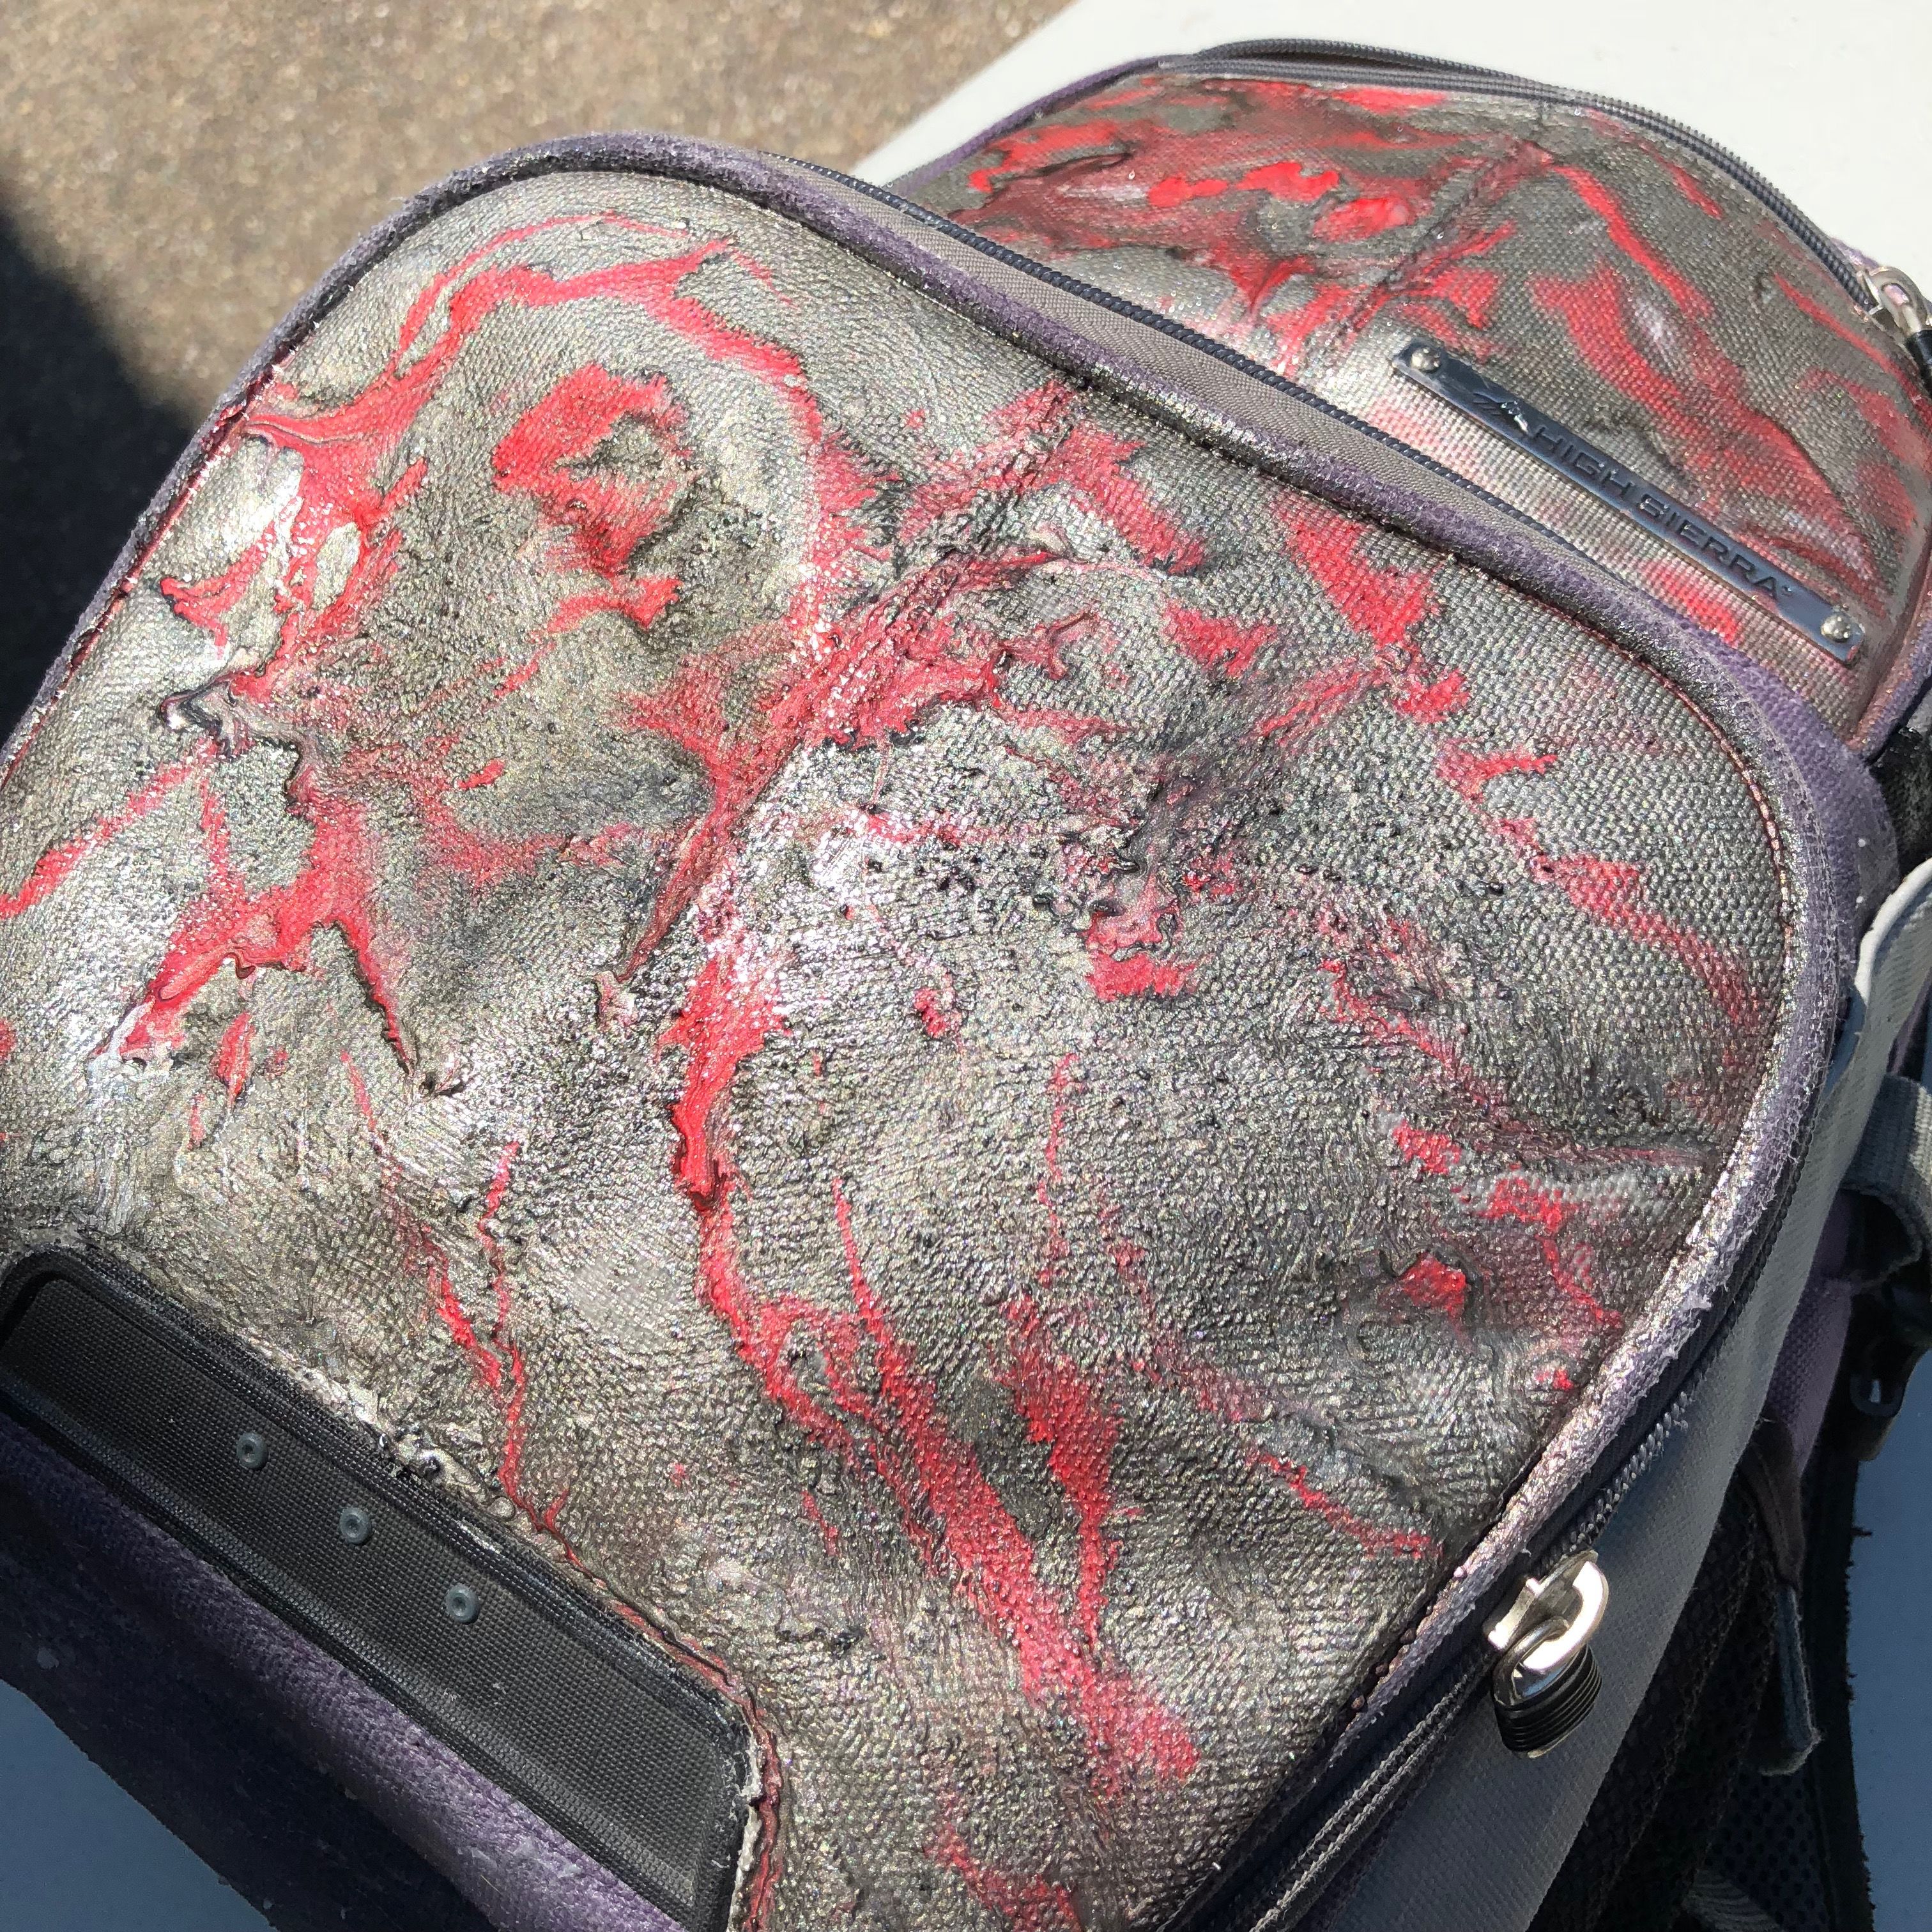
I added pieces of cardboard to the stuffing to make the pack sections as flat as possible.
Resin Accents
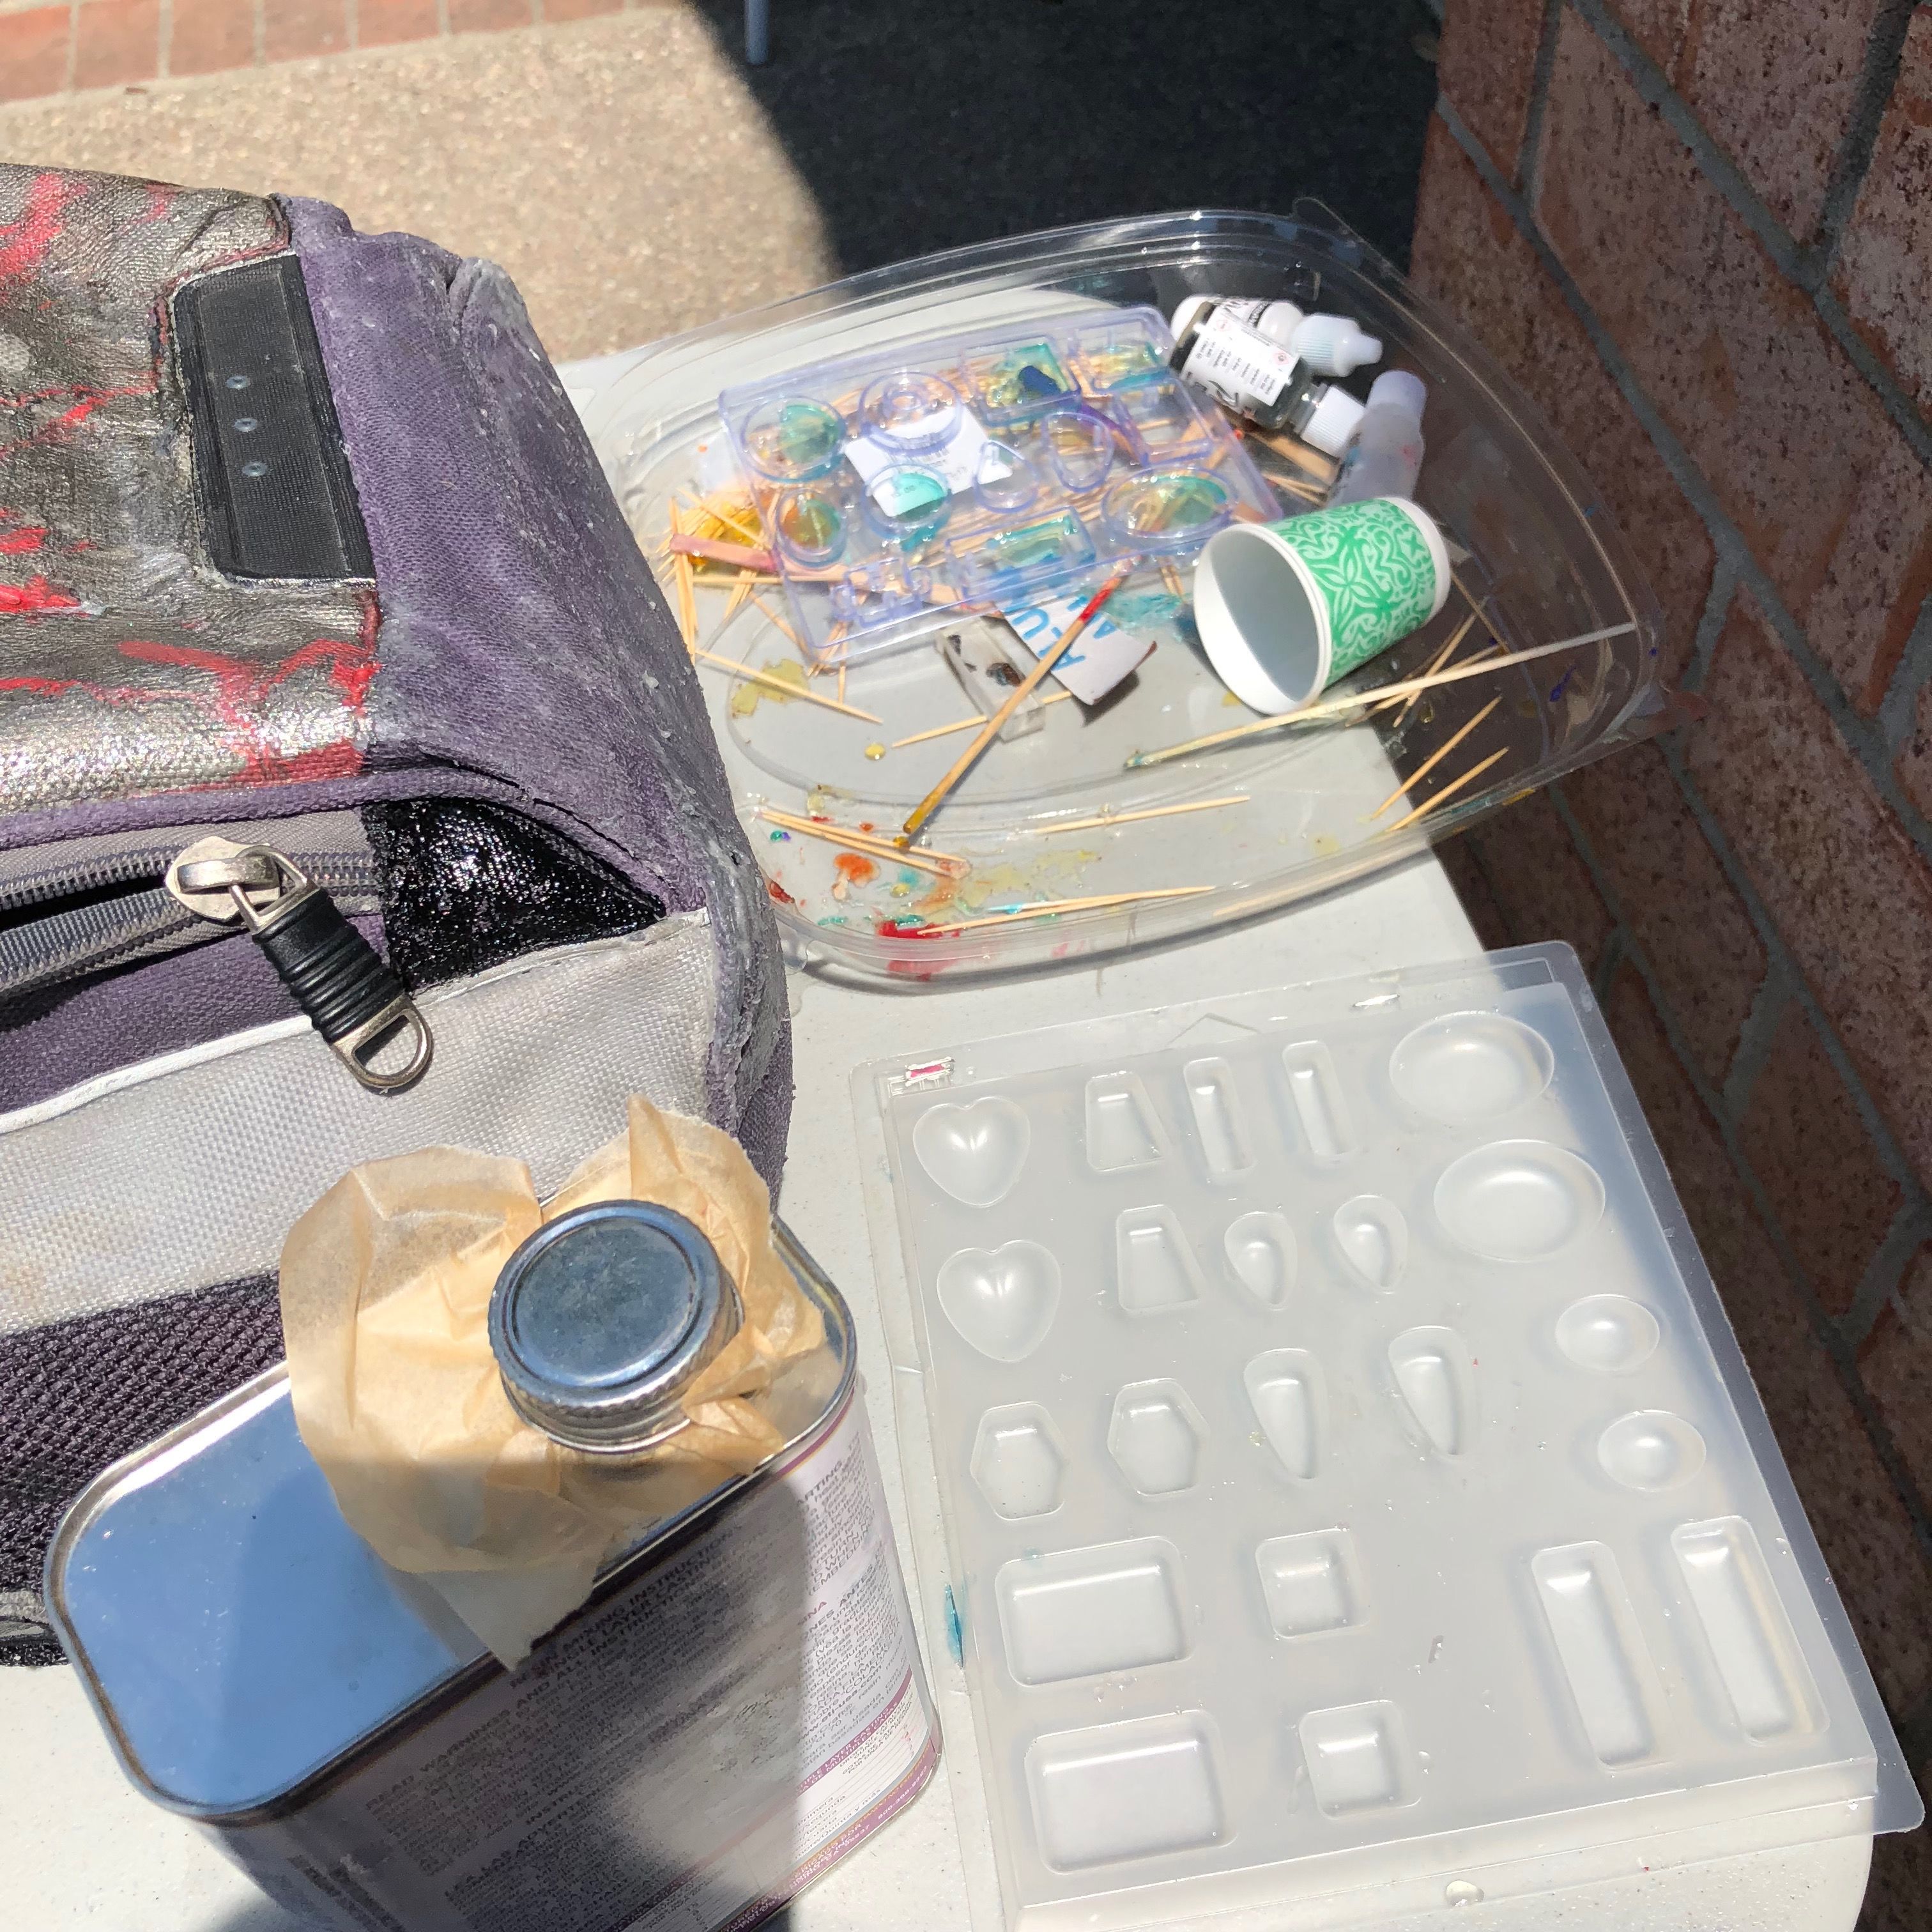
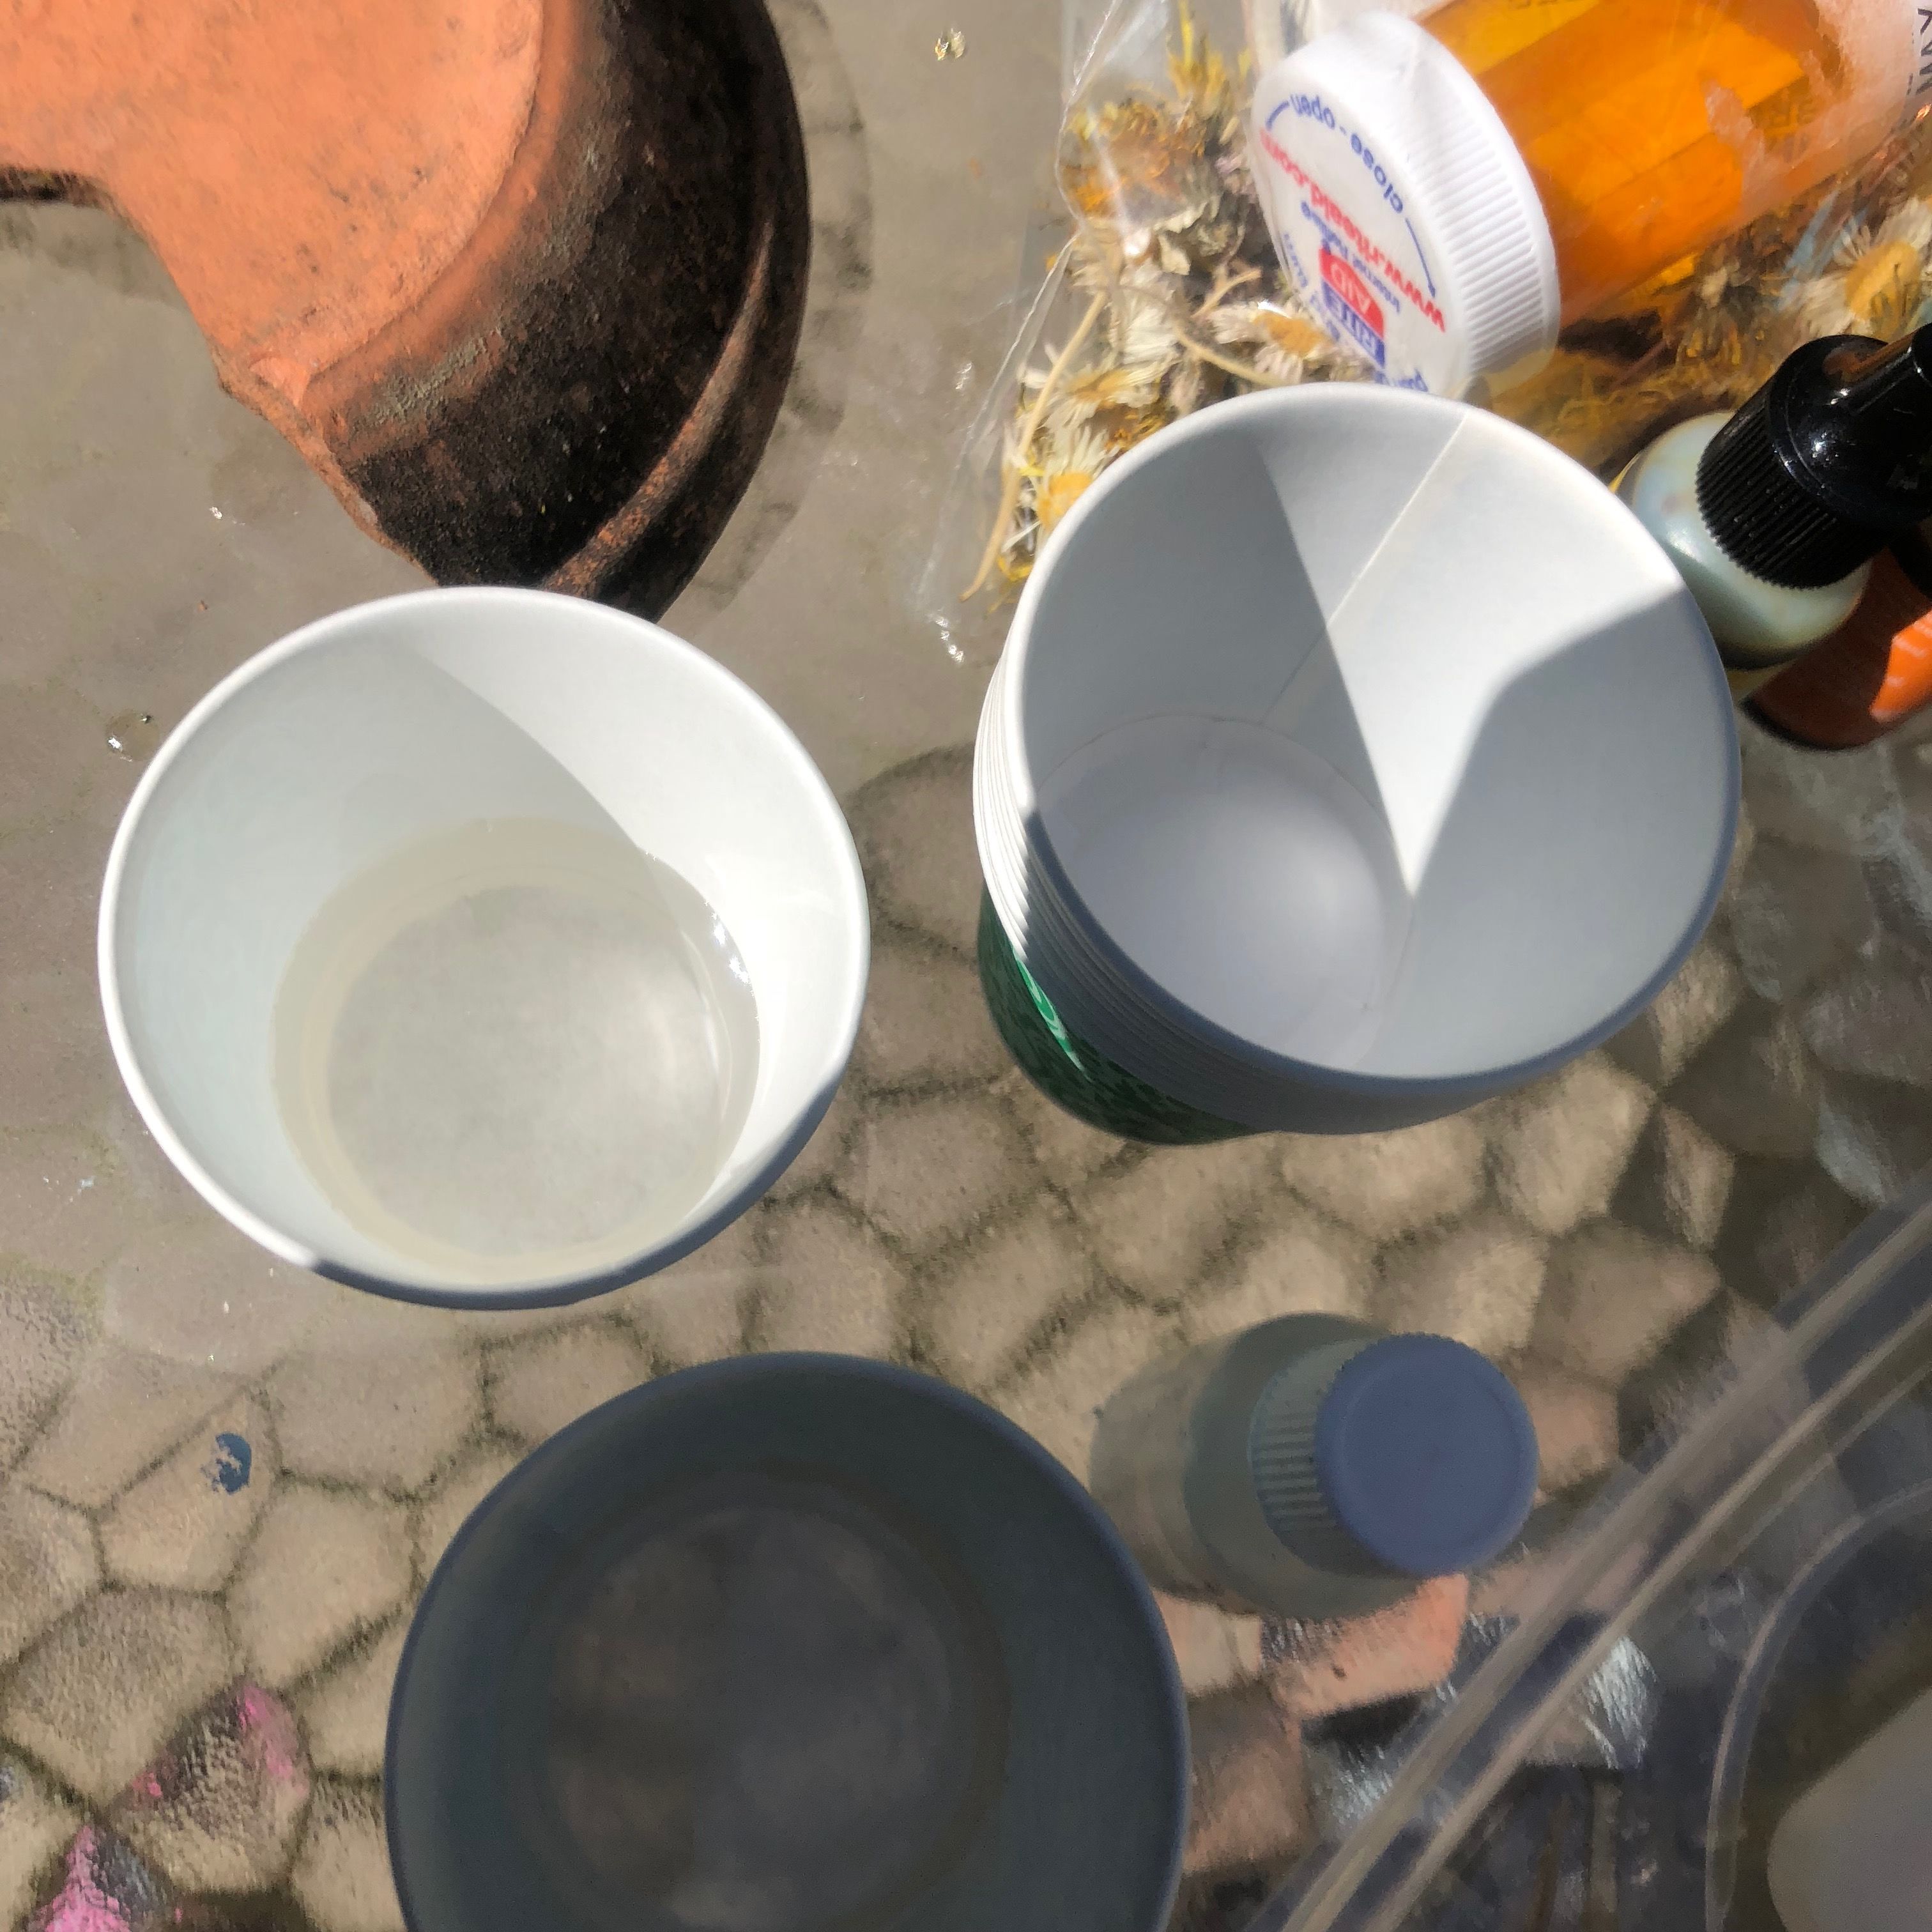
Resin is a very strong light, super shiny material that I wanted to incorporate into the design. However, since resin is rigid, I couldn’t use it where the fabric needs to bend. I decided to fill a damaged panel and as well as the cell pocket flap with resin. I also made some “gems” which would add to the design, and cover a hole in the pack.
Set your back pack up so that the parts you will cover in resin are as flat and level as possible.
Note: Epoxy or polyester resin both work well for this.
Resin - First Pass
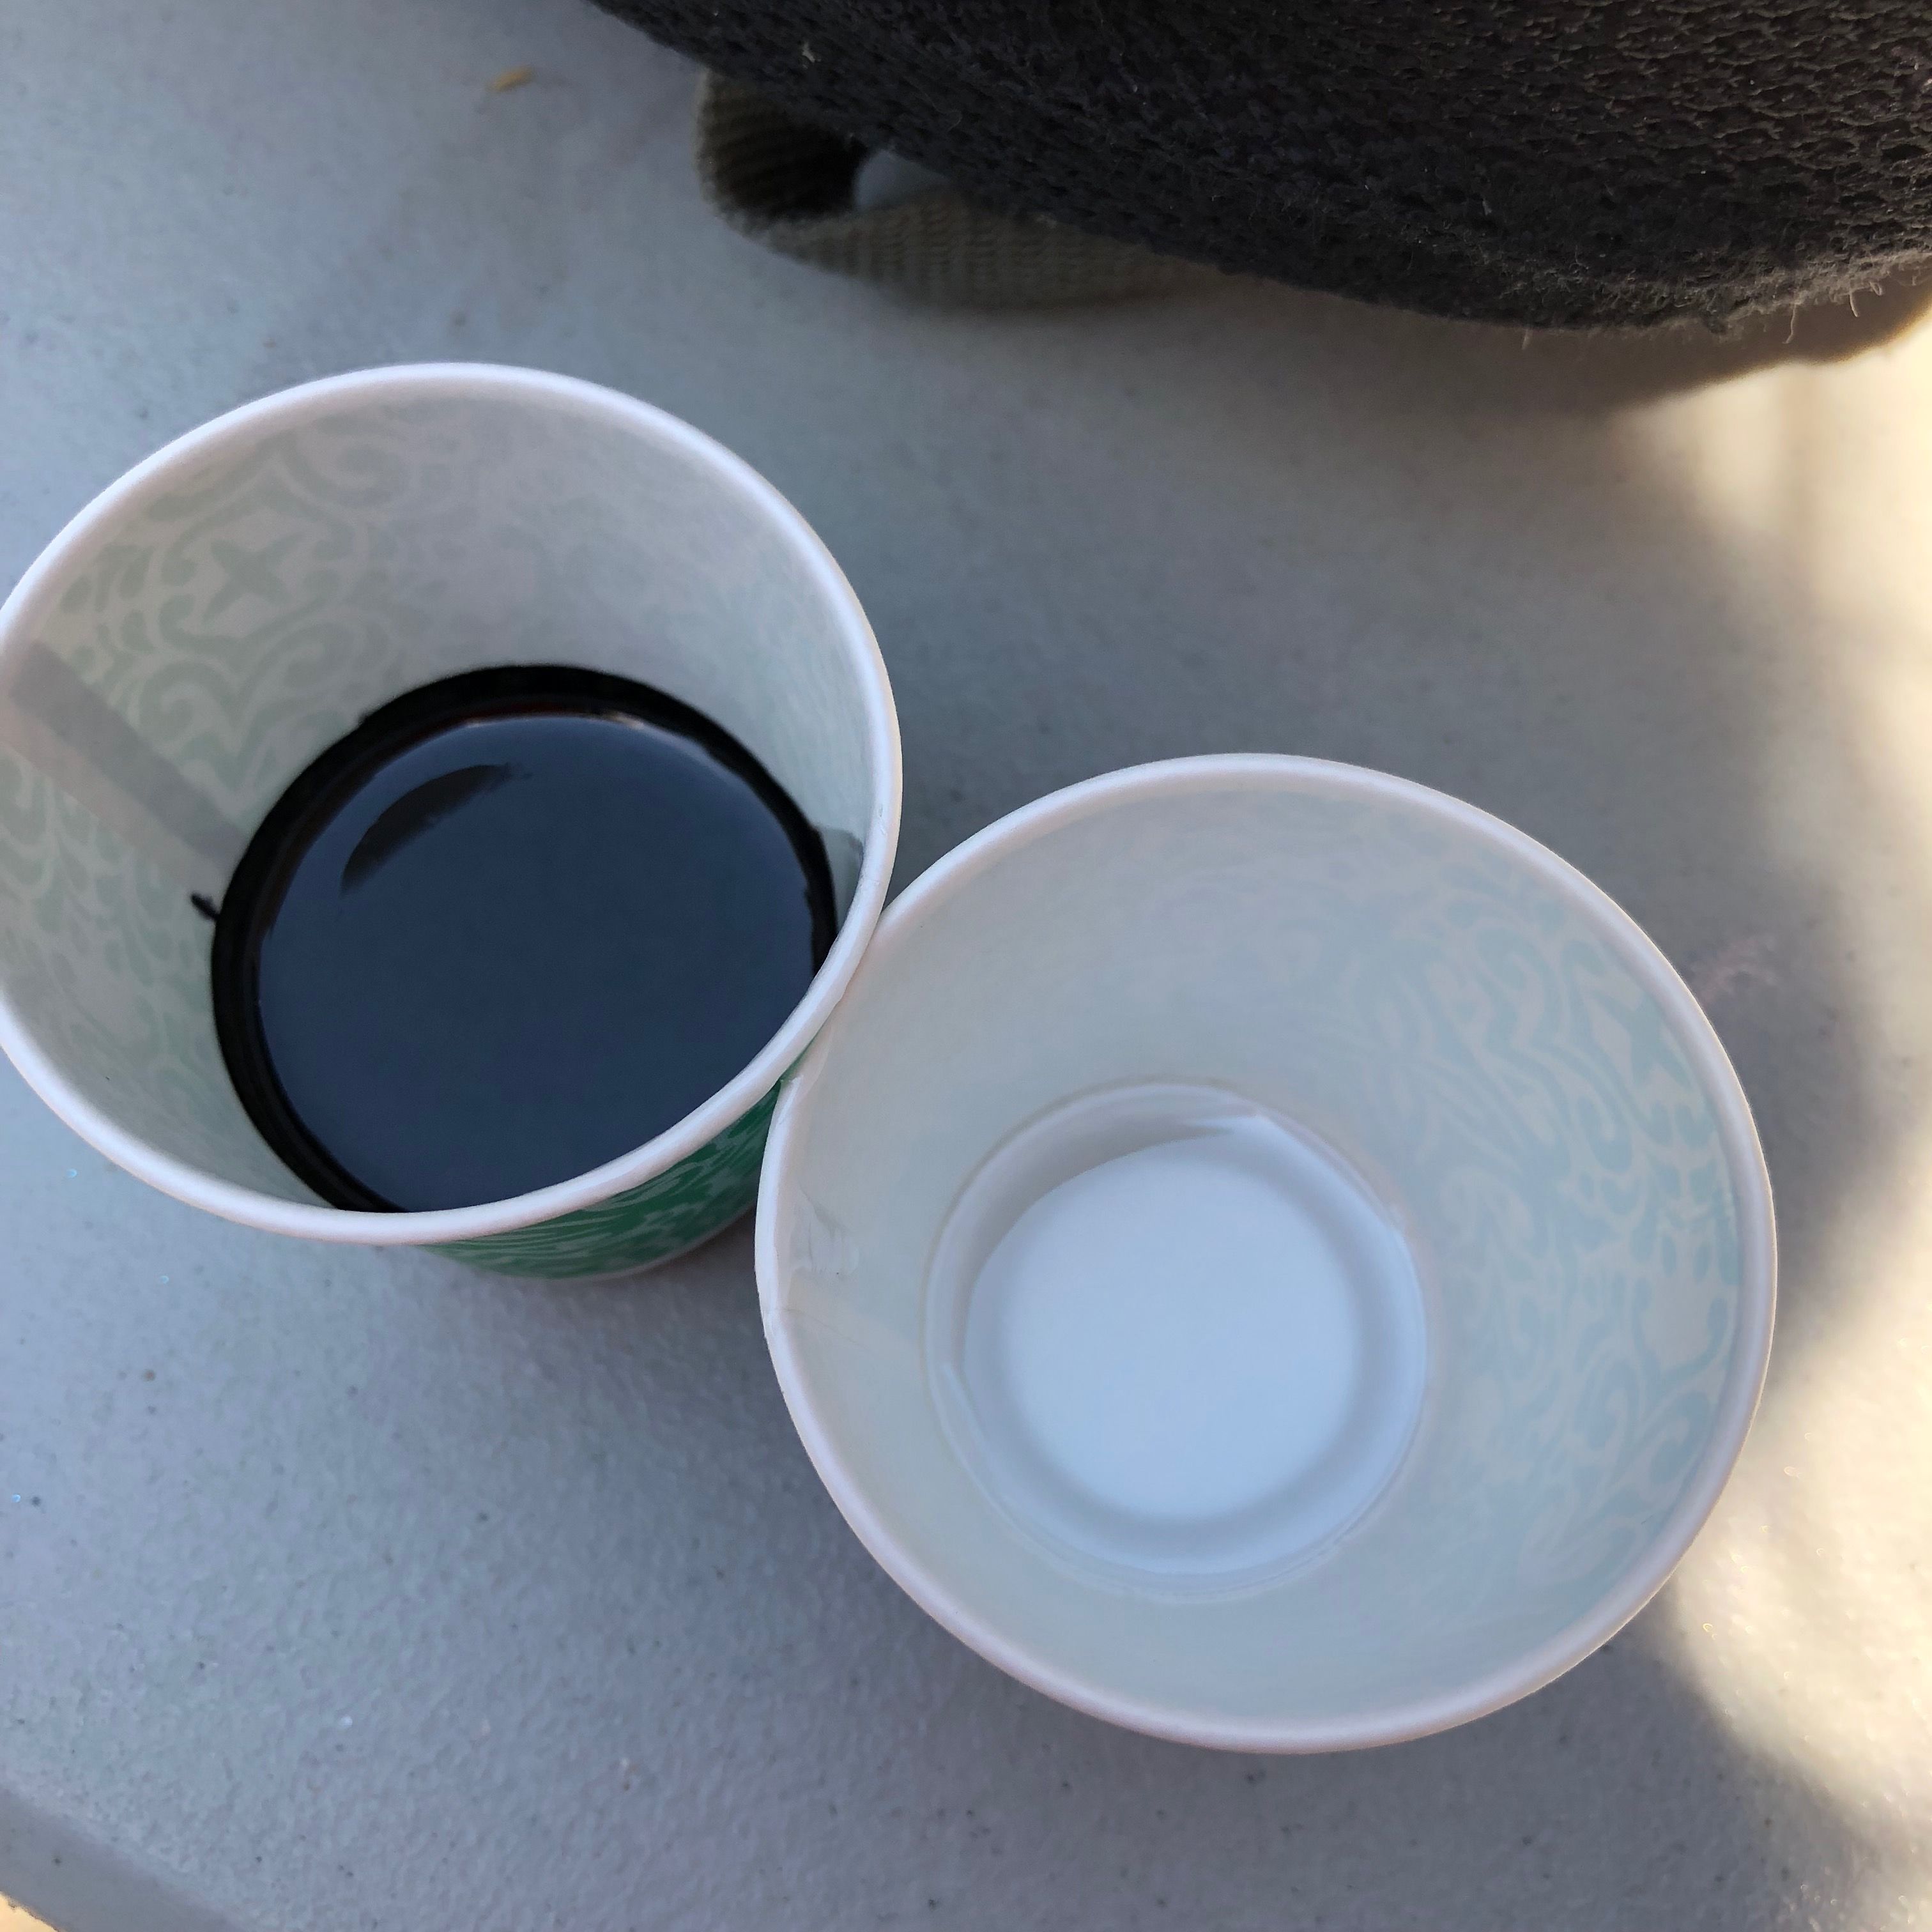
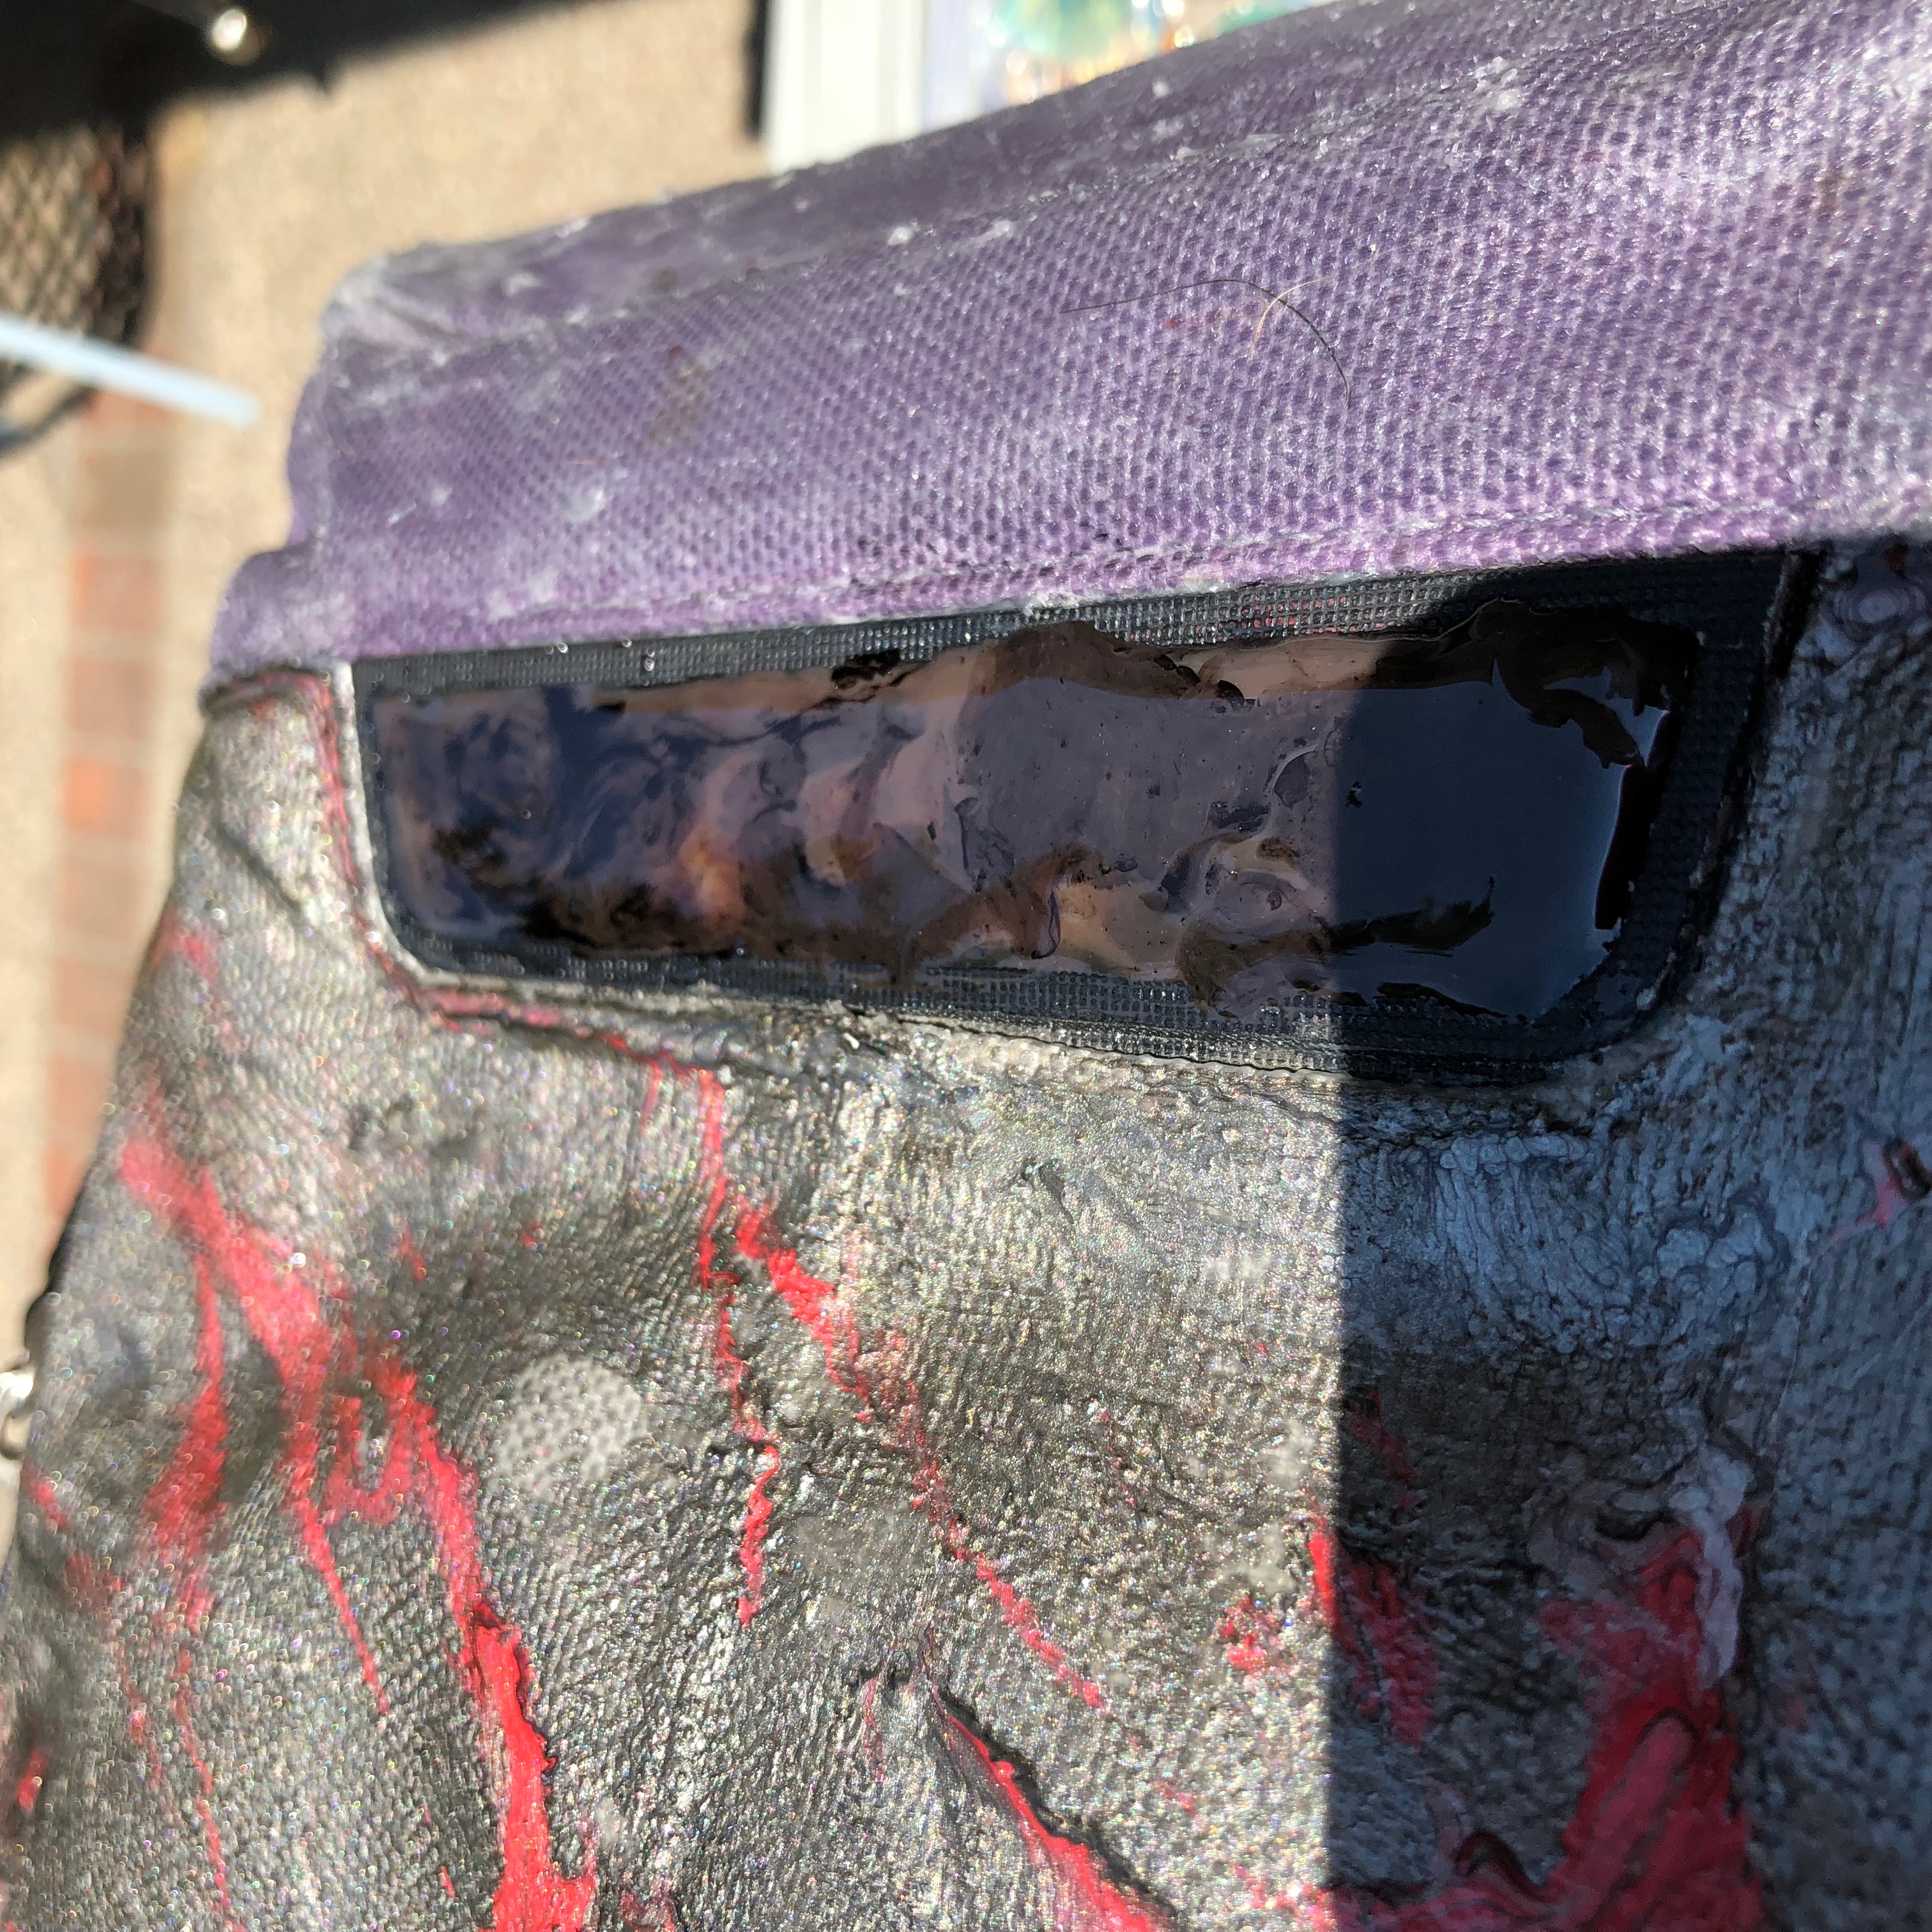
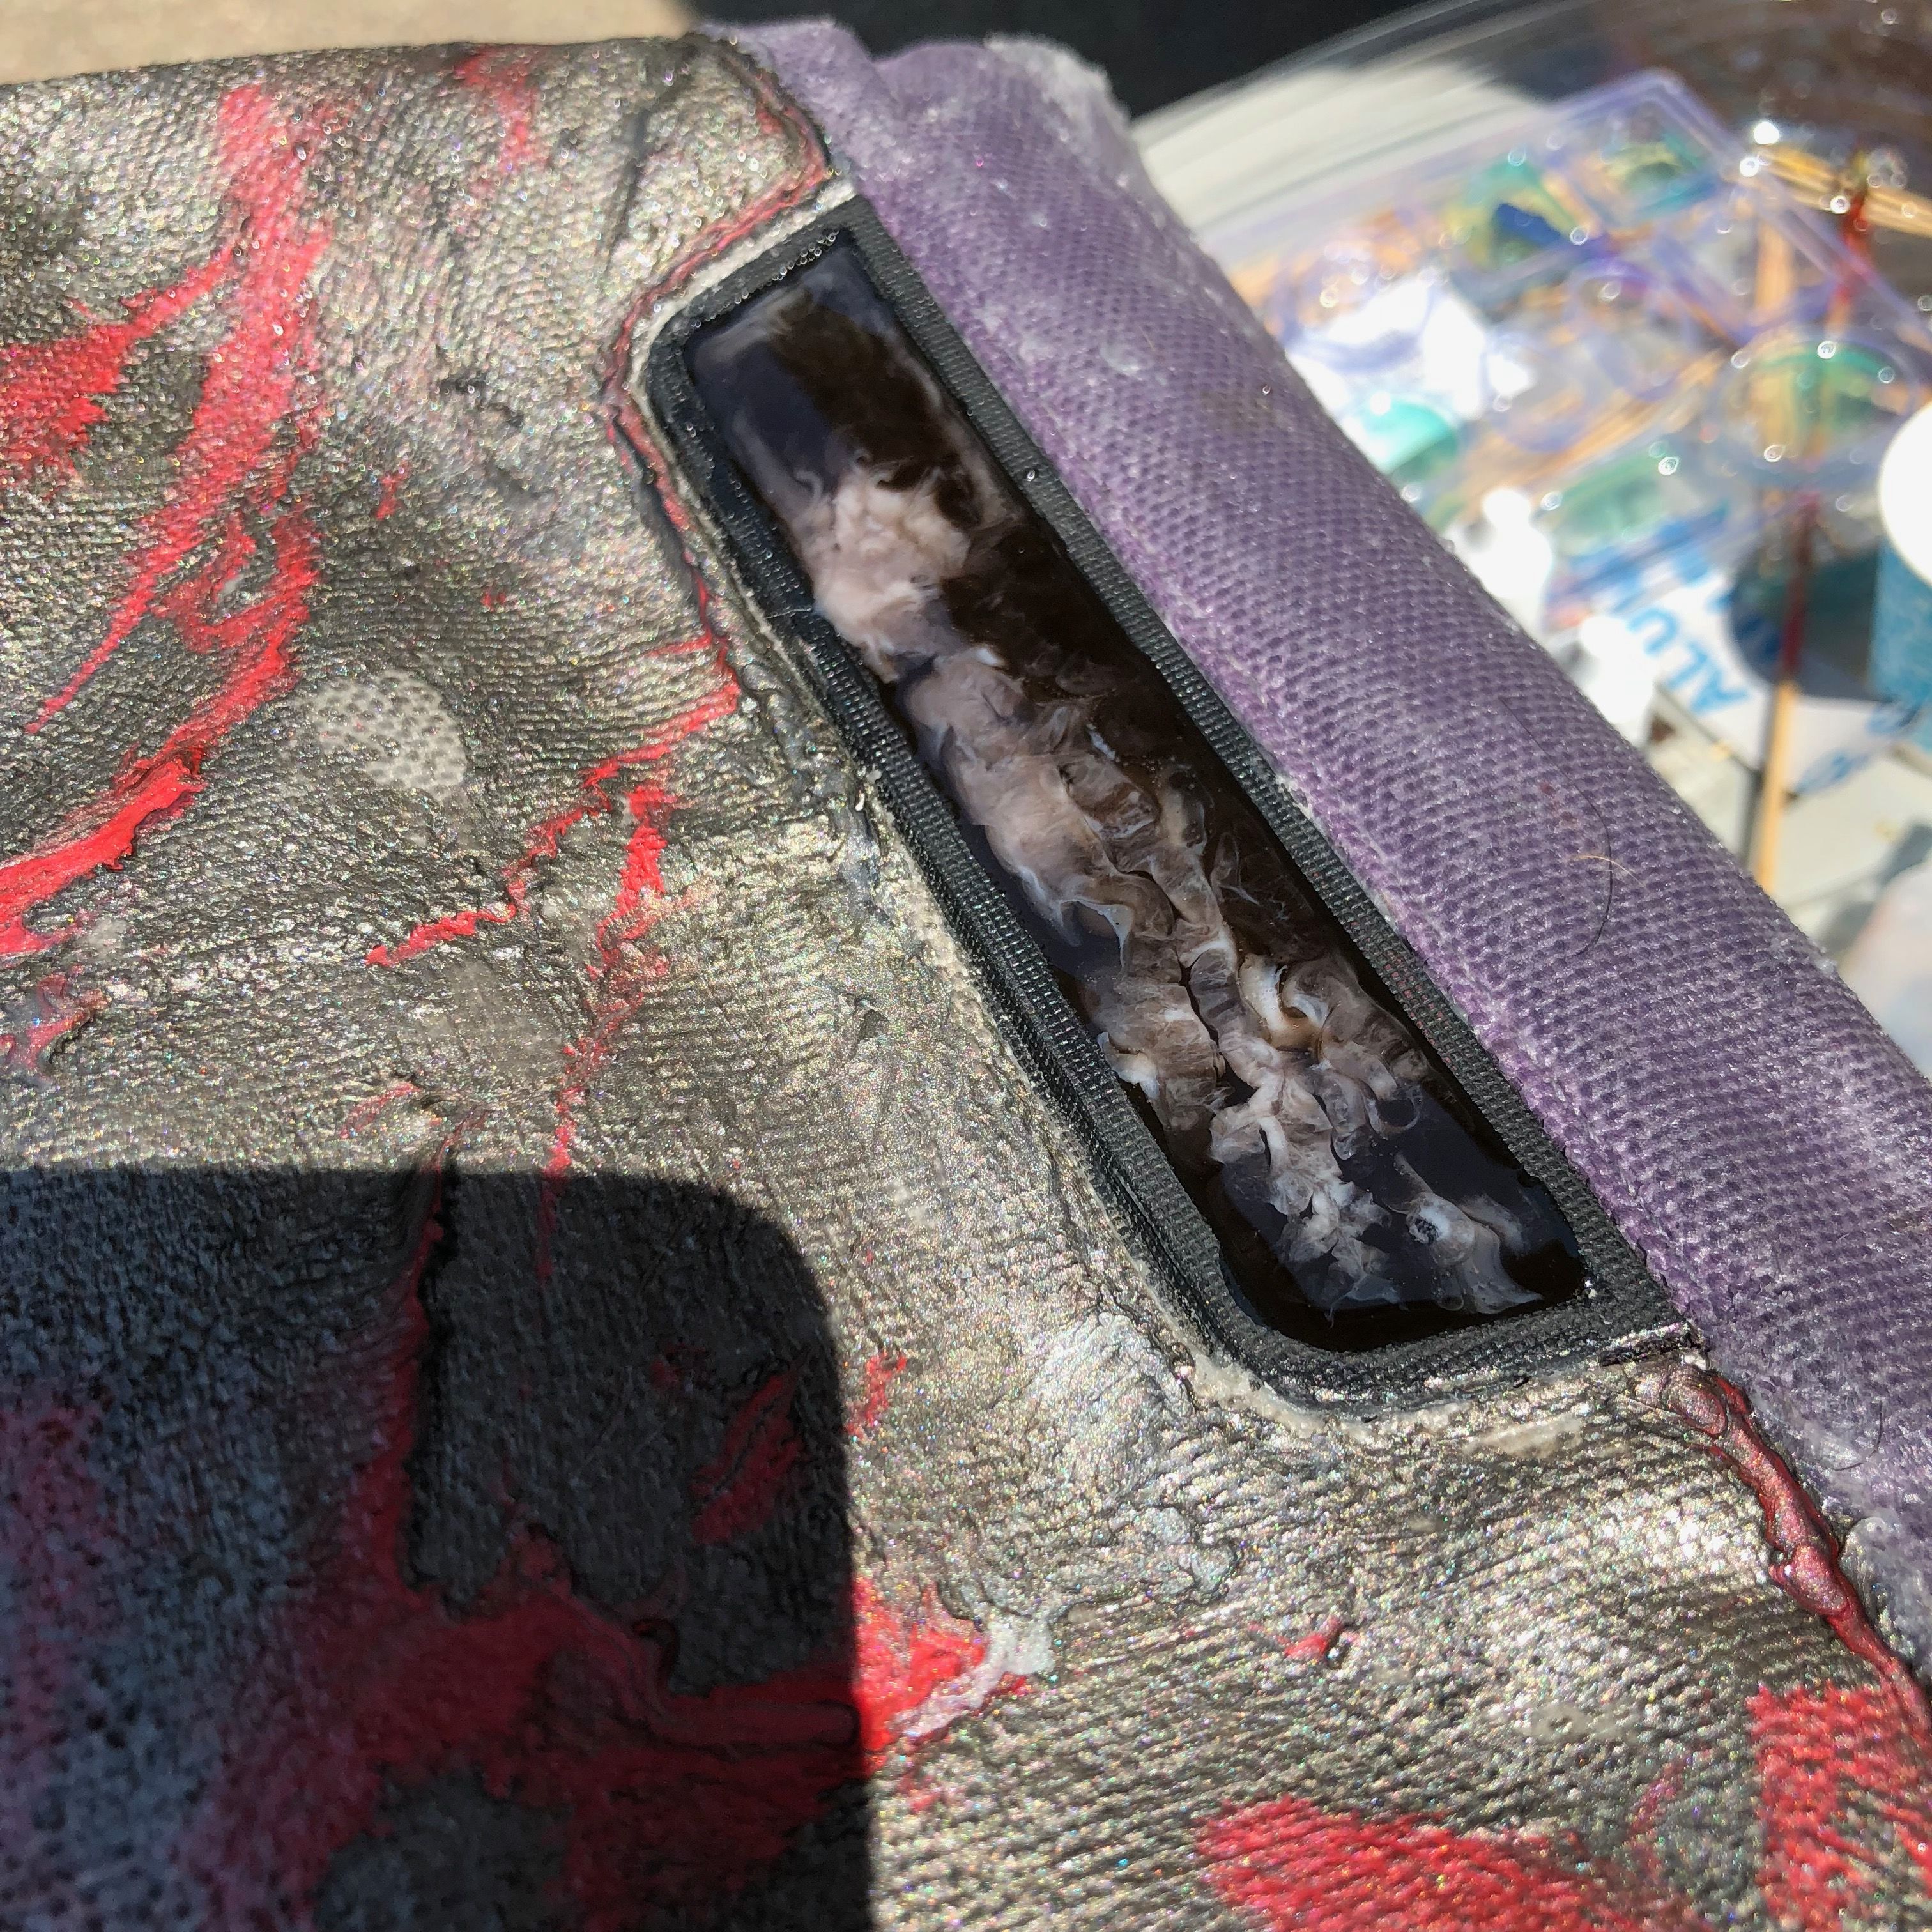
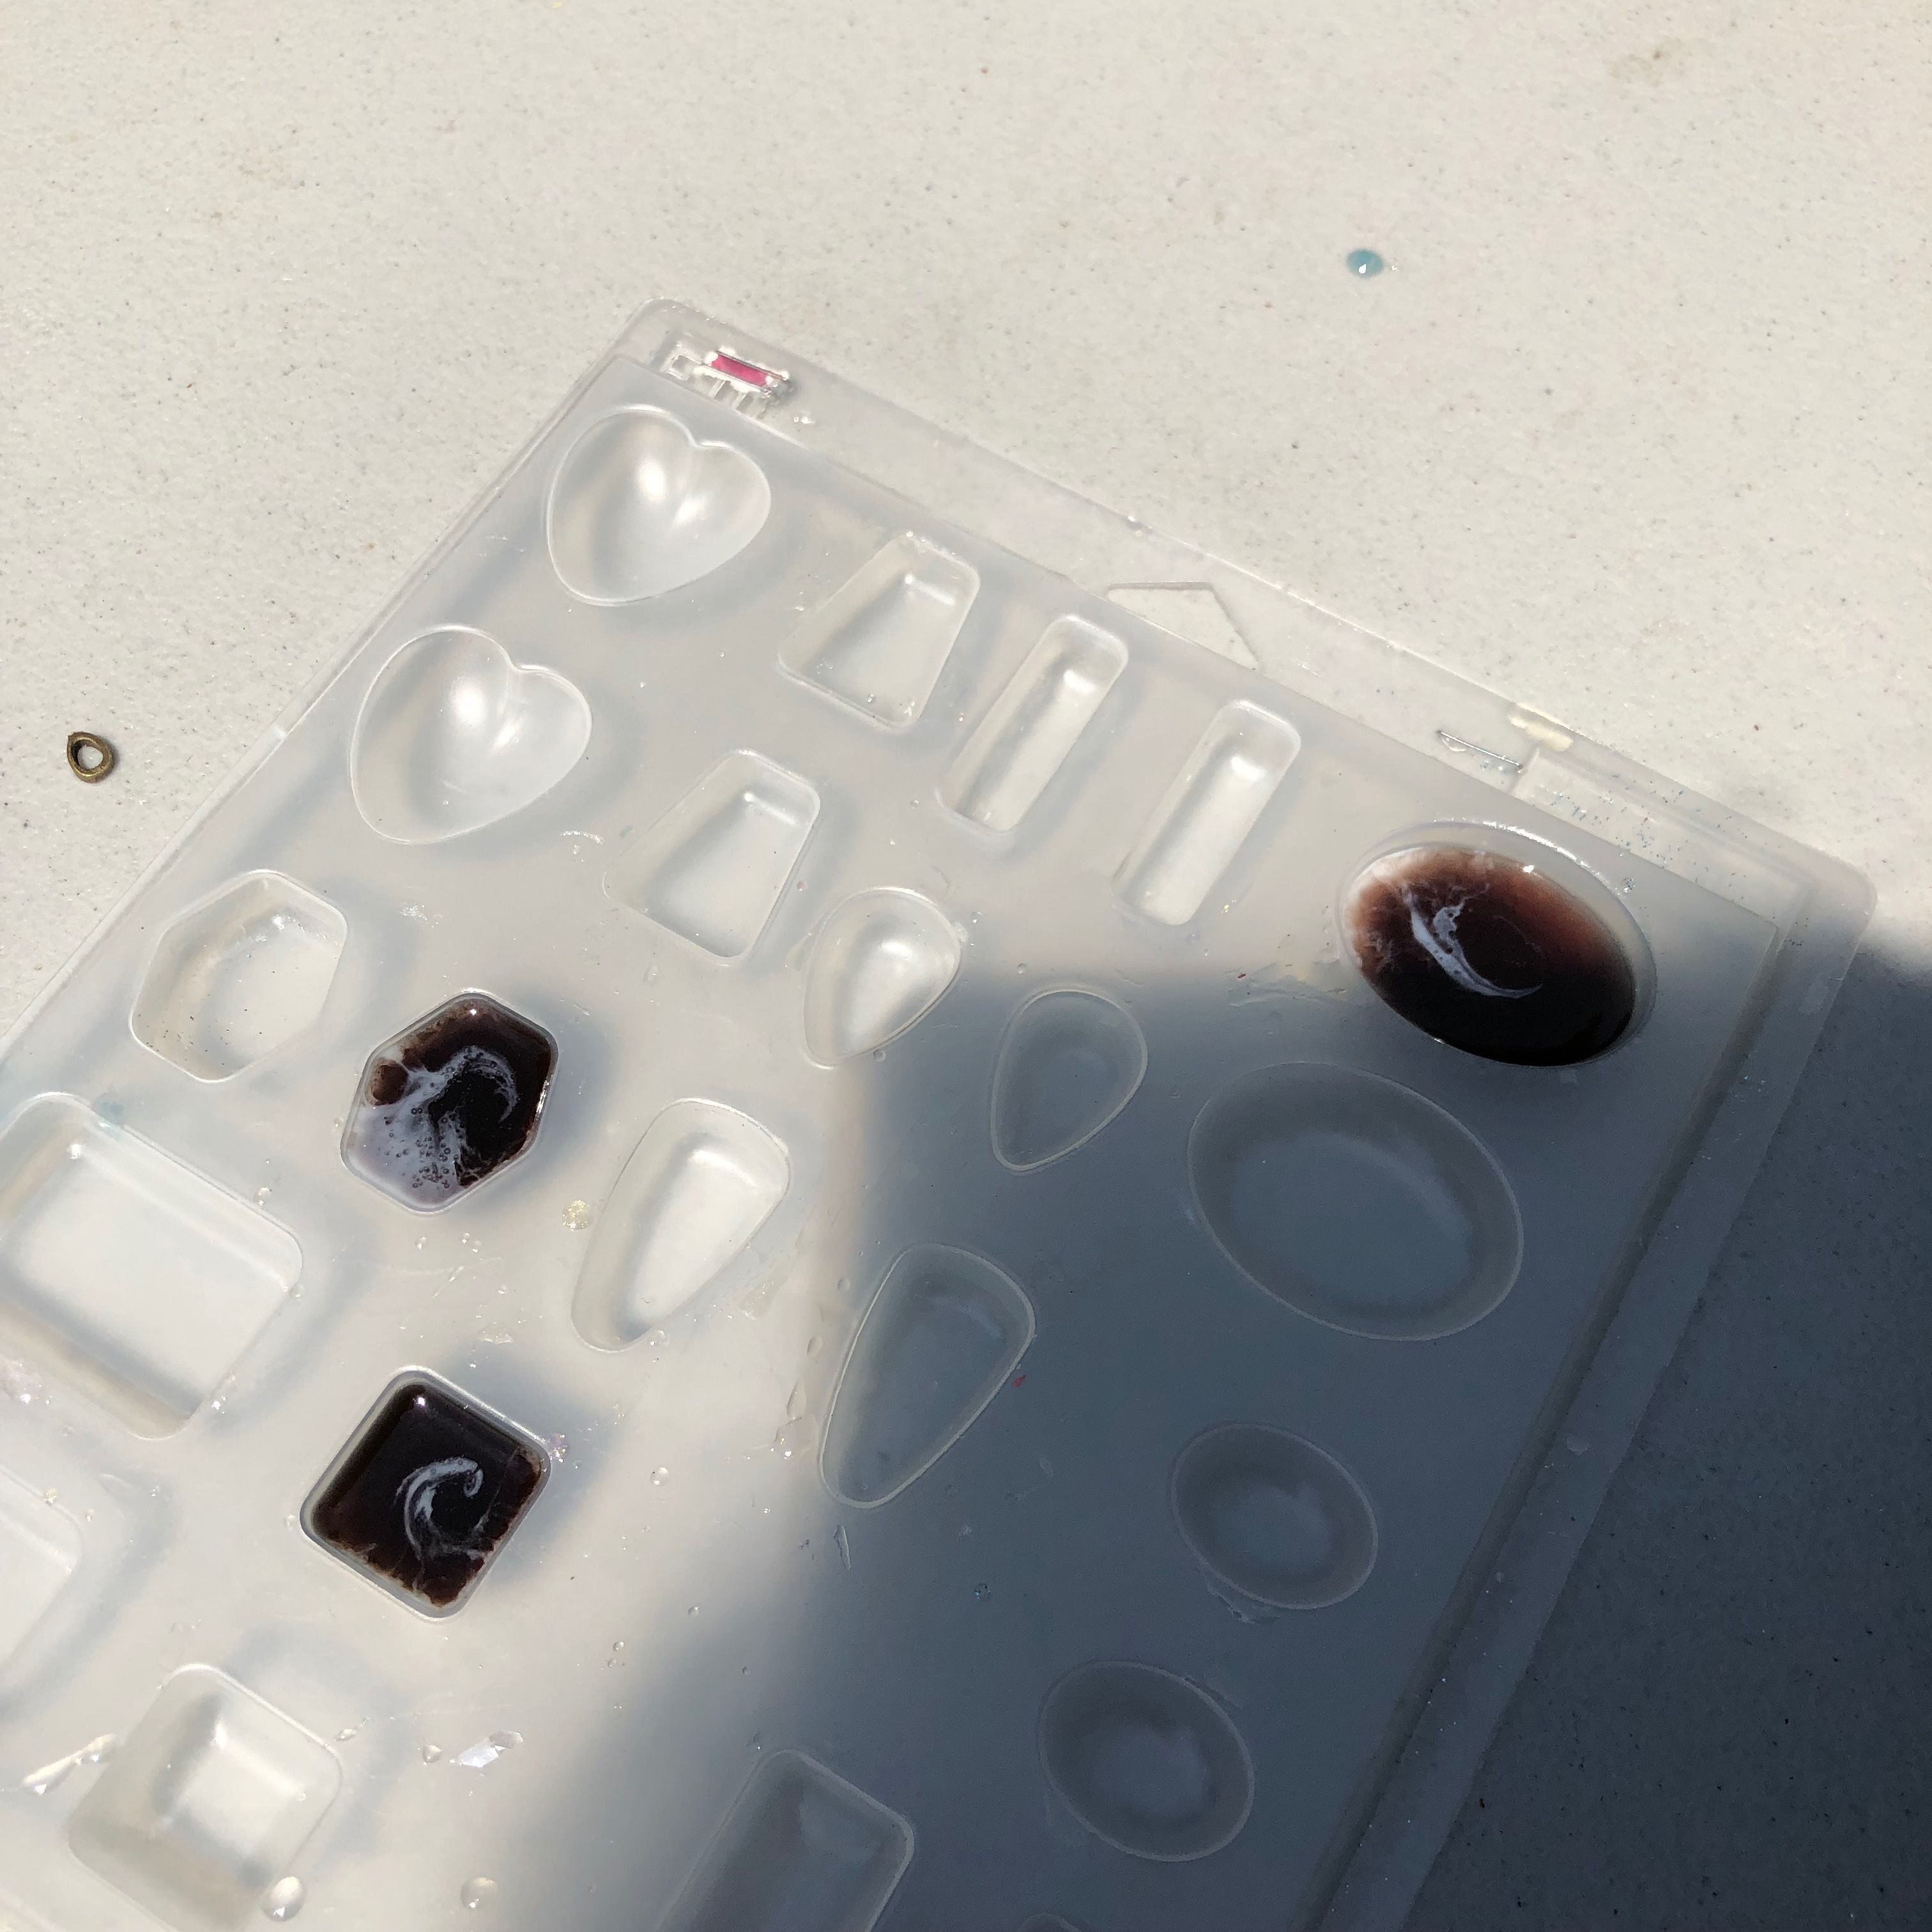
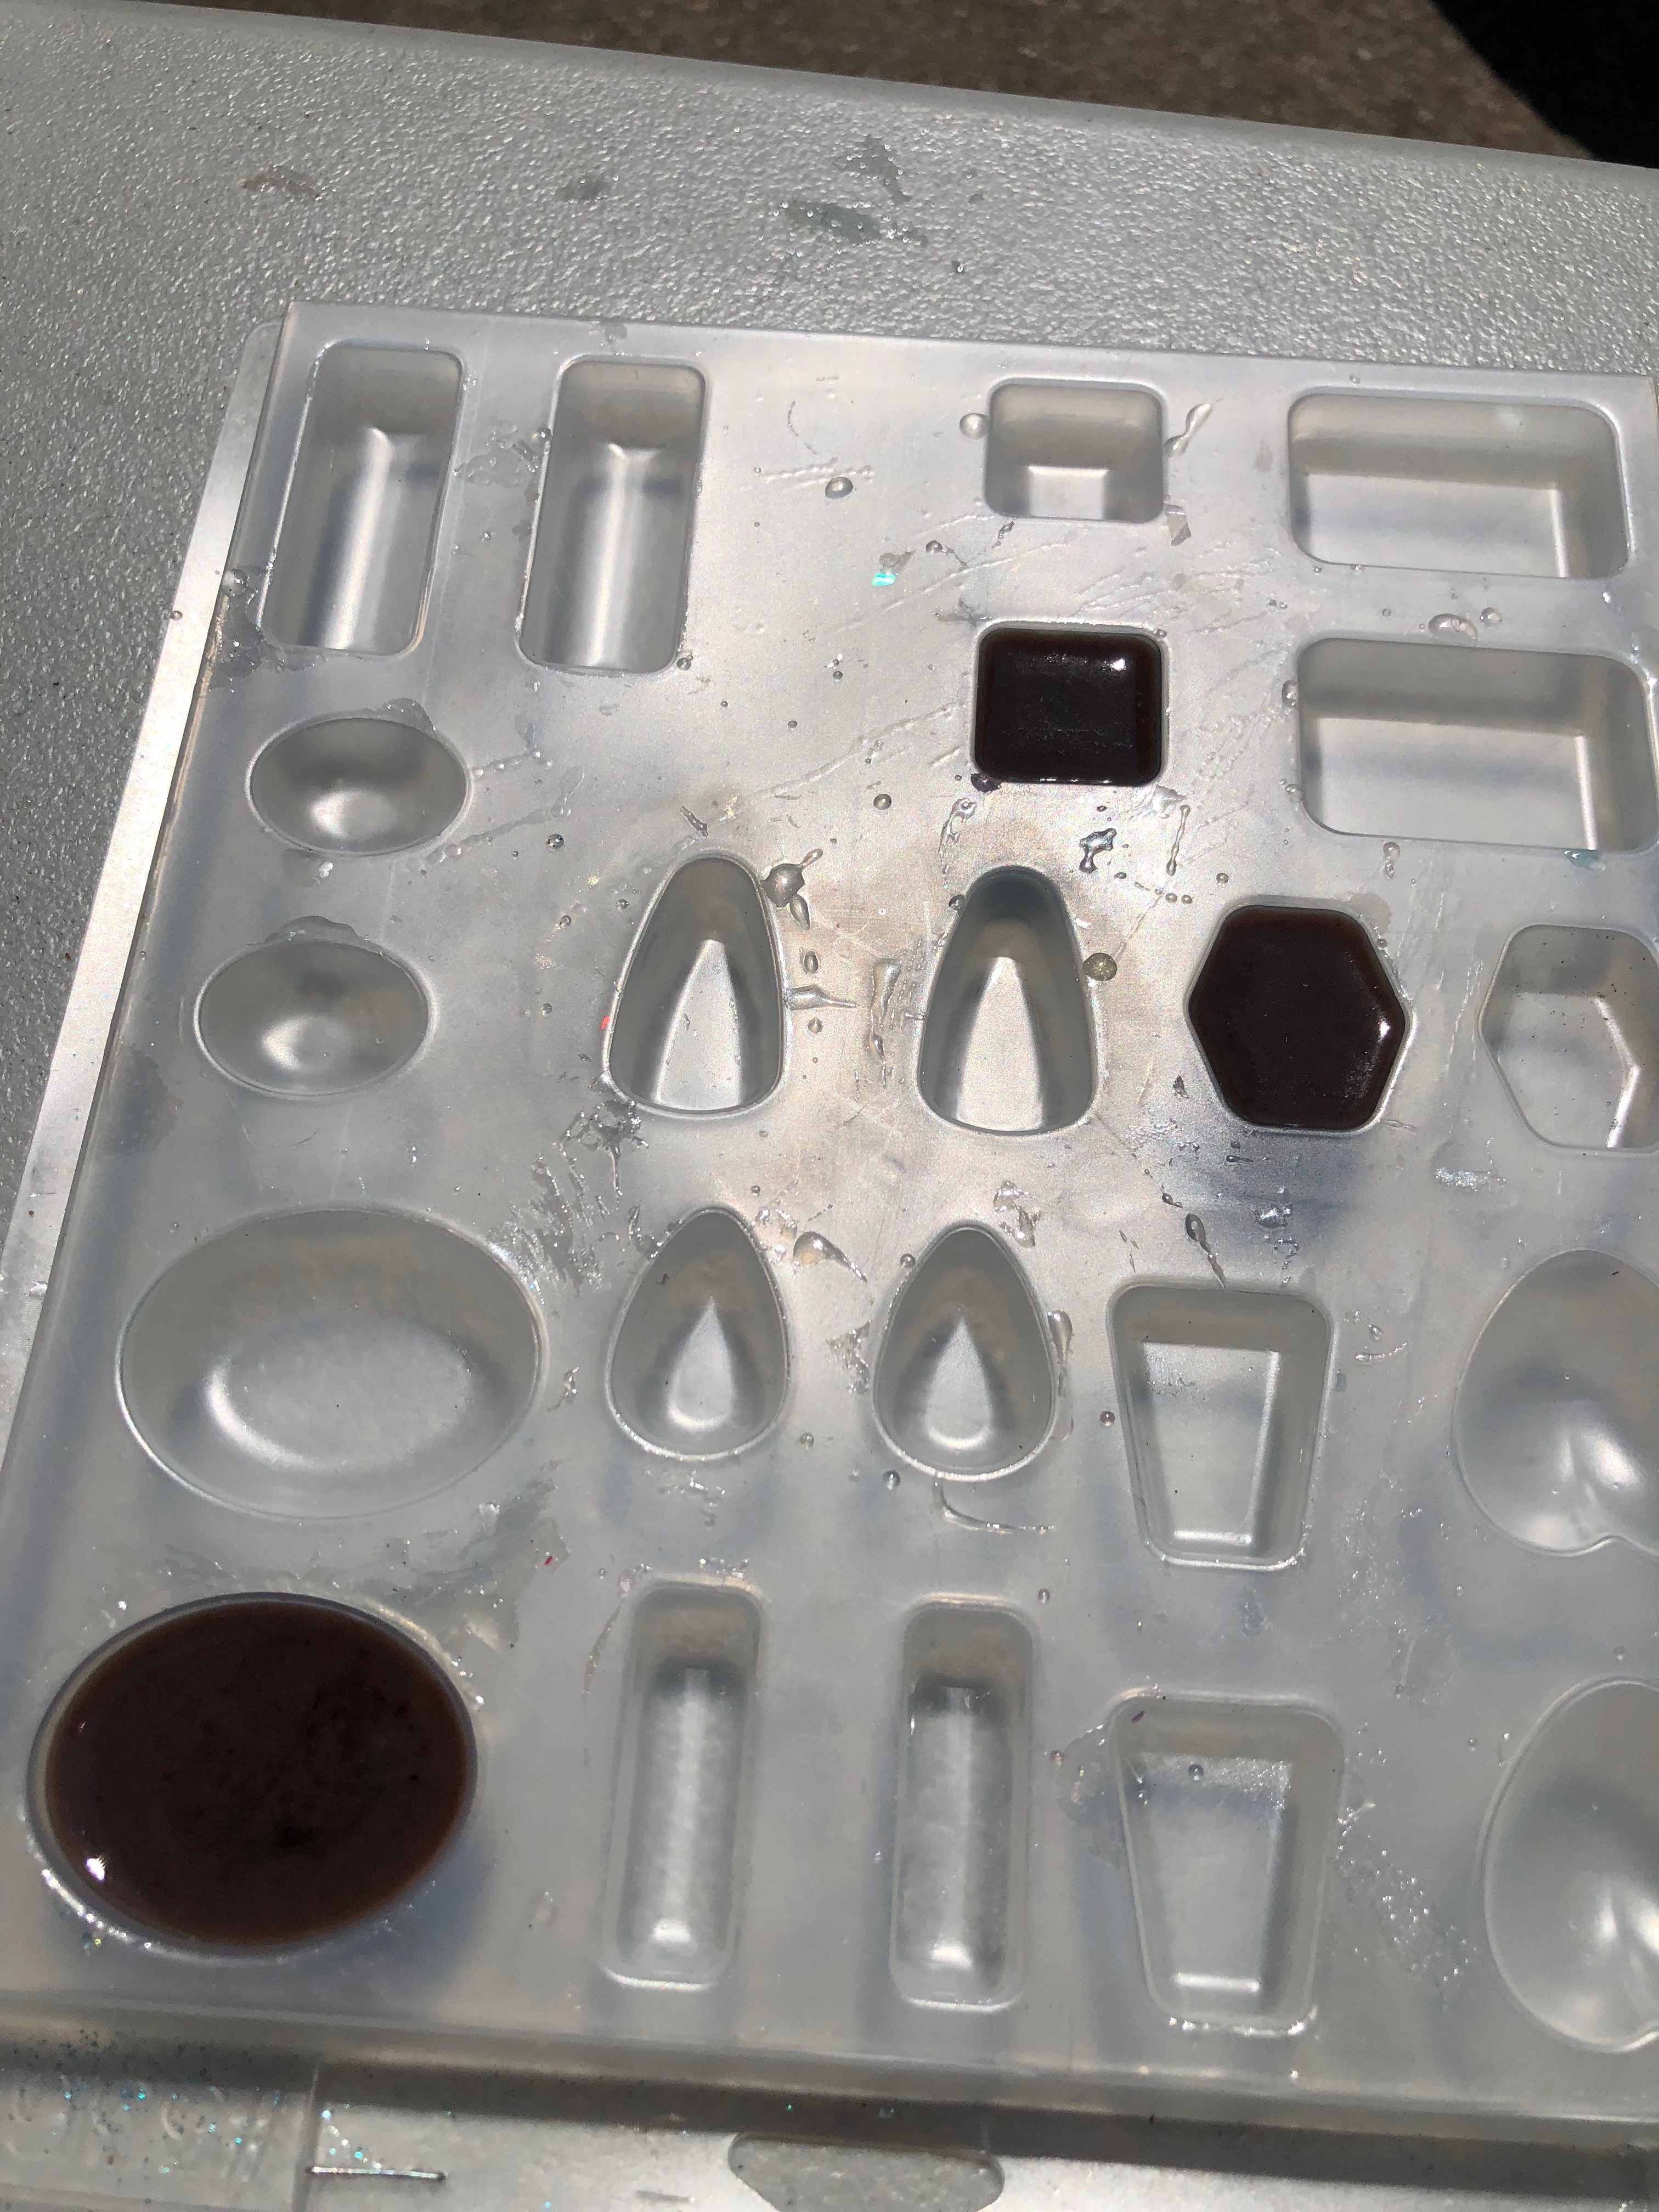
Following the instructions for whatever resin you're using, mix a tablespoon or two of black and a smaller amount of white (or another accent color) by adding a couple of drops of colorant to each resin cup. Stir well and add more color if you want them more intense.
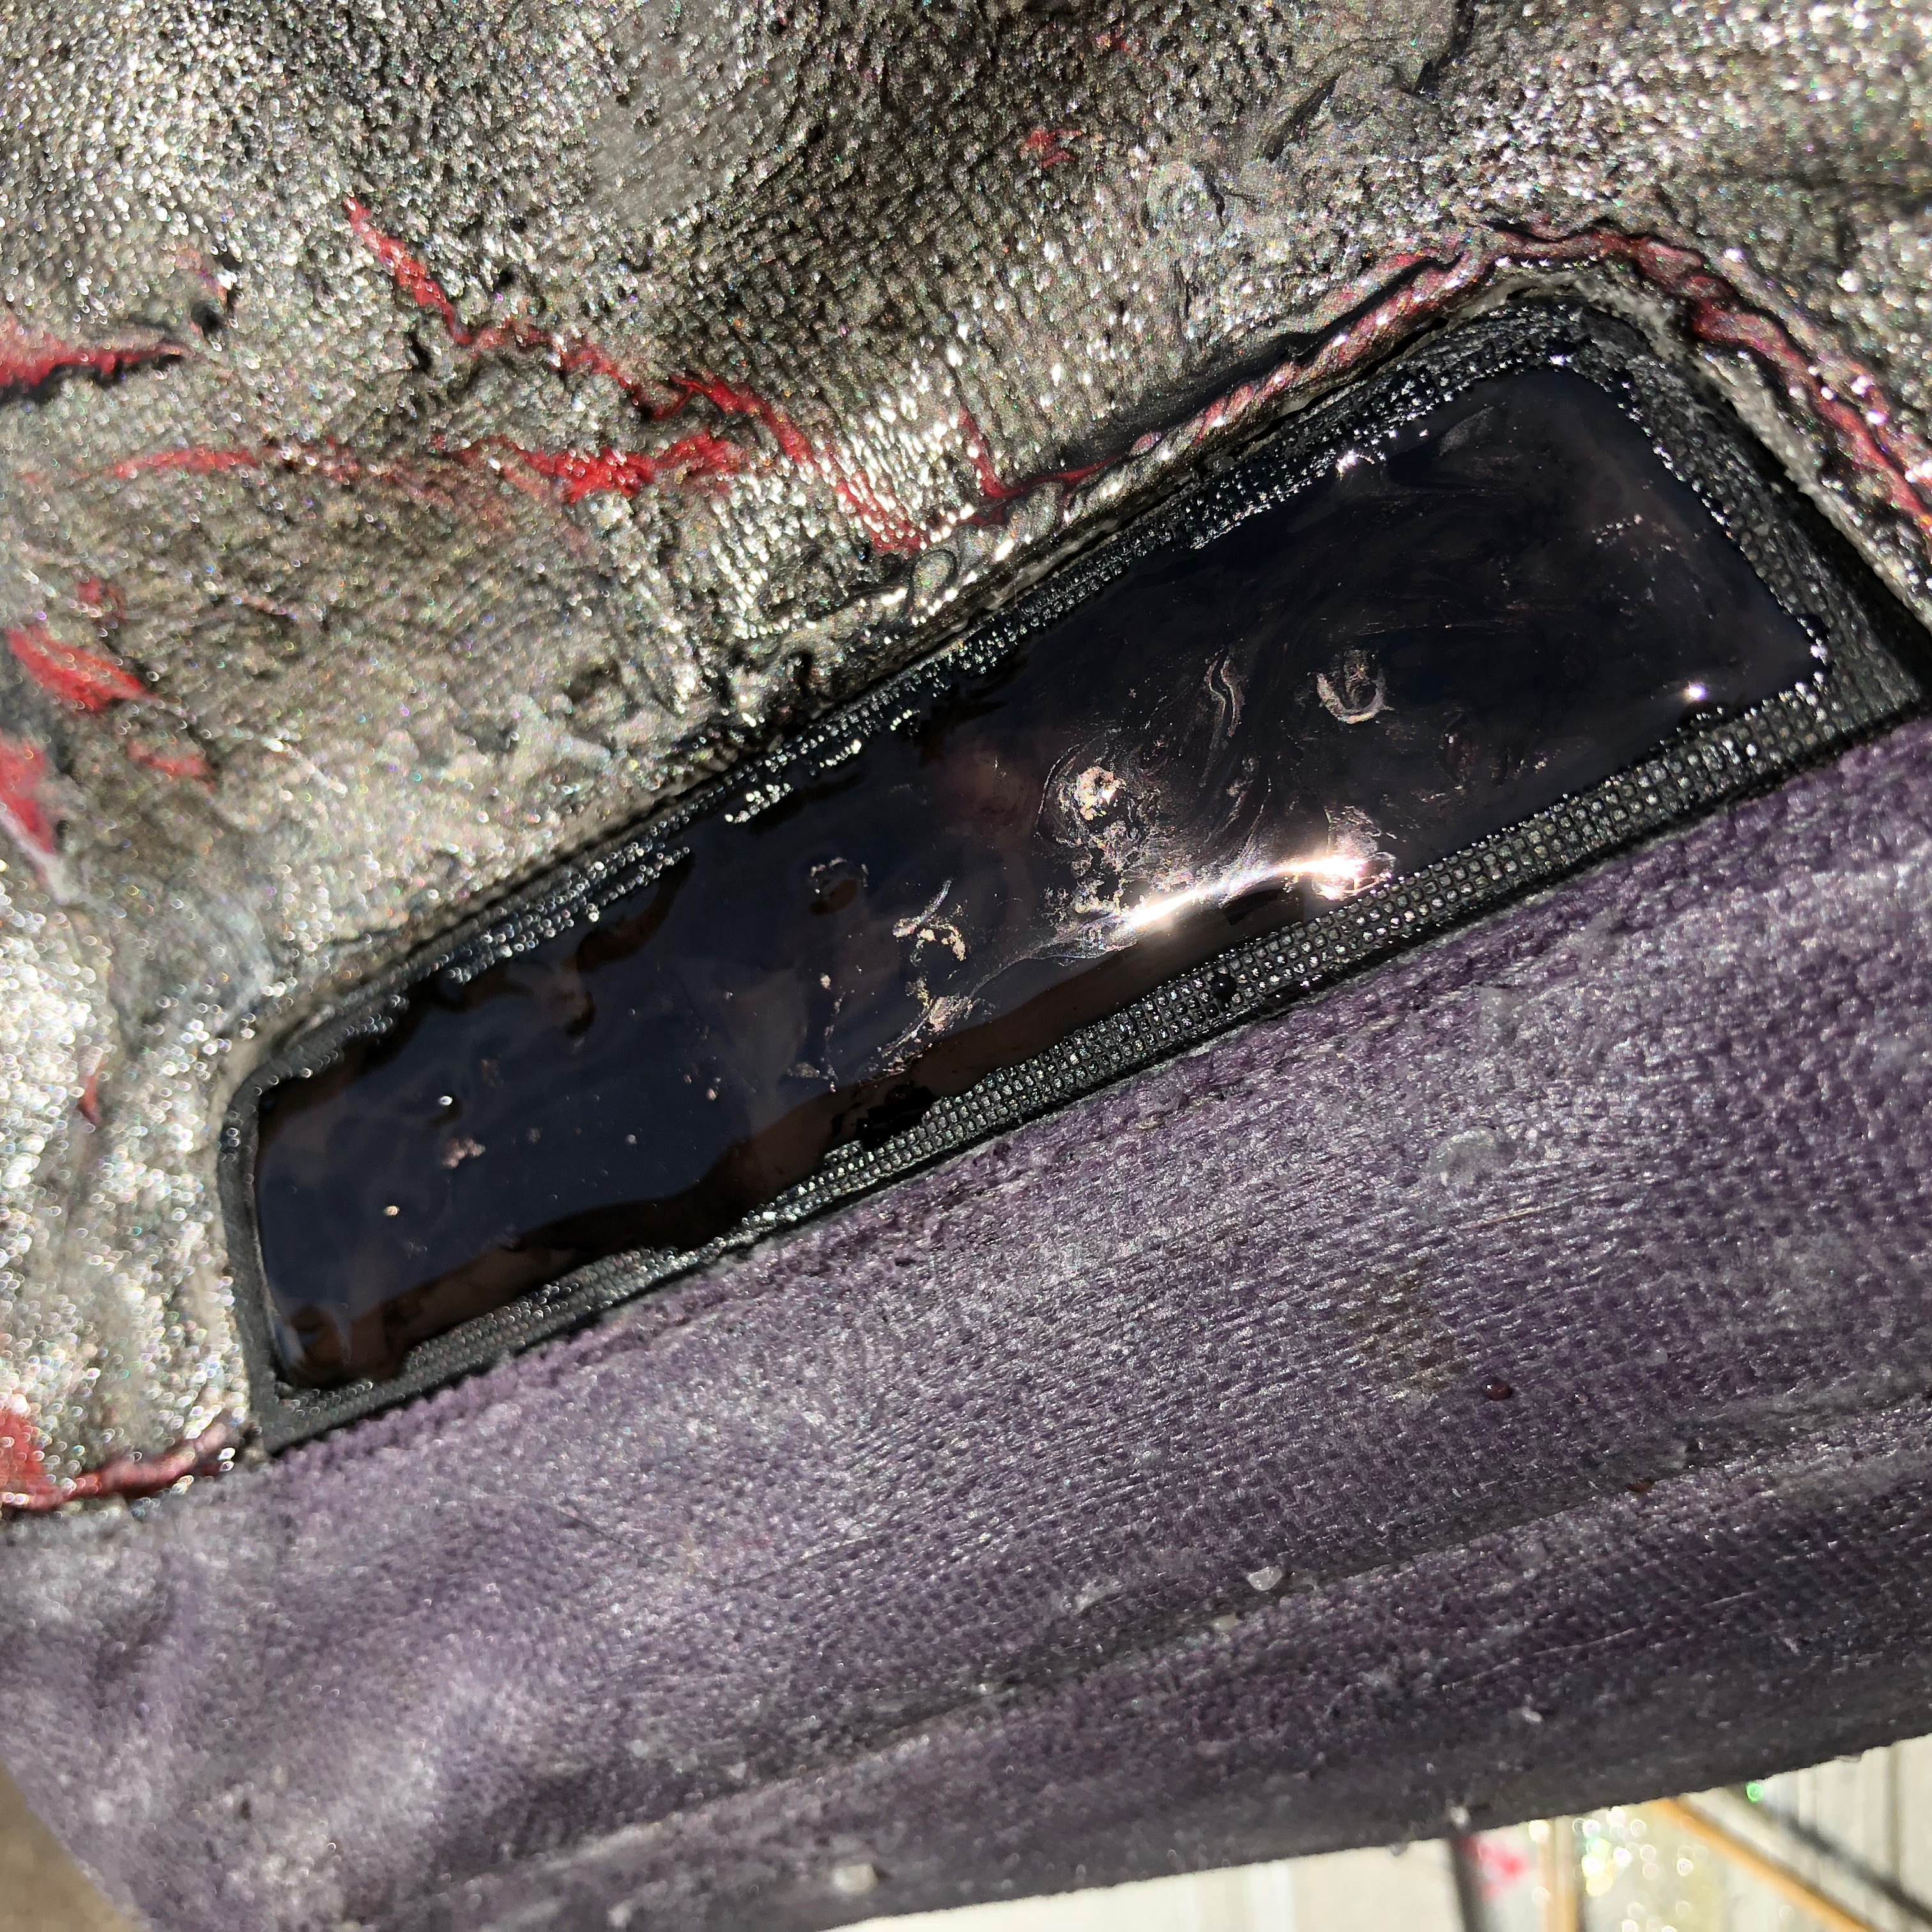
I then carefully poured some black resin on the damaged panel, taking care not to go over the edges.
I also poured some into a few of the gem mold cavities about halfway full.
Then I poured a small amount of white onto the panel and into the molds and gently swirled the colors with a toothpick.
As the resin thickened I added more resin drop by drop, so that I'd get depth without dripping over the edges. I added to the resin molds until they were about 3/4 full.
Flap Accent
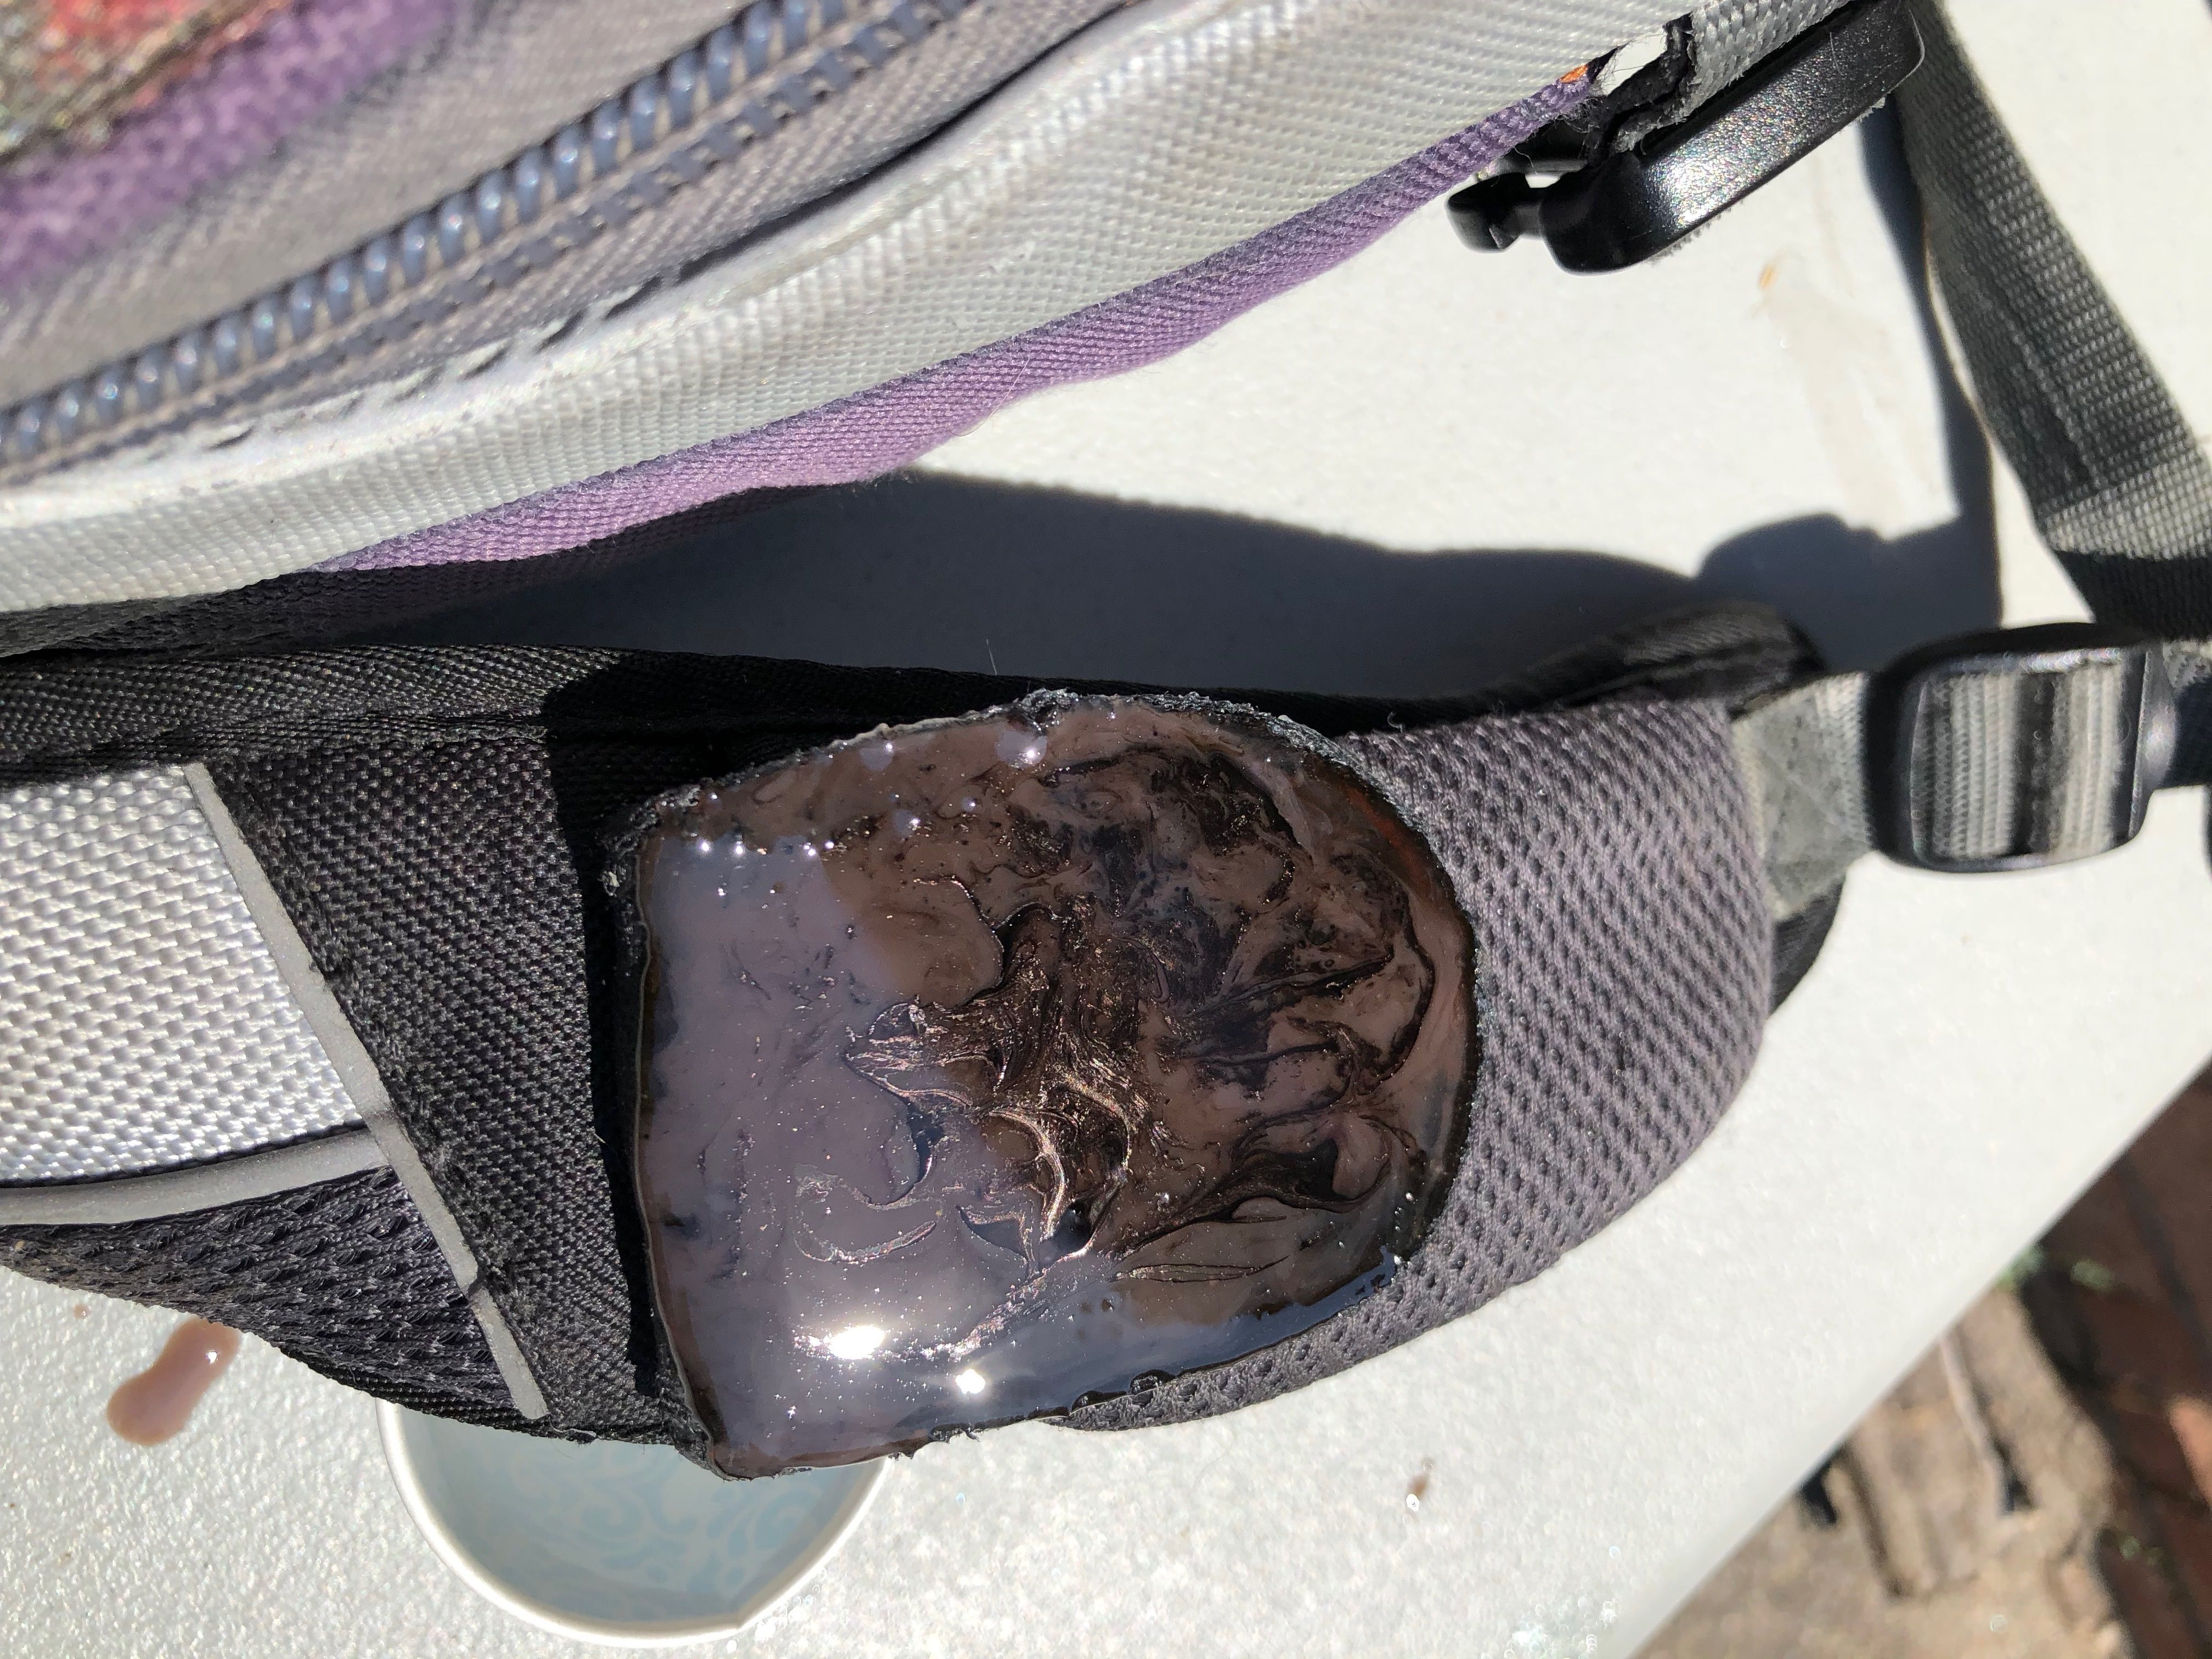
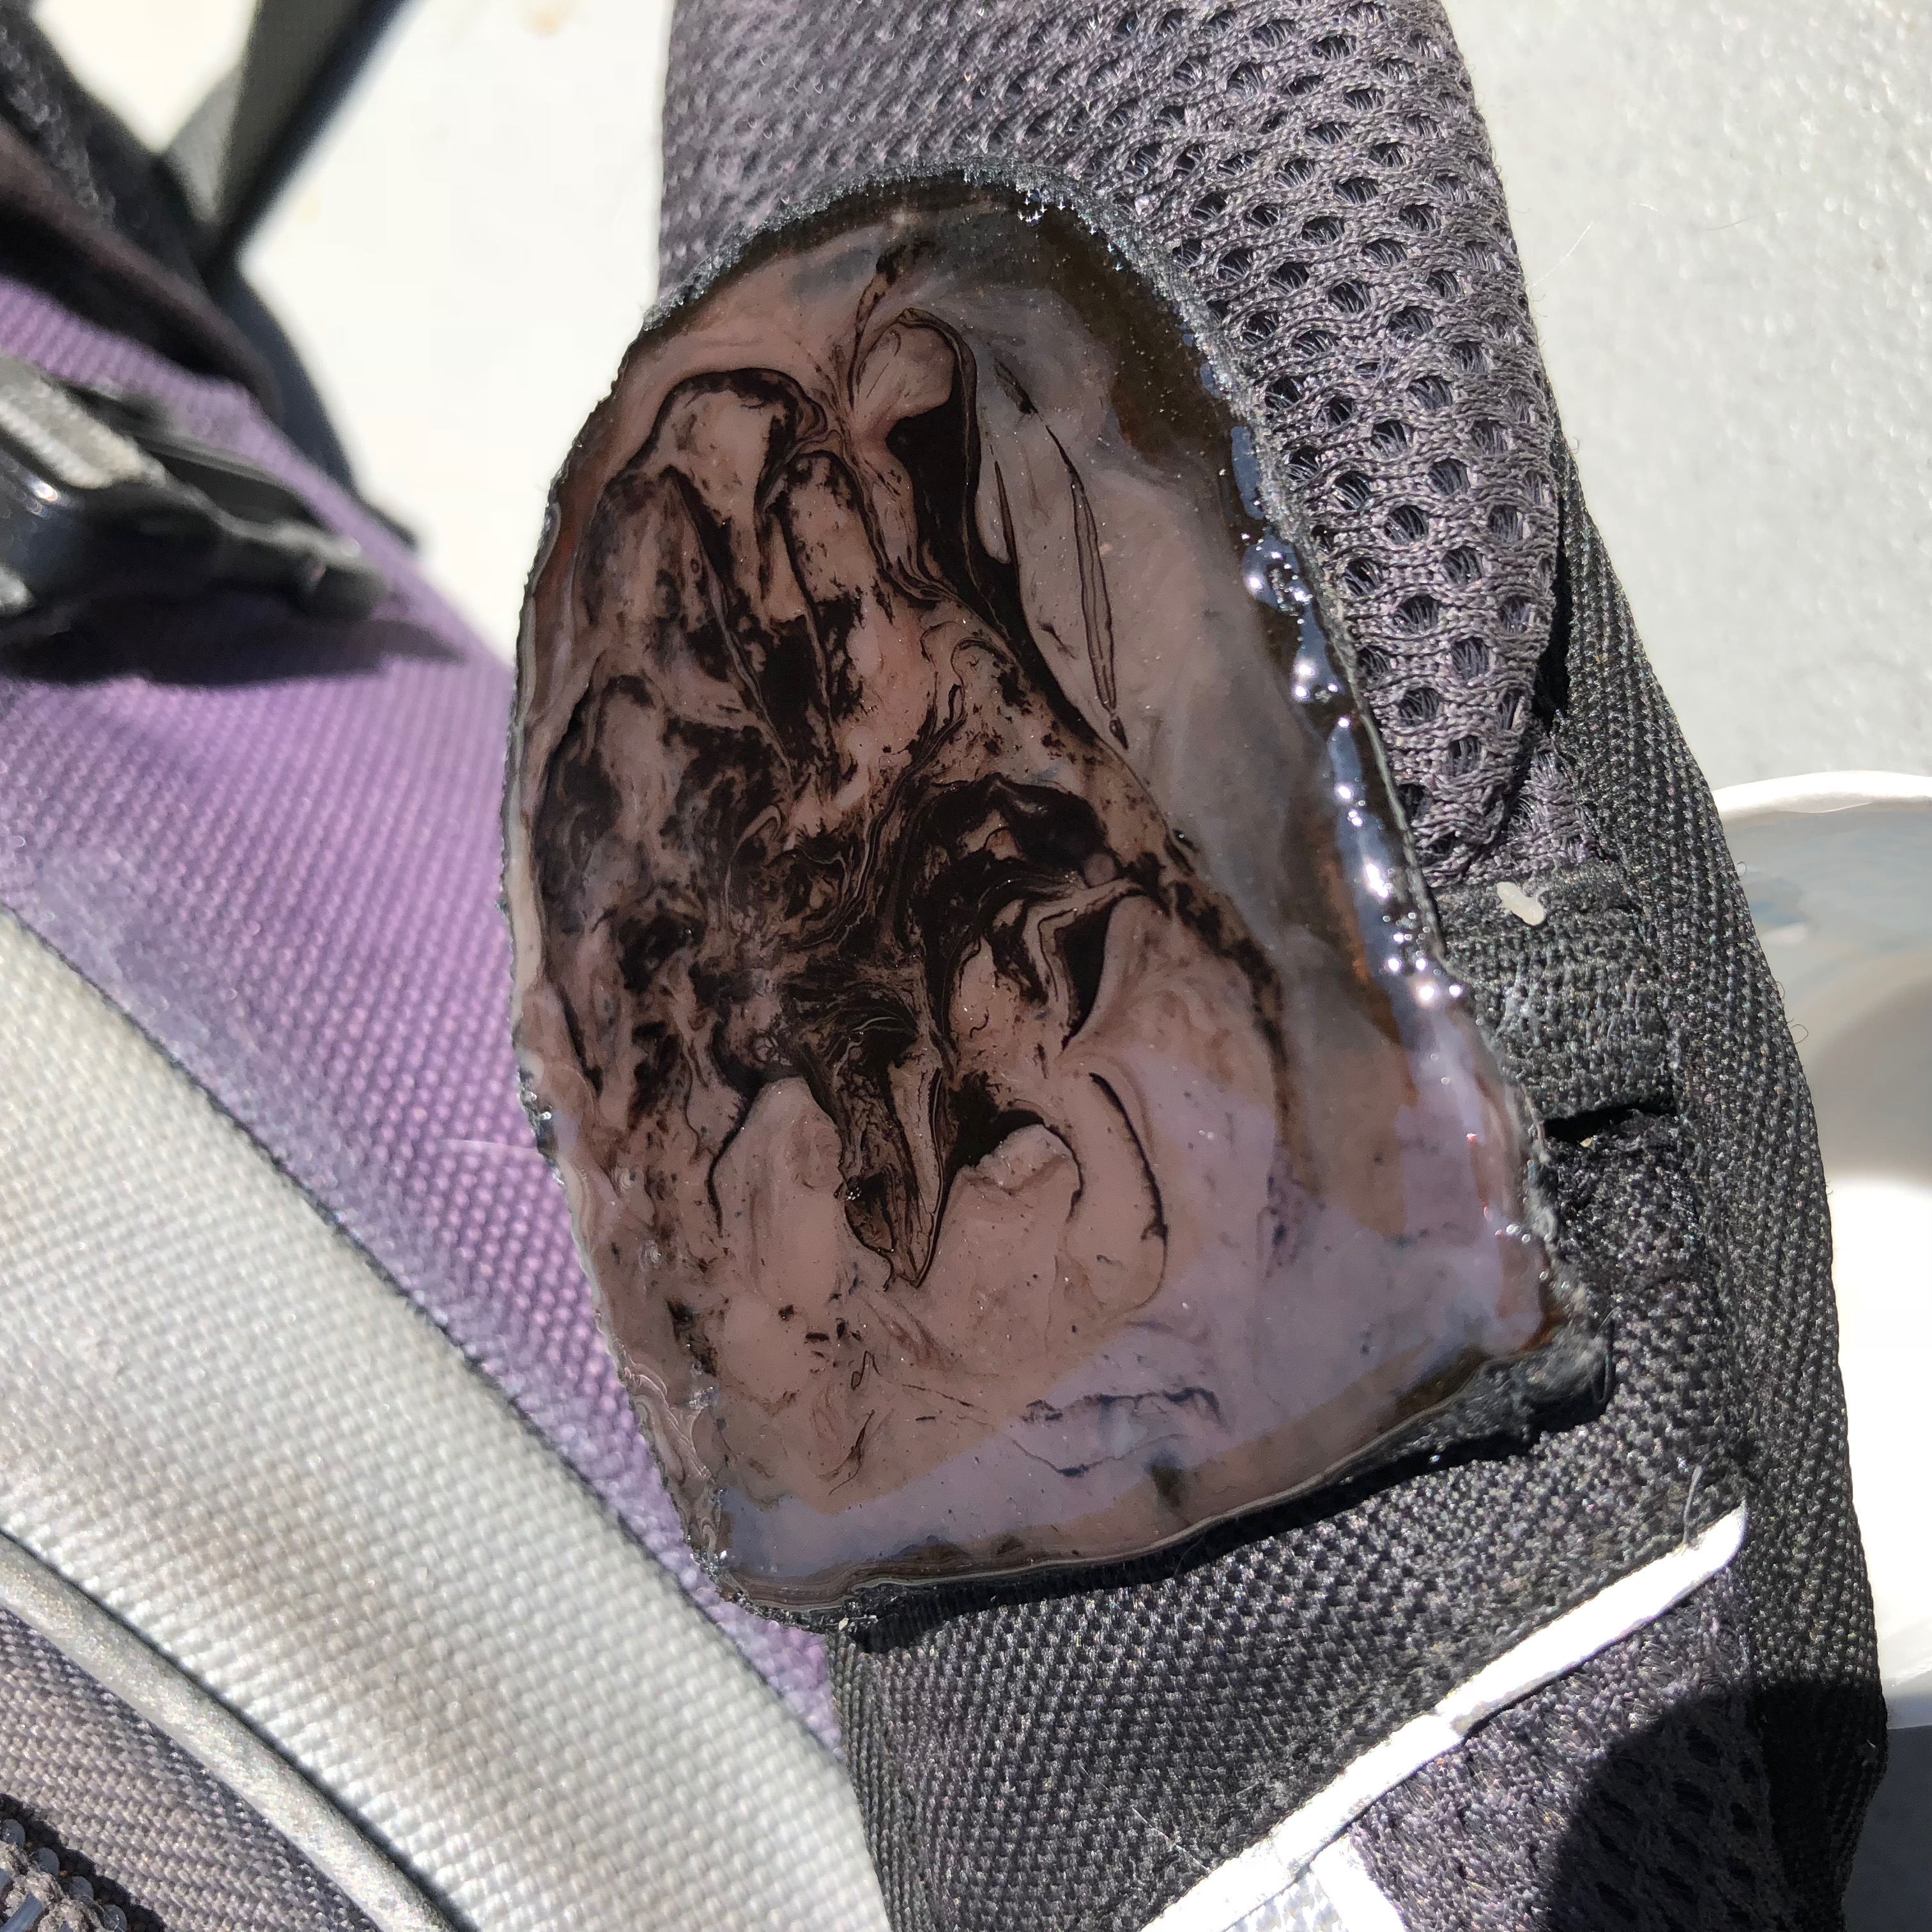
When the panel resin was set I worked on the pocket flap. I set it up as flat as I could and proceeded the same way as the described in the previous step.
I let all the resin cure overnight.
Color Blocks
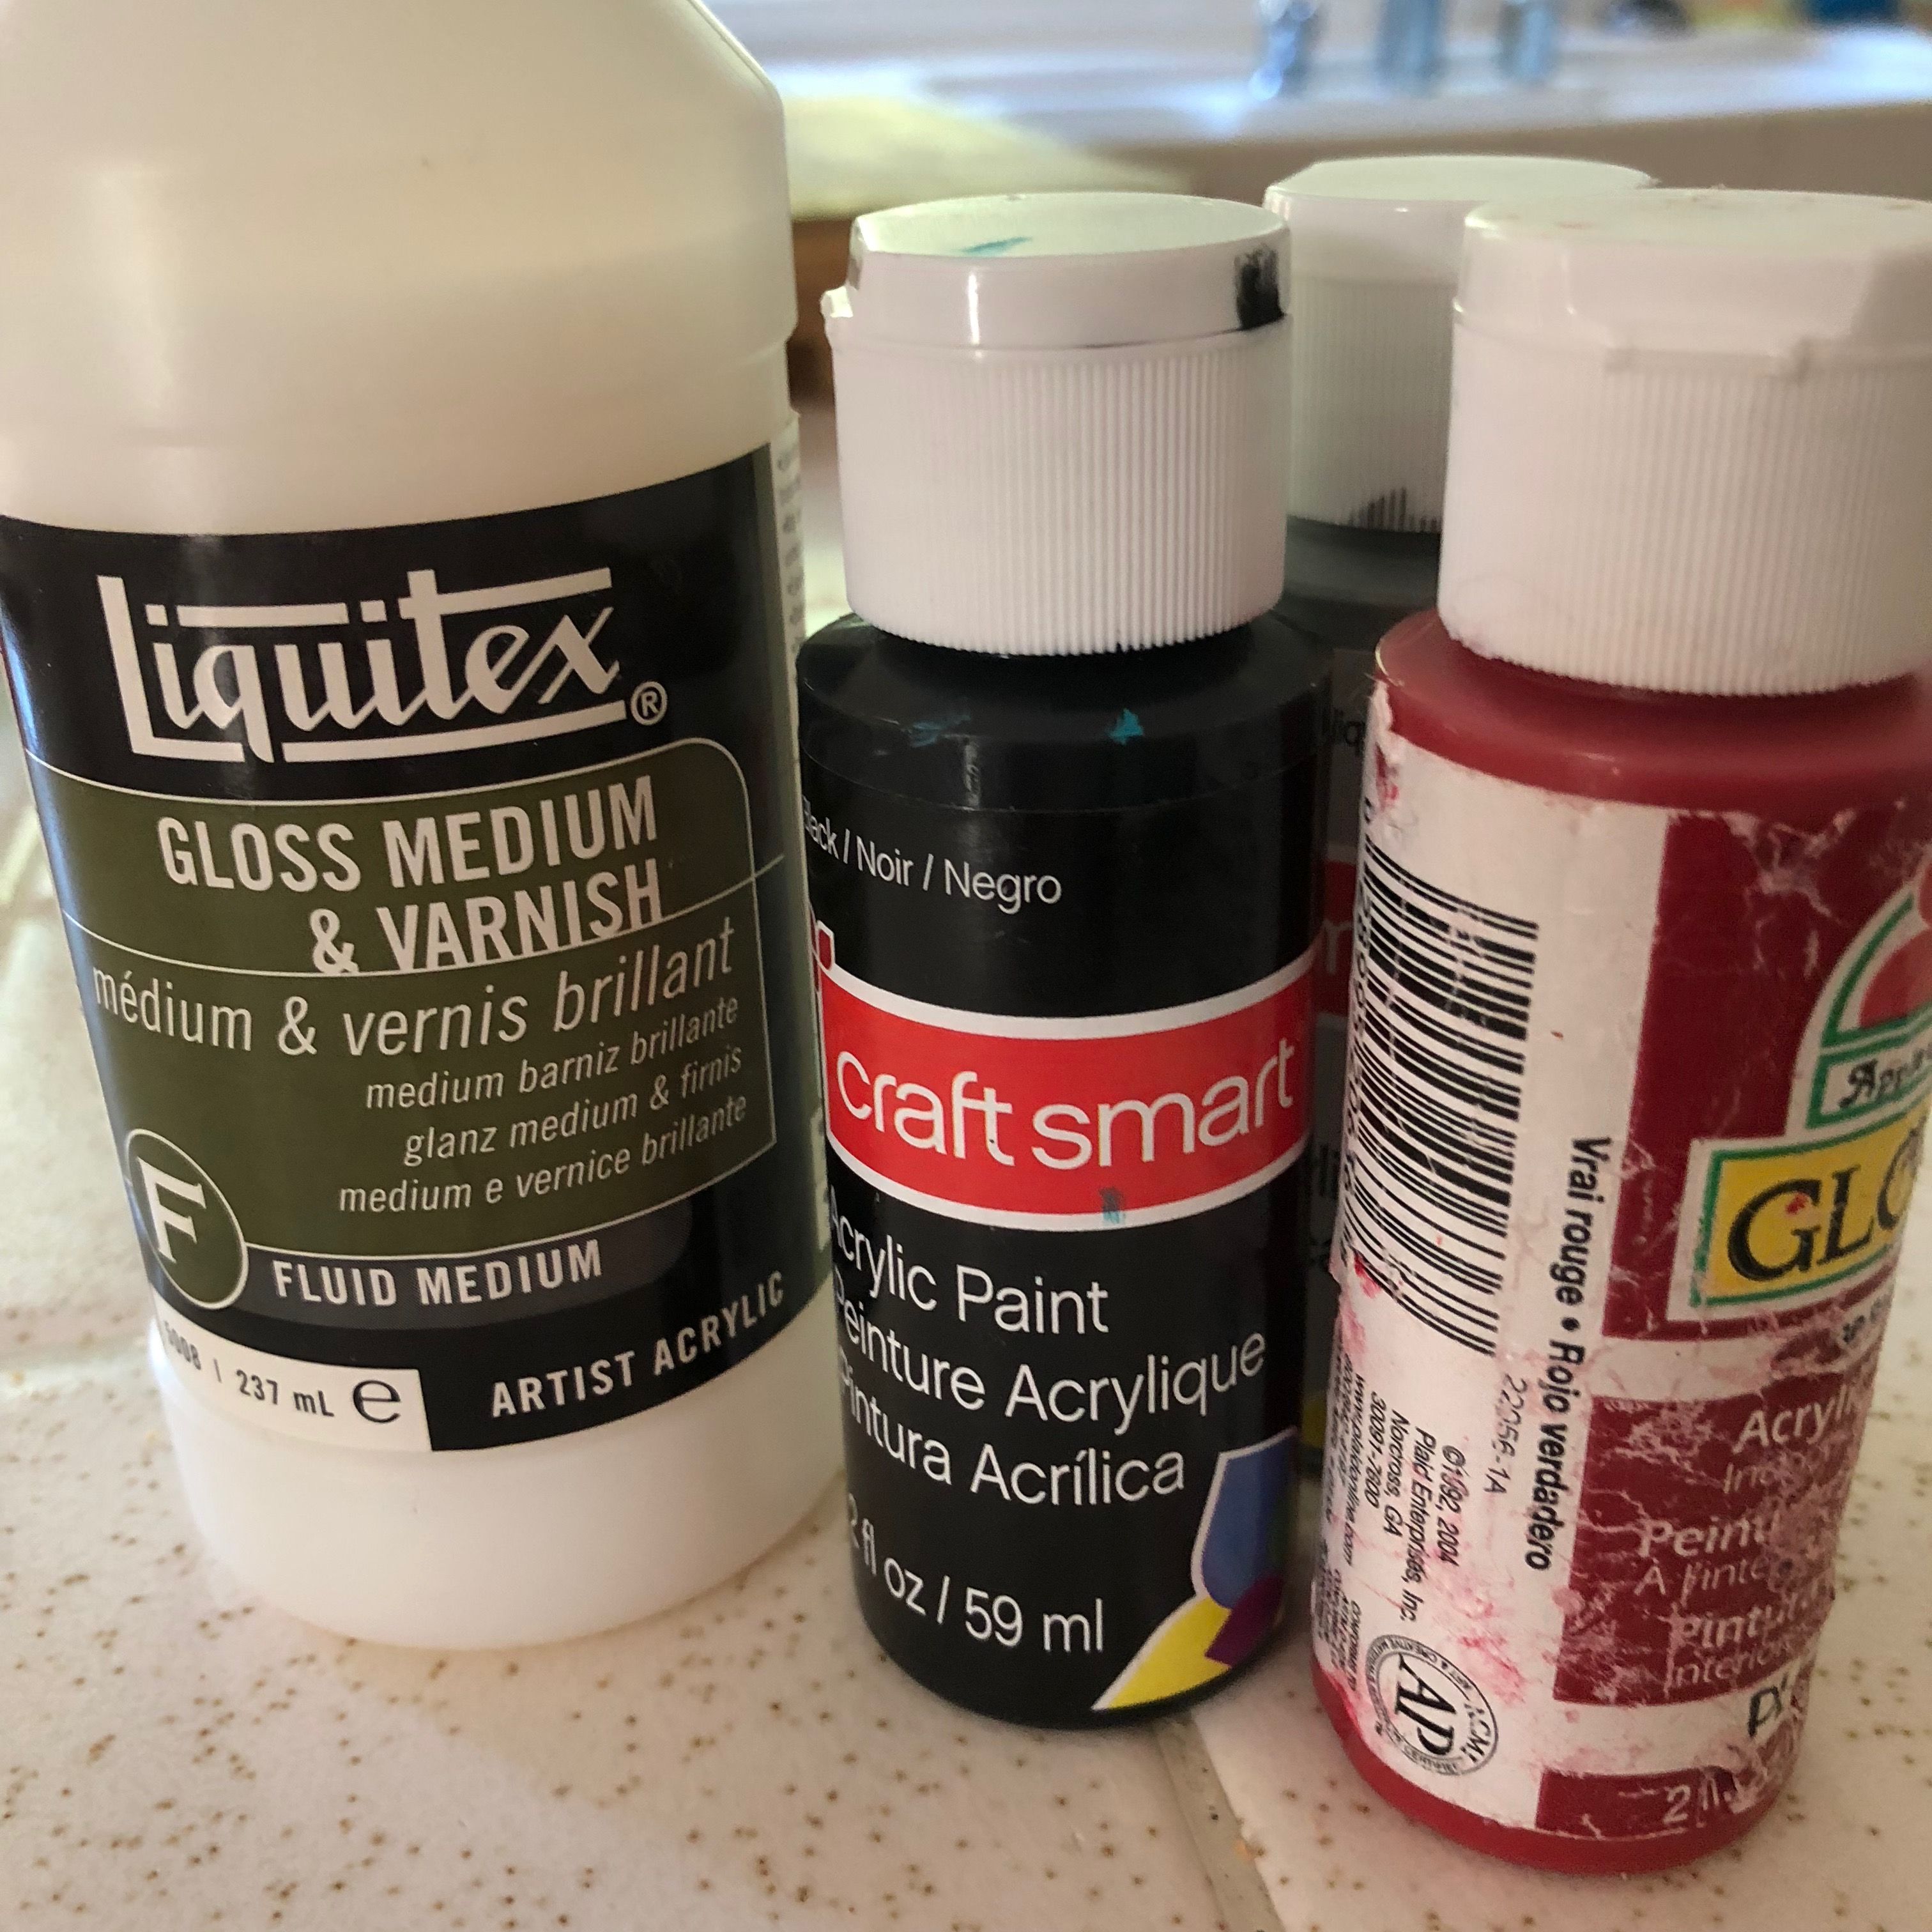
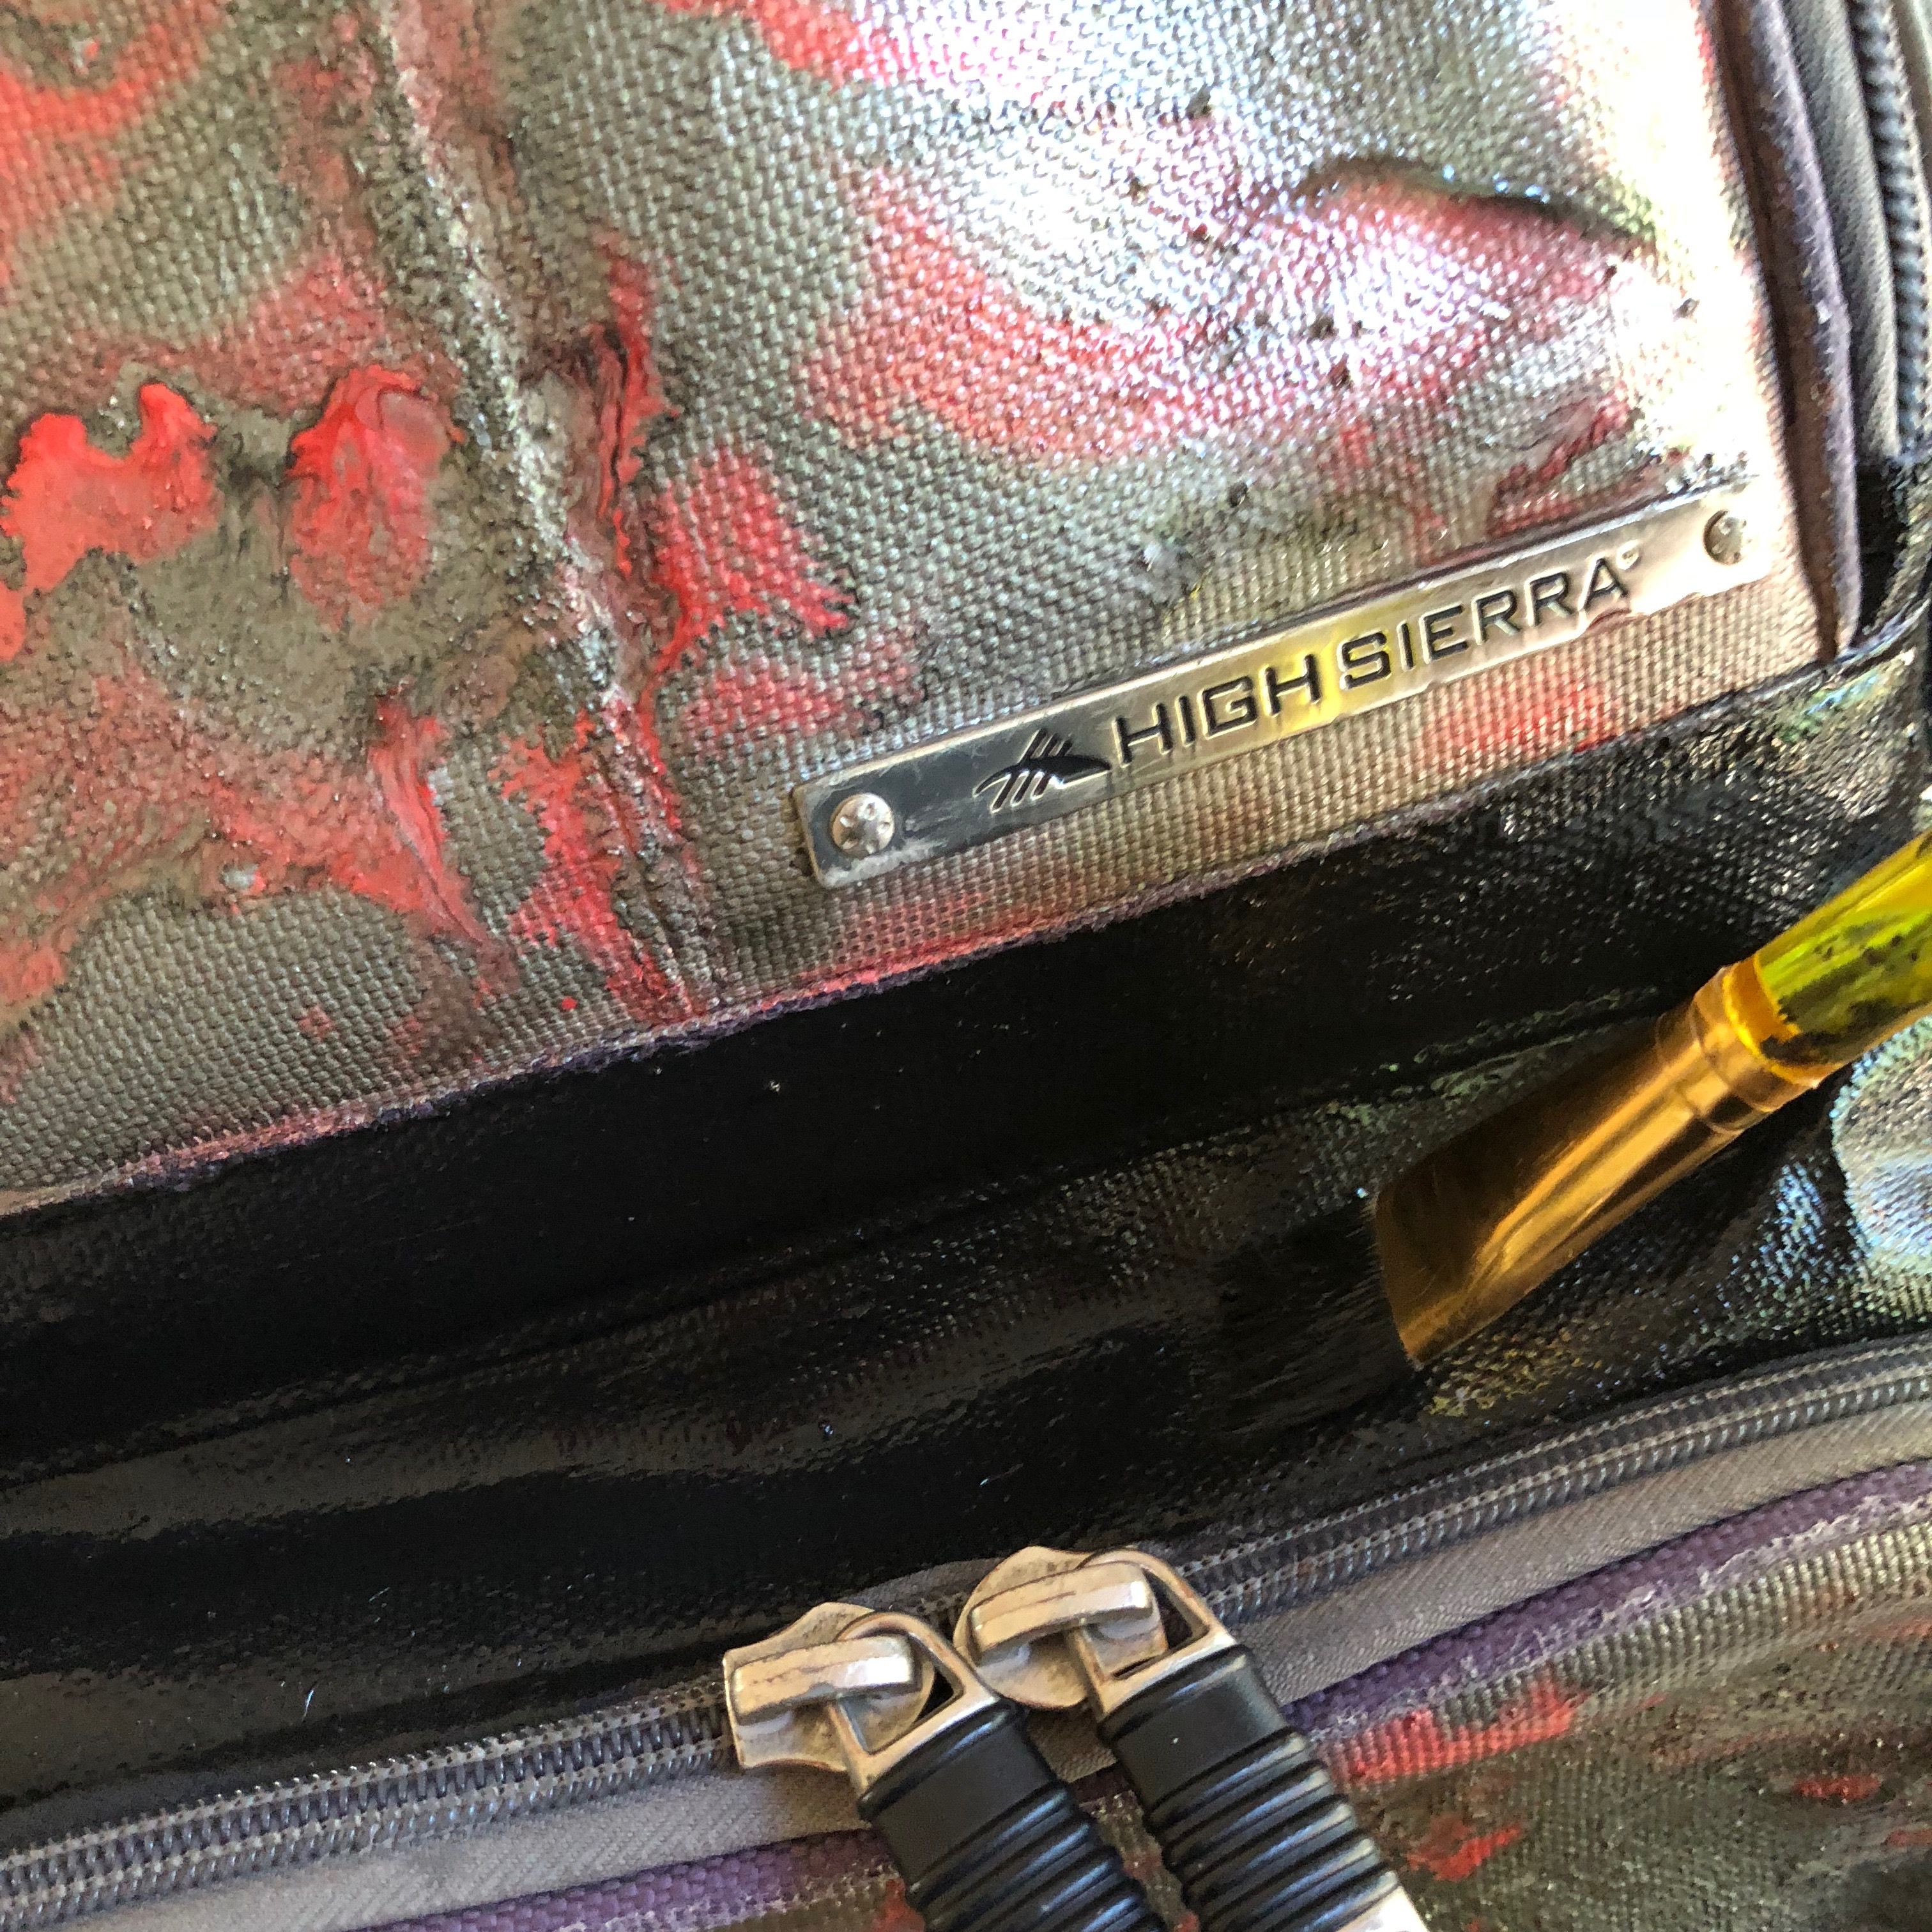
Having done a first pass with the Pebeo paints and the resin, it was time to paint the rest of the backpack. I used red and black acrylic paint mixed with a little gloss medium (so the finish would be a slightly shiny).
I used the construction of the backpack itself to dictate my design, and decided to paint the panels as color blocks. The piping would come later.
I started with black.
Black Panels
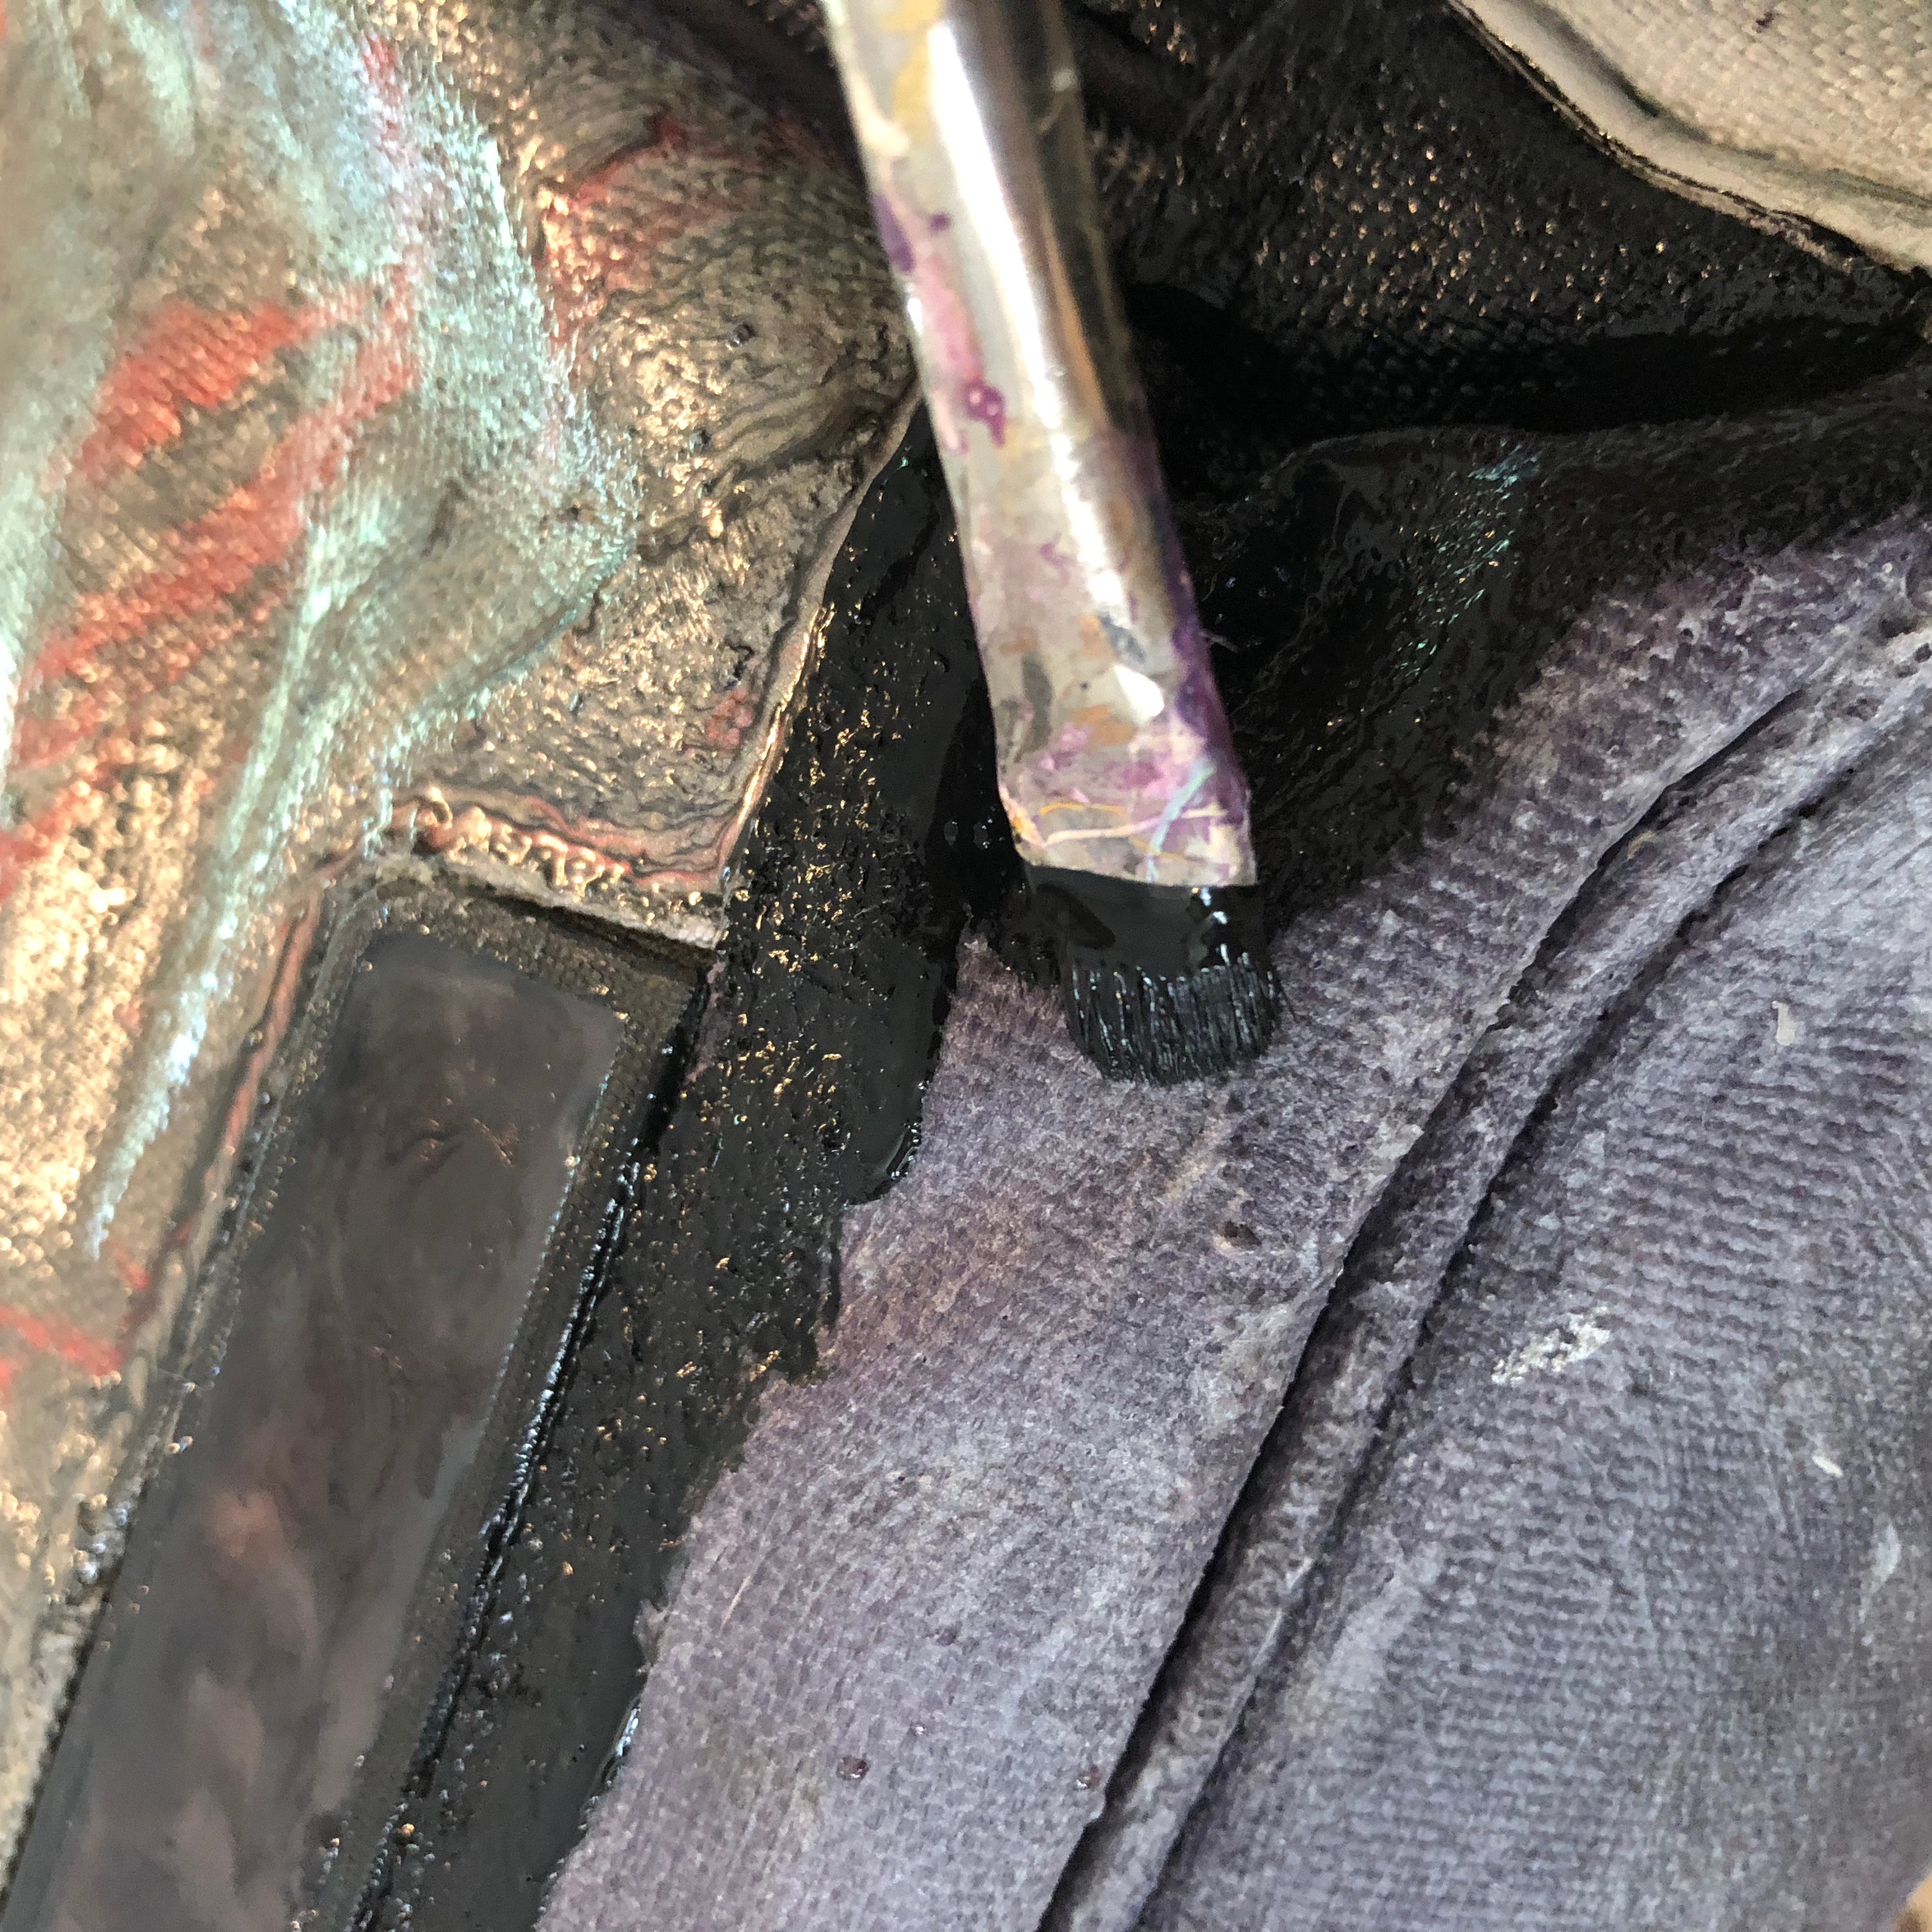
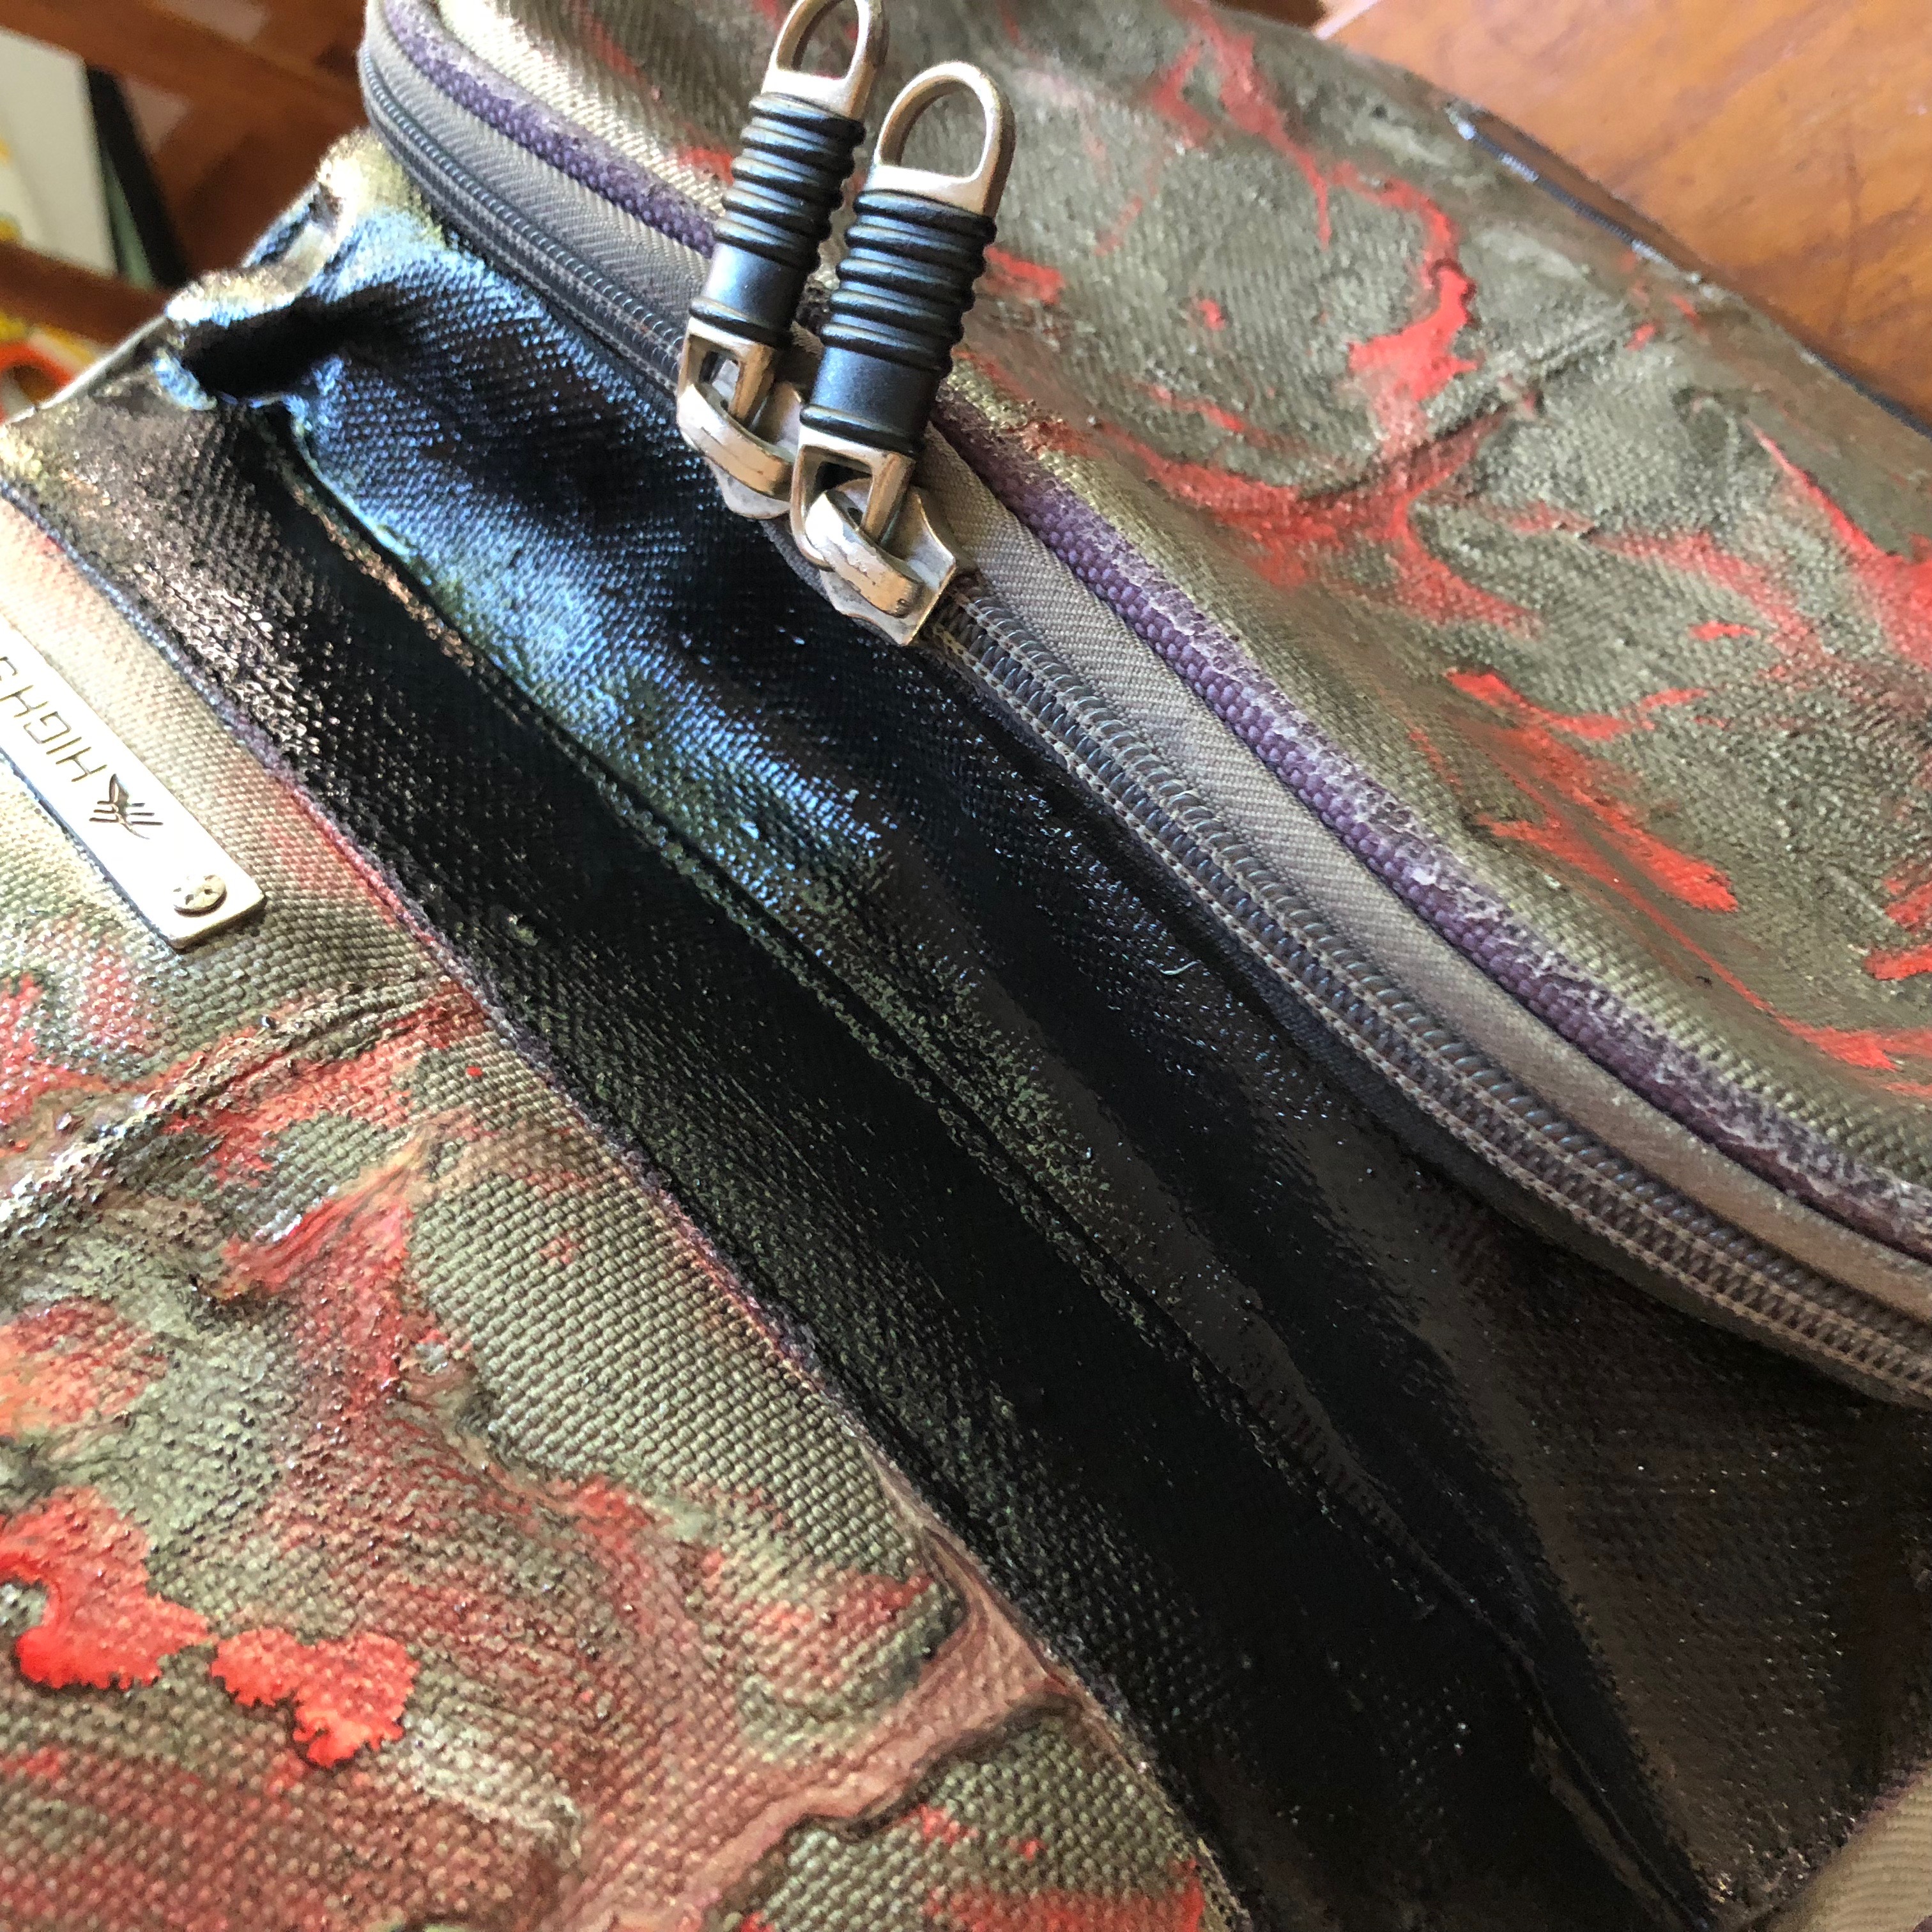
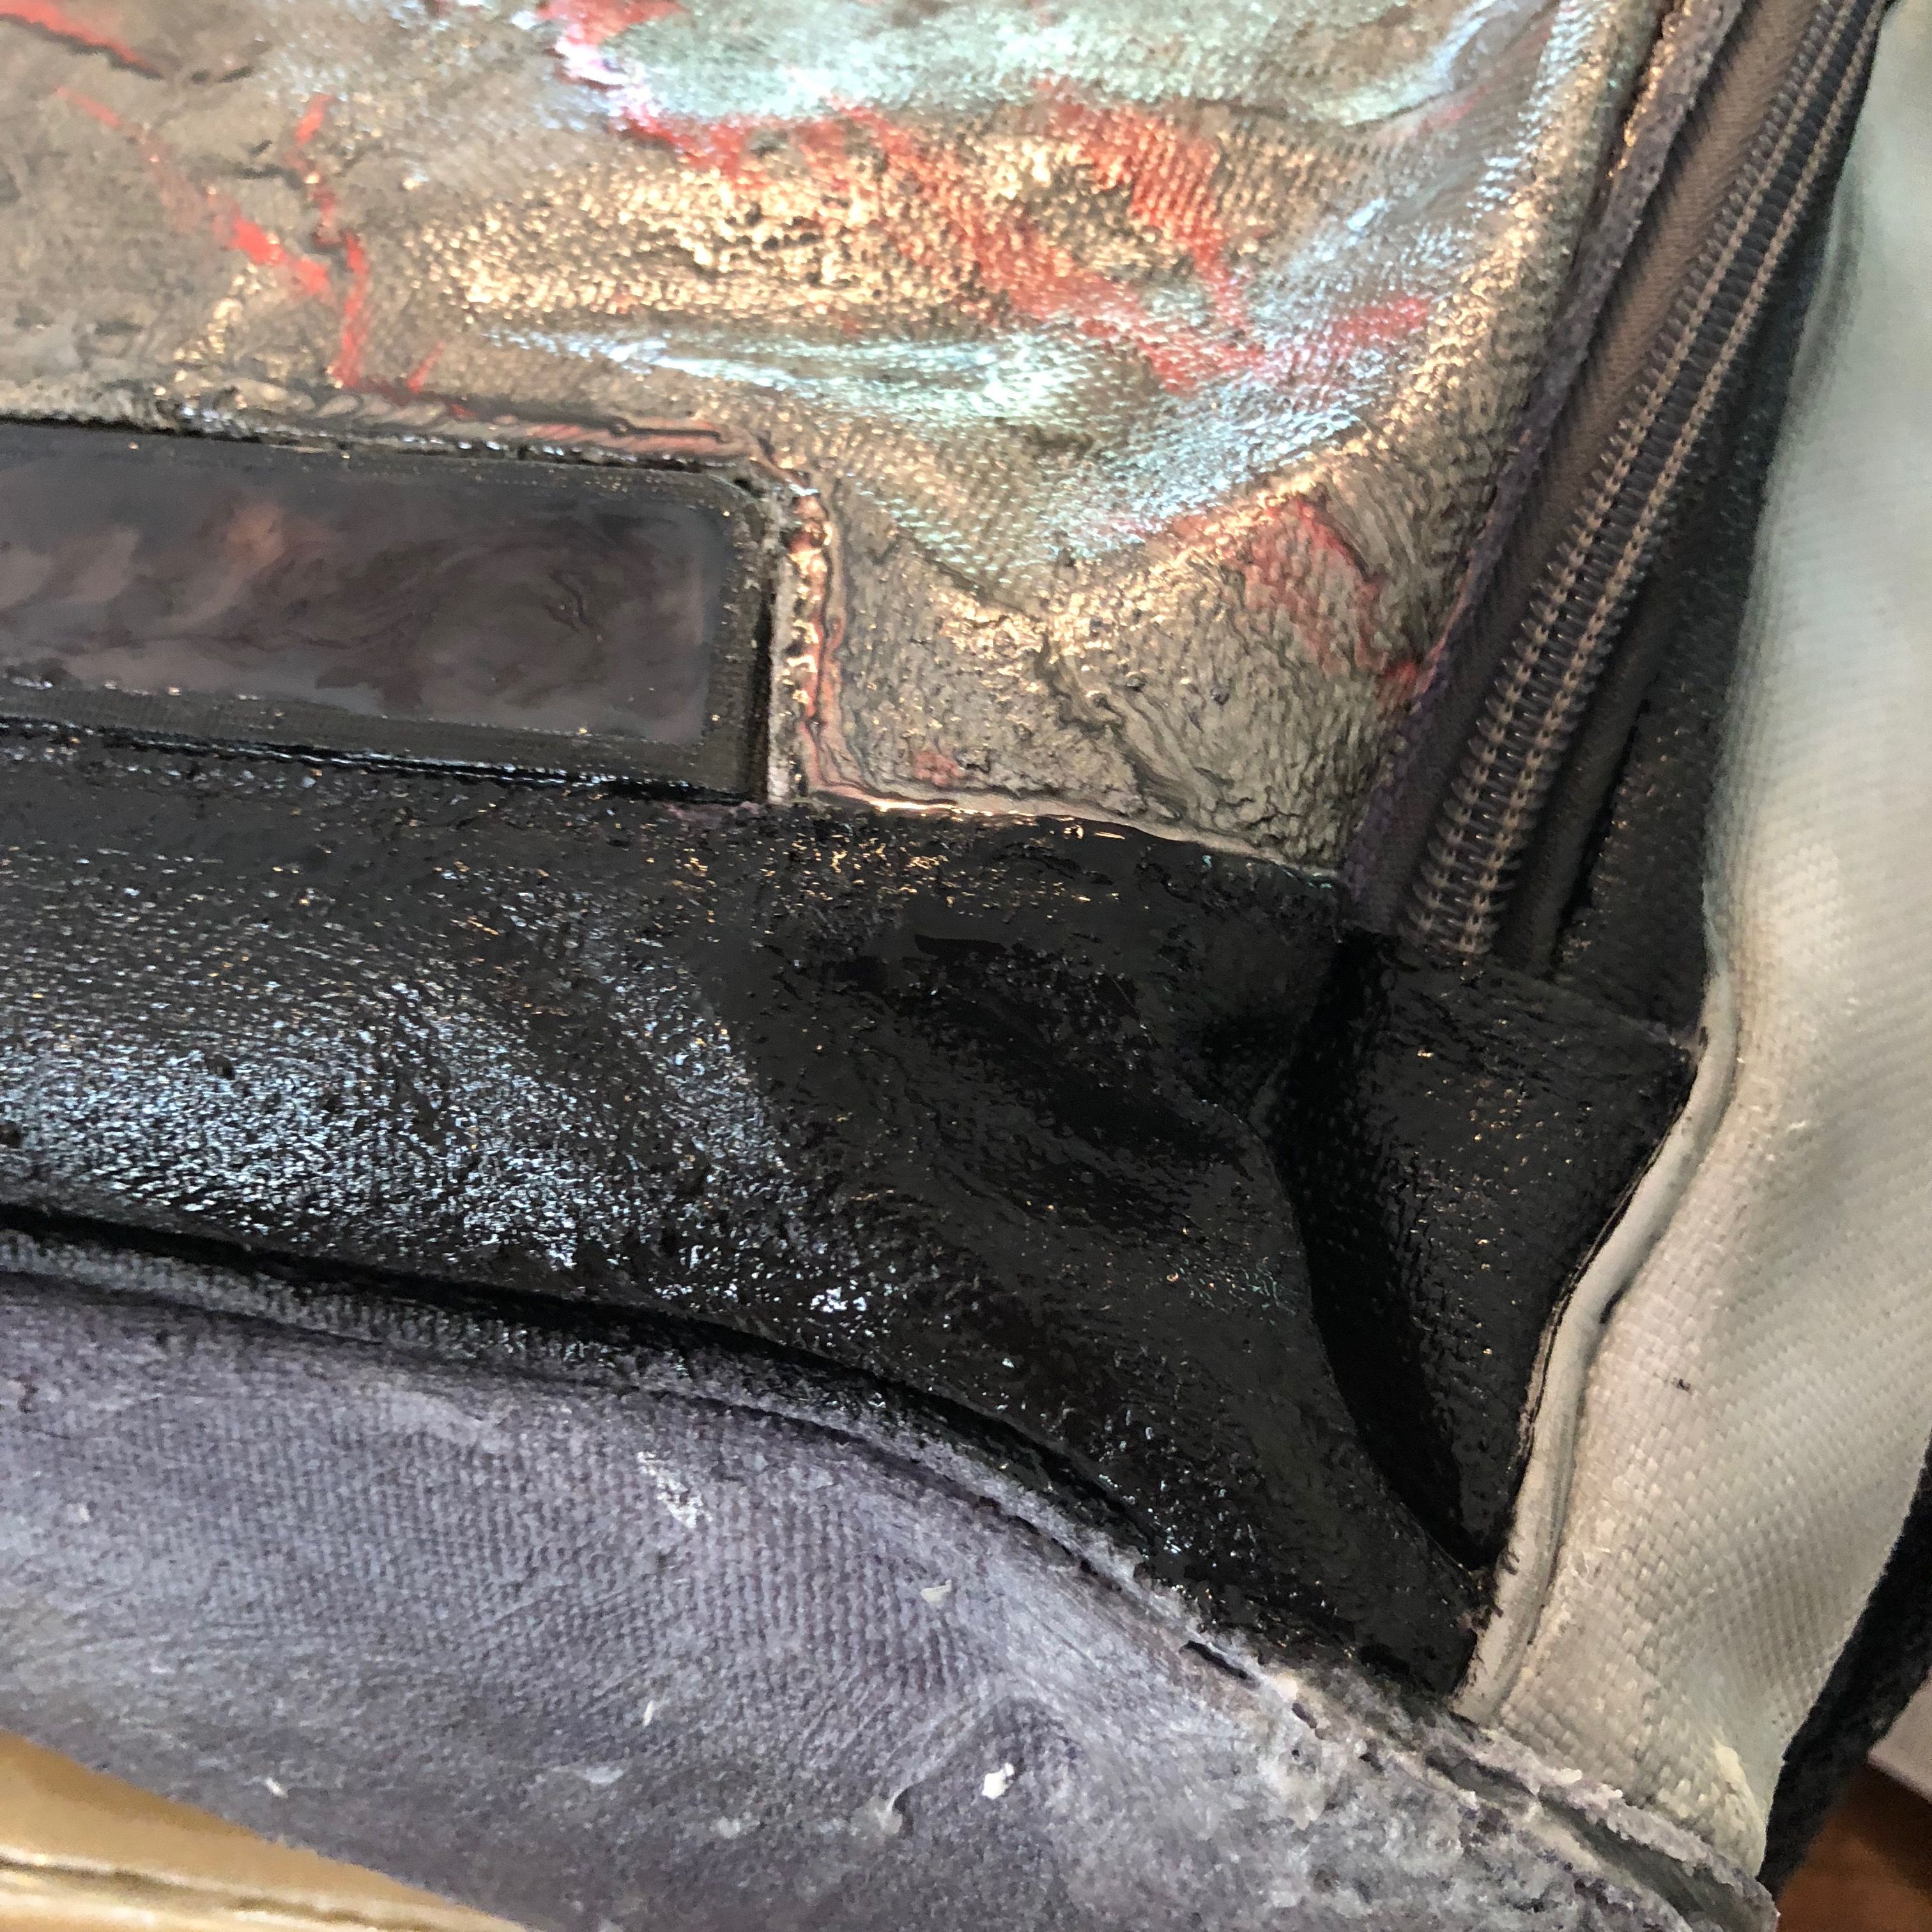
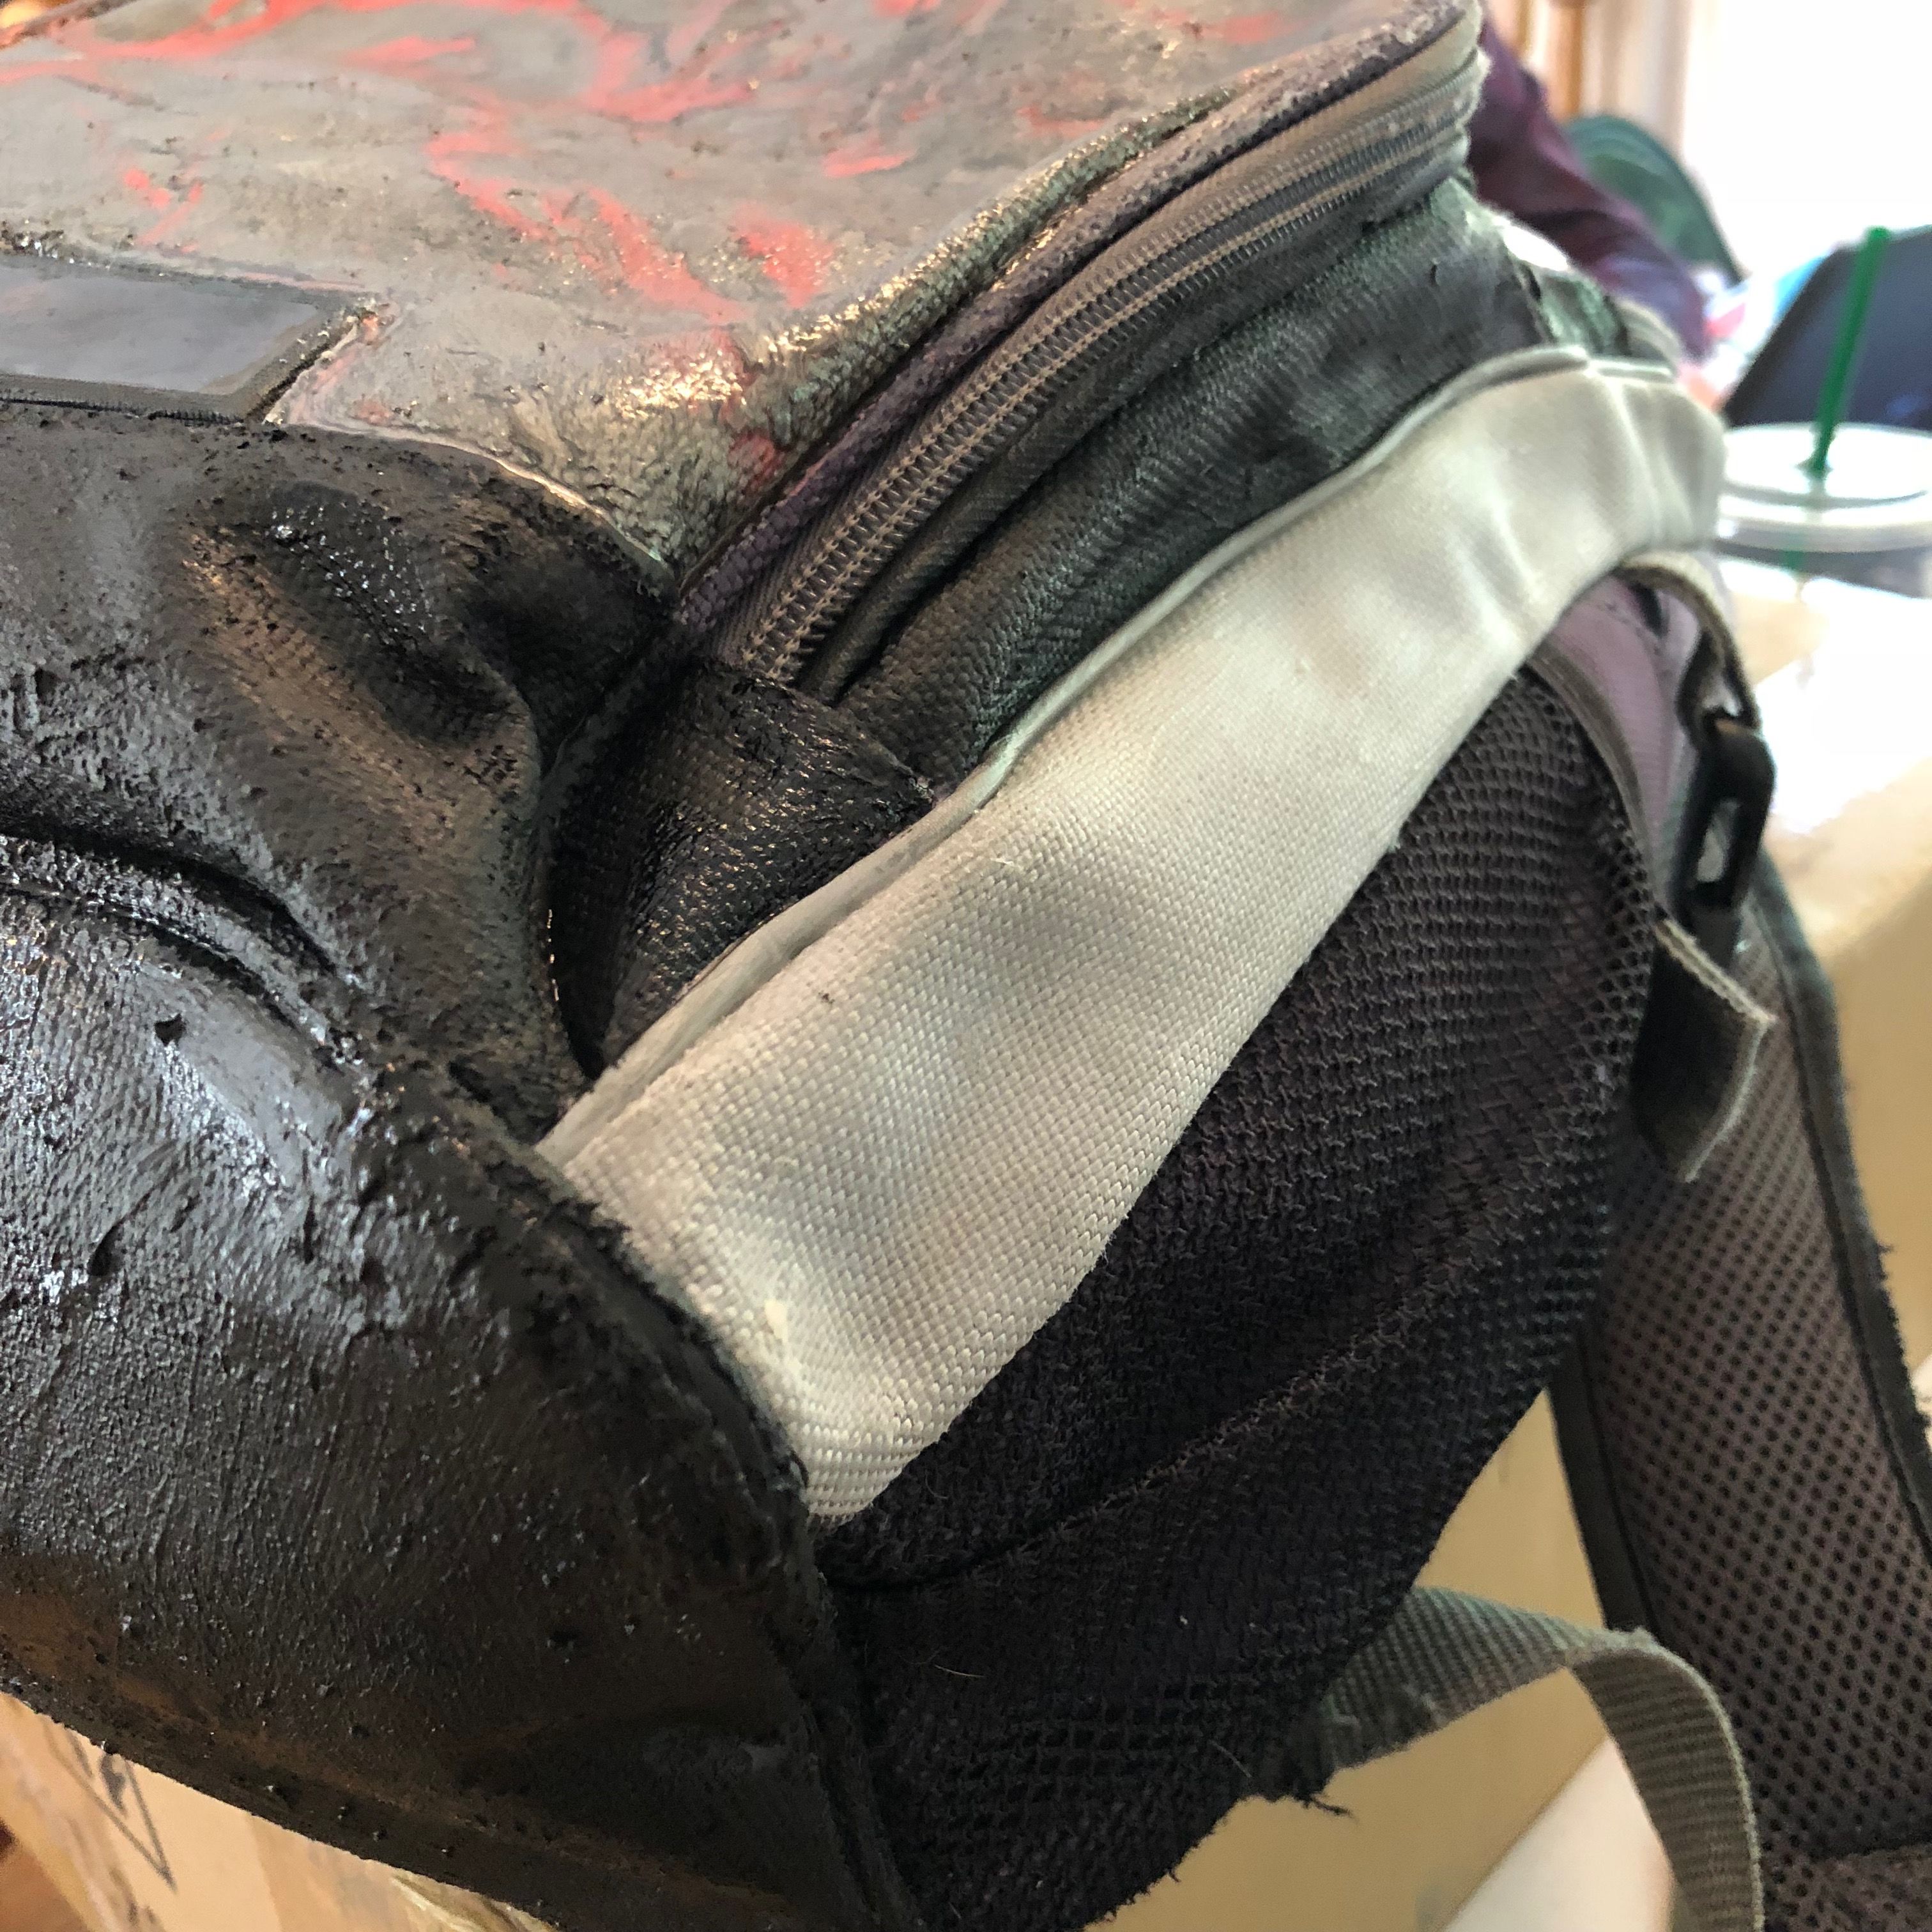
I taped the straps and pull tabs out of the way where necessary.
Red
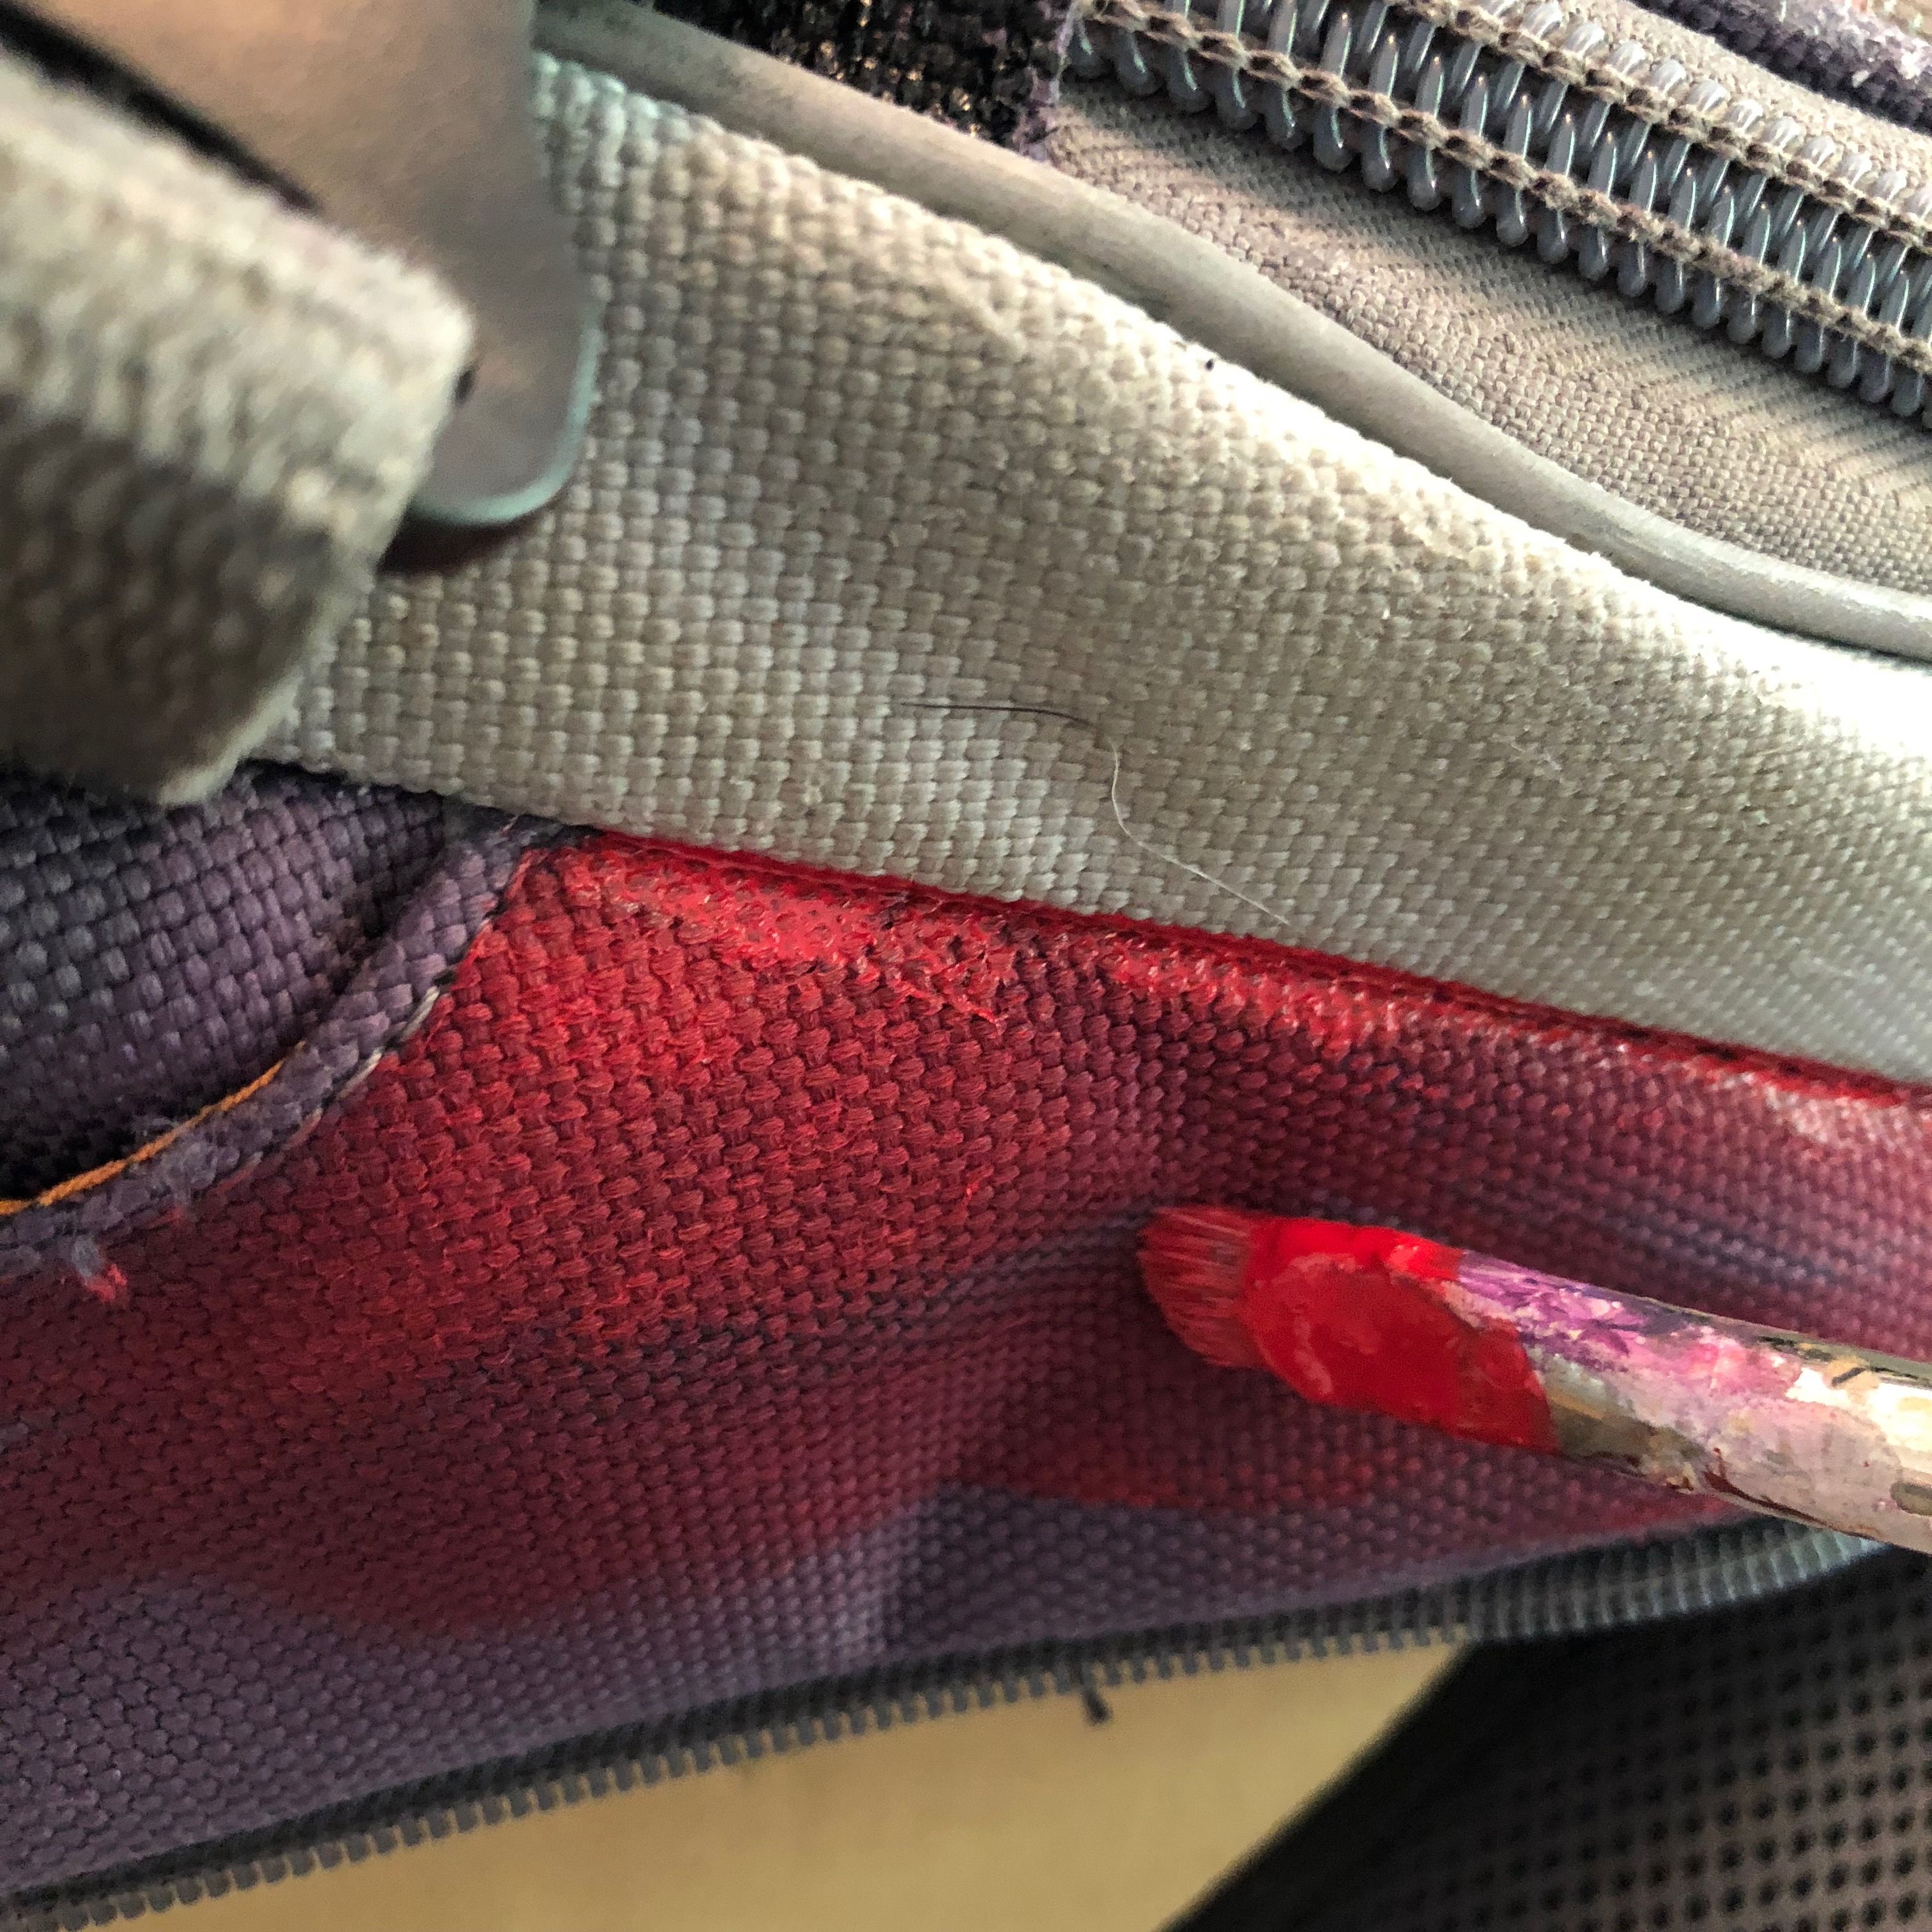
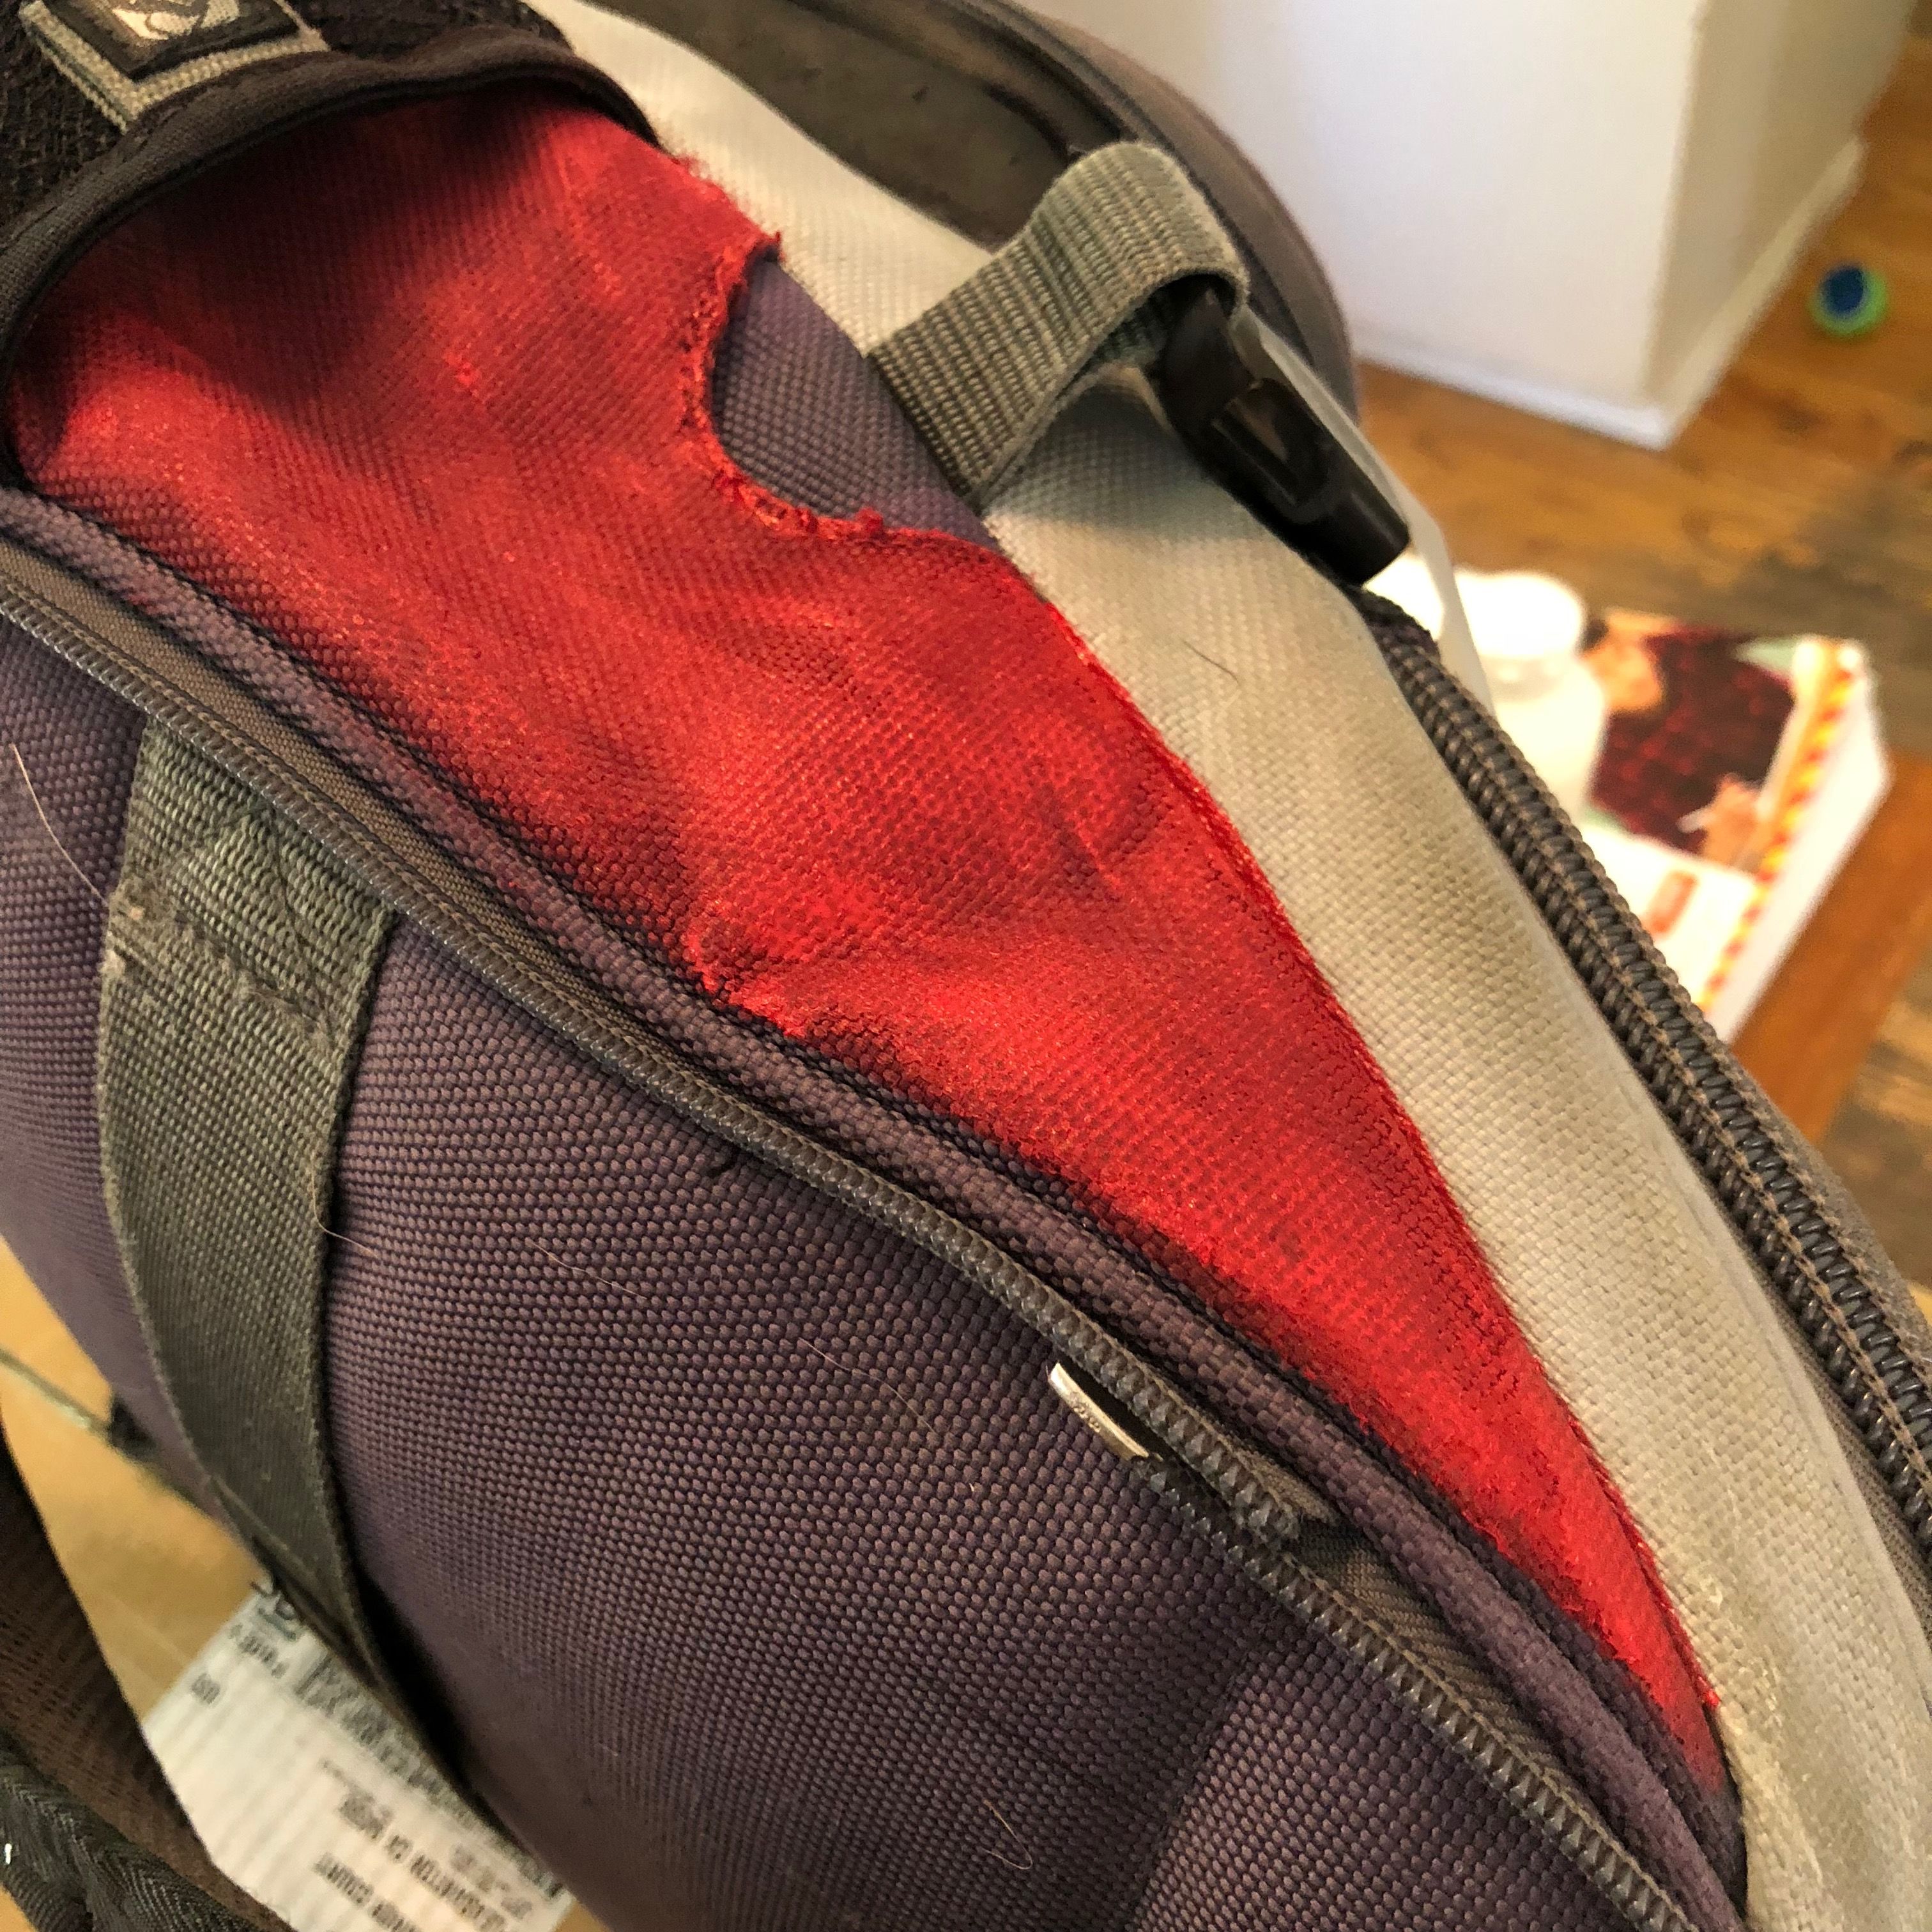
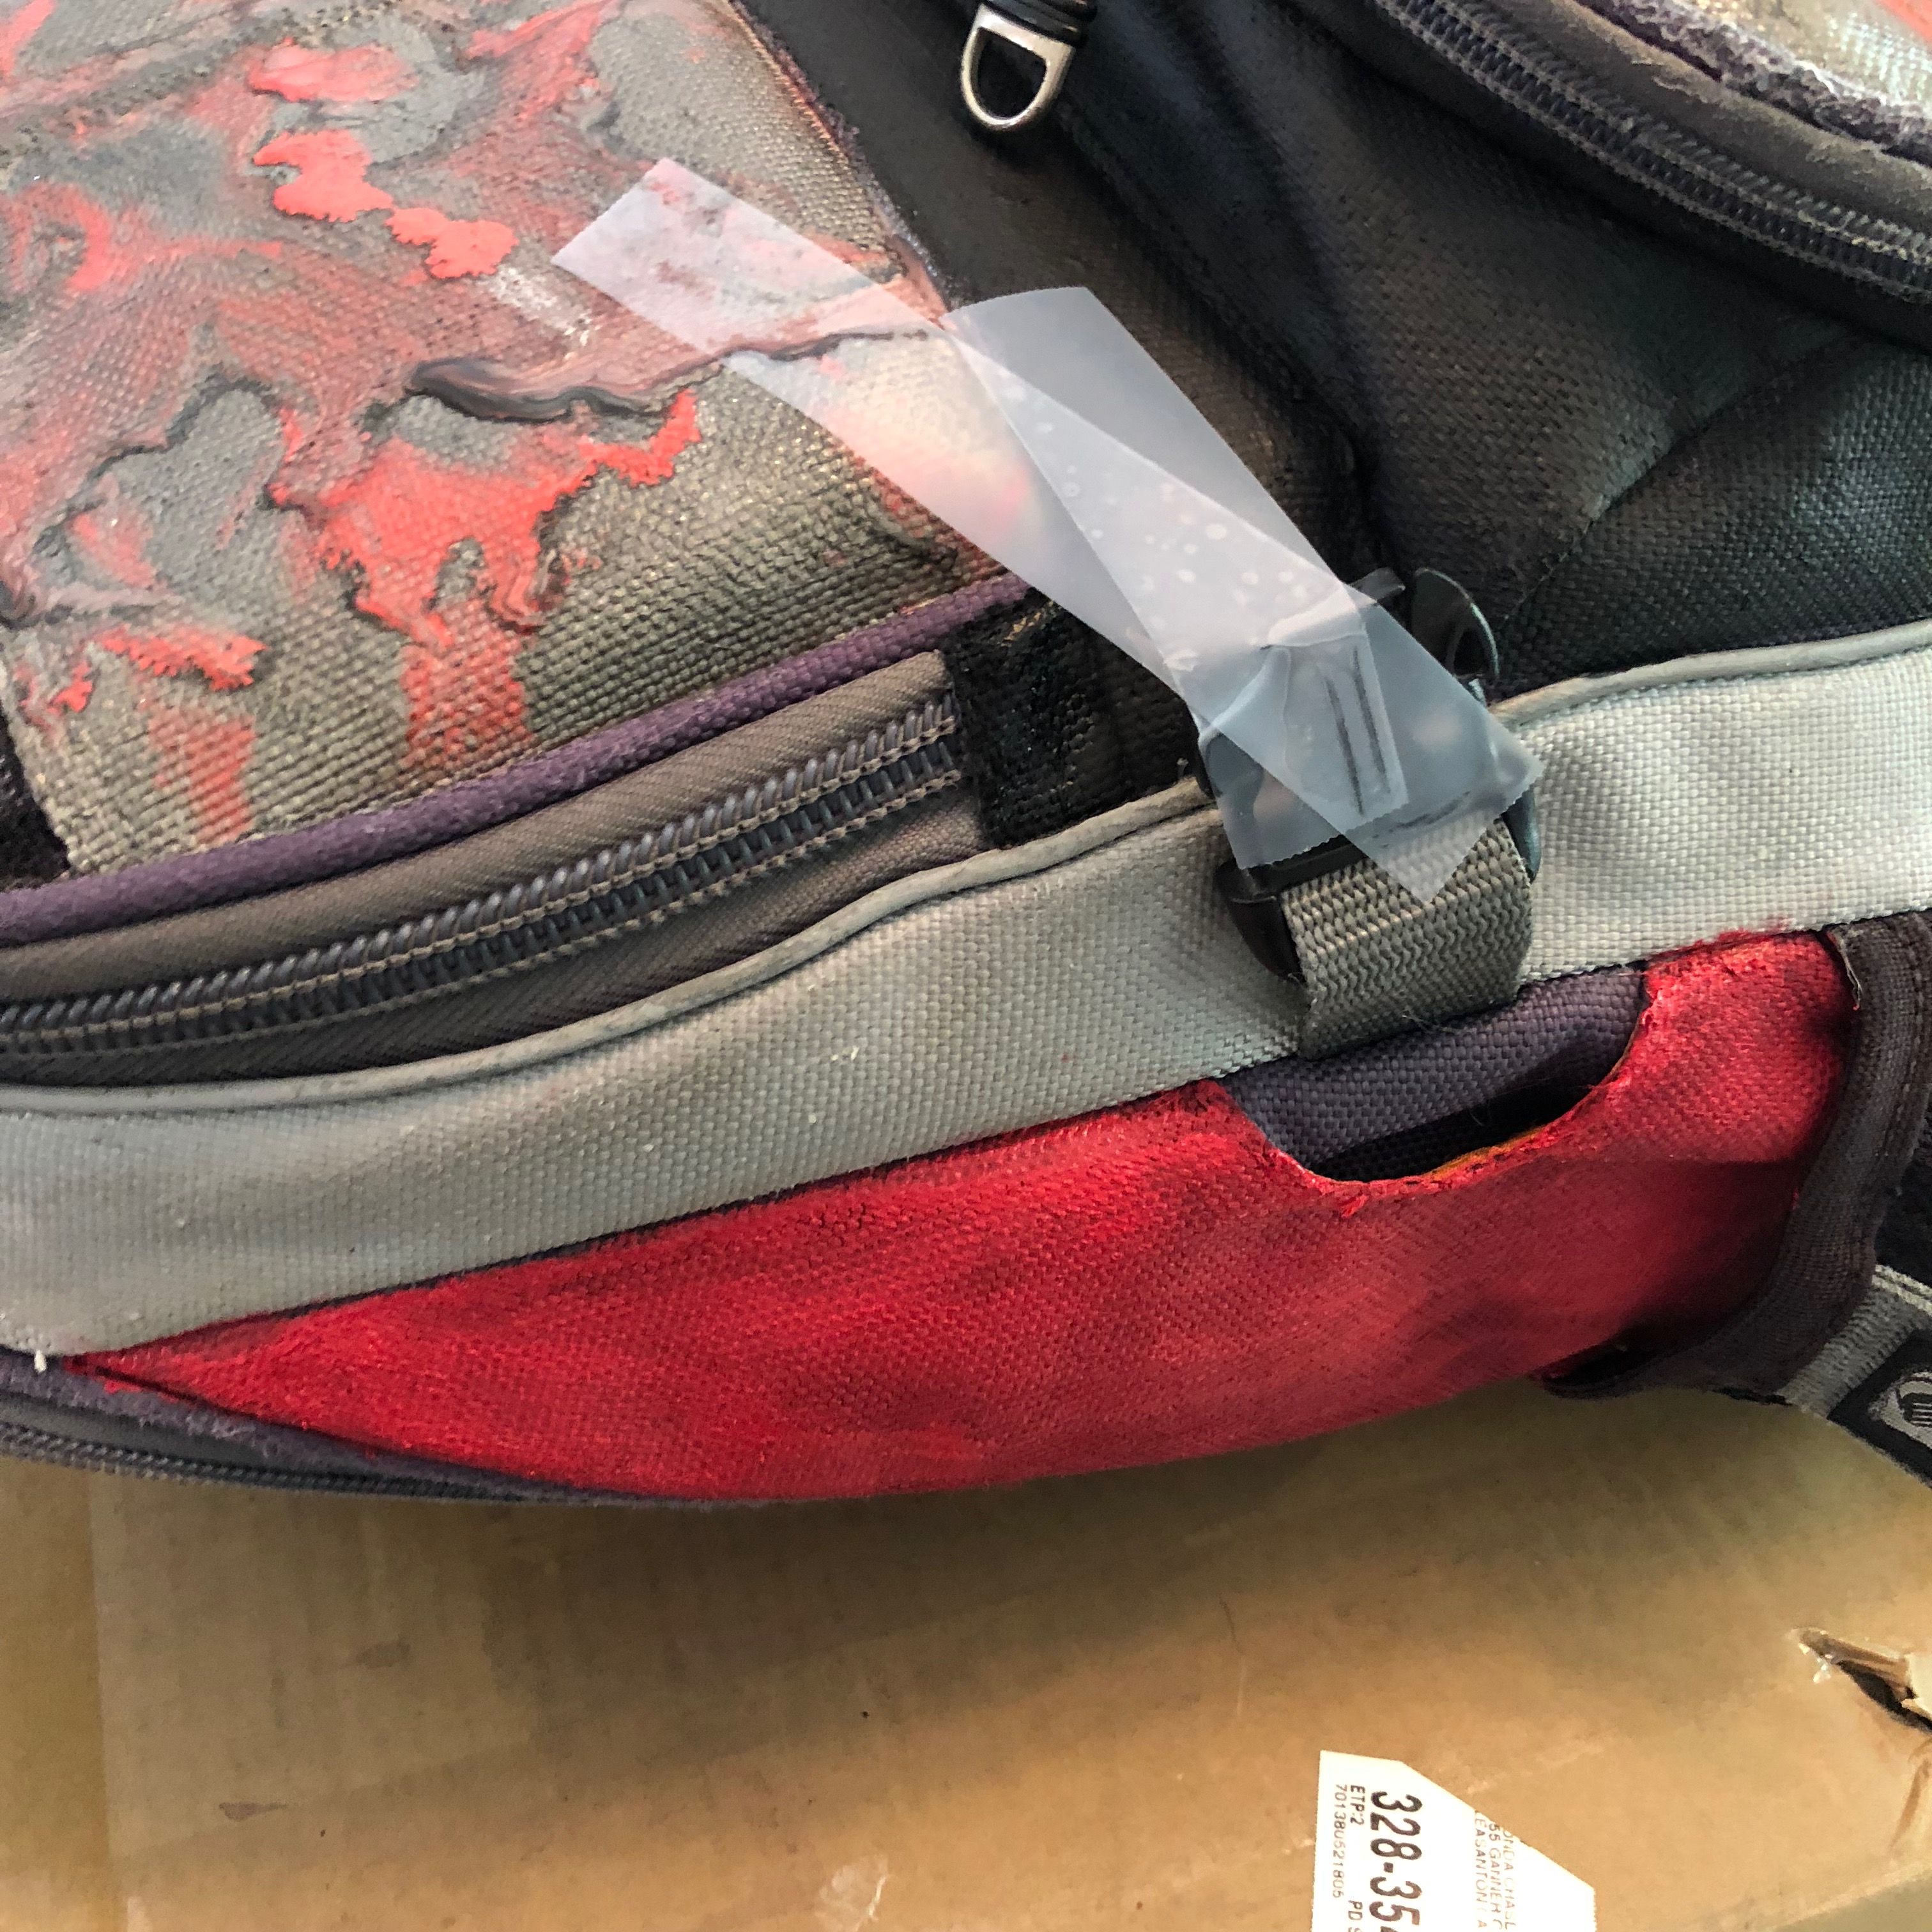
Then red.
I didn't want too much red, so the triangular gusset made the perfect accent.
Cover the Damage
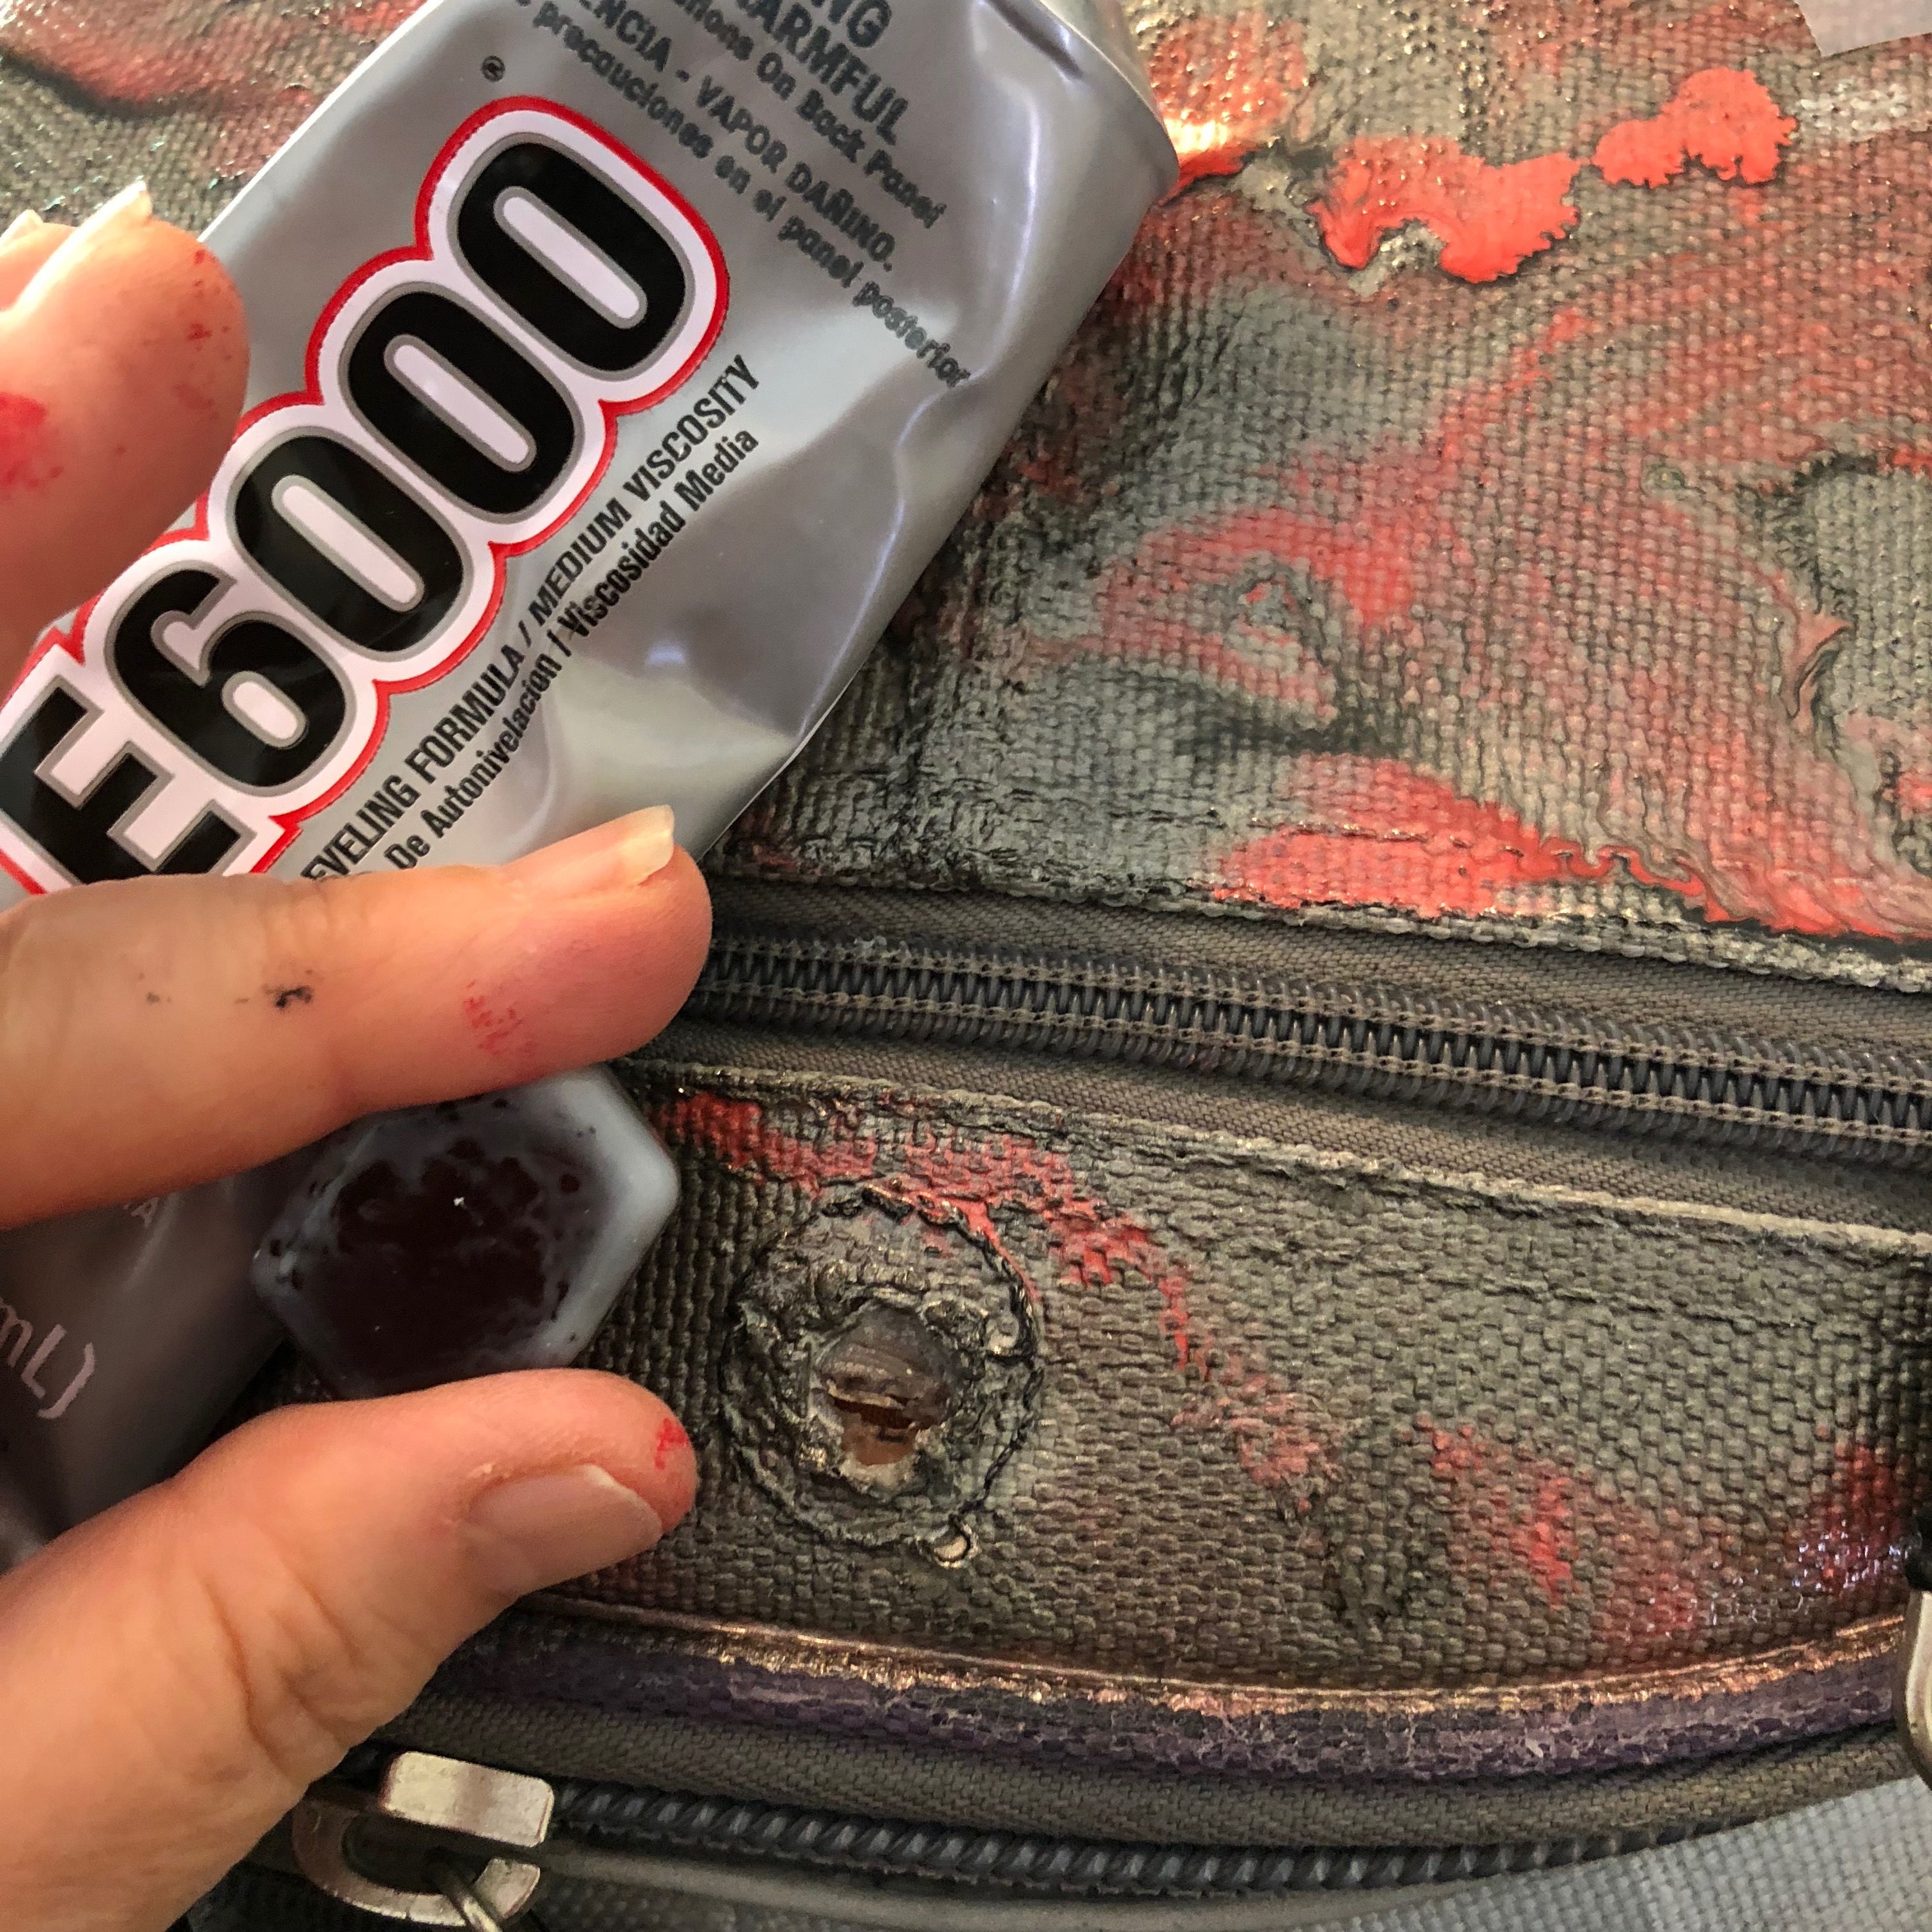
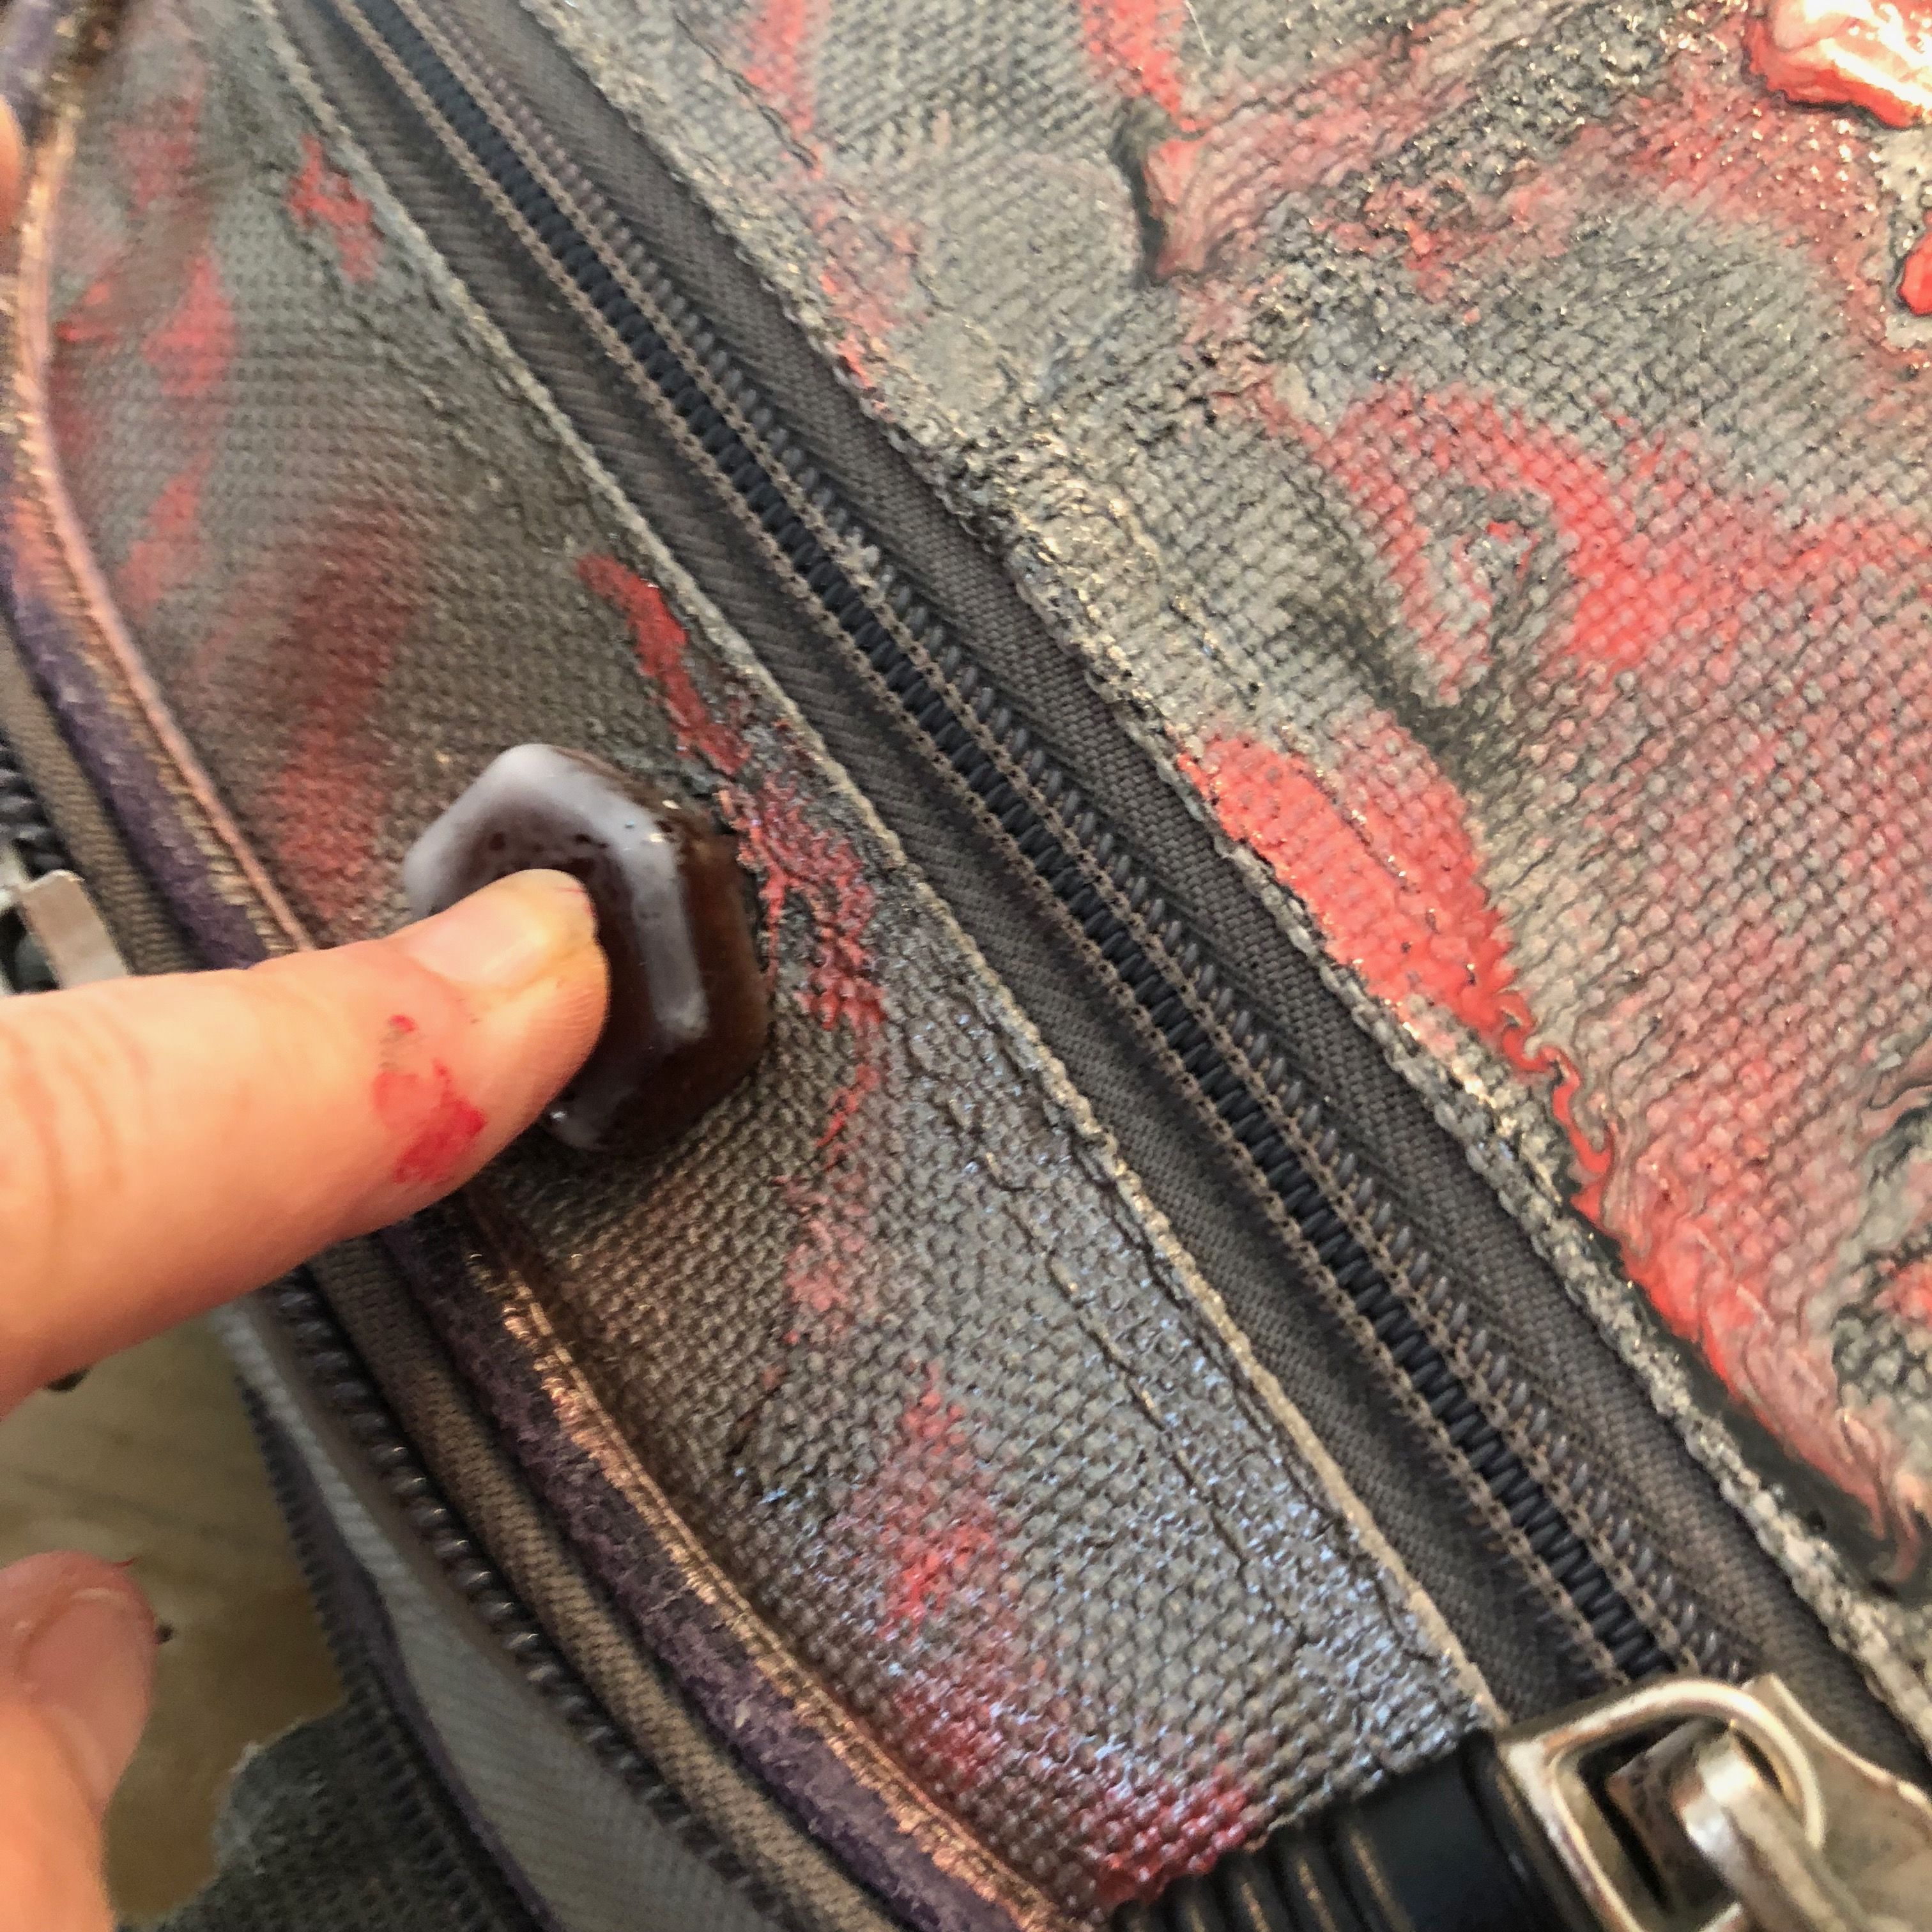
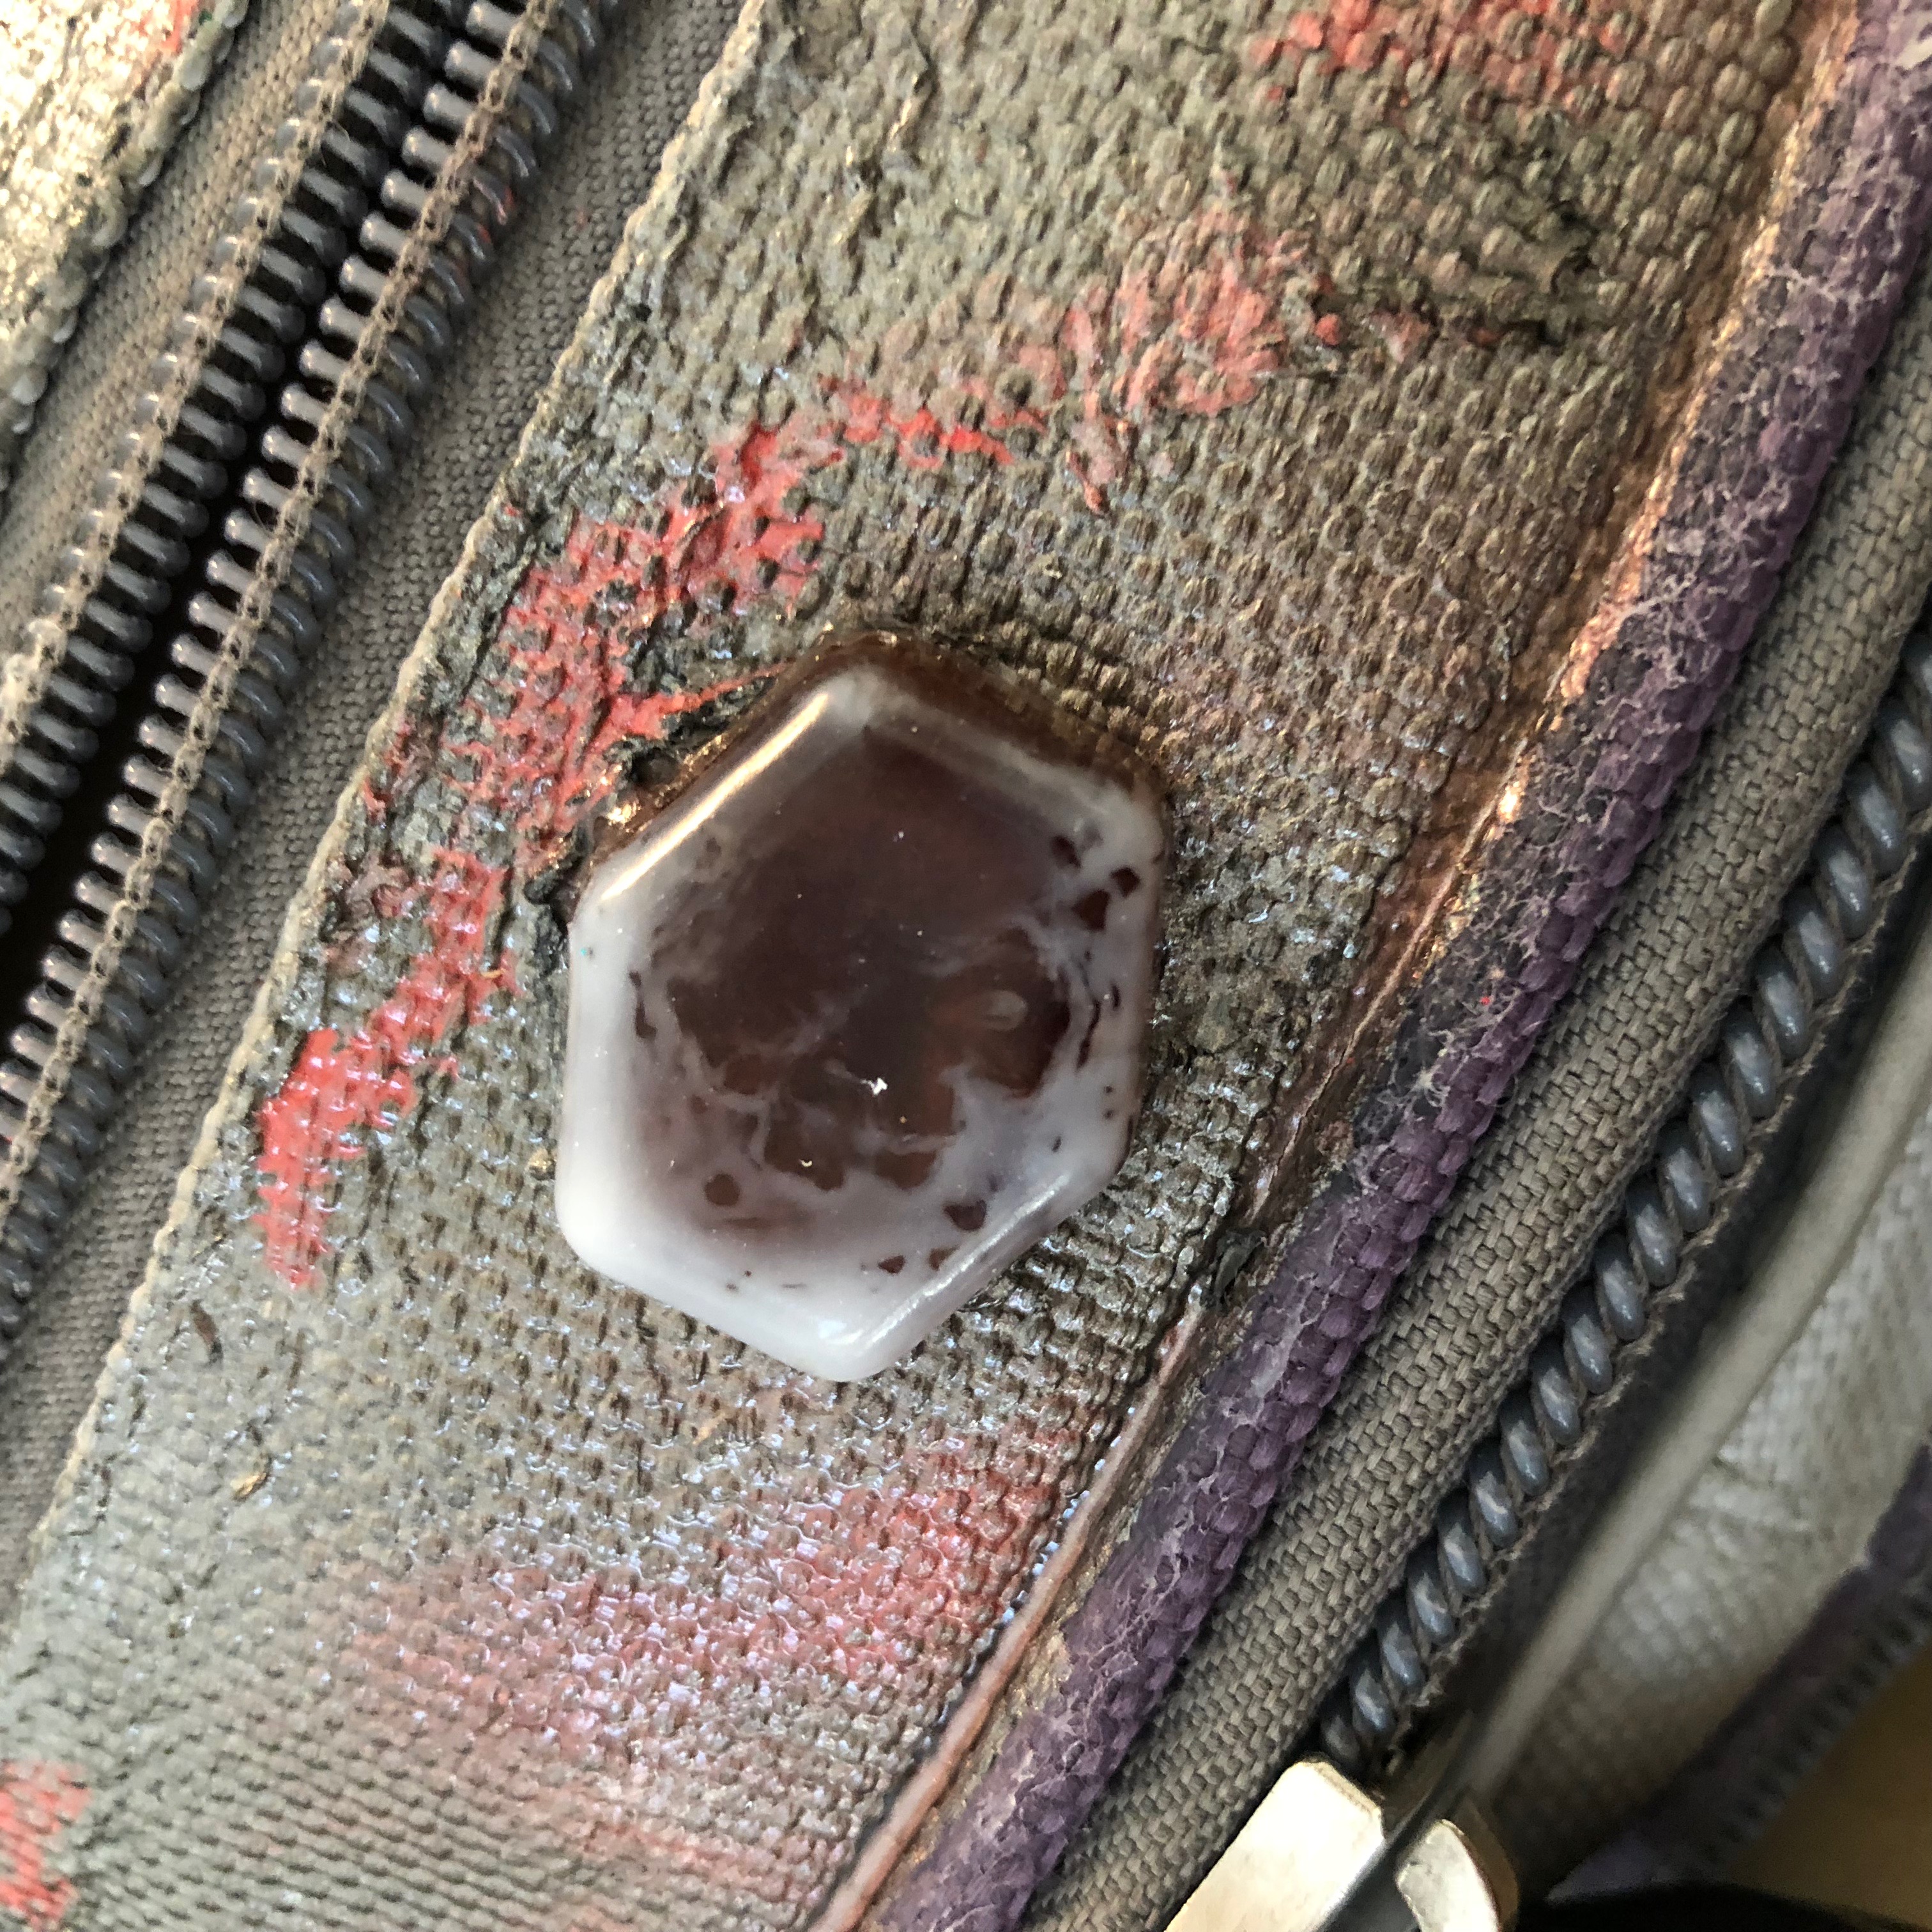
I popped out the three resin gem pieces I made and tried them over the hole at the top of the pack. I chose the one in this photo and decided not to use the rest.
Using a thick layer of E600, I glued the "gem" in place over the hole.
Sand
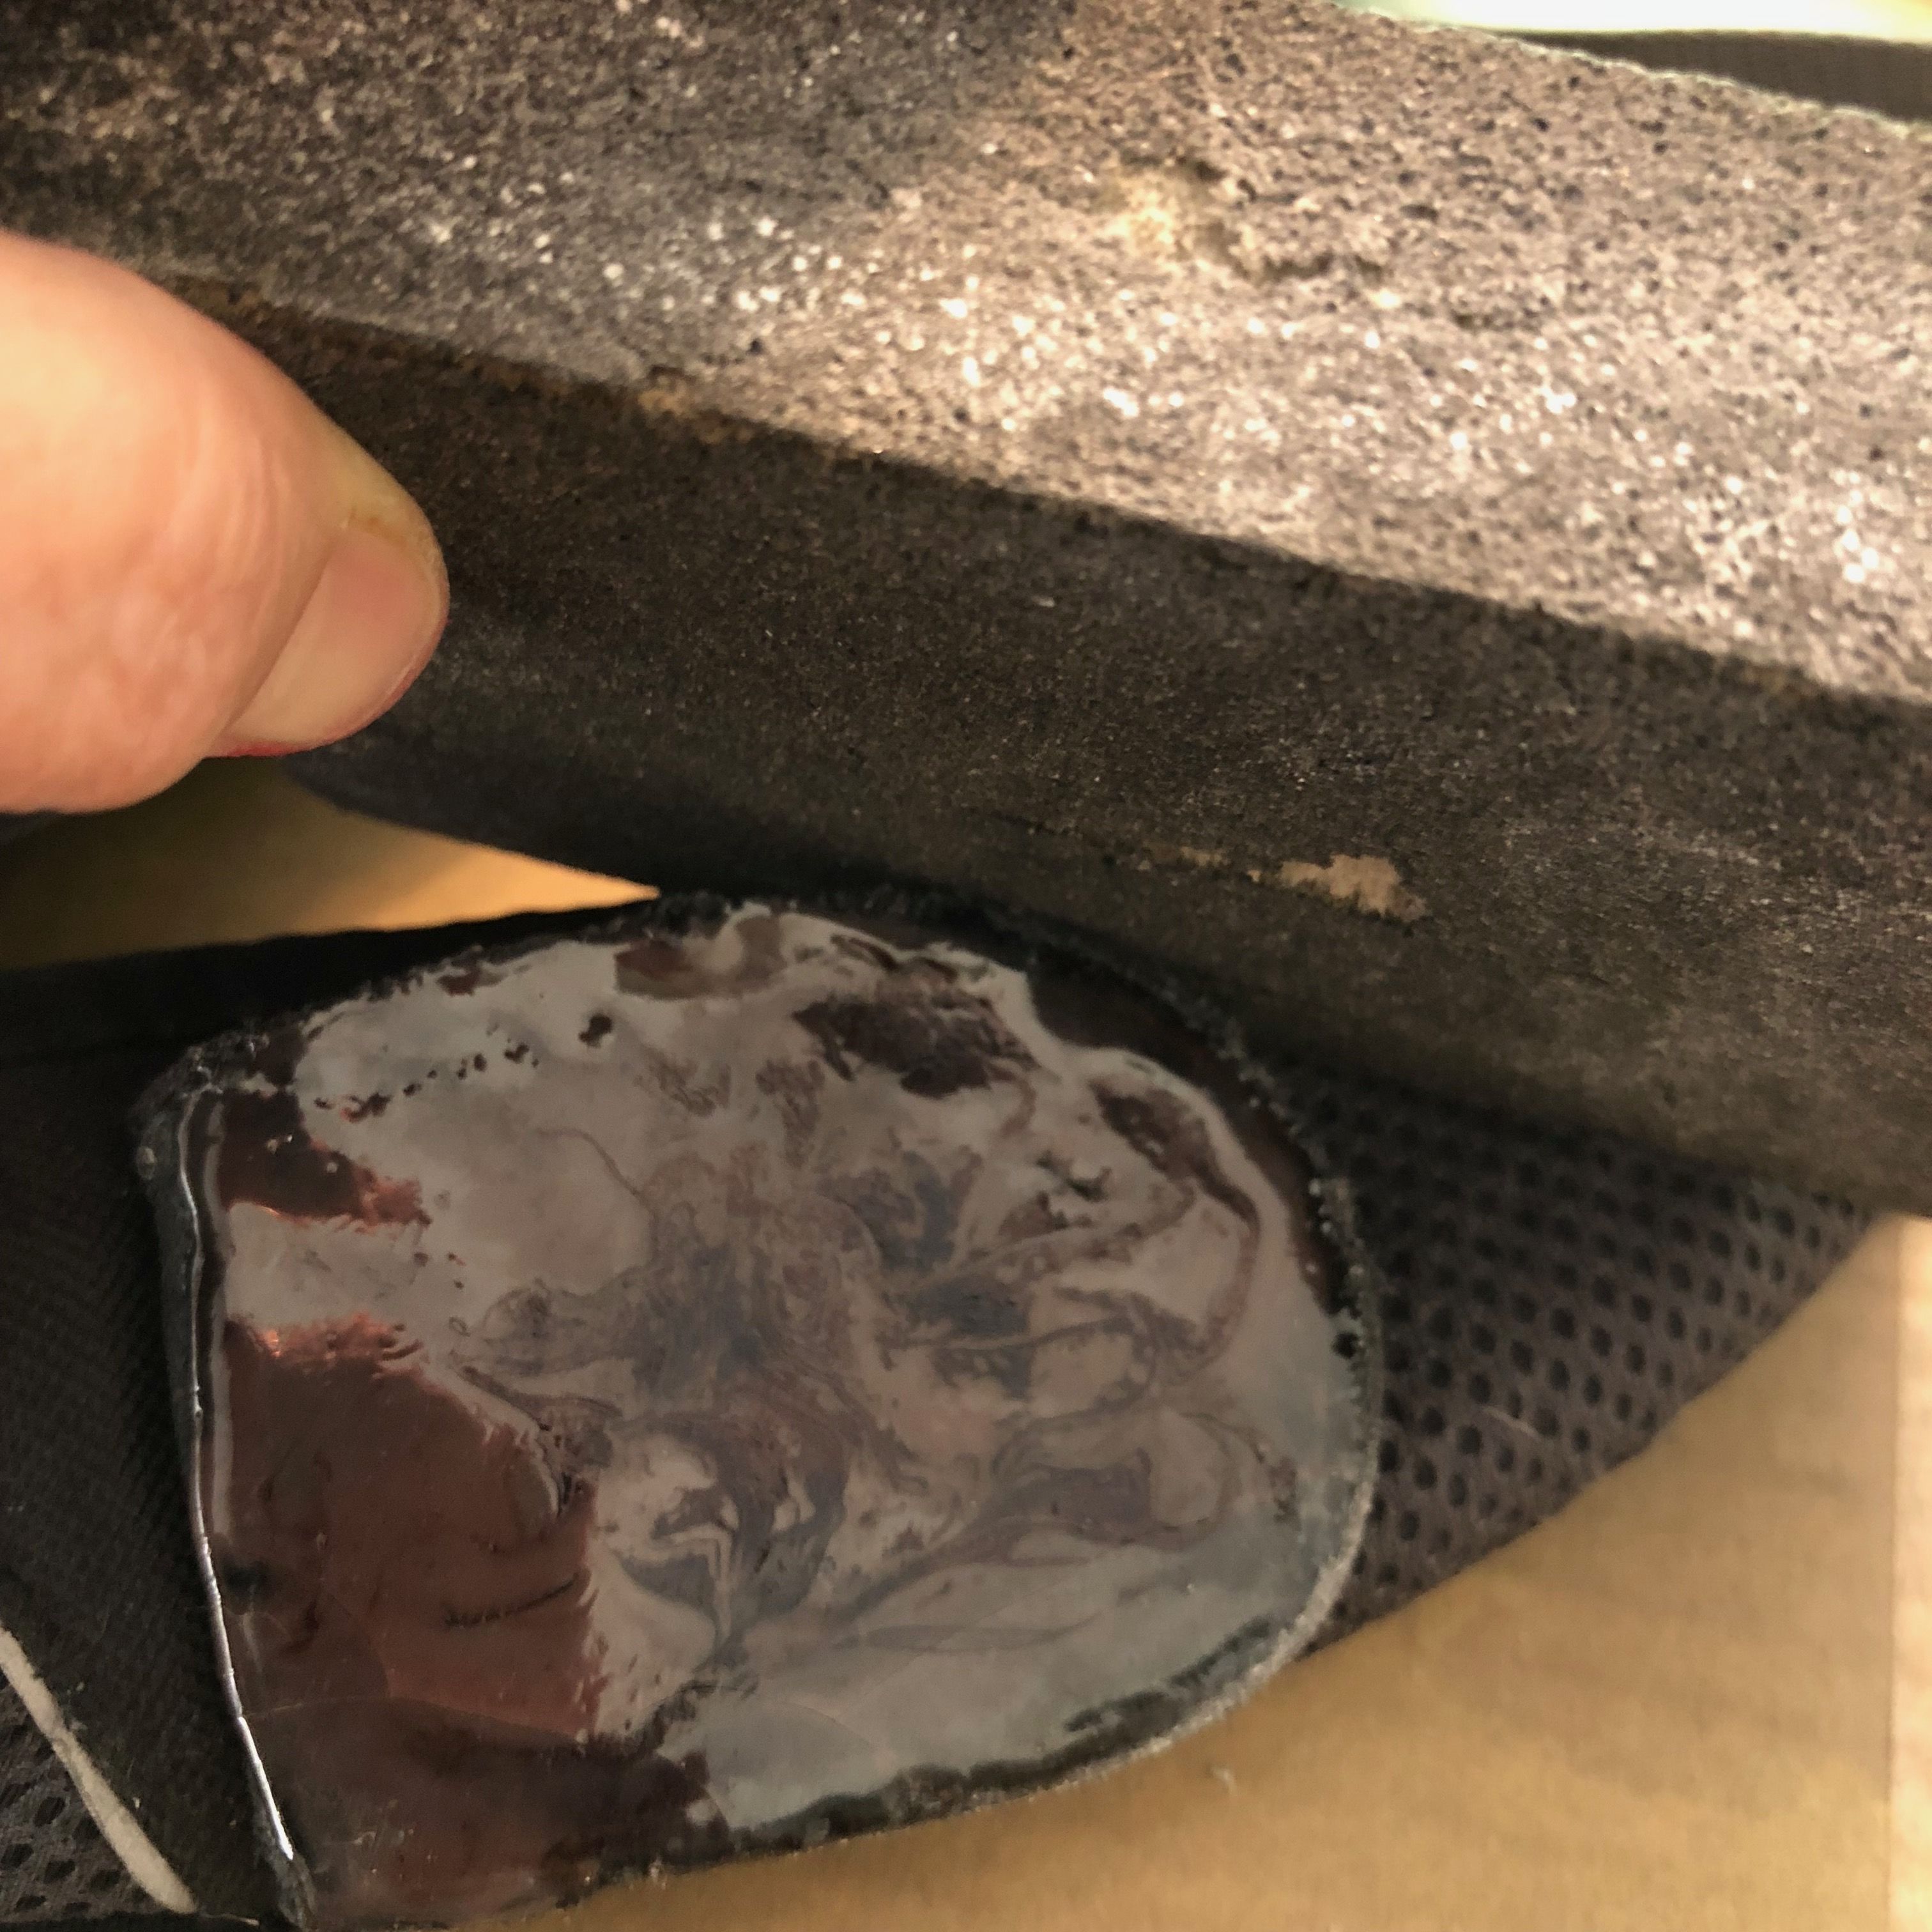
I sanded a few rough spots on the pack and shaped the pocket flap with wet sandpaper.
I left most of the pack alone since I was going for a slightly grunge look.
Piping
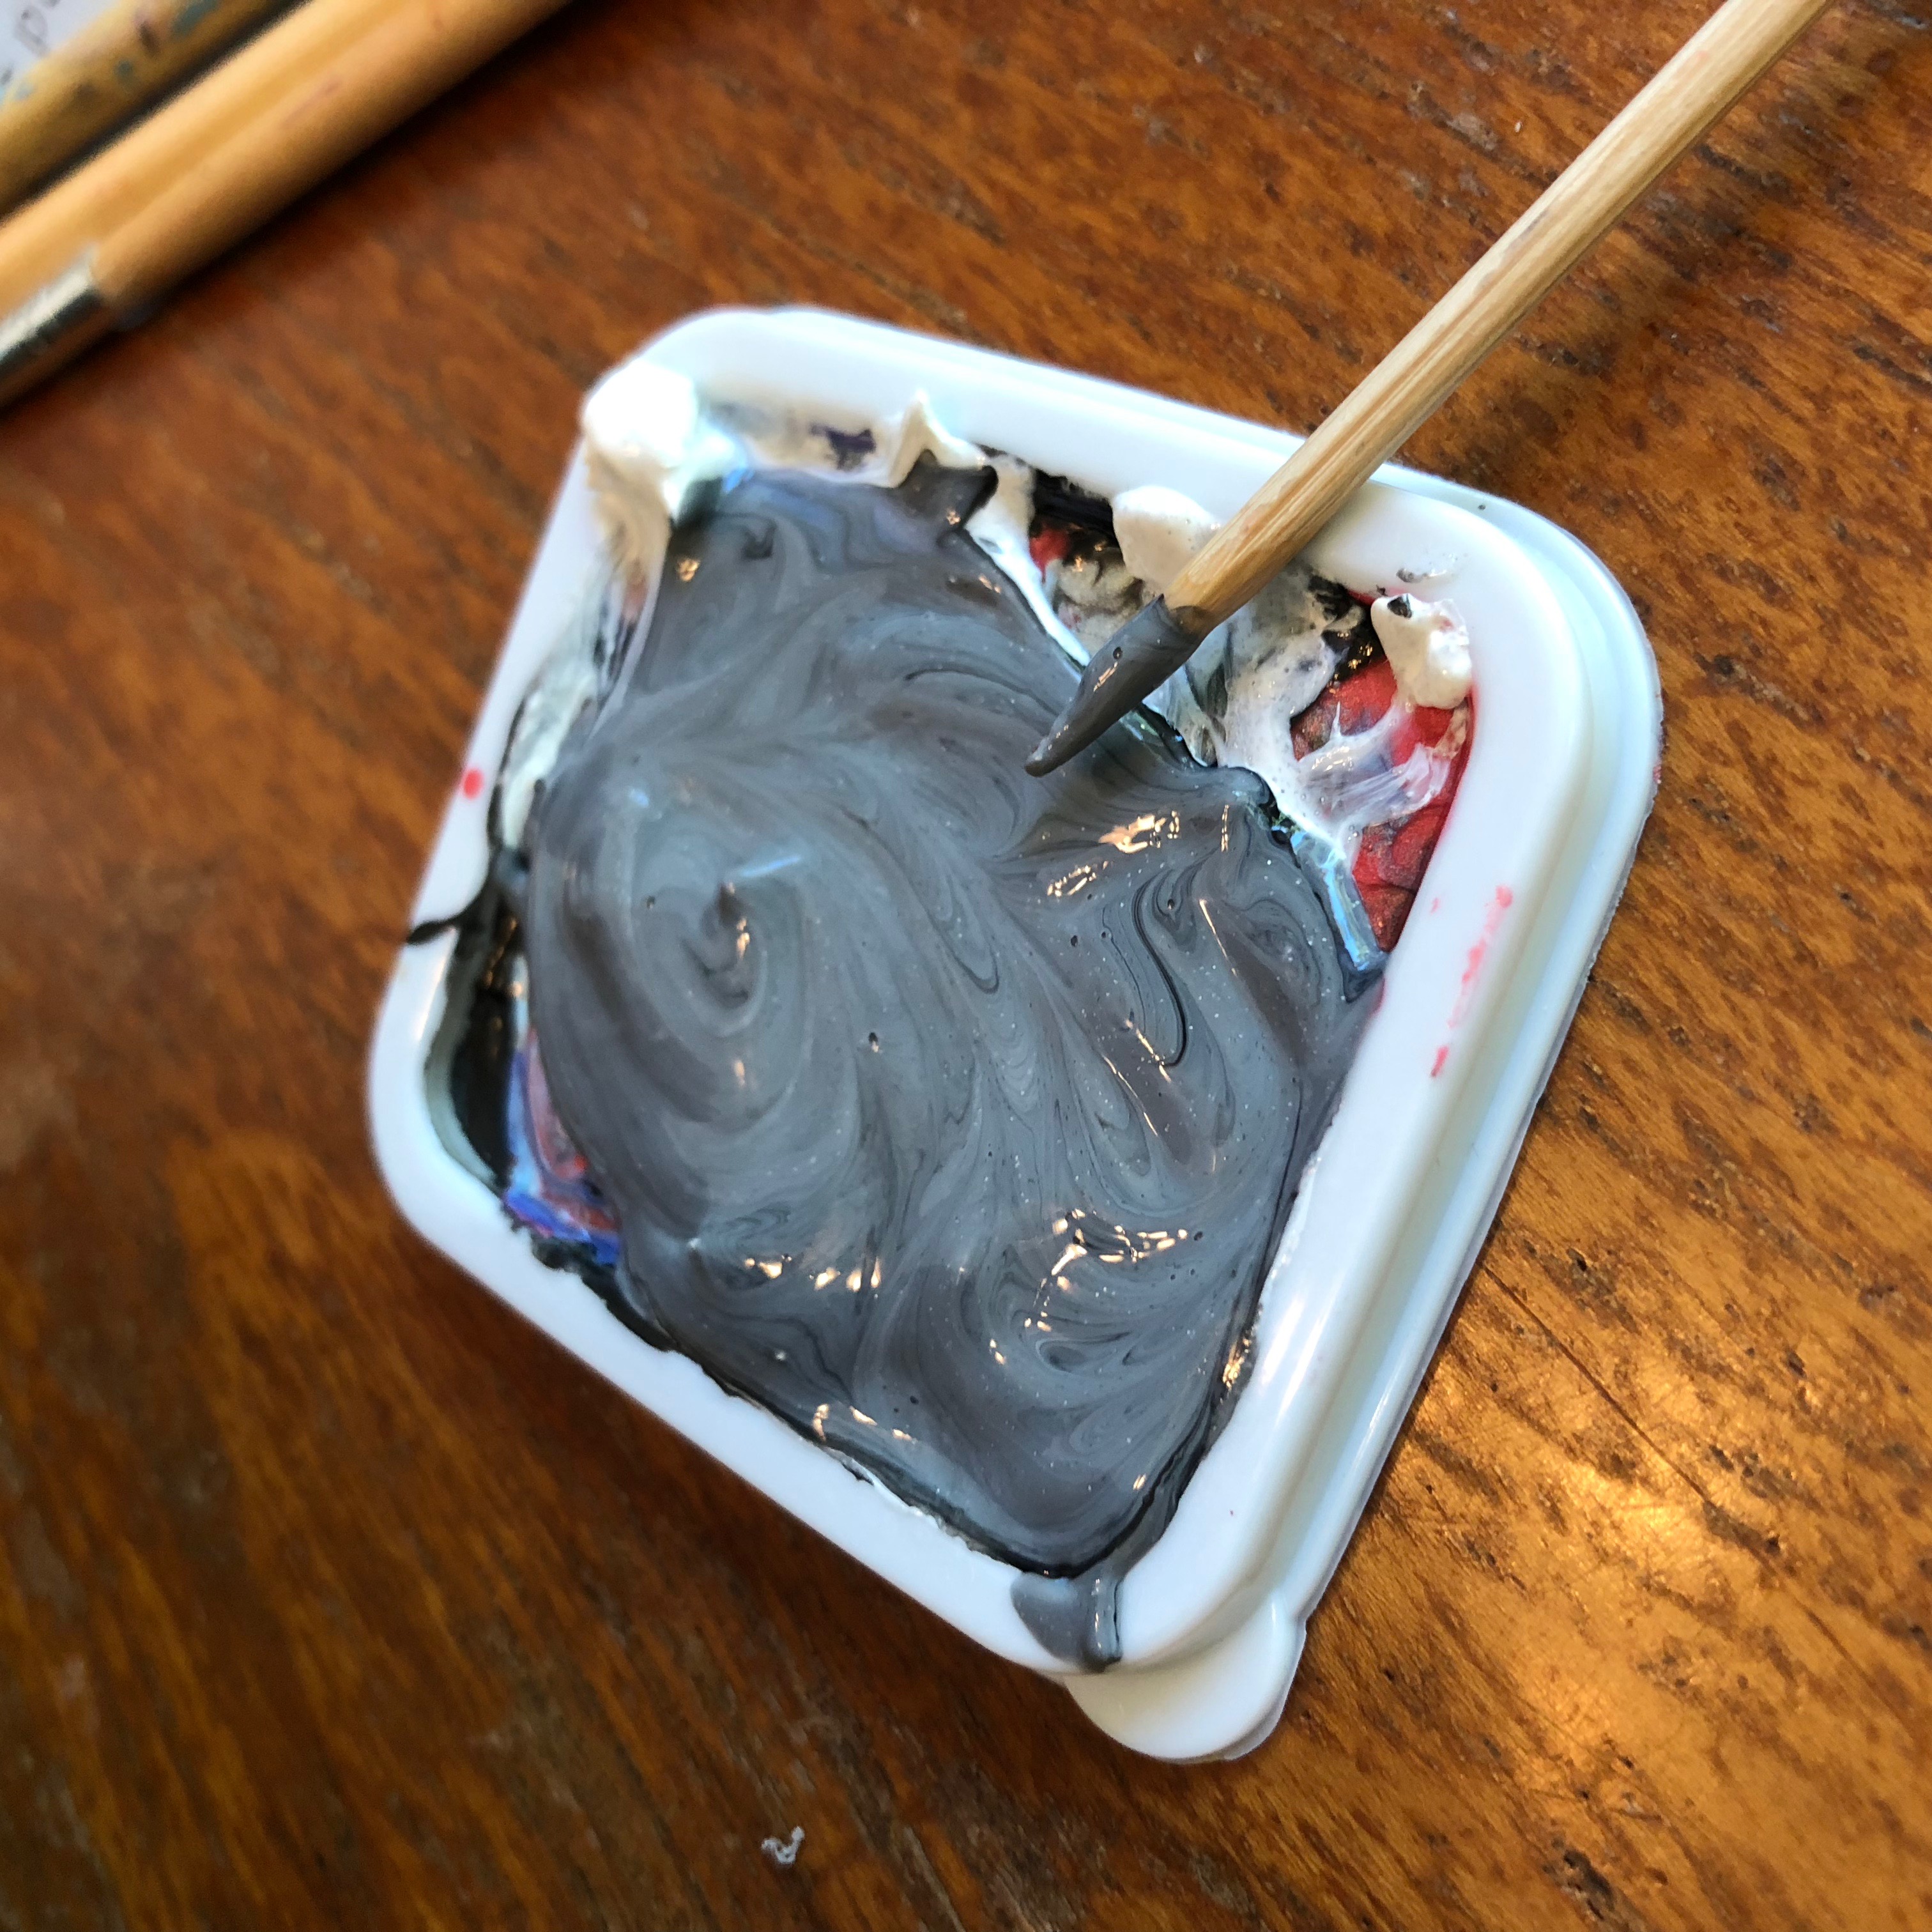
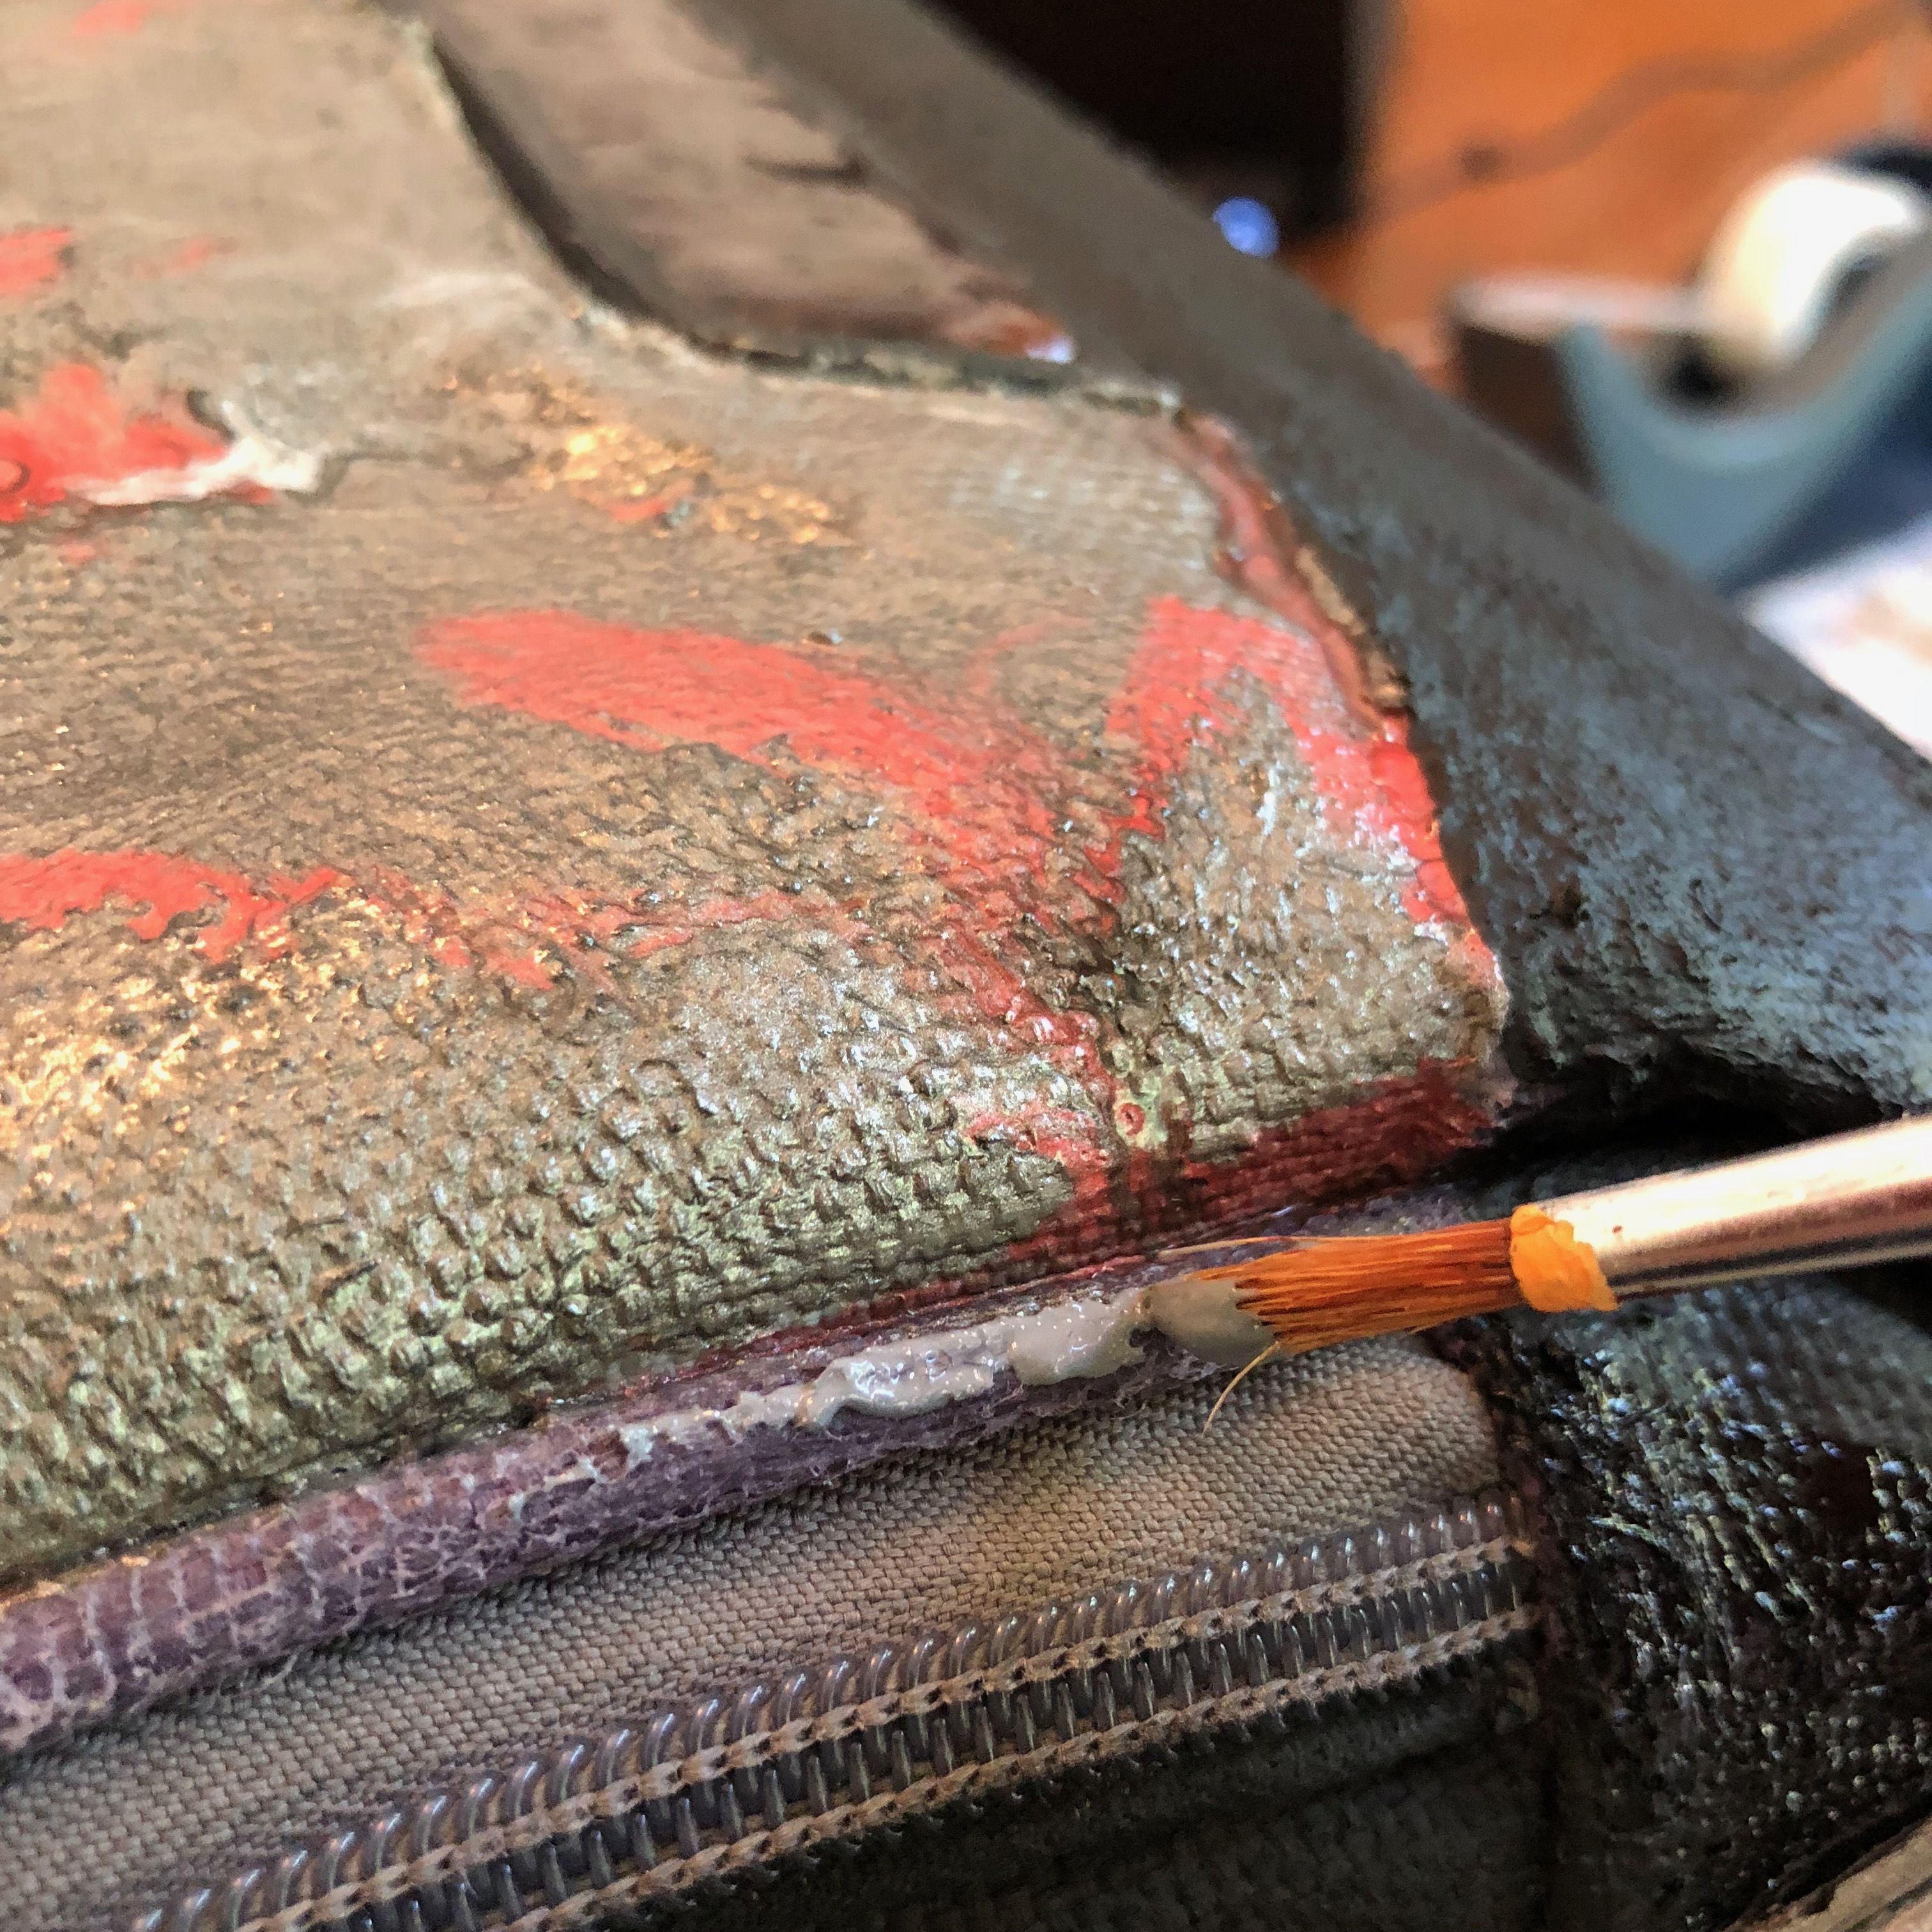
When the black and red paints were dry, I mixed a batch of grey/silver (with gloss) to cover the rest of the panels and the piping. I used a medium brush for the panels and a small brush for the piping.
Note: I did not paint over the reflective trim.
Grey
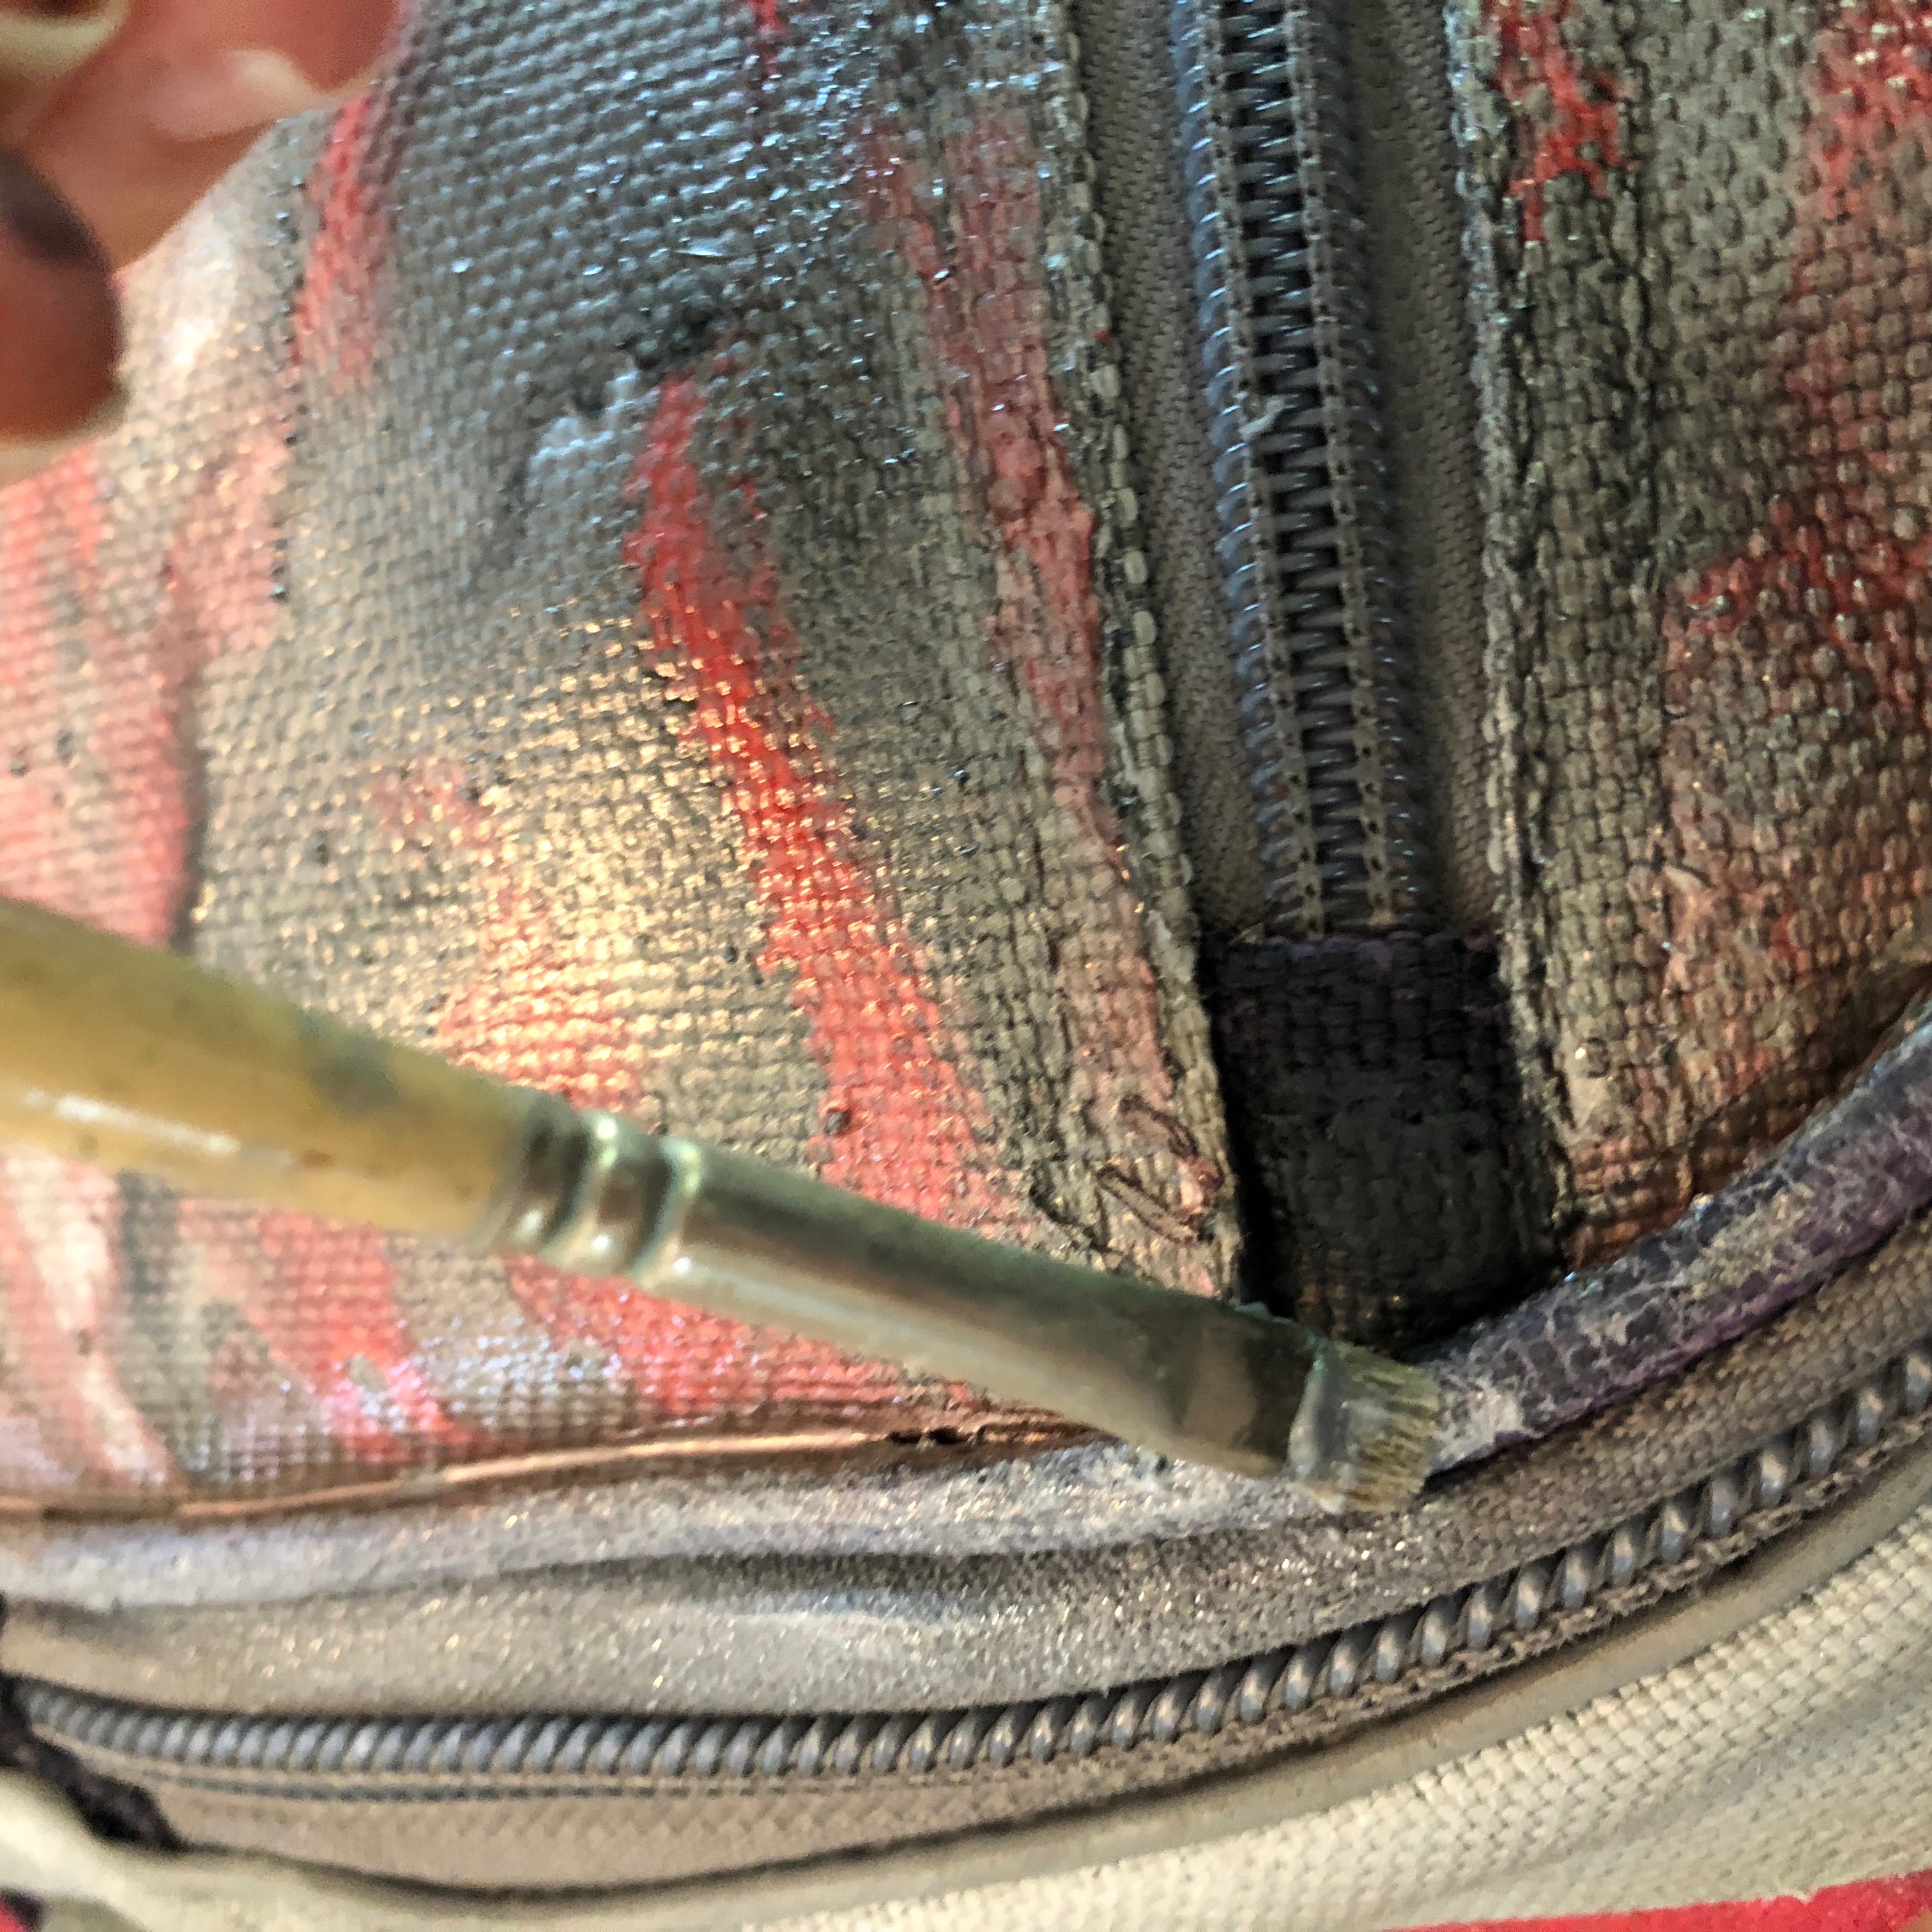
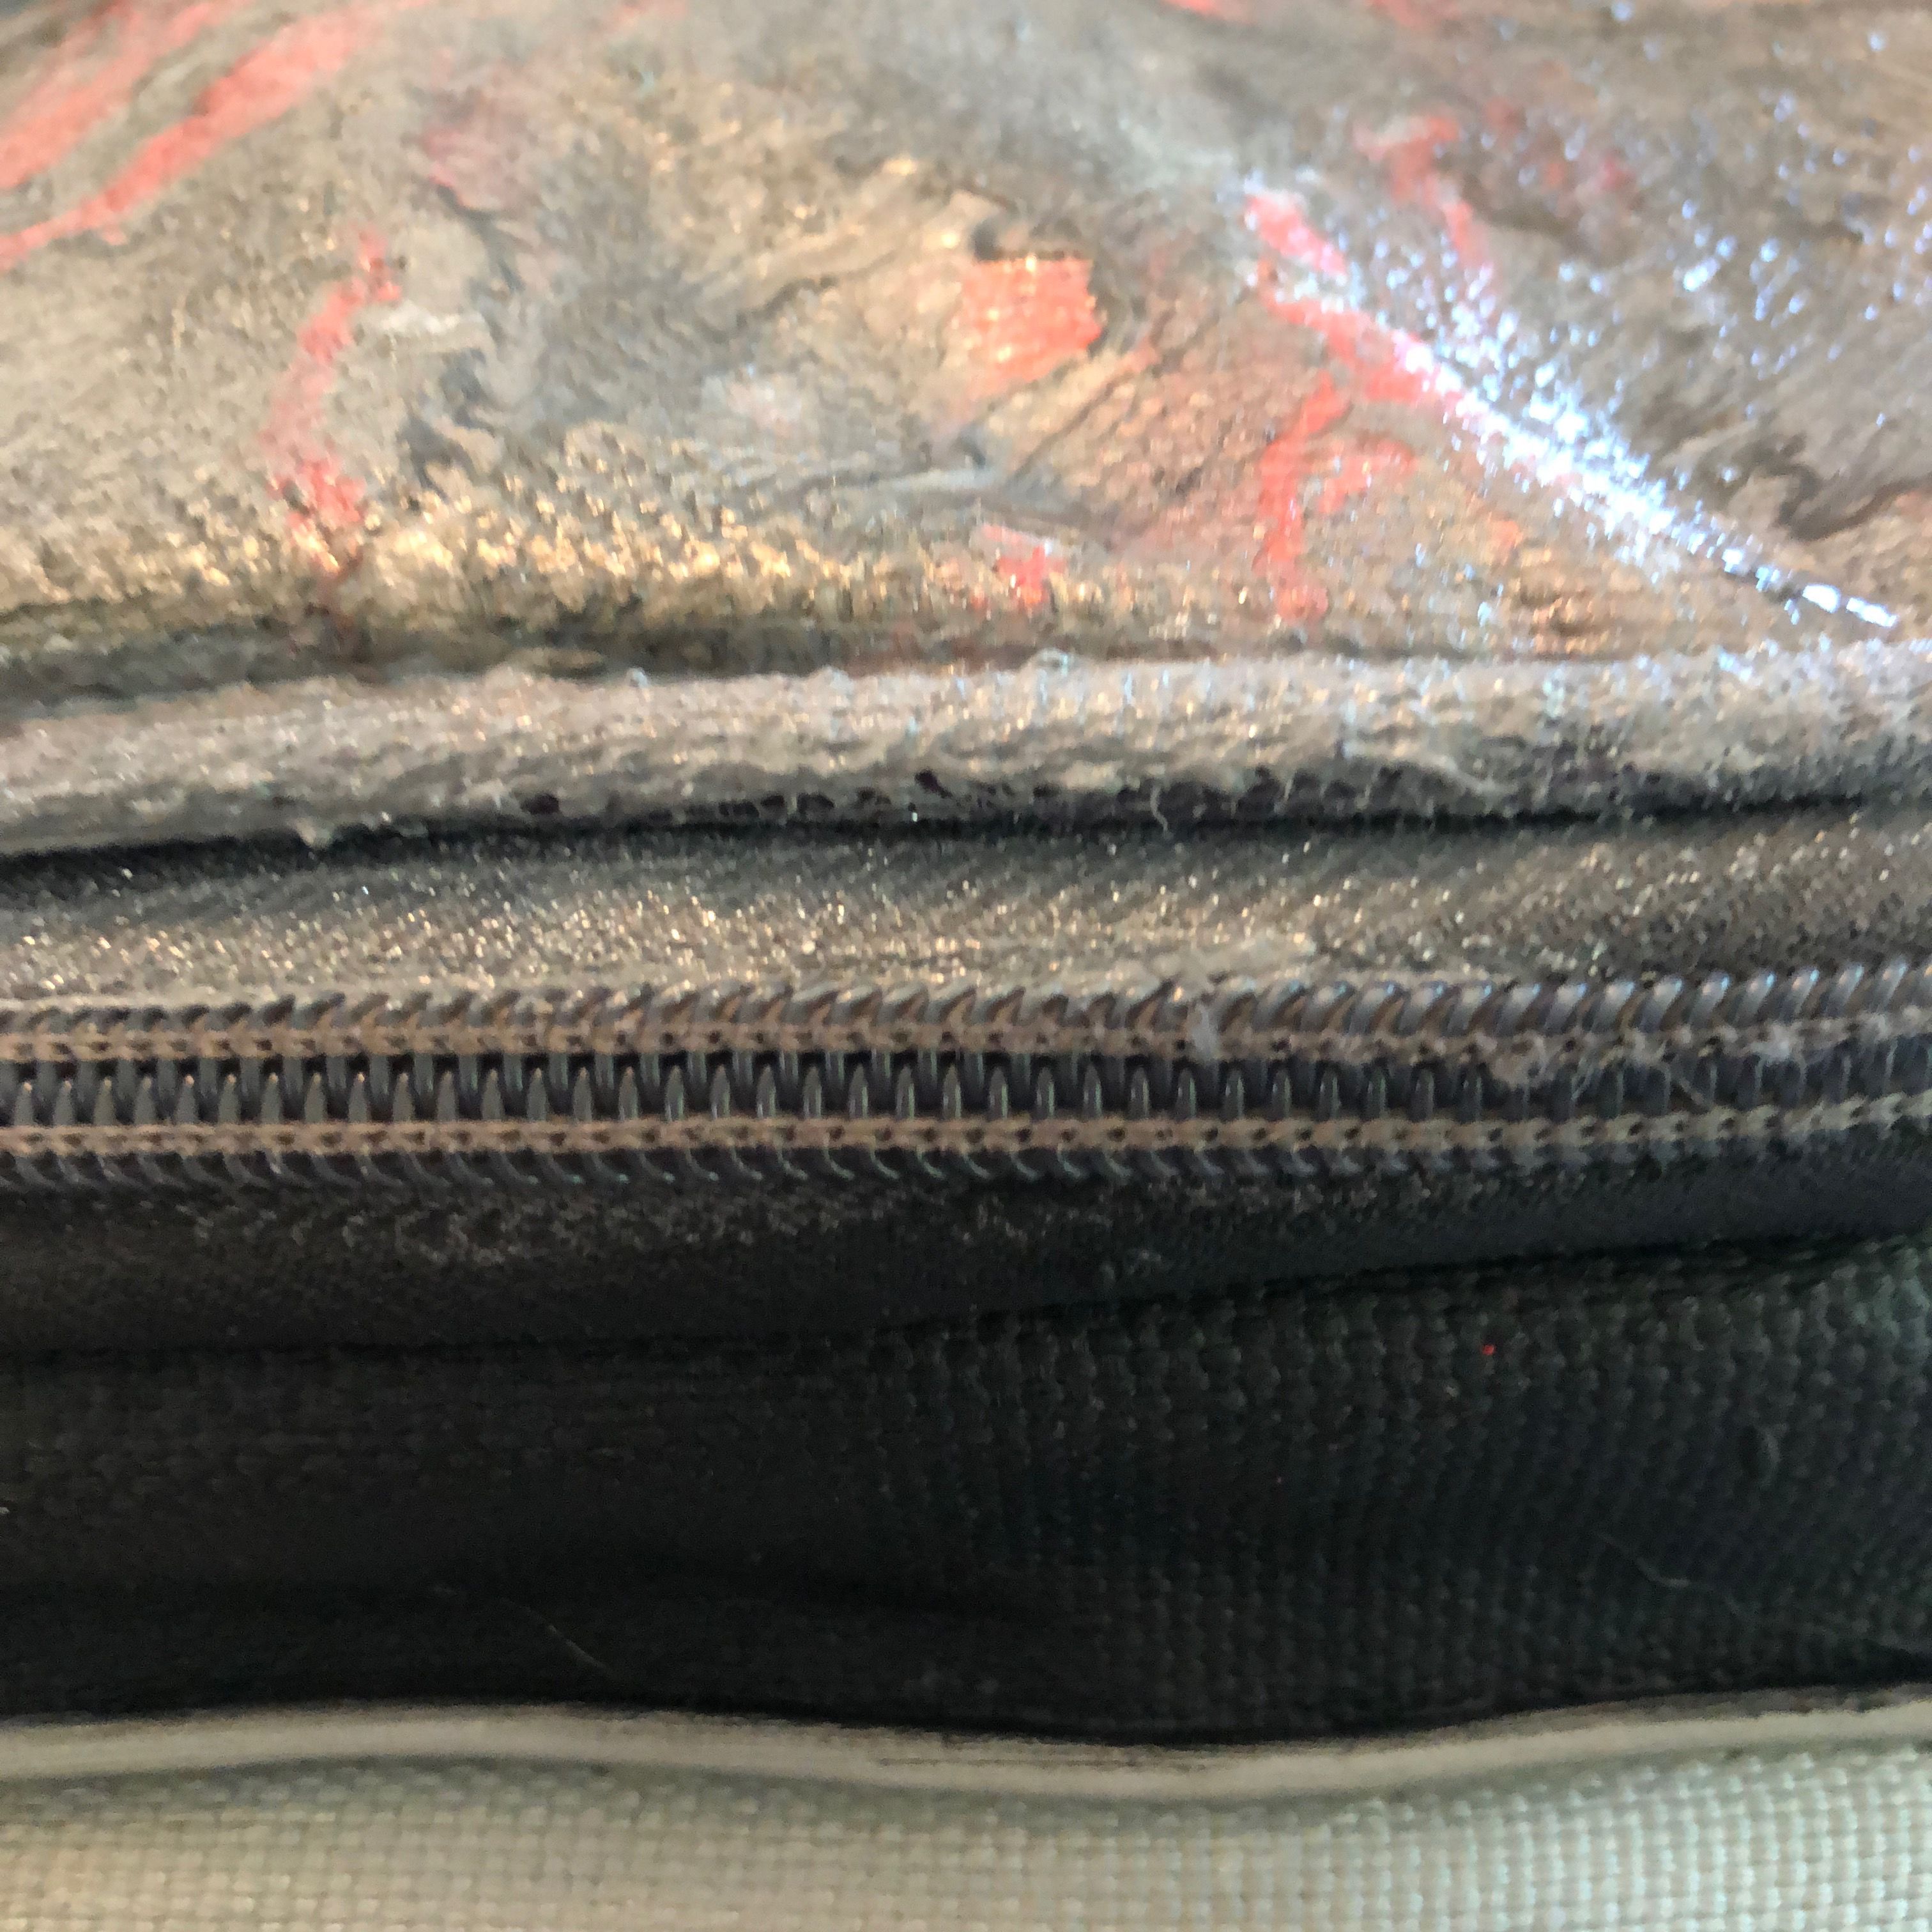
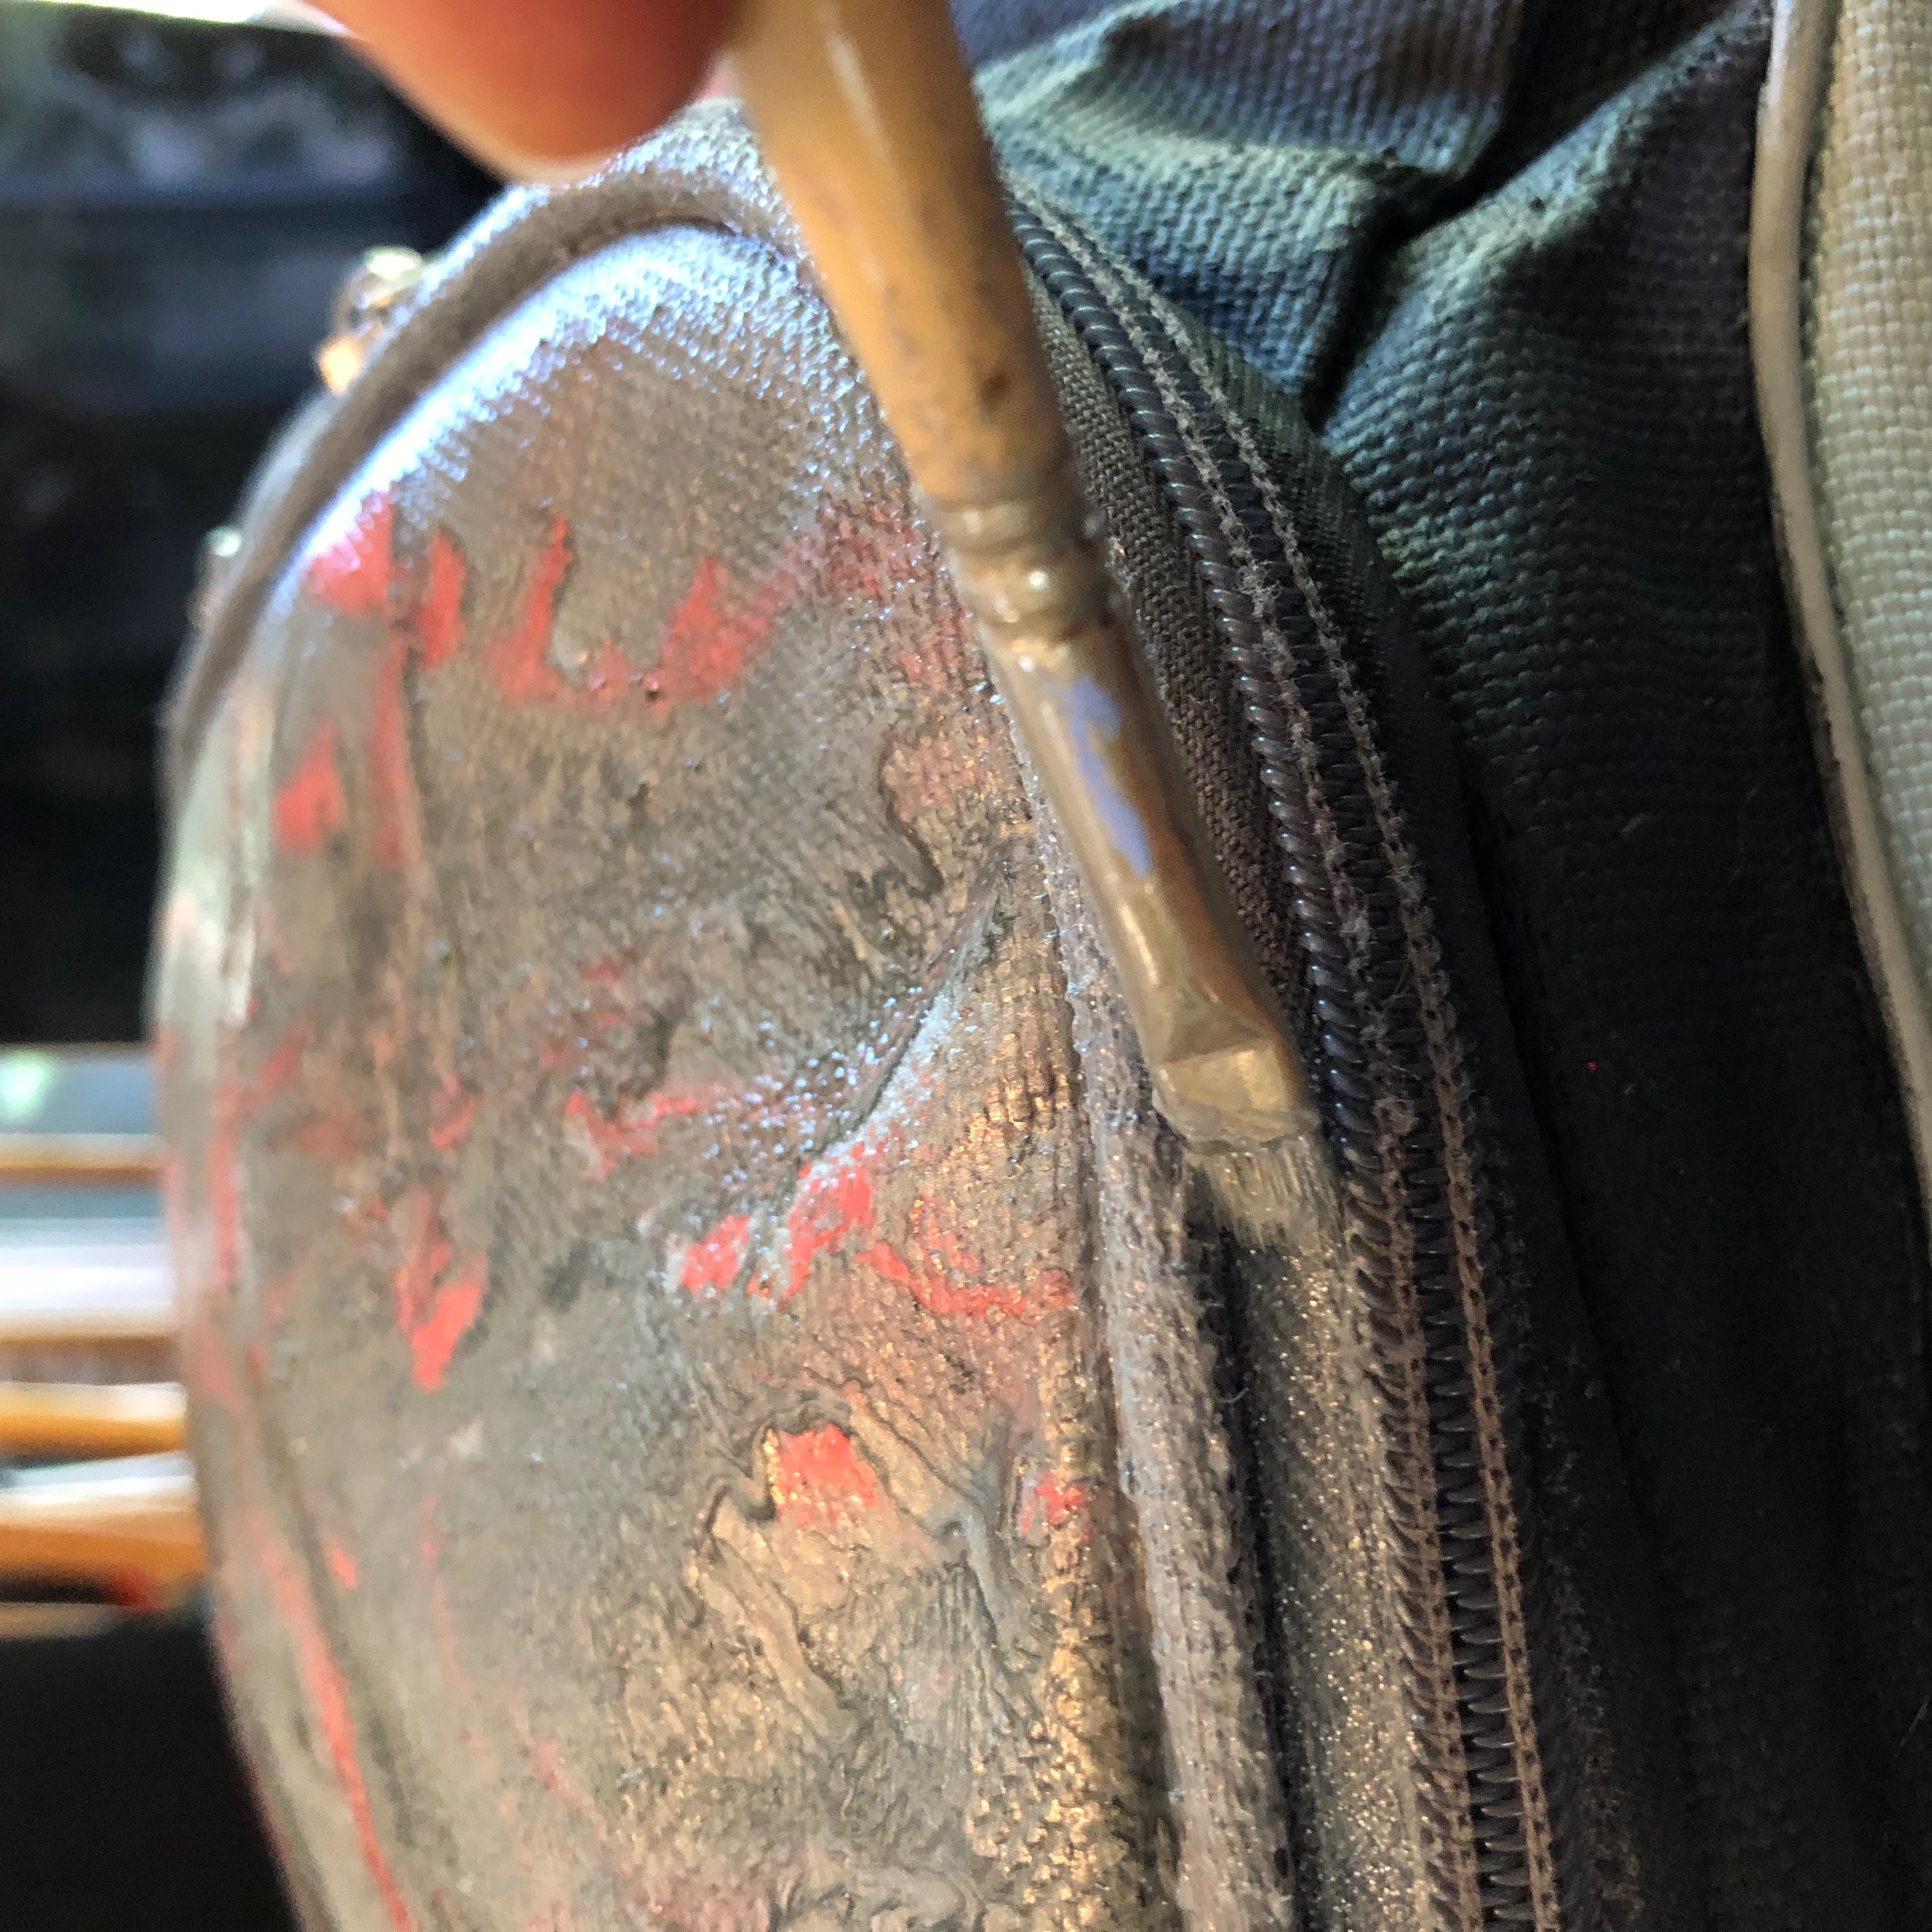
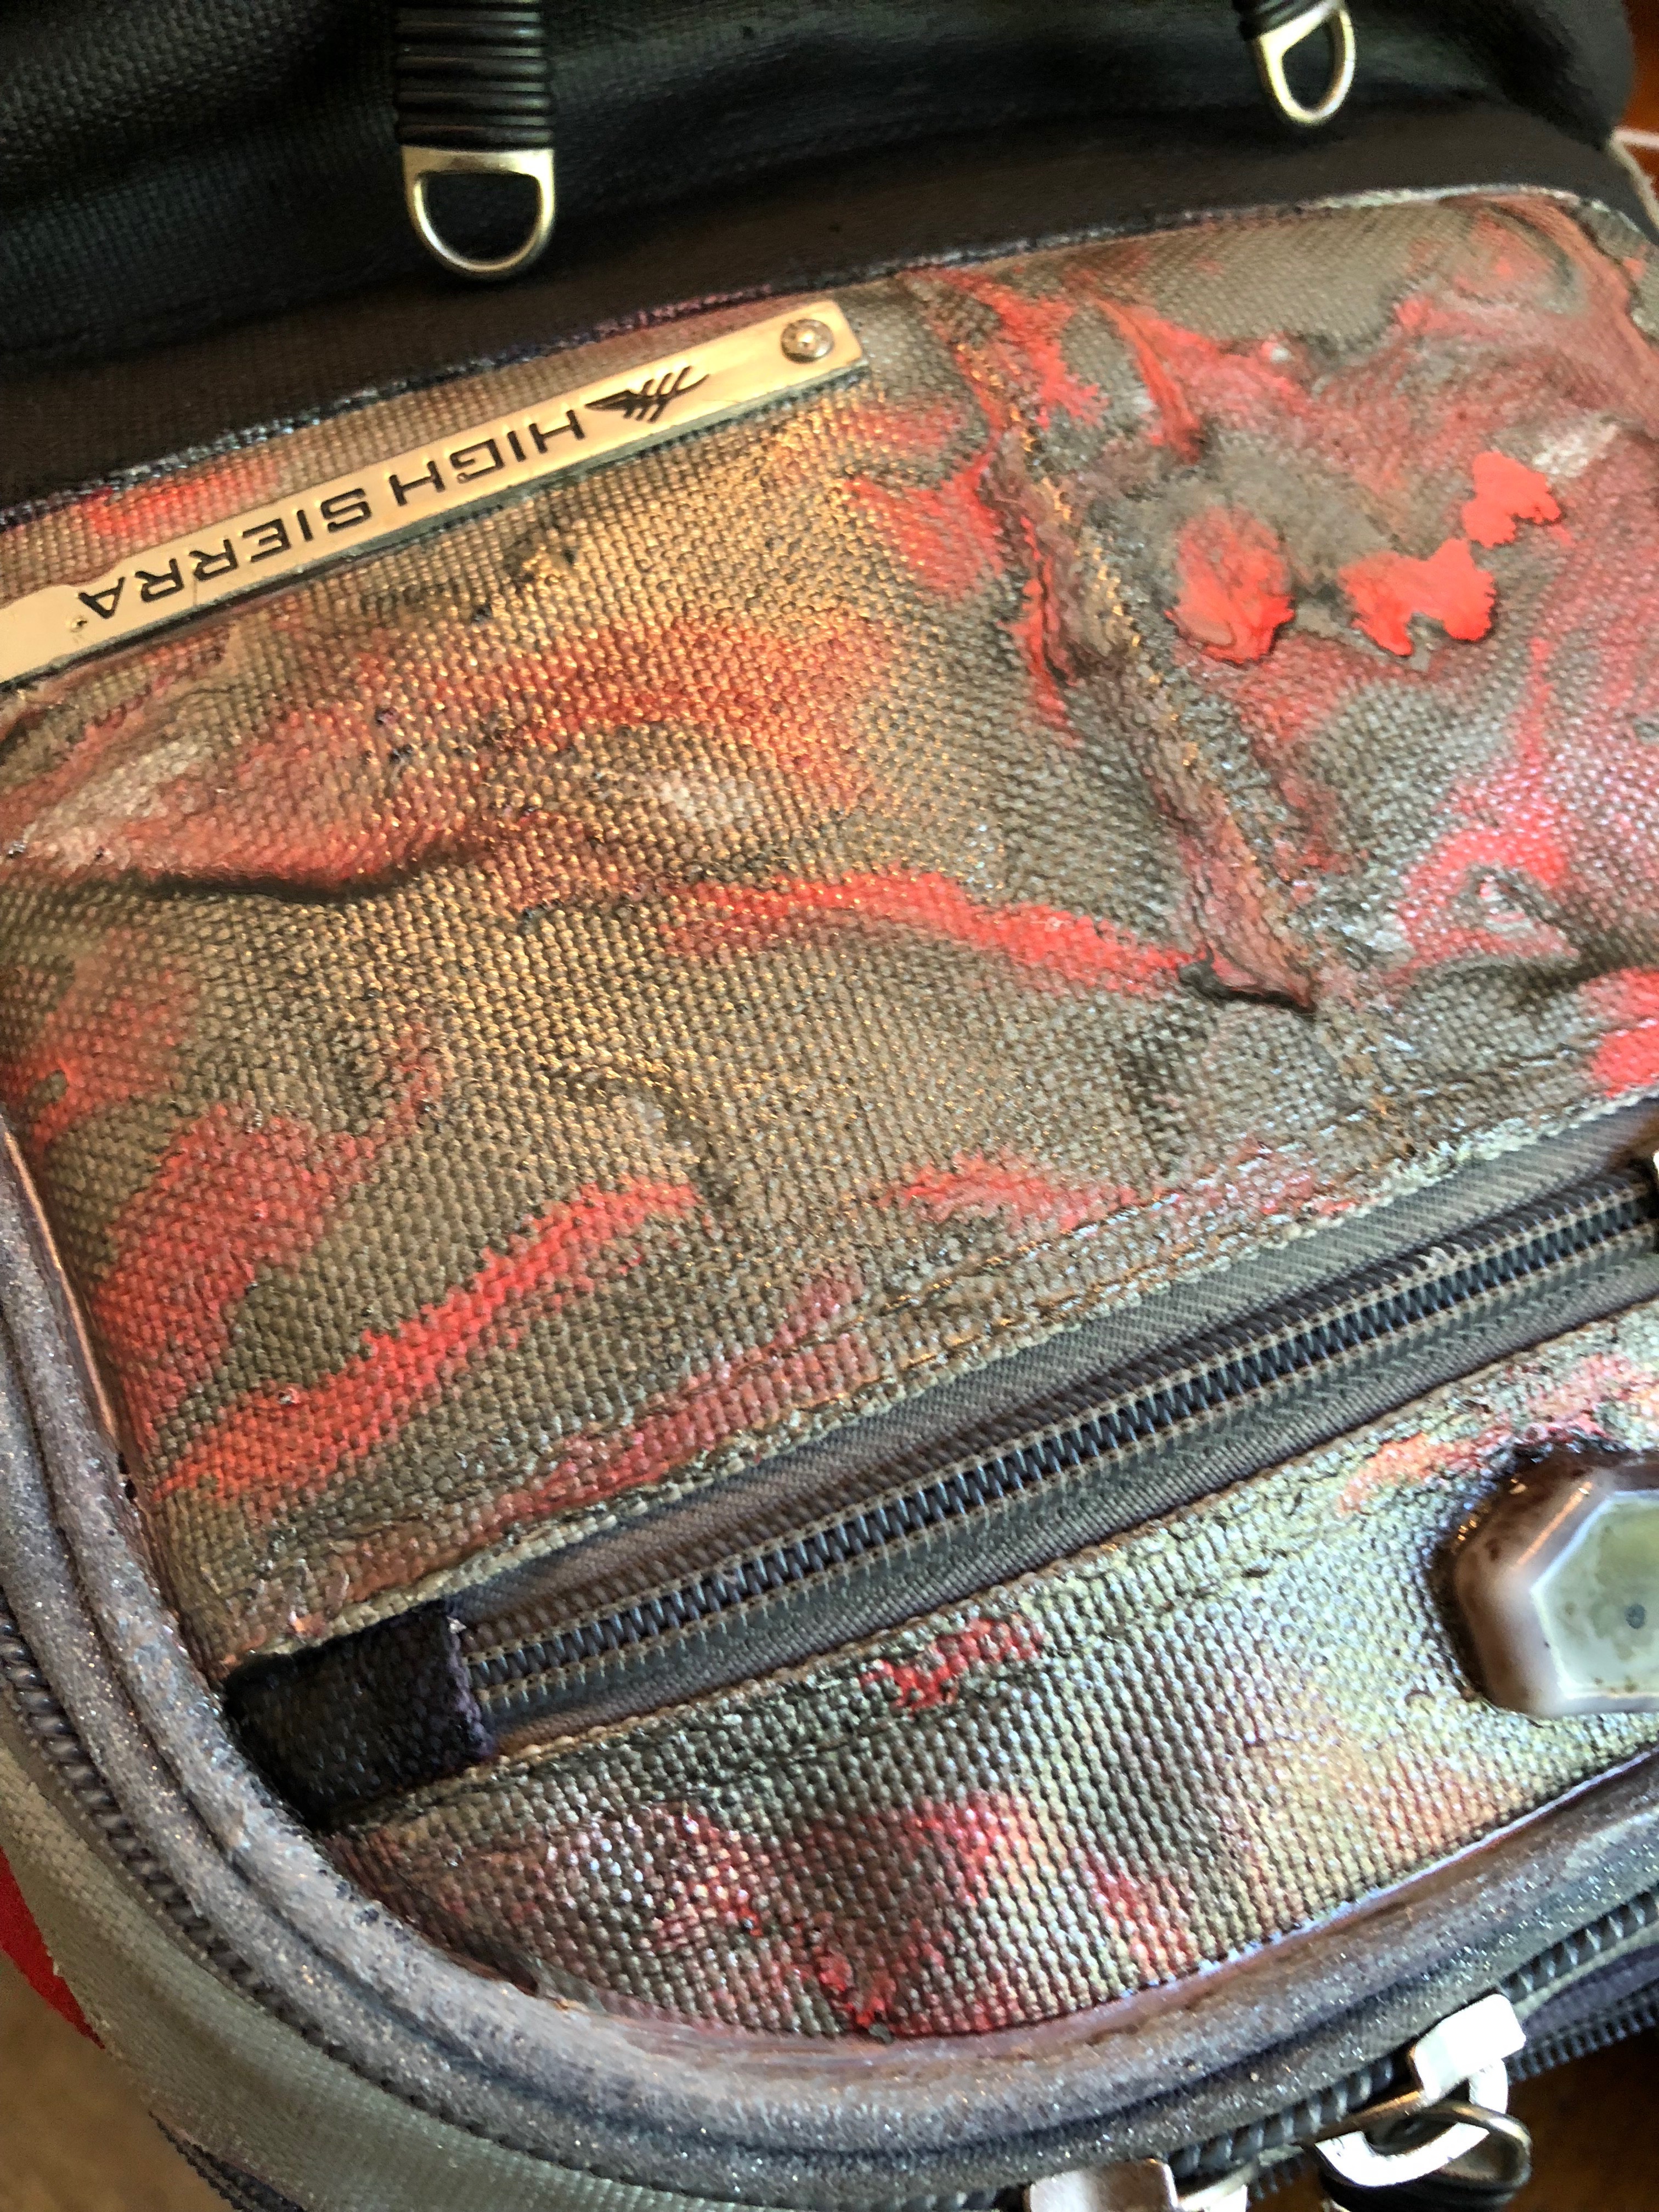
I also painted the zipper fabric right up to, but not touching, the zipper teeth.
Clean Up
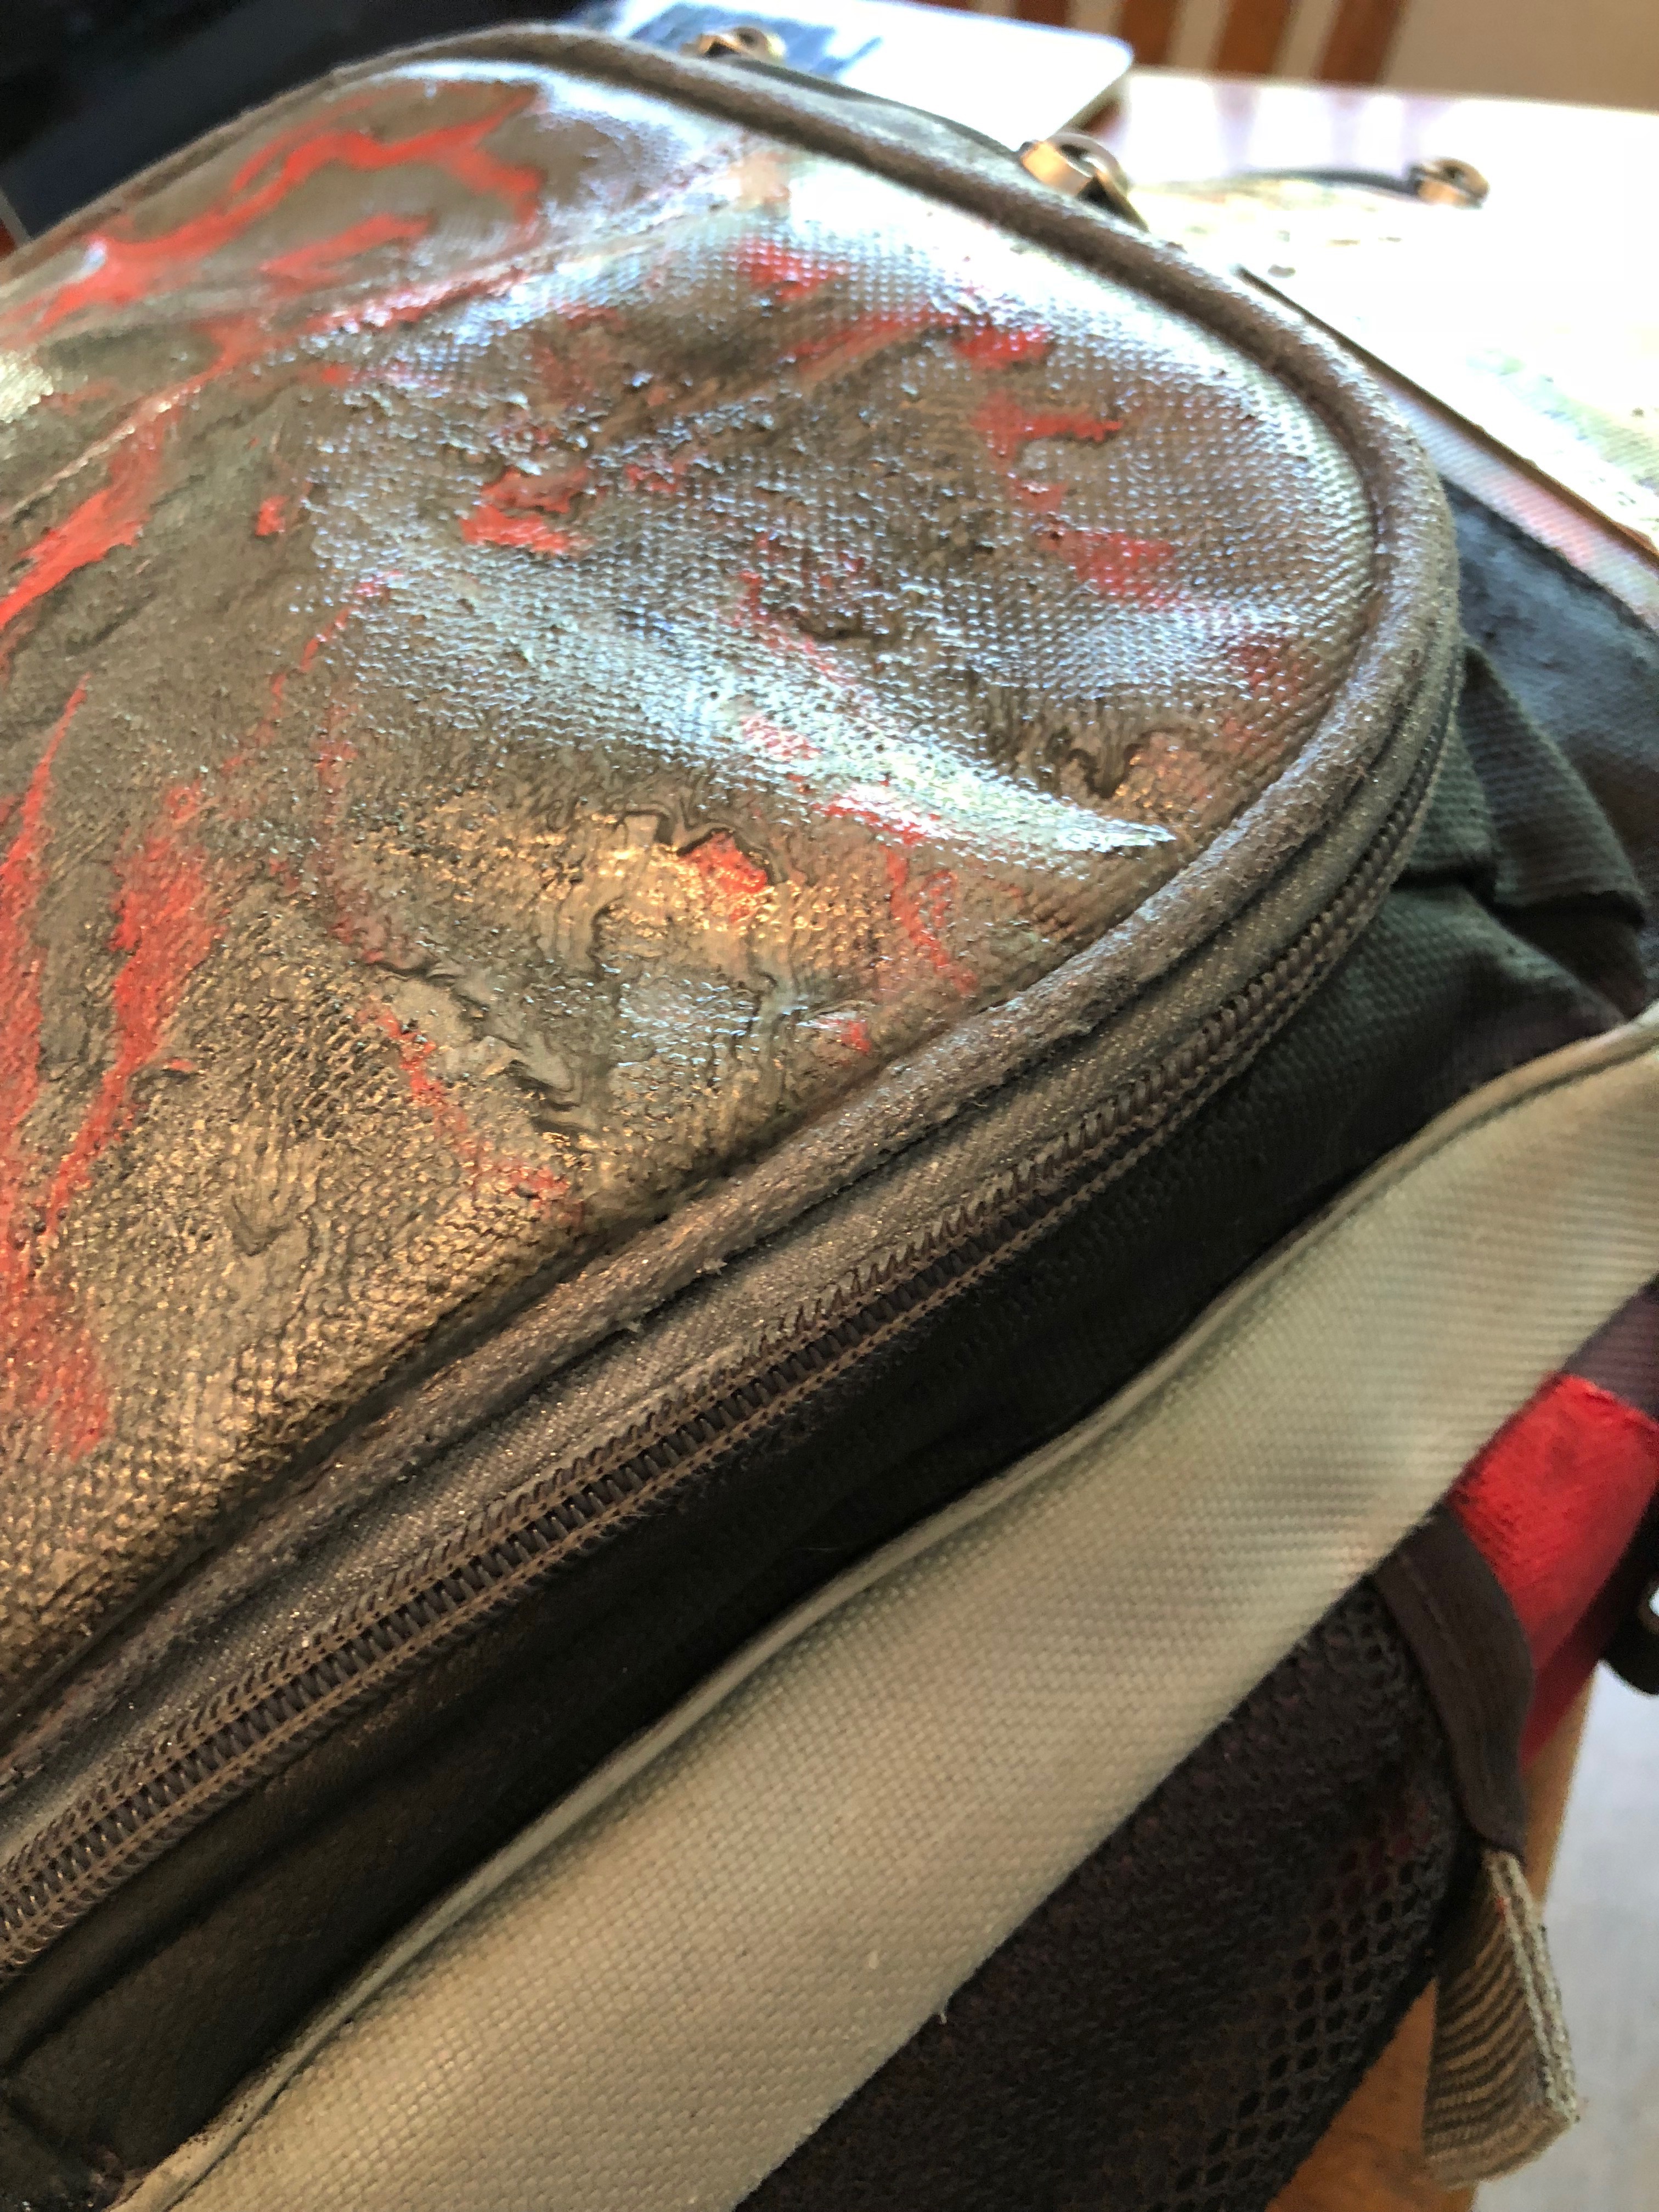
I touched up all the places my paint got out of the lines, sometimes with paint on a toothpick.
Tape
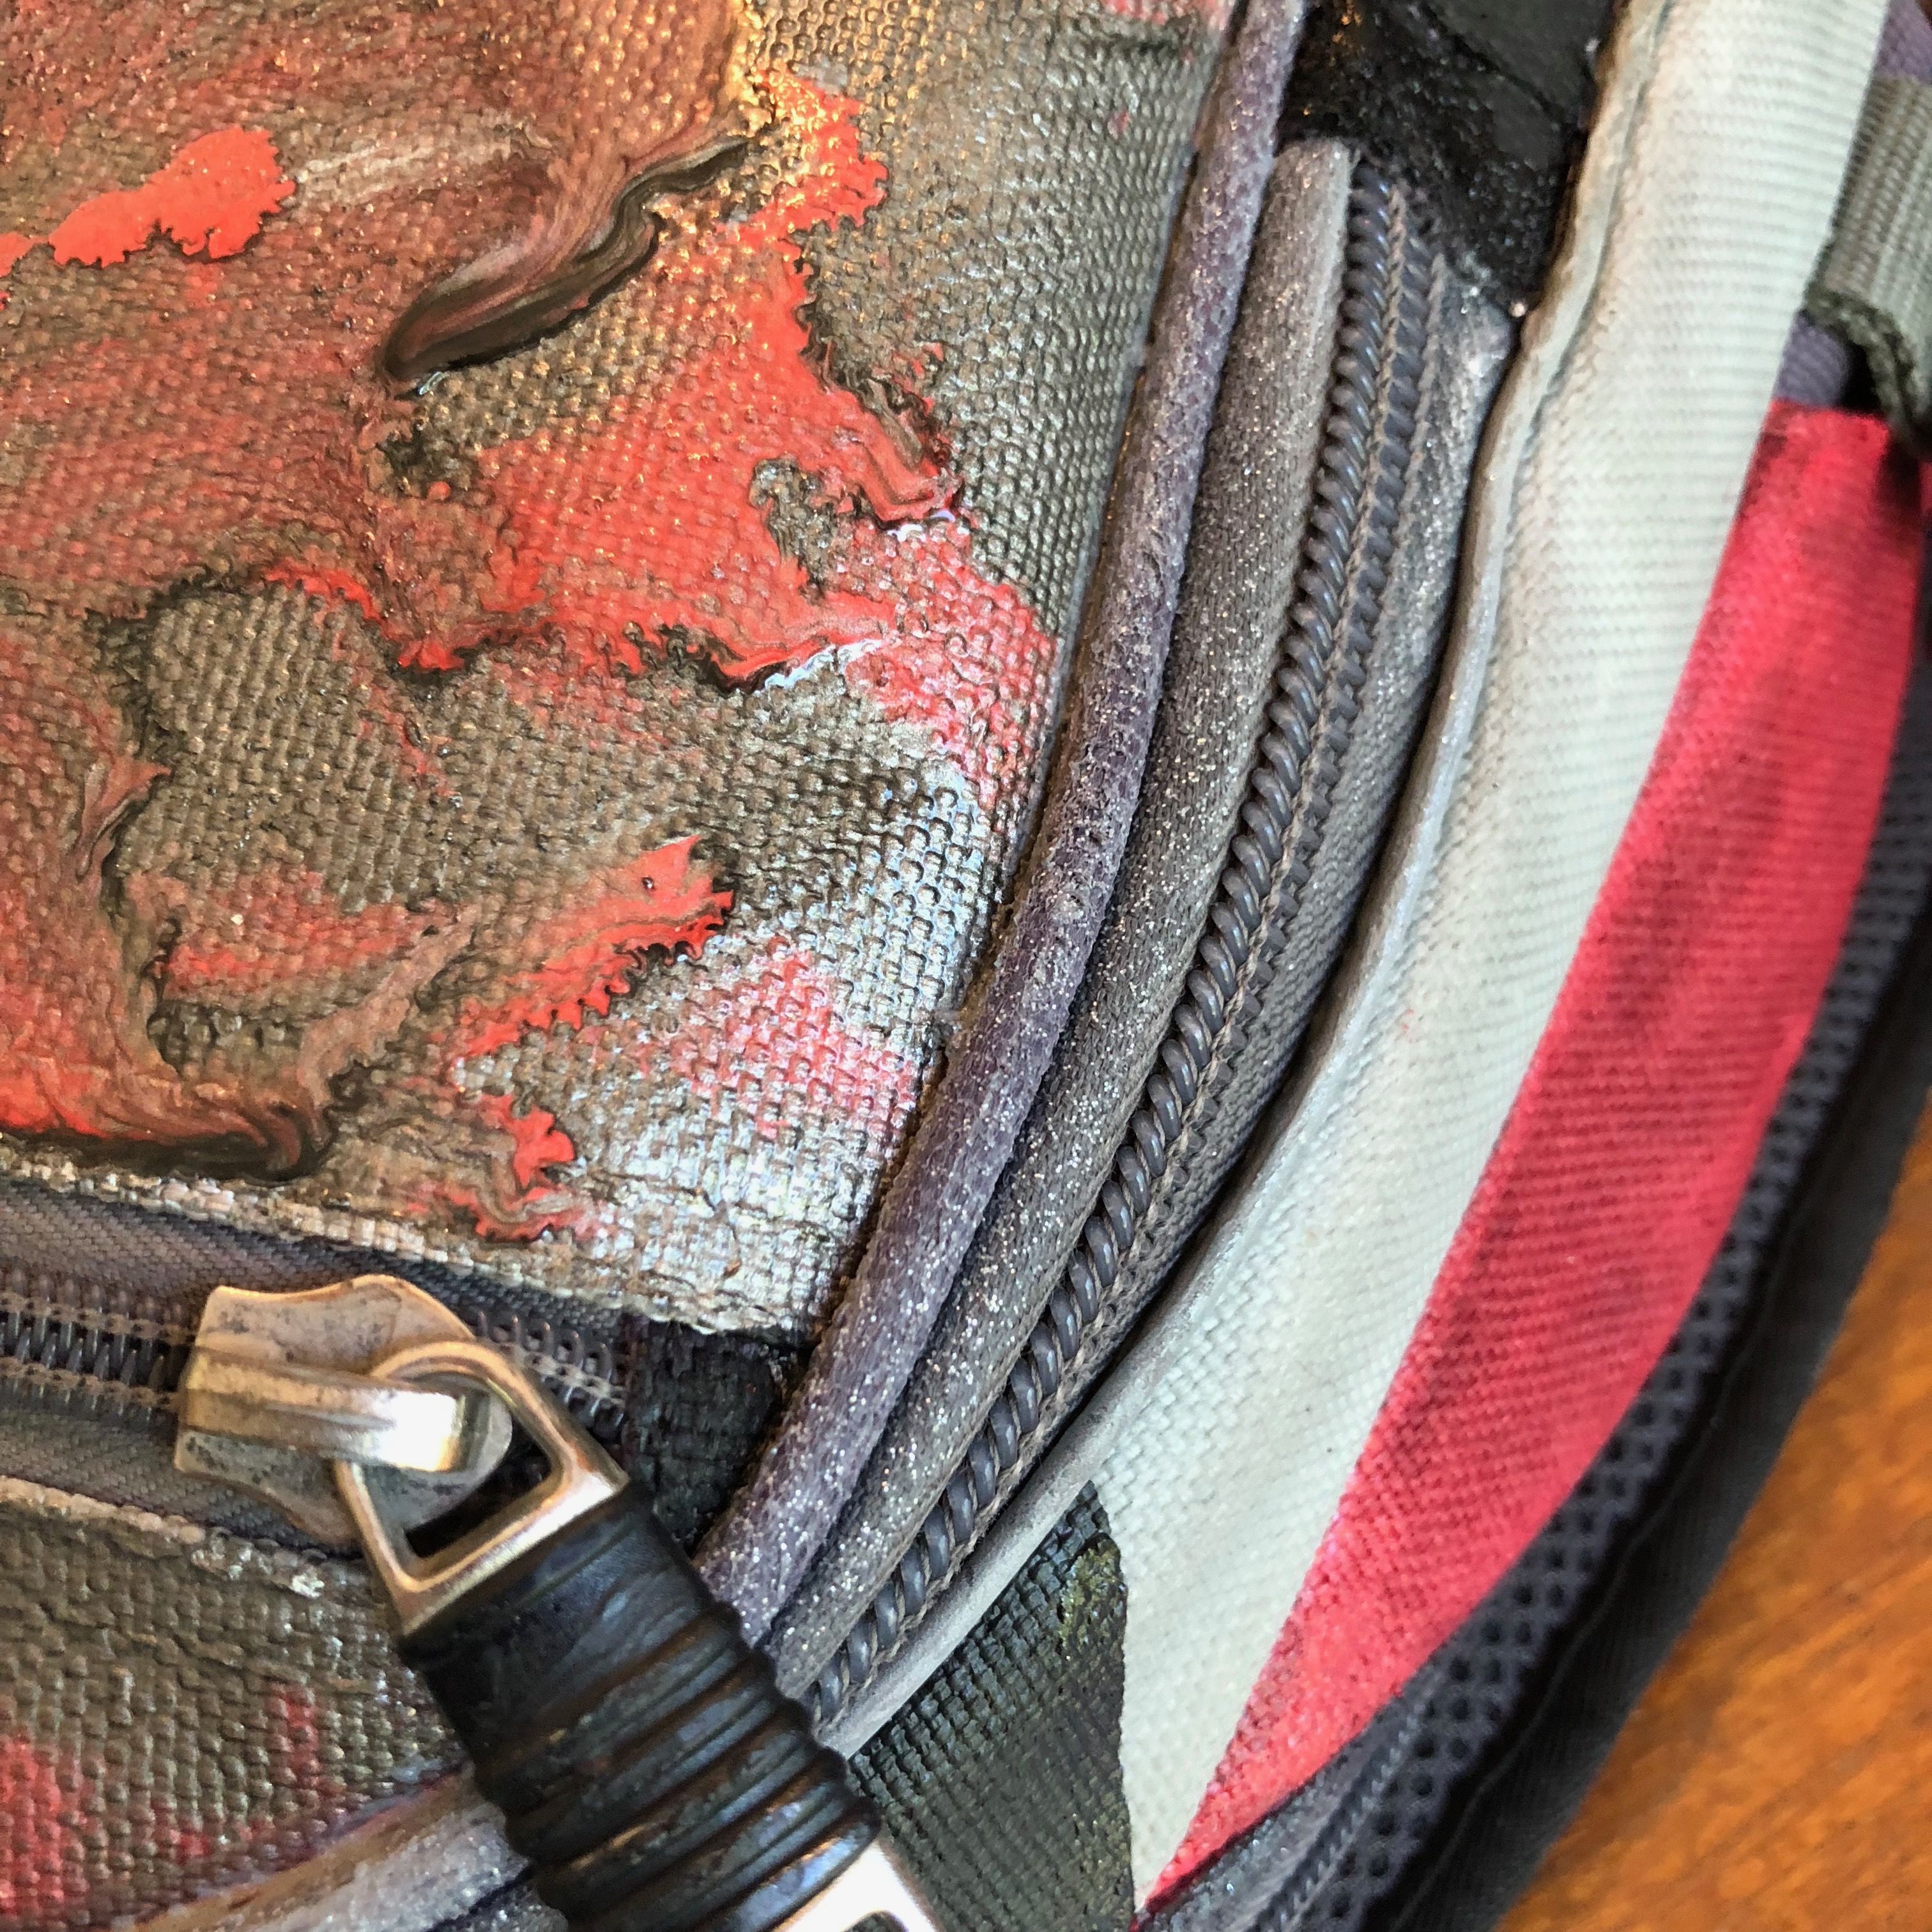
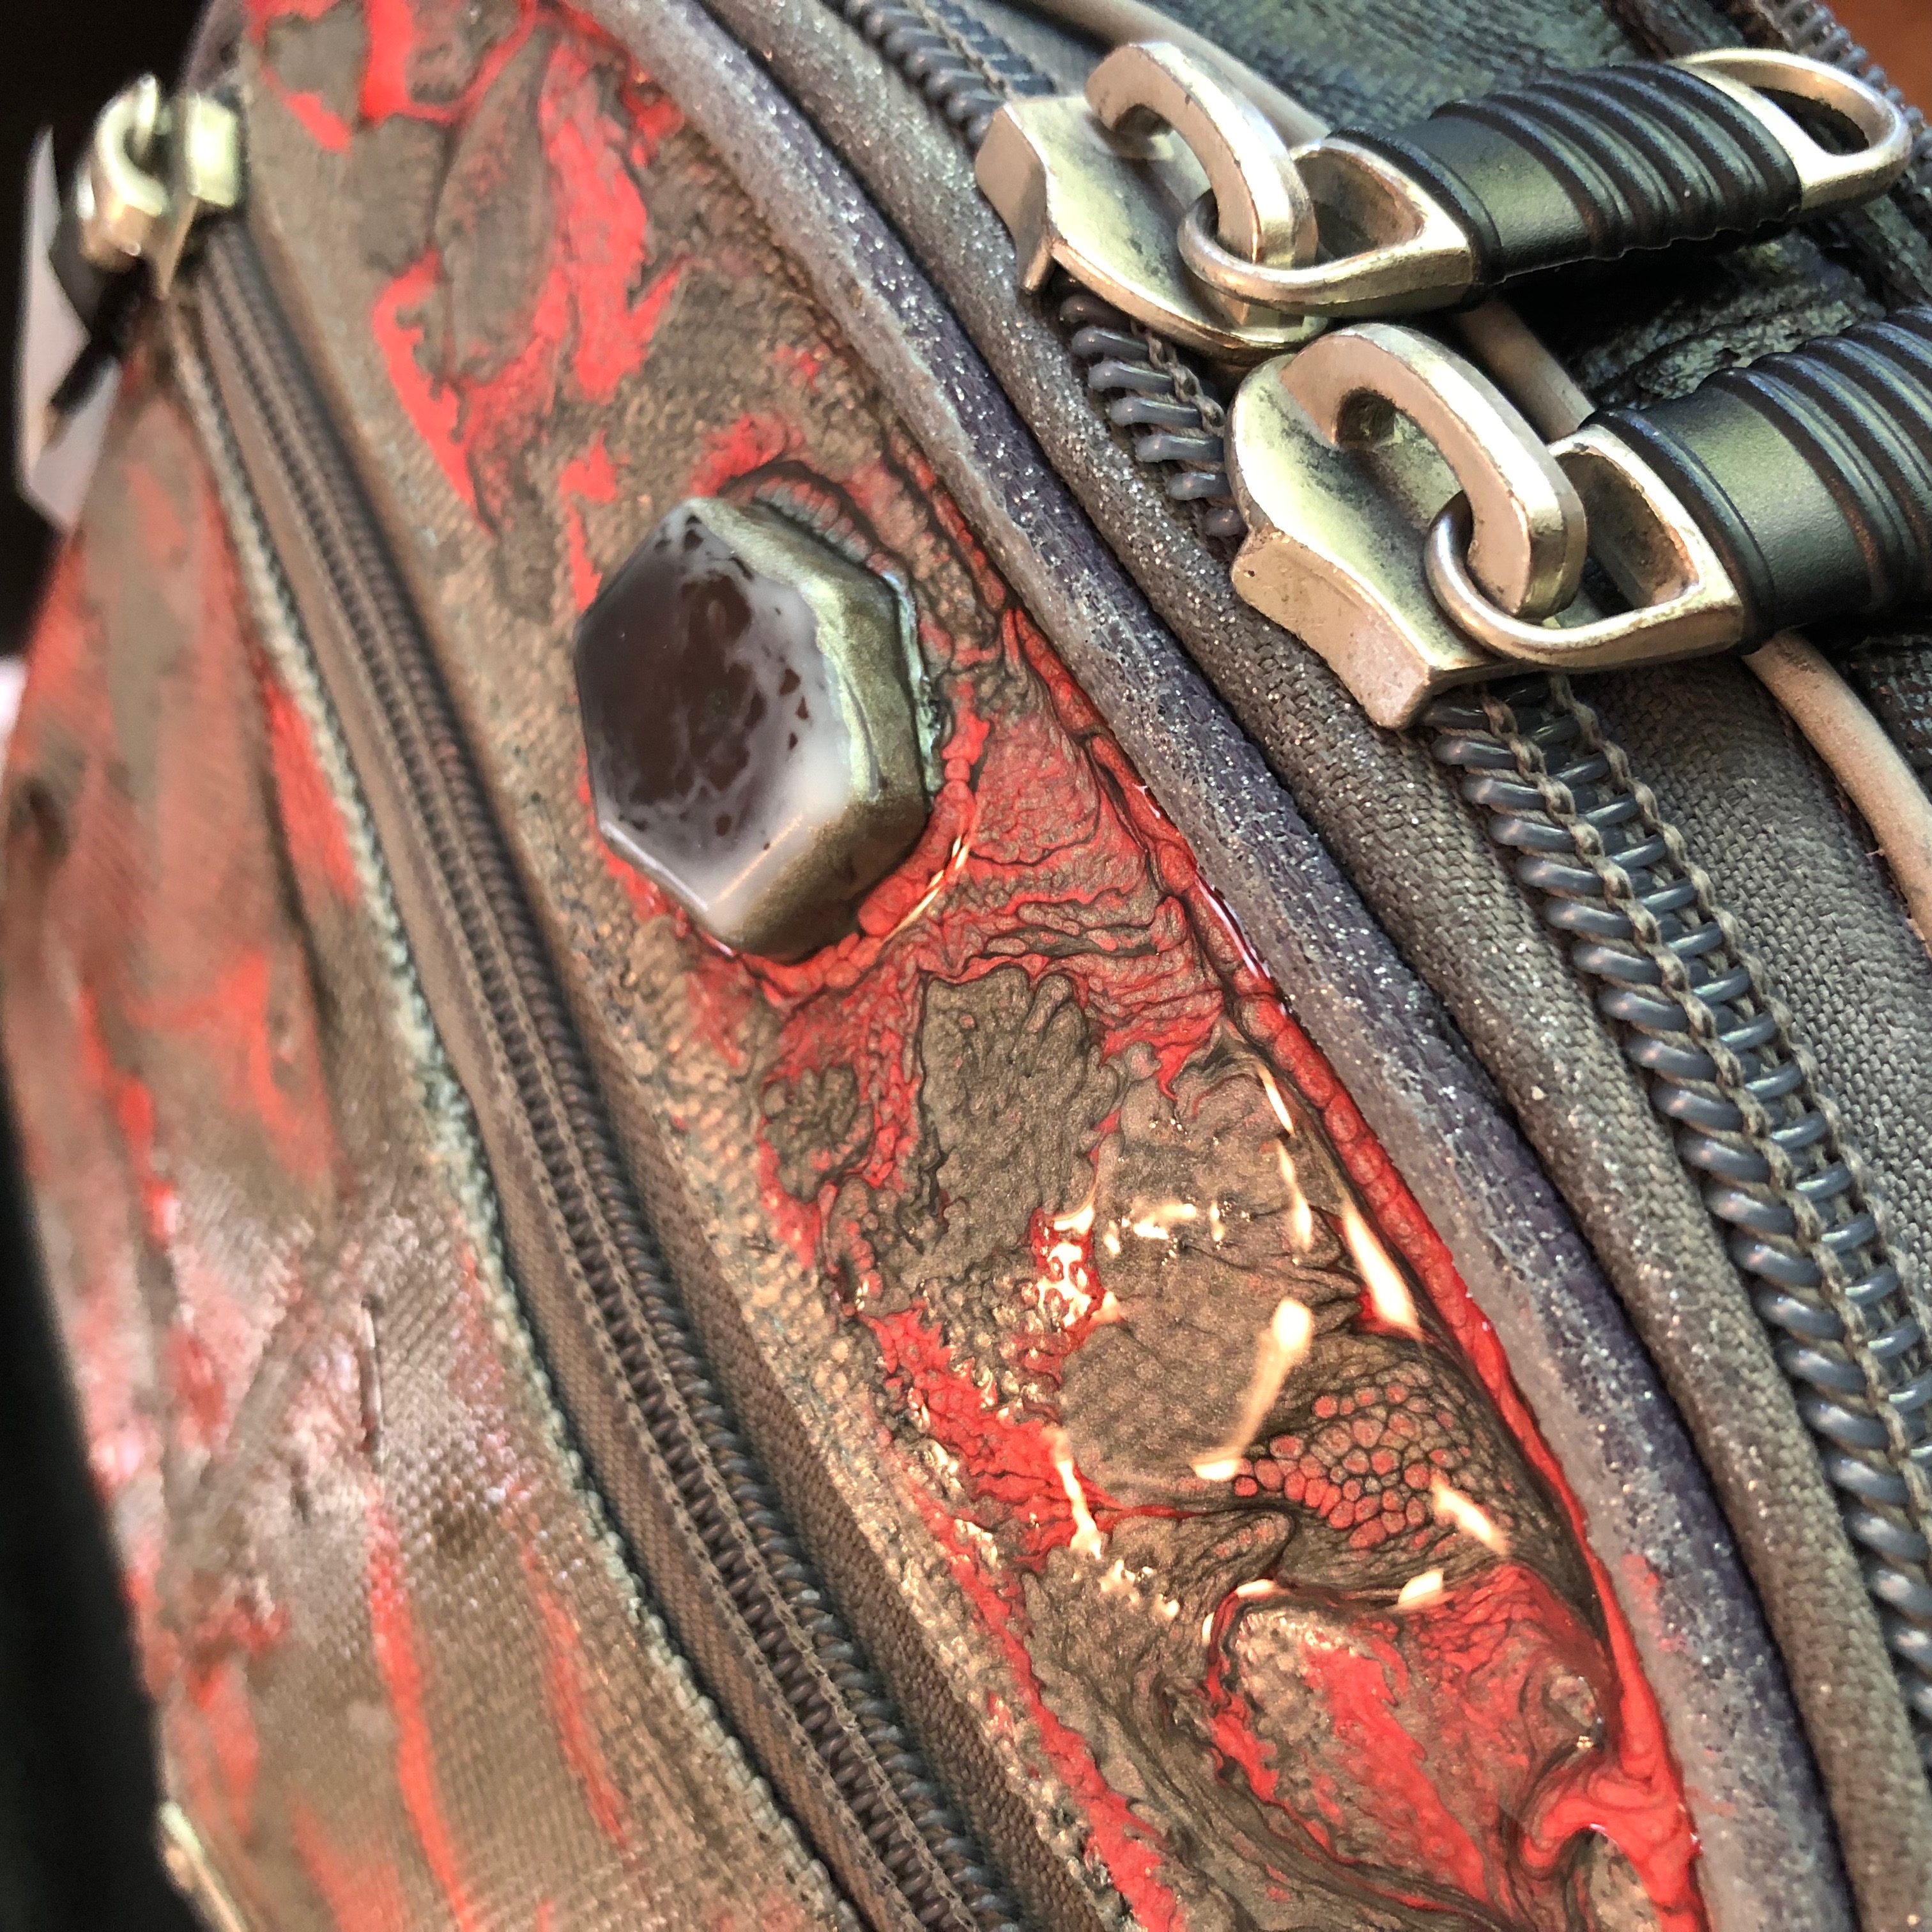
I blocked off one grey section using tape to make a diagonal separation between the black and the grey on the side panels.
Then I let all the paint dry fully.
Reactive Paint - Again
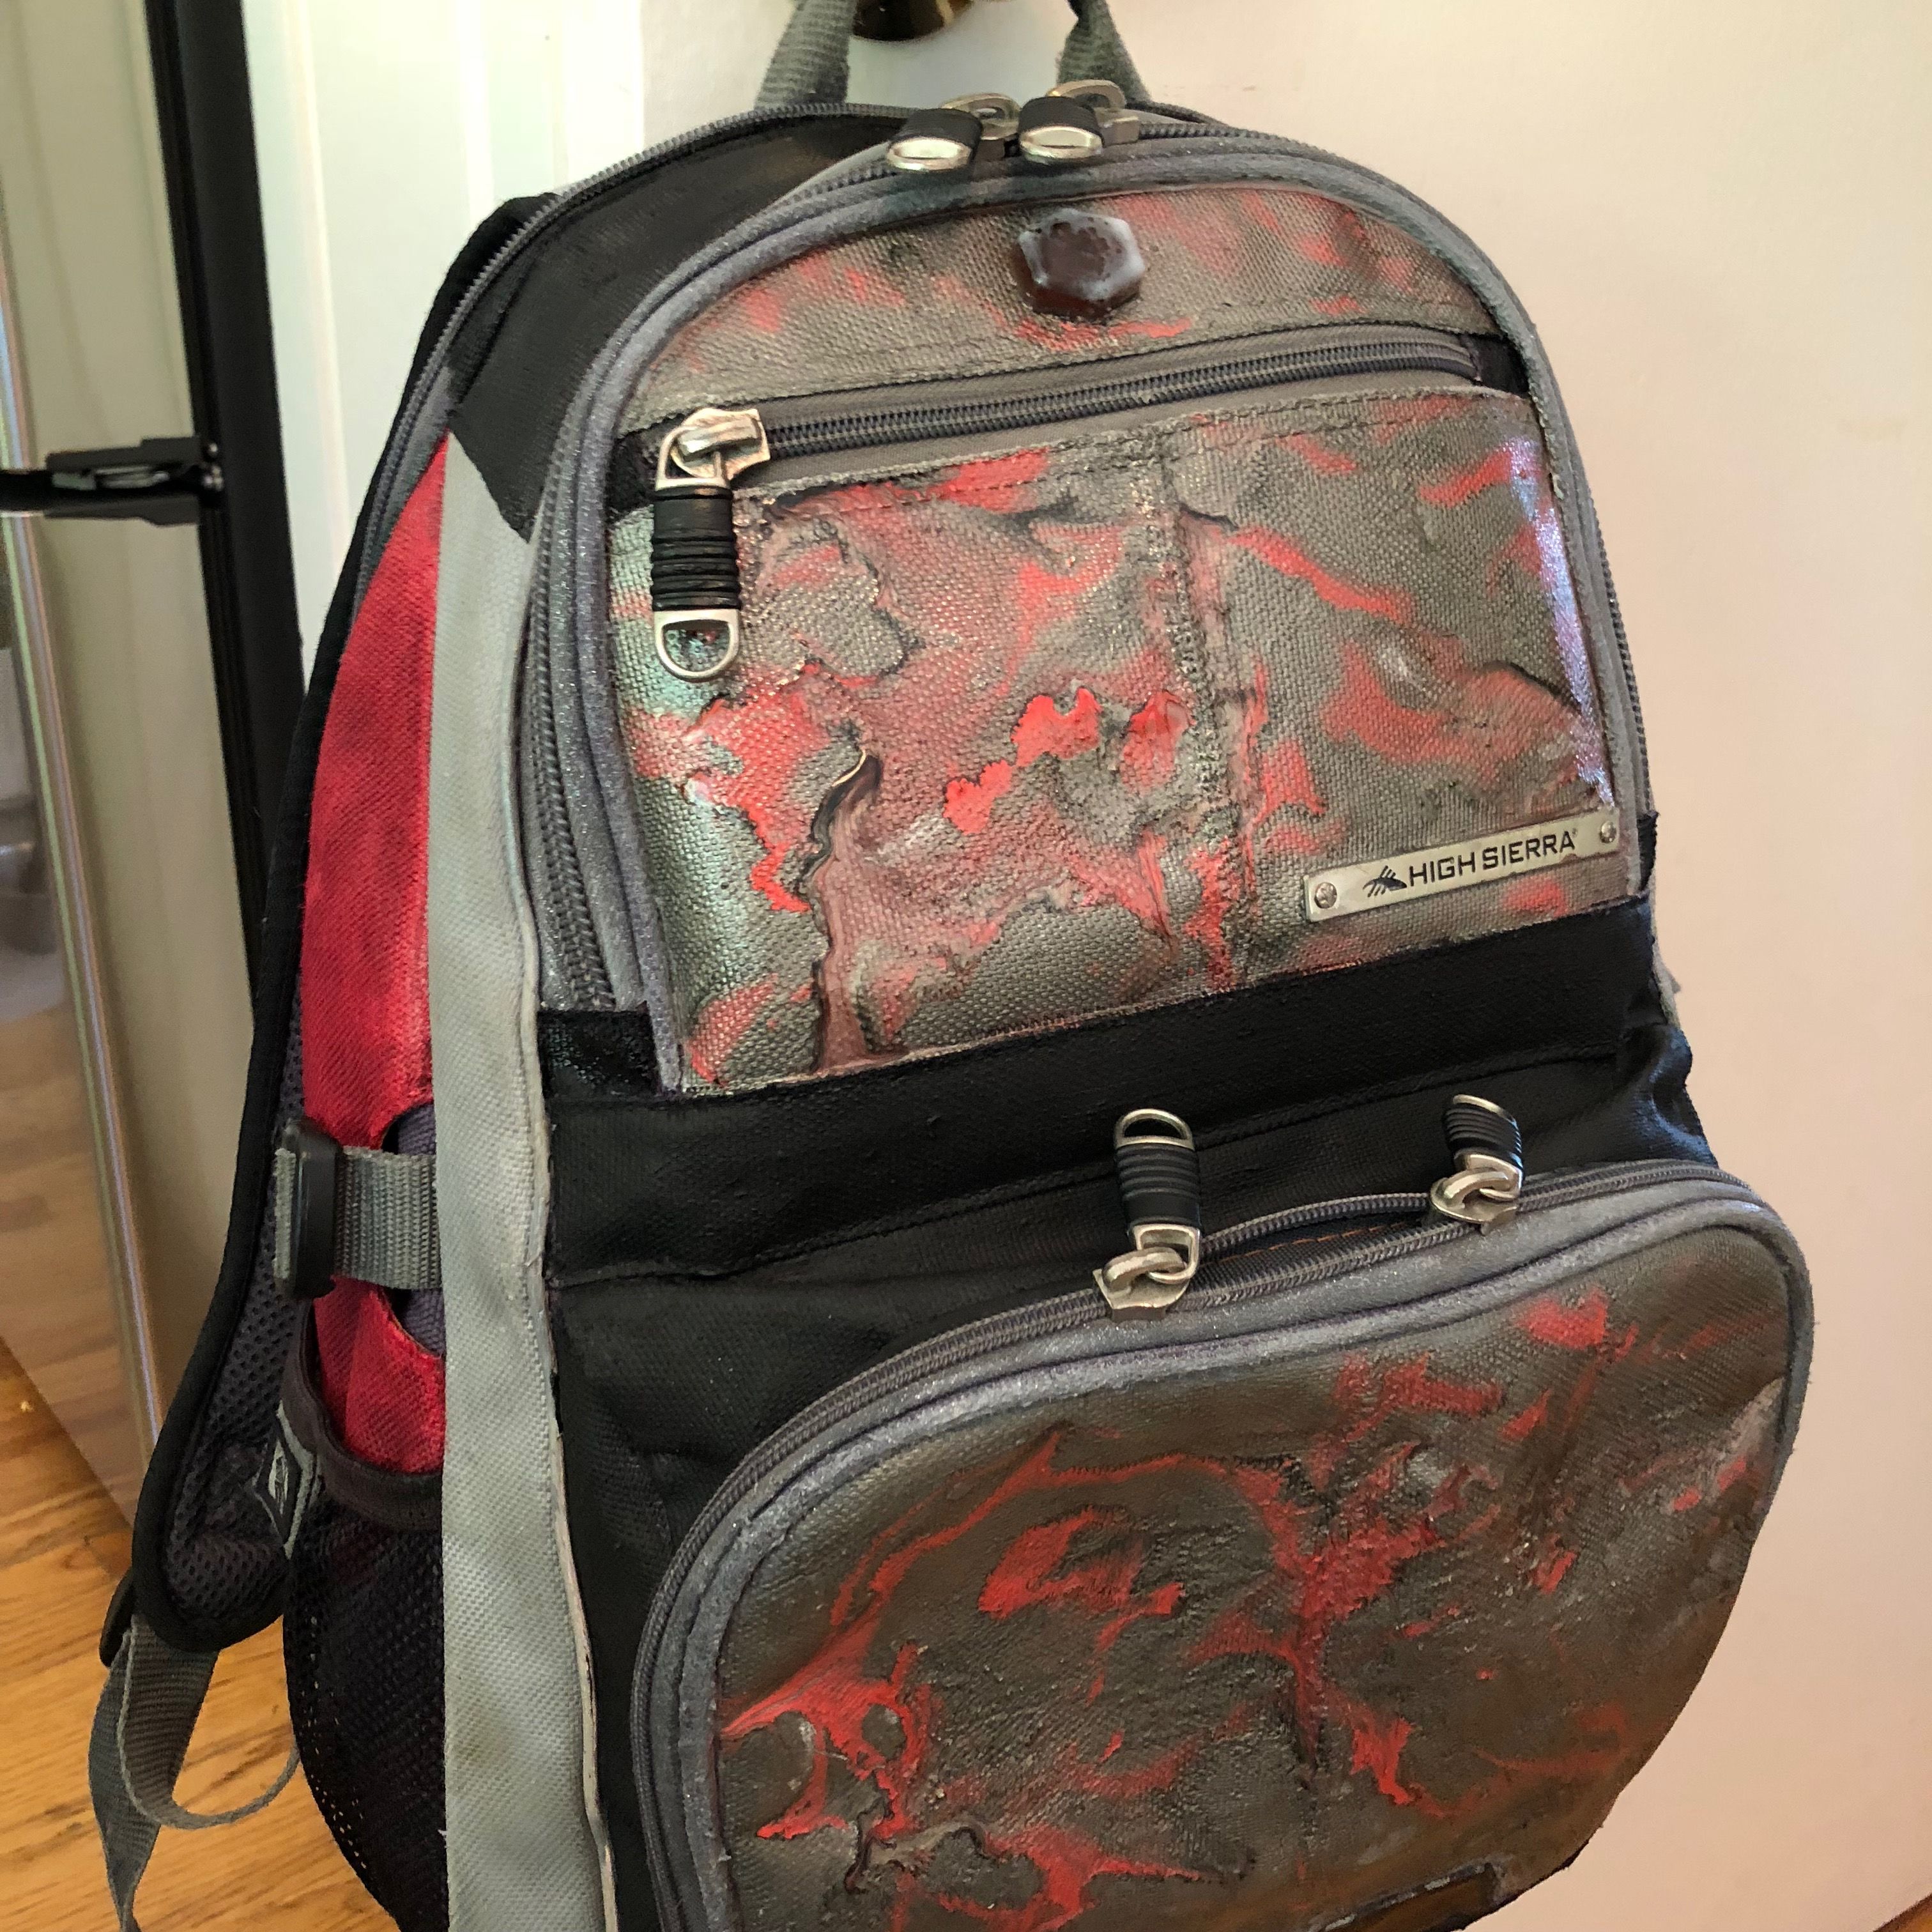
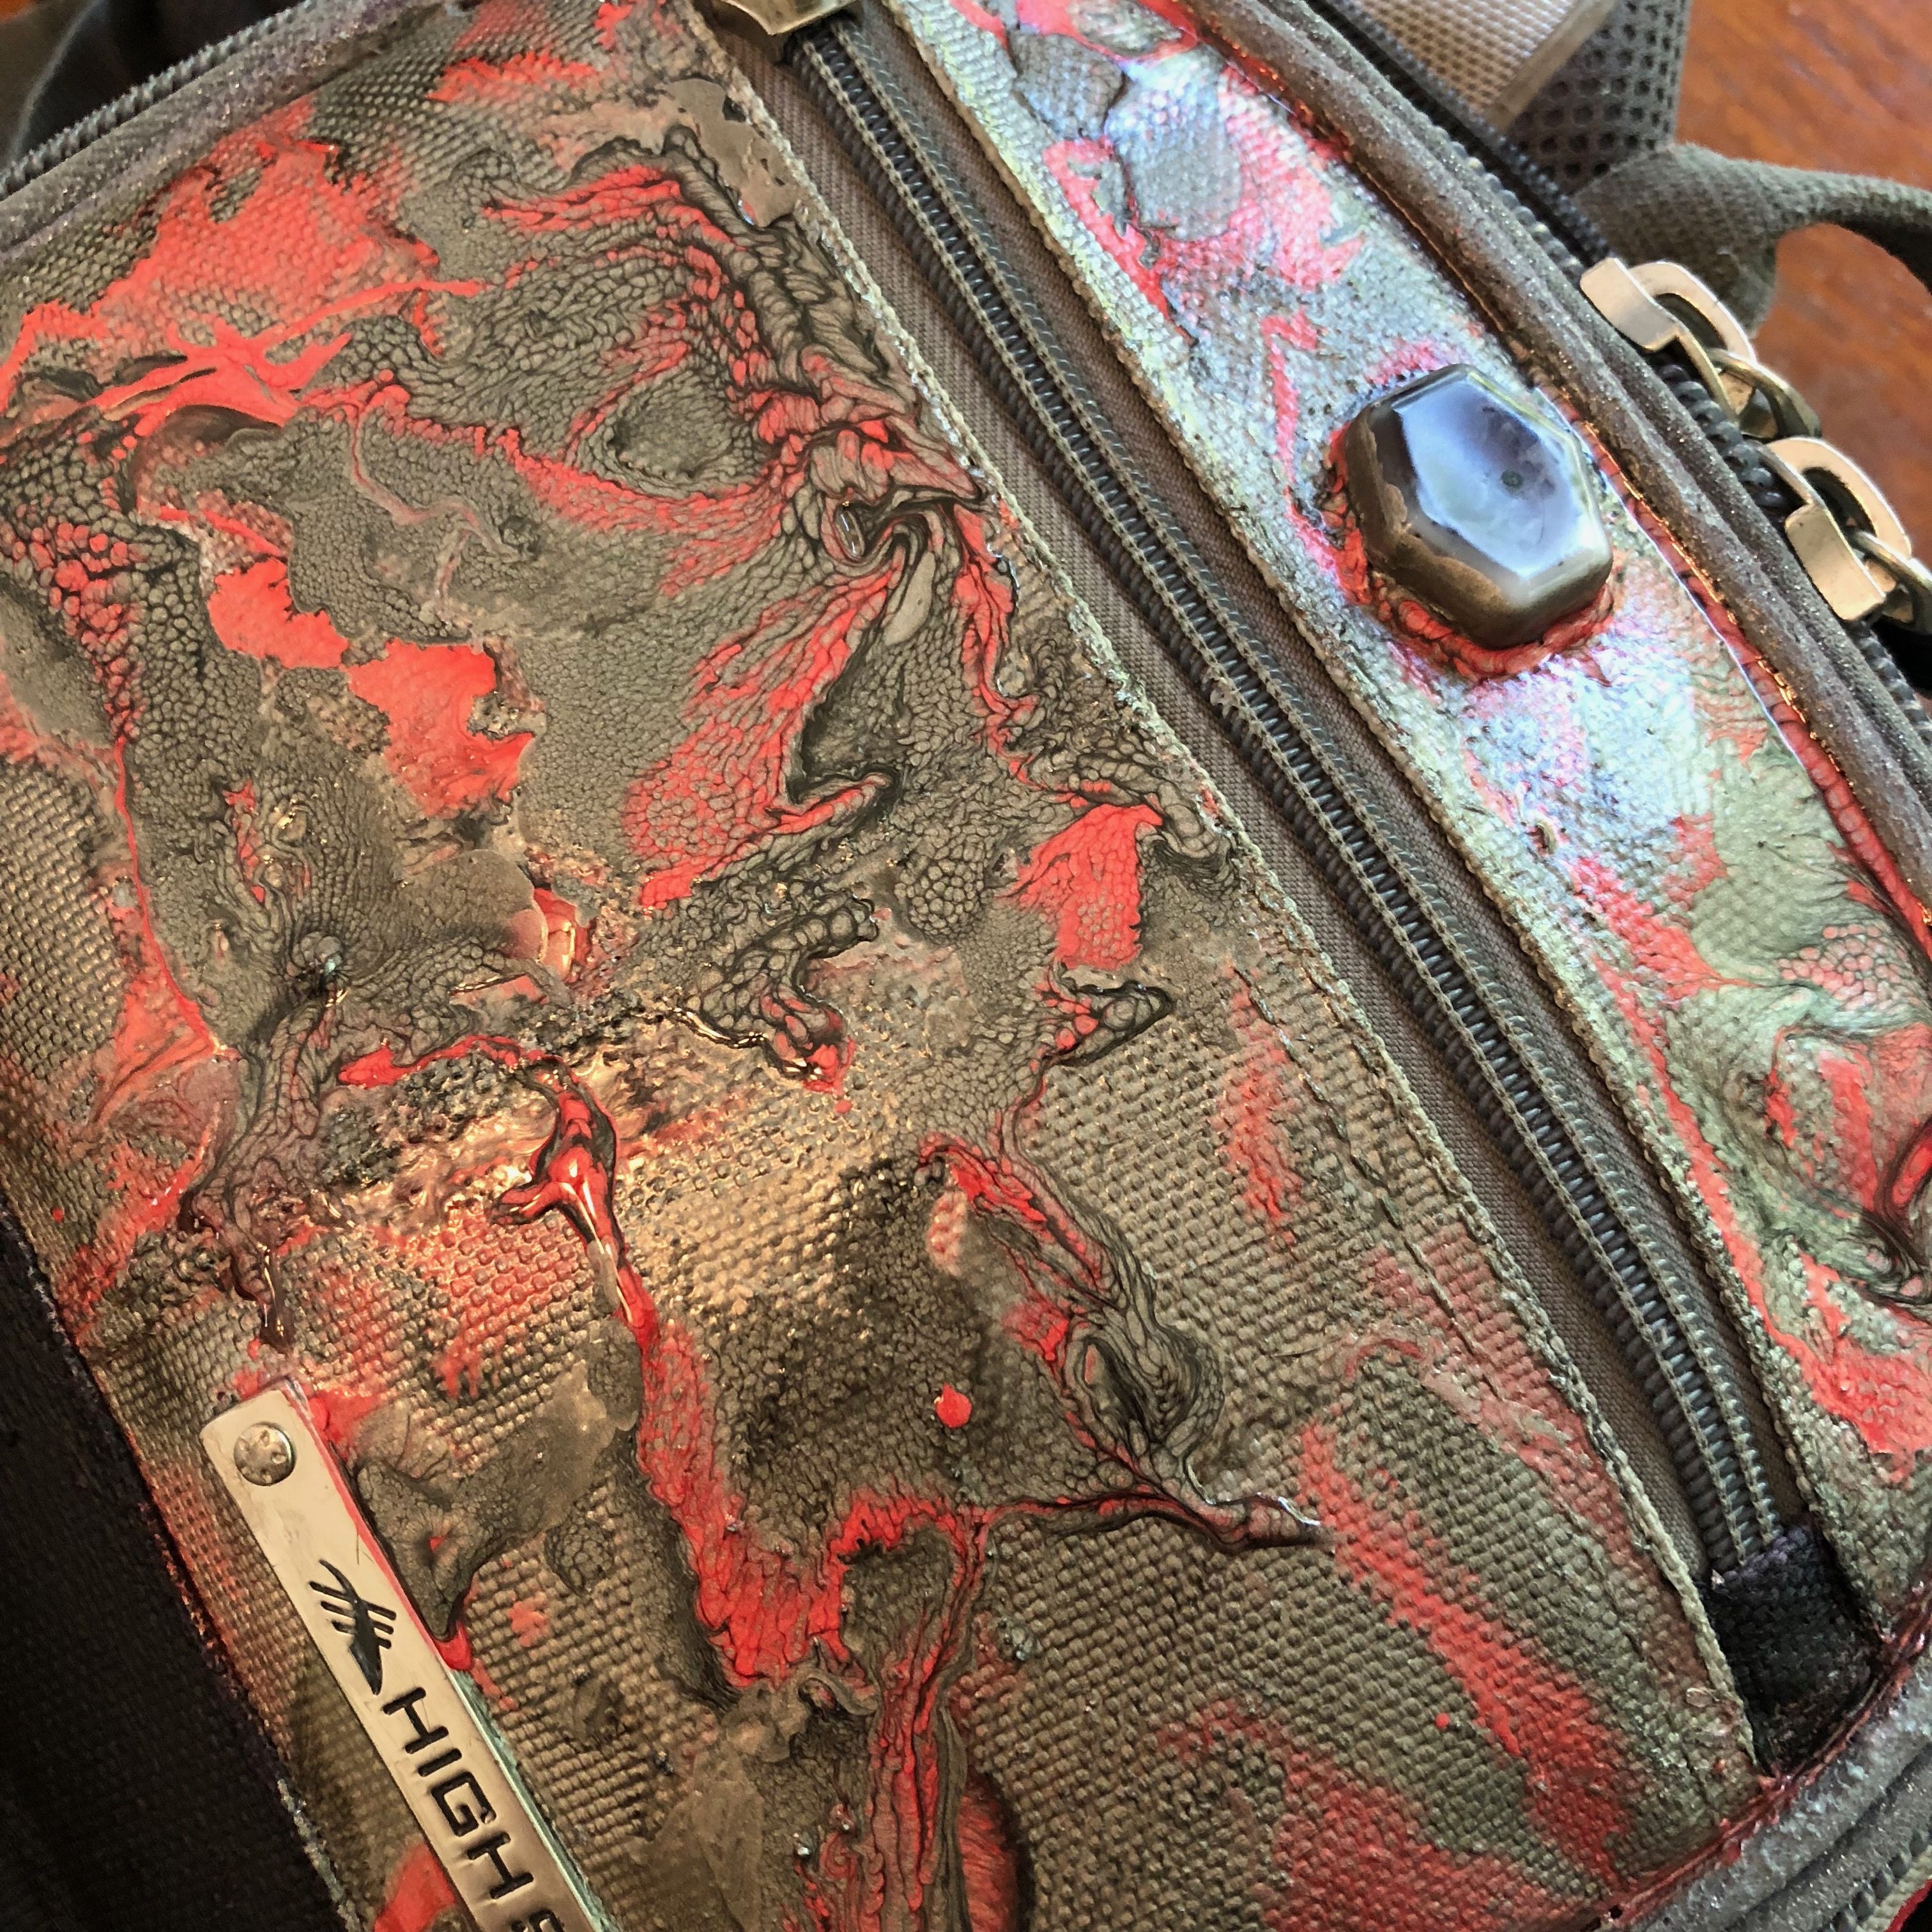
Because a backpack is not the ideal surface for reactive paints, some areas came out muddy or washed out. Where the paint was thicker and worked well, I really liked the effect. I decided to add to the spots that needed more paint or interest.
Using the same technique as in steps 14 - 17, I repainted patches of the offending sections.
Note: The reactive paints dried shiny, but with texture, especially in the marbled areas. I liked the effect very much, but you should be aware of this before you paint.
Resin Part Two
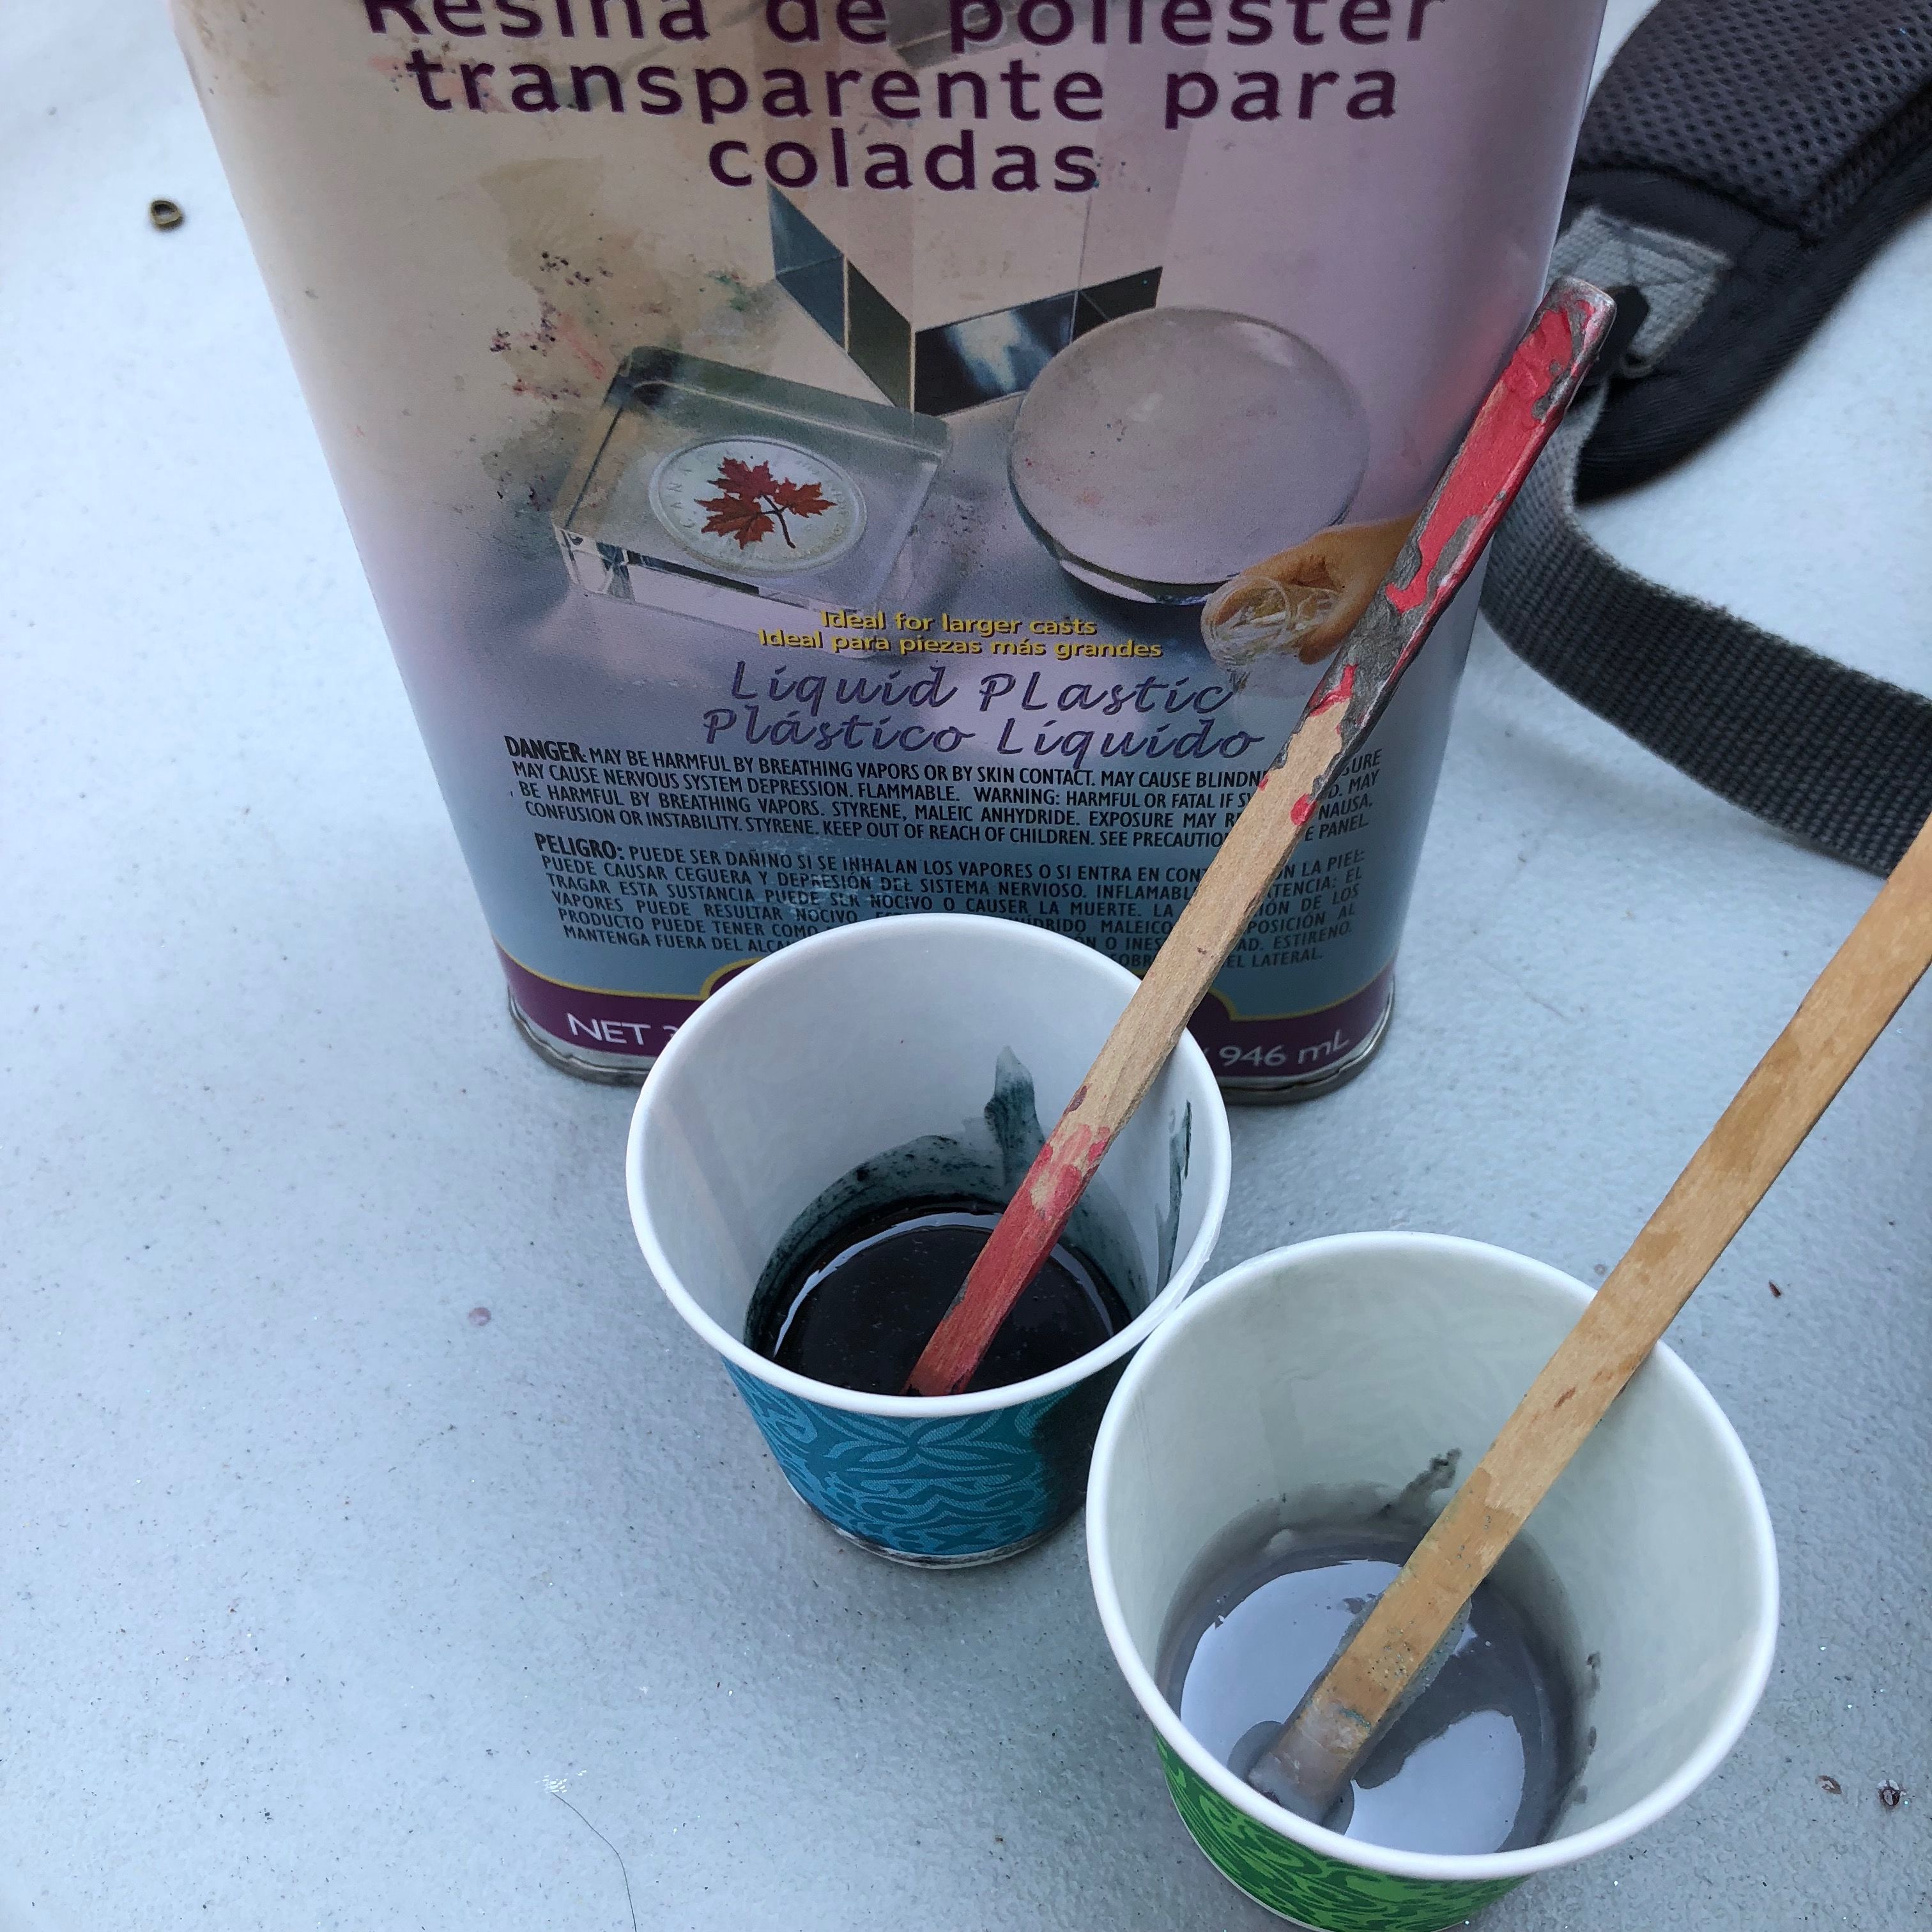
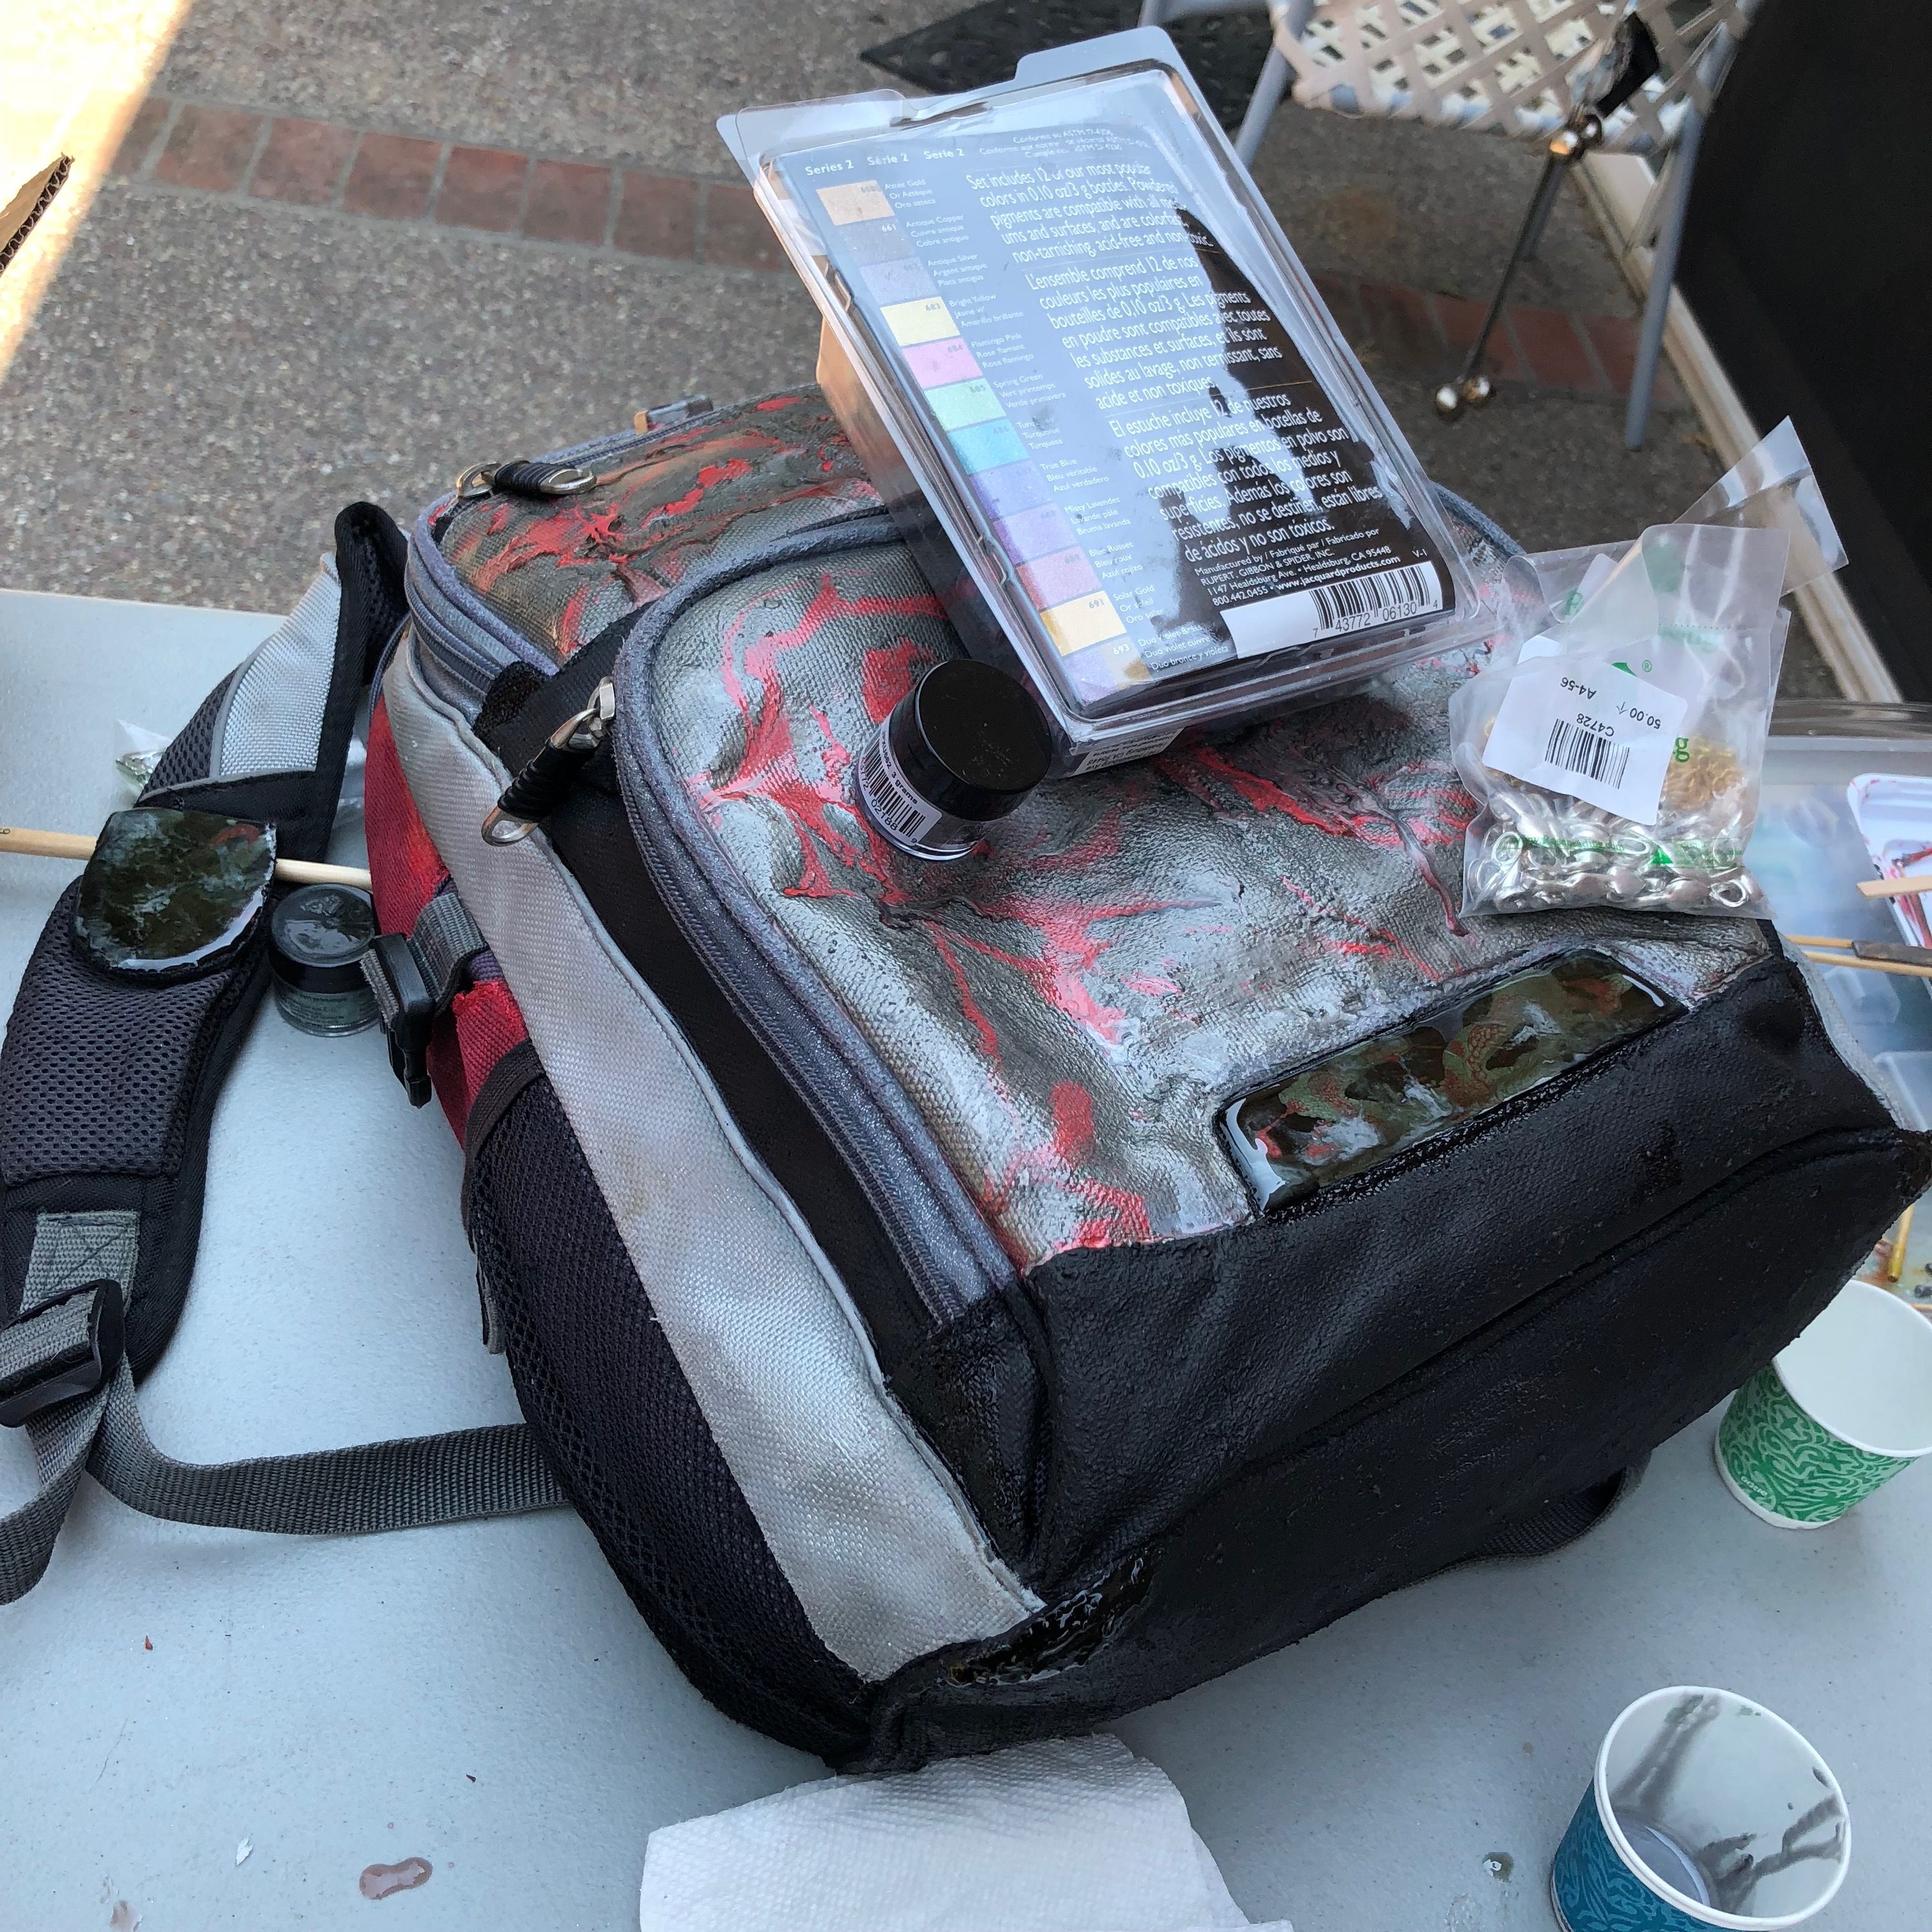
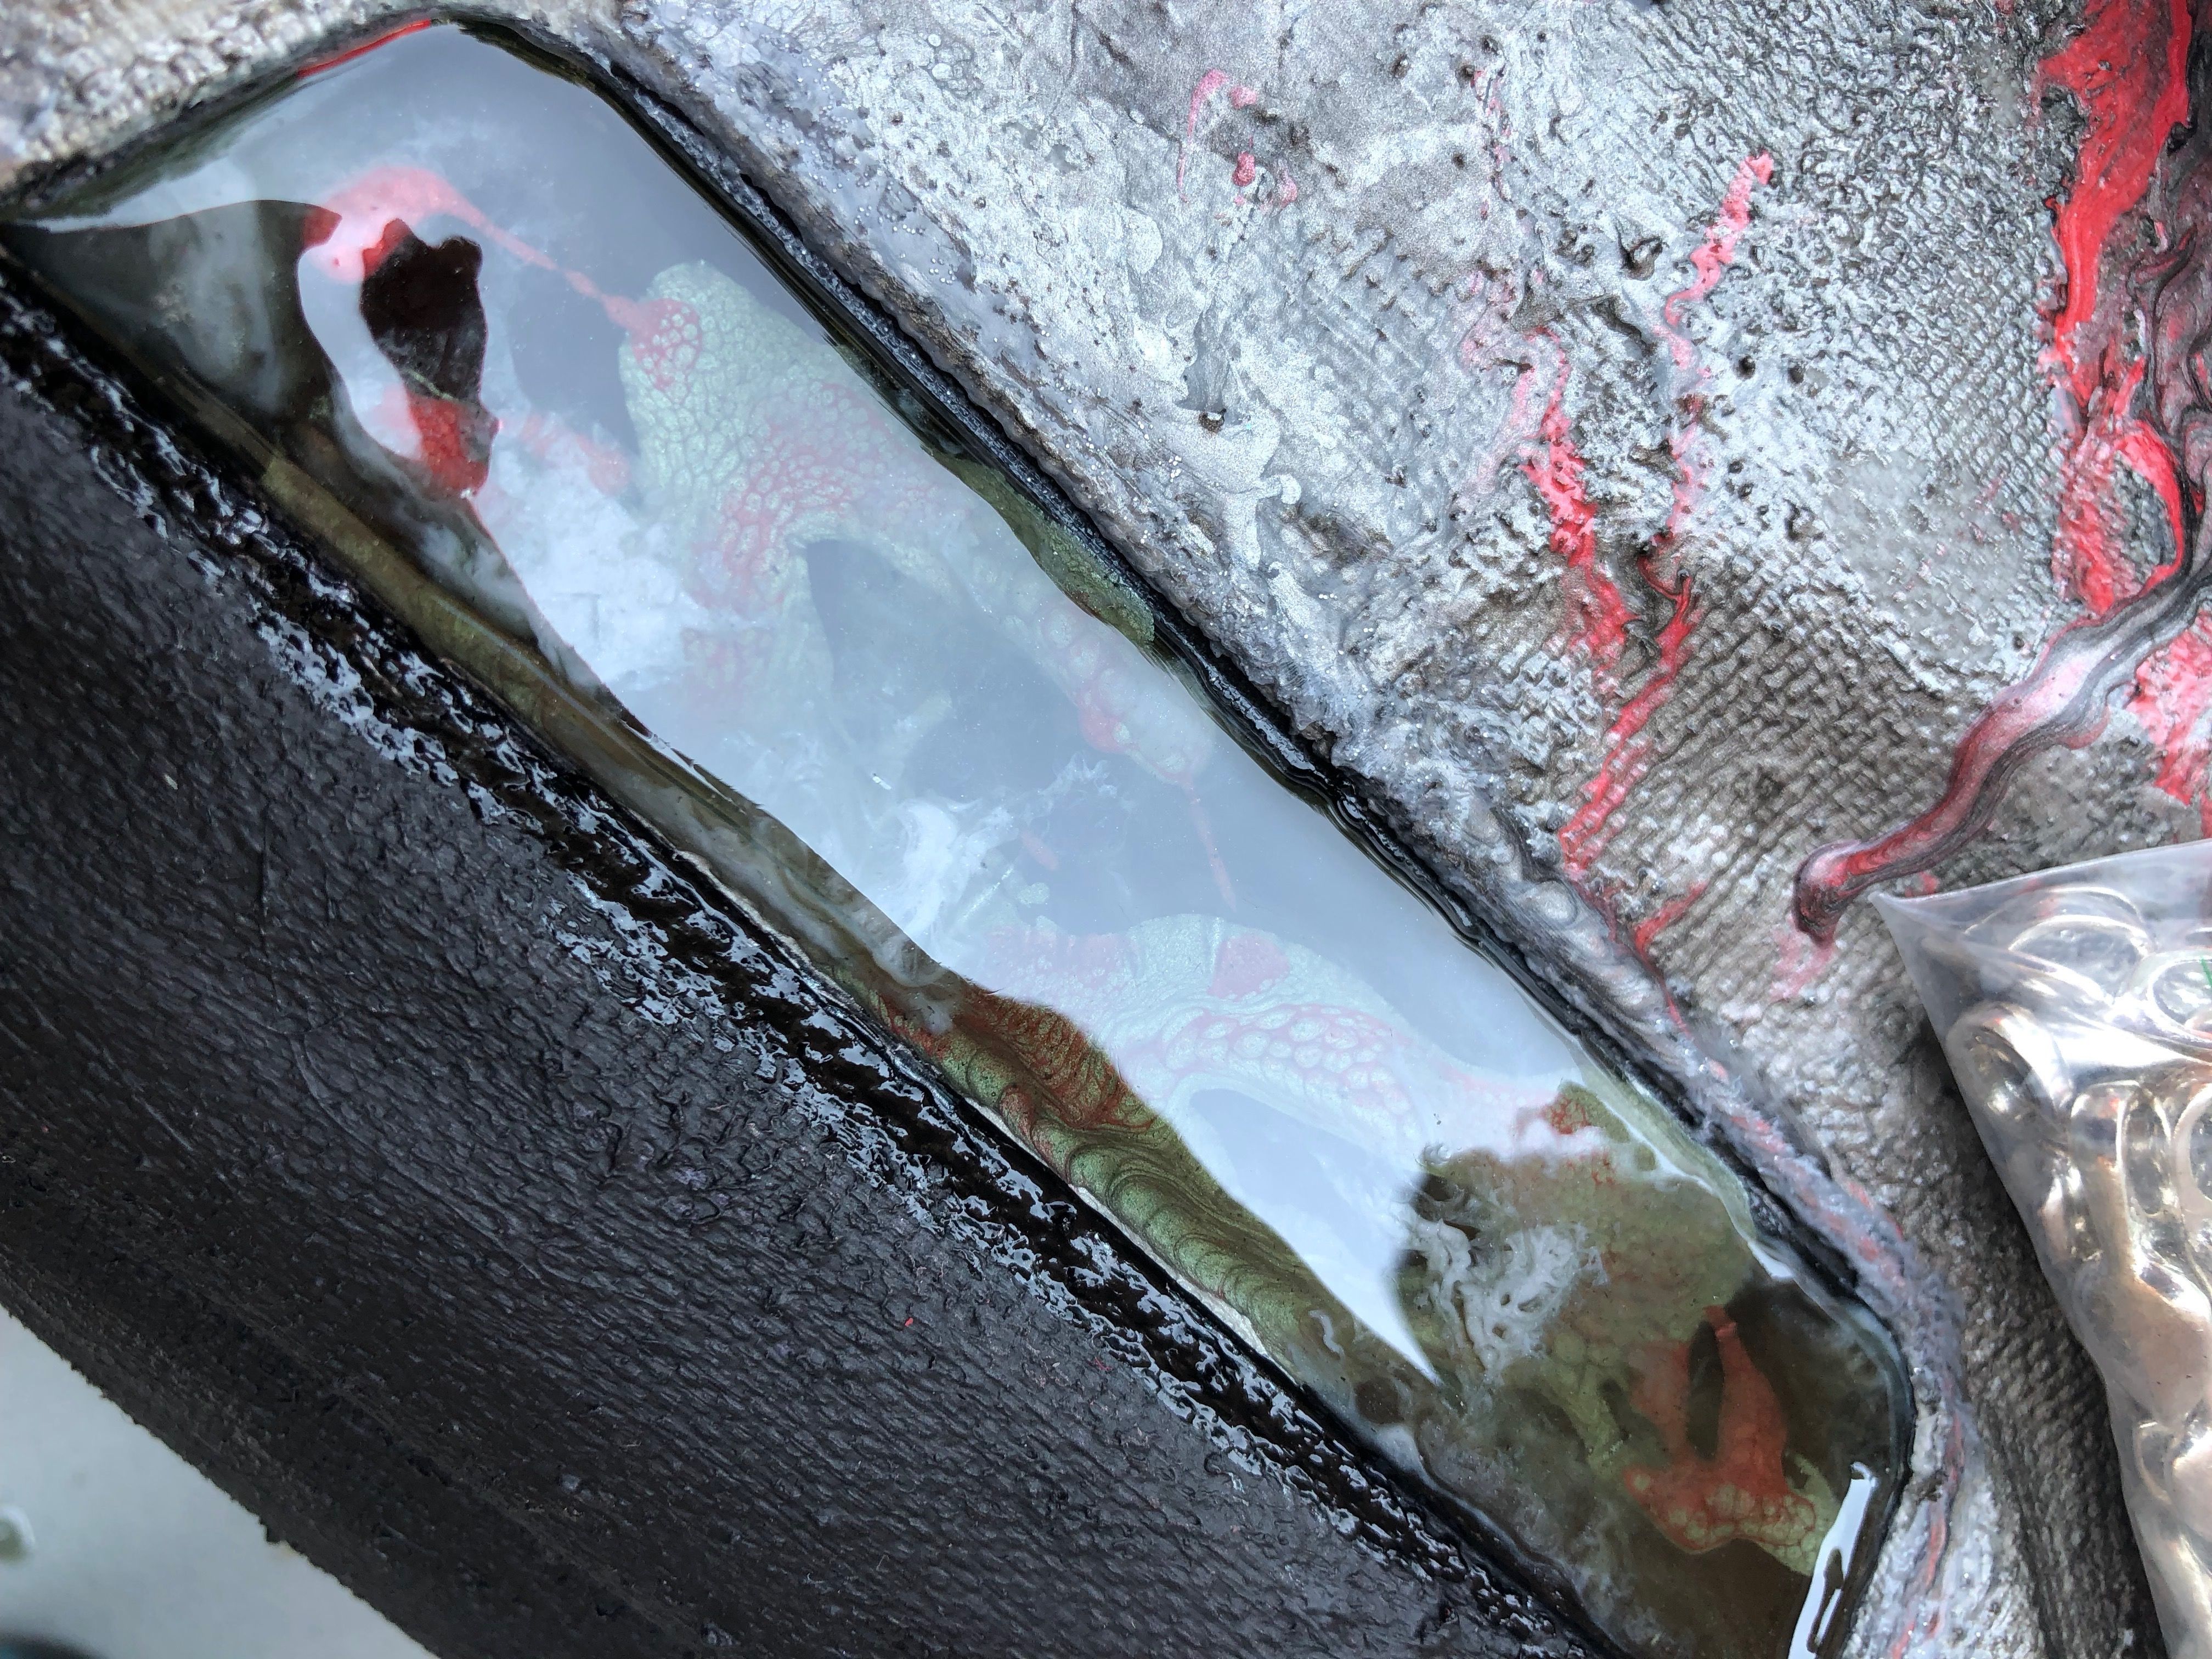
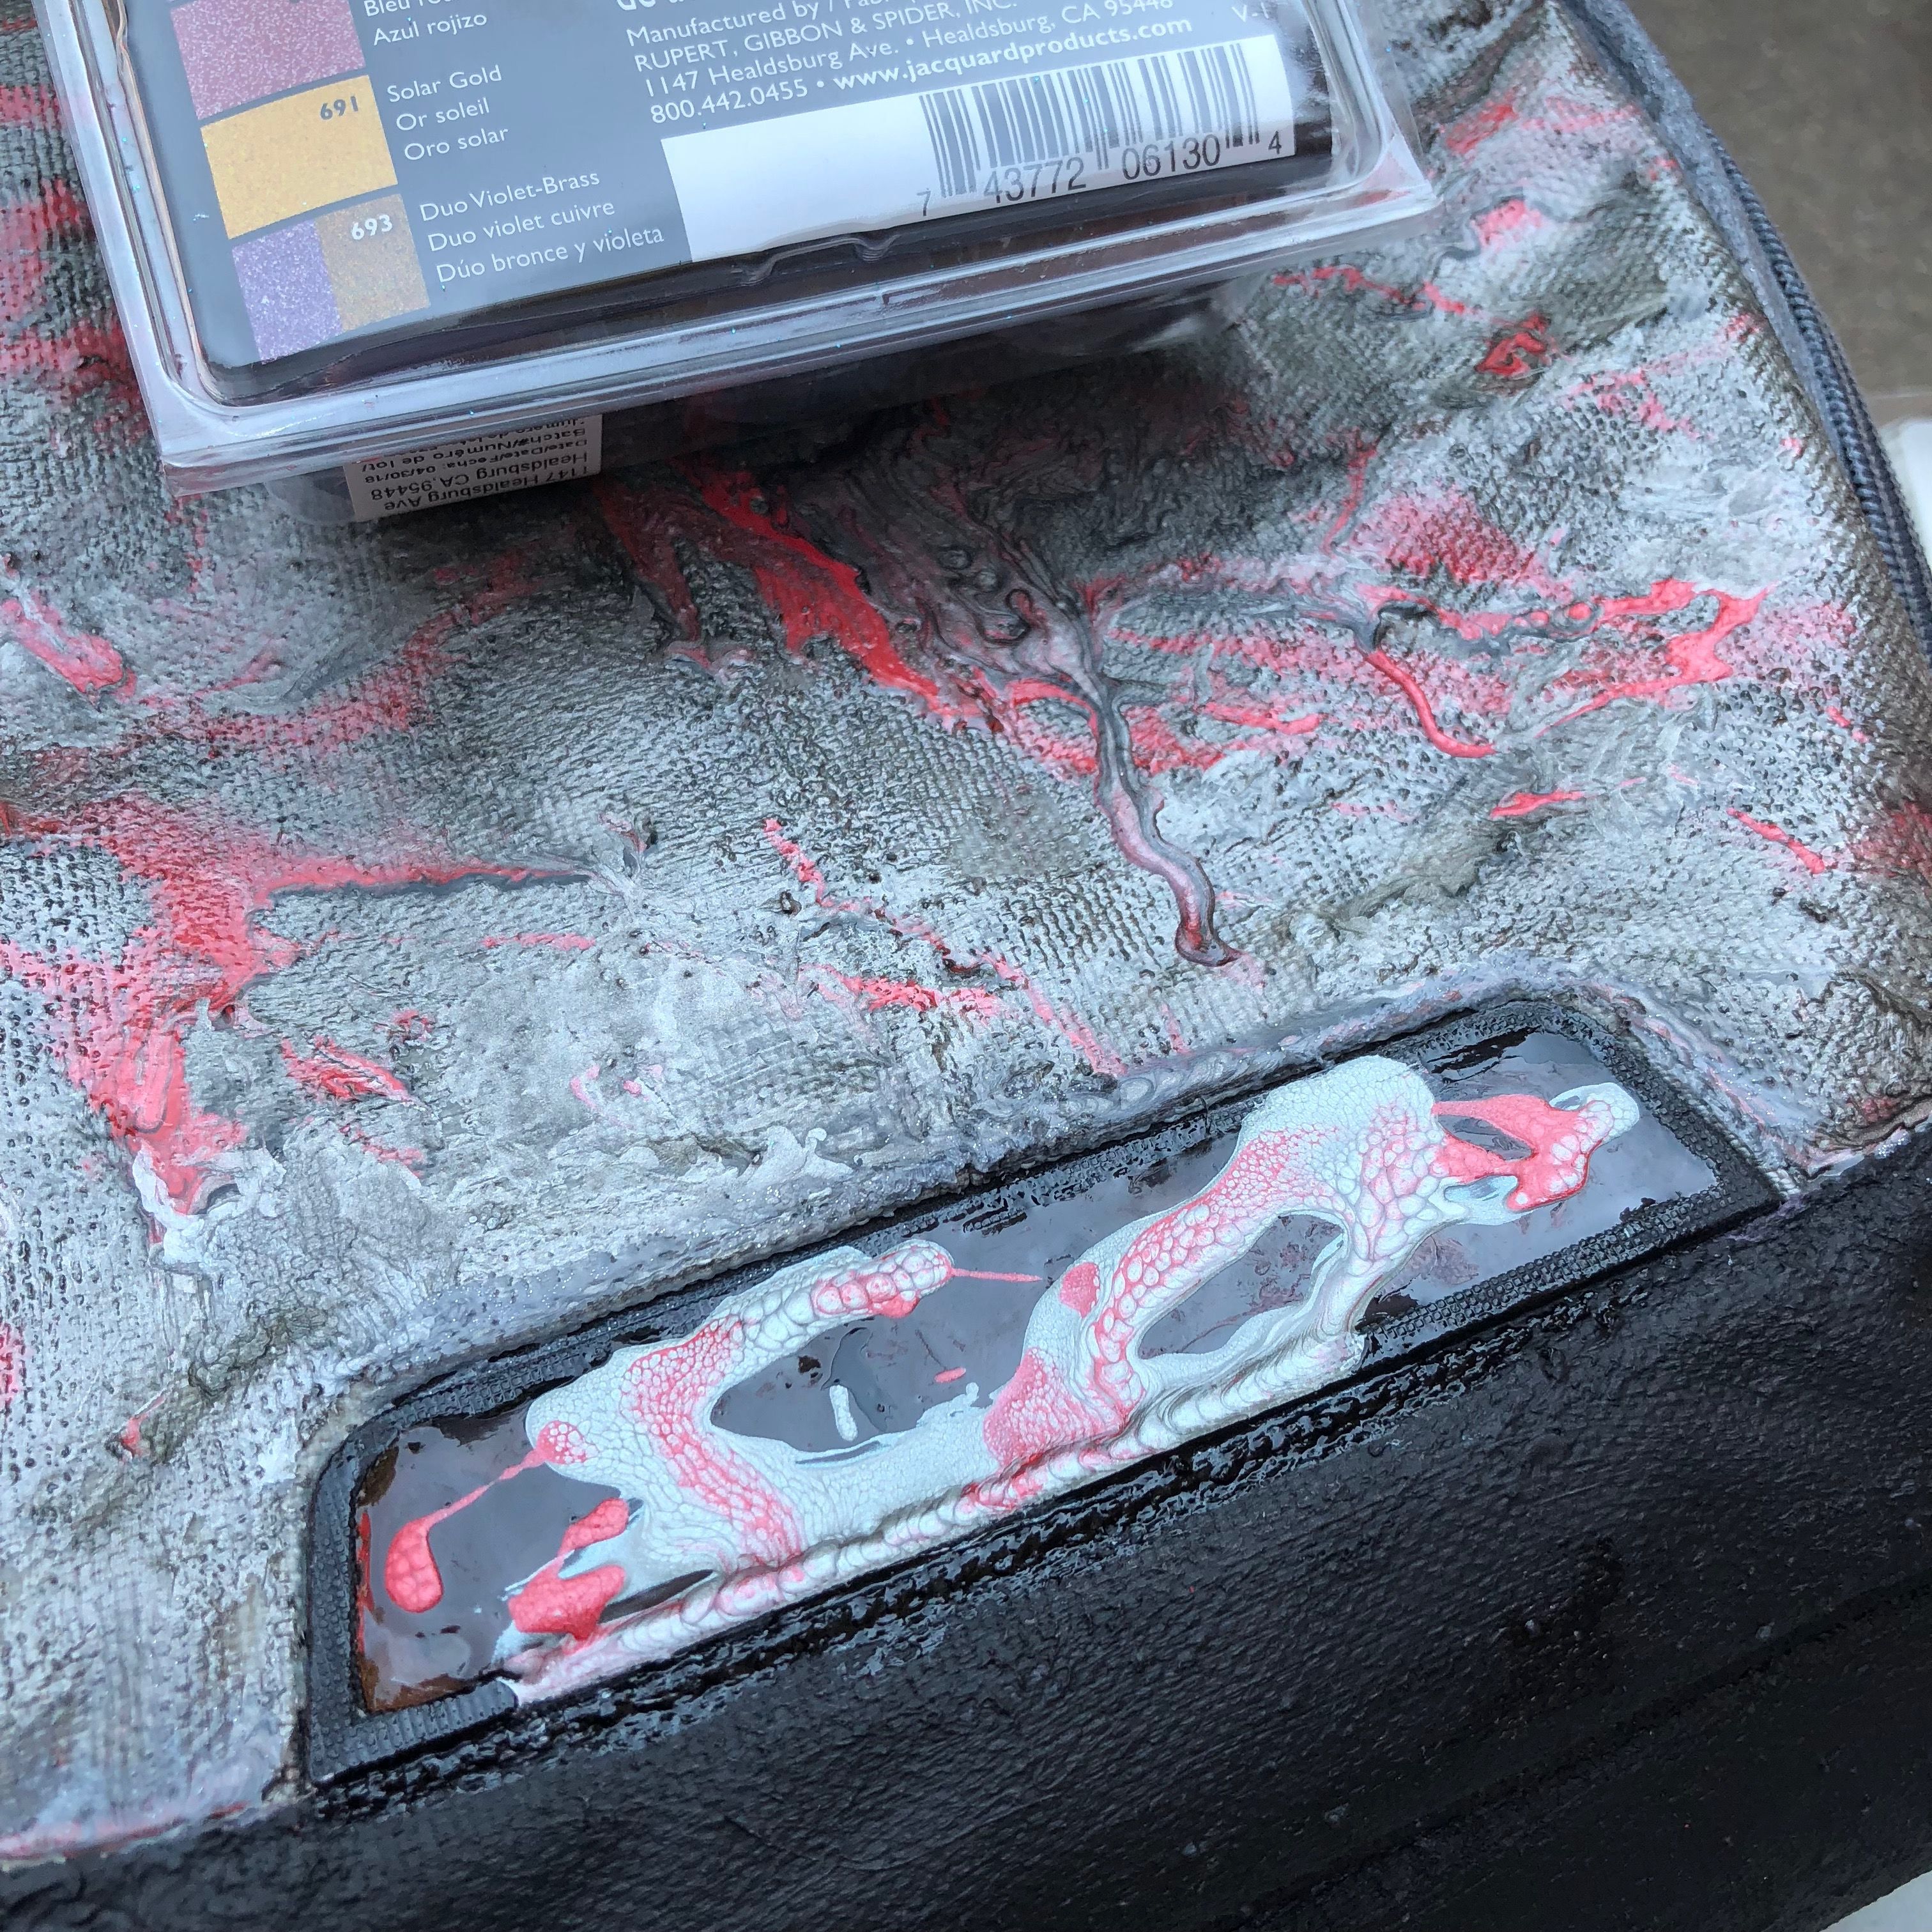
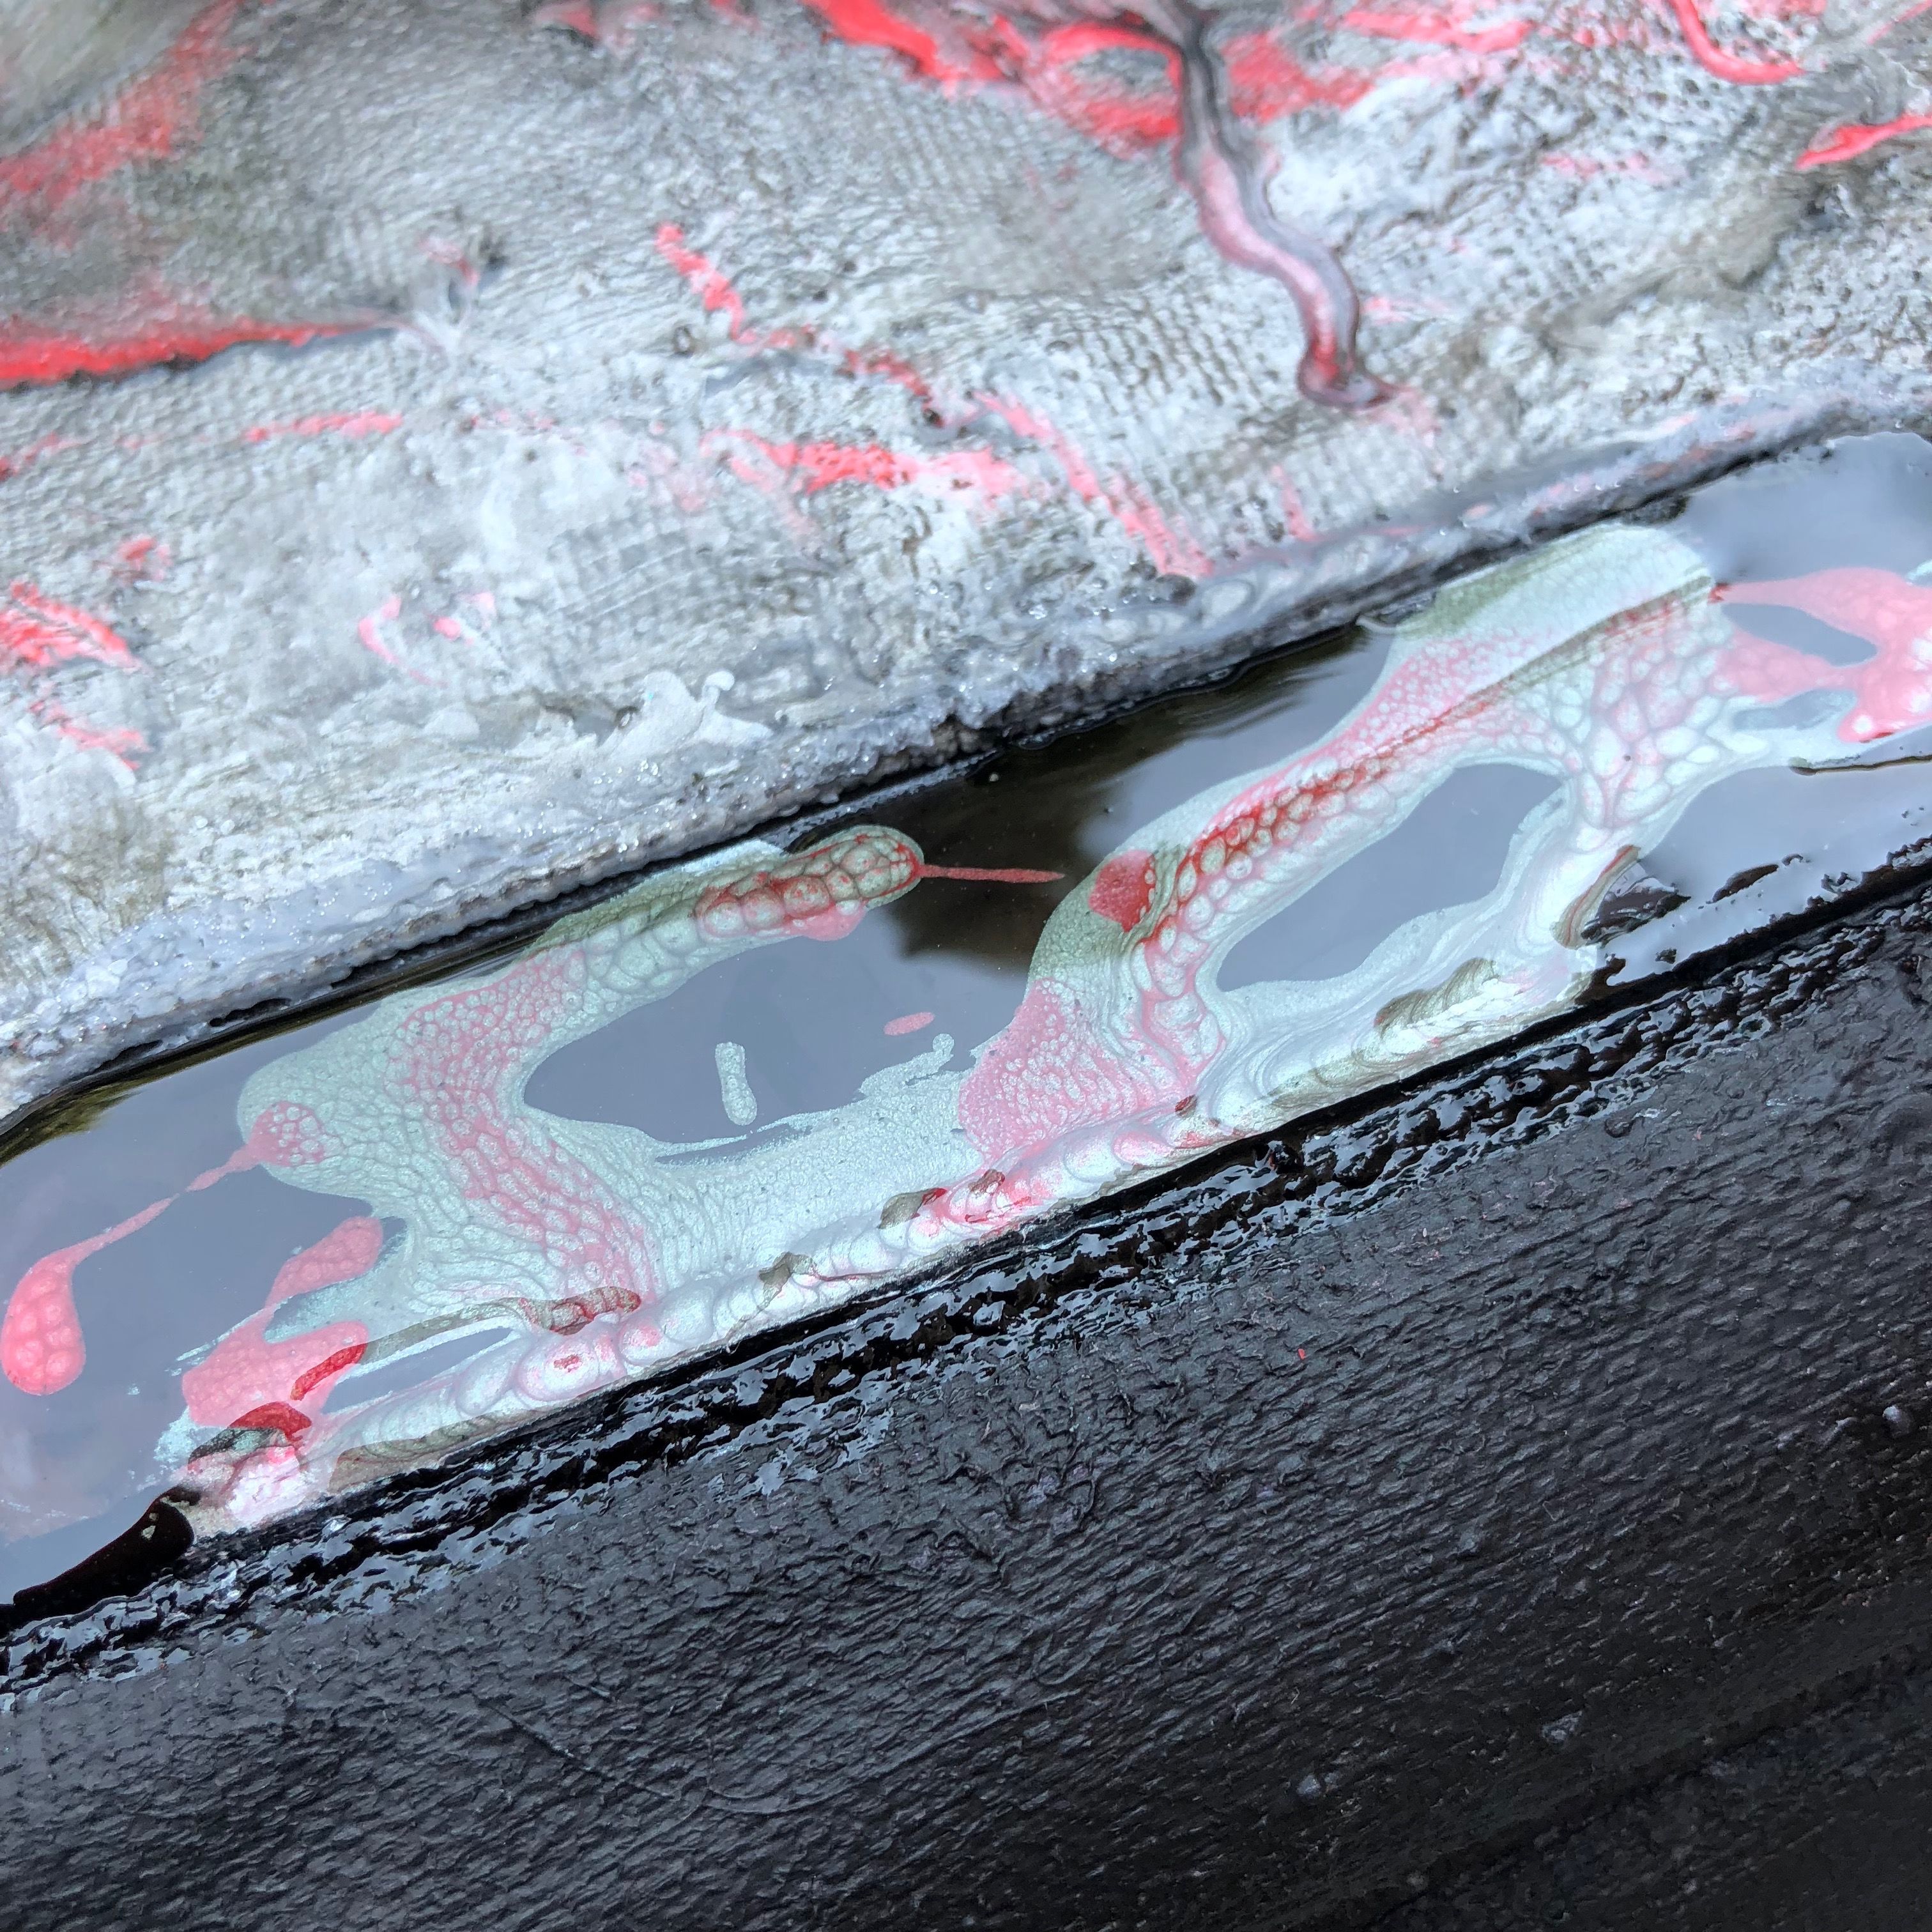
I wanted my resin accents to be domed and have more depth, so I knew they'd need a second layer. I proceeded the same way as in step 18, only I made the black a little cooler (by adding a drop of blue) and used grey instead of white.
Also, you can see here how I balanced things on the pack to level out my working surfaces as much as possible. I didn't want to risk the resin running and ruining my finished painting.
Flap Part Two
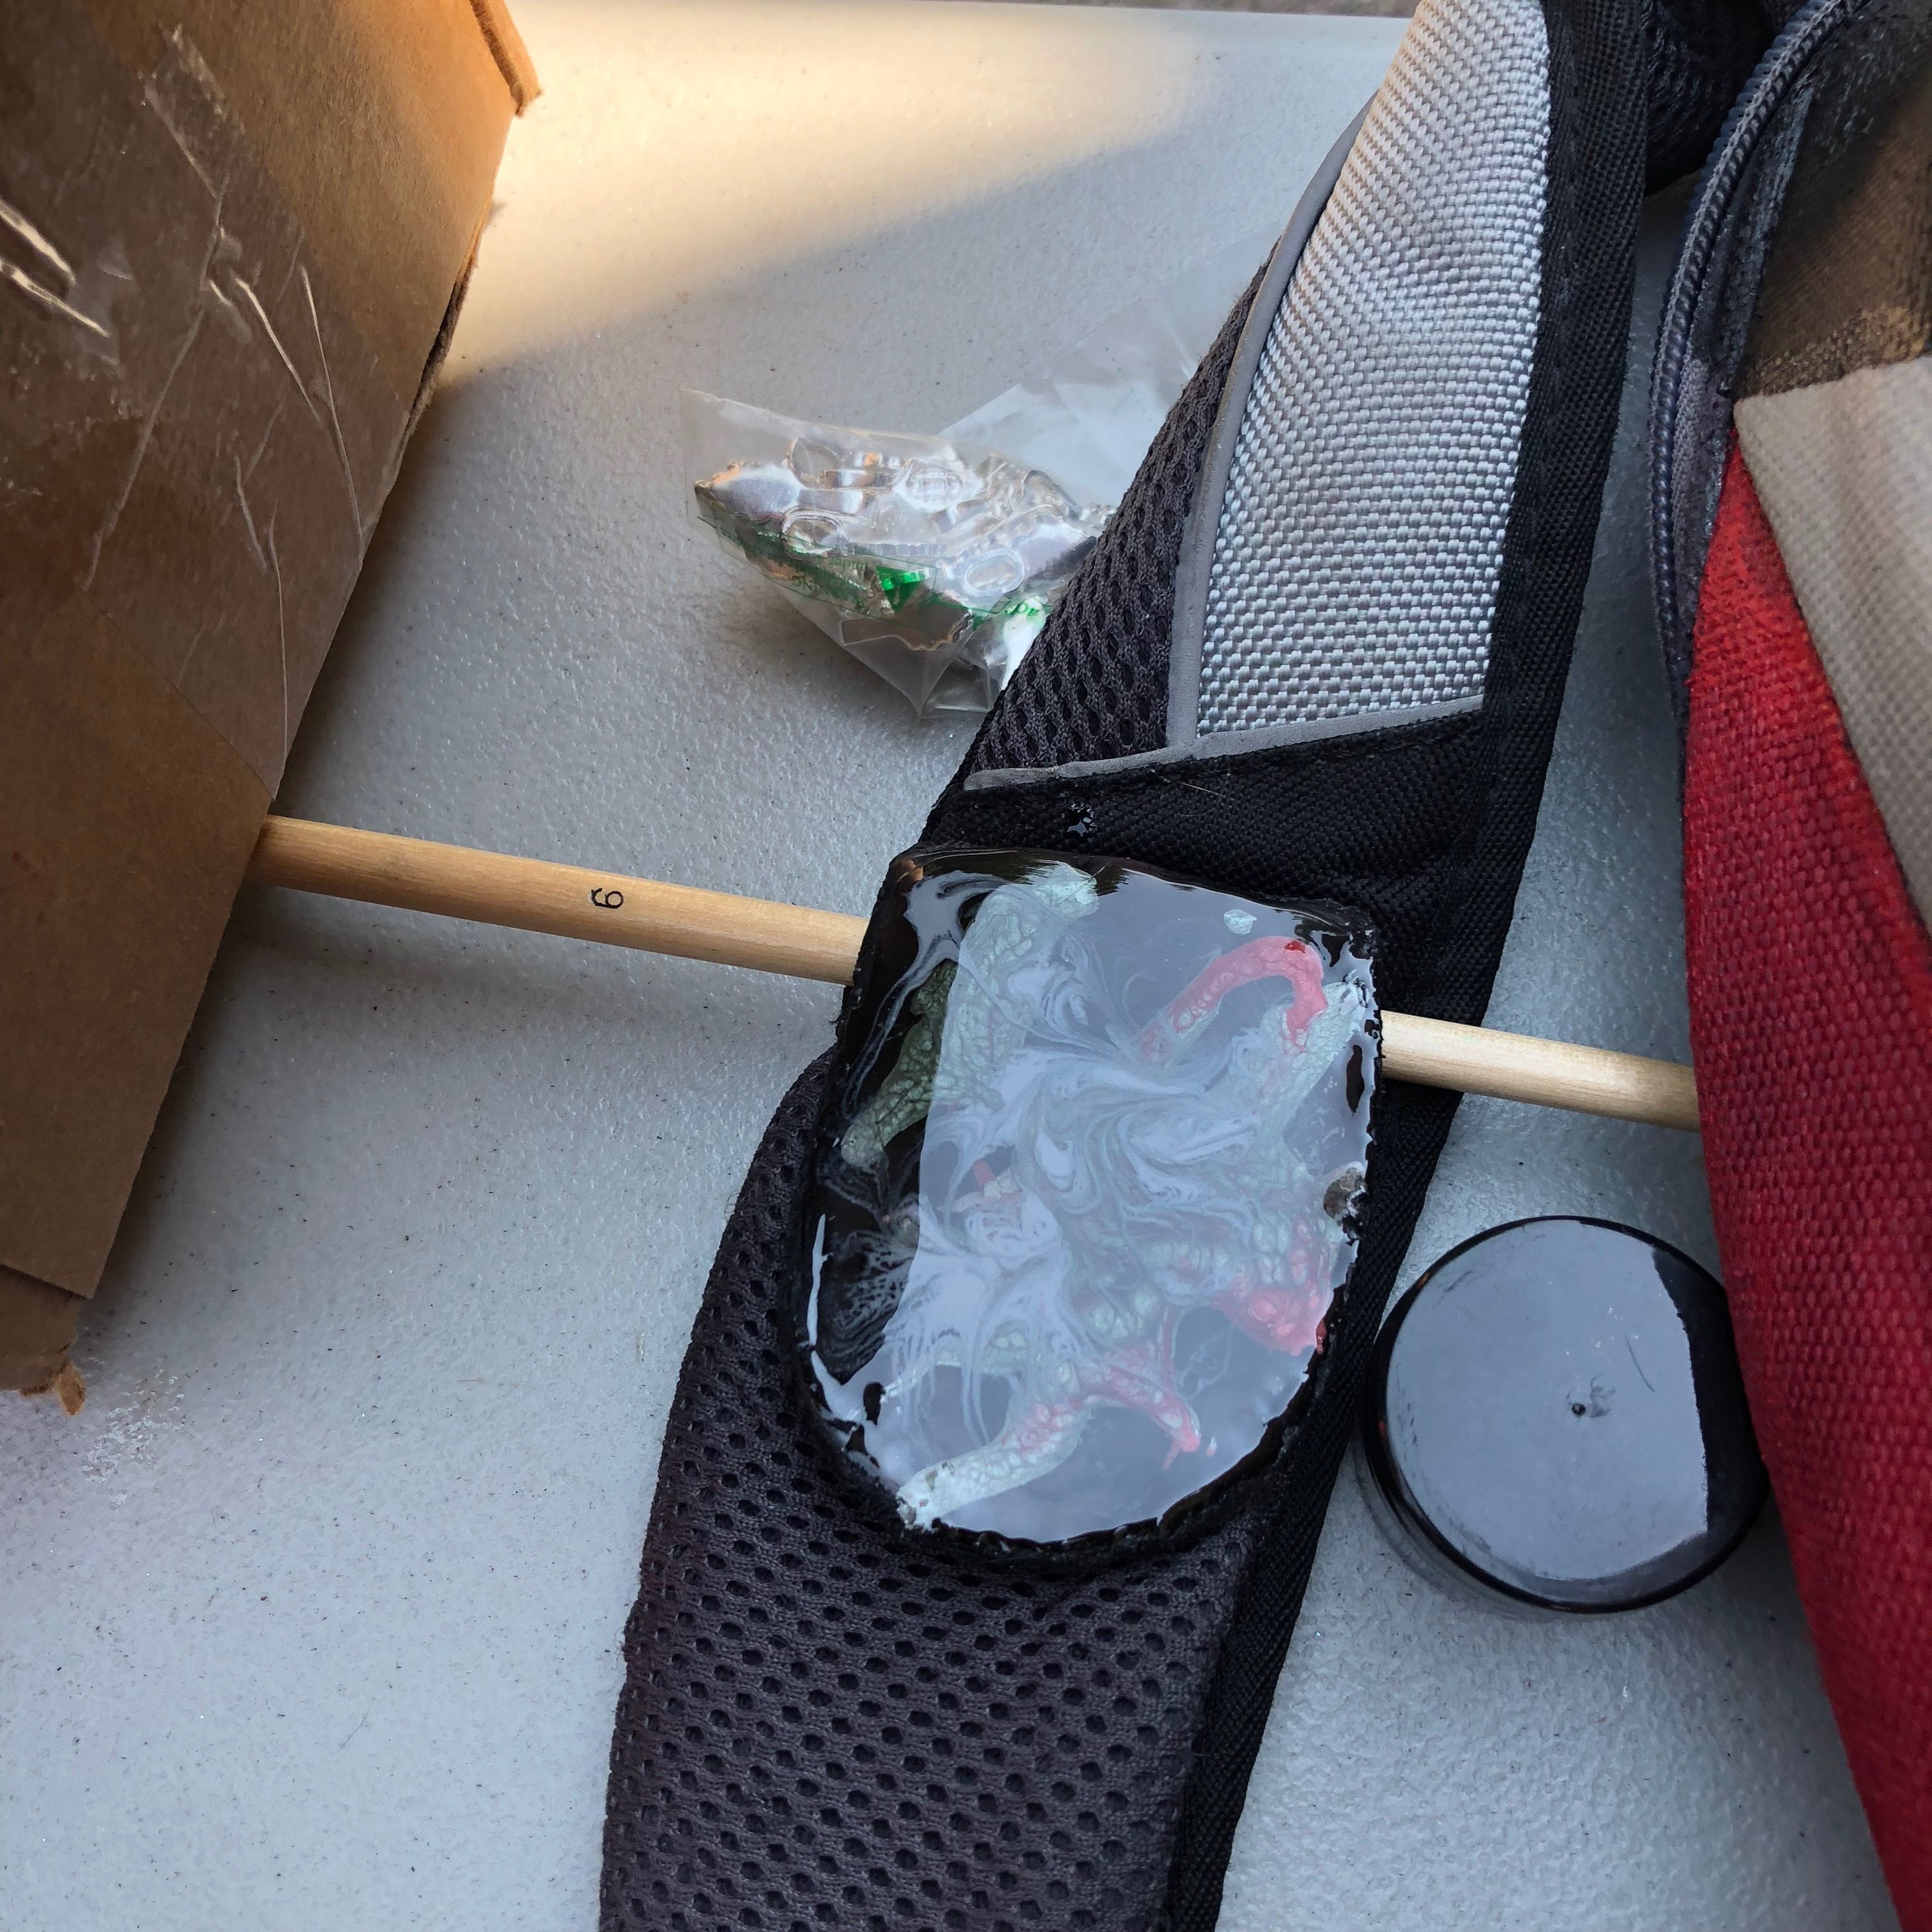
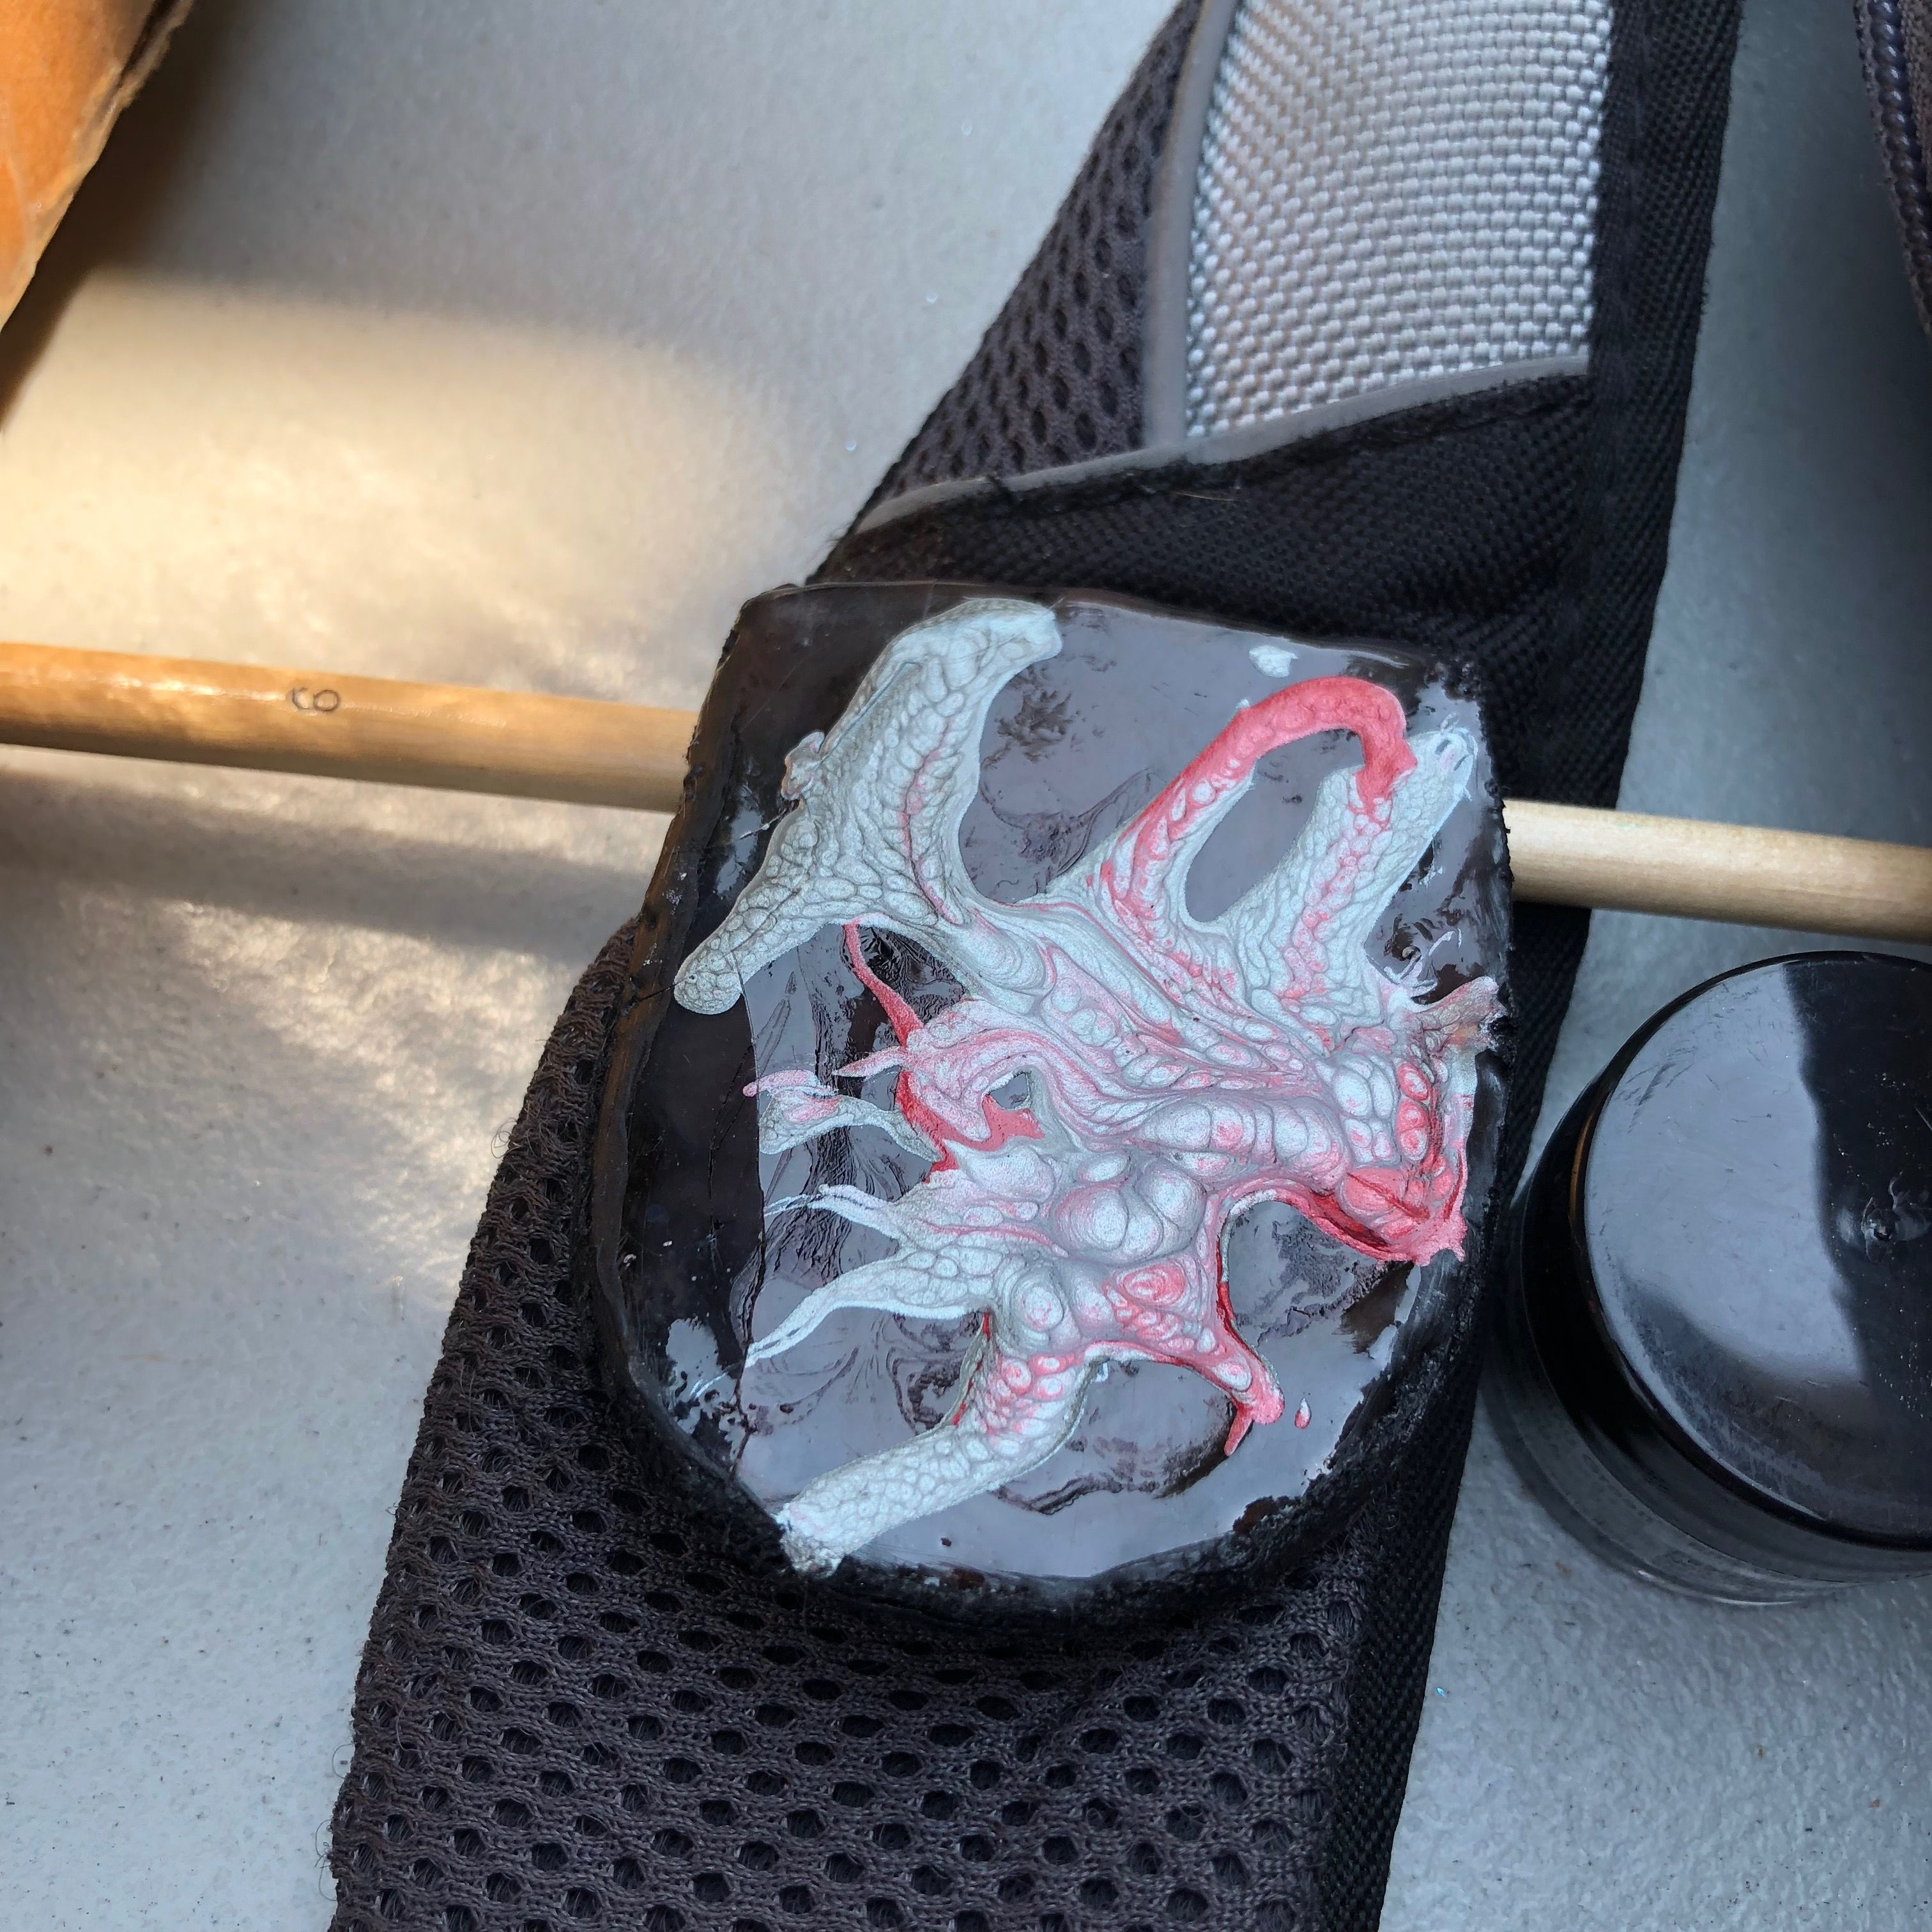
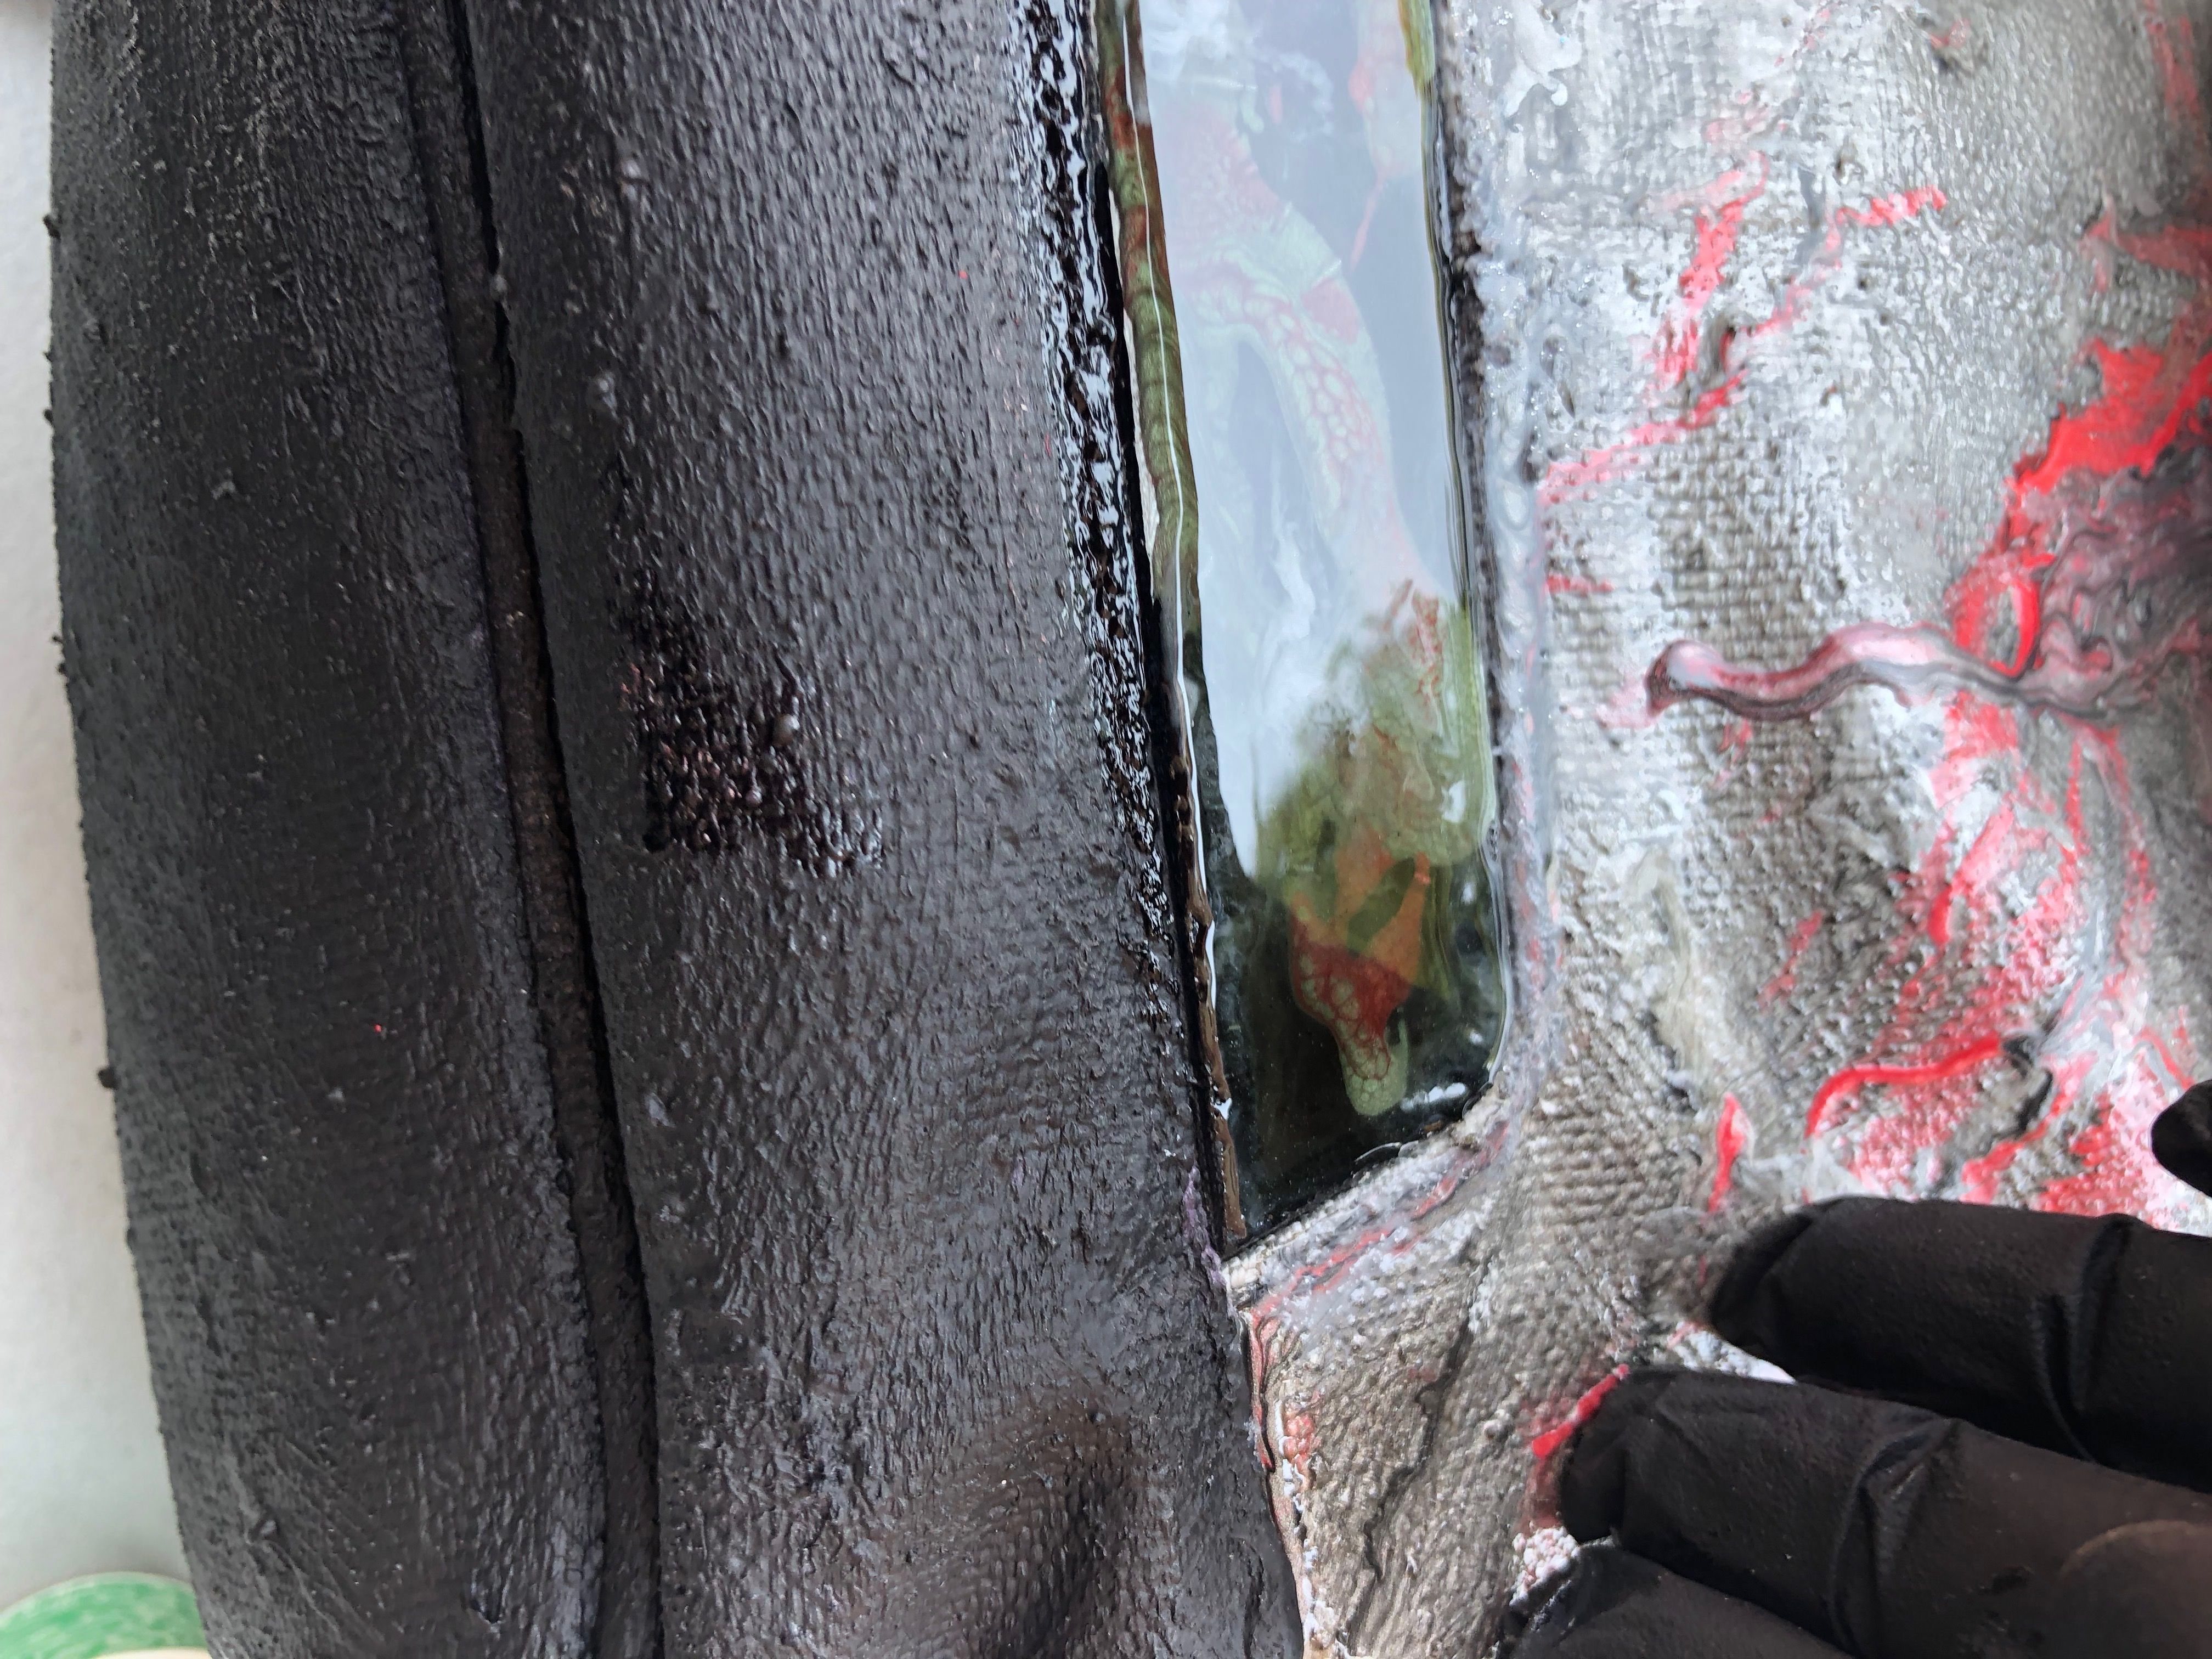
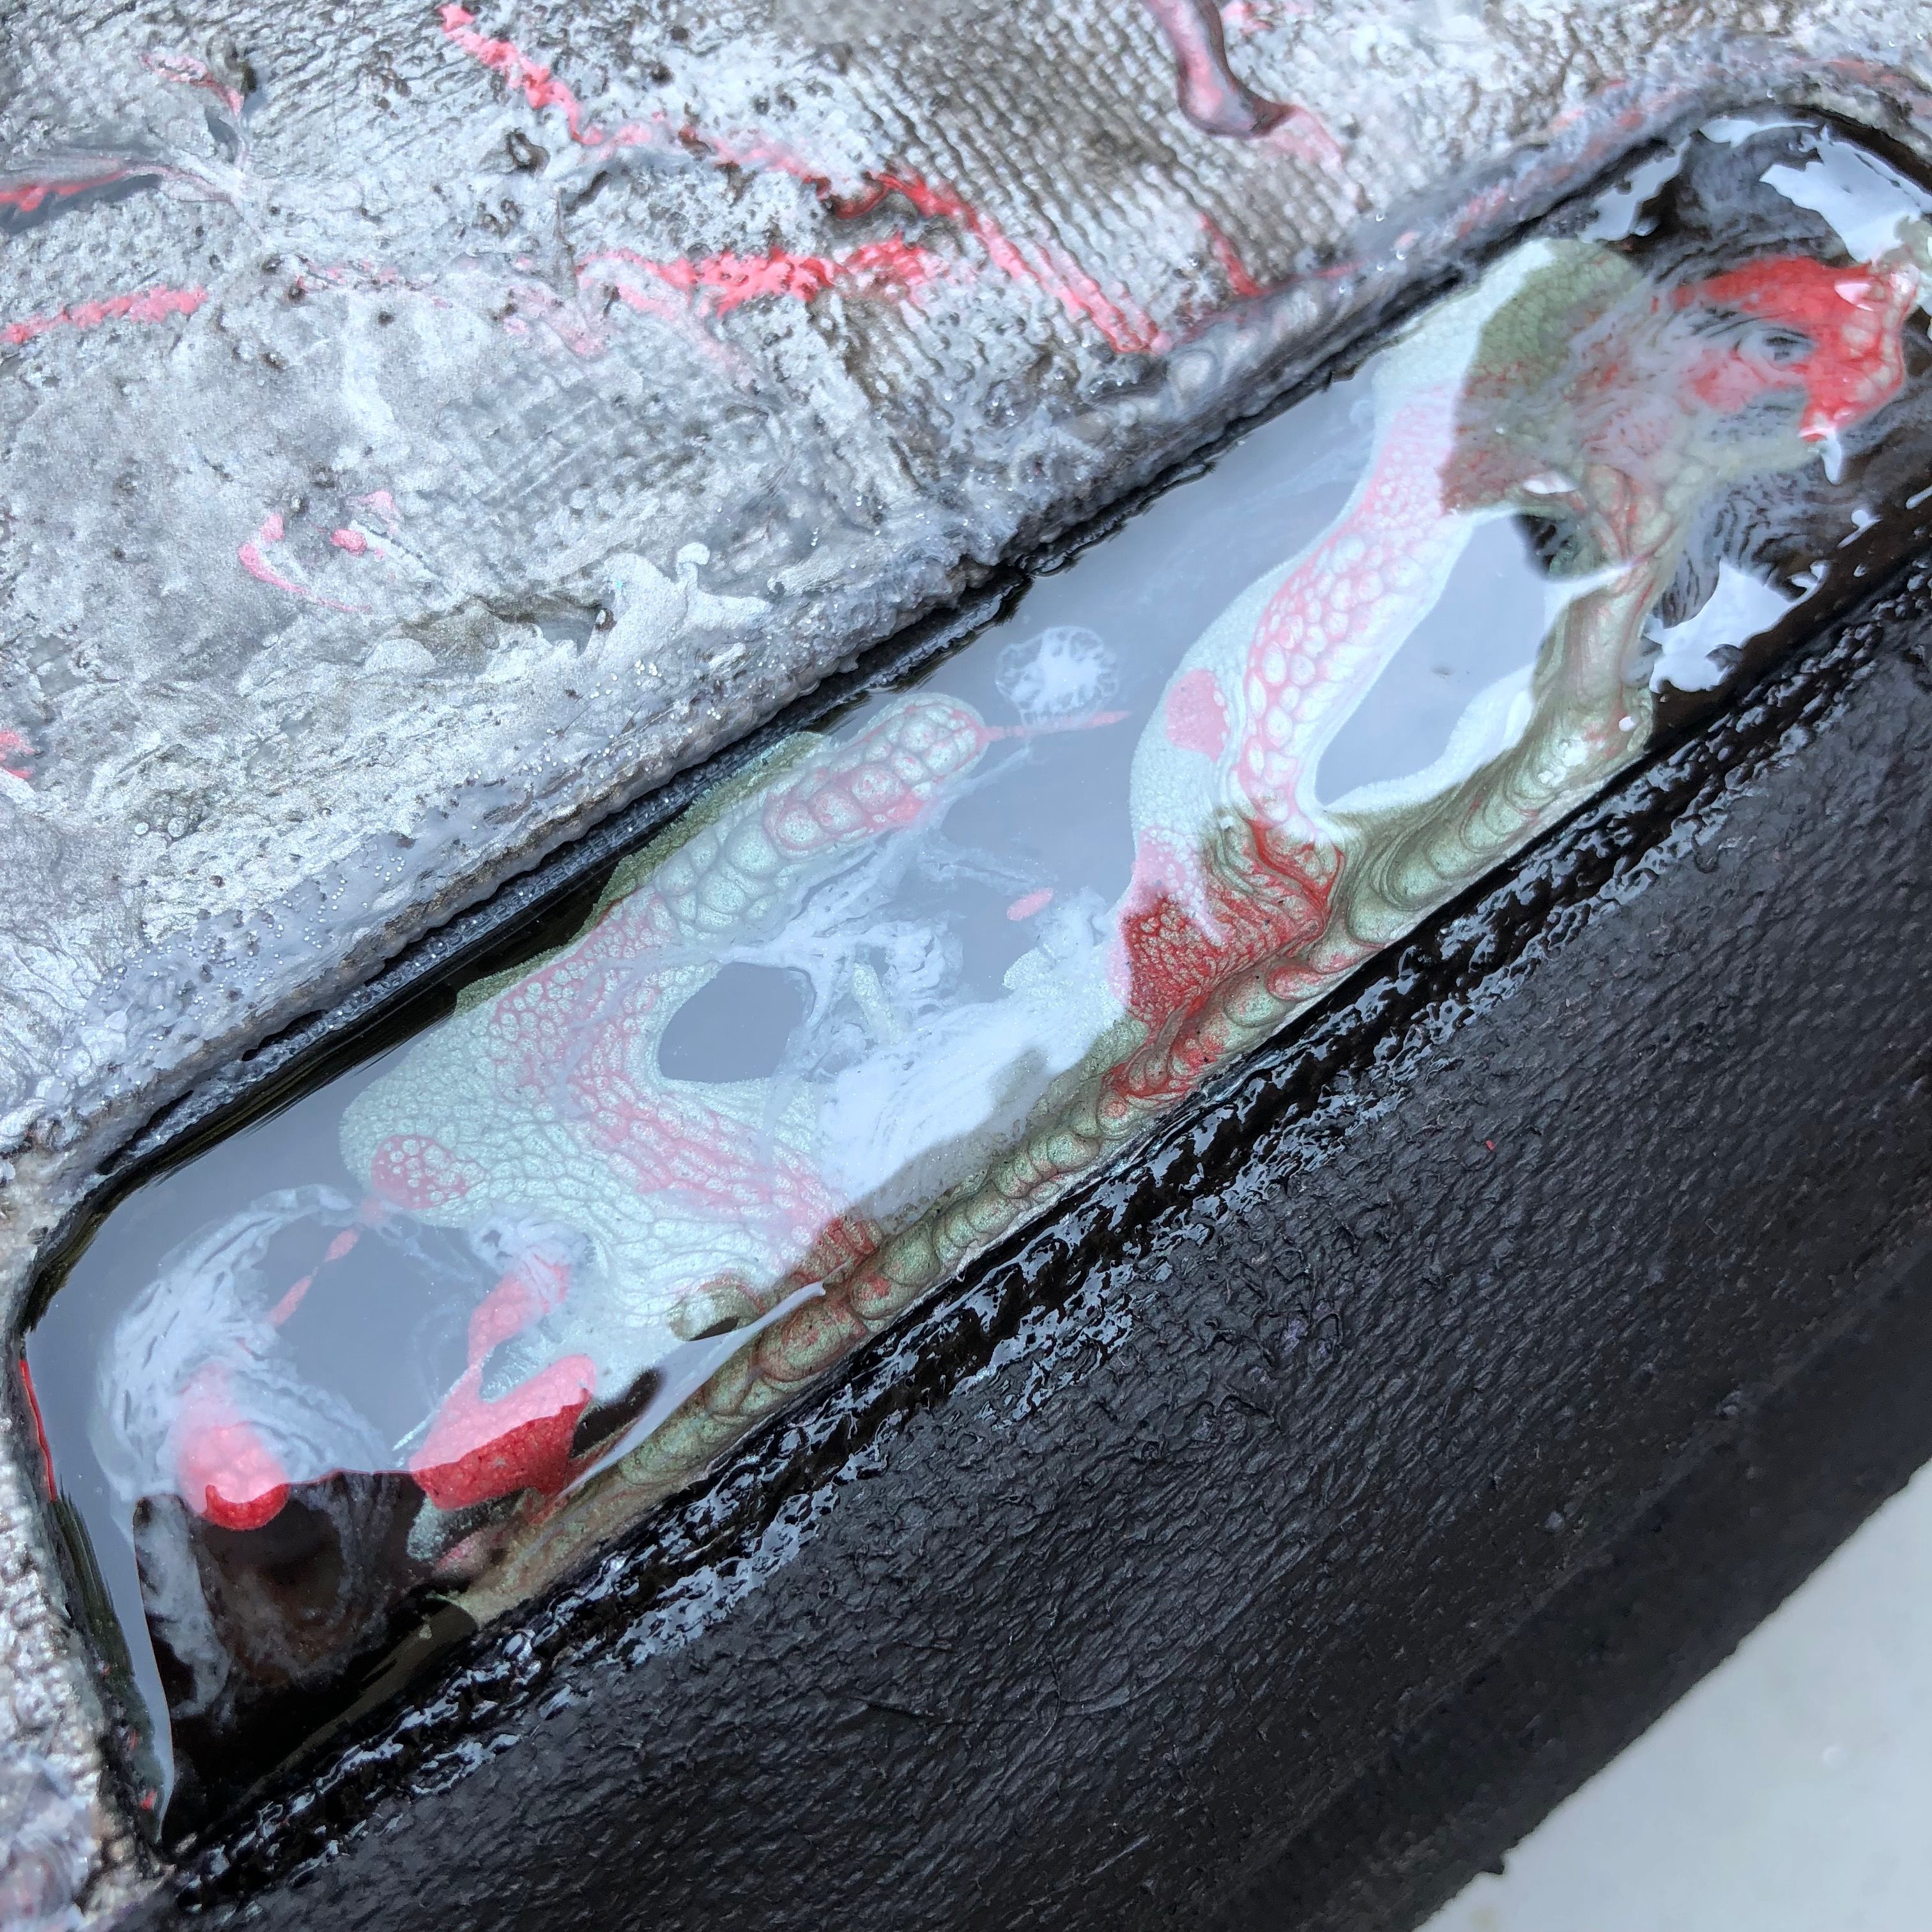
Ditto for the flap.
Corners
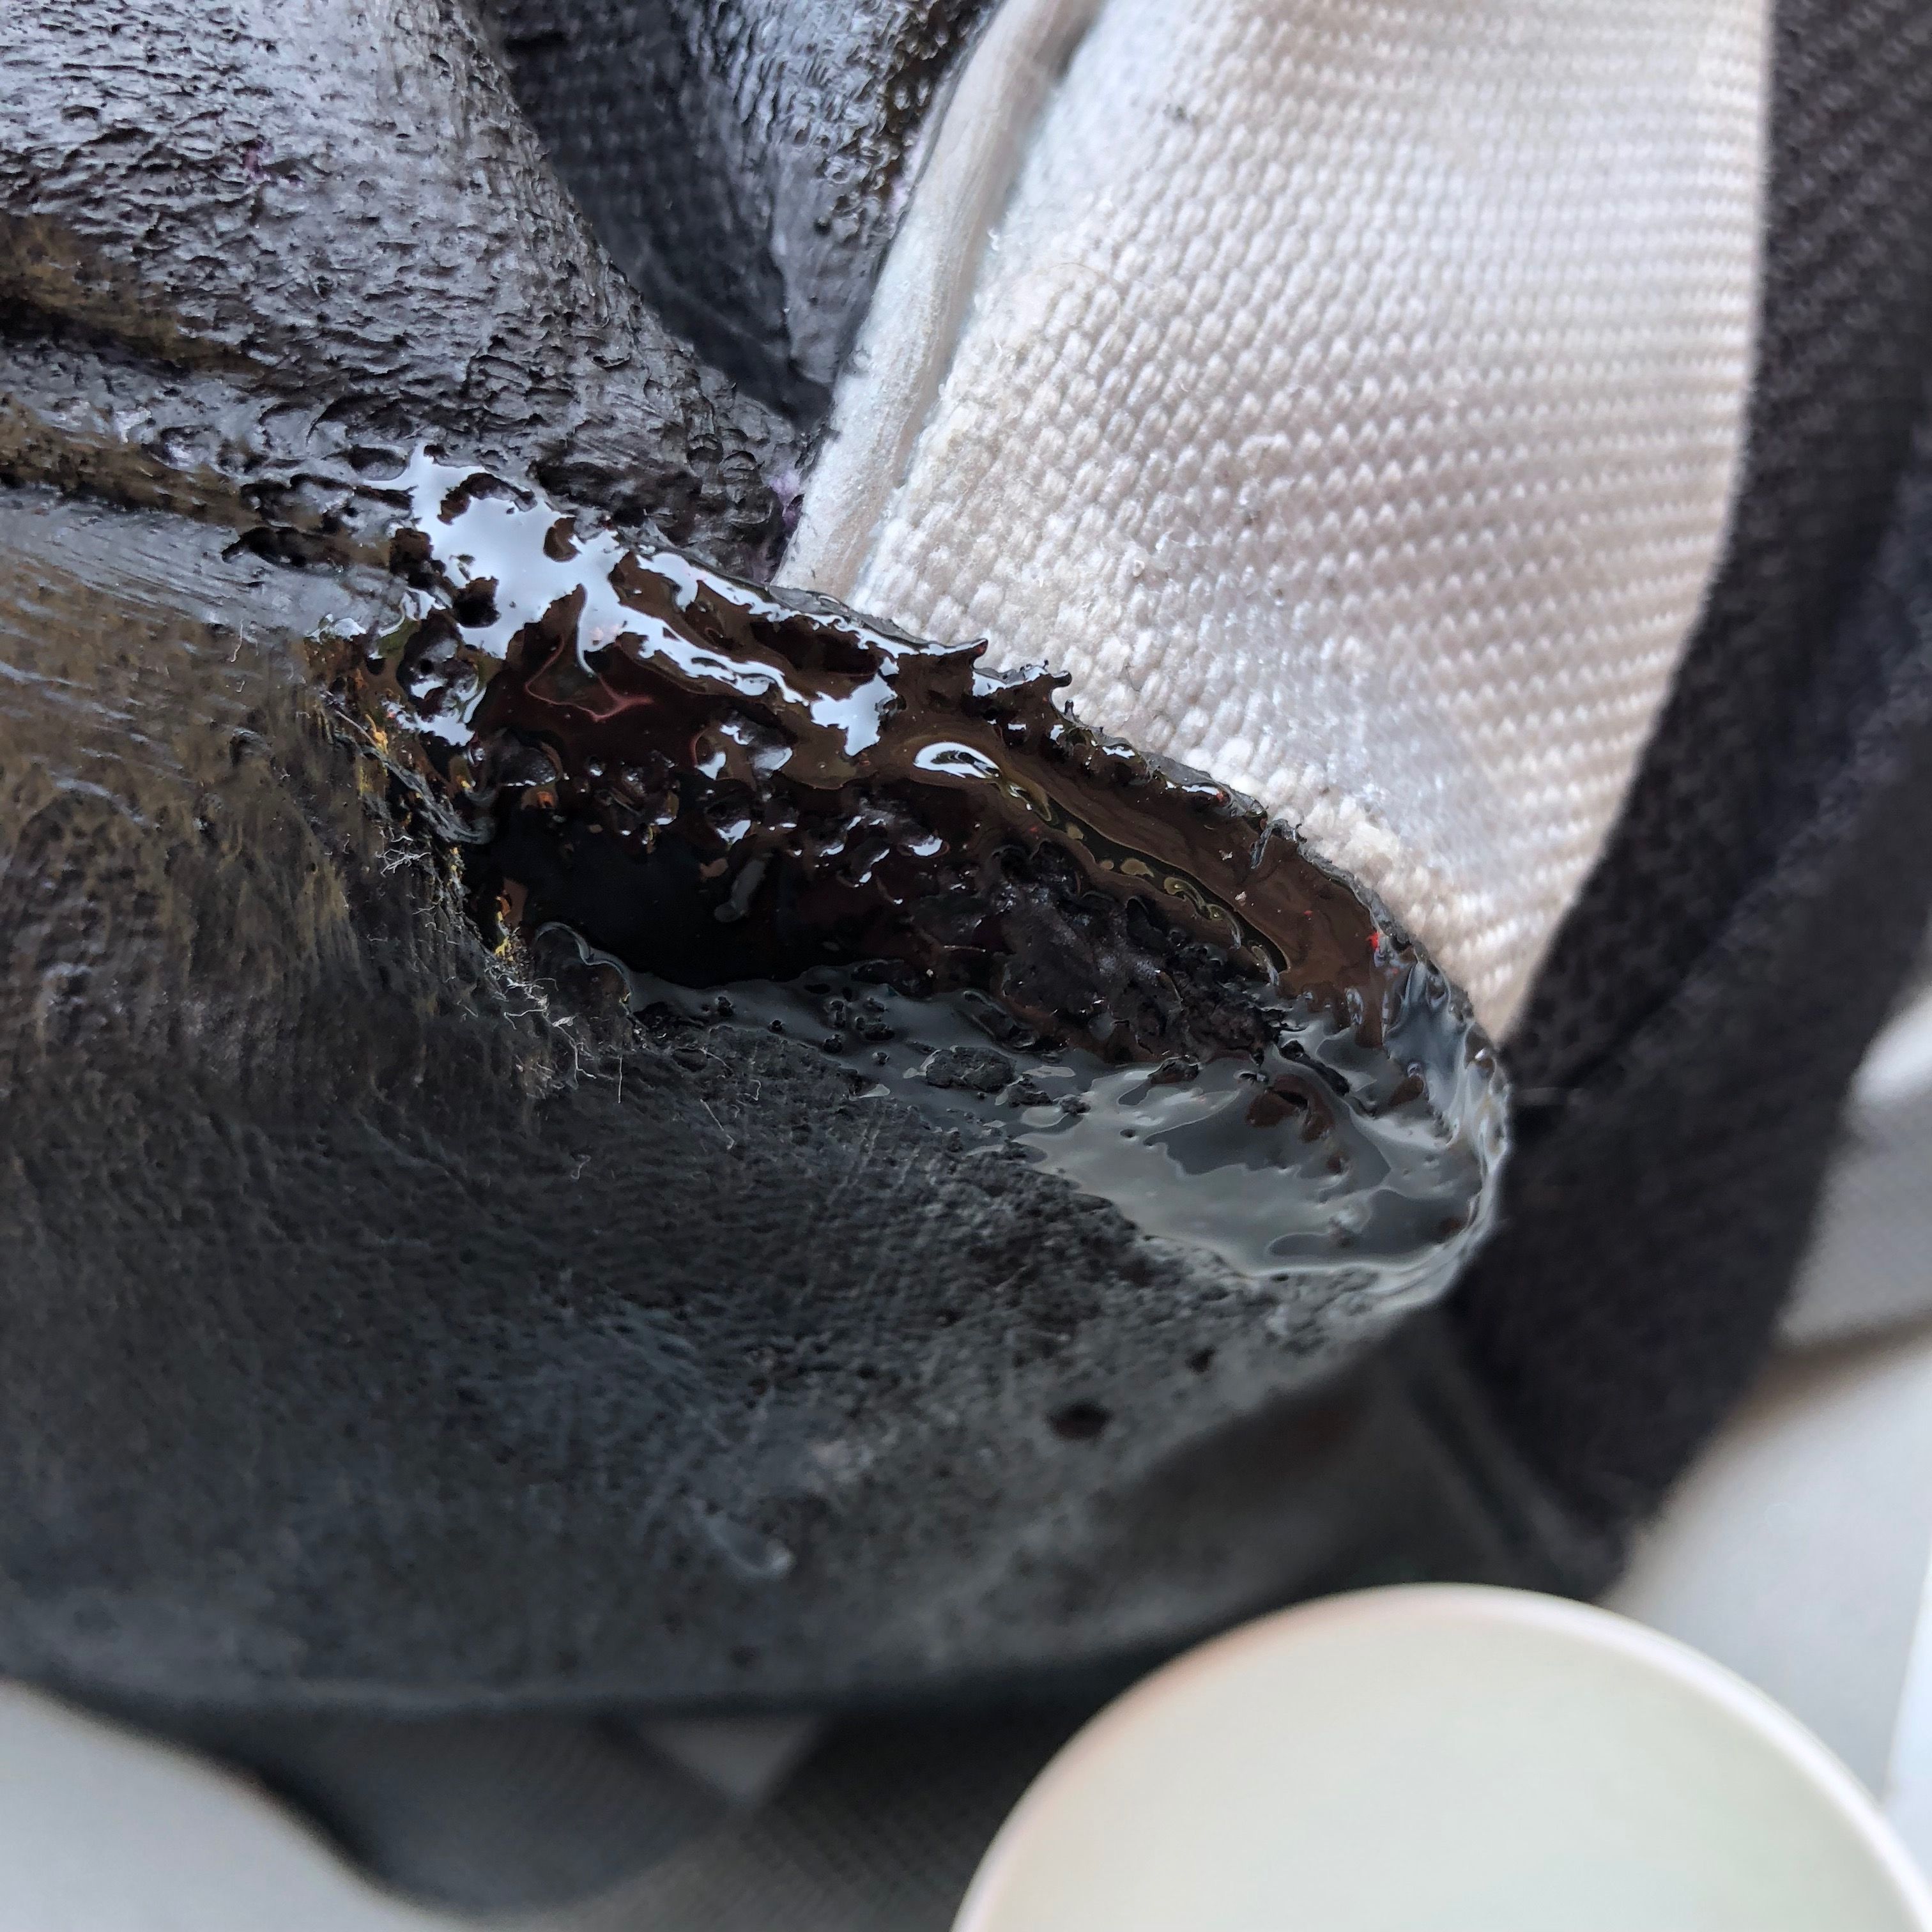
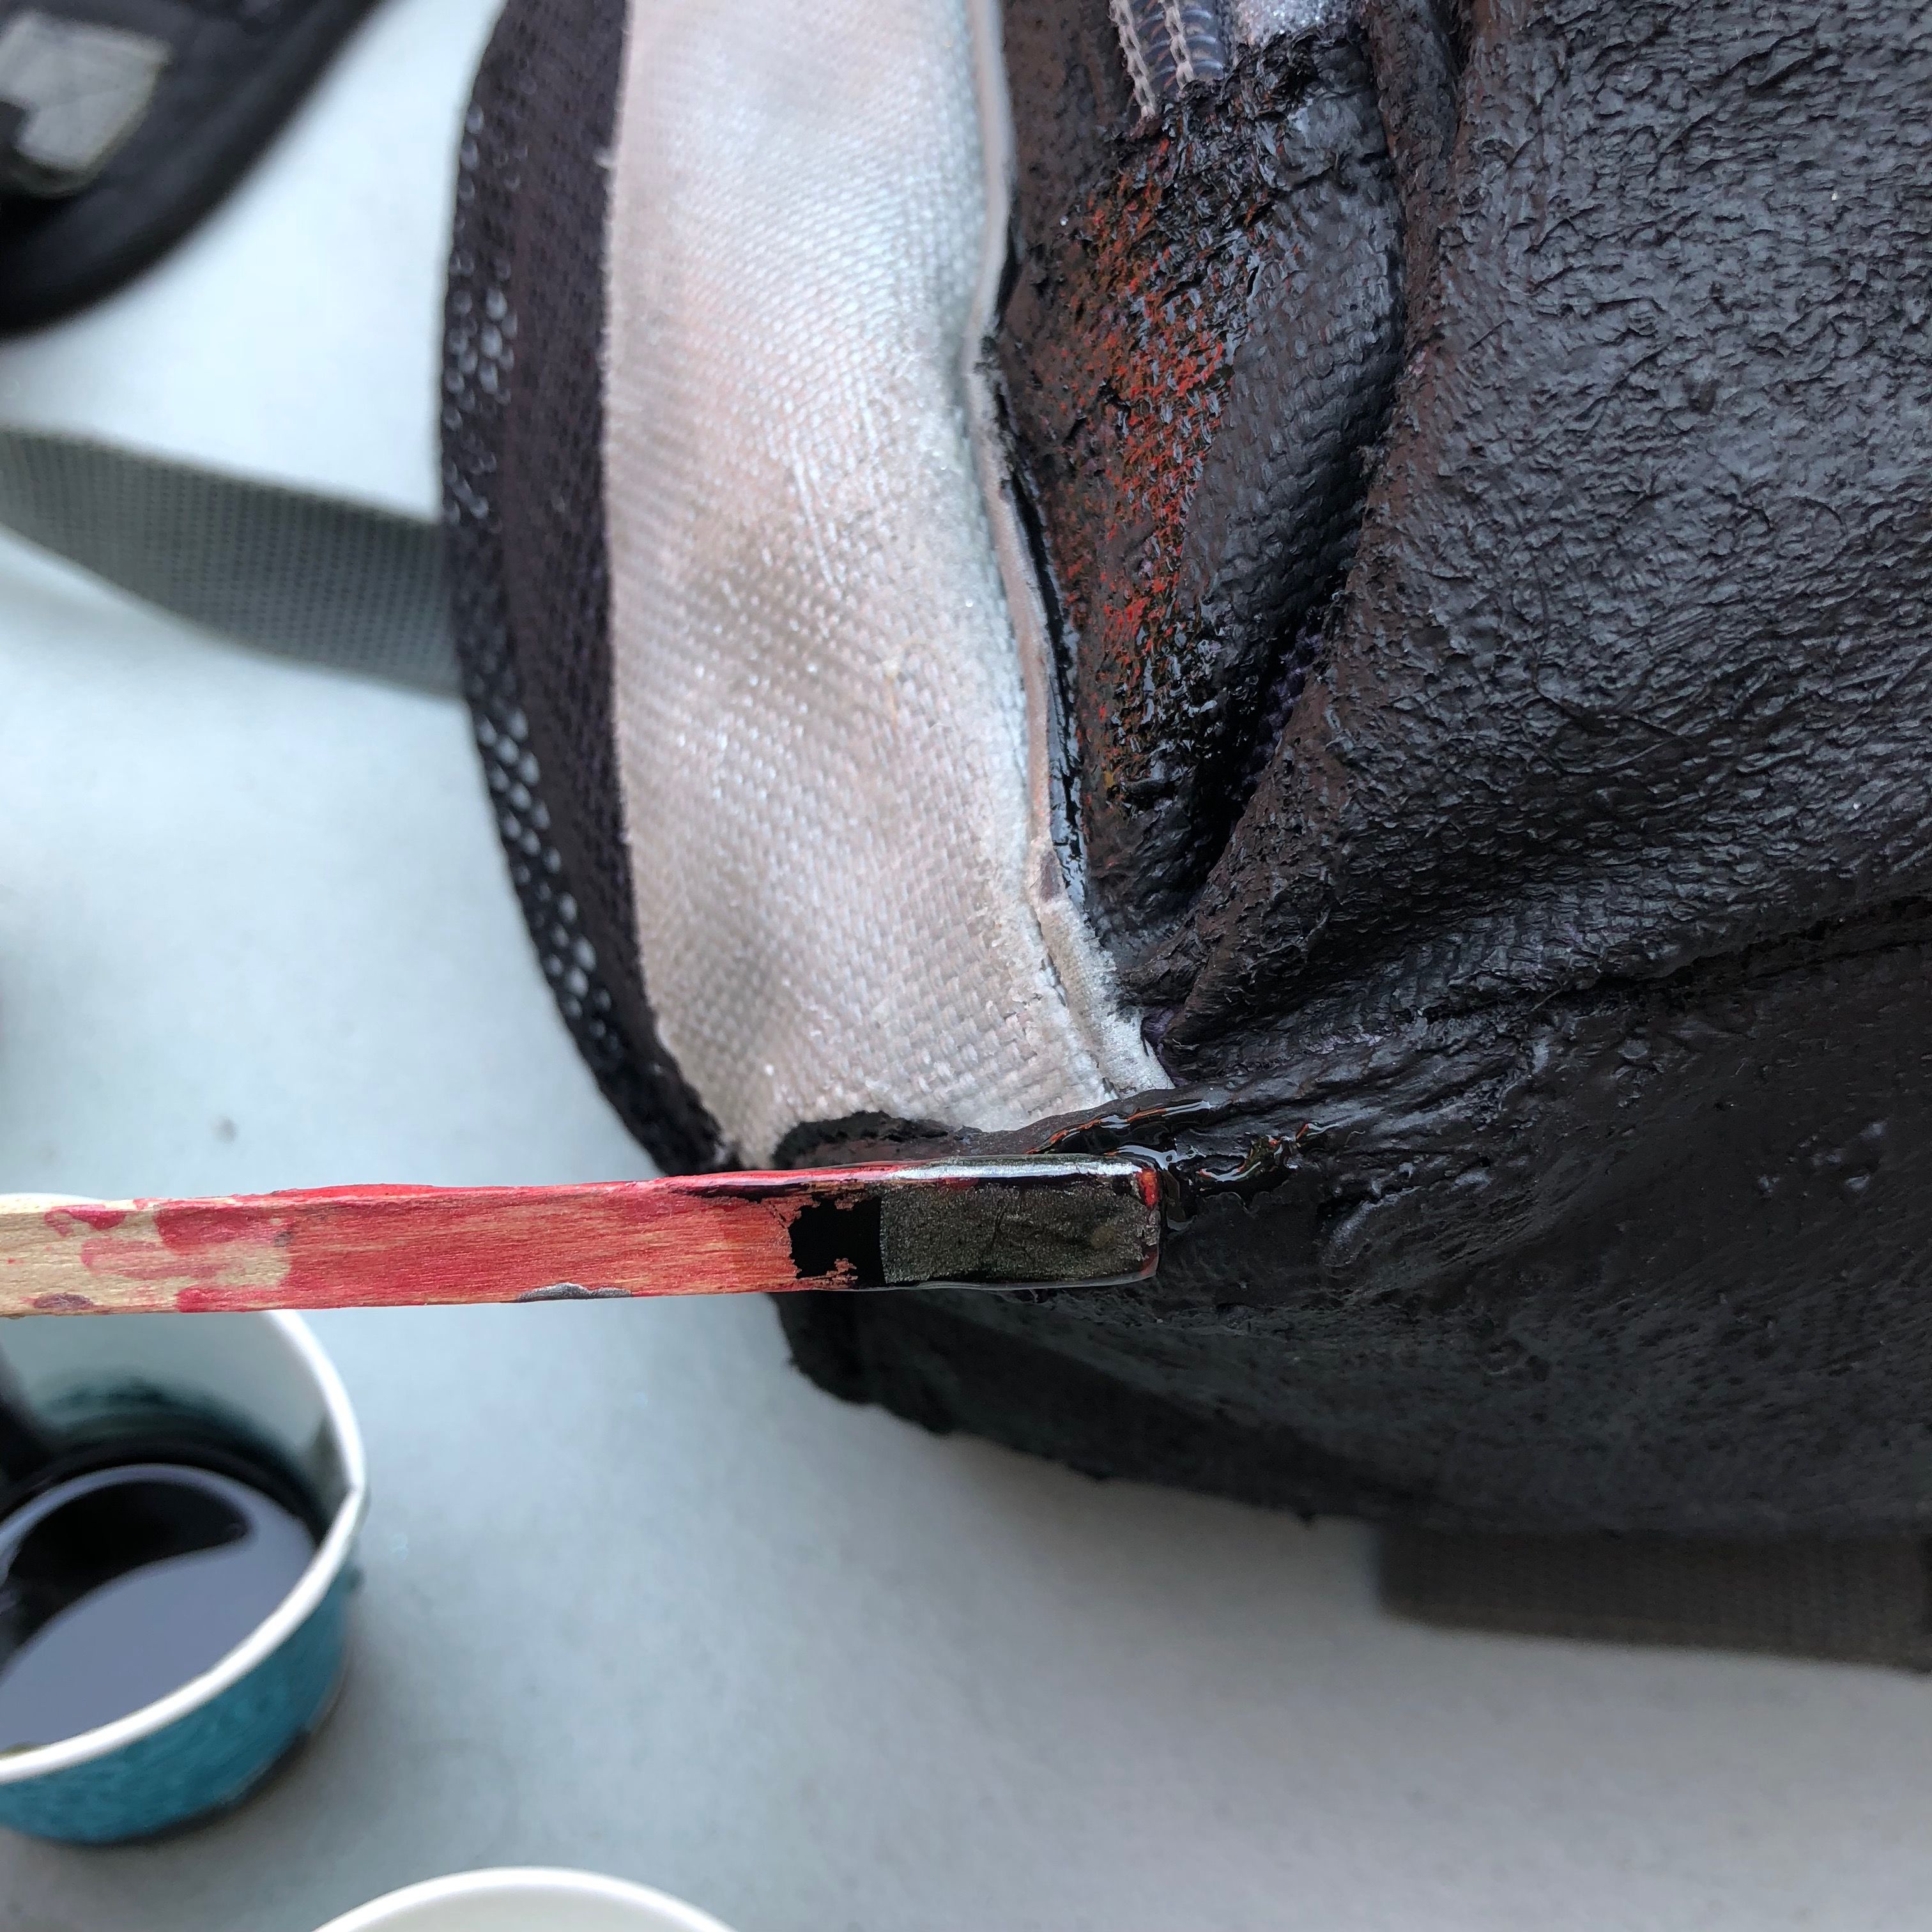
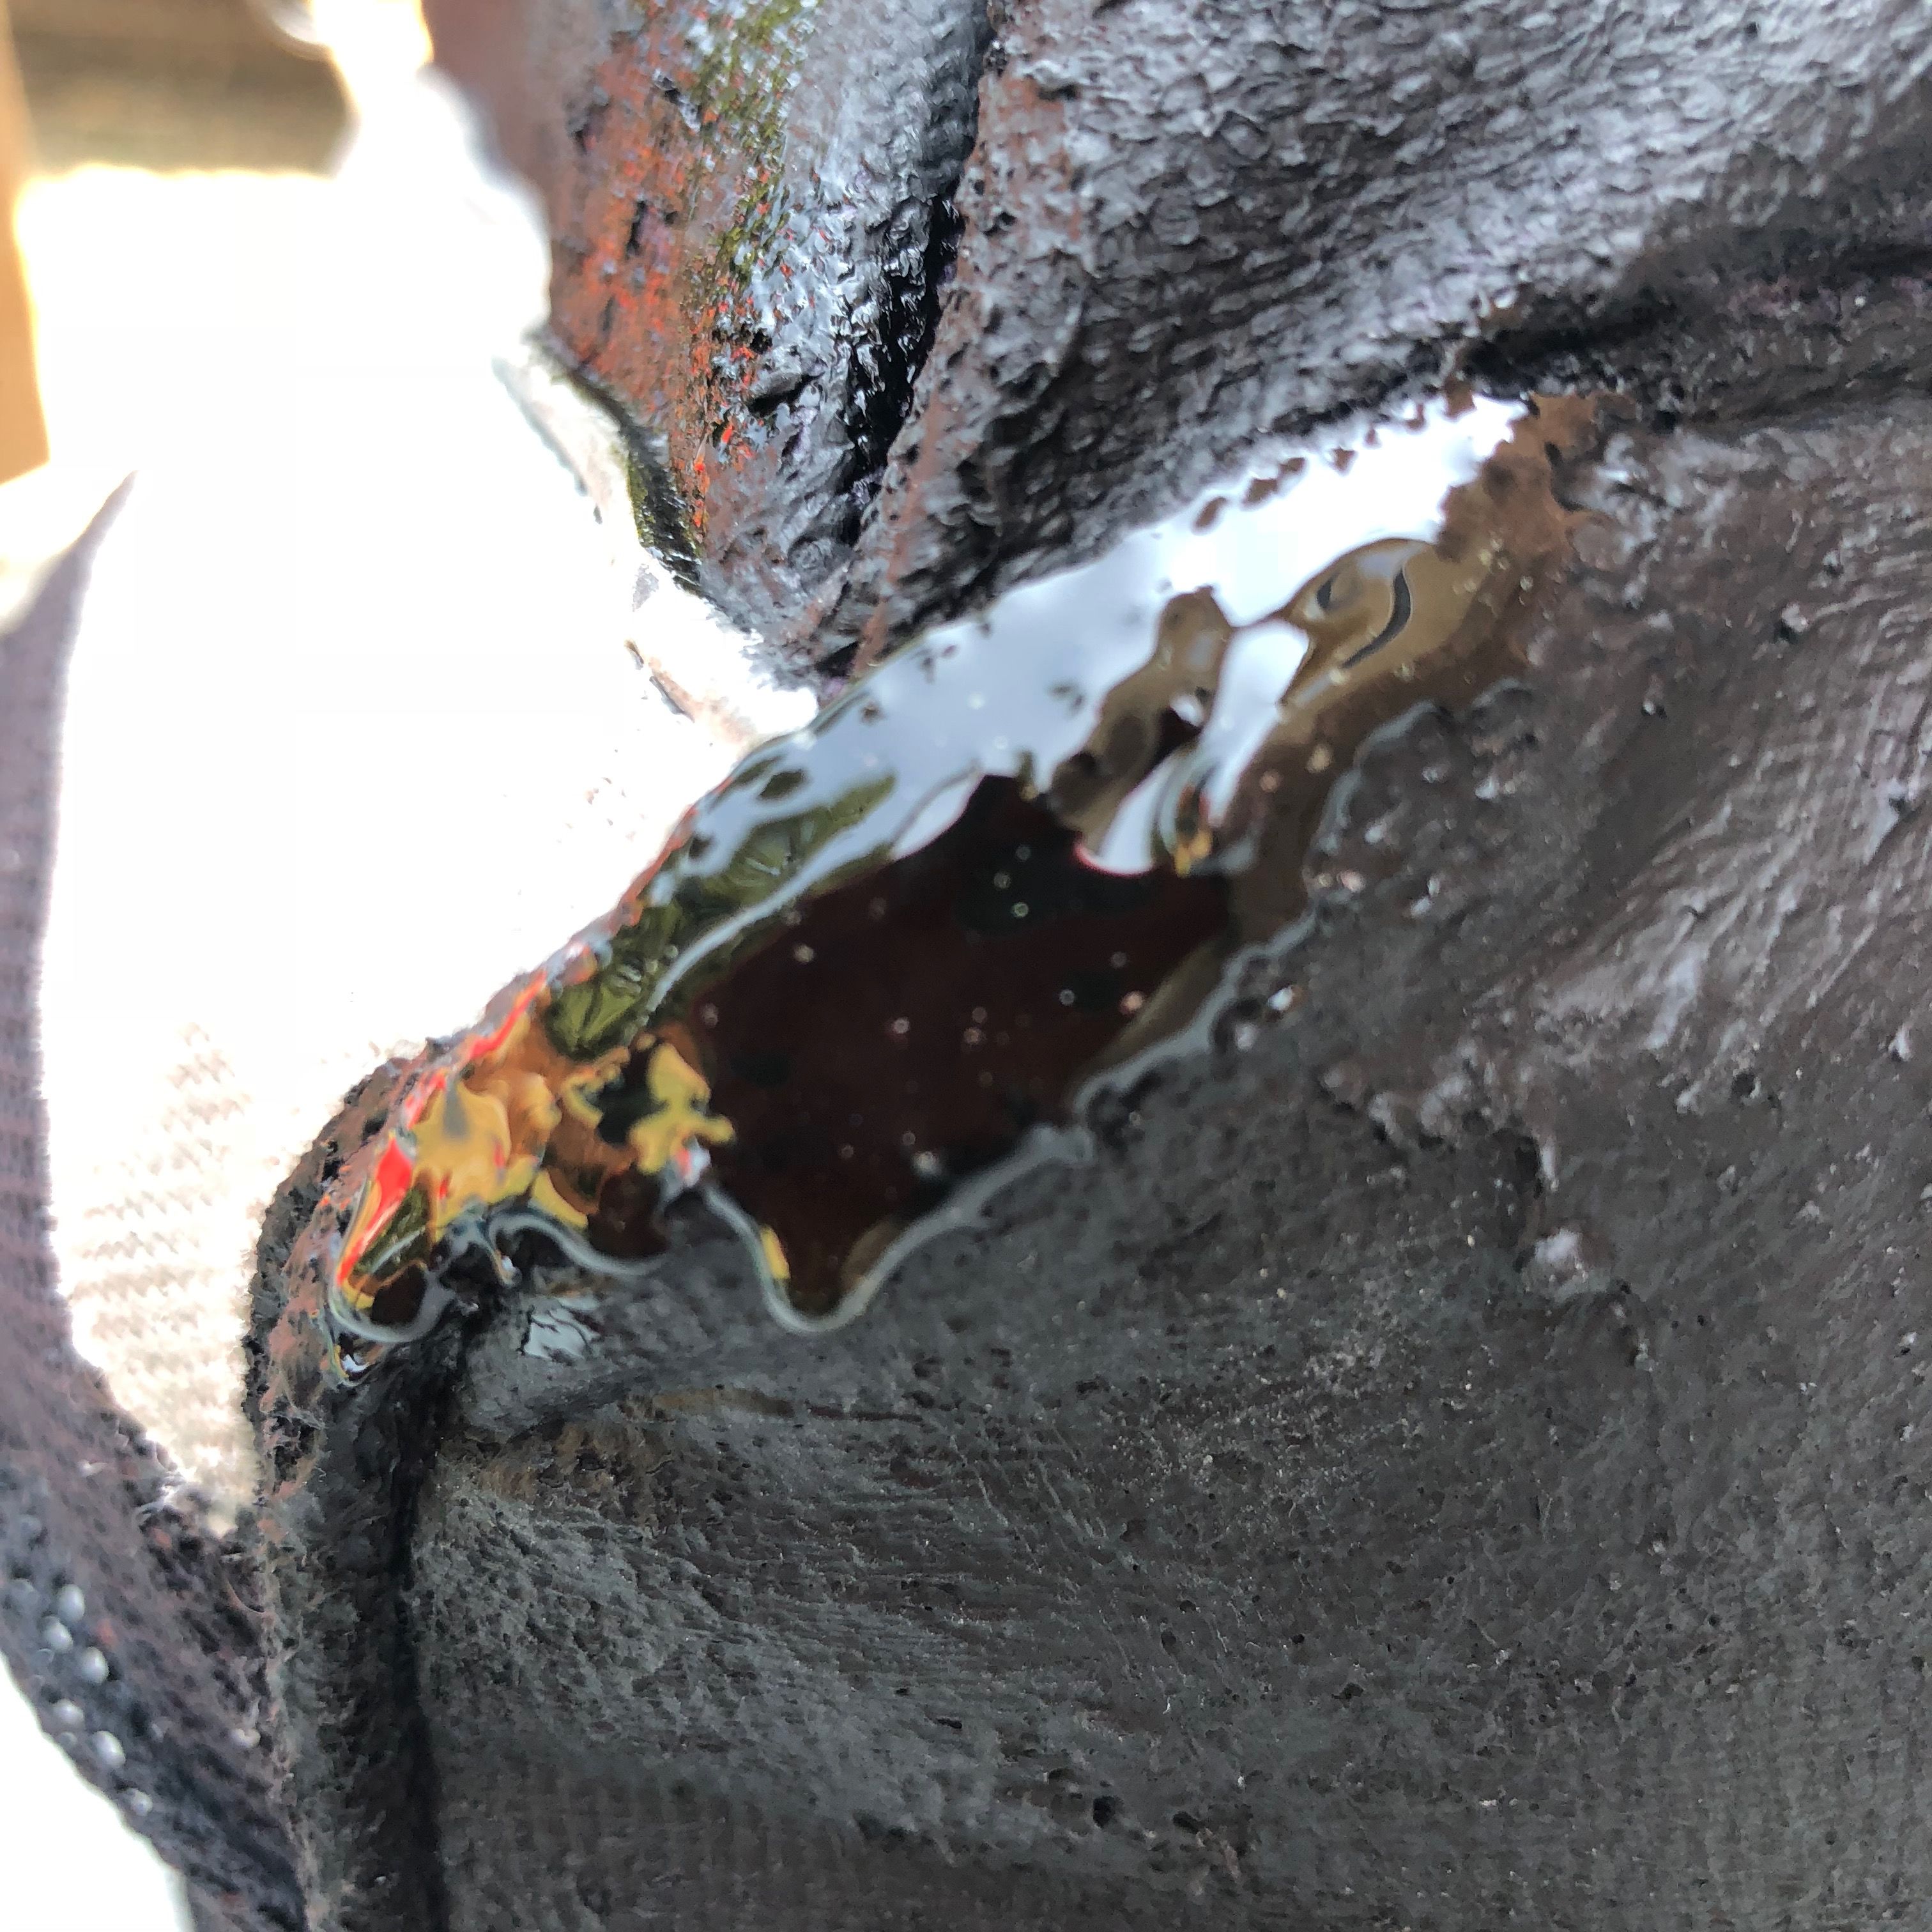
Remember those holes at the corners? I painted on a little of the black resin where the fabric had worn through and was now covered in acrylic. I waited until the resin had thickened so it wouldn't drip a lot. I wiped away any drips I couldn't avoid.
Note: I could have made the corners neater and less drippy by doing them one at a time.
Then I let the resin cure fully.
Before & After
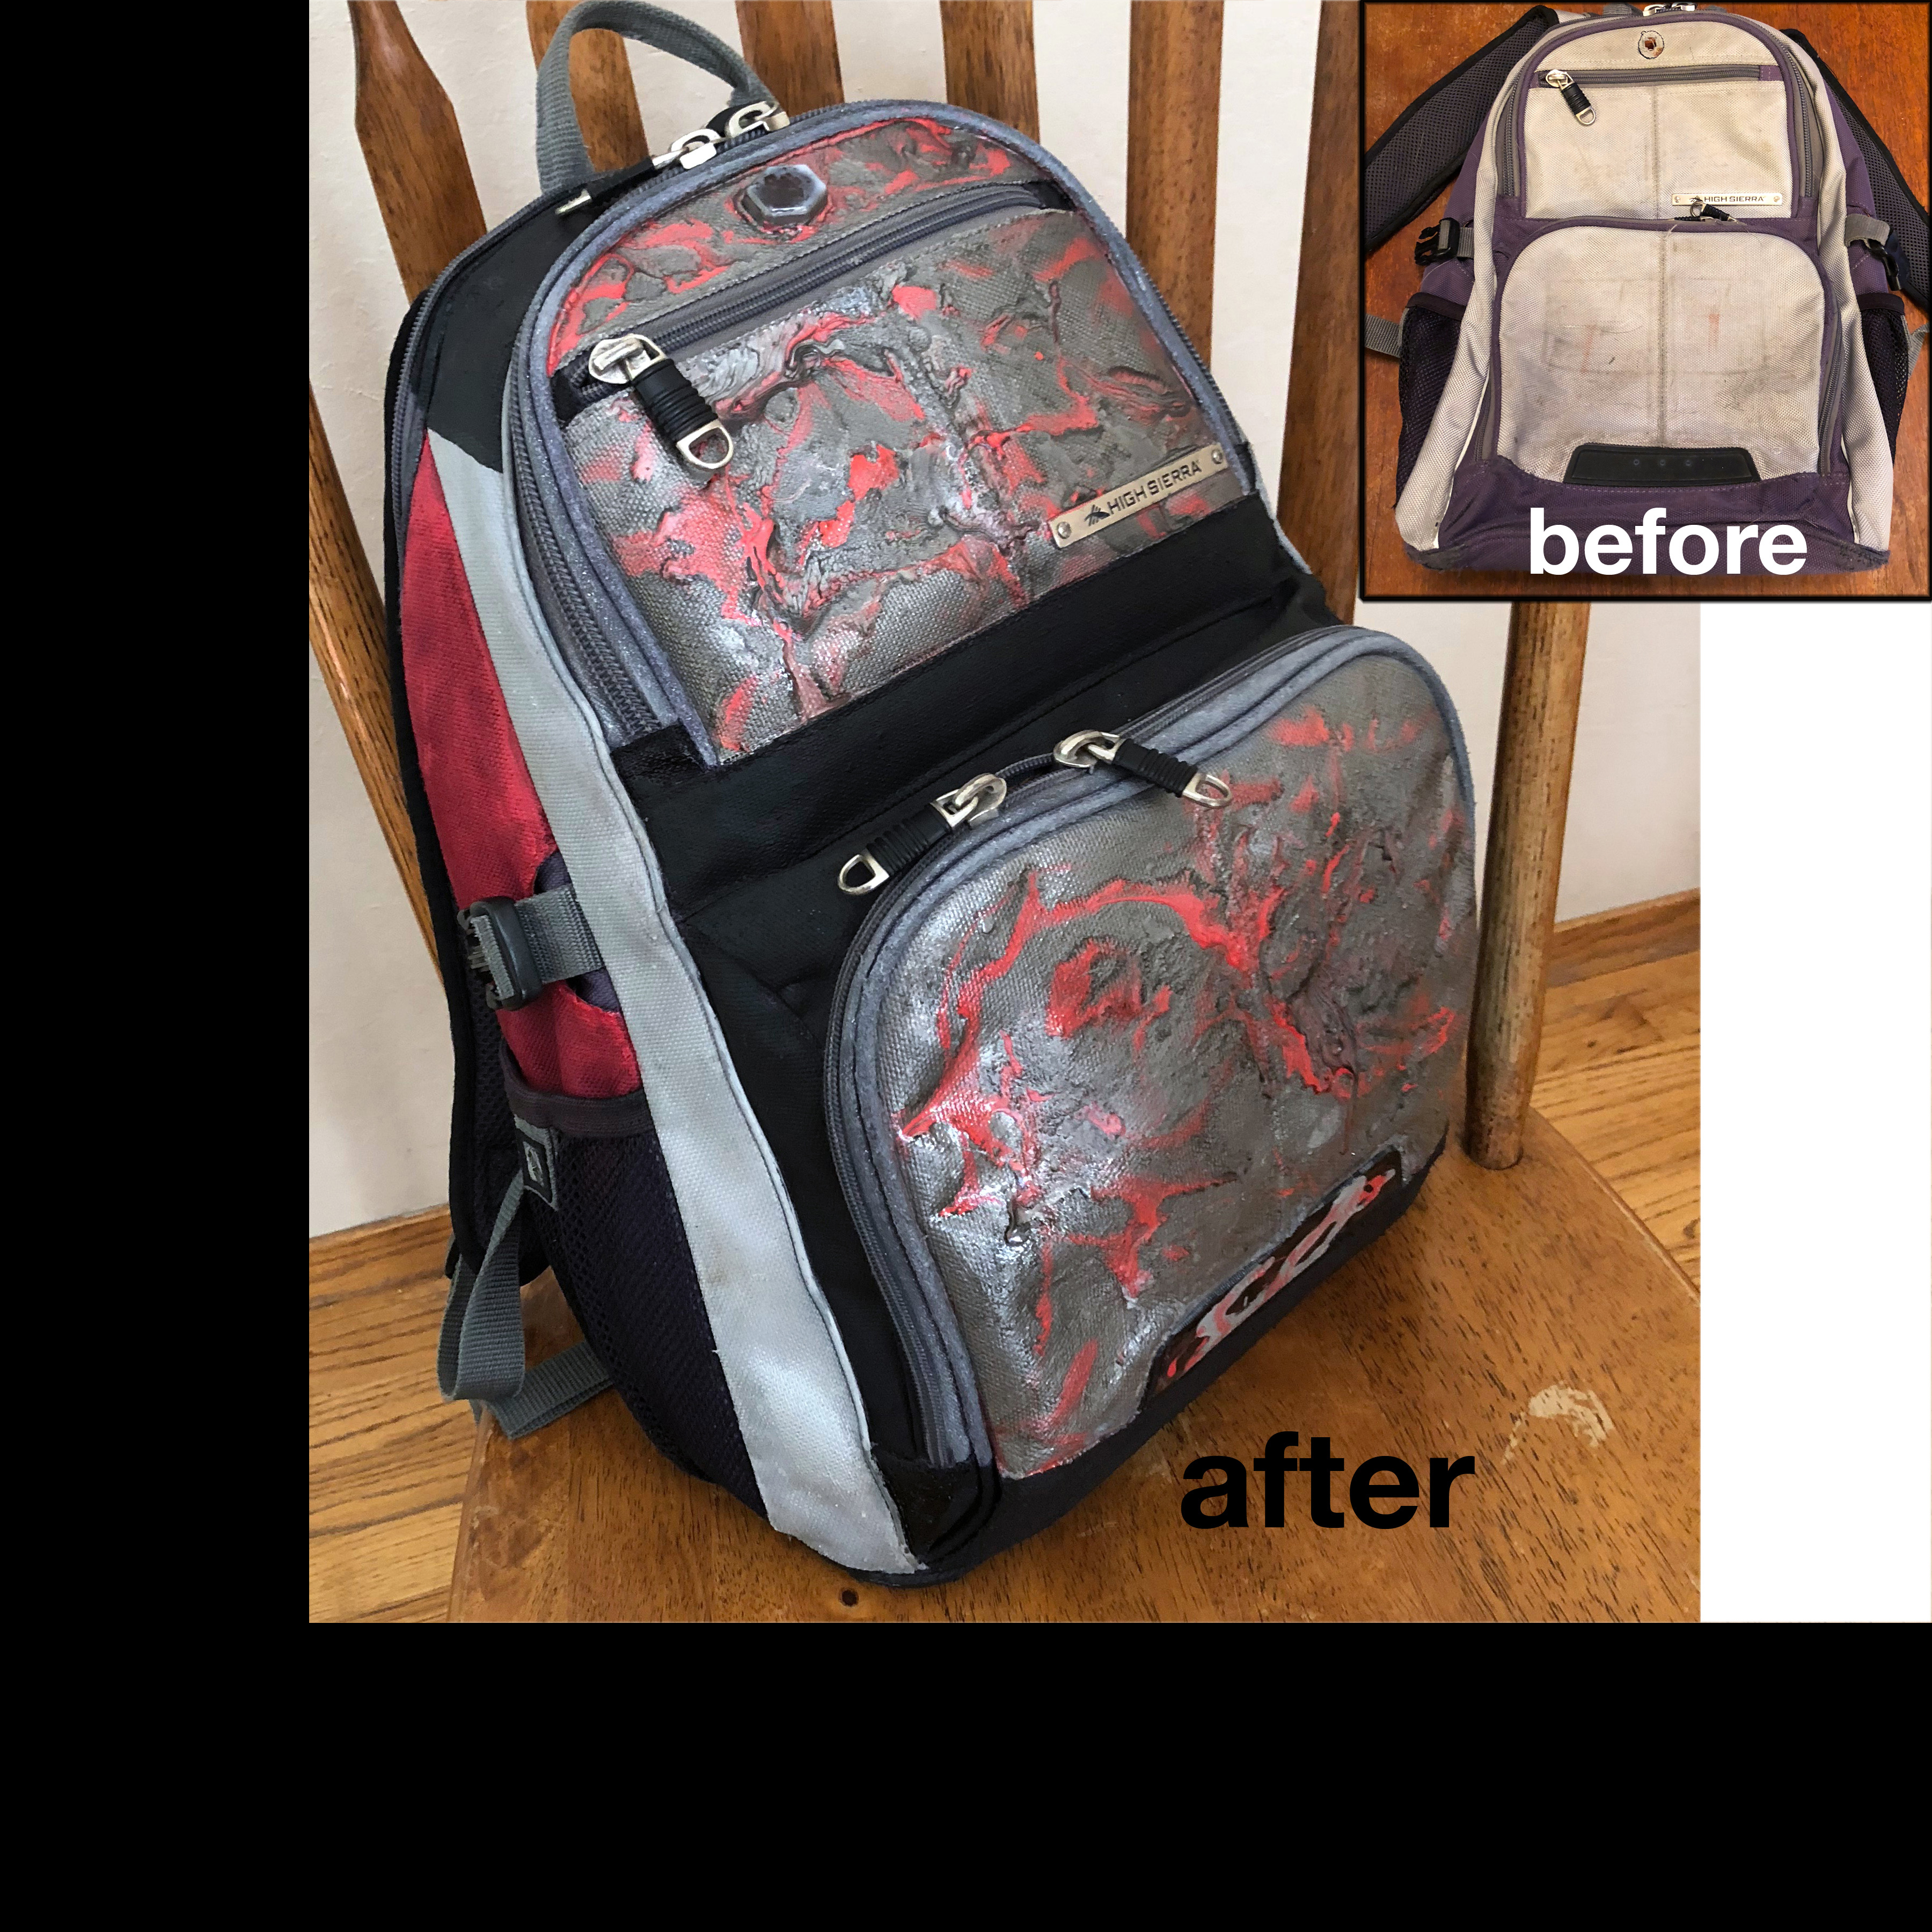
Ready to Wear!
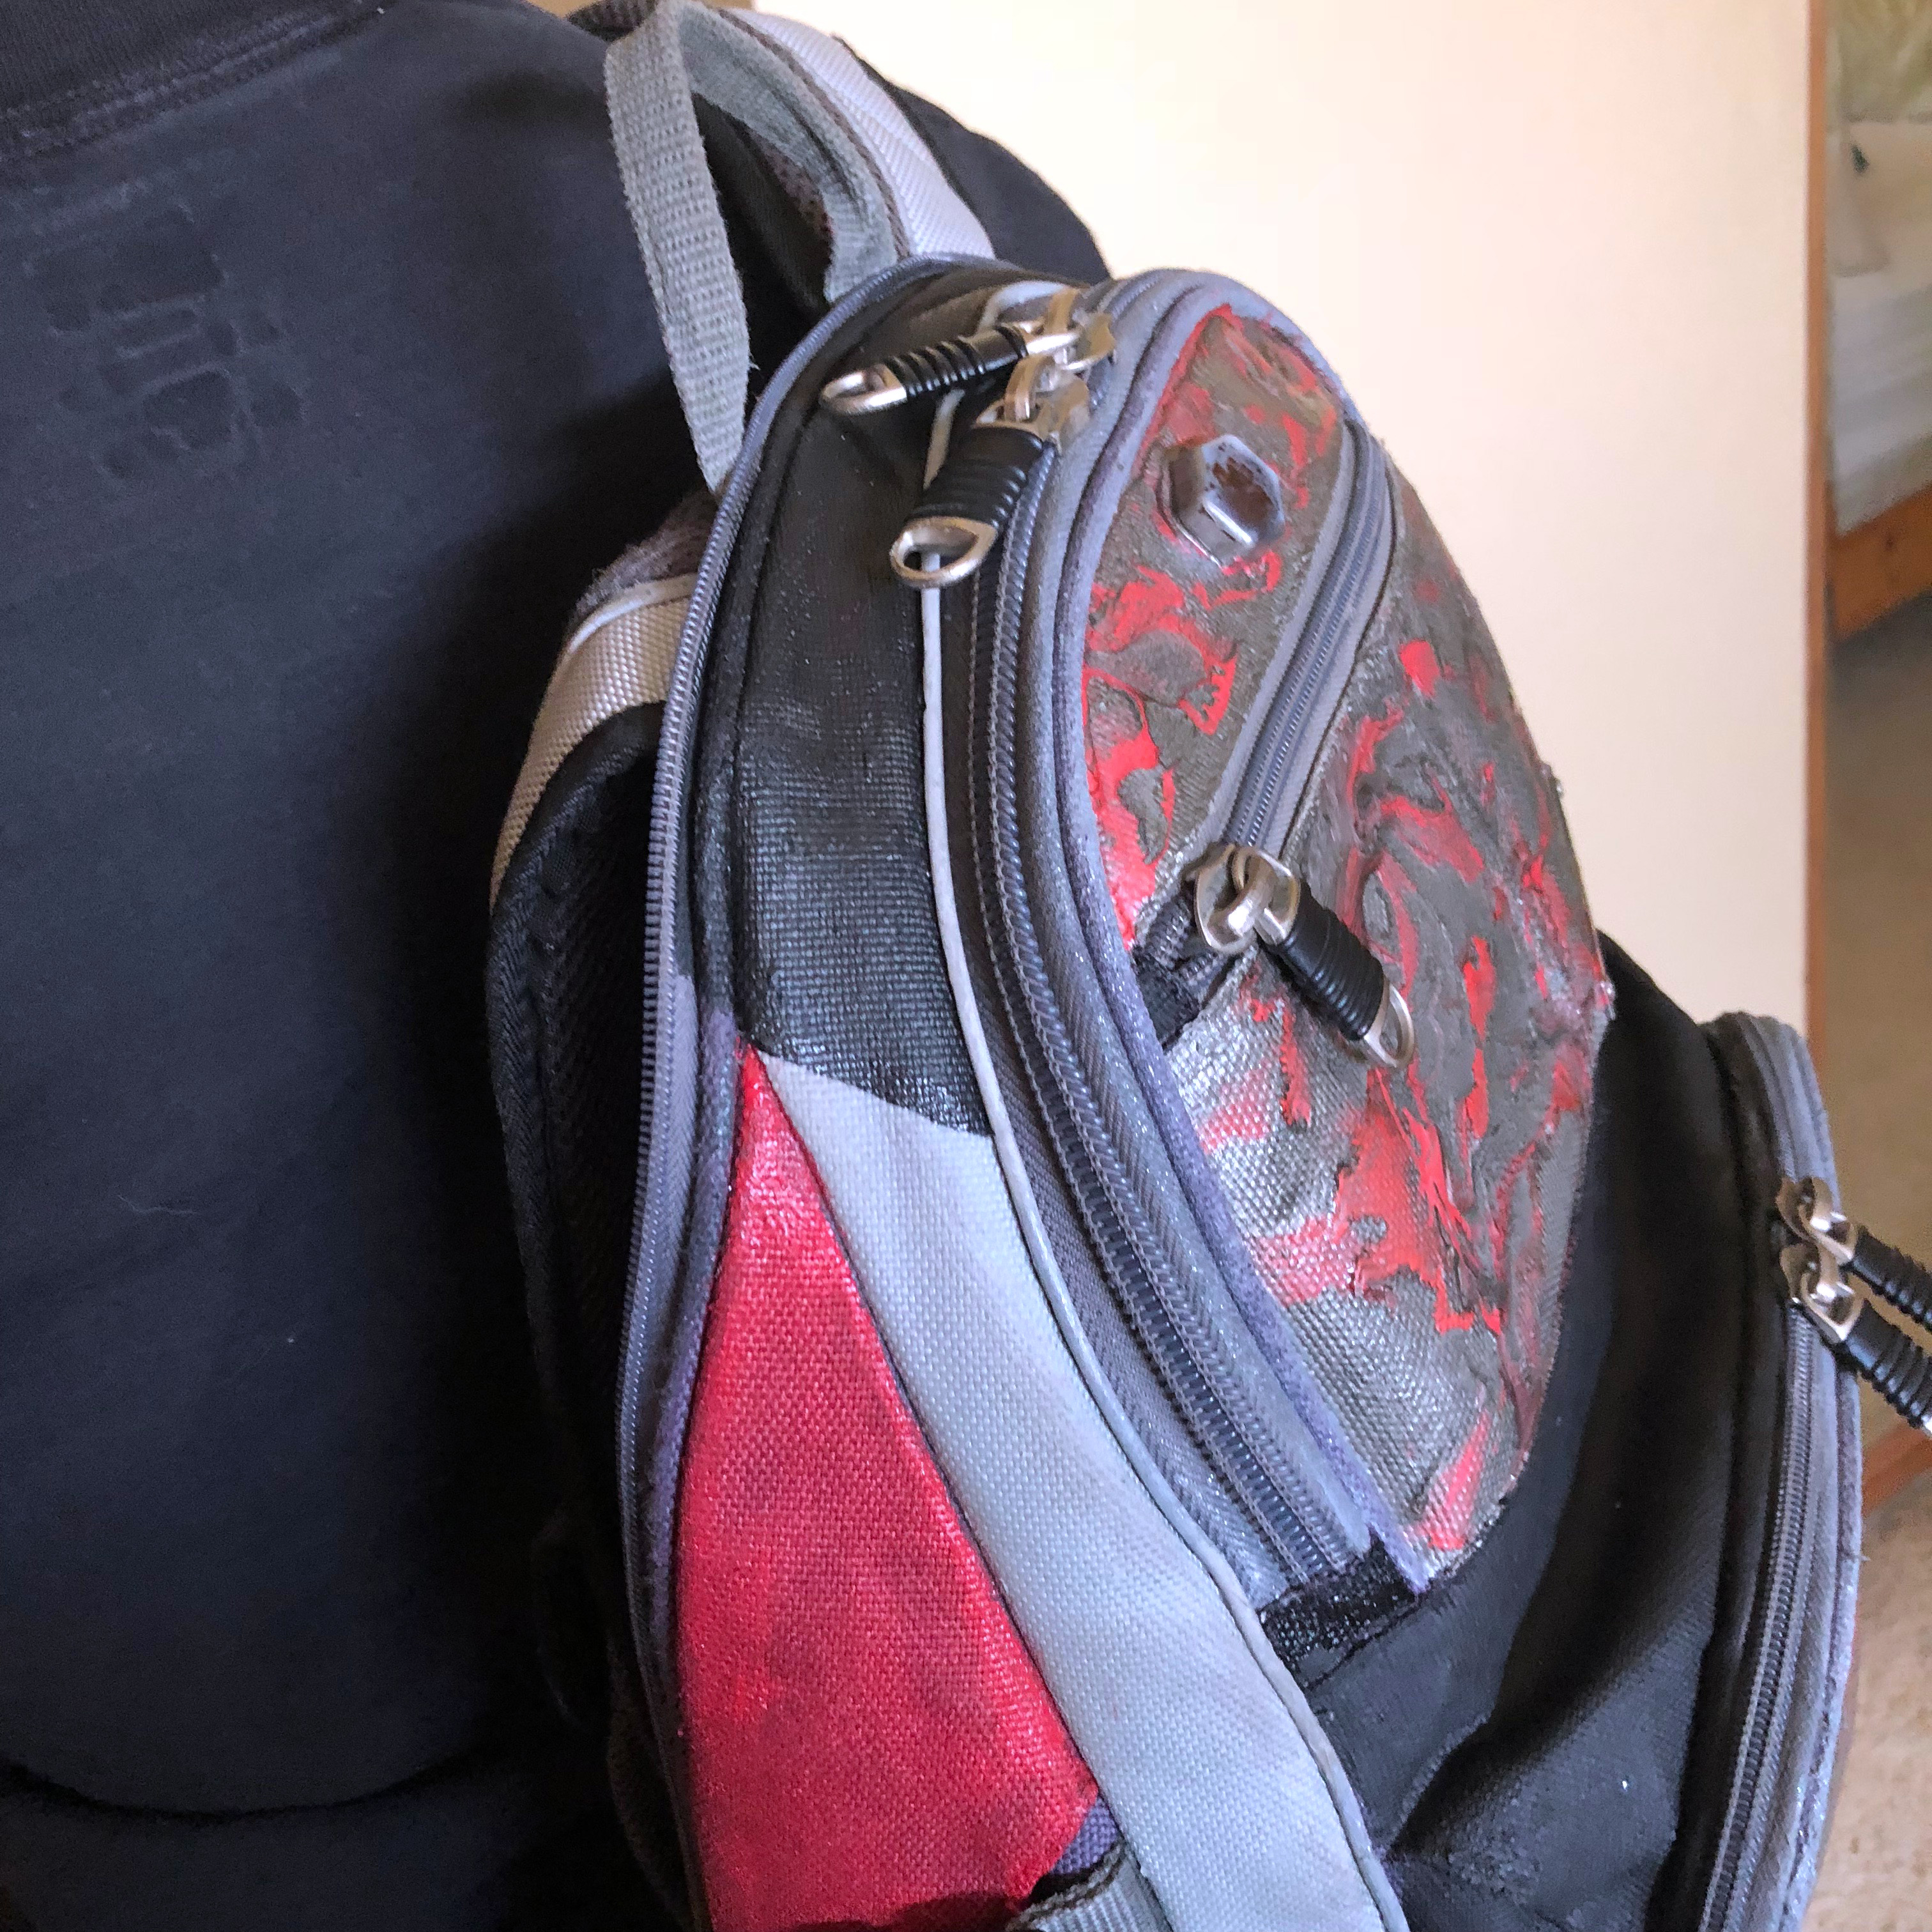
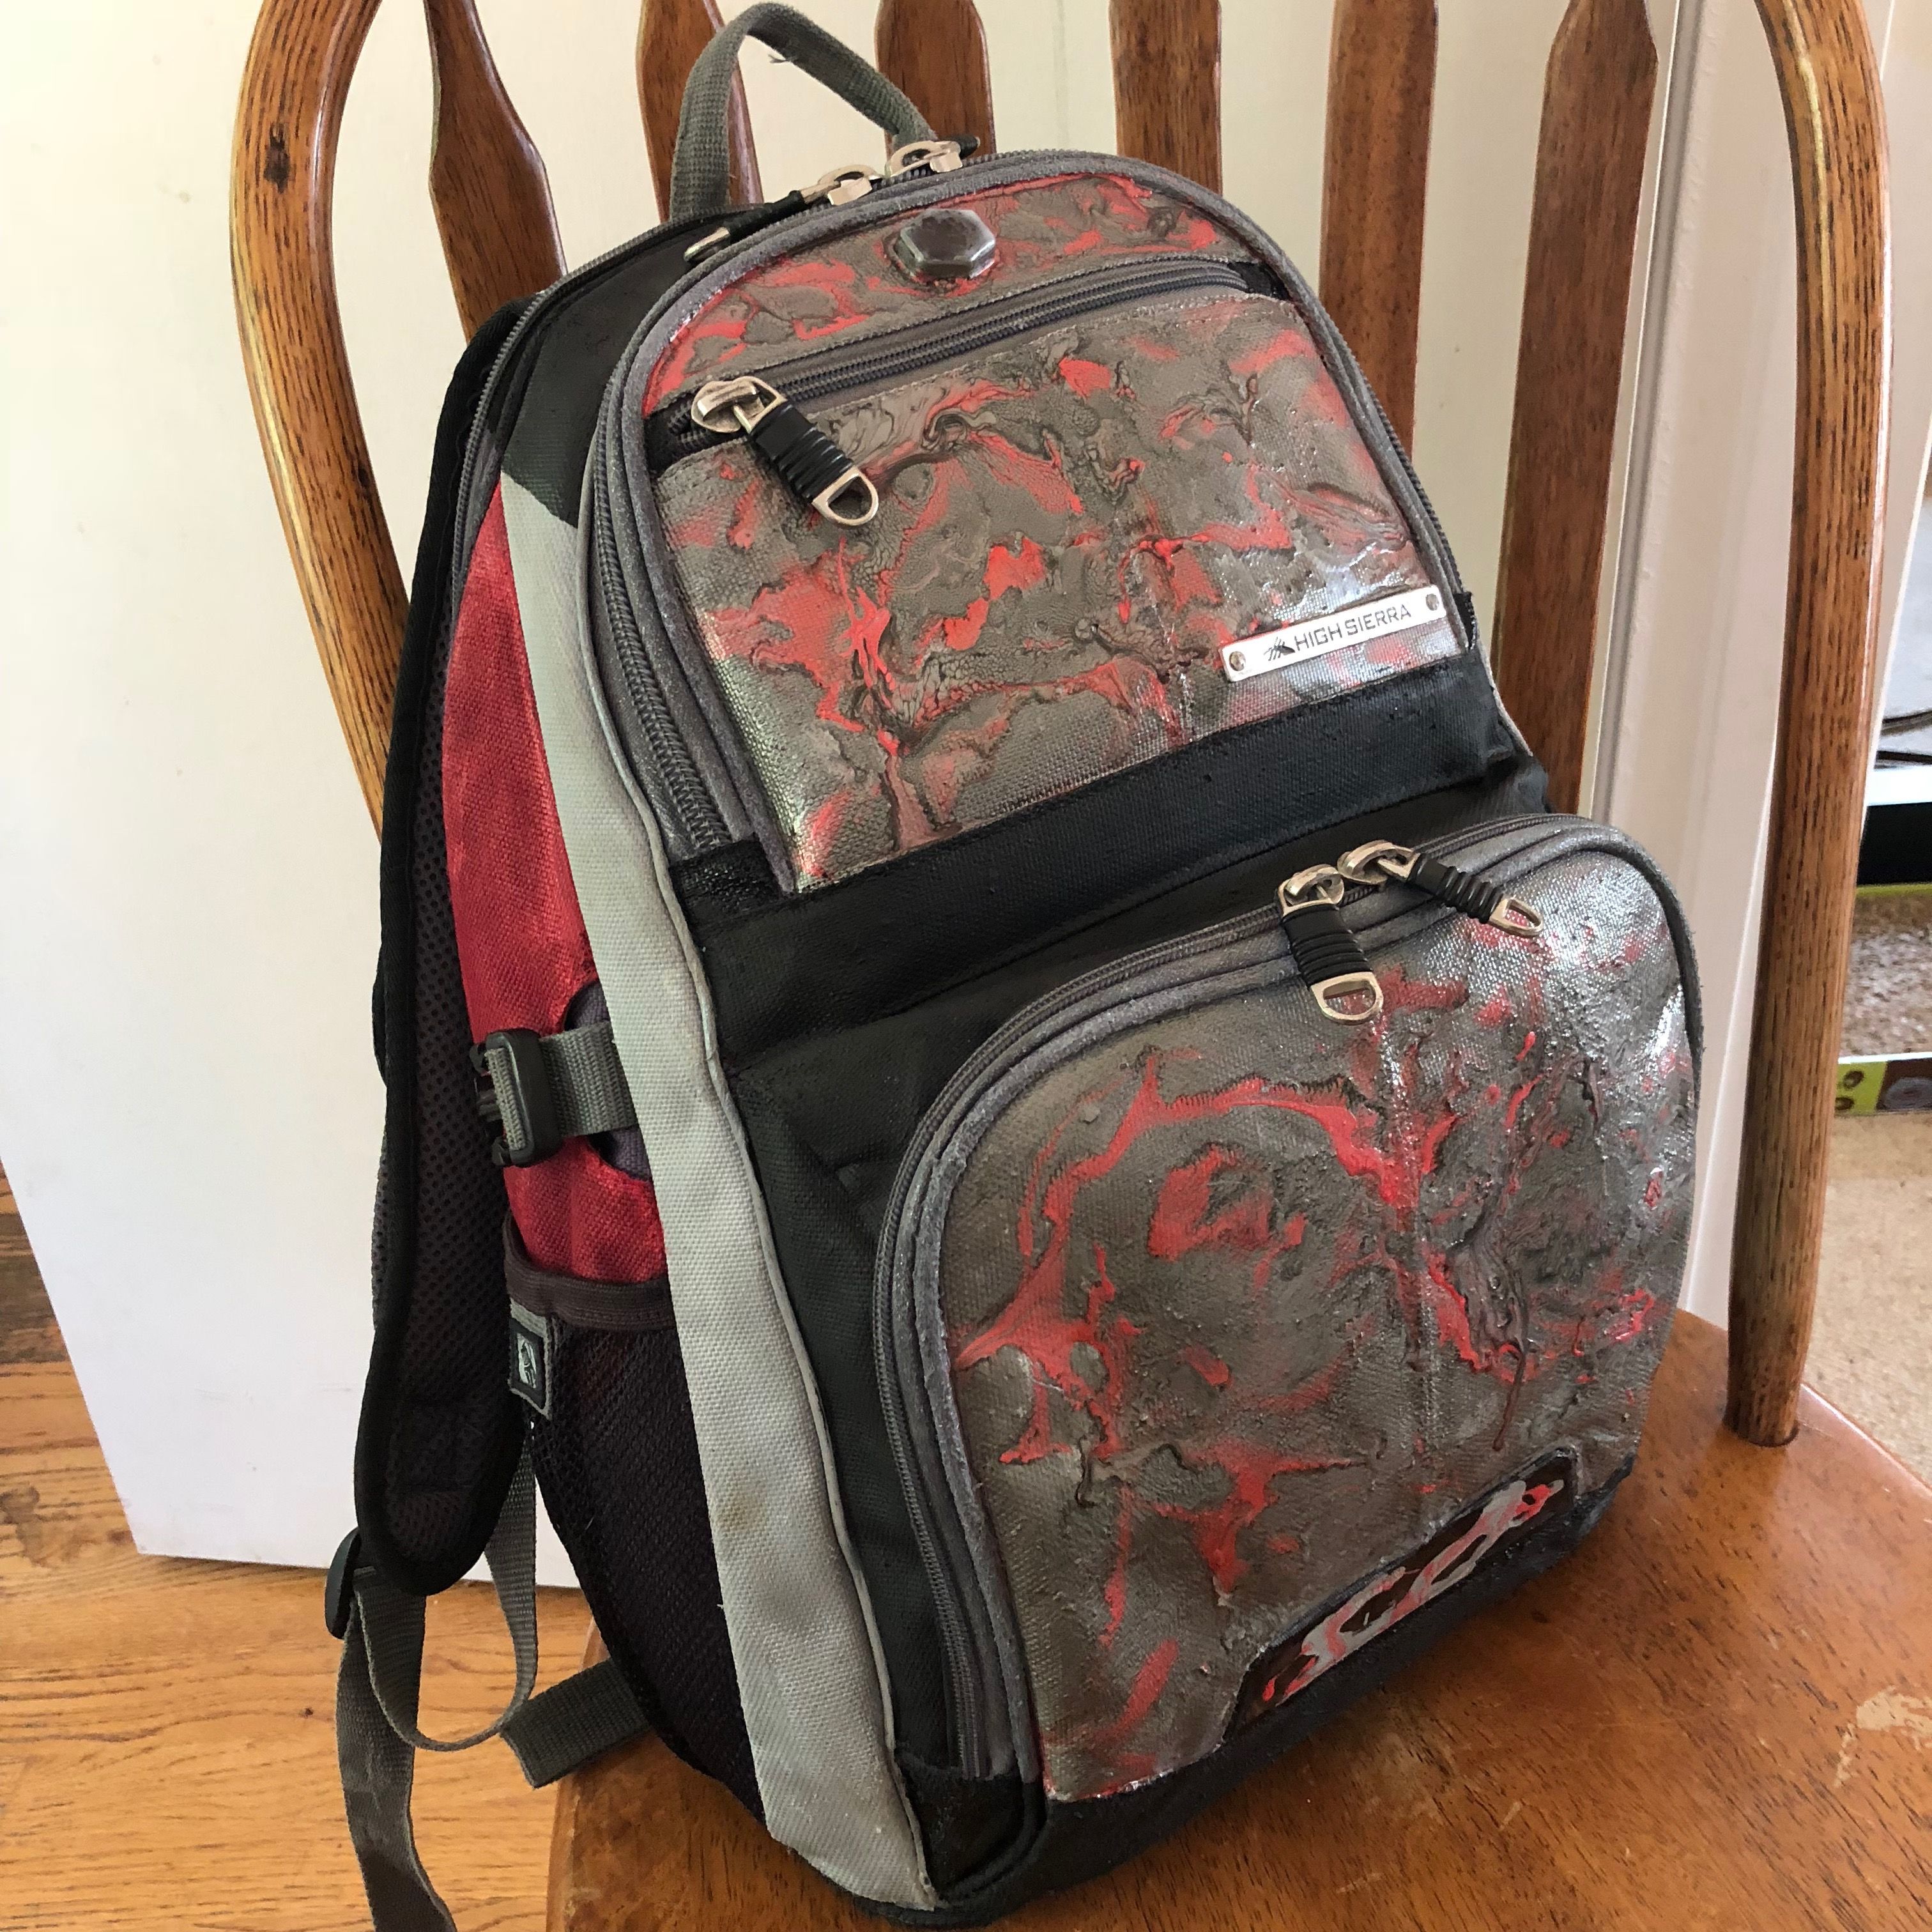
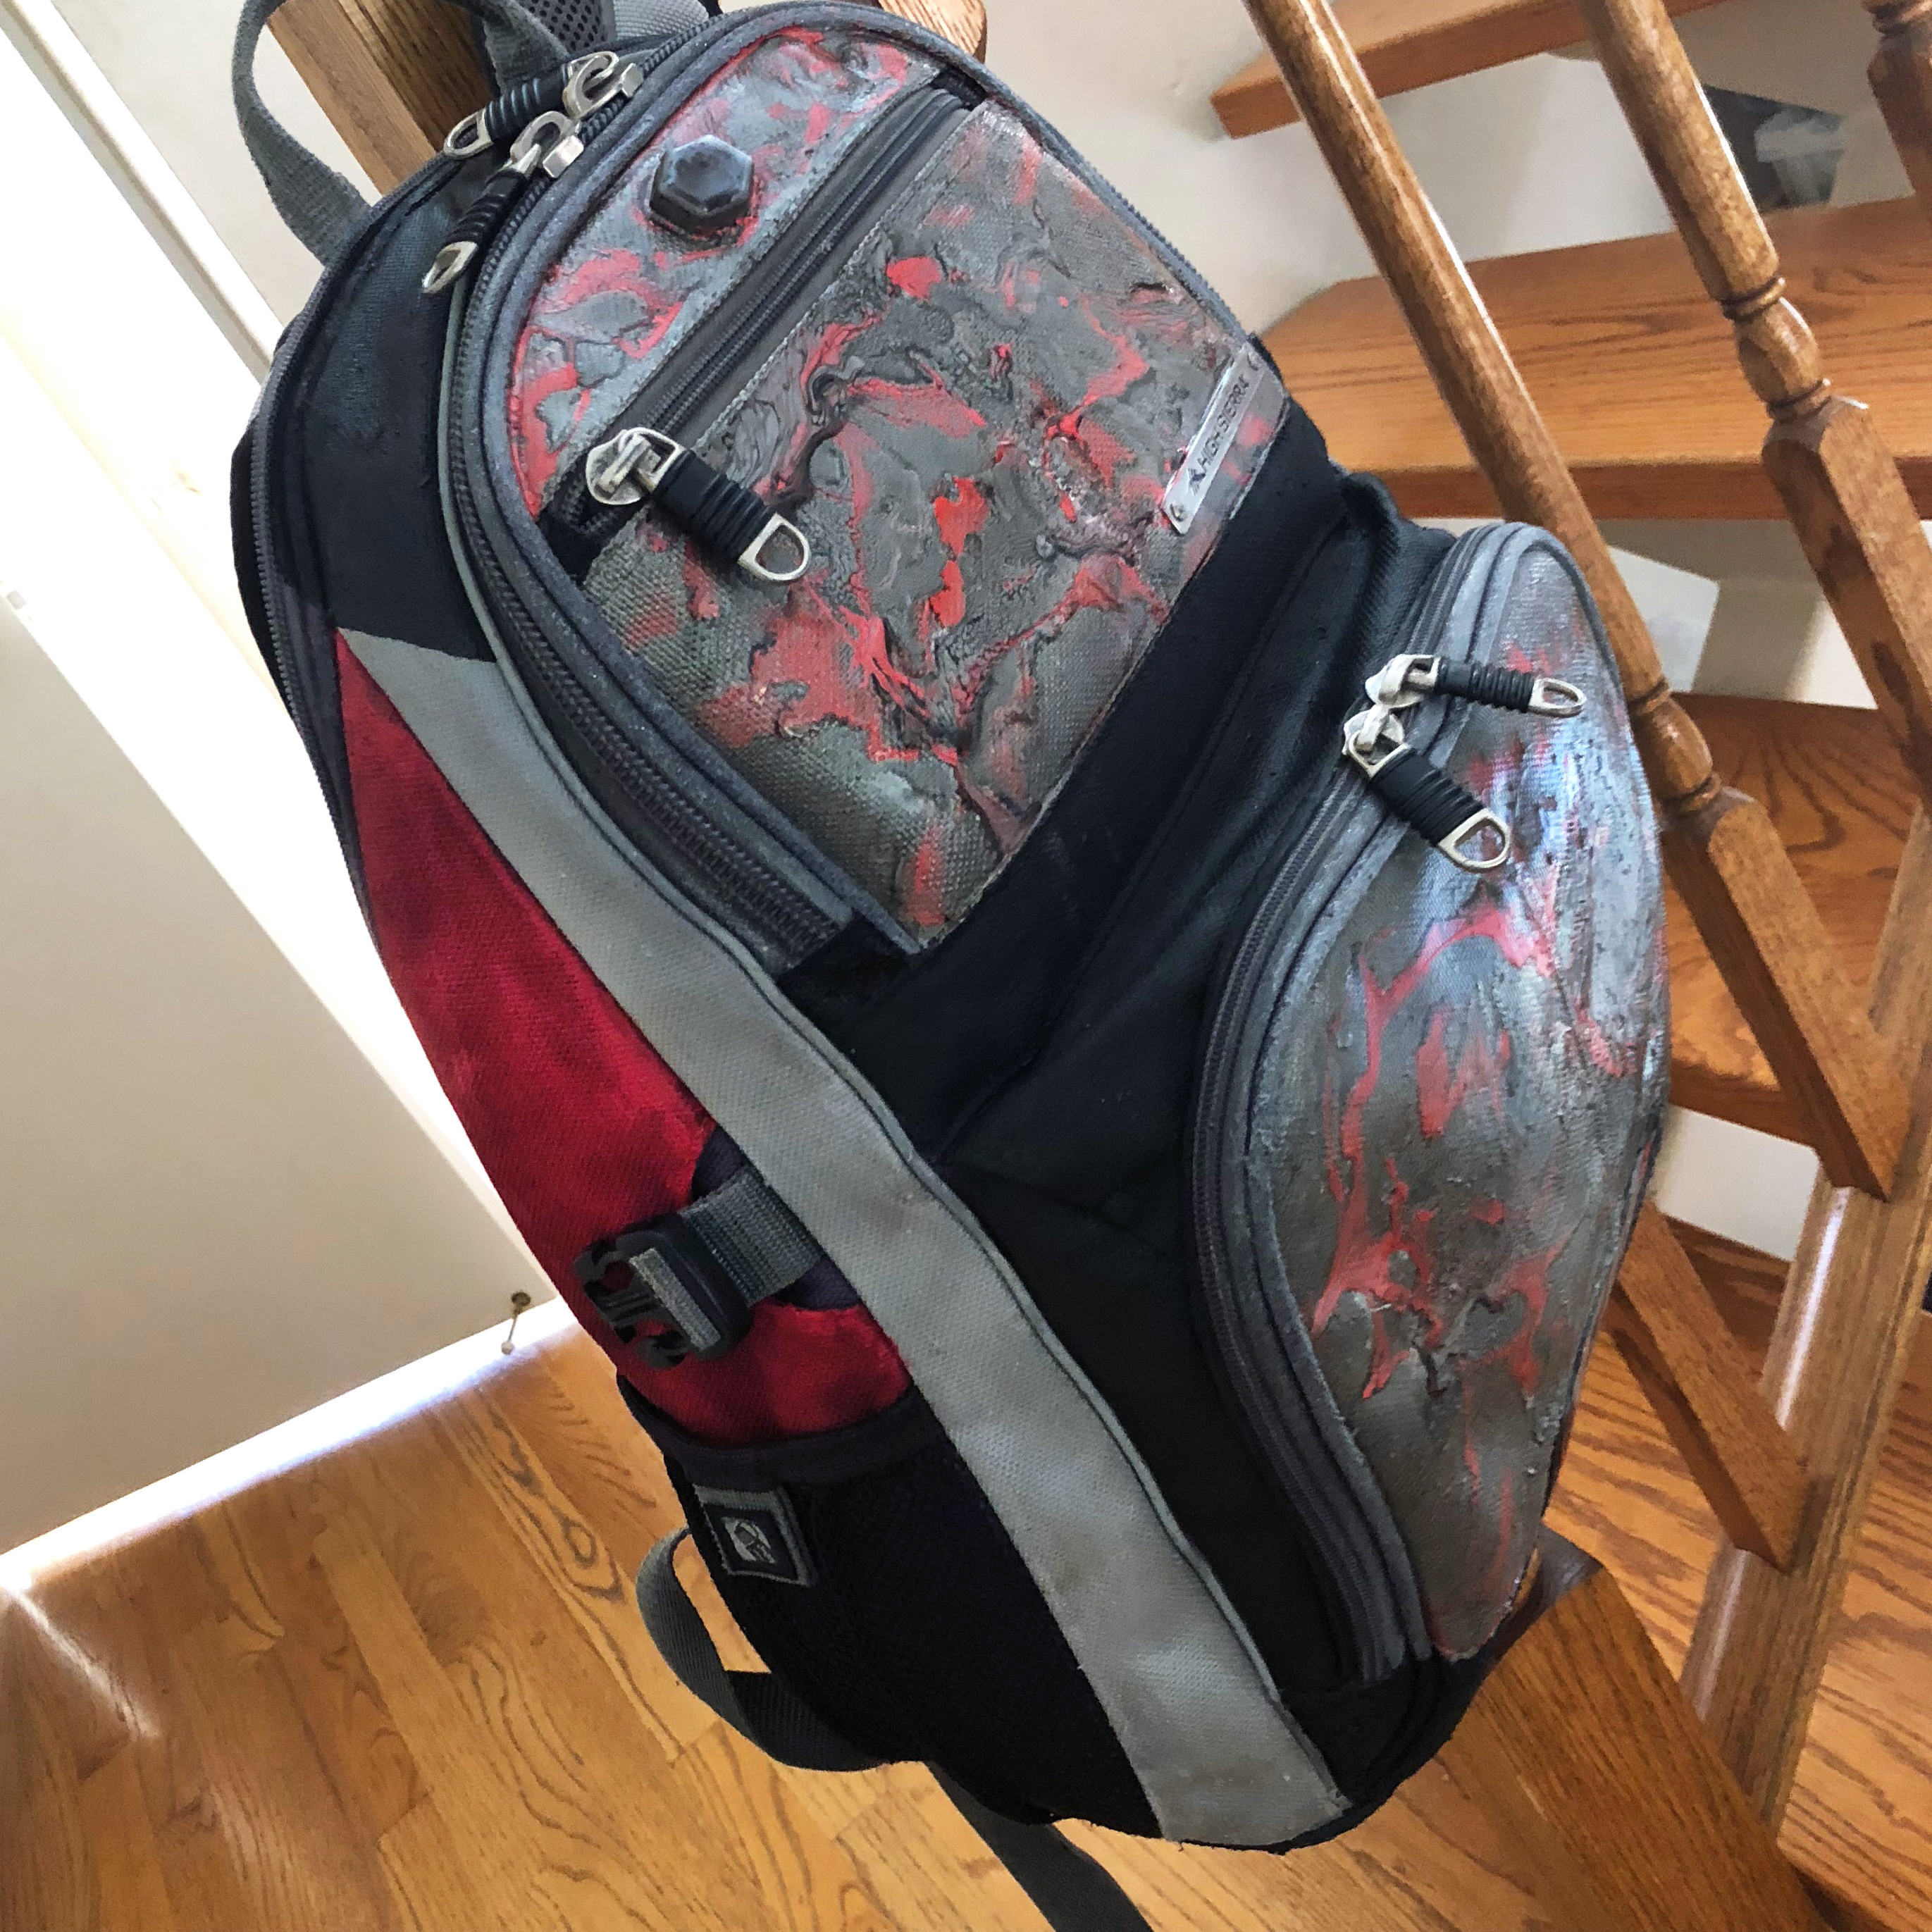
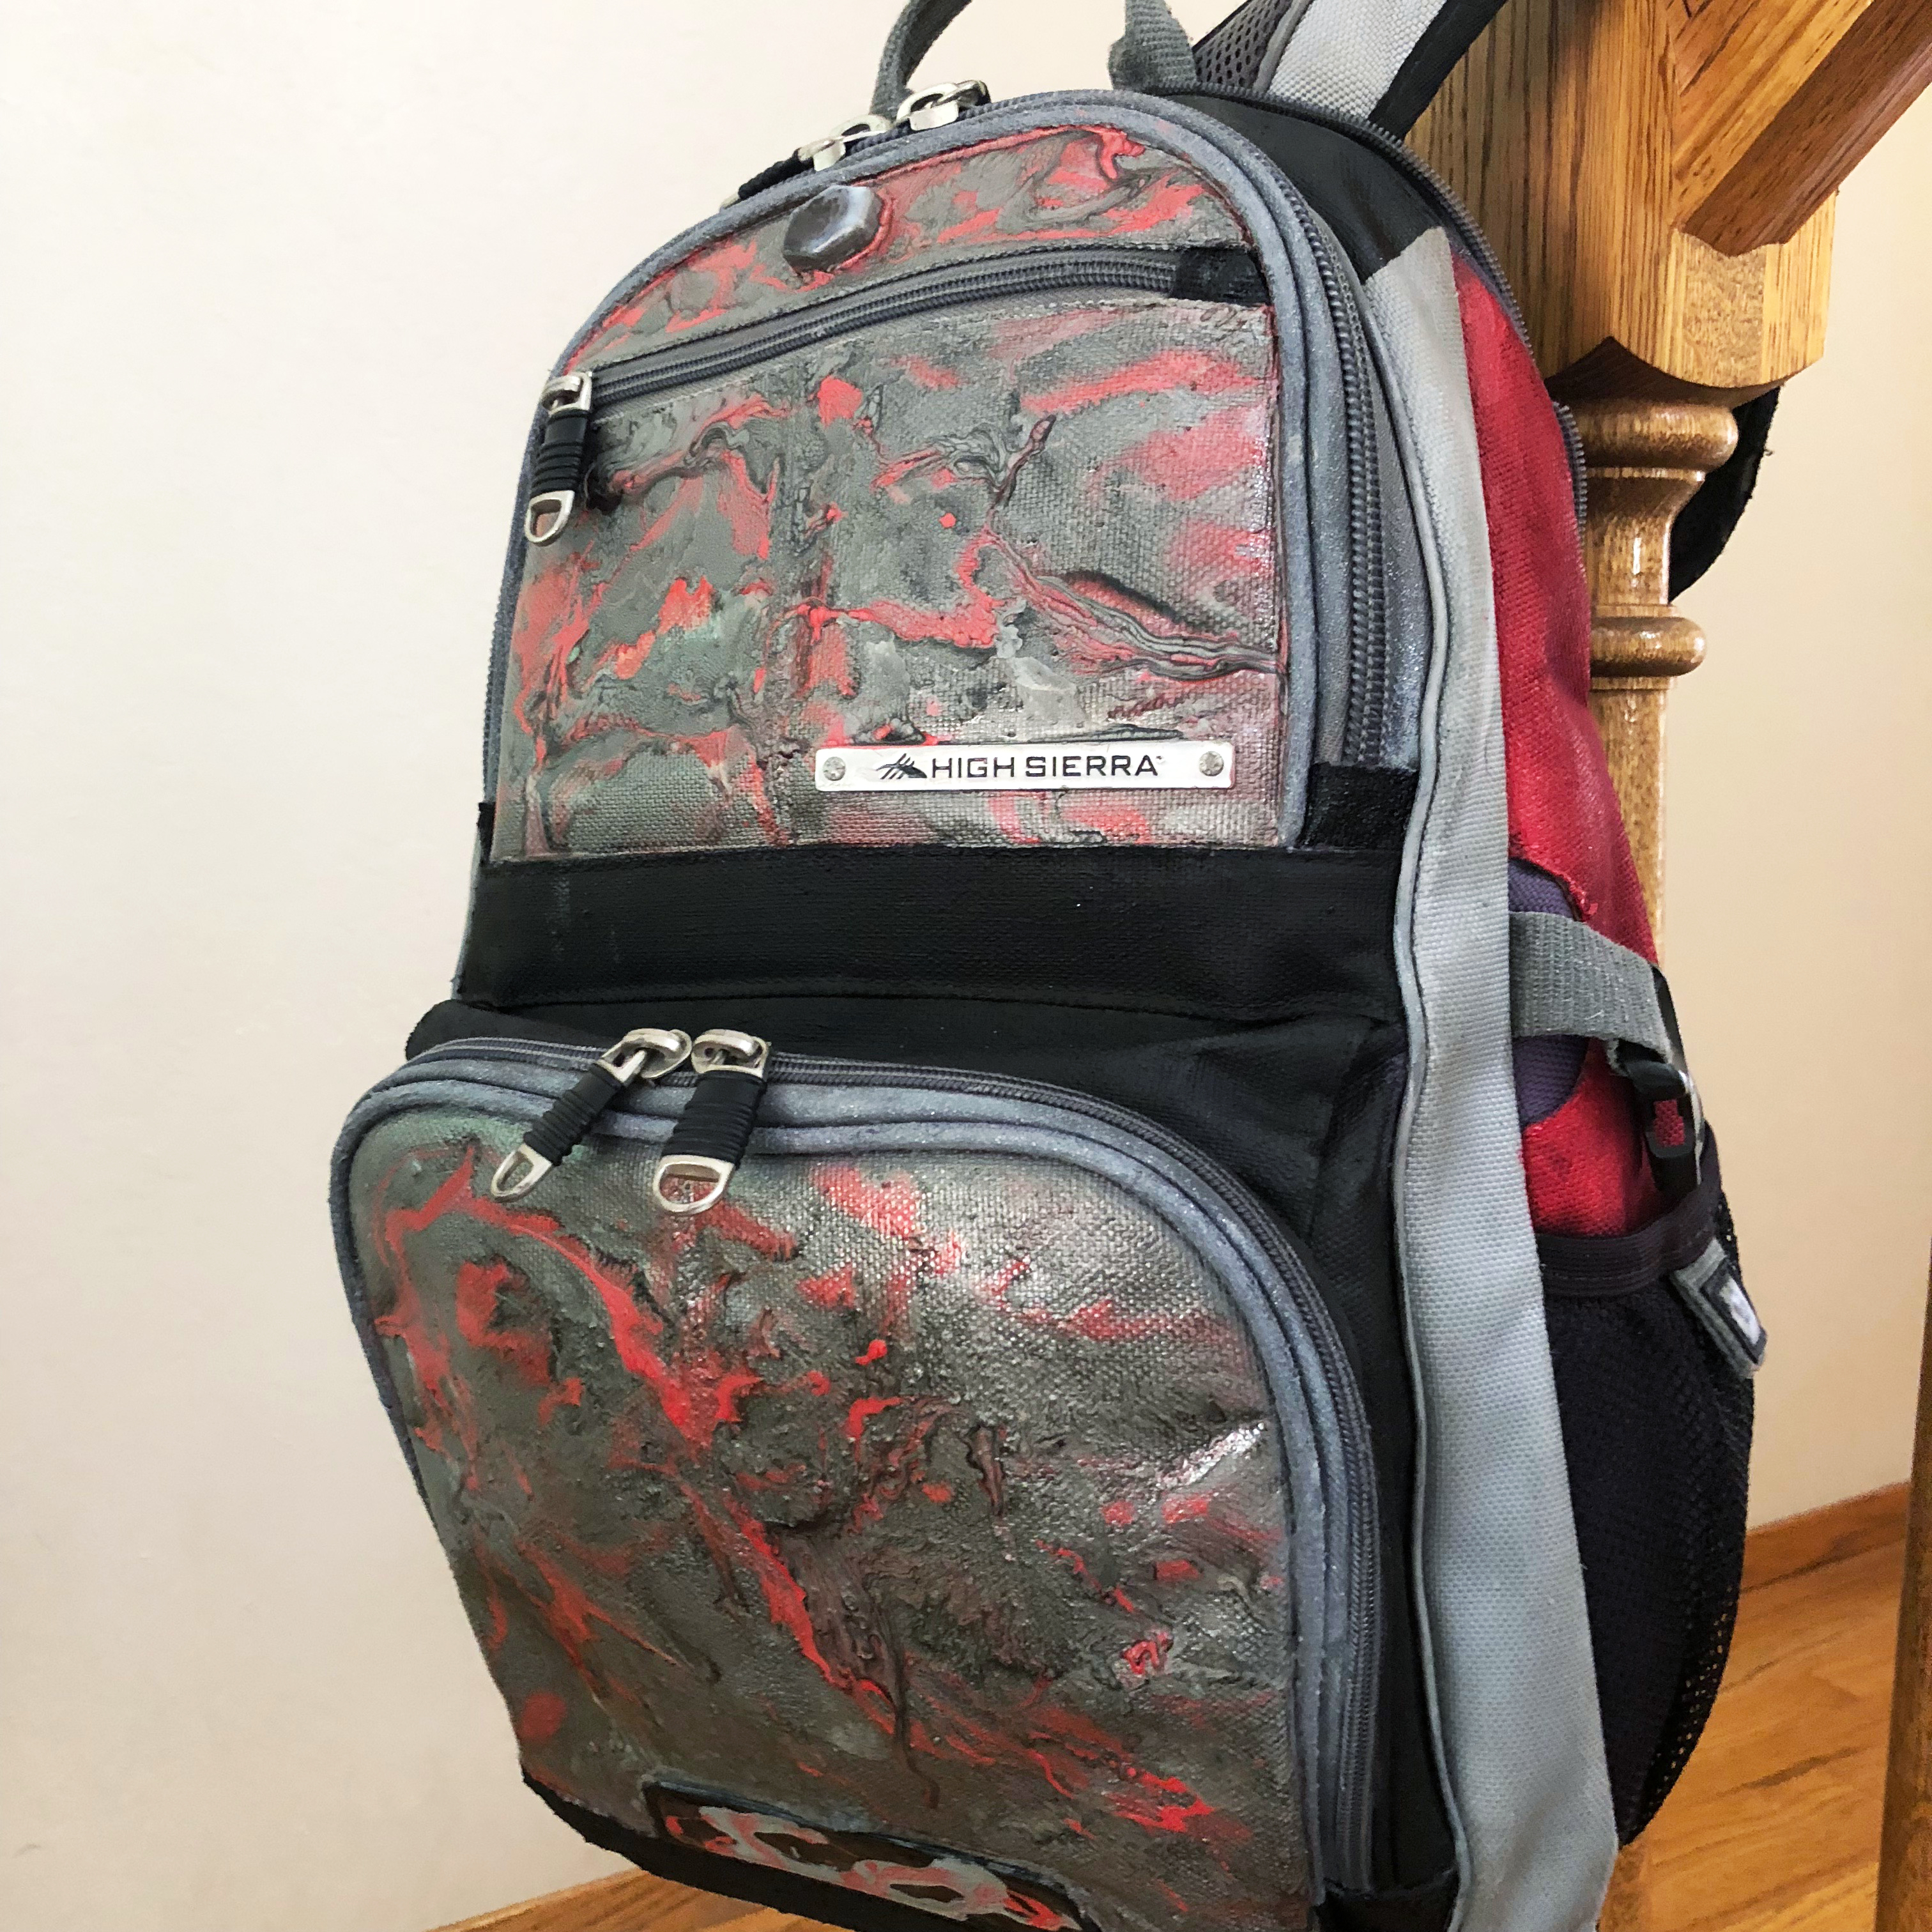
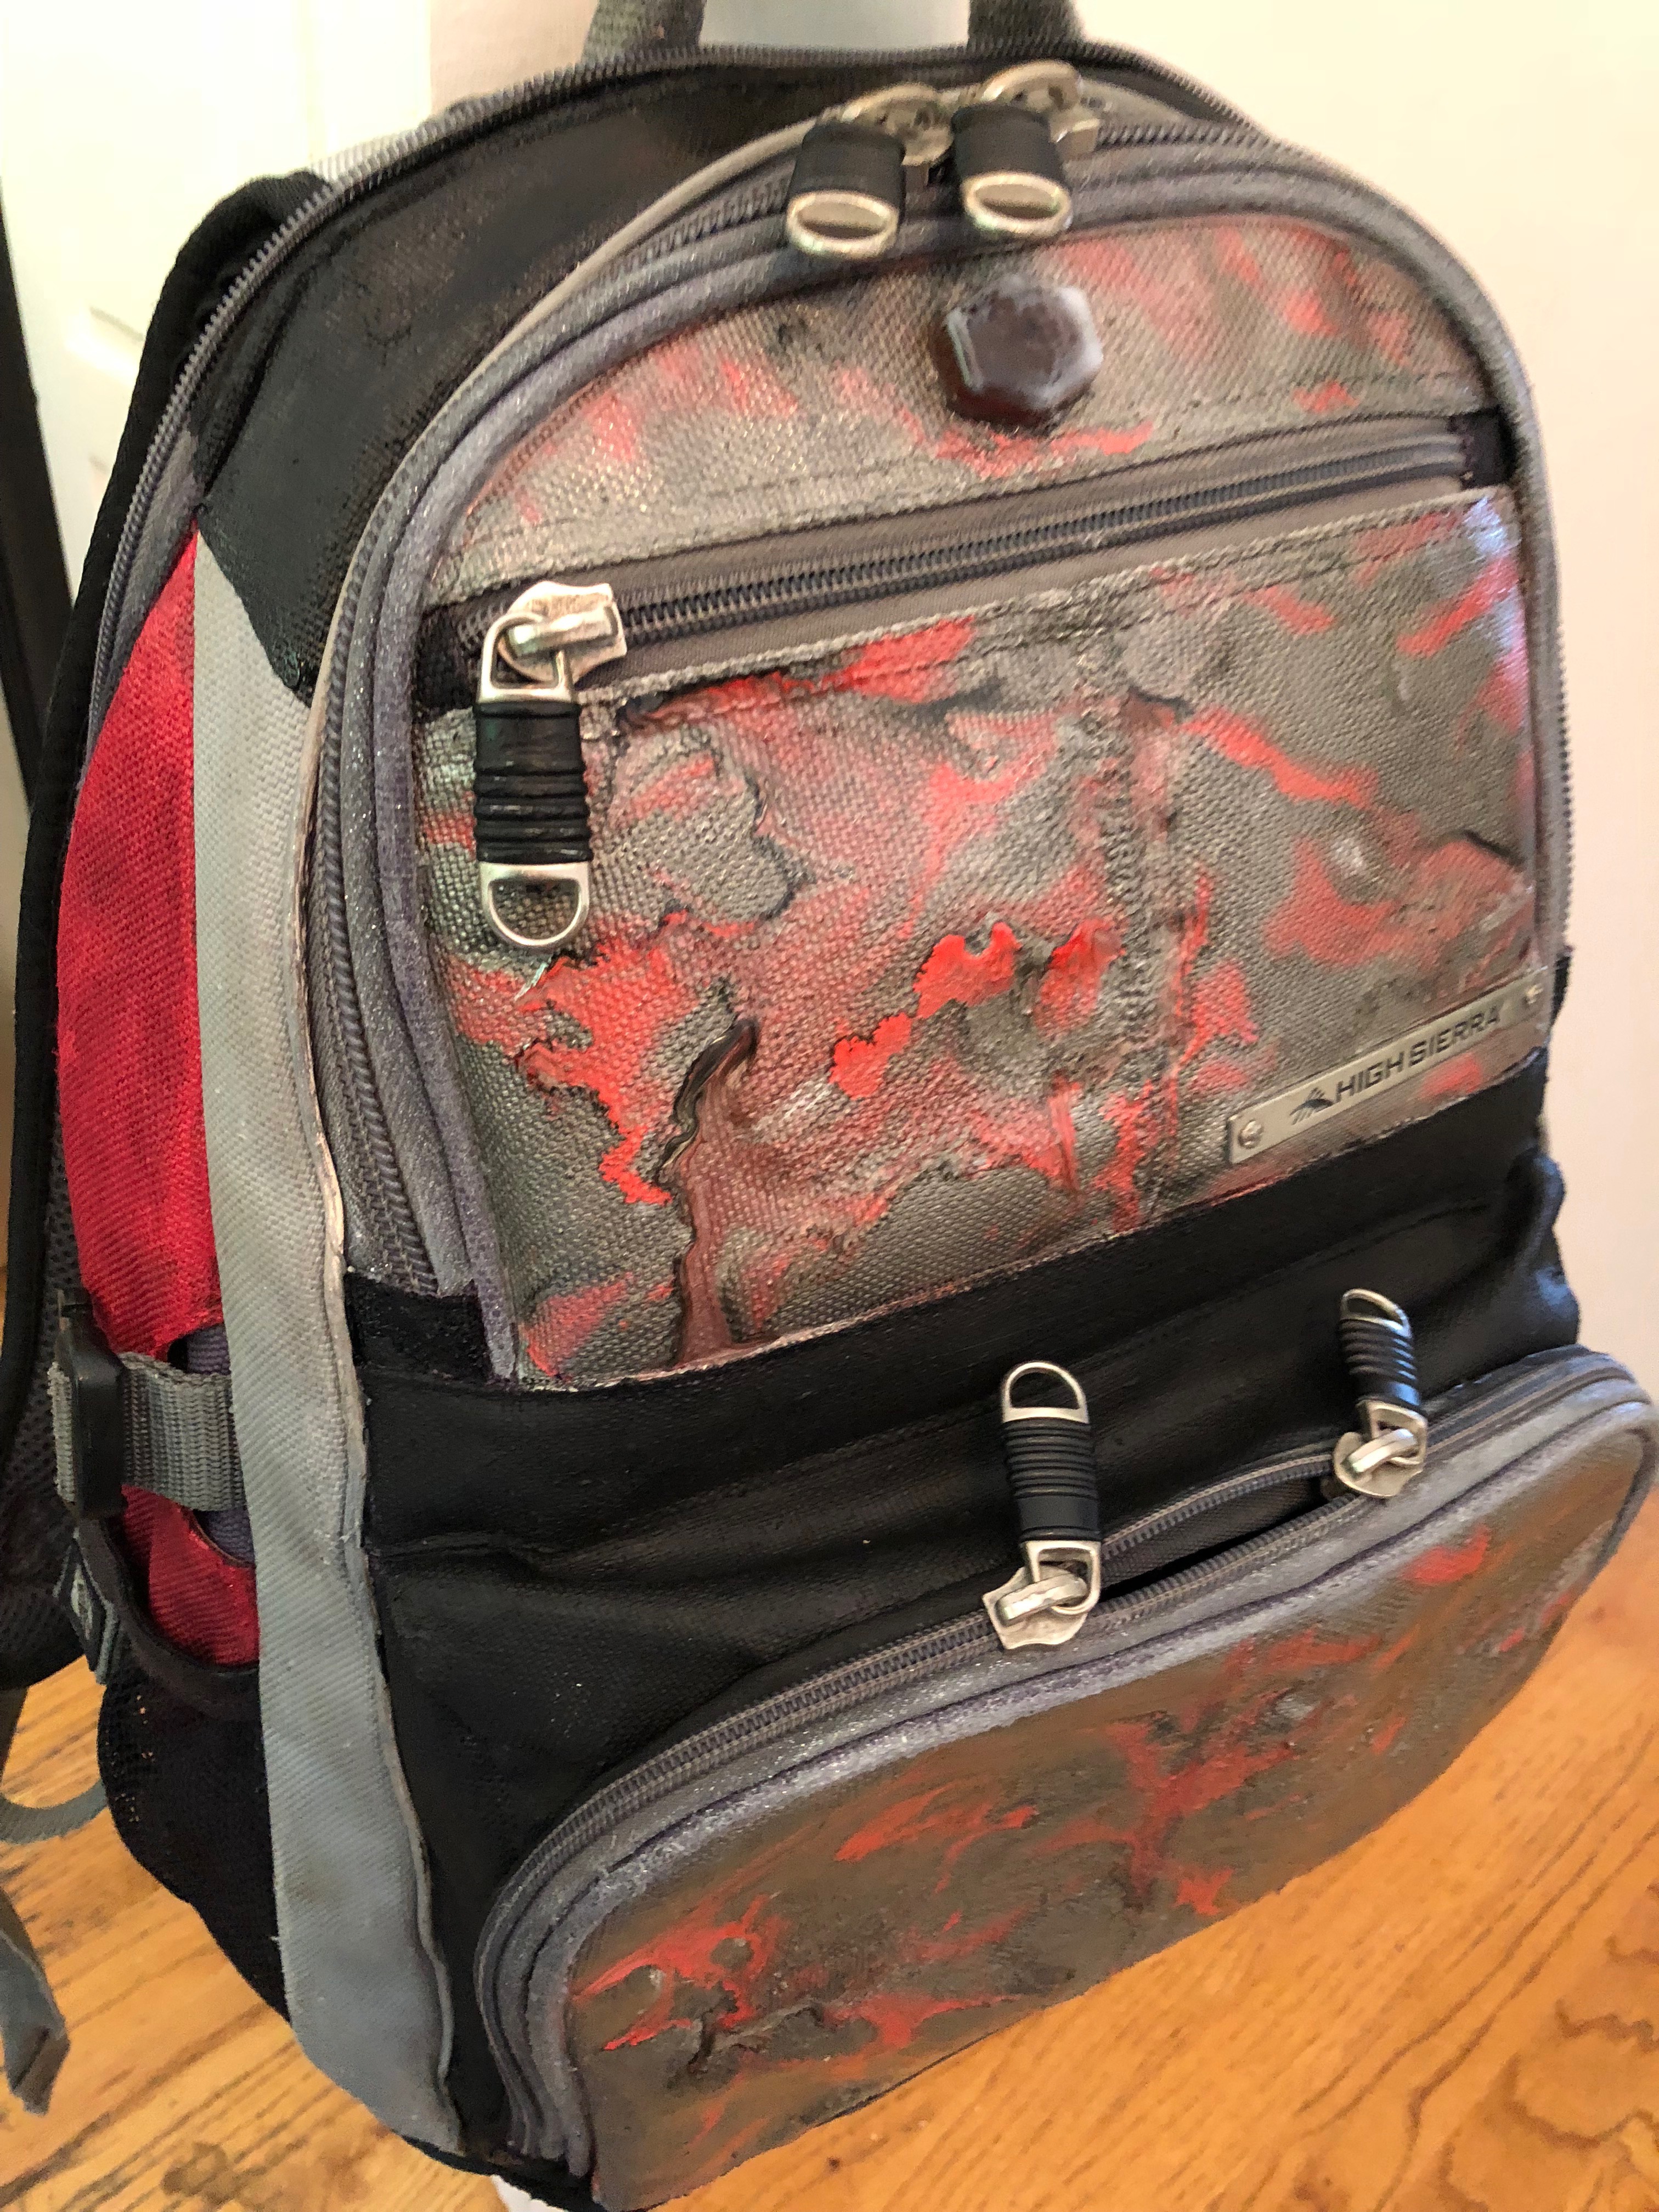
And so my son's backpack went from ready-to-toss to ready-to-wear. I think it came out pretty amazing and was well worth the time.
I hope this gives you some good ideas, and maybe a whole plan, for bringing a favorite backpack back to life.
And if you work on your own pack, I'd love to see what you do, so please post photos.
Have fun!!