Backlit NYC Skyline With Bluetooth-Controlled Light & Sound Display
931 Views, 13 Favorites, 0 Comments
Backlit NYC Skyline With Bluetooth-Controlled Light & Sound Display
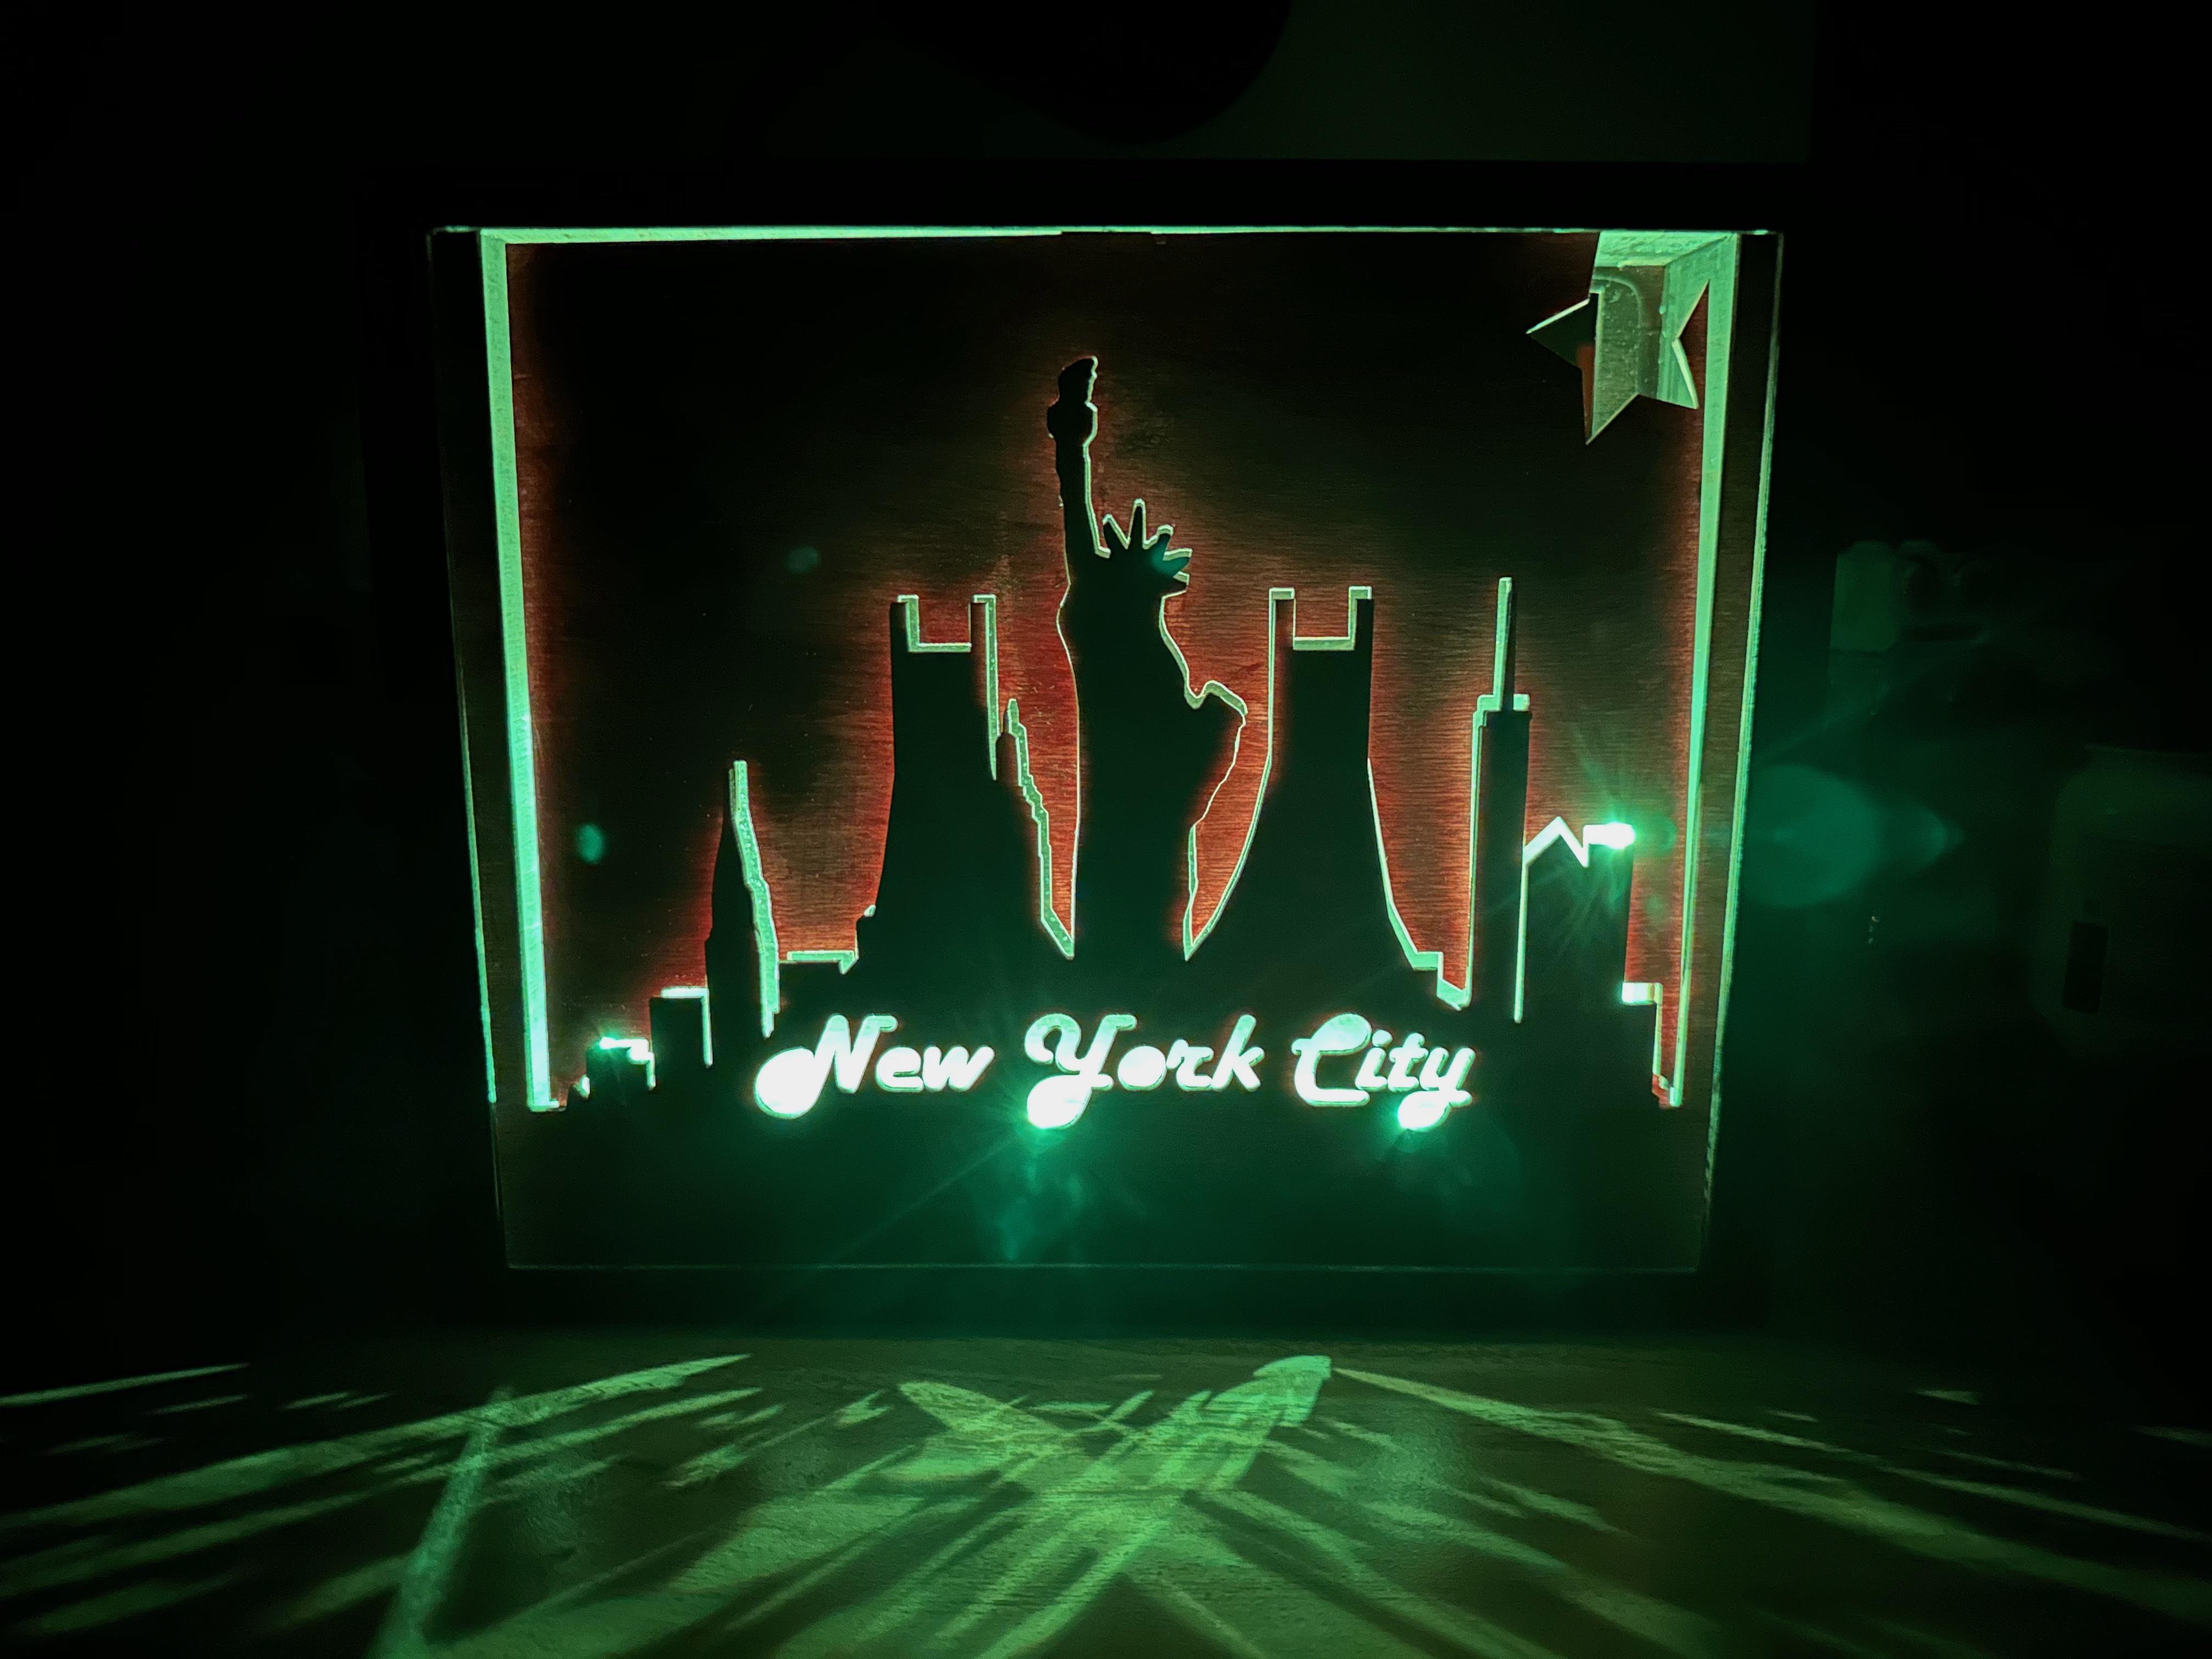
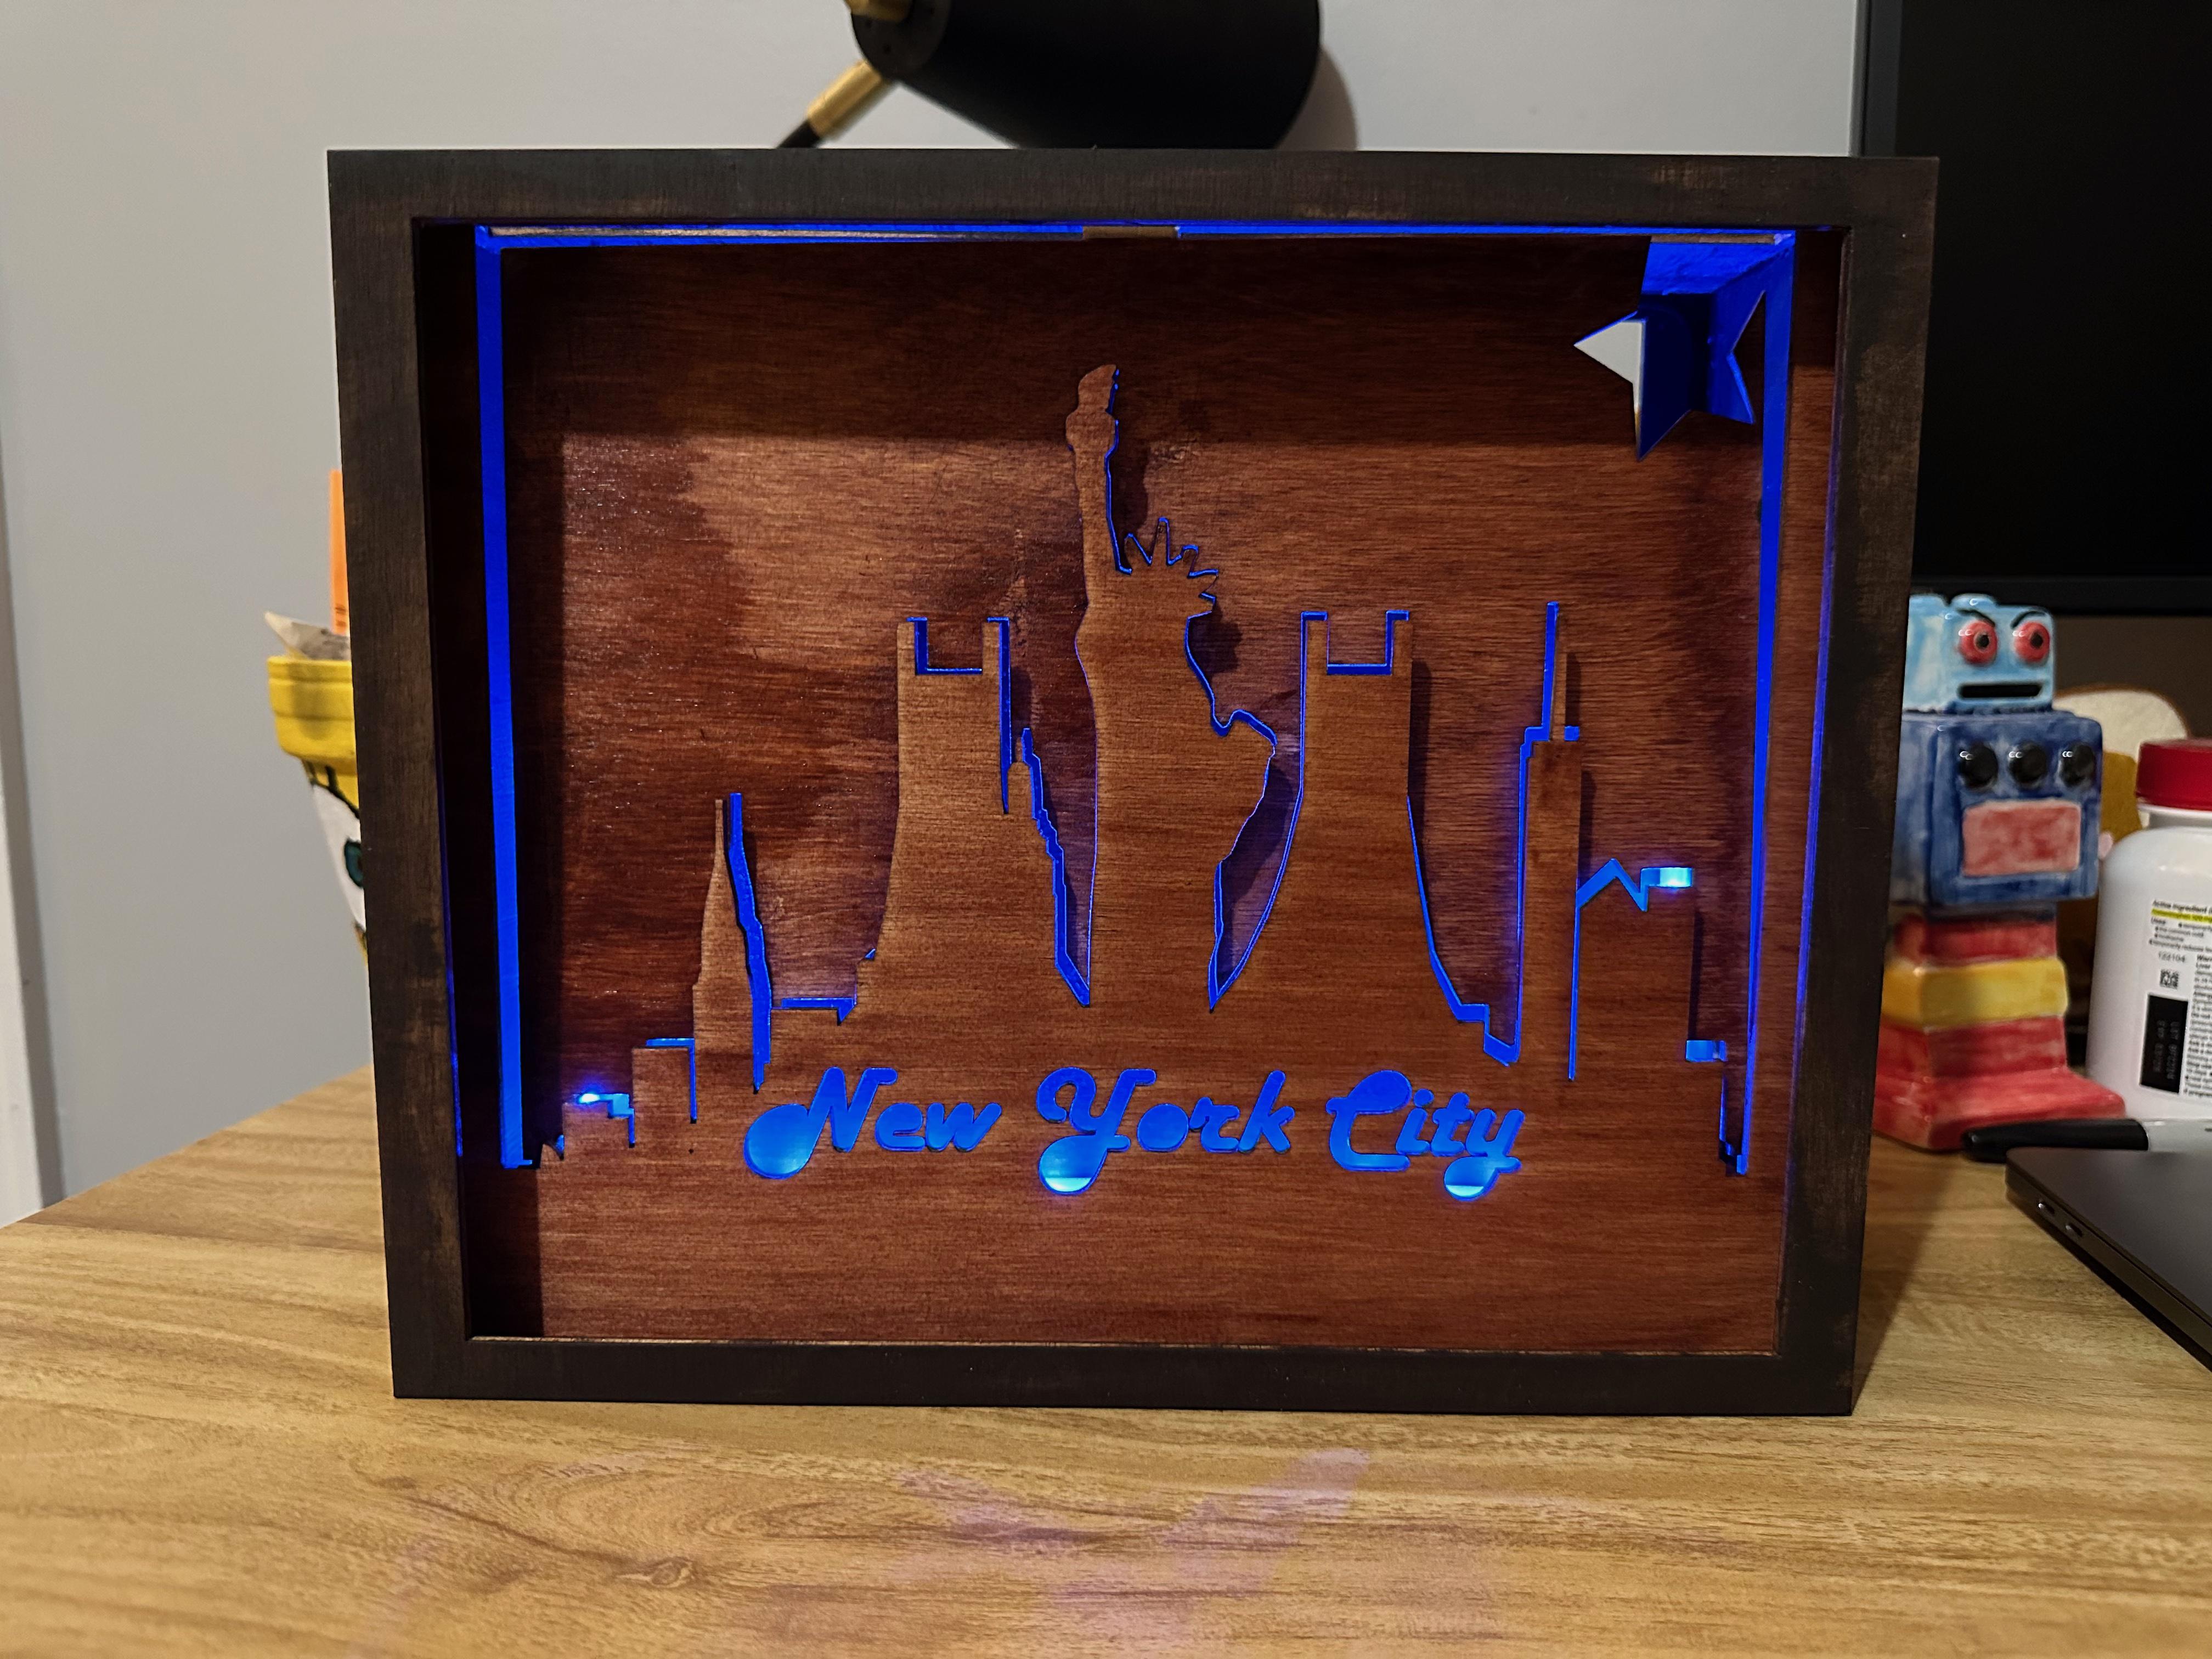
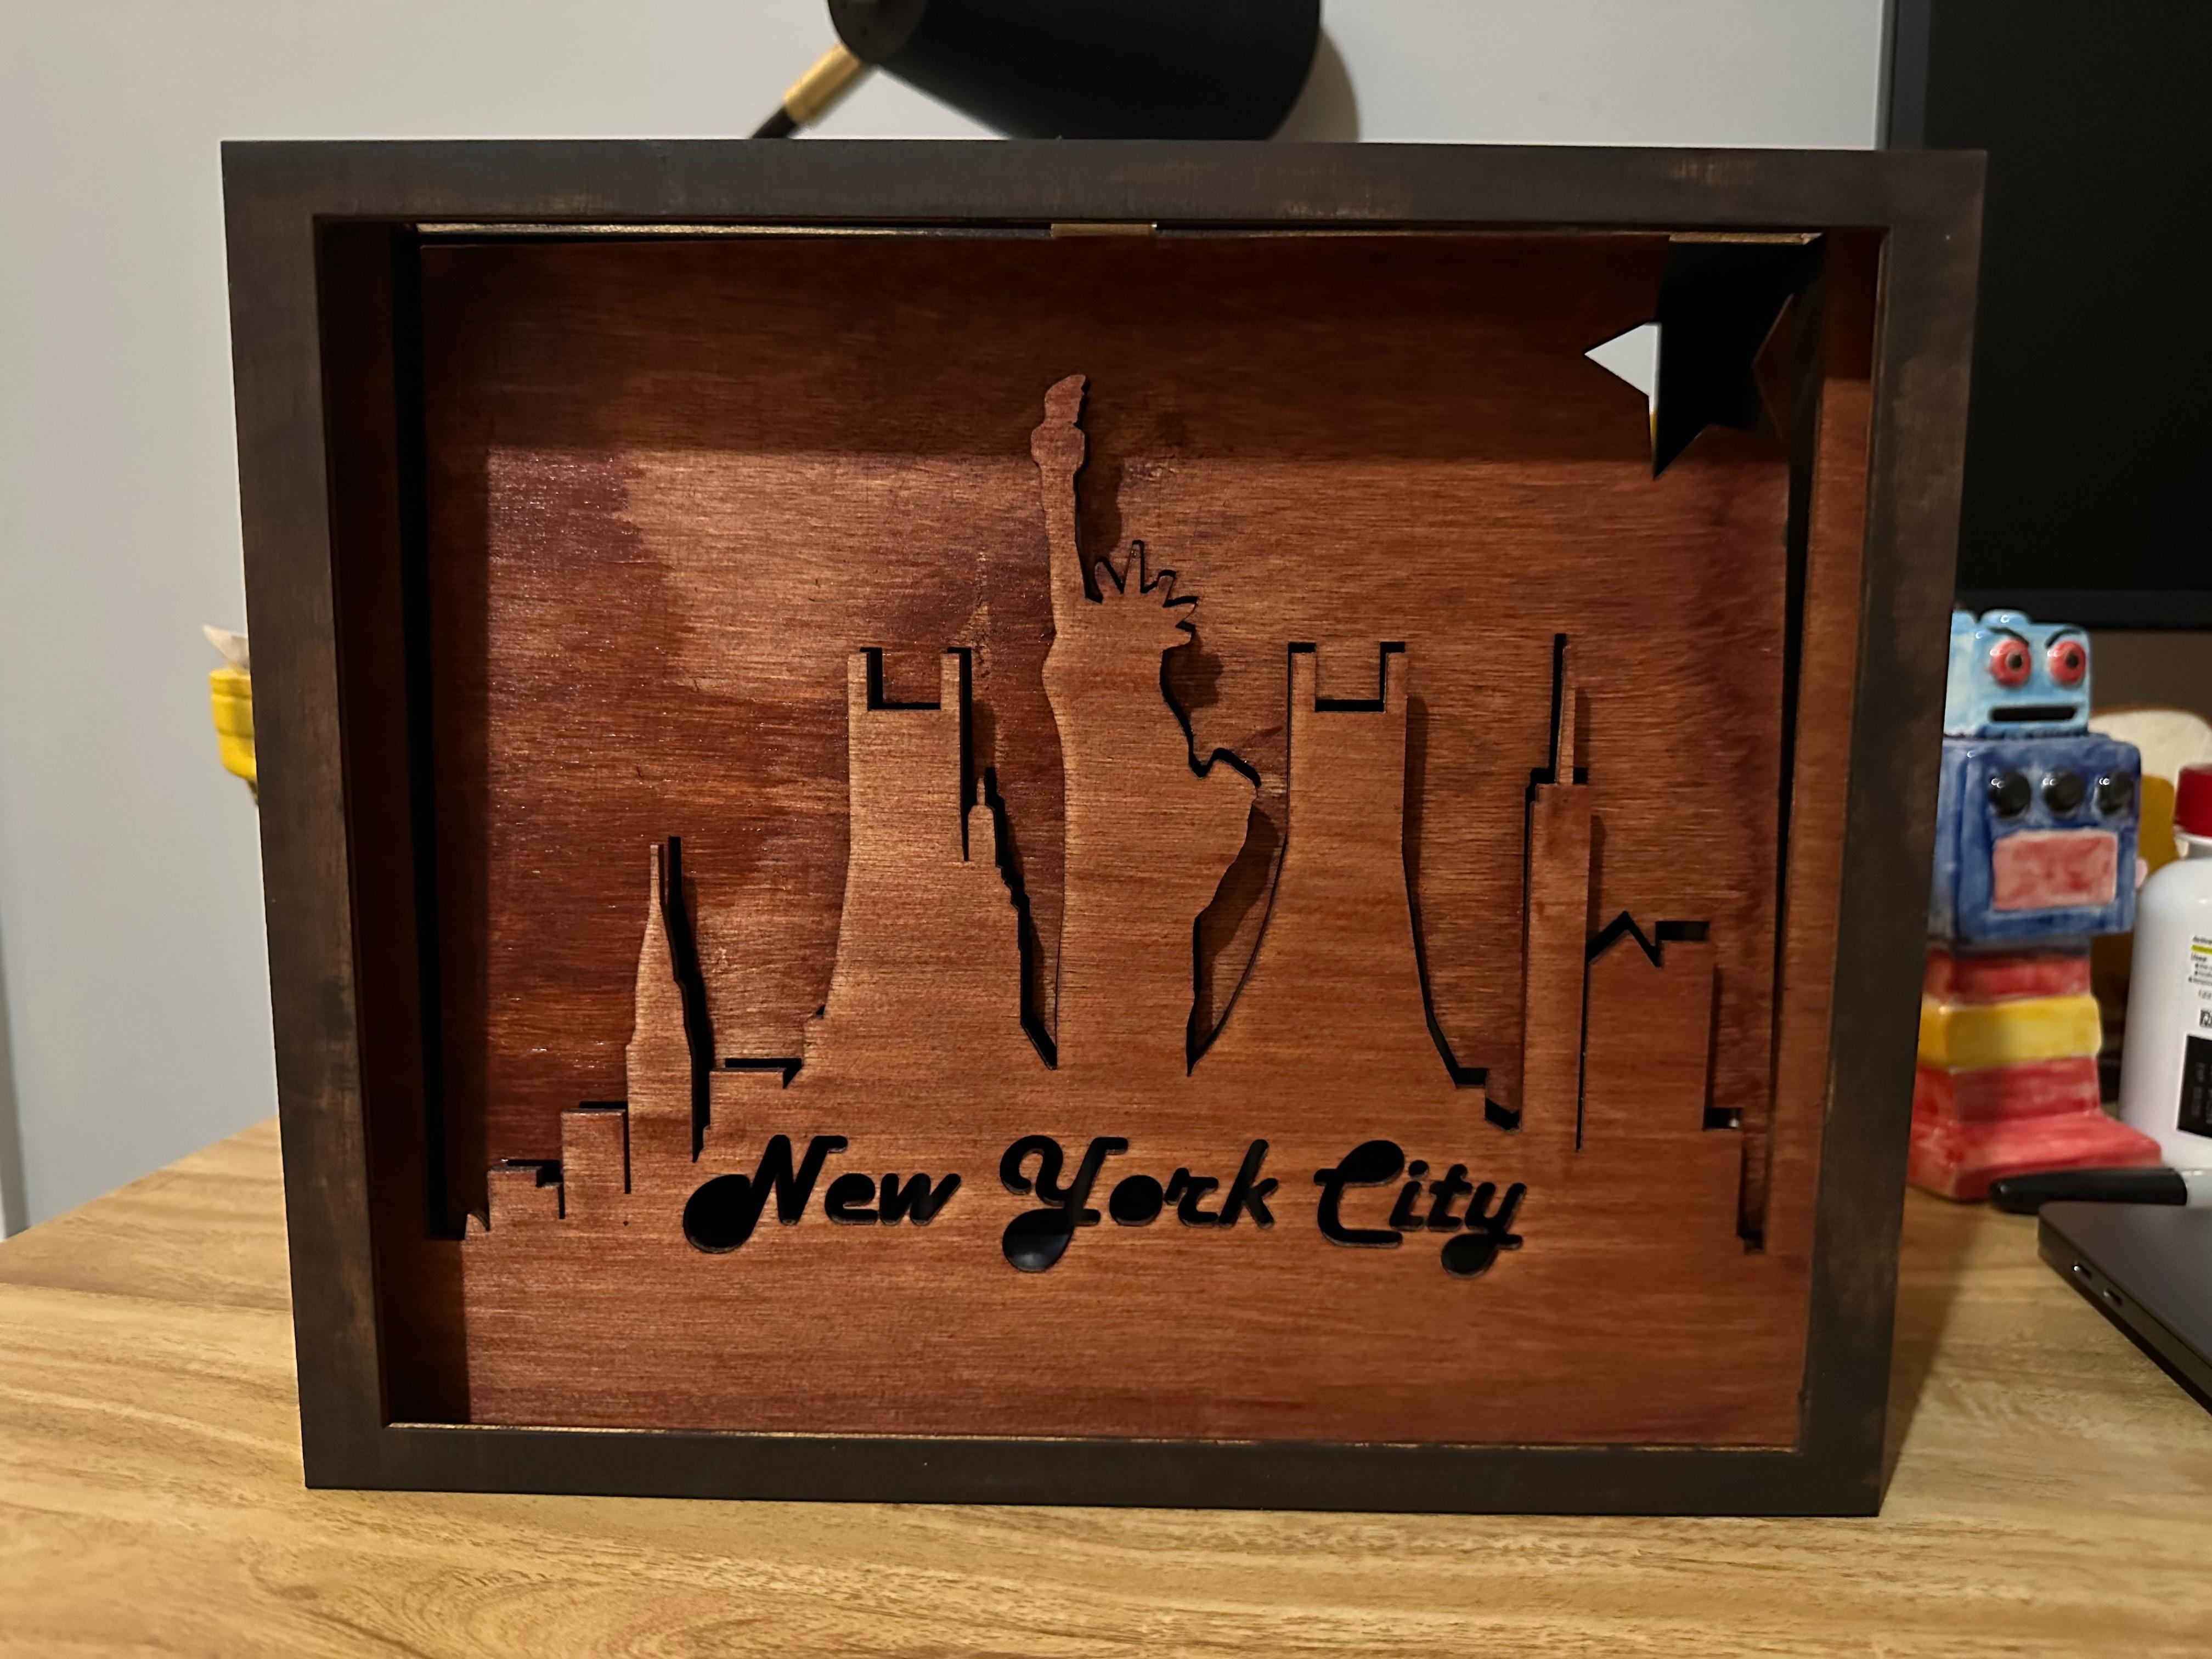
This is a project that I made for my Physical Computing Class at Boston College with Professor Gallaugher.
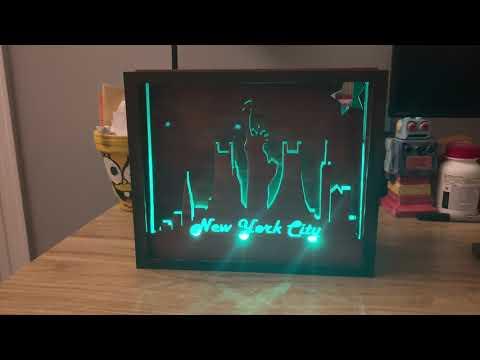
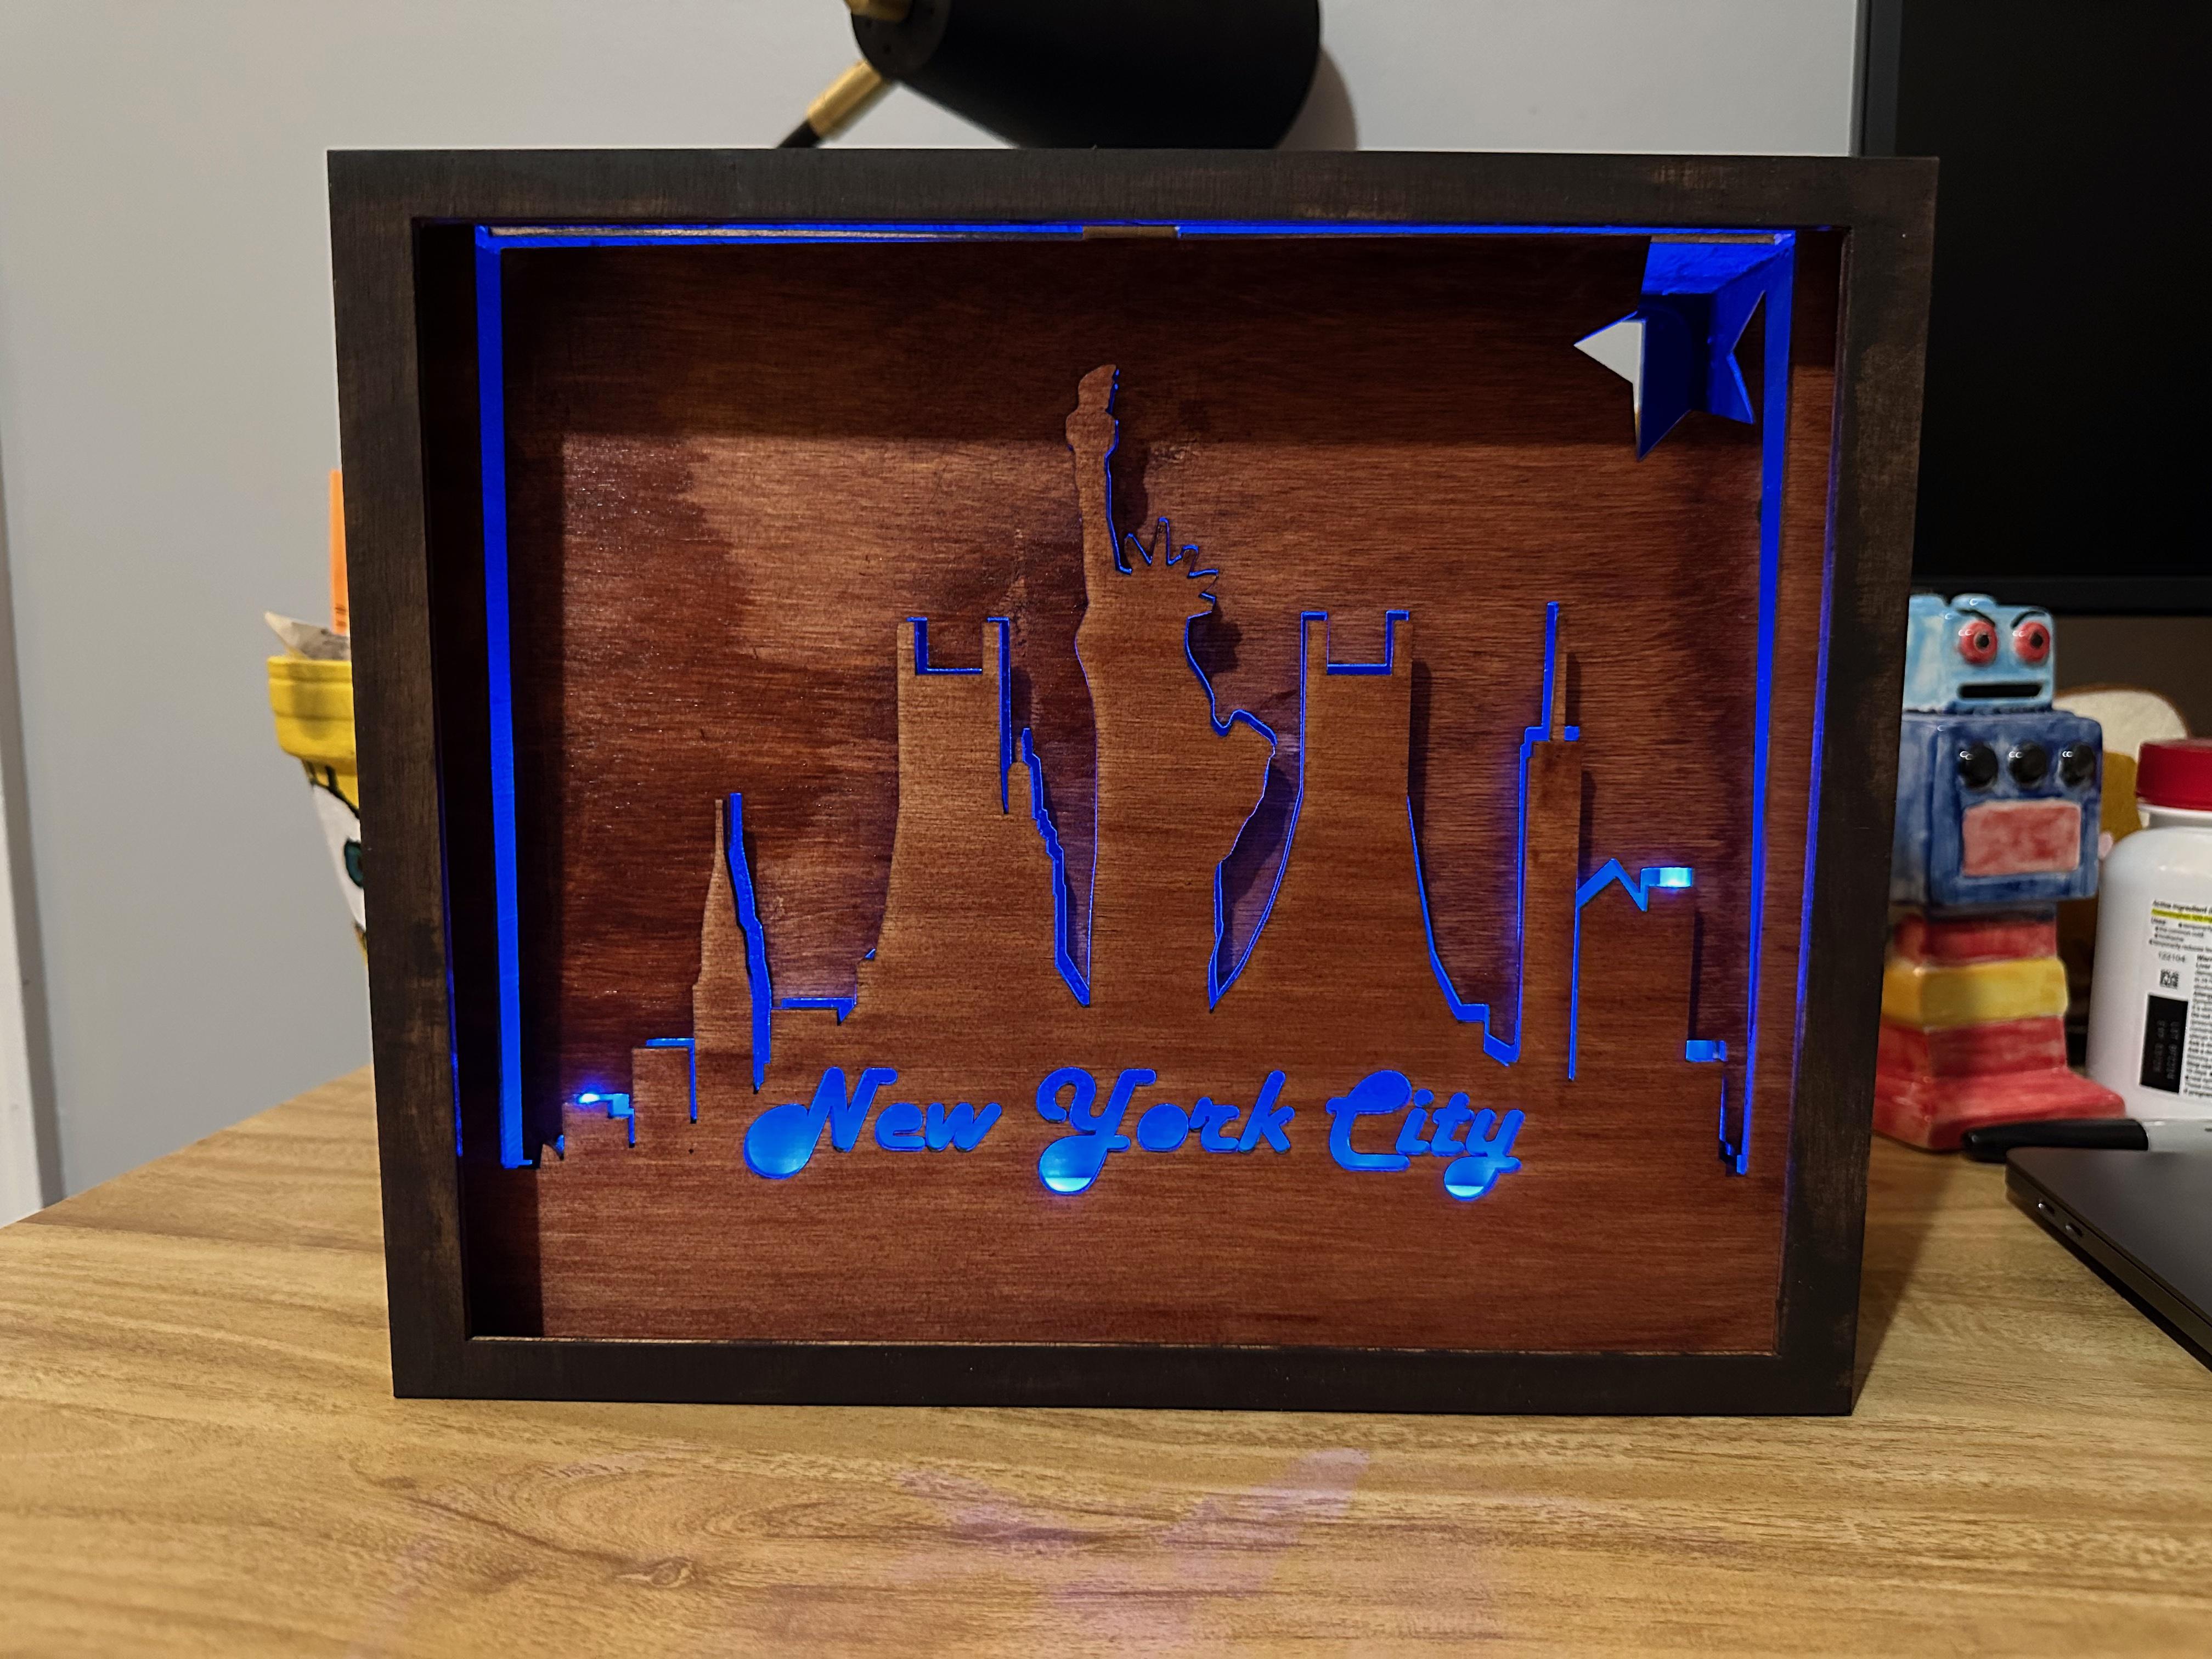
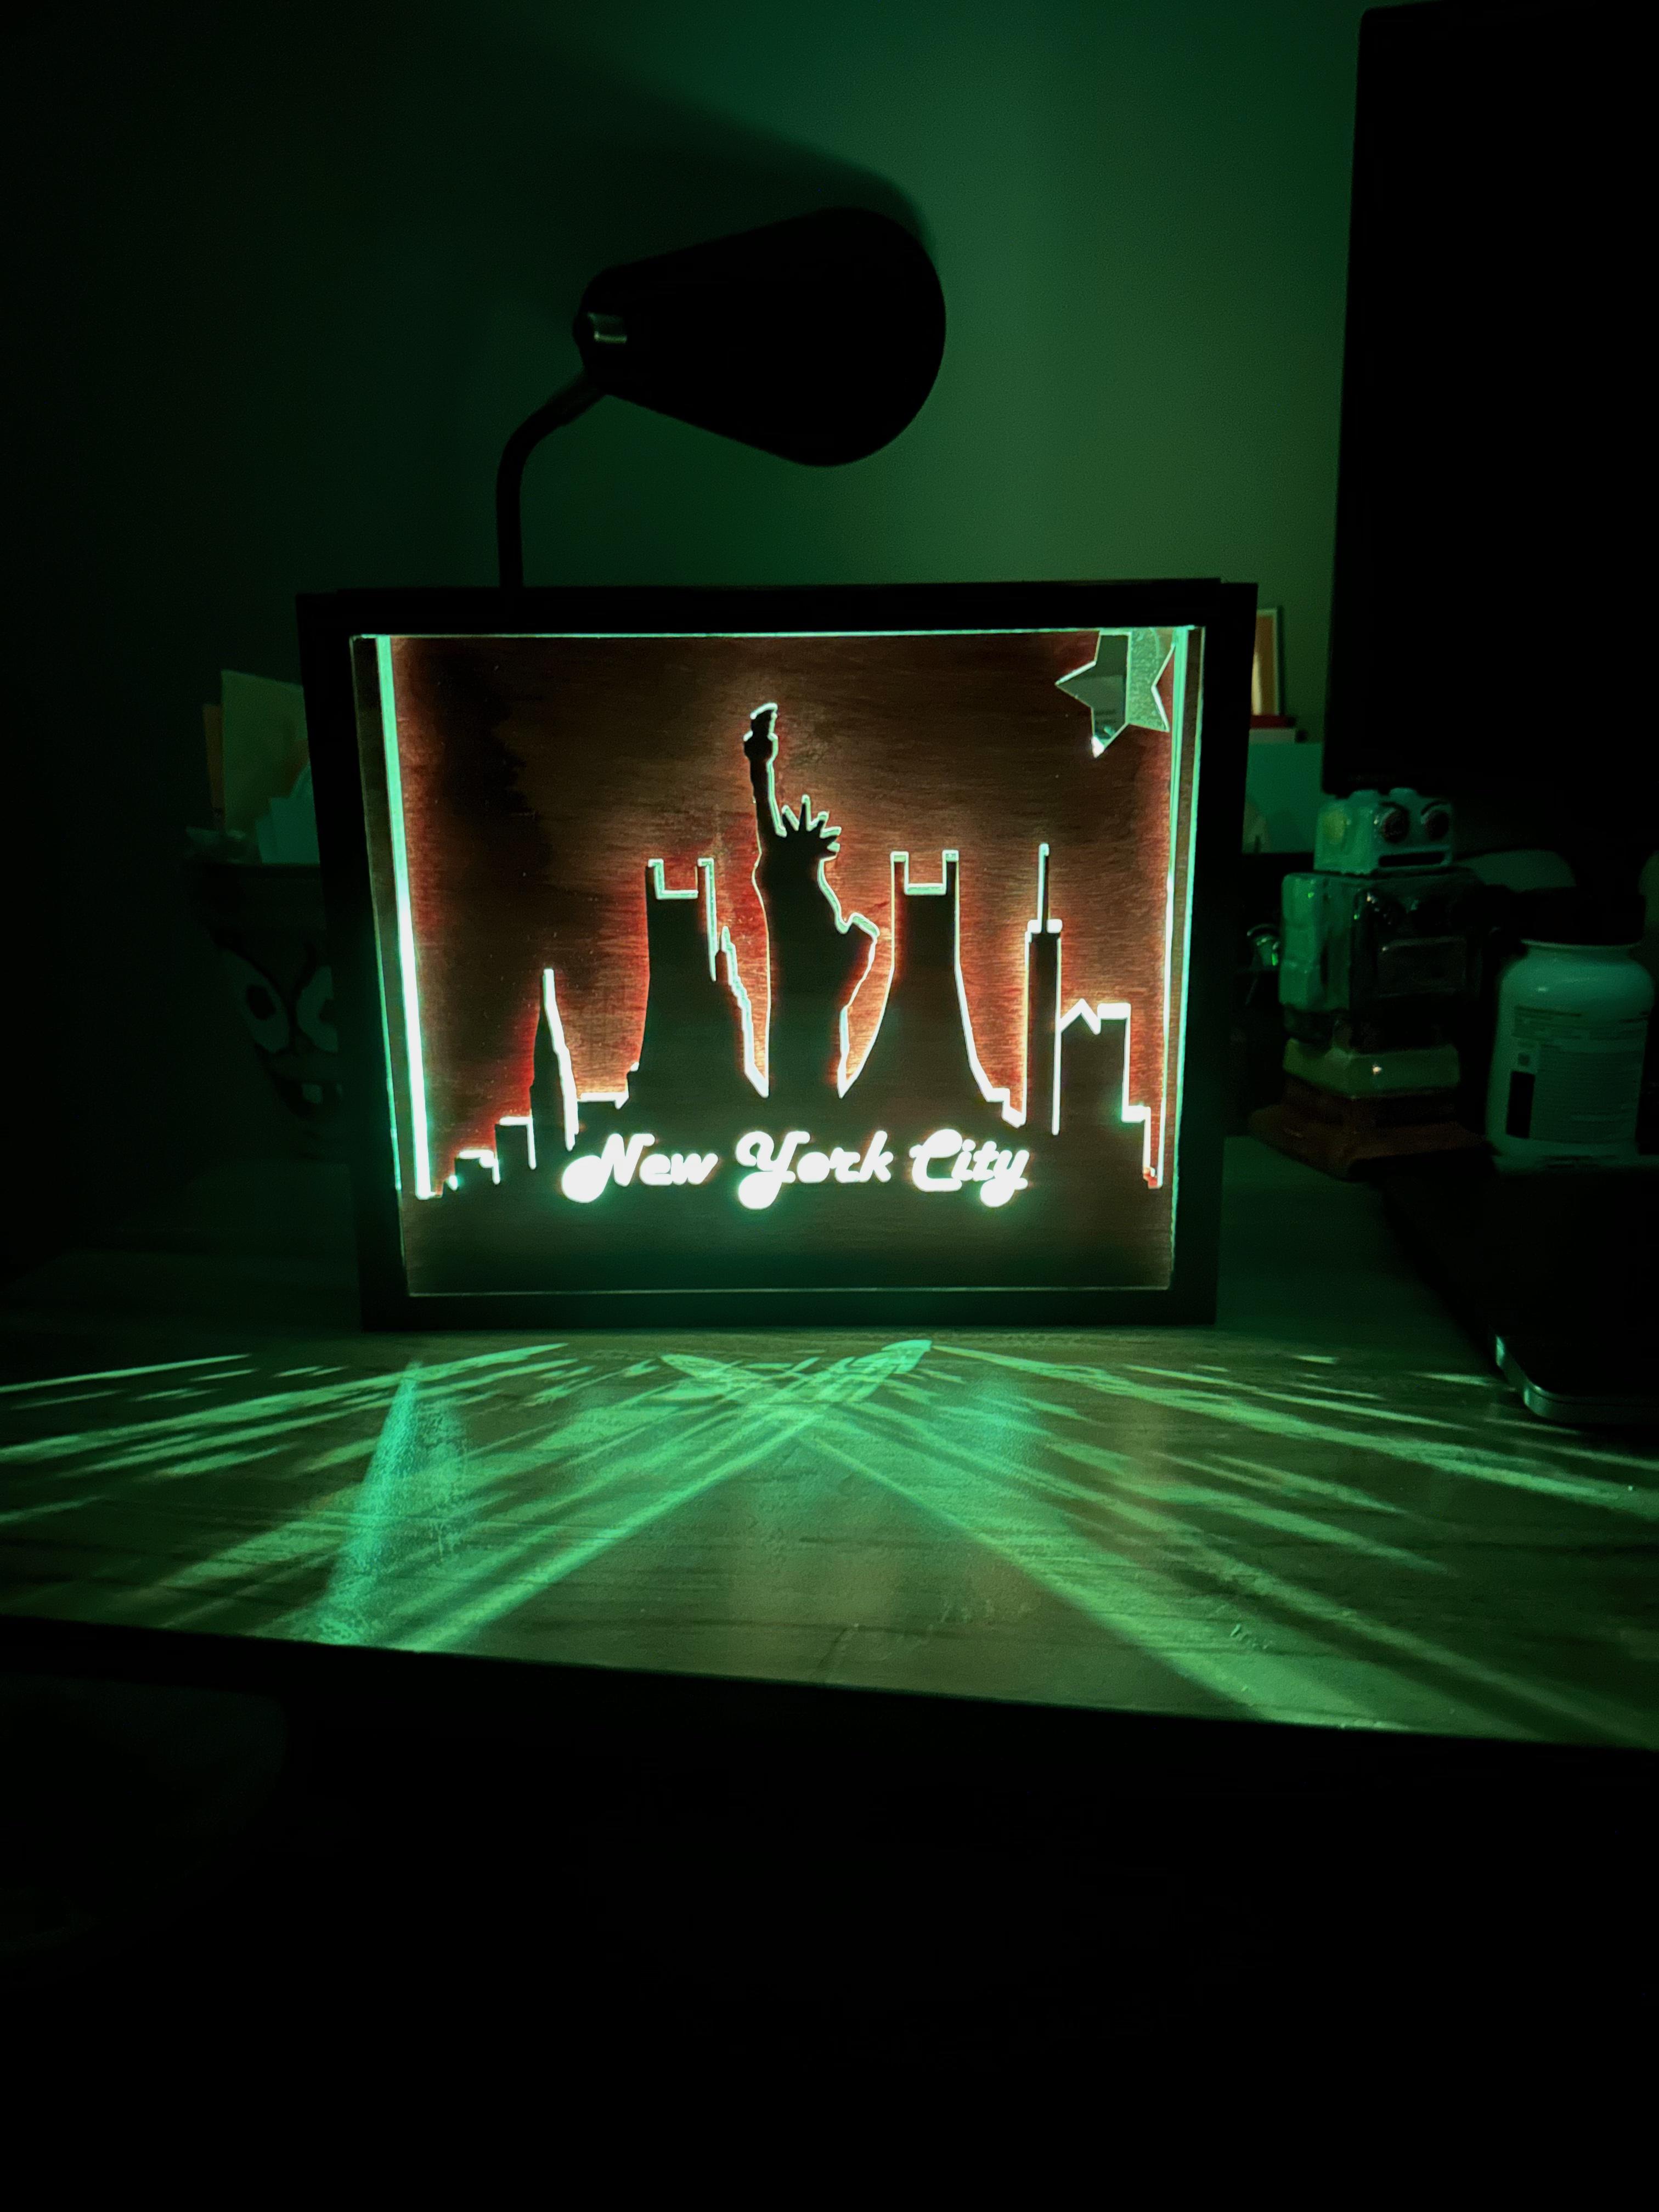
I'm from a suburb of New York just outside of Manhattan, and one of my favorite places to go when I'm home from college is "Red Bridge" - a bridge in my town with a great view of the NYC skyline. In summers past, the bridge was on my way to work. I would often stop and sit on the ledge of the bridge to watch the sunrise and listen to the birds before a morning shift, or admire the bright city lights and the sound of crickets at nighttime after a late shift. This summer, I'm working in Boston and won't be able to visit the bridge, so I decided to make the second-best thing: a bluetooth-controlled backlit frame with a cutout of the NYC skyline, that flashes colors to mimic the sunrise/nighttime lights. In some modes, the frame also plays bird chirps or cricket noises to match the color settings. I used an Adafruit Circuit Playground Bluefruit to program the LEDs, and there are 7 programmed color cycles as well as the option to choose any solid color for the LEDs.
The wood frame is stained so that even with no LEDs on, it still looks like a pretty piece of art worthy of a spot on a shelf or a desk. The colors of the LEDs pop especially well at night, and the project can be a great night-light display.
One last note - though I chose to use a cutout of the NYC skyline, I deliberately added slots the top of the frame so that you can easily interchange the cutout design. If you have some other art that you like more than the NYC skyline, you can easily add that instead of the skyline. Thanks for reading!
Supplies
Materials:
- 1/8 inch baltic birch wood
- Wood Conditioner
- 2 Colors of Wood Stain
- Wood Glue
- Super Glue
- 60, 120, 150, and 180-grit sandpaper
- Adafruit CircuitPython Bluefruit + Battery Pack
- LED strip
- Speaker with Audio Jack (Optional)
- Microfiber towel
Machines/Software:
- Adobe Illustrator
- Mu Editor
- Trotec Laser Cutter
- BlueFruit Connect App
Design and Laser Cut Files for Box and Design
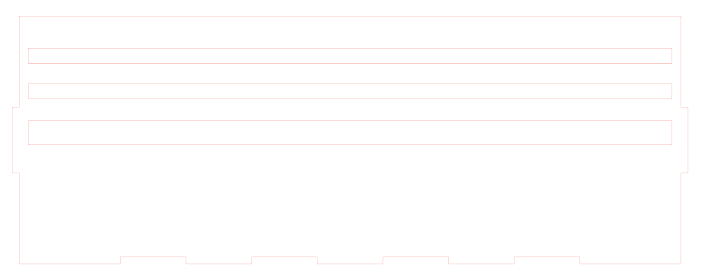
Below are the steps to create the files yourself, but I've attached mine - feel free to download mine and use them.
Making the Box:
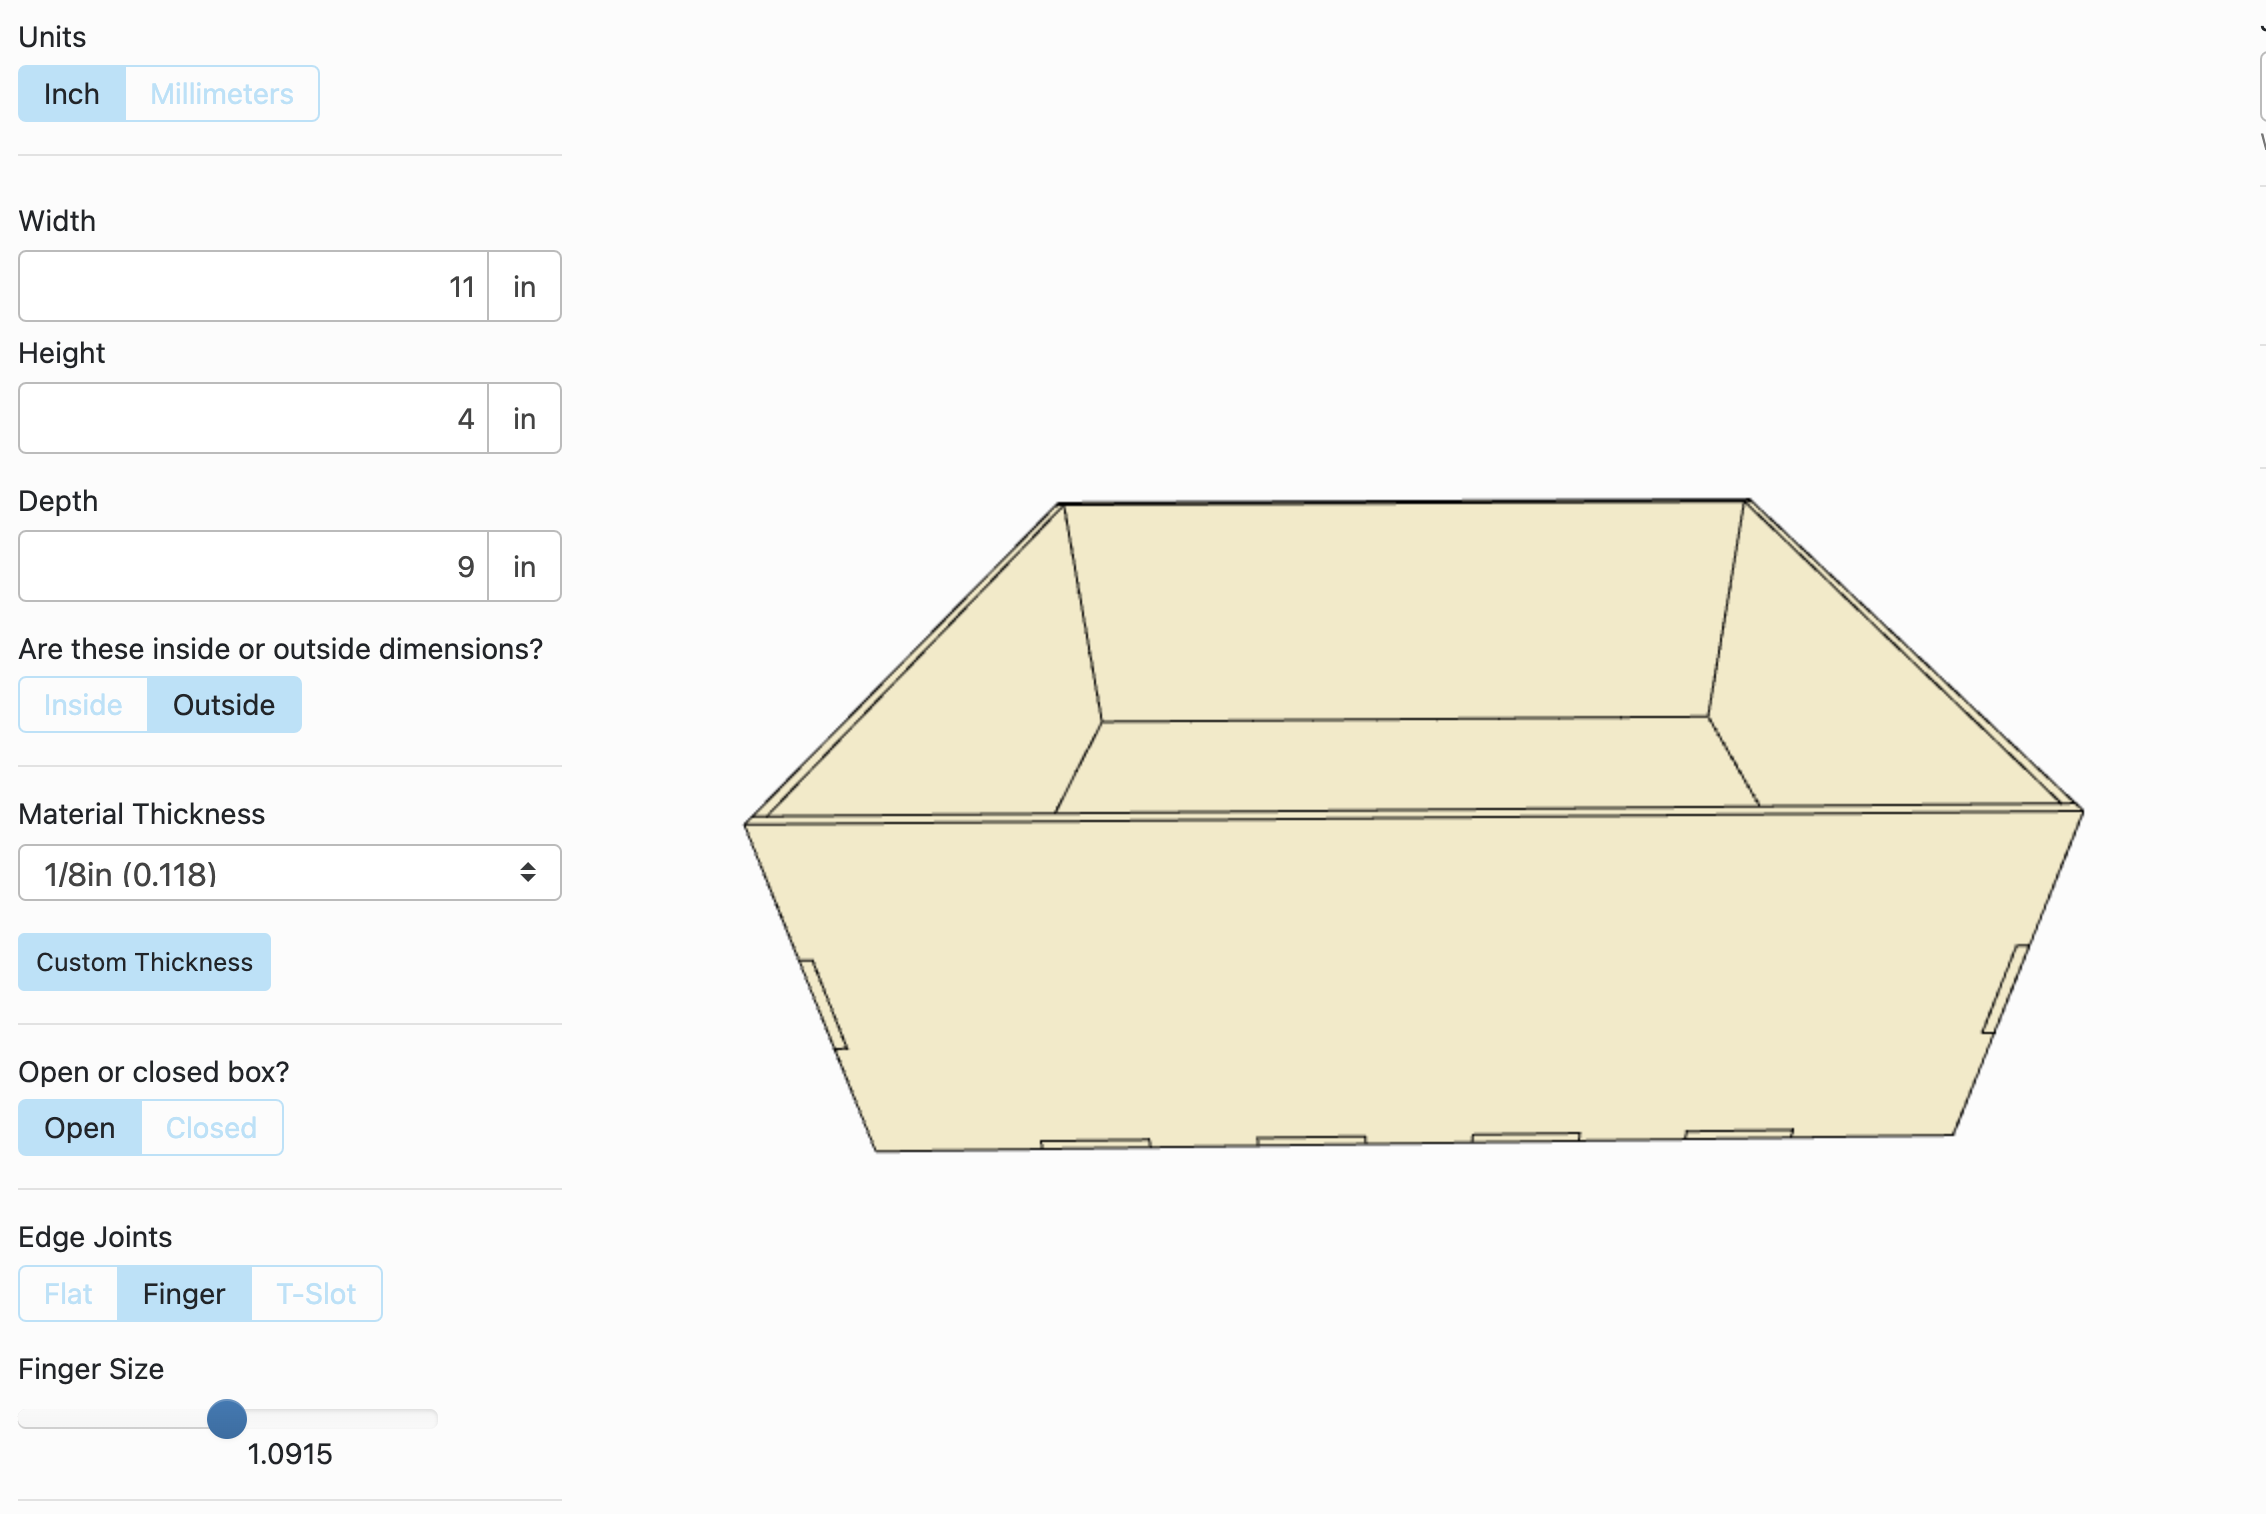
First, head to MakerCase and design an 11 x 4 x 9 inch simple box, and select 'open box.' Add finger joints as well - it will make putting the box together much easier. This will serve as the frame for the project, and we'll add the LEDs and the skyline design to the interior of this box. Download the file into illustrator, and make the following two additions:
- On the top piece of the frame (the one that will face the ceiling when sitting on a surface), add three slots. These slots are how we will slide the art we want to light up into the frame. They must all be 10.7 inches wide. Make two of them a quarter inch thick, and the third slot can be any thickness you desire - I went with 1/2 an inch, in case I ever want to add a design in the future that requires a thicker material.
- Make a frame with outer edges 11x 9 inches and inner edges 10 x 8.25 inches - this will be added to the box at the end, and gives the illusion of a picture frame.
Once you make these changes to the Illustrator file, you can cut the wood pieces out using a laser cutter.
Making the Skyline Design*:
To make the skyline design, I first found a simple sketch of the NYC skyline and vectorized it, then placed it into Illustrator. Place it into a 10.7 x 9.3 inch rectangle, which serves as the frame, and then added text that says "New York City." Cut this piece out, then save the scraps - we will use these as a second layer to create a 3-D effect.
*If you would rather do a design besides the NYC skyline, just swap out the vectorized NYC skyline sketch for whichever design you want to include.
Sand and Condition the Wood
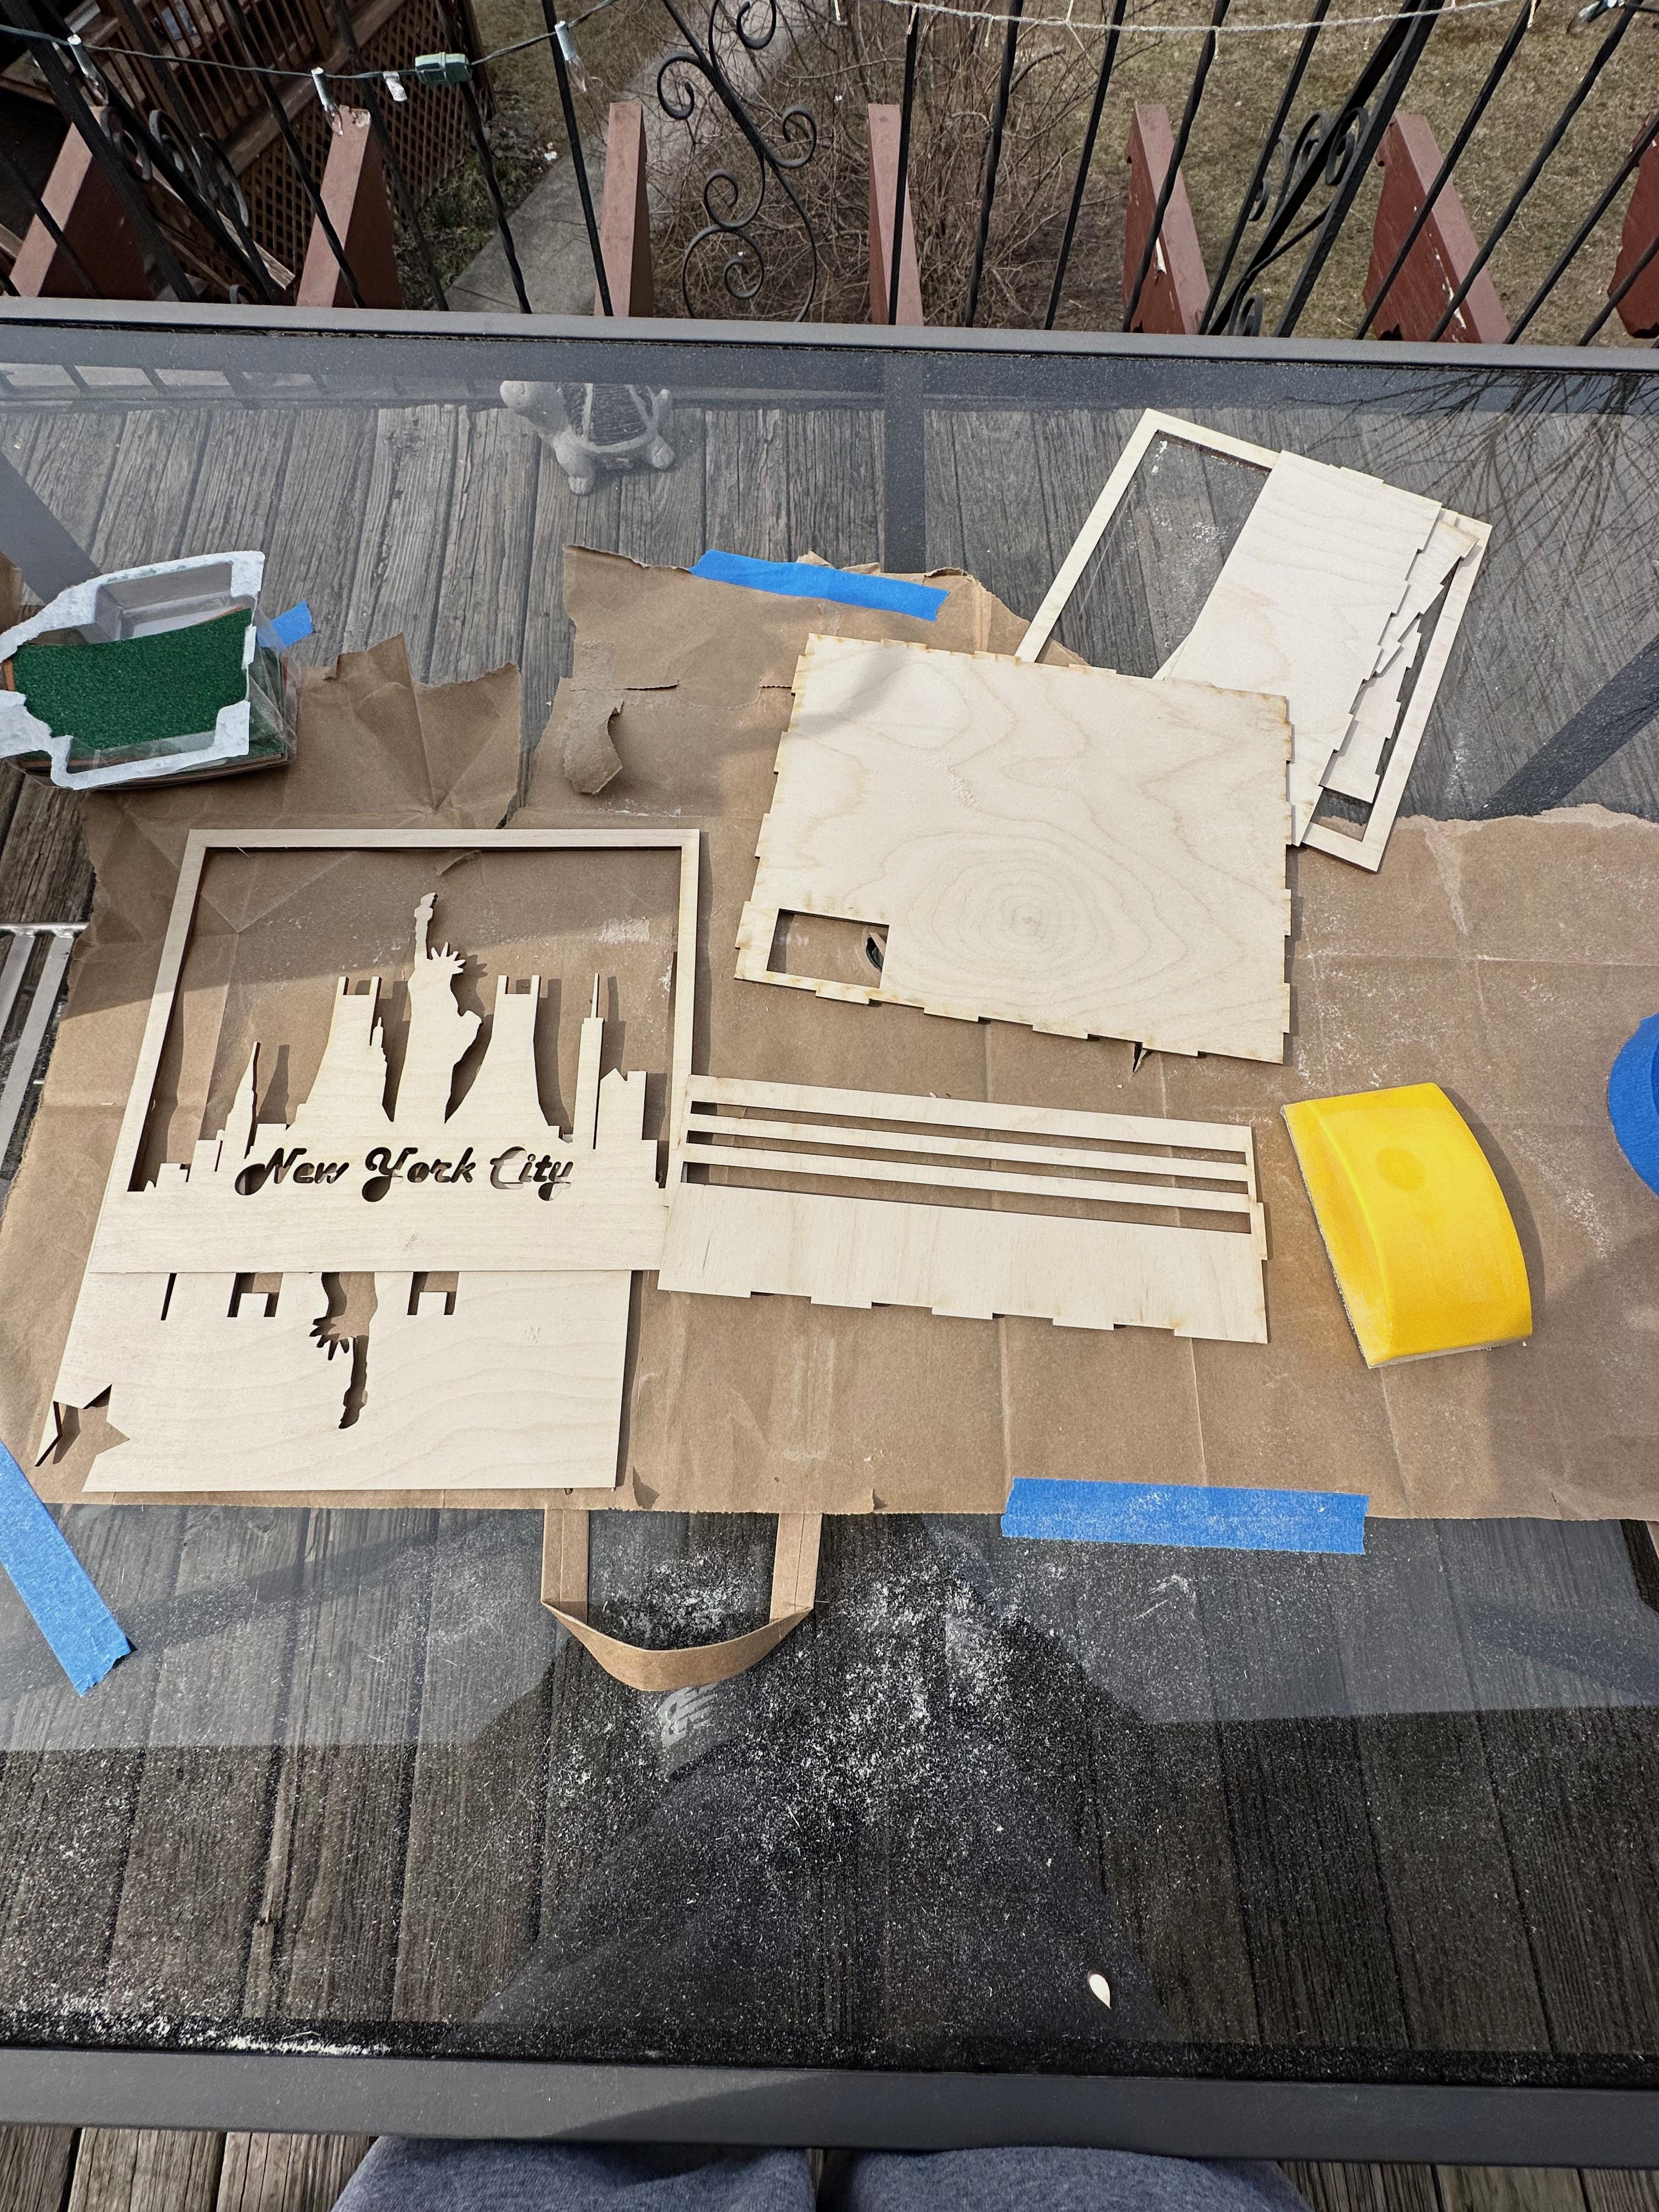
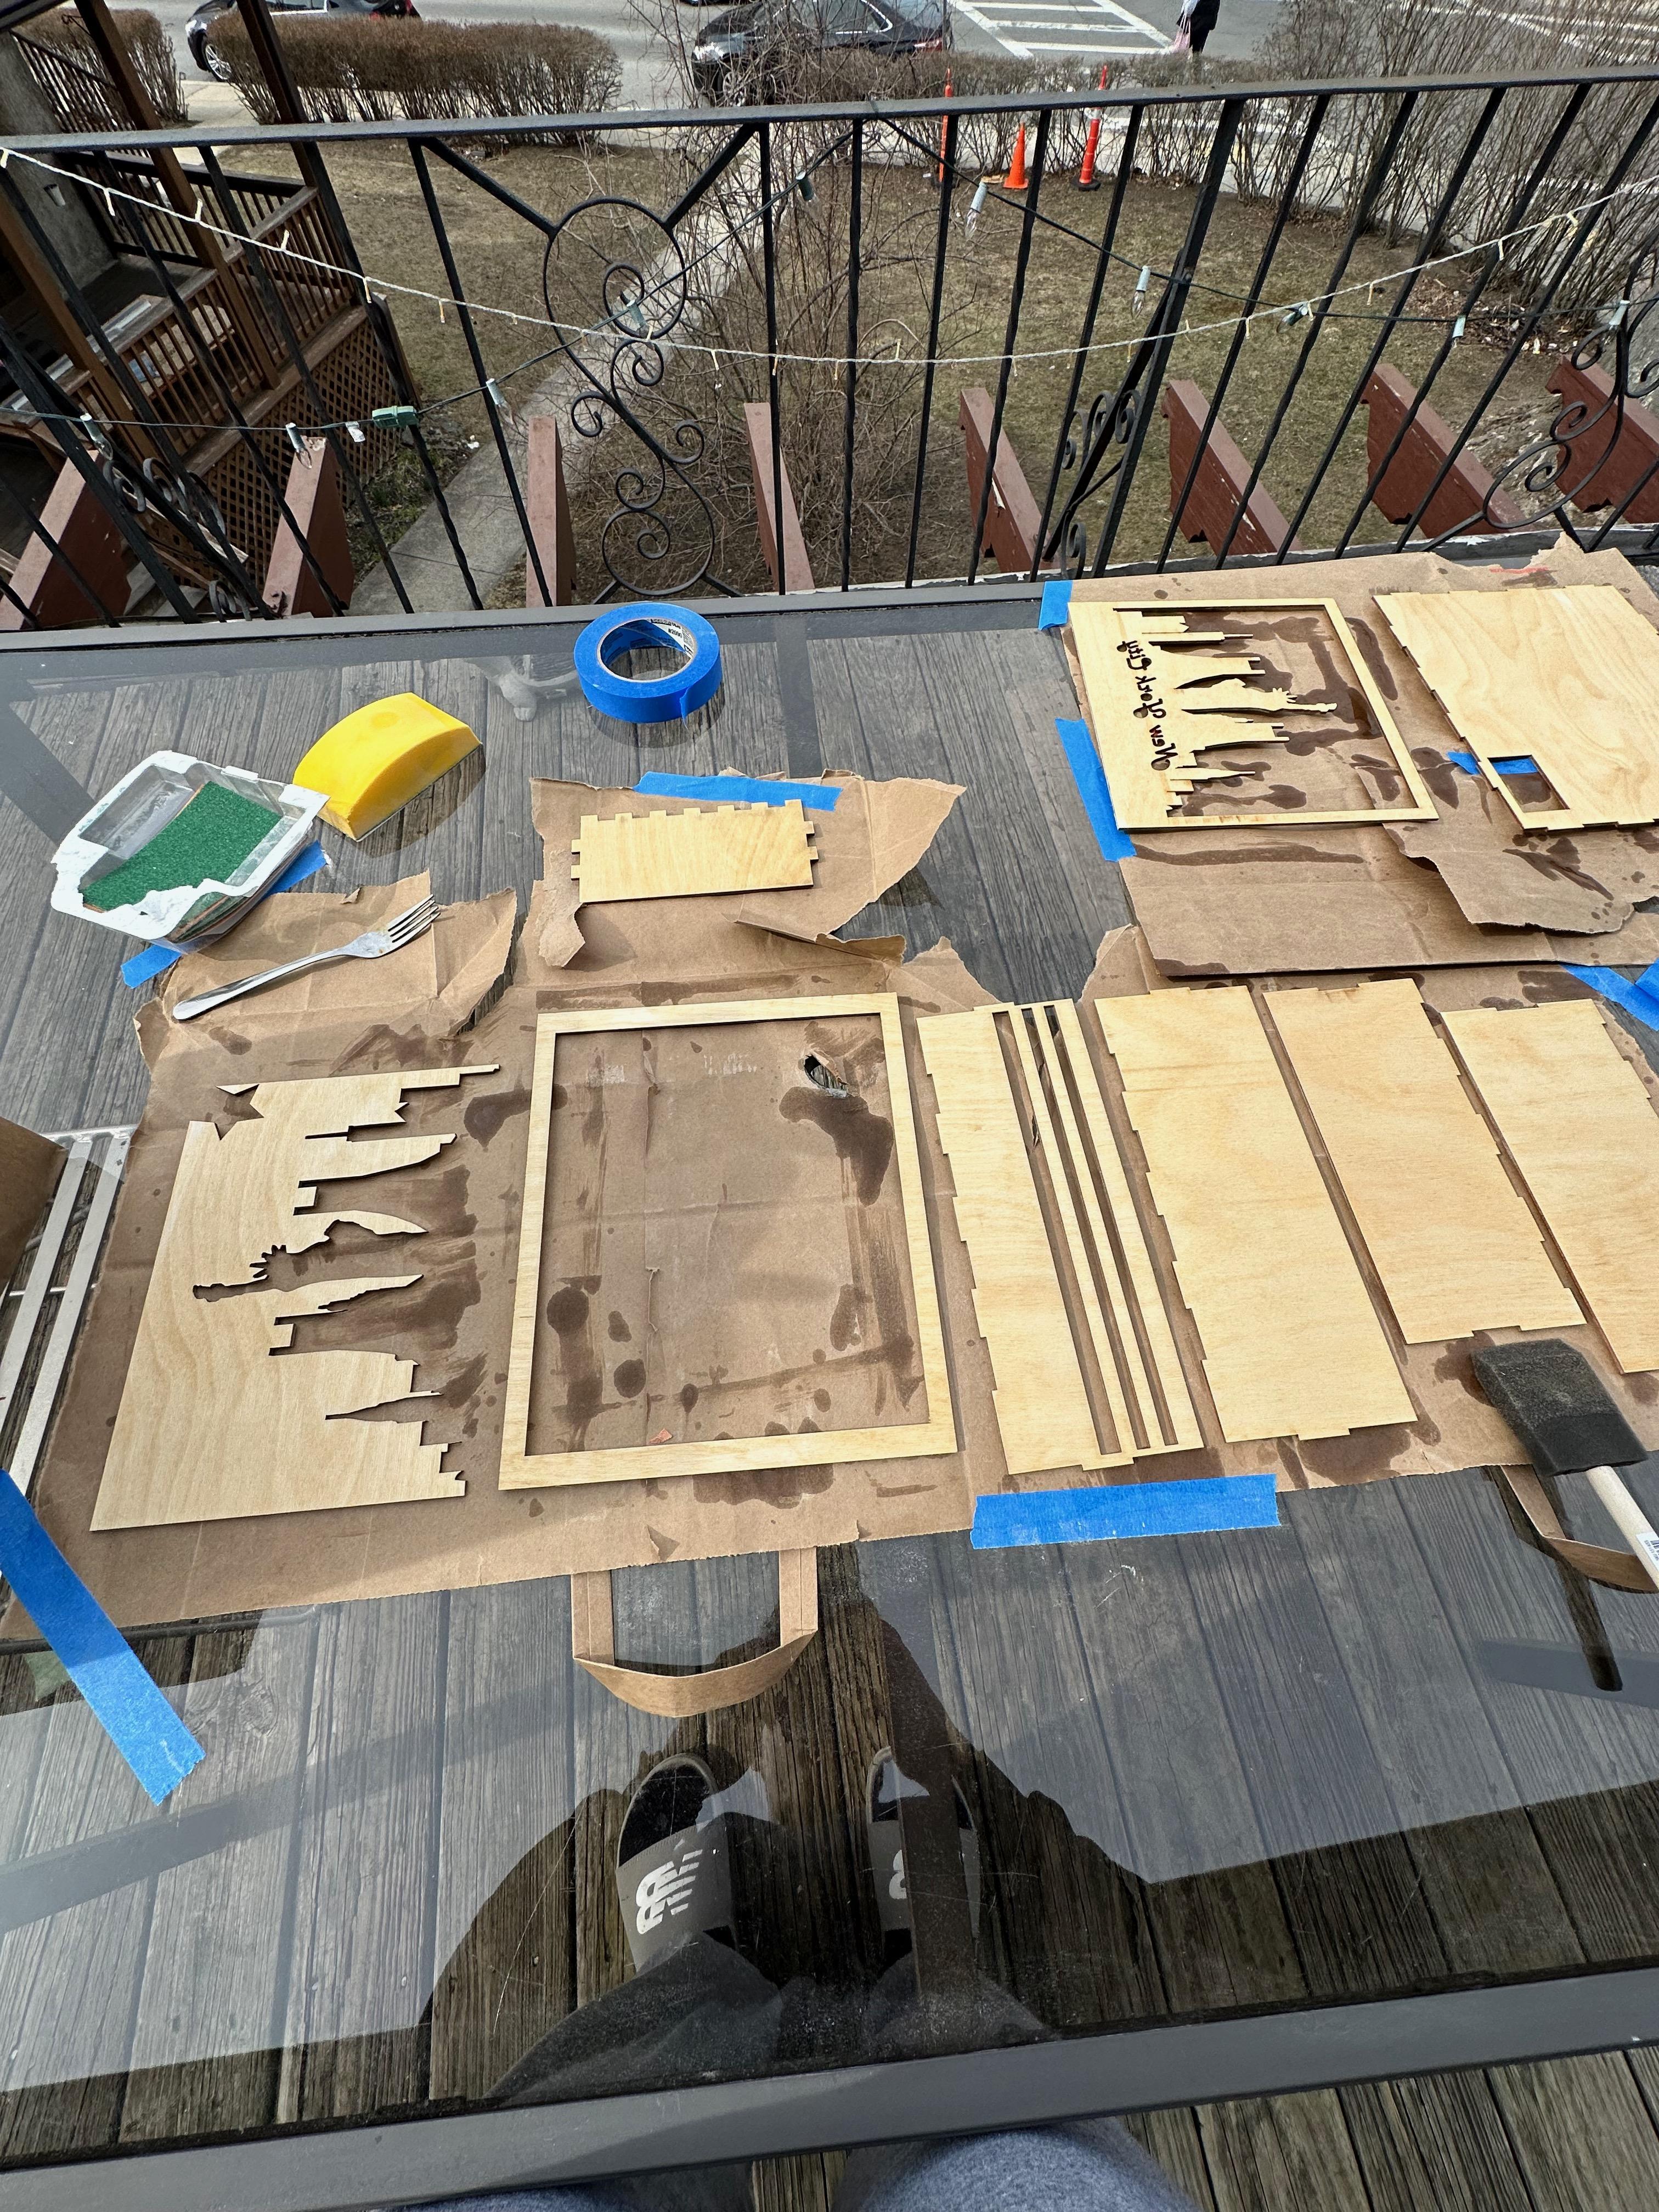
Next, we will prepare the wood for stain by sanding it and conditioning it.
Sanding:
- Sand each piece of laser-cut wood, working through 60, 120, 150, and 180-grit sandpaper.
- Be gentle - the wood is only 1/8" thick, so do not sand it too hard.
- Be careful with the skyline design - this piece is especially delicate, and if you sand it too hard, pieces of the design will snap off.
Conditioning:
Conditioning the wood helps to even out any particularly dark spots on the grain, which in turn helps to create even color when staining. This step isn't totally necessary if you're using birchwood, as birch typically has a pretty even grain. Feel free to skip this if you'd like, but I find it makes the stain soak in better.
- Coat each piece of wood with the conditioner. Let it sit for two minutes, then blot any excess off with a microfiber towel.
- Let the conditioner dry - this should take around 30 minutes.
Stain the Wood
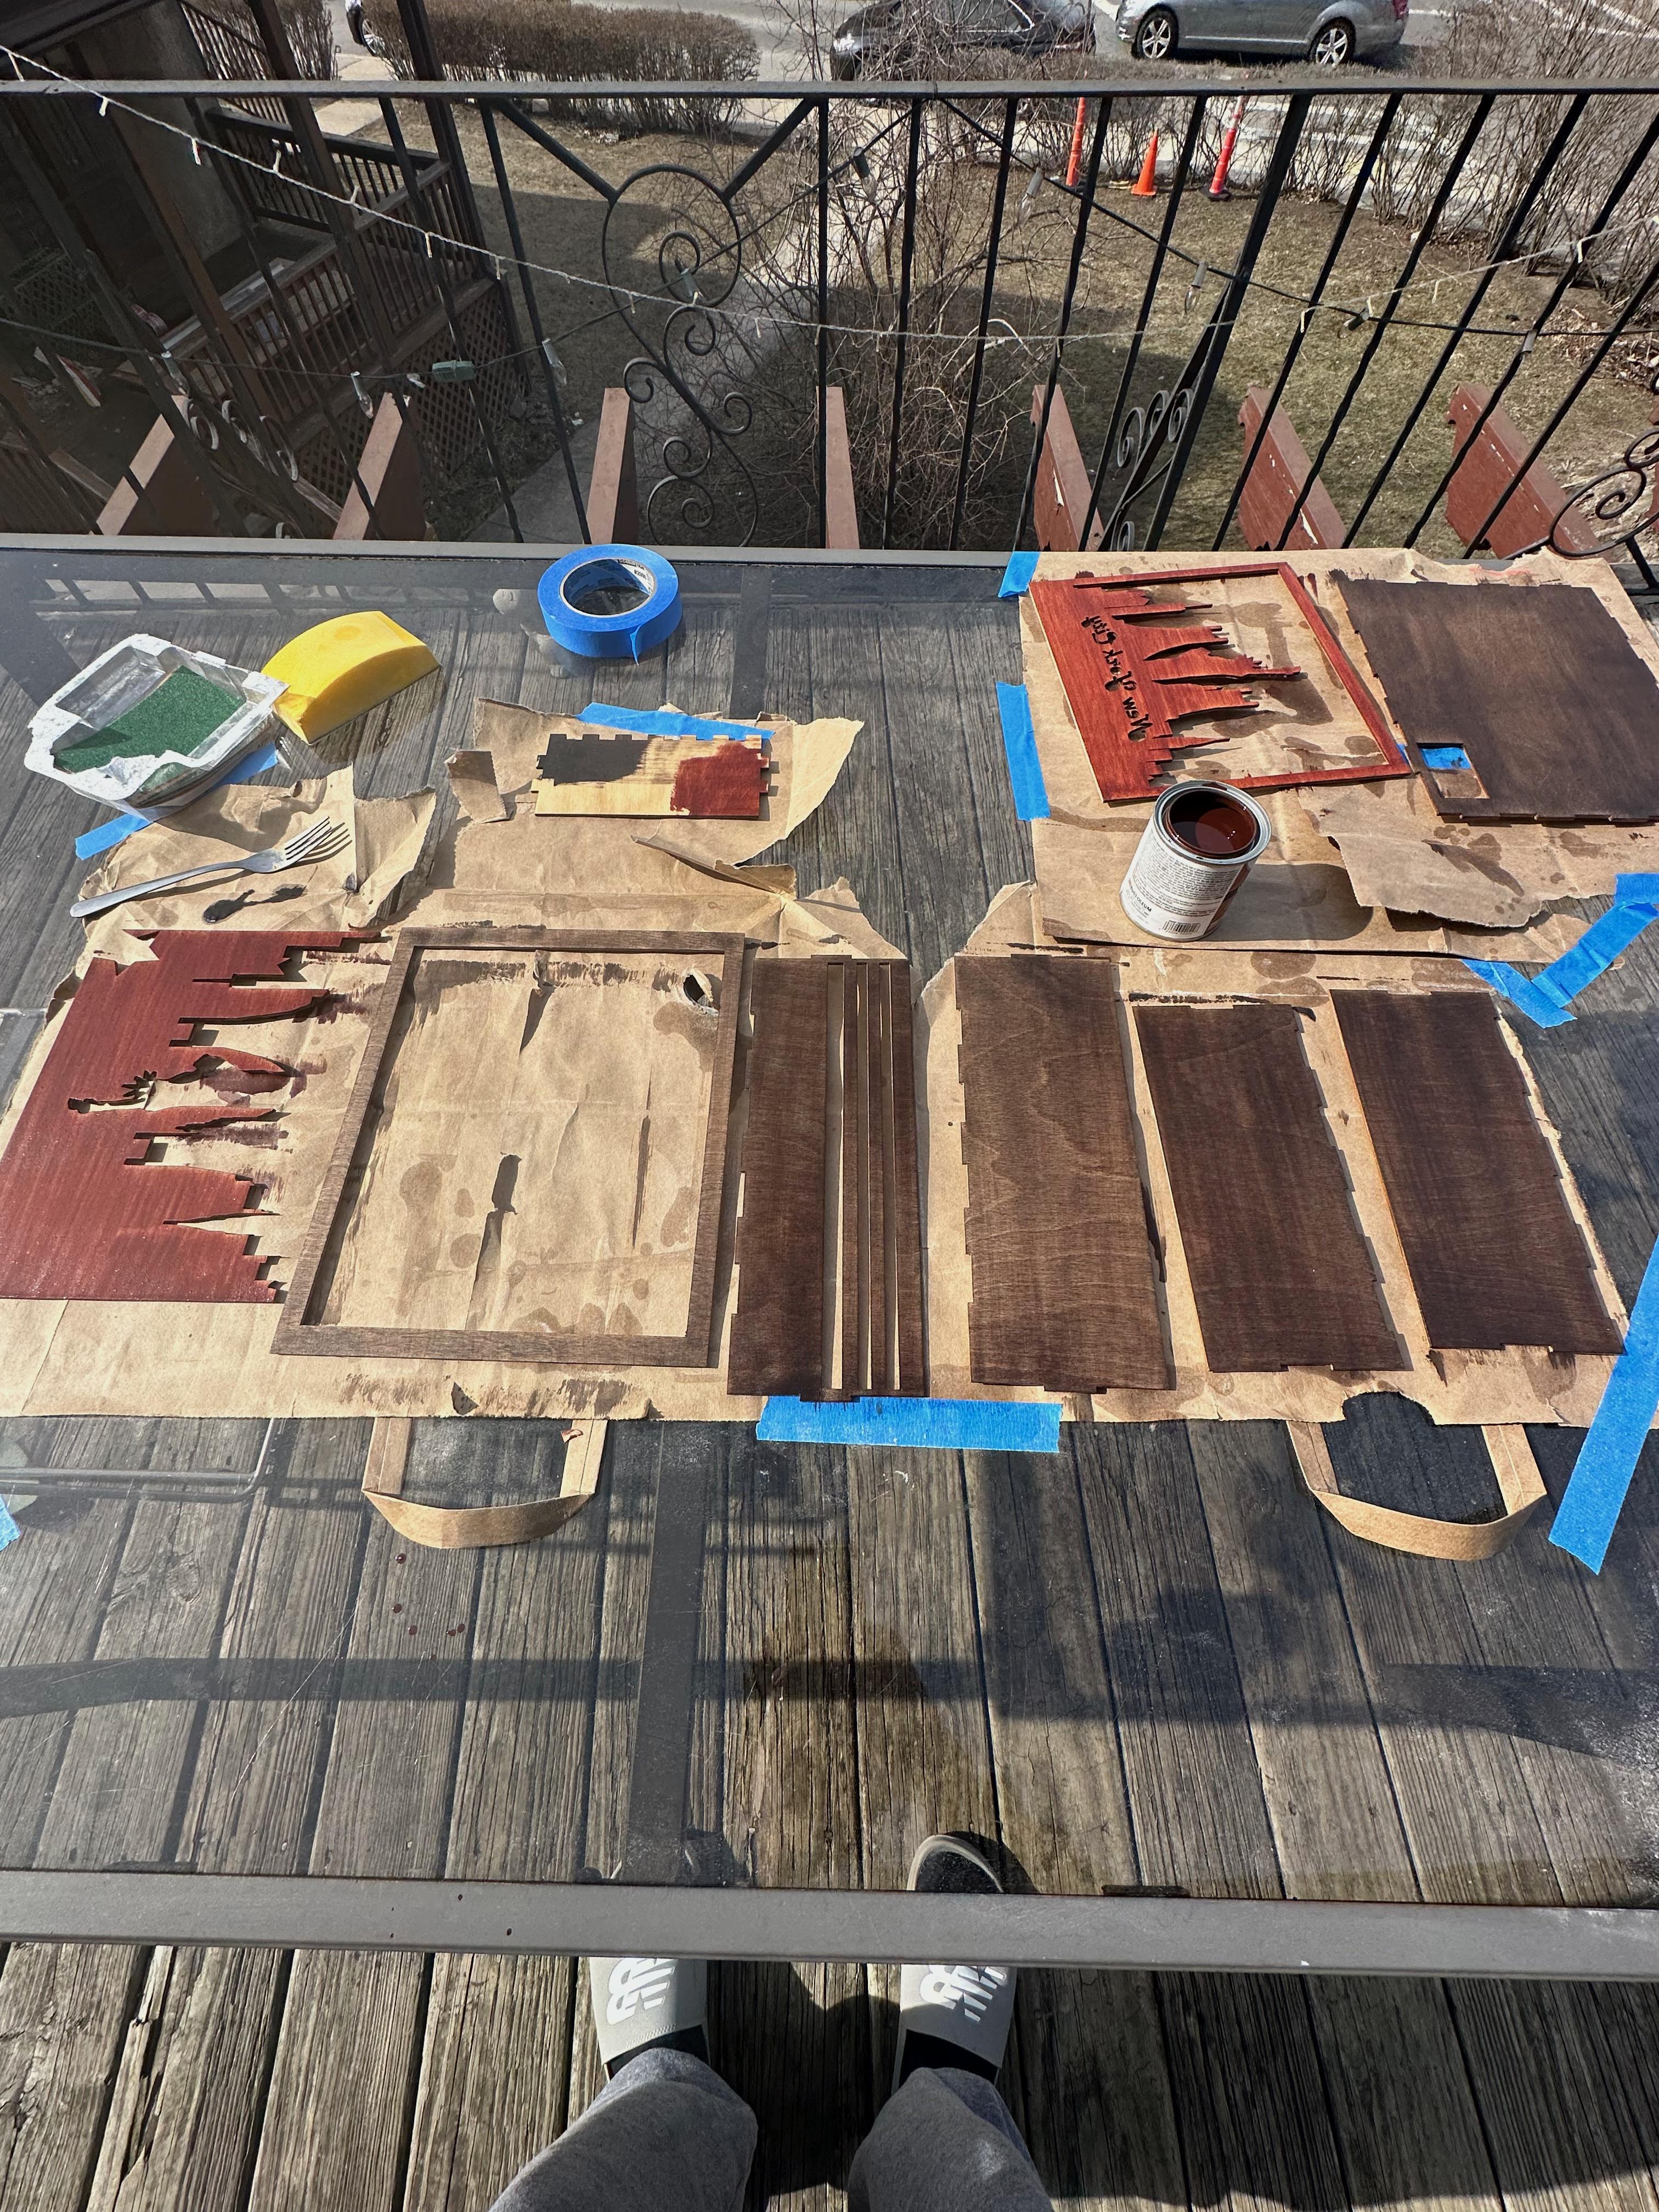
Once the conditioner settles, you can begin to stain the wood. Use two different colors - one for the box frame itself, and one for the design that will be placed inside. I chose Kona for the box and cherry for the design, as these fit into my bedroom's color scheme well, but feel free to pick whichever stains you like best. Also - test them on a piece of scrapwood first to get a feel for how much you will need to apply. I only needed to do one coat.
- Stain each piece of wood, and use the same stroke direction for each piece.
- Just like the conditioner, let the stain sit for two minutes, then blot off the excess with a towel.
- Let dry for at least one hour.
Glue the Box Together, Then Add the LED Strip
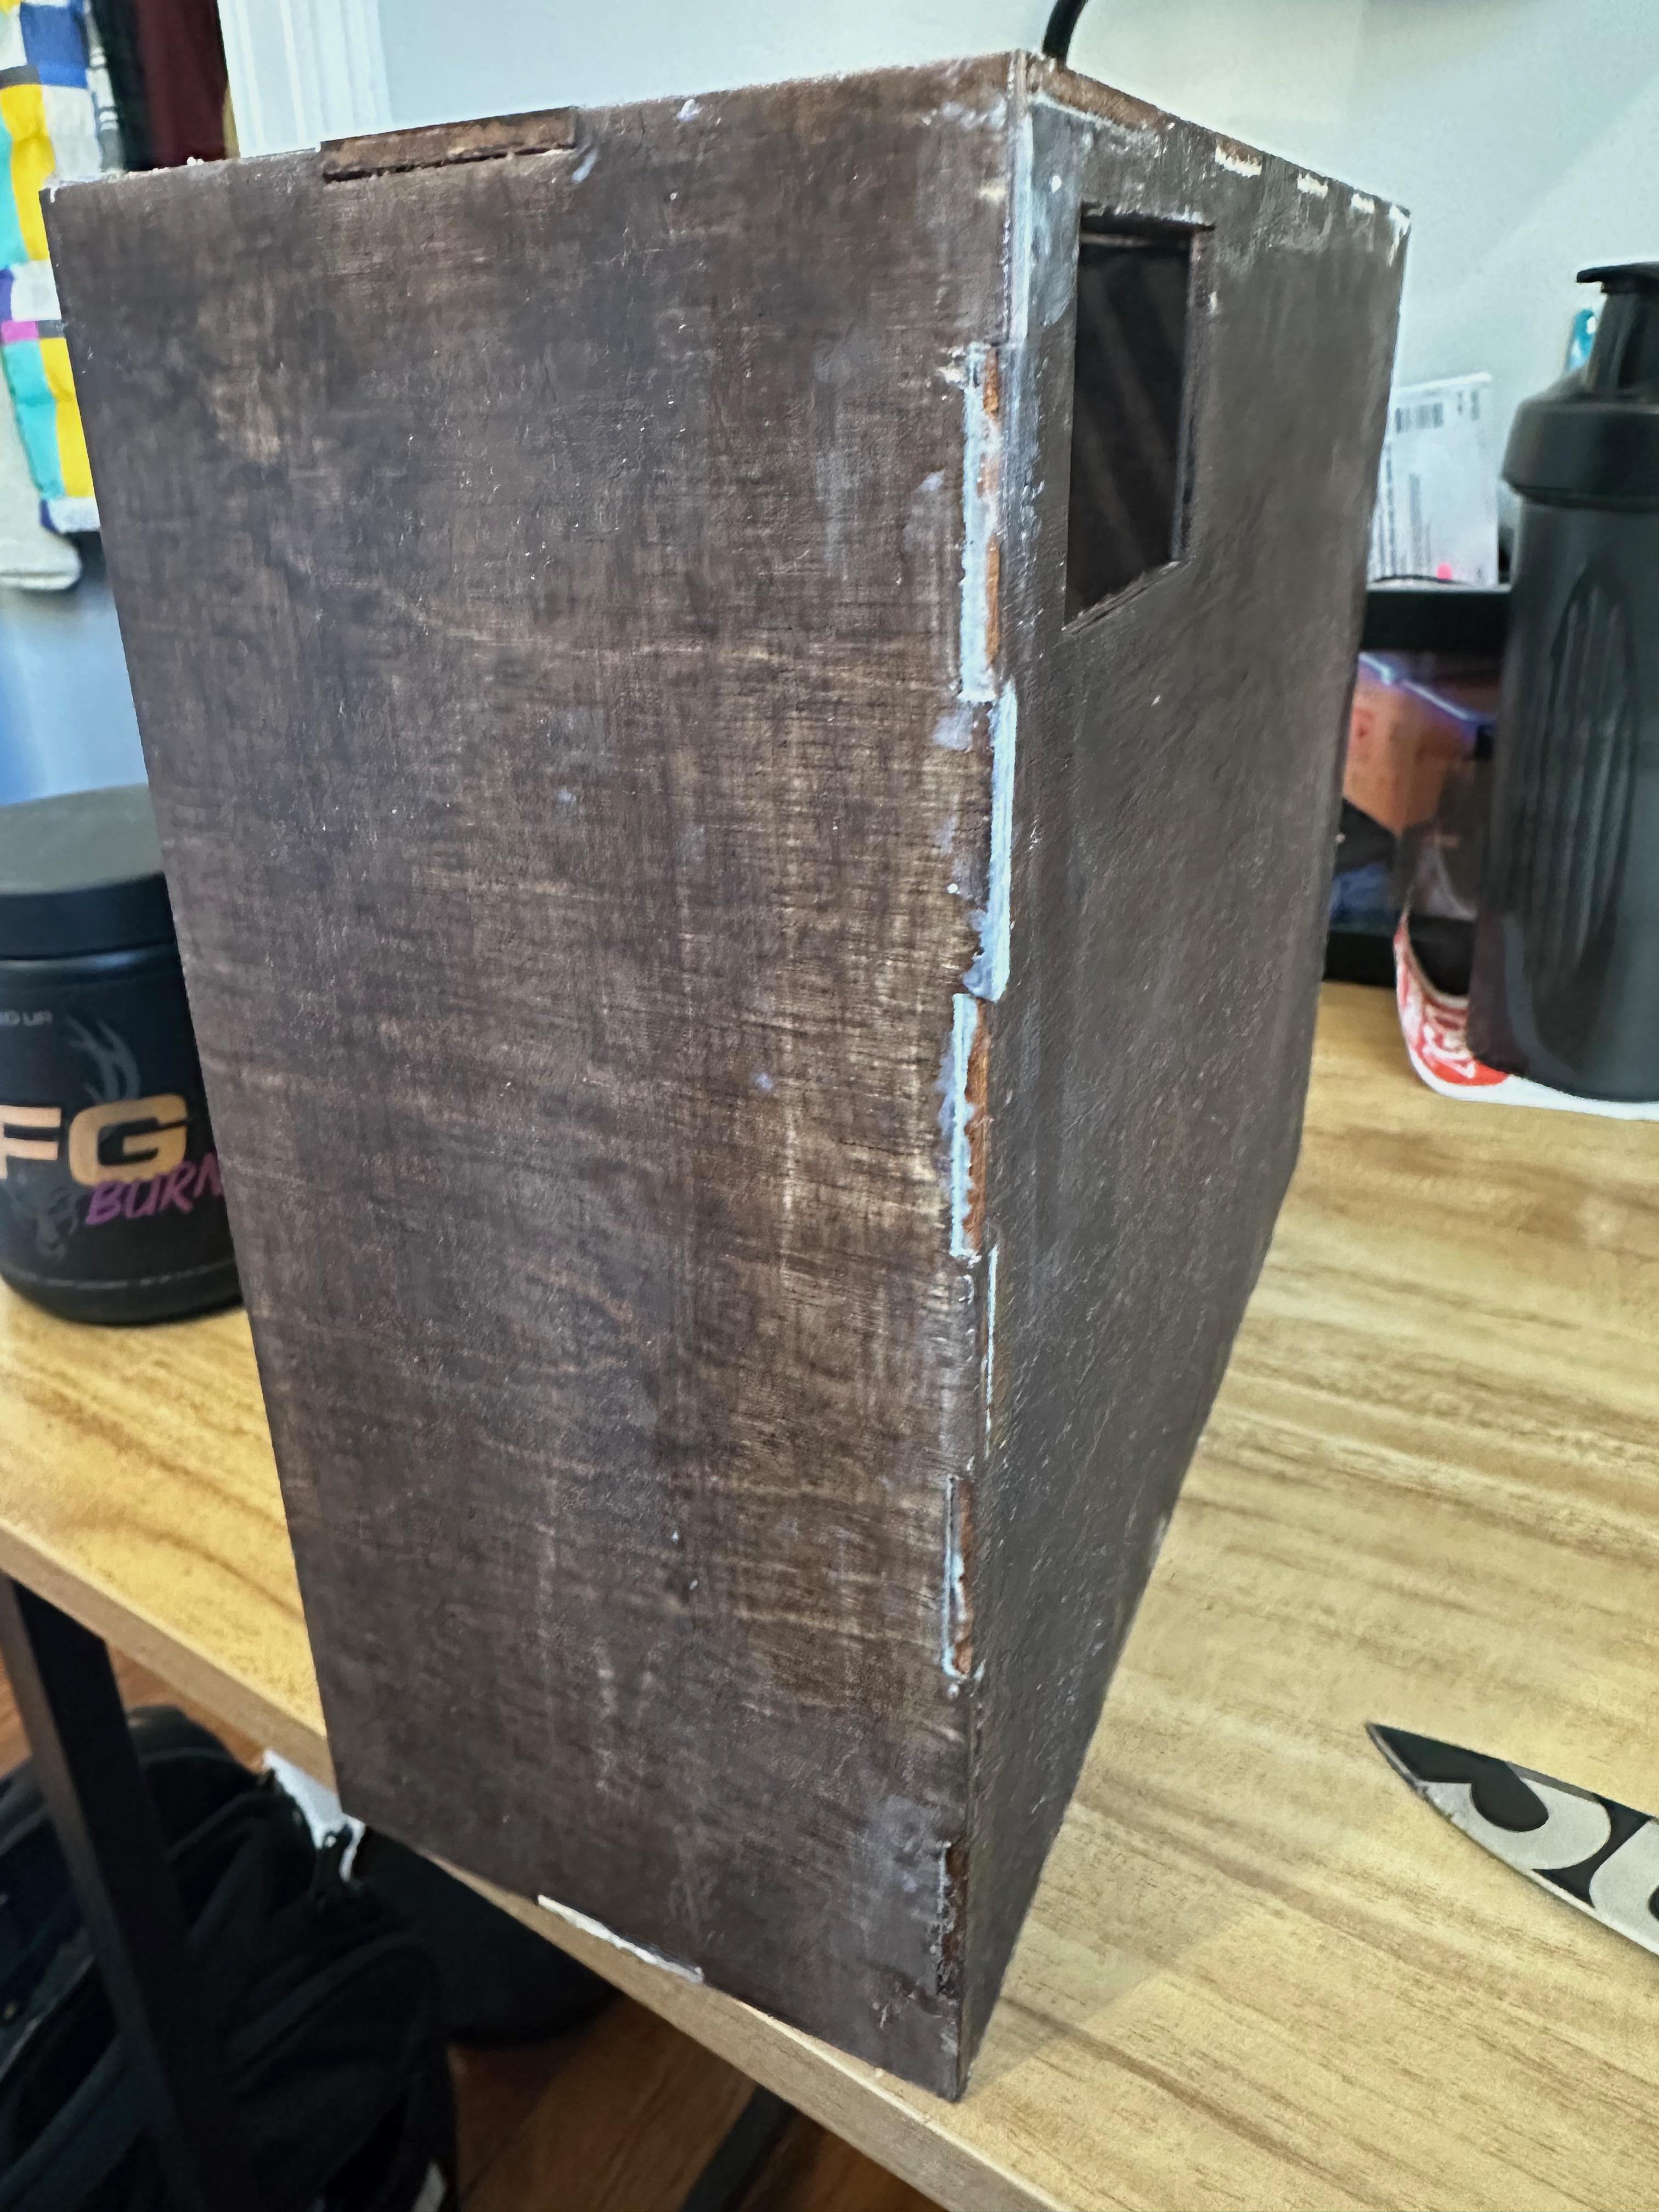
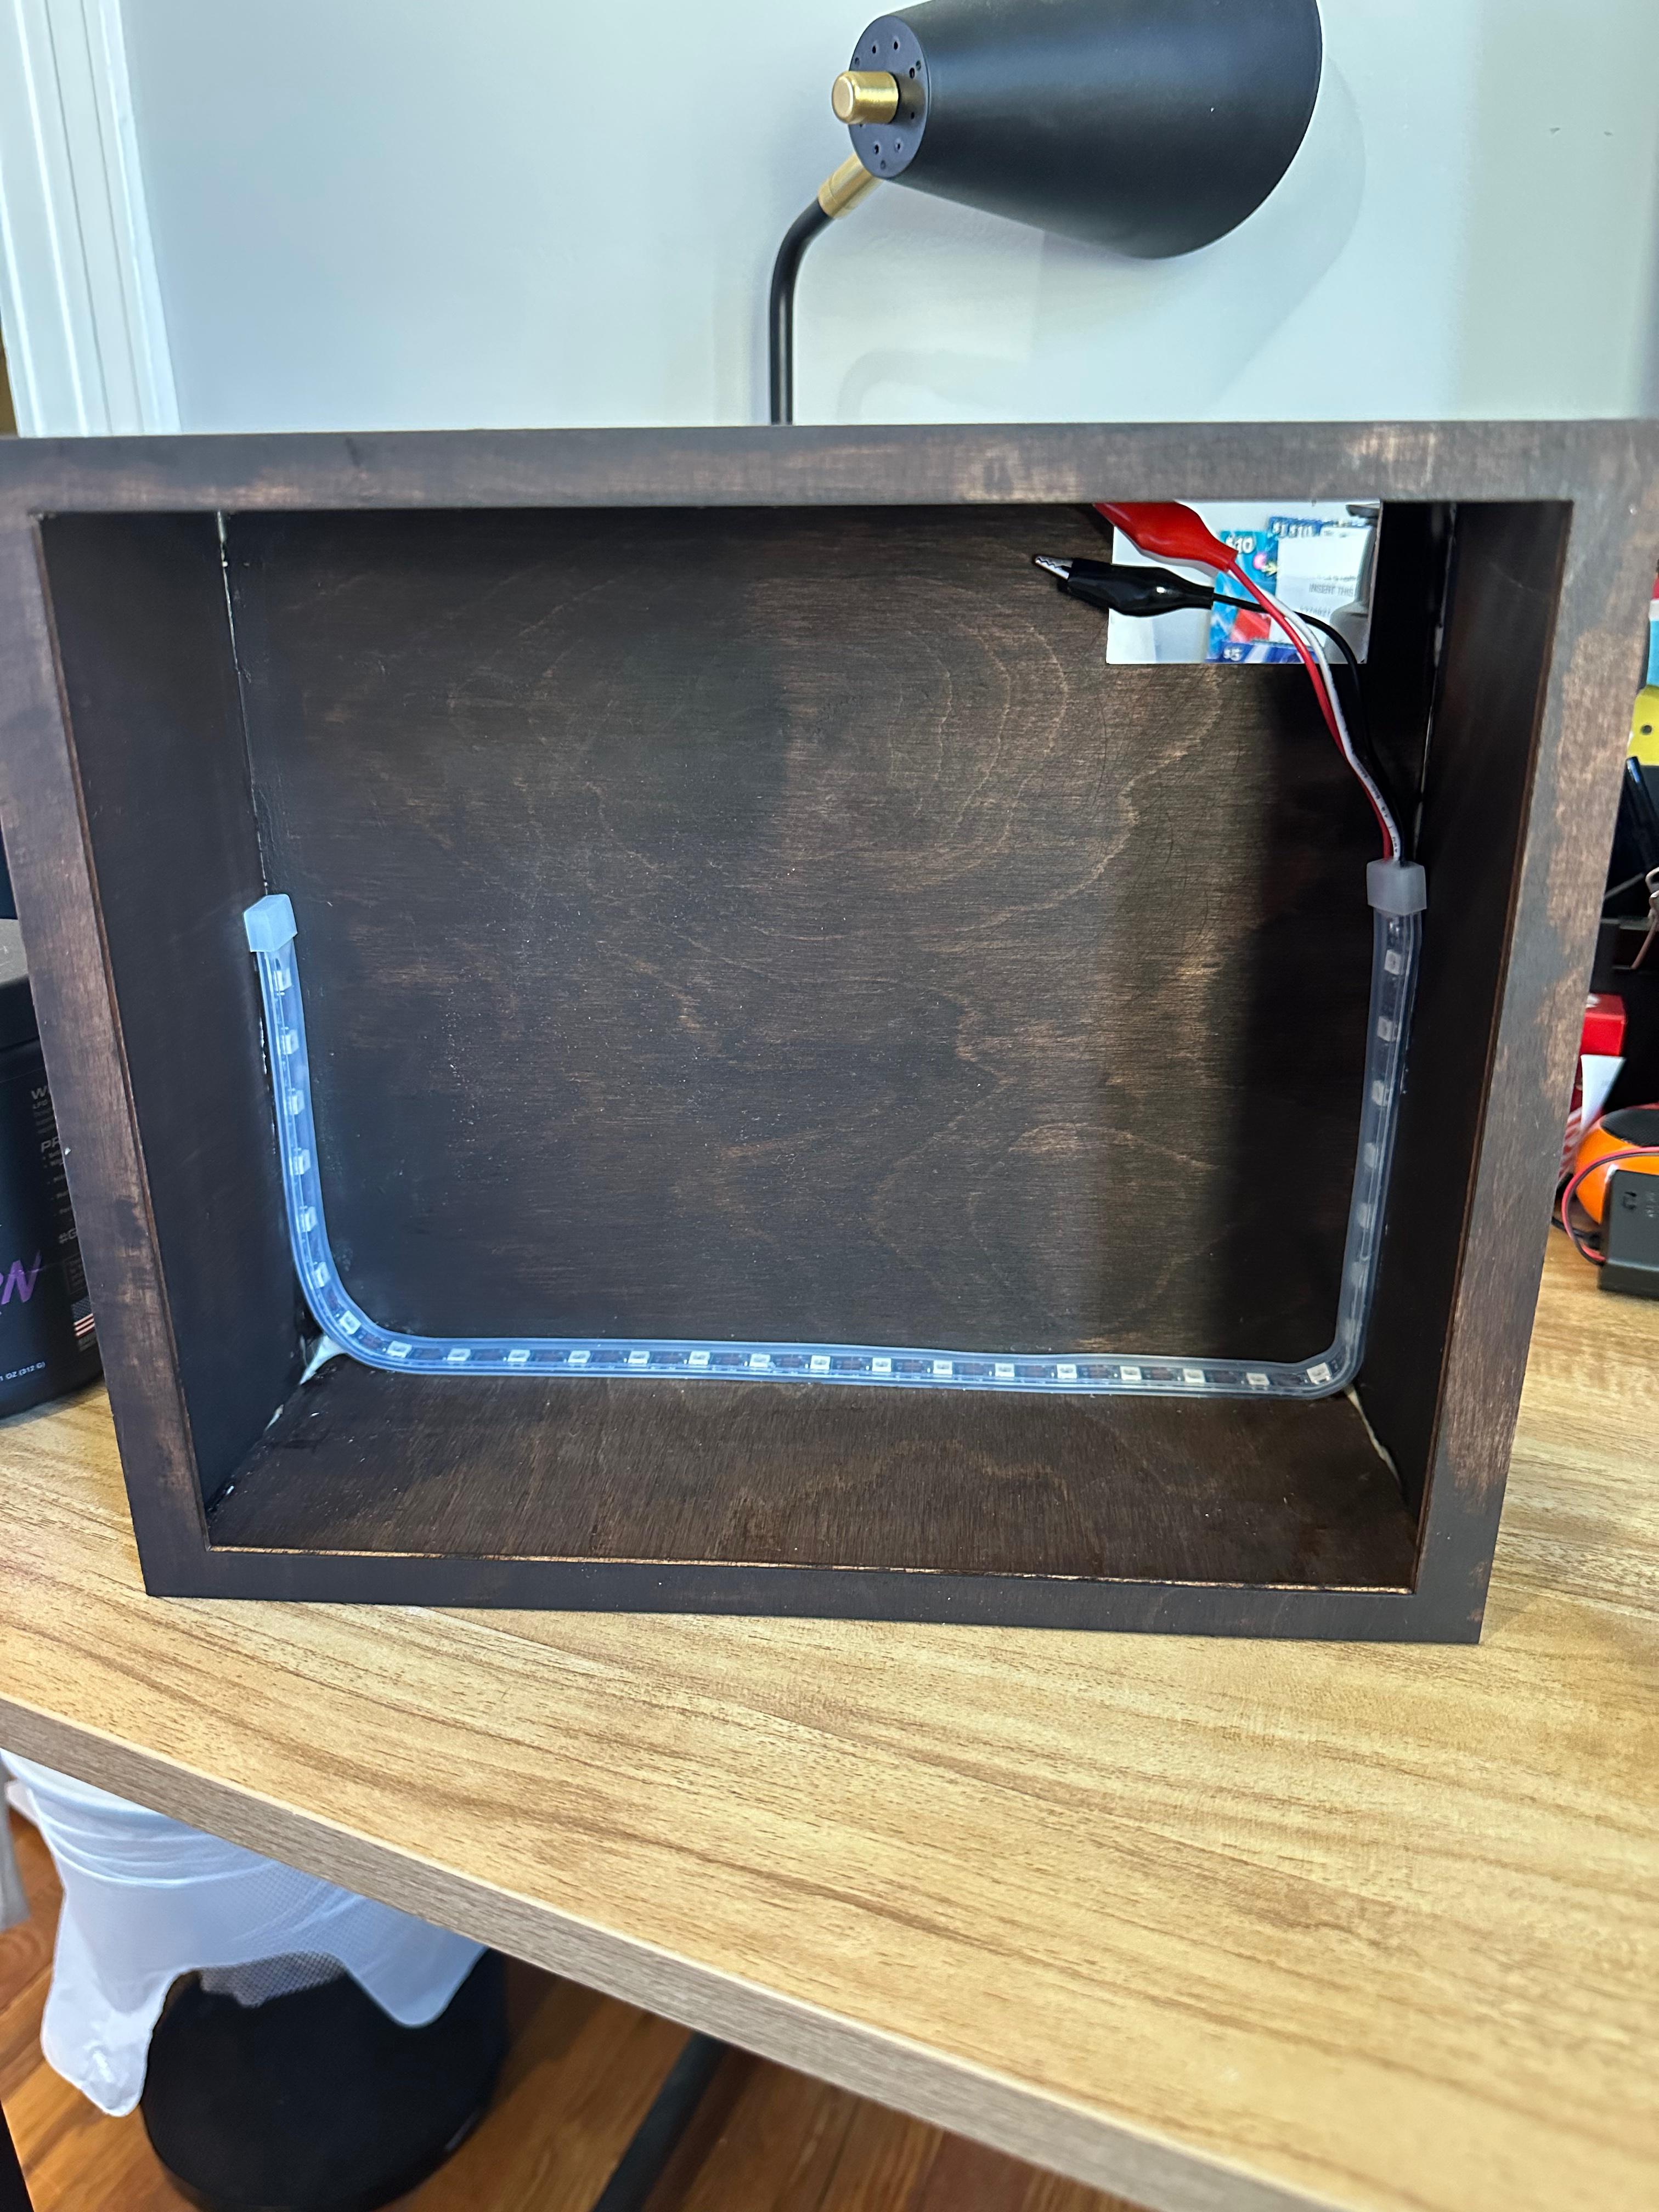
Once the stain is dry, glue every piece of the box together EXCEPT for the frame piece we created in Illustrator. We'll add this piece after we put the LEDs inside the box.
Glueing the Box:
Use wood glue to hold all the components of the box together.
A little bit of glue goes a long way - as you can see in the image, I used too much and had to spend a while getting off the excess without damaging the stain.
Let the glue sit for a few hours before moving on to the next step.
Glueing the LEDs:
To glue the LEDs into the box, I used gorilla glue. Line the strip up so that it runs along the bottom and evenly up each side of the box, and ensure that the wires come out of the hole in the back of the frame. Then add glue. The gorilla glue dries very quickly, so complete this part with haste.
Attach the Frame, Then Slide in Design Pieces Through the Slots on Top
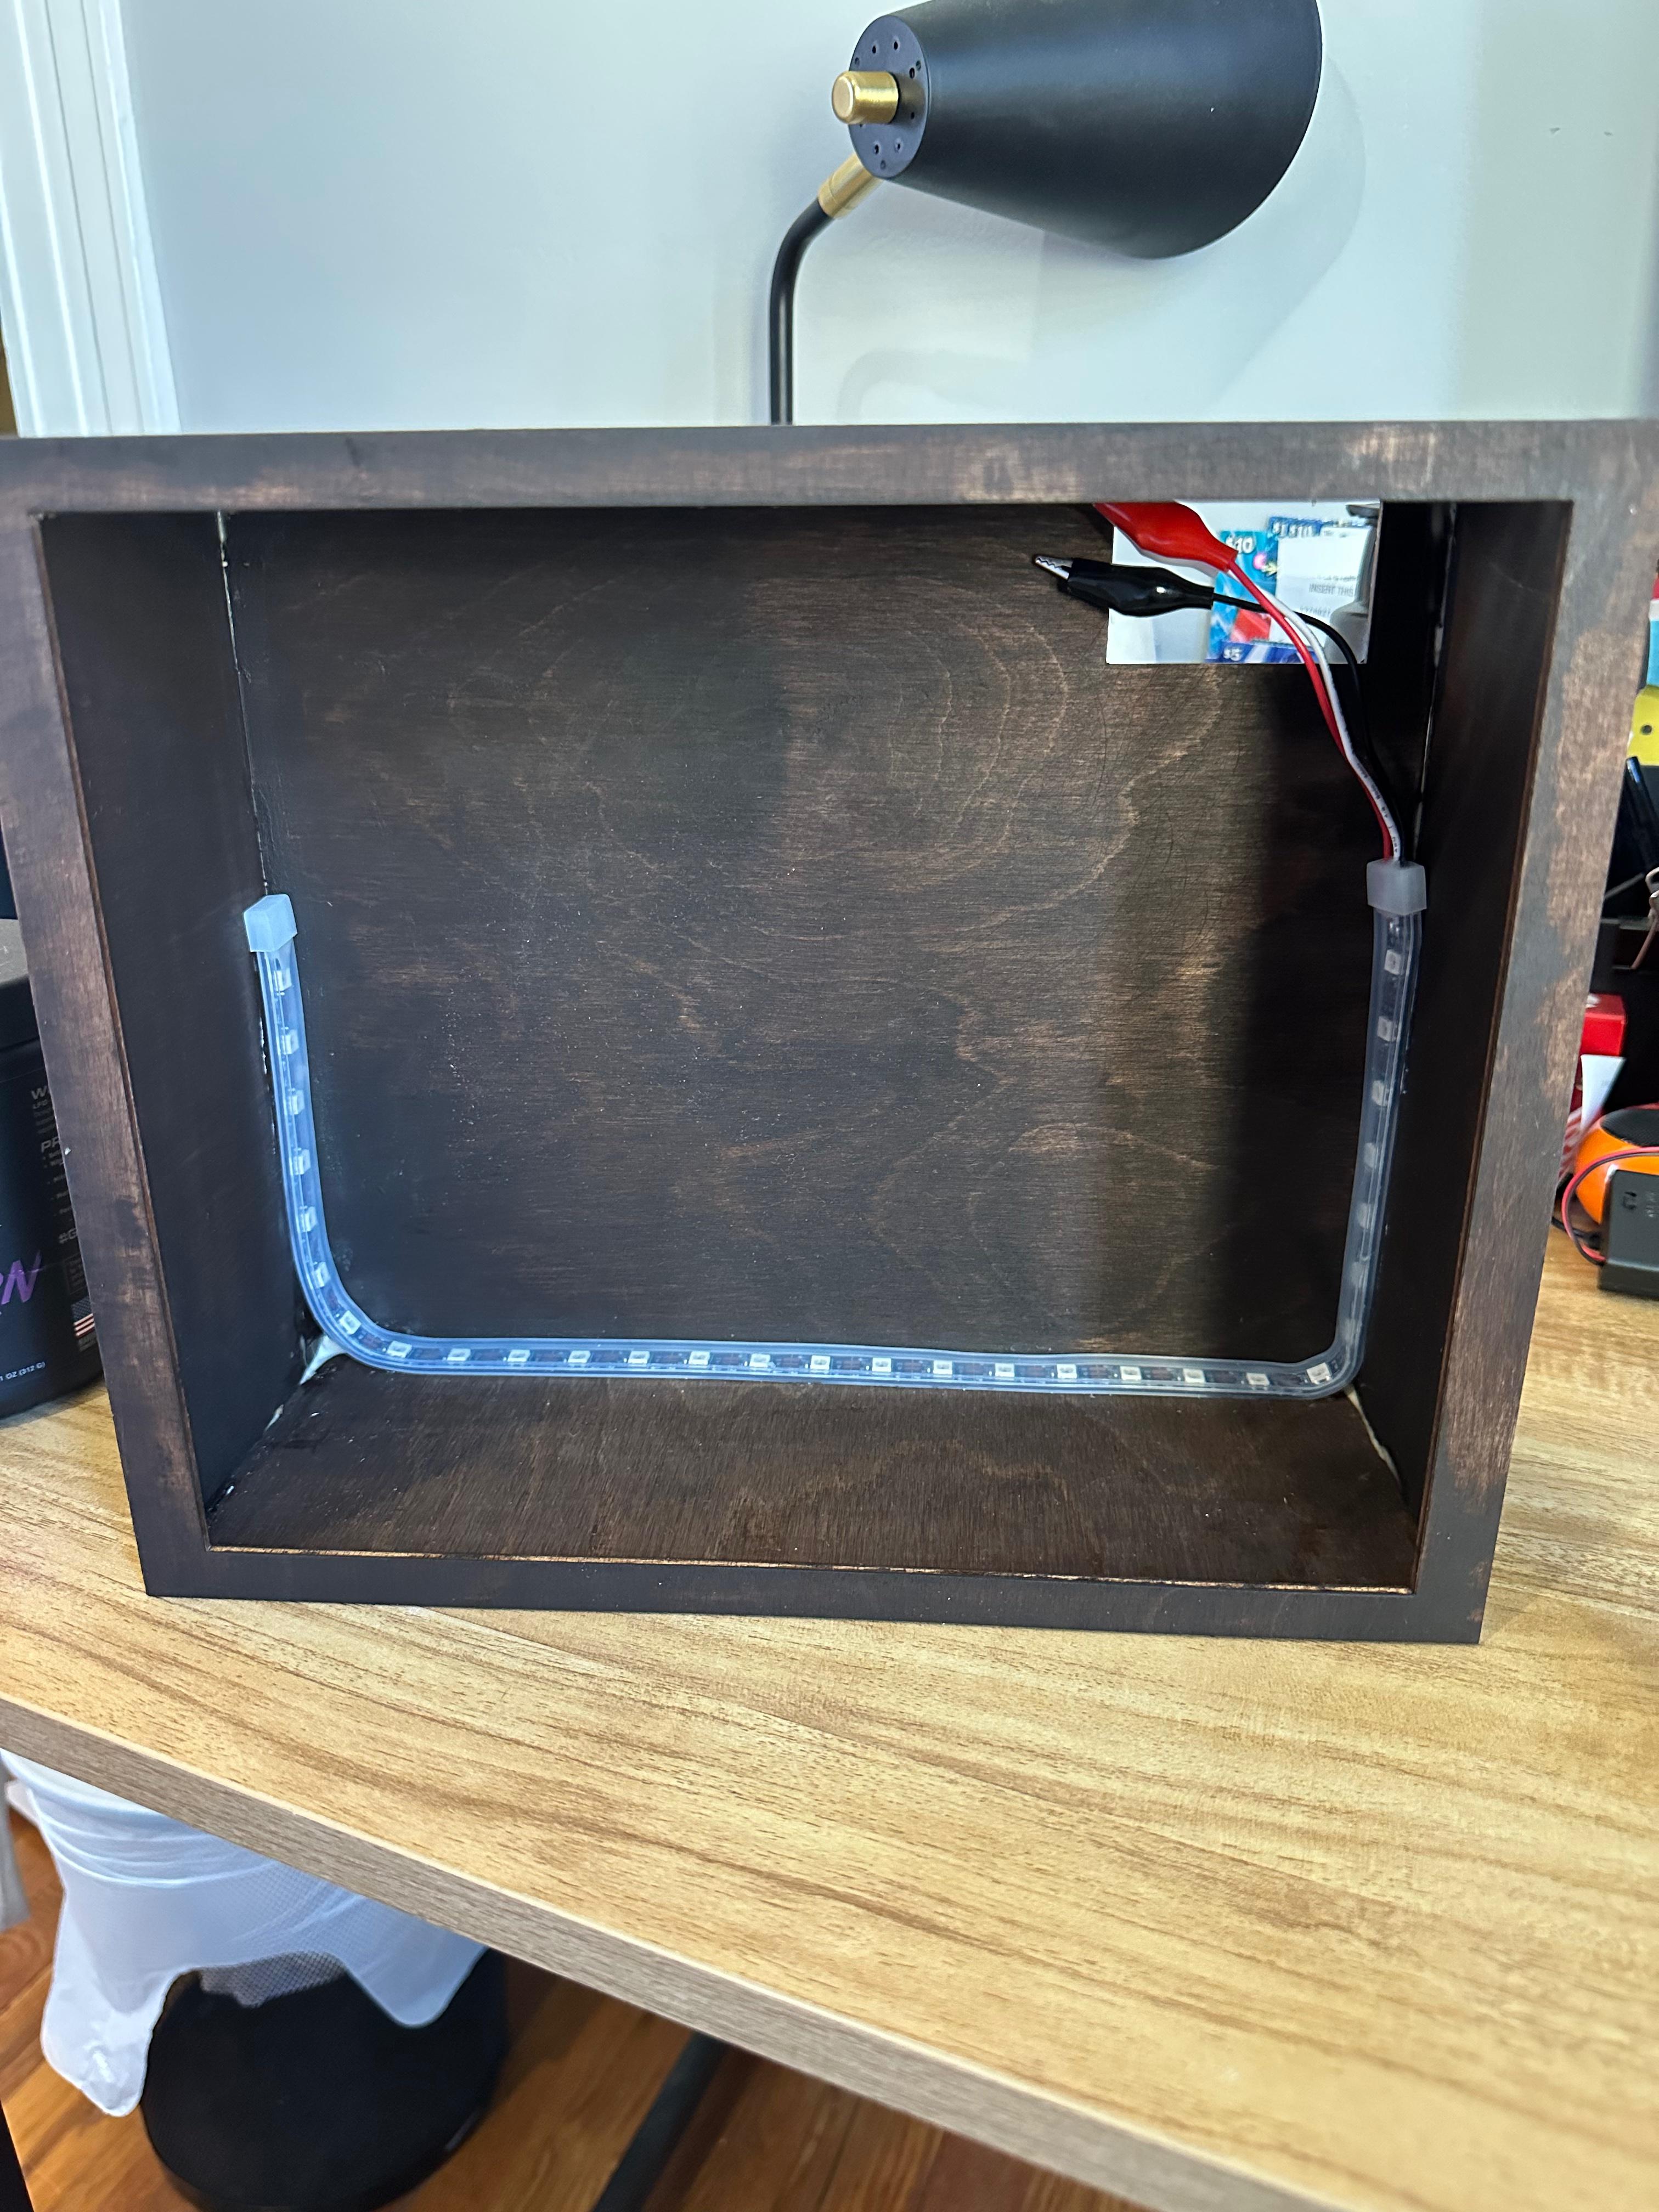
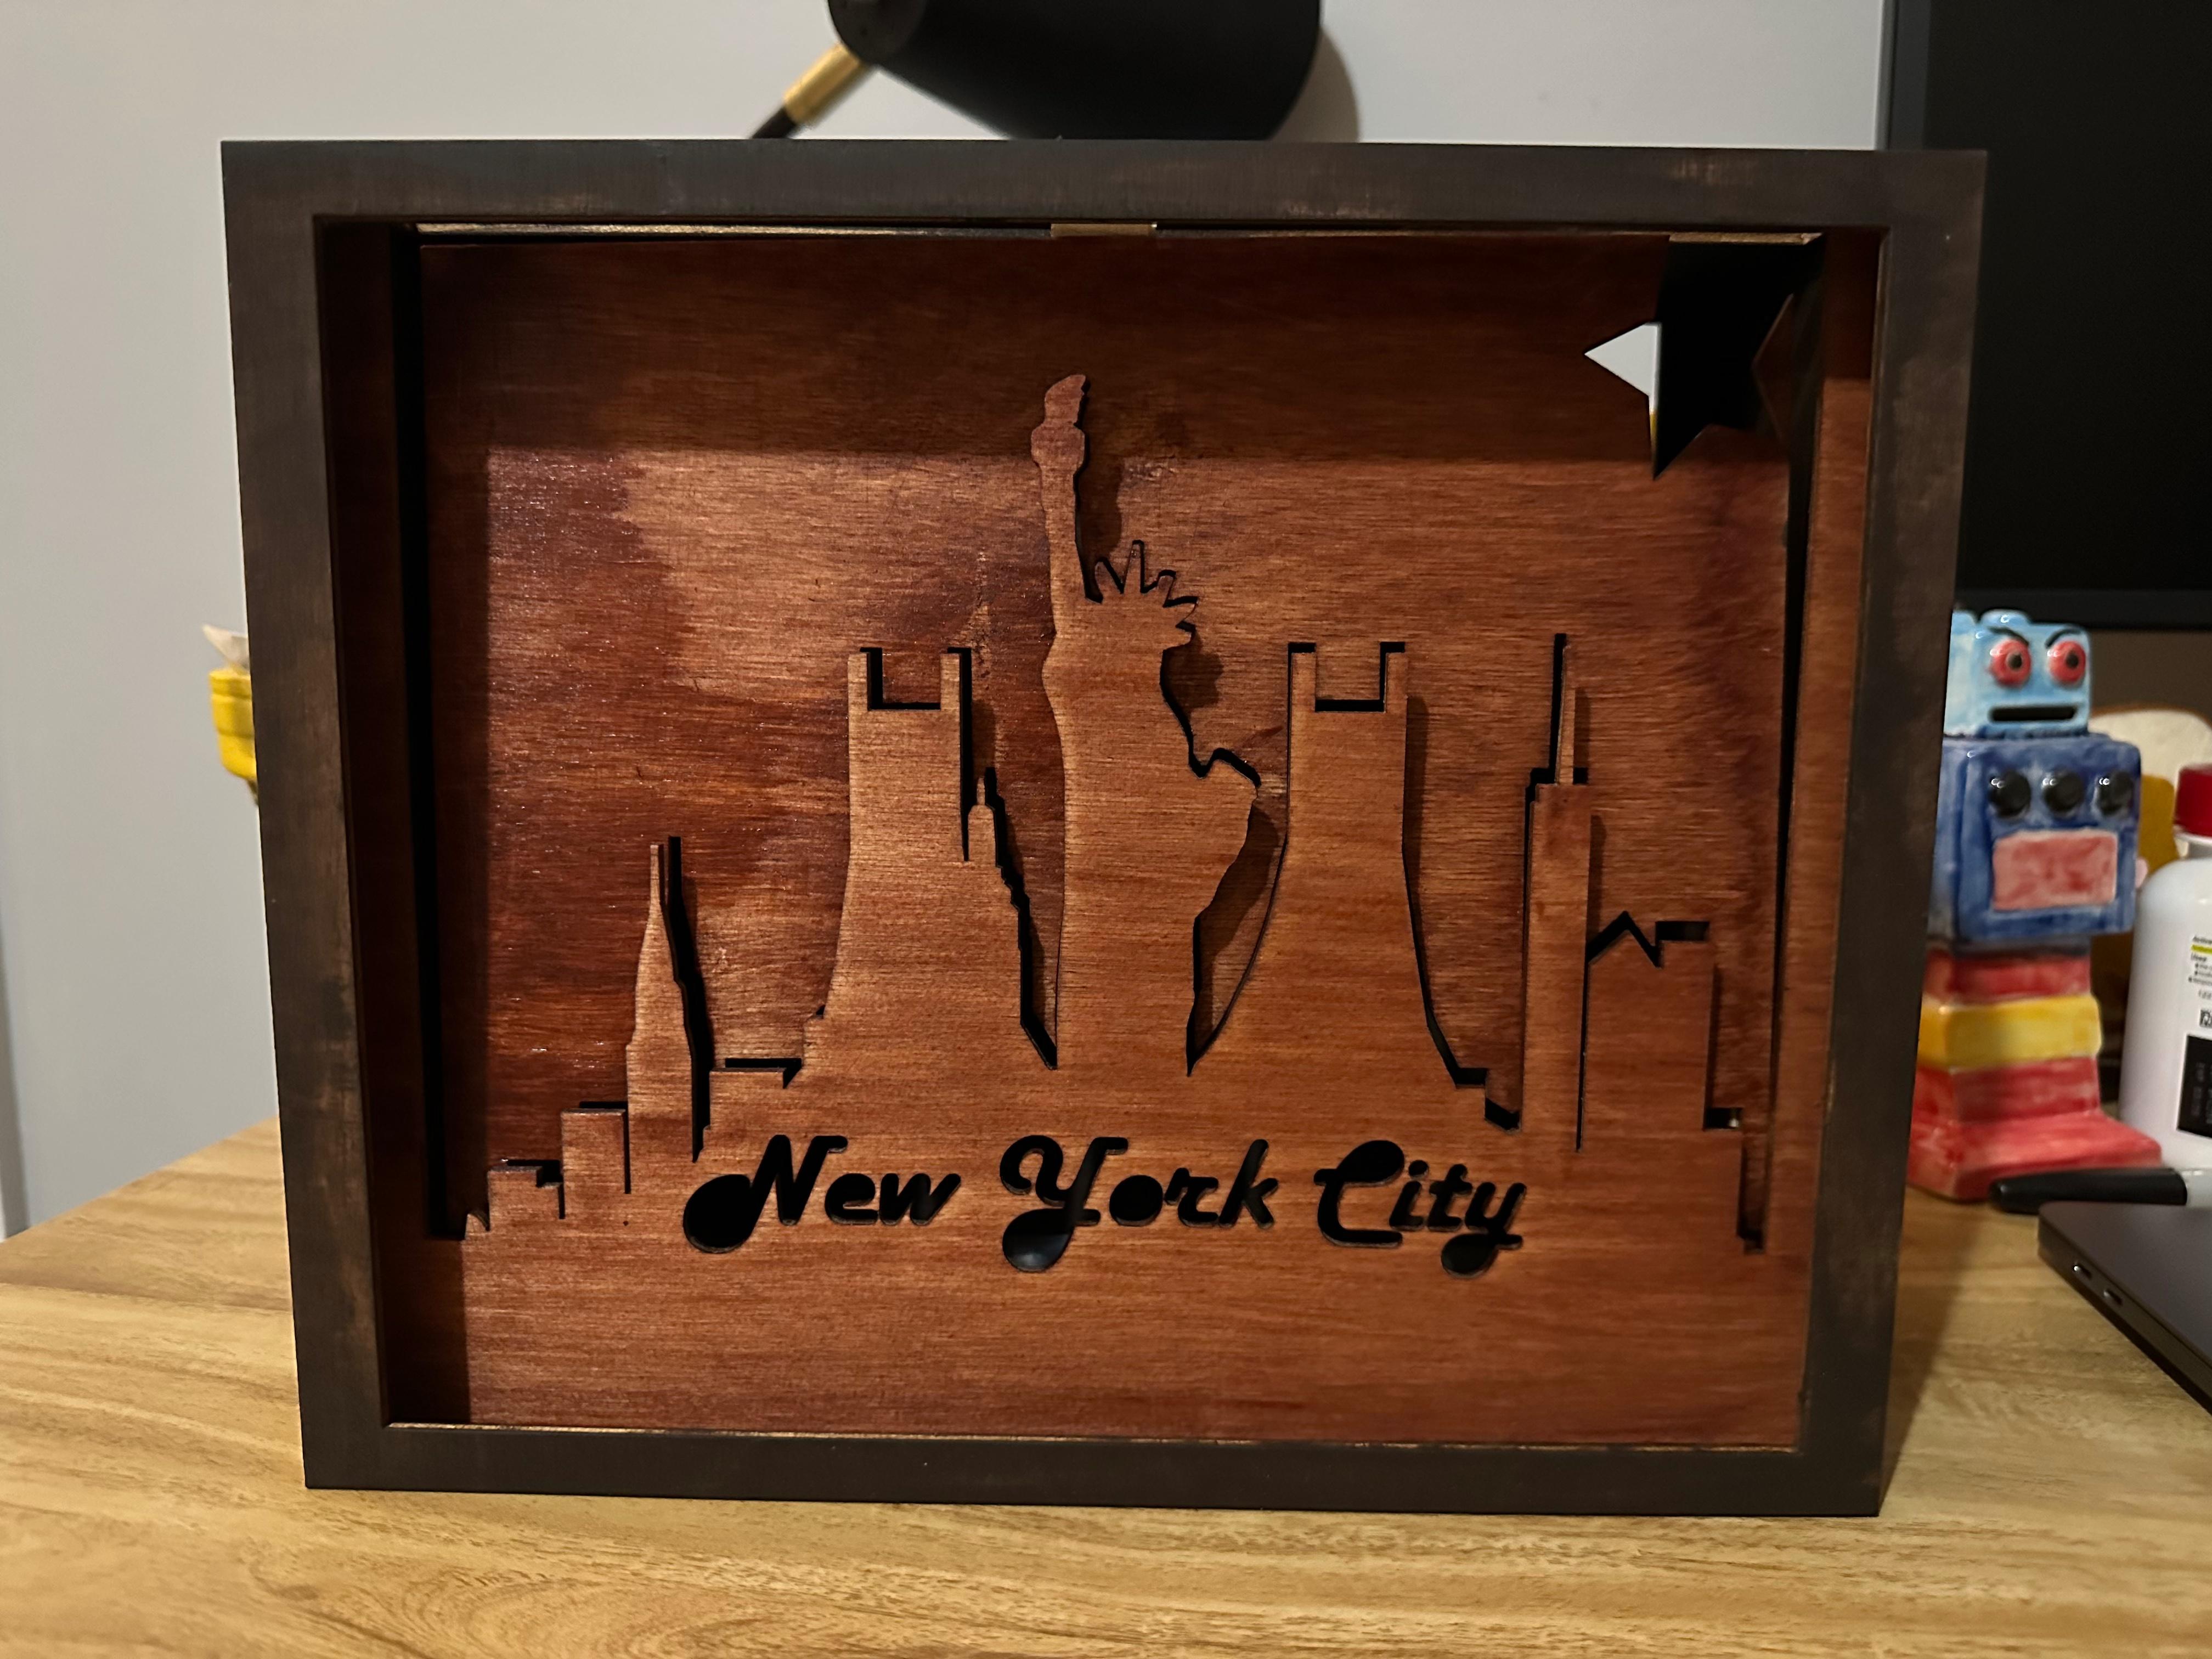
To finish the box, glue the rectangle wood frame to the front. Let it sit until it dries, then slide in the skyline design - put the cutout of the buildings in the first slot, and the background cutout (the scrap piece I mentioned to save in step 1) in the second cutout. This creates a 3-D effect, and when the LEDs are on, they shine through the crack between the foreground and background.
Code and CircuitBoard Setup
Code:
I wrote CircuitPython code that allows users to control the lights via the BlueFruit Connect app. There are 6 light functions controllable via the Control Pad on the app:
- Plays bird noises through the CPB speaker or External Speaker and flashes warm colors to imitate a sunrise
- Plays cricket noises and flashes cool colors to imitate the nighttime skyline
- same as 1, but without sound
- same as 2, but without sound
- Left: Spiral animation using the cool colors
- Right: Spiral animation using the warm colors
- Down: Comet animation using white light
- Up: Stop animations
Users can also use the color wheel in the app to pick any solid color they would like.
My code is attached below - just be sure to change the Bluetooth Username to a name of your choice.
LED Light Strand connections for CPB:
- Power (Red): VOUT
- Signal (White): A1
- Ground (Black): GND
External Speaker* connections for CPB:
- Signal (White): A4
- Ground (Red): GND
*I intend to use the noise cycles mainly as light, white noise at night, and found that the CPB built-in speaker is perfect - not too loud to keep me awake, but just loud enough in a quiet room. However, it's easy to attach an external speaker if you so chose.