Baby Bib Embroidery Project
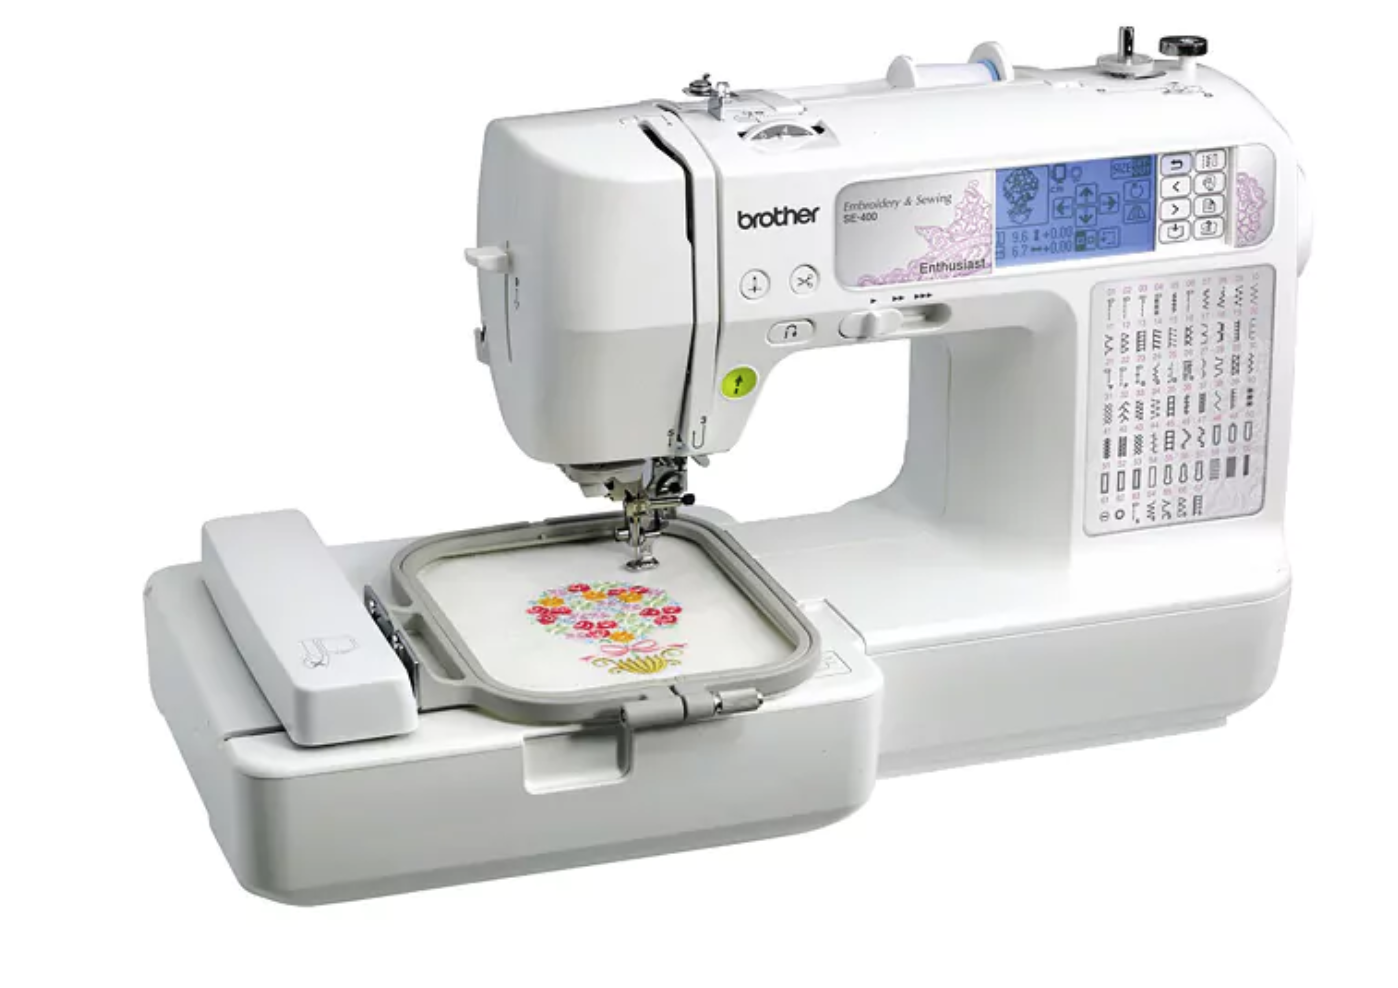
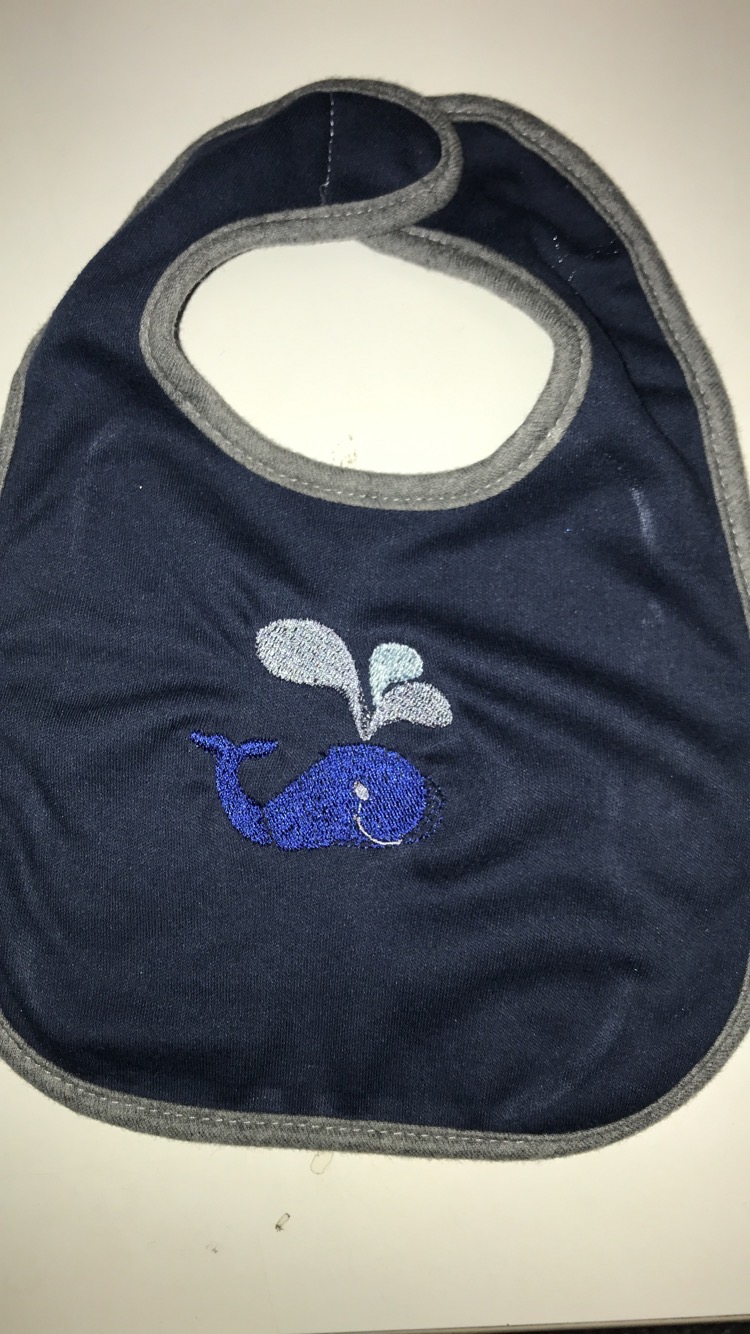
I am writing this Instructable to help teach the basics on how to embroider on a Brother SE400 Embroidery and Sewing Machine. I will be demonstrating the design that I did on a baby bib, but you could use any design or material to embroider on.
Materials:
- Brother SE400 Embroidery and Sewing Machine
- Machines should come with a hoop and a USB cable
- Any kind of fabric to embroider on (avoid more open weaves like muslin)
- Design to be embroidered on your fabric
- Different colors of embroidery thread to create your design (I suggest Polyester thread)
Find a Design That Fits Your Project.

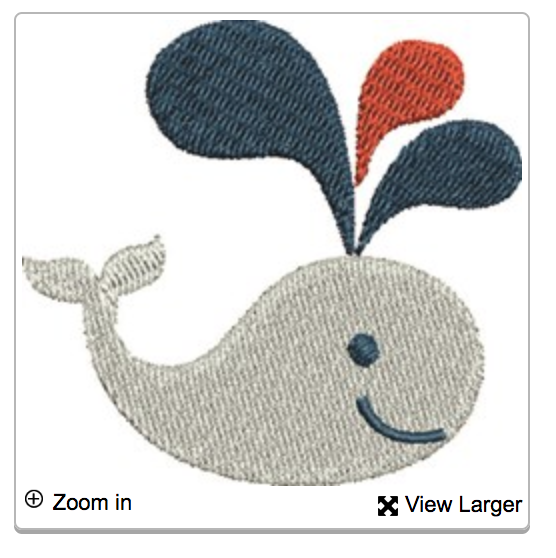
I personally use the website embroiderydesigns.com to search for and find a design for my project. My client's baby is a boy whose nursery is nautical themed, so I chose the design of a whale spurting water. This website has many cute free patterns and patterns for purchase.
Once you have found your design, download the file in a .dst format to be able to import the design onto your machine.
Upload the File of Your Design to the Brother SE400.
The Brother SE400 should come with a USB cable. Connect your computer to the machine using this USB cable, and then power on the machine. Once plugged in and powered on, the machine will appear on the computer as a removable disk like a flash drive. Simply drag the file into the files of the removable disc, and your design will be transferred to the machine.
The file is stored on the Brother SE400 and can be accessed by click on the icon of a computer on the touchscreen of the machine. Upload the file from this section, and it will be stored on the machine until you delete it. When you view the file on the machine if there are multiple colors in your design, multiple steps will appear, and these steps are sorted by the thread color being used.
Thread the Needle and Wind the Bobbin.
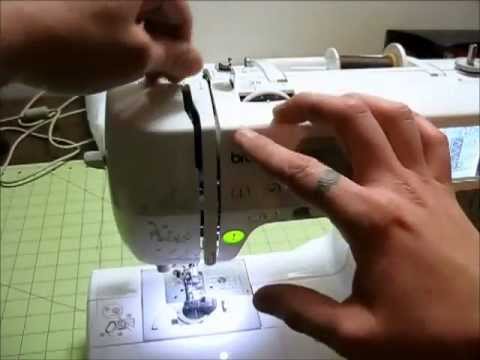)
There are two key components to the Brother SE400. The needle is what does the embroidery itself, and it must have a continuous supply of thread that is threaded through the needle. The bobbin is held in a compartment on the bottom section of the machine. The bobbin must also continuously supply thread to the project and should be threaded through the bottom of the machine. The thread for the bobbin should match the color of the thread that is threaded through the needle.
I watched the Youtube channel called "Burley Sew" to learn the basics of both how to thread the needle and wind the bobbin. These main skills will allow you to complete any basic embroidery project. I included a link to the Burley Sew video for how to thread the needle. You can also follow the numbers and diagrams on your machine to follow the same steps on how to thread the needle.
I originally could not figure out how to wind the bobbin, so I wound the bobbin by hand. However, after asking my professor, I utilized the machine to thread the bobbin by following the steps on the top of the machine. This sped up the project tremendously.
Secure Fabric in the Embroidery Hoop.
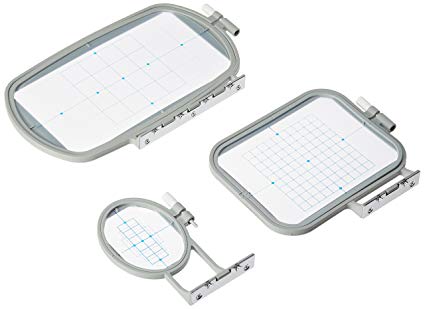
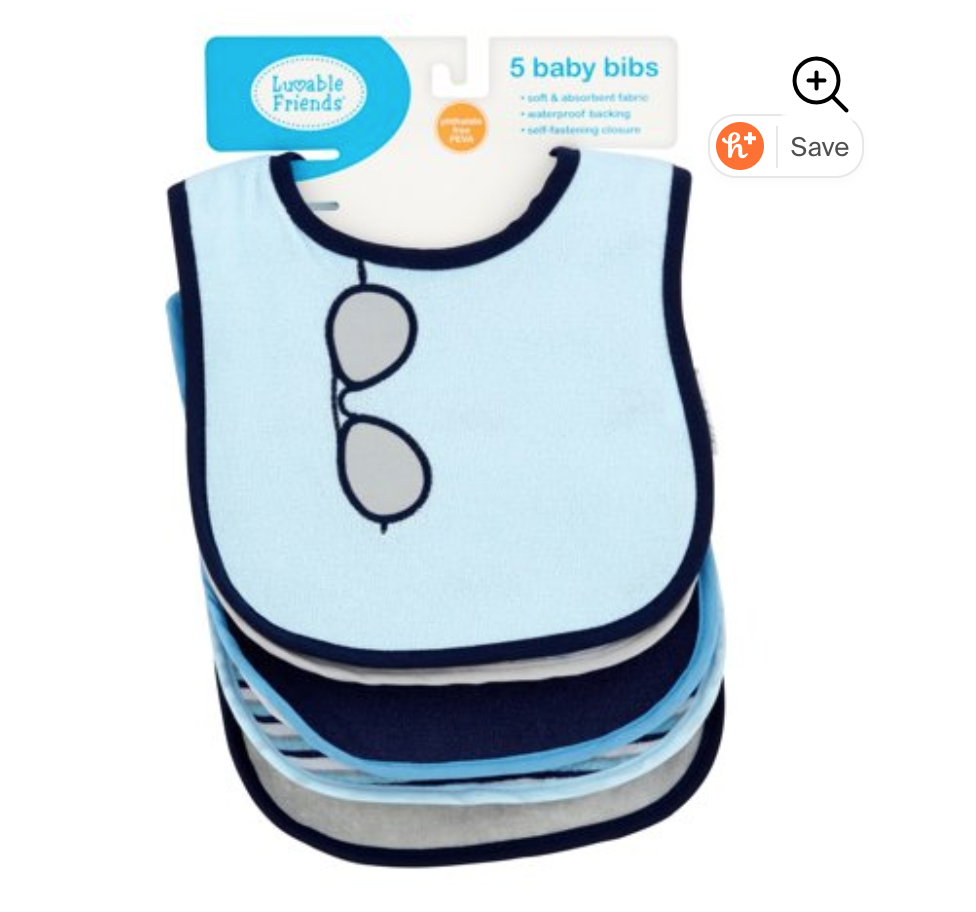
Find the rectangular pieces with rounded edges, and that is the embroidery hoop for the Brother SE400. This hoop should have a screw on one end, and you will loosen the hoop so that the two pieces separate from each other. Align the piece of fabric or material that you wish to embroider the design on with the bottom piece of the hoop. Finally, connect the two pieces of the hoop together again and tighten the screw to hold the fabric in place. Make sure the fabric is taut and centered so that your design has the best result. (For my project, I placed the baby bib centered in the embroidery hoop.
The hoop will be snapped into the bar on the bottom plate of the machine, and your fabric is now in place and ready to be embroidered!
Have Fun Embroidering!

Once the needle is threaded and the bobbin is wound and in place, lower the foot of the machine and hit the lit-up button to begin the embroidery project!
If your design has multiple colors, utilize the thread color that matches the step that the machine is about to complete. The machine will stop in between colors, and when the machine is stopped, you can change out and re-thread the needle with the proper color thread. Do not forget to change out the bobbin thread color also to match!
Enjoy your newly embroidered item!
(I have attached pictures of the final result of my design.)