B.O.A.R.


This is my new rifle, the B.O.A.R. ( BOlt Action Rifle ). It uses a totally new type of bolt action system. Instead of using a separate bolt pin to push the bullet up a ramp and into the chamber, it uses one large bolt which surrounds the firing pin and pushes the bullet straight into the chamber. This gun uses canadammo, which has never been used in other bolt action rifles. Another feature is a bow with bending limbs that help to increase range. This gun shoots on average about 70 to 80 feet. It is a very powerful and innovative gun.
Be sure to rate, comment, and SUBSCRIBE.
Be sure to rate, comment, and SUBSCRIBE.
The Internals.


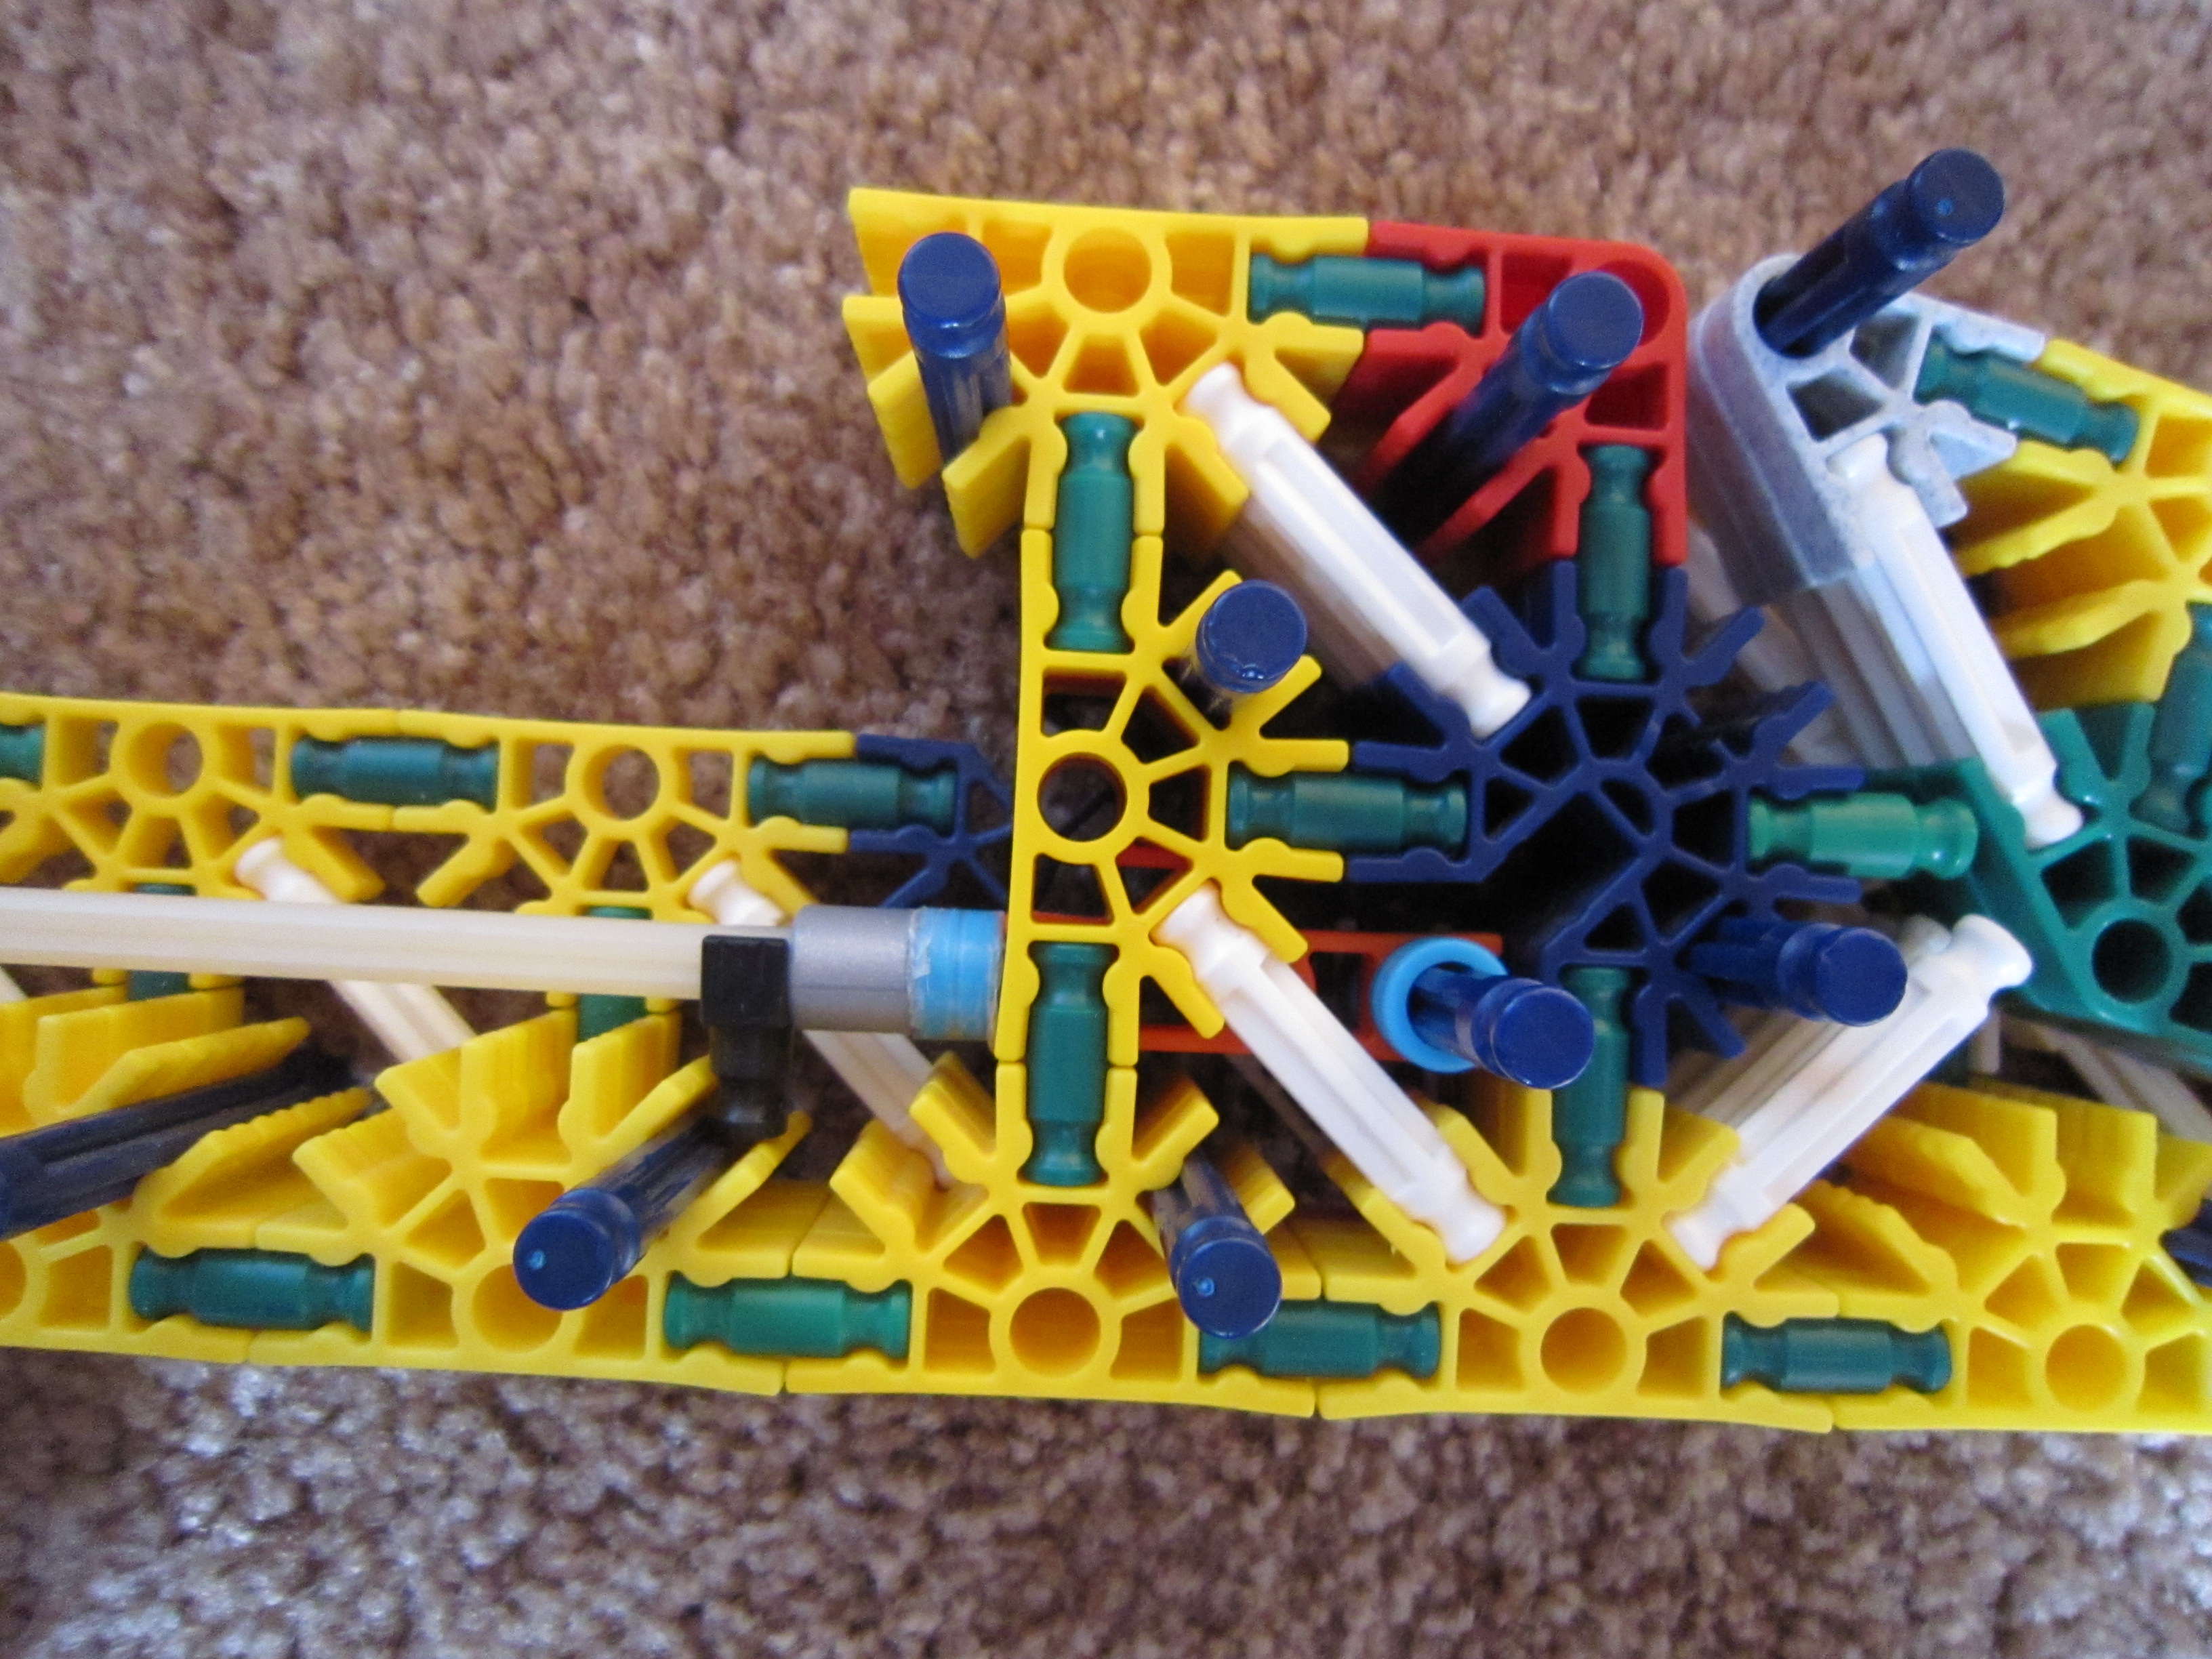


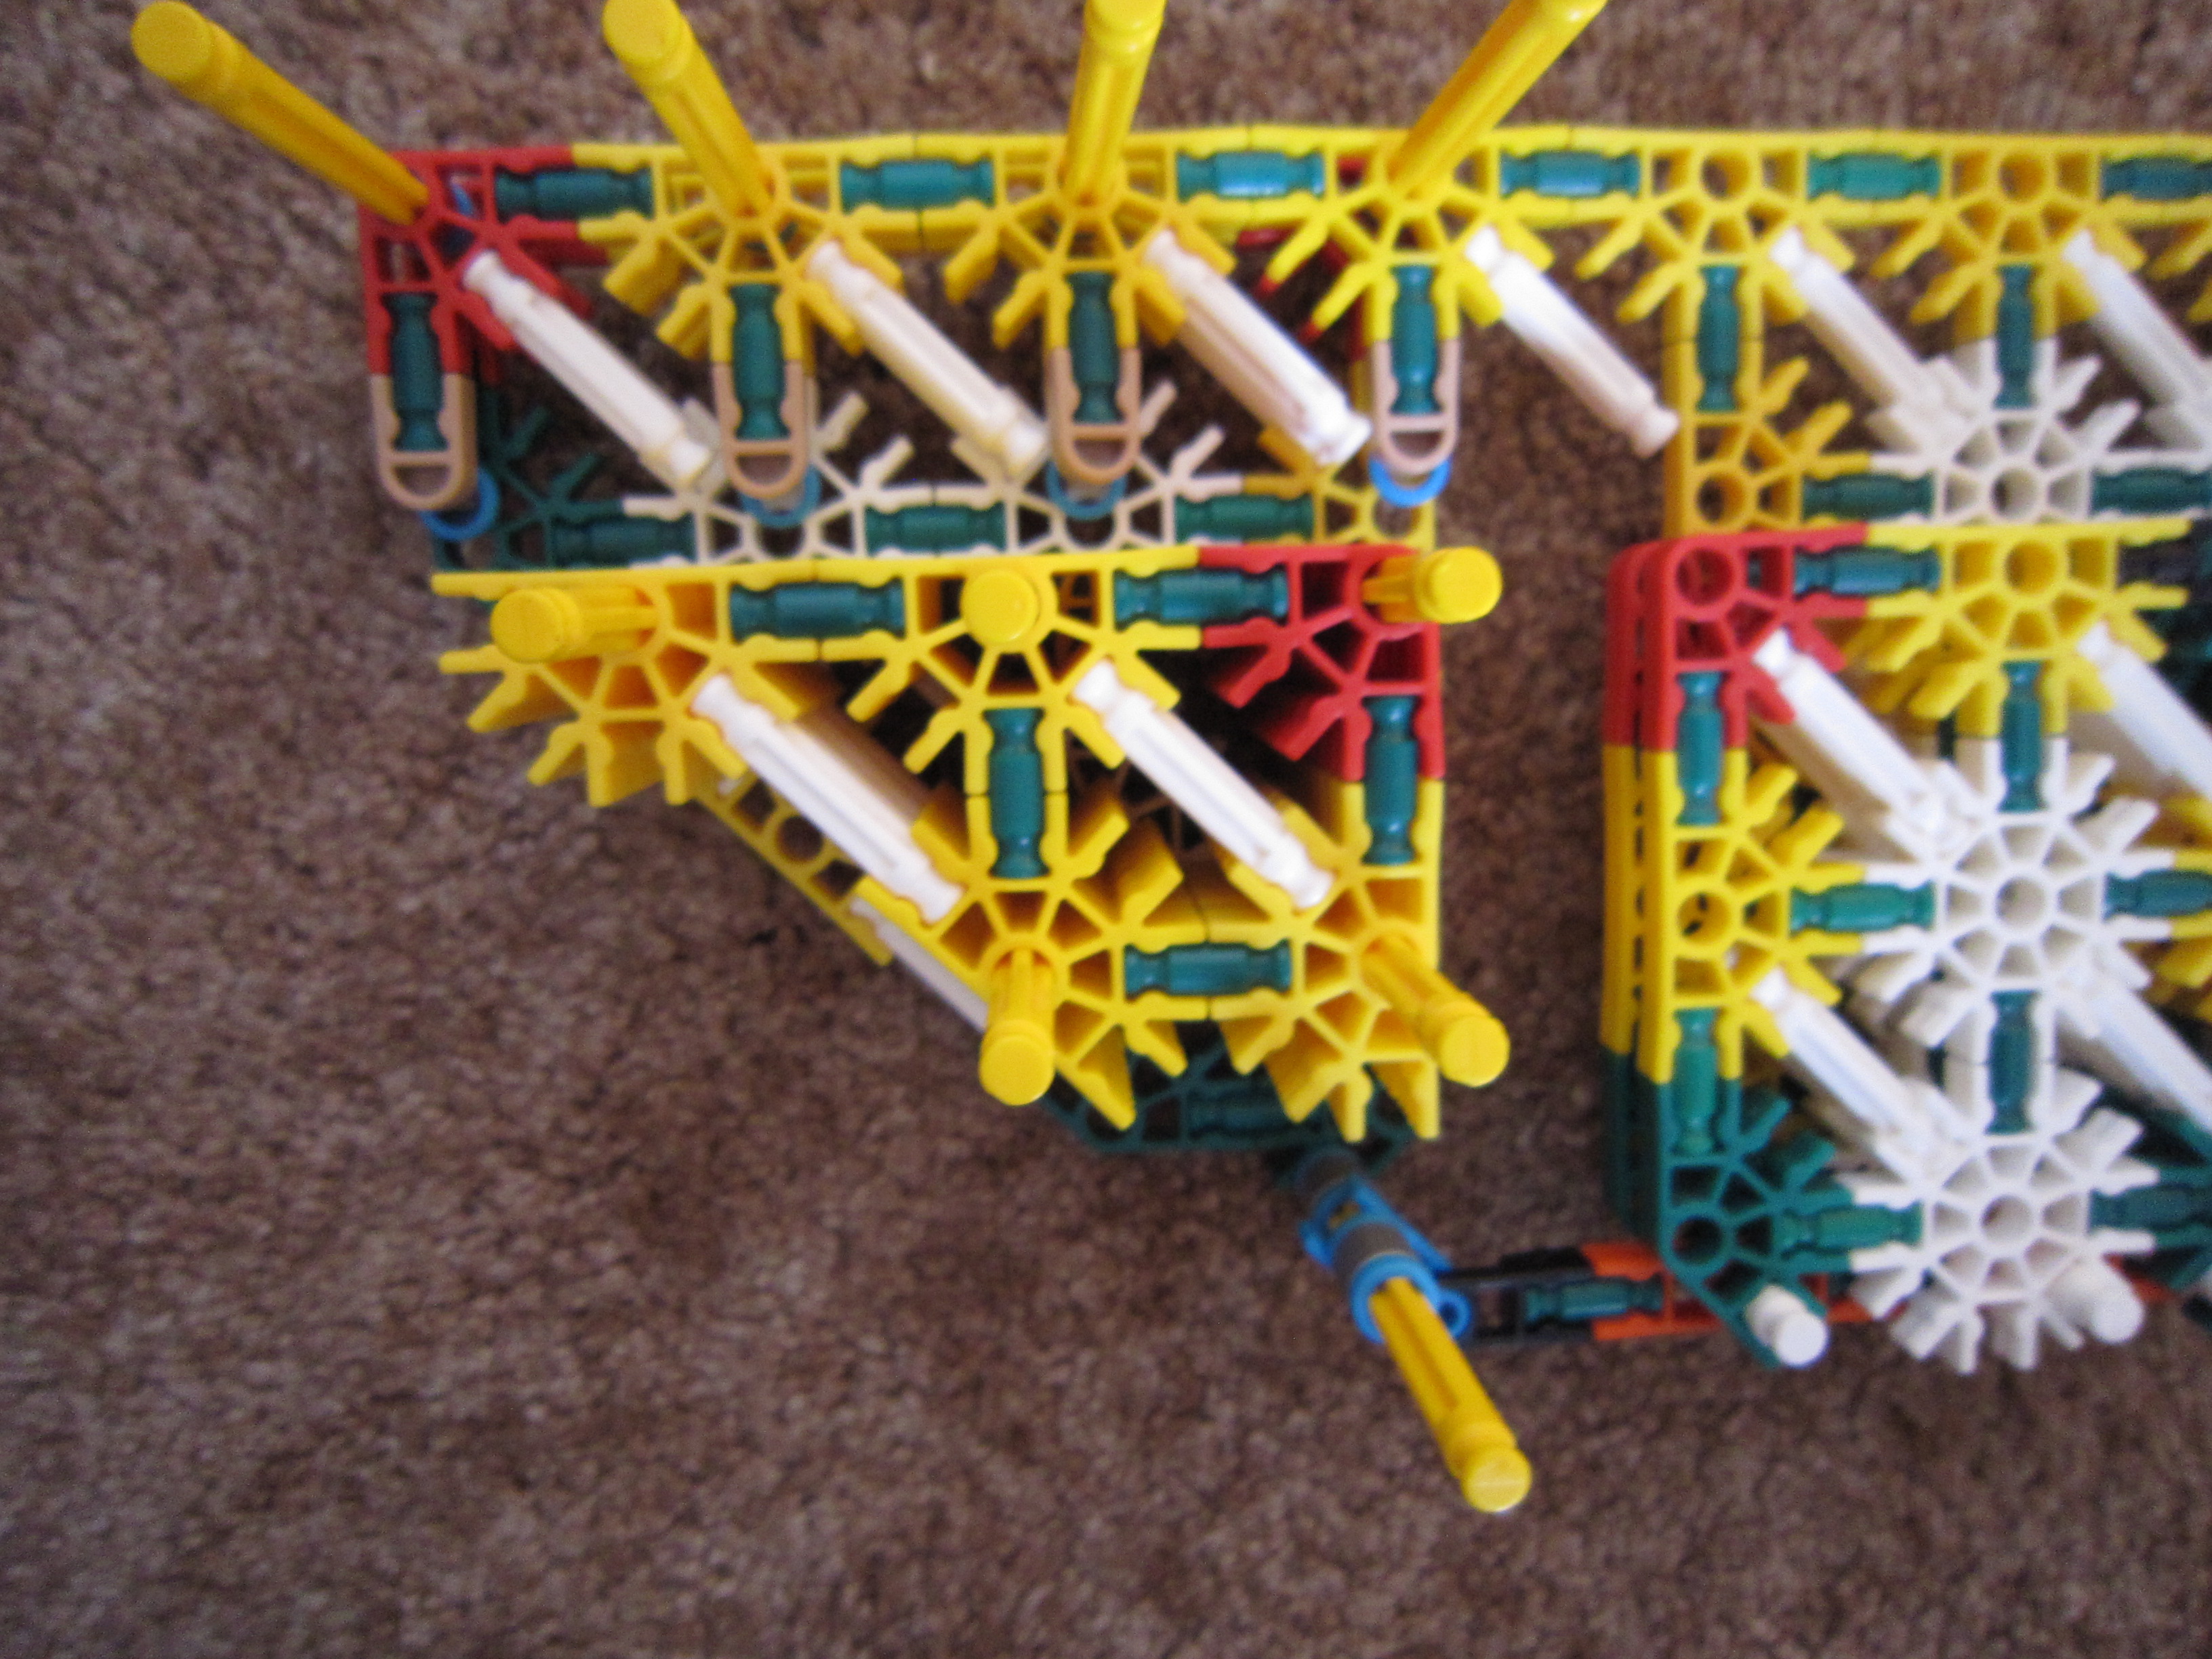


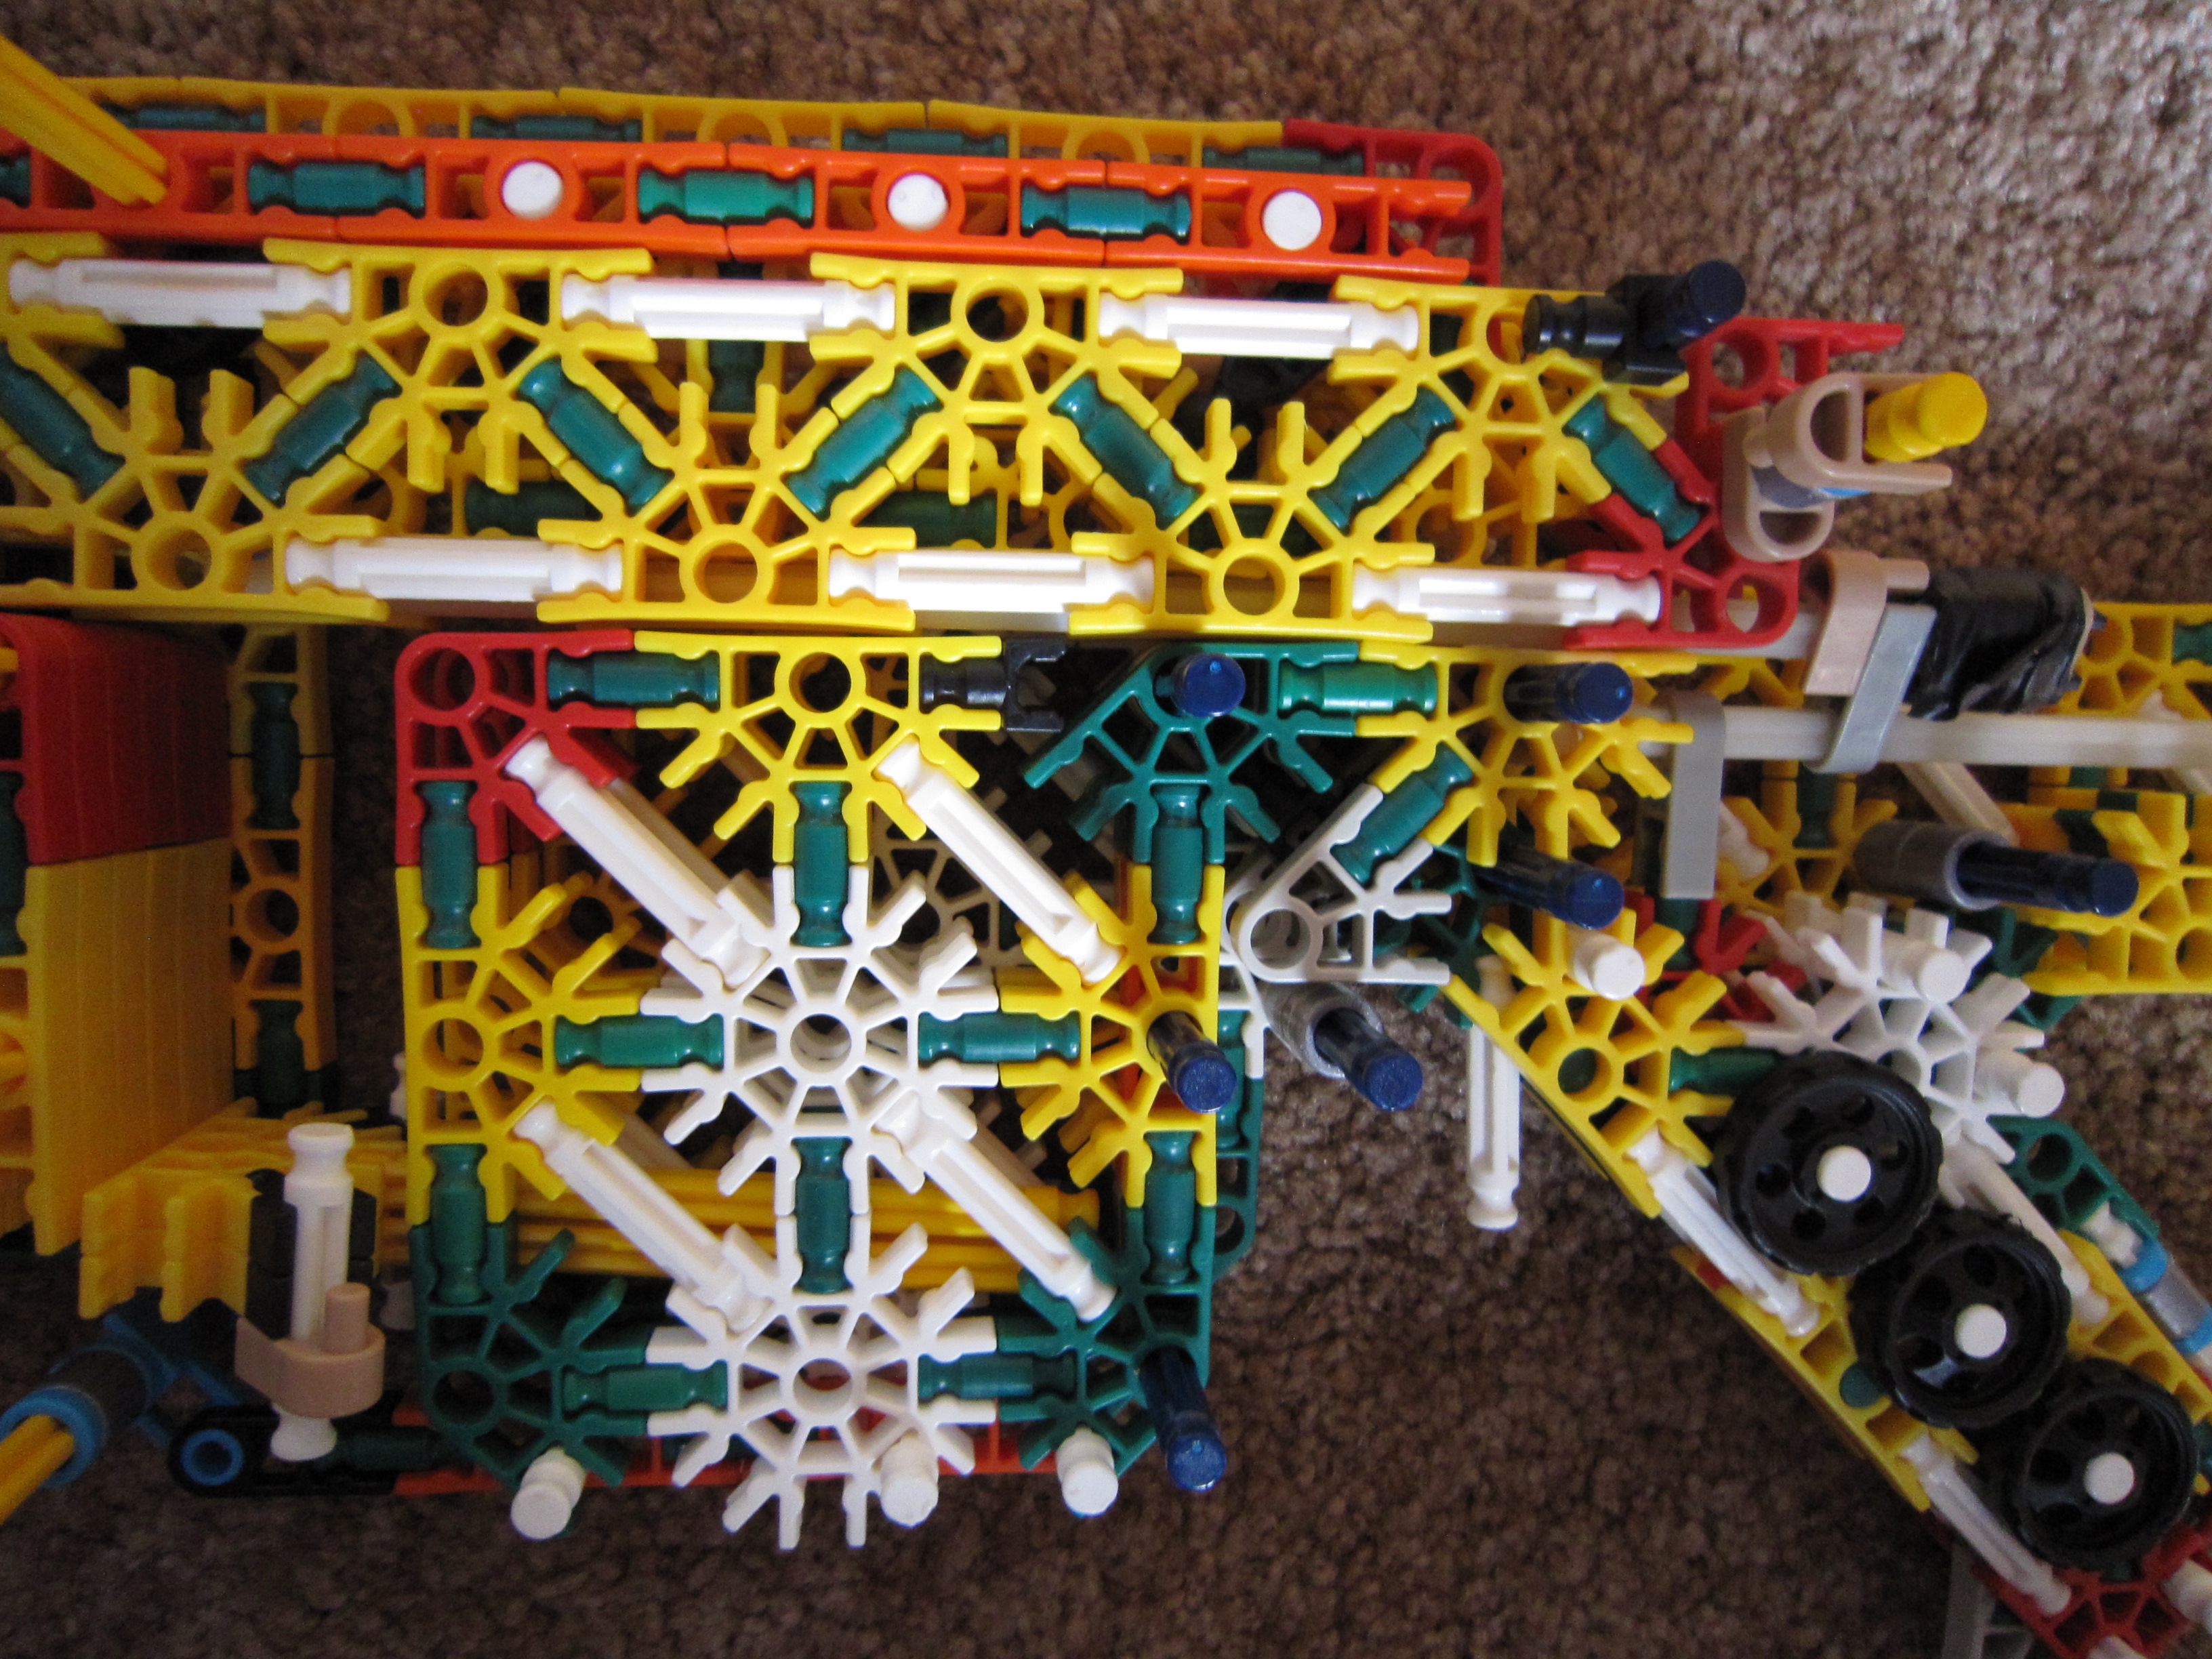
In this step you are going to build the internals of the gun.
Image 1: The main body.
Image 2: The magazine area.
Image 3: The trigger.
Image 4: The handle. Don't forget the wheels that you put on the handle.
Image 5: The pin guide connection.
Image 6: The stock.
Image 7: Build these things.
Image 8: Attach the stuff you just made to the gun.
Image 9: Make this.
Image 10: Attach it to the gun.
Image 11: Build these.
Image 12: Attach them to the gun.
Image 13: Build all these things.
Image 14: Attach them to the gun.
Image 15: Build all these things.
Image 16: Put everything into the gun.
You are done with this step.
The Side Panels.


In this step you are going to build the side panels.
Image 1: Build this.
Image 2: Attach it to the gun.
Image 3: Build this.
Image 4: This is where you're going to attach the piece you just built.
Image 5: Attach it.
Image 6: Build this.
Image 7: Attach it to the gun.
You're almost done with the gun. Now all you have to do is build the crossbow limbs.
The Crossbow Limbs.


In this step you are going to build the bending crossbow limbs.
Image 1: Build these.
Image 2: Here is another view of the bending limbs.
Image 3: Attach to the gun.
Image 4: Here is another view of how the bending limbs attach to the gun.
You're done with the gun!
Image 1: Build these.
Image 2: Here is another view of the bending limbs.
Image 3: Attach to the gun.
Image 4: Here is another view of how the bending limbs attach to the gun.
You're done with the gun!
Loading and Firing.

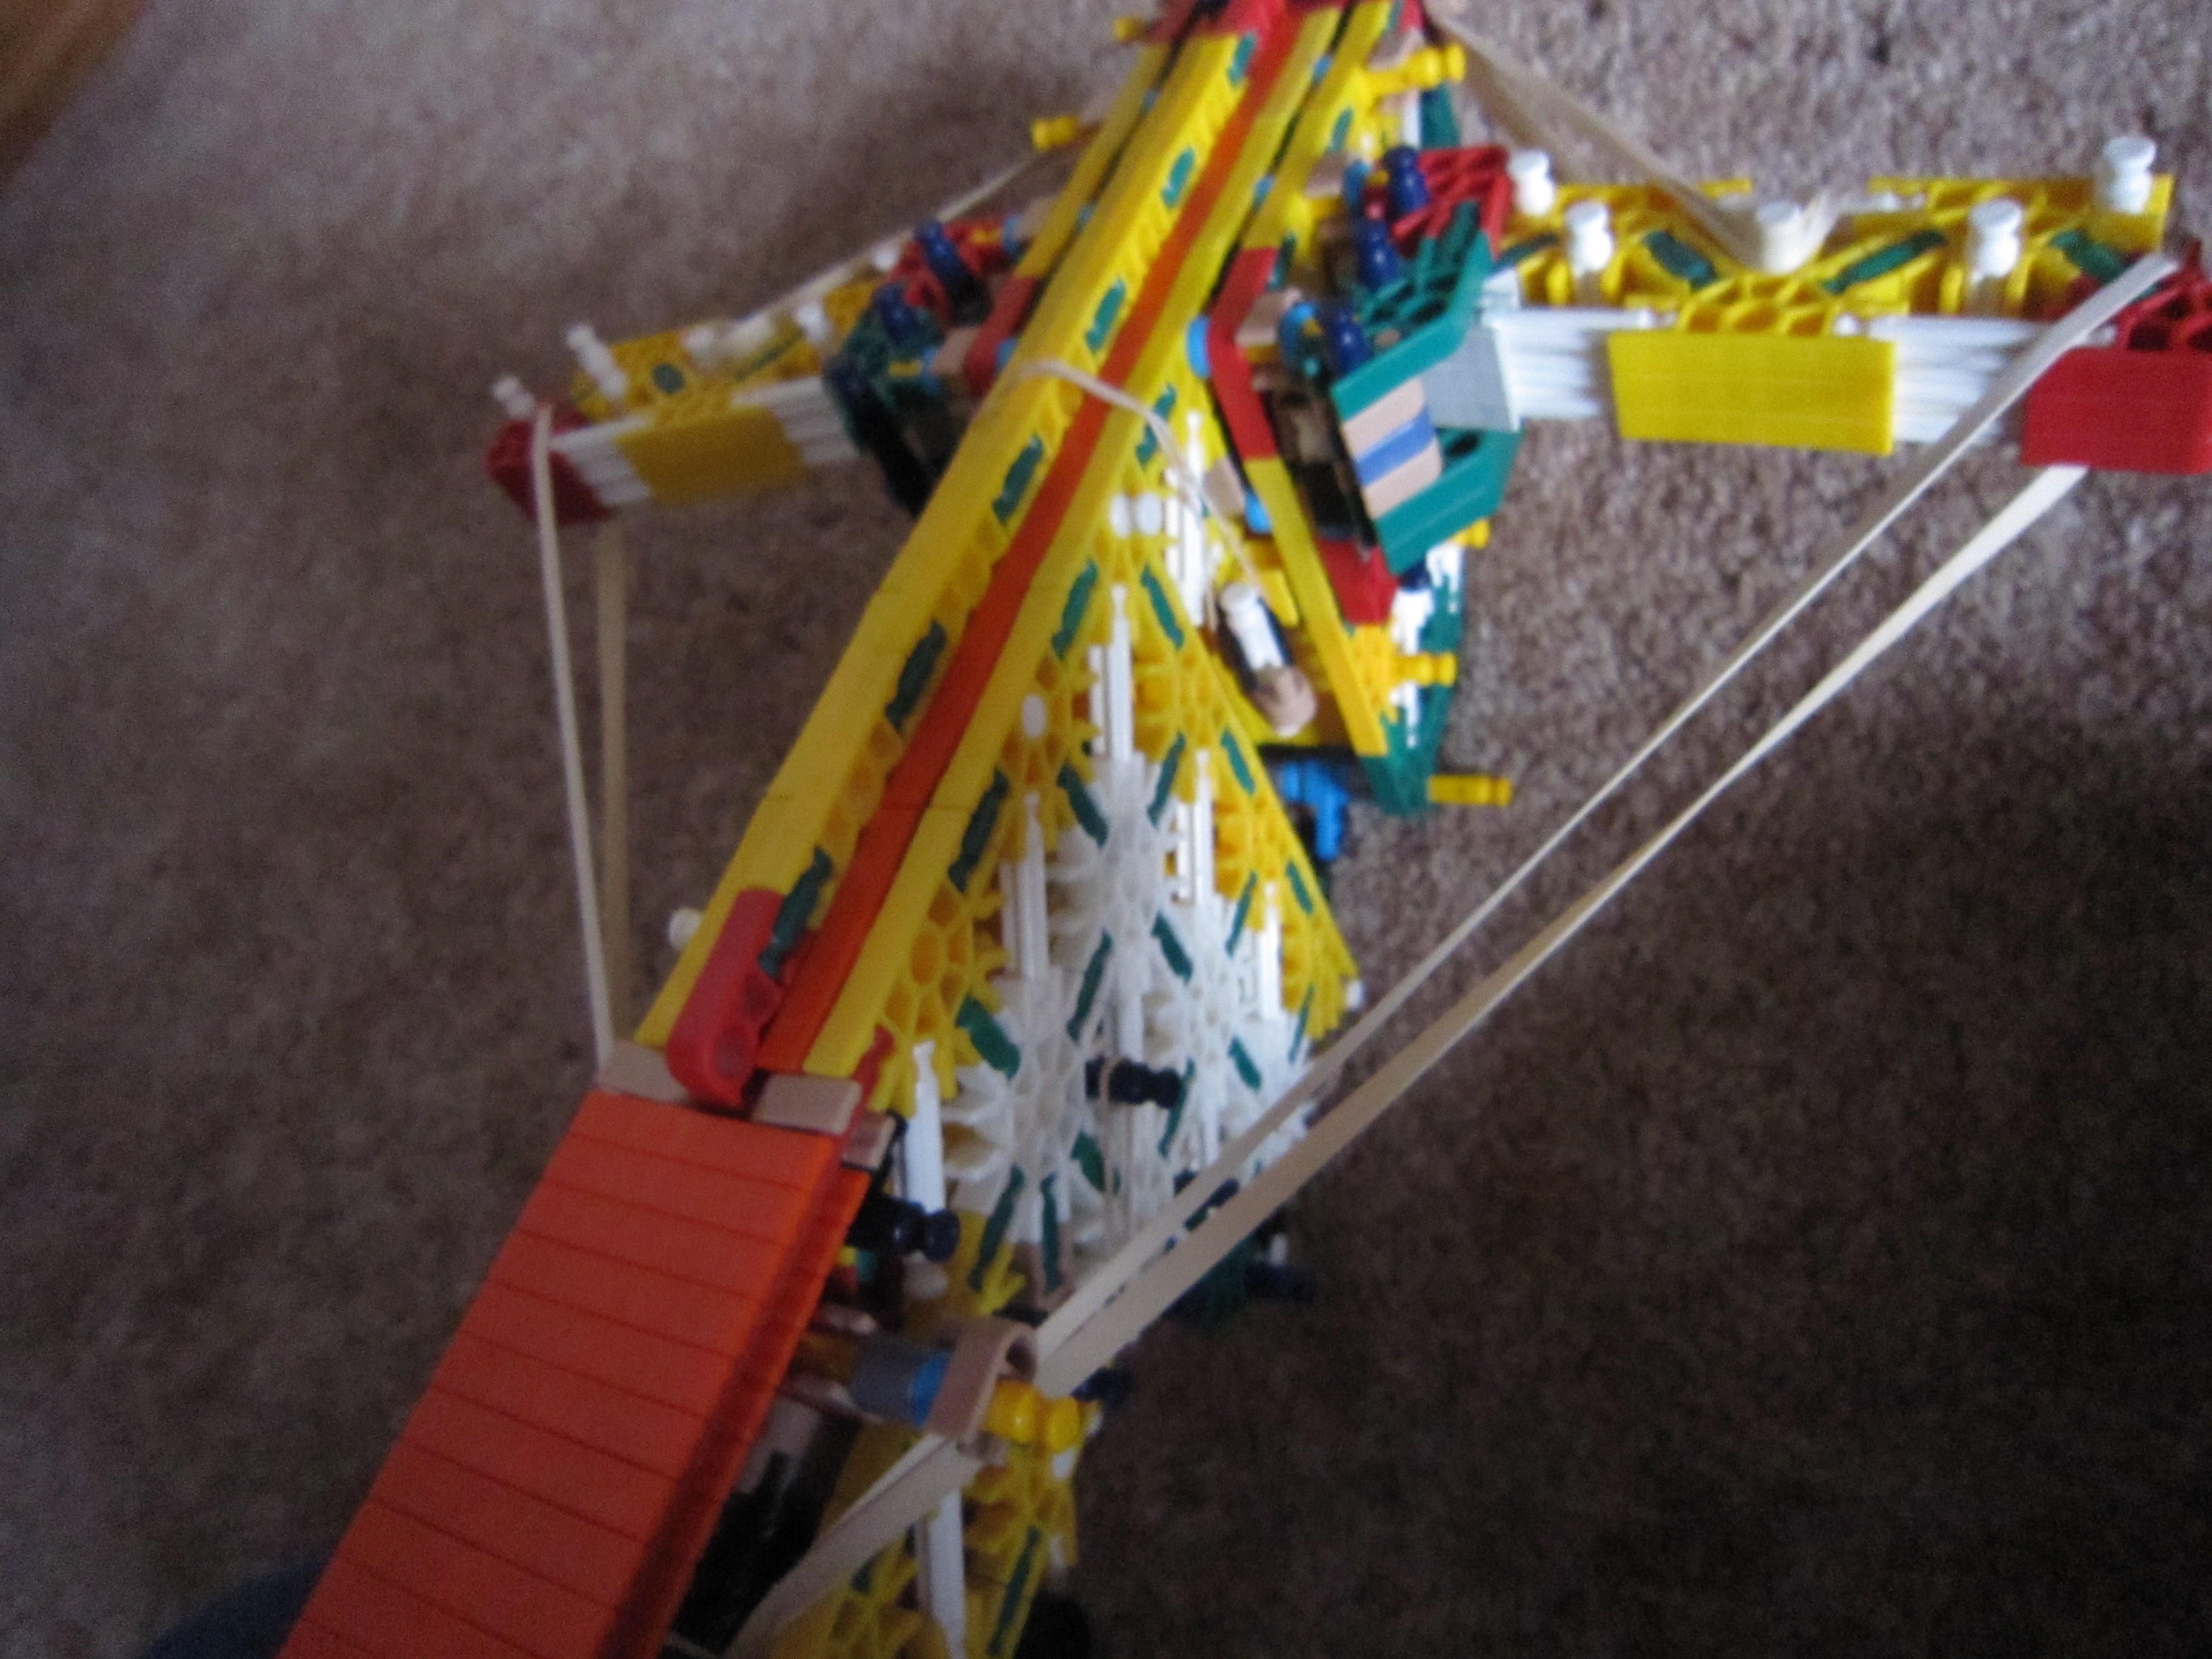


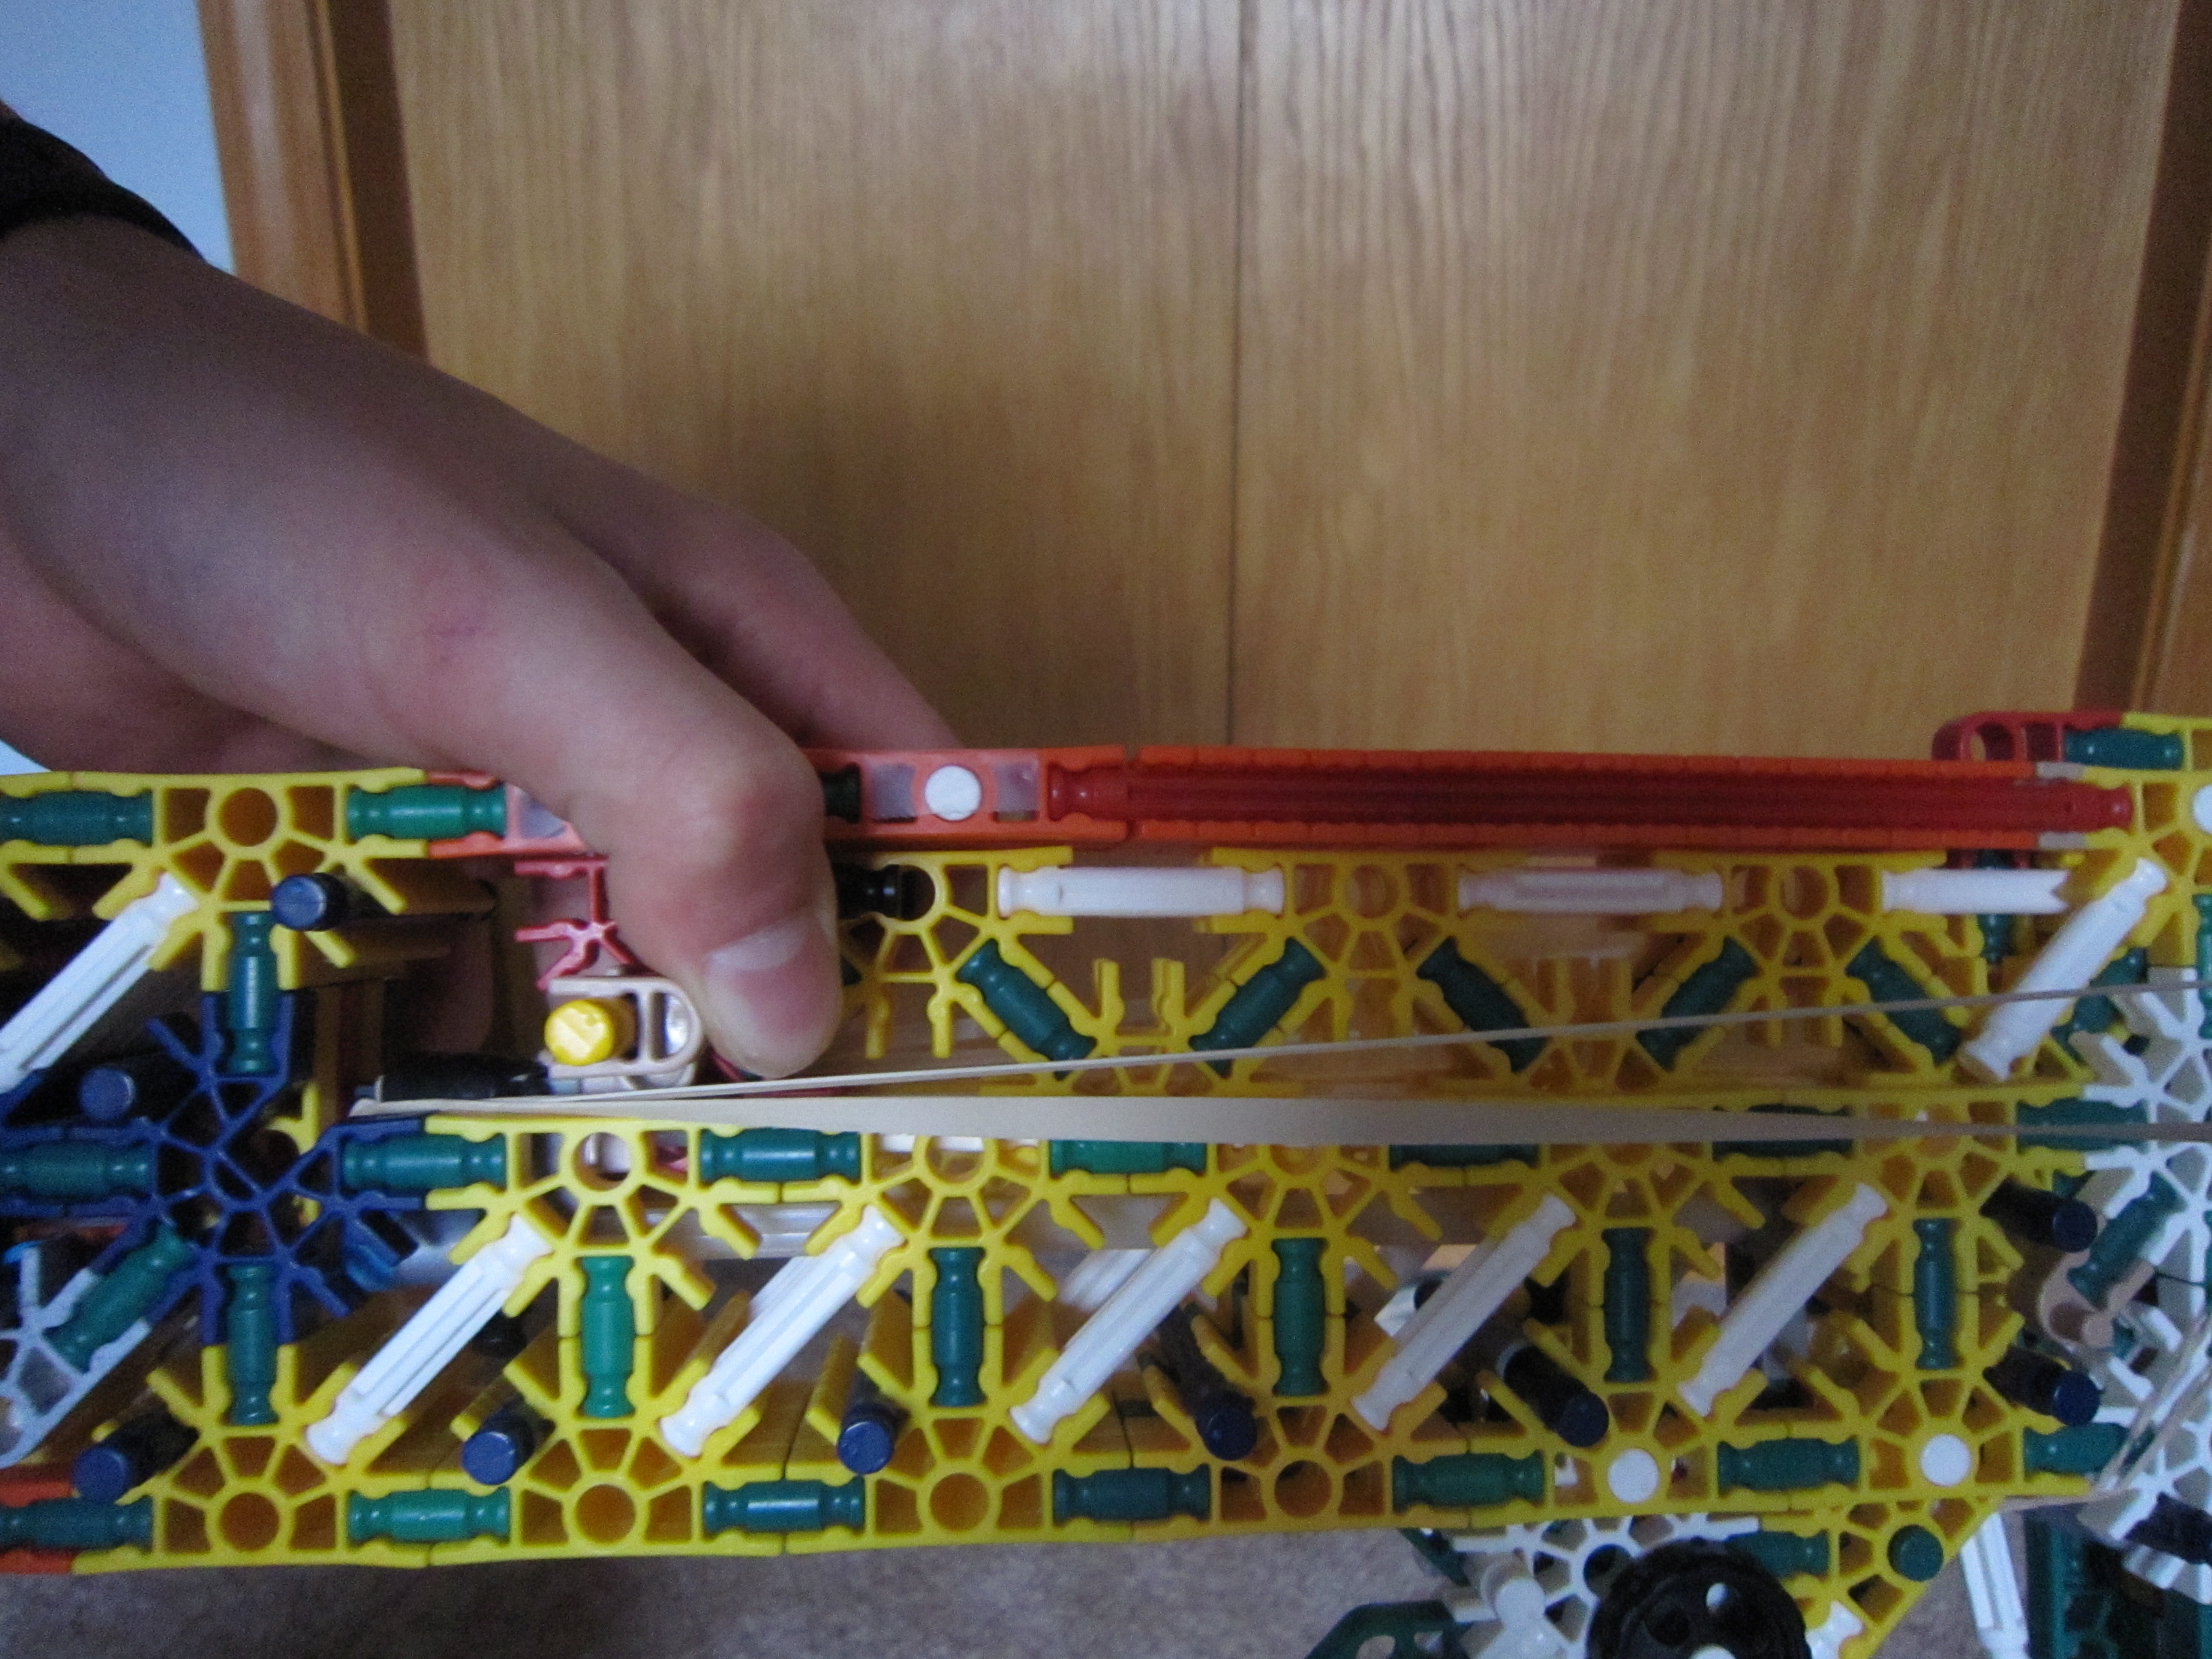

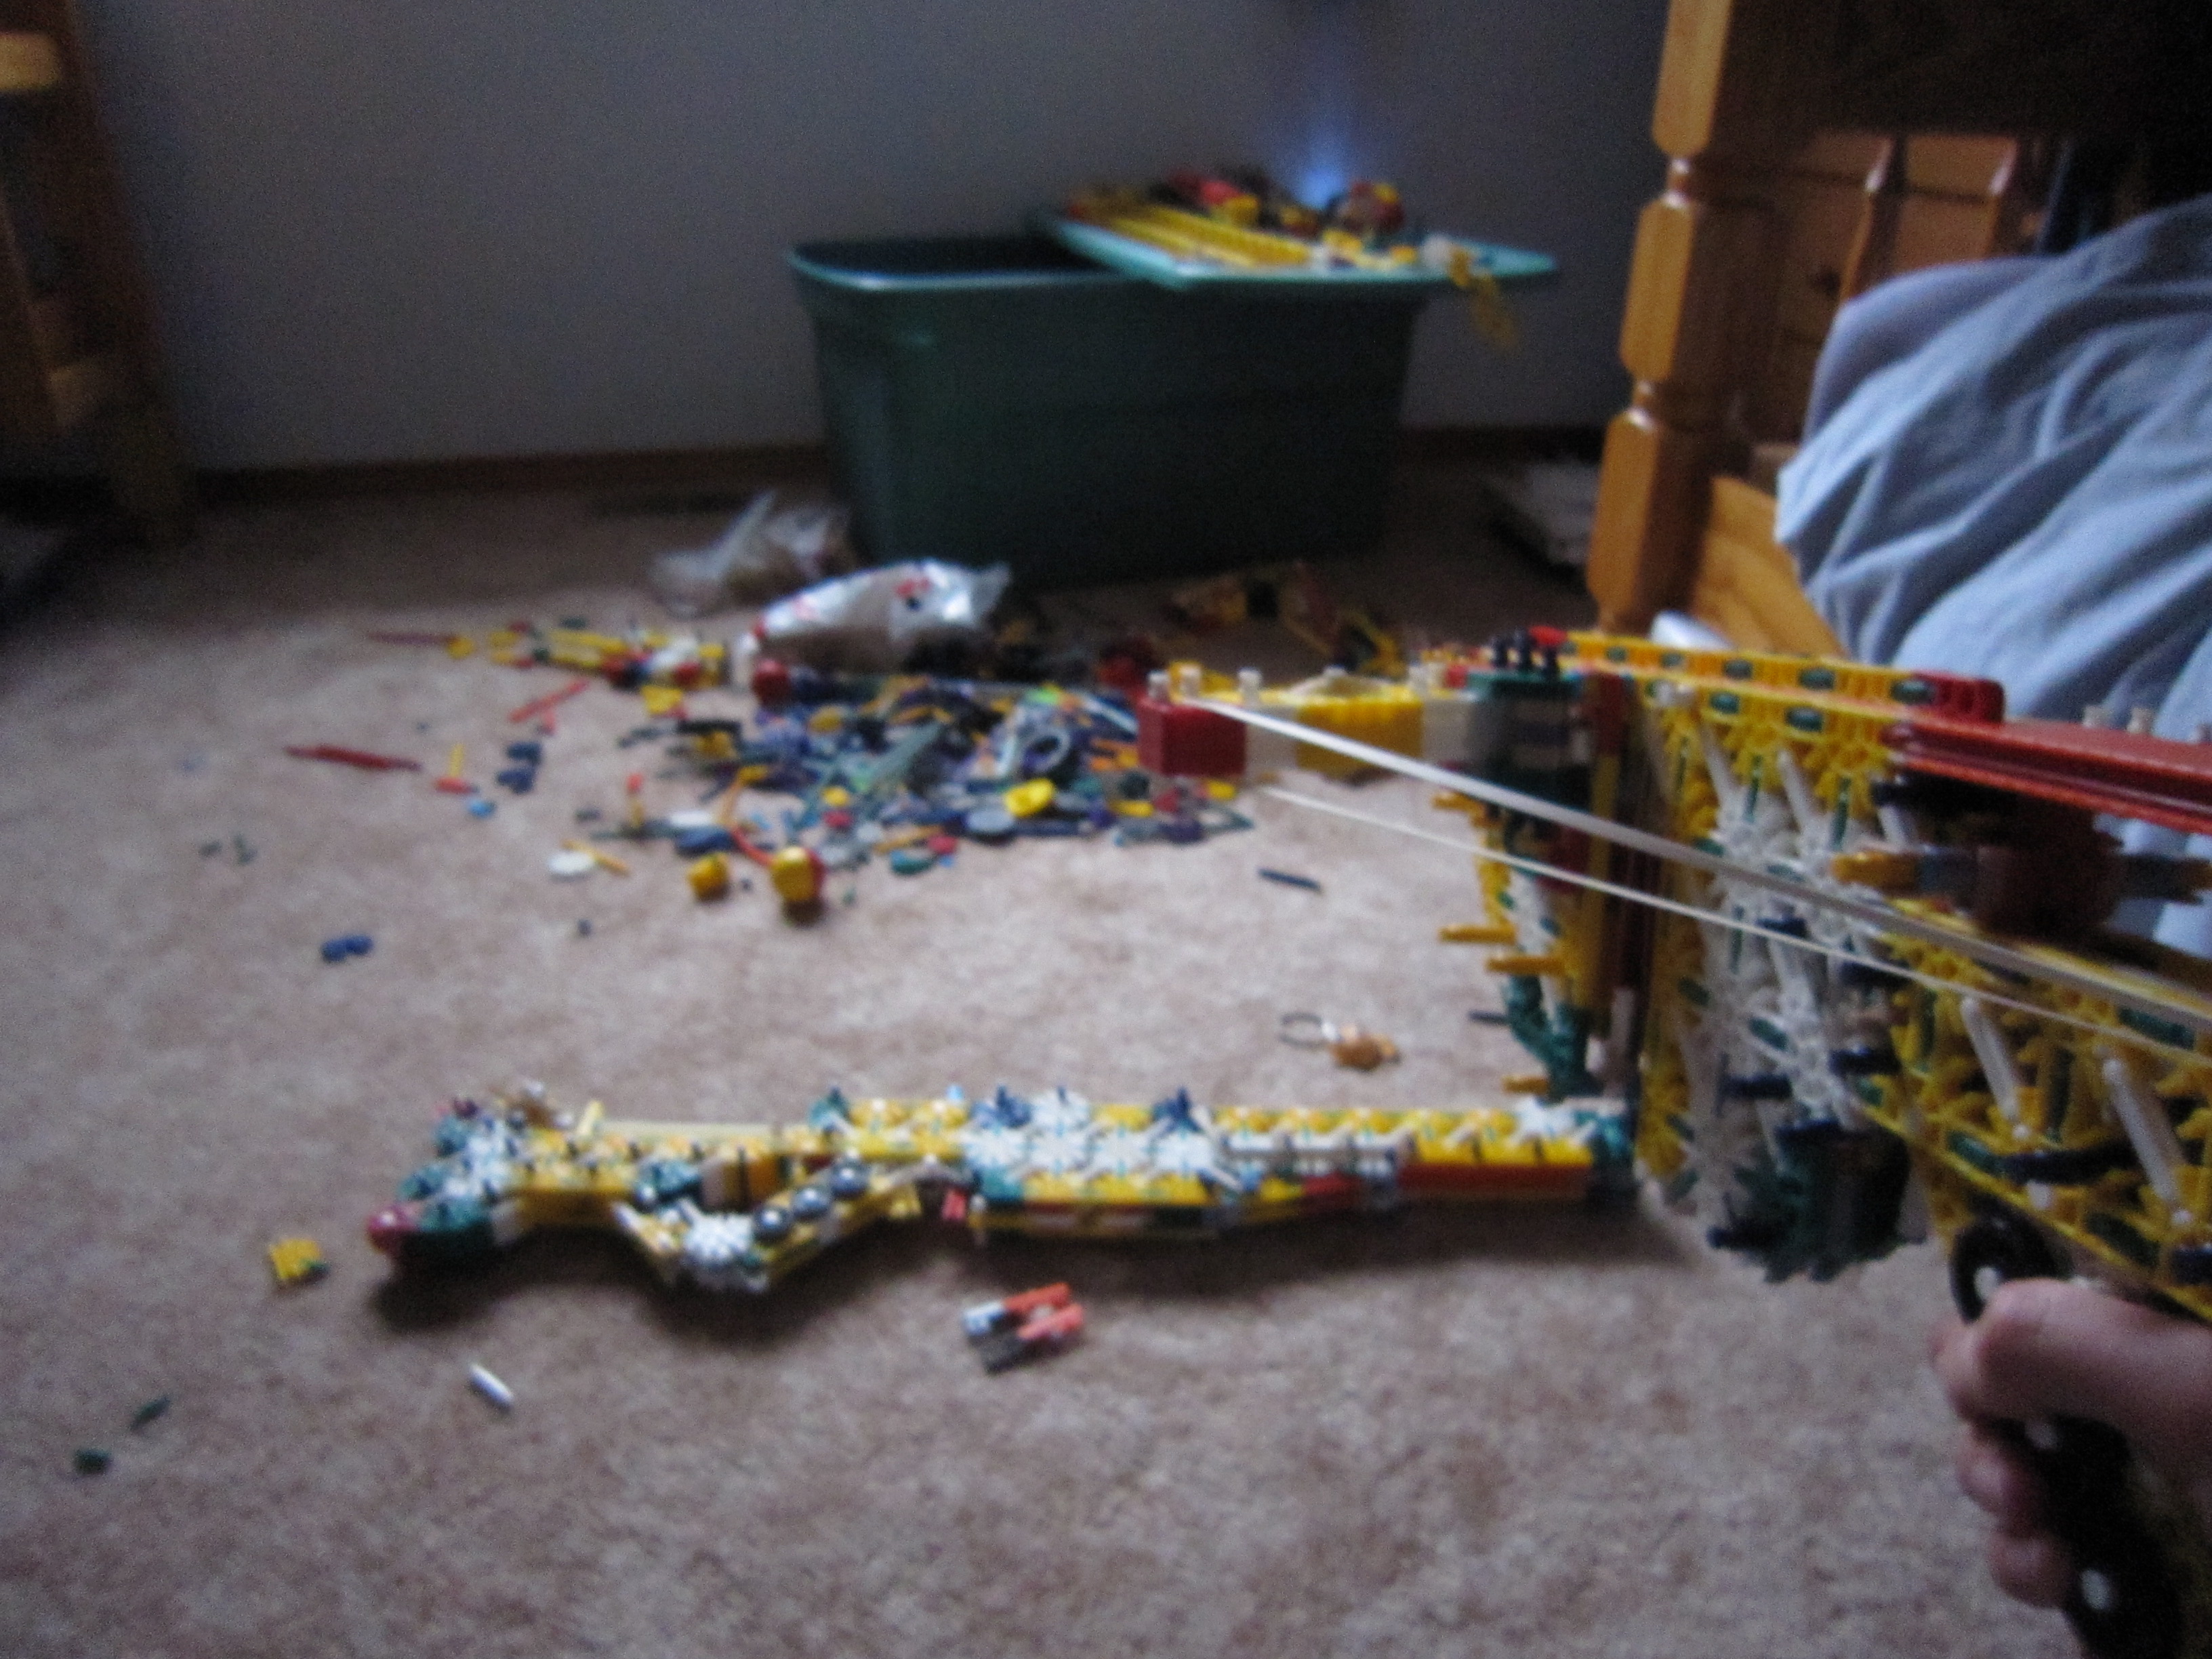
In this step you will learn how to load and fire the gun.
Image 1: Put rubber bands on the bending limbs.
Image 2: Put rubber bands on the firing pin.
Image 3: Put a rubber band on the trigger.
Image 4: Put a rubber band on the magazine pusher.
Image 5: To load, pull up the magazine pusher and put ten bullets in the magazine through the slot.
Image 6: Pull back the bolt.
Image 7: Push it forward.
Image 8: Aim and fire!
Have fun shooting. =D
You're Done!

Thanks for building the B.O.A.R. I hope you have fun shooting it. Be sure to rate, comment, and SUBSCRIBE.