BMW Decal Engraving
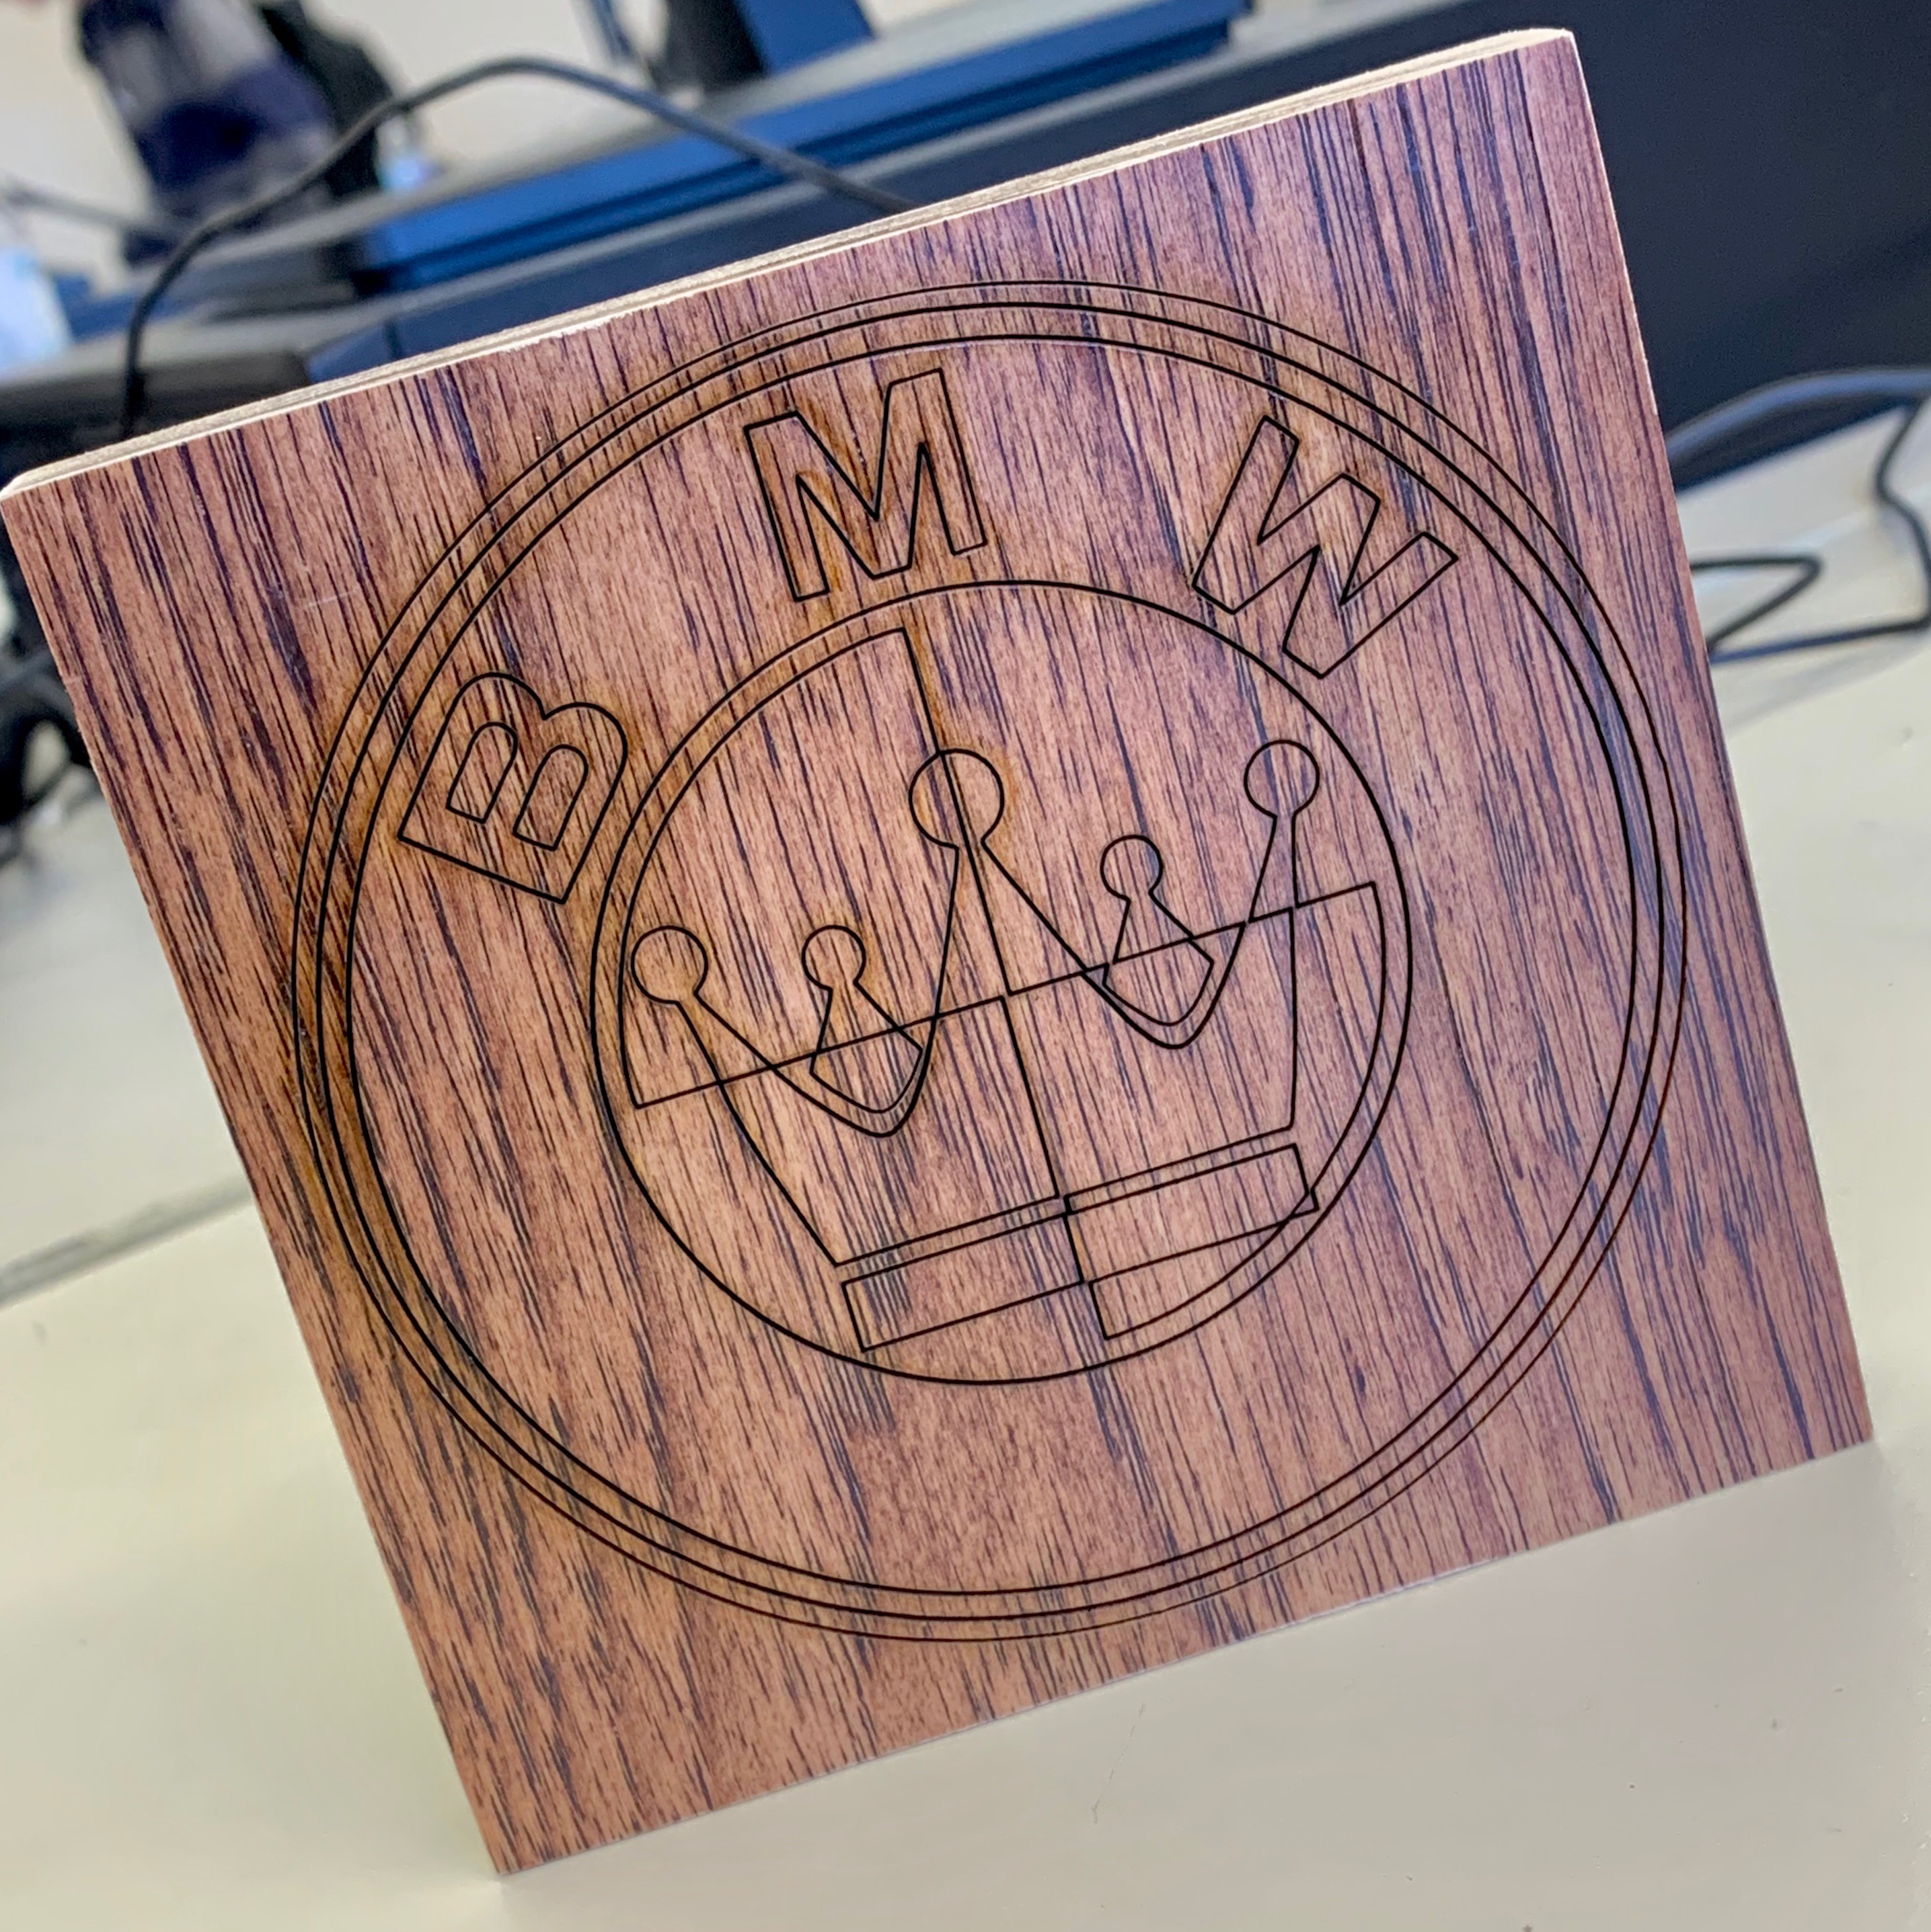
For my project, I decided to take advantage of the extra hardwood flooring in my school's wood shop. My car, a 1999 BMW, was my inspiration for this project. Using the shop equipment, computer software, and a laser engraver, I engraved a vintage BMW decal onto a square piece of wood.
Cut the Wood
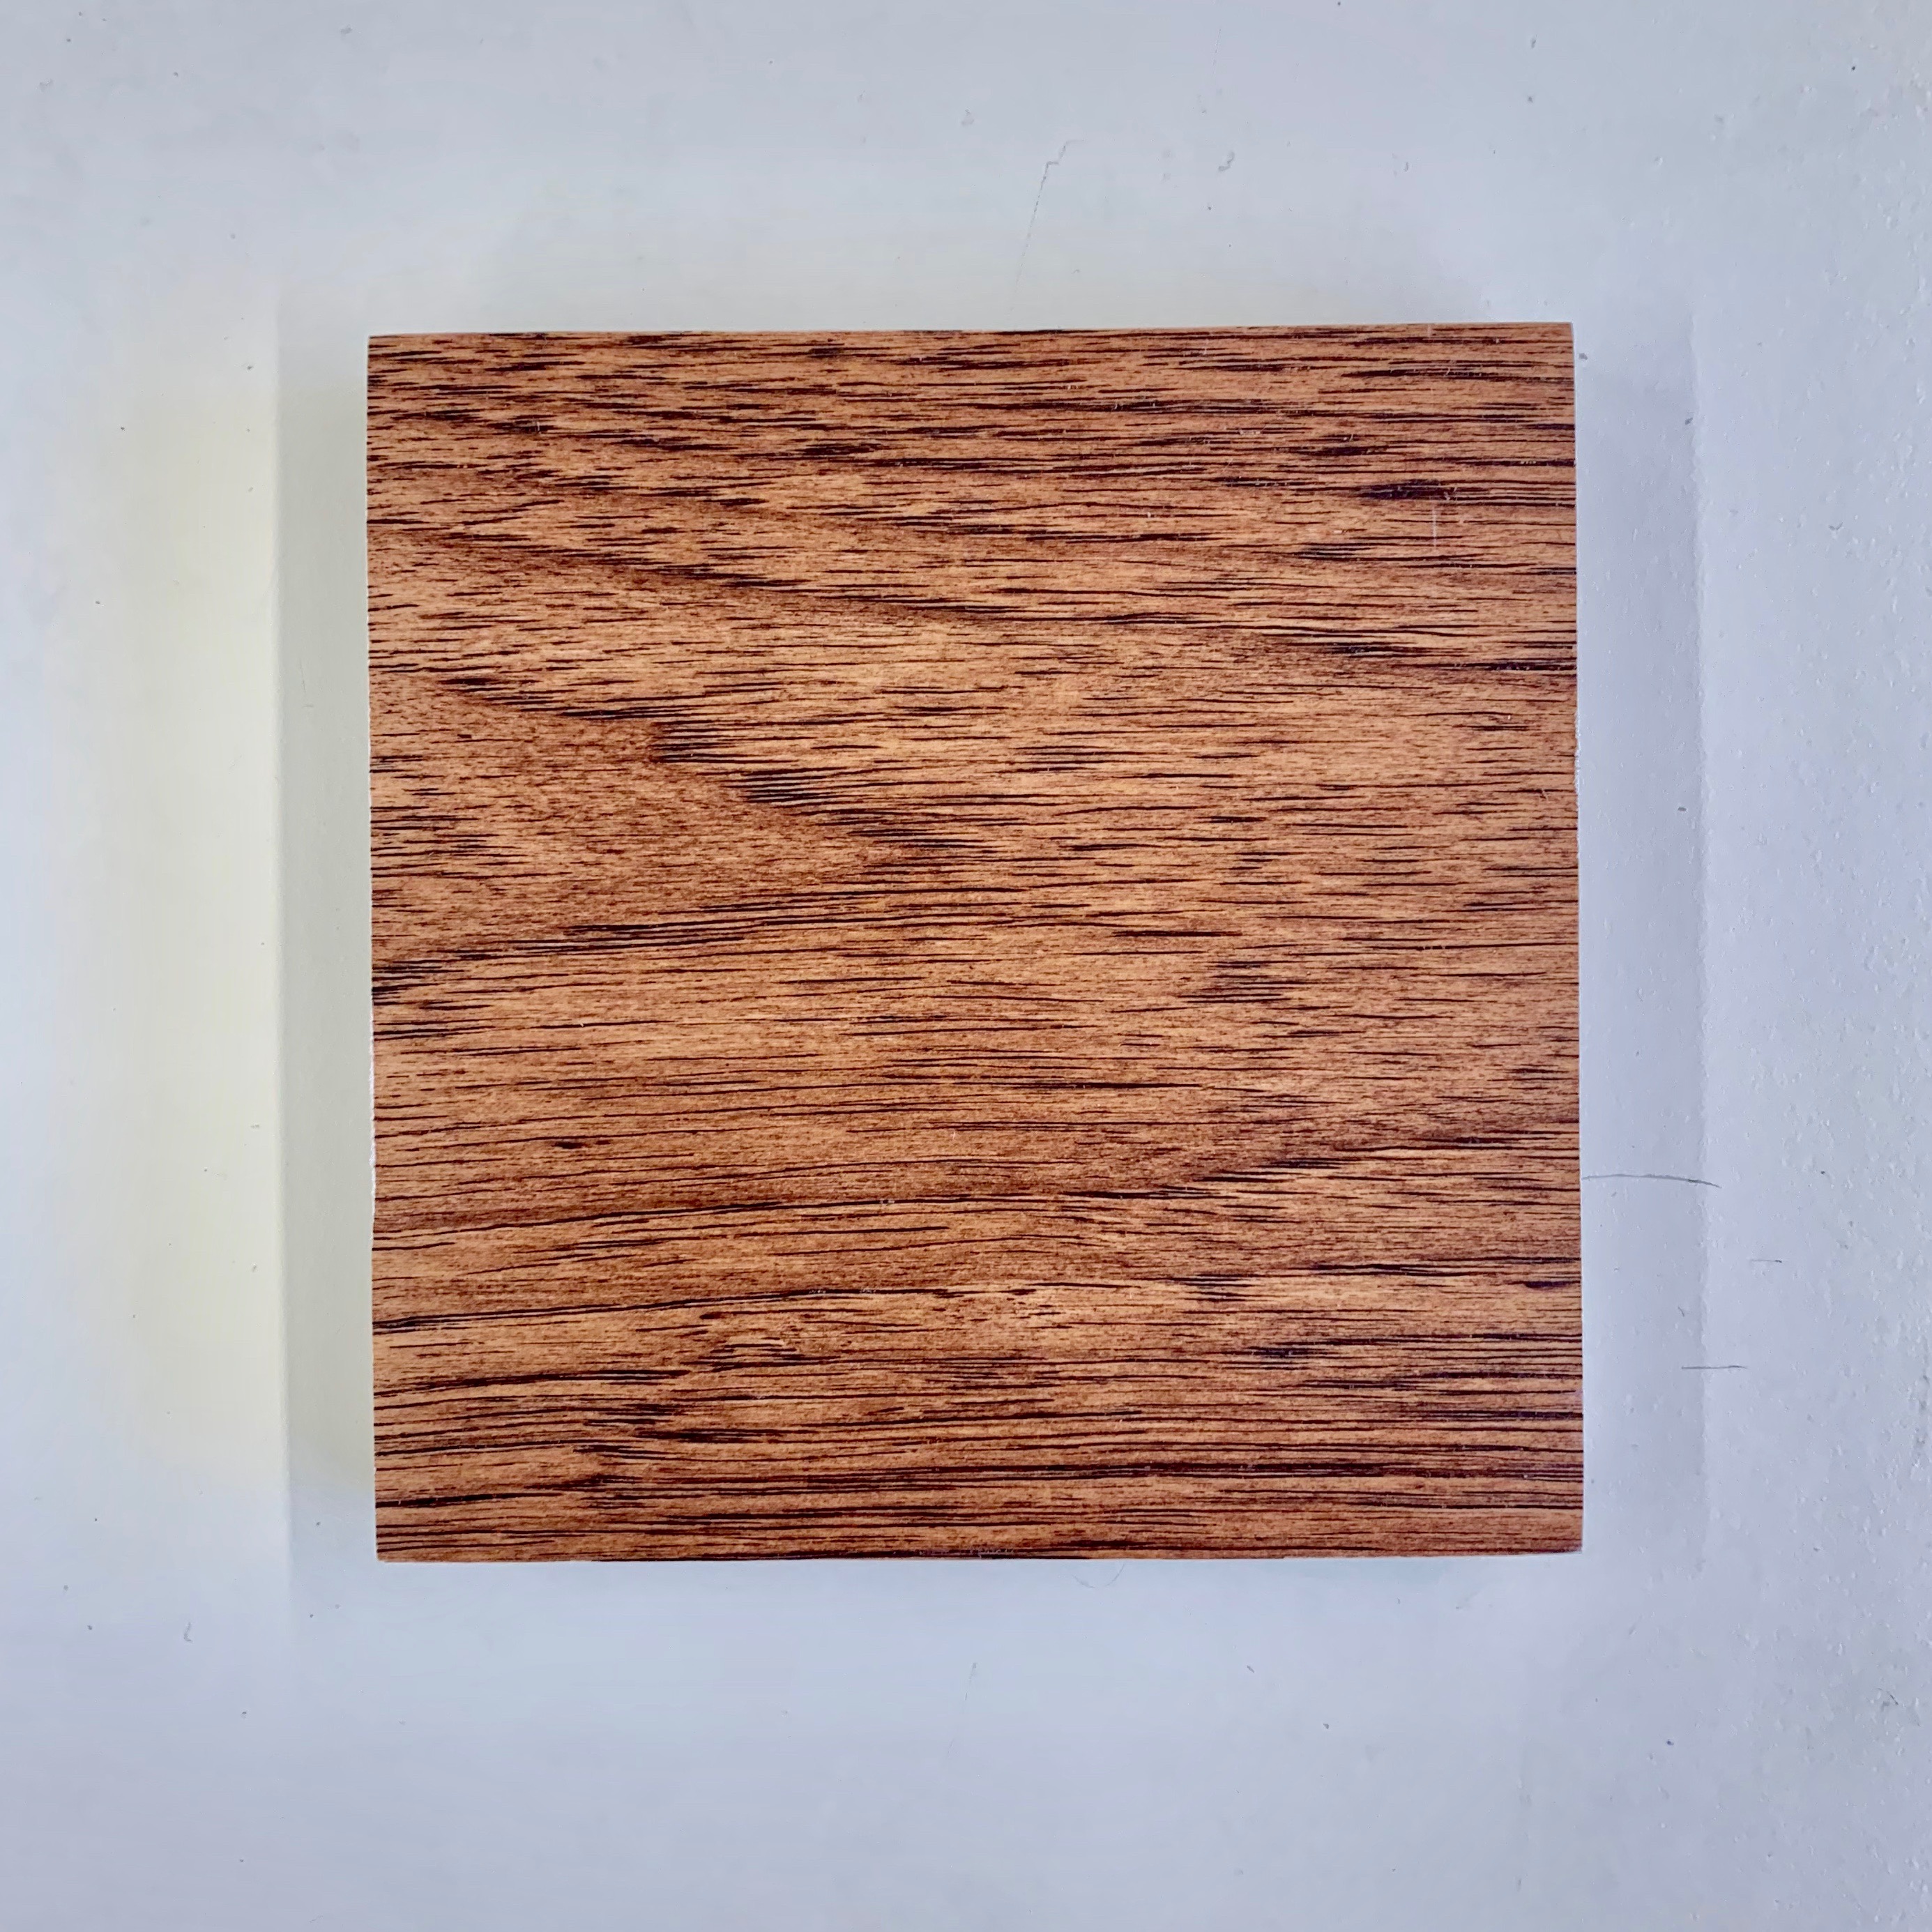
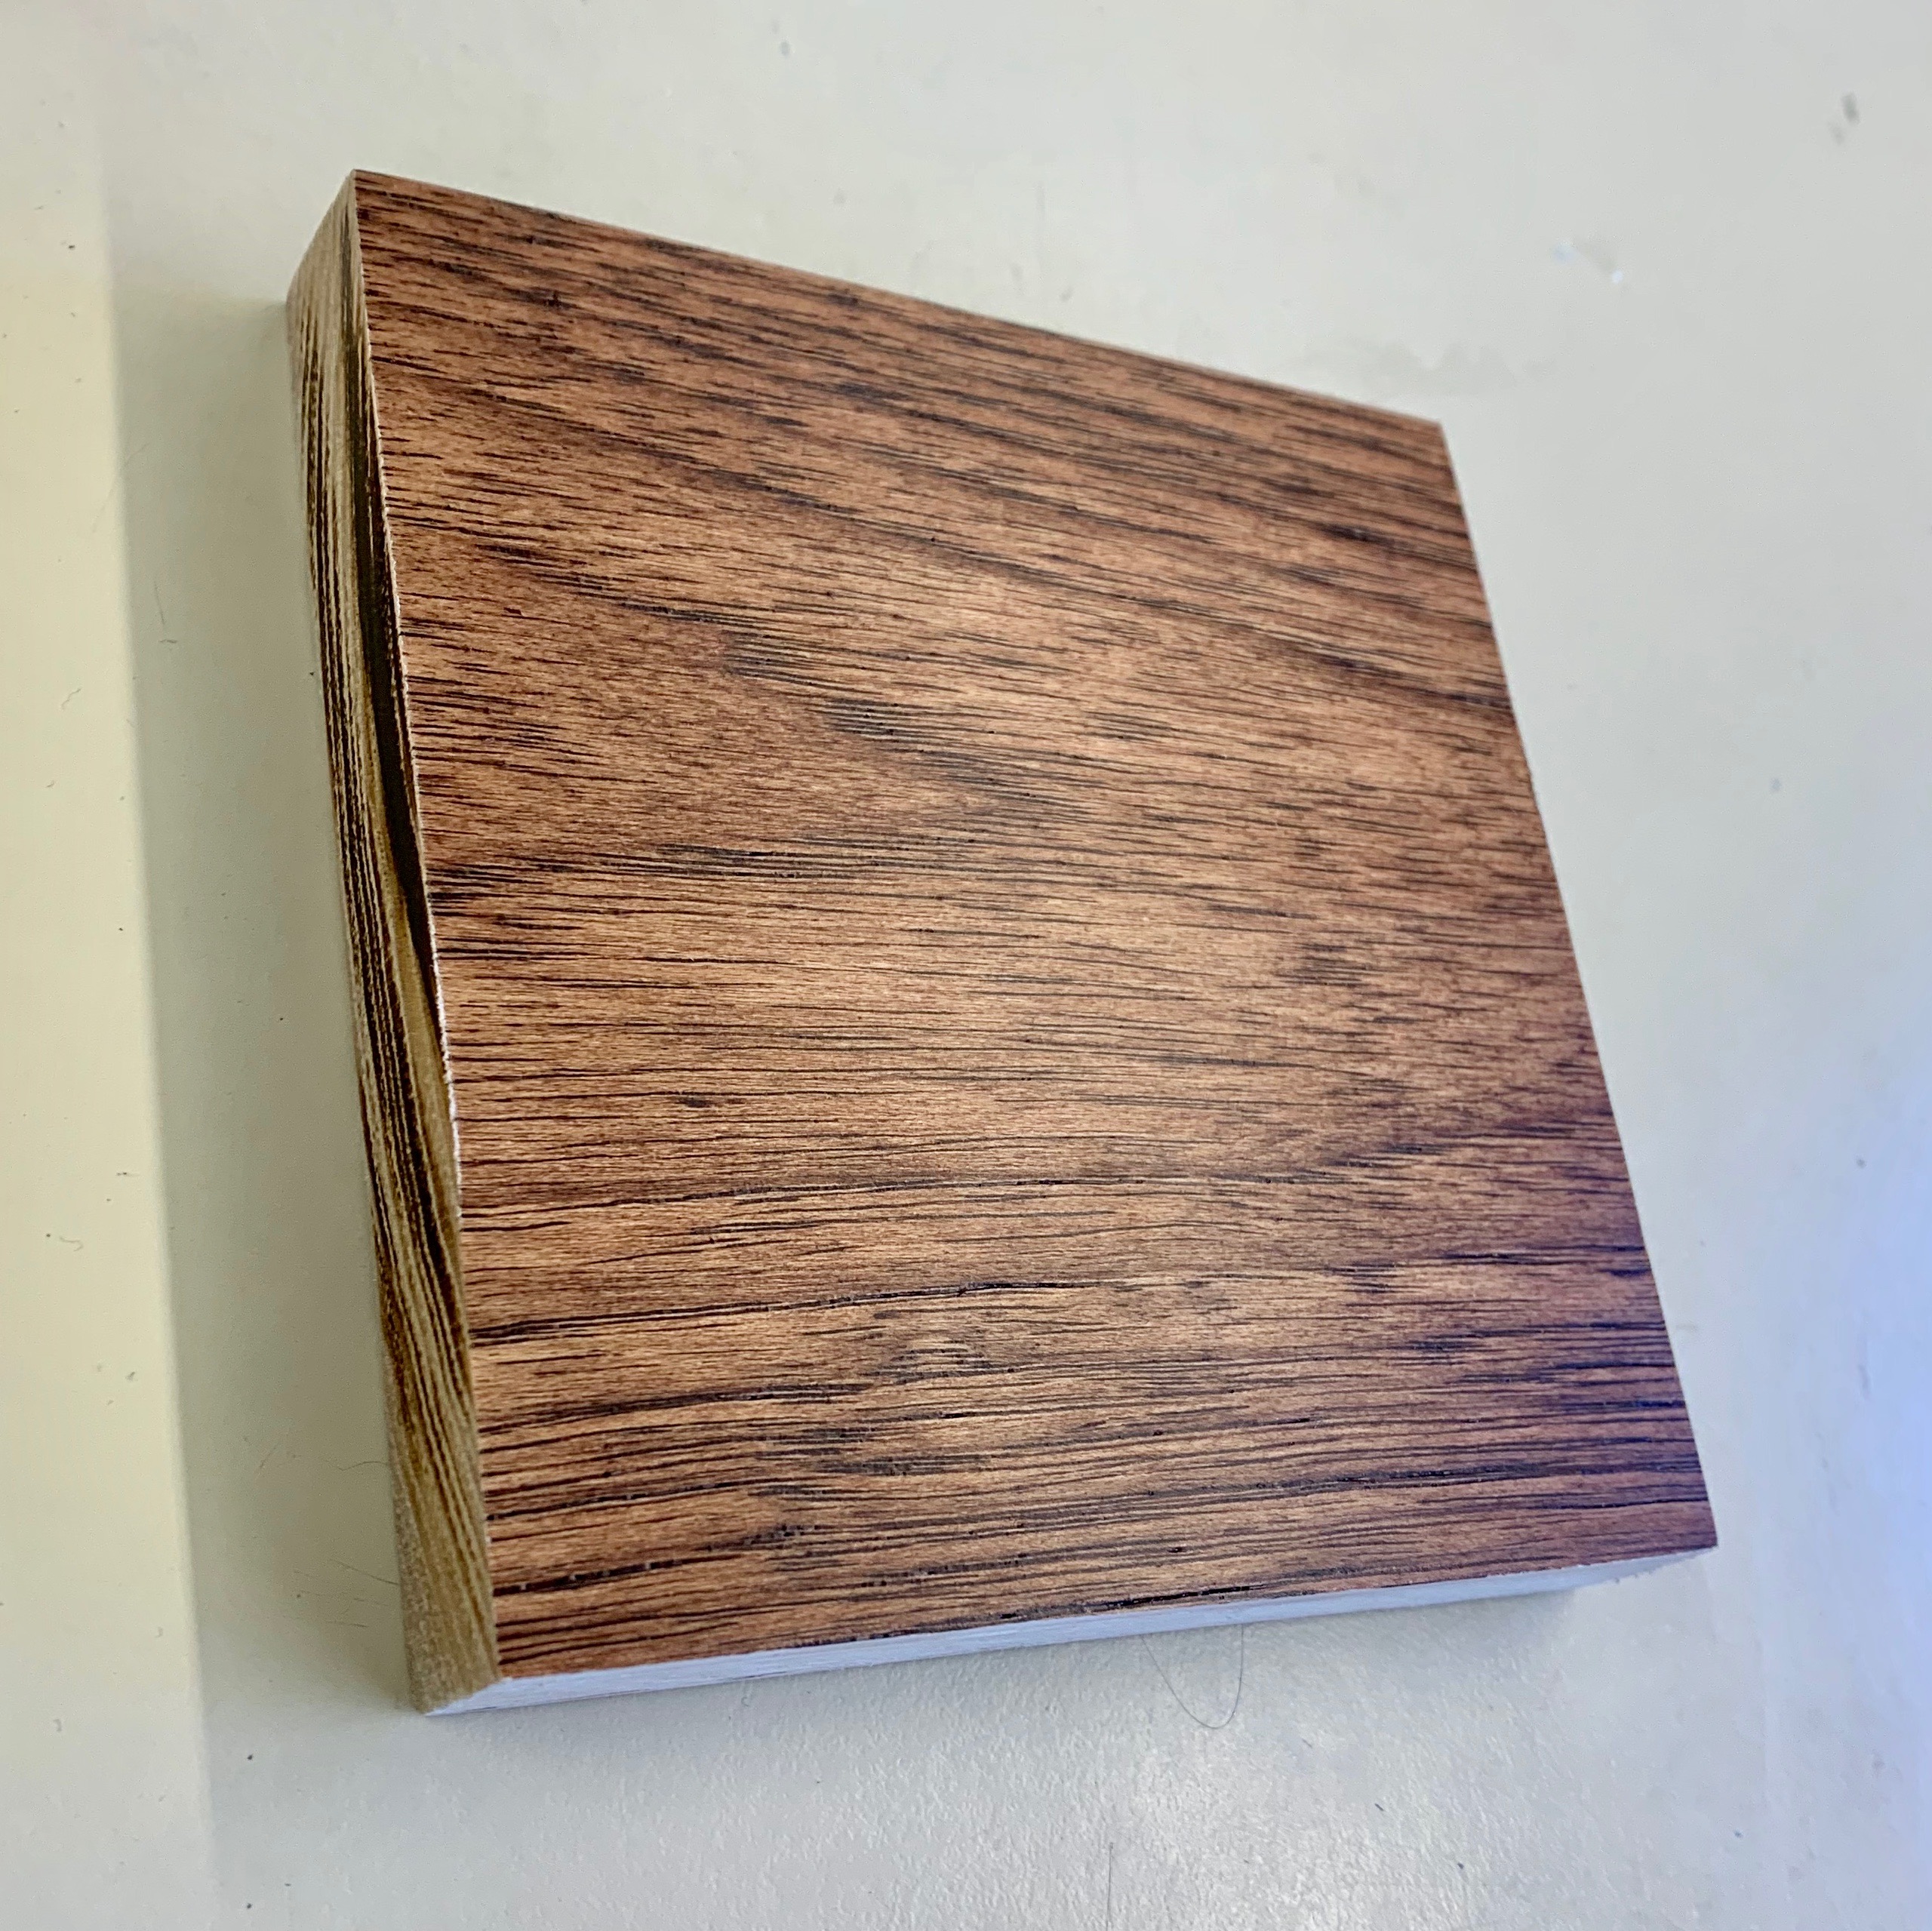
First, I cut and sanded a piece of 11/16" thick hardwood flooring. I measured it to be 4.5" x 4.5" and then used a table saw and an arm saw to get precise cuts.
Bitmap Image
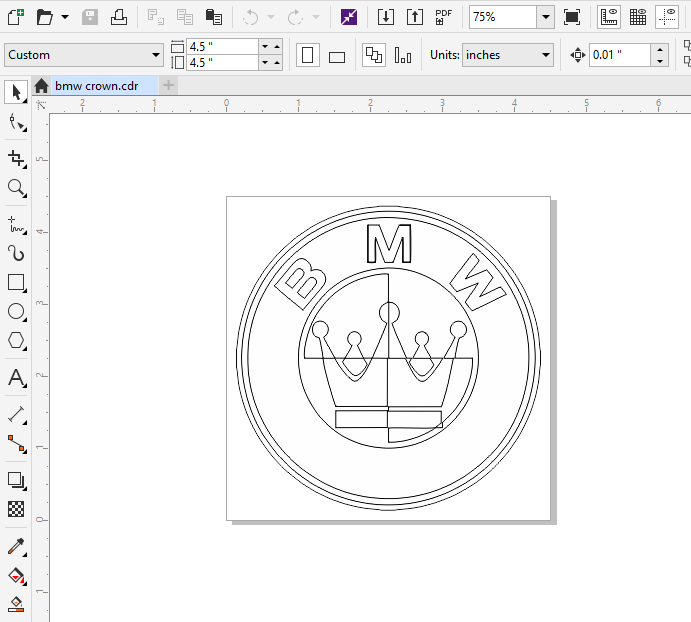
I found my image using Google, though it took a couple tries to find one that I could easily bitmap. Once I came across the right picture, I pasted it into a 4.5" x 4.5" document on Corel Draw. I used the "Trace Bitmap Logo" option to simplify and smooth down the lines in my decal. Next, I changed the outline to hairline thickness and selected "no fill" for the picture. Finally, I saved the file as a DXF so I could open it in AutoCad.
Print From AutoCad to Laser Engraver
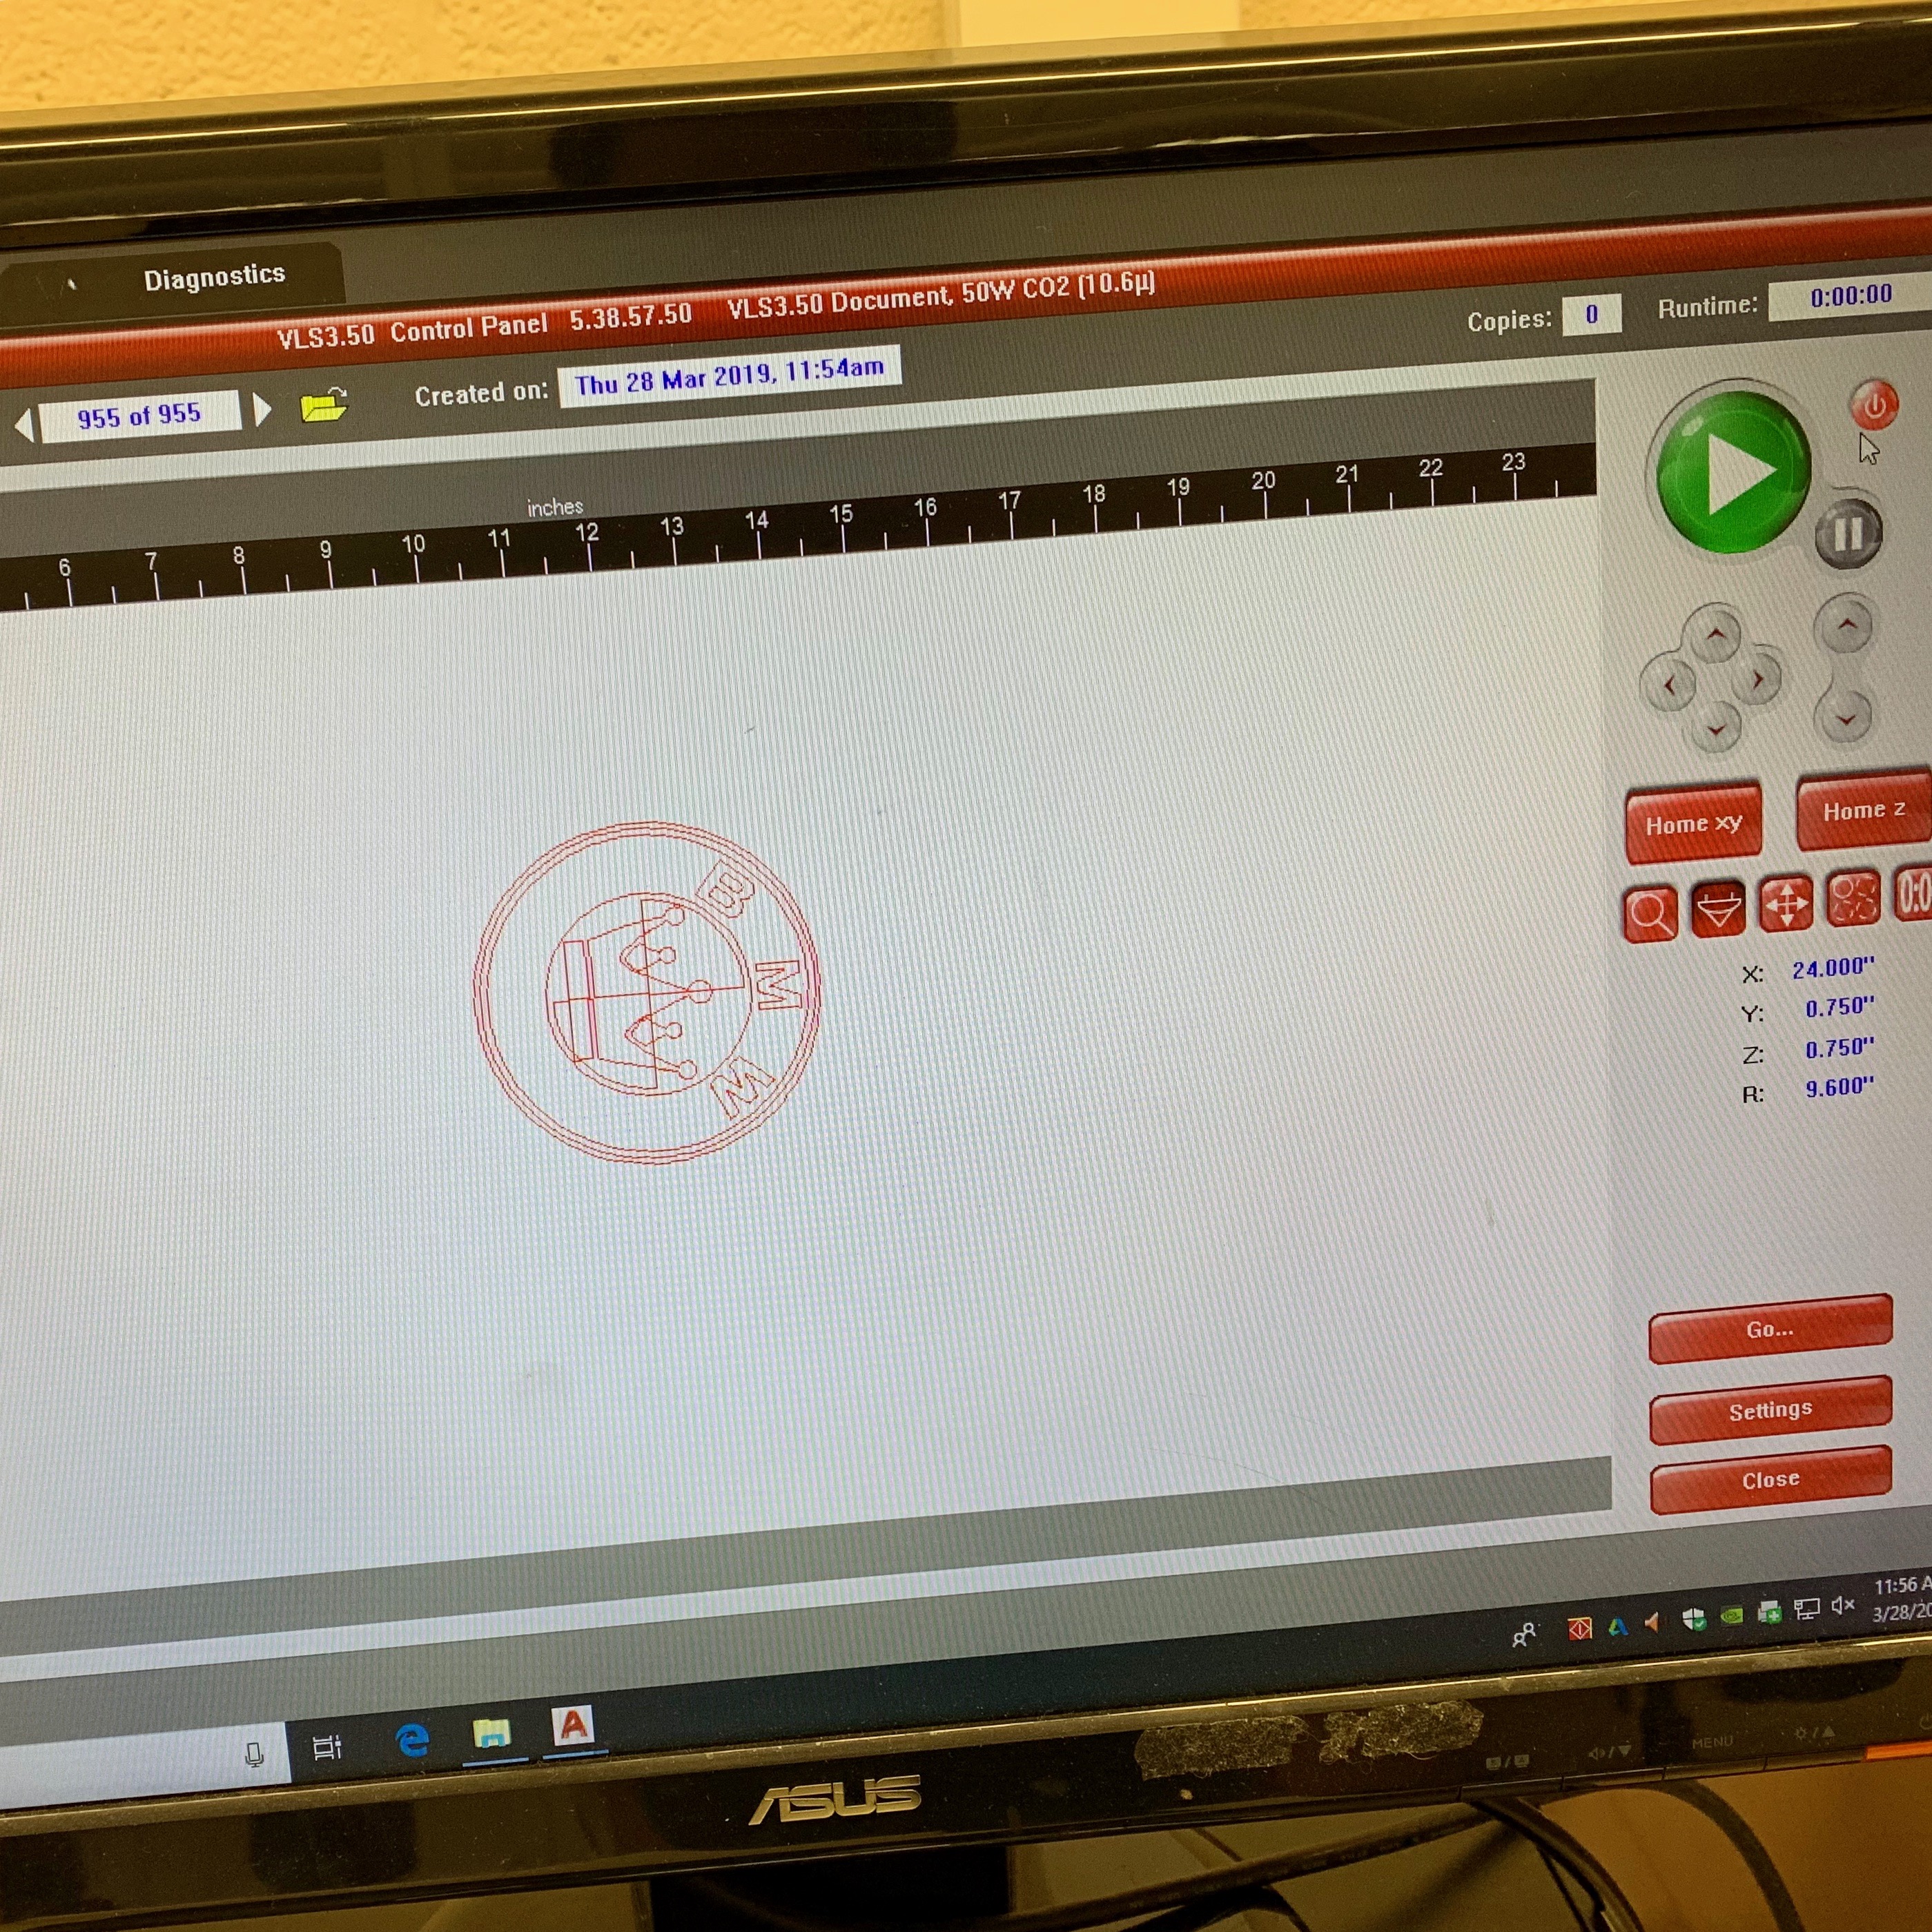
Using the desktop that is hooked up to the laser engraver, I opened my DXF file of the decal. I sent it to the VLS3.5 through the "print" option. Next, I opened up the program for the laser printer. Here, I adjusted the position and the settings.
Engraving the Plaque
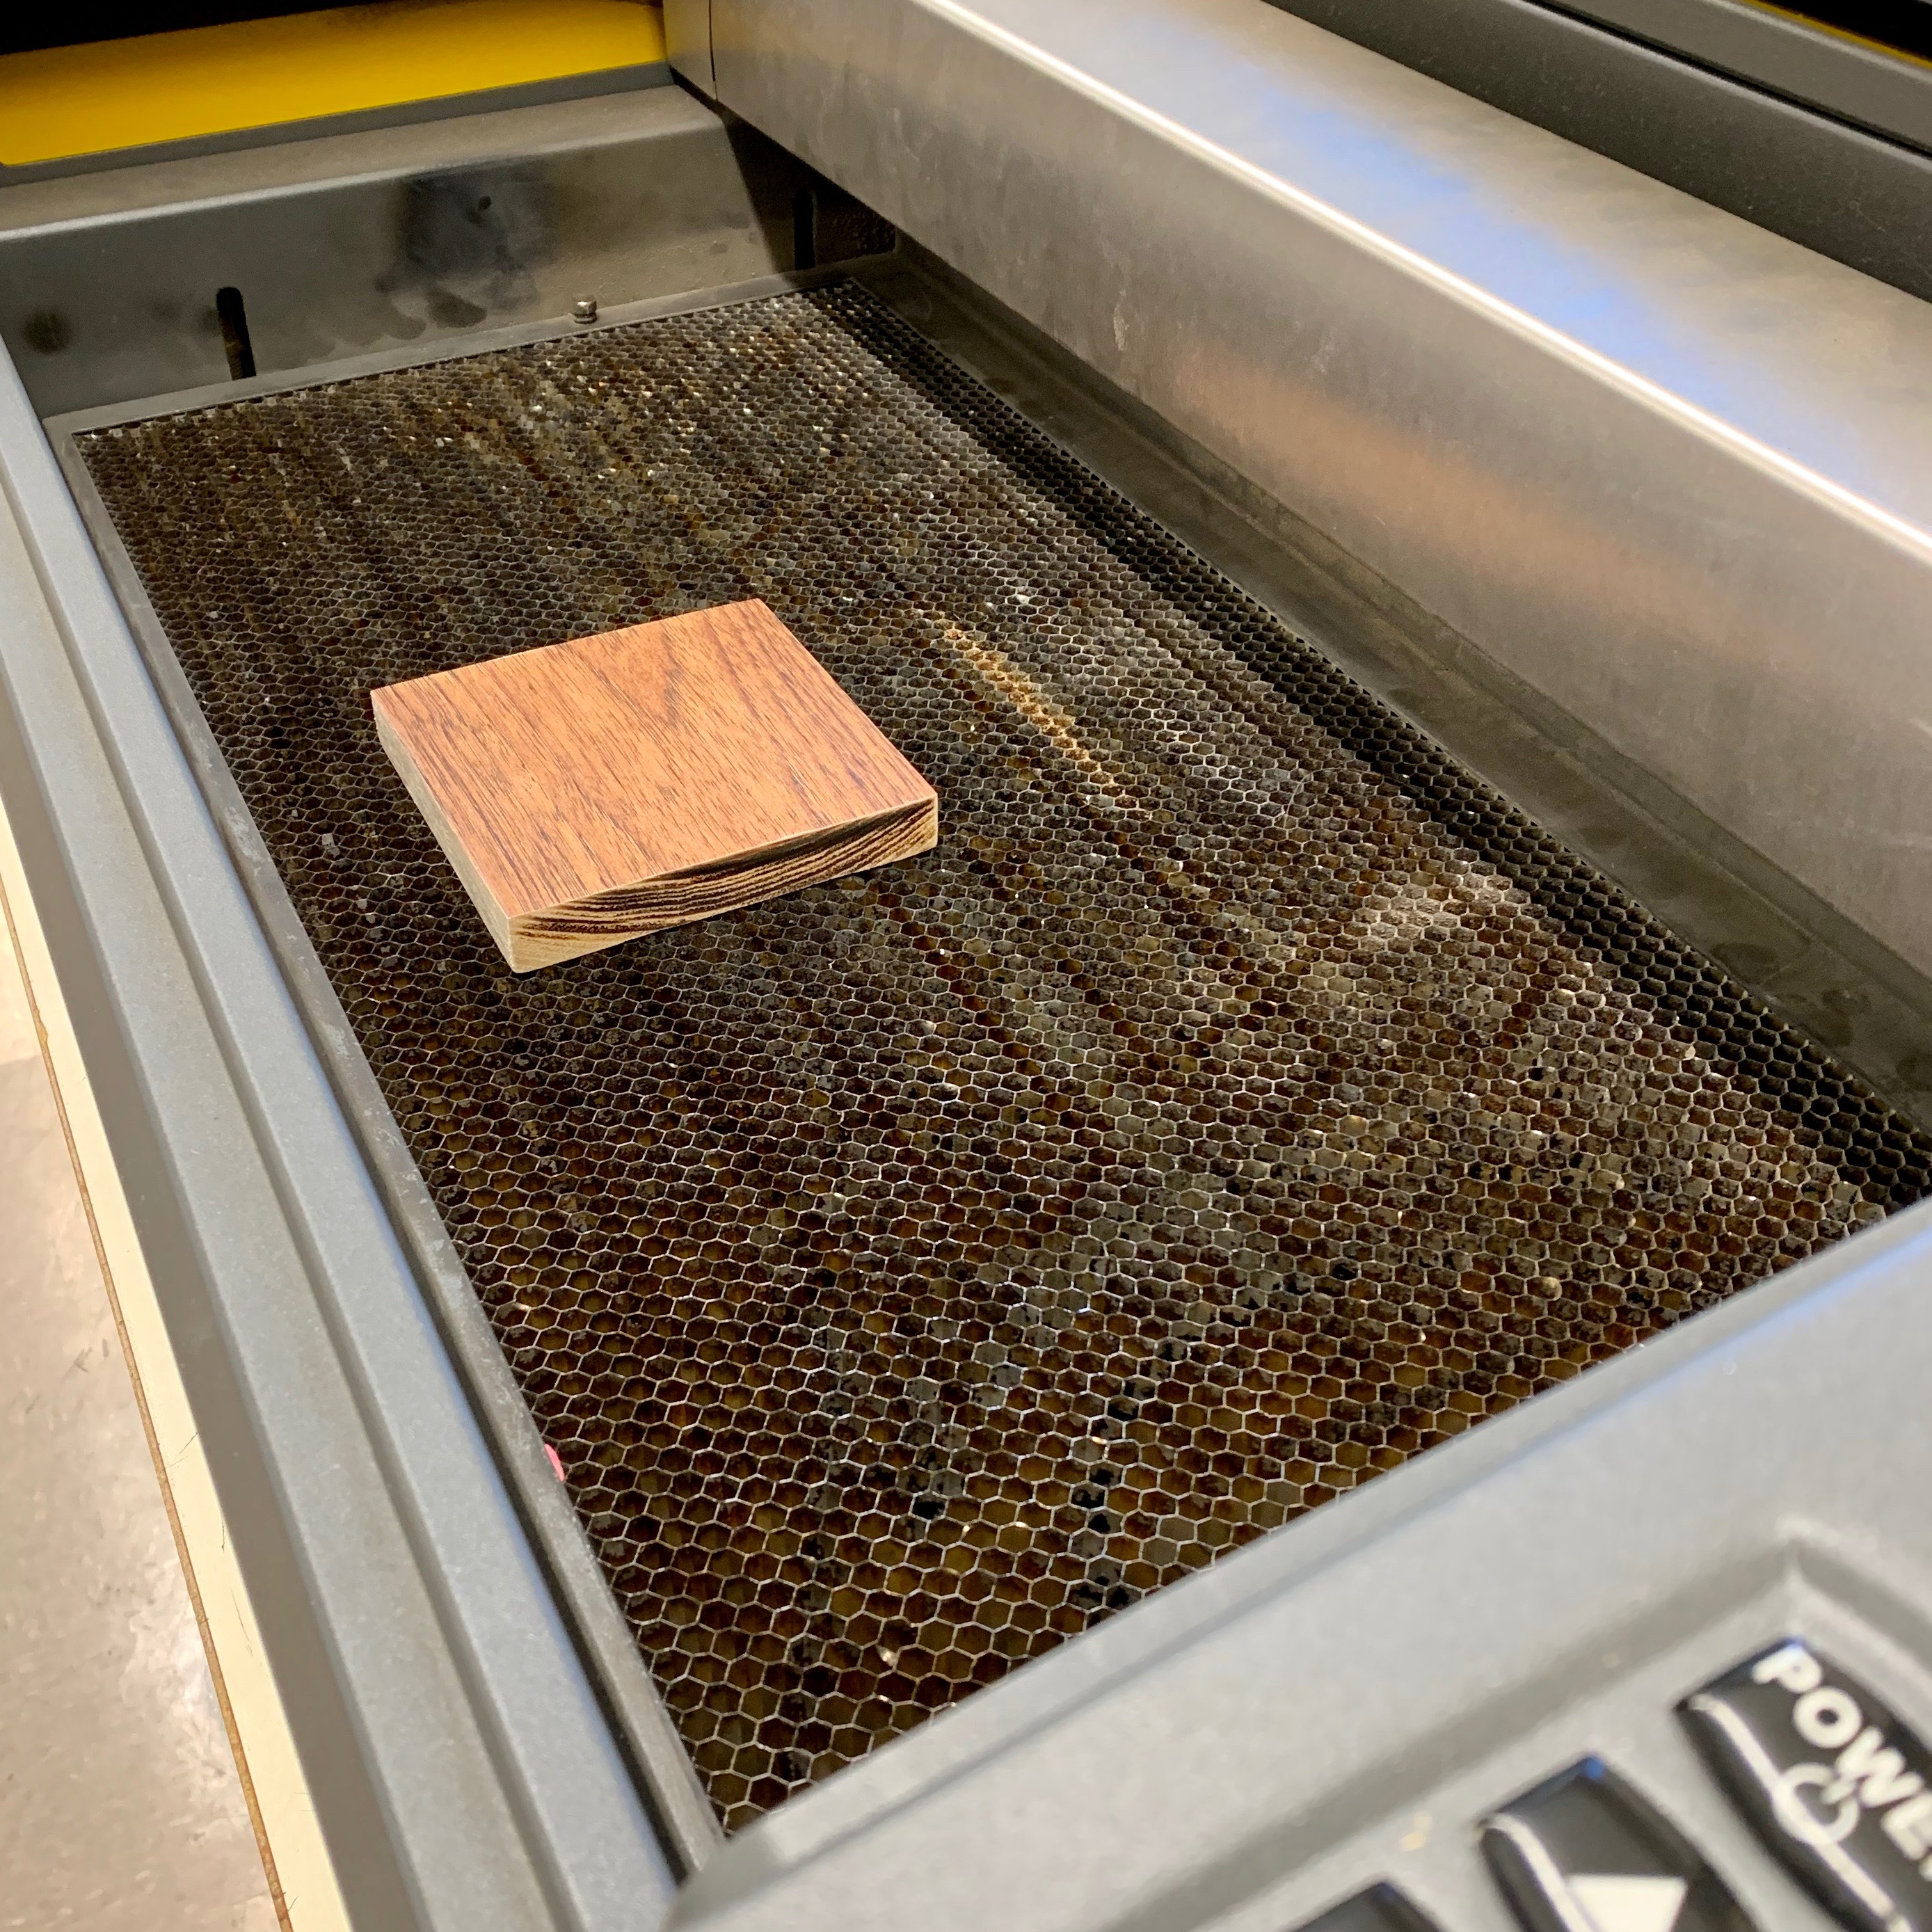
Lastly, I placed the wood in the printer and made sure it was level and parallel. It took about 3 minutes for the machine to finish engraving.