BMP280
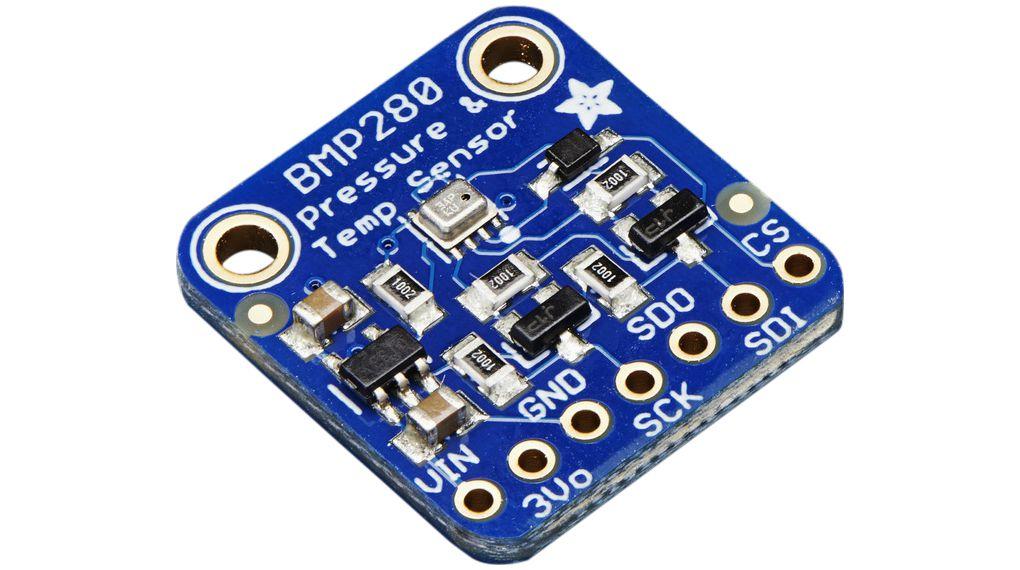
This sensor is made to measure the barometric pressure in the air.
Supplies
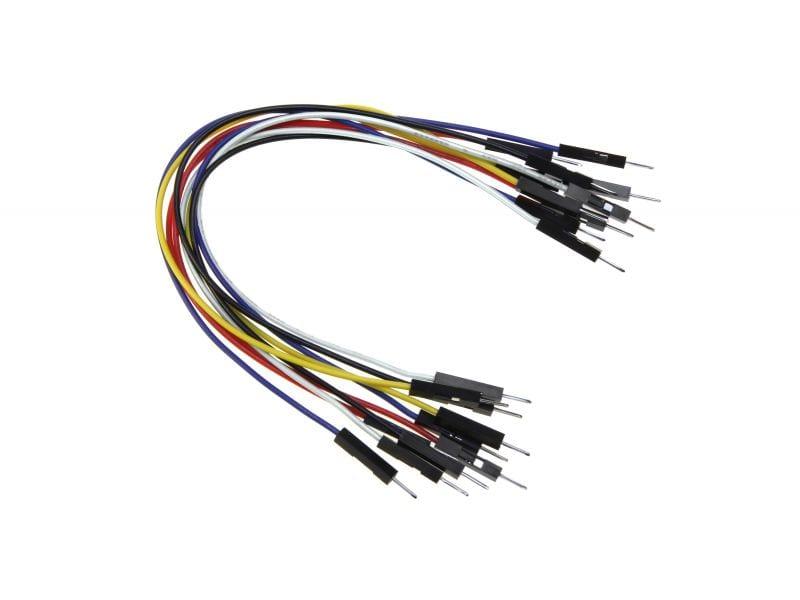
- 4 male-to-male jumper wires.
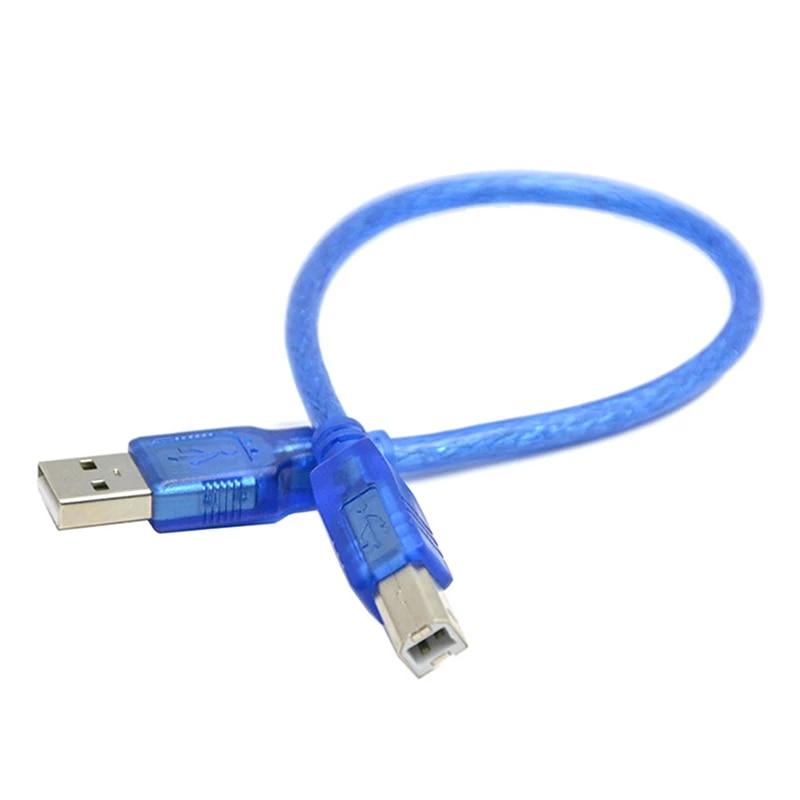
- USB for Arduino.
- Computer or laptop.
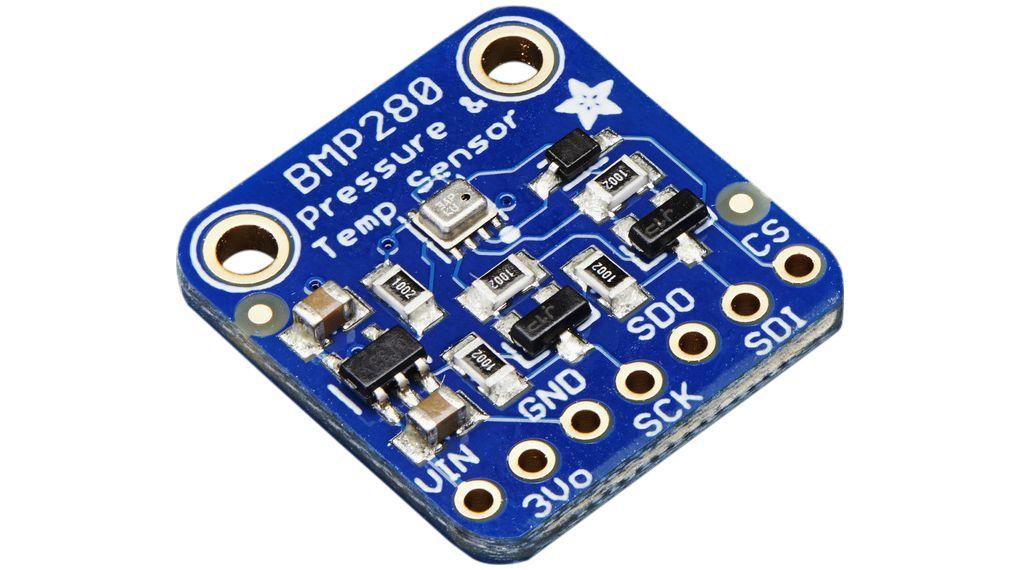
- BMP280-sensor.
- Arduino Editor to import the code (https://create.arduino.cc/editor).
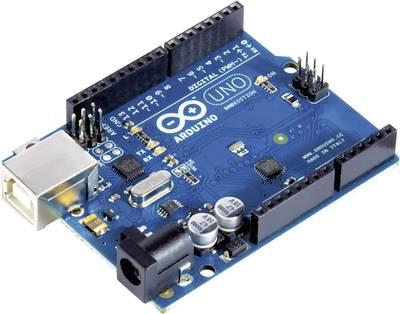
- Arduino-board UNO.
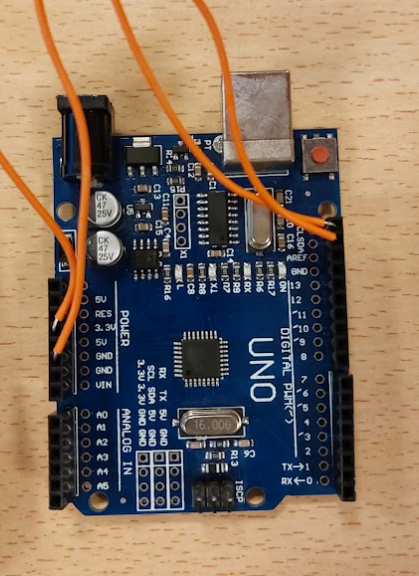
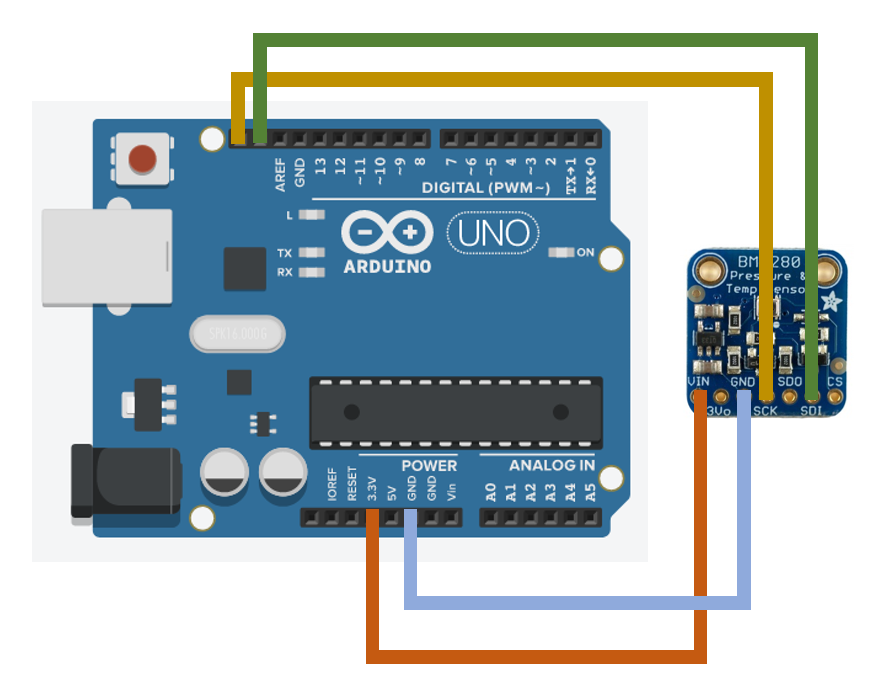
Before we start I would like to say that the colors I've used for the wires really don't matter. They are just randomly chosen so, for example, if you don't have an orange wire, you can just use a black one, it will work too.
- Connect the first wire (orange) from VIN on your sensor to 3.3V on your Arduino.
- Connect the second wire (blue) from GND to GND on your Arduino.
- Connect the third wire (yellow) from SCK to SCL (the last pin) on your Arduino.
- Connect the forth wire (green) from SDI to SDA (the penultimate pin) on your Arduino.
- Login on arduino editor to import the code from step 2.
- If you open a new sketch you will see that there is already some code on it, remove that code and copy the code from step 2.
- Paste the code on your empty sketch.
CODE
/***************************************************************************
This is a library for the BMP280 humidity, temperature & pressure sensor
Designed specifically to work with the Adafruit BMP280 Breakout
----> http://www.adafruit.com/products/2651
These sensors use I2C or SPI to communicate, 2 or 4 pins are required
to interface.
Adafruit invests time and resources providing this open source code,
please support Adafruit andopen-source hardware by purchasing products
from Adafruit!
Written by Limor Fried & Kevin Townsend for Adafruit Industries.
BSD license, all text above must be included in any redistribution
***************************************************************************/
#include <Wire.h>
#include <SPI.h>
#include <Adafruit_BMP280.h>
#define BMP_SCK (13)
#define BMP_MISO (12)
#define BMP_MOSI (11)
#define BMP_CS (10)
Adafruit_BMP280 bmp; // I2C
//Adafruit_BMP280 bmp(BMP_CS); // hardware SPI
//Adafruit_BMP280 bmp(BMP_CS, BMP_MOSI, BMP_MISO, BMP_SCK);
void setup() {
Serial.begin(9600);
Serial.println(F("BMP280 test"));
//if (!bmp.begin(BMP280_ADDRESS_ALT, BMP280_CHIPID)) {
if (!bmp.begin(0x77)) {
Serial.println(F("Could not find a valid BMP280 sensor, check wiring or "
"try a different address!"));
while (1) delay(10);
}
/* Default settings from datasheet. */
bmp.setSampling(Adafruit_BMP280::MODE_NORMAL, /* Operating Mode. */
Adafruit_BMP280::SAMPLING_X2, /* Temp. oversampling */
Adafruit_BMP280::SAMPLING_X16, /* Pressure oversampling */
Adafruit_BMP280::FILTER_X16, /* Filtering. */
Adafruit_BMP280::STANDBY_MS_500); /* Standby time. */
}
void loop() {
Serial.print(F("Temperature = "));
Serial.print(bmp.readTemperature());
Serial.println(" *C");
Serial.print(F("Pressure = "));
Serial.print(bmp.readPressure());
Serial.println(" Pa");
Serial.print(F("Approx altitude = "));
Serial.print(bmp.readAltitude(992.2)); /* Adjusted to local forecast! */
Serial.println(" m");
Serial.println();
delay(2000);
}
TESTING

- Go to "libraries".
- Push on library manager and search for BMP280.
- Favorite the library (the star button) "ADAFRUIT BMP280 LIBRARY".
- Push "done".
- You will see the "ADAFRUIT BMP280 LIBRARY" is in your list of favorites.
- Push on "include".
- Push on the arrow "Upload and save" next to -- Select Board or Port -- .
- Go to "monitor".
- If everything works well, you will see the measurements.