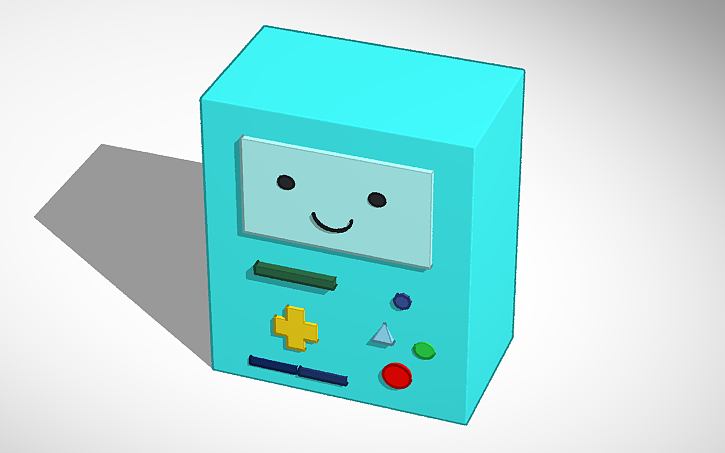
BMO
.png)
Hey guys!
Welcome back, I am Lucia, today I will teach you how to create a BMO of ornament based on the program Tinkercad and for the impression , Ultimaker Cura.
I hope you like them , without more , we begin!
Supplies

-Computer or laptop
-Tinkerkad
-Ultimaker Cura
-Internet
We Start
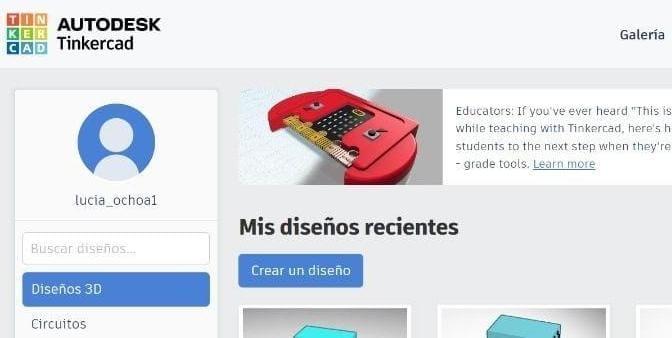
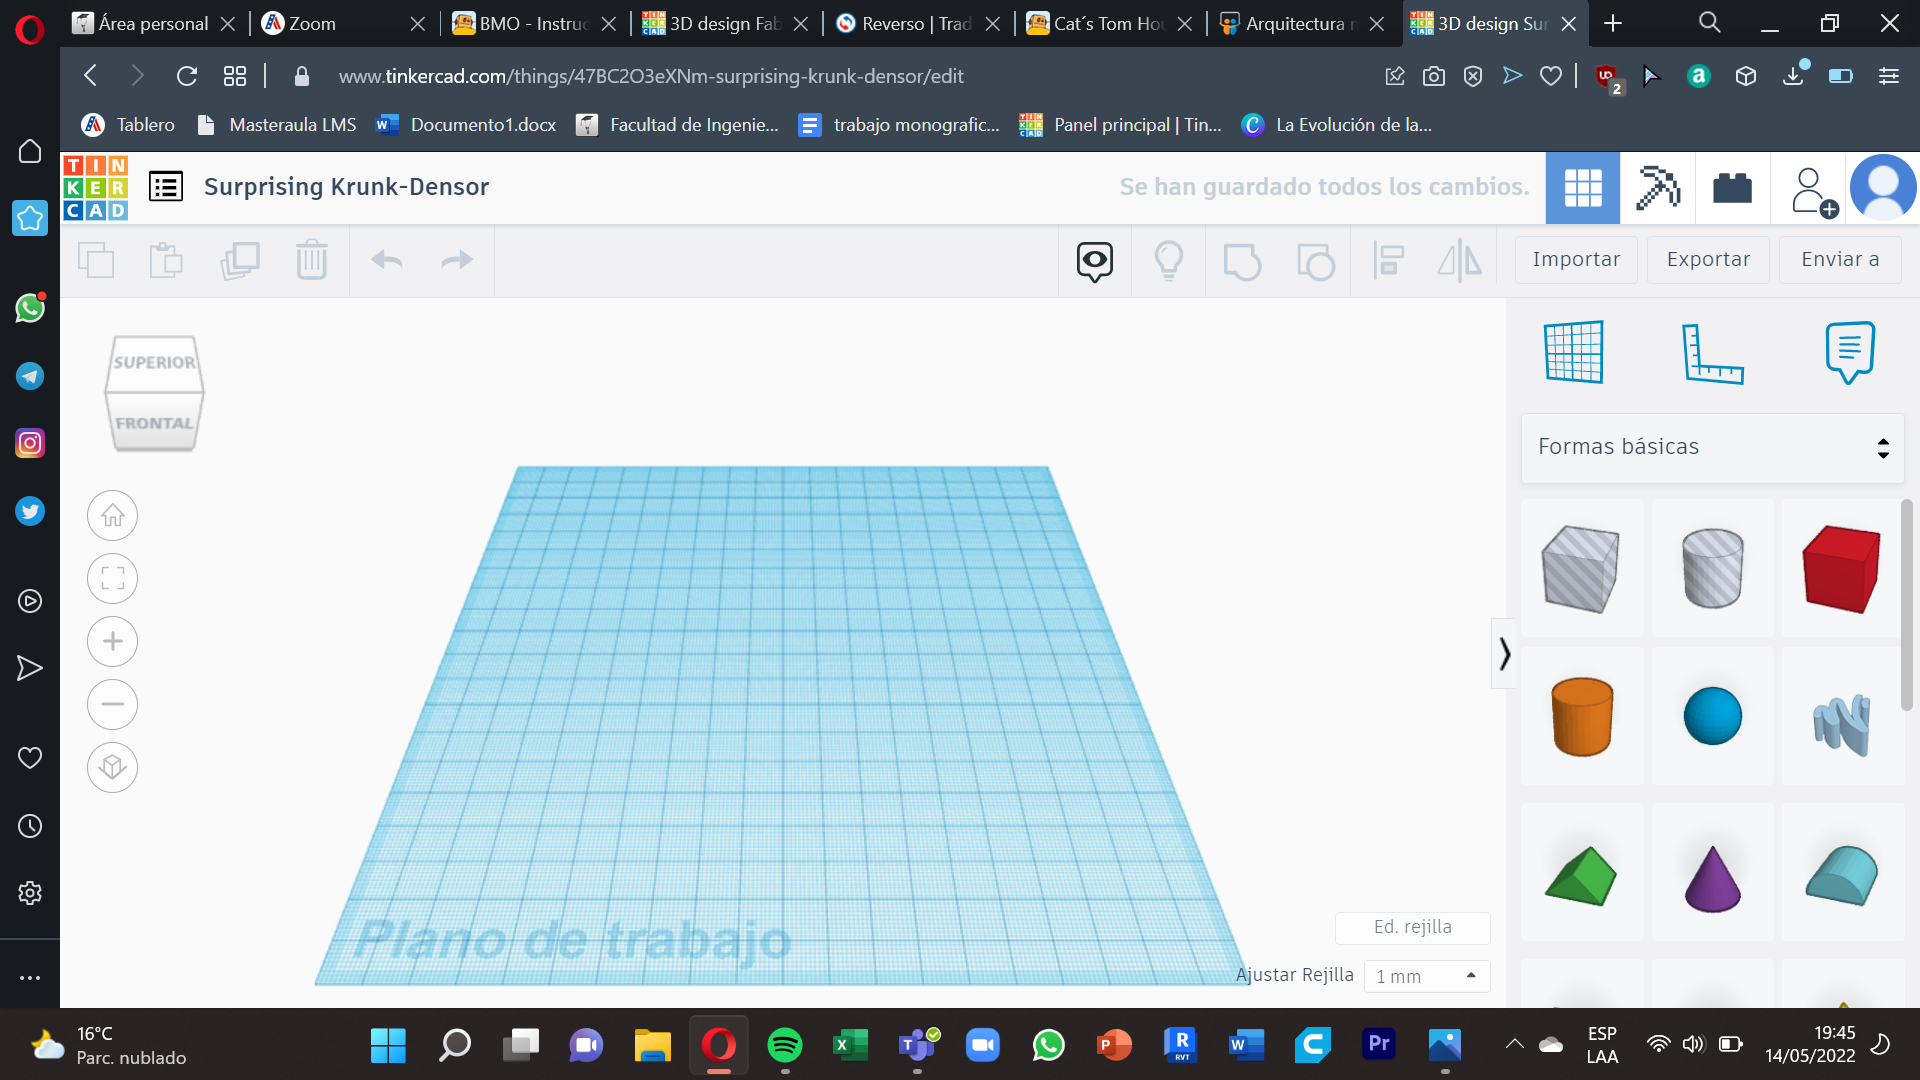
To start designing our BMO in Tinkercad Autodesk, we go to the page and in our main window we select the option of ´´Create a design´´.
Now we visualize the main board.
Body
.png)
.png)
.png)
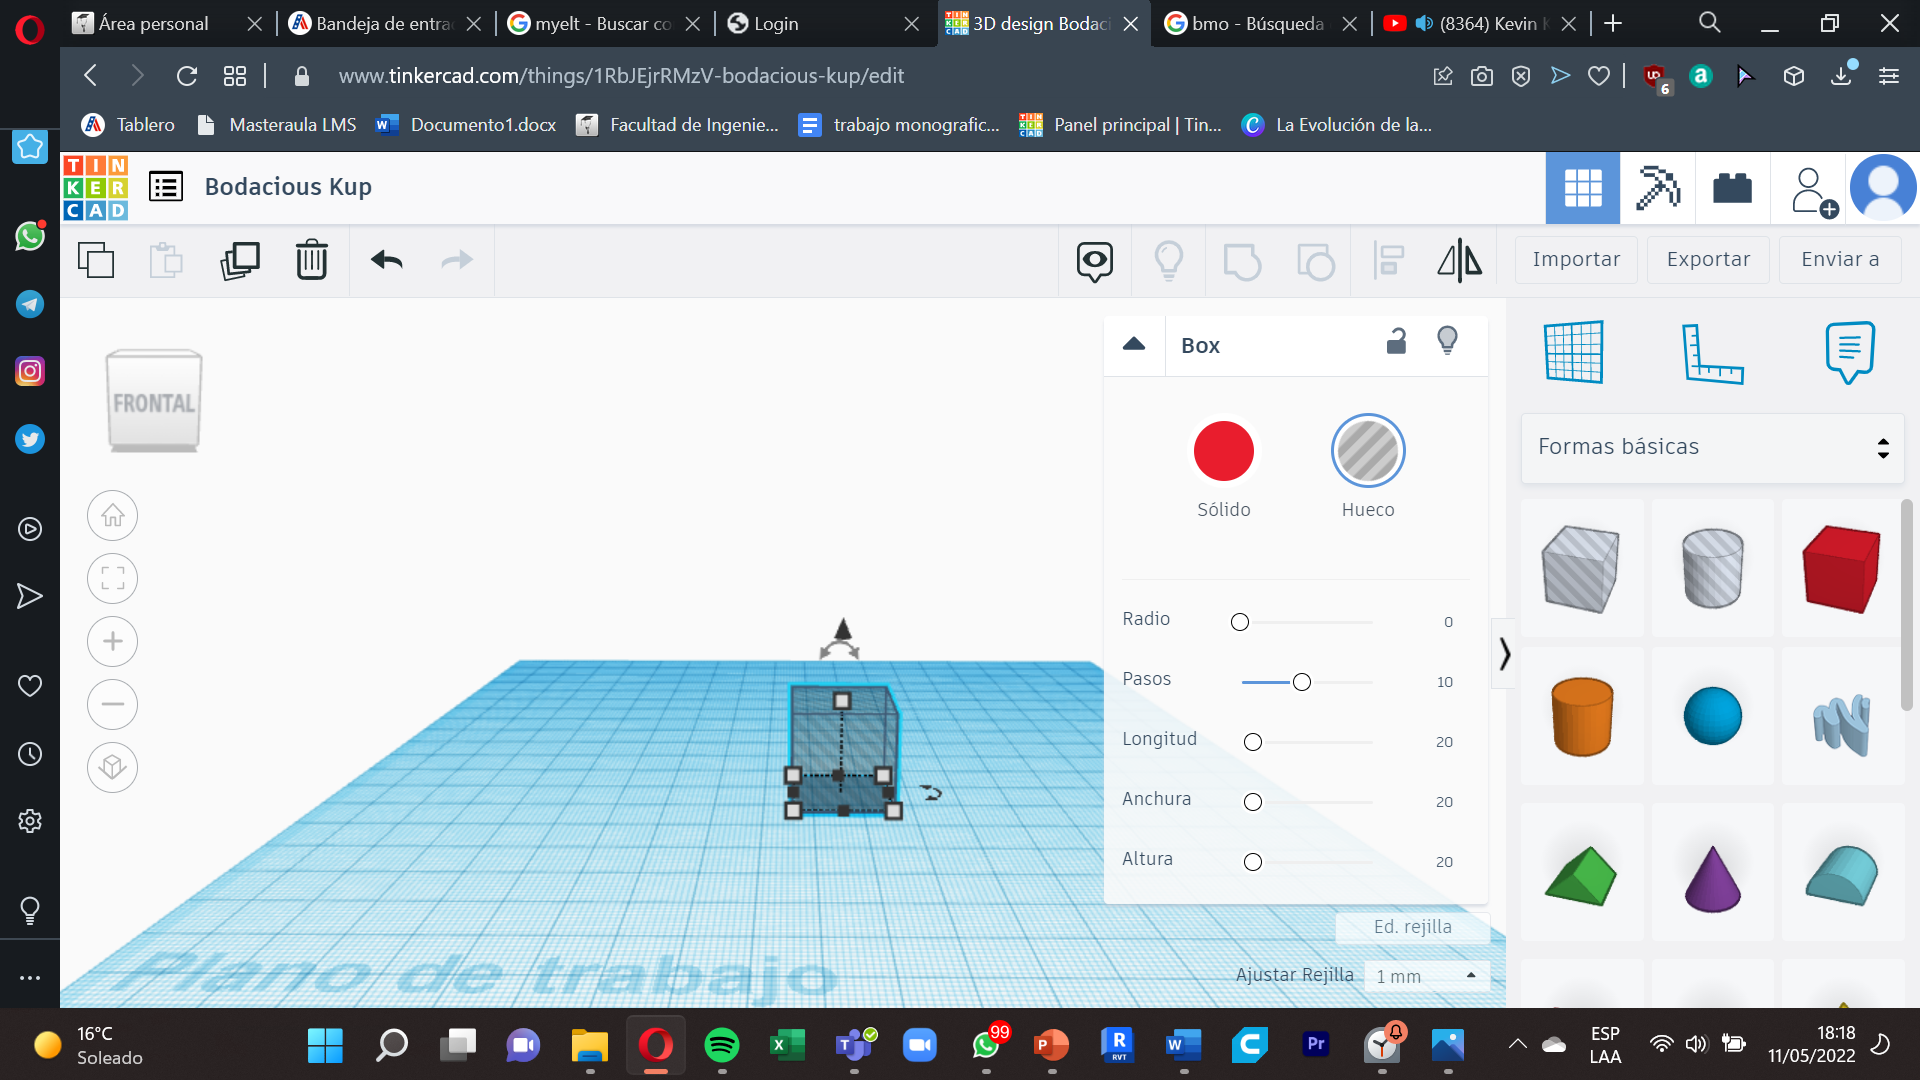
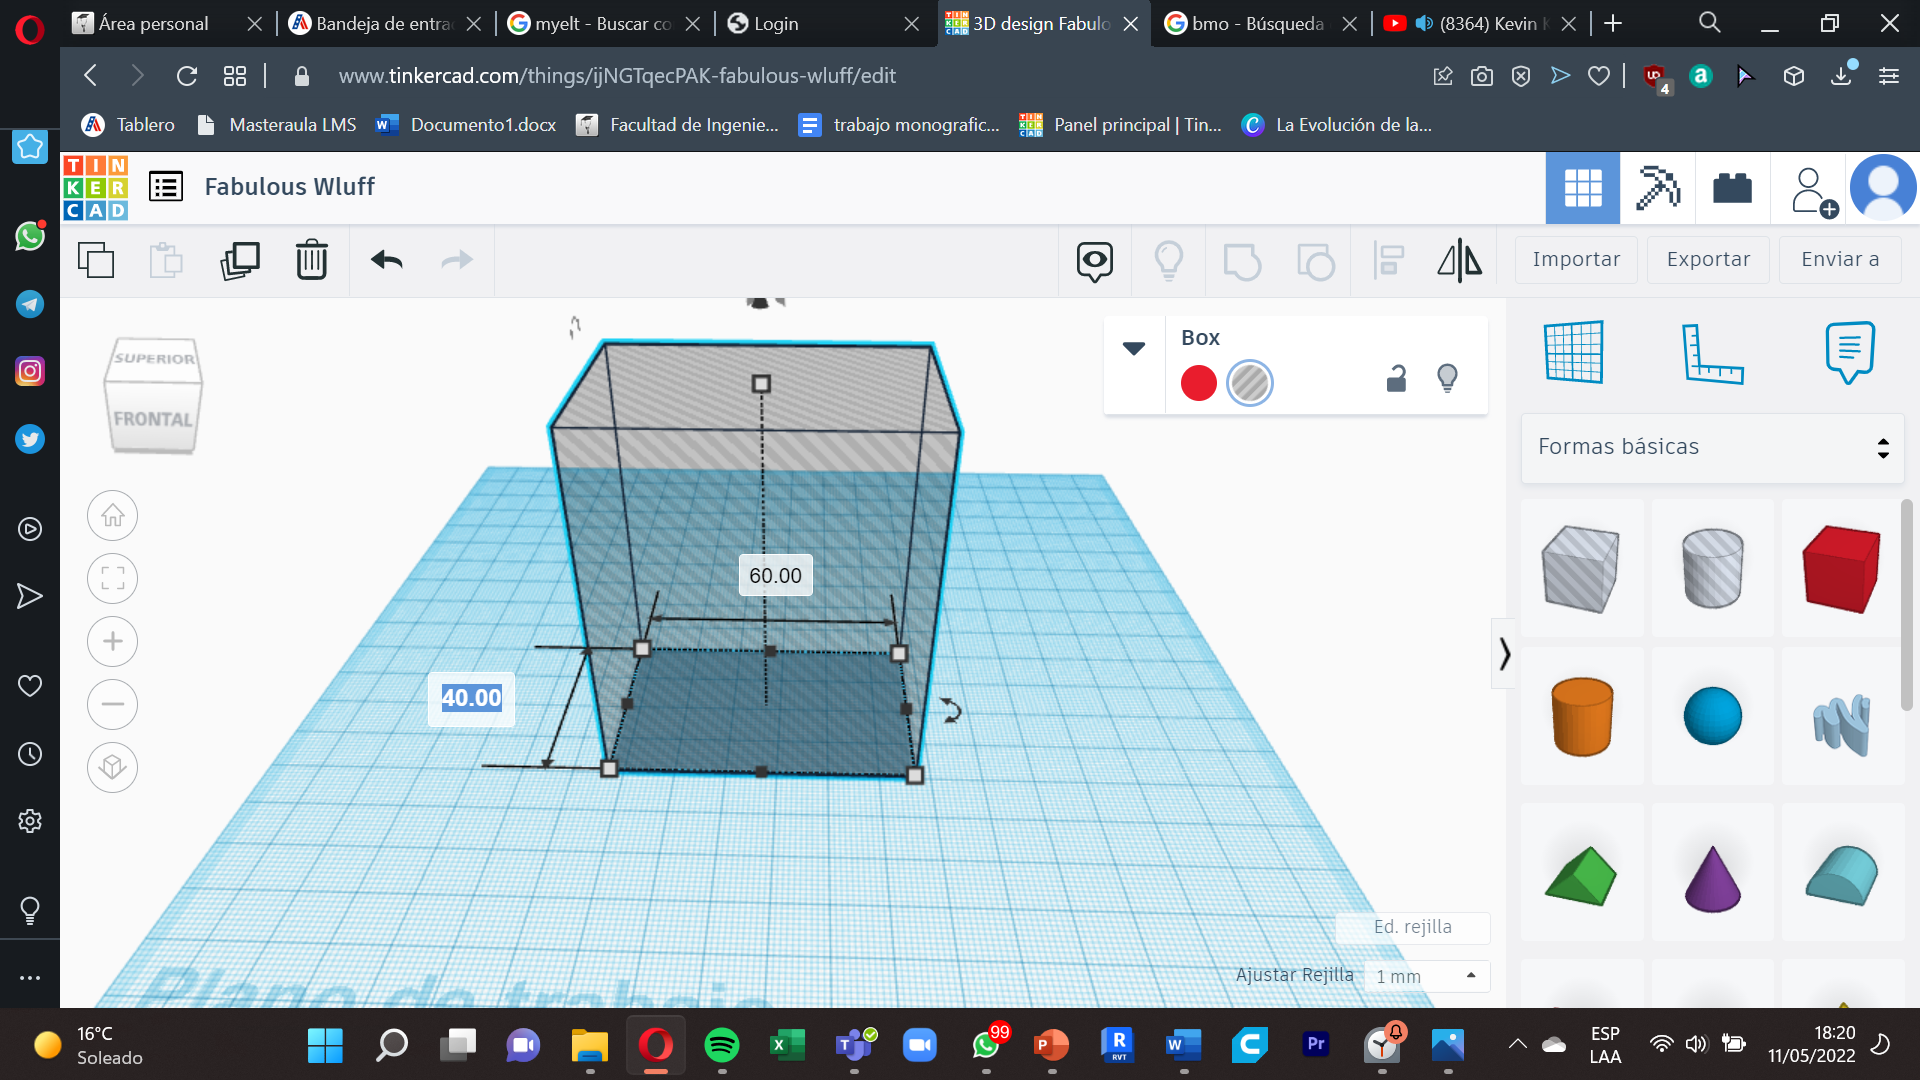
The first thing will be to create the body so that we will need a cube , to adapt it to the measures .
Now to create it, we will head to the bottom right corner and basic shapes, select the cube and drag it to our board.
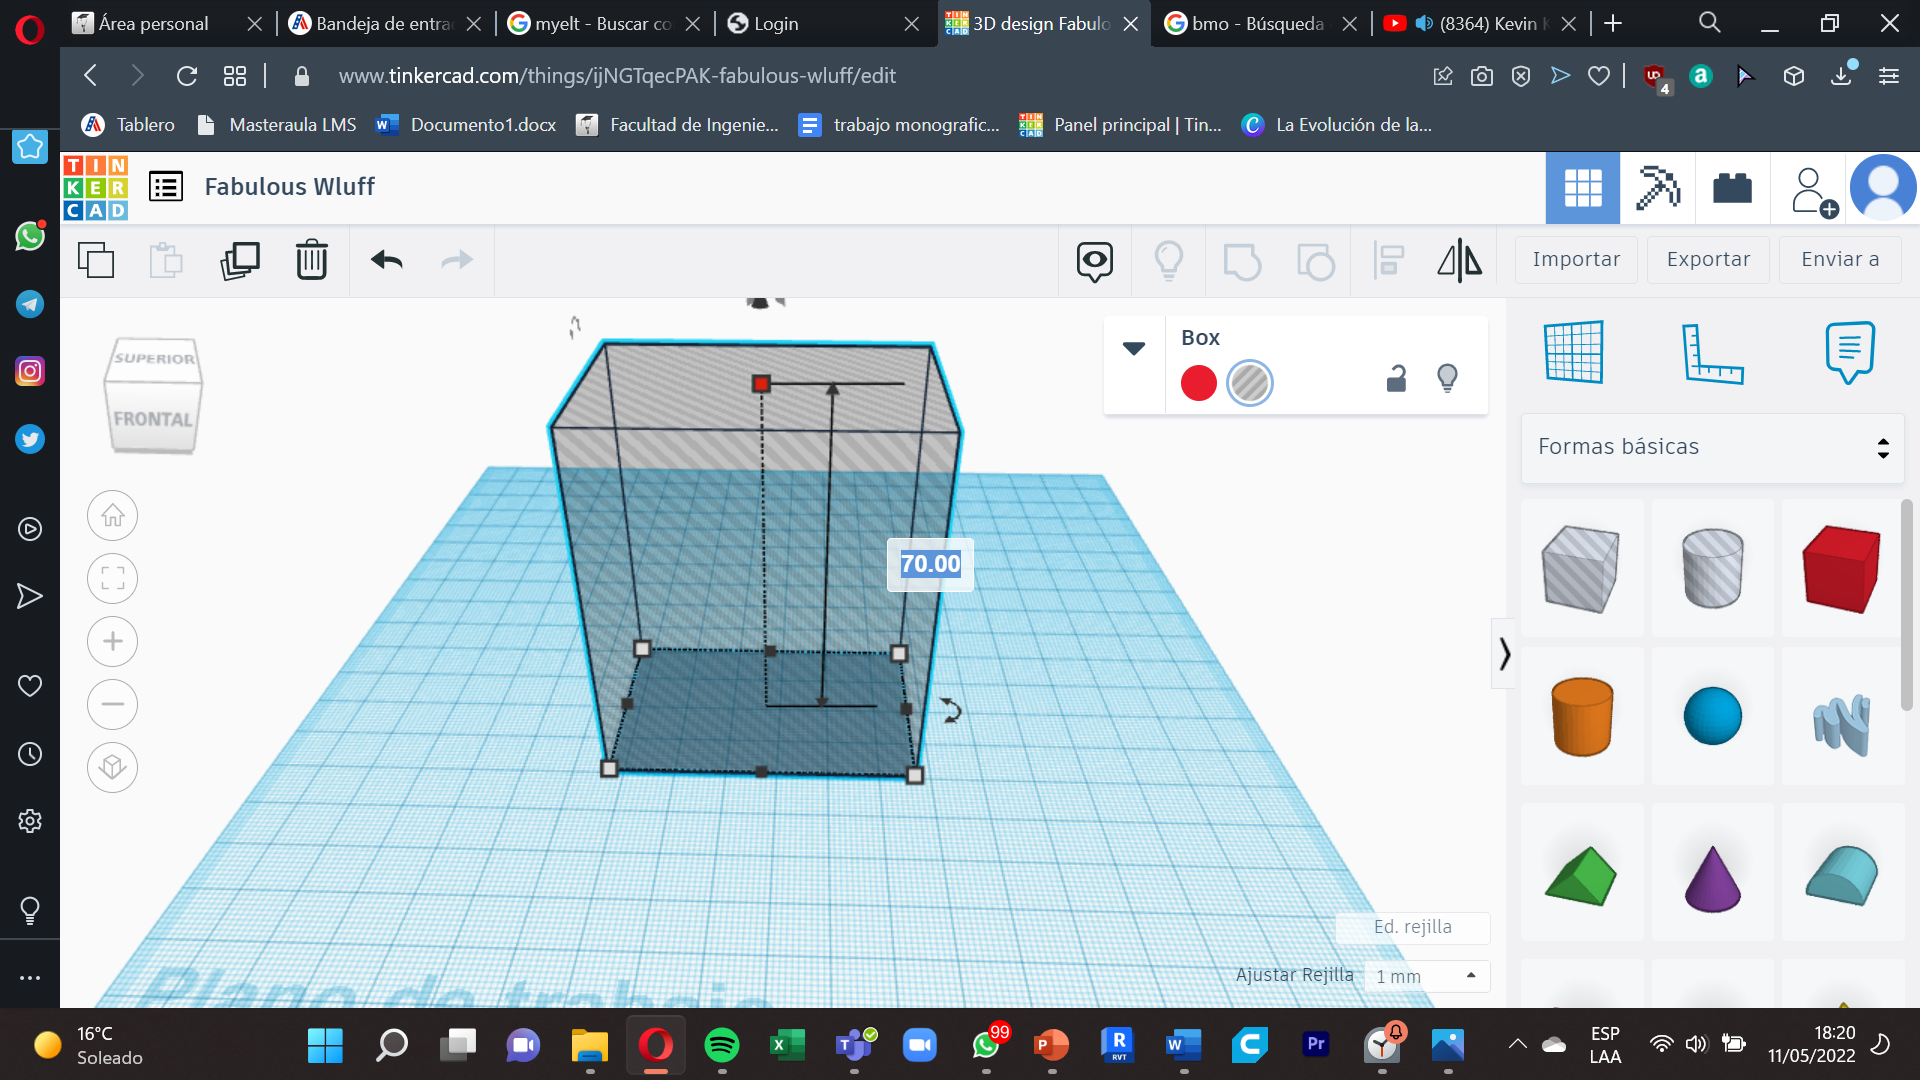
For your body configurations, there are three important sizes , the width , the length , the height and these will be your measurements.
Width: 40 mm
Length: 50 mm
Height: 70 mm
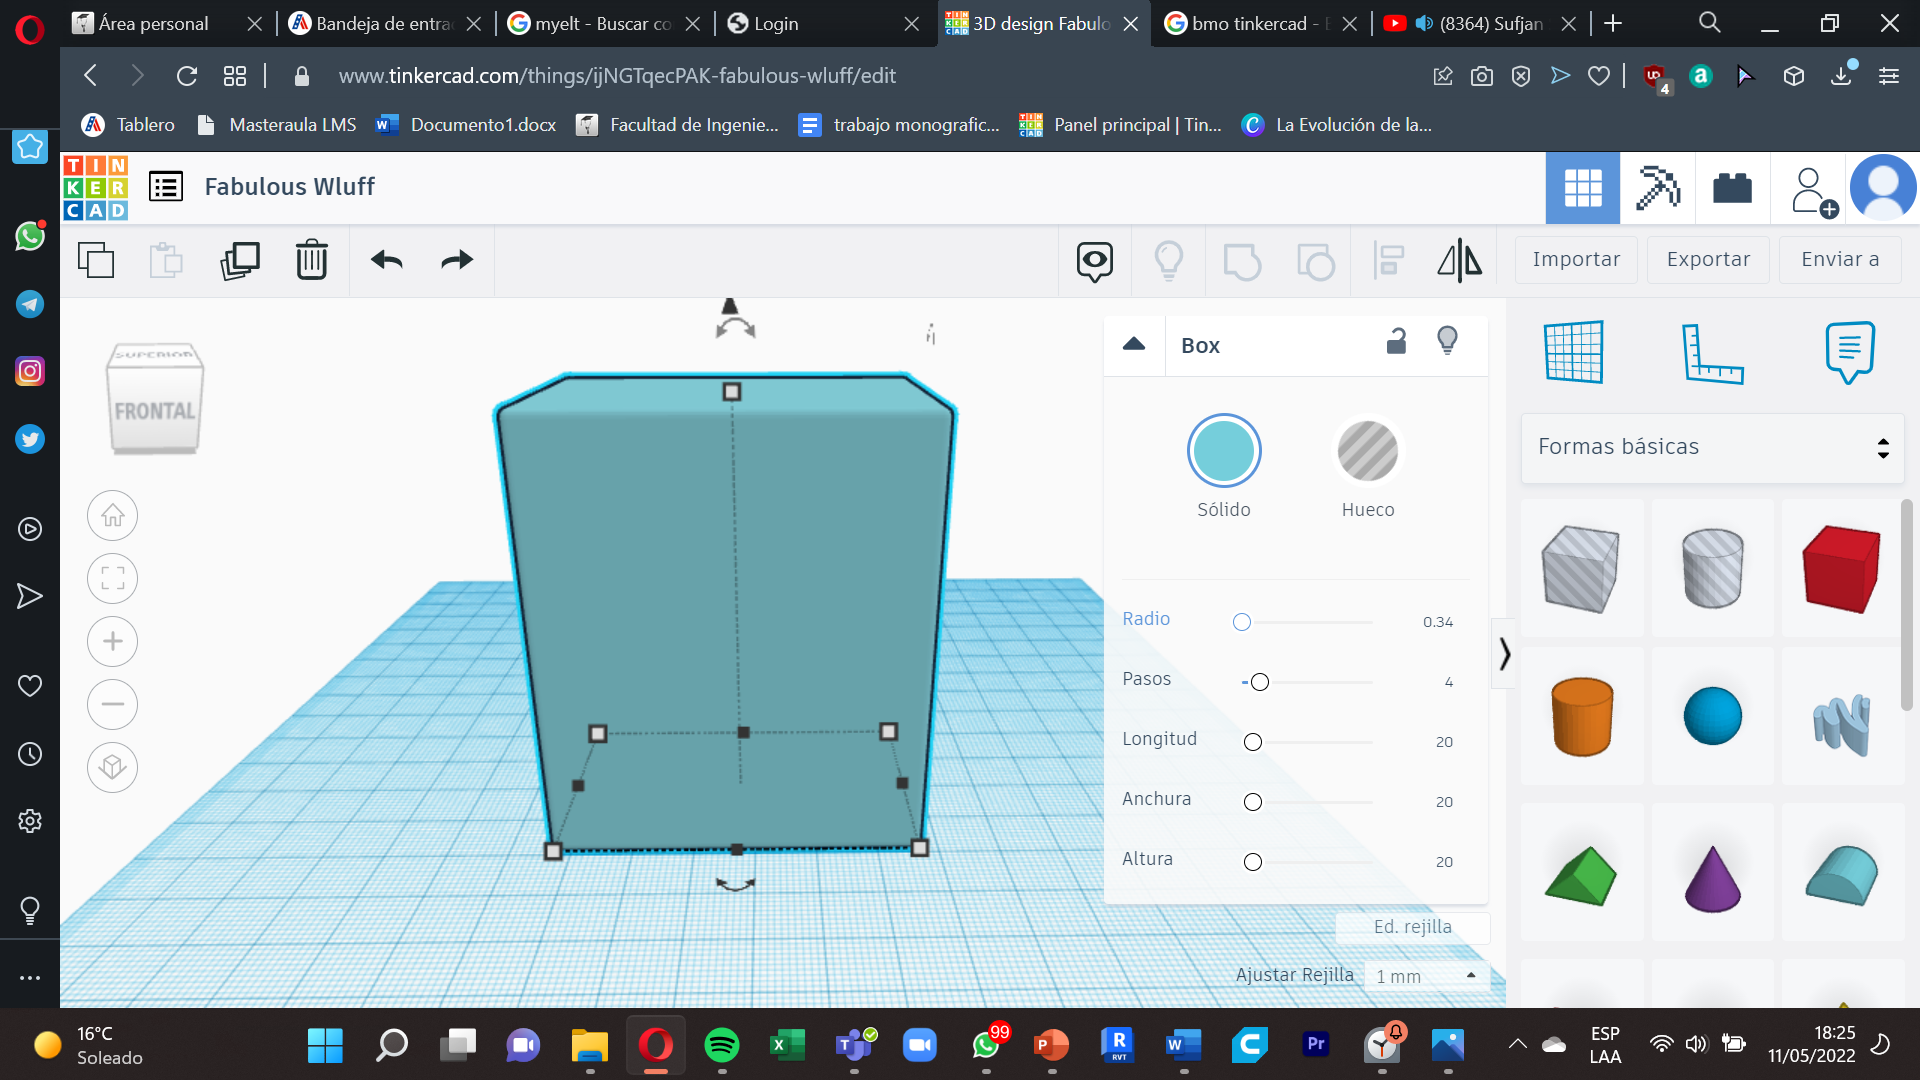
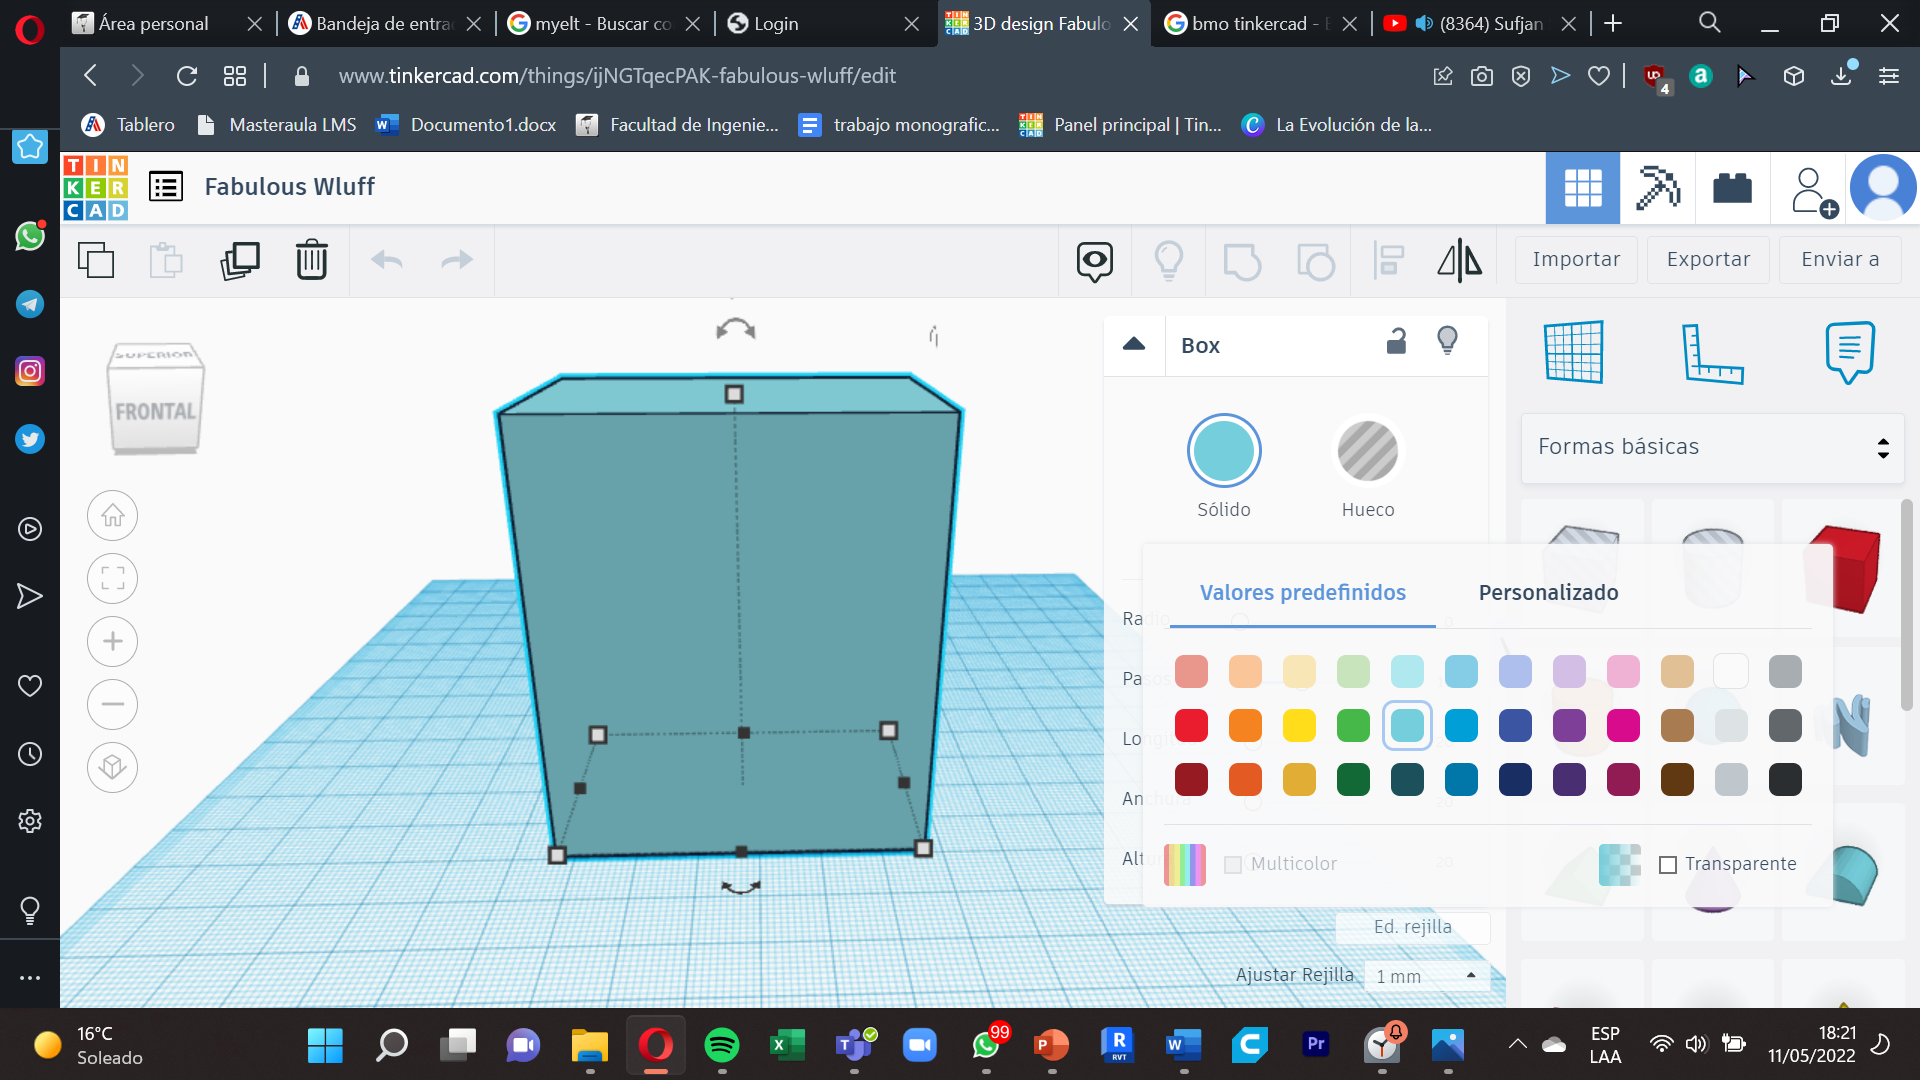
Colour
.png)
.png)
Then we will edit the color of our project so that we select the cube and we go towards ´´solids´´ , after to ´´predefined values´´ and select the color that we like the most , in this case light green.
Face
.png)
.png)
.png)
.png)
.png)
.png)
.png)
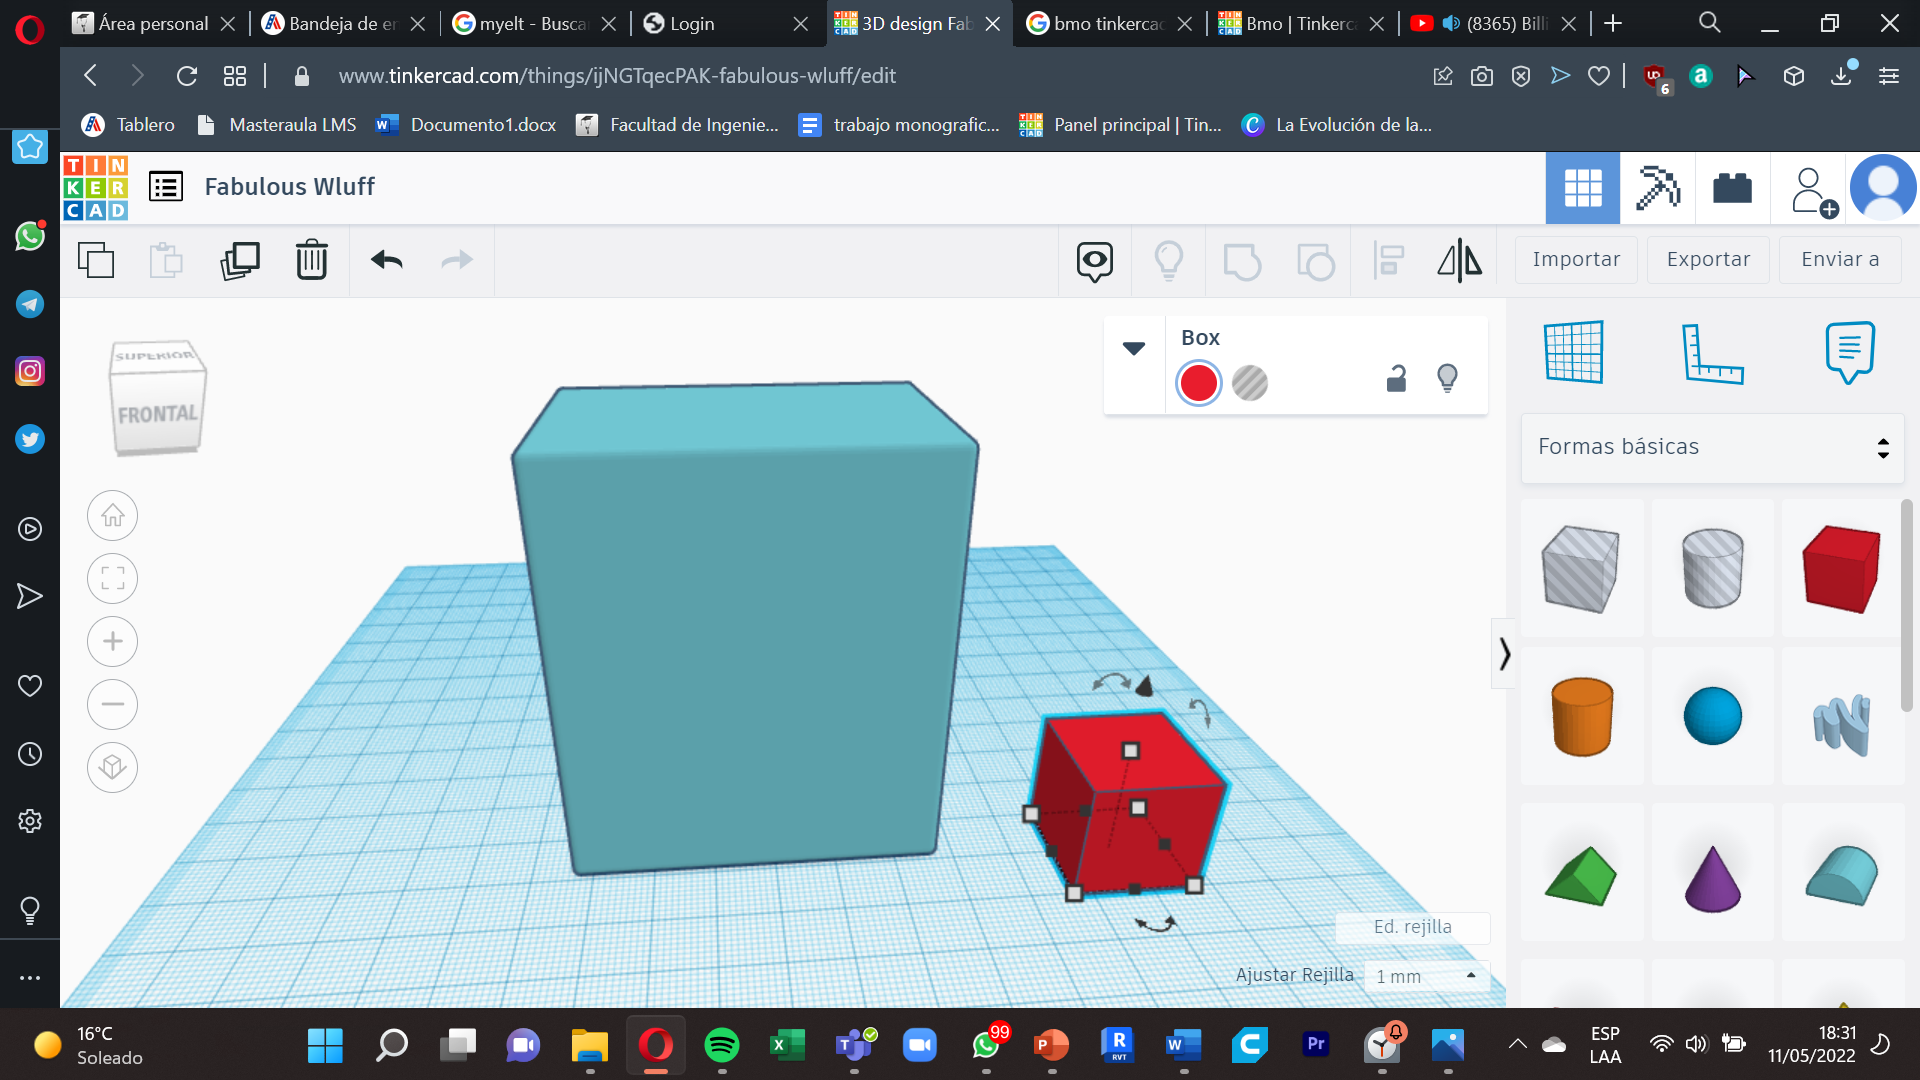
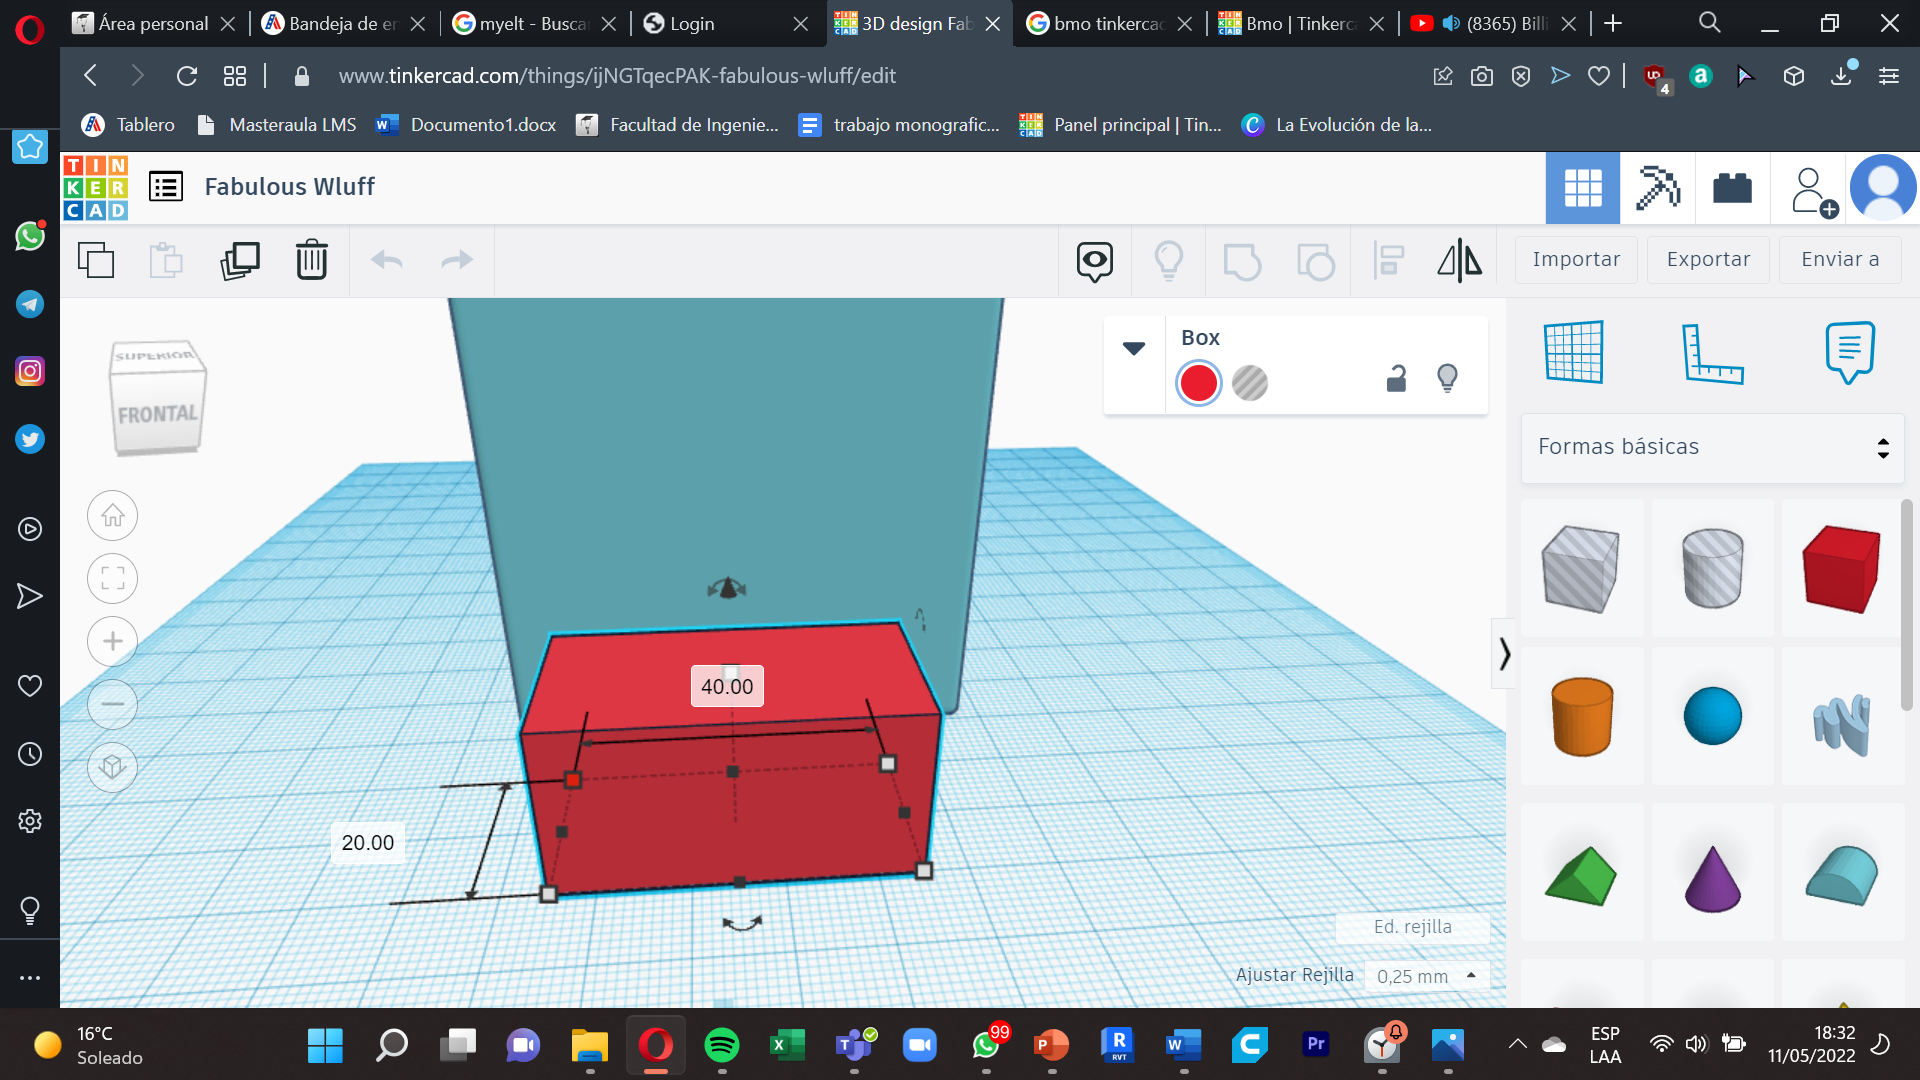
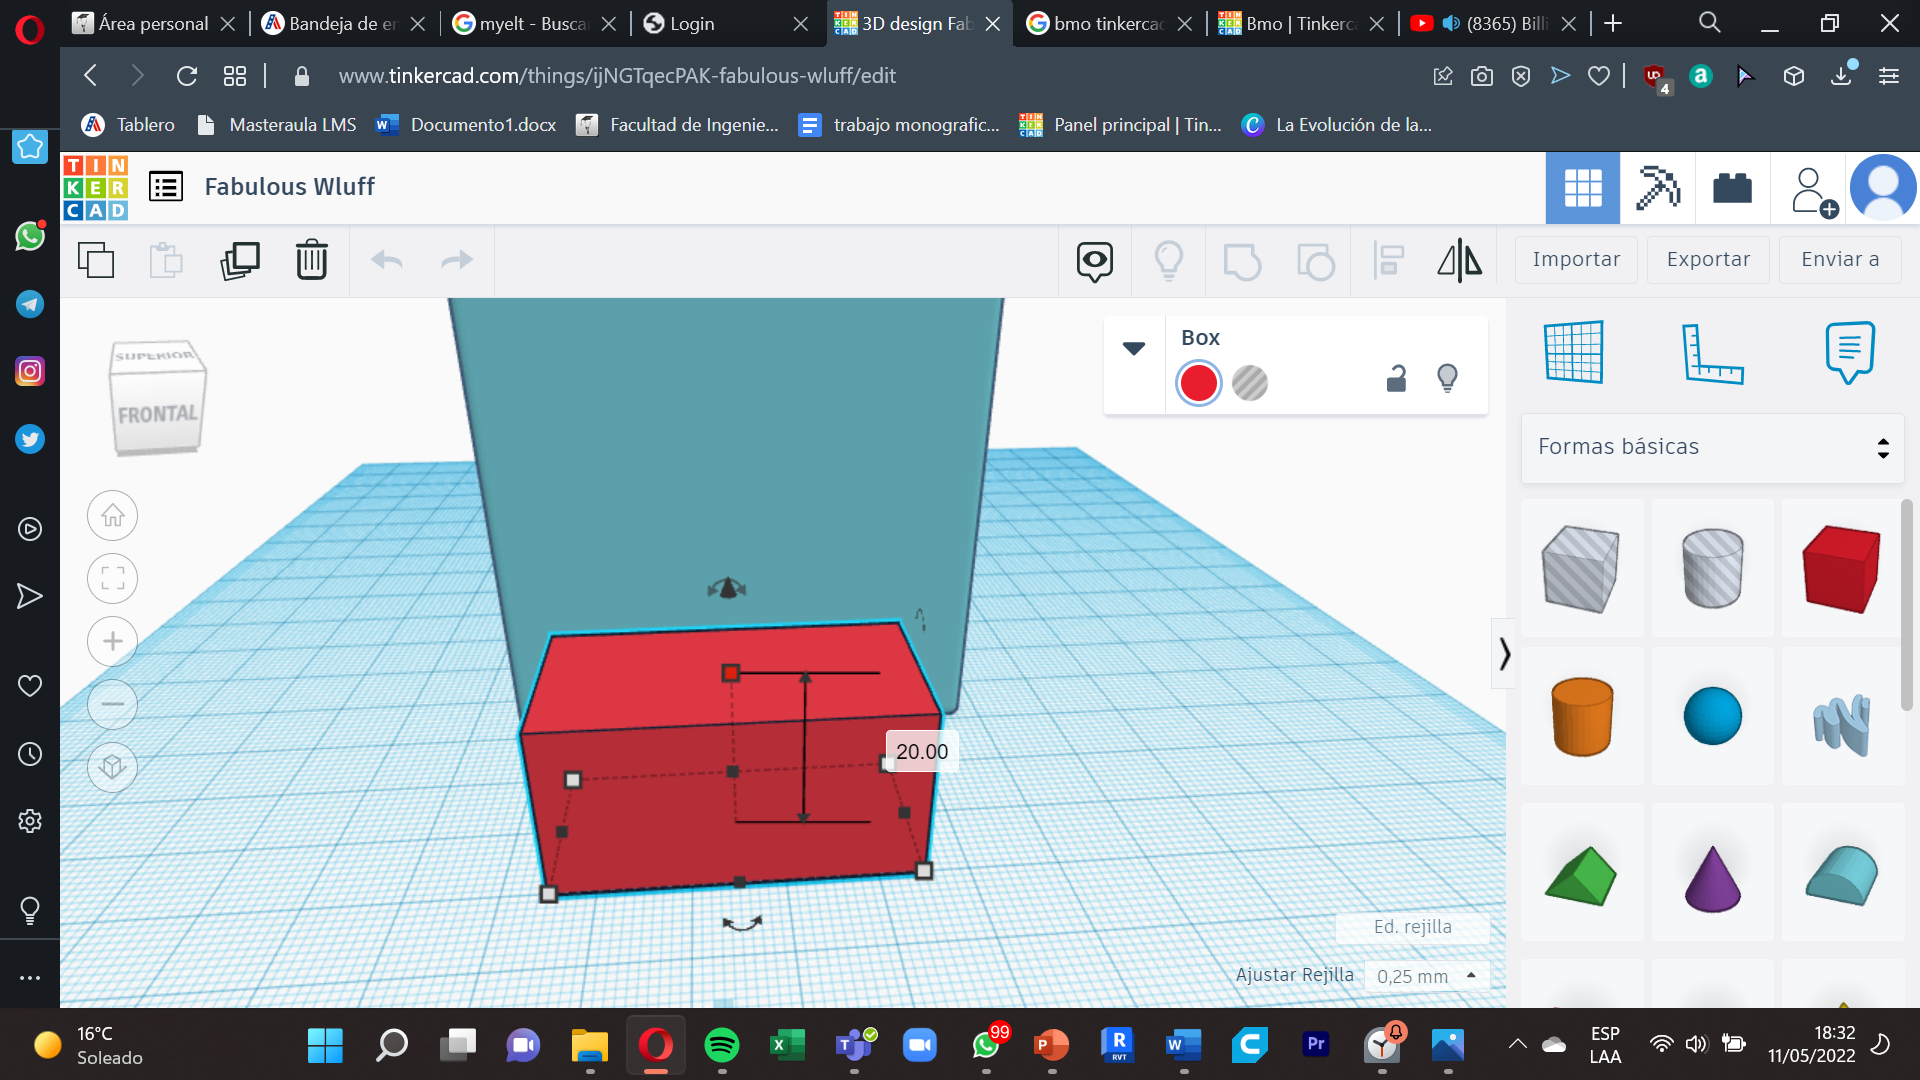
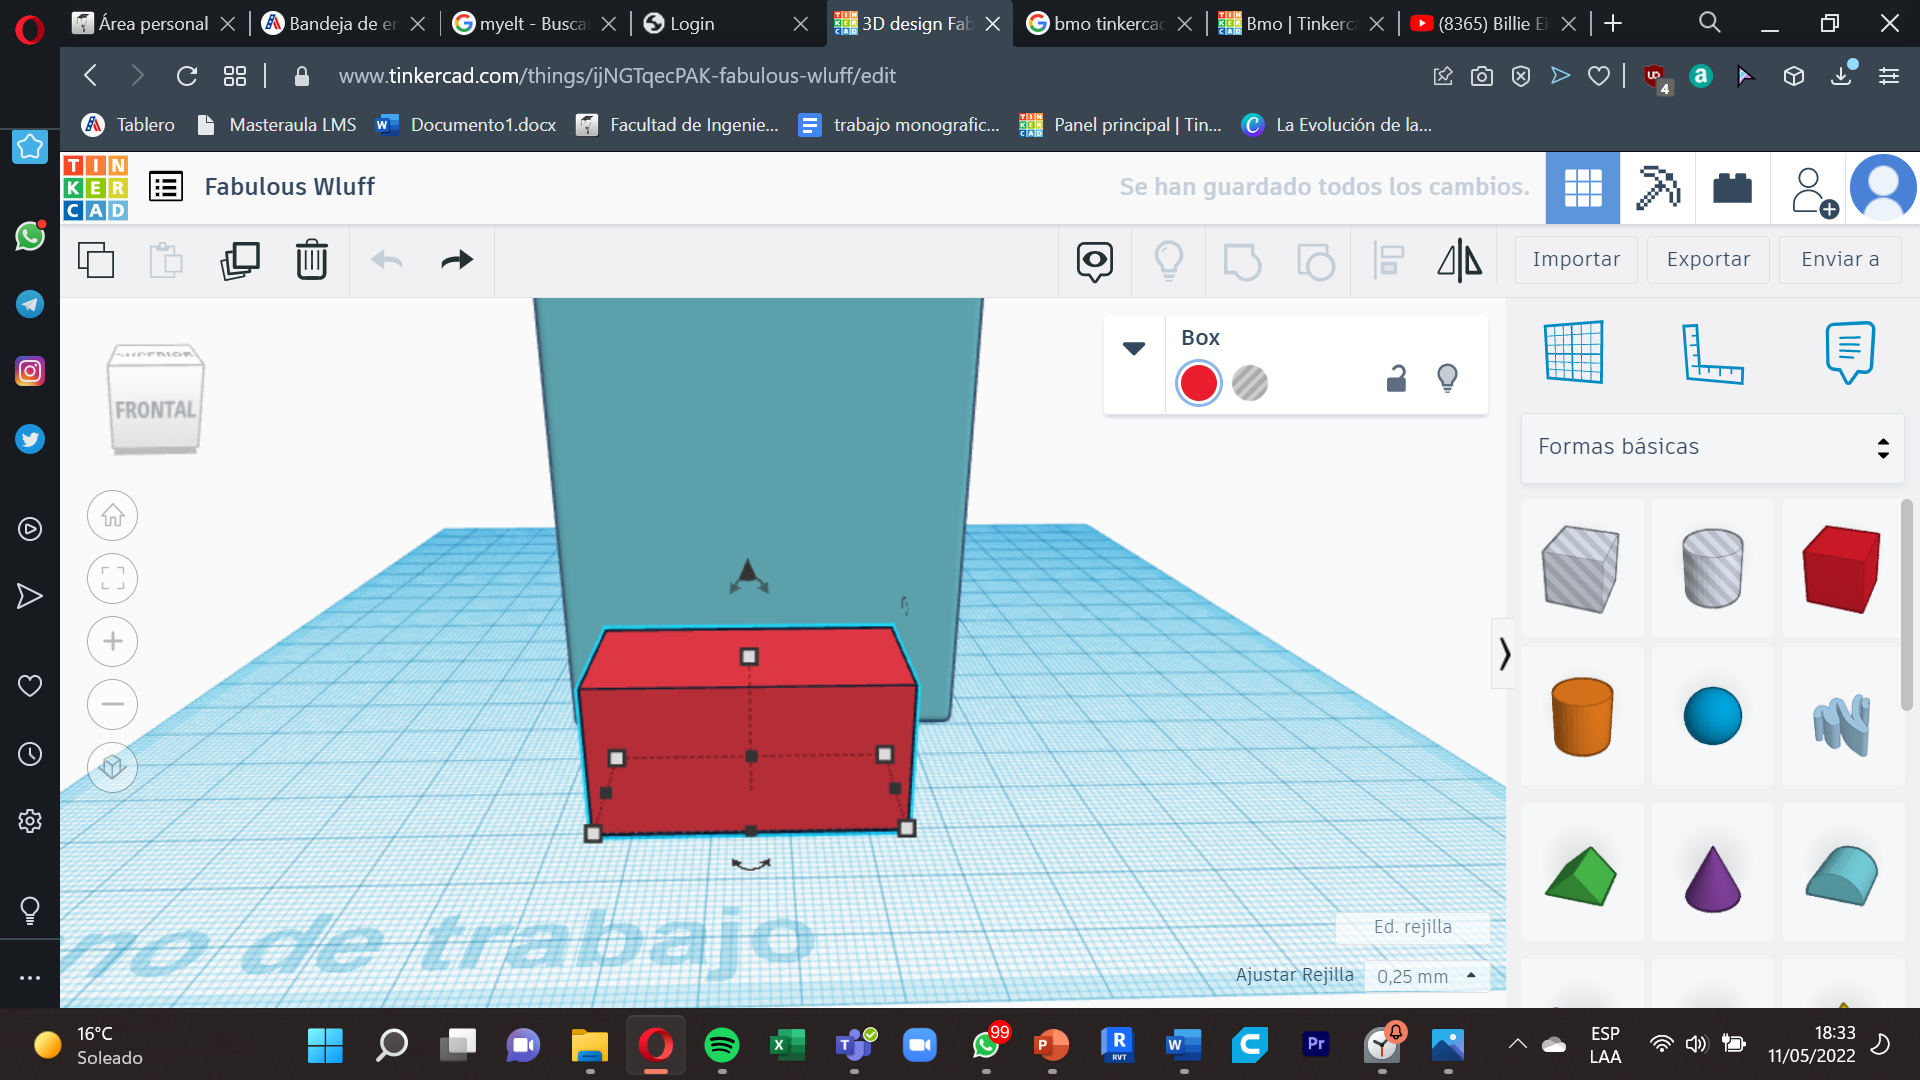
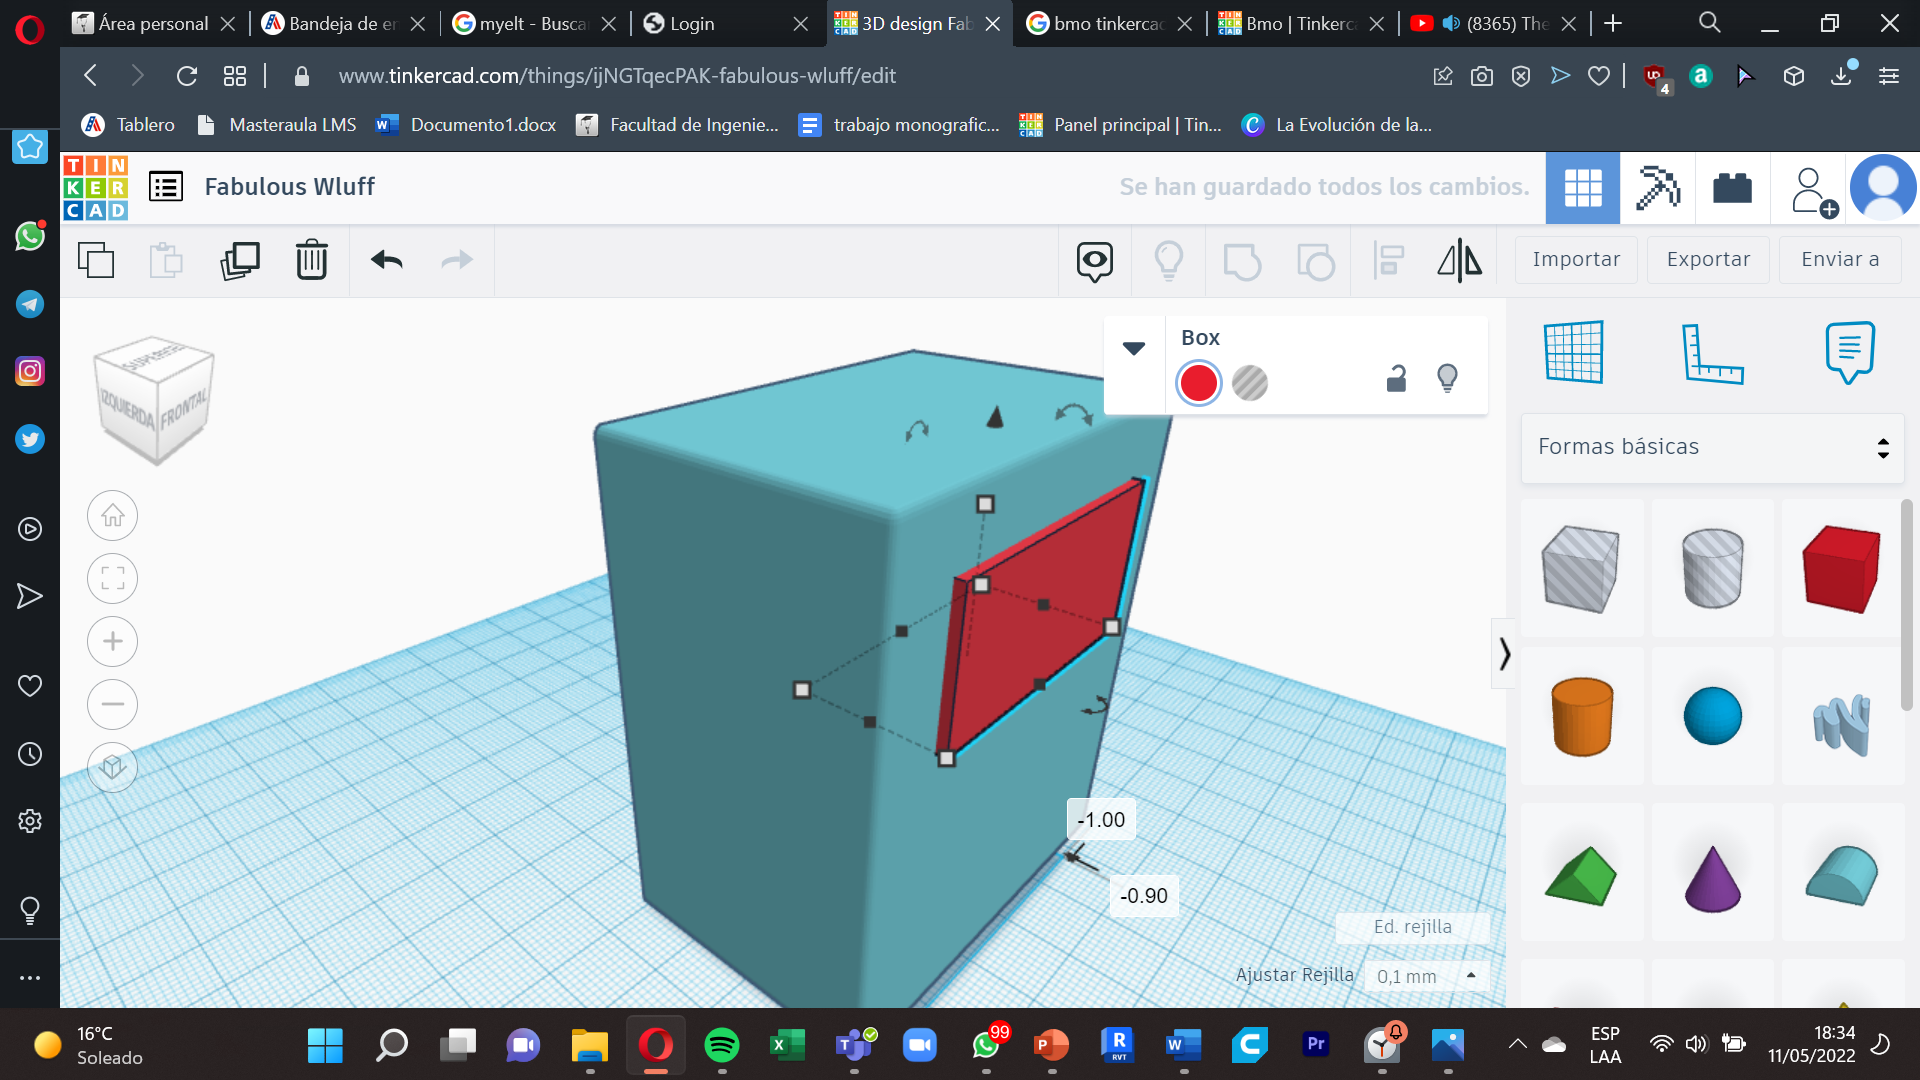
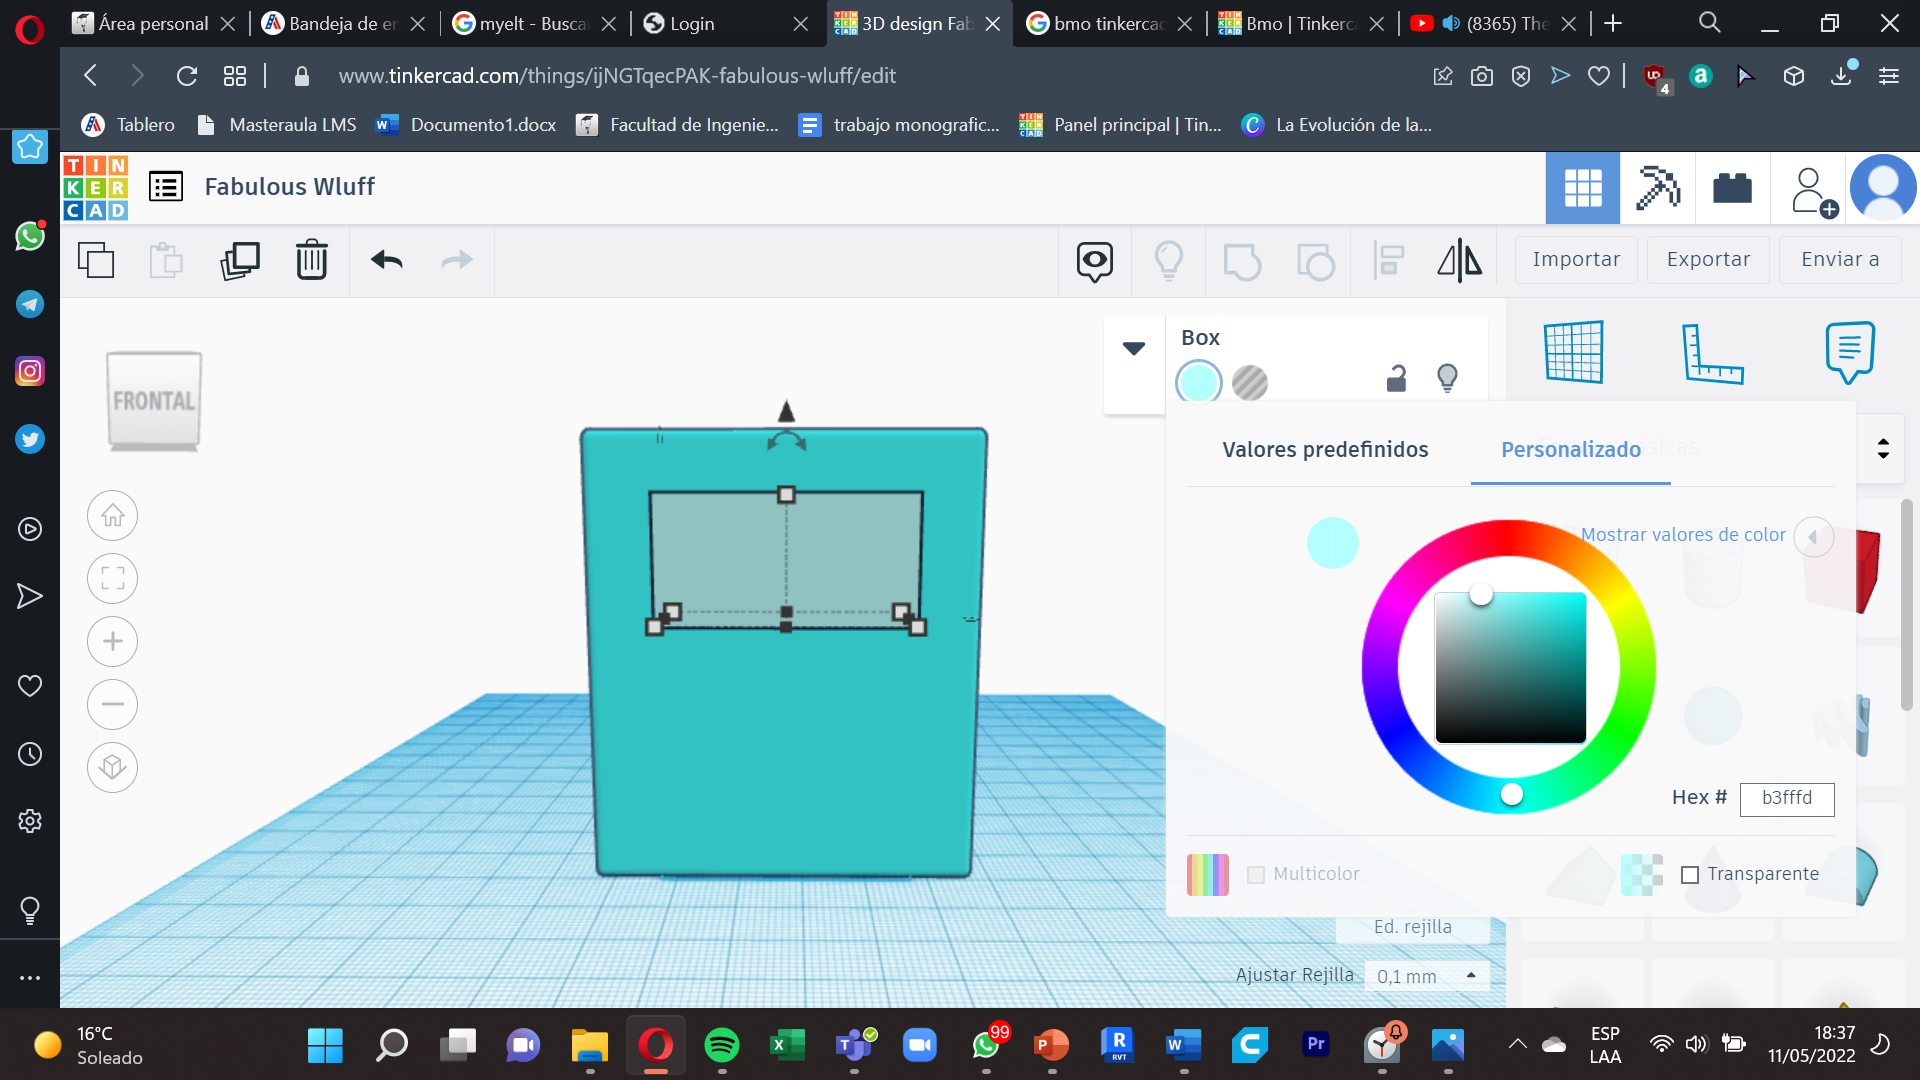
It is time to create the face of our project , so we will follow the same as step 2 and 3 , only with different measures and color , in this case will be :
Width: 20 mm
Length: 40 mm
Height: 20 mm
For the color we will only change it to light blue.
Before finishing we will edit its position for that we use this arrow where it will allow us to raise and lower the cube at the same time that selecting the cube we move it according to the predetermined distance.
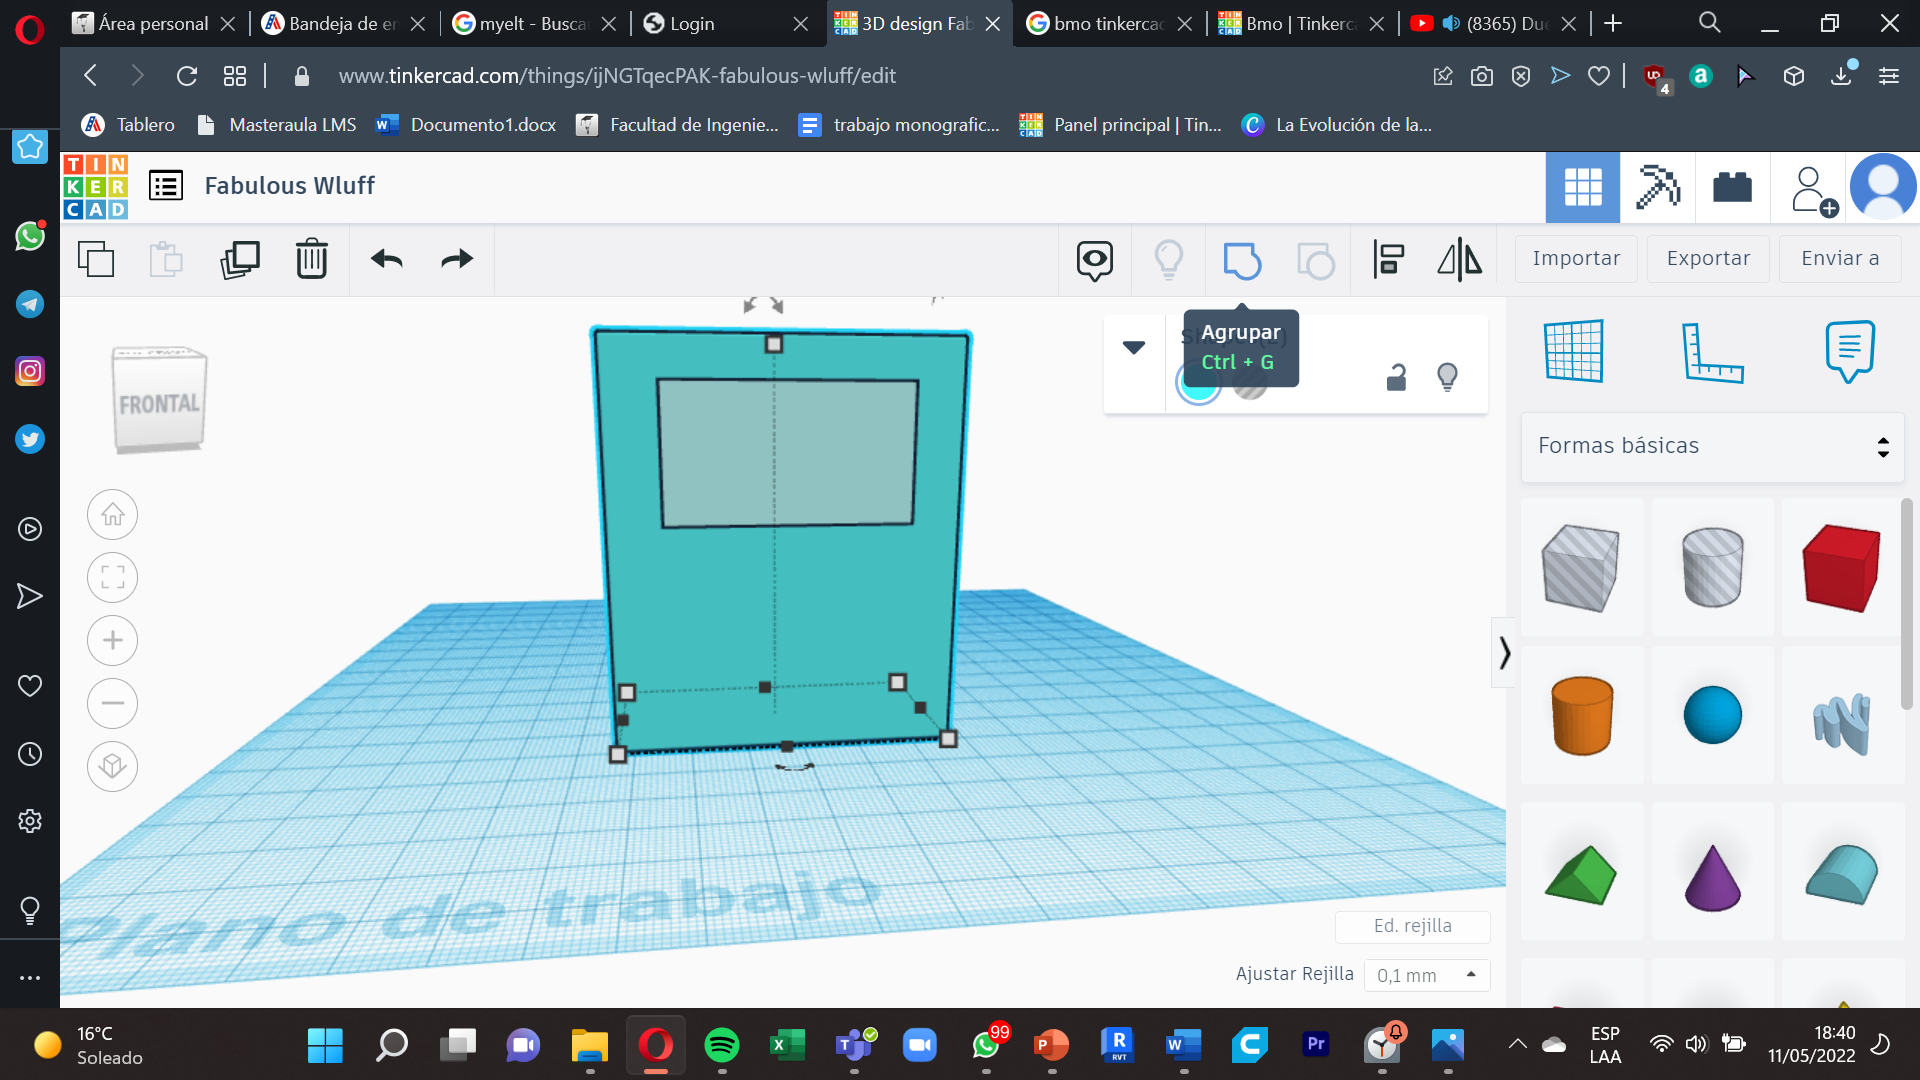
Remember to always group, as it will help us so that the pieces do not move from the position in which they are, for this we select the whole project and we clik the option to ´´group´´ at the top.
Details
.png)
.png)
.png)
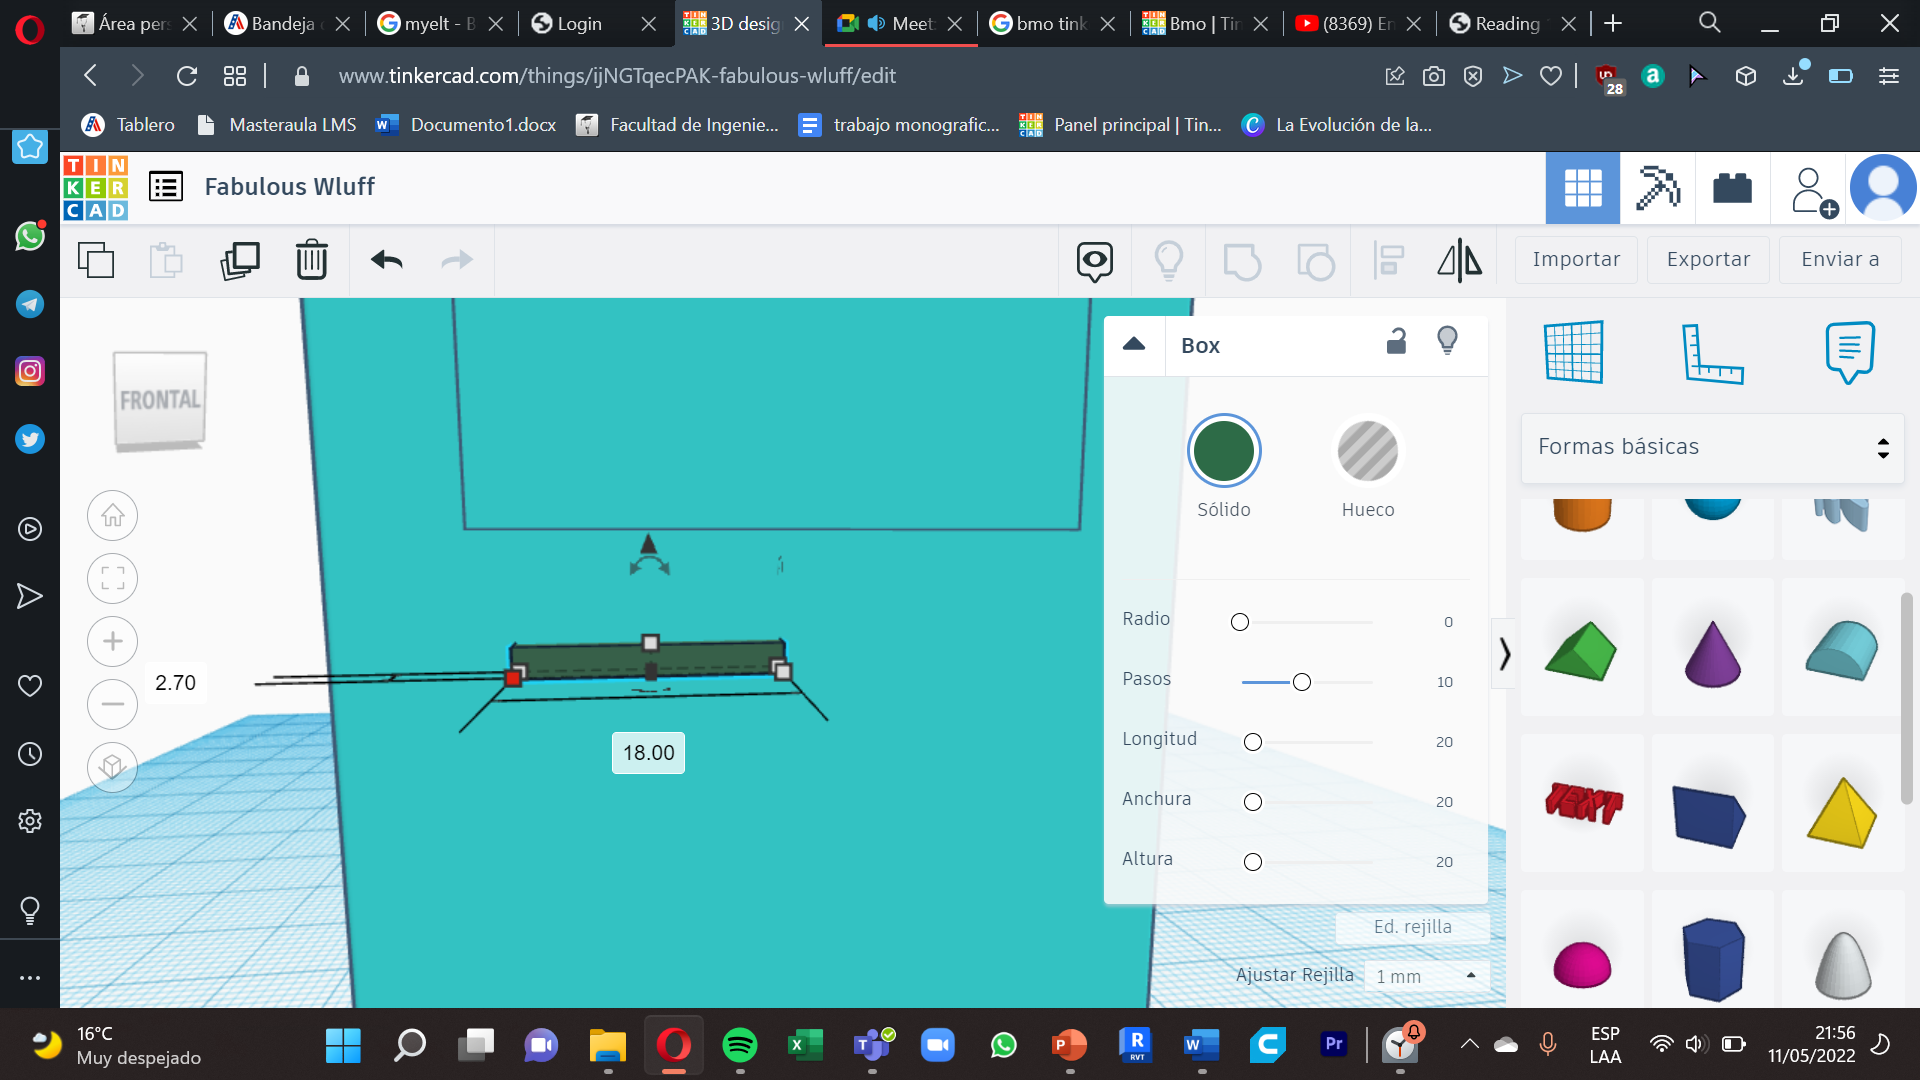
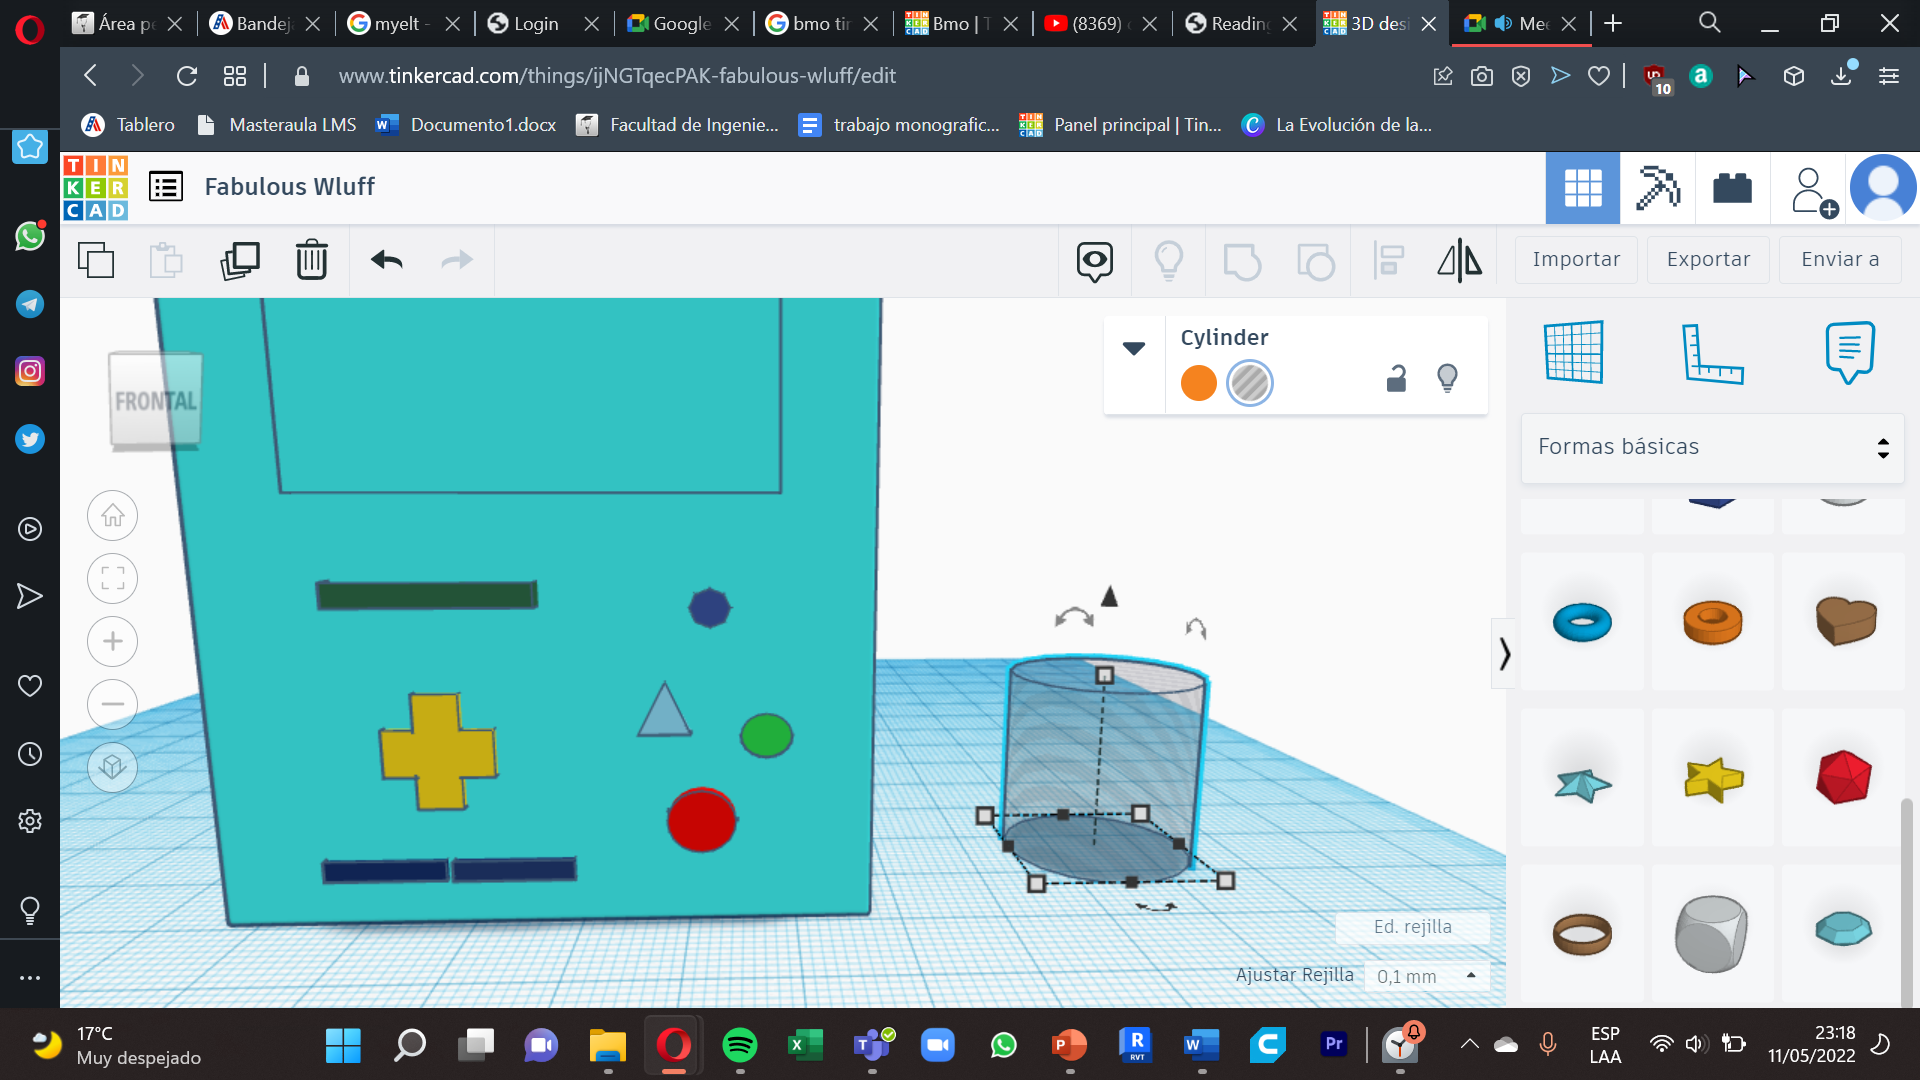
It’s time to start with the details of our BMO, we will do 8 details in total.
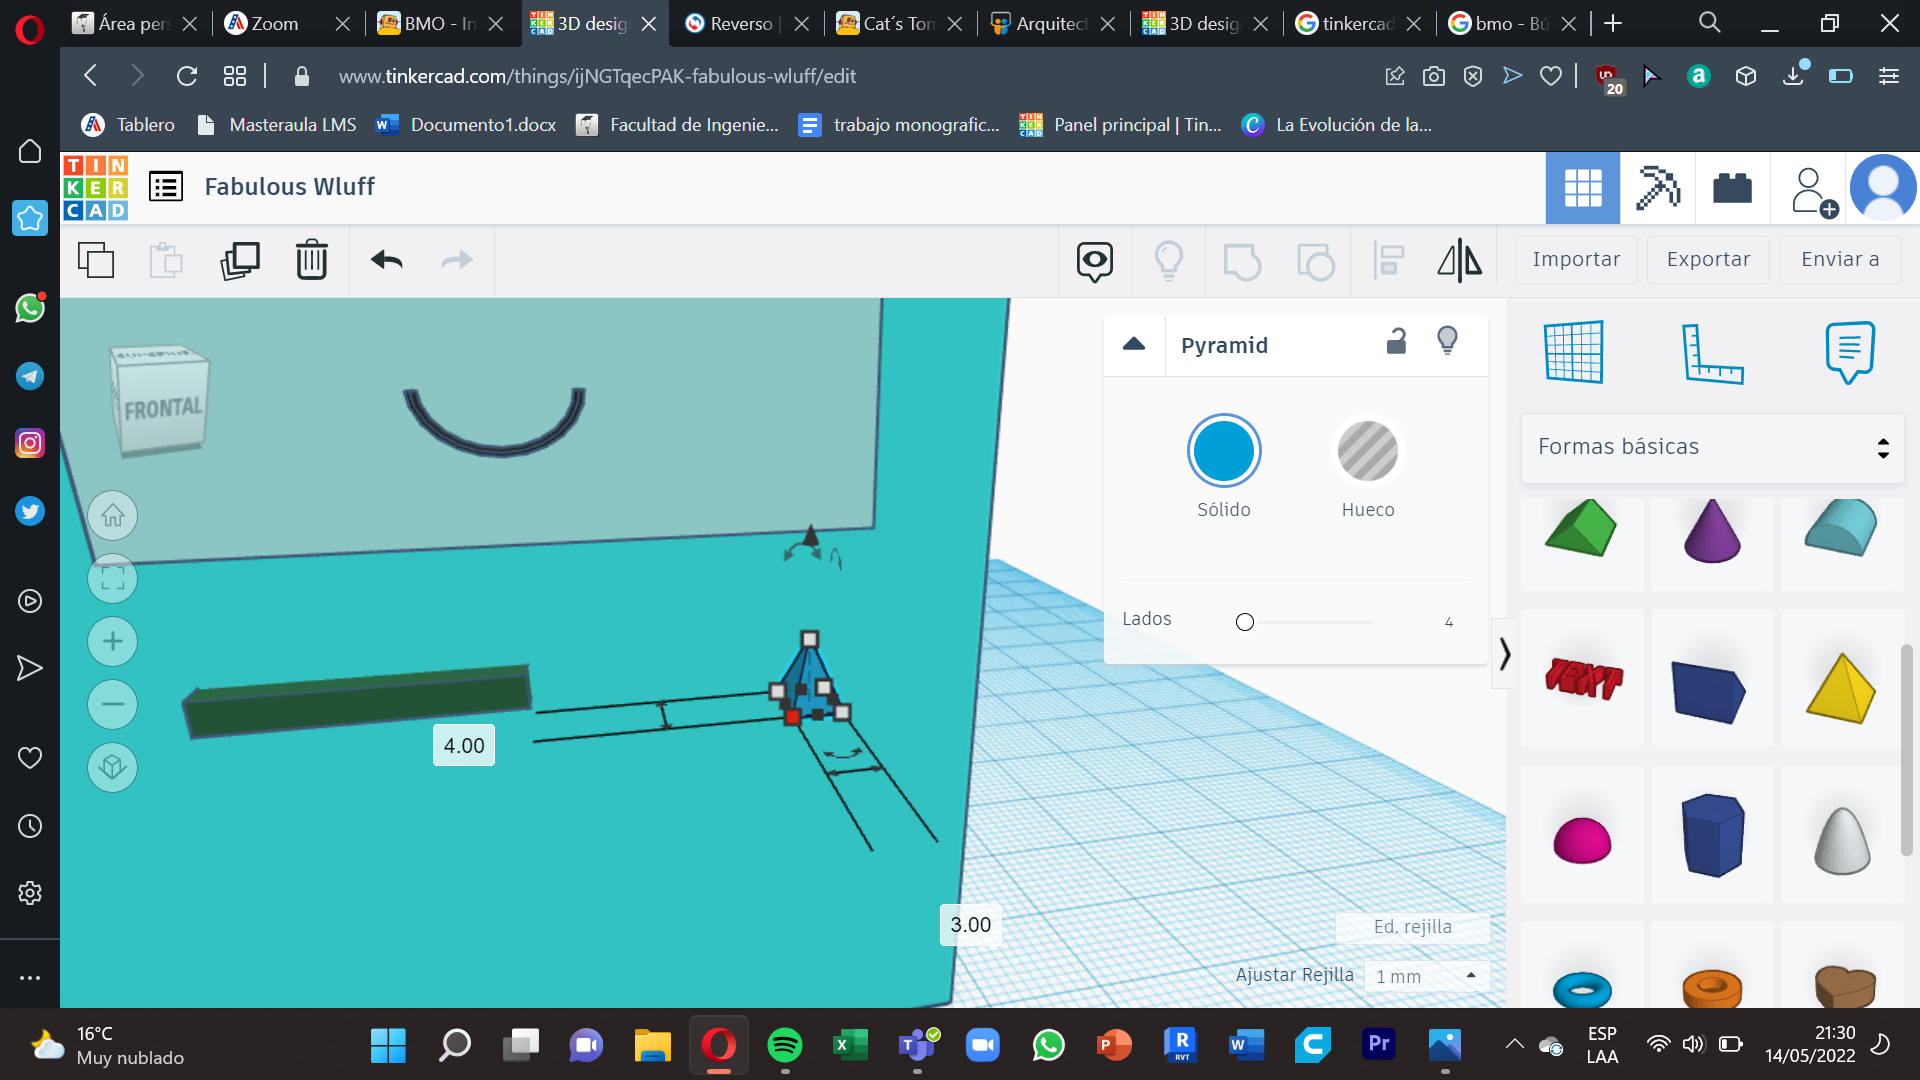
1. We select a cube, we put these measures : 18mm x 2.70mm x 2mm , the color is green, we accommodate it in the upper left.
2. We select a pyramide, we put these measurements: 4.50mm x 3mm x 4.30mm , the color is yellow, we put it in the bottom right
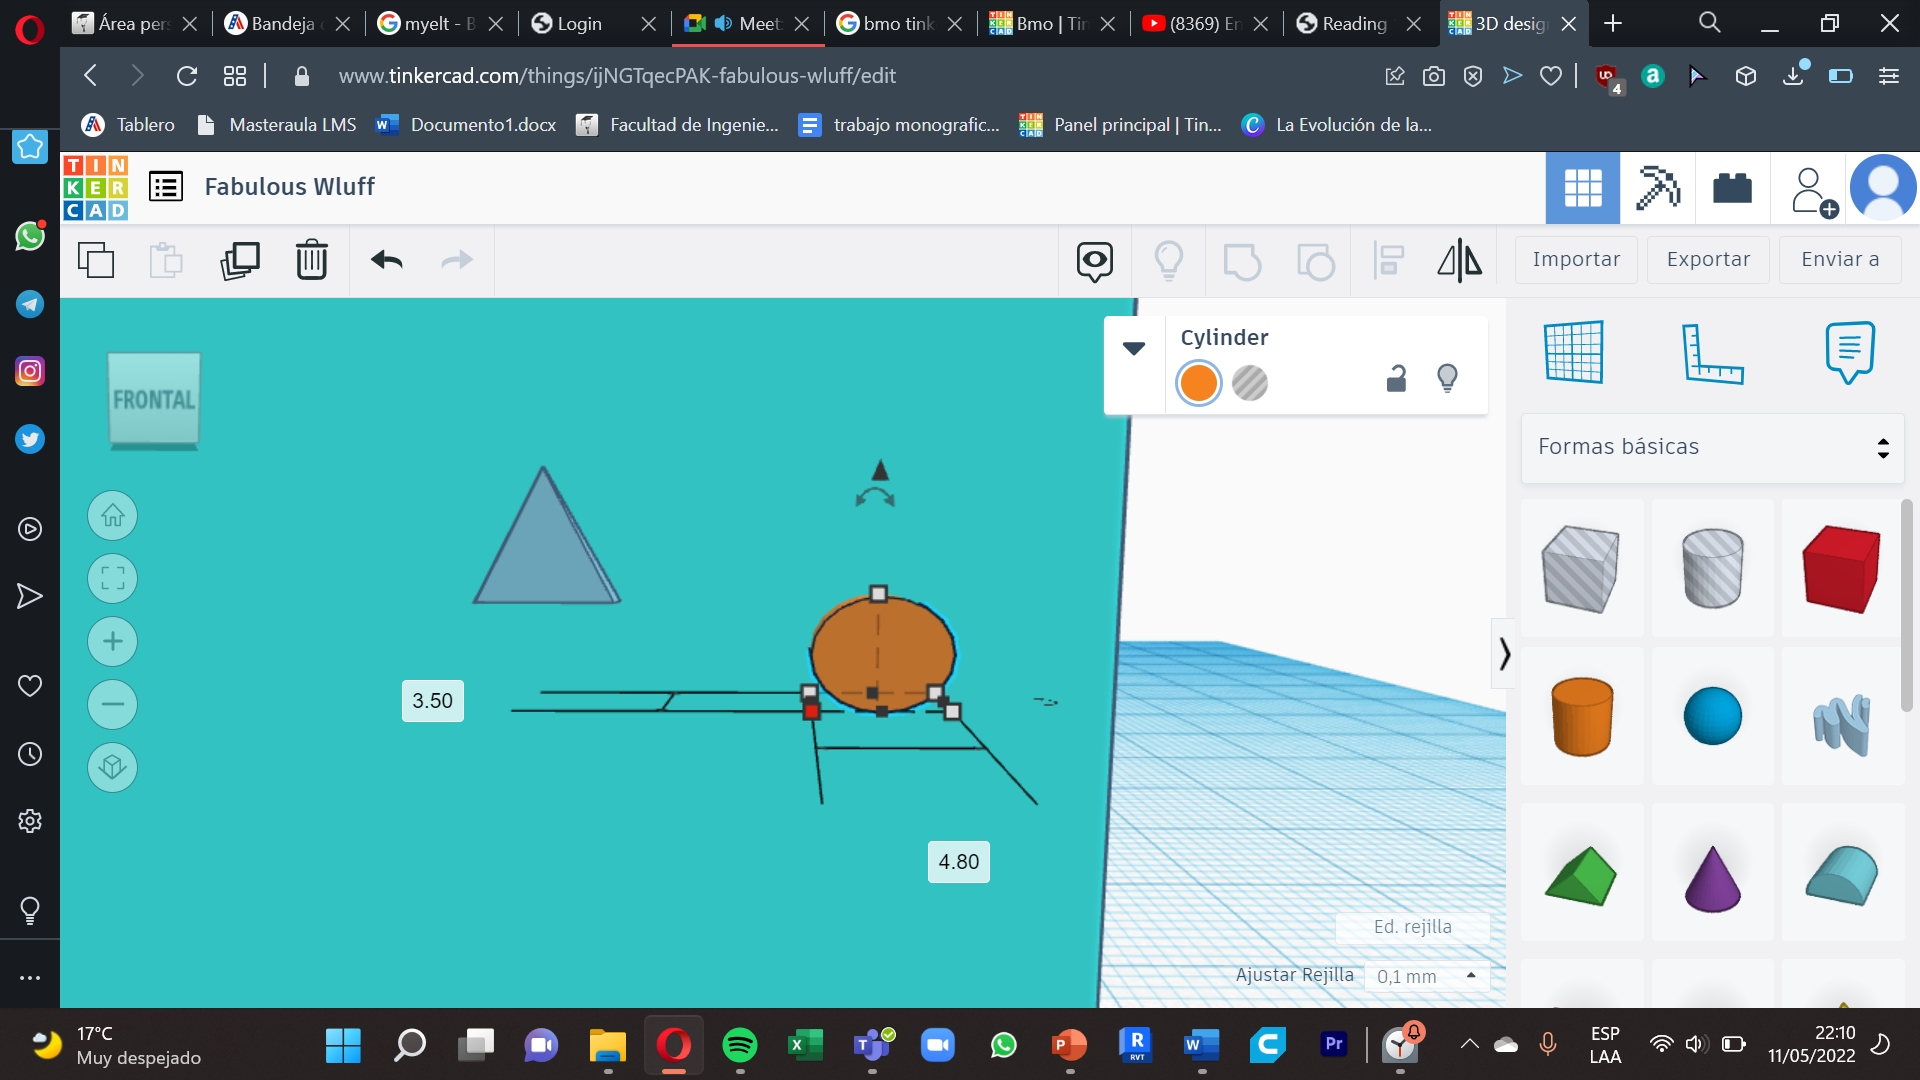
3. We select a sphere, we put these measurements : 4.50mm x 3.50mm x 3.90mm , the color is light green , we arranged it on the top bottom to the side of the pyramid .
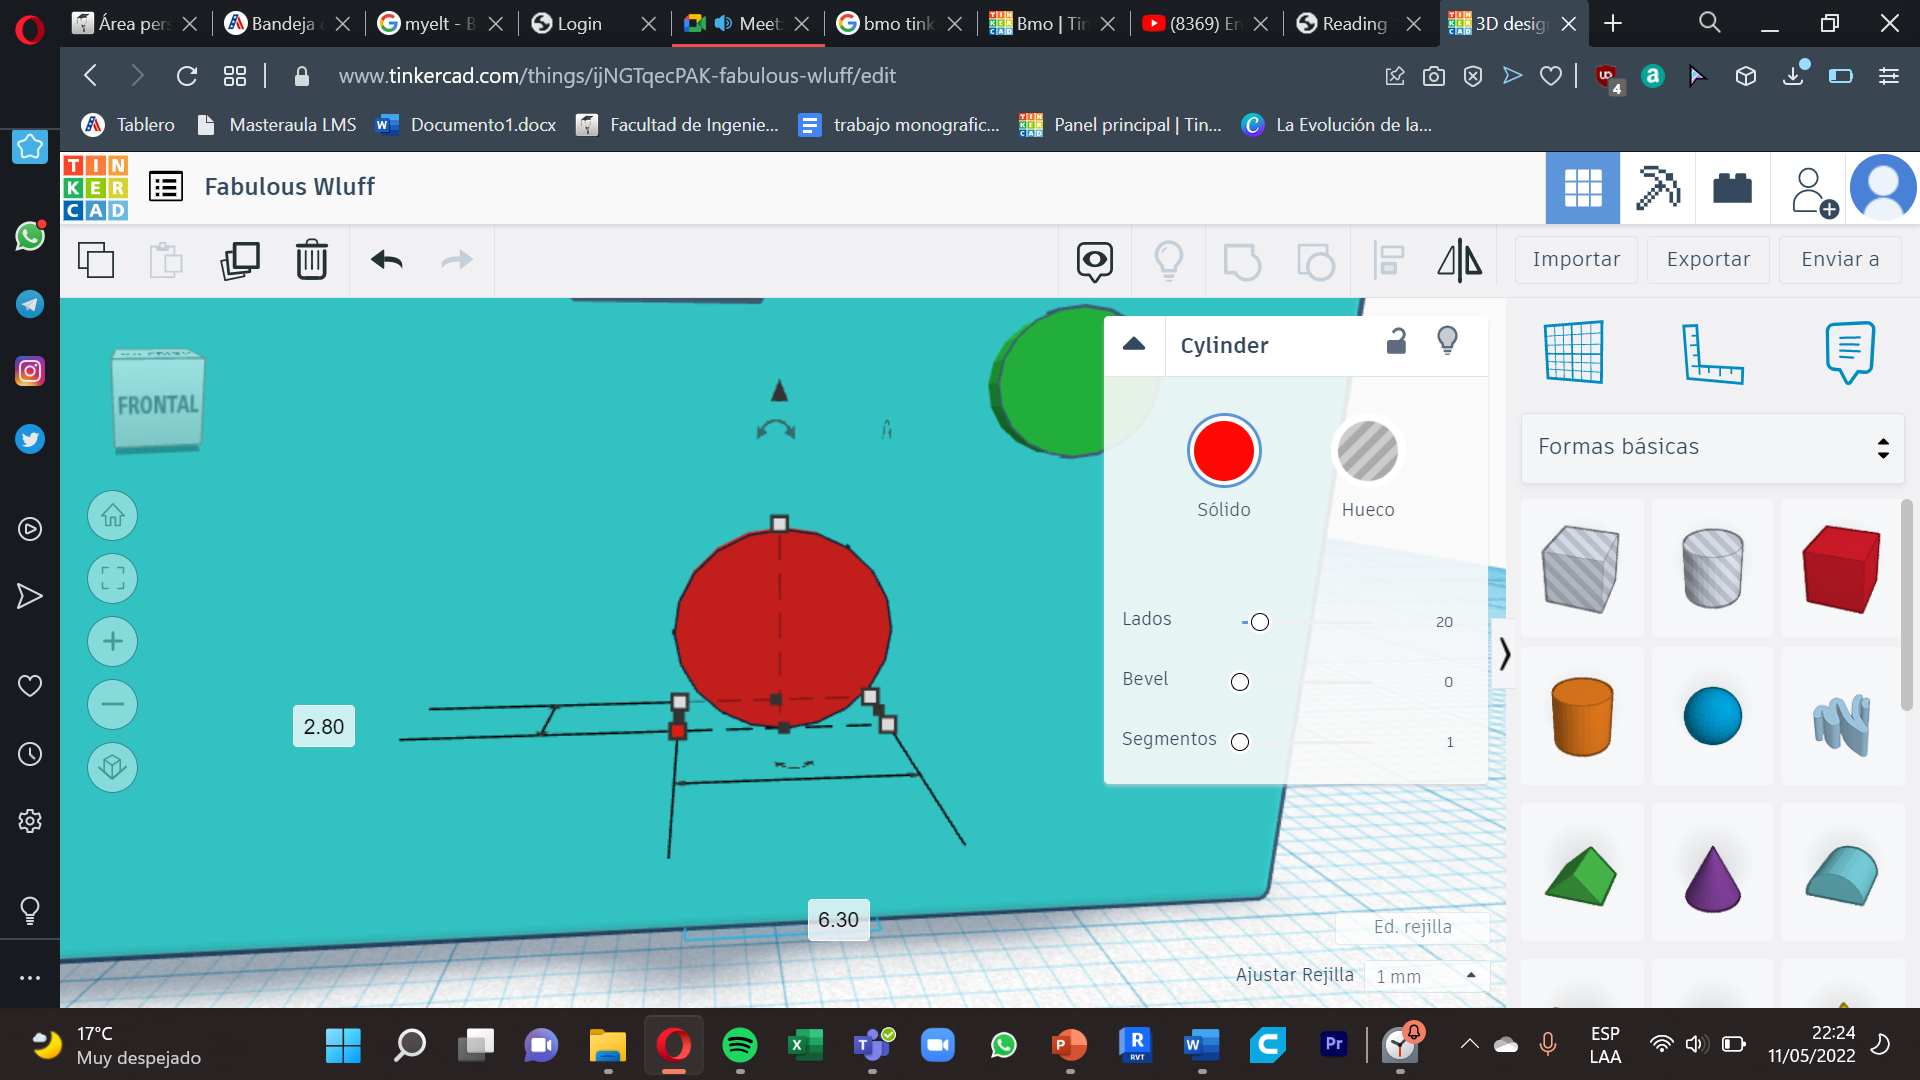
4. We select a sphere, we put these measurements : 6.30mm x 2.80mm x 5.90mm , the color is red , we put it in the bottom right , below the details 2 and 3.
More Ditails
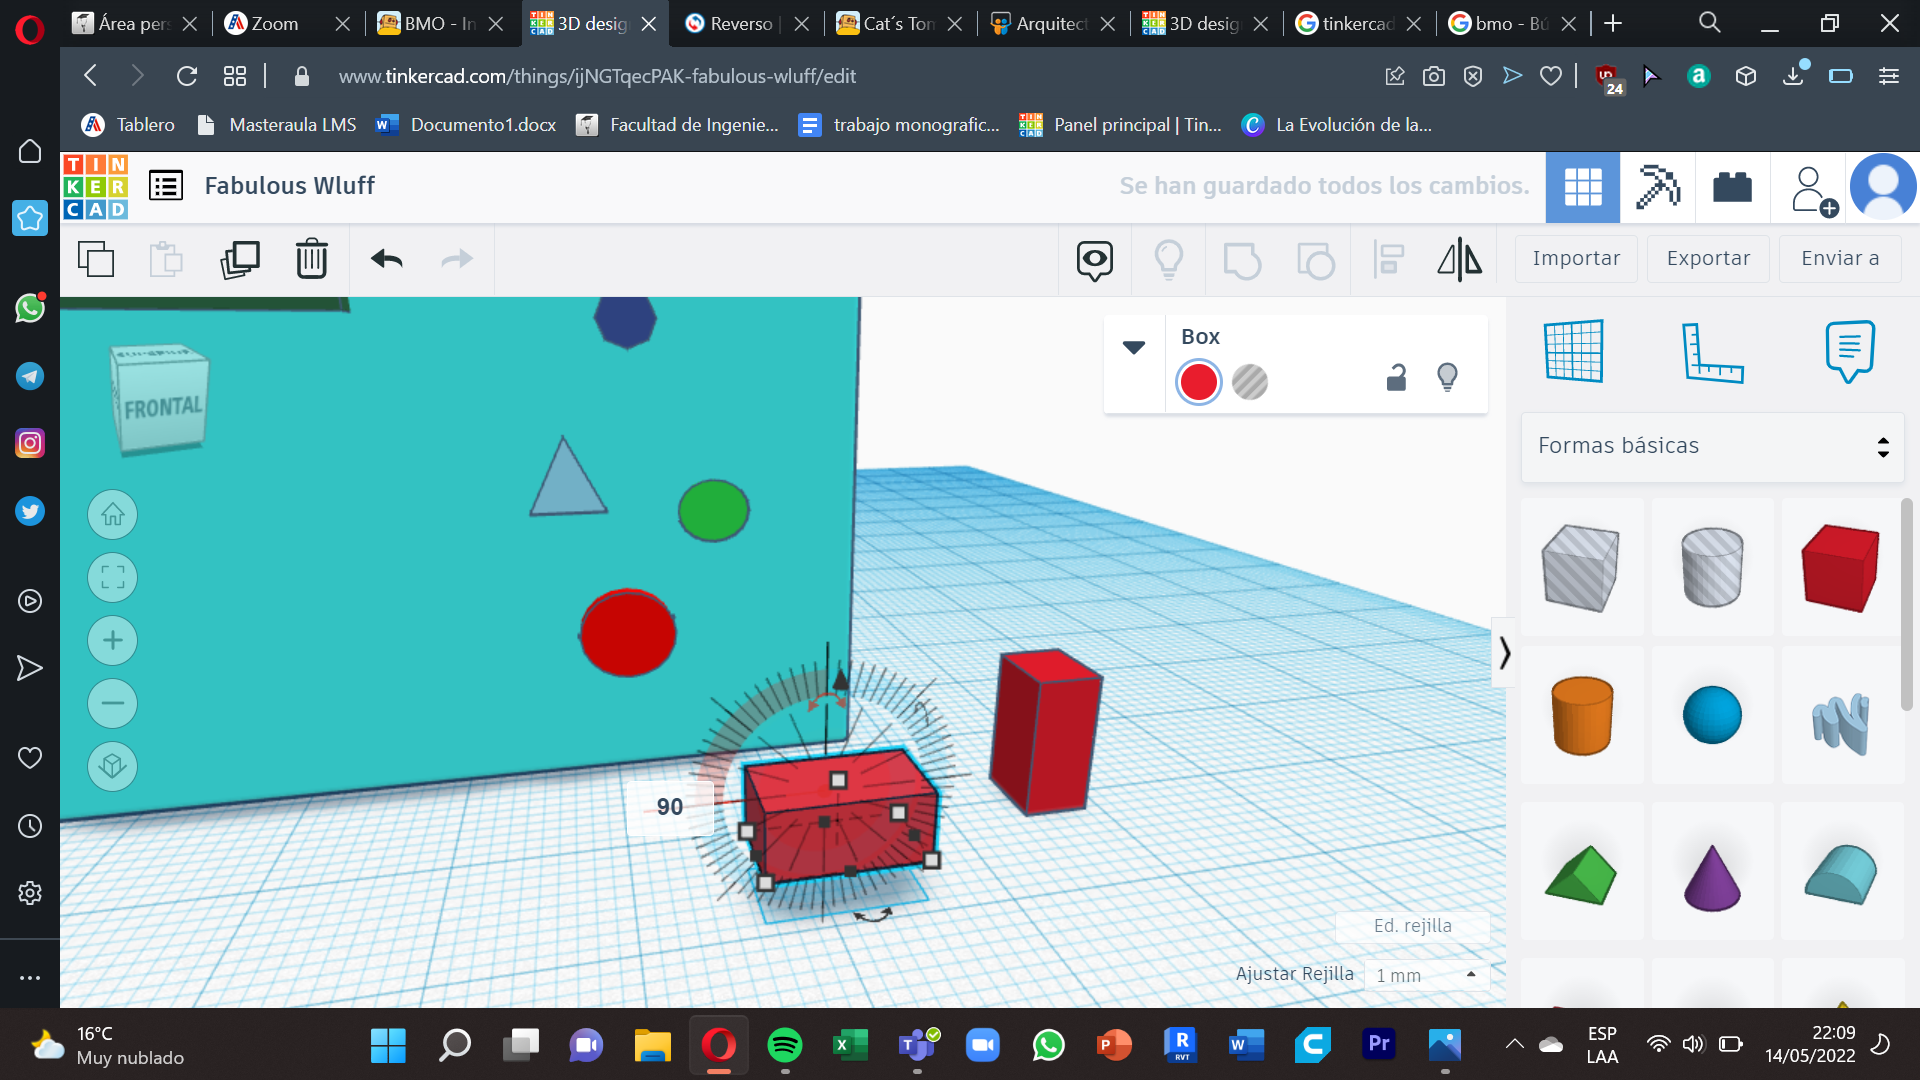.png)
.png)
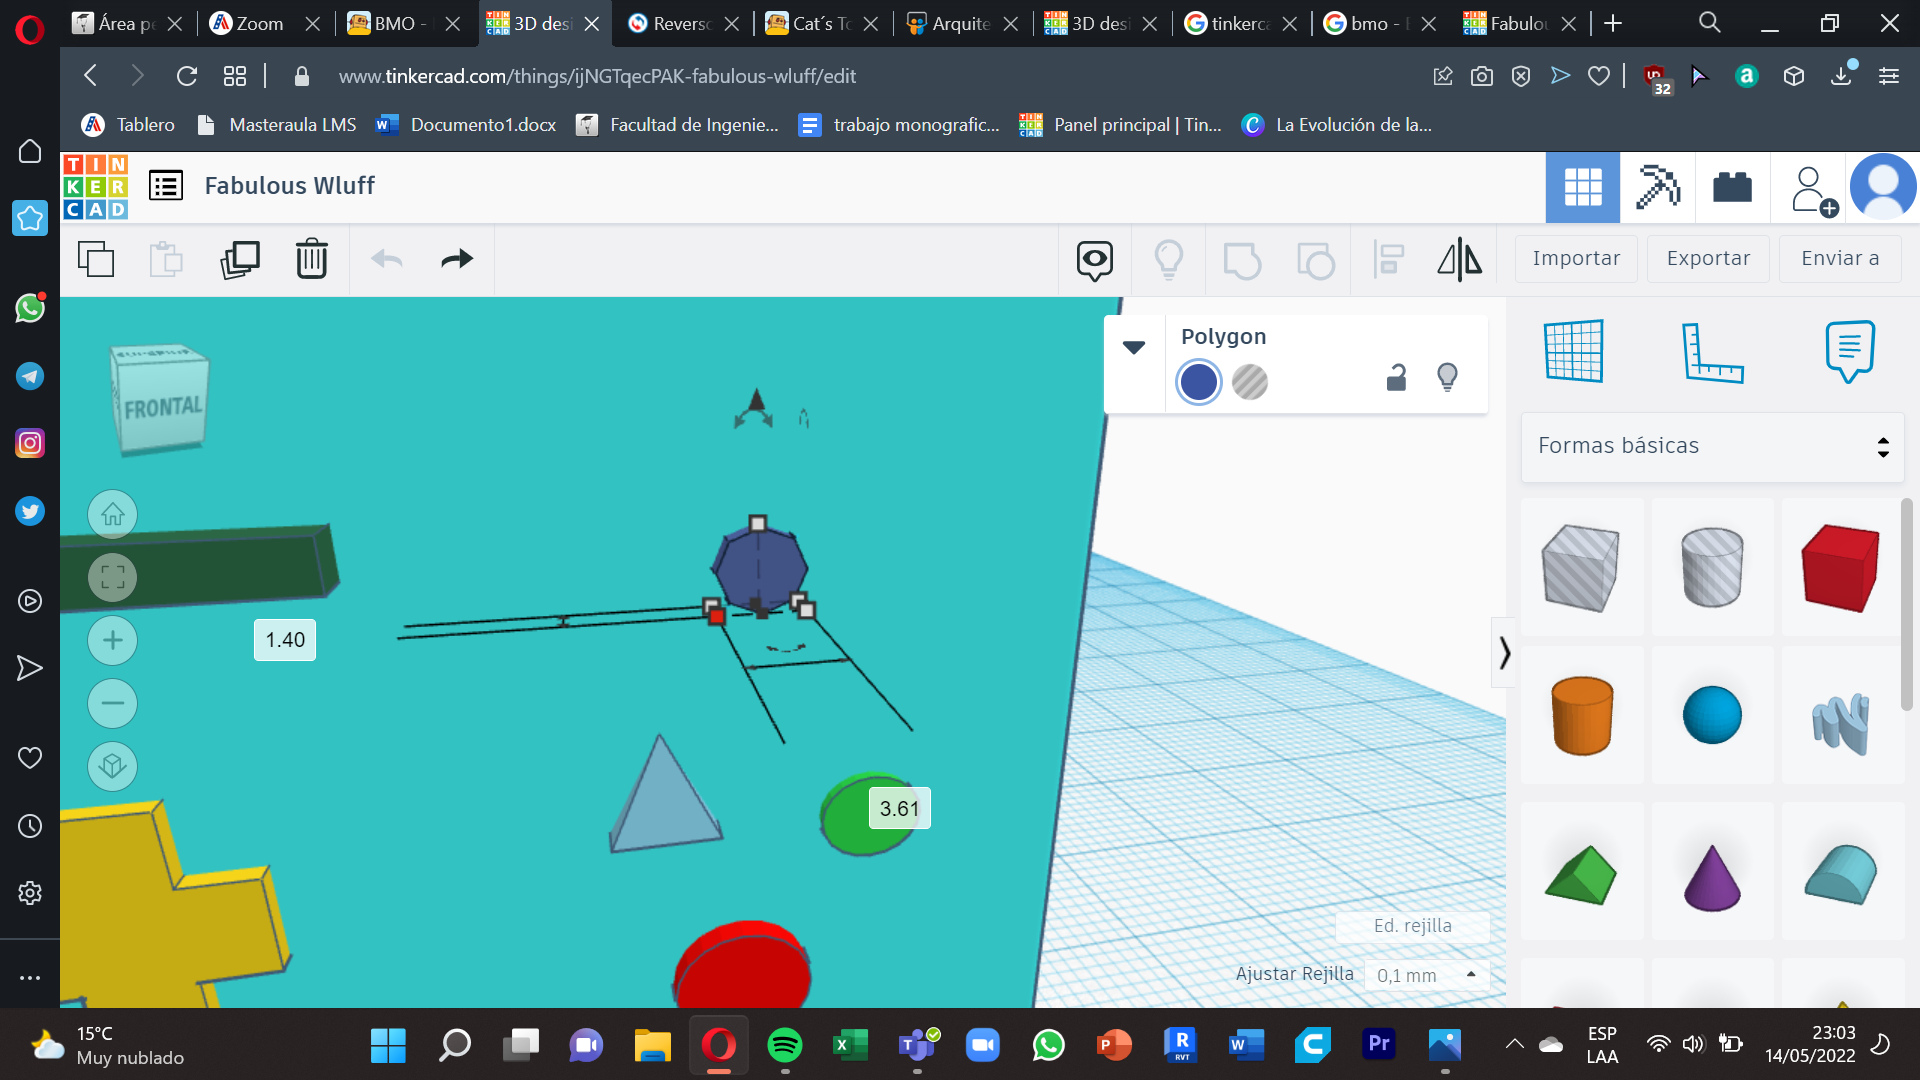
5. We select one hectare , we put these measurements : 3.61mm x 1.40mm x 3.40mm , the color is blue , we put it in the upper right.
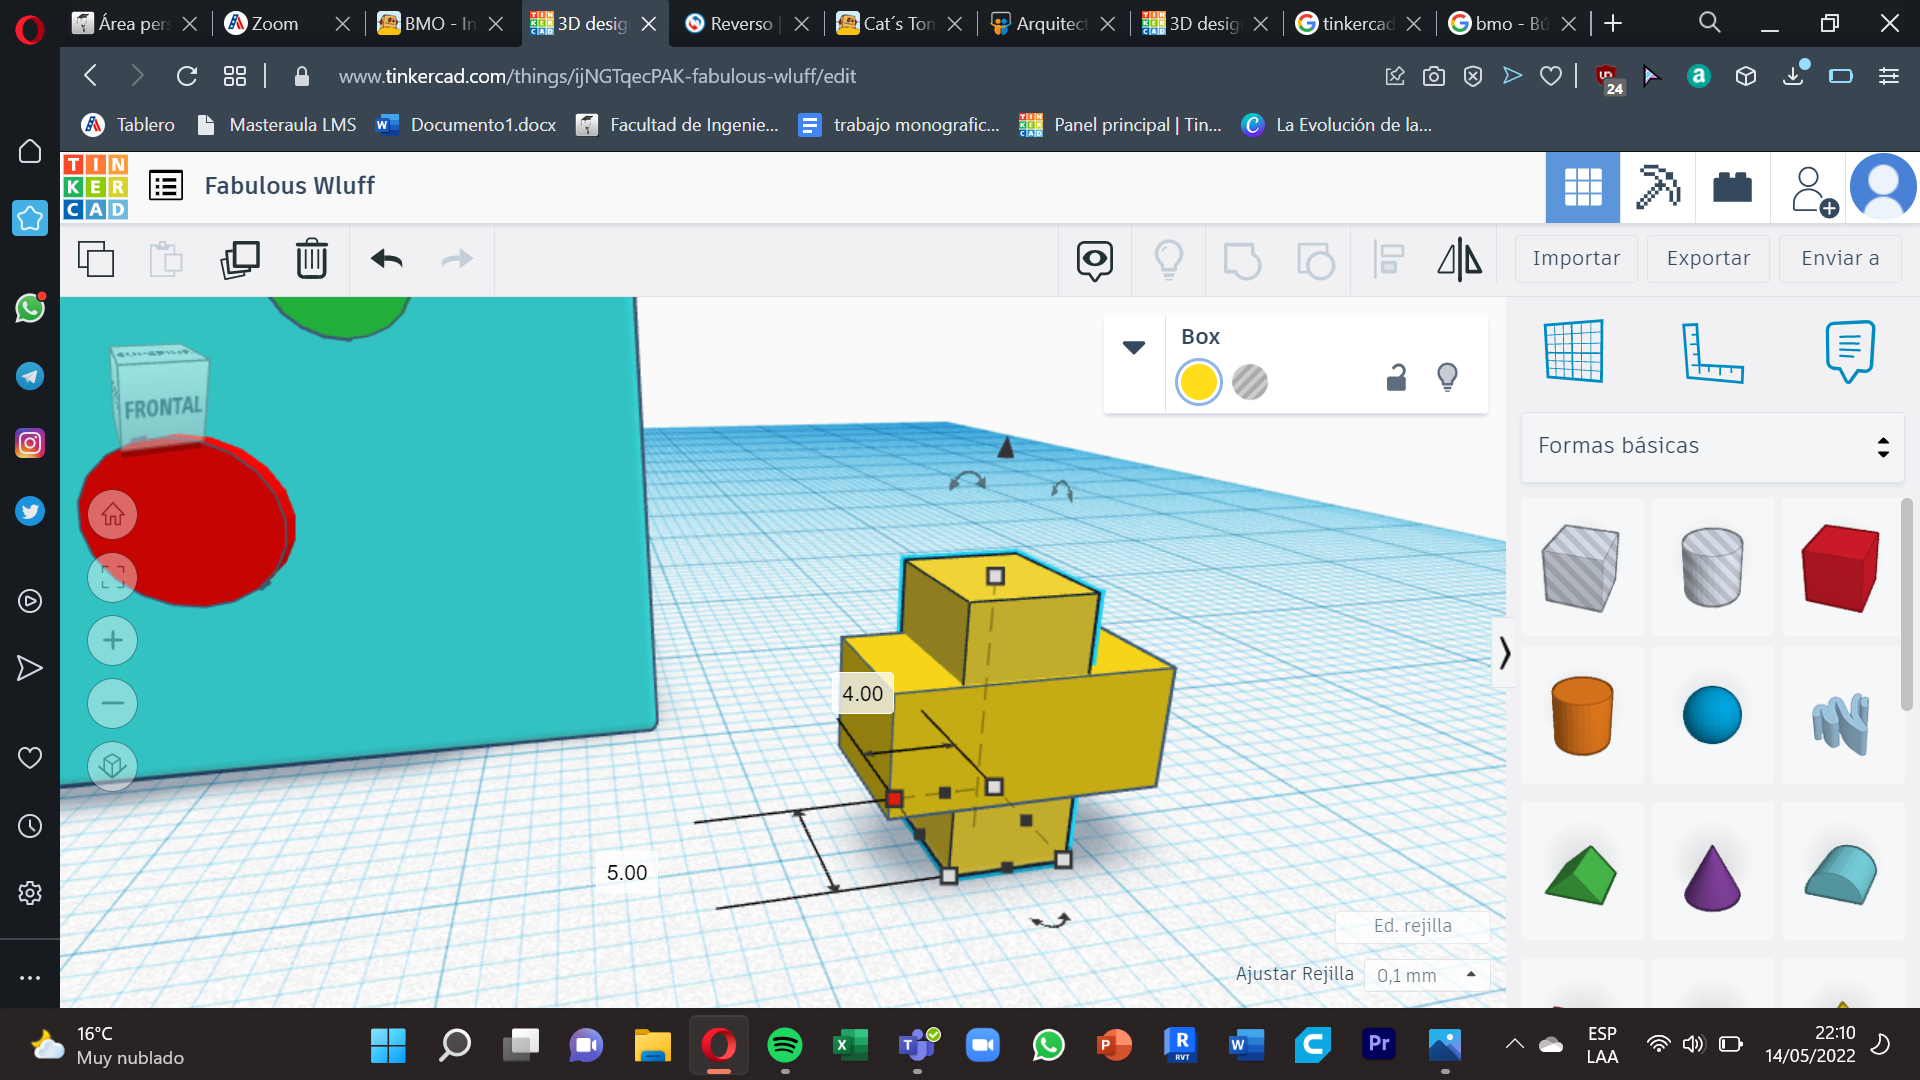
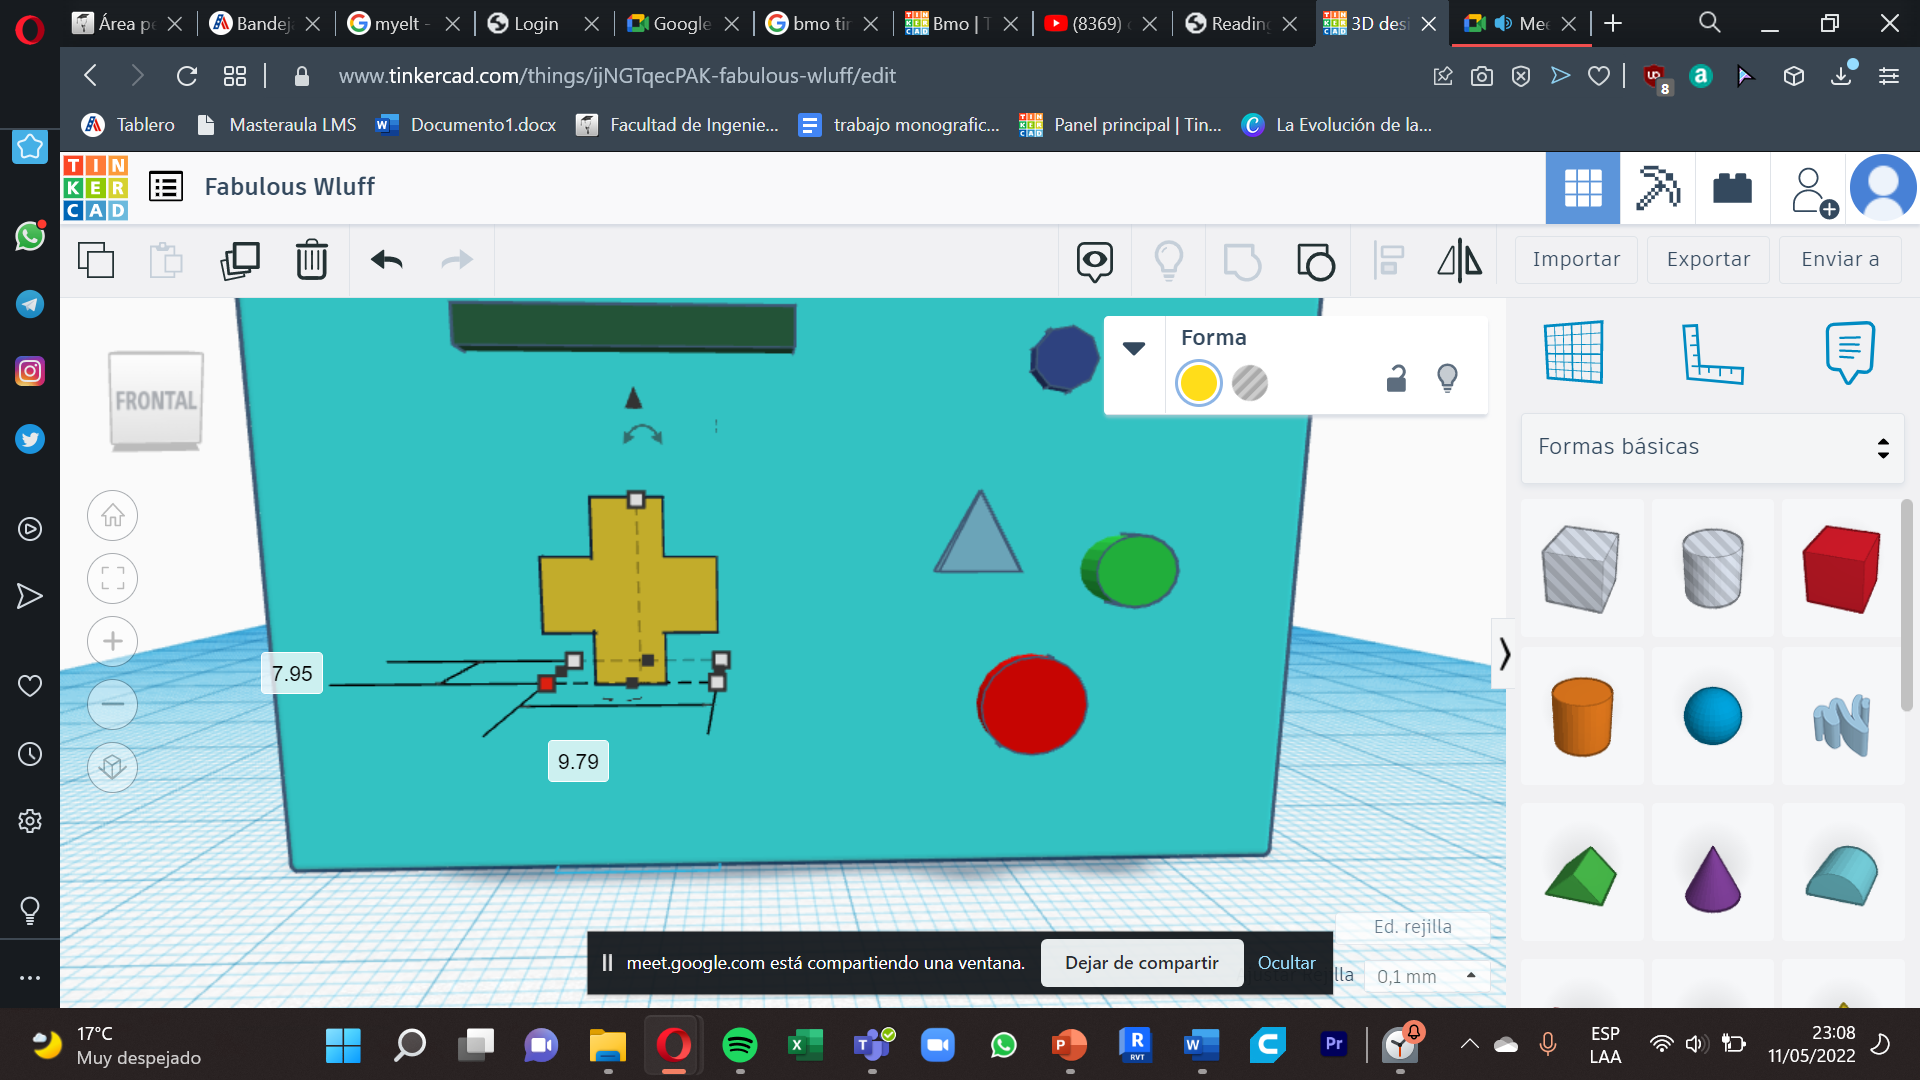
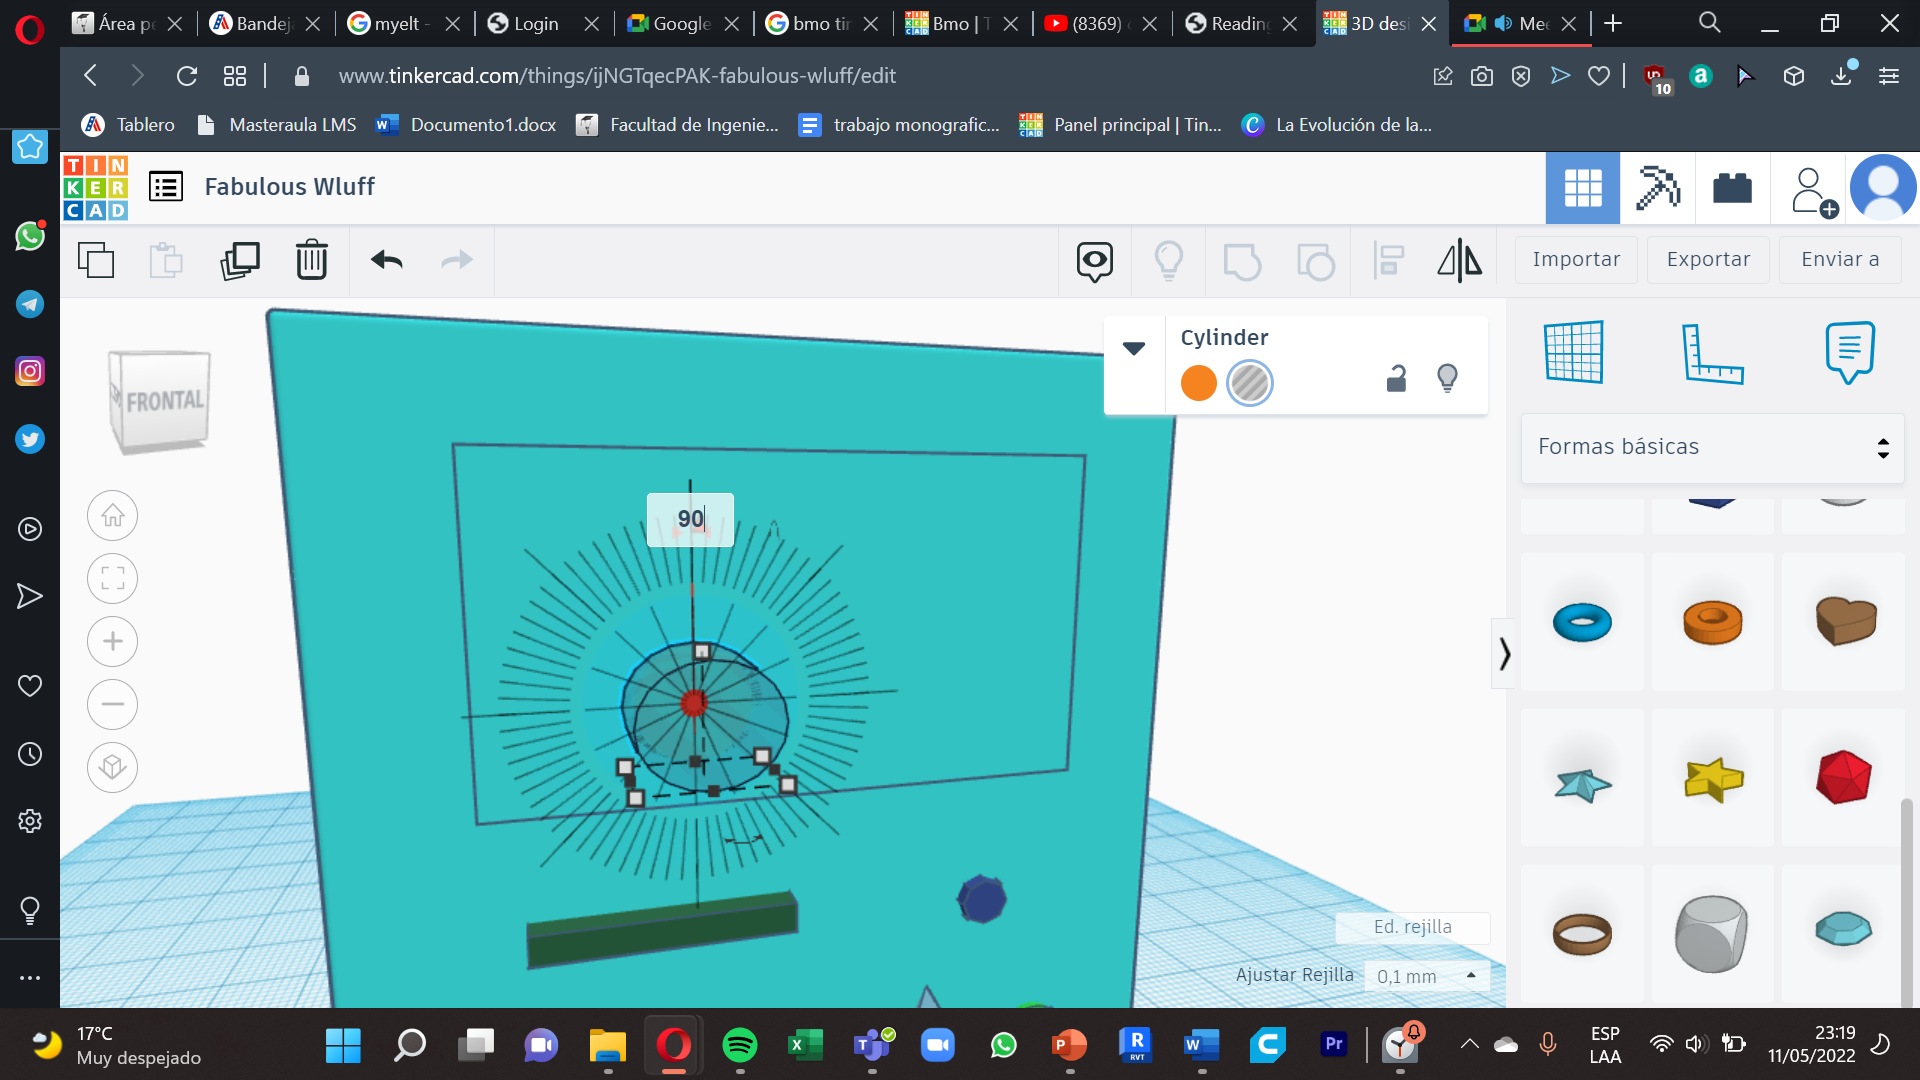
6. We select a cube, we put these measures : 5mm x 4mm x 9mm , as we are going to form a cross , we copy one of these cubes and move it 90 degrees , then we put them together so that it remains in the form of a cross , in the most perfect way and we group it as we teach in step 4 , we arrange it in the bottom right under the 1 detail.
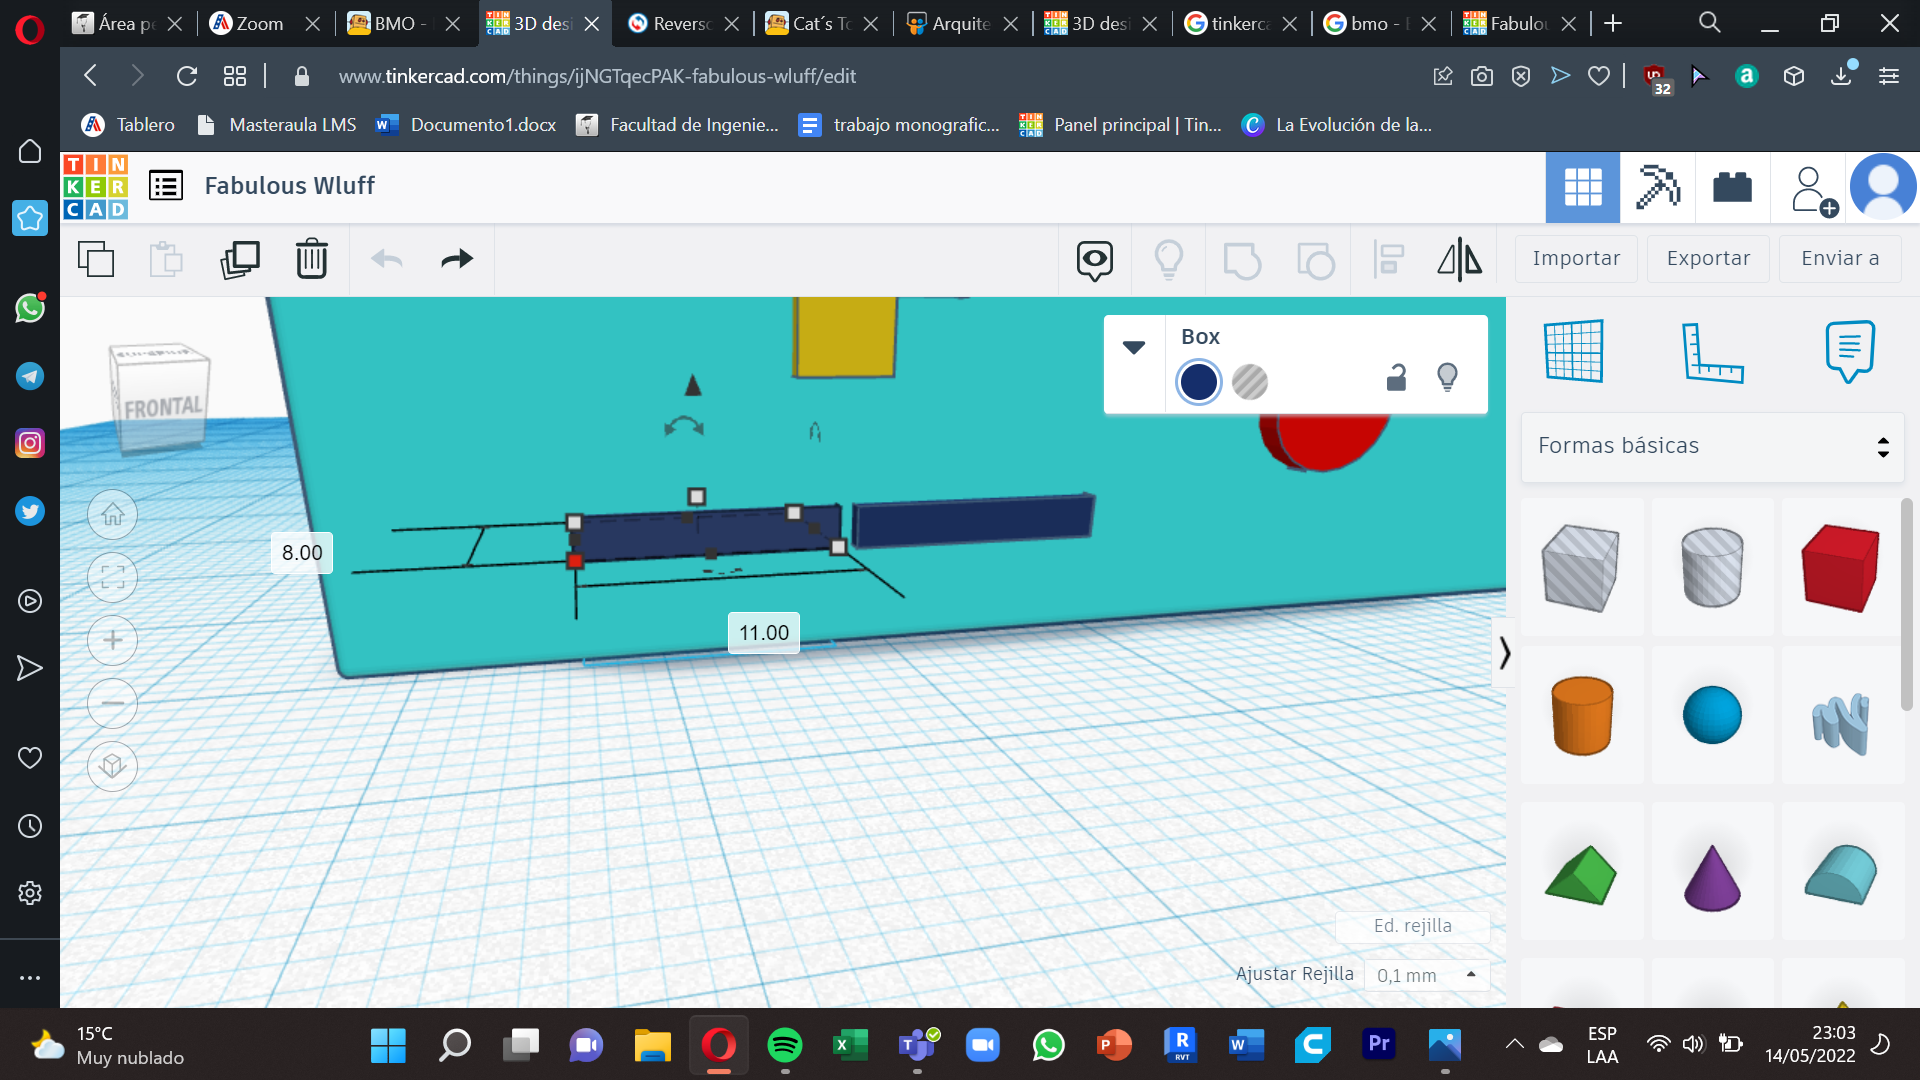
7-8. We select a cube, we put these measures : 11mm x 8mm x 1,70mm , the color is blue , as there are two , we simply copy and accommodate them in the bottom right under the detail 6.
Parts of the Face
.png)
.png)
.png)
.png)
.png)
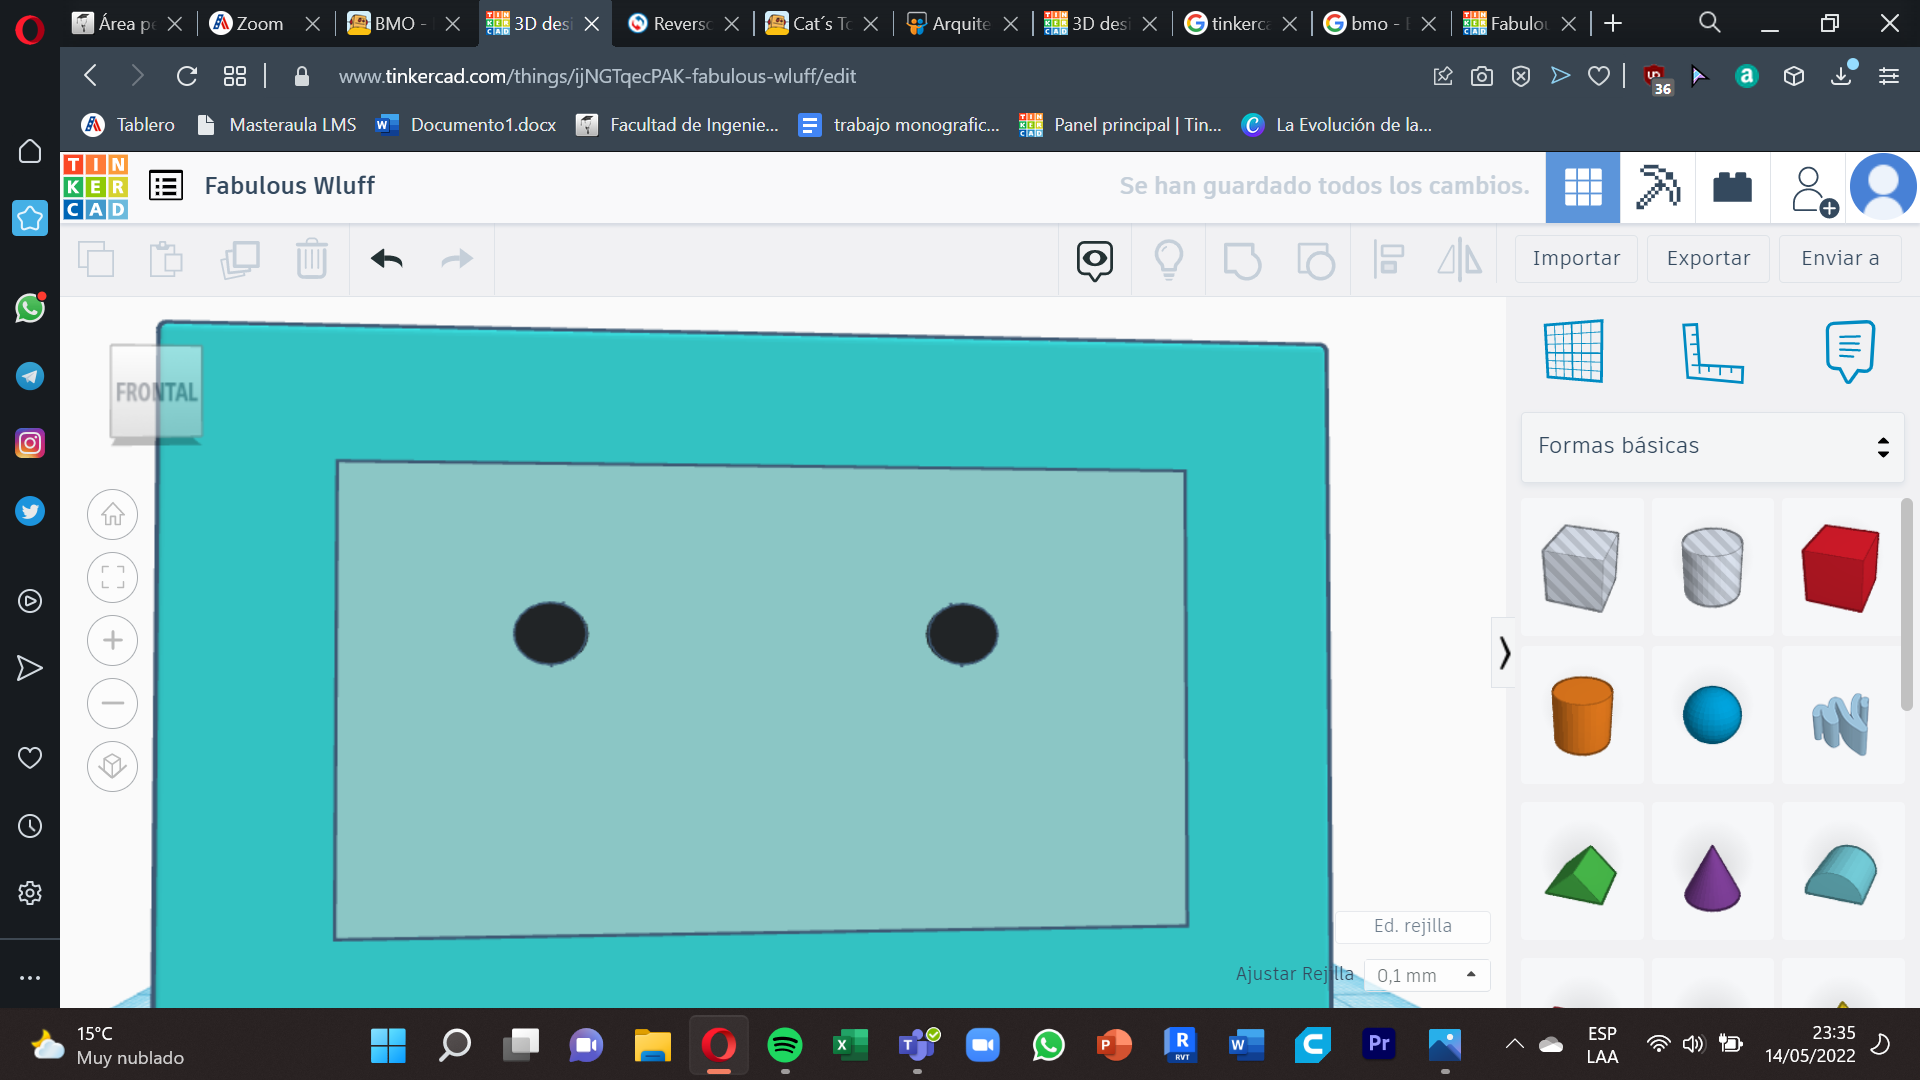
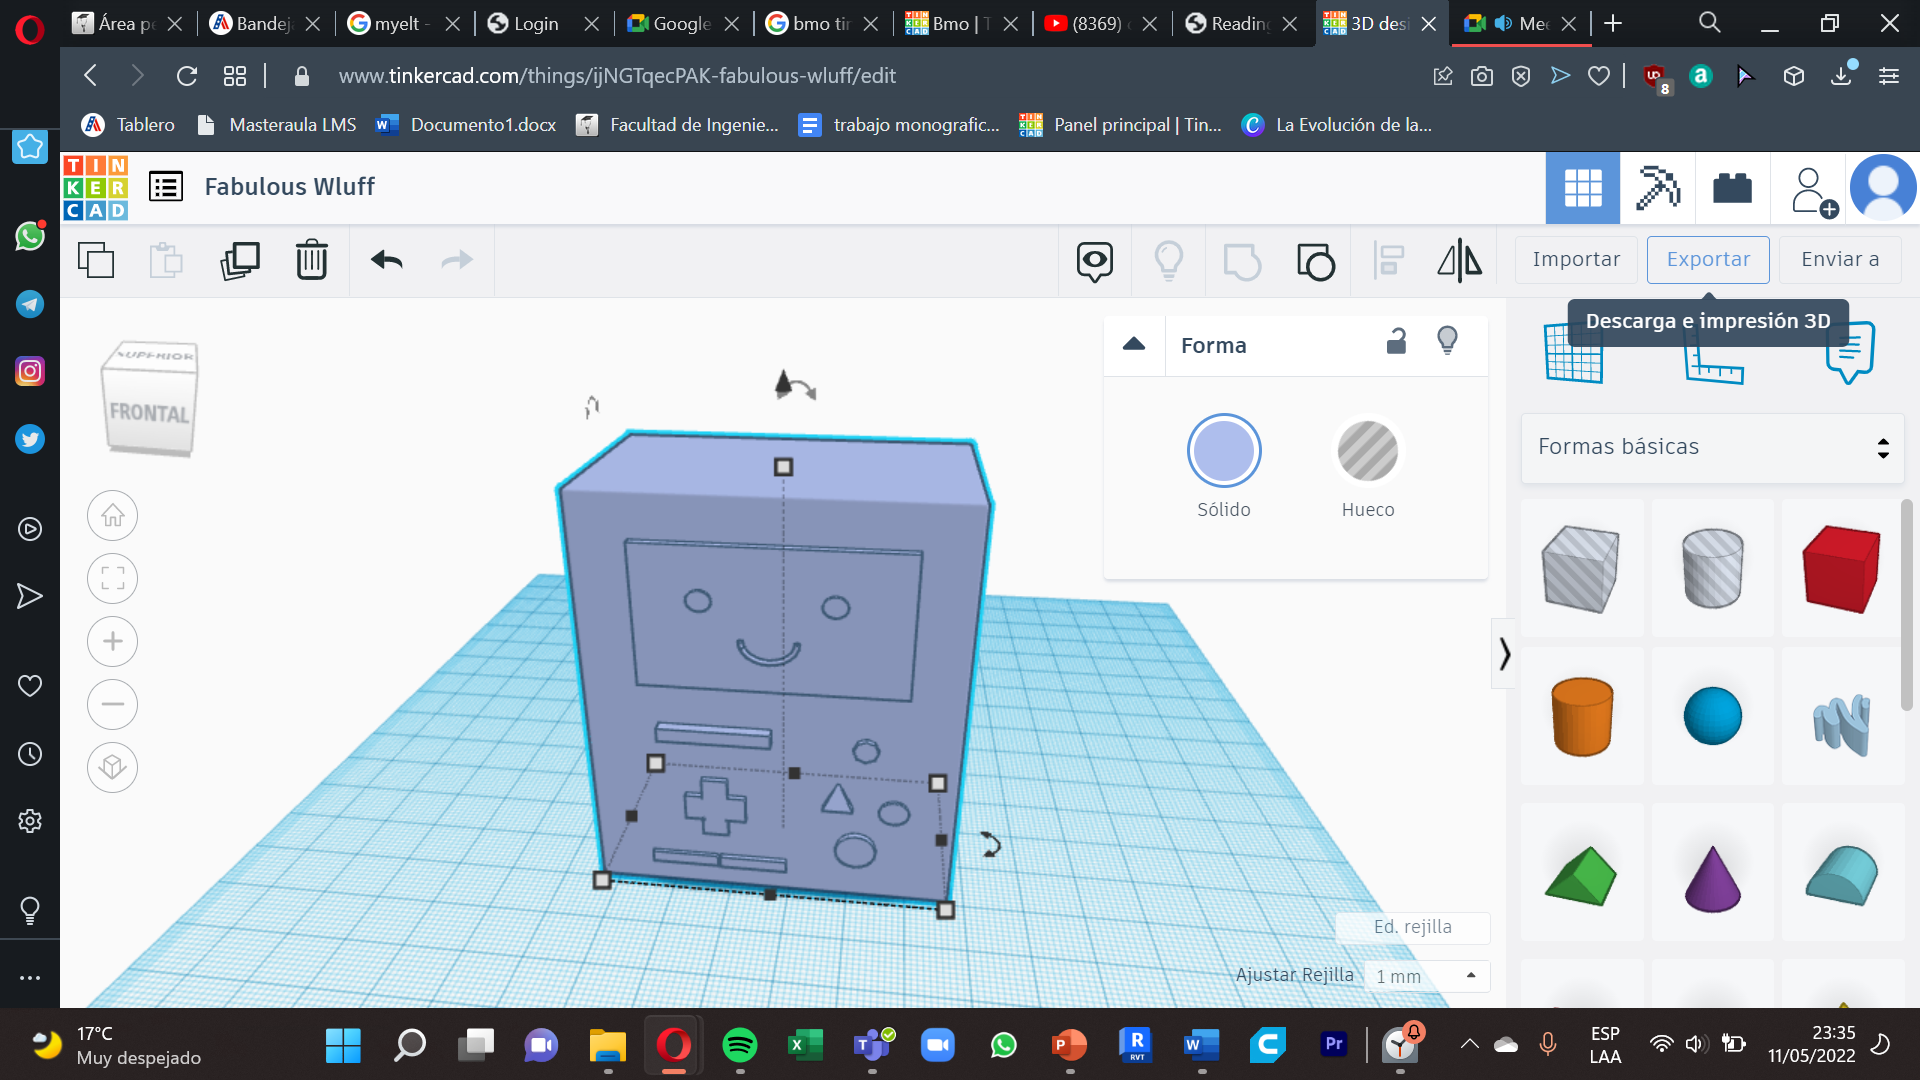
We are almost finished! , we will make the parts of the face that are 3
1-2. For the eyes, we choose a sphere , we put these measurements : 3.48mm x 2.48mm x 3mm , the color is black , we rotate it in 90 degrees , we copy so we will have two eyes and we accommodate them at the top of the face.
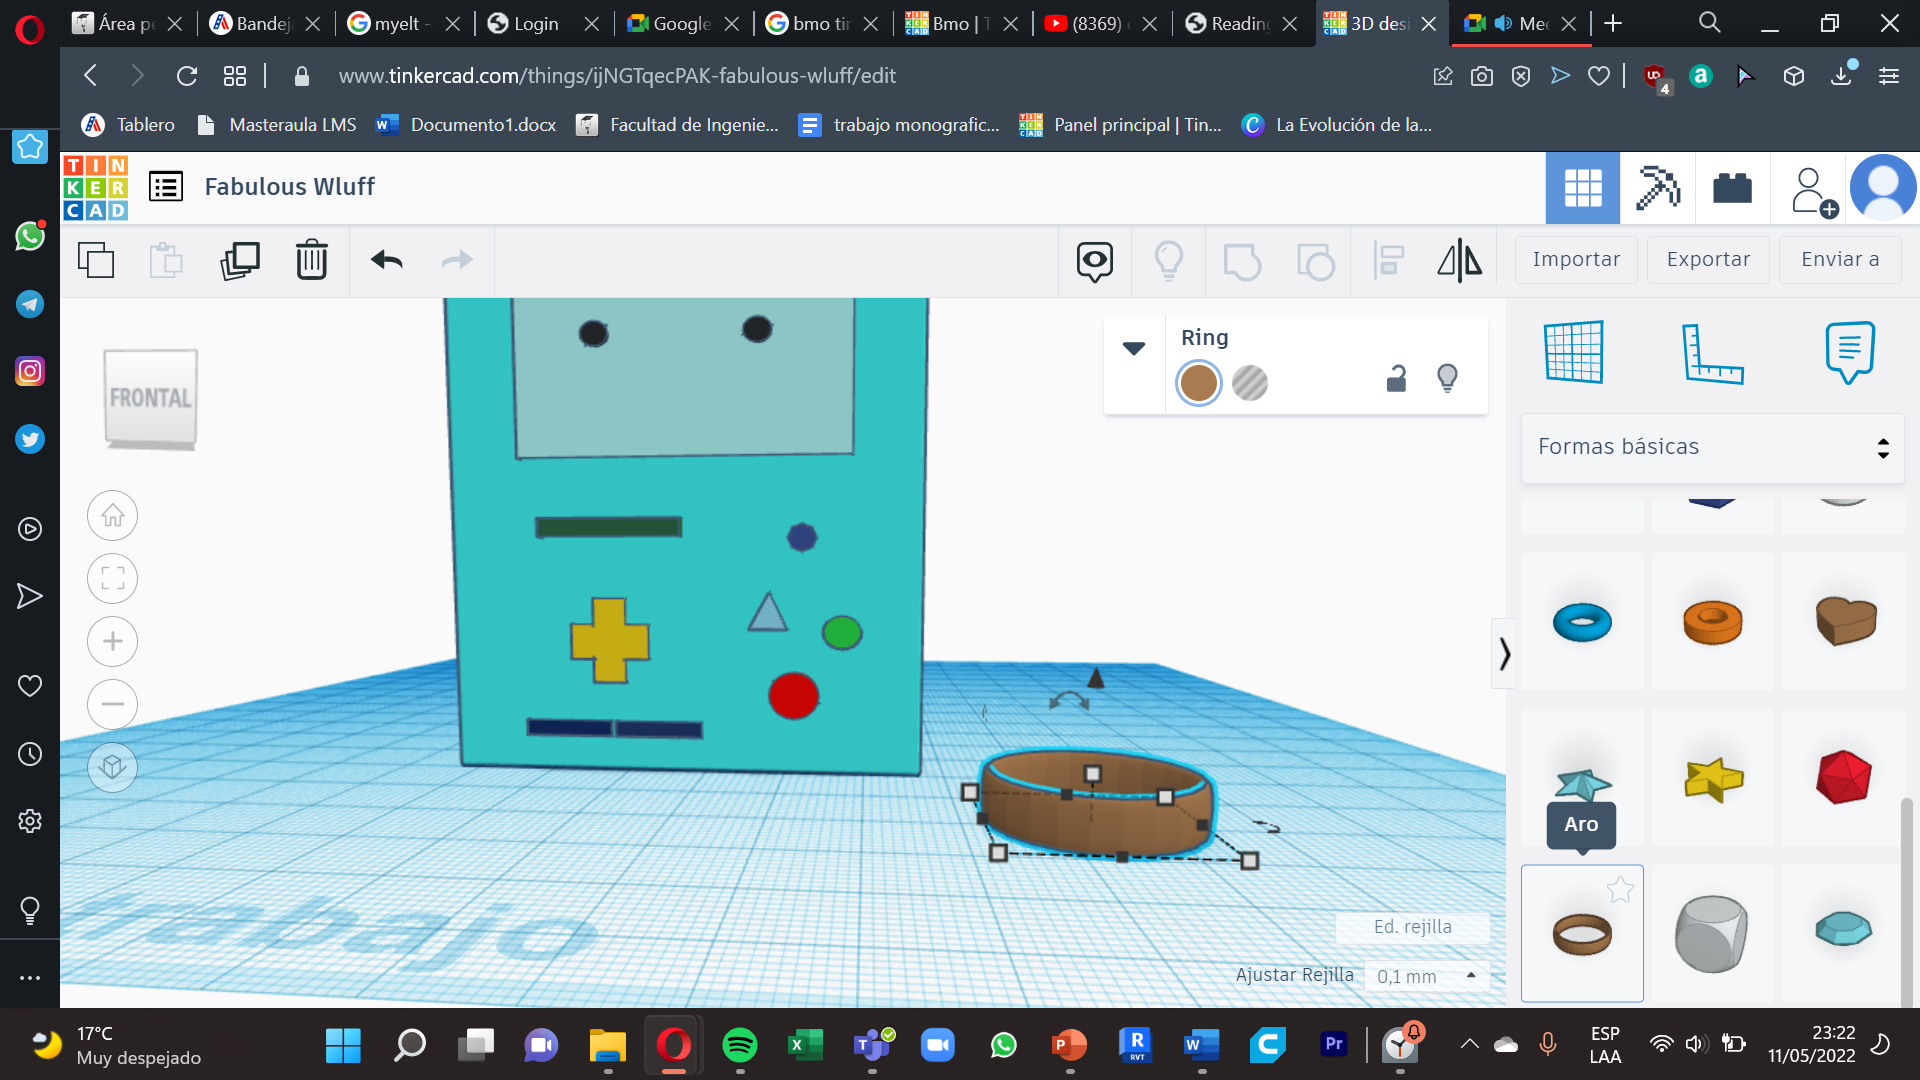
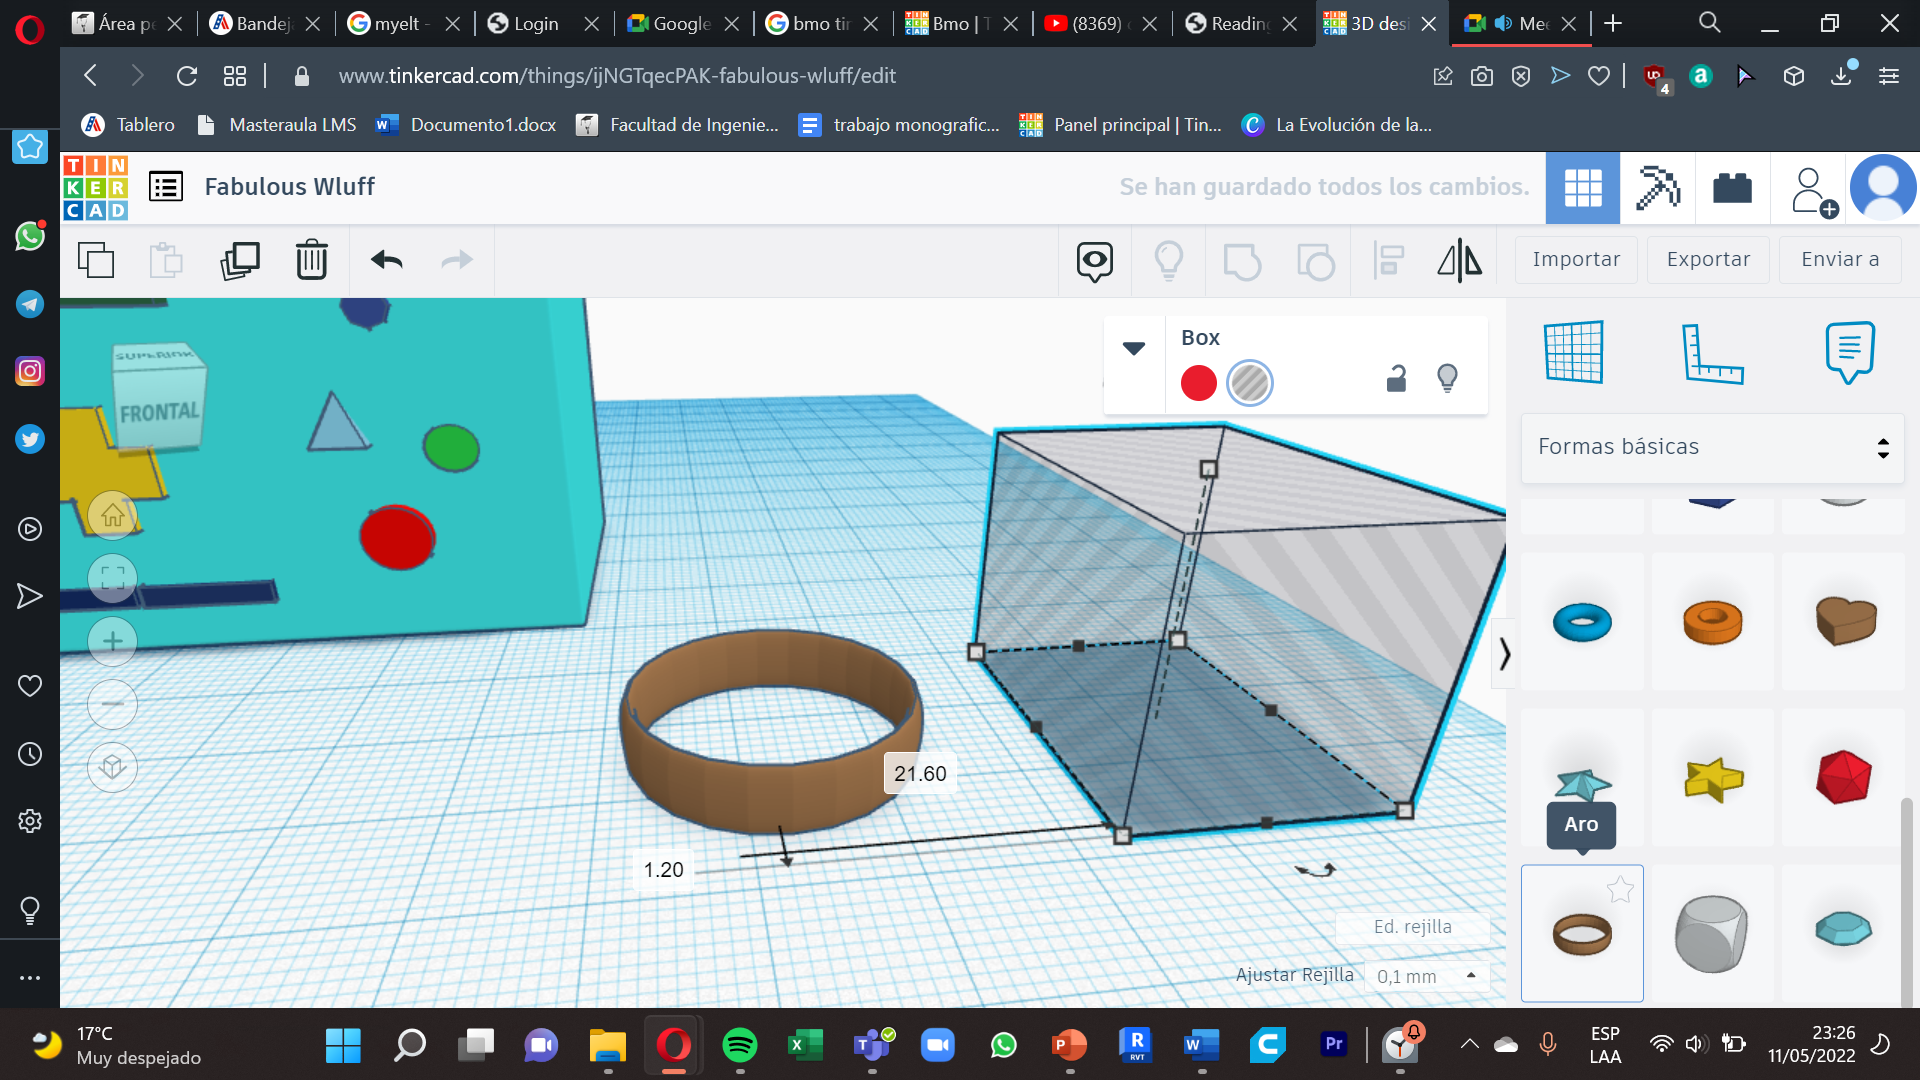
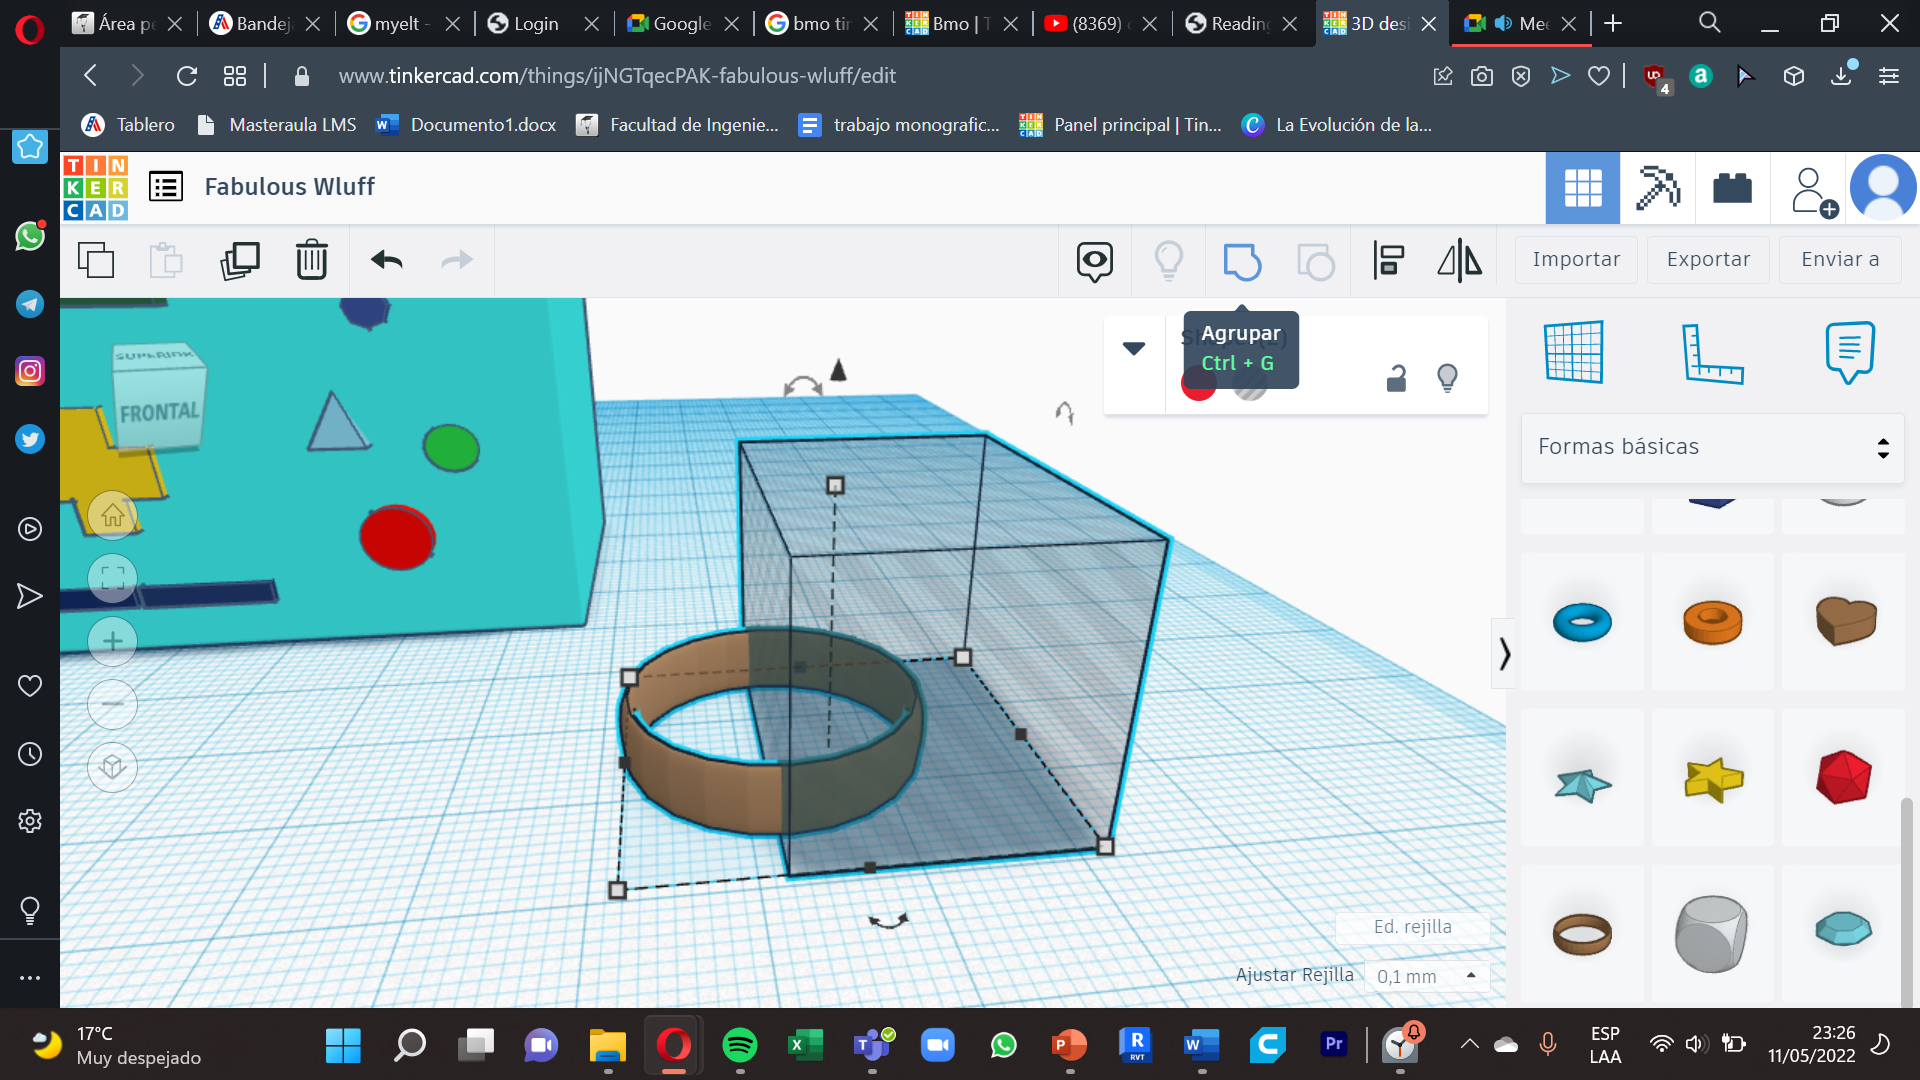
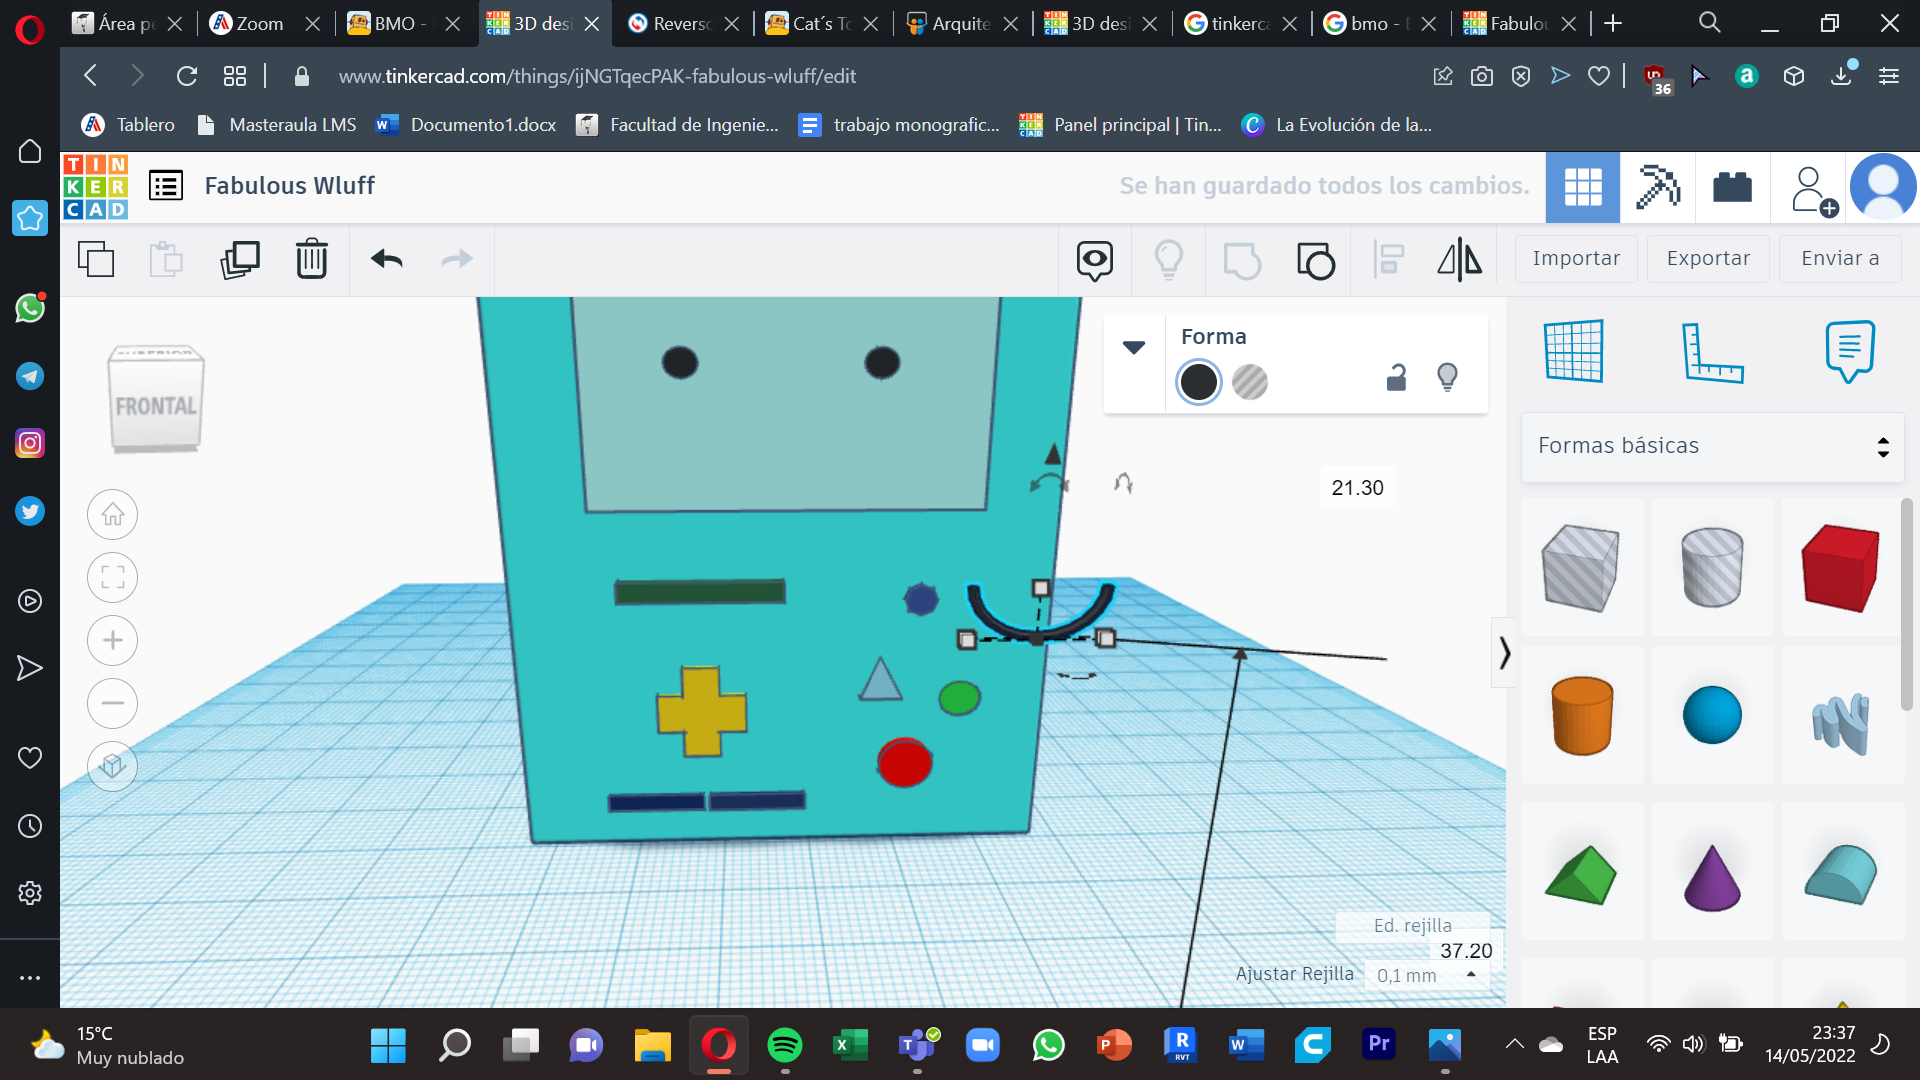
2. To make the mouth, select a ring and drag it to the board, then select a cube ,this will be in ´´Empty´´ this option is usually used to cut a shape , we place it on top of the ring and put the grouping option , as the mouth is formed , now we rotate it in 180 degrees , the color is black and we accommodate it at the bottom of the face.
.png)
.png)
.png)
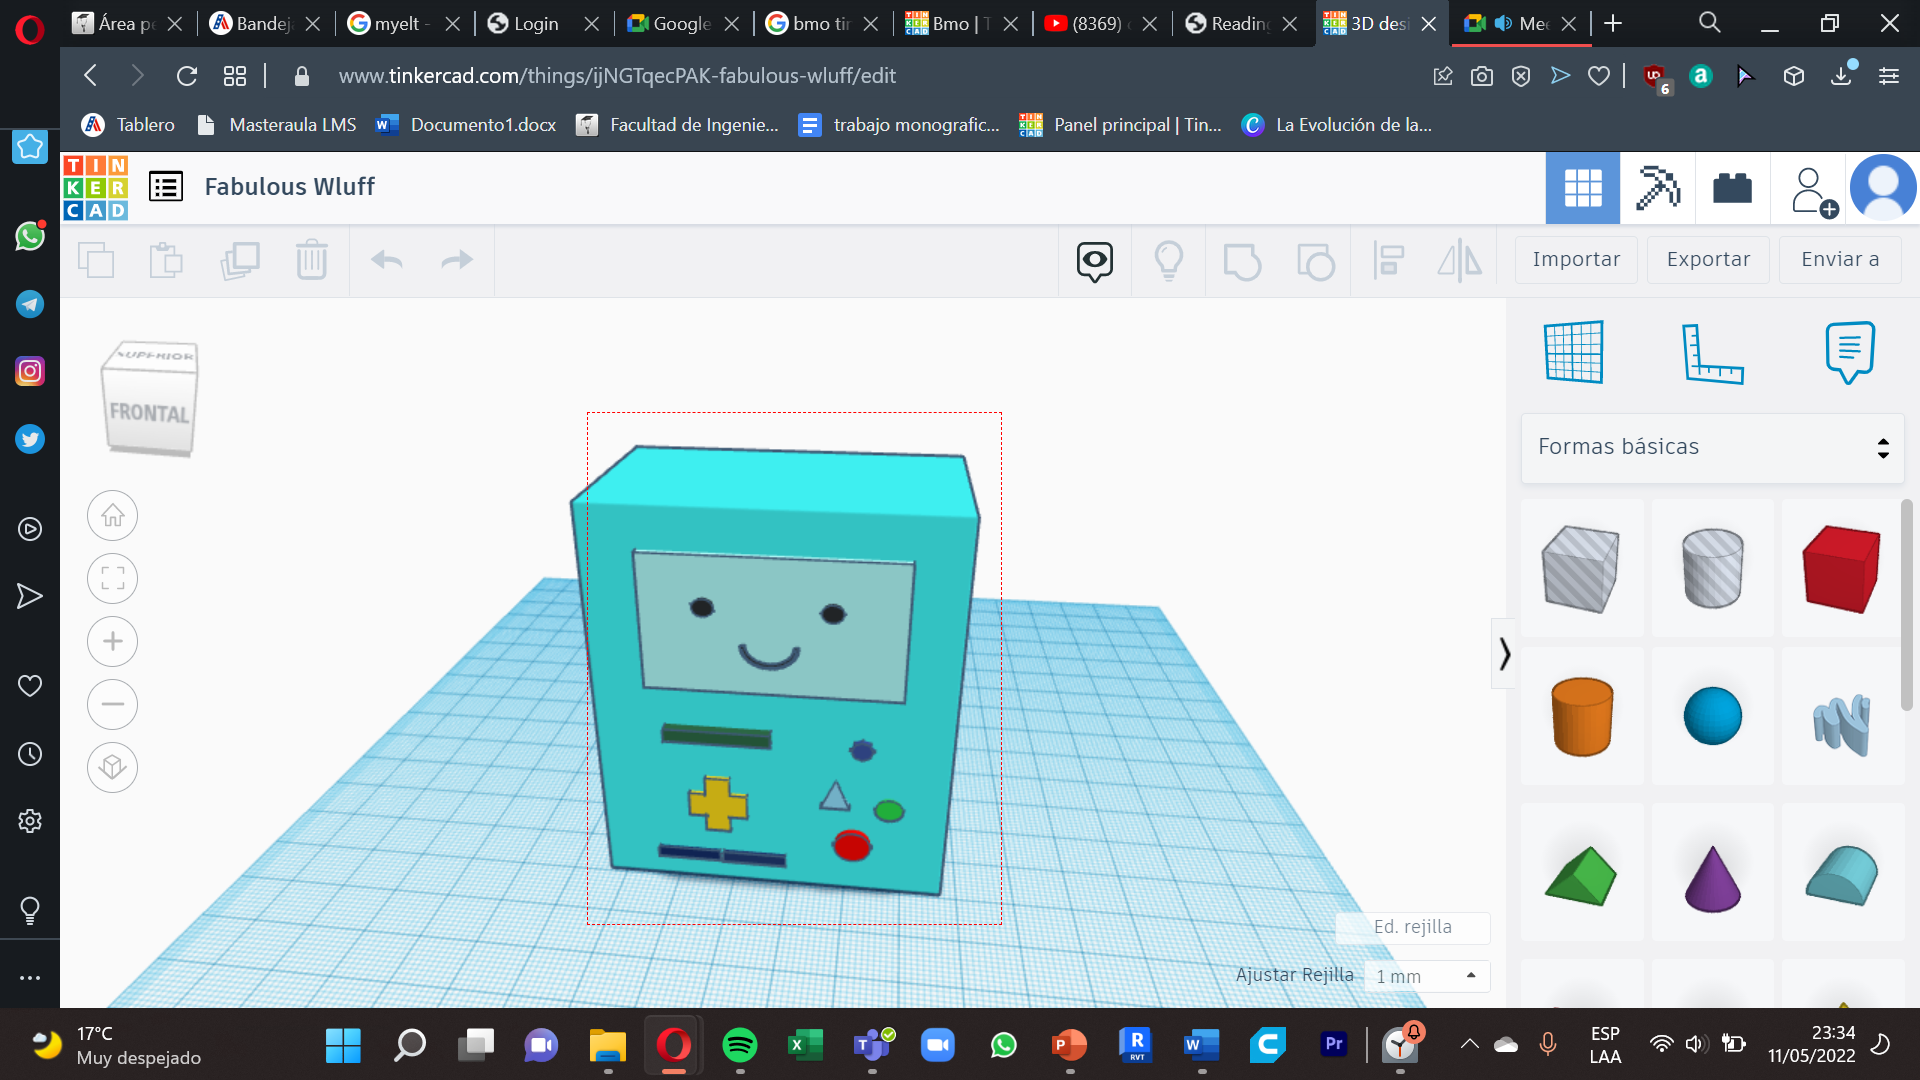
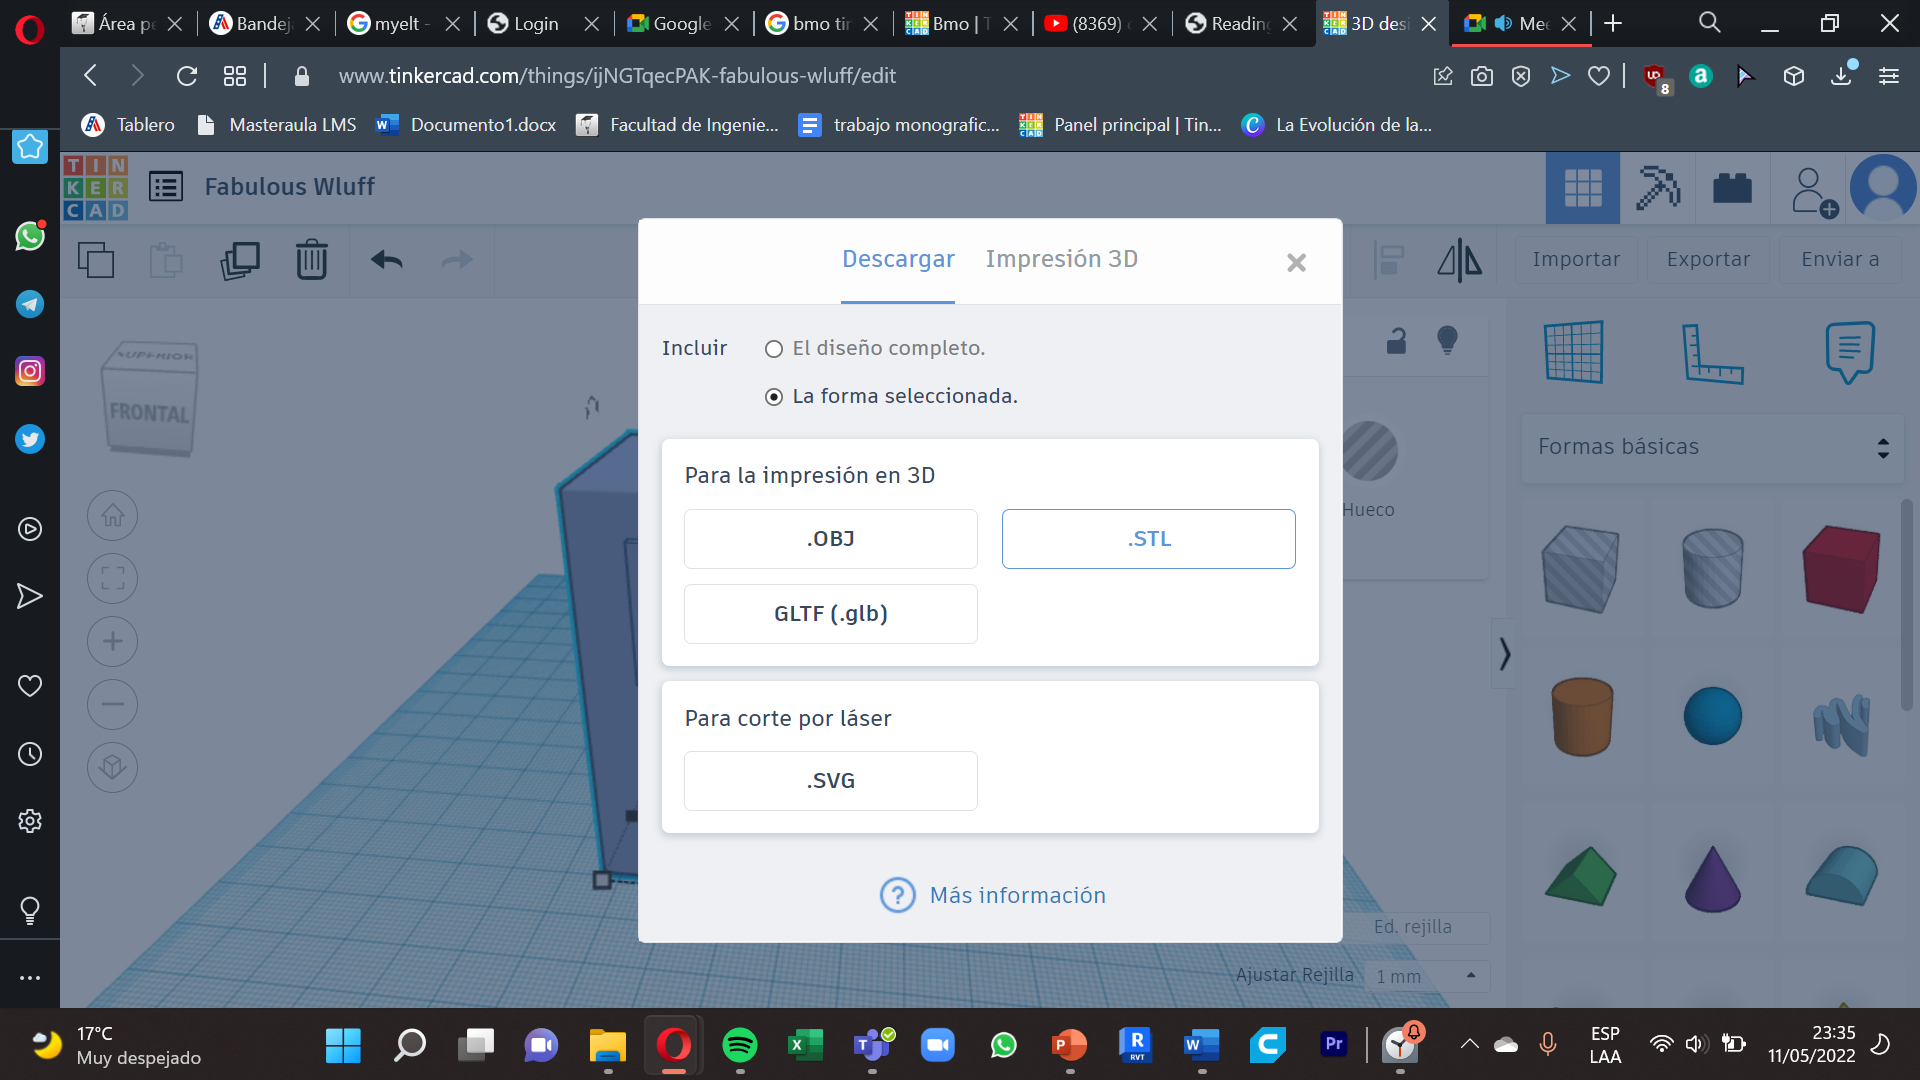
Last step with Tinkercad , what we will do will be to select all our project , we go to the option of . to export . , enter the STL option, we chose this option because in order to print it and the Ultimaker Cura program recognizes it and at the same time be able to edit the settings well .
3d Printing
.png)
.png)
.png)
Ready for the shock!
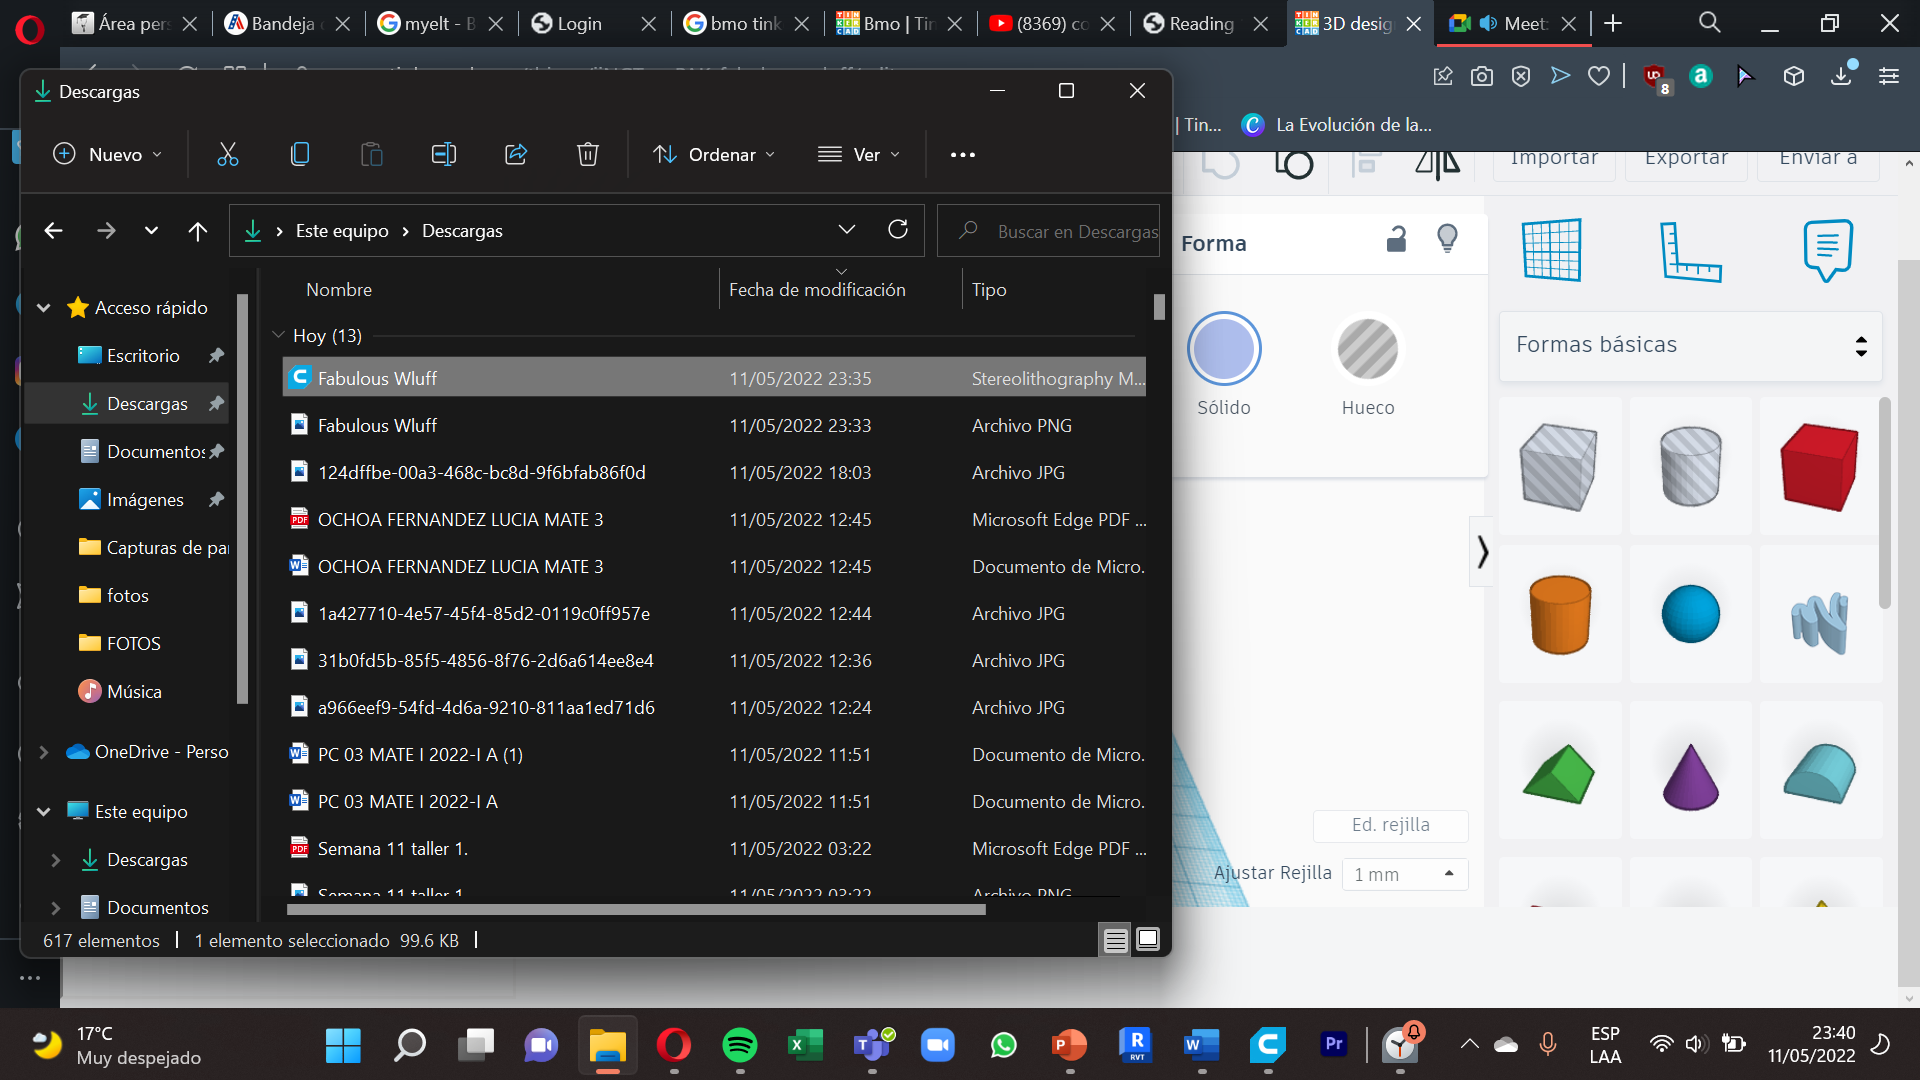
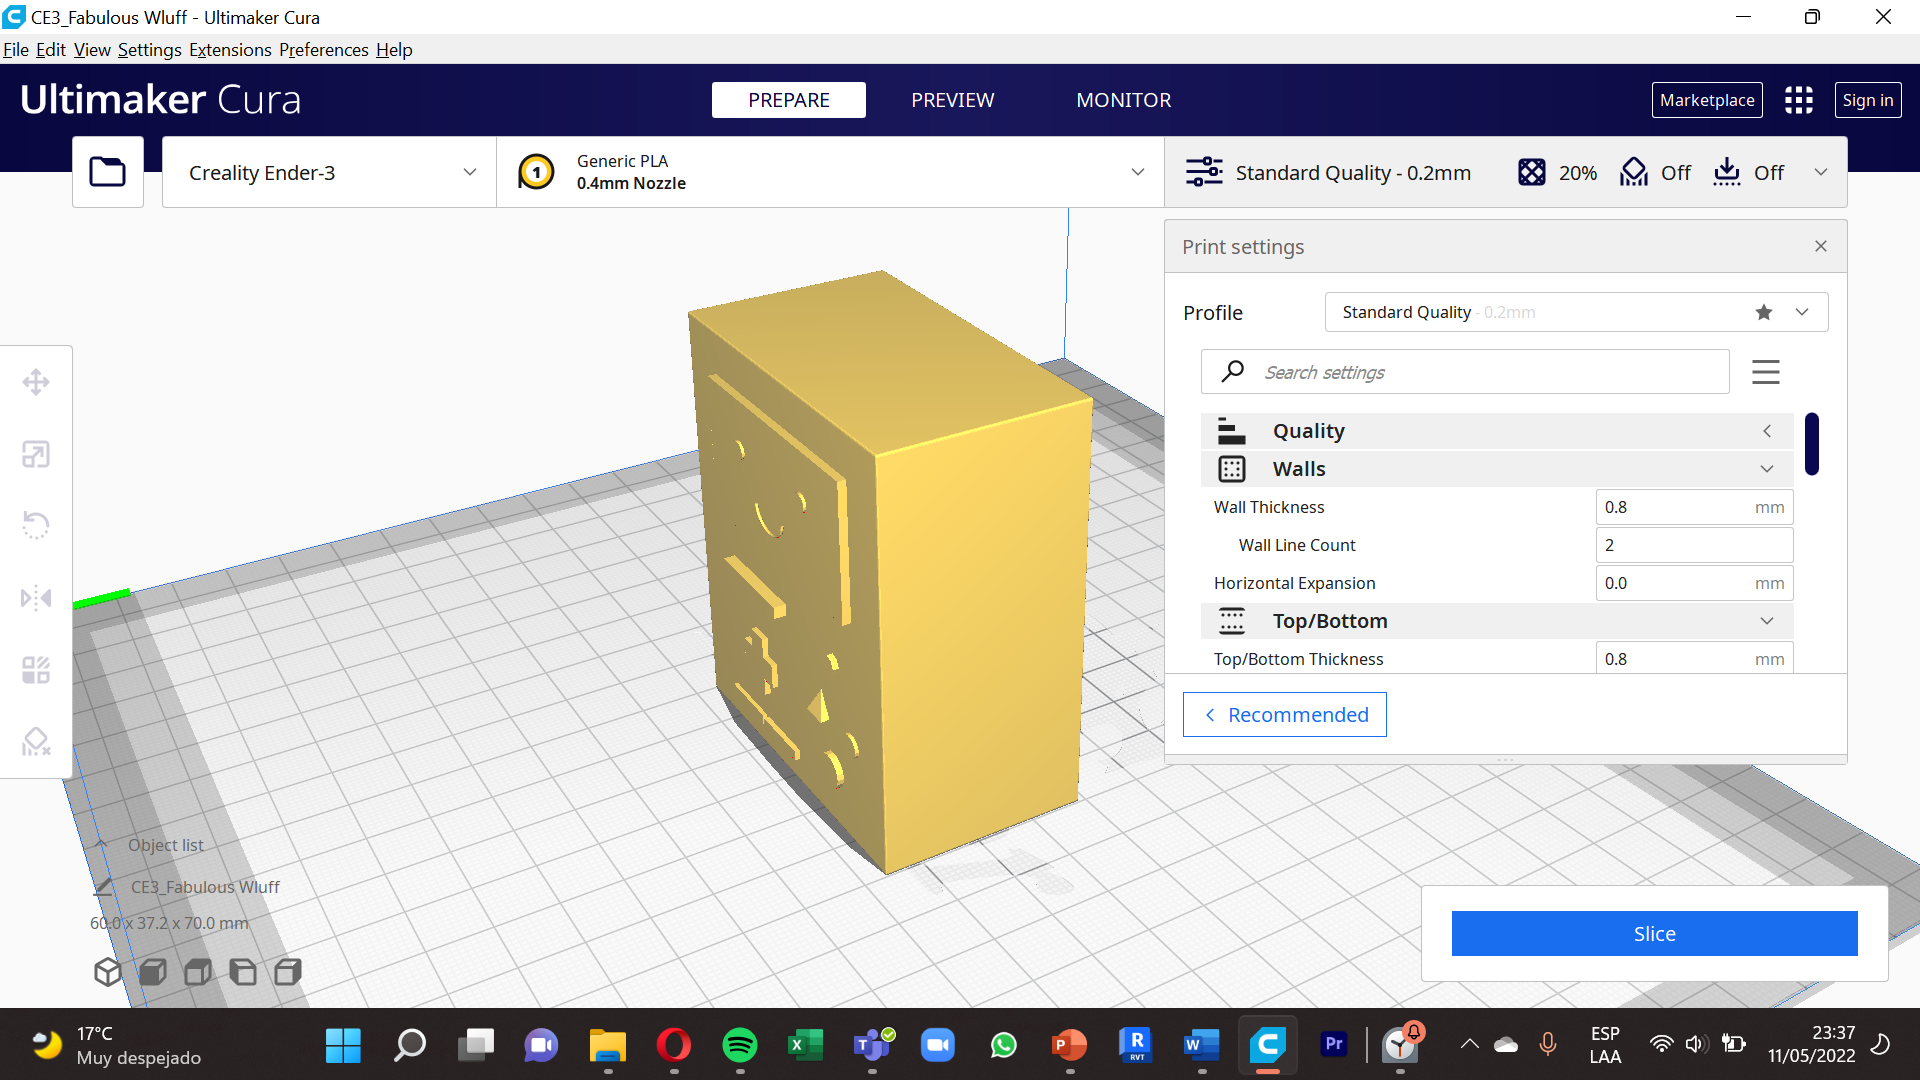
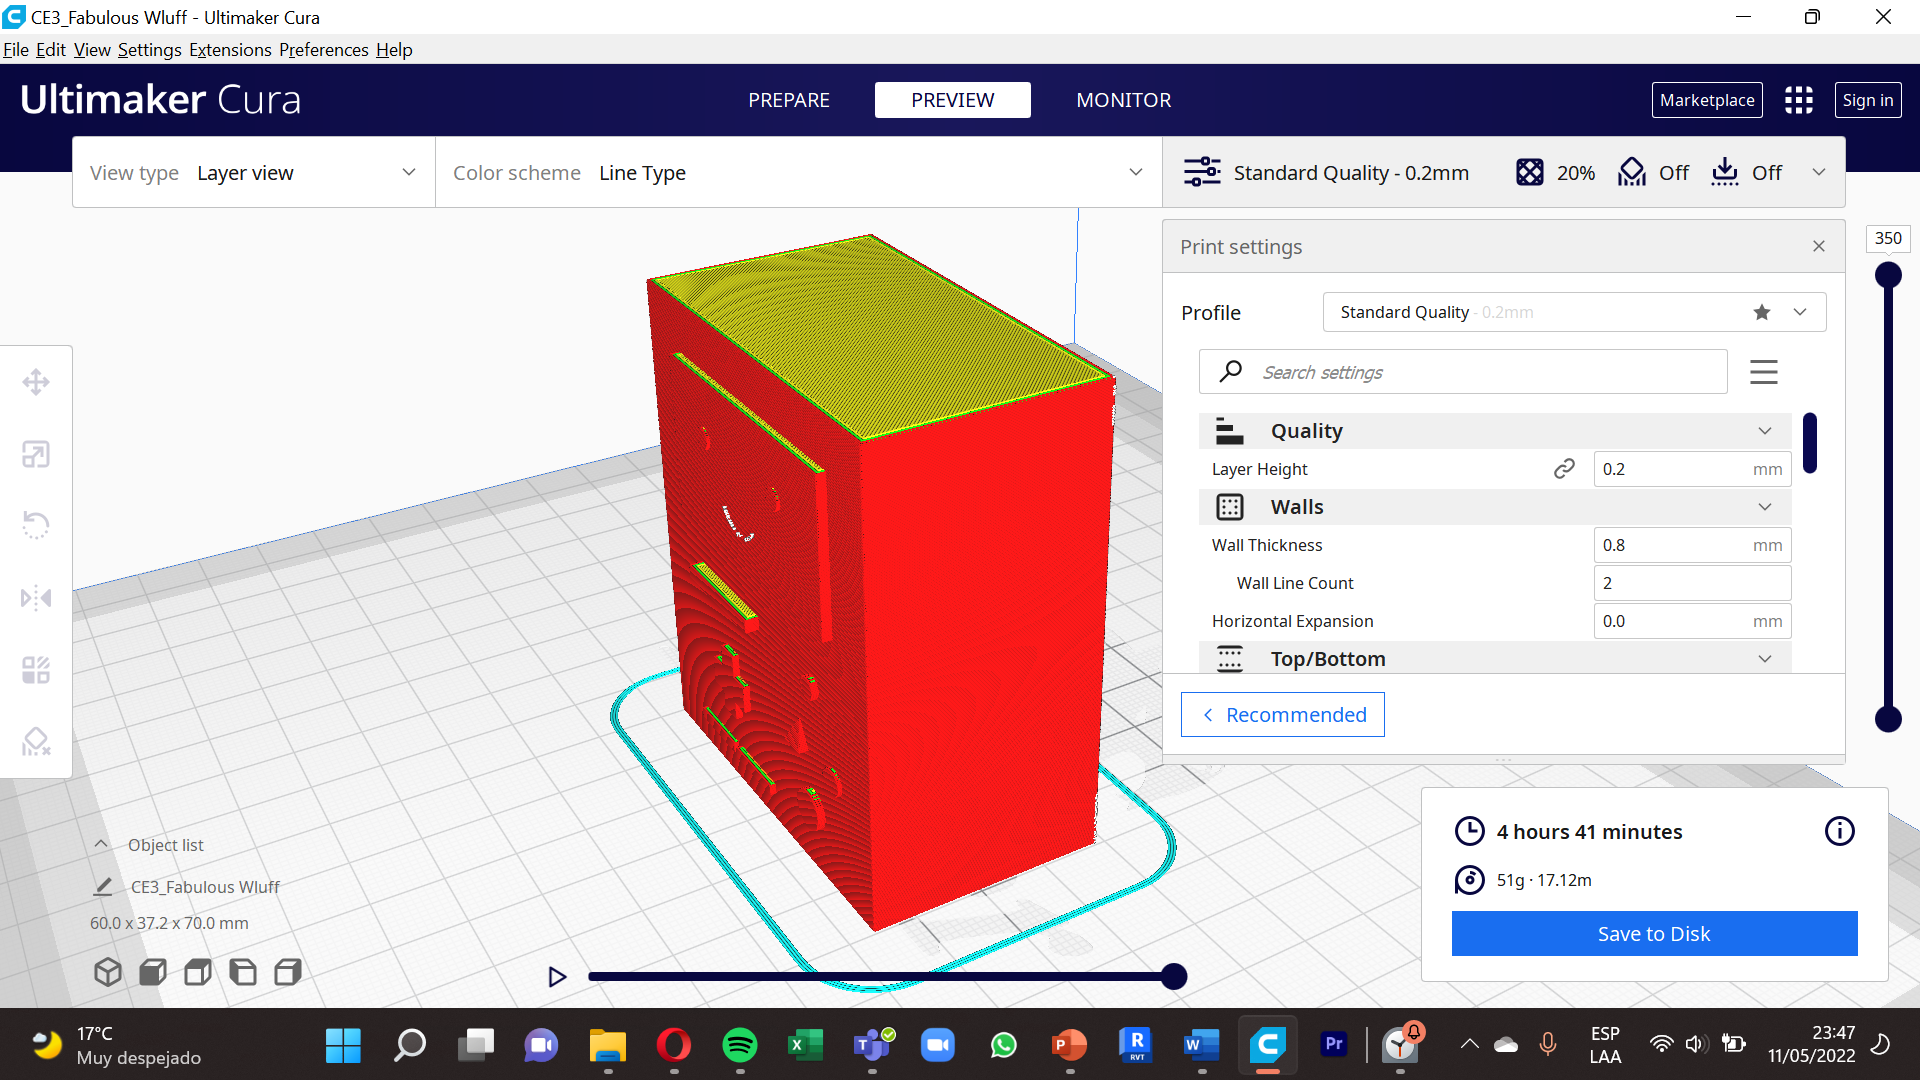
What we will do now is open the file and double click it in the format saved in STL of the Tikercad , at the time of doing this automatically we will be opened in the program Ultimaker Cura , previewed downloaded .
Now we will be able to observe our BMO in a golden color , if we see at the top of the program , is in ´´preparation´´ , what we will do to have a better vitsta in the configurations is go to ´´previuw´´ and now it is ready to edit.
Configurations
.png)
.png)
.png)
.png)
.png)
.png)
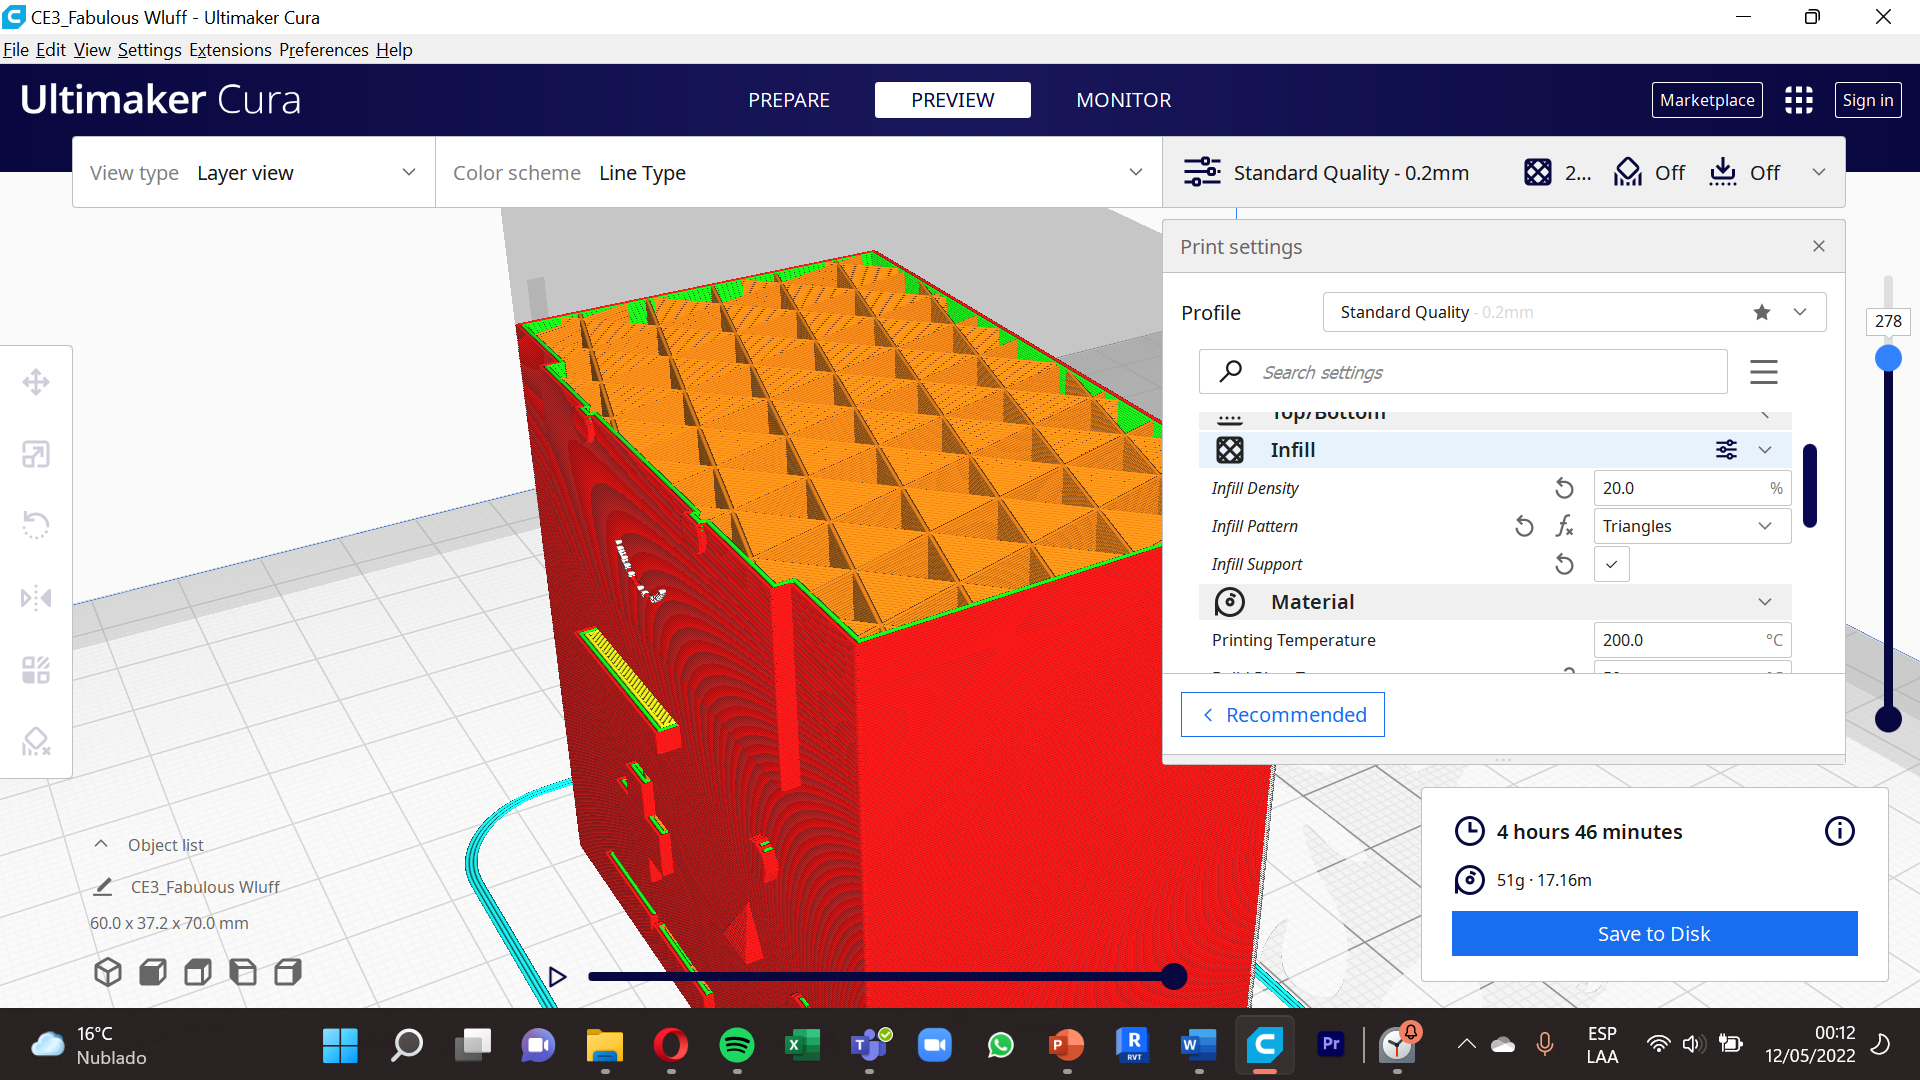
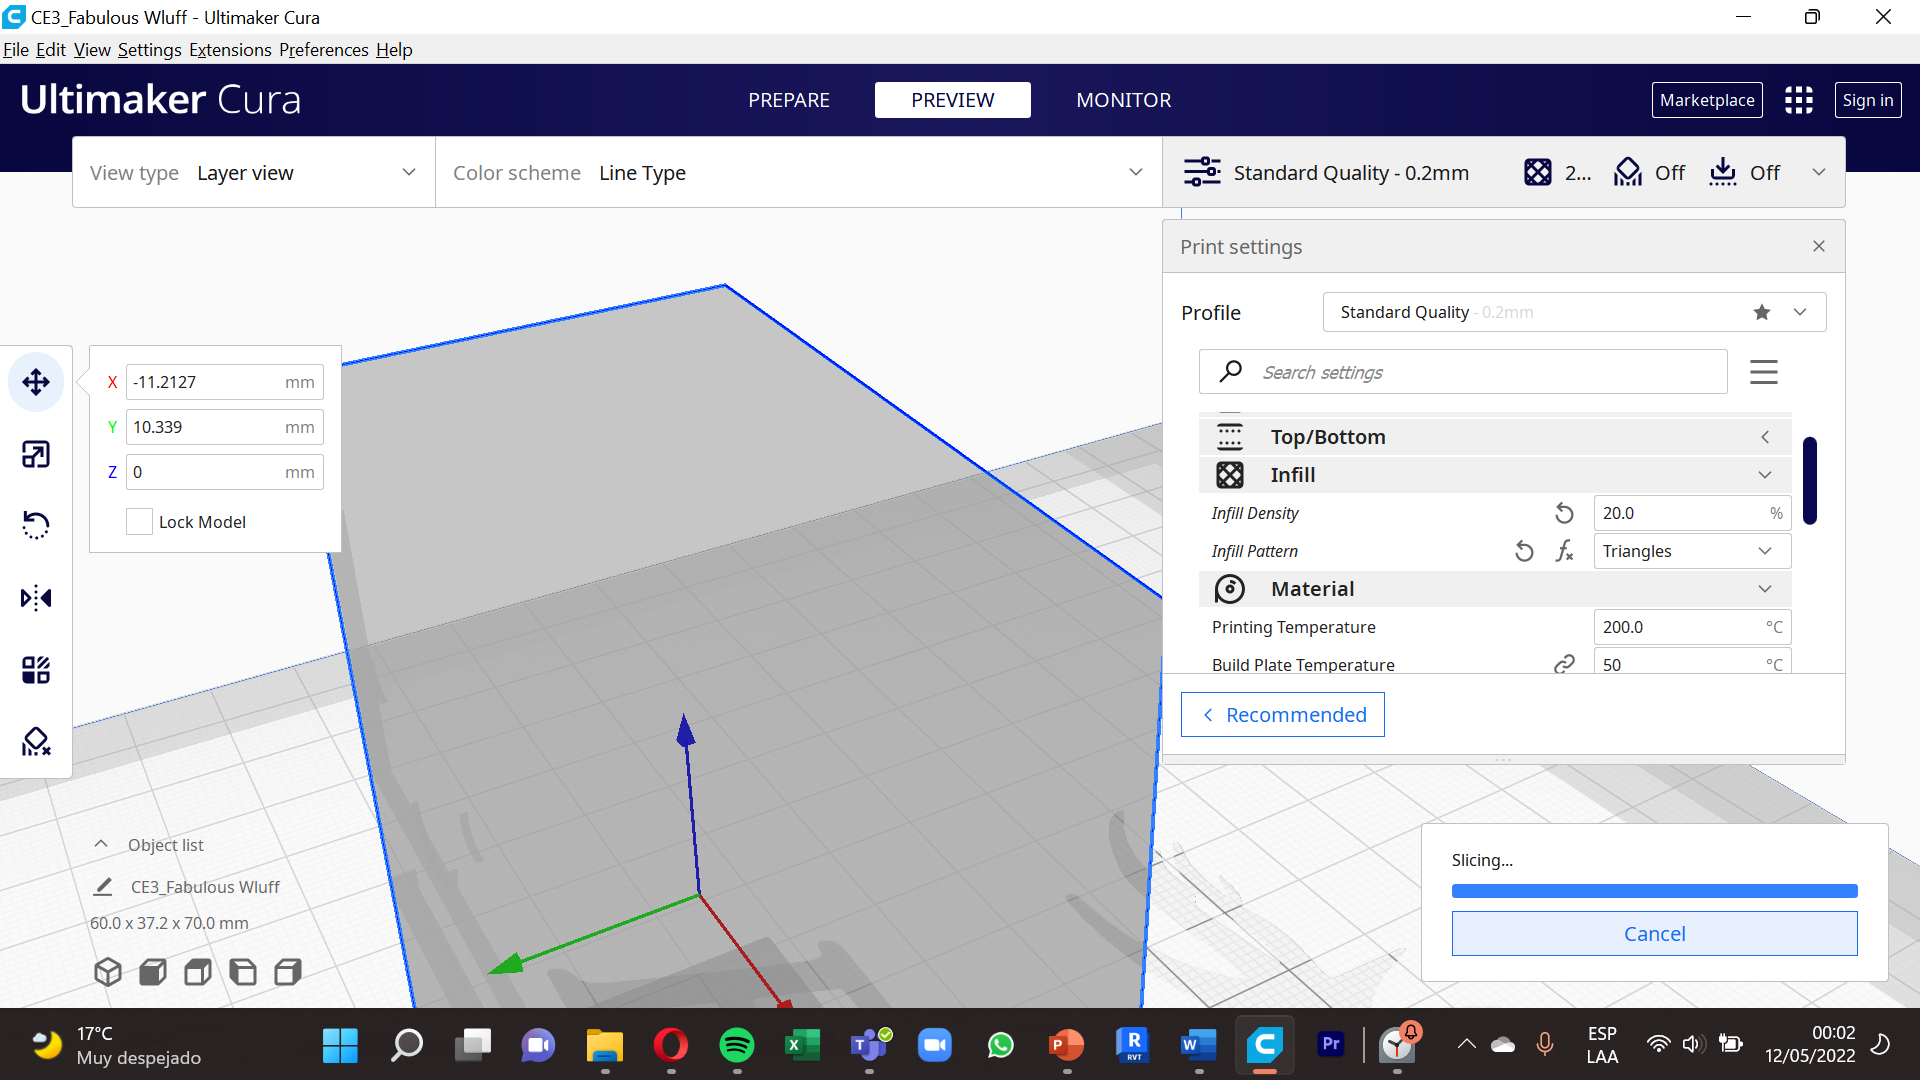
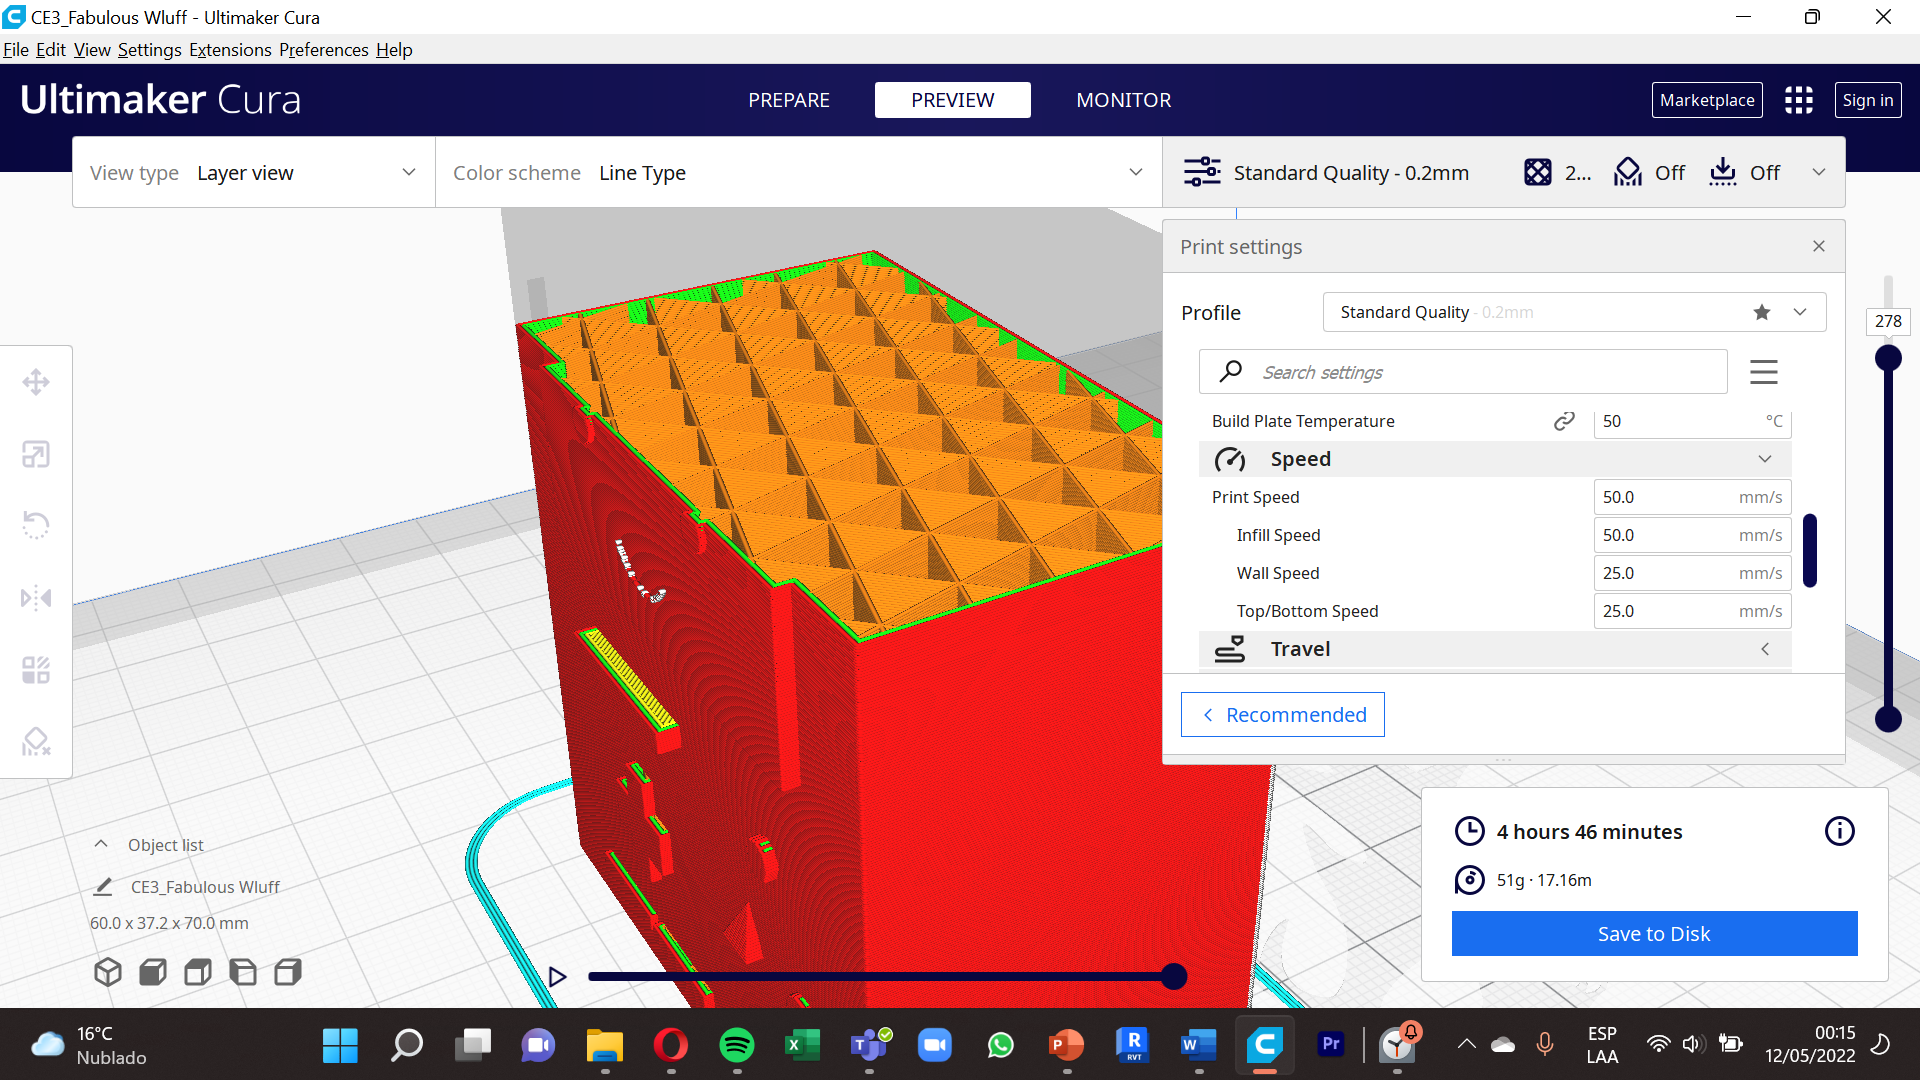
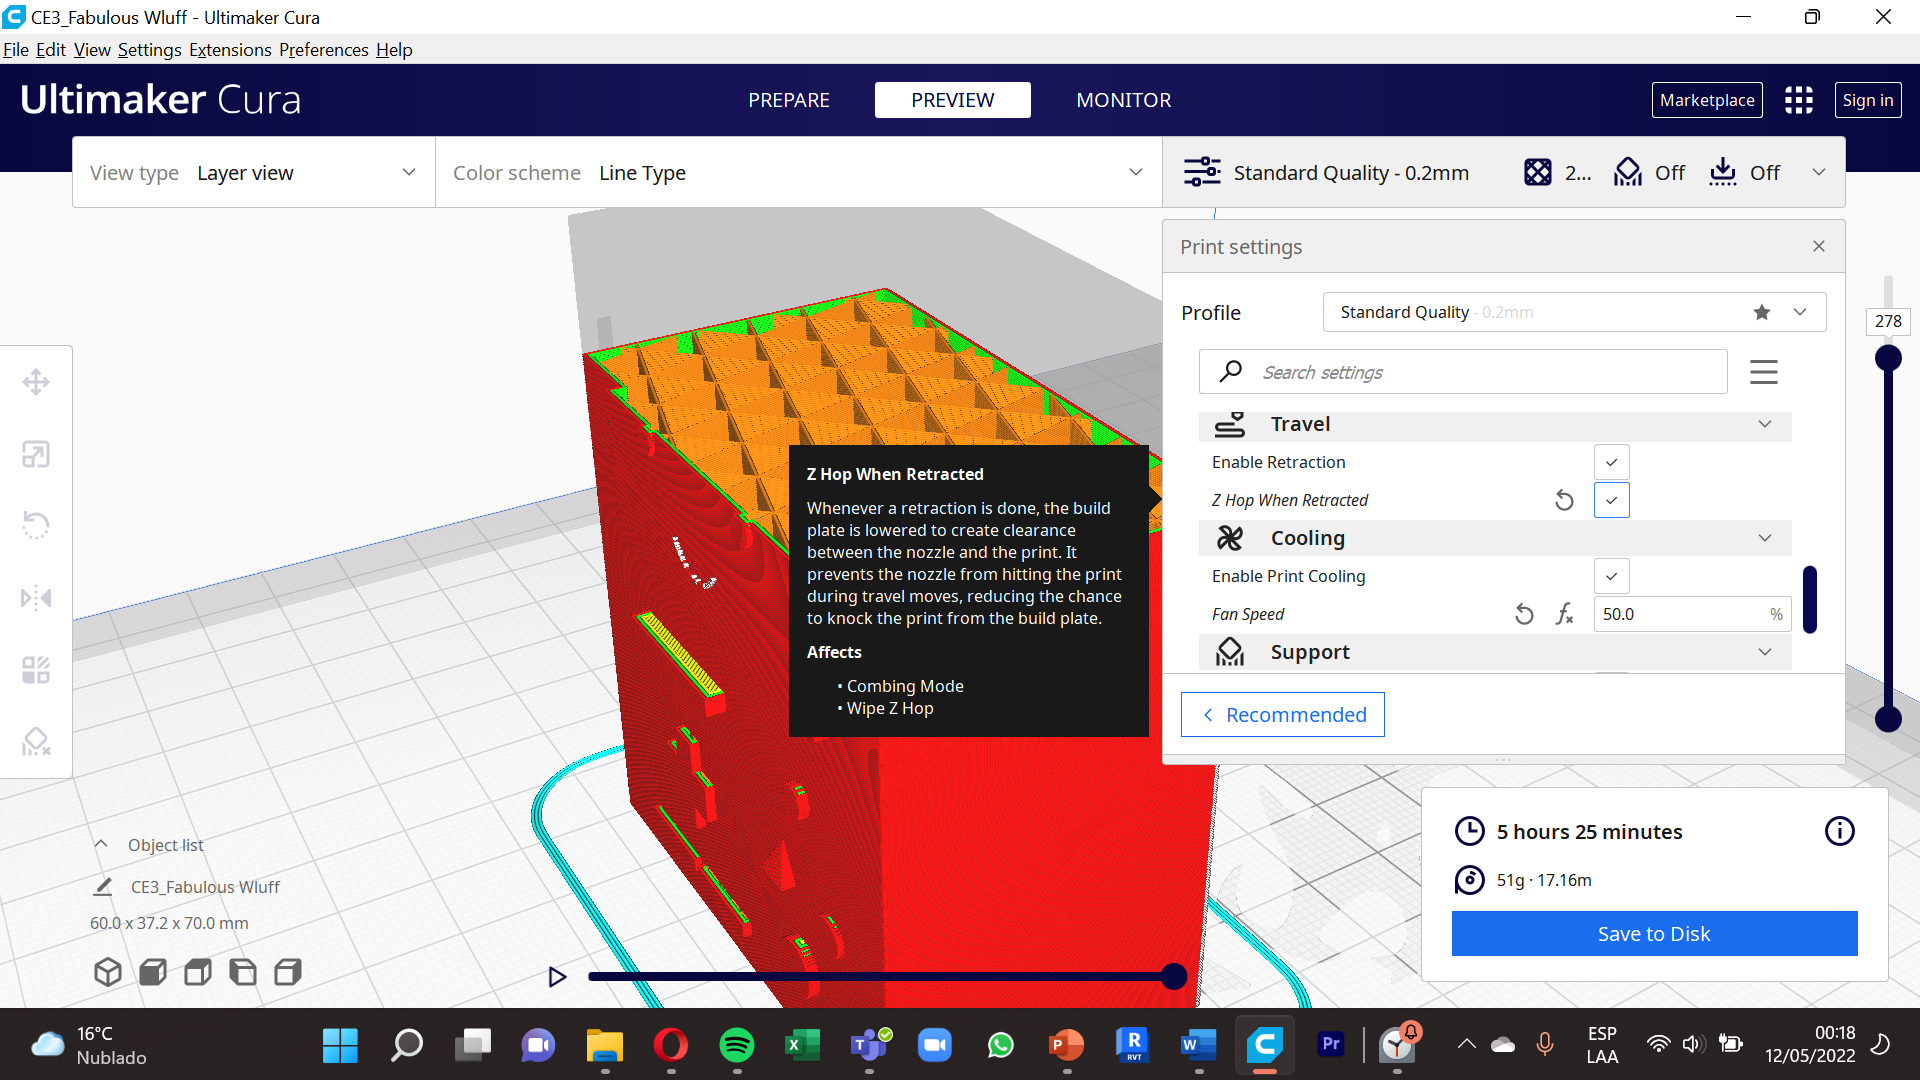
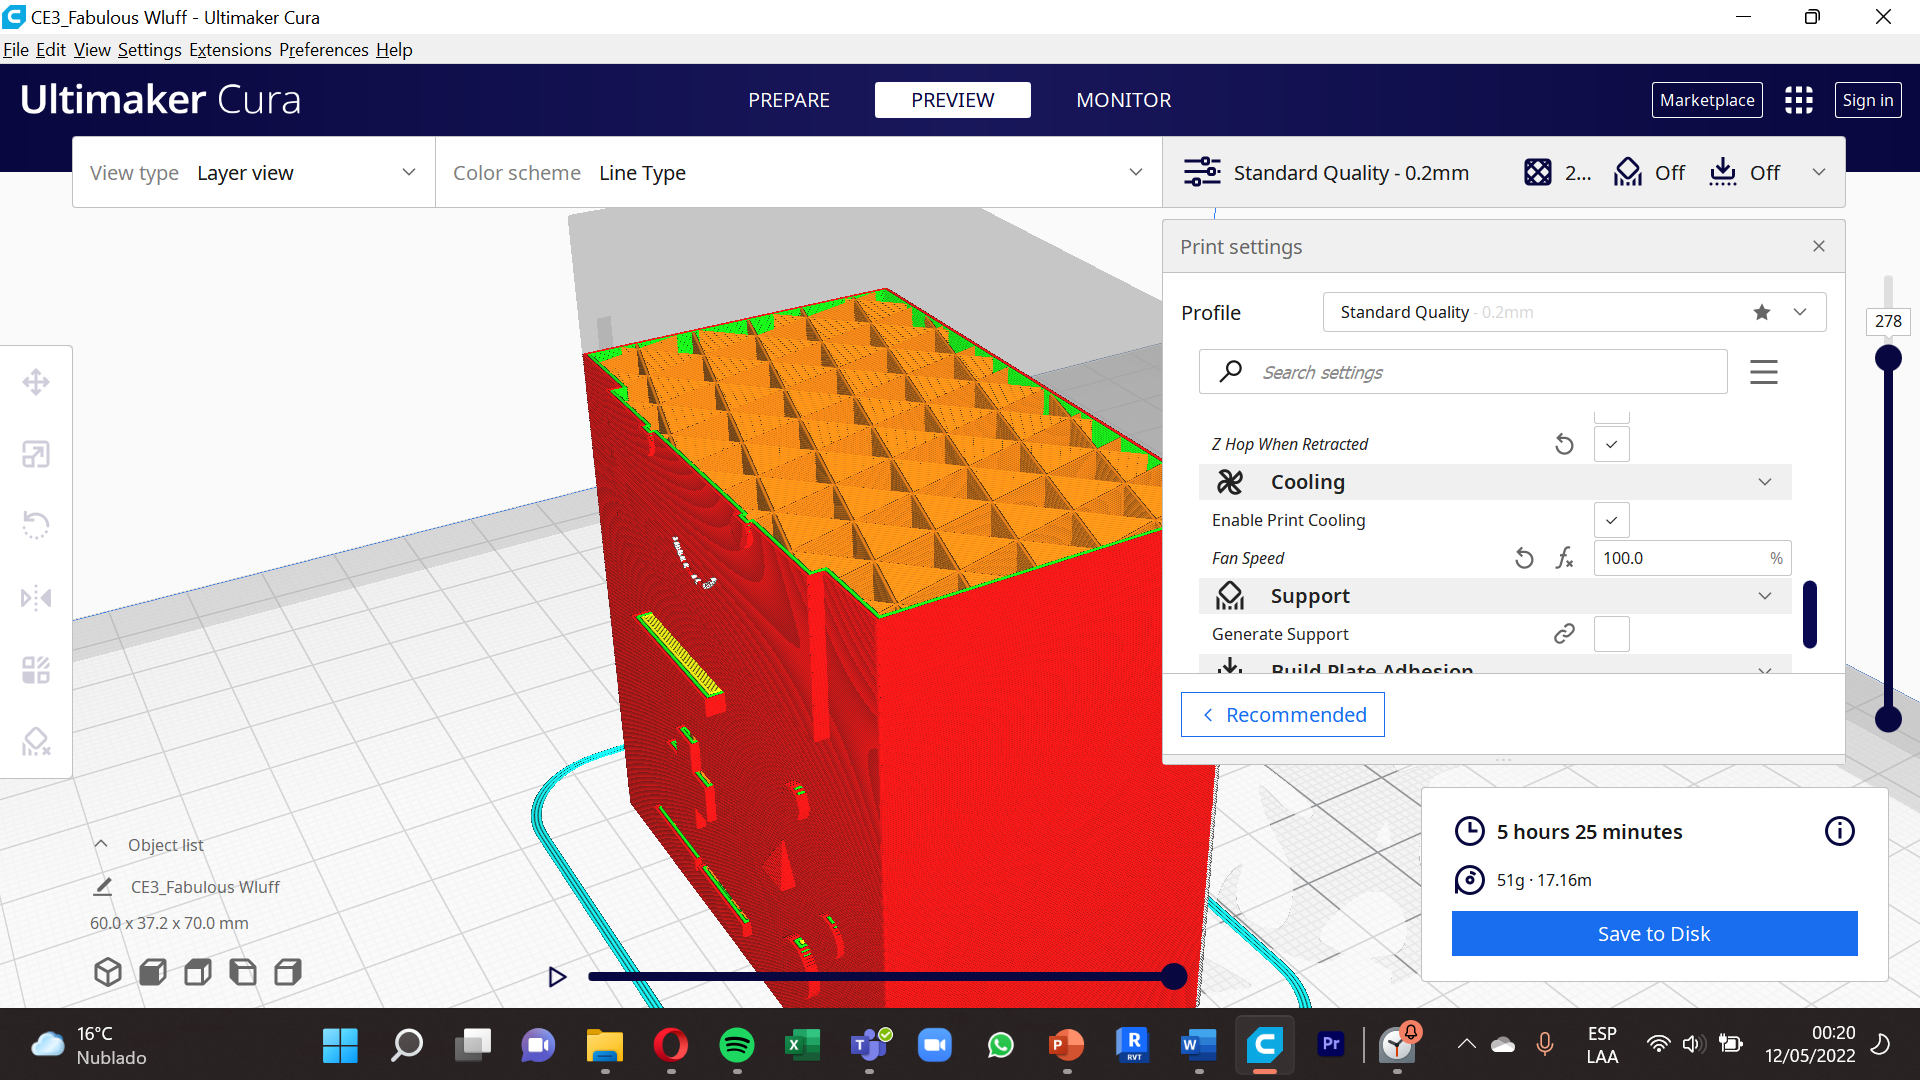
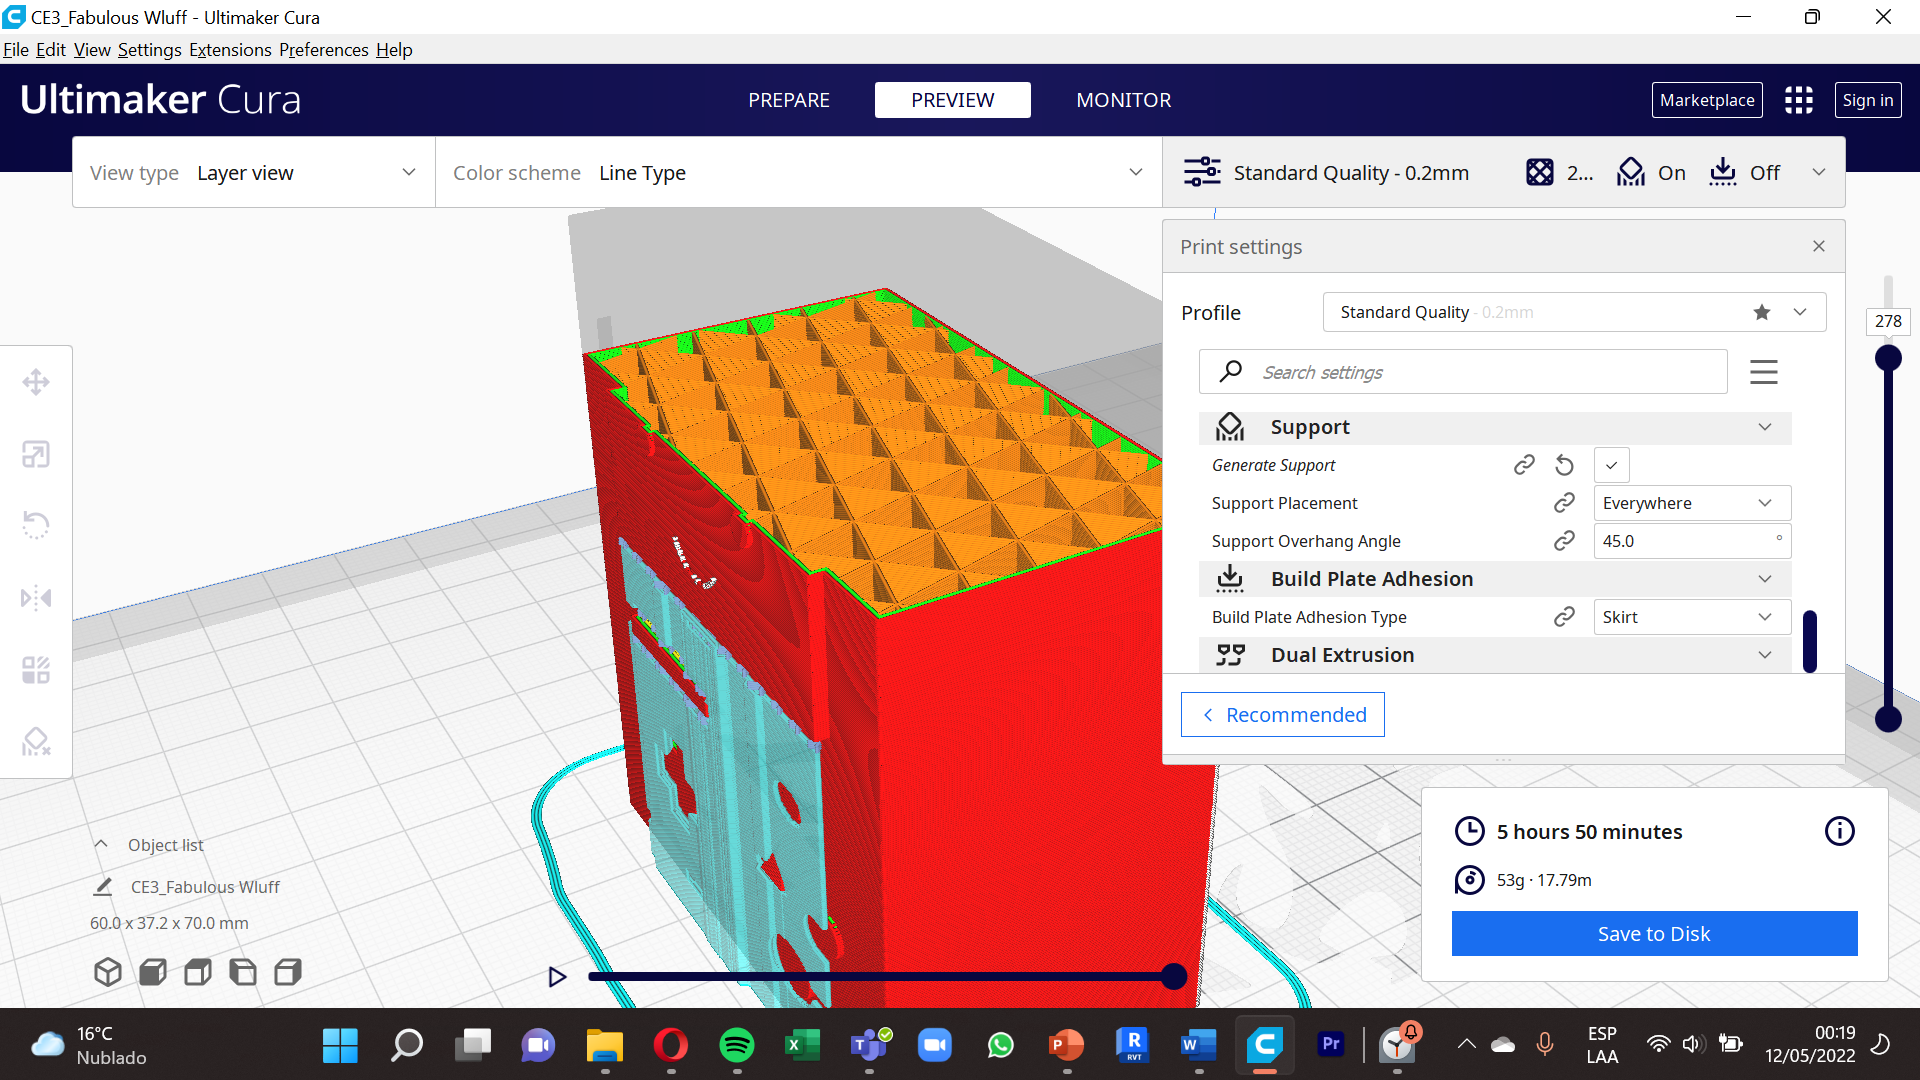
To start with our BMO configurations, first know that this time it will be 5 and I will name only the options that have been changed.
1. Infil : Infil Pattern - Triangles , Infill Support .
2. Speed : Print Speed -50 mm/s , Infill Speed 50 mm/s , Wall Infill 25 mm/s , Top/Bottom Sped 25 mm/s.
3. Travel : We enable , Enable Retraction and Z Hop When Retracted
4. Cooling : Fan Speed 100%
5. The support : We enable , Generate Support , Support Placement and Support Overhang Angle.
Remember that every time you make a configuration, select ´´slice´´ so that the printing time is updated, in this case our BMO has a duration of 5 hours and 50 minutes.
Save
.png)
.png)
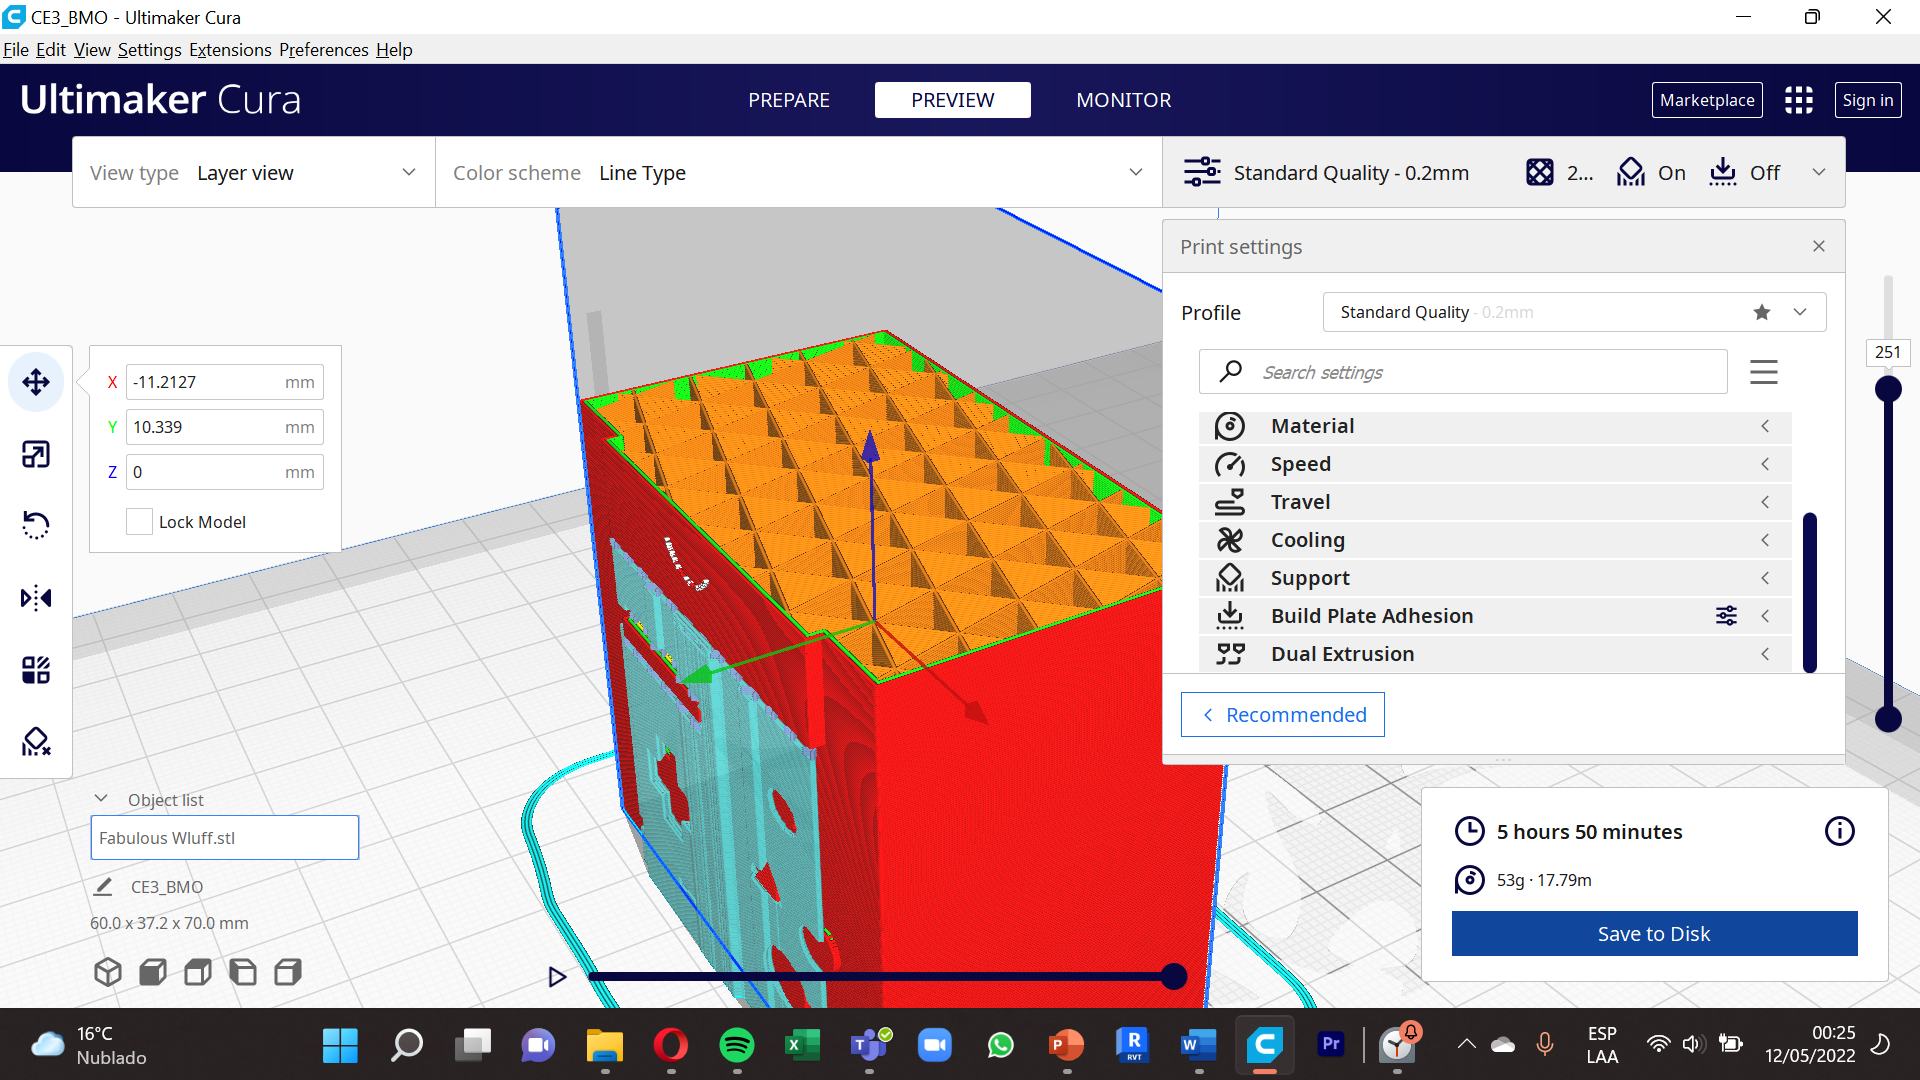
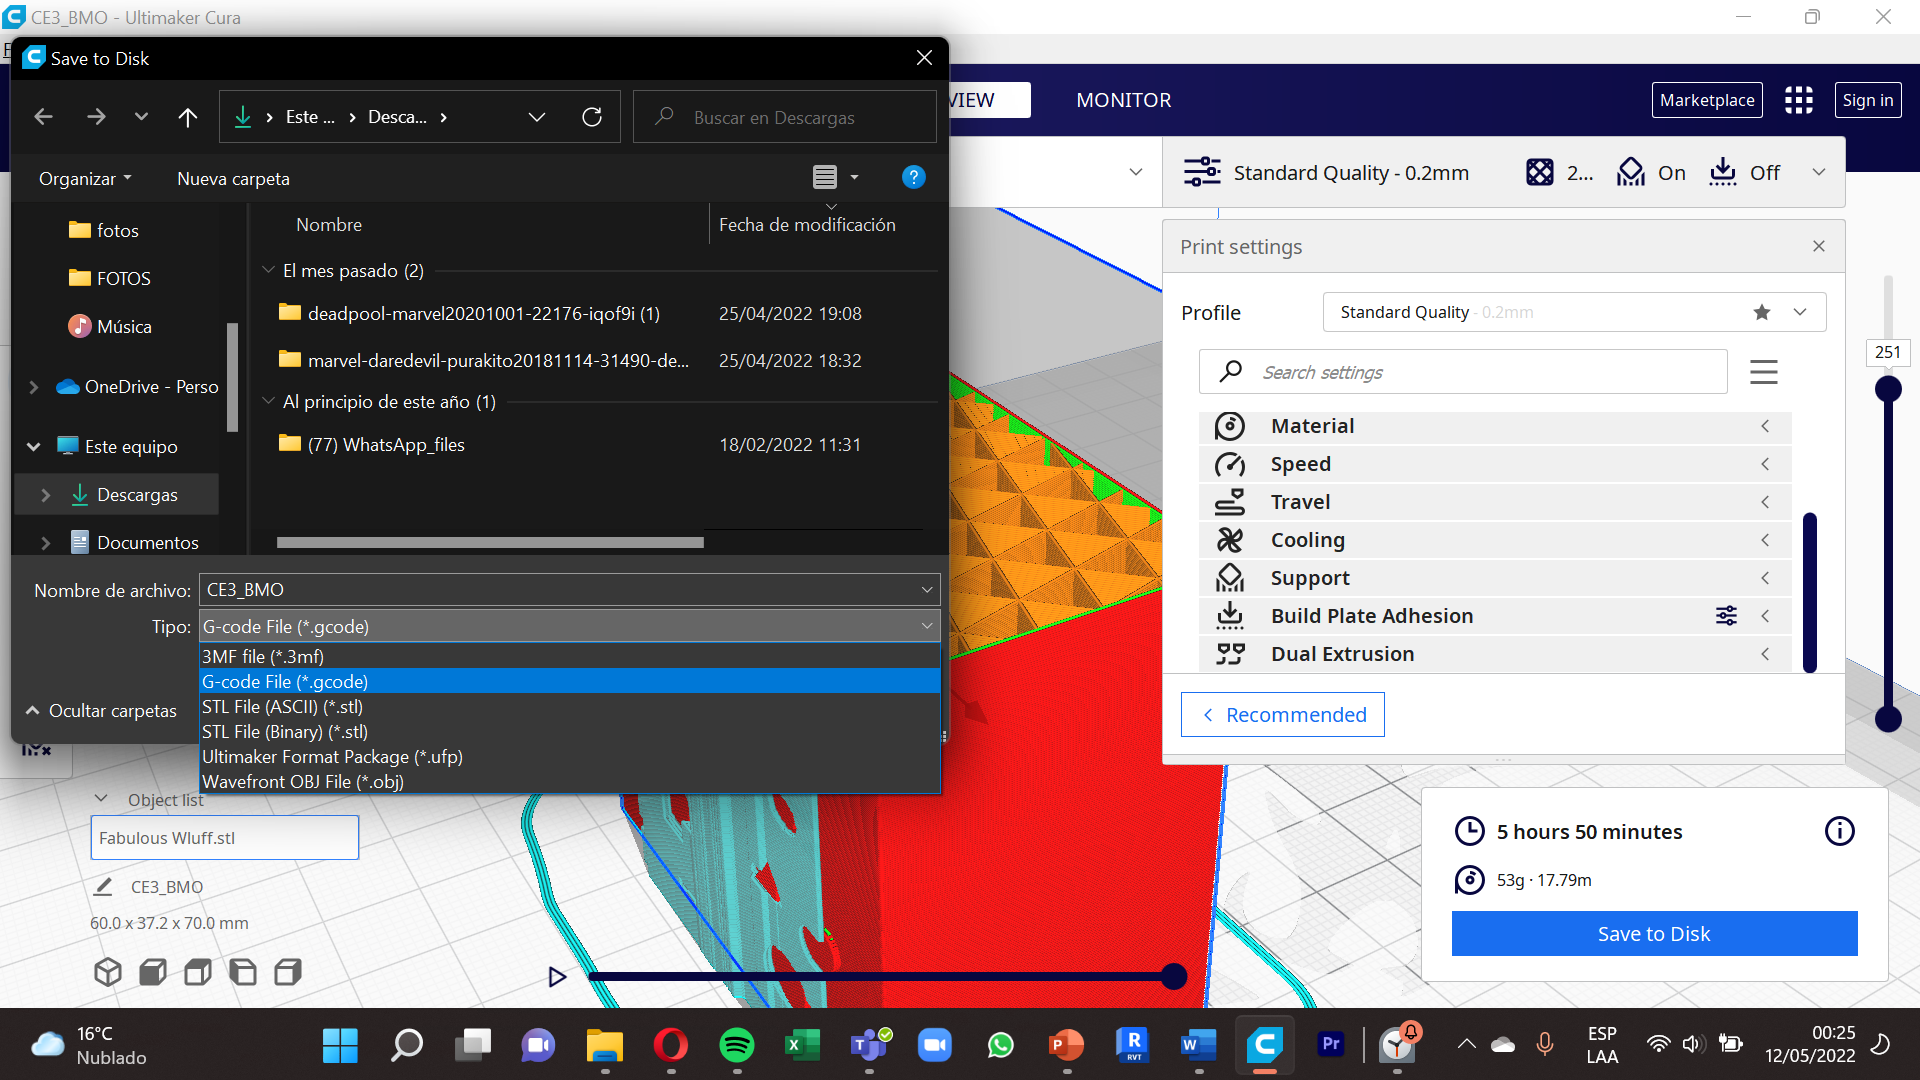
To finish our configuration in the Ultimaker Cura program, what we will do is go to ¨¨Save to disk¨, then options will appear in which format we want to save it, whenever it is 3D printing we will click on the option ´´G- code´´ since it is the only file that the printer recognizes and so we can print it without problems and finally save it.
What Next
.png)
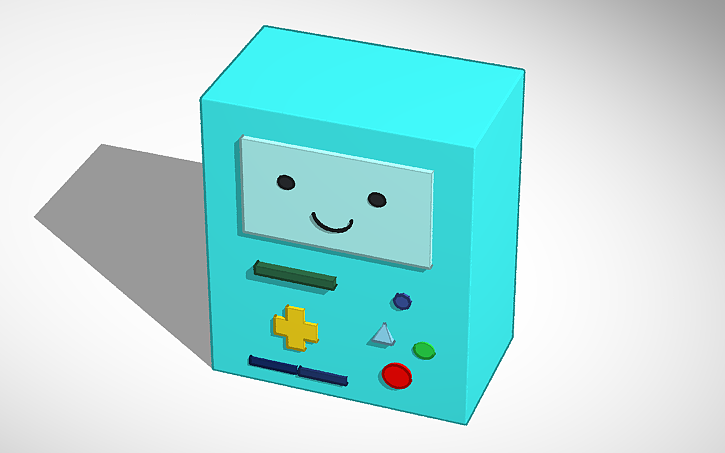
All this already saved on your computer, we sent it to print and we finished with our BMO in 3D printing!!. Good job.
¡You have built a BMO ! Now that you have learned how Tinkercad and Ultimaker Cura work, try to design your own model with what you like best. I made this Bmo because I thought it was a very nice and friendly model.
¡I hope to see you again! If you have any questions and need clarification, as these are two new programs explained by me , do not hesitate to contact us in the comments or in my DM.
See you next time! Ciao!!