BBC MicroBit Joystick Keyboard
by samsungite in Circuits > Microsoft
1498 Views, 2 Favorites, 0 Comments
BBC MicroBit Joystick Keyboard

With only 3 buttons(A, B, A+B), 4 if you include the V2 logo touch switch, it can be time cosuming to enter numbers and characters into the Microbit.
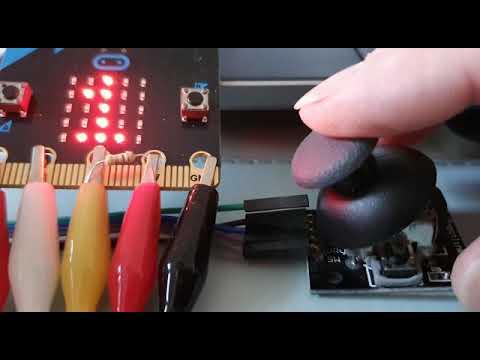
To make things a little easier, I made use of a cheap joystick as an aid to data entry.
Supplies
BBC MicroBit (Should work with either V1 or V2 (Tested on V1)
1 x joystick with built in switch (like this one :- )
https://www.ebay.co.uk/itm/265235645951?hash=item3dc146c5ff:g:rxoAAOSw9r1WDuox
5 x crock clips
1 x 4.7k resistor
Wiring Up

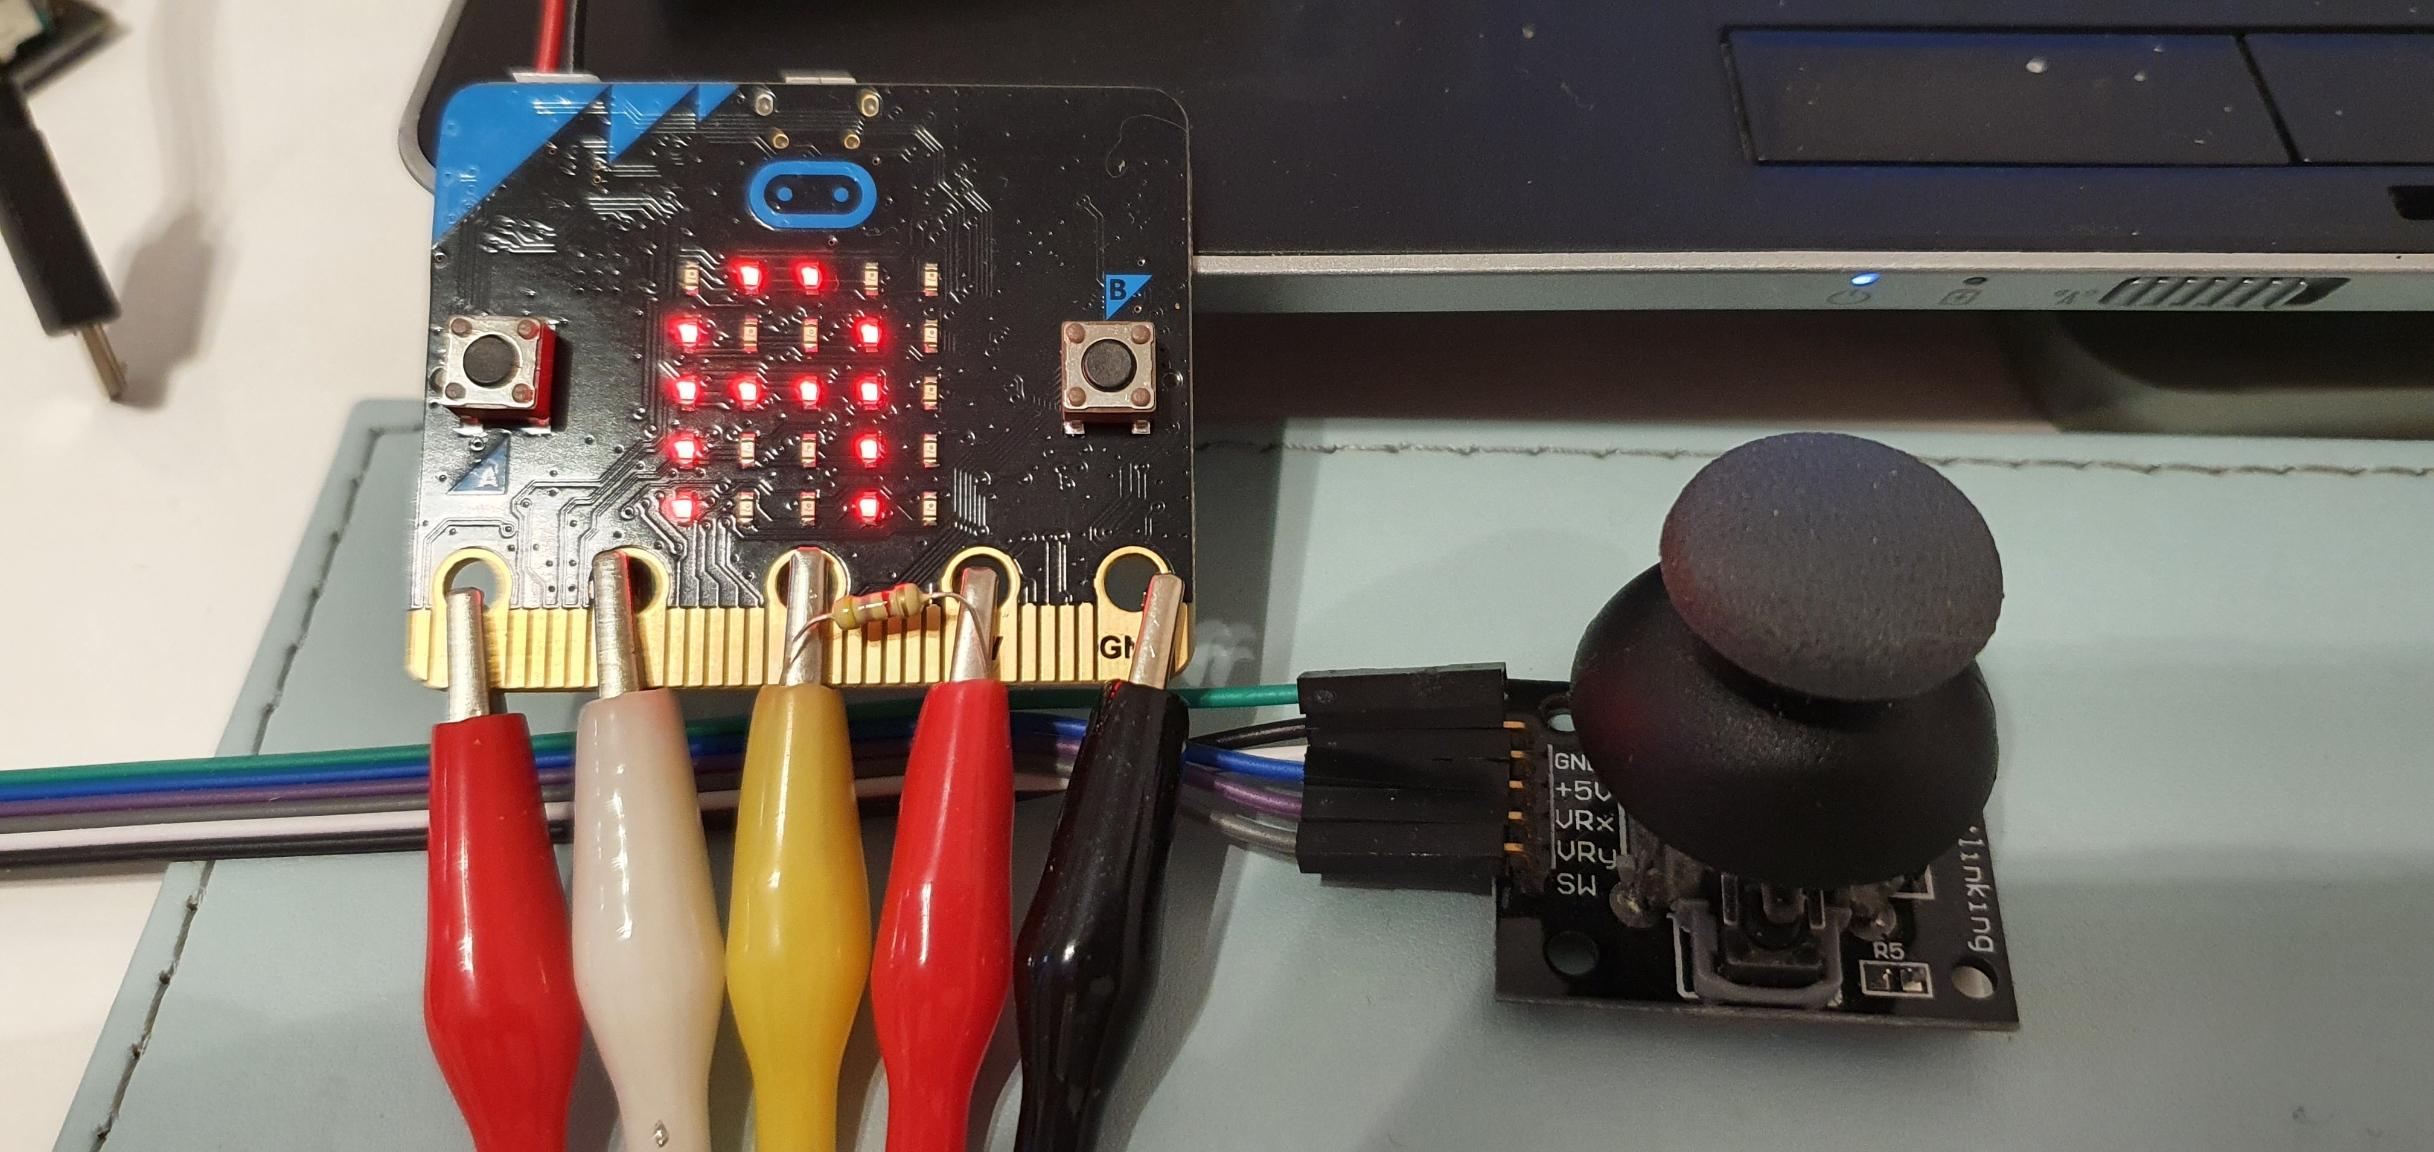
MicroBit JoyStick
P0 VRx
P1 VRy
P2 SW
3v 5v (works with 3v)
Gnd Gnd
Connect a 4.7k resistor between 3v and P2. This is used as a pull-up.
How to Use It
Move the joystick left to scroll down the character array & move it right to scroll up through the array.
Move the joystick up to shift to upper case characters & down to show the lower case again.
When the desired character is selected, press the joystick down. This stores the character in a string. the bottom right hand corner led is turned on, then after a short delay turned off to confirm the character has been stored.
The next character selected is added to the string.
Button A will scroll the string through the matrix.
Button B is the Delete Key. Pressing it will delete the last character in the string & re-display the corrected string.
The characters are selected from the following 2 arrays.
The initial character (tilde ~) is used for a Space, it is replaced by a space in the string.
Shifted number 3 should be the £ sign but the MicroBit did not want to display it !
lower=["~","a","b","c","d","e","f","g","h","i","j","k","l","m","n","o","p","q","r","s","t","u","v","w","x","y","z","1","2","3","4","5","6","7","8","9","0","-","="]
upper=["~","A","B","C","D","E","F","G","H","I","J","K","L","M","N","O","P","Q","R","S","T","U","V","W","X","Y","Z","!","'","£","$","%","^","&","*","(",")","_","+"]
Use reset to clear the string - I should have used buttons A+B to accomplish this !!
The Software
Both P0 & P1 are analog inputs.
P2 is a digital input which requires a pull-up resistor (4.7k). It is normally High !
All of the code (apart from the 2 buttons) is contained in a 'forever' loop.
The program checks the value of the inputs P0 & P1. When the joystick is in the 'home' postion, both will give a reading of around 500.
Moving the joystick left drops the value on P0 to about 10, moving it right takes the value to about 1023
Moving the joystick up drops the value on P1 to about 10, moving it down takes the value to about 1023
Checking these values, in the case of P0 (left to right) a variable 'dec' is either incremented or decremented.
Variable dec is used a a pointer into the arrays 'lower' & 'upper' and shows the current character.
Moving the joystick up just selects which array to look at. In the up position array 'upper' is selected, moving the joystick down reselects the array 'lower'.
Pushing the joystick down sets P2 from High to Low. This stores the selected character into string 'thestring' and turns on led 4,4. after a short delay (necessary to stop multiple entries of the charater into the string), led 4.4 is turned off & the MicroBit awaits the next character.
Button A shows the string.
Button B is the Delete key. It gets the length of the string (thestring), subtracts 1 and redisplays it. Lines 18 - 20 of the code does this.
n=len(thestring)-1
if len(thestring) !=0:
thestring=thestring[0:n]
If button B is pressed with nothing in 'thestring' a SAD Face is displayed.
If you want to add characters to the array, there are 3 things to note.
- the arrays must be the same length
- lines 43 & 51 must be adjusted accordingly
- position 0 in both arrays hold the tilde character. Anything at array index[0] will be replaced by a space.