BAGGY and CROPPED : CROPPED DENIM/KHAKI PANTS
by N1K1_1NC. in Craft > Fashion
1705 Views, 11 Favorites, 0 Comments
BAGGY and CROPPED : CROPPED DENIM/KHAKI PANTS
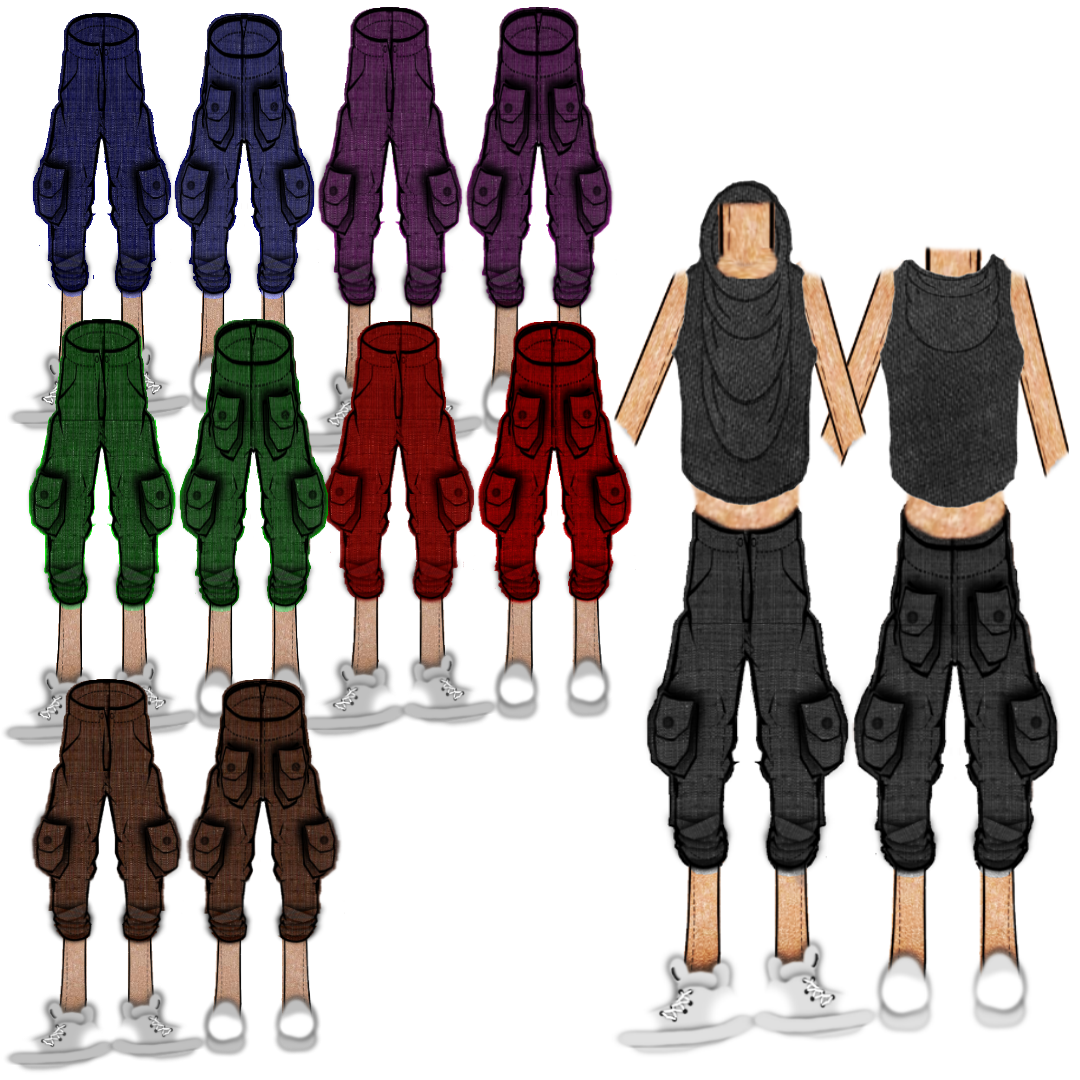
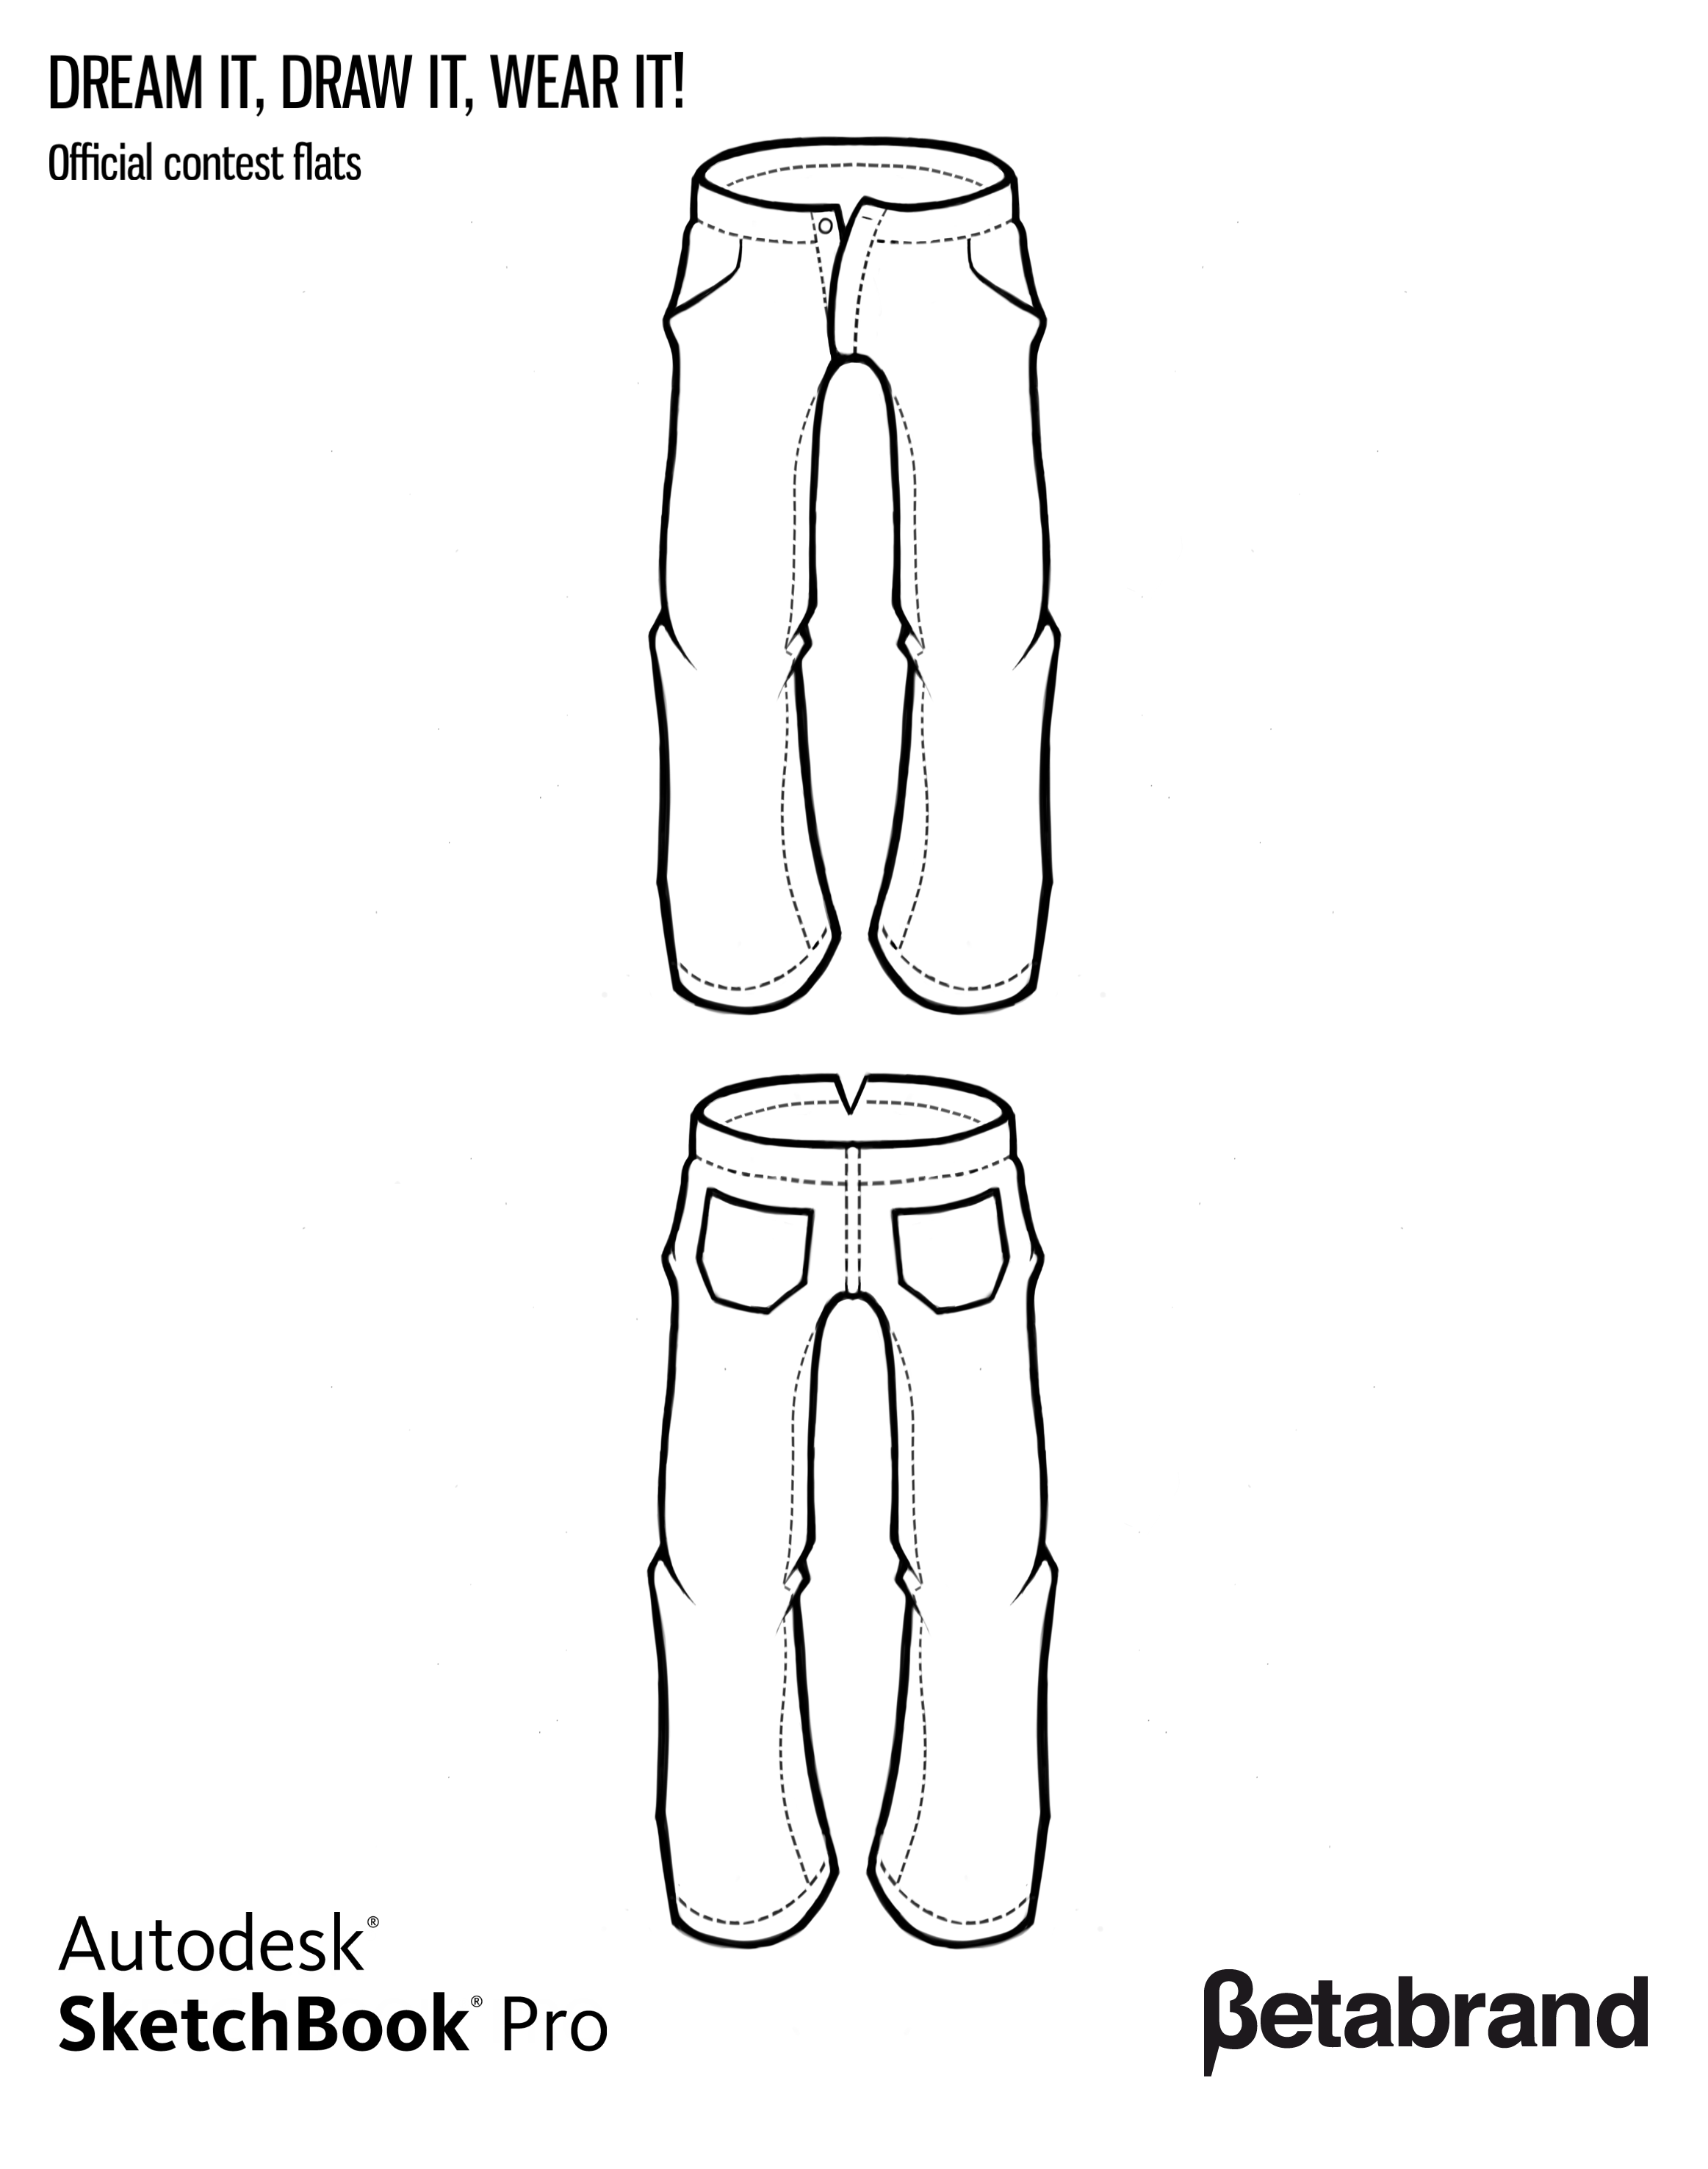
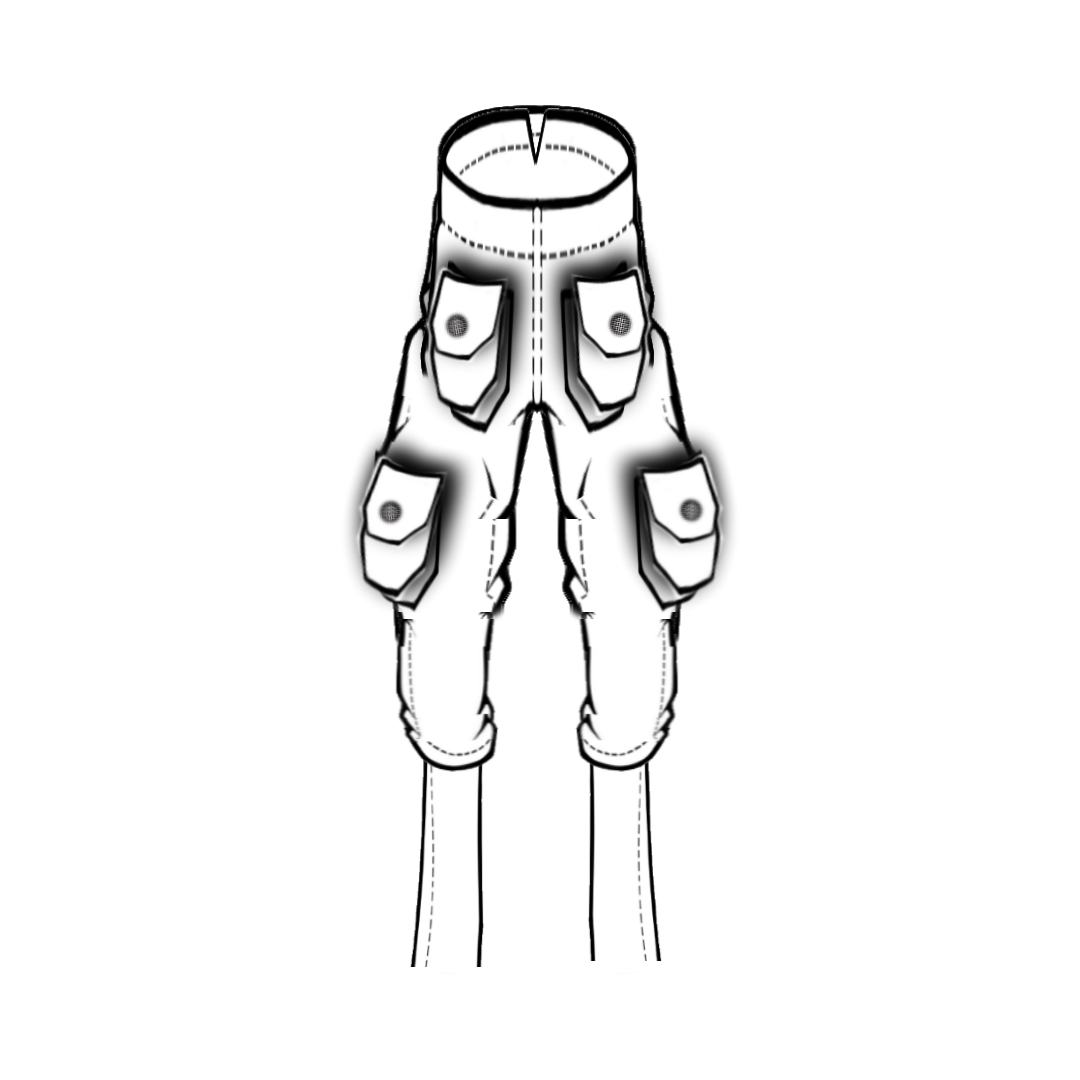
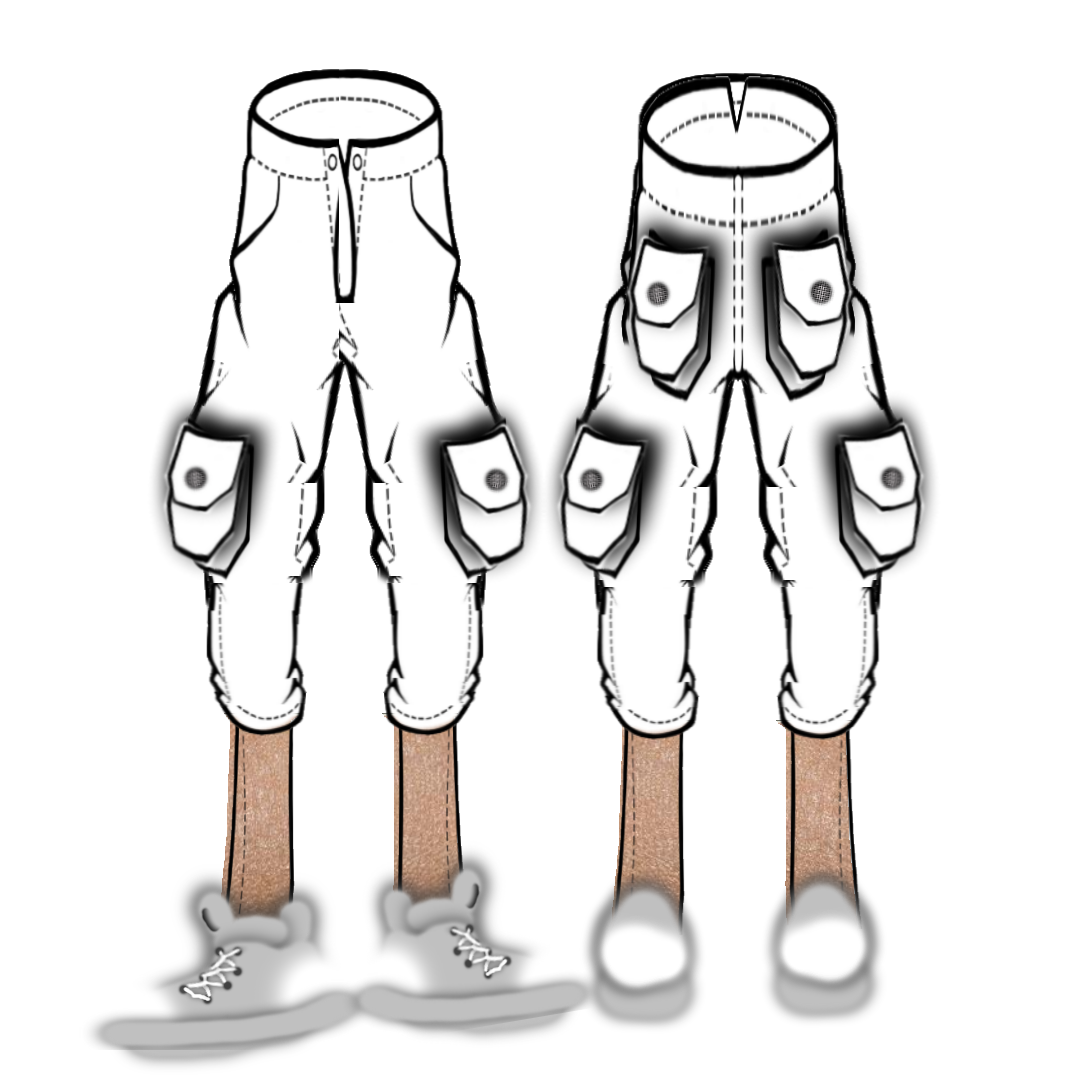
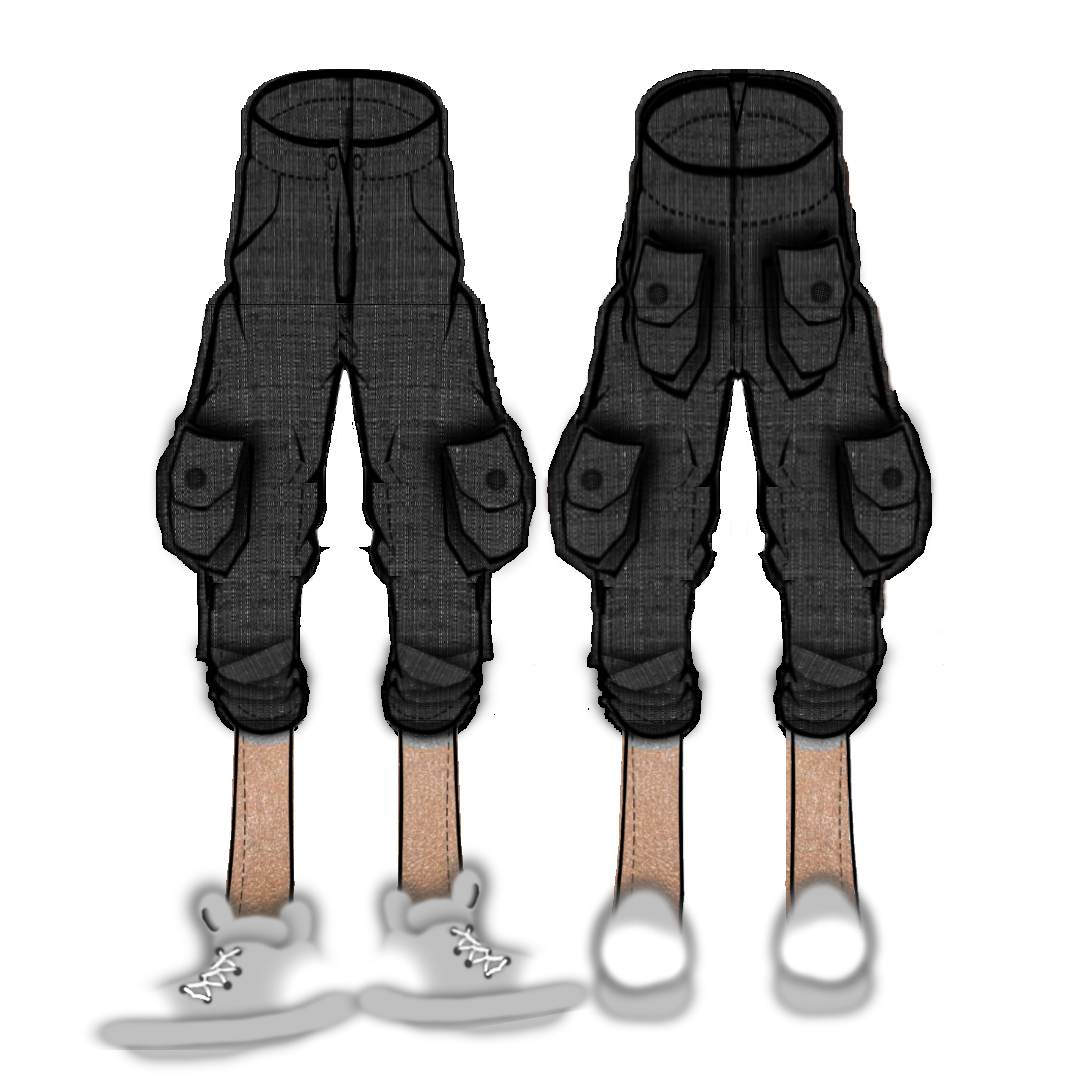
The concept of this drawing was to create a design using the Betabrand's pants template. For this particular design I used a photoshop software. Since there are way too many layers for this design recreating it I will try to keep it as simple as possible.
1.Take the Betabrand pants template and duplicate it two to three times. After you make your duplicates you will need to crop the top half (front view) from the bottom half (back view). Using your second duplicate layer you will need to crop the bottom half (back view) from the top half (front view. This would make it easier to create different looks for both front and back (top and bottom of template).
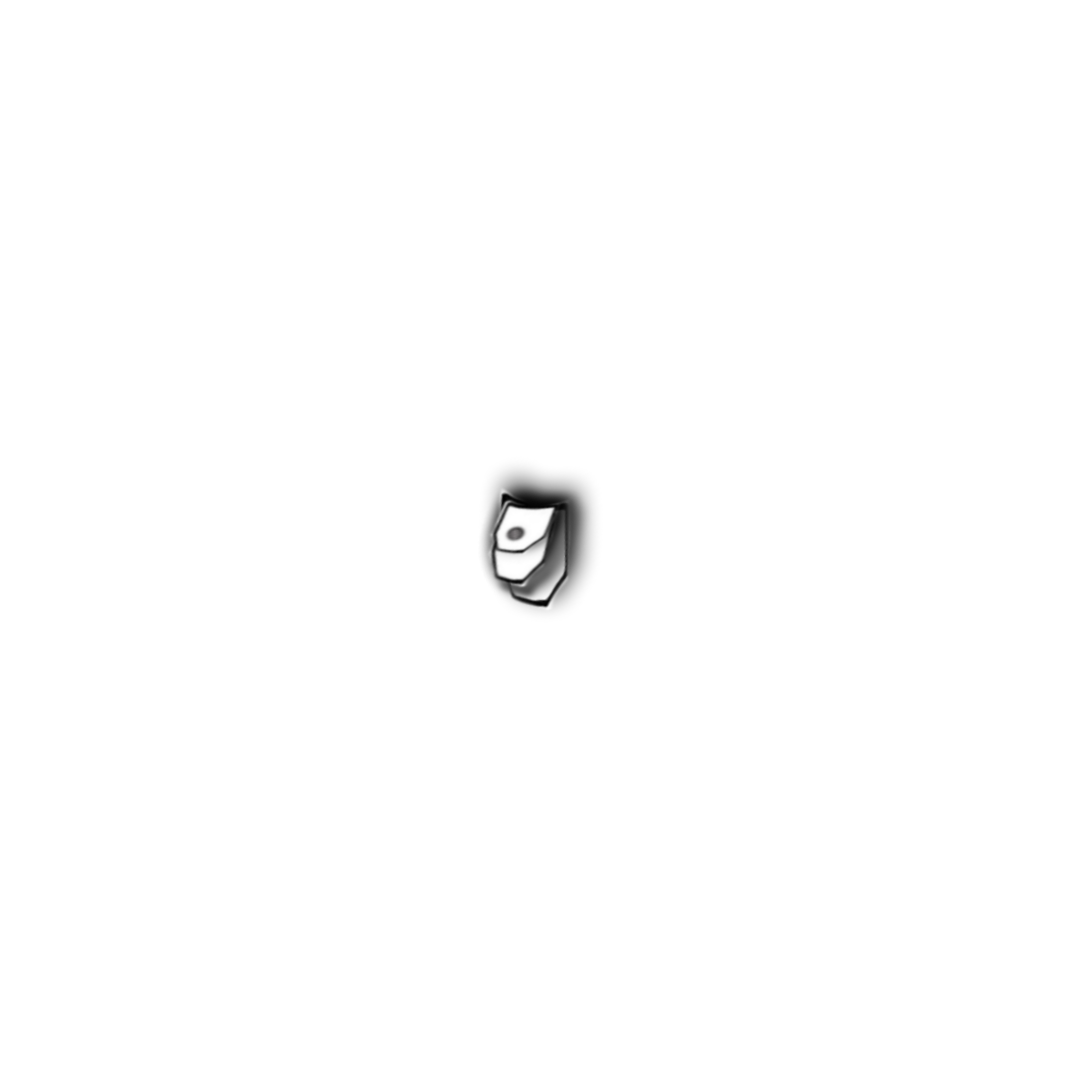
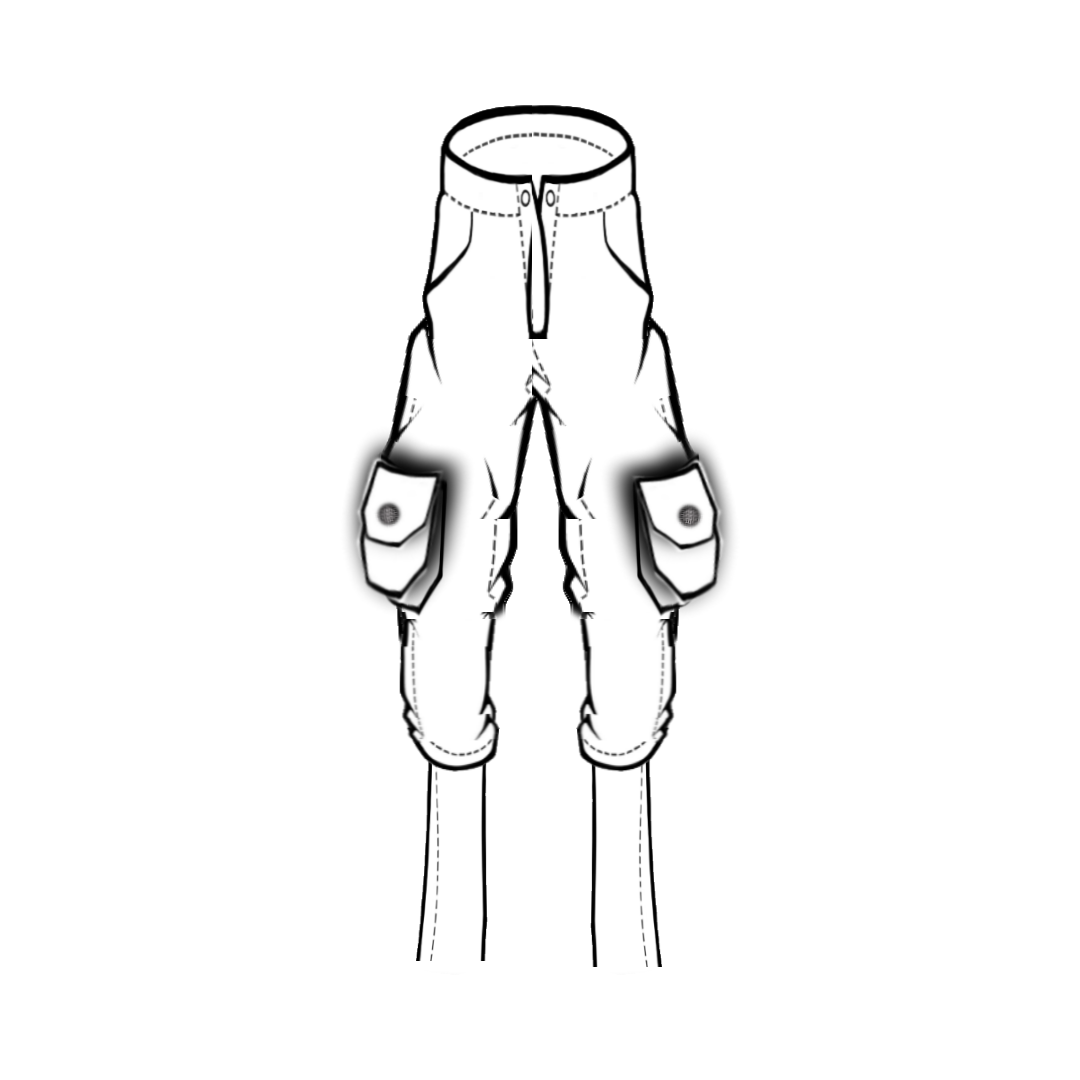
2. Select the duplicate layers of the top half and bottom half (front view/back view) of the pants template. Crop away/erase the legs on one the duplicate layers. On another duplicate of the pant layer (back view) using the magic wand crop around the back pockets. Make a copy of that layer and add a DROP SHADOW effect to it then duplicate twice. Take one of the layers for the pants and piece it together to add the baggy effect above the knee and between the front pockets of the original template. Using the move tool you're going to place the duplicates of the protruding pockets on the front of the pants diagonal to the knee. Also place one of the copies of the pockets on top of the actual back pocket on the template to create more dimension with the design.
3. Create a new layer for the texturing of the garment. I choose a texture that I already had and added it to my design. With the help of the magic wand I could crop around the pants template on the texture layer.
5. Lastly, you want to merge all the layers in order and delete layers that aren't needed in the finish product then save :)