Awesome Vector Fireworks
These groovy firework desktop images will make even the blandest beige box look awesome!
Get Your Materials (Software, That Is)
Let's Get Started!
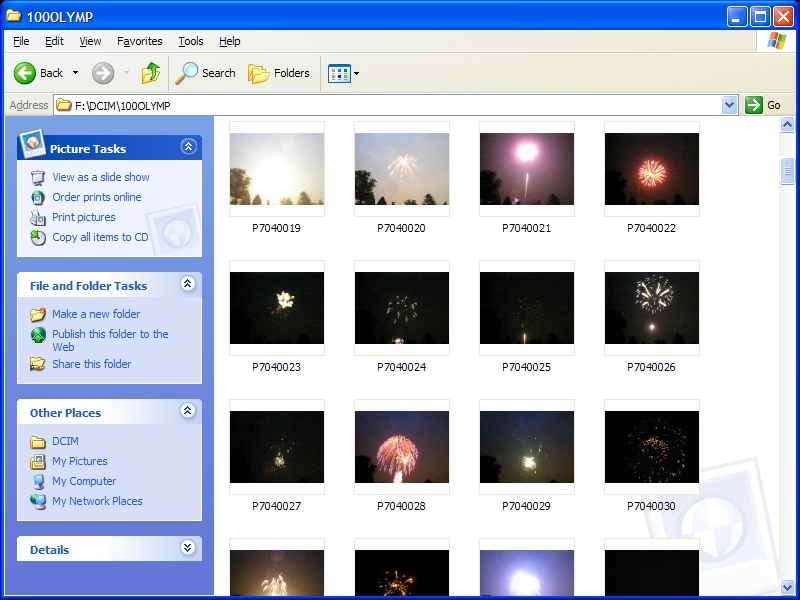
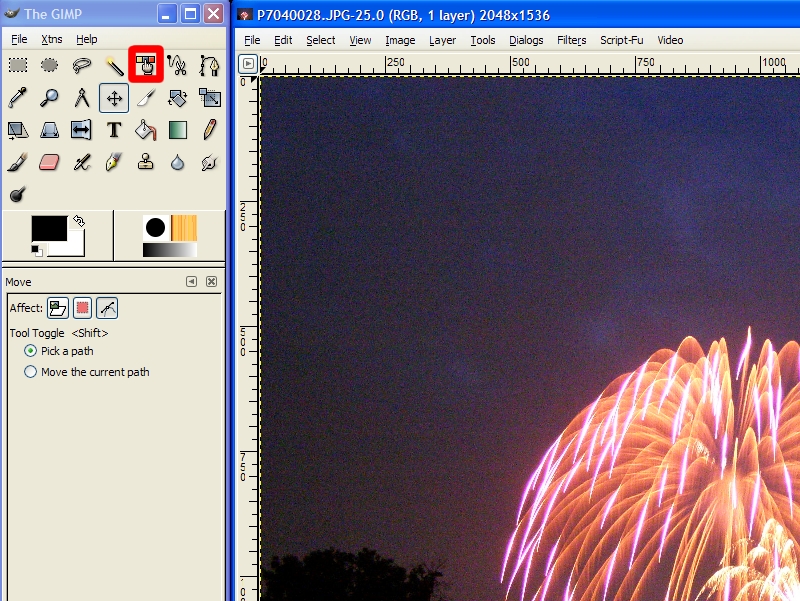
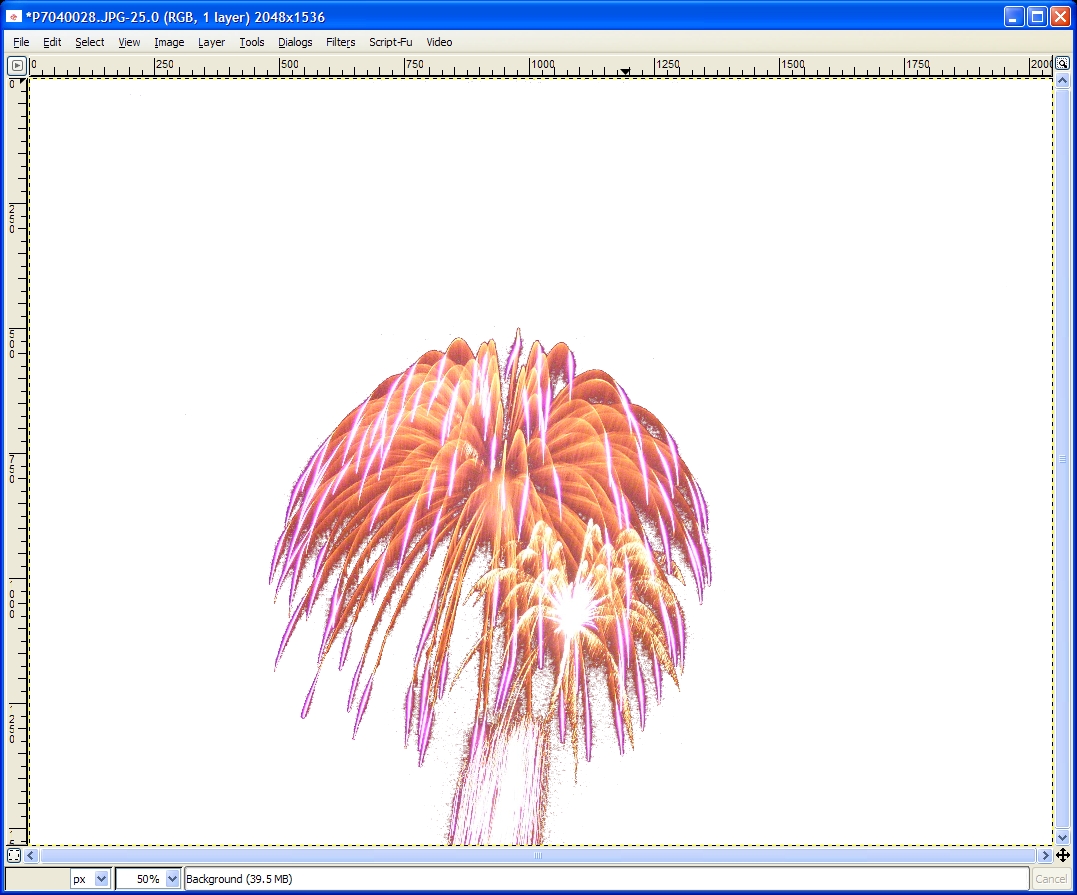
First things first: get your image. I used a large-ish (2048 x 1536) image that I took at this year's local fireworks display. Open it up in GIMP, and choose the Select By Color tool. I usually set the threshold around 75. Click on an area in the region of sky around the firework and type Ctrl + X. On a Windows machine, this will remove the region. You should be left with a colorful firework in a region of strange lightness. Not to worry.
Ready, Set, FLIP!
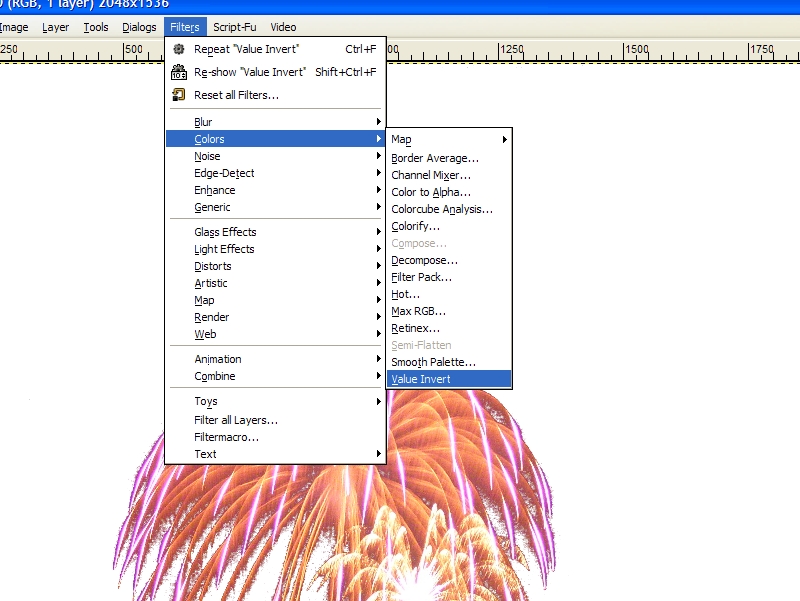
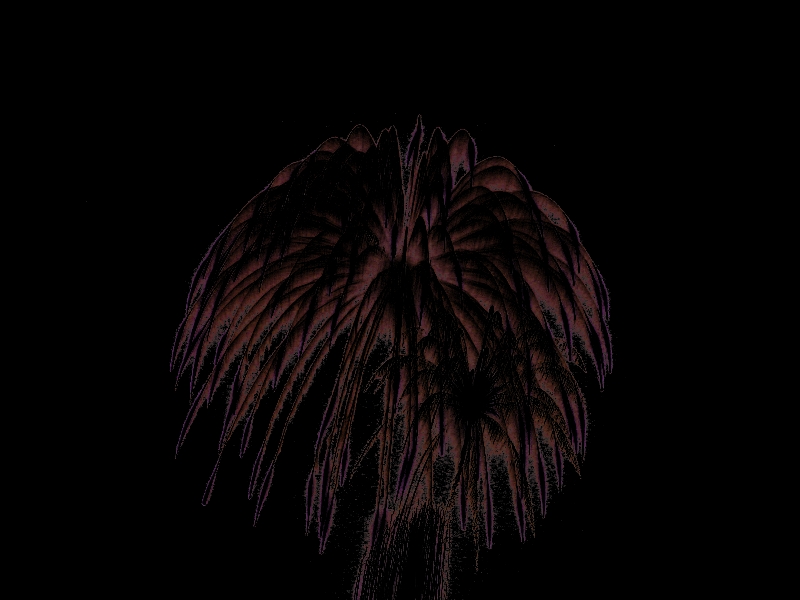
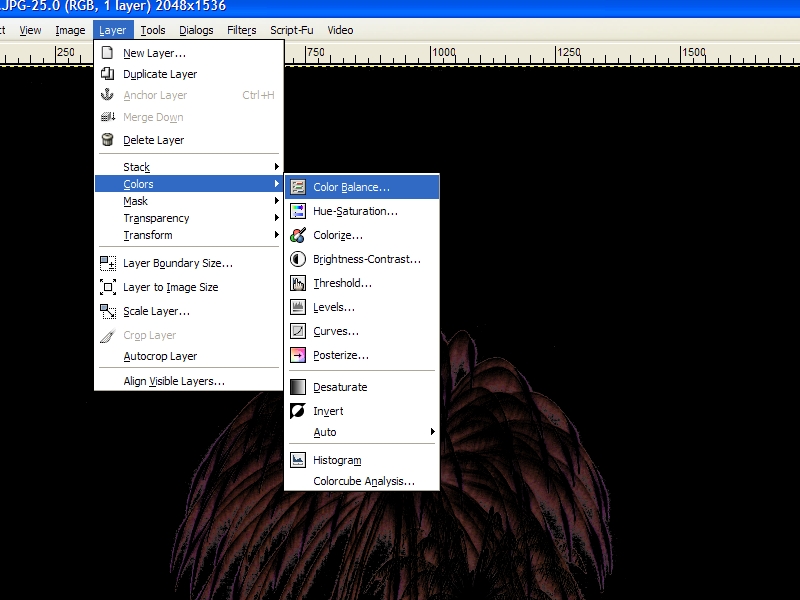
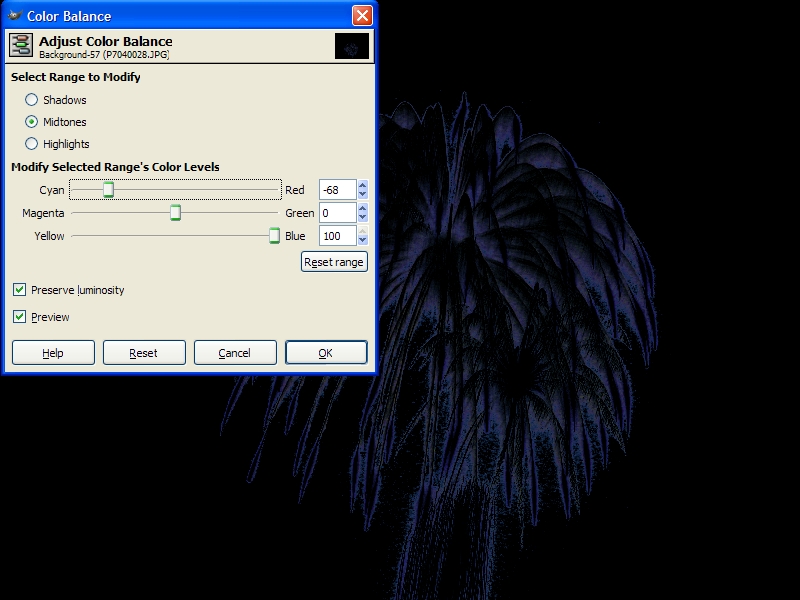
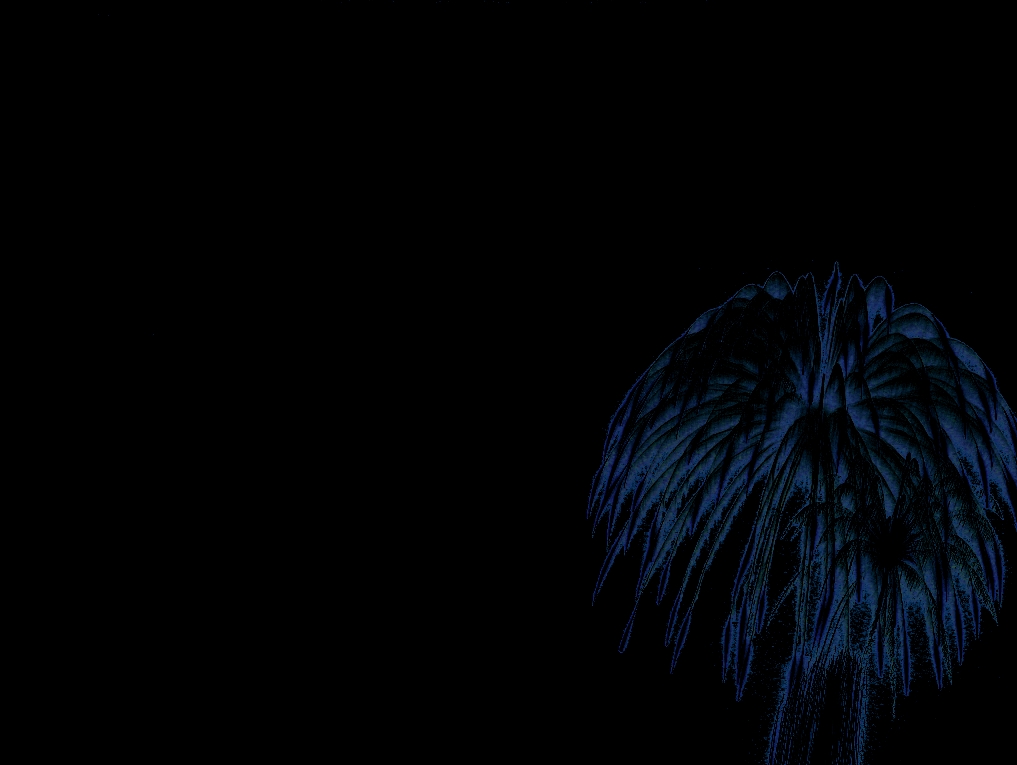
Mouse over to Filters > Colors > Invert Values. Now you've got something that looks like a negative. From here, click Layer > Colors > Color Balance and play around with the values until you've got something interesting. I was going for a blue image, so I moved the sliders to Cyan and Blue.
Save Your Work!
Now move the image to where you'd like it to be in the final product. Since all of my icons are on the left-hand side of my desktop, I put the image on the right so it wouldn't be obscured. Now save it as .bmp. The .bmp file extension will become very important in a moment.
STOP...Vector Time
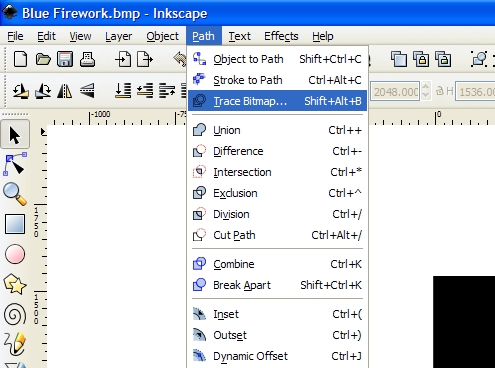
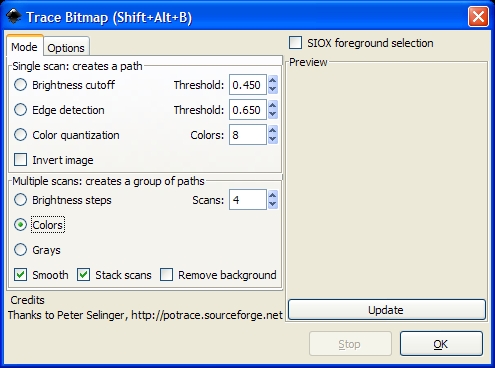
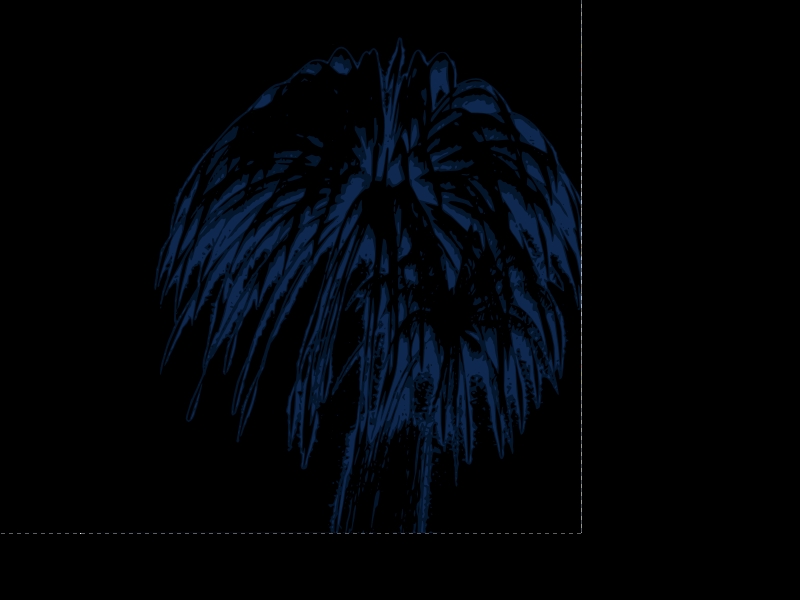
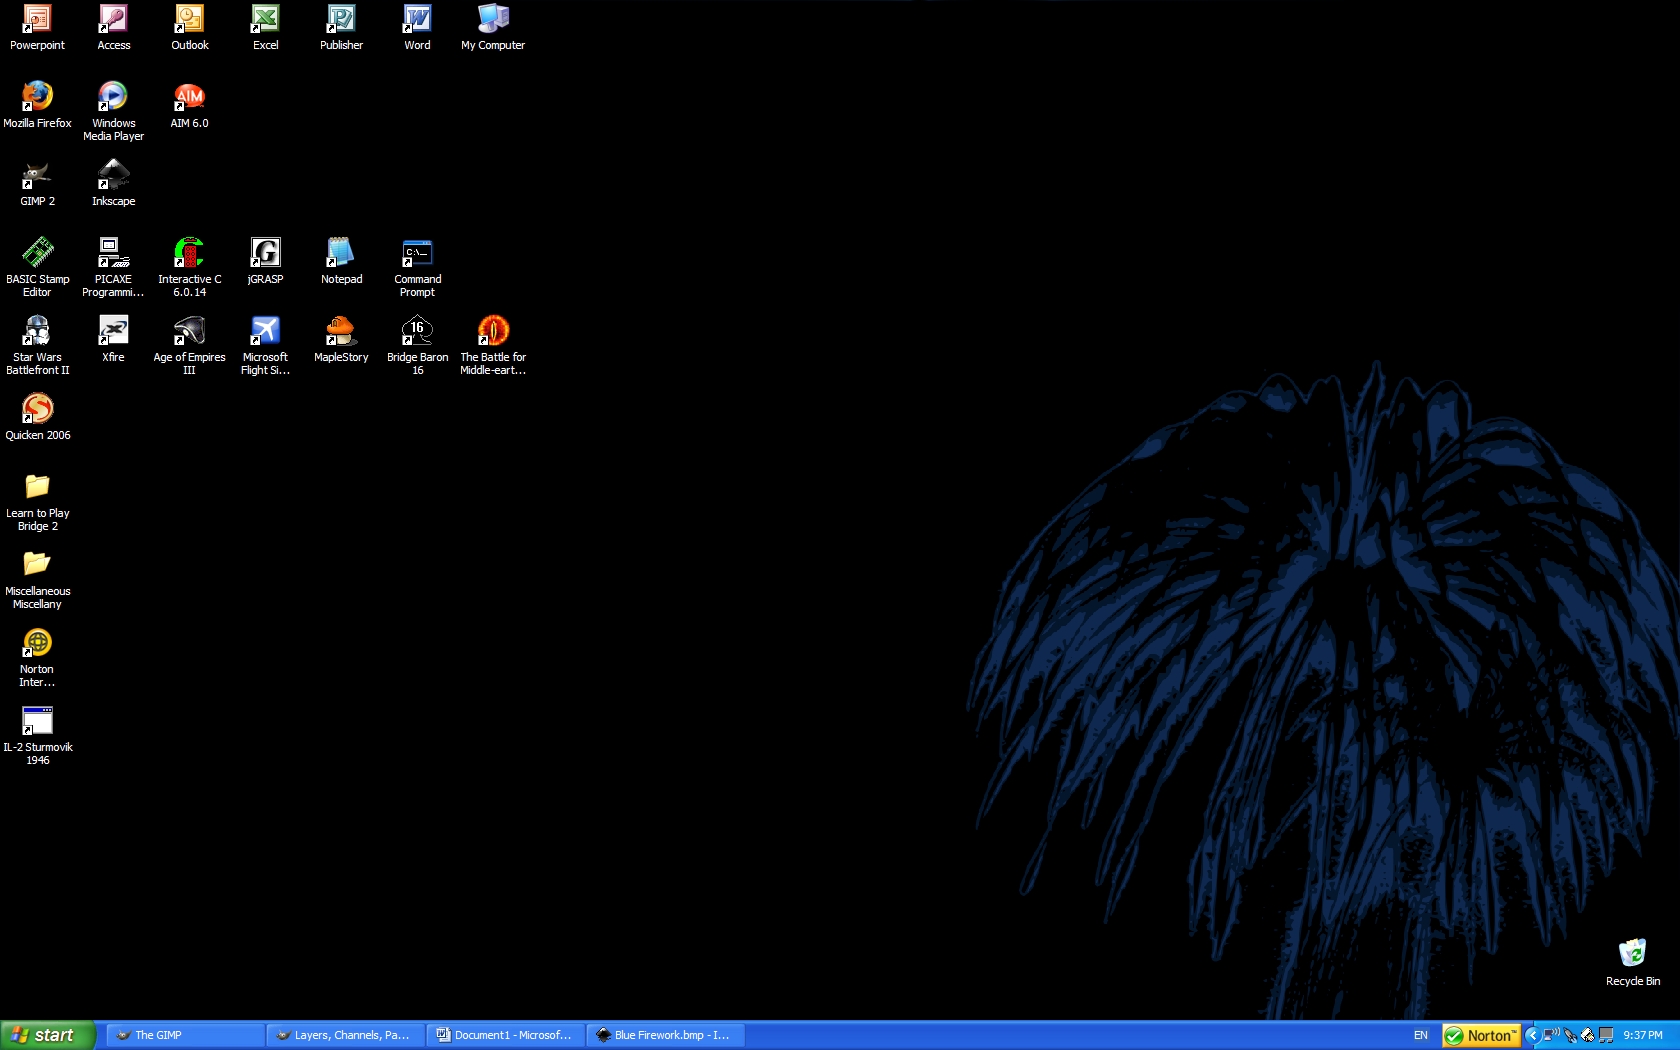
Open up Inkscape and pull up the file you just saved. Select the image and mouse to Path > Trace Bitmap. Now change the settings in the dialog box. First, select the checkbox marked Colors, then change the number of passes to 3. Clicking OK should start the trace - be patient as this may take a while depending on your machine. Once it's done, you've got a groovy vector image. Save this image as a .svg file, then open the .svg in GIMP and save as a .bmp or .jpg. Set your background to this new .bmp or .jpg, and your desktop is looking groovier than ever!
Trust me, it looks much better on a screen larger than the Instructables viewer. Try it on your desktop and see!
- DE
Trust me, it looks much better on a screen larger than the Instructables viewer. Try it on your desktop and see!
- DE