Awesome 3D Pen Portraits!
Make any portrait come to life with this 3D pen portrait project! This project will show you how to make cute, hangable, plastic portraits to decorate your walls. You can make your portrait of yourself, a pet, a house, or really just anything. The photo of the final product was taken in a super cool, easy to make DIY Lightbox. Check that project out! https://www.instructables.com/Easy-DIY-Lightbox/
Supplies
You will need:
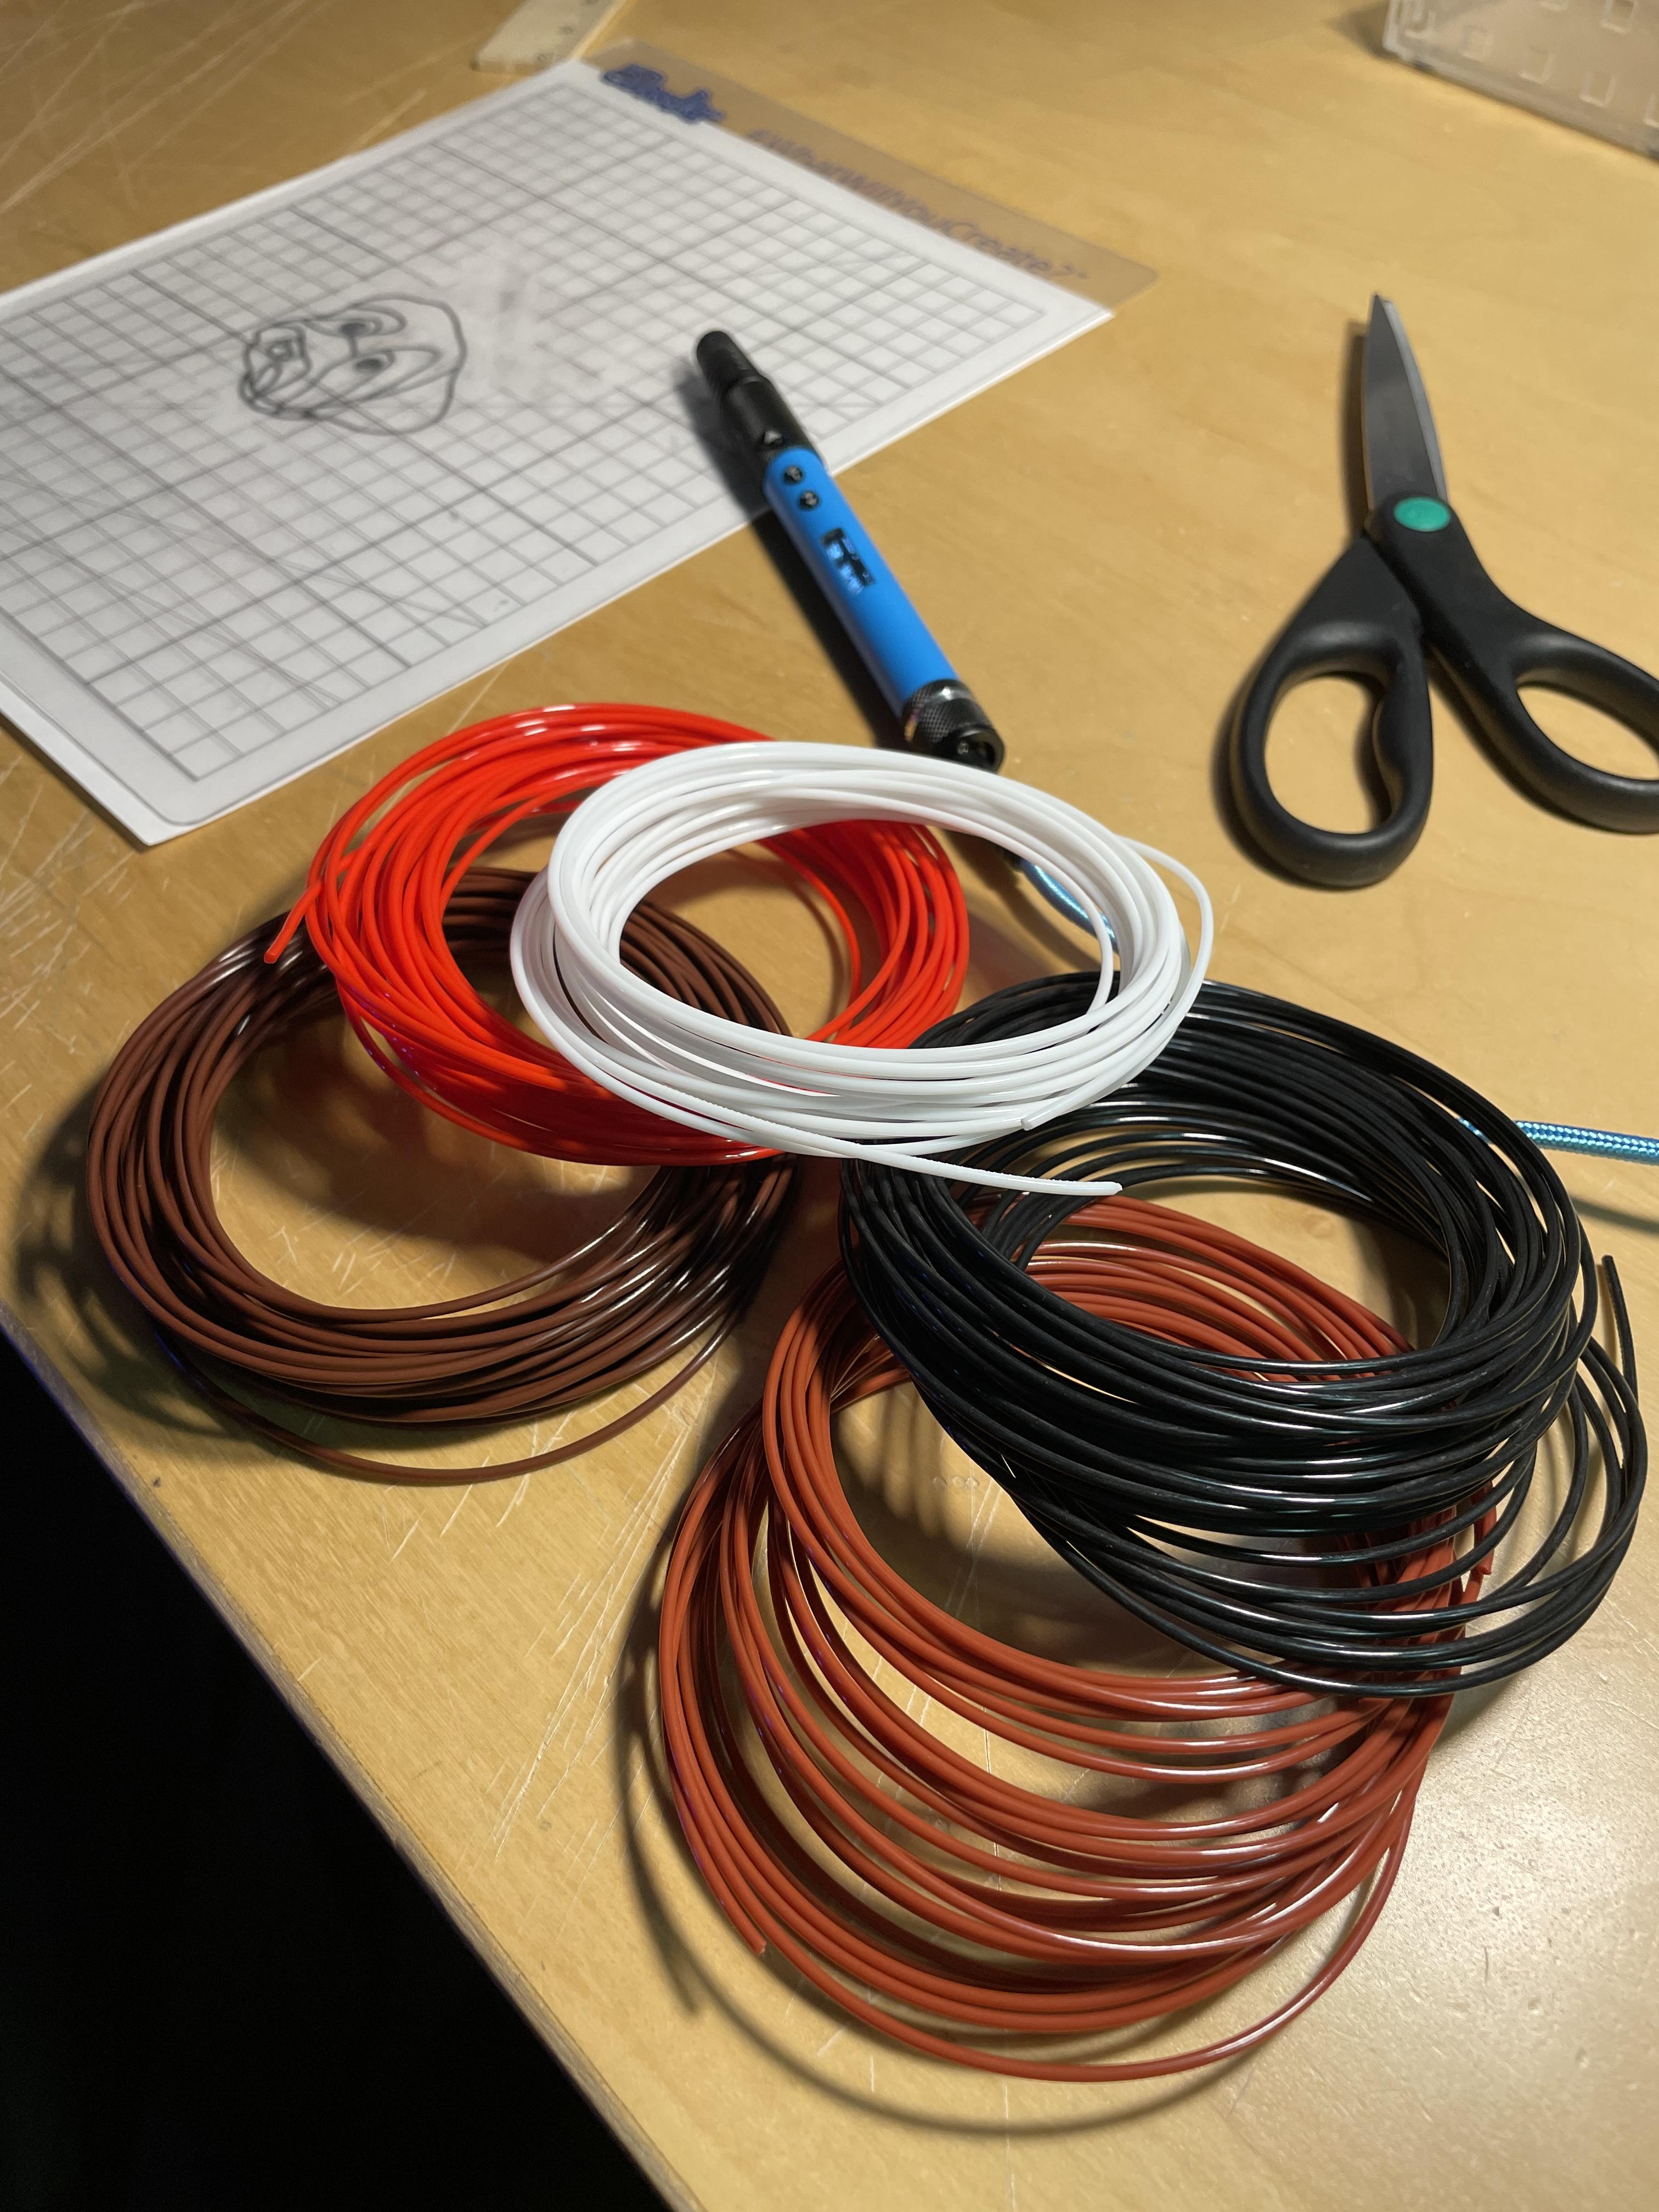
-A 3D pen
-3D pen PLA Filament (PLA is preferred, as ABS smells during excursion and isn’t that great)
-Printer paper
-Masking tape or a 3D pen mat
-Markers or pens (if you are a really good freehand artist)
-an iPad with Adobe ProCreate downloaded (if you aren’t a really good freehand artist)
-A Printer
Find Your Photo
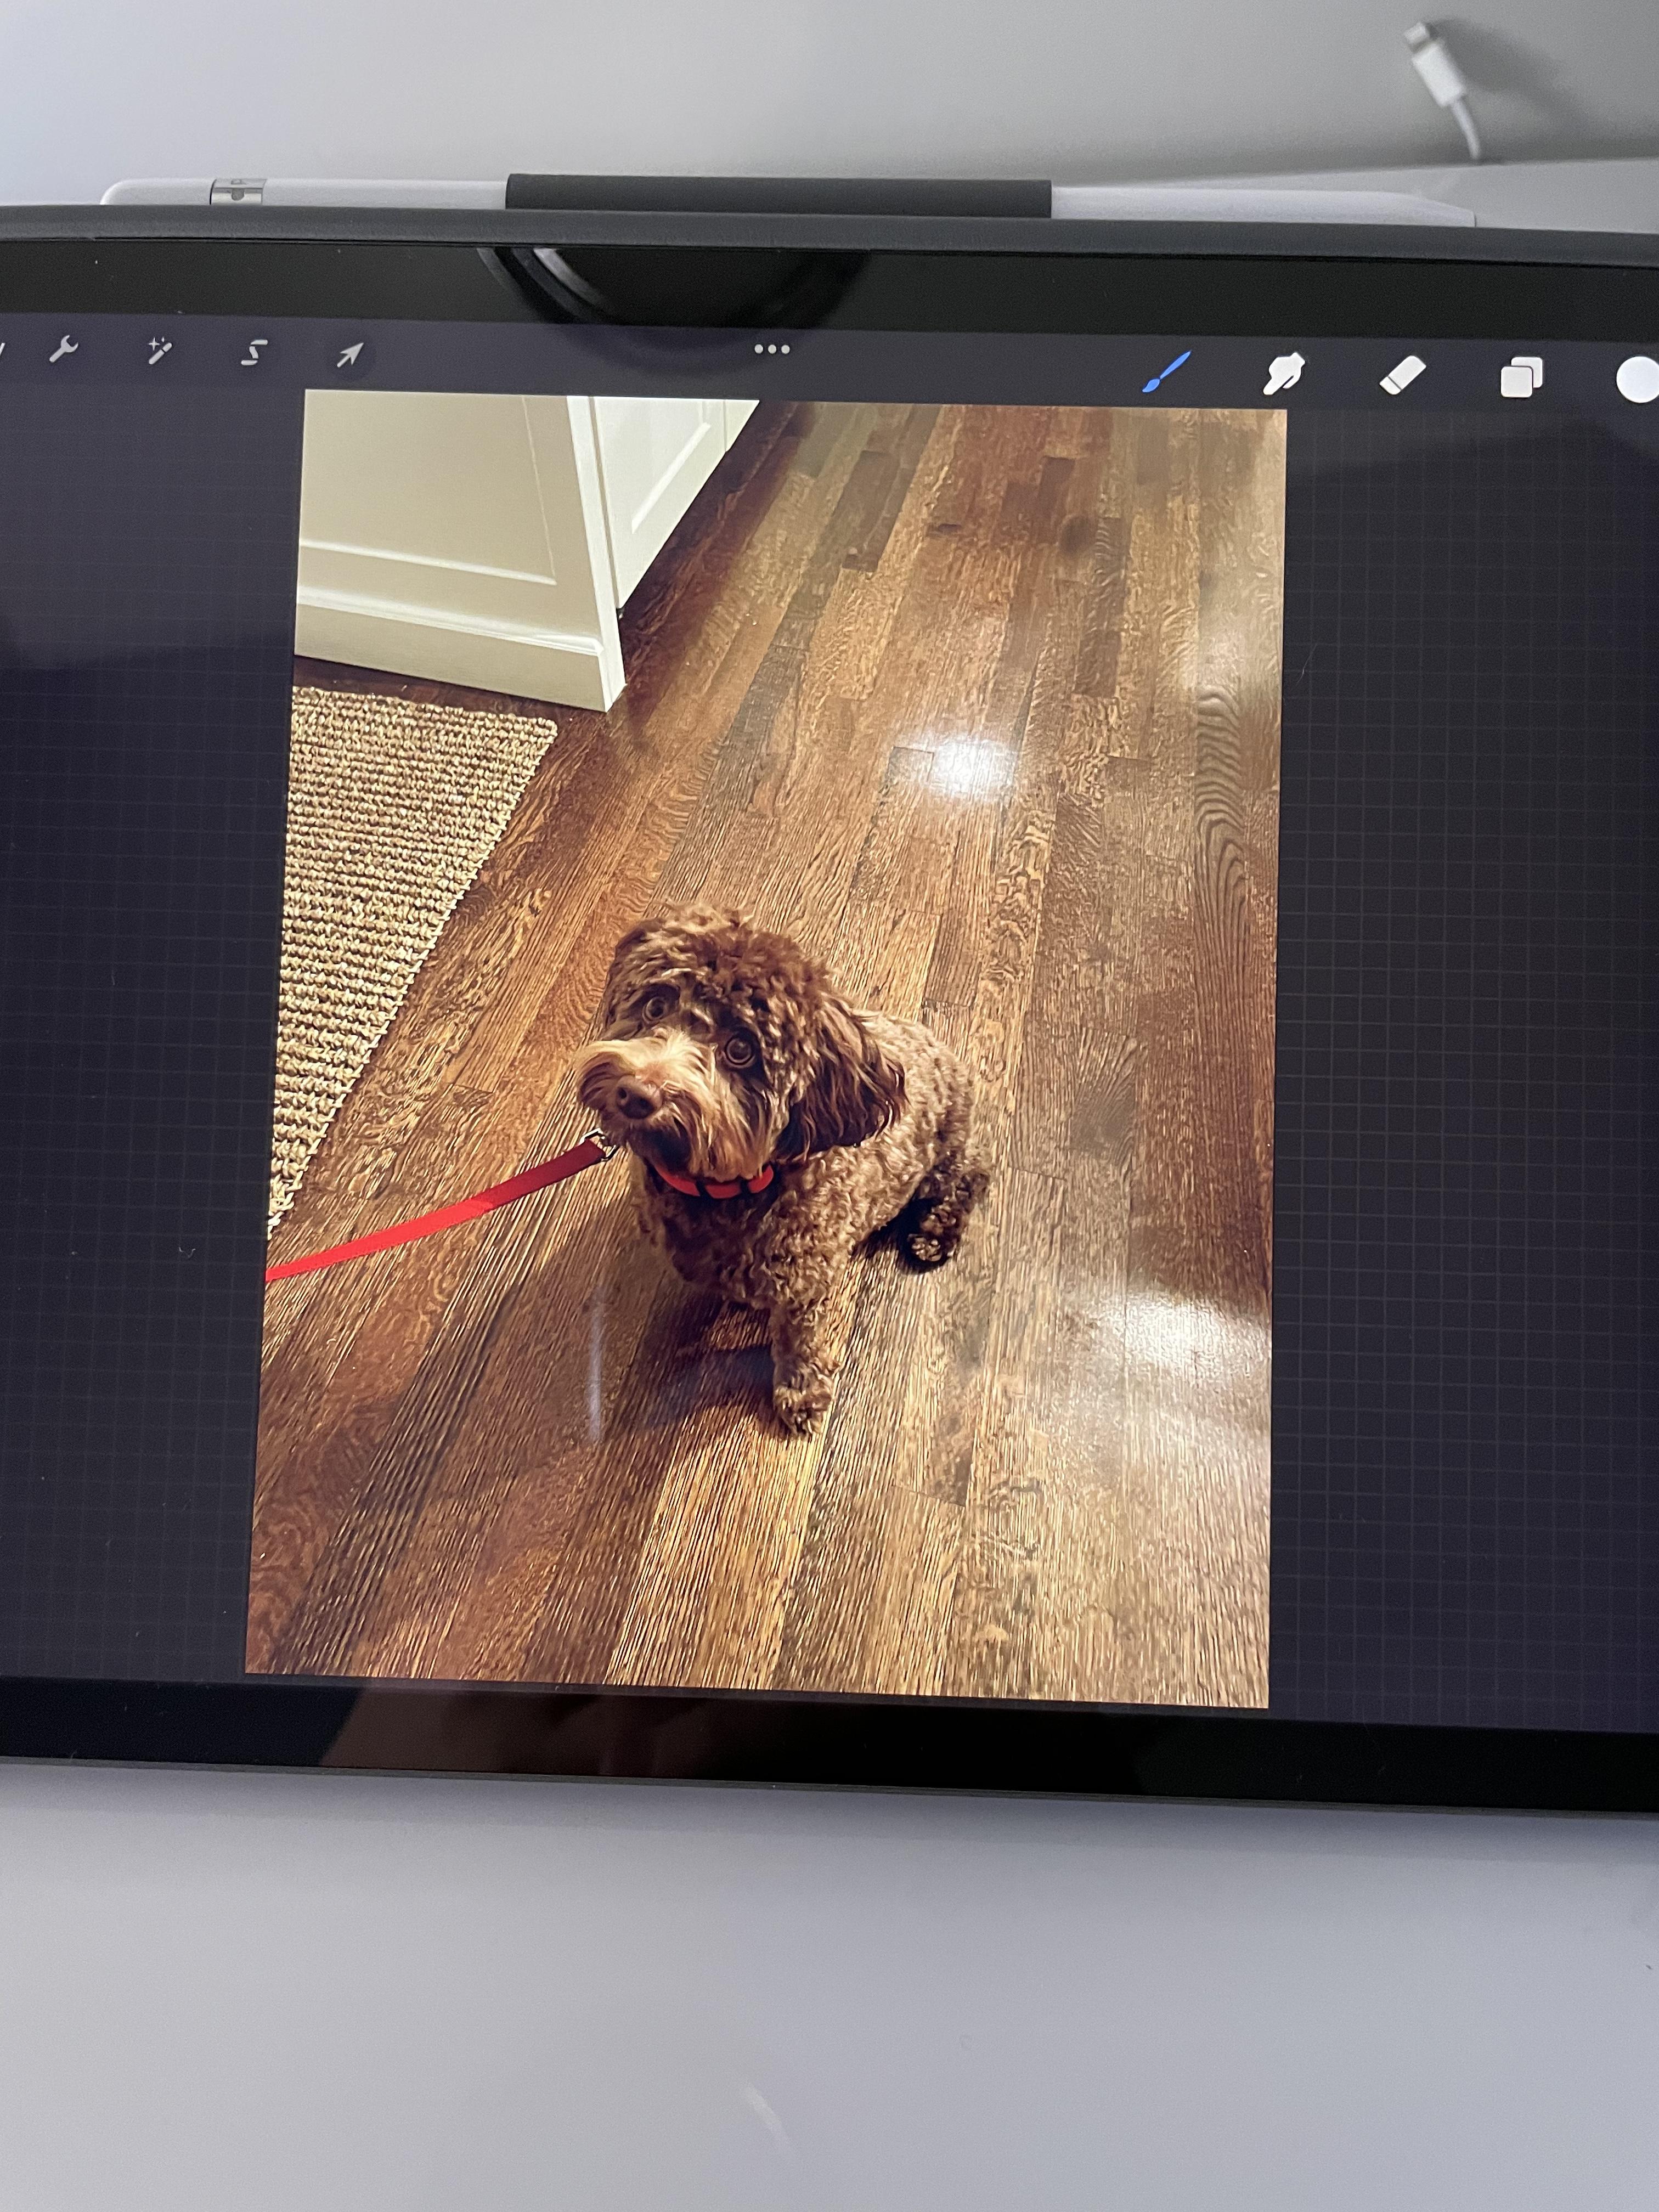
First, pick a photo that you want to make into your portrait. It could be a photo of a pet, you, a loved one, or really anything. I picked a photo of my puppy to make into a portrait.
Trace Your Photo
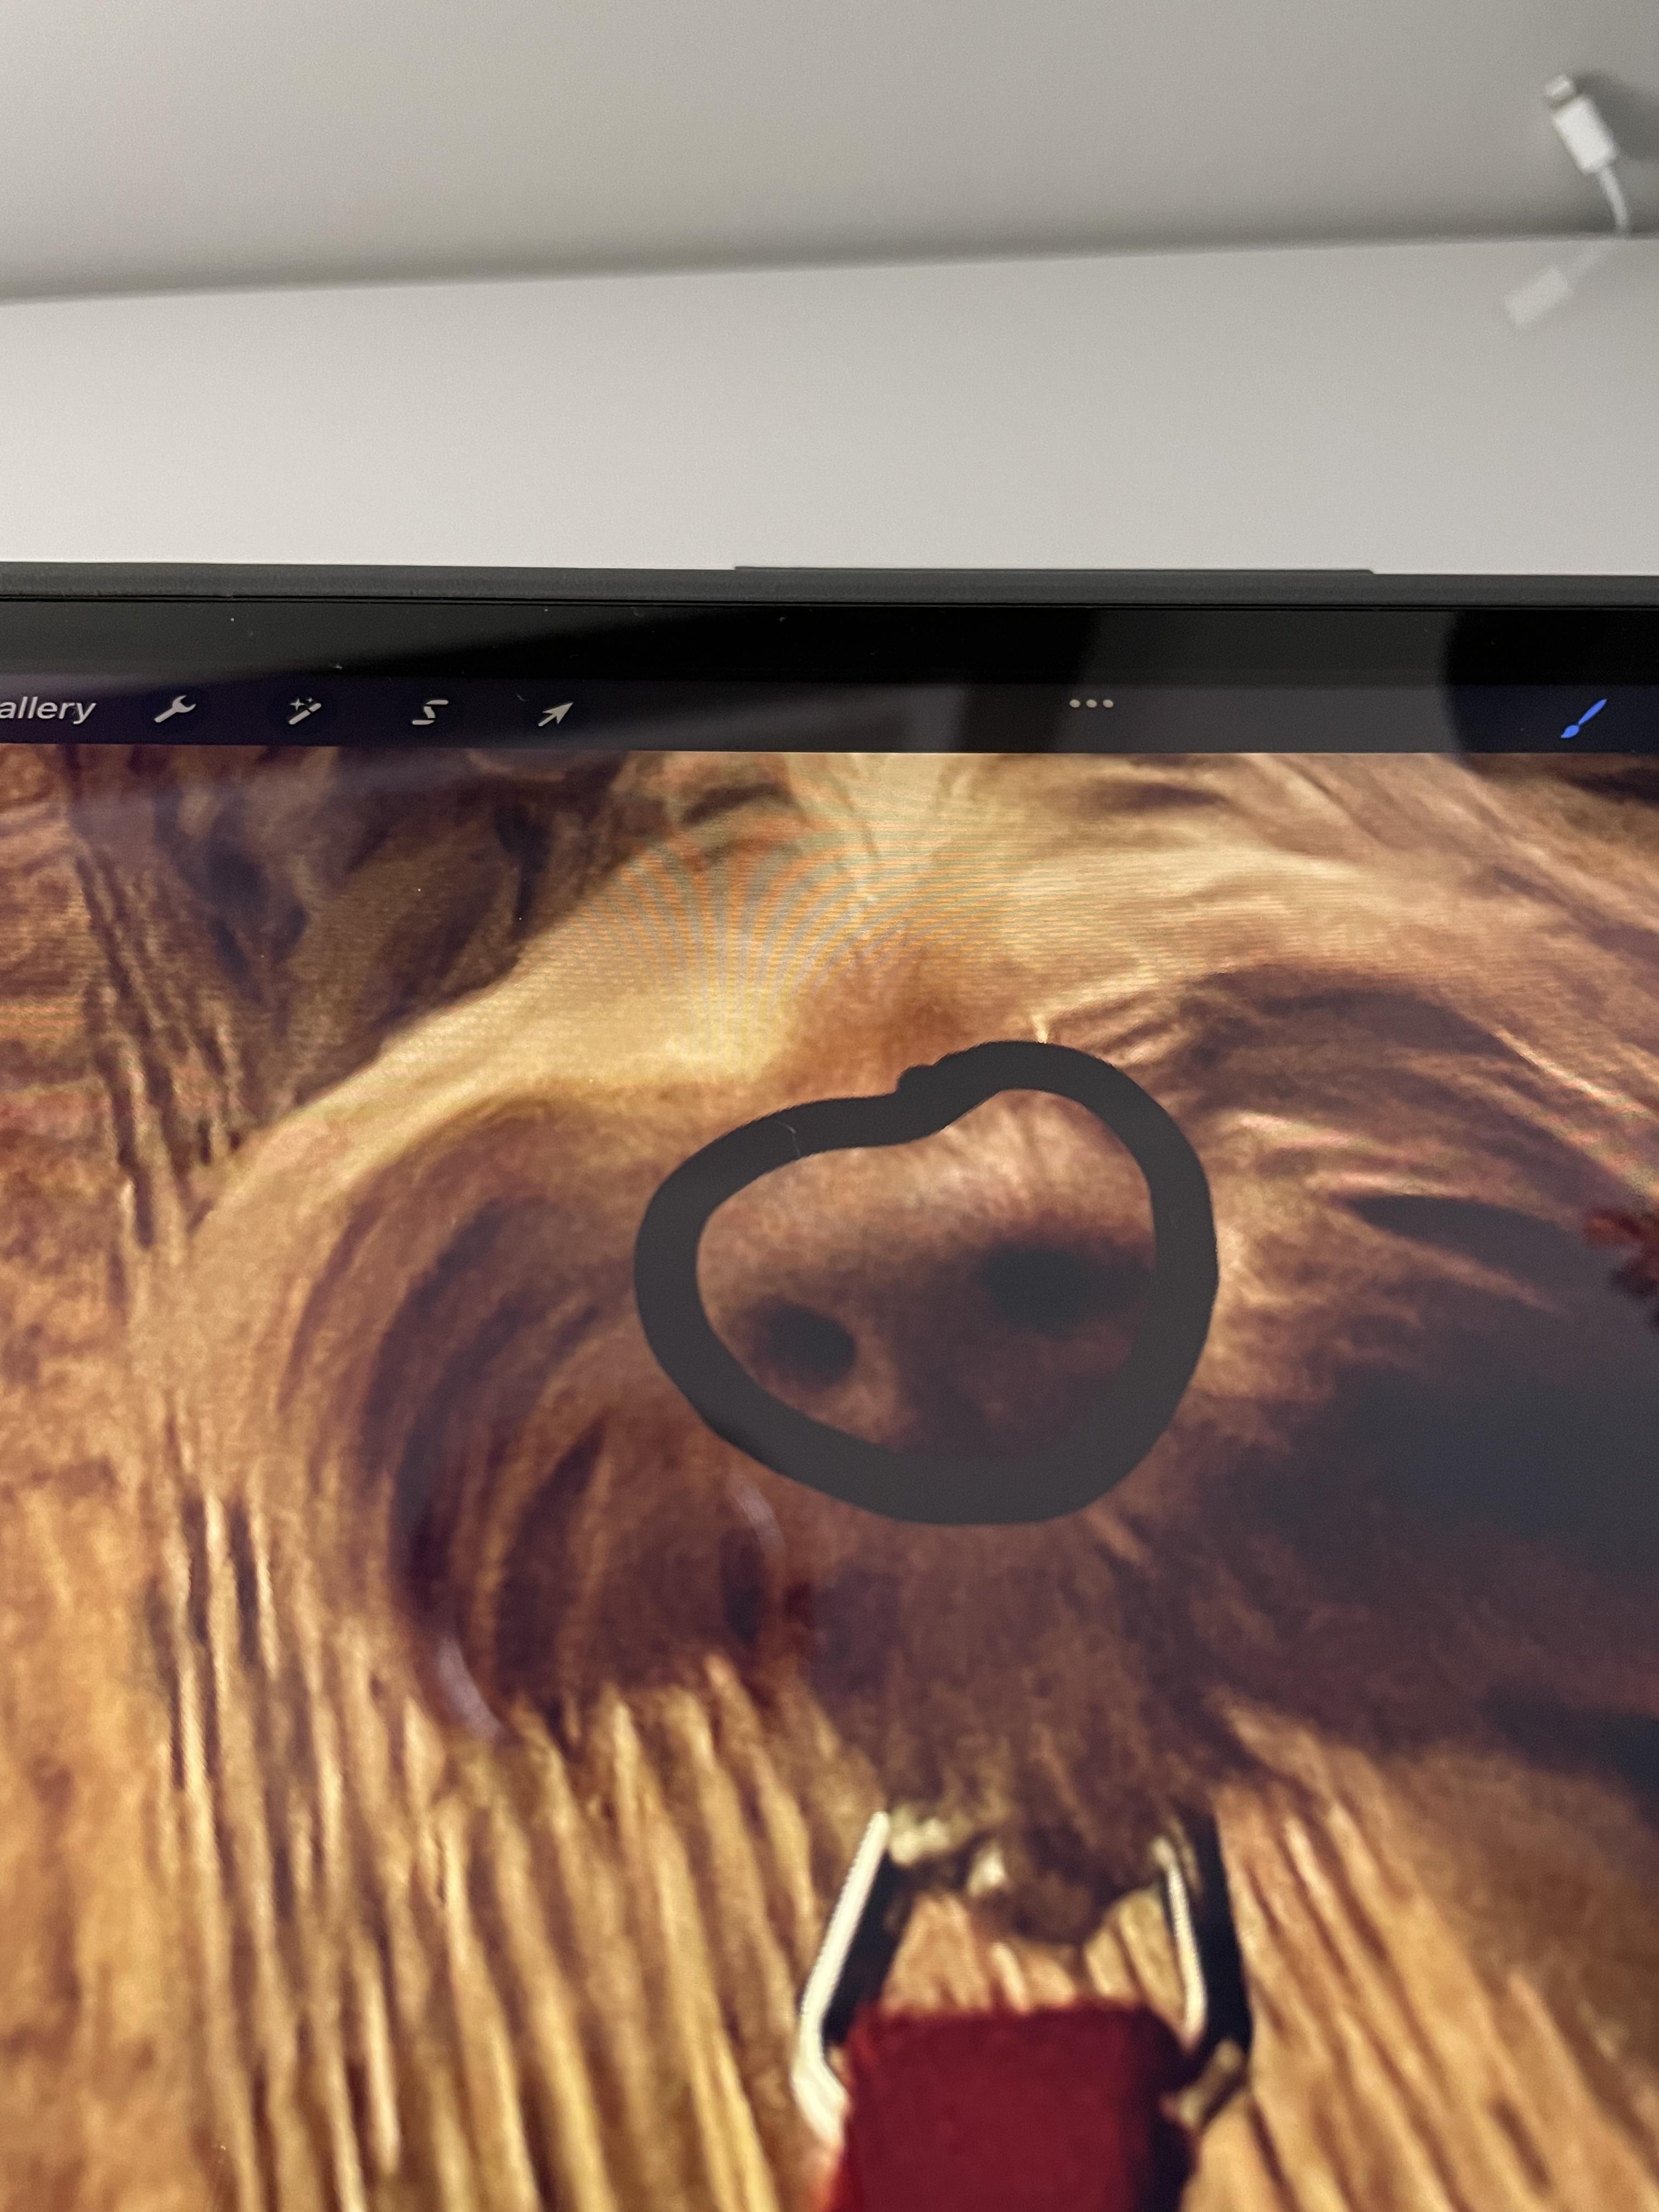
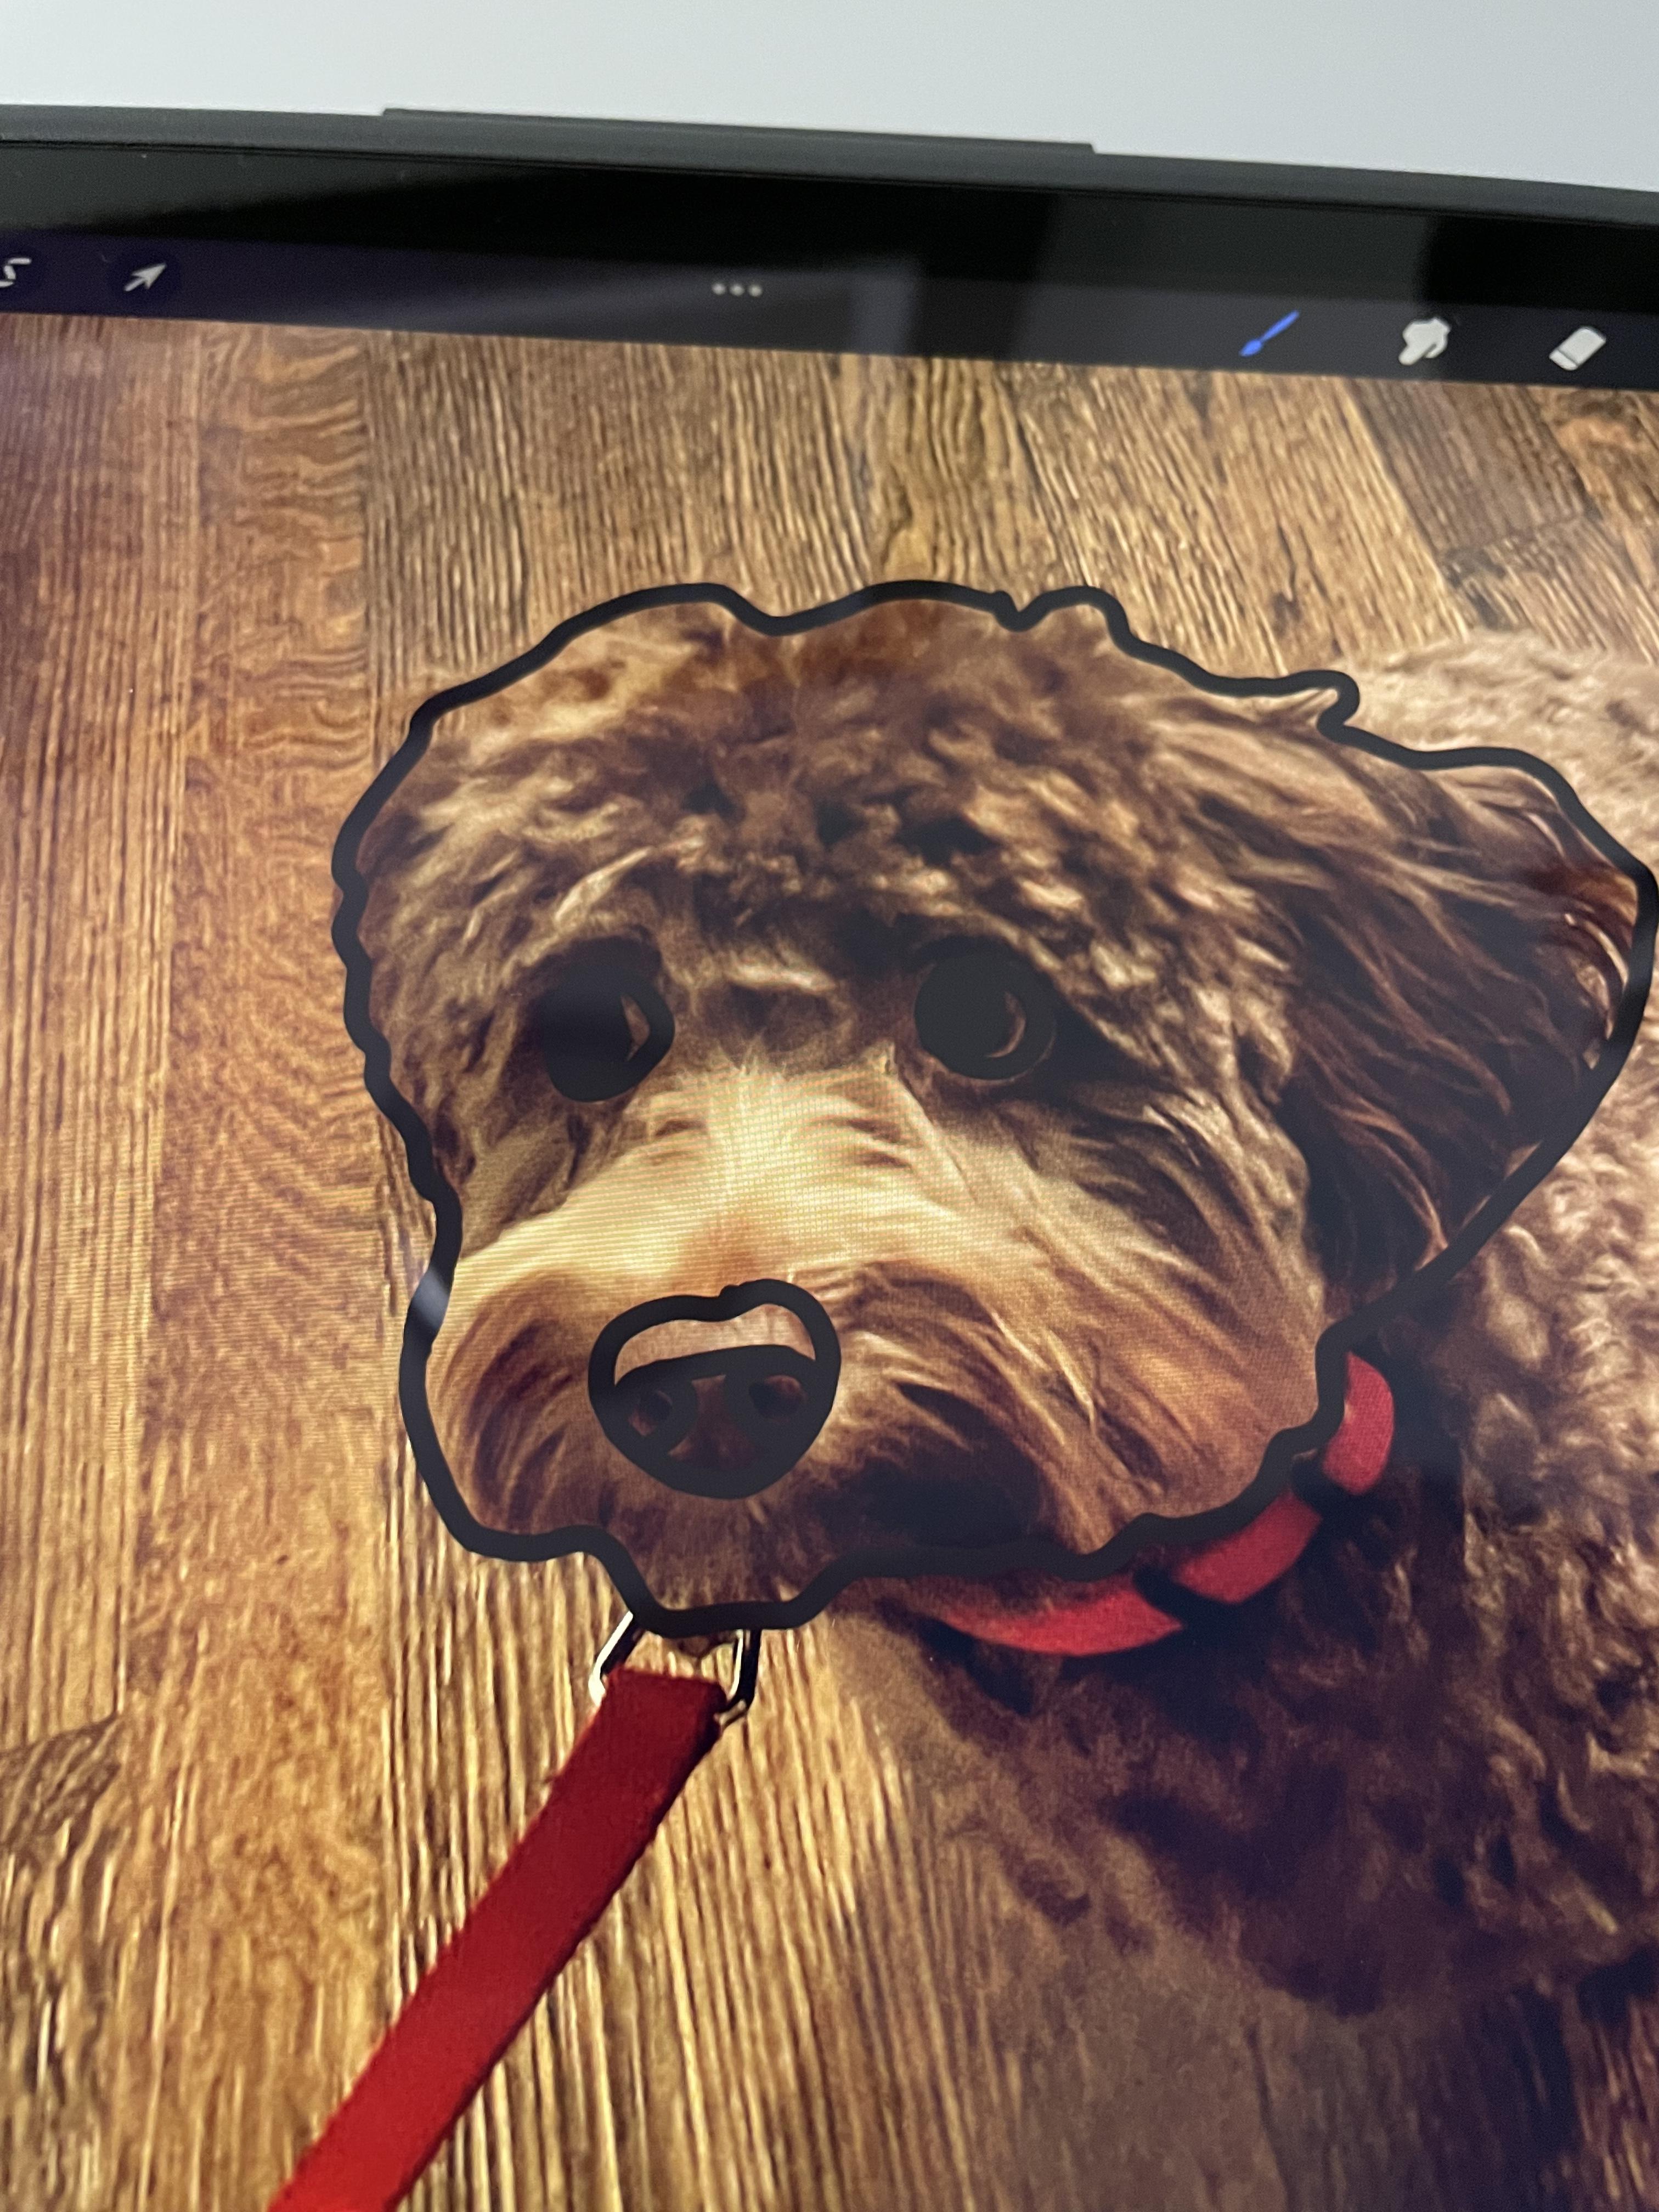
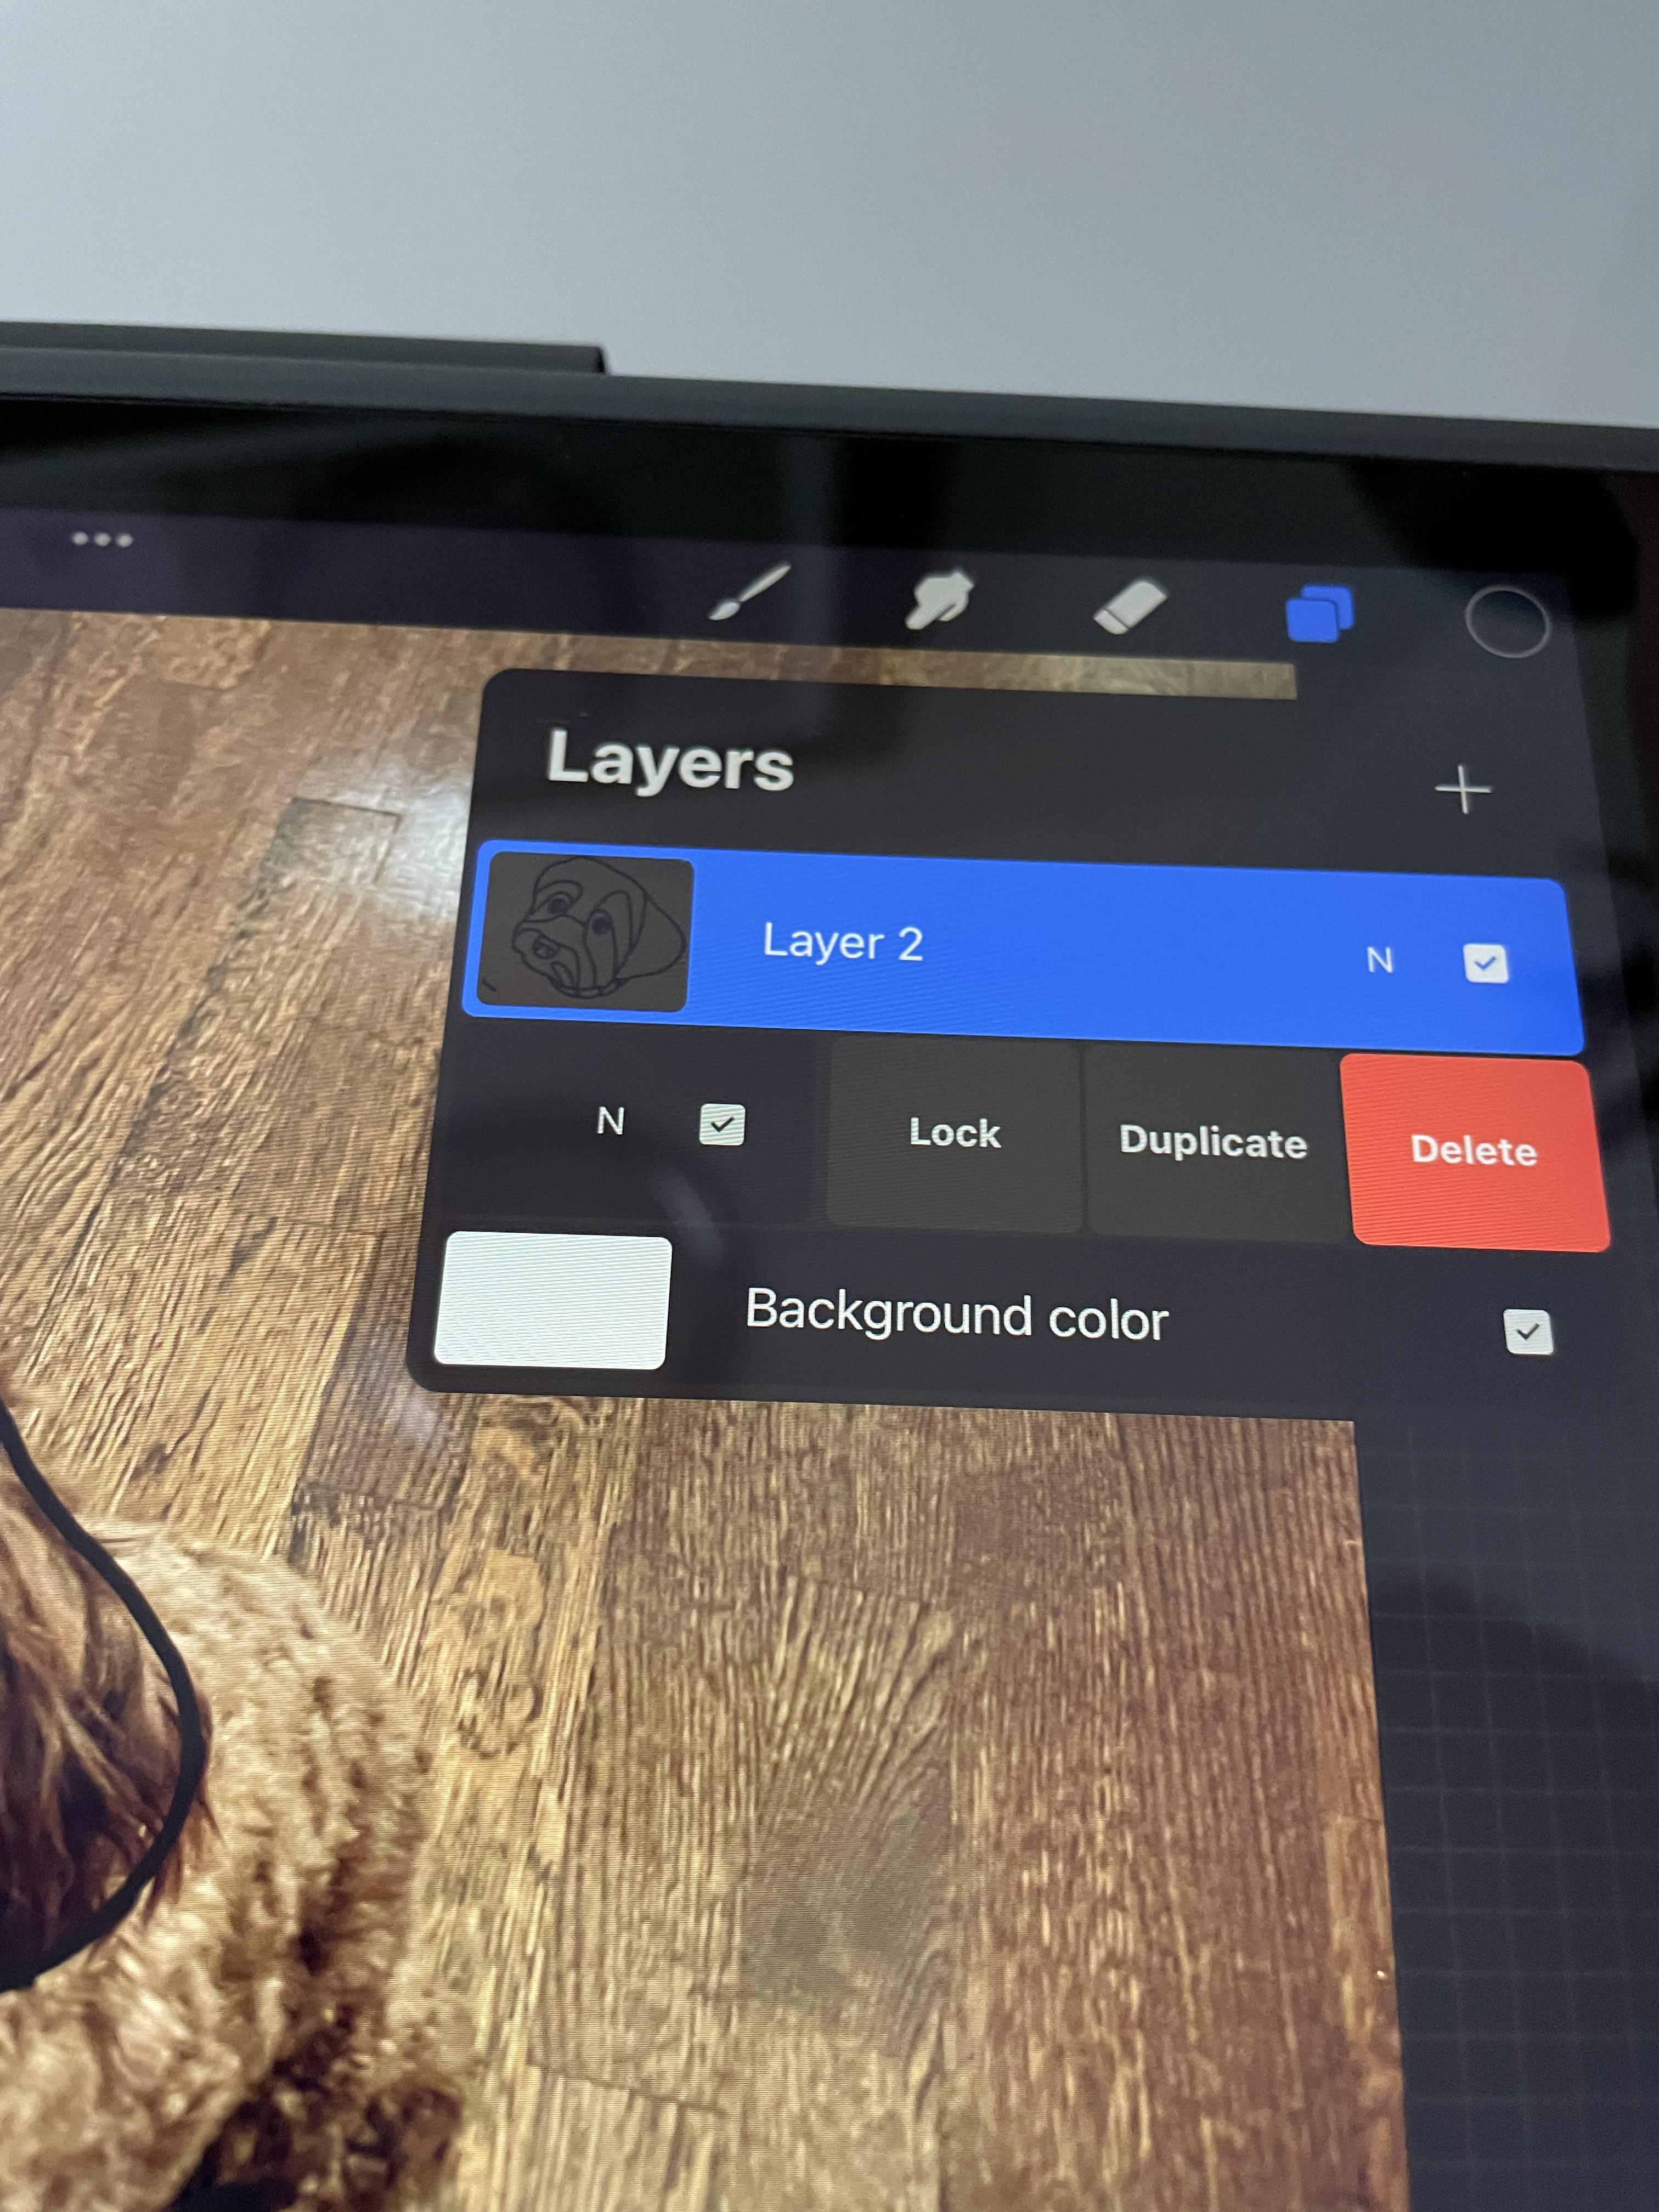
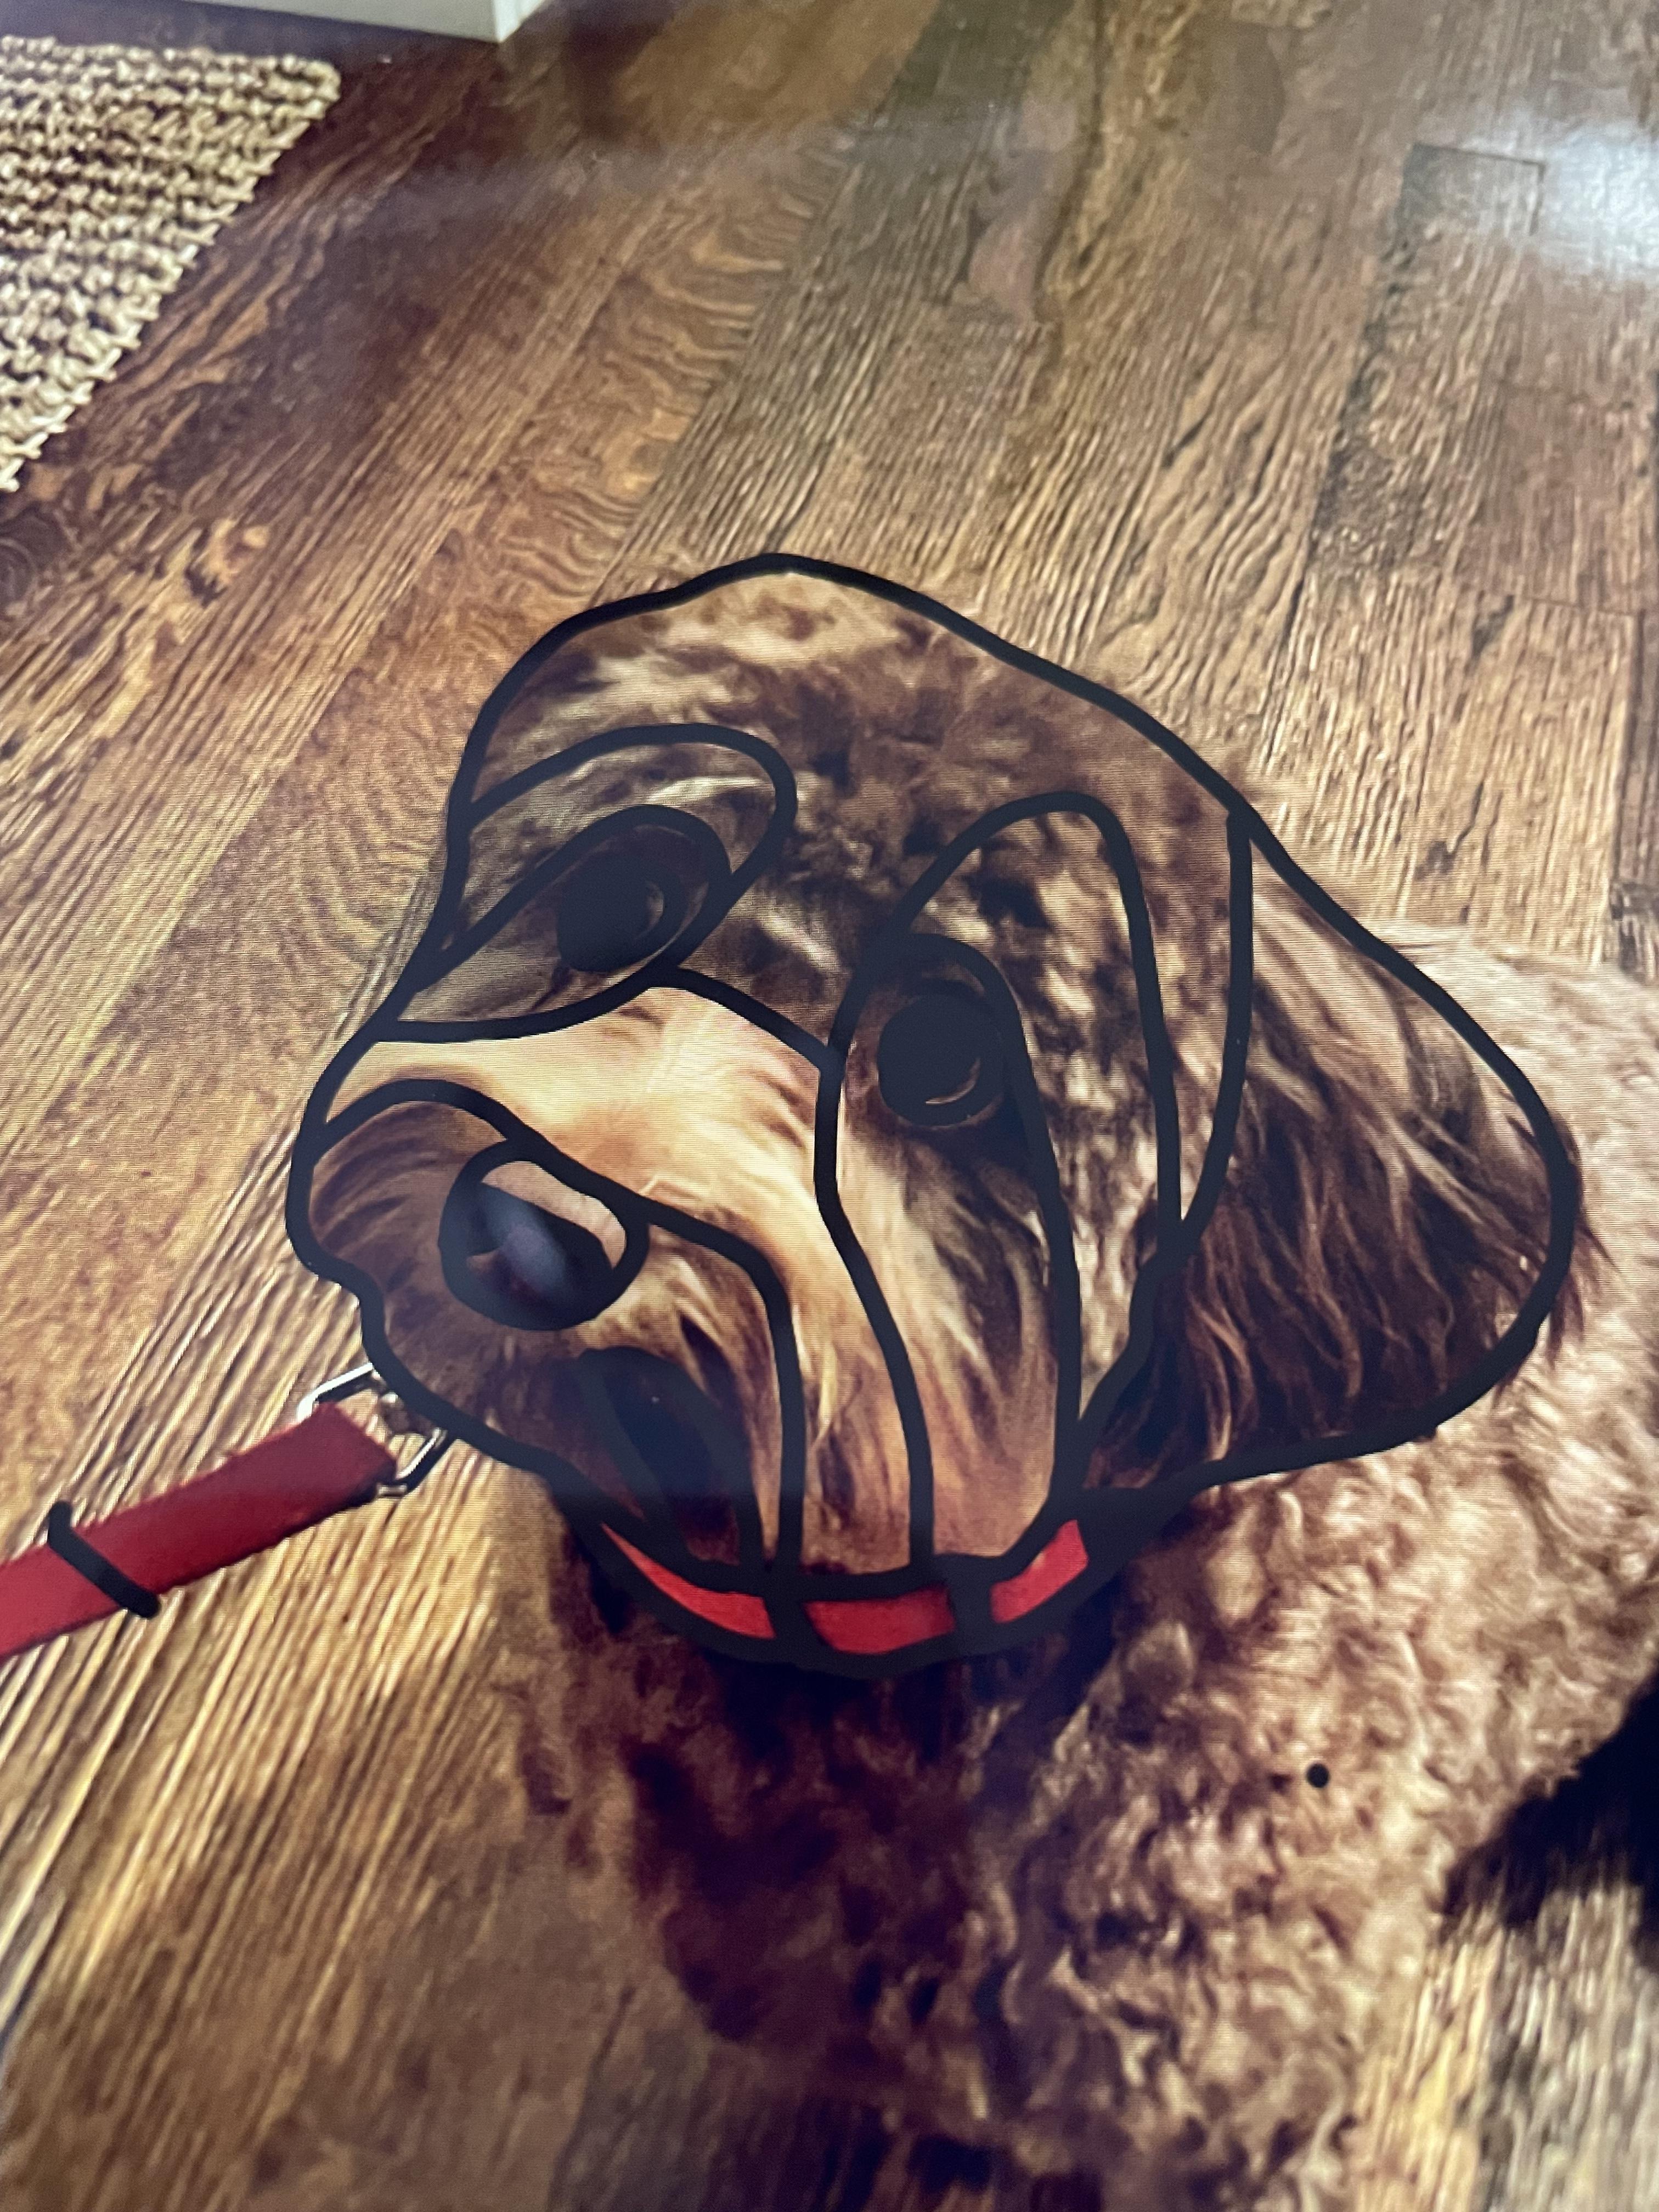
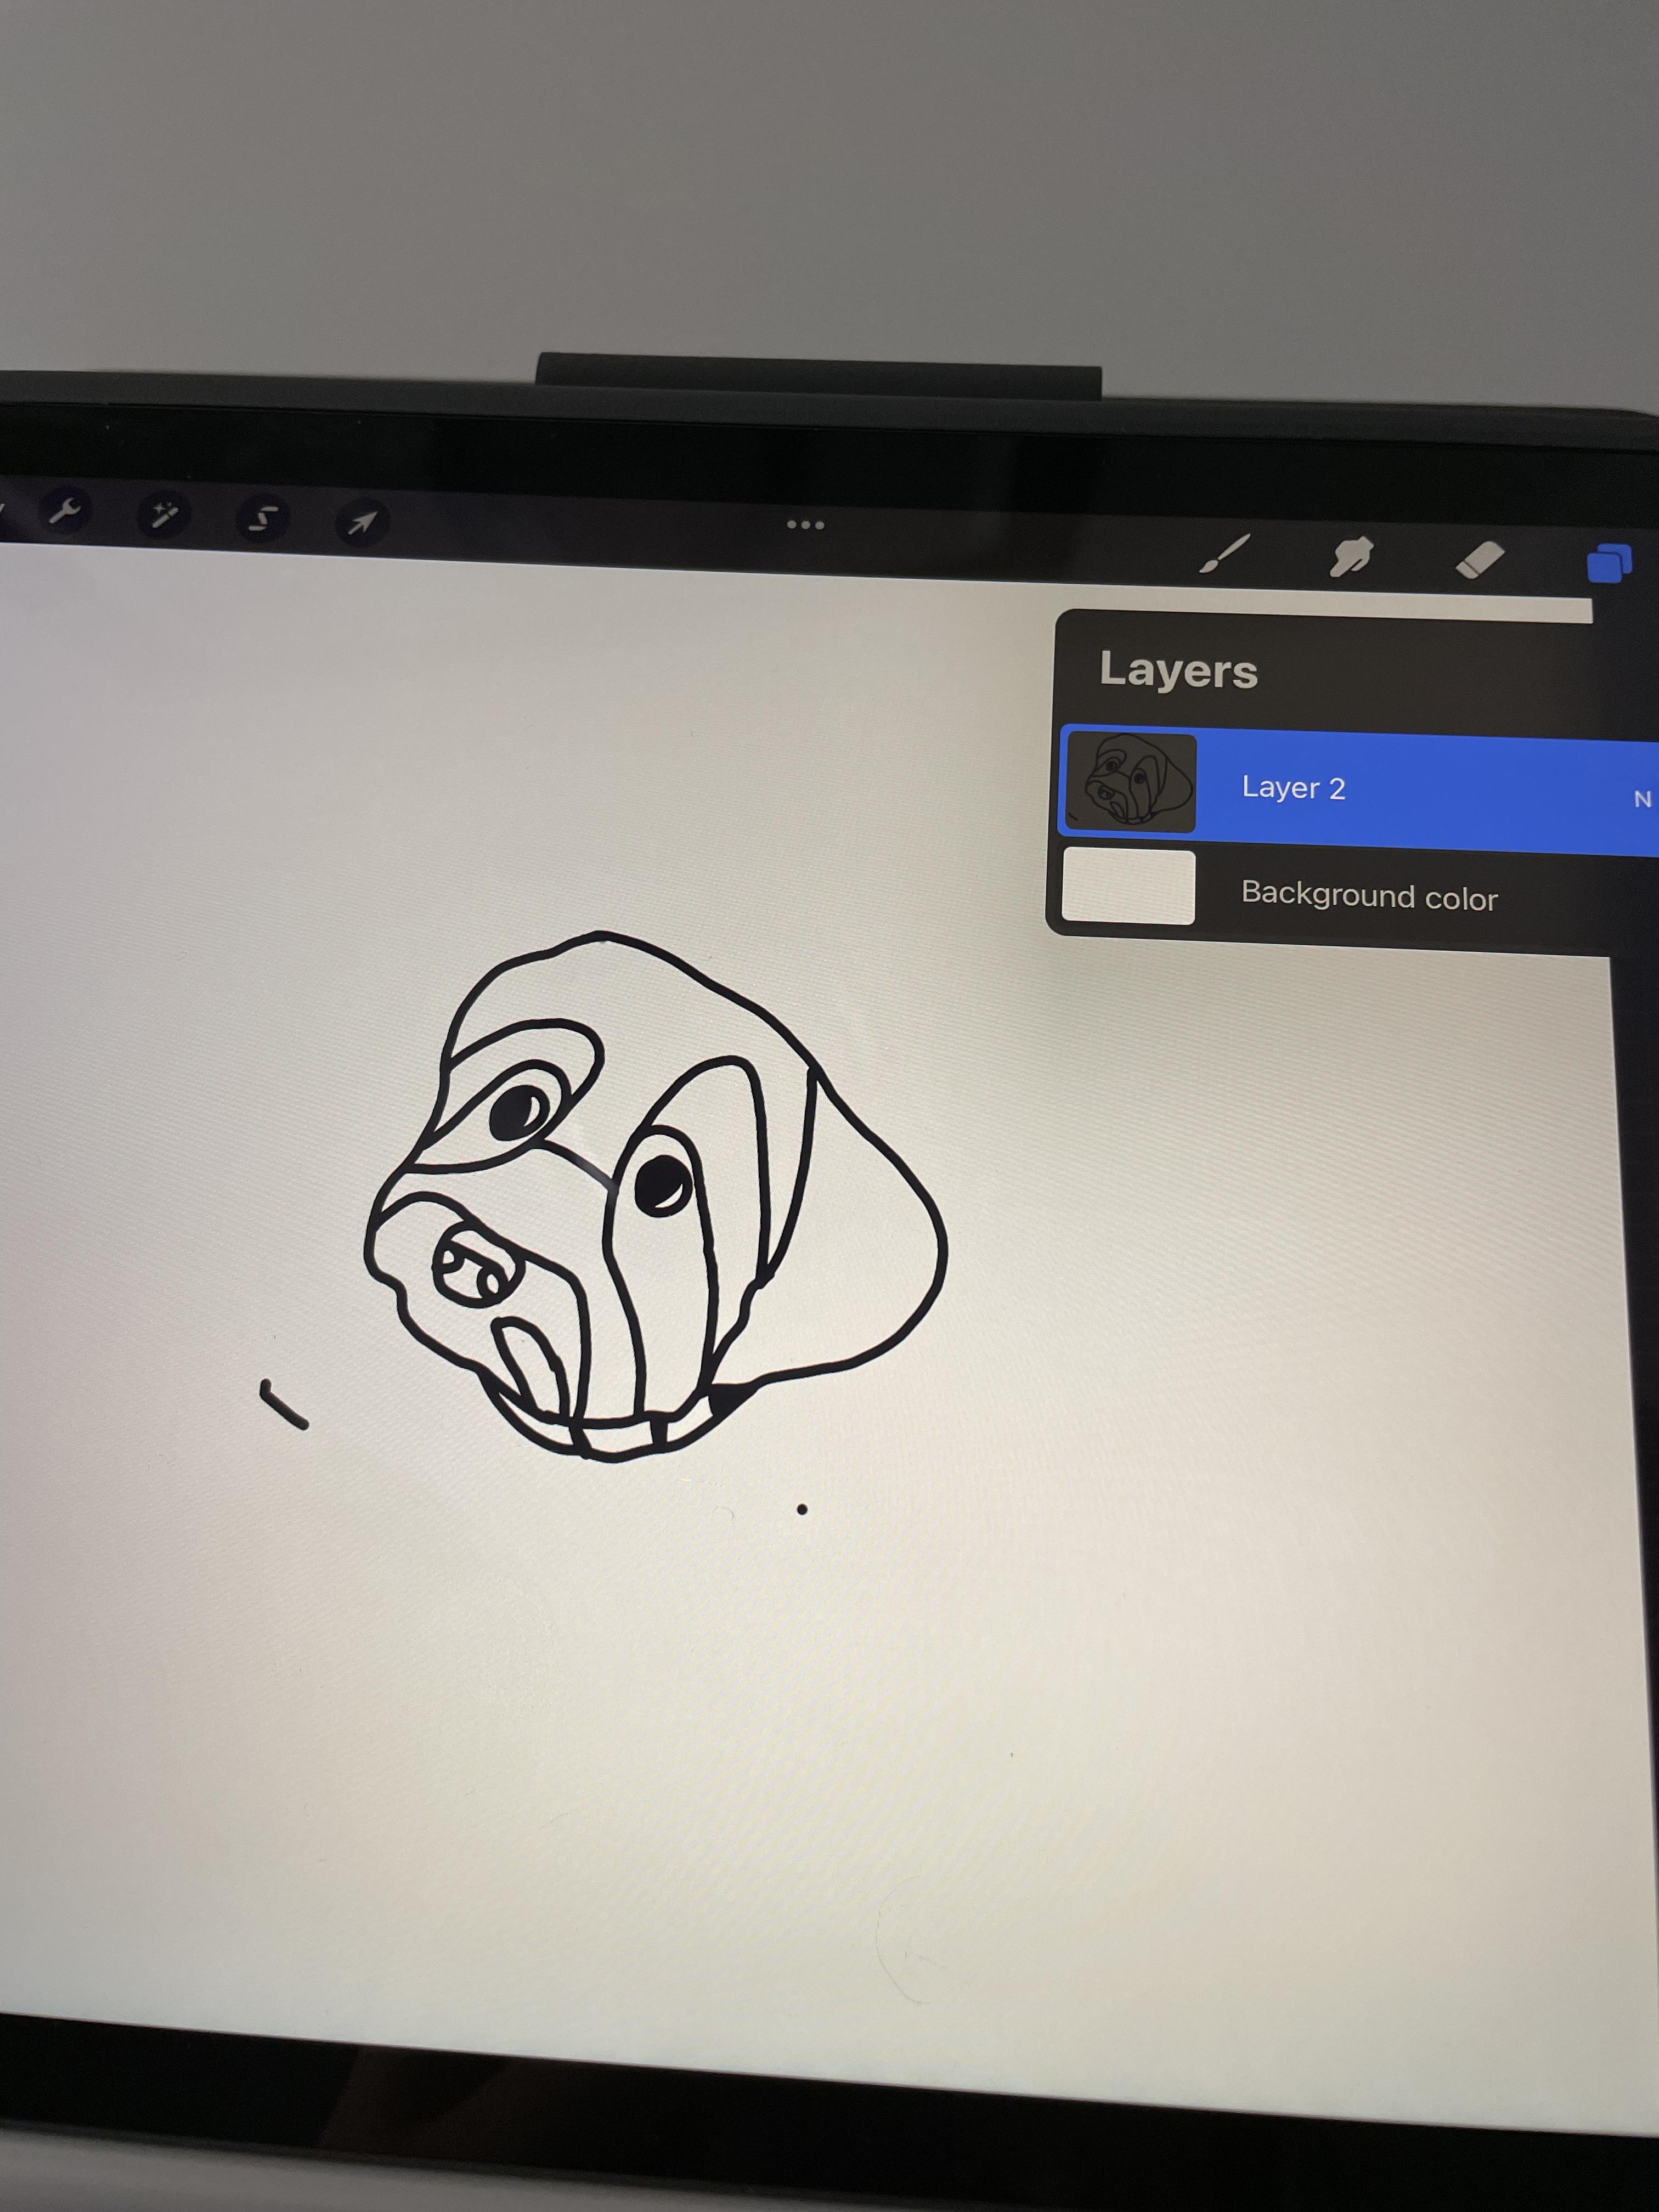
Next, you’ll want to trace your photo. If you are a really good freehand artist, you can draw your subject on another sheet of paper while looking at the photo. If you are a terrible freehand artist like me, grab an iPad and import your photo into Adobe ProCreate. Add a layer on top of your photo so you can delete your photo later. Trace around your photo, making sure to get all of the key details of the subject like the eyes, nose, ears, and facial contours. With a thinner stroke, section off the areas where you want to add a different color to give yourself a bit of a guide. If you outlined your photo in ProCreate, go to the layer menu and delete the layer with your photo in it. You should be left with just your outline. If you don’t have an iPad, you can also print out your photo and trace around it.
Print Your Photo
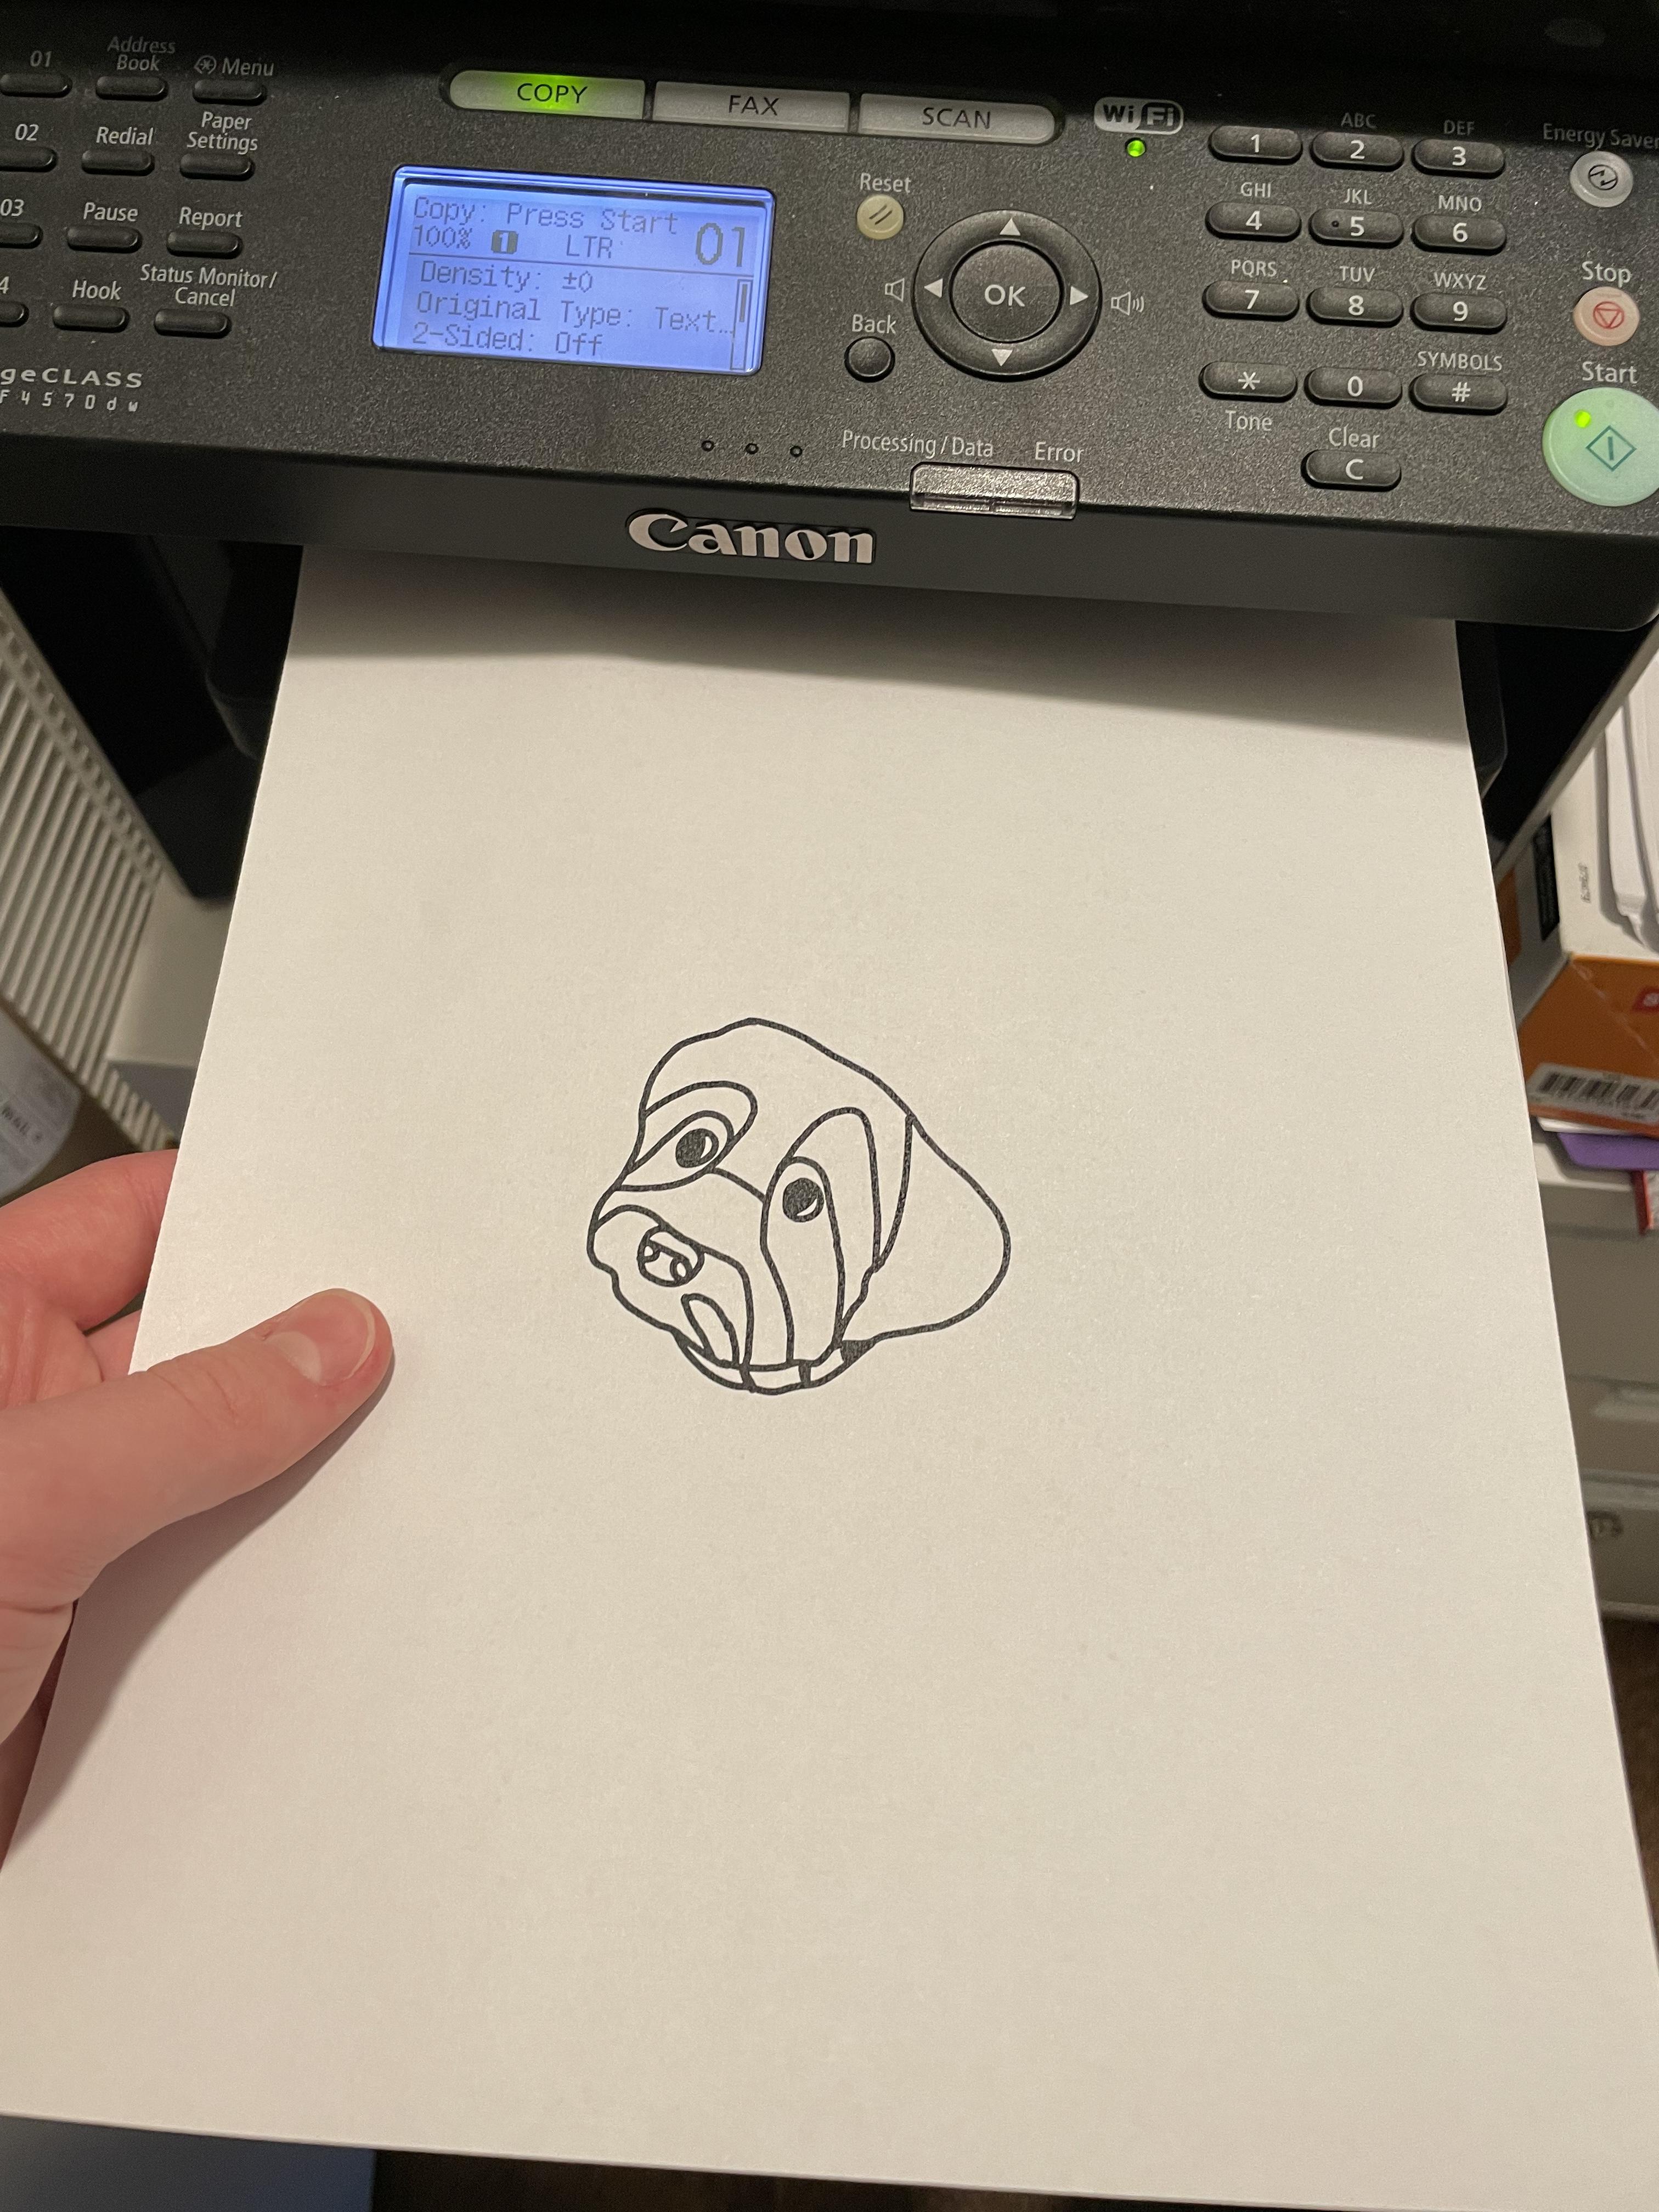
If you drew your outline freehand, you can skip this step. If you used the iPad method, go ahead and print your outline out from Adobe ProCreate. Once you have your outline printed out and ready to go, bring it to a table along with your 3D pen and filament.
Draw Your Photo With Your 3D Pen!
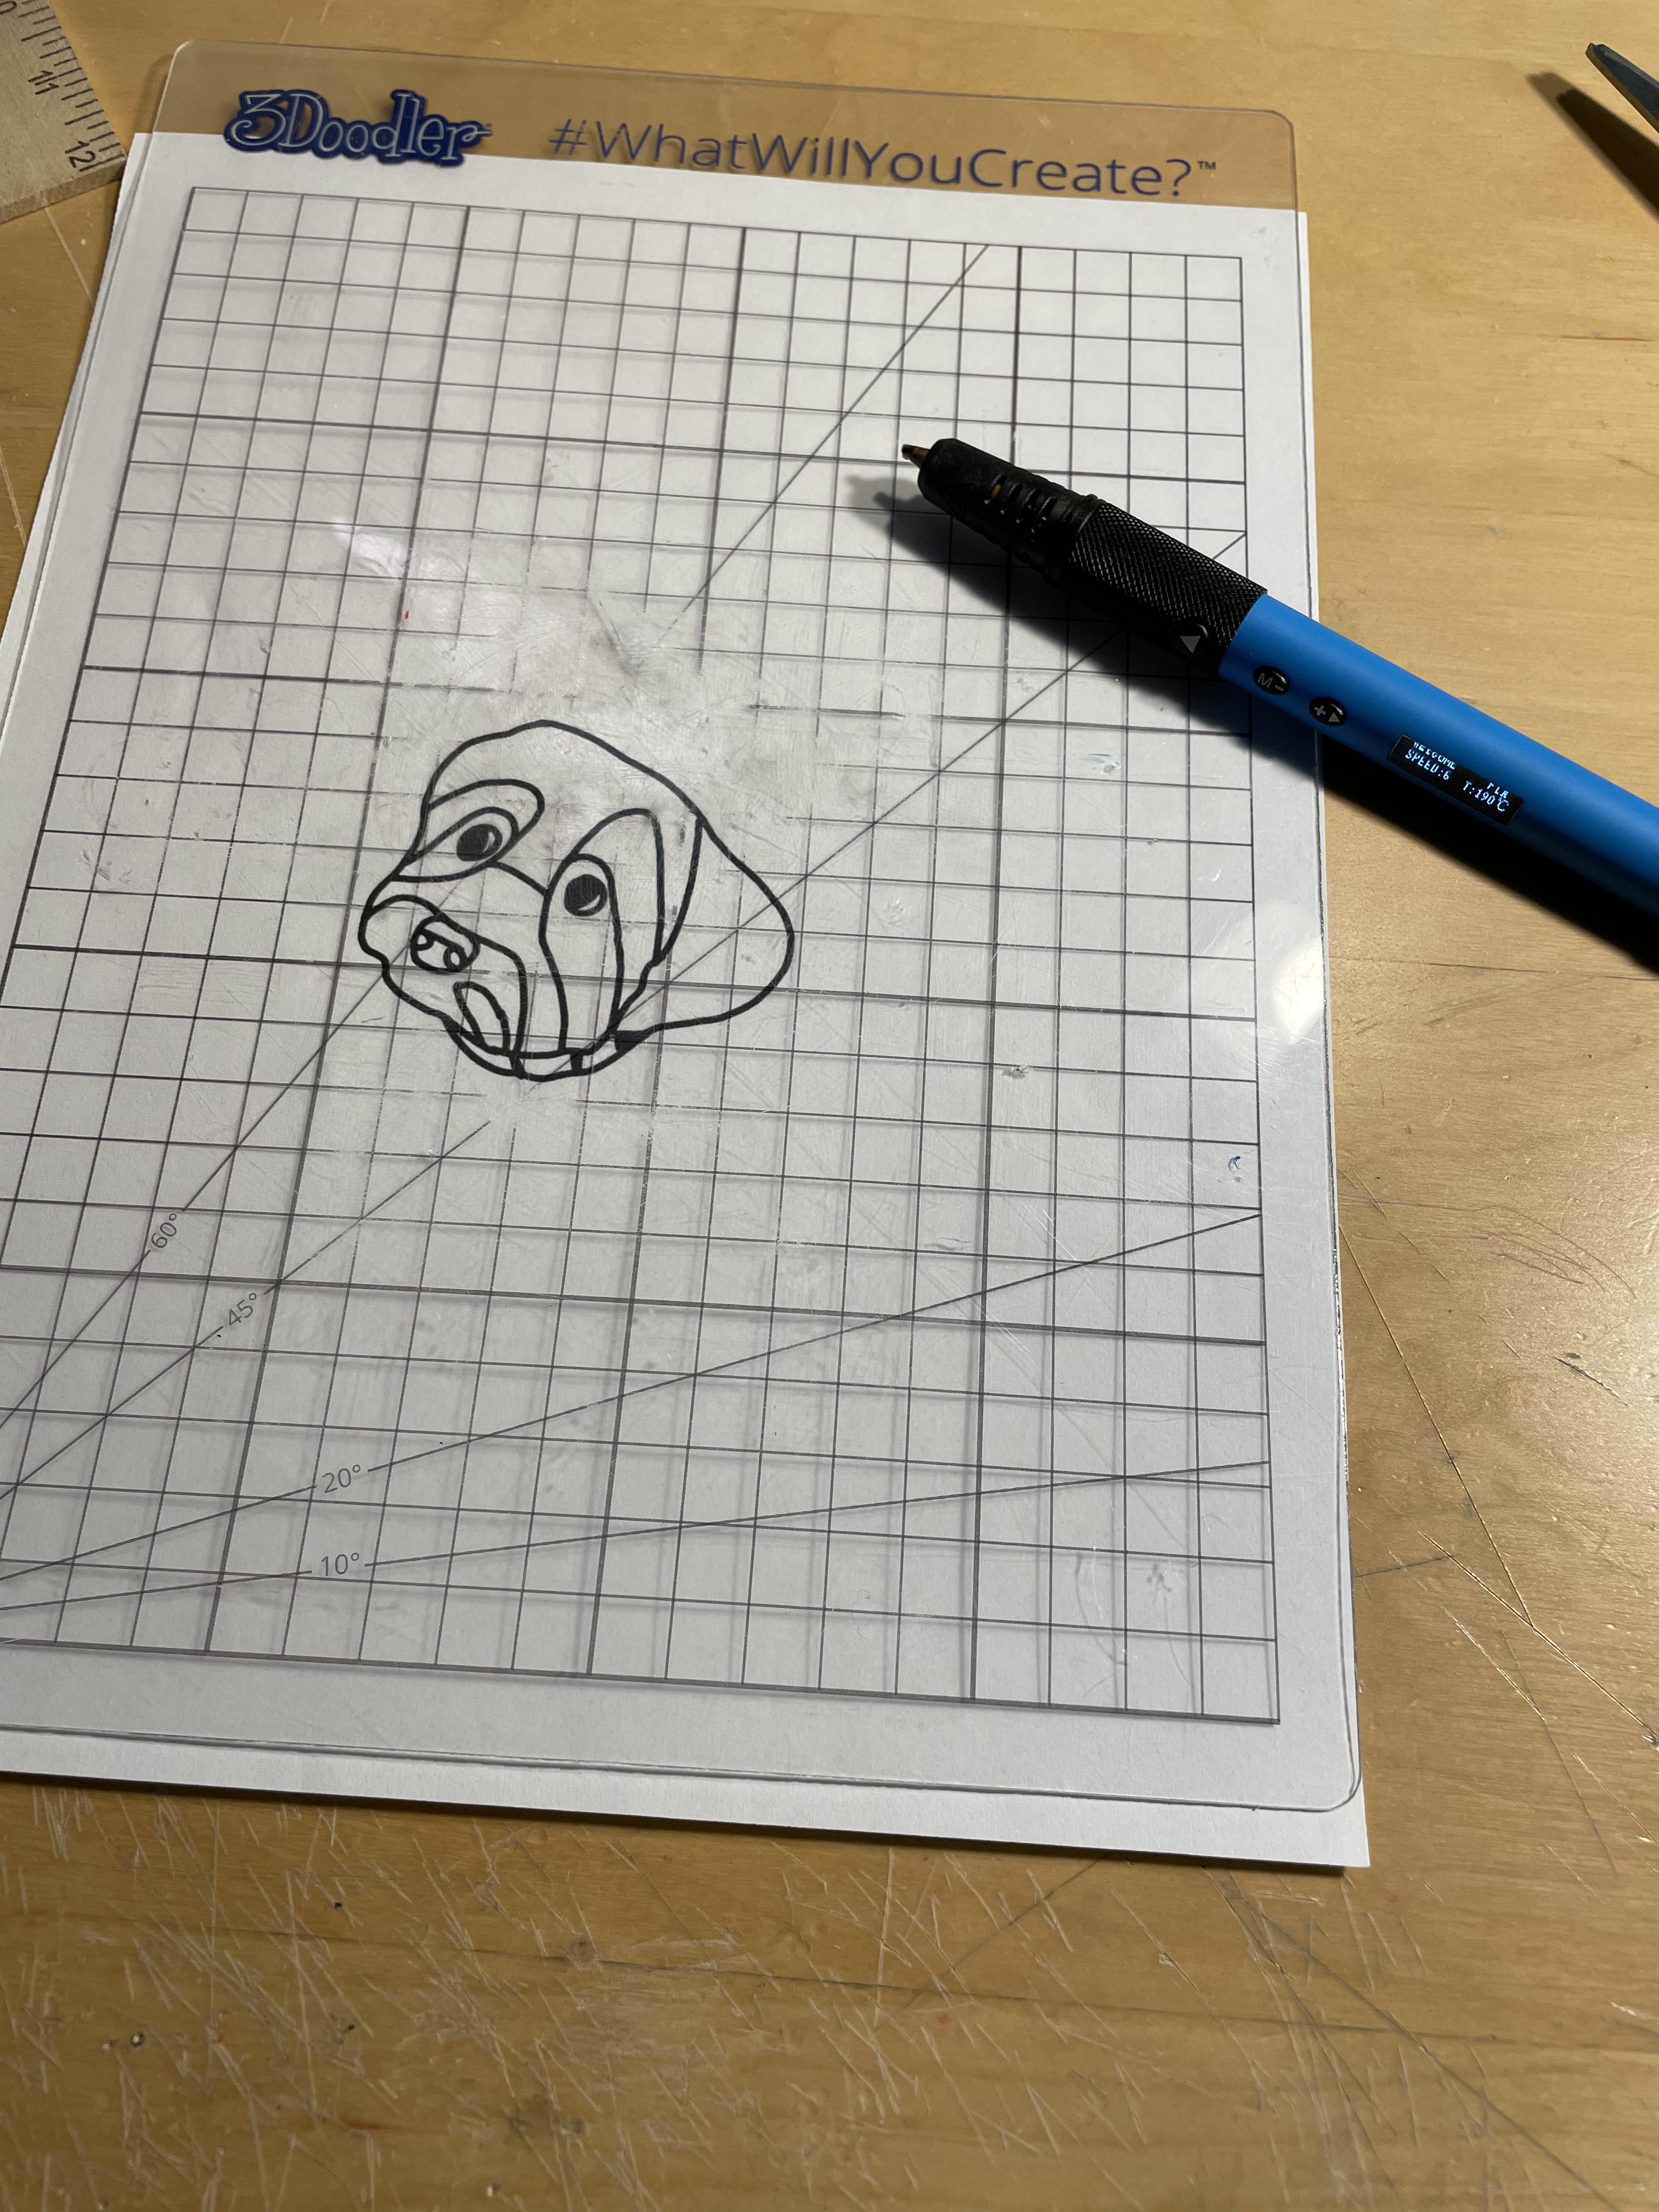
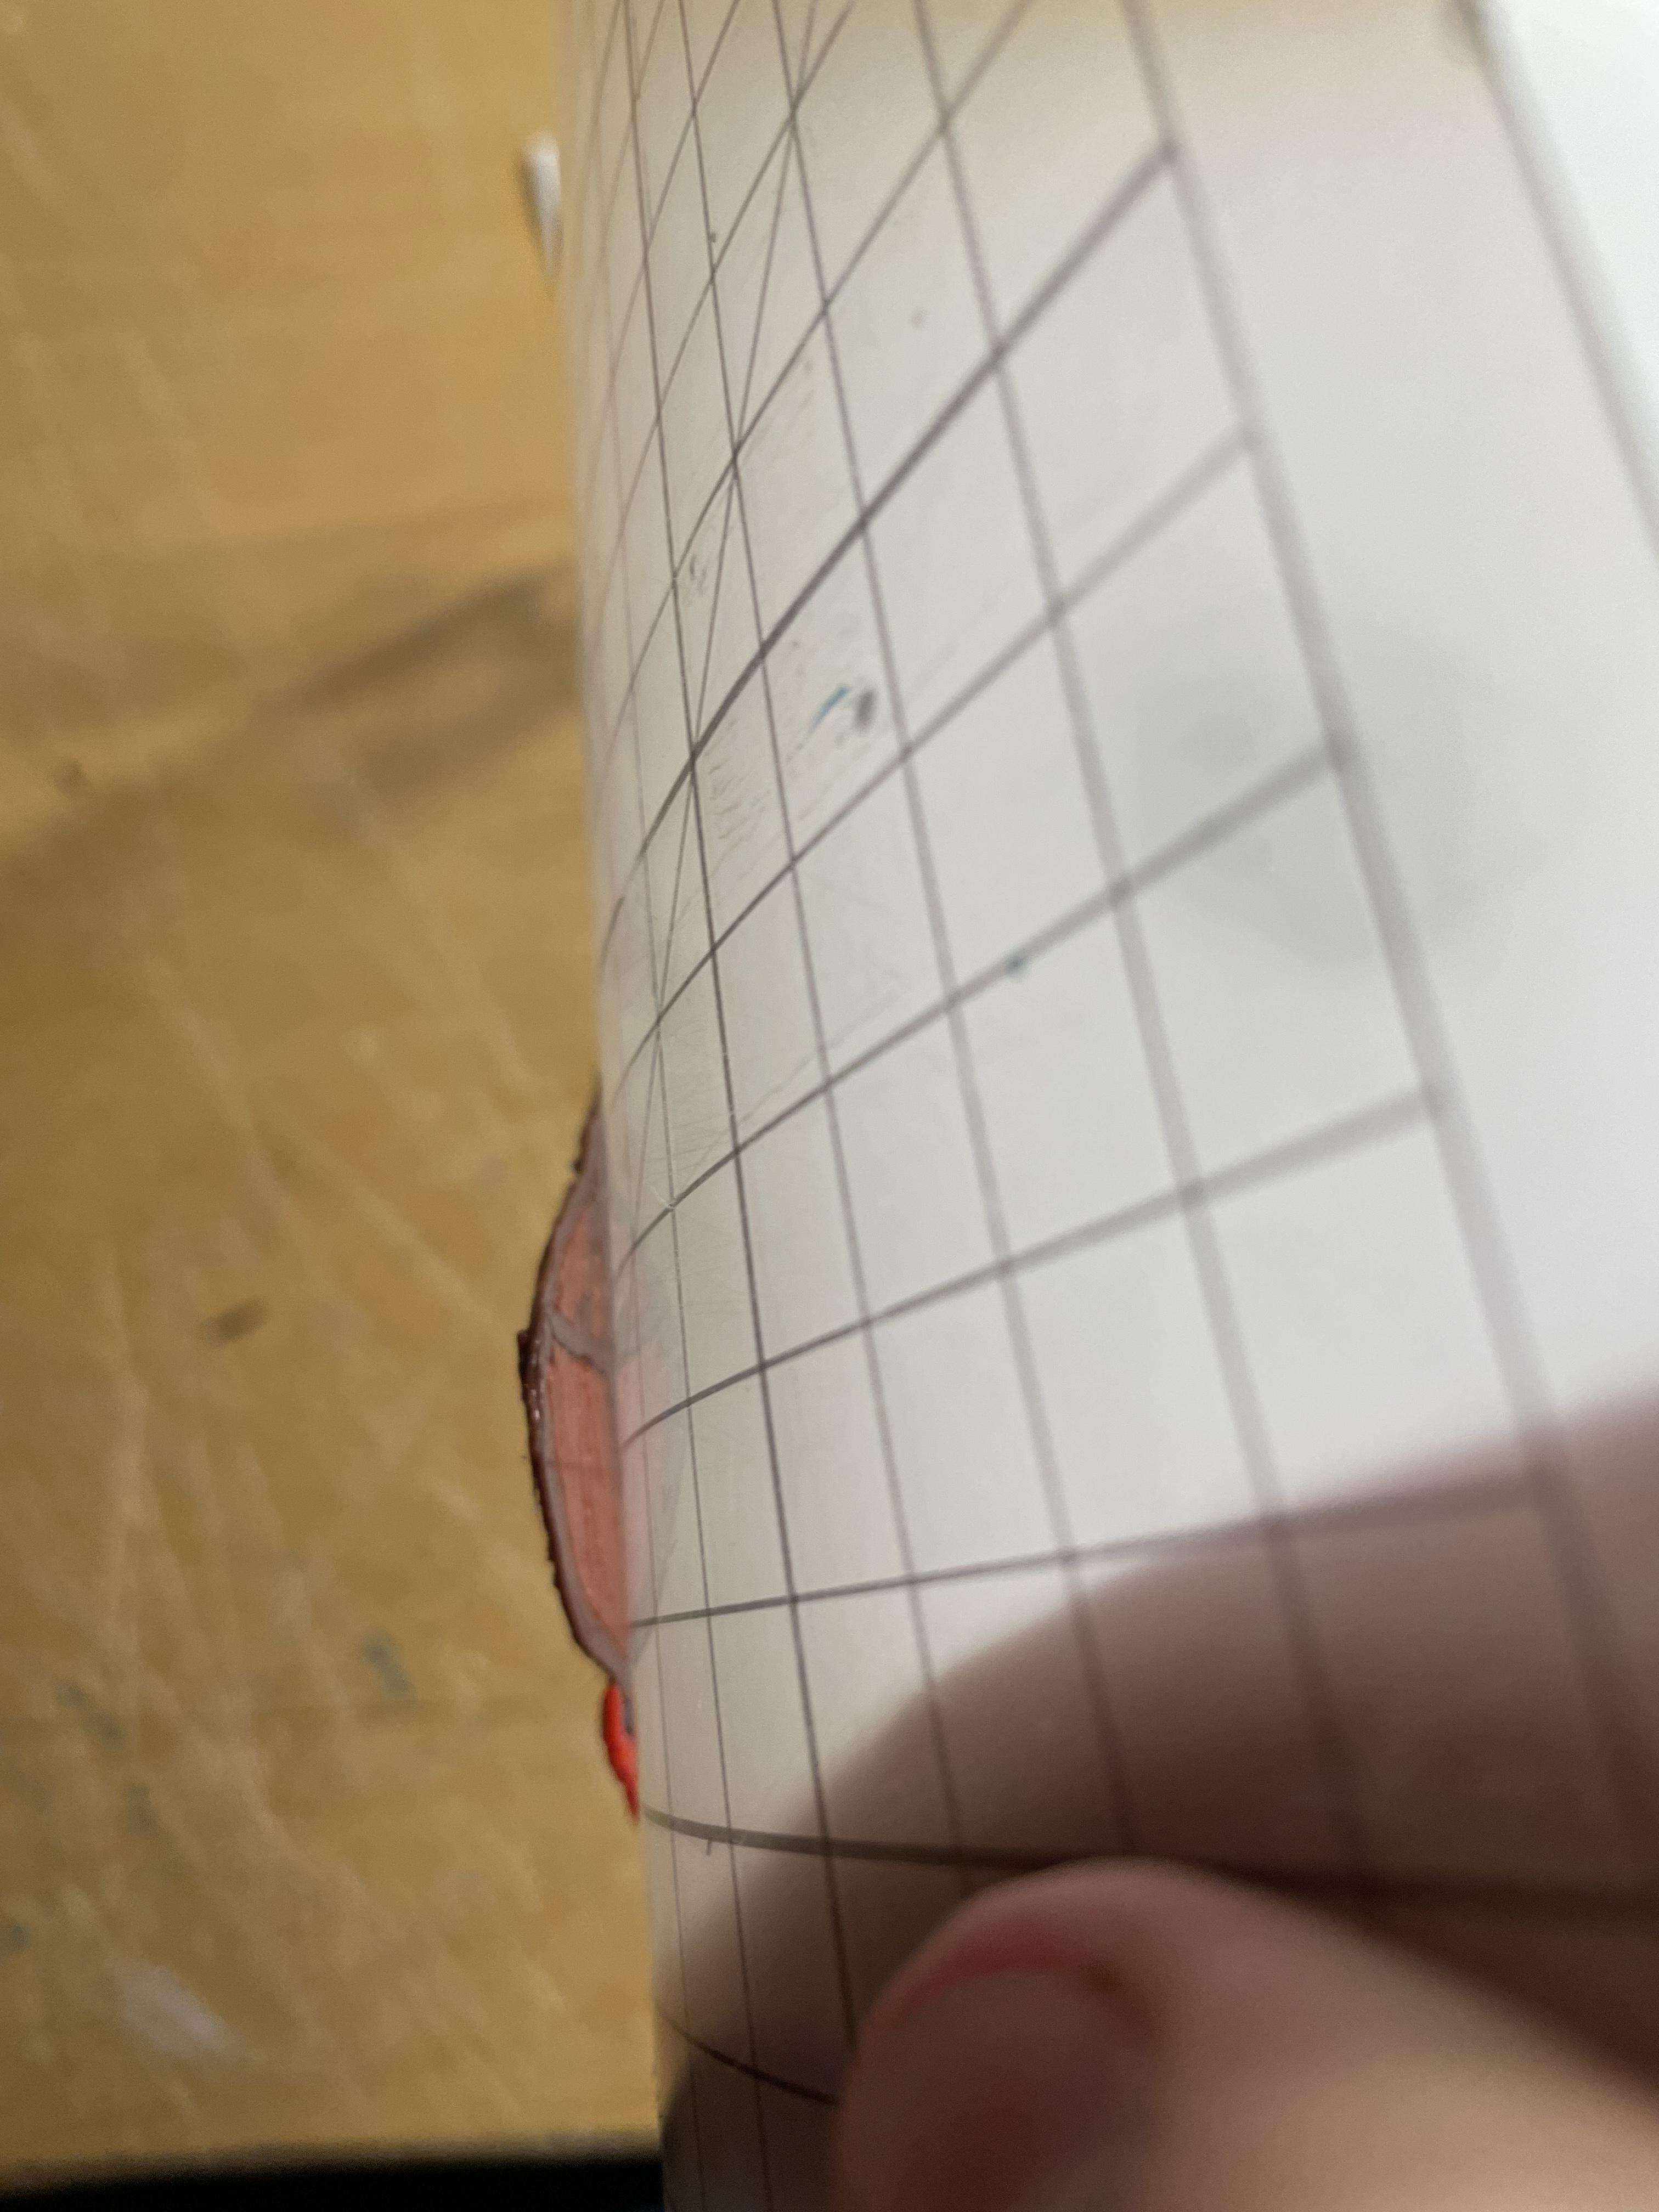

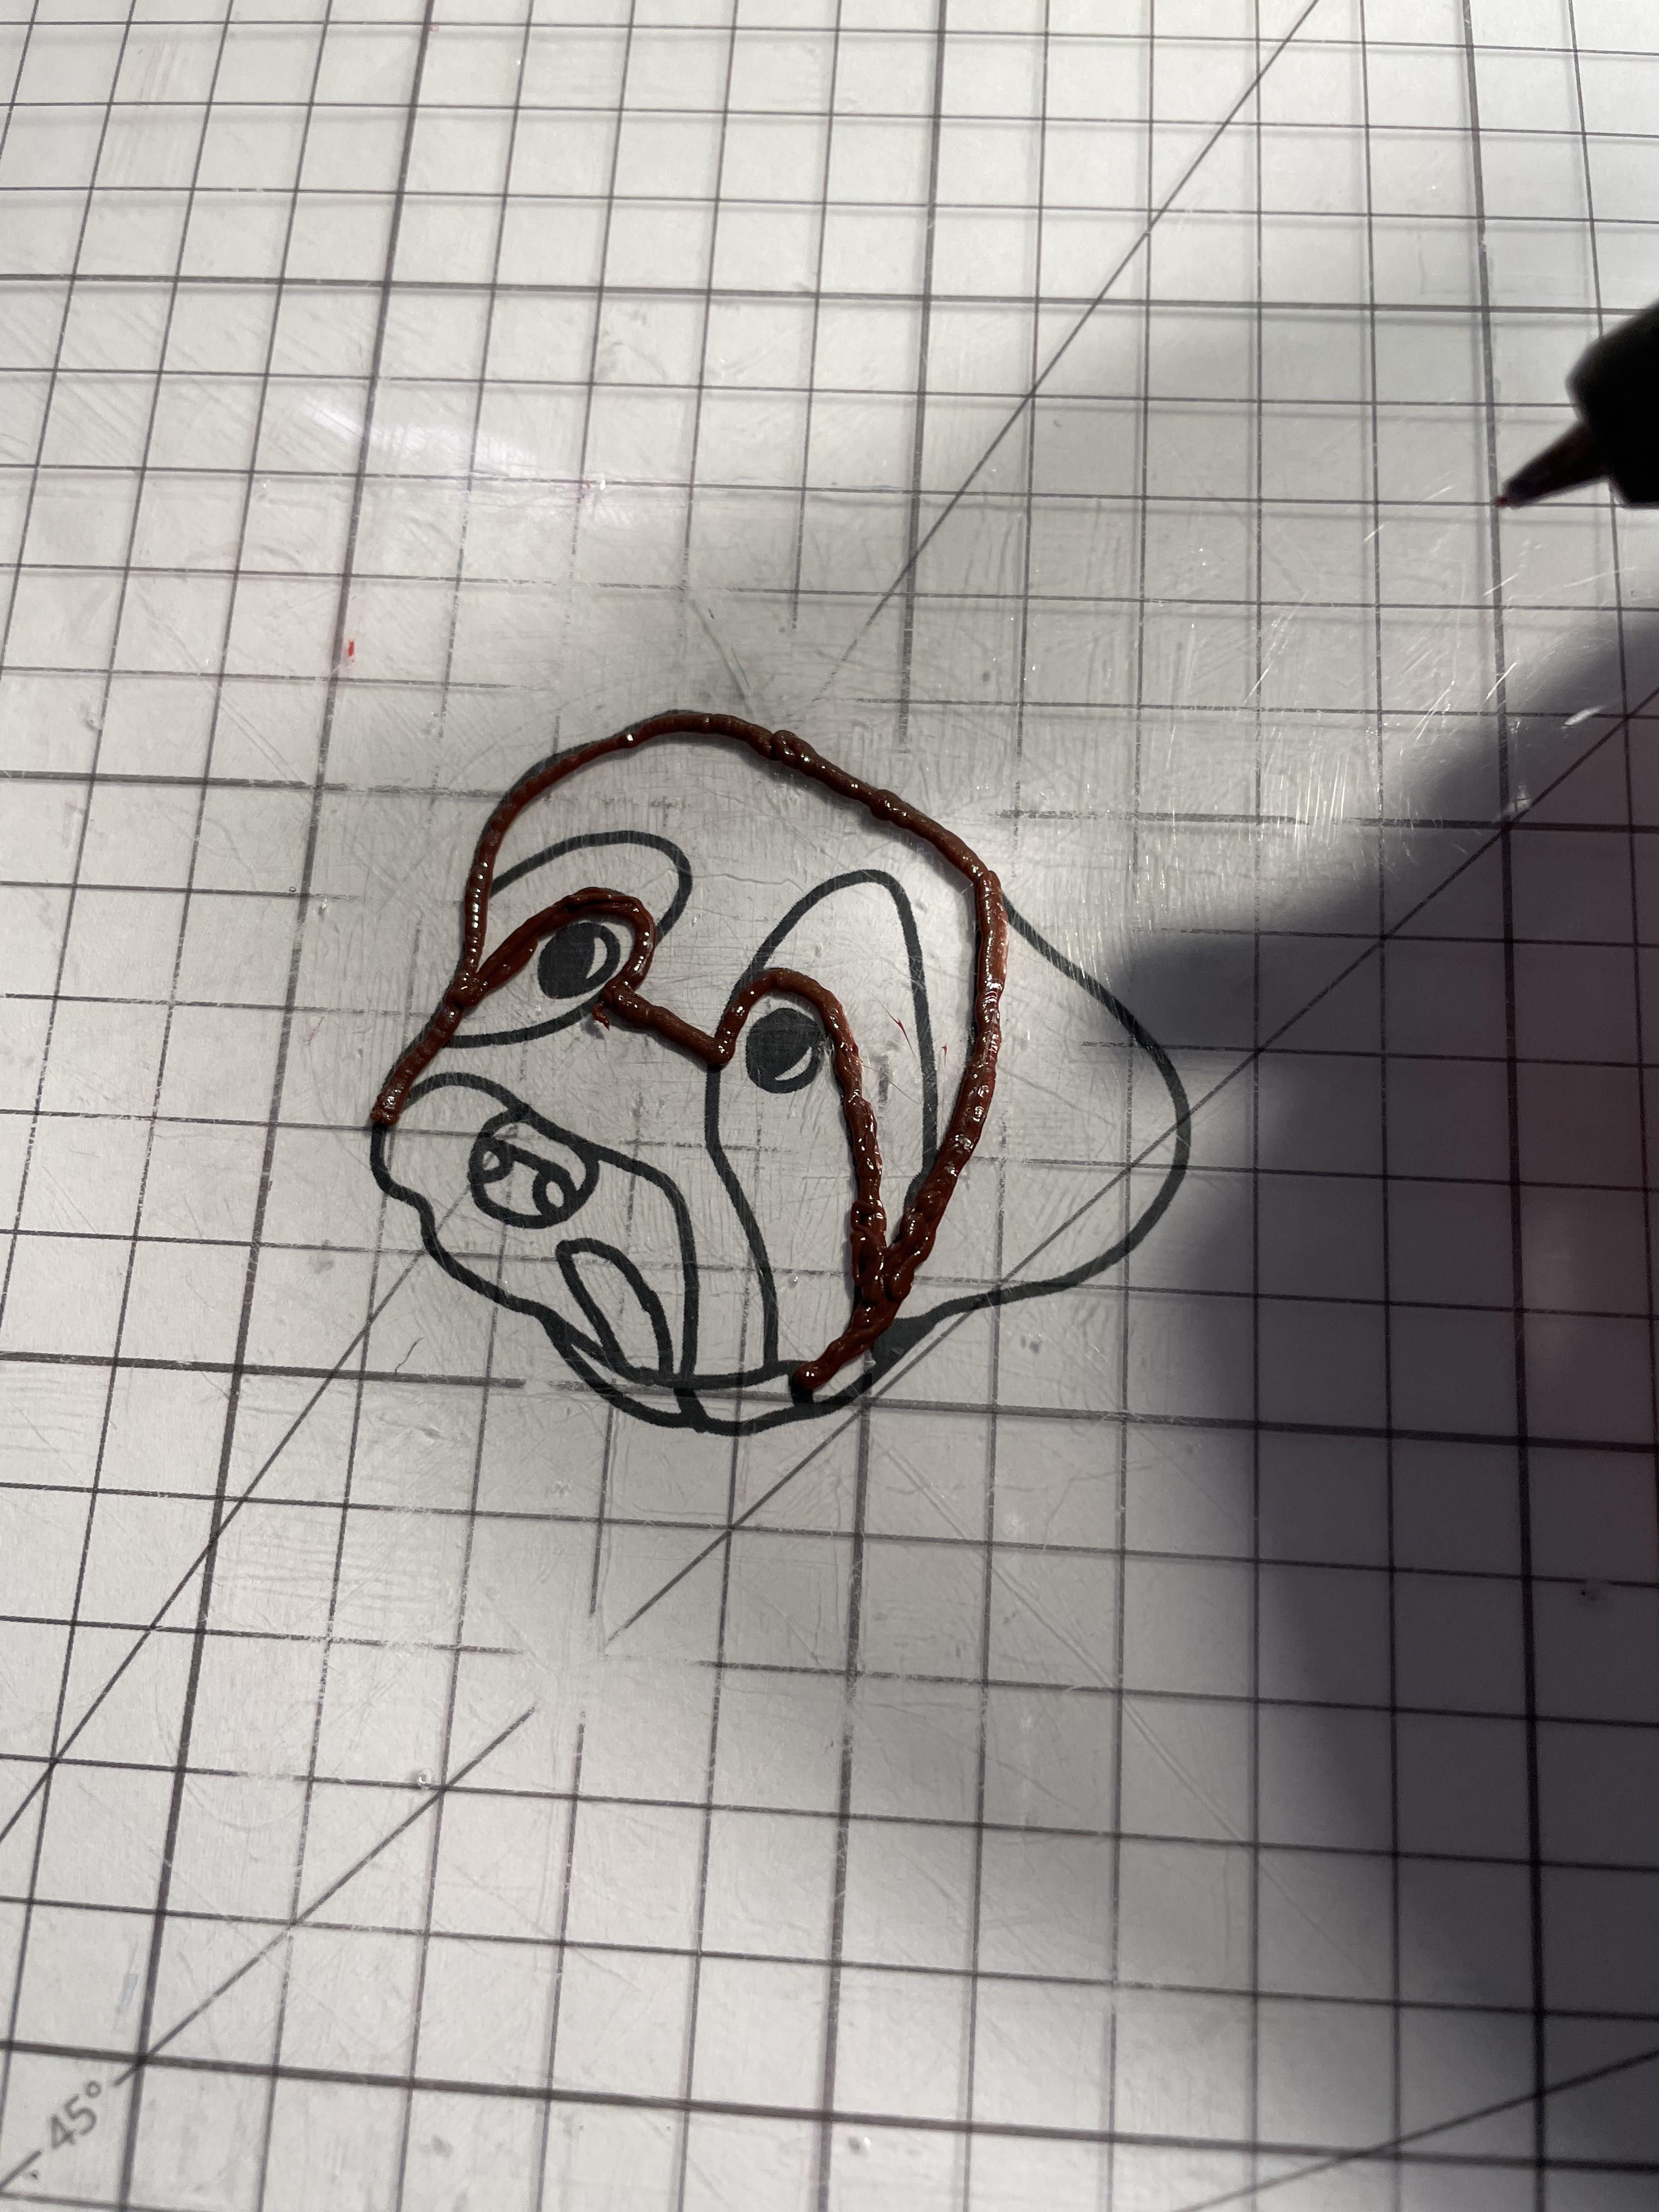
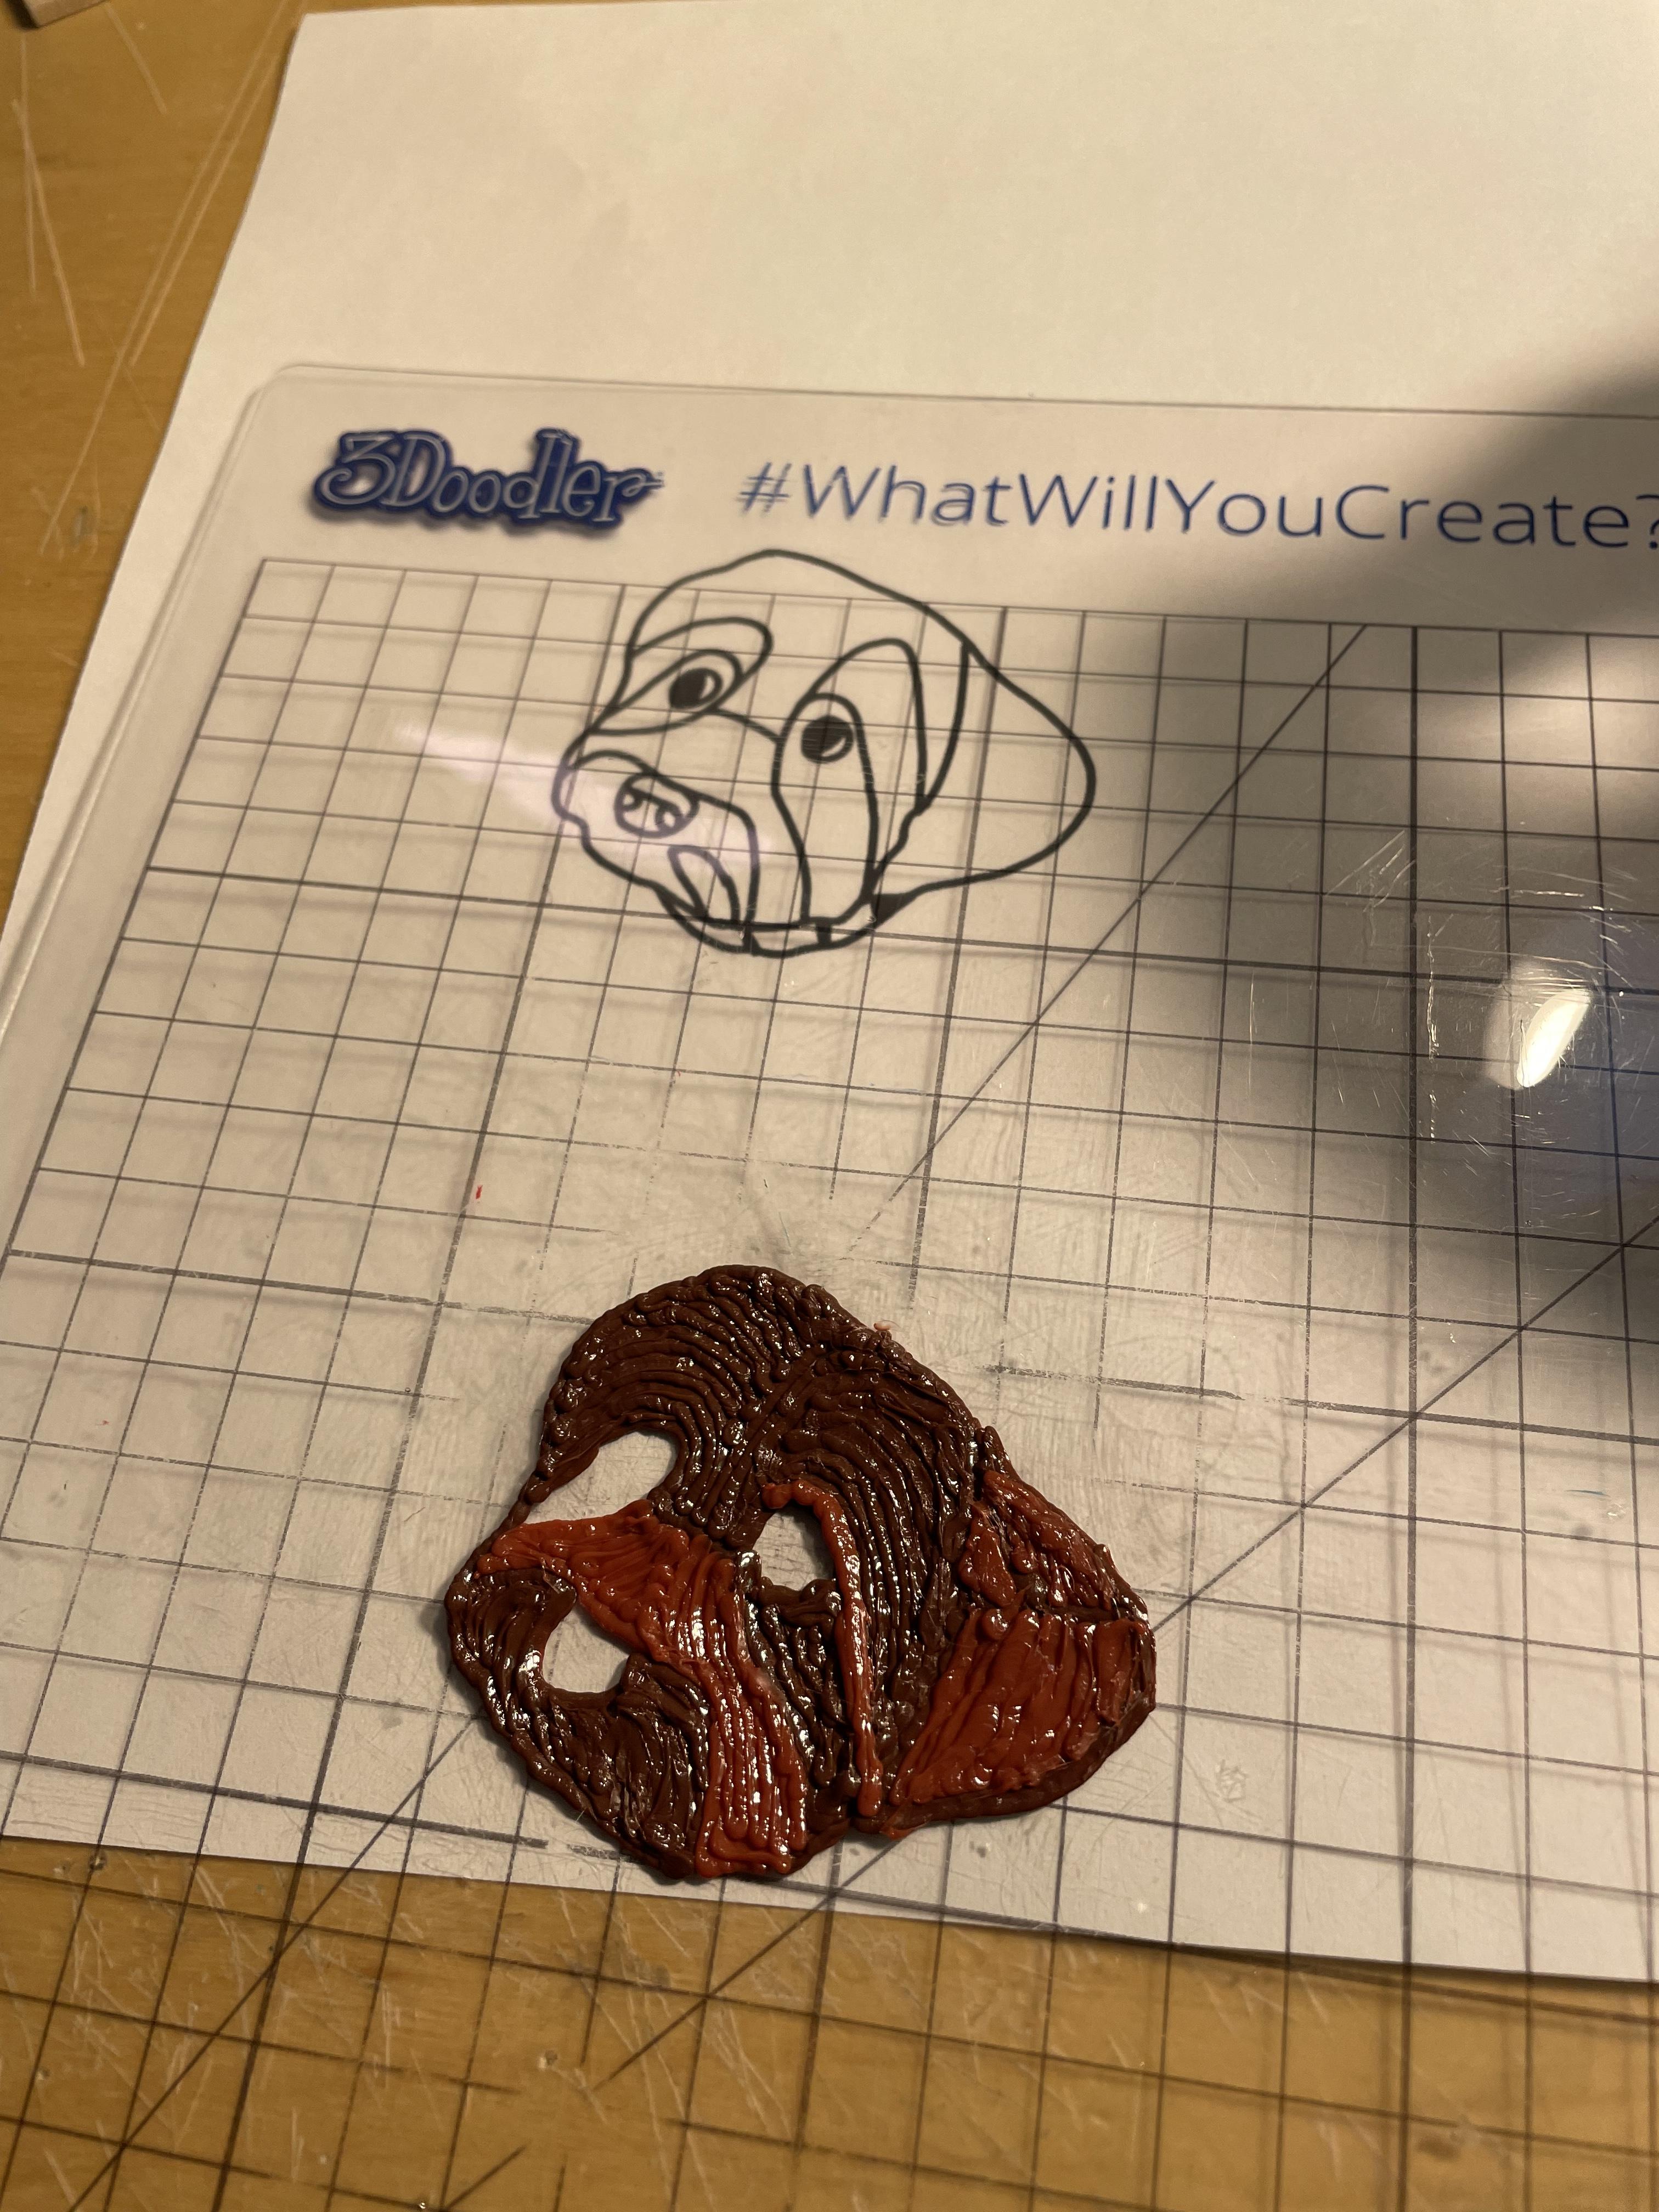
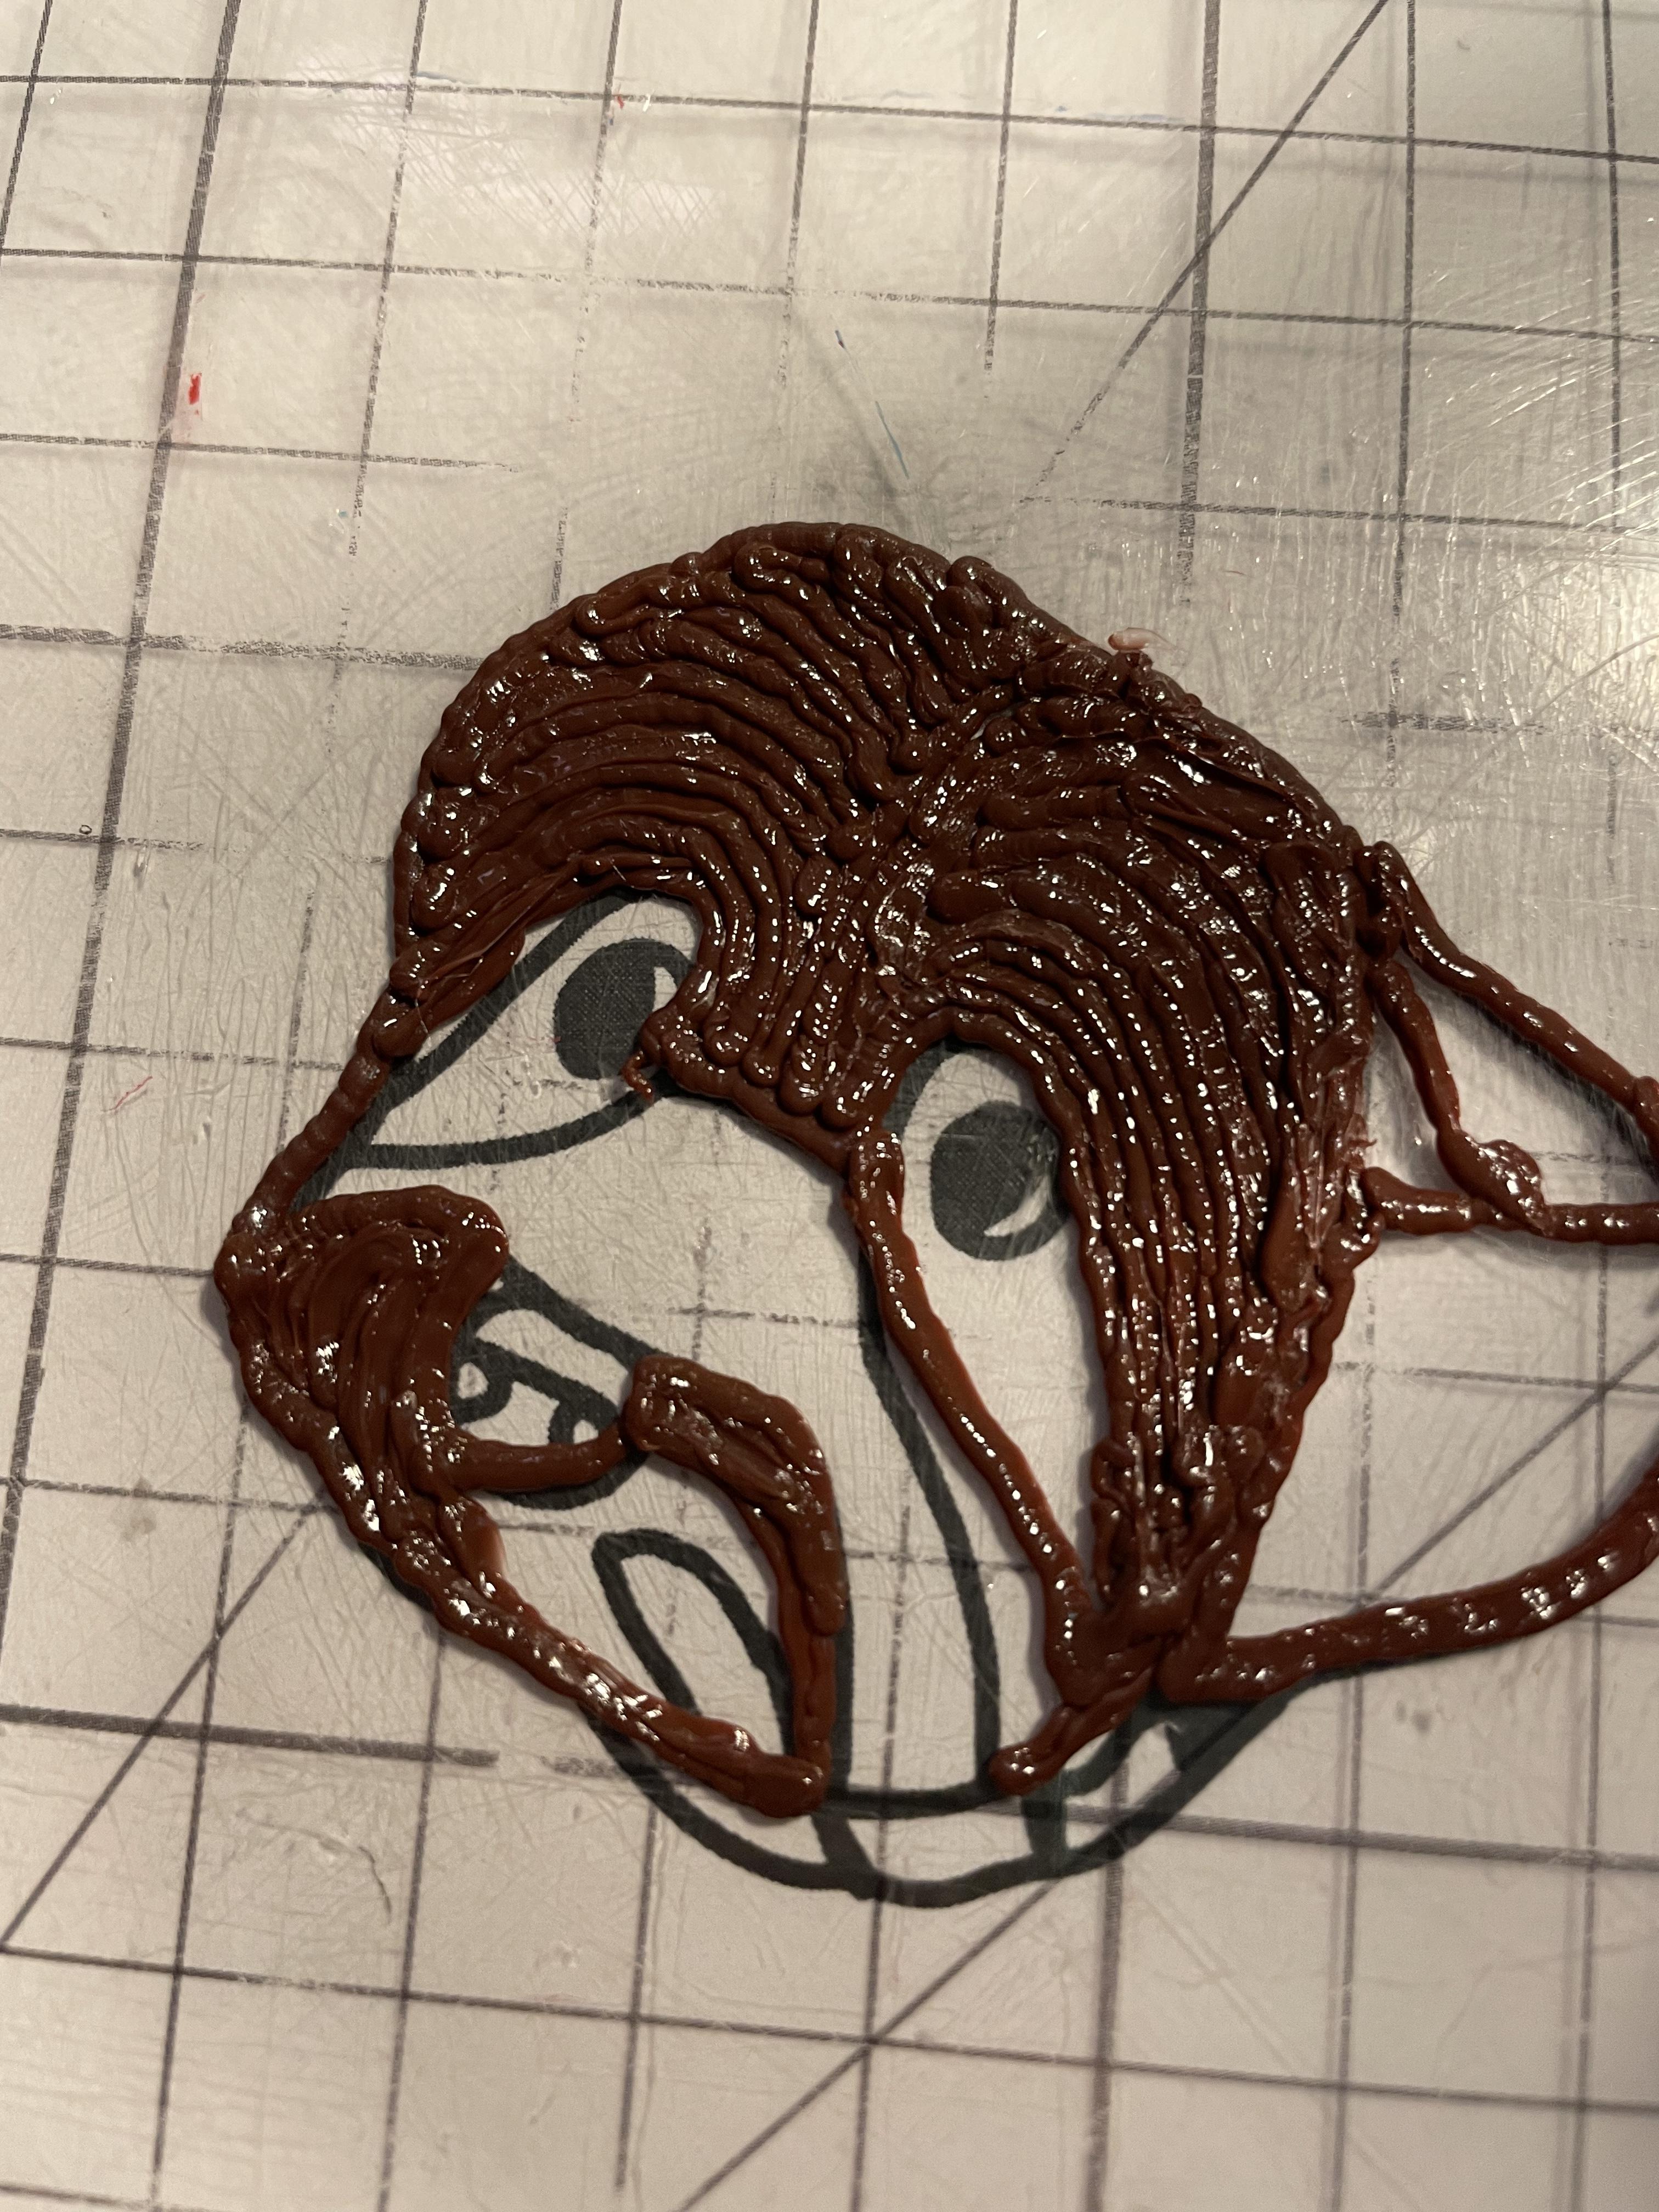
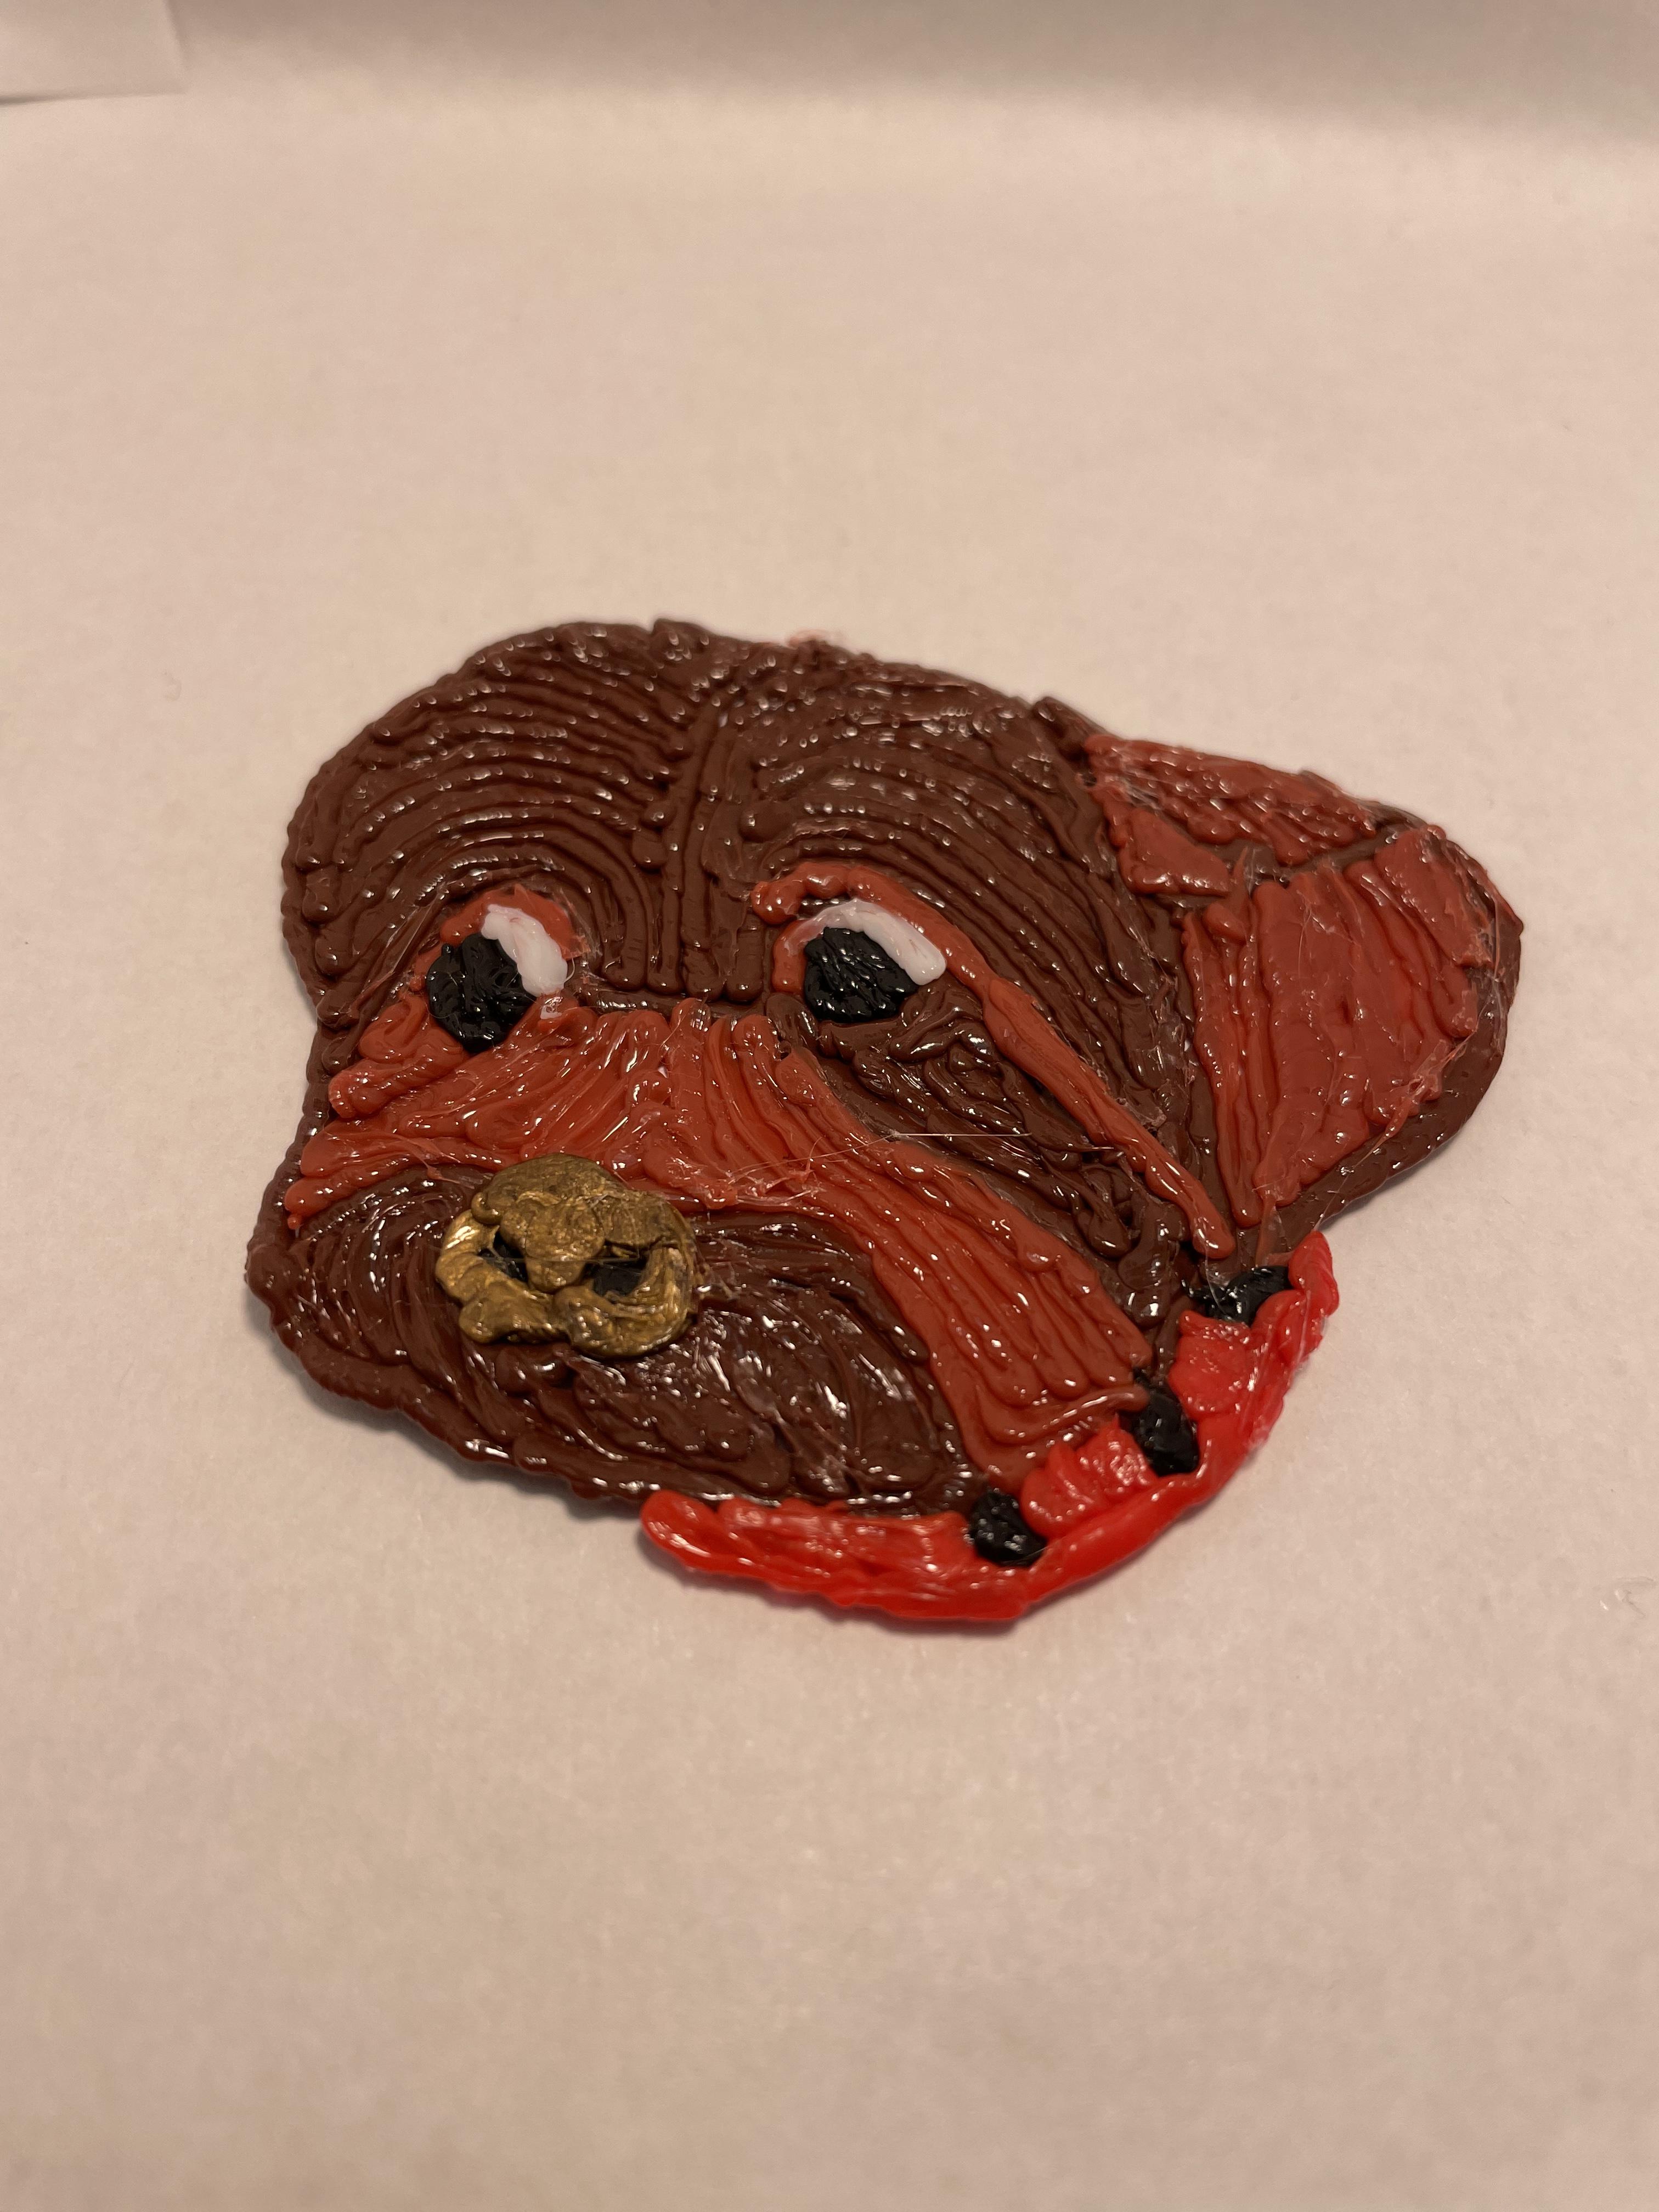
Next, start on drawing your photo with your 3D pen. Prep your pen by setting it to PLA, and insert your PLA filament when heated. Cover your drawing with a 3D pen mat or masking tape so your portrait doesn’t stick. You can use whatever colors you want in this project, and the most important part is to be creative! Start by outlining the spot where there is the most of one color. In my case, I outlined all of the areas where there was dark brown first. Start filling in that area while you have that color in your pen. A good thing to keep in mind while you do this is to mimic the contours of the subject. For example, my puppy’s fur flowed a certain way, and I filled him in while following those lines. It’s a little confusing, but the photos make it a little easier to see. Outline and fill in all of the rest of your colors, and add all of the final details.
Finish It Up!


Guess what? You’re almost done! Go ahead and peel your piece off the 3D pen mat or paper when it has cooled. Now you can enjoy a beautiful 3D pen portrait made by you! I hope you have enjoyed this project.