Auxiliary Port for Any Radio/Cassette Player (Monsoon From Jetta MK4)
by VentingIntrovert in Living > Life Hacks
55549 Views, 58 Favorites, 0 Comments
Auxiliary Port for Any Radio/Cassette Player (Monsoon From Jetta MK4)
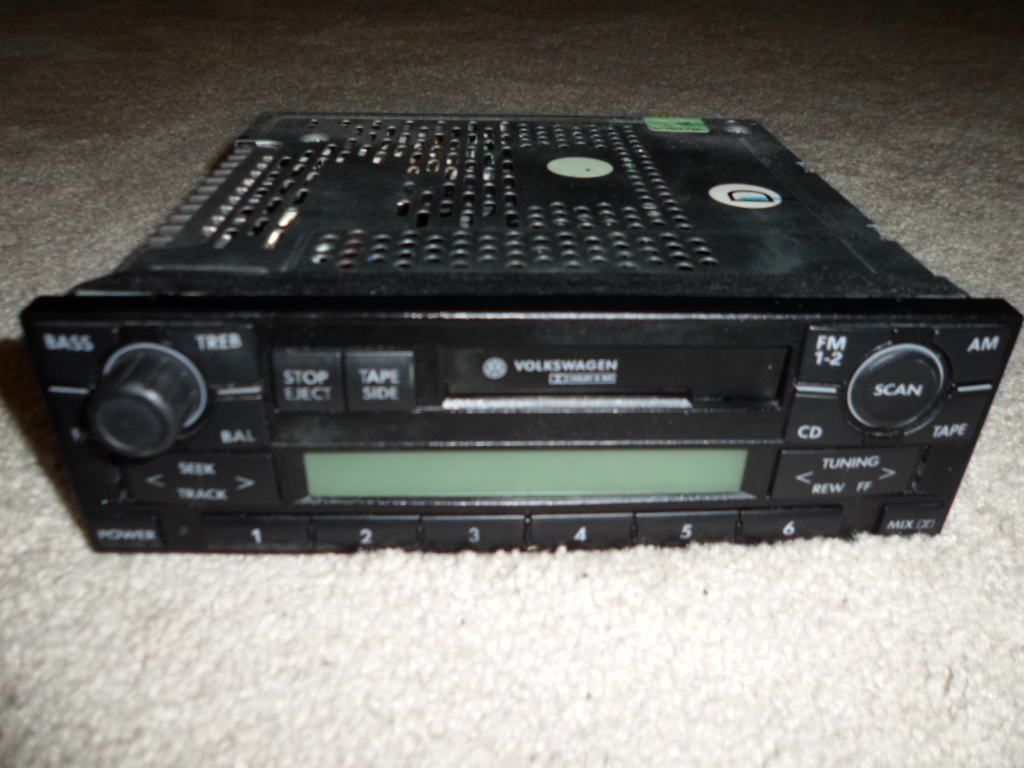
So I’ve purchased one of my favourite cars last summer, the 2001 Jetta TDI. For a 2001, it was a pretty amazing package. It had an immobilizer, power windows, a sunroof, A/C, heated seats, leather interiors and all the bells and whistles that anyone could have ask for. Even though it had CD changer inputs, it unfortunately did not have an auxiliary port. So in this instructable, I’ve successfully created my own. Just a word of caution, following this instructable will void all warranties and will no longer make the cassette player operable. Please be advised that the audio output will not be of high quality. Another instructable will be created to solve this... Let’s begin!
Tools
Tools:
Radio/Cassette Removal Tools
Screwdrivers
Scissors
Soldering Iron w/ solder
Tape
Wires
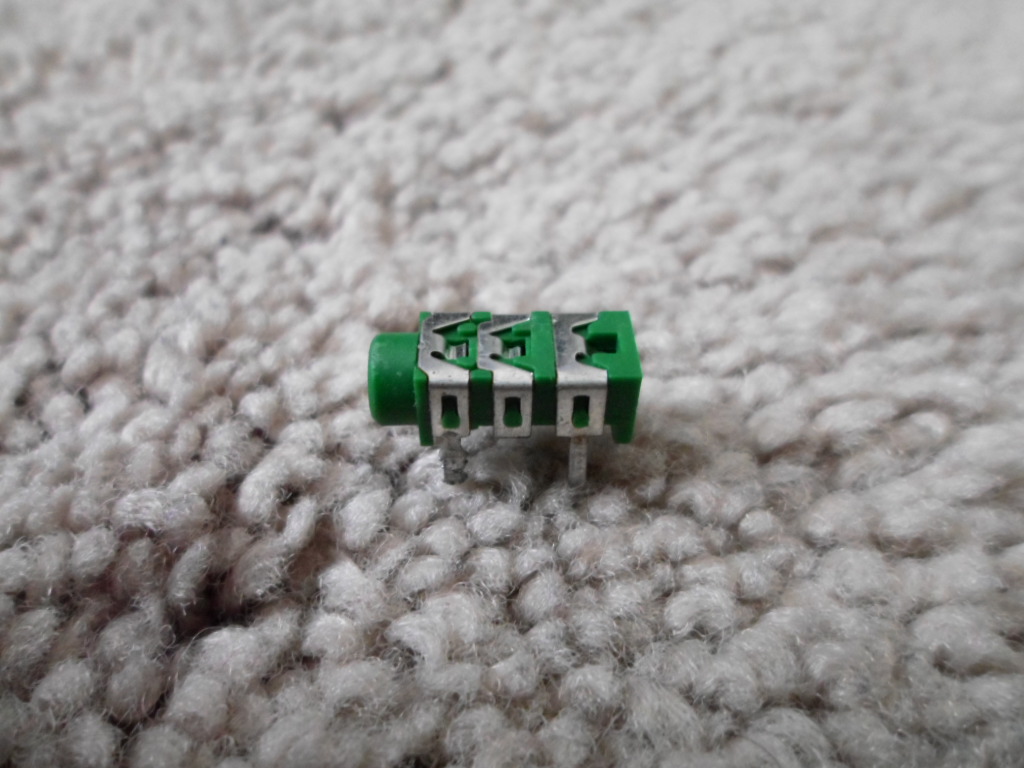
3.5 mm jack
3.5 mm male to male cord
10K Ohm resistor (brown black orange) x 2
Dremel or drill
Radio/Cassette Removal Tools
Screwdrivers
Scissors
Soldering Iron w/ solder
Tape
Wires
3.5 mm jack
3.5 mm male to male cord
10K Ohm resistor (brown black orange) x 2
Dremel or drill
Step 1:
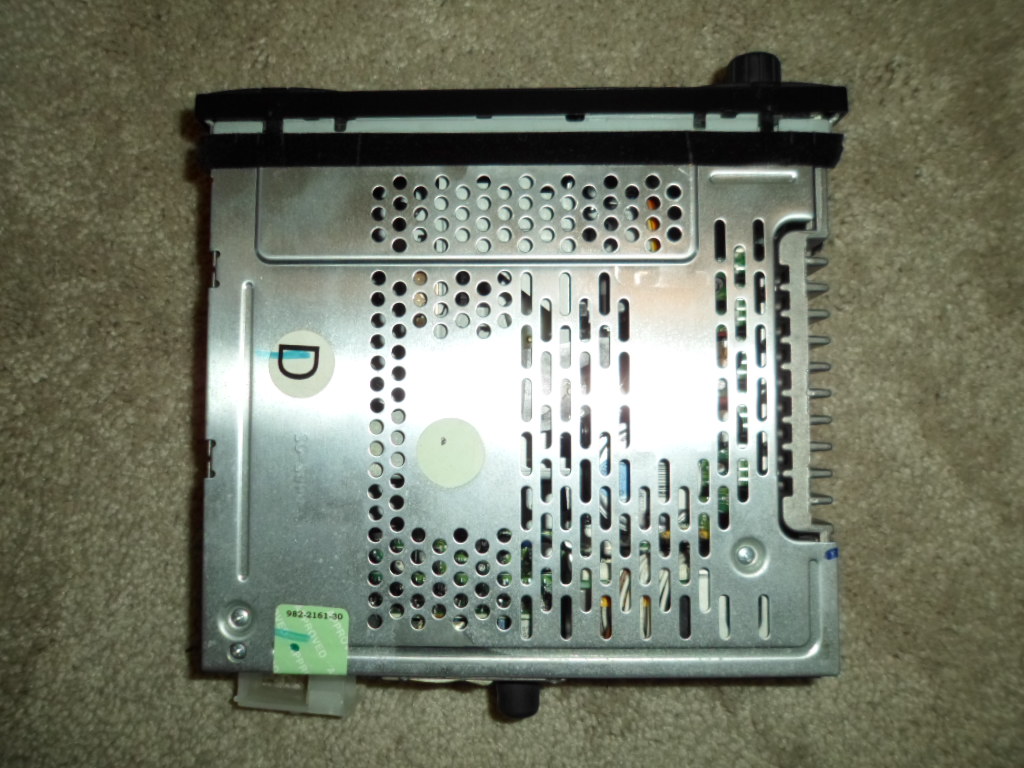
Remove radio/cassette player using manufacturer's tools.
Step 2:
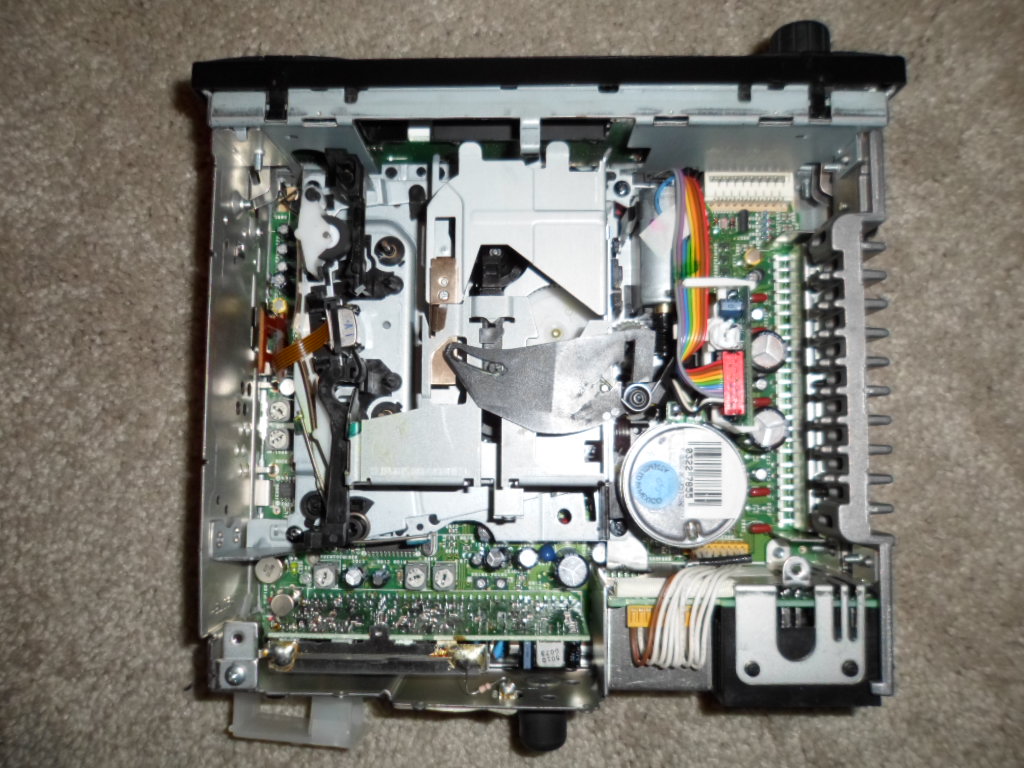
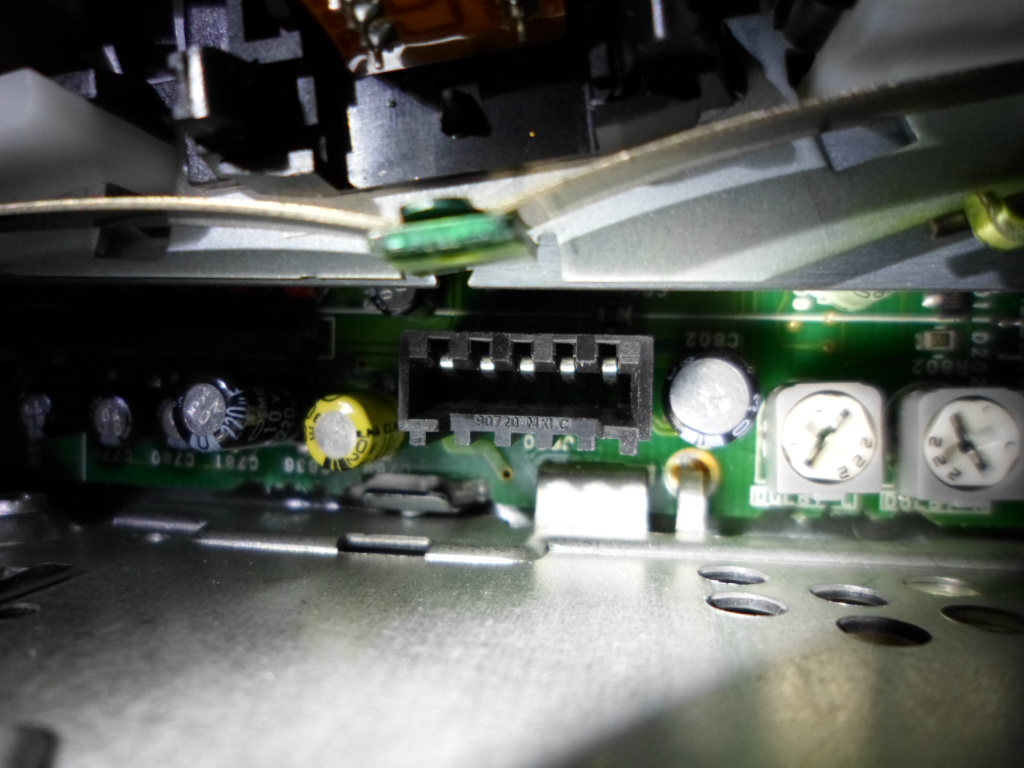
Remove top cover by removing the two screws, then prying gently with a bladed screw driver.
Step 3:
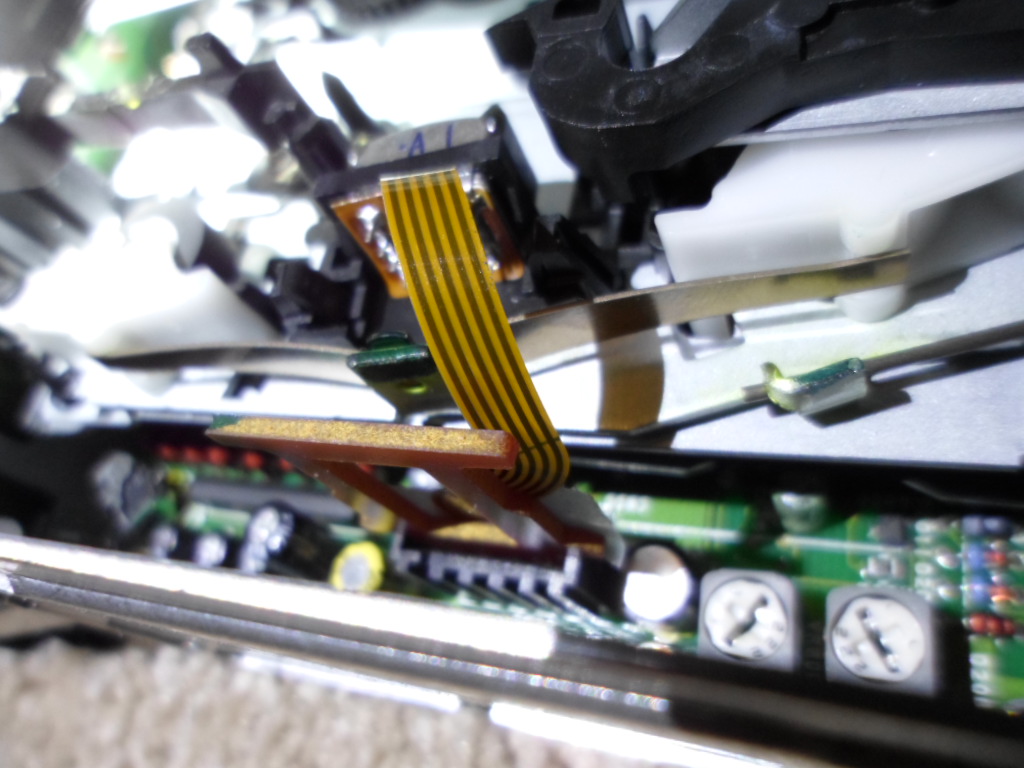
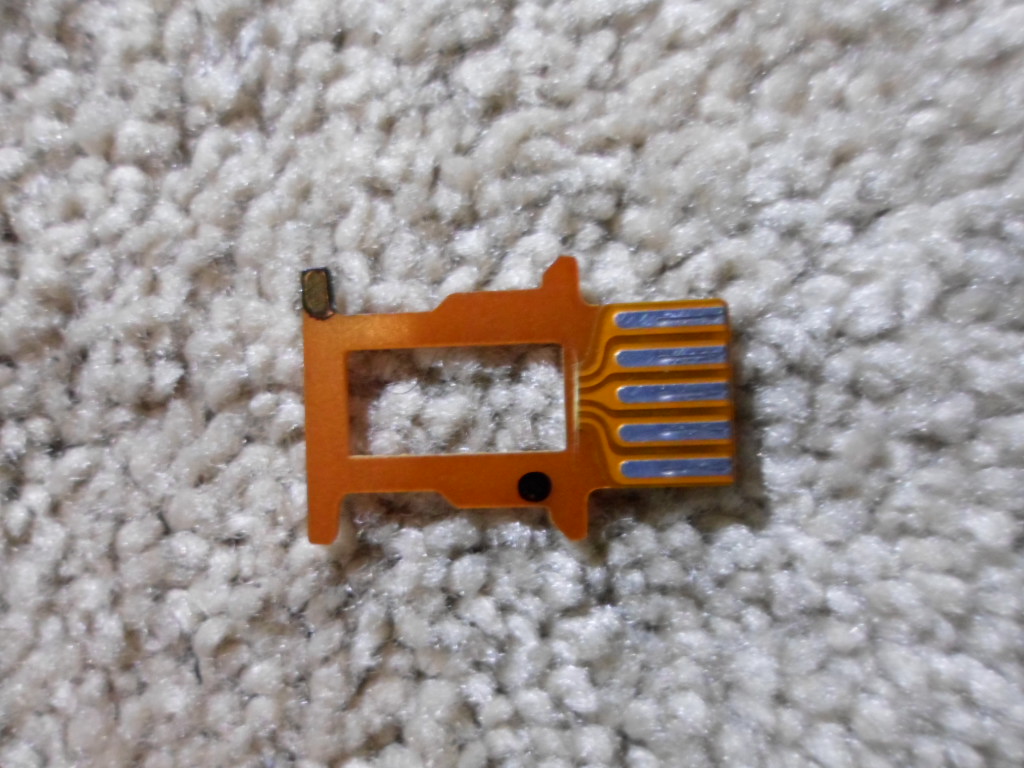
Disconnect the magnetic head from the circuit board and cut off the ribbon wire.
Remove radio/cassette player using manufacturer's tools.
Step 2:
Remove top cover by removing the two screws, then prying gently with a bladed screw driver.
Step 3:
Disconnect the magnetic head from the circuit board and cut off the ribbon wire.
Step 4:
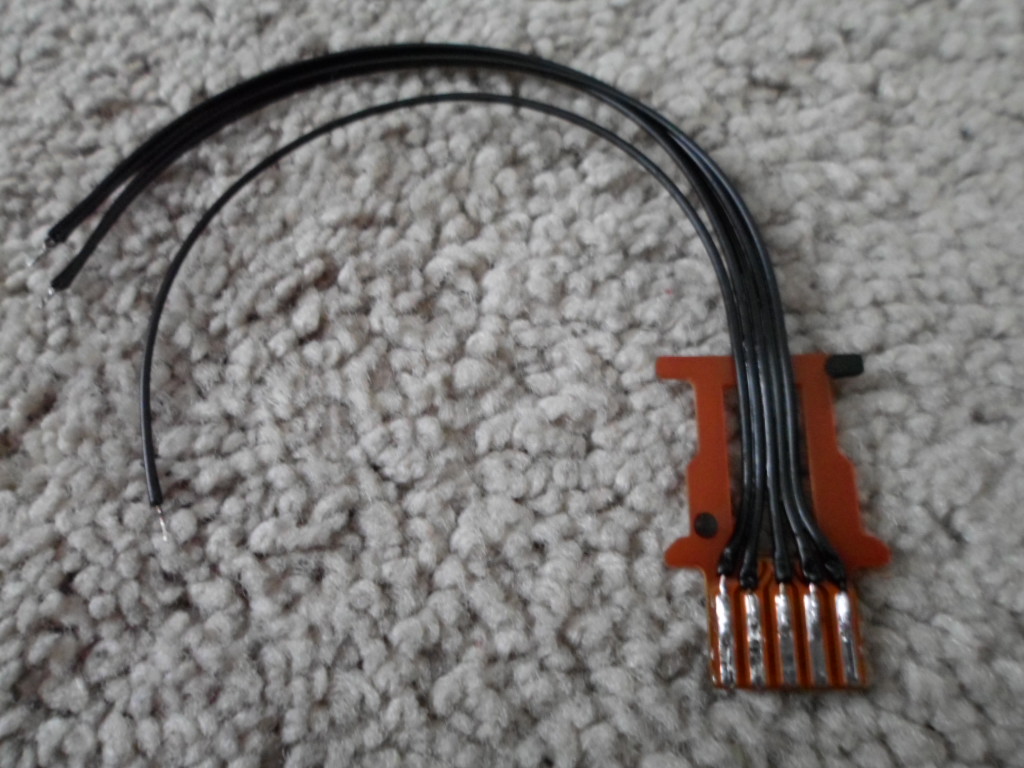
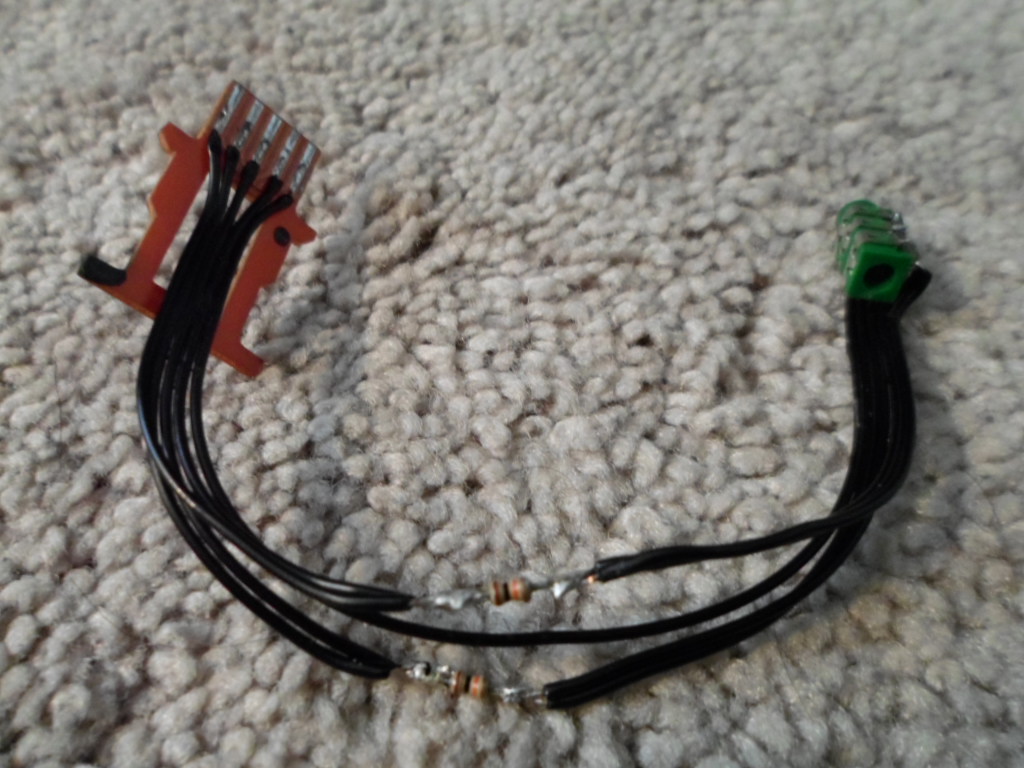
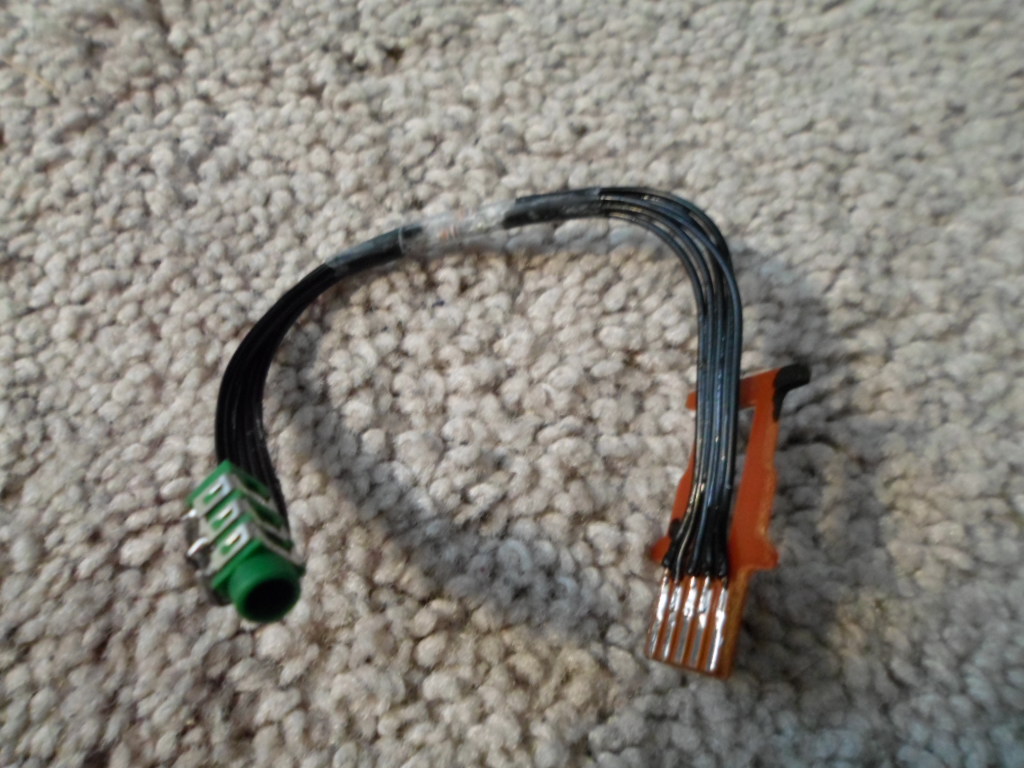
Solder on five new wires to the connector. If you look on the other side of the connectors, it will show the inputs as Common, Front Left, Front Right, Rear Right, and Rear Left.
Step 5:
Solder the Right inputs together and the left inputs together.
Step 6:
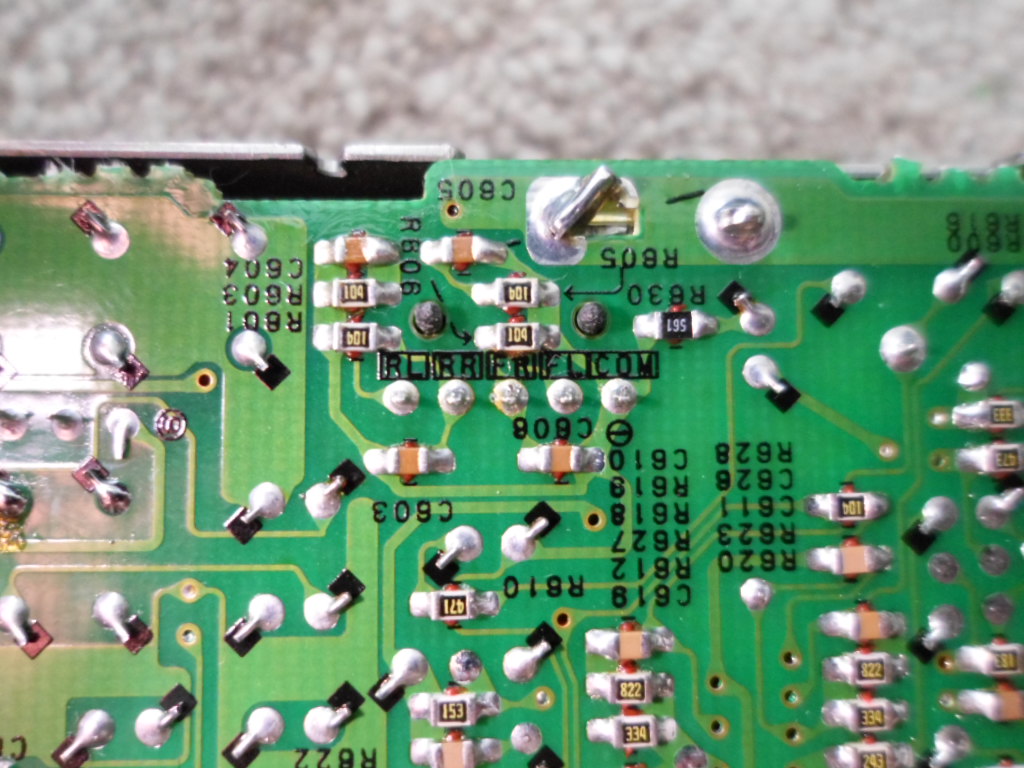
Solder a 10K ohm resister (brown, black, orange) between the connector and the 3.5 mm jack. Add tape to prevent shorts.
Step 7:
Solder the other end to a 3.5 mm jack (Sleeve=Common, Ring=Right, Tip=Left).
Step 8:
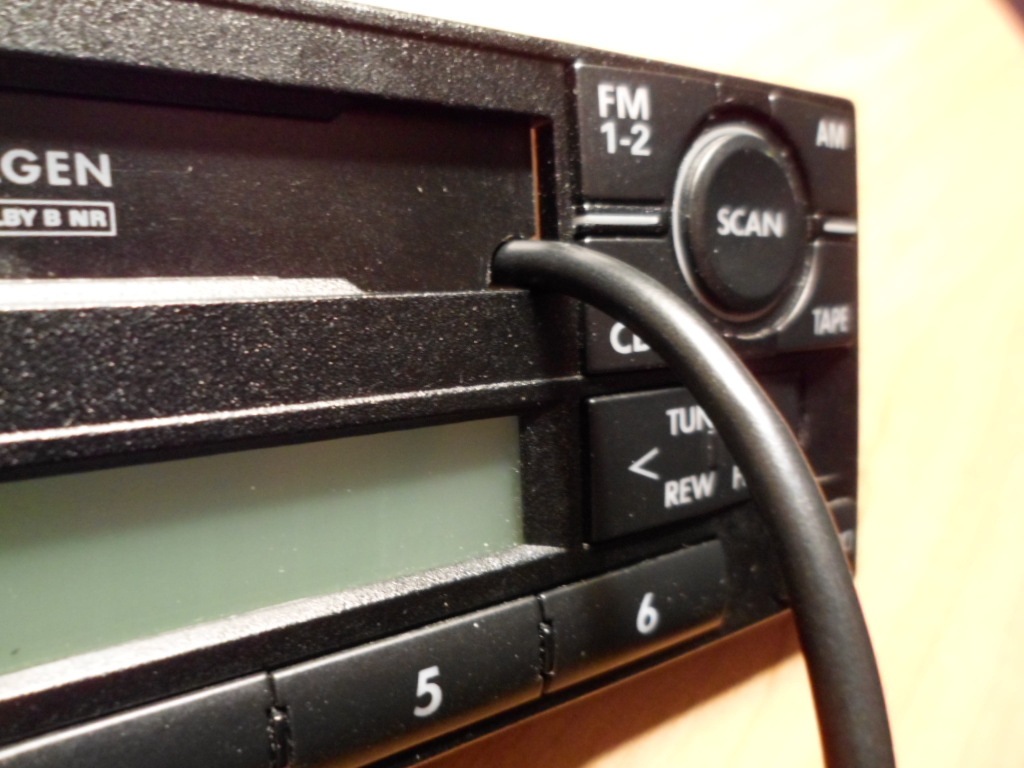
Plug 3.5 mm male to male cord into the 3.5 mm jack.
Step 9:
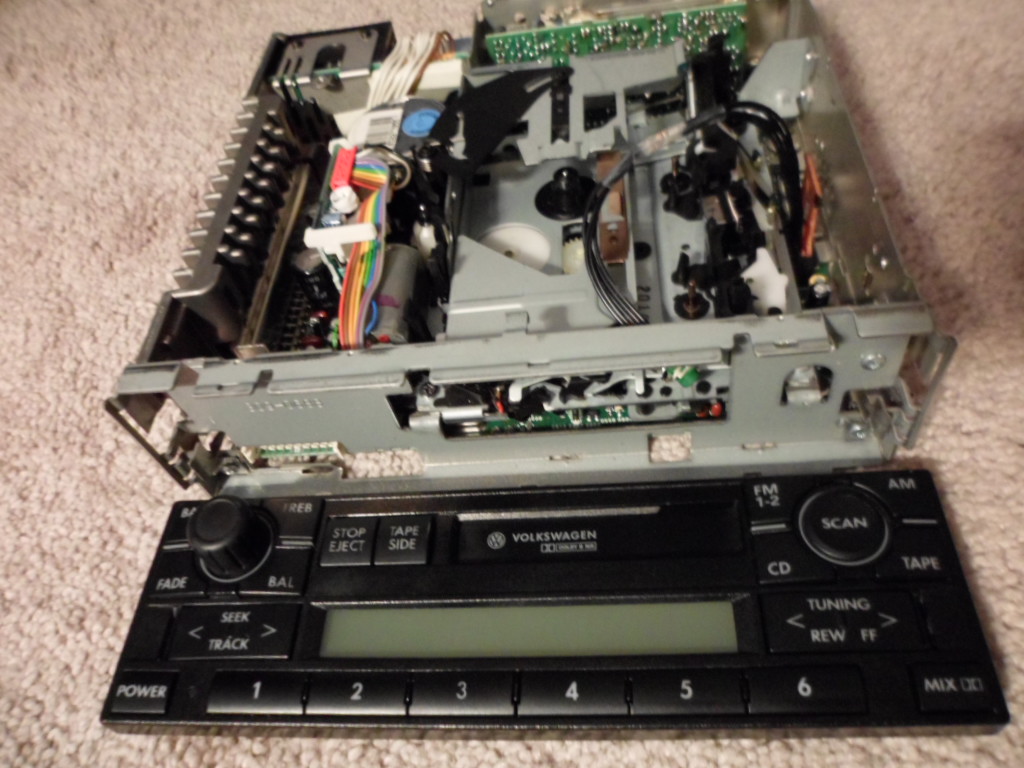
Carefully pry the faceplate off.
Step 10:
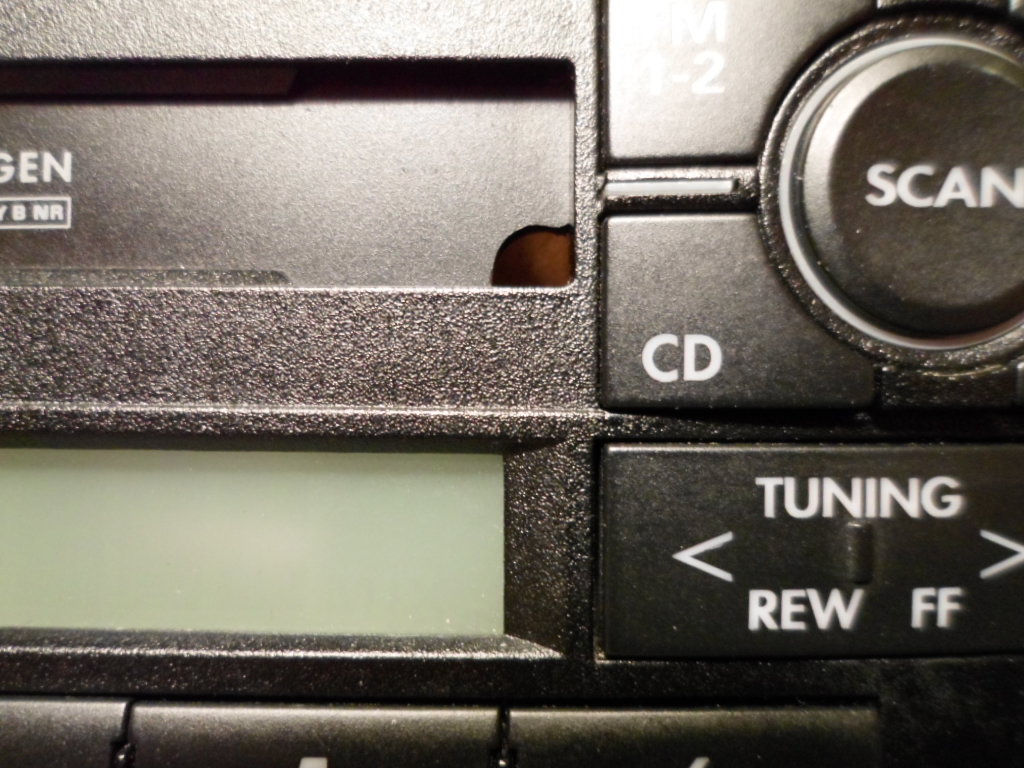
Using a Dremel or a drill, create a small hole in the cassette door for the cord.
Step 11:
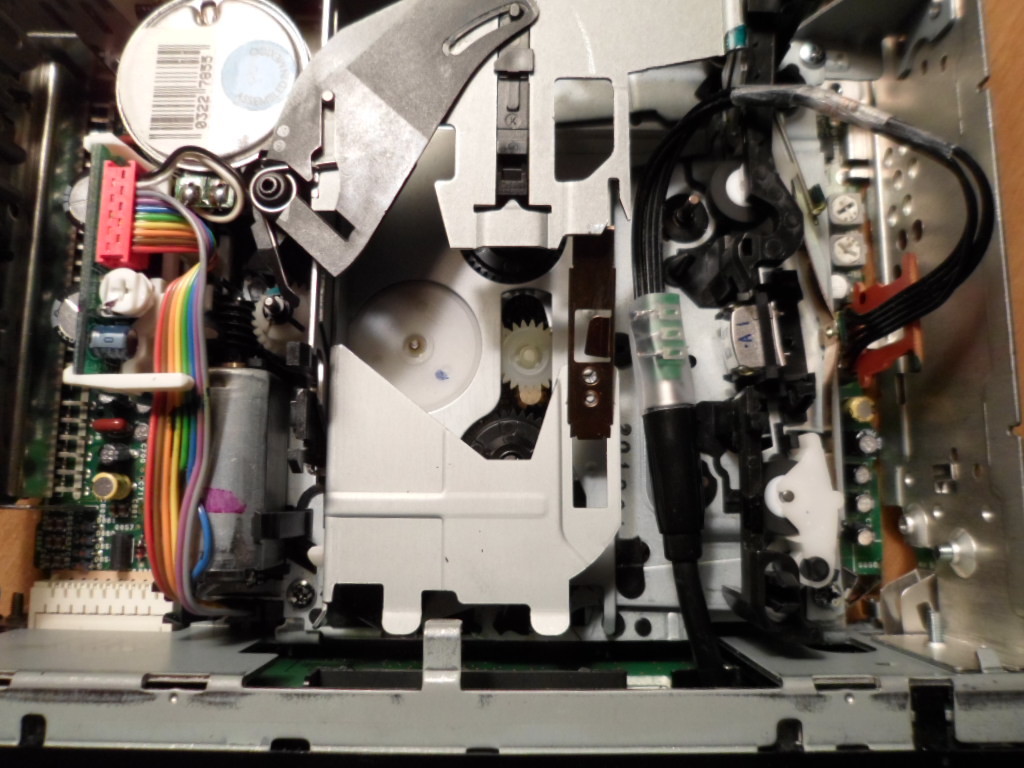
Put everything back together and replace radio/cassette player to the vehicle’s dash.
Step 12:
Turn the volume on low for both the device and the radio/cassette to test for audio.