Autonomous Biped Robot Using Arduino Based Embedded Platform
by theSTEMpedia in Circuits > Robots
3953 Views, 18 Favorites, 0 Comments
Autonomous Biped Robot Using Arduino Based Embedded Platform


All the animated movie lovers out there! You sure remember WALL-E, don’t you? And how adorable that robot is! Only if there was a way to have on. Guess what! There is a way, one with a twist. Instead of moving using wheels, our WALL-E will move using *clears throat* using feet! Yes, you heard us right. So, gather your stuff, pump up your DIYing levels, and ready, set, go!
Before you move ahead, there’s something we want to share with you. We’re launching something sooooper exciting real soon and want you to be the first know about when it’s out.
To know more about it, visit here!
Things You'll Need

Hardware
- evive
- Metal servo and its accessories
- Micro servo and its accessories
- Ultrasonic Sensor
- Ultrasonic Holder
- Some 3D parts
- Base plates
- Nuts and Bolts
- Jumper Cable
Software
- Arduino IDE
Assembly of the Feet


We will start by assembling the feet of the biped.
Take a 3D Printed foot, you will notice a small space into it.
We will be placing our metal servo into it.
Once you place the servo, fix it using hot glue.
In the accessory of the servo, you will find a 4-sided servo horn. Cut one of its sides to make it 3-sided horn.
Fix the servo horn onto the servo head.
Repeat the same process for the other leg.
You can download the .STL from below.
Assembly of the Leg


Once you are done assembling the feet, its time to assemble the leg.
Take one of the two 3D Printed legs.
The servo horn attached to the servo of the foot shall now be fixing into this leg, using the self-threading screws.
Repeat the same process for the other leg.
Download the .STL from below.
Downloads
Assembling the Bottom Base Plate


Take the other 2 metal servos and fix a double-sided horn on the servo head.
Fix this horn onto the leg using screws.
Take the base plate and insert the servos into the space given for servos and fix it.
You can download the file for the base plate from below.
Downloads
Assembling the Upper Base Plate


Take the other base plate and add the micro servo on it using bolts.
Fix the double-sided servo horn onto the servo head.
Place evive on top of this base plate and fix it.
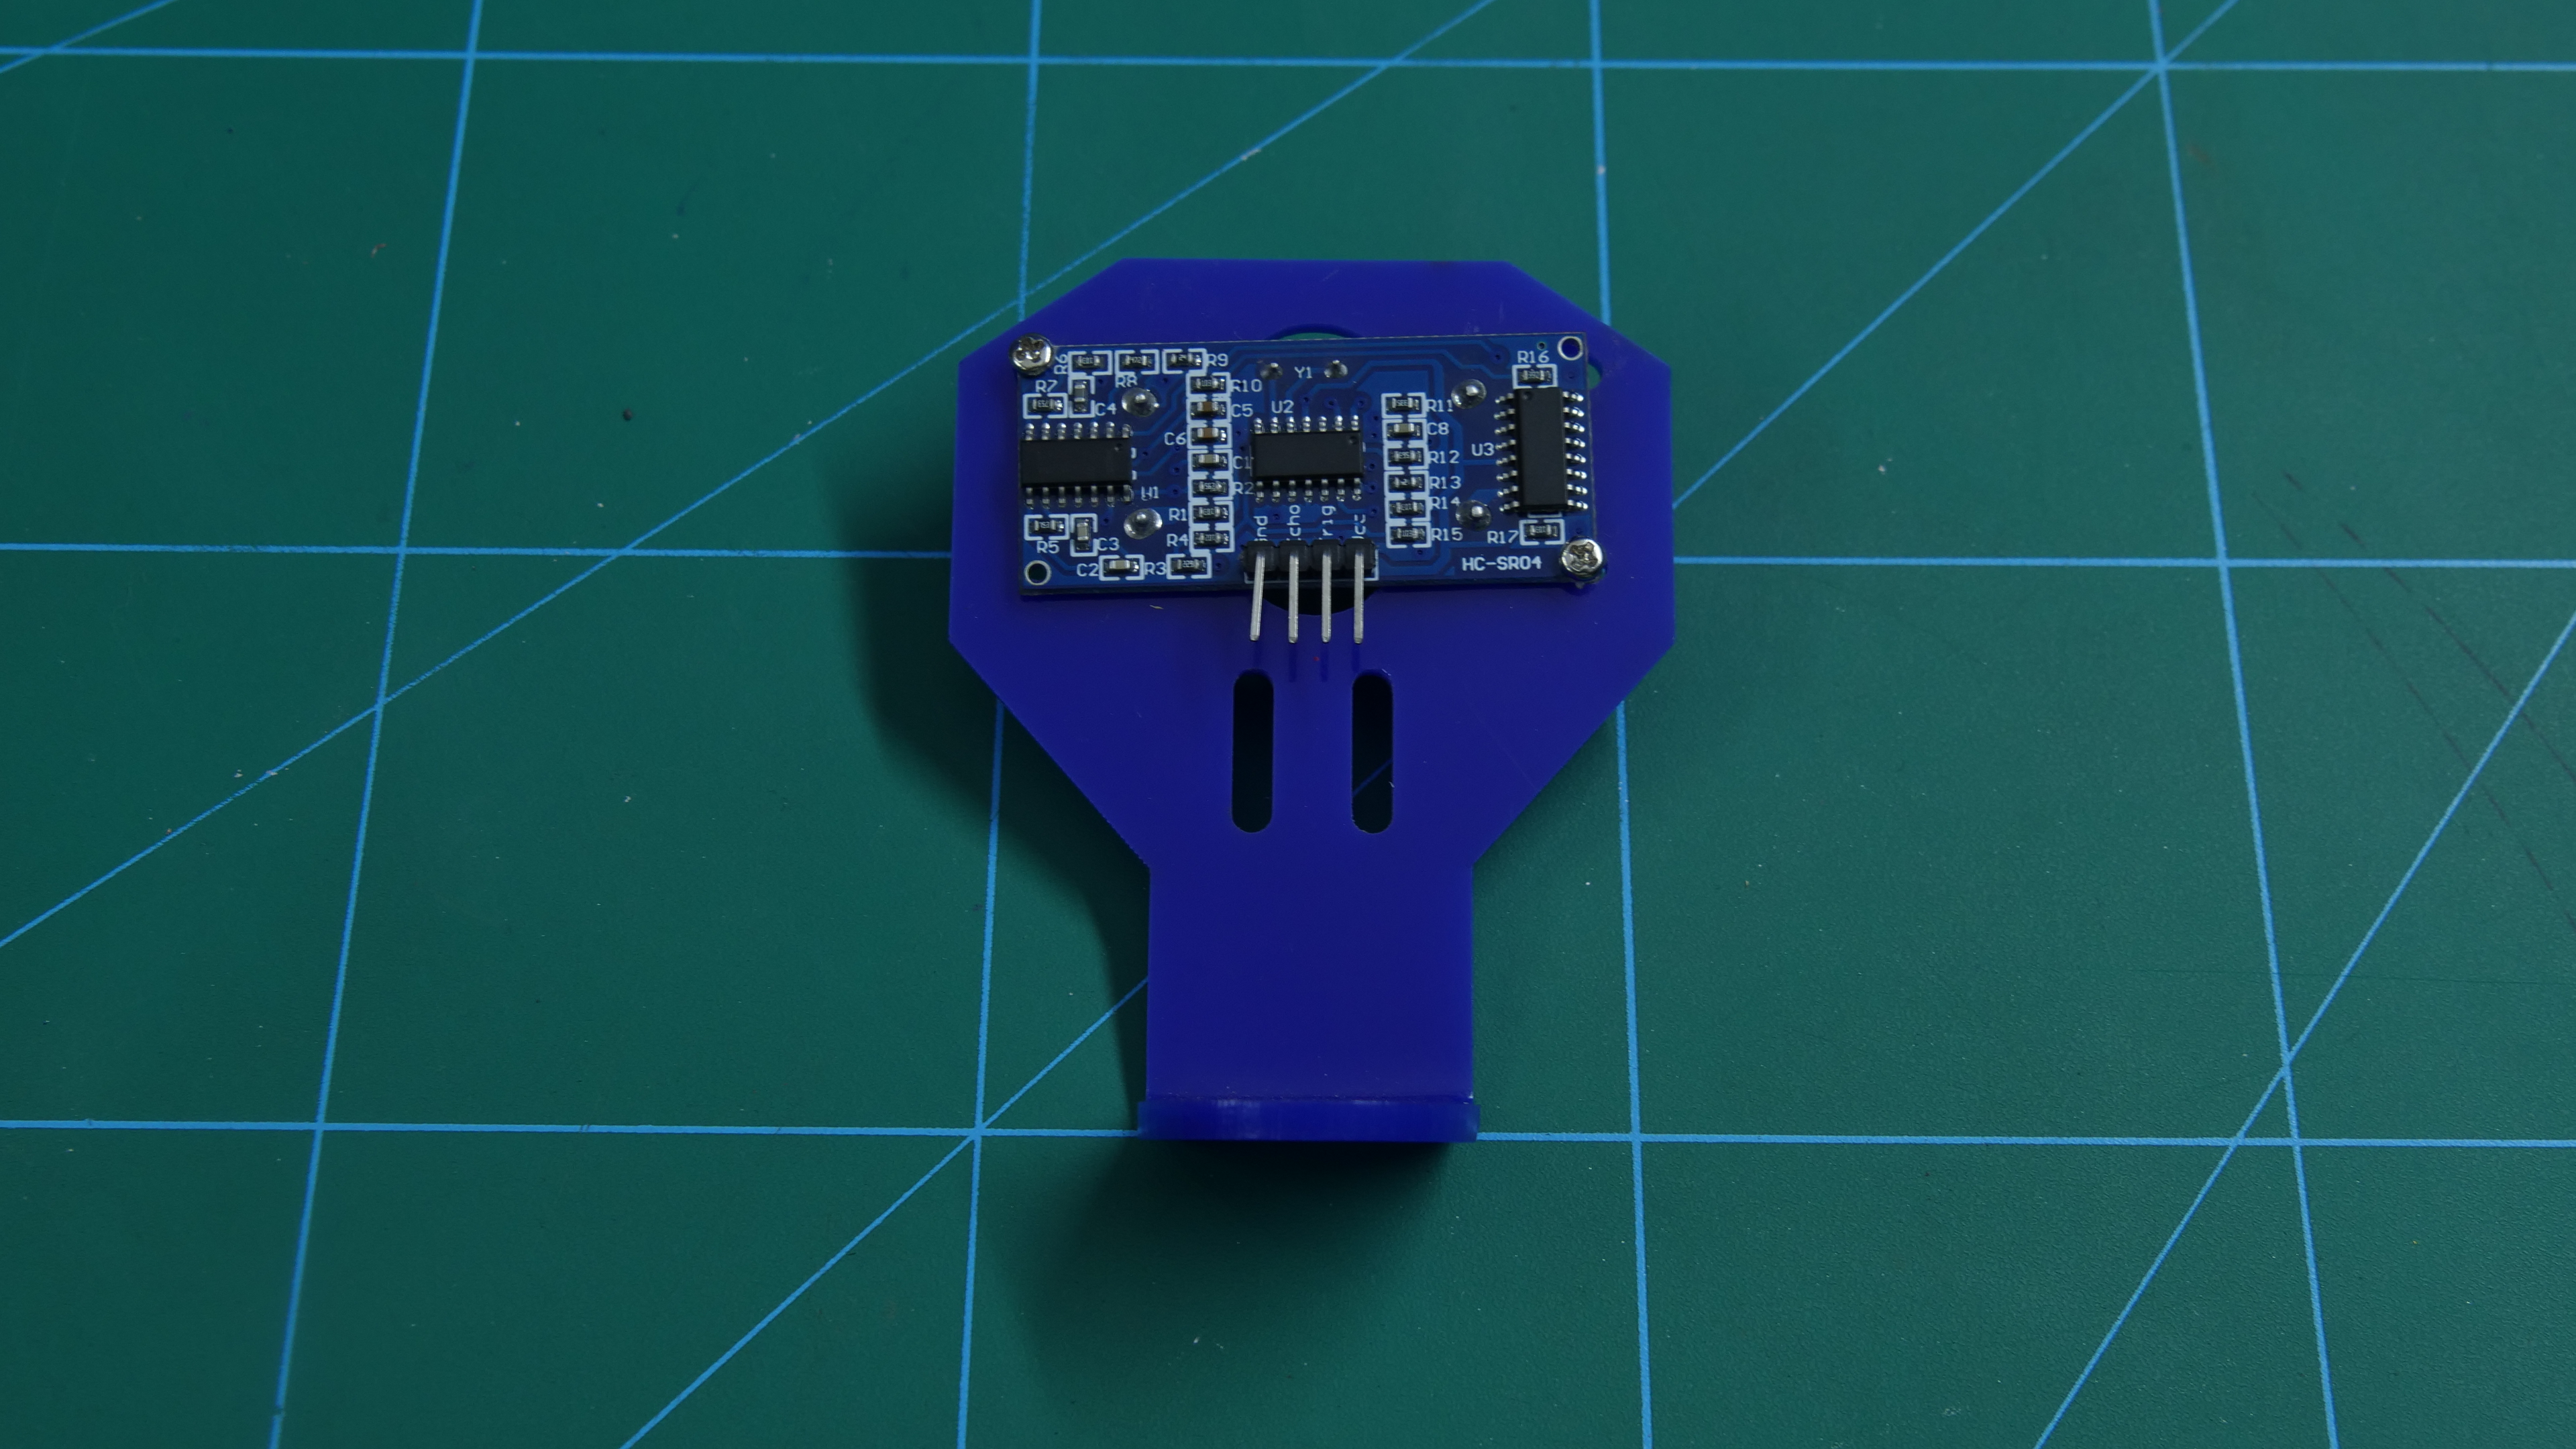
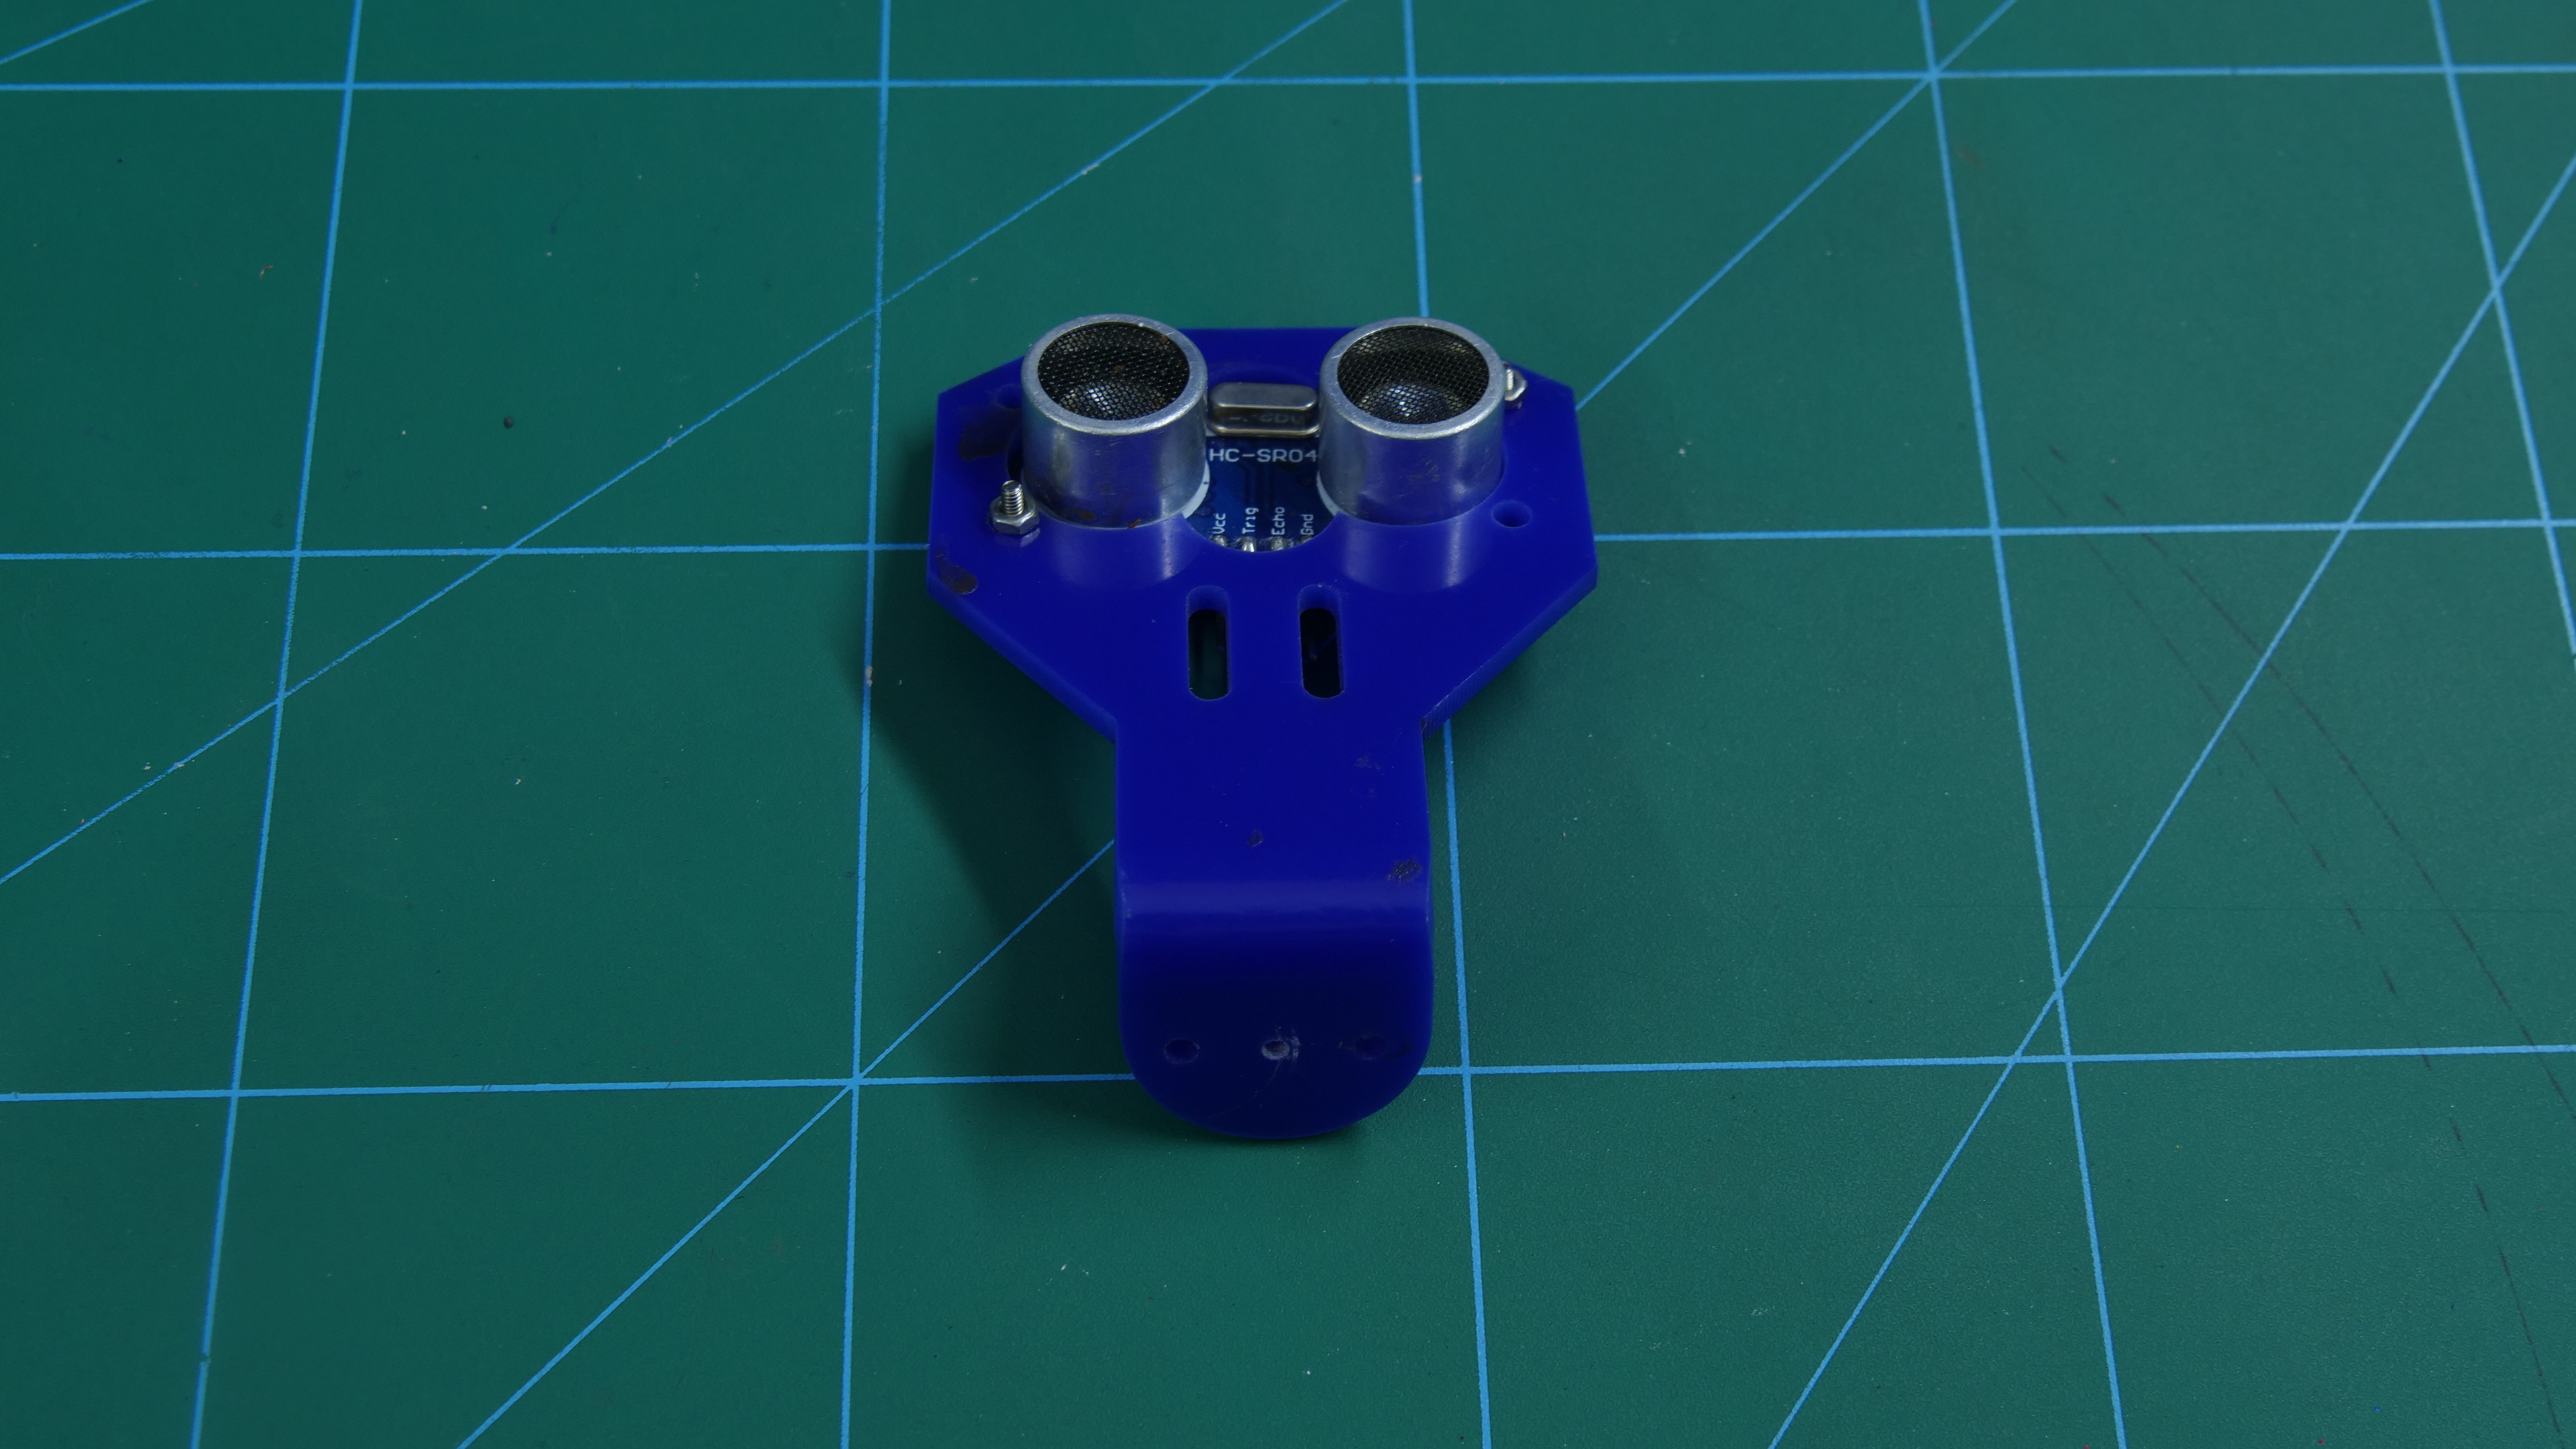
Take the ultrasonic sensor holder and fix the ultrasonic sensor into it.
Completing the Assembly


Take the base plate with legs and fix the plate with evive on it using standoffs of 15mm length.
Once done, fix the double-sided horn onto the ultrasonic holder using a self-threading screw.
We have 3D printed the eye of our biped. Glue it on top of the ultrasonic sensor.
Thus, your assembly is complete.
Connections

Make the connections as shown in the figure.
Code
Upload the following Arduino Code to your evive.
Downloads
Working
The servos that are attached to its feet are used to move the feet so that the robot can take the turn.
The servos attached to the leg is used for the movement of the biped.
The ultrasonic sensor at the top makes the robot autonomous as it will detect the obstacle and will move accordingly.
Conclusion
With this, your DIY Autonomous Biped Robot is all set to show you its moves!