Automating PDF Report Generation With Excel Macro Button
by charlesraymond2013 in Teachers > University+
4099 Views, 2 Favorites, 0 Comments
Automating PDF Report Generation With Excel Macro Button
In the data-driven world of today, the skill of generating and sending reports fast is a must have for businesses and professionals. Automating PDF report generation within Excel reduces the amount of manual work, thus saving valuable time and resources. Whether you’re a small business owner needing periodic financial statements or a project manager seeking to share progress updates with stakeholders, Excel macros for report generation provides unmatched convenience and efficiency. The introduction prepares the ground to dive into the ways PDF report automation can transform workflows and be a benefit to many users from different sectors.
DISCLAIMER
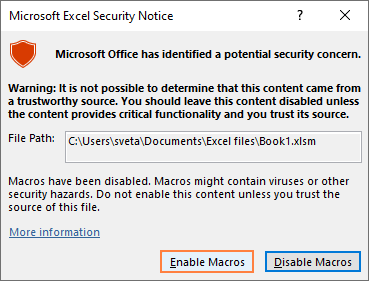
Using macro-enabled workbooks carries inherent risks due to the potential for unintentional errors or malicious code. These macros have the capability to execute commands that could compromise data integrity or system security. It is essential to ensure that macros are from trusted sources and thoroughly reviewed before enabling them to minimize these risks.
Supplies
- Microsoft Office | Office 365
- https://www.bgsu.edu/its/students/resources.html
- Adobe Acrobat Reader
- https://get.adobe.com/reader/
Open Your Excel Workbook Containing the Data You Want to Generate Reports From
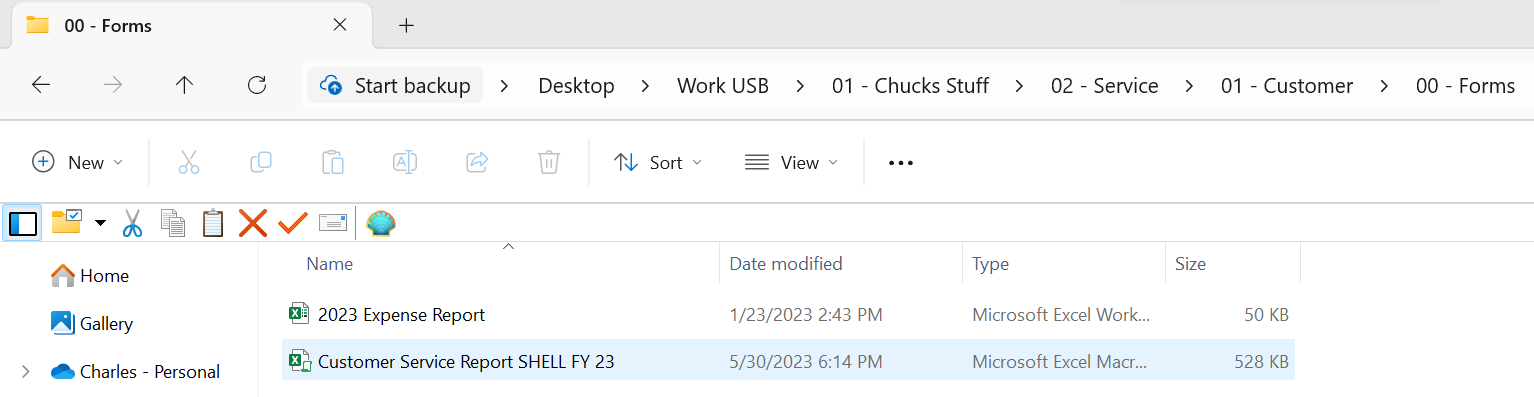
Locate Your Excel Workbook: Navigate to the location on your computer where your Excel workbook is saved. This might be in your documents folder, on your desktop, or in a specific project folder.
Then proceed to opening it so excel is visible.
Organize Sheets (If Applicable)

If your workbook contains multiple sheets (tabs), you may need to navigate to the specific sheet that contains the data you want to generate reports from. You can do this by selecting the sheet tab located at the bottom of the Excel window and re-ordering in whatever manner you deem best.
Review Your Data

Take some time to review the data in your workbook. Ensure that it is organized in a way that makes sense for generating reports. This might involve checking for consistency in formatting, ensuring that data is correctly categorized, and verifying that there are no errors or missing values.
Enable Developer Tab
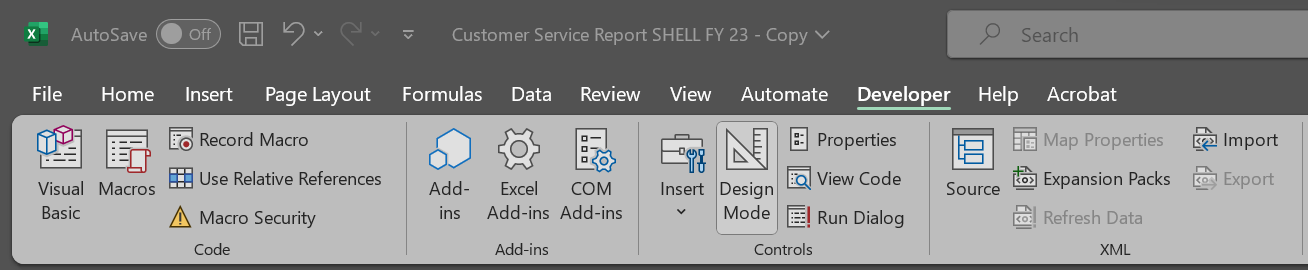
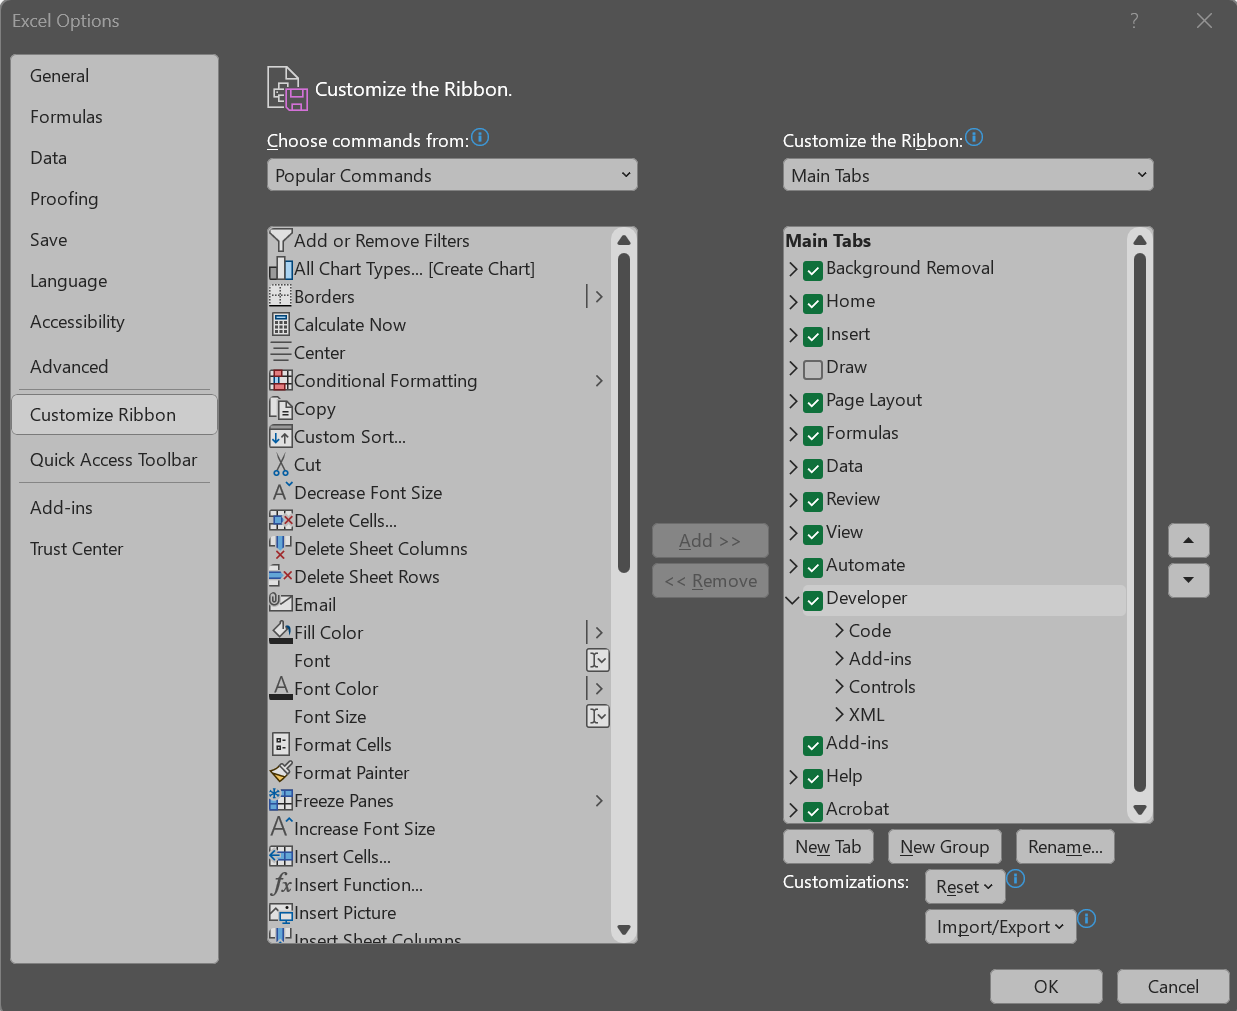
Navigate to the "Developer" tab in the Excel ribbon. If you don't see this tab, enable it in Excel options.
Insert "Check Box" From Developer Tab
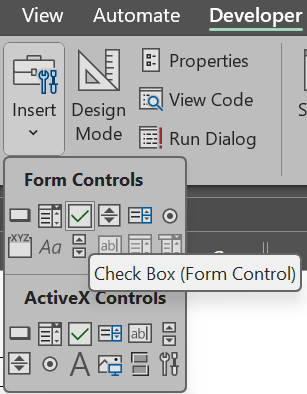
Click on "Insert" in the "Developer" tab, then select "Check Box"
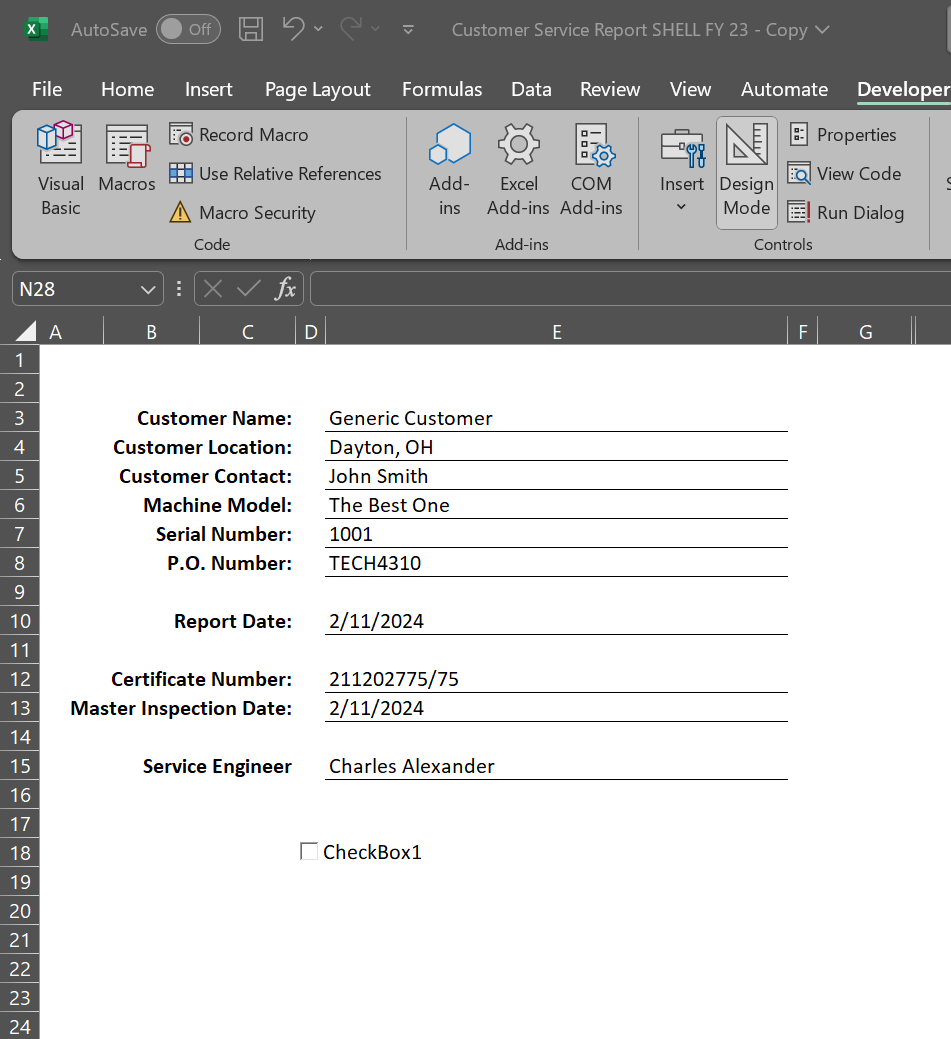
Insert a Check Box for Each Excel Tab

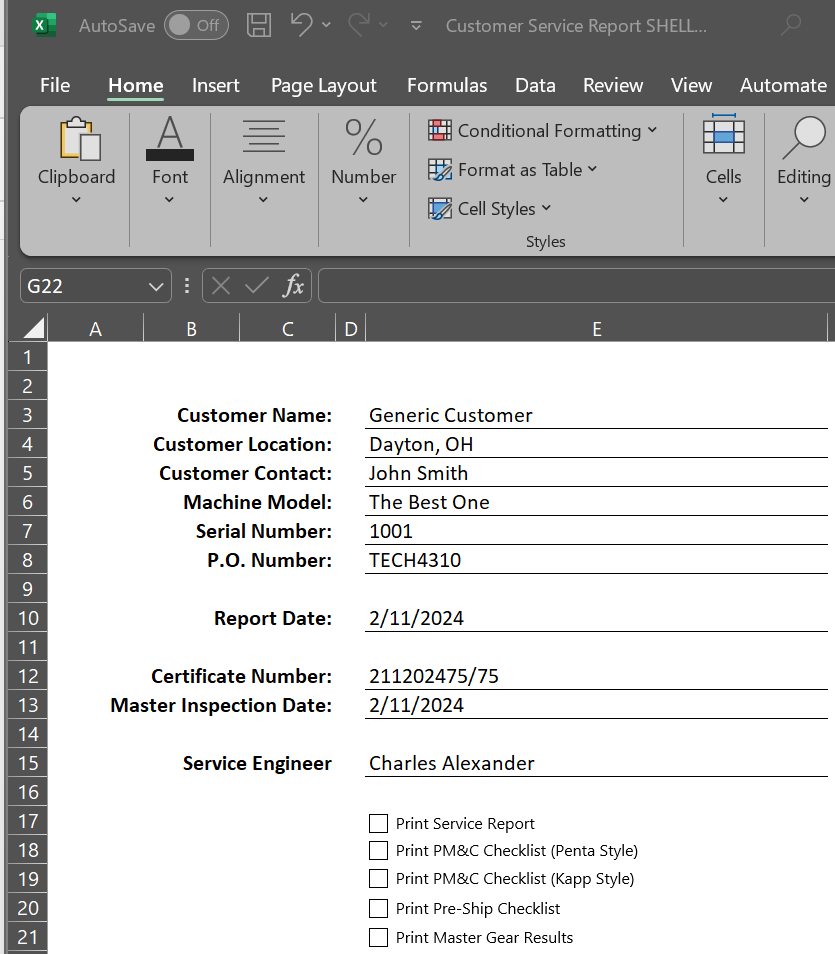
Insert a checkbox with a unique name similar to each Excel tab, providing a convenient way to toggle or track information specific to each worksheet within your workbook. This can be particularly useful since we are printing data from multiple tabs.
Assign Each Check Box a True/False Value When Selected

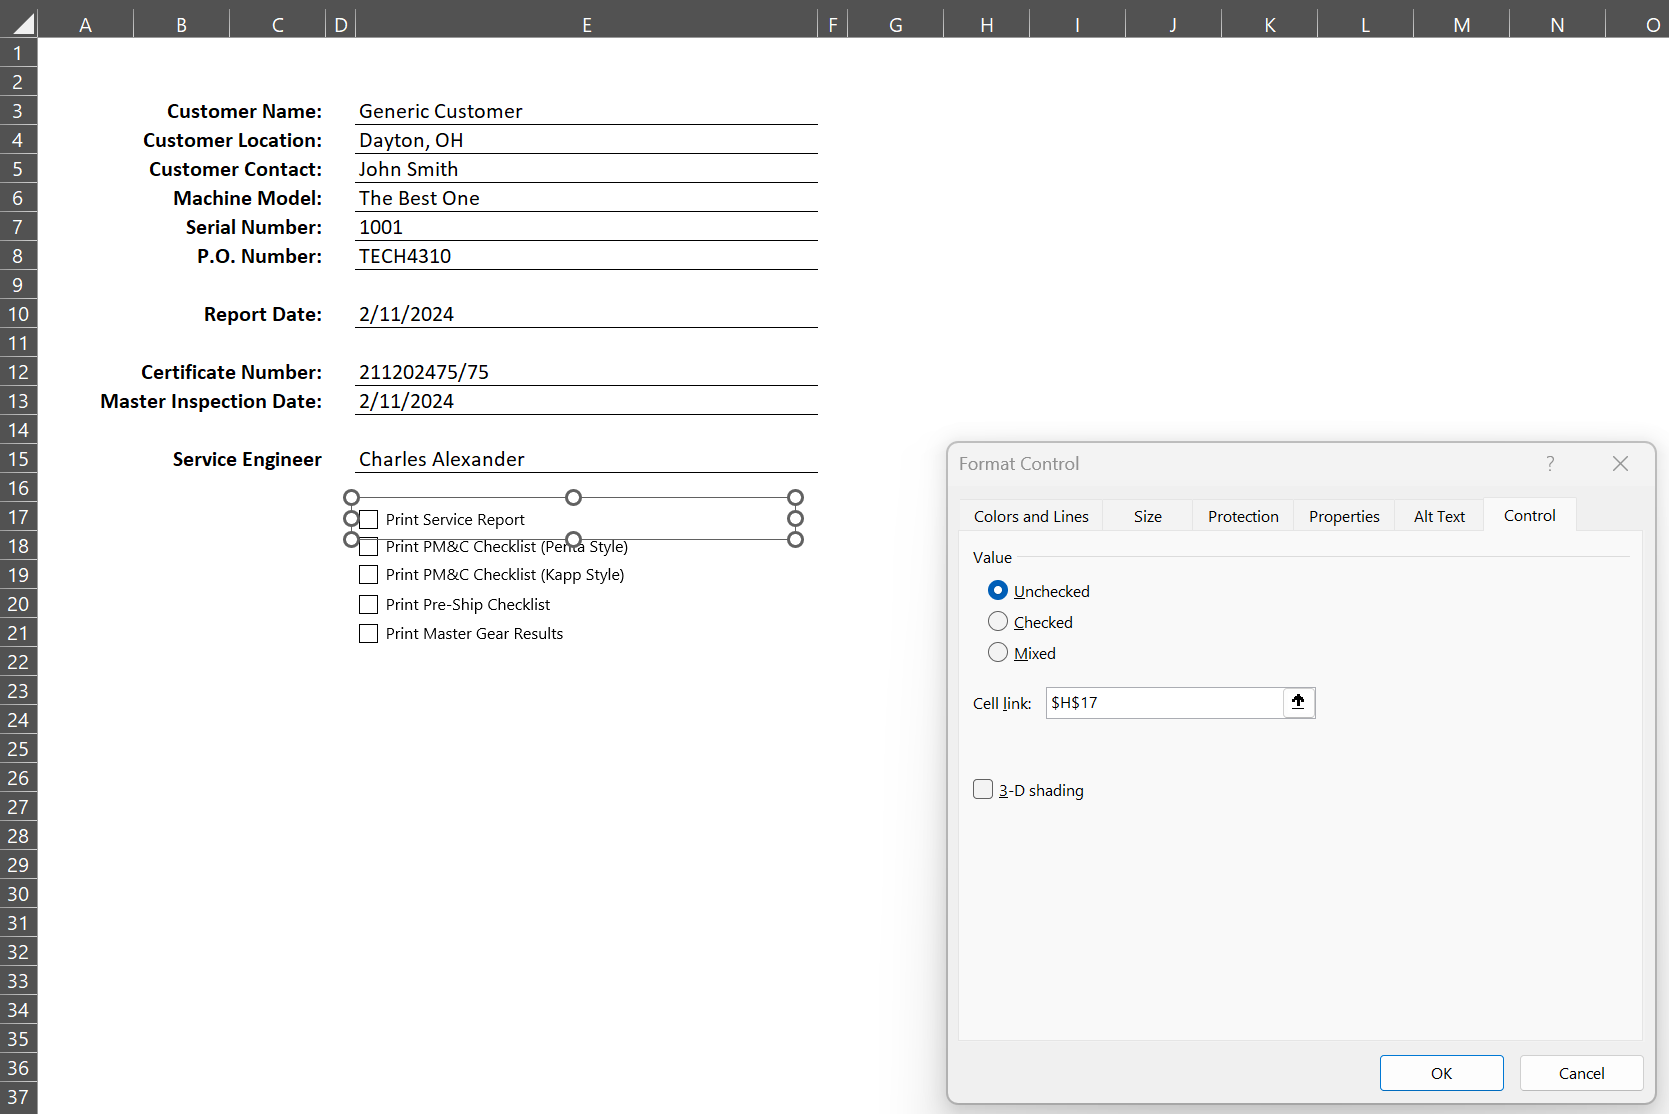
Right-click on a "Check Box", navigate to the "Format Control", and then select Edit.
After accessing the format control, proceed to the 'Control' tab.
We will start using H17 as the beginning of our 'True/False' values for the tabs.
Repeat this process for each tab you have, such as H18 as the checkbox 2 'True/False' value and H19 as the checkbox 3 'True/False' value.
Select Insert "Command Button" in Developer Tab
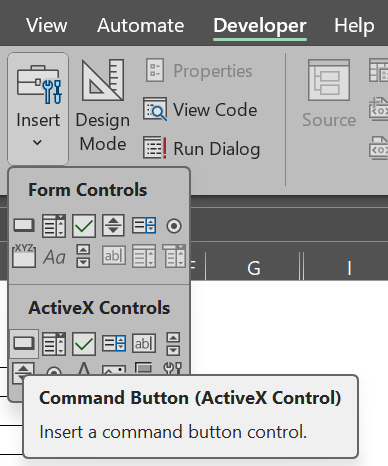
Selecting this option will give the user a drawing tool.
Draw a button on your worksheet where you want it to appear.
Rename Command Button
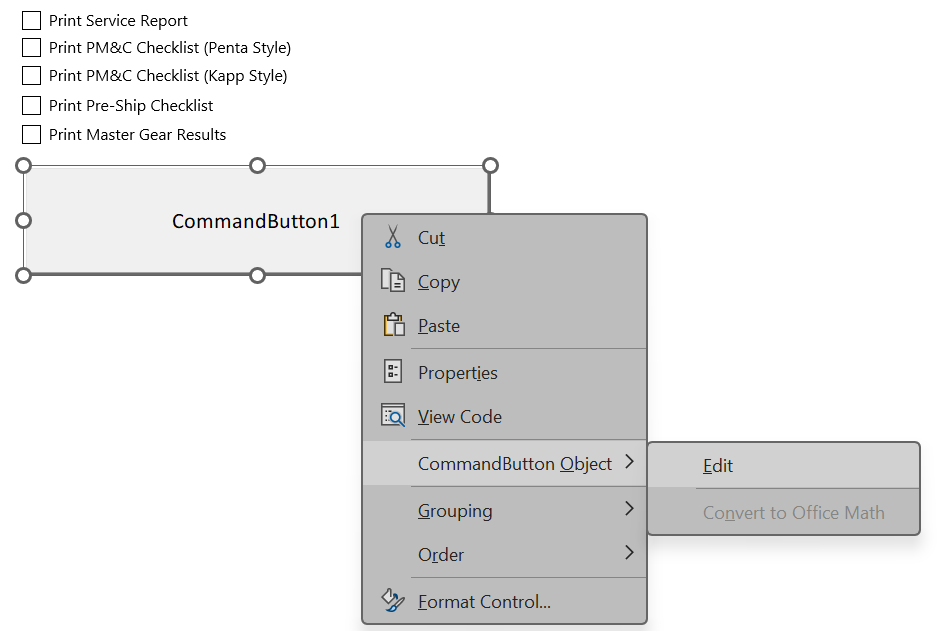
Right-click on the command button, navigate to the CommandButton Object option, and then select Edit.
Rename it as "Generate PDF"
View Code of the Command Button to Assign Function
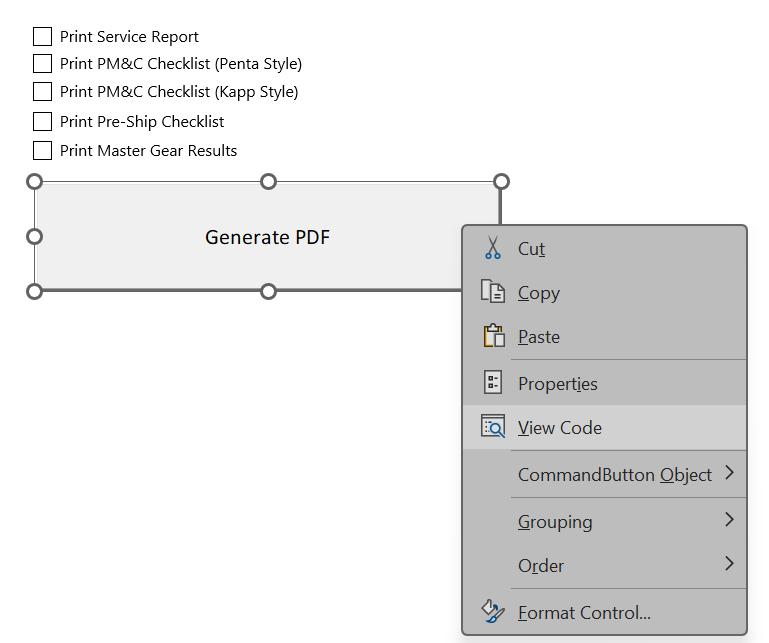
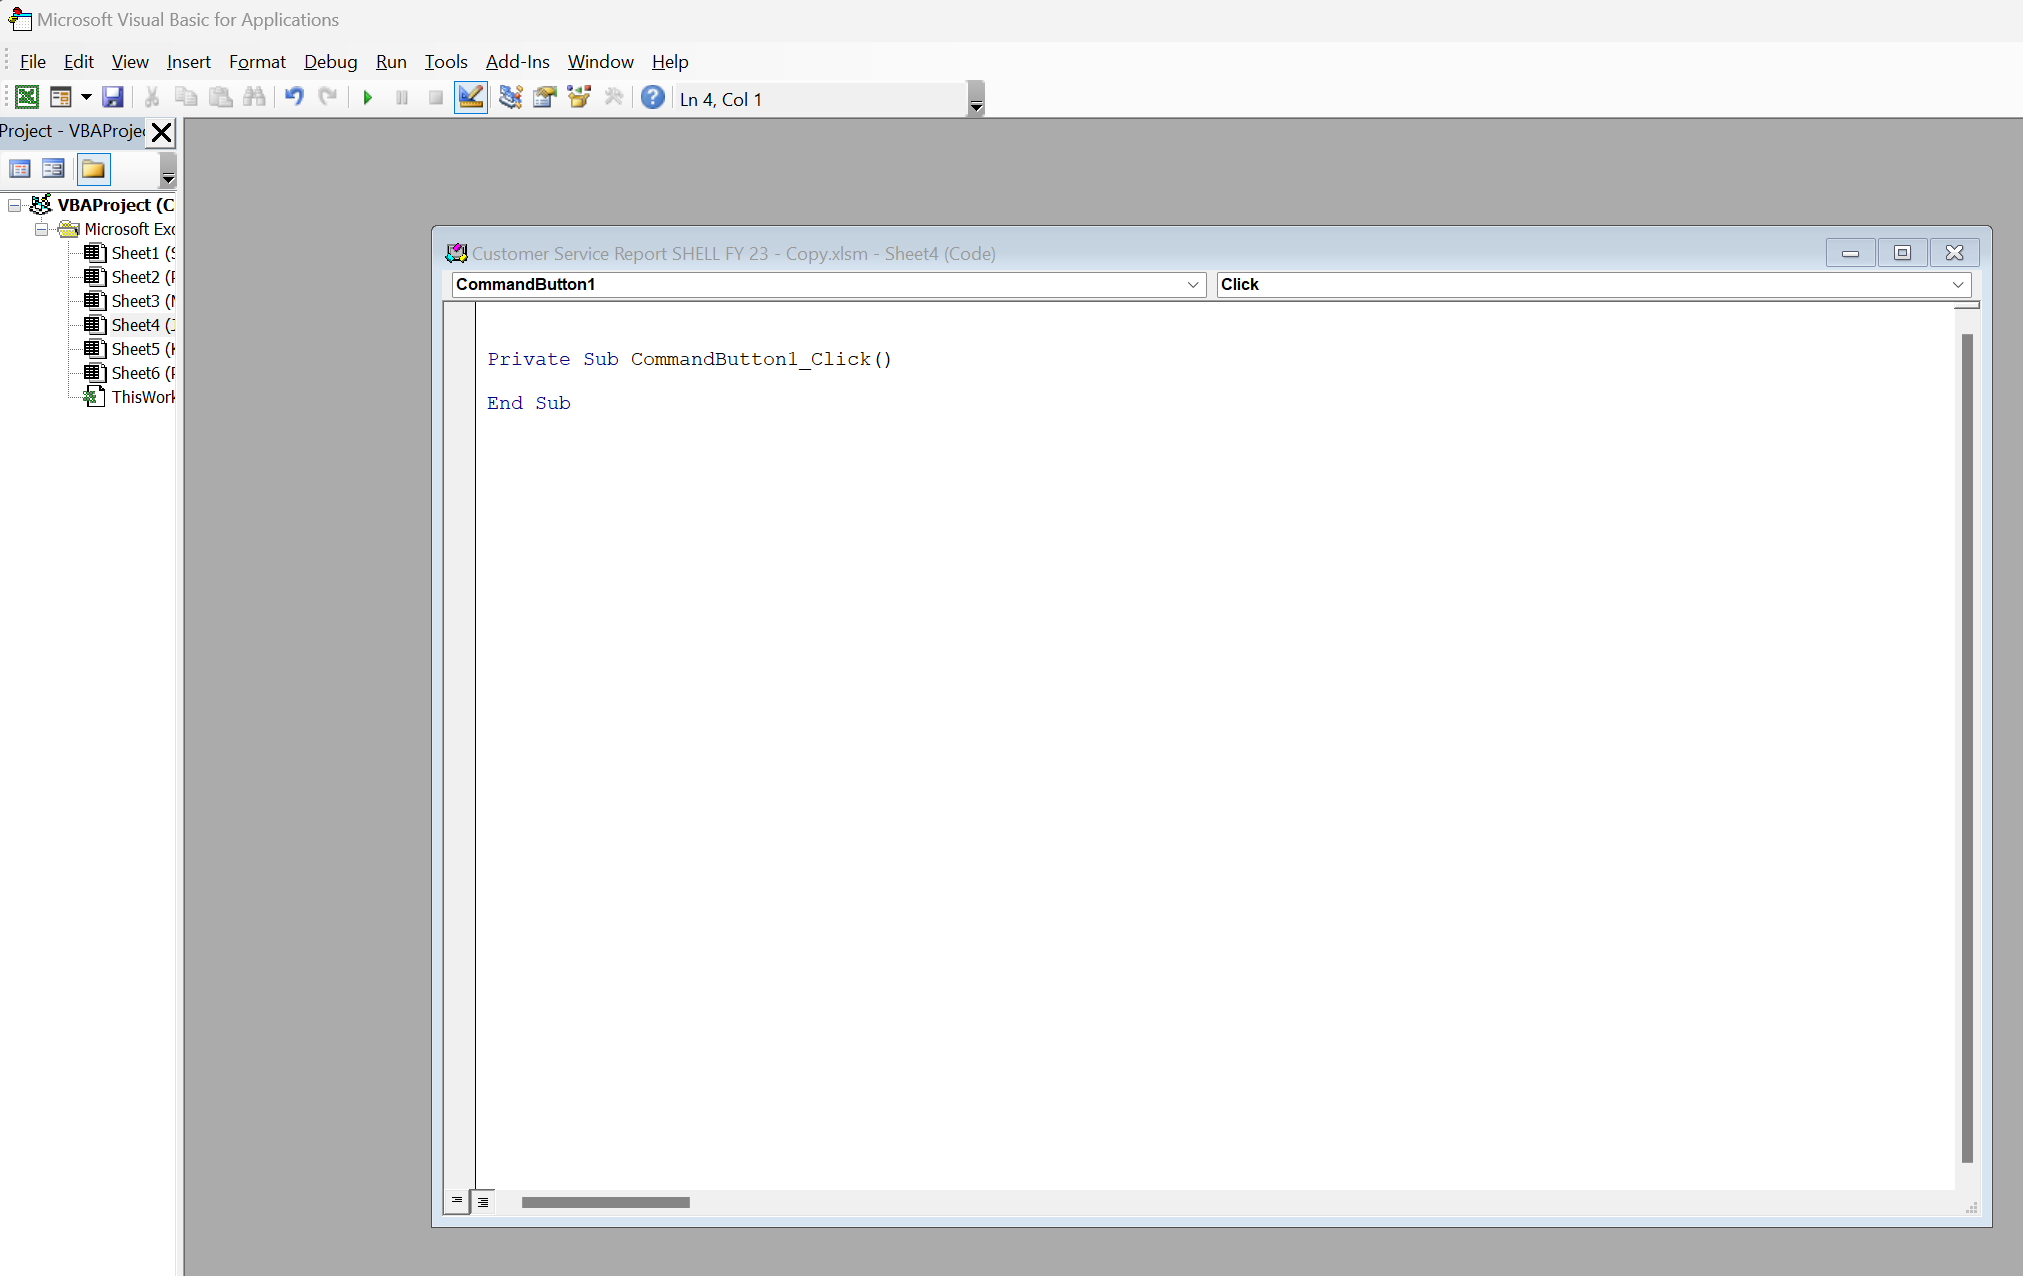
Right-click on the command button, navigate to and select the View Code option.
Enter This Text Into the Command Button Function Box
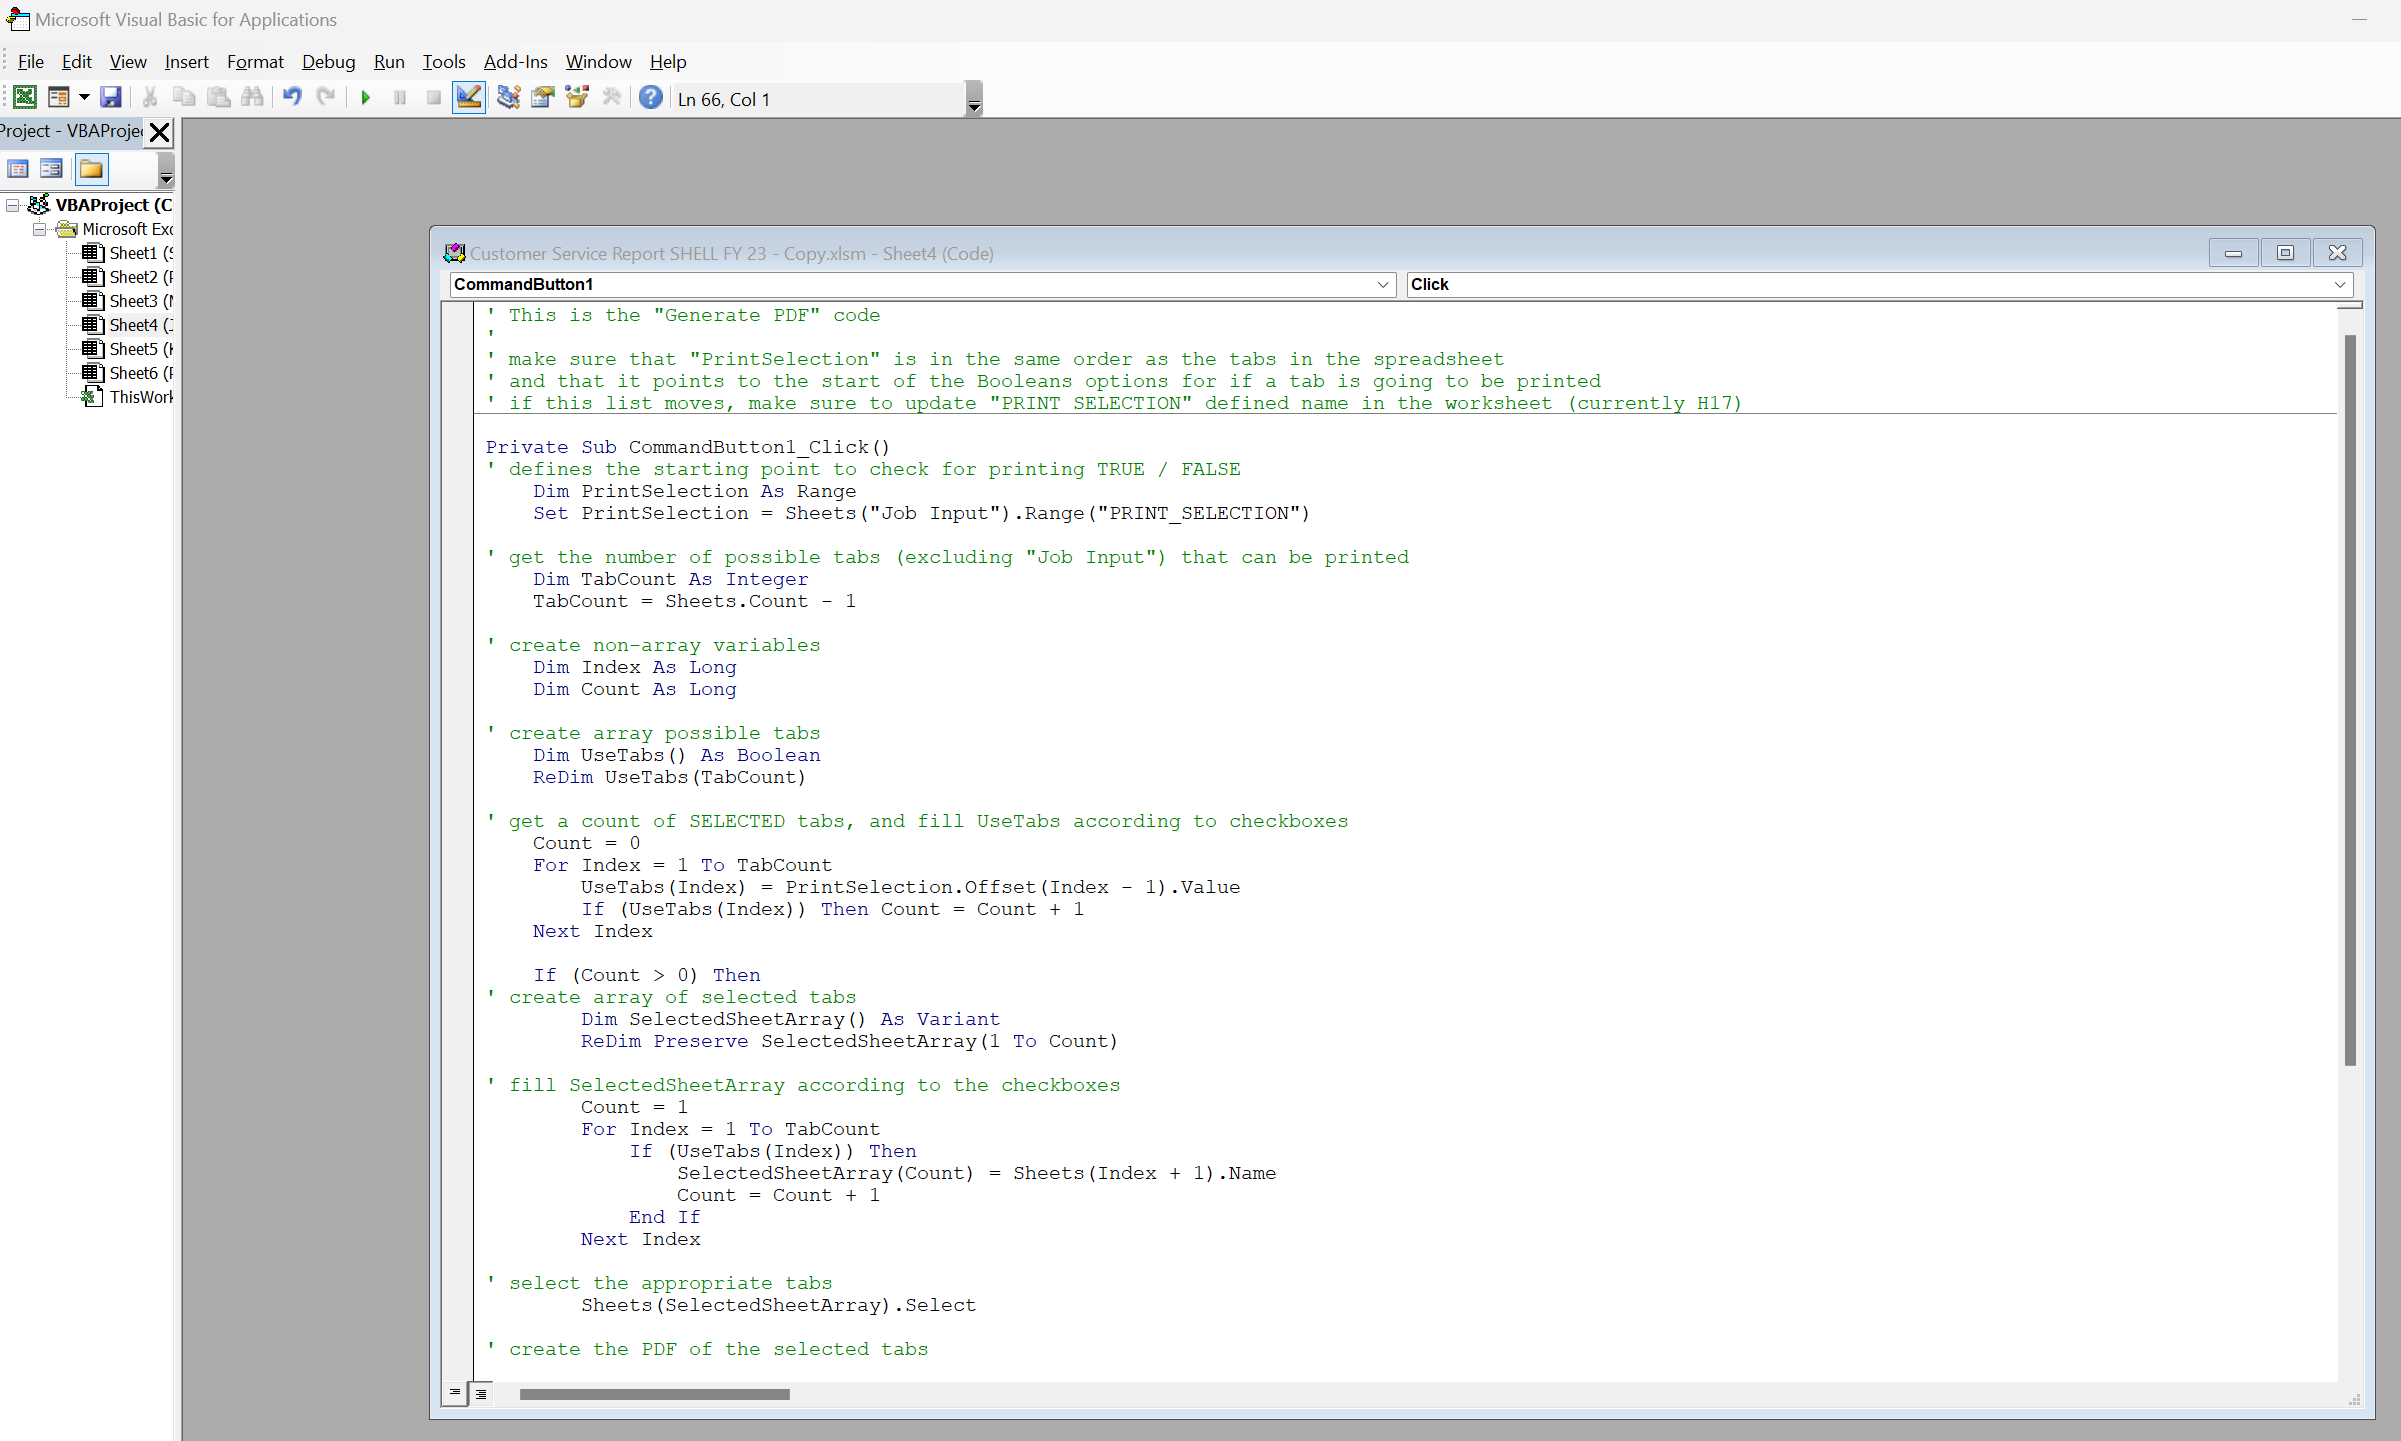
' This is the "Generate PDF" code
'
' make sure that "PrintSelection" is in the same order as the tabs in the spreadsheet
' and that it points to the start of the Booleans options for if a tab is going to be printed
' if this list moves, make sure to update "PRINT_SELECTION" defined name in the worksheet (currently H17)
Private Sub CommandButton1_Click()
' defines the starting point to check for printing TRUE / FALSE
Dim PrintSelection As Range
Set PrintSelection = Sheets("Job Input").Range("PRINT_SELECTION")
' get the number of possible tabs (excluding "Job Input") that can be printed
Dim TabCount As Integer
TabCount = Sheets.Count - 1
' create non-array variables
Dim Index As Long
Dim Count As Long
' create array possible tabs
Dim UseTabs() As Boolean
ReDim UseTabs(TabCount)
' get a count of SELECTED tabs, and fill UseTabs according to checkboxes
Count = 0
For Index = 1 To TabCount
UseTabs(Index) = PrintSelection.Offset(Index - 1).Value
If (UseTabs(Index)) Then Count = Count + 1
Next Index
If (Count > 0) Then
' create array of selected tabs
Dim SelectedSheetArray() As Variant
ReDim Preserve SelectedSheetArray(1 To Count)
' fill SelectedSheetArray according to the checkboxes
Count = 1
For Index = 1 To TabCount
If (UseTabs(Index)) Then
SelectedSheetArray(Count) = Sheets(Index + 1).Name
Count = Count + 1
End If
Next Index
' select the appropriate tabs
Sheets(SelectedSheetArray).Select
' create the PDF of the selected tabs
Dim Directory As String
Dim ShortFilename As String
Dim DateFormat As String
Dim FullPathAndFileName As String
Directory = CreateObject("WScript.Shell").specialfolders("Desktop")
ShortFilename = "Service Report"
DateFormat = Format(Sheets("Job Input").Range("DATE_REPORT").Value, "yyyy-mm-dd")
FullPathAndFileName = Directory & "\" & DateFormat & "-" & ShortFilename & ".pdf"
ActiveSheet.ExportAsFixedFormat Type:=xlTypePDF, Filename:=FullPathAndFileName, openafterpublish:=True, ignoreprintareas:=False
' return to "Job Input" tab
Sheets(Array("Job Input")).Select
End If
End Sub
Downloads
Project Complete! Test the Process
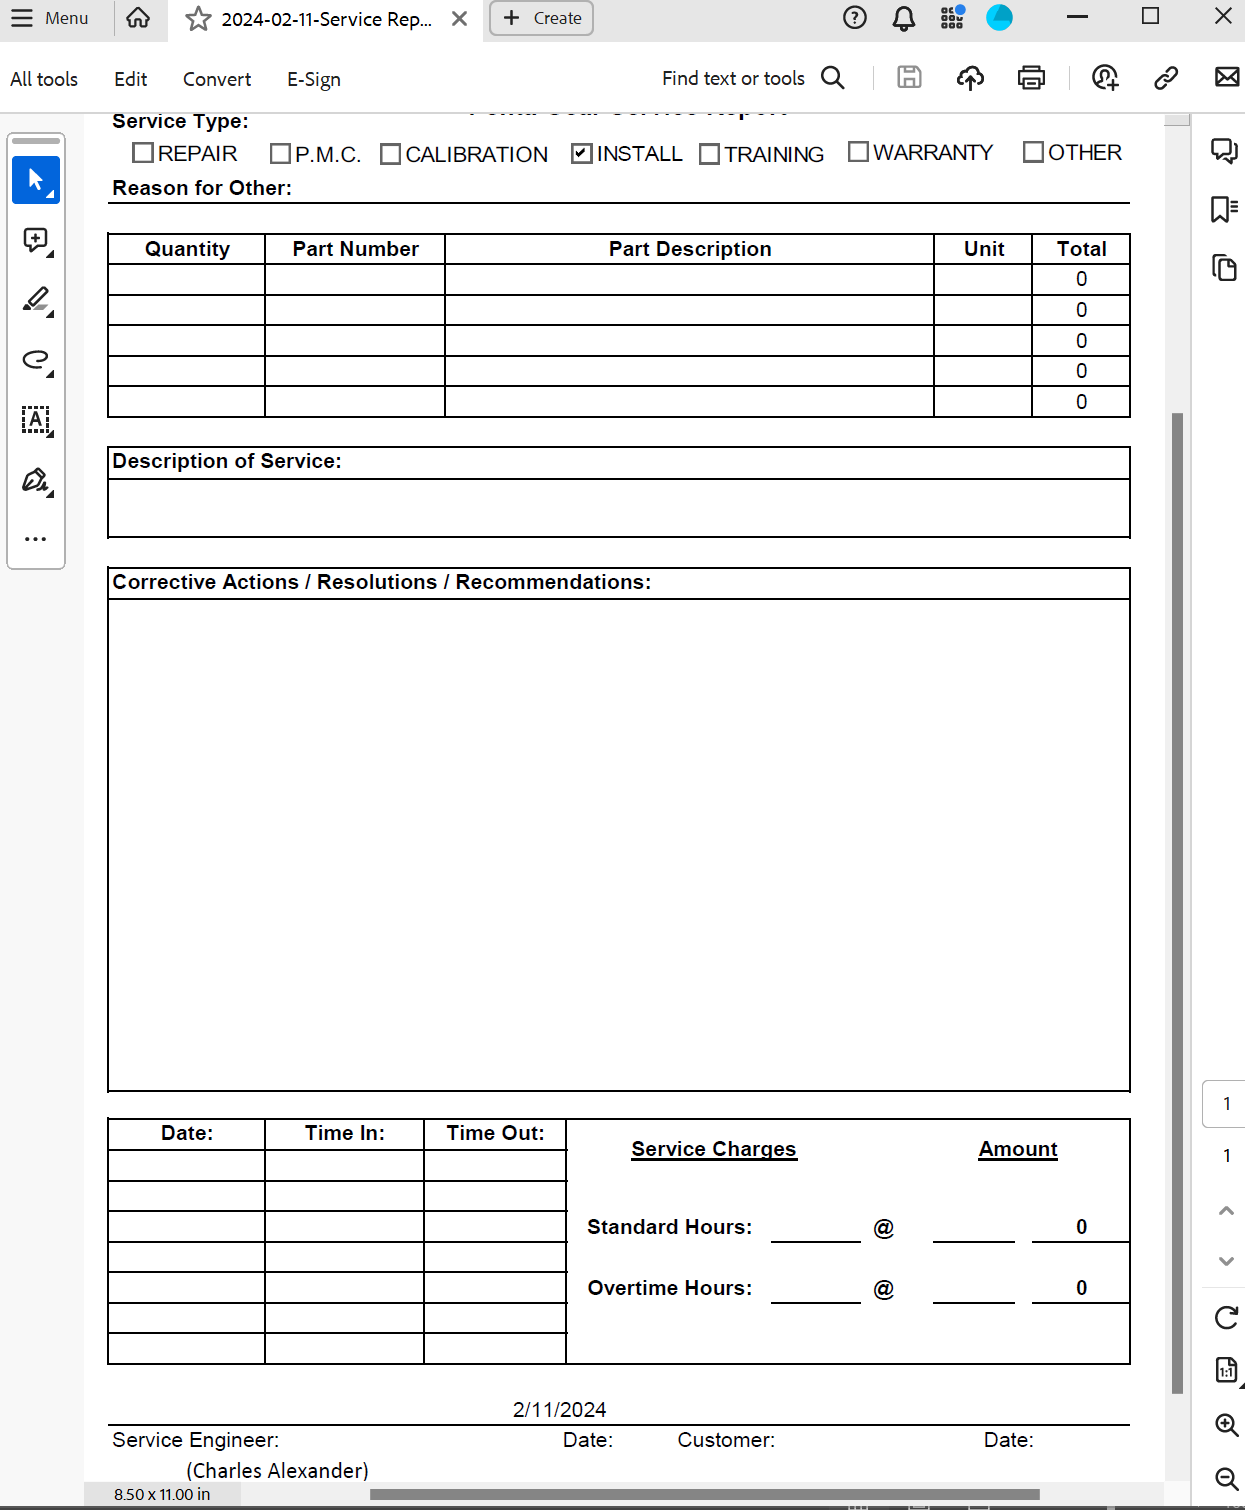
Once the button has been positioned and linked with the function, click on it to initiate the "Generate PDF" action. Verify the functionality by clicking on the button to confirm that it executes the intended actions, such as exporting the data to a PDF file.