Automatic Page Turner
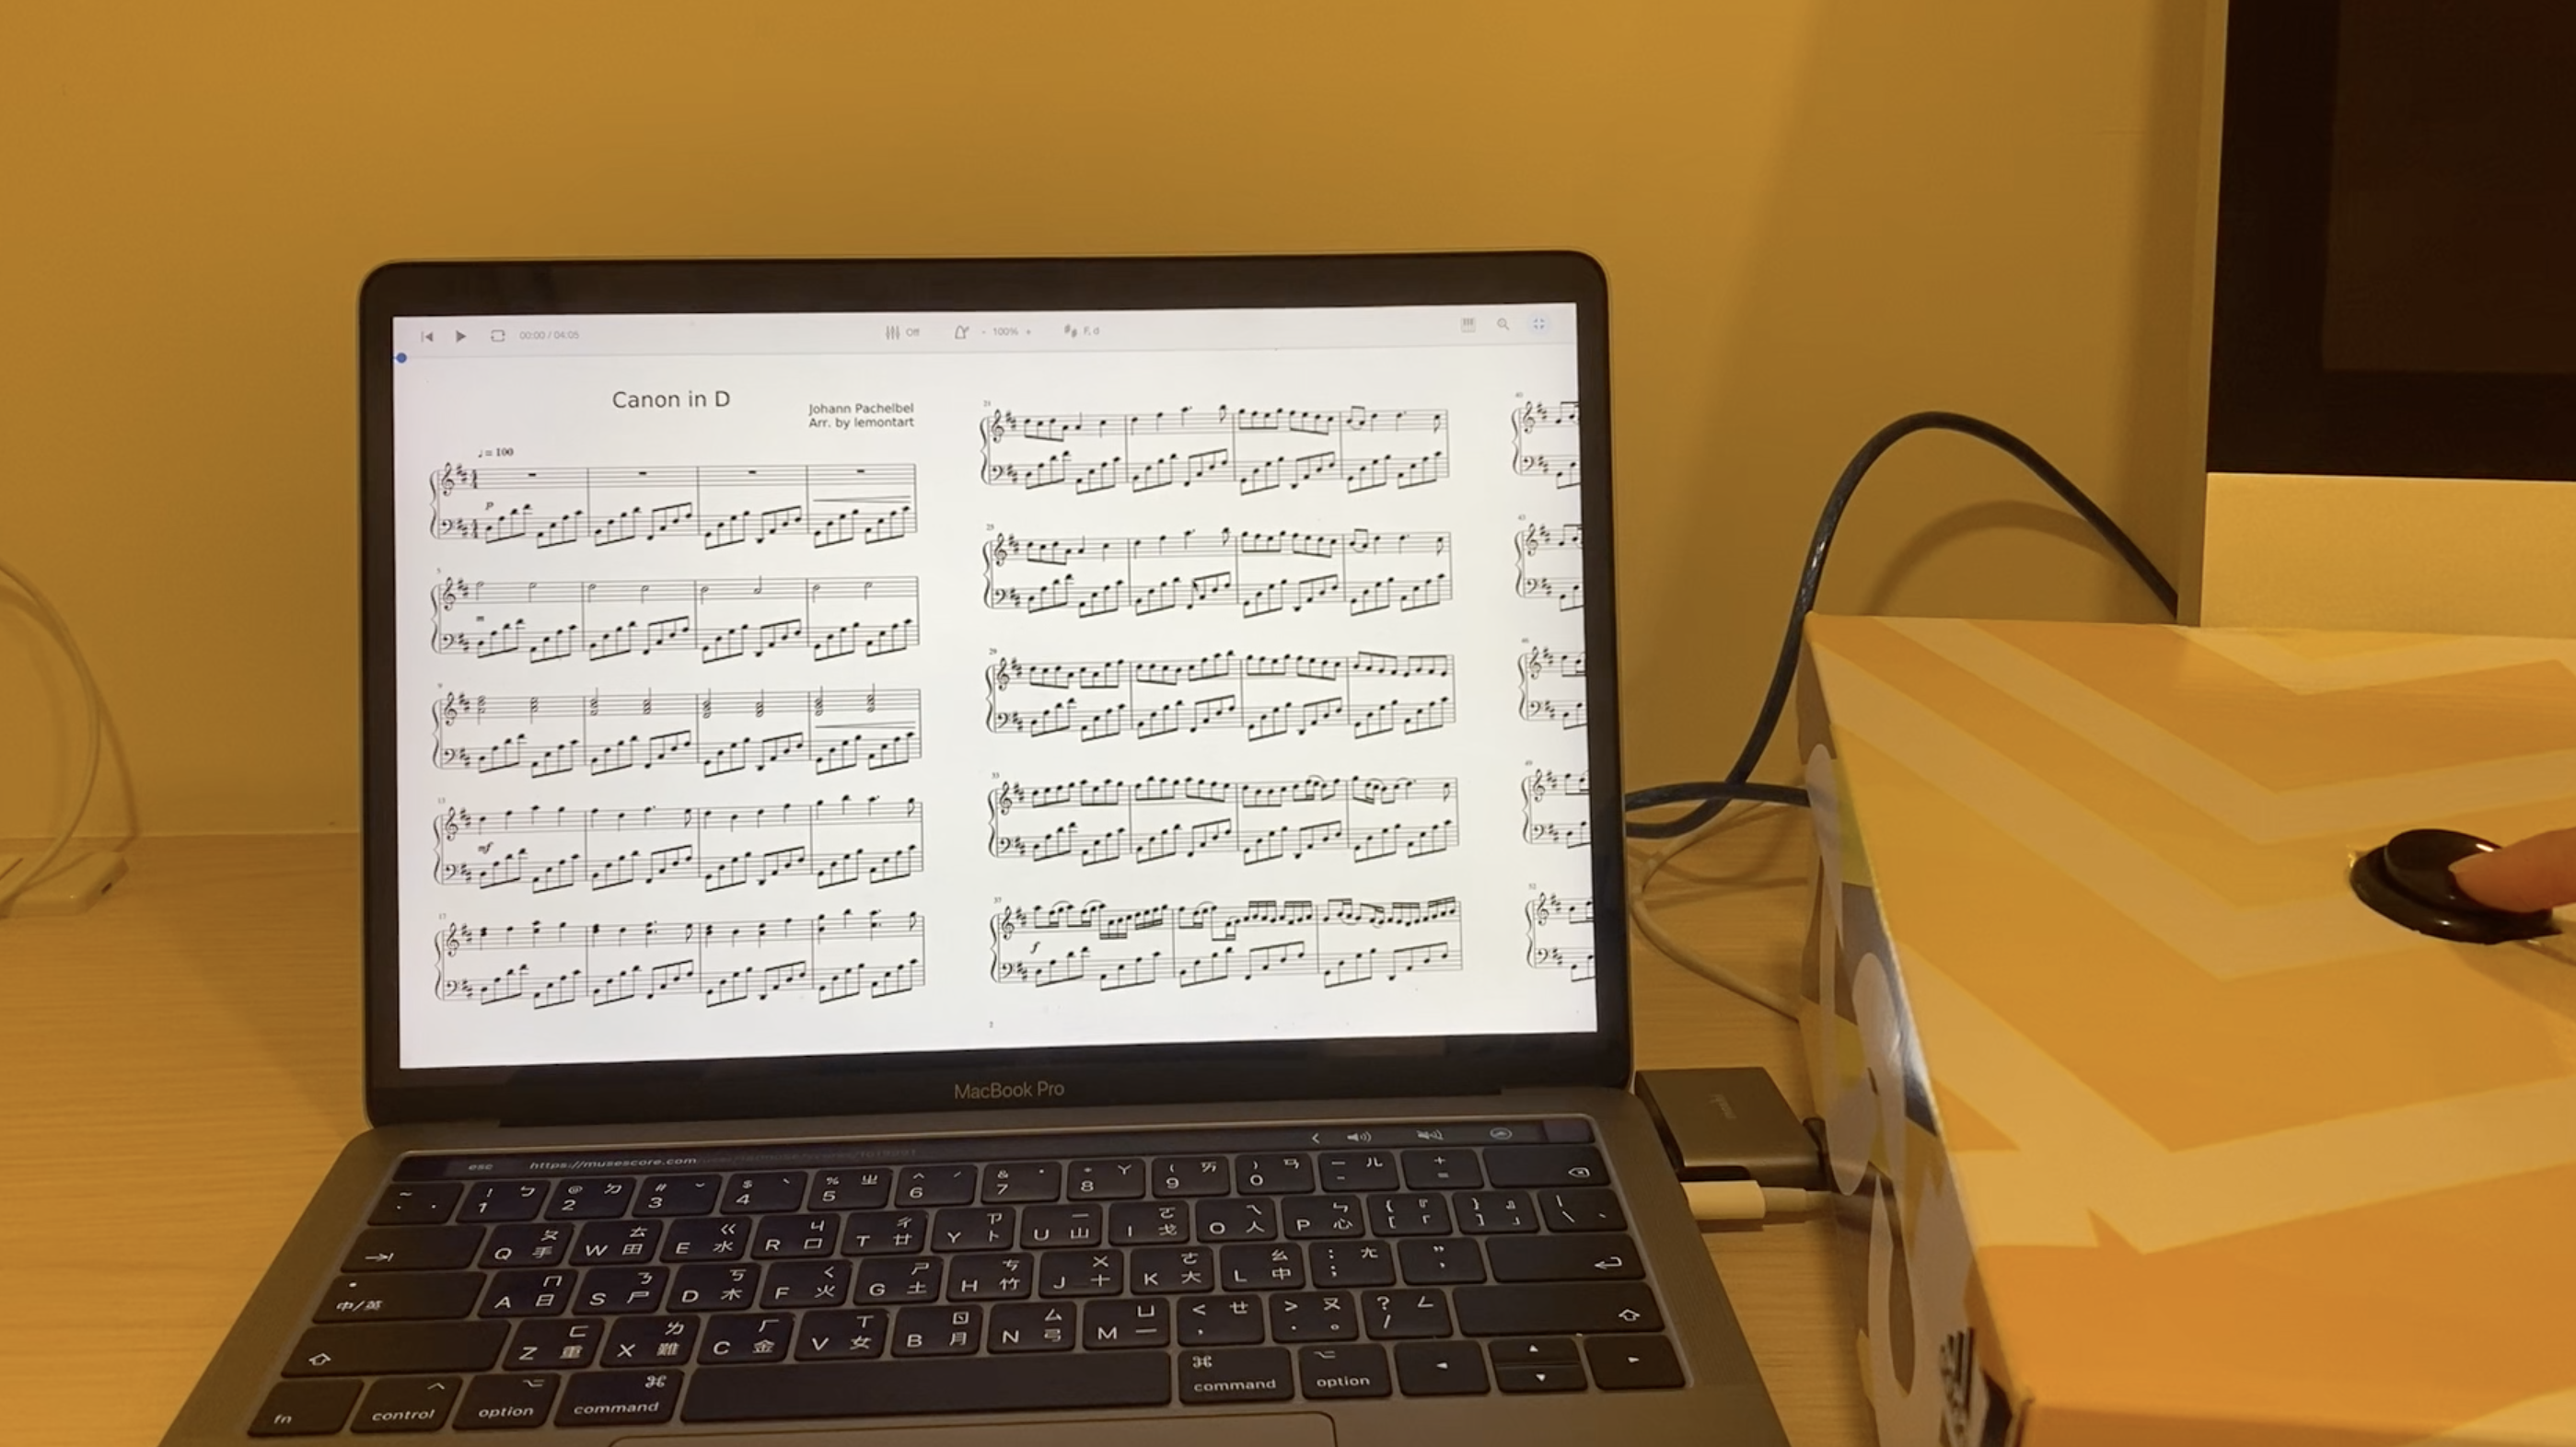
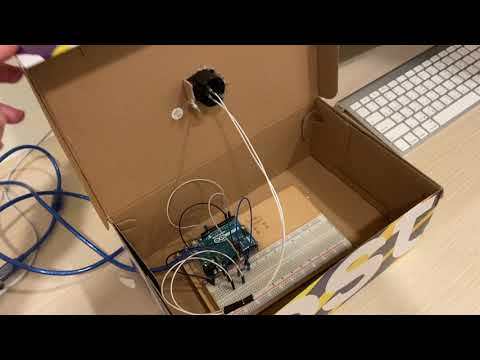
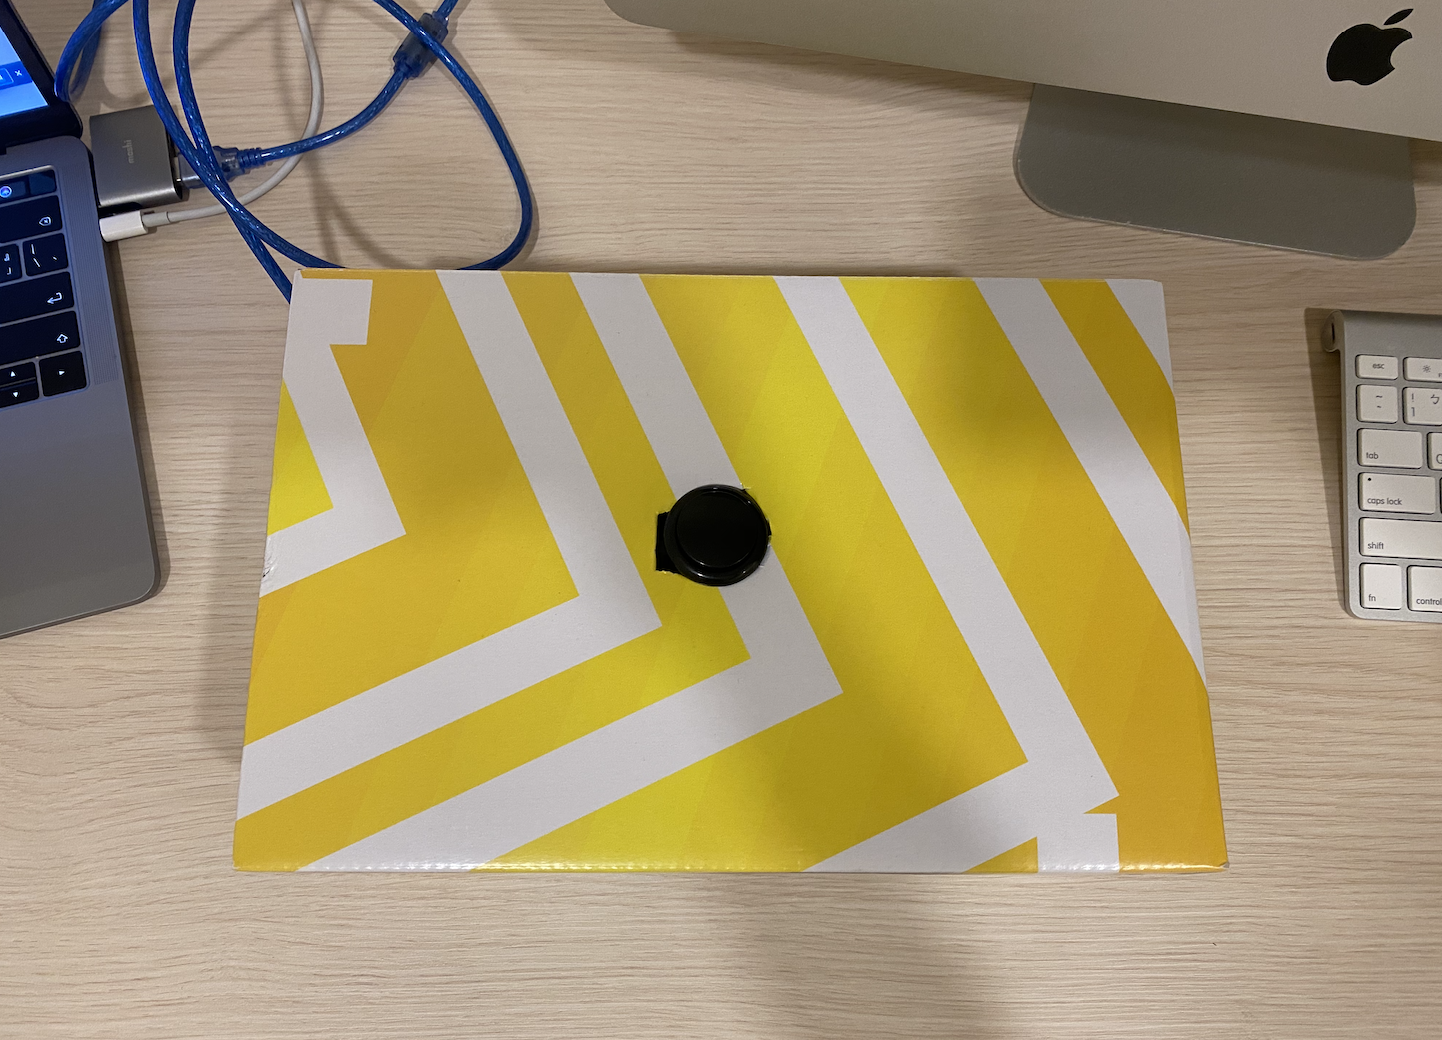
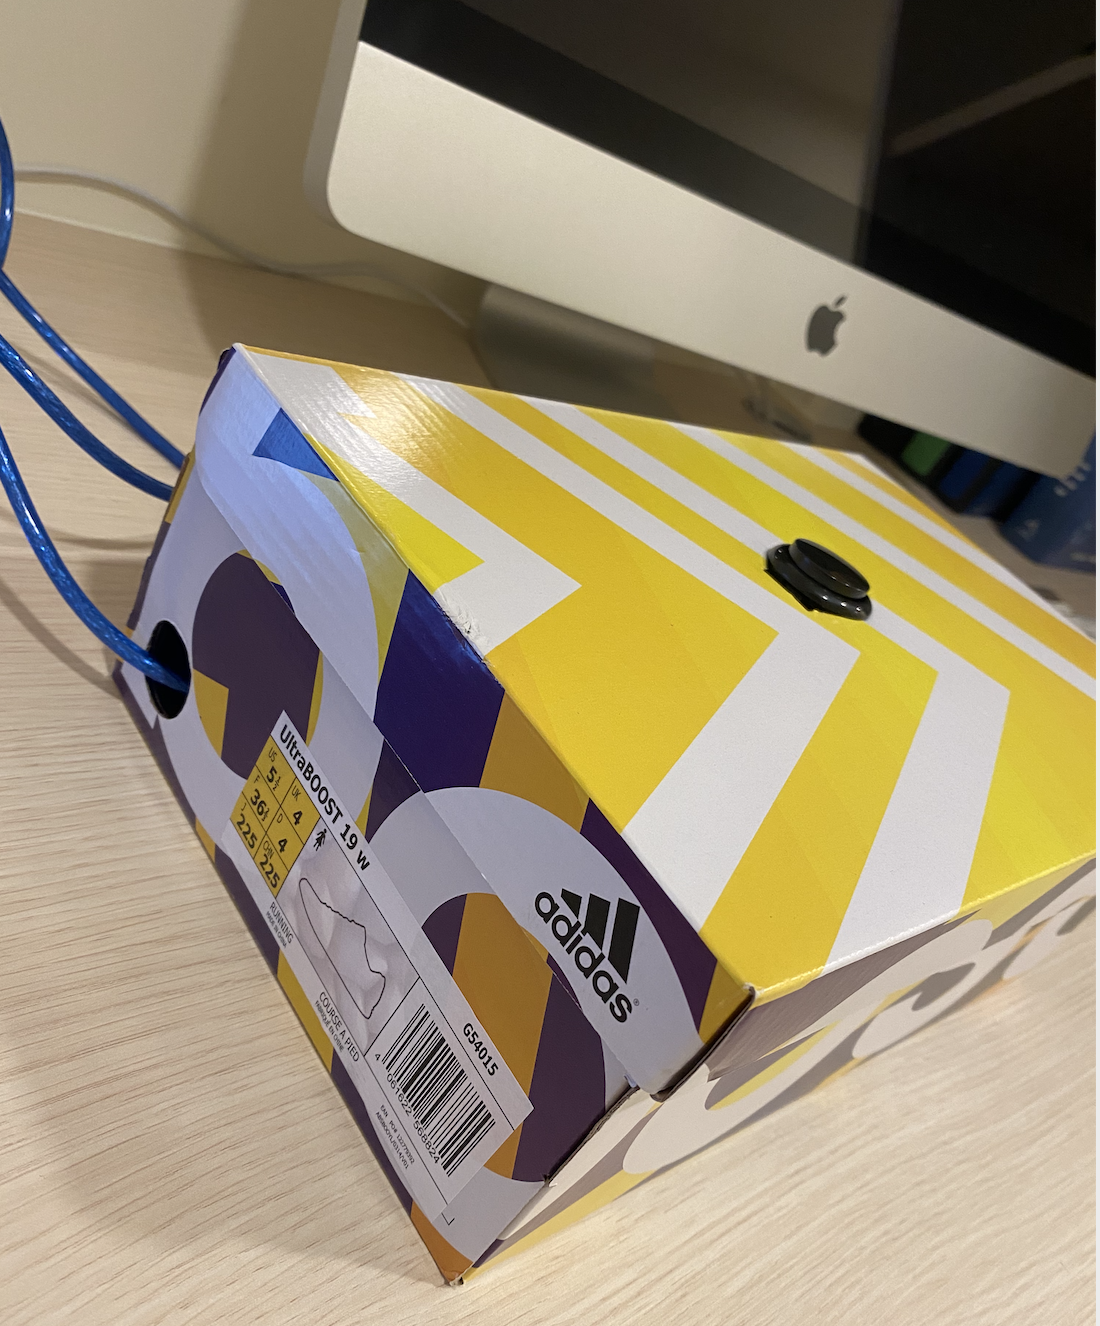
Have you ever had trouble flipping pages while playing an instrument? I'm sure many of us have. This automatic page-turner can help you solve the problem. It is super easy to work with. You simply place the product on the floor and all you need to do it step on the button to flip pages. More importantly, this is very easy to make! So without further ado, let's get started!
Supplies
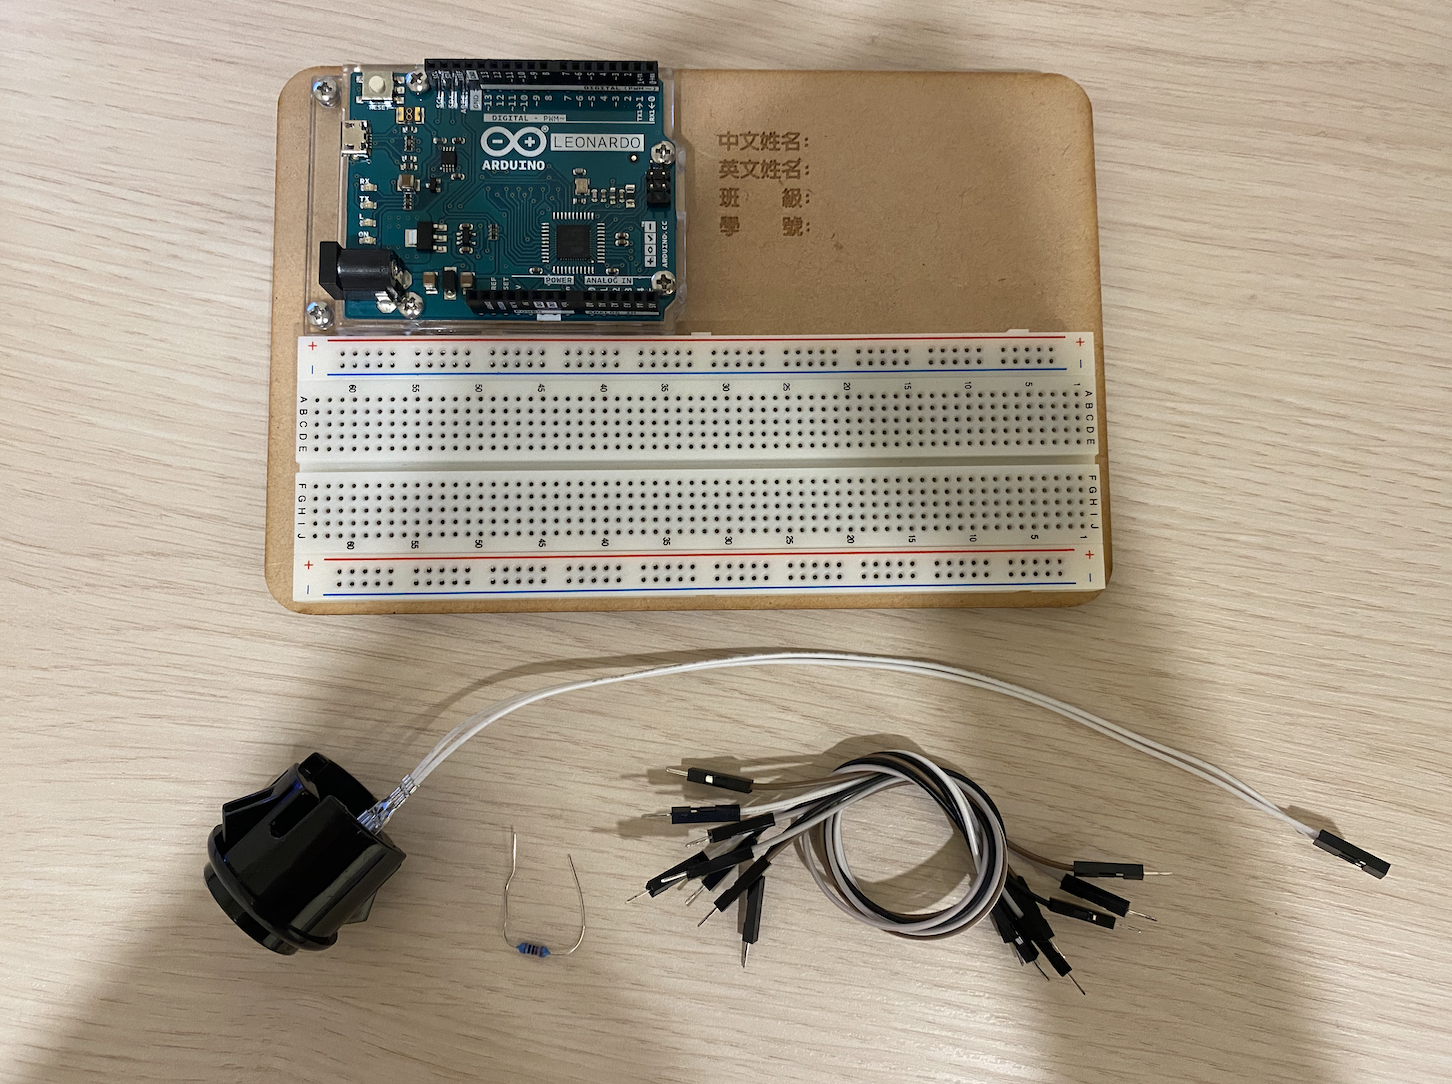

- Arduino Leonardo board
- Breadboard
- Jumper wires x8
- 470 ohm resistor
- Button
- Shoebox box
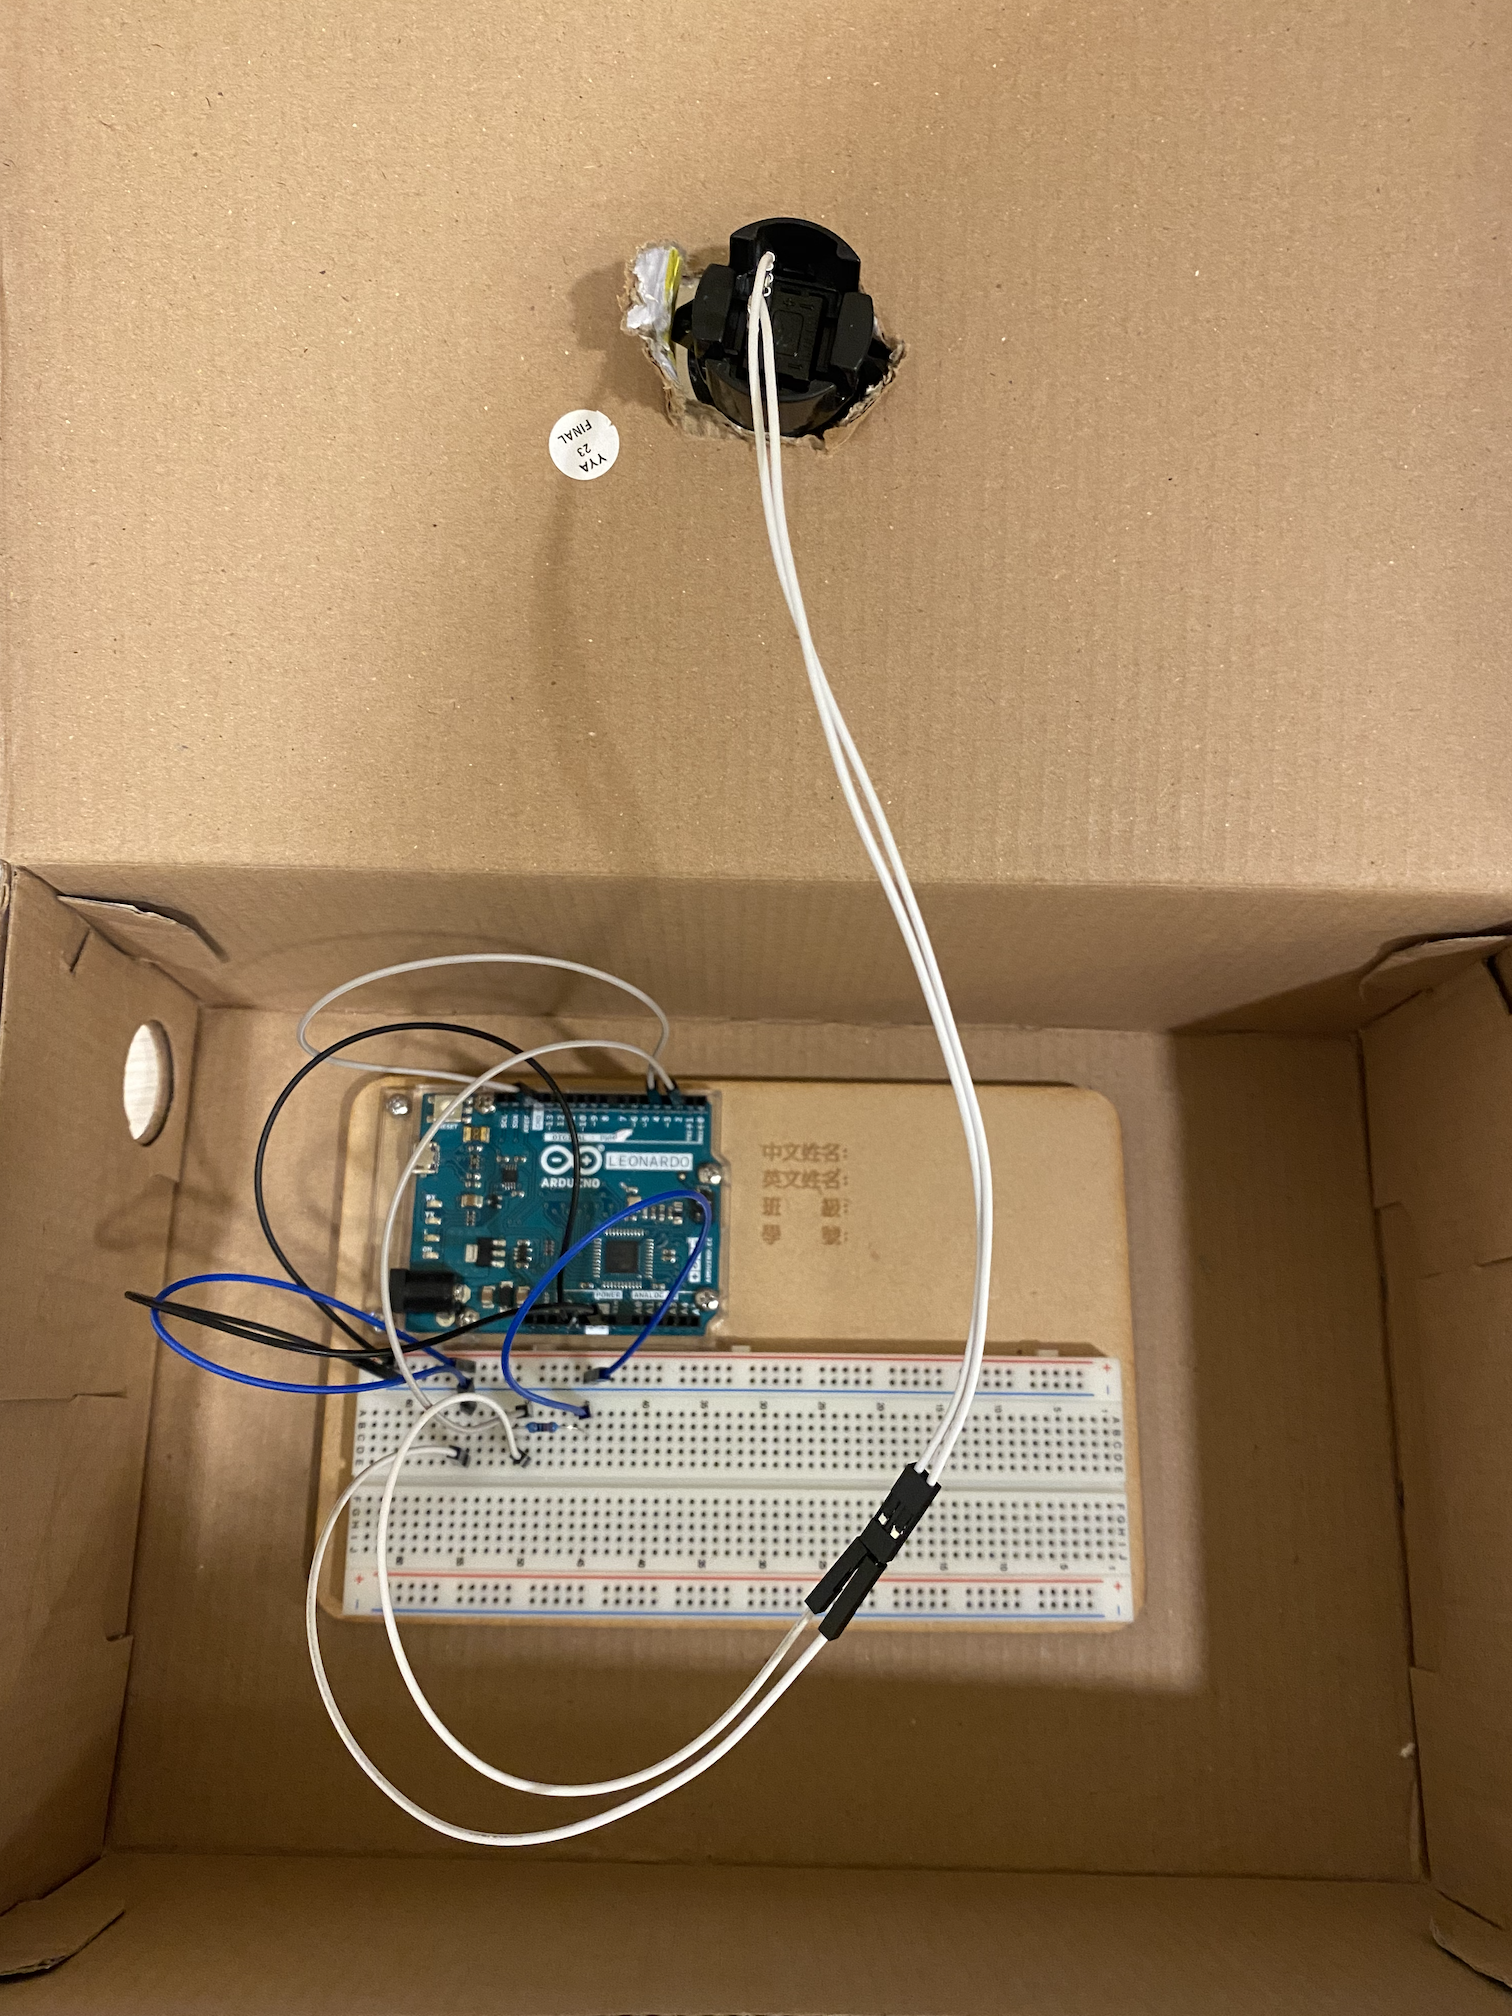
Assemble the Electronics
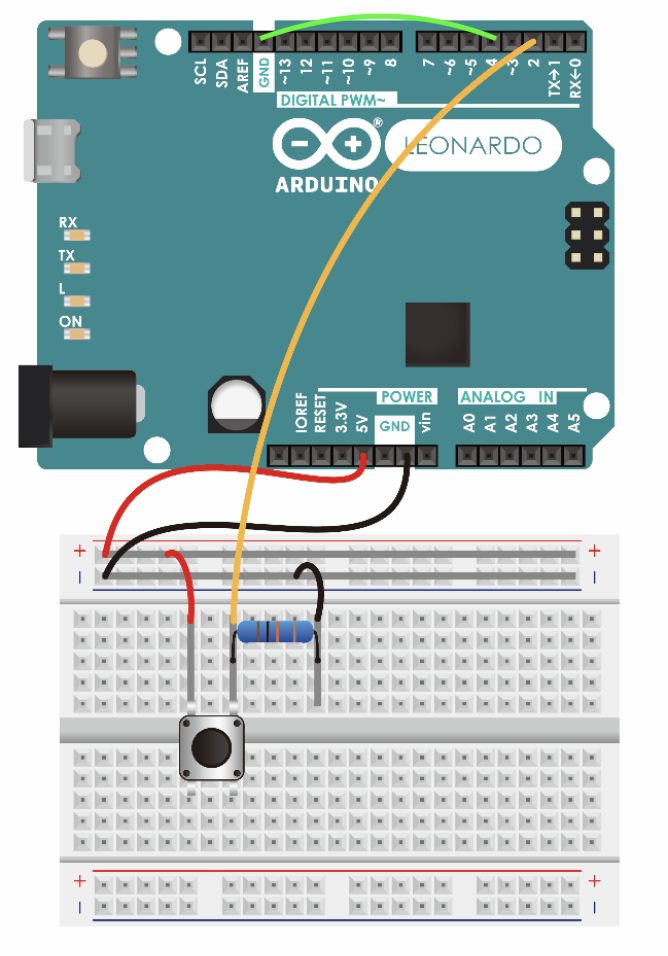
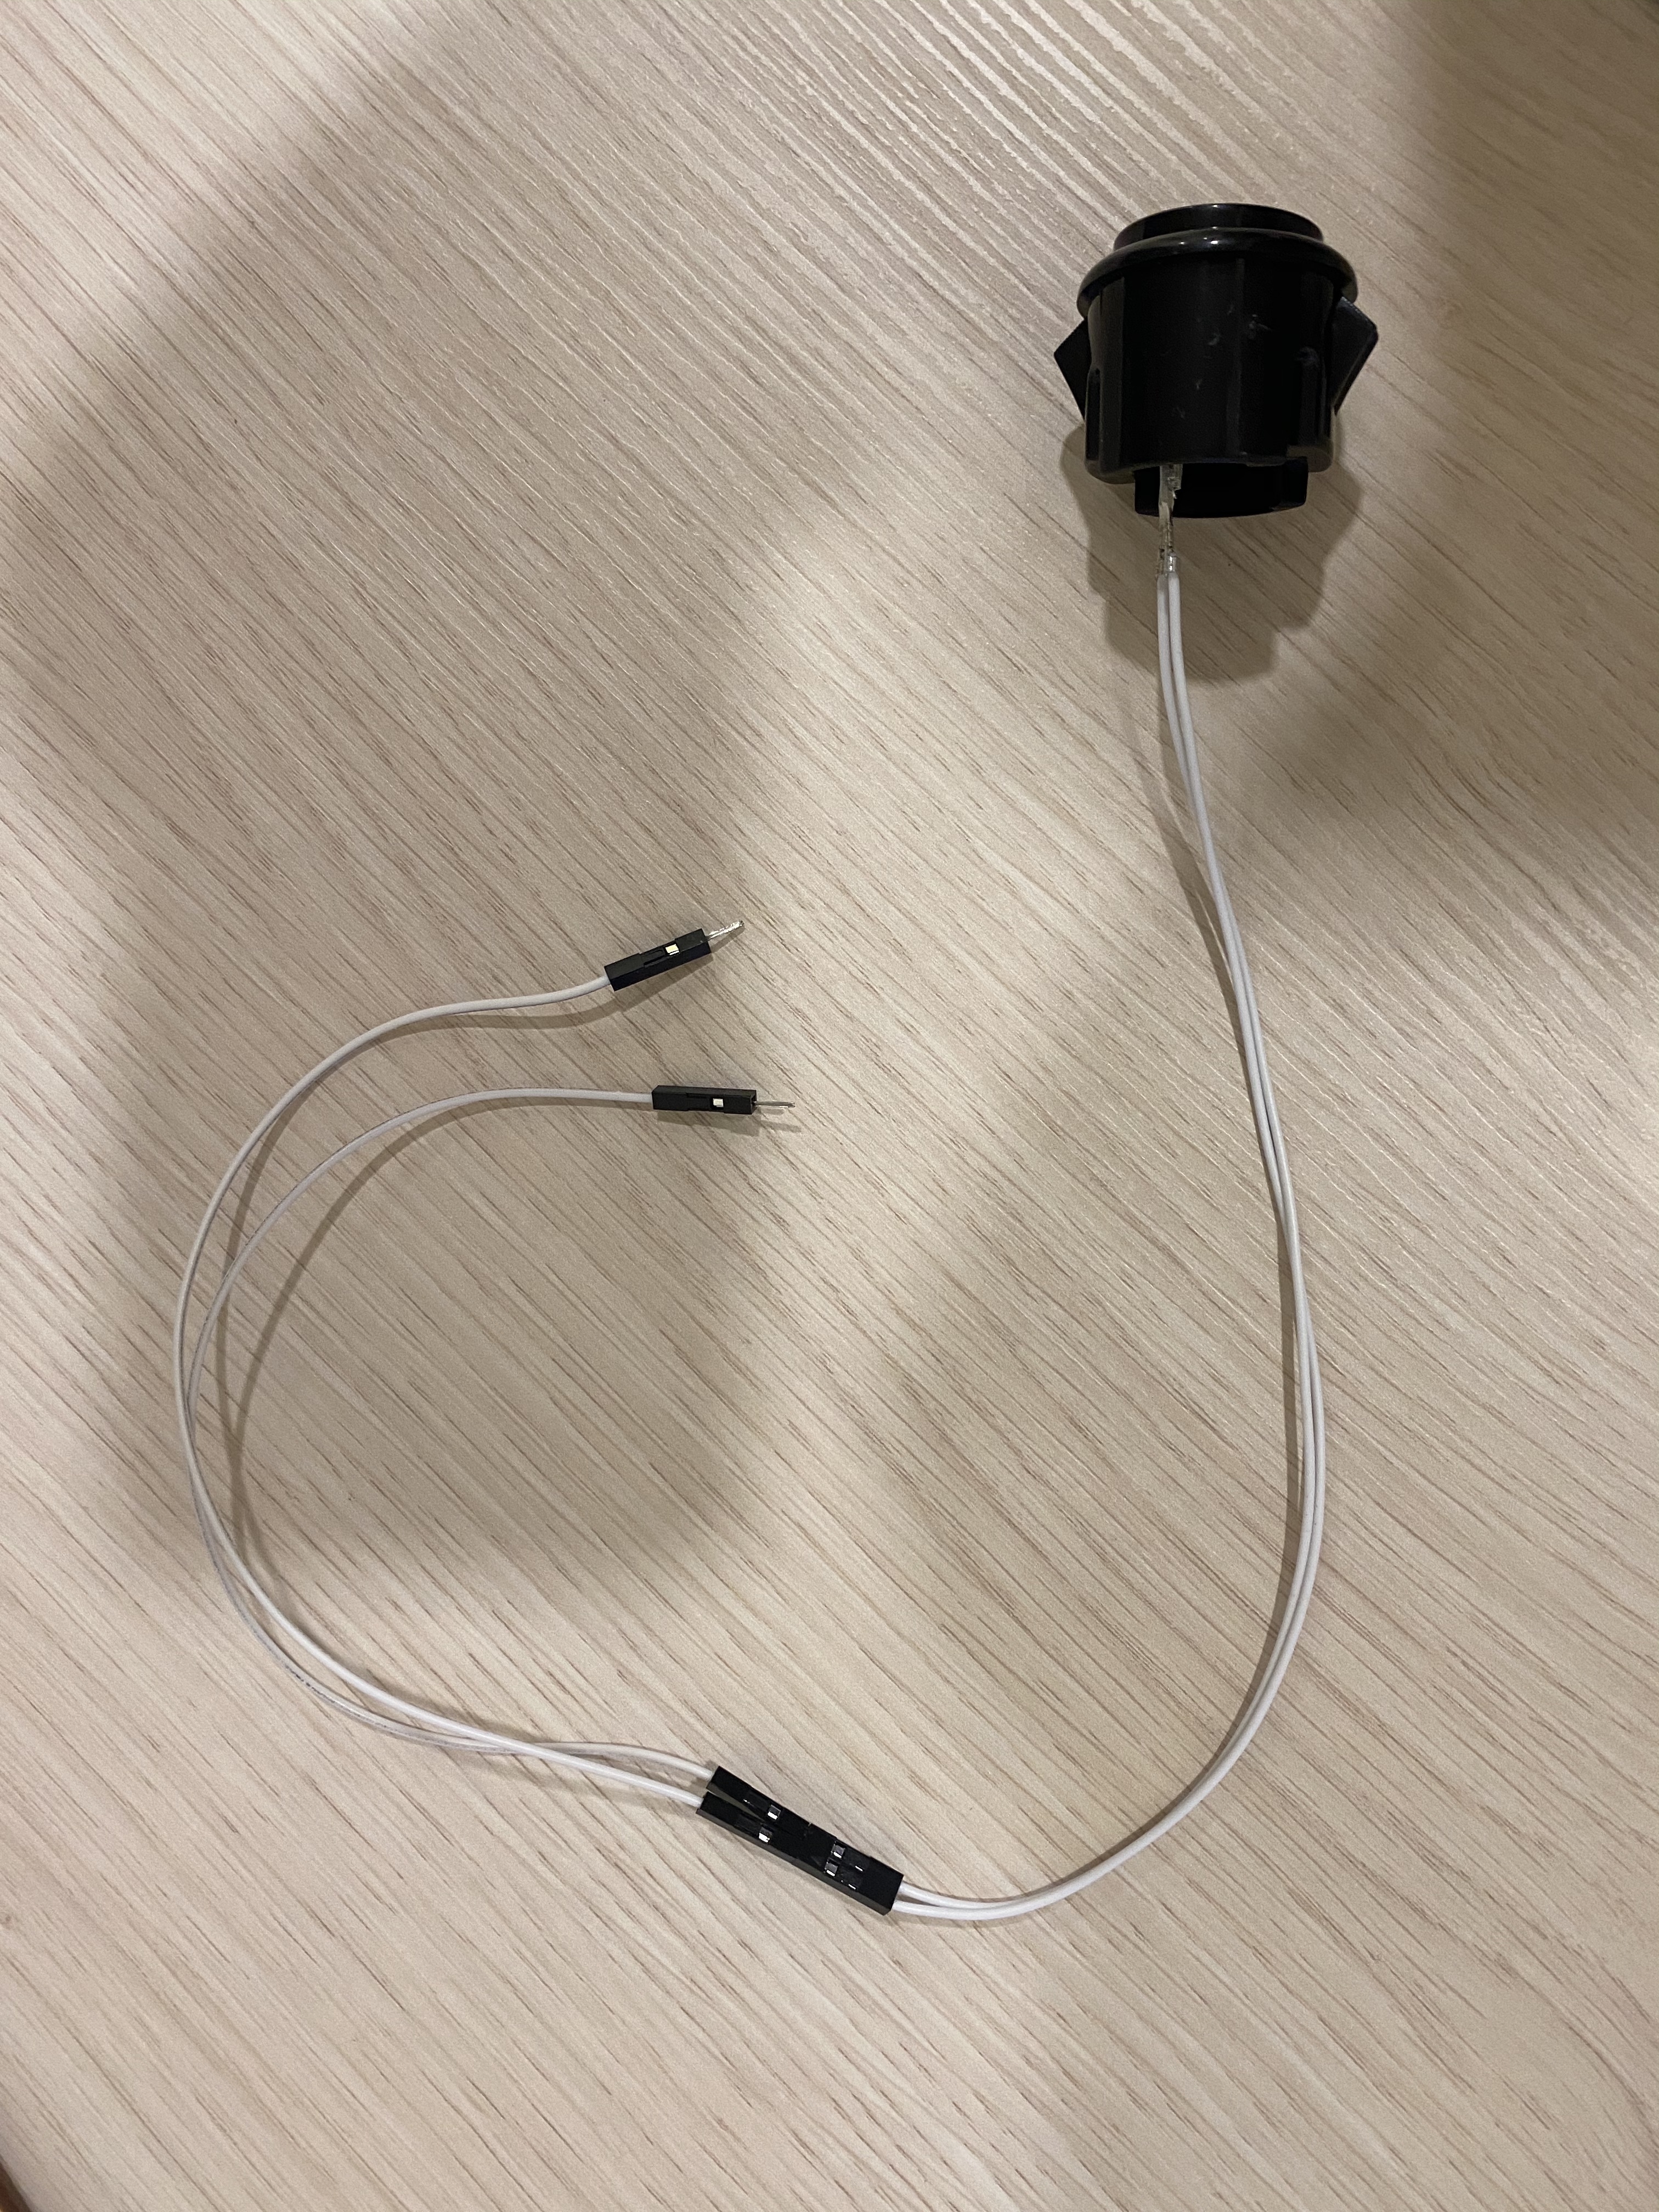
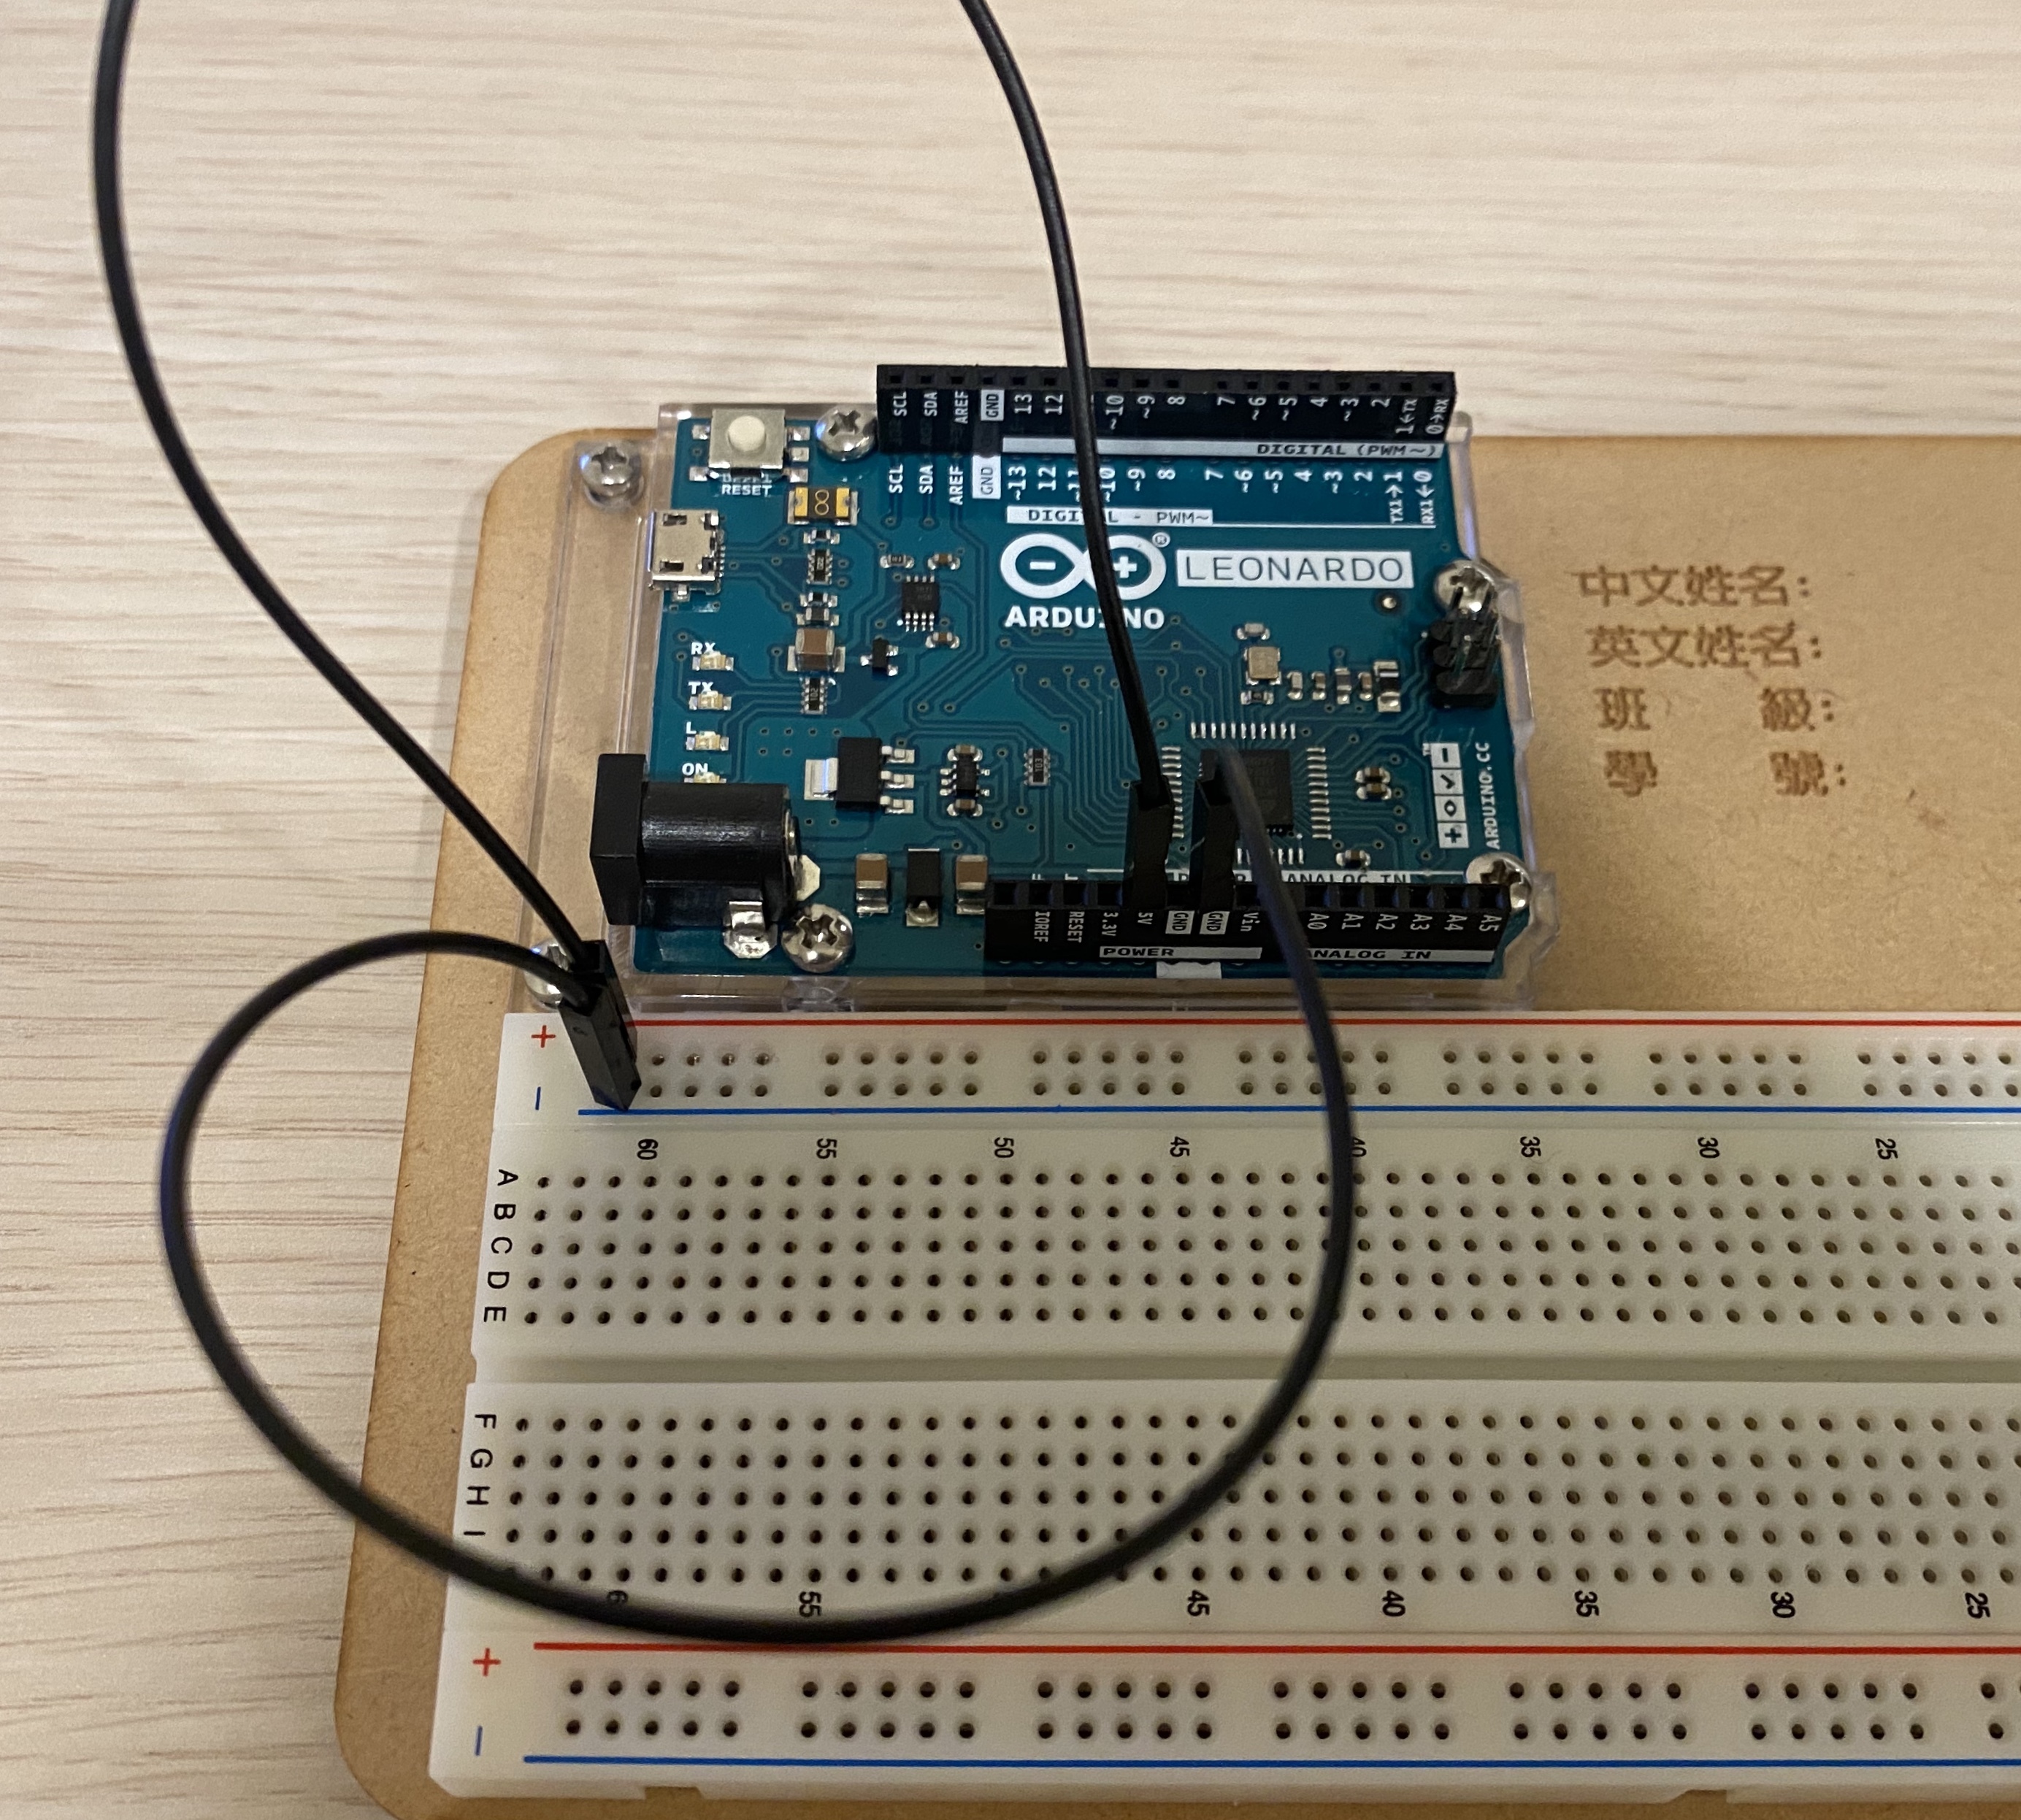
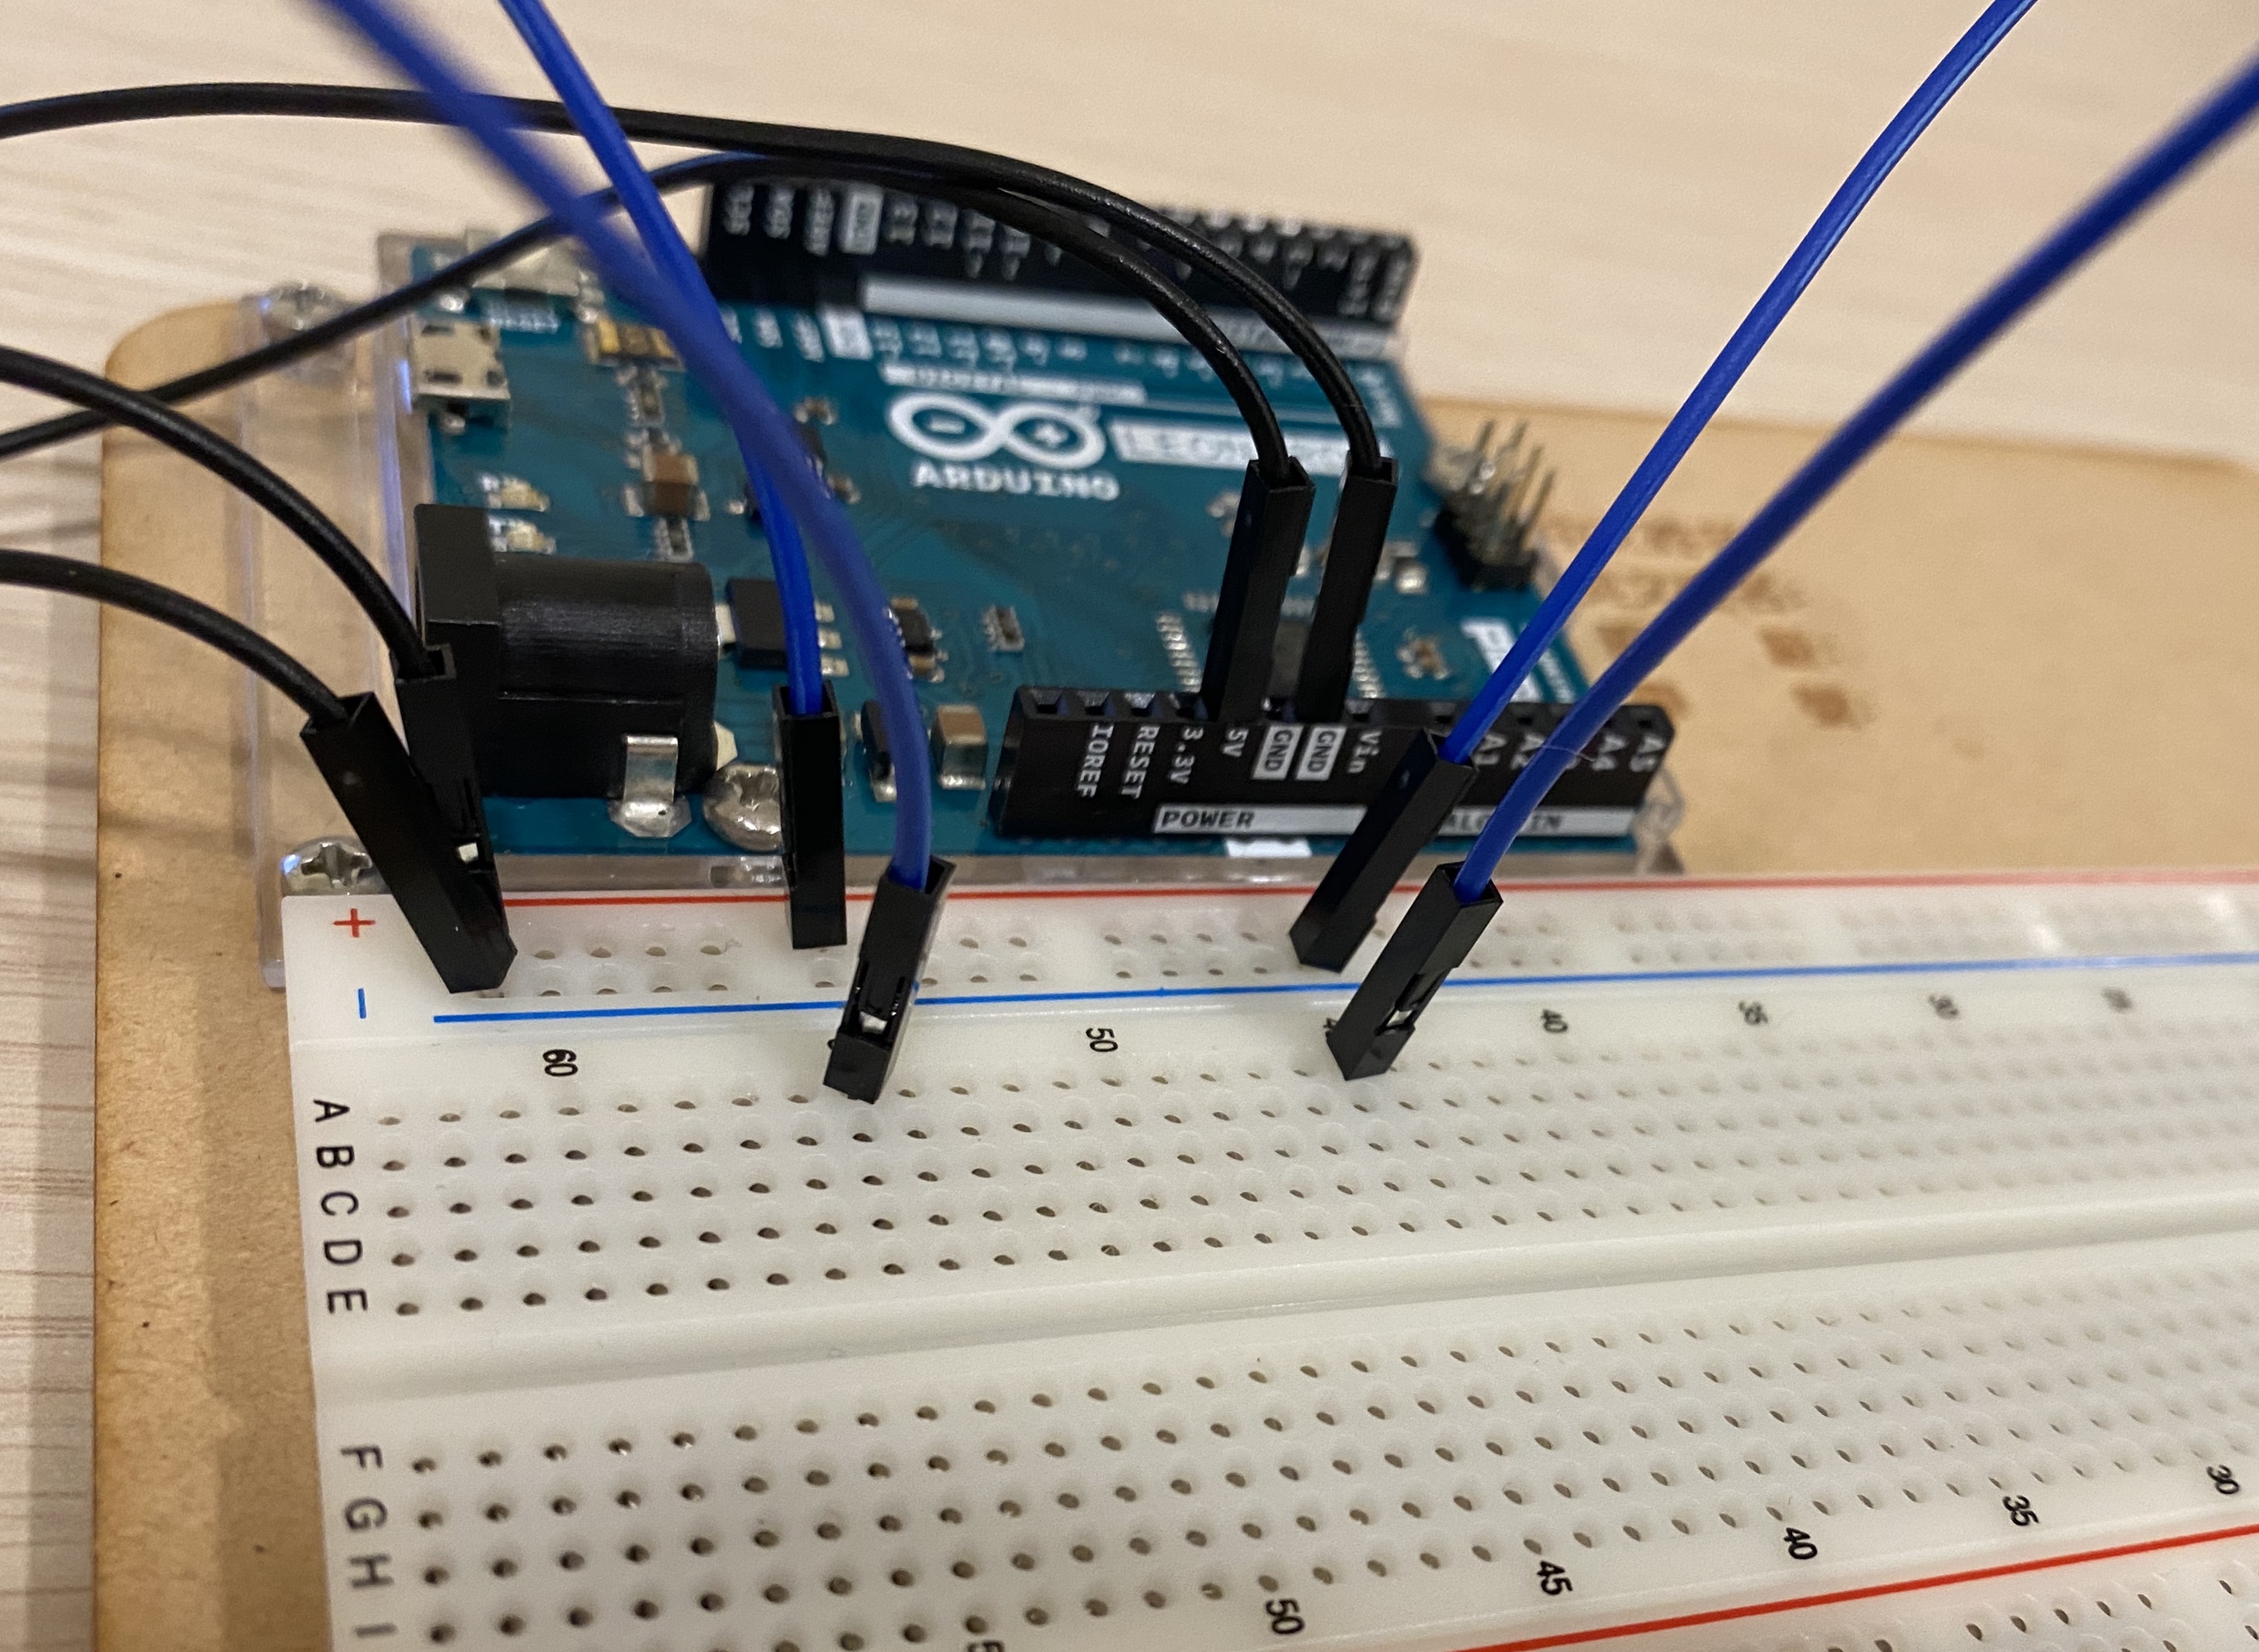
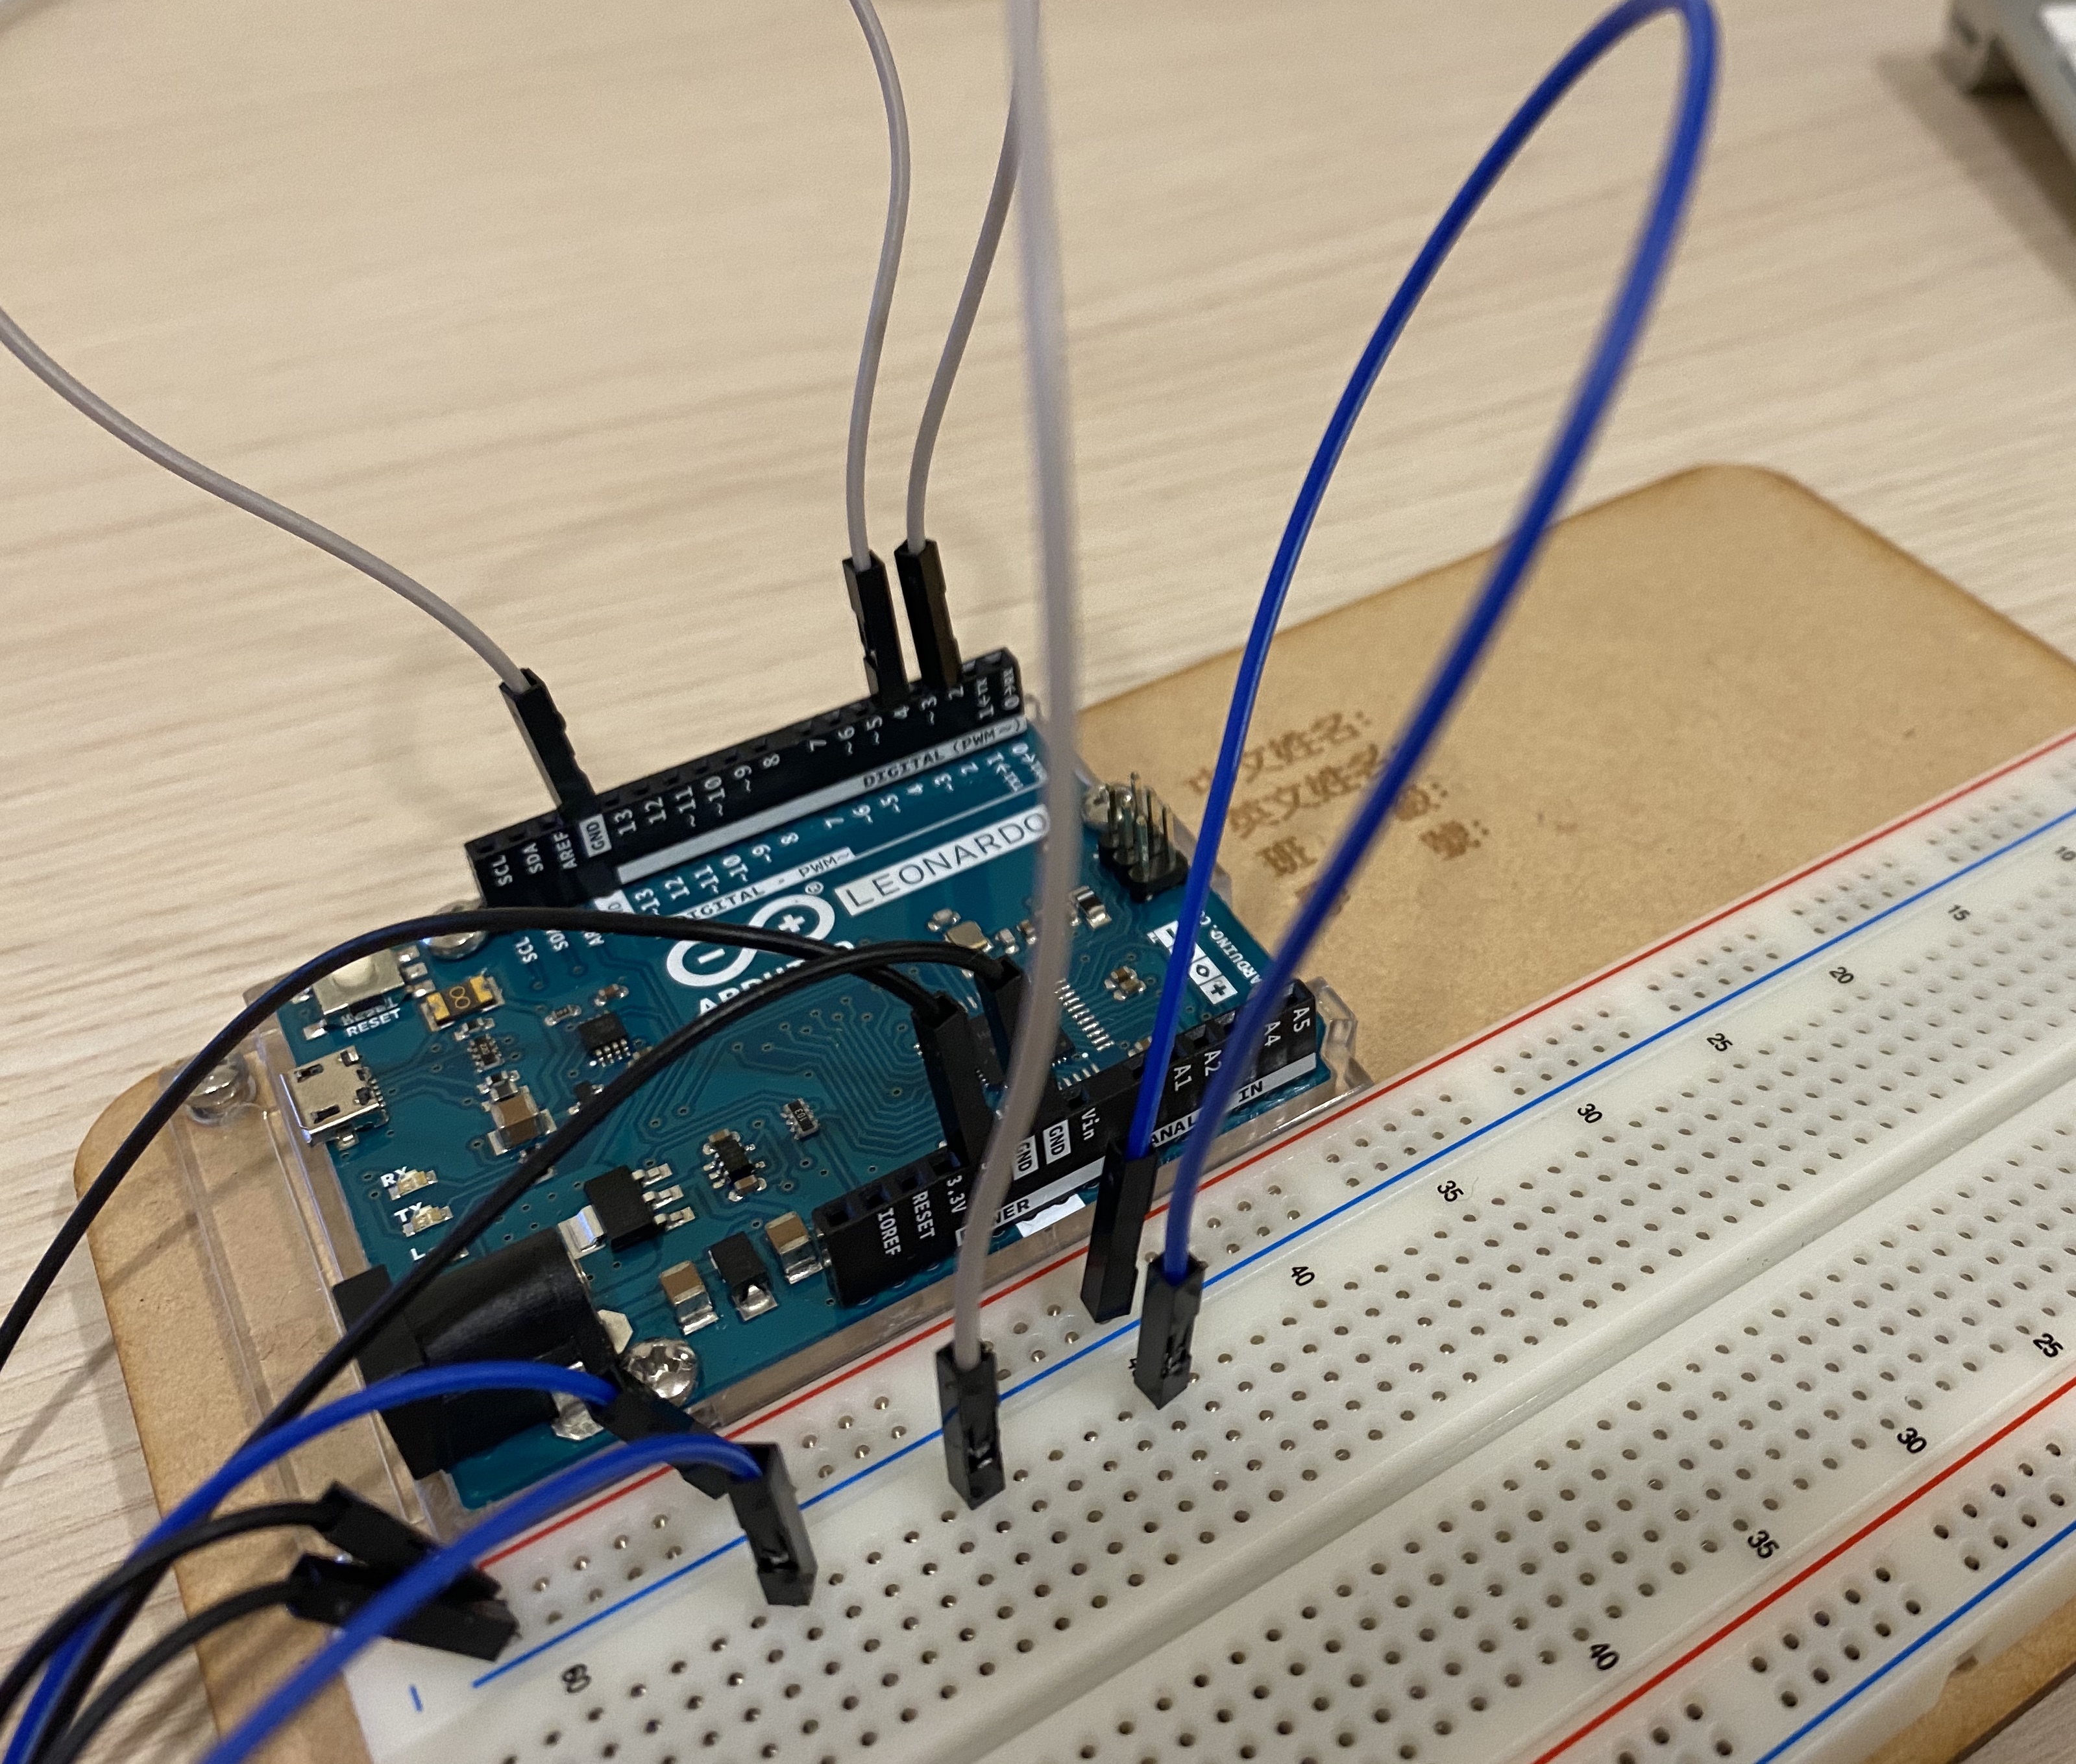
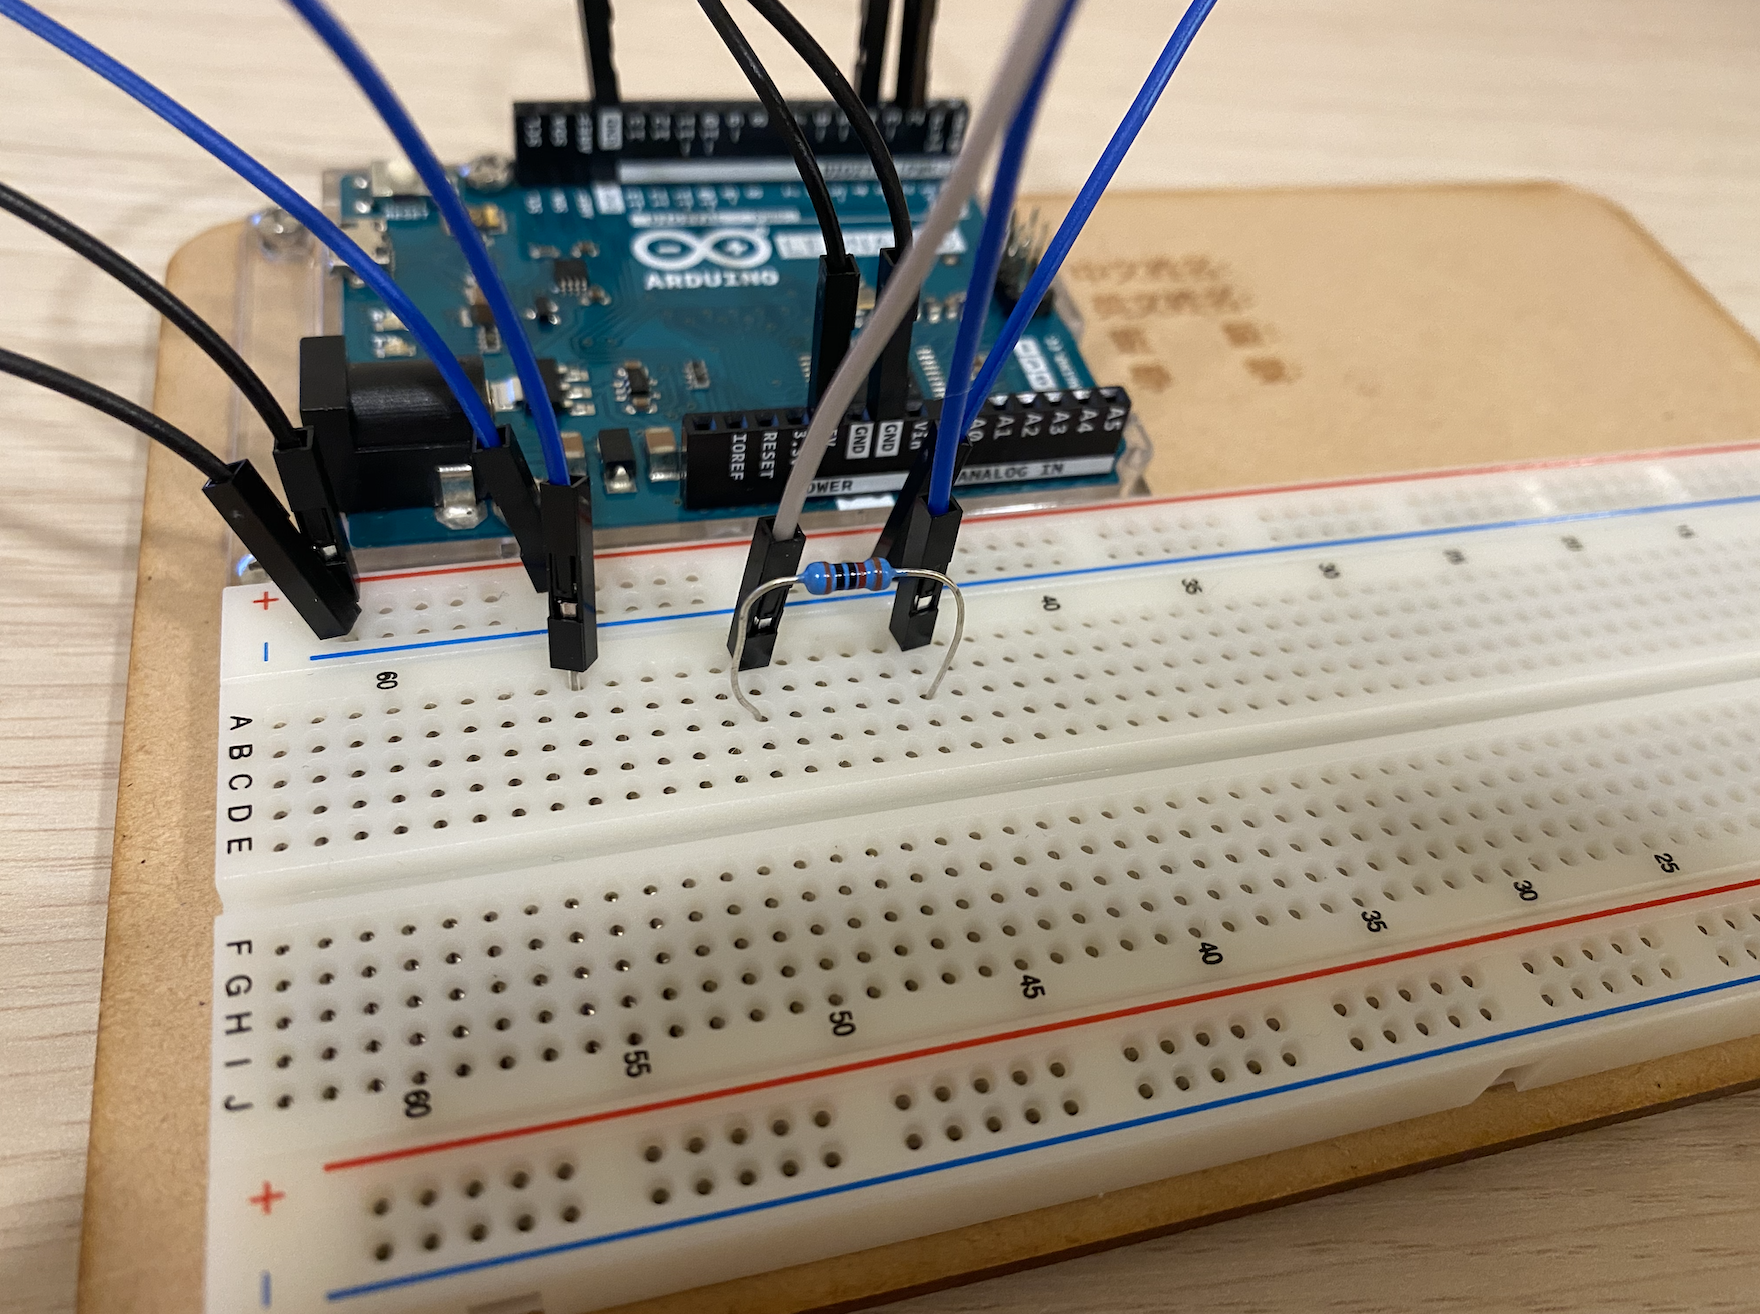
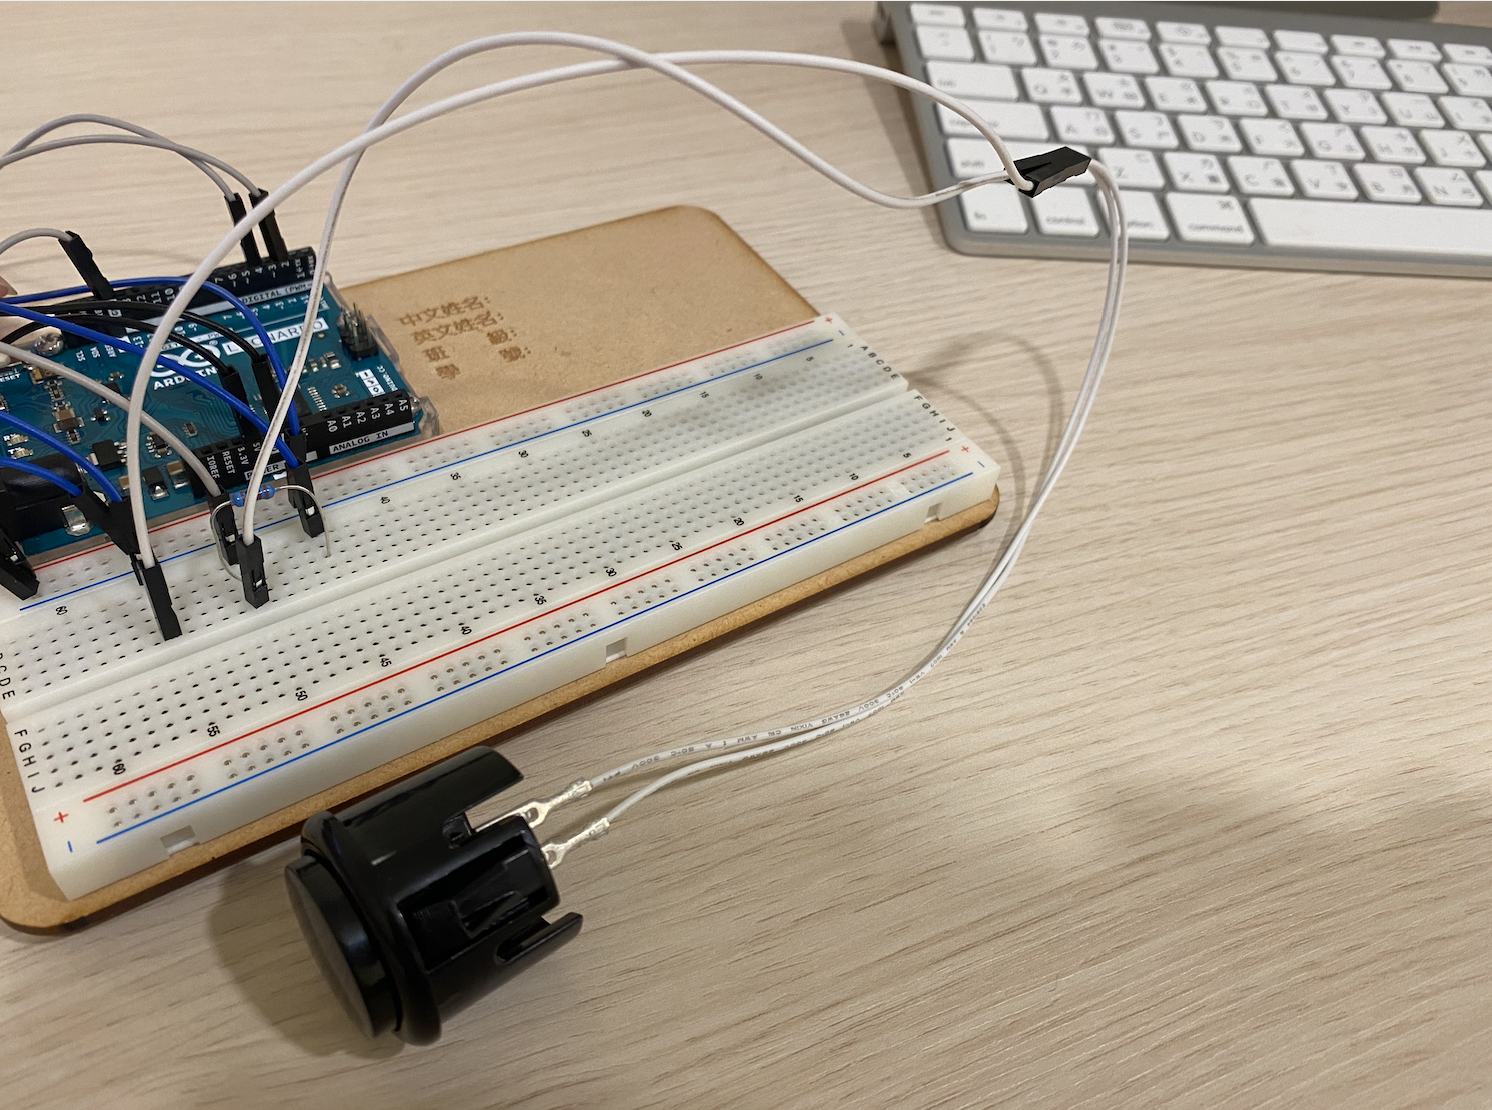
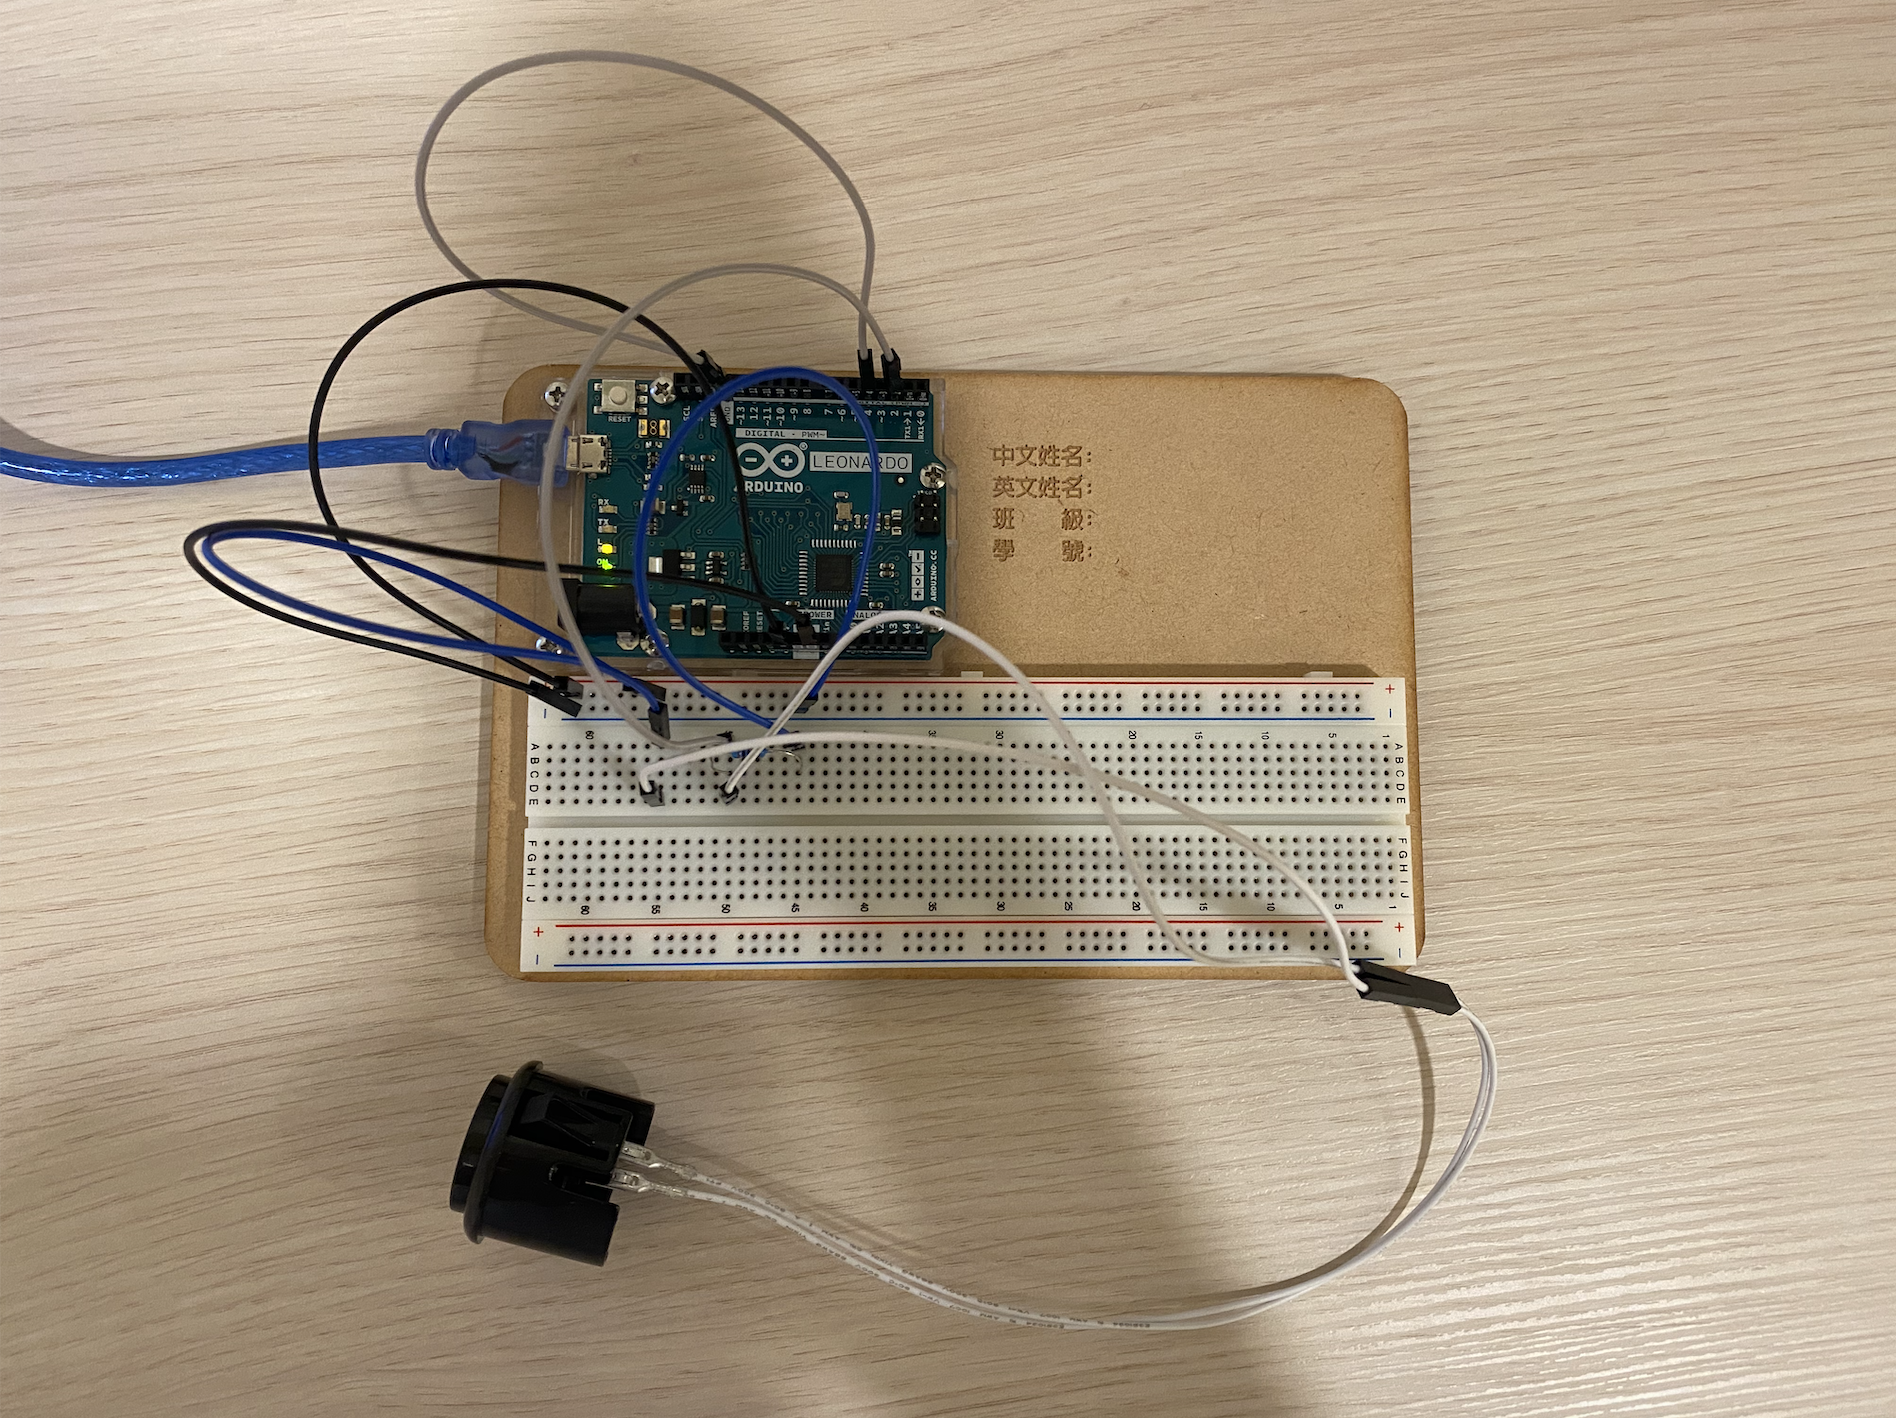
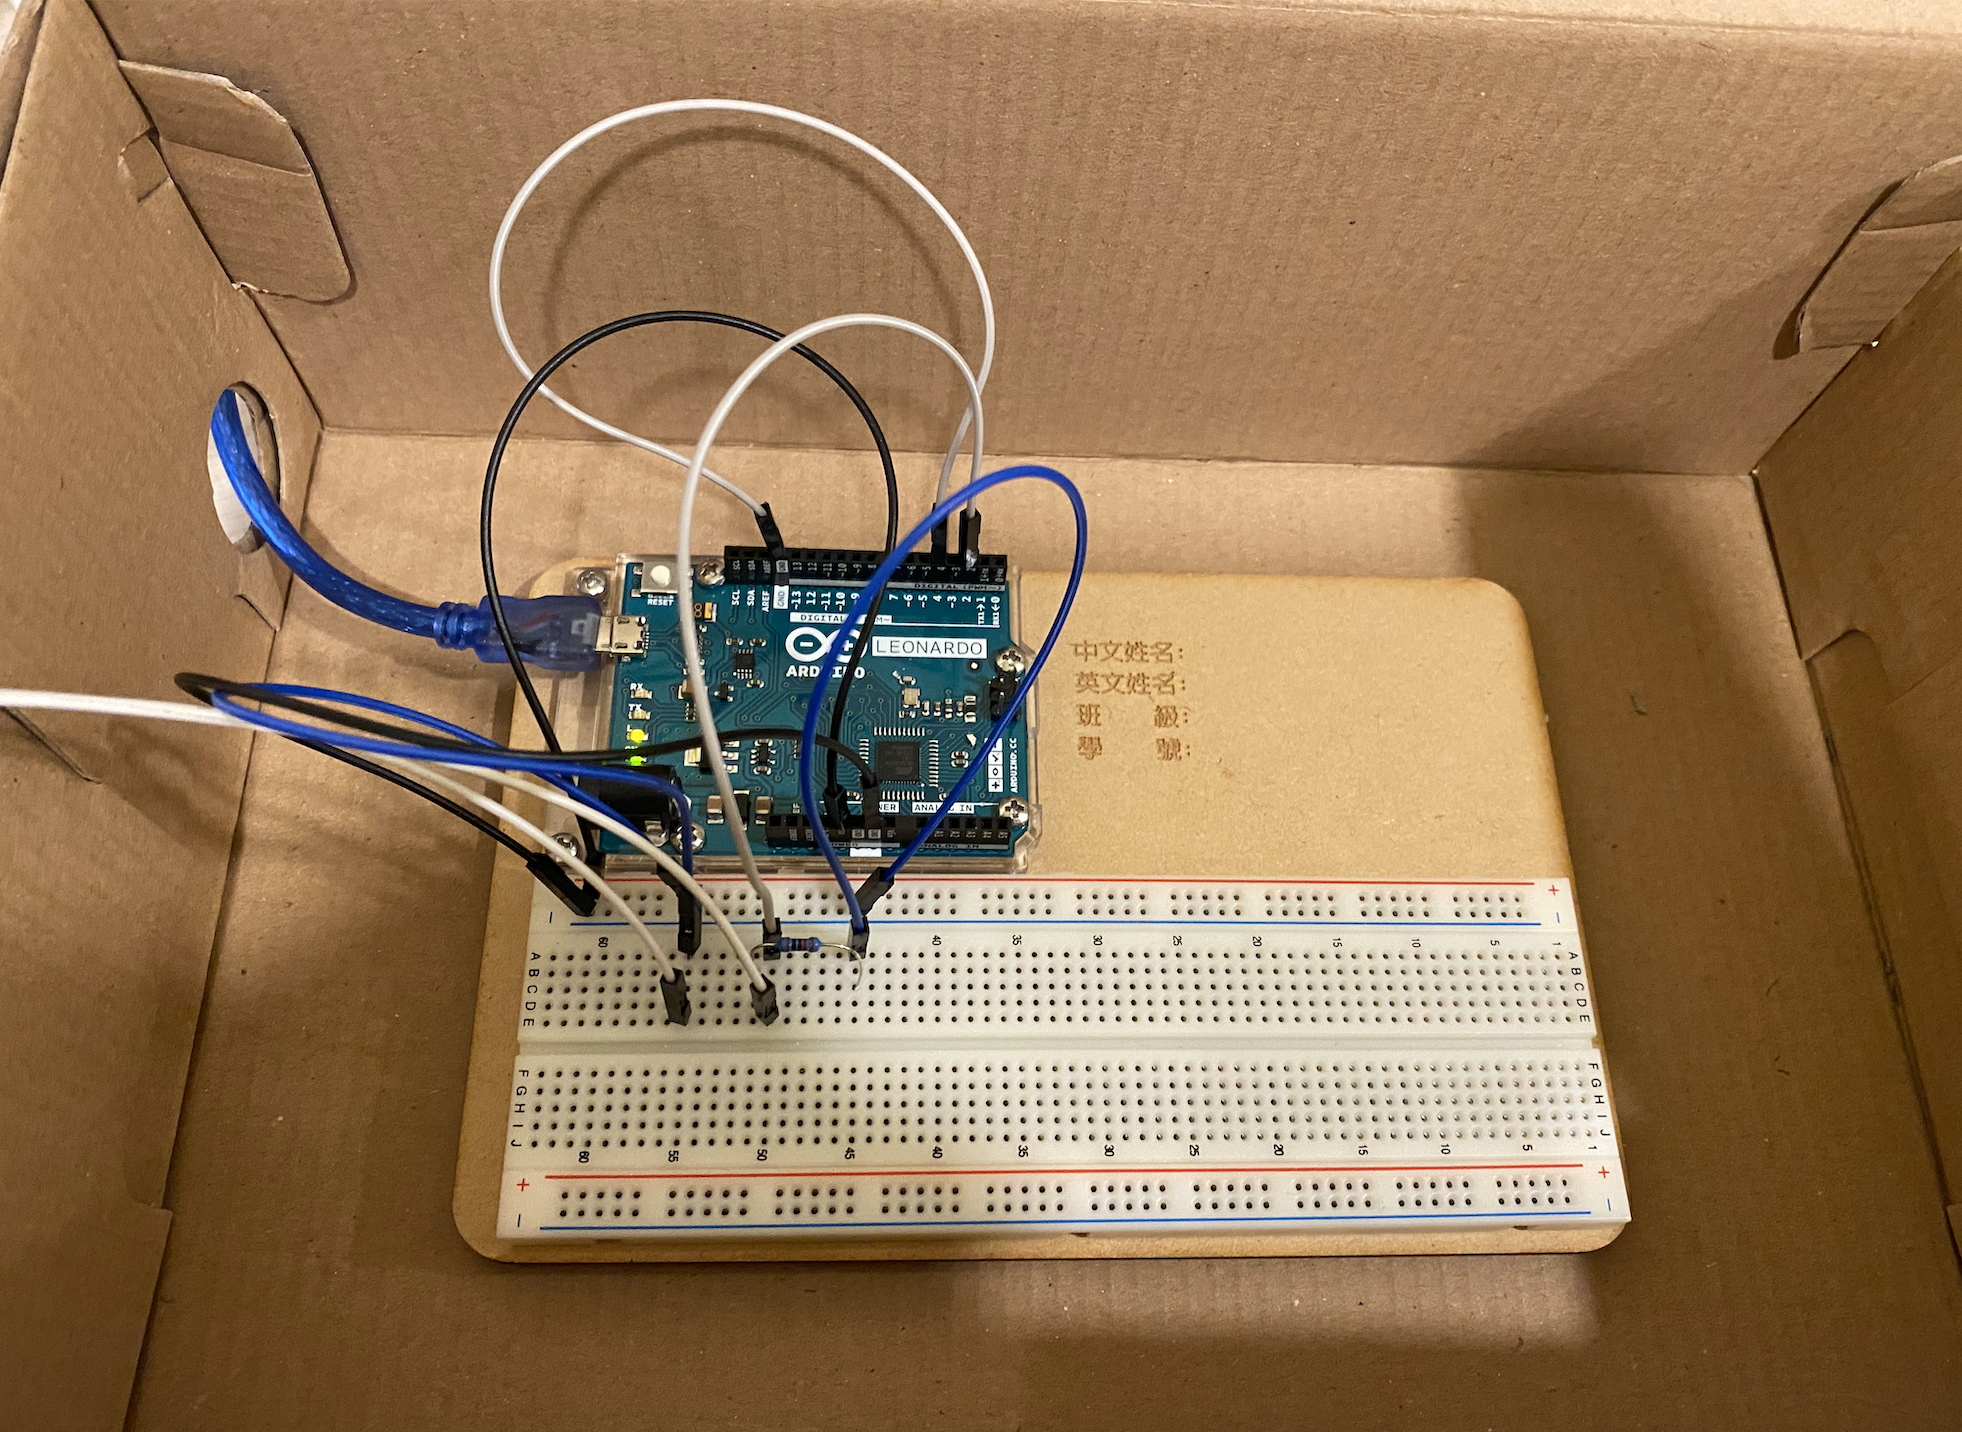
- connect the wires to the button
- connect 5v to positive and GND to negative
- connect positive and negative to the breadboard
- connect GND to Pin 4 and Pin 2 to the breadboard
- connect the resistor to the breadboard
- connect the button to the breadboard
Coding
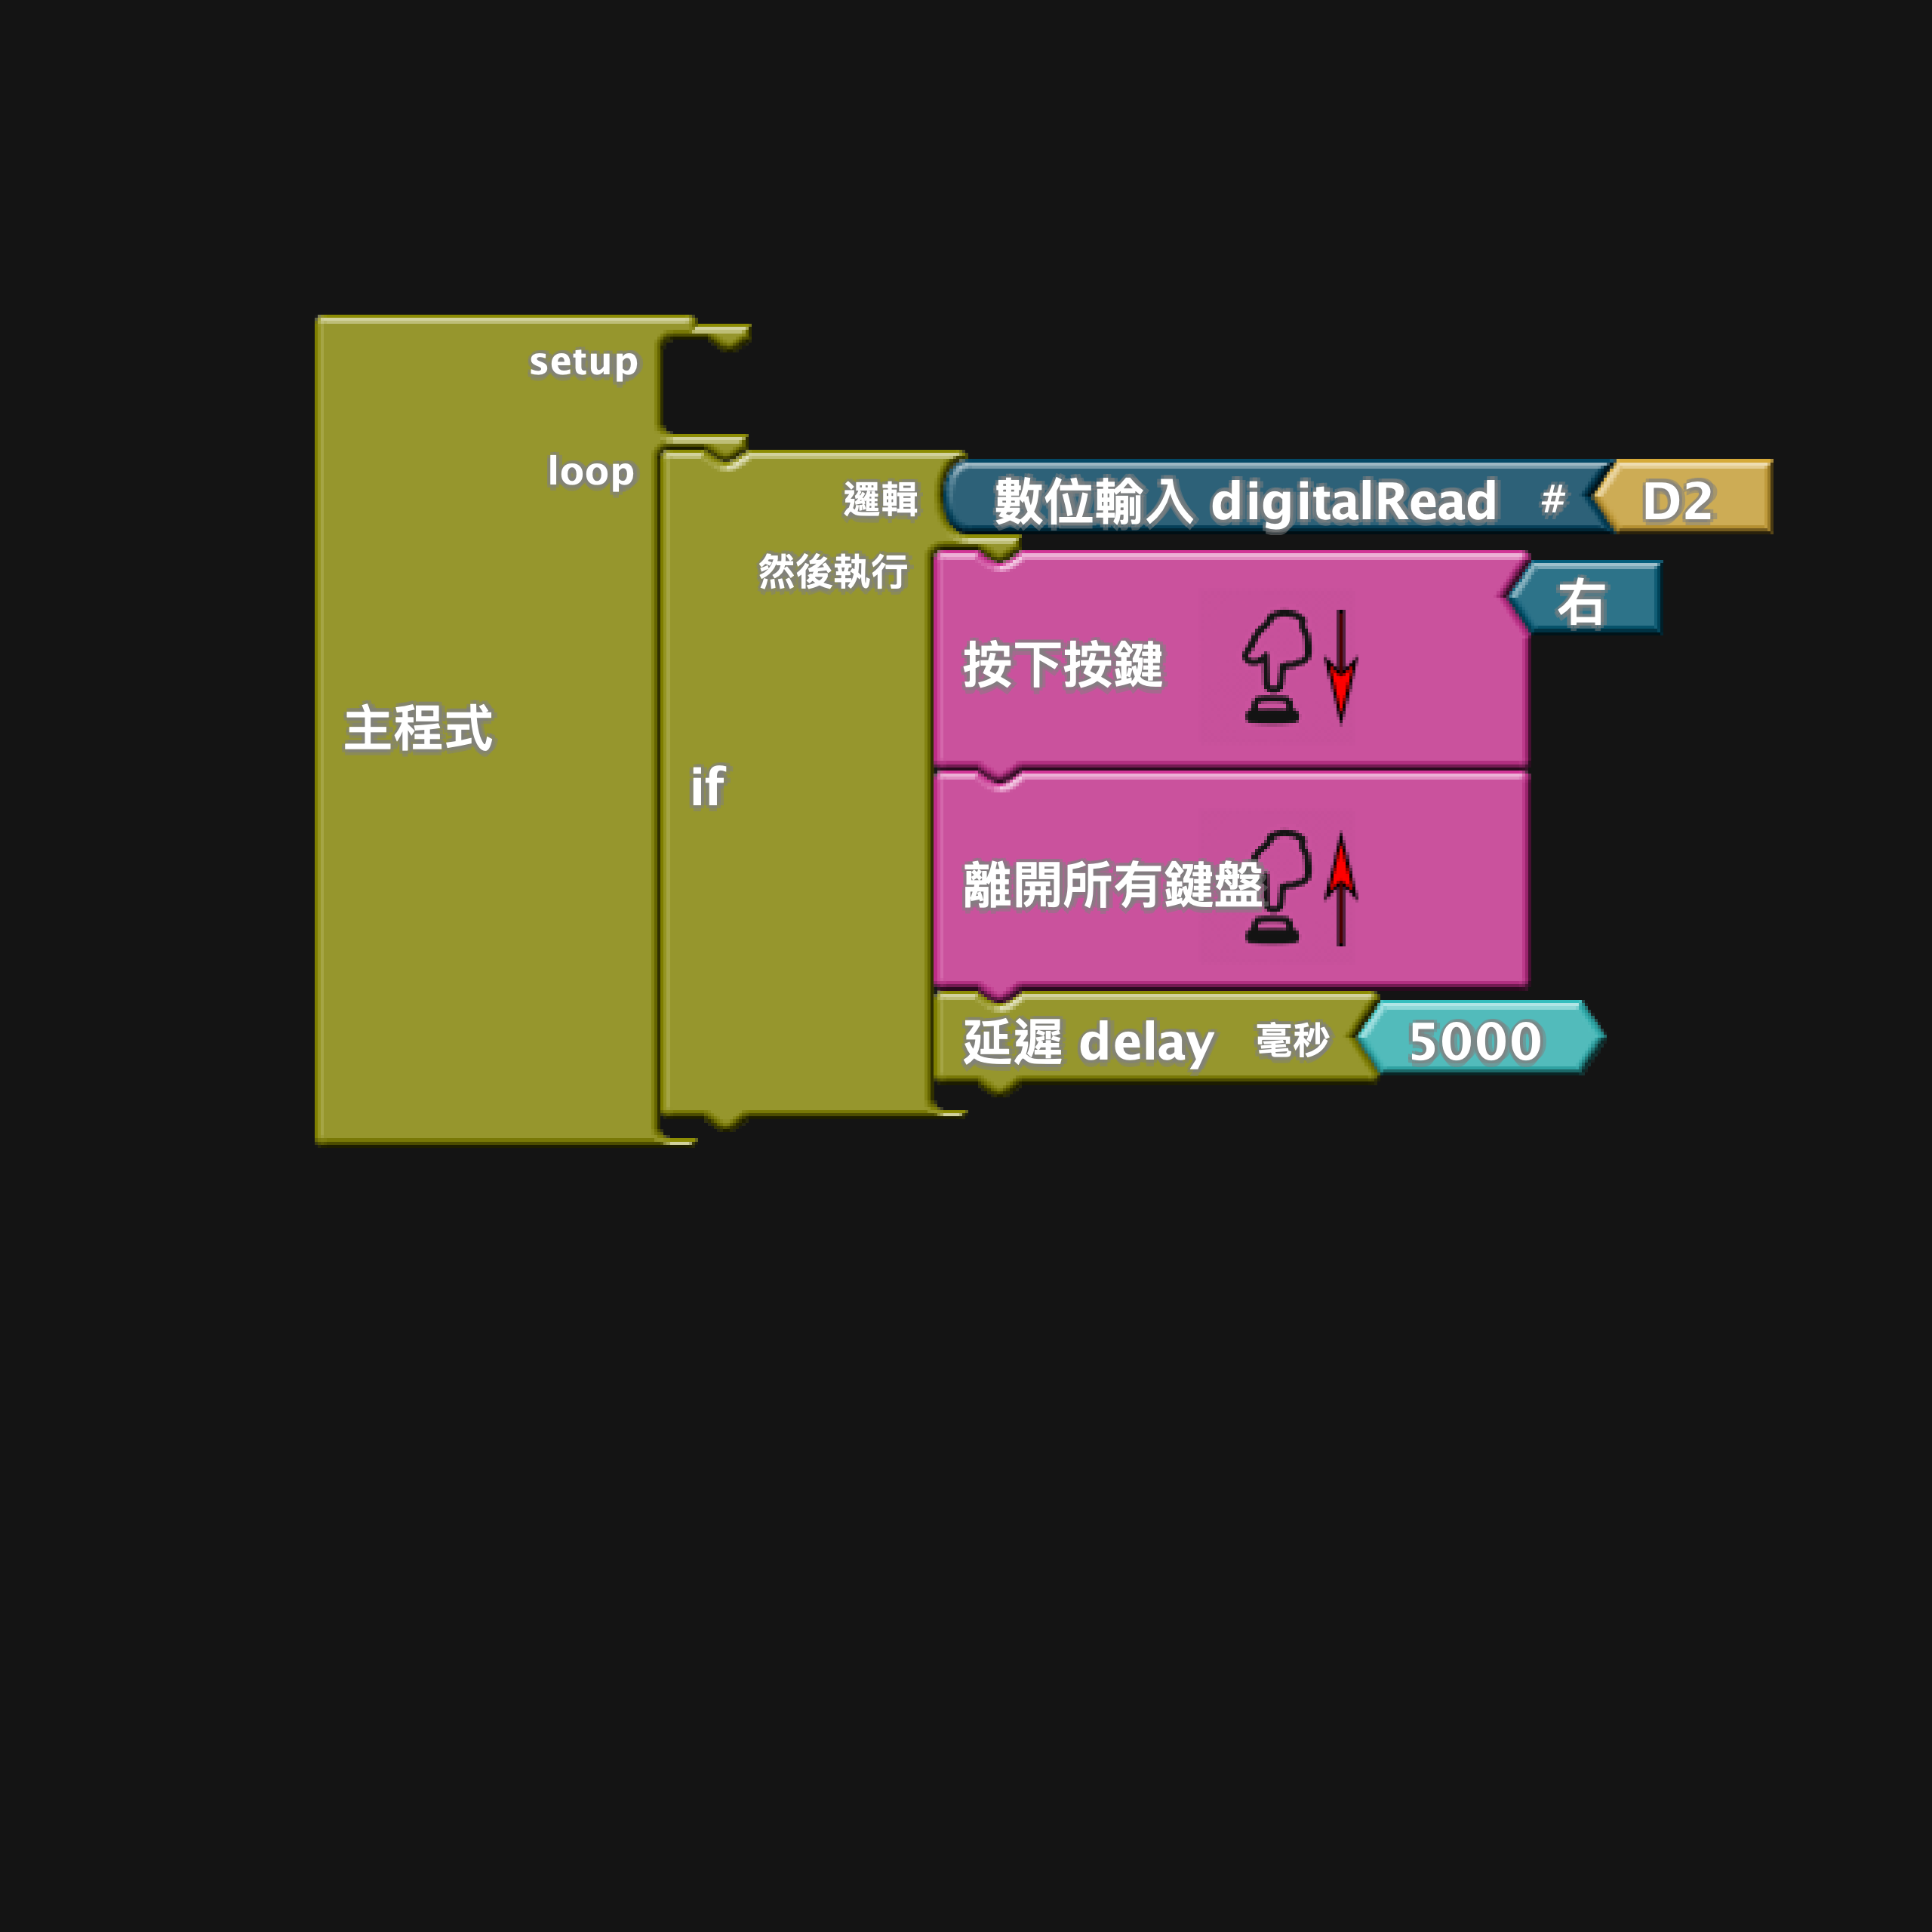
The last step is coding. You can either choose to use ArduBlock (image provided) or the code version.
Link for the code is here
#include <Keyboard.h>

/*
These core libraries allow the 32u4 and SAMD based boards
(Leonardo, Esplora, Zero, Due and MKR Family)
to appear as a native Mouse and/or Keyboard to a connected computer.
*/

void setup(){  // put your setup code here, to run once:
 pinMode( 2 , INPUT);   // sets the digital pin as input
 Keyboard.begin(); // initializ e control over the keyboard
 Keyboard.releaseAll();

}


void loop(){  // put your main code here, to run repeatedly:
 if (digitalRead( 2 )) {

   pinMode(4,INPUT_PULLUP); //make pin 4 an input and turn on the pullup resistor so it goes high unless connected to ground
   if(digitalRead(4)==LOW){  // do nothing until pin 4 goes low
     Keyboard.press(215); //the key to press (ASCII code)
   }
   Keyboard.releaseAll();
 }
}<br>
The Box
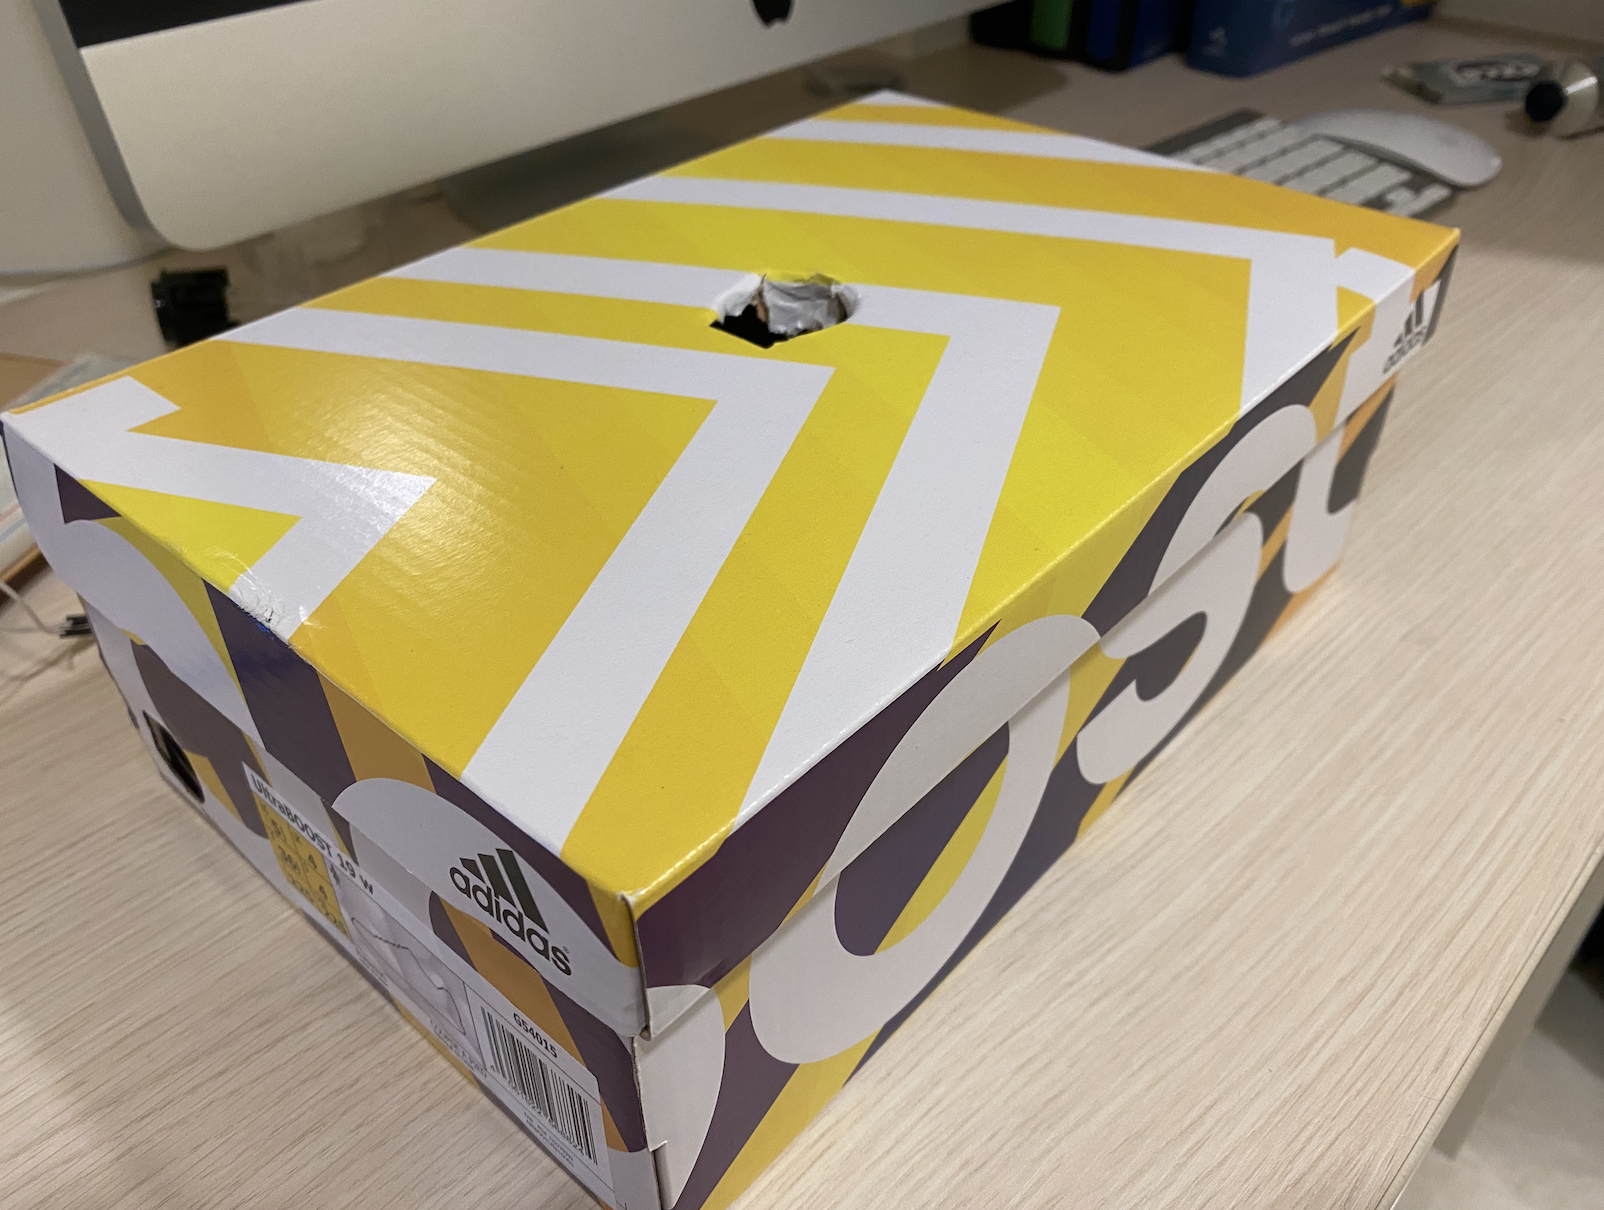
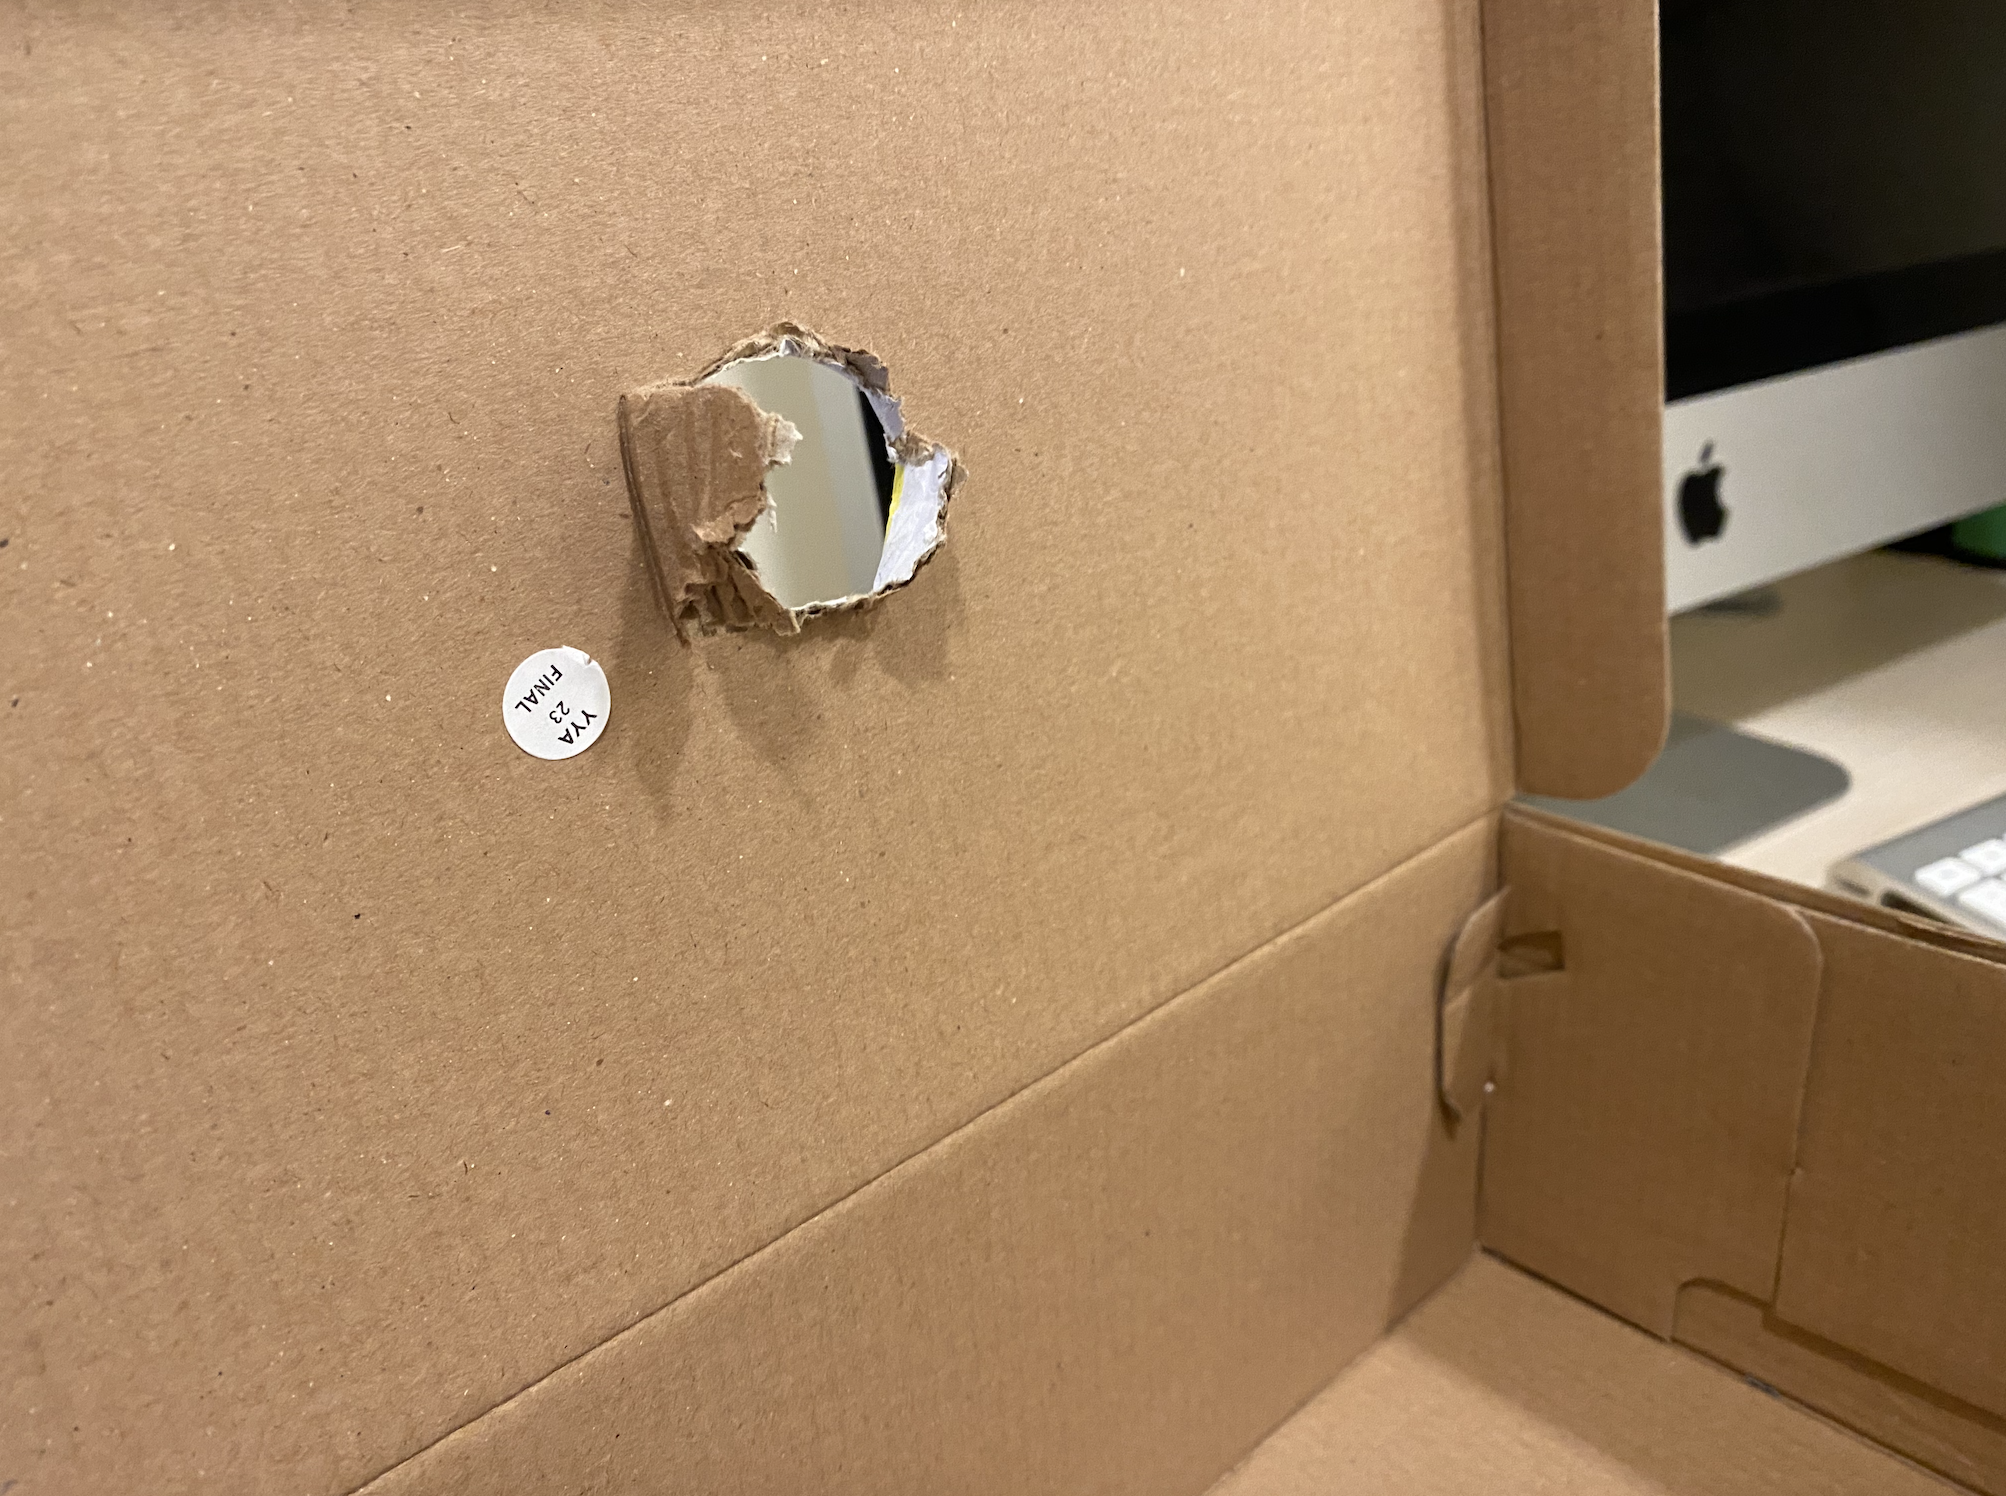
- trace the size of the button on the box
- cut out the hole
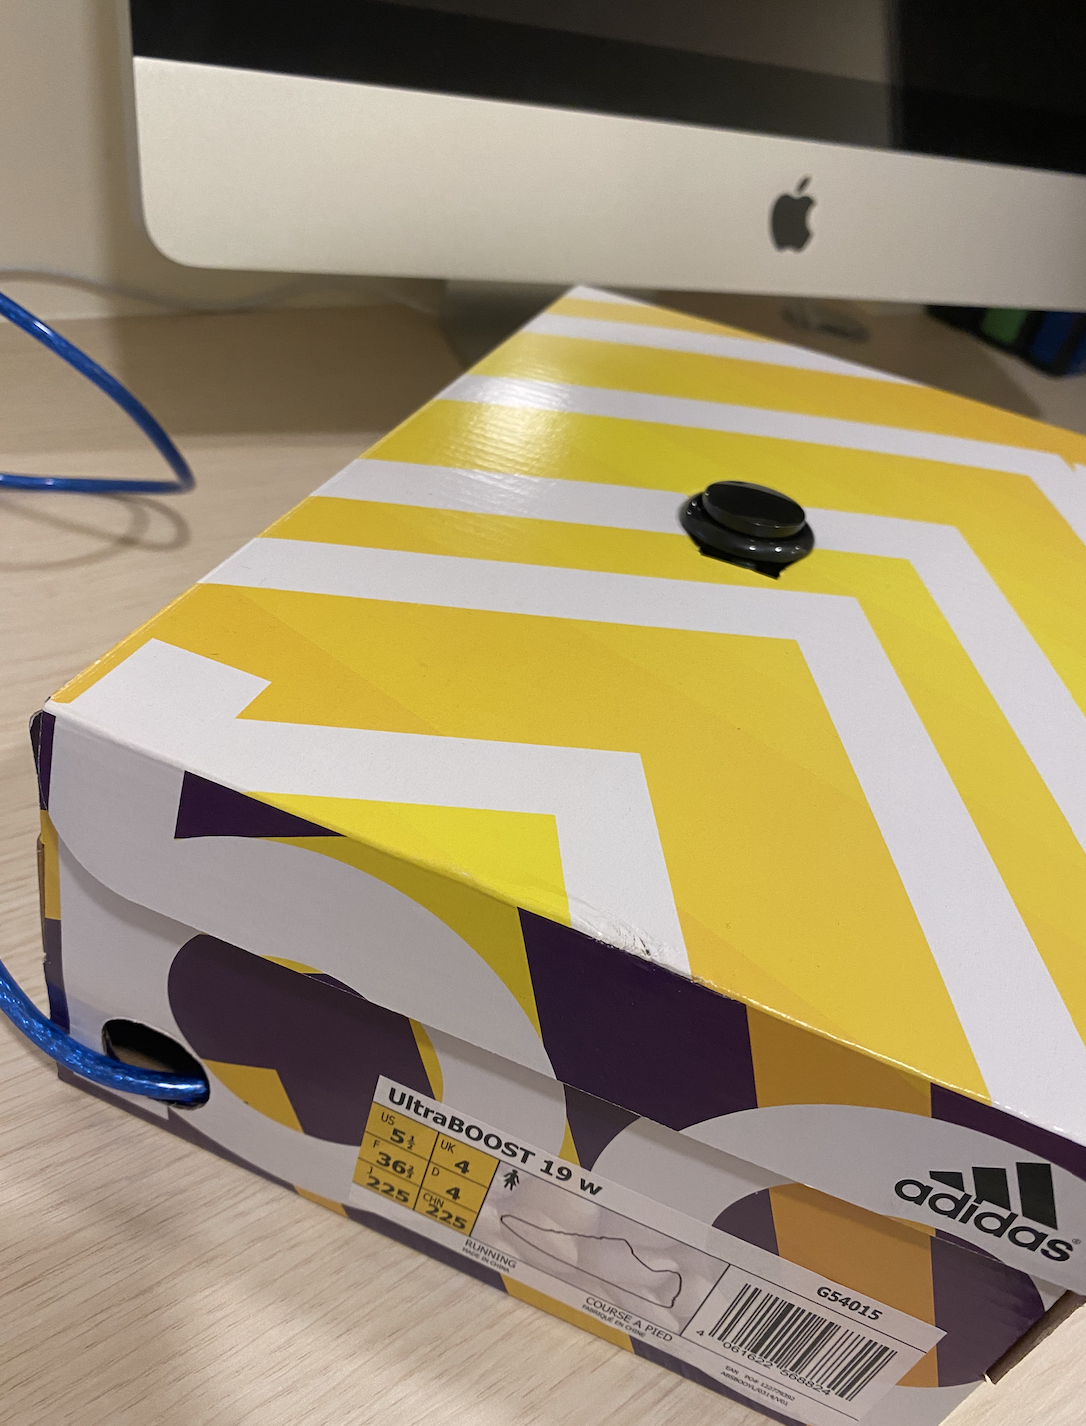
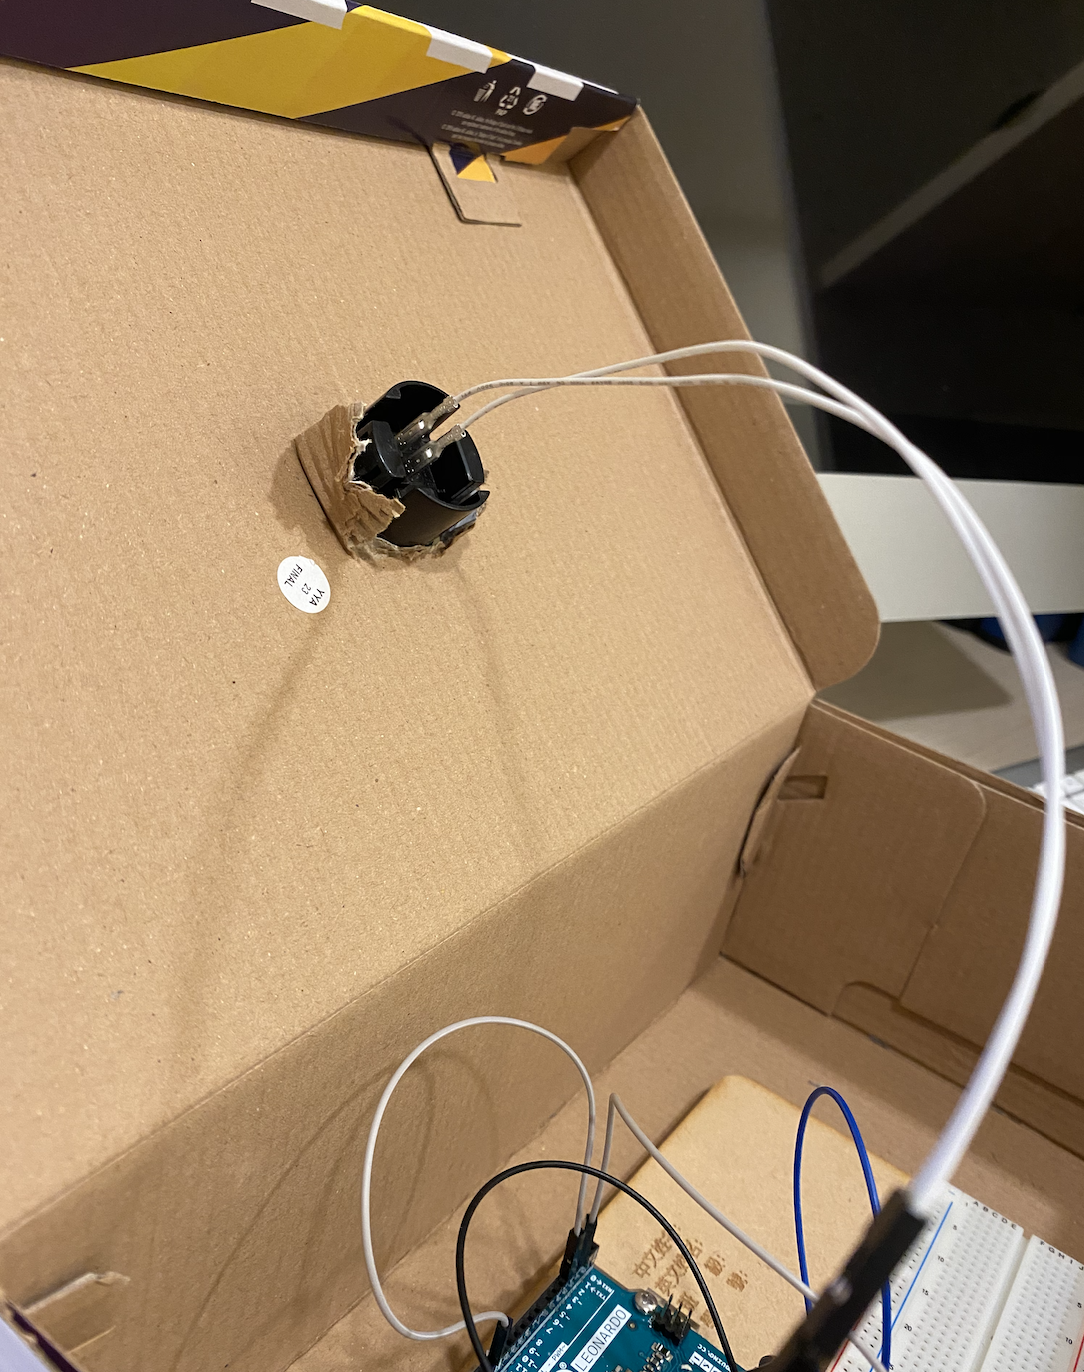
- Put the button through the hole
- Put the Arduino in the box
Complete!
