Automatic Hand-washing Notifier
by Unicorn25 in Circuits > Arduino
315 Views, 0 Favorites, 0 Comments
Automatic Hand-washing Notifier

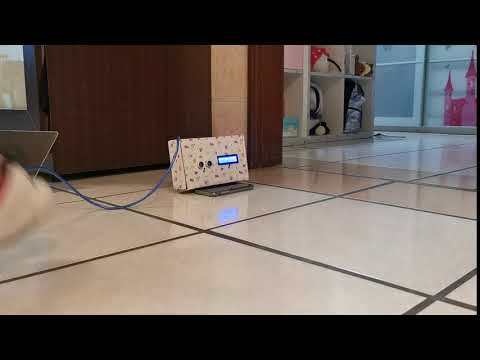
This is a machine that can notify someone when they walk through the door. Its purpose is to remind someone to wash his or hers hands when he or she go back home. There is a ultrasonic sensor in the front of the box sensing for someone that walks into the home. Once the ultrasonic sensor senses someone, the LCD will show "Wash your hands" to remind someone to wash his hands. And then, the speaker will be triggered and will send out sounds to remind you to wash your hands. The speaker will be triggered everytime someone walk pass the ultrasonic sensor.
Step 1: Prepare the Materials
YOU WILL NEED
1. Arduino Leonardo, or Arduino Uno (Buy it here)
2. Jumper wires (Buy it here)
3. Speaker for Arduino (Buy it here)
4. LCD (I2C) (Buy it here)
5. Ultrasonic sensor (Buy it here)
Step 2: Build the Outlook of the Box


Prepare a cardboard box and then carve the box into the shape you want, preferably into a shape that can be closed and open easily. I chose to use a cardboard that already have its shape the way I wanted it to be. Then carve some holes on the cardboard to fit the ultrasonic sensor and the LCD. For the speaker, you can place It inside the cardboard, you will still be able to hear it. At last, place all the materials that you need into the box, this step doesn't include adding the jumper wires in. You can carve a small hole on the left side of the box so that the connecting line of arduino can pass from your cardboard box to your laptop, you can also choose to use a portable charger. You can wrap the cardboard up with some wrapping paper so that the cardboard can be more aesthetic.
Step 3: Connect the Lines With Arduino and the Circuit


The next step is to connect the jumper wires for Arduino and the ultrasonic sensor, LCD, speaker. The process of connecting lines will be separated into three different parts, which is separately for the connection of ultrasonic sensor, for the LCD, and for the speaker. At last I put a circuit of my project, you can copy it and easily make a copy
1. The part of ultrasonic sensor
Vcc - positive charge
Gnd - negative charge
Trig - D-pin (6 for my code)
Echo - D-pin (7 for my code)
2. The LCD
GND - GND
SDA- SDA
VCC- positive charge
GND- GND
3. The speaker
Positive charge - D pin (11 for my code)
Negative charge - negative chrage
Step 4: Code


Above is the code that I planned using Ardublock and being transferred into the code used for Arduino. If you want to take a look or download my code, you can download it here.
Step 5: Decorations and You Are Done!


You can decorate the cradboard however way you wanted it to look.