Automatic Chicken Door - Chicken Coop Door
by Umair Workshop in Craft > Reuse
4973 Views, 15 Favorites, 0 Comments
Automatic Chicken Door - Chicken Coop Door
.00_10_04_14.Still062.jpg)

Chickens are ground birds which stays in coop for a night and go out to feed in morning which means you have to go to the coop in the morning to open it and then when the night comes you have to go close it again which is a everyday hassle , wouldn't it be great if we make a mechanism which open and closes the door every morning and closes at evening so you don't have to do that , I have make a automatic timer relay rotational to vertical movement by the help of old printer motor which rotate very slowly with high torque any gear motor can be used which is attached to a xyj02 timer relay which works on loop setting to complete the task.
If you like this tutorial please vote for this and also for the wiring you may need to see the video for better understanding :)
Supplies
12x12 = chipboard lamination pieces
12x12 = mdf board 2mm
2x22 = 2 wooden pieces wide
22'' = 4 pieces angles of alumium
12'' = 3 pieces of wood
Asmo motor or any gear motor
7 '' = wood piece
7'' = pvc pipe
12''x8'' = mdf board
Pvc elbow
xyj02 timer
some wires
some nails
some screws
Making Space for Slider
.00_00_04_28.Still003.jpg)
.00_00_00_00.Still001.jpg)
.00_00_01_26.Still002.jpg)
.00_00_08_01.Still004.jpg)
.00_00_10_22.Still005.jpg)
.00_00_12_18.Still006.jpg)
.00_00_14_07.Still007.jpg)
.00_00_16_03.Still008.jpg)
.00_00_19_19.Still009.jpg)
.00_00_21_14.Still010.jpg)
.00_00_25_11.Still011.jpg)
.00_00_33_13.Still012.jpg)
Place the 22 '' wooden pieces on the edges of chipboard piece and hammer nails to secure it from the both sides
Placing Sliders
.00_00_43_11.Still013.jpg)
.00_00_48_28.Still014.jpg)
.00_00_54_27.Still015.jpg)
.00_00_59_14.Still016.jpg)
.00_01_09_14.Still017.jpg)
.00_01_17_03.Still018.jpg)
.00_01_22_01.Still019.jpg)
.00_01_25_11.Still020.jpg)
.00_01_29_21.Still021.jpg)
.00_01_38_11.Still022.jpg)
.00_01_47_01.Still023.jpg)
.00_01_58_19.Still024.jpg)
.00_02_03_19.Still025.jpg)
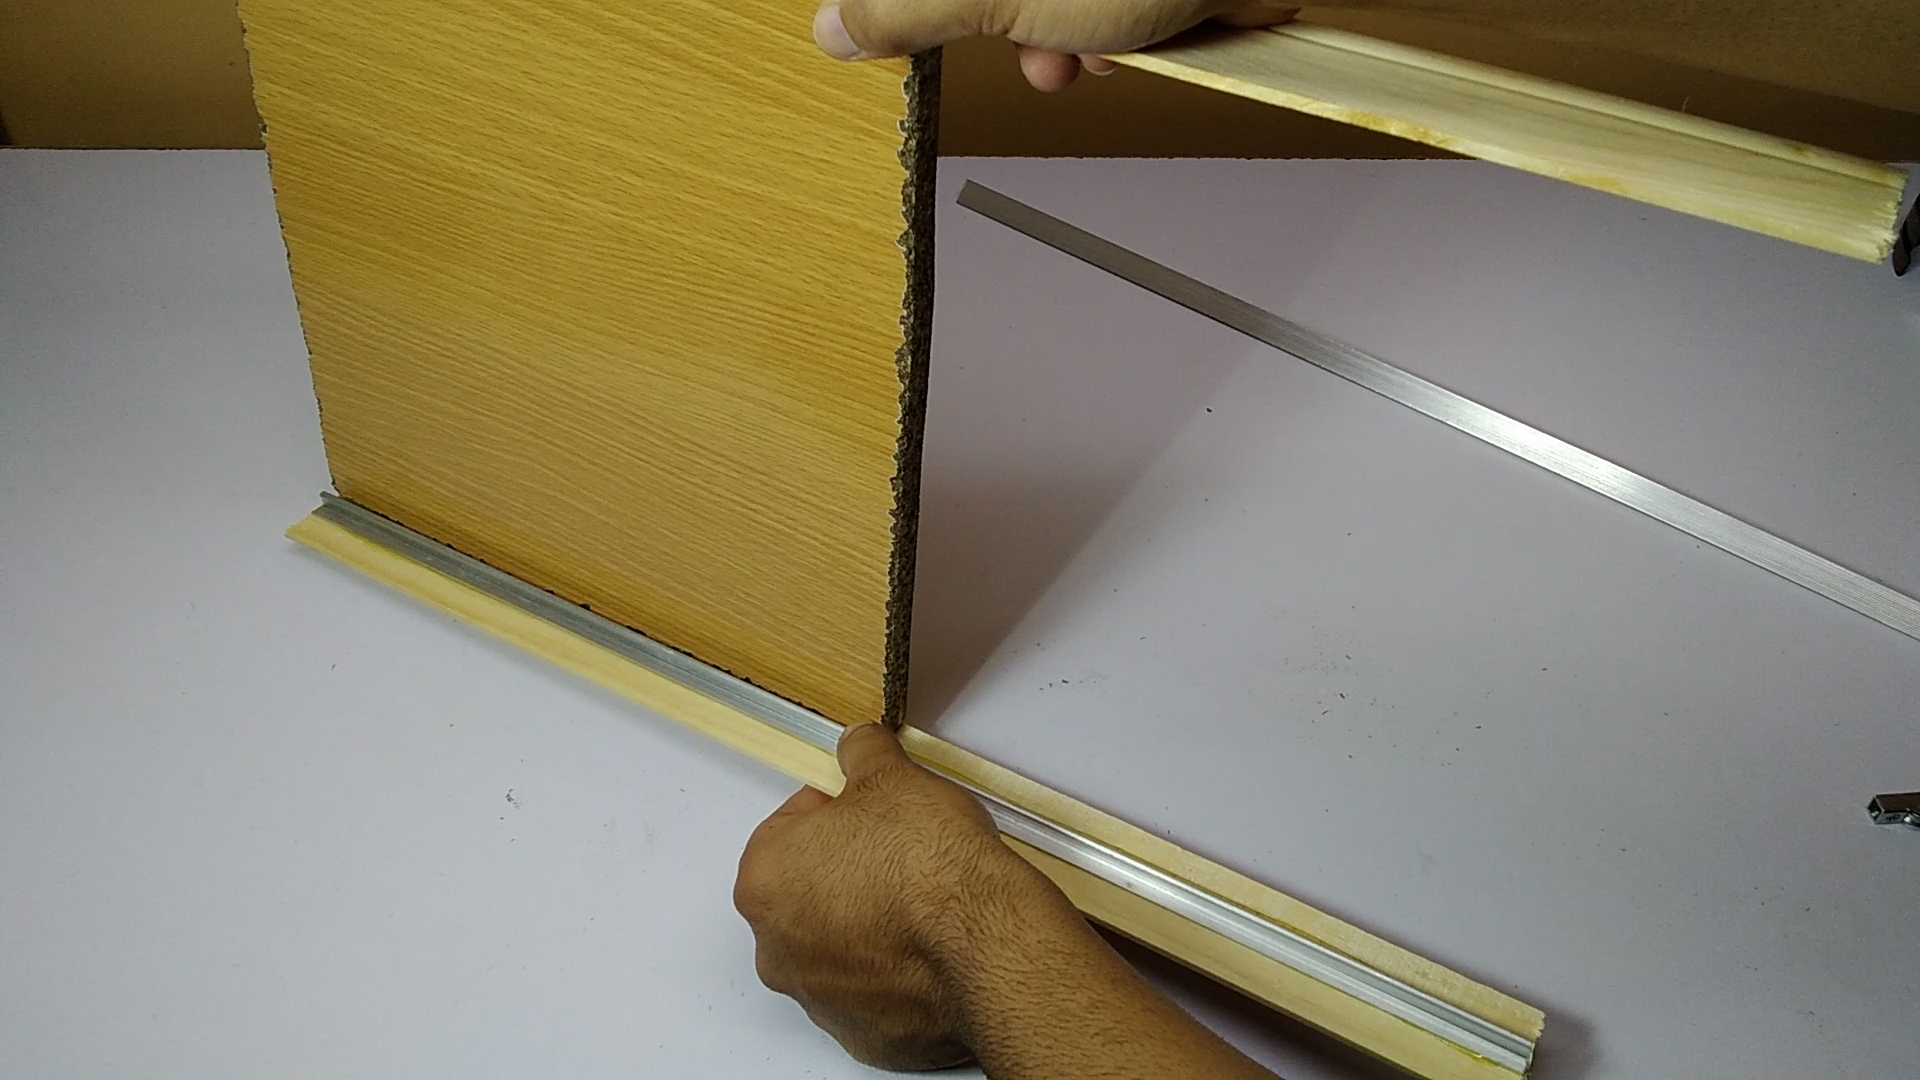
take 22'' aluminium angles and put some cementing solution on it's one side and put right on to the wood next to board and same with the other one , take 13.5'' pieces and glue them adjacent to the first aluminiums creating a sliding space for 2 mm plywood
Making It Stand
.00_02_16_13.Still026.jpg)
.00_02_18_09.Still027.jpg)
.00_02_21_12.Still028.jpg)
.00_02_26_05.Still029.jpg)
.00_02_31_22.Still030.jpg)
.00_02_47_19.Still031.jpg)
.00_02_56_28.Still032.jpg)
.00_03_18_14.Still033.jpg)
.00_03_23_02.Still034.jpg)
.00_03_44_29.Still035.jpg)
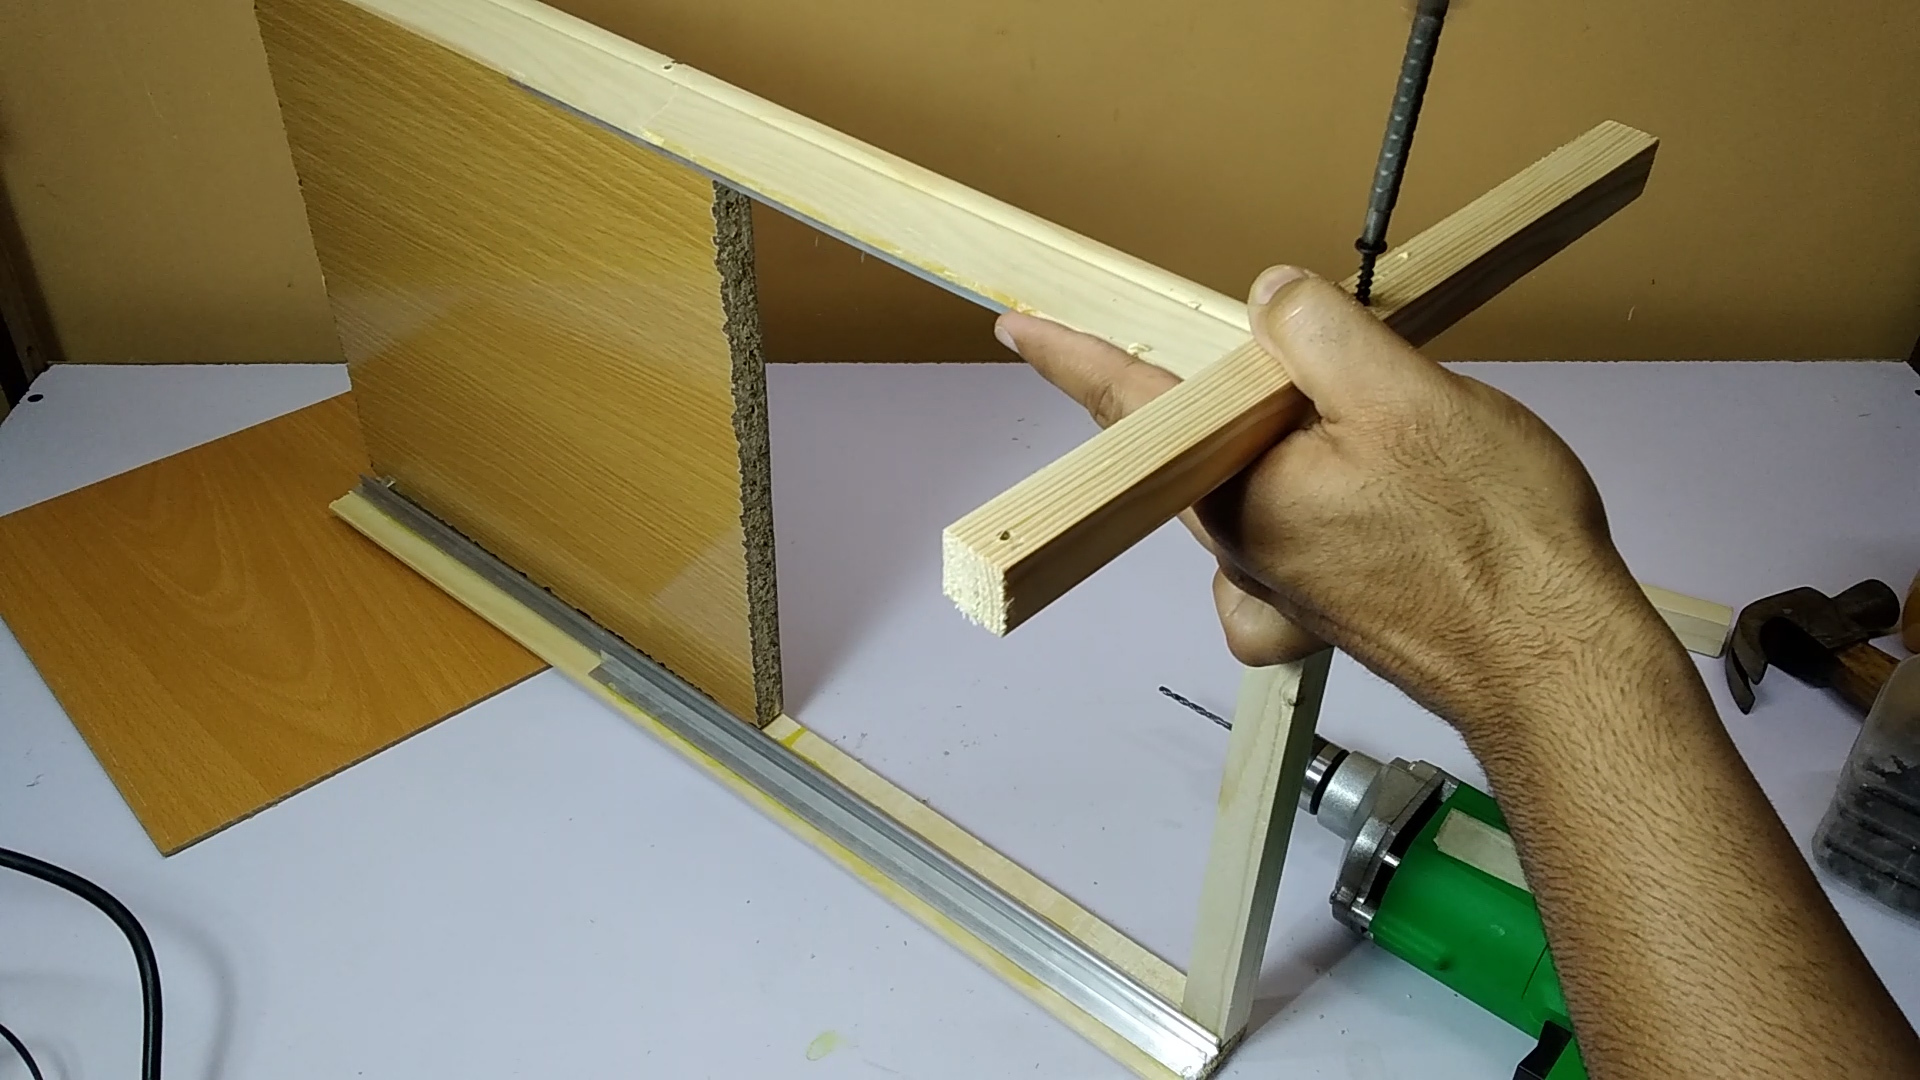
Take 12'' wooden pieces and place one inside the frame secure it with screws then nails so it wont move and two other over the frame on the bottom side and secure it with screws creating a stand for the frame
Upper and Down Sliding
.00_03_56_10.Still036.jpg)
.00_04_07_04.Still037.jpg)
.00_04_09_06.Still038.jpg)
.00_04_16_01.Still039.jpg)
.00_04_30_22.Still040.jpg)
.00_04_40_19.Still041.jpg)
.00_04_50_23.Still042.jpg)
.00_04_52_12.Still043.jpg)
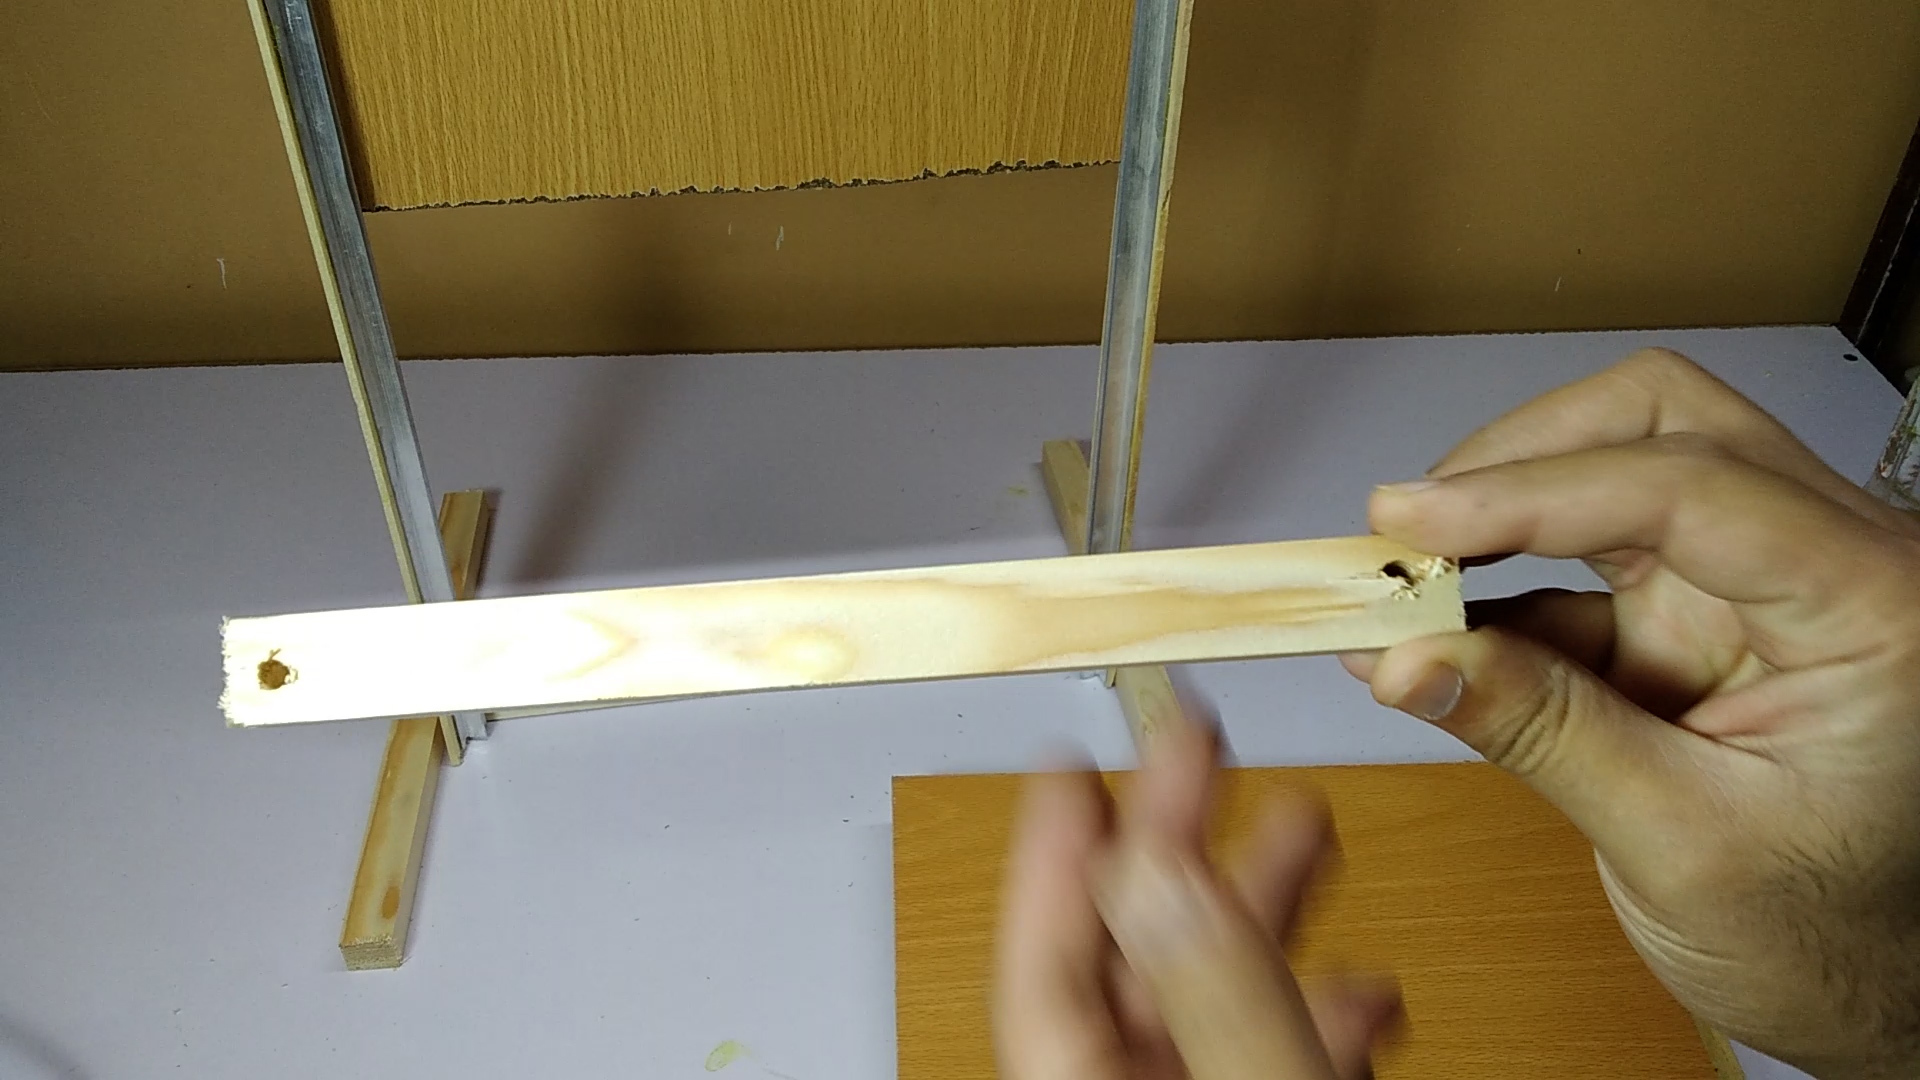
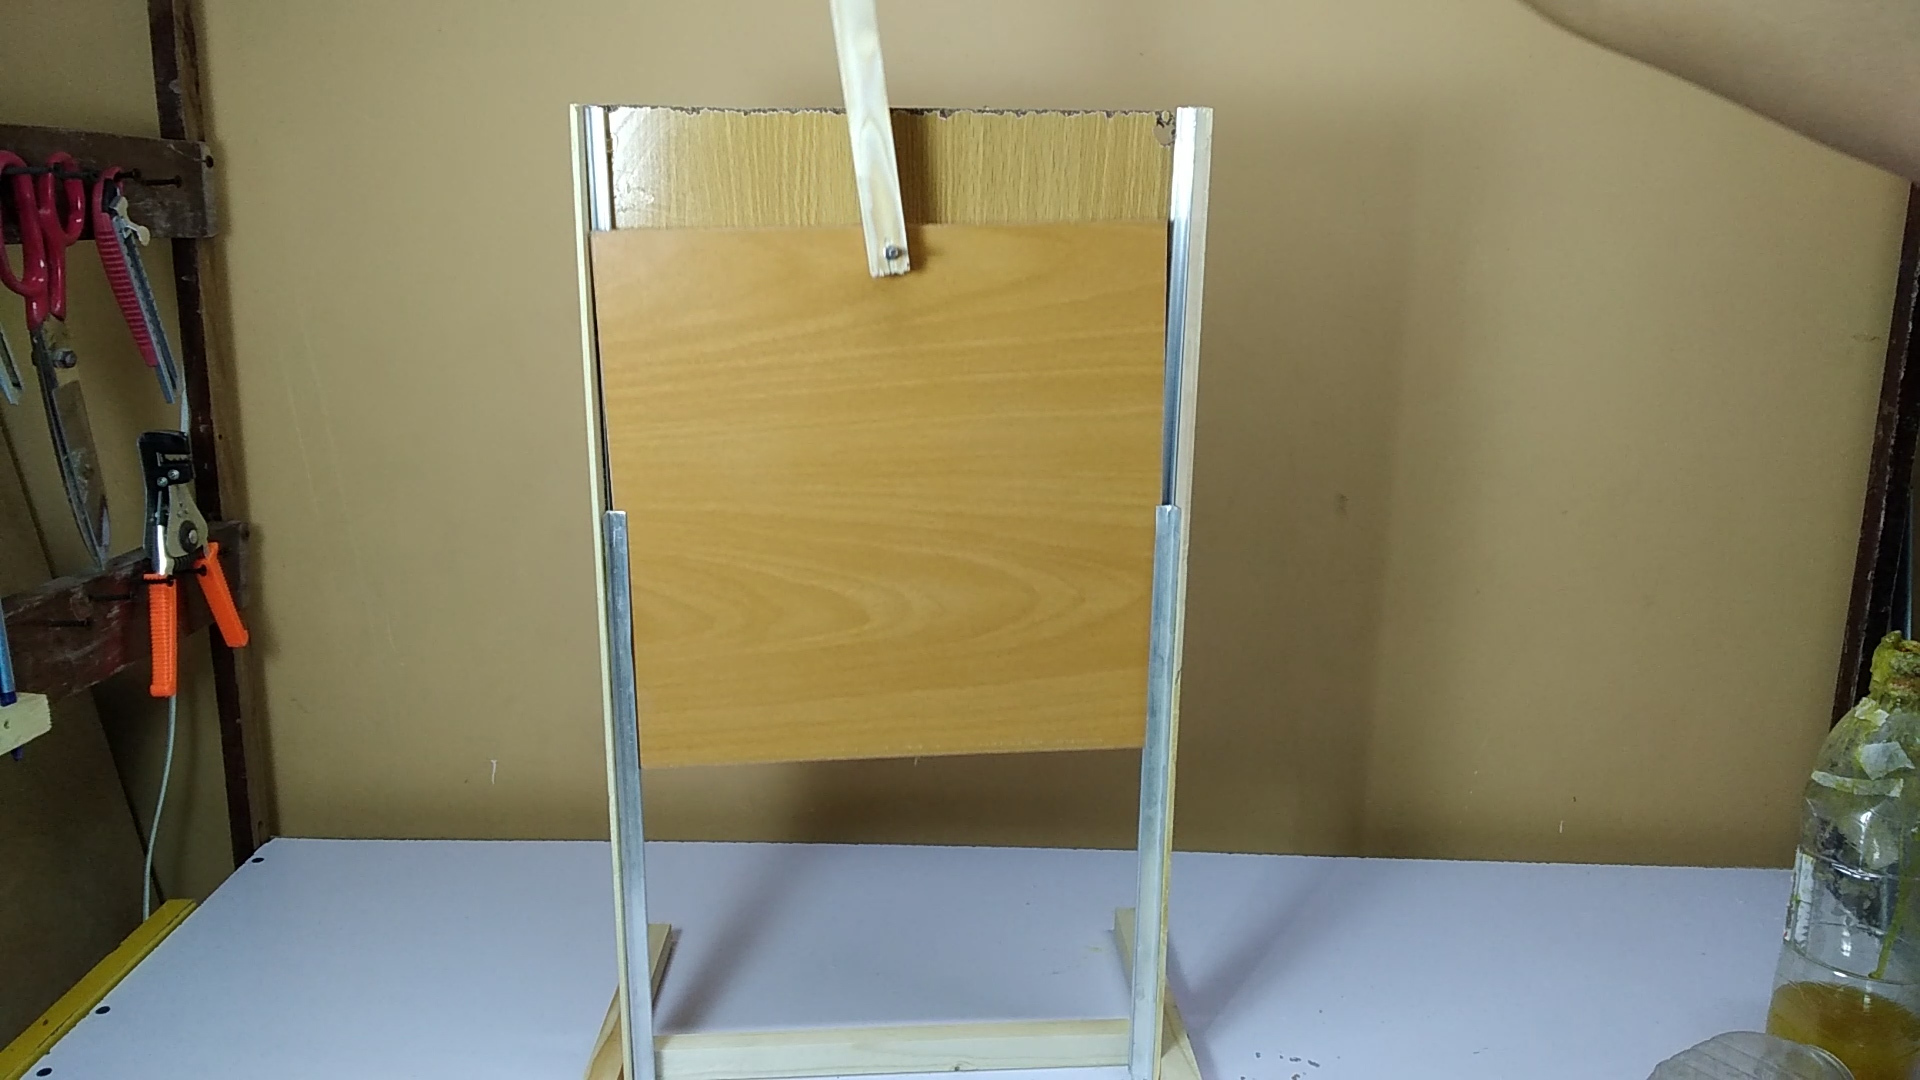
Take 7'' wood piece and make a hole on the very top and bottom for the screw placing which will rotate easily
Take the plywood make a hole on the top in the center and put the screw through the plywood to wood by putting nut but not tight so making it a freeway to move in circular motion
Motor Placing
.00_04_56_28.Still044.jpg)
.00_05_00_22.Still045.jpg)
.00_05_03_00.Still046.jpg)
.00_05_11_08.Still047.jpg)
.00_05_25_10.Still048.jpg)
.00_05_34_13.Still049.jpg)
.00_05_44_11.Still050.jpg)
.00_05_57_17.Still051.jpg)
.00_06_23_14.Still052.jpg)
.00_06_39_17.Still053.jpg)
.00_07_04_19.Still054.jpg)
.00_08_26_24.Still060.jpg)
.00_09_03_19.Still061.jpg)
.00_08_12_03.Still059.jpg)
.00_07_16_06.Still055.jpg)
.00_07_23_13.Still056.jpg)
.00_07_35_12.Still057.jpg)
.00_07_48_03.Still058.jpg)
.00_10_48_21.Still063.jpg)
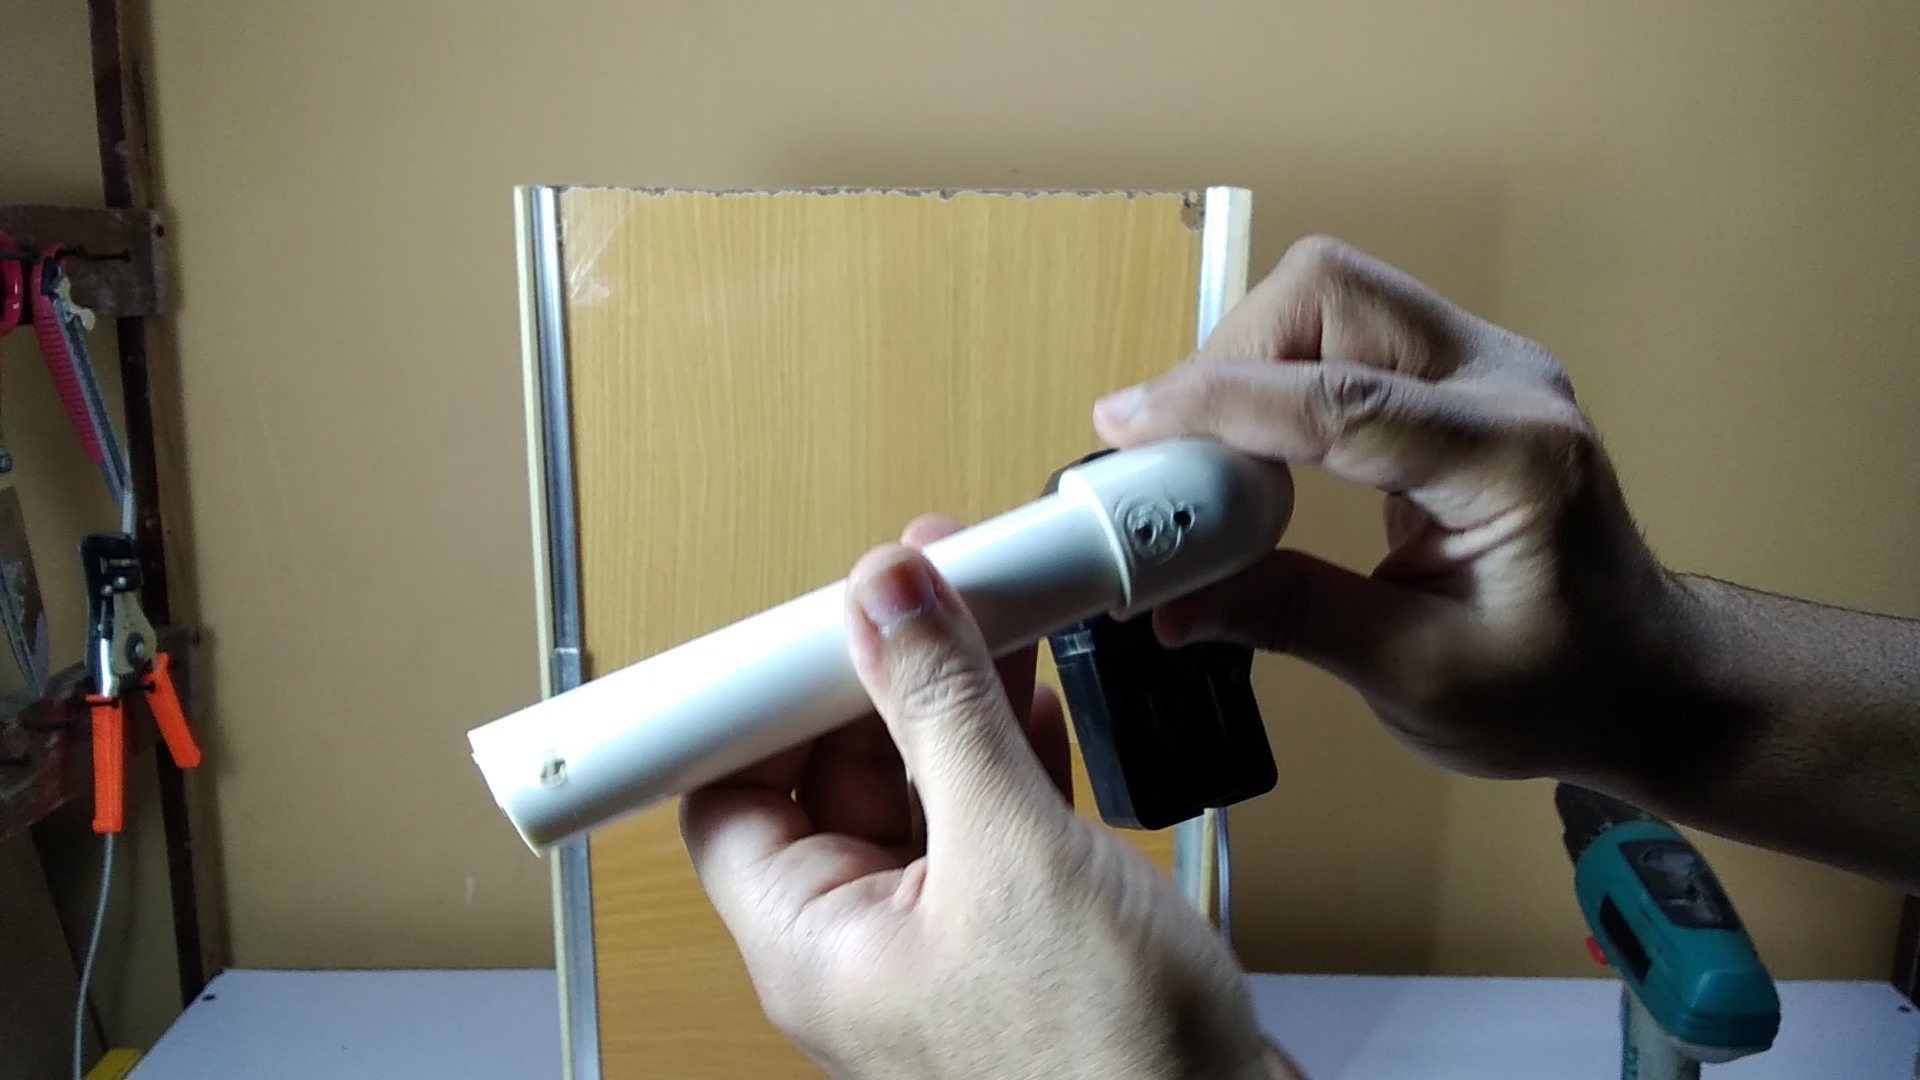
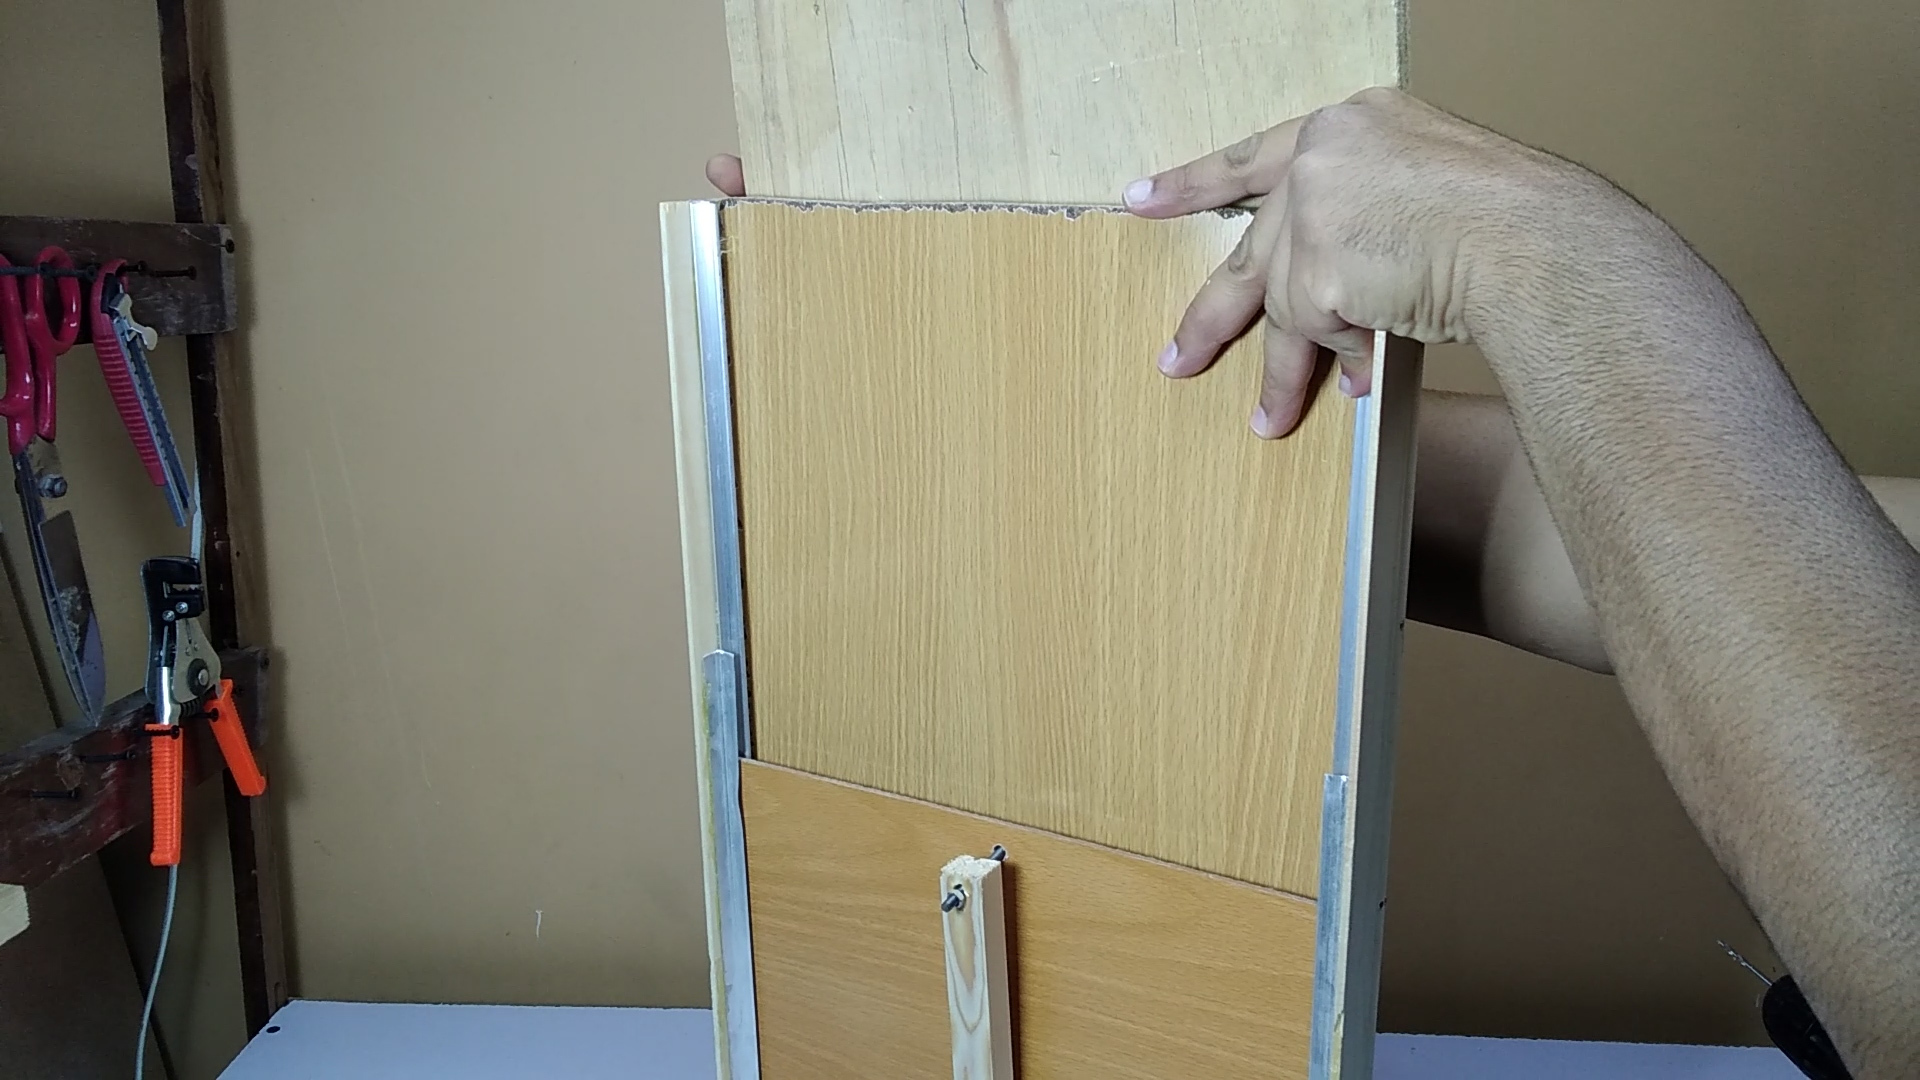
Take asmo motor place the pvc elbow on its shaft with screws ,put the pvc in the elbow and place the screw through pvc pipe to wooden piece attached to plywood ,keep it in the top center position take 12 by 8'' mdf board and mark where the upper position make the door on full open position and also mark the motor where the screws will be attached ,place the mdf board back in position and tighten with screw and motor as well ,
for the timer setting it's long press set button p1 will come press the set one by one until you will get p3.2 on that long press set to enter it's setting and put 22 second for it to run and 7.2.0 on it's close position for more clear information please watch the video it's in the end and also wiring is same as circuit getting give the motor same positive and relay the ground wire.
now the door closer is working perfect reason for setting for 22 second is because it's full rotation timing is 22 second from open to close and close to open and 7.2.0 is minutes convert in 12 hours
If you find it useful please vote for this tutorial