Automated Study Environment With Intel Edison
by Sverd Industries in Circuits > Microcontrollers
7065 Views, 115 Favorites, 0 Comments
Automated Study Environment With Intel Edison
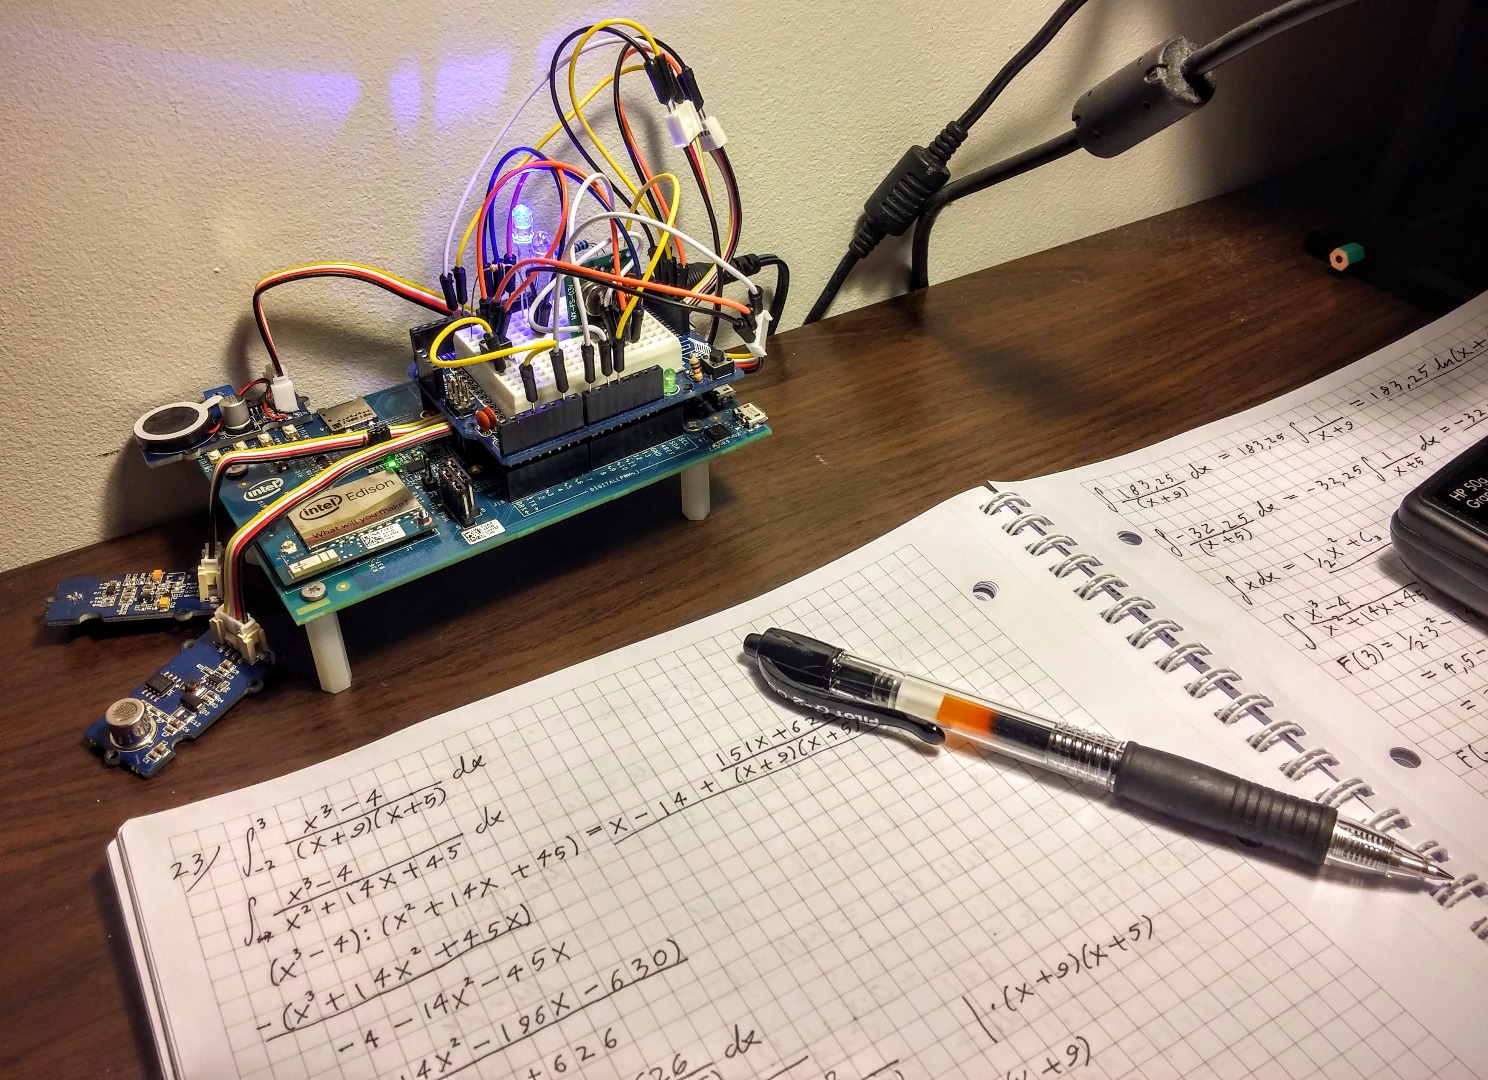
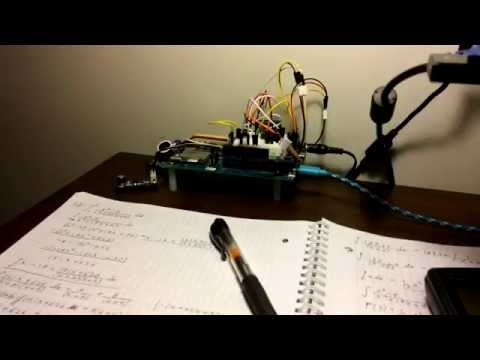
In this project I'm going to show you how to make an automated study environment with the Intel Edison!
The Intel Edison uses several sensor to monitor the environment in your study room. The Edison will optimize the environment in your room to fit your specified parameters for studying at peak performance.
The background for this project is that I was chosen by Instructables to receive one of their Intel IoT Invitational kits. I was lucky enough to receive their Home Automation Kit. This was so I could get to making the idea I had pitched. My idea was for this automated study environment!
If you liked this idea and instructable, do like the others and vote for me in the Intel IoT Invitational contest!
Vote at the top of this instructable or you can find this instructable in this list.
The parameters controlled by the Edison are:
- Study/Break time
- This is based on the pomodoro principle. To increase mental capacity when reading, there is a timer that lets you work for 25 minutes and then gives you a break for 5 minutes. This cycle continues until you either are finished with your work or you need a longer break.
- The Edison gives you a signal to take a break both by lighting an LED and with a speaker.
- Temperature control
- There's a sensor which continuously monitors the room temperature and compares this to your desired temperature.
- If the room is too cold a heater turns on. Likewise, if the room becomes too warm the heater turns off.
- Reading light
- The Edison starts by turning on a reading light so that you have plenty of light for reading.
- This light can also be toggled on and off by a wired push button.
- Air quality
- Theres a sensor which monitors the quality of the air in the room and compares this to a set air quality. This is useful because long study sessions often can lead to lower air quality, which in turn lowers the quality of your work.
- The Edison lights an LED to indicate that you need to open a window to let in some fresh air. The LED turns off when the air quality is once again at optimal levels.
Parts
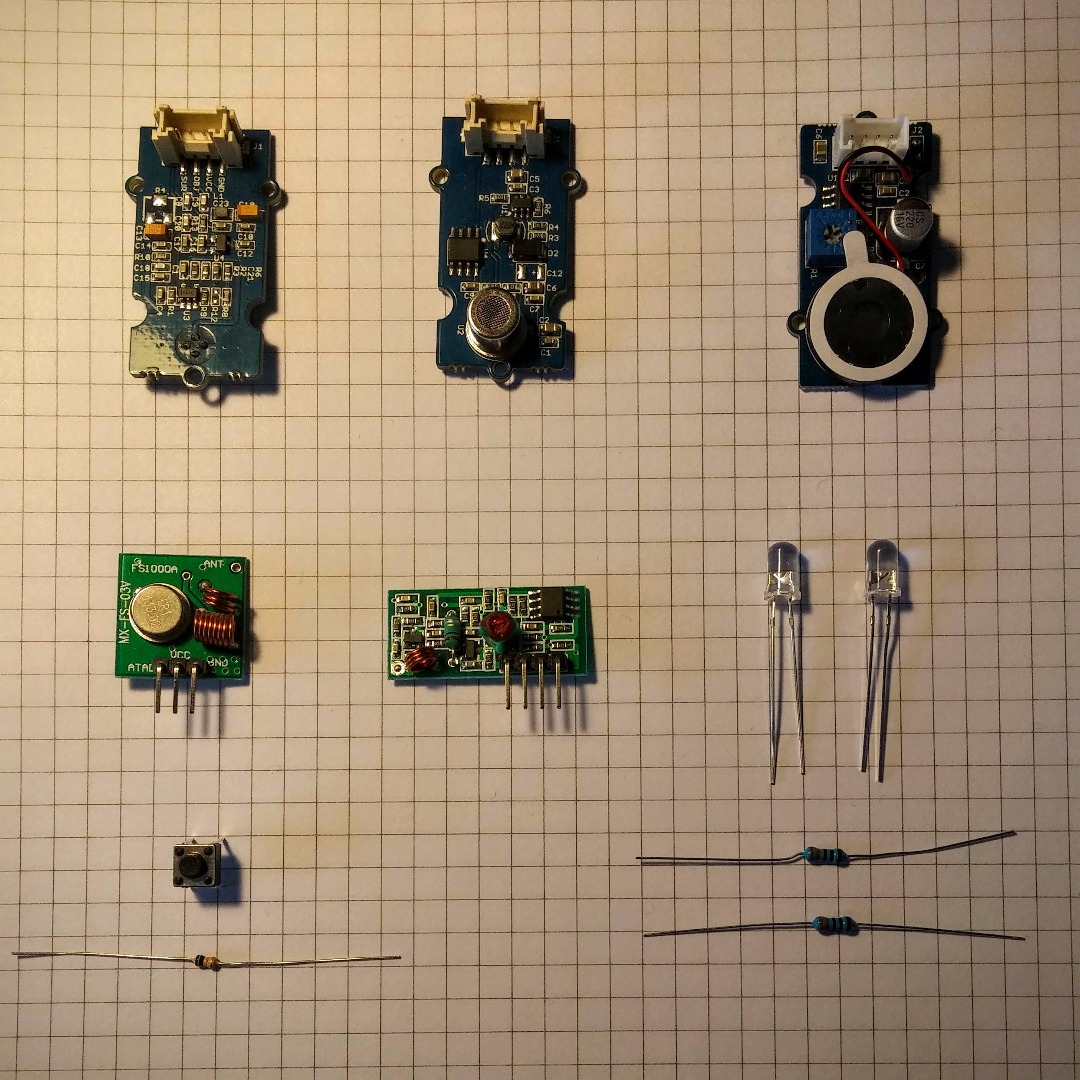
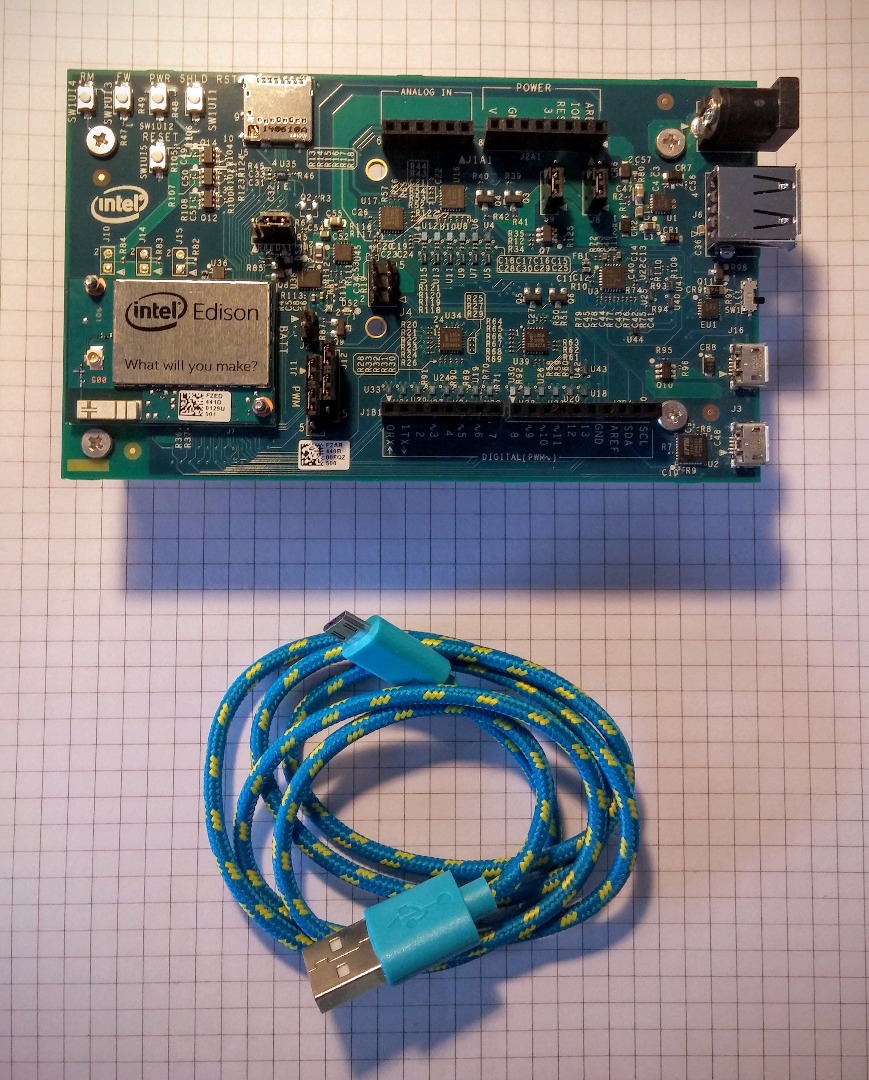
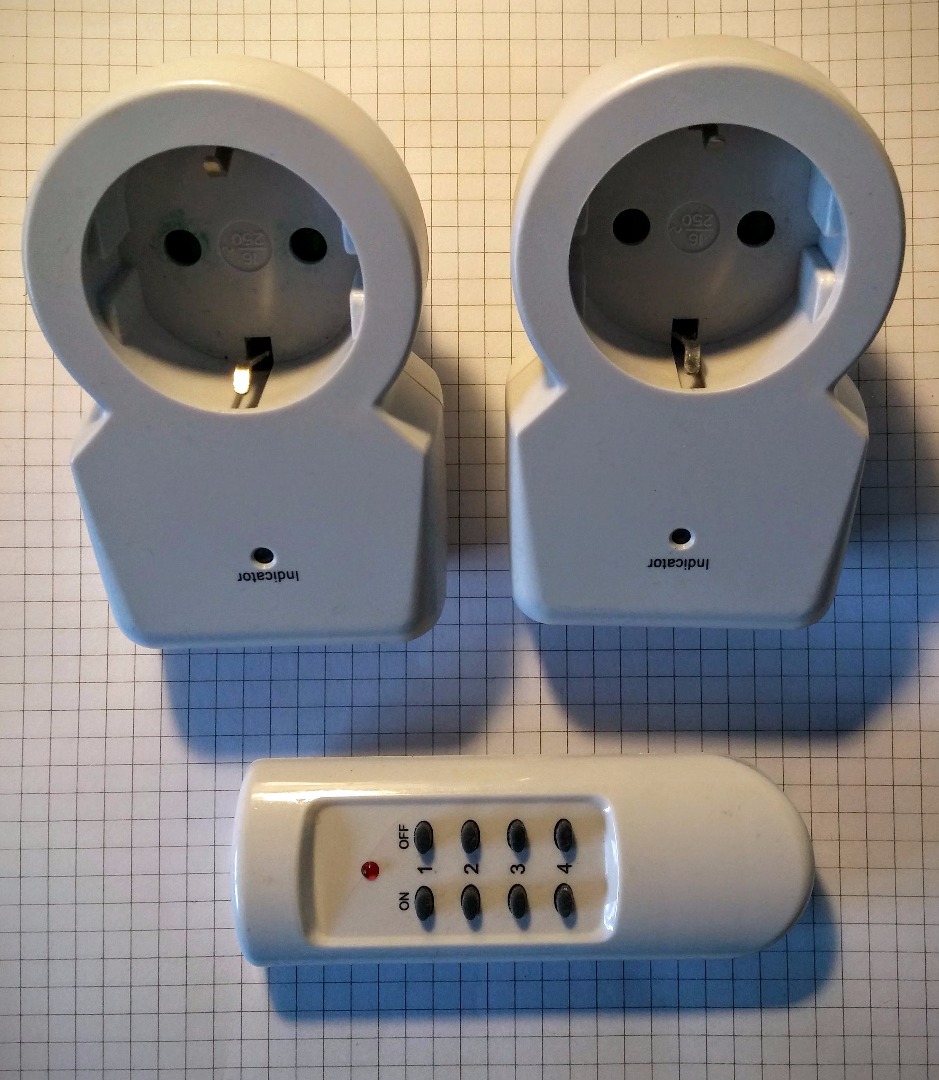
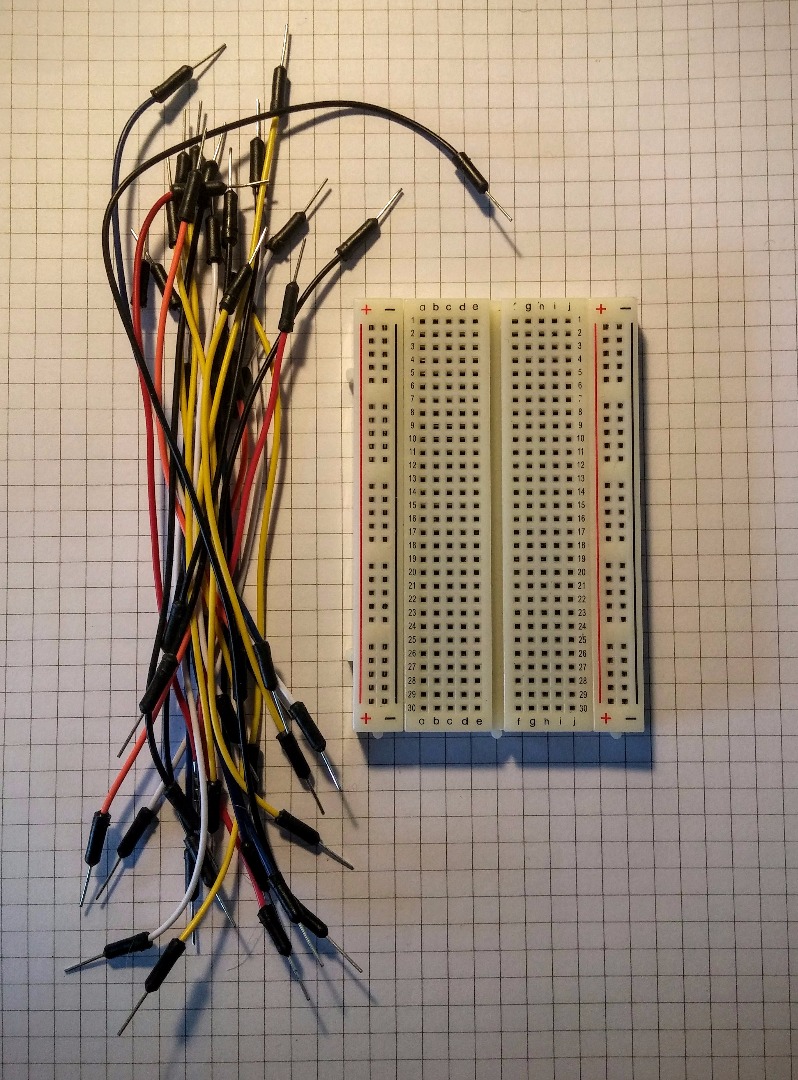
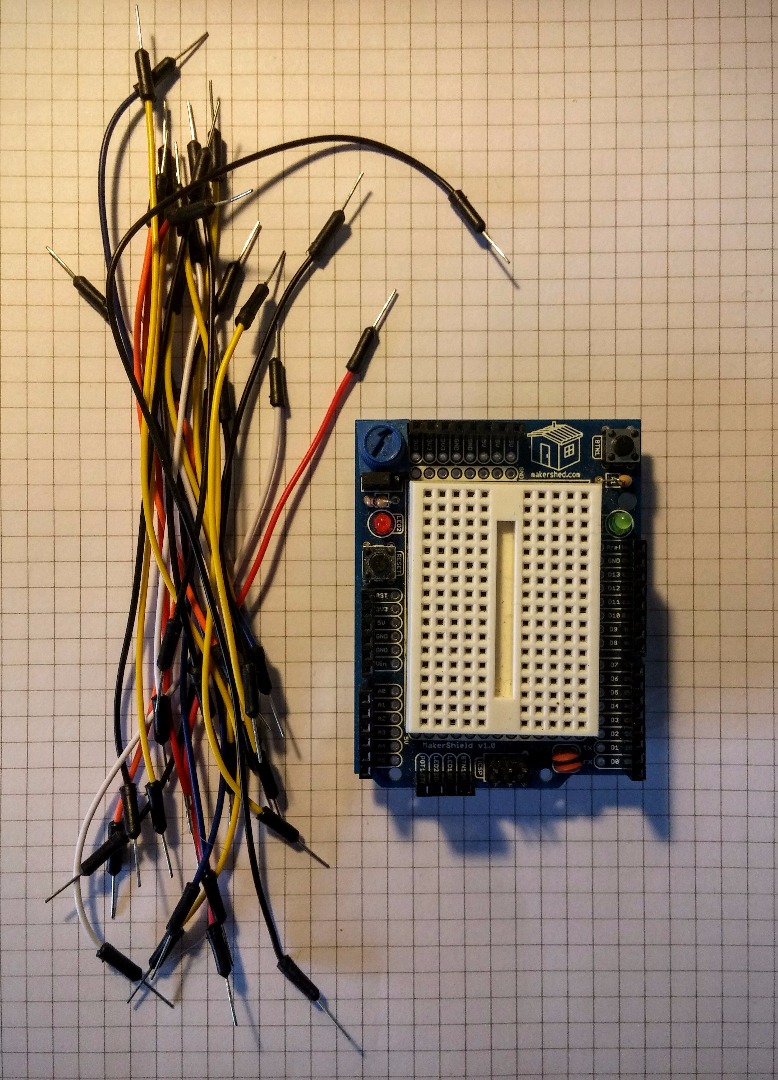
You are going to need the following:
- 1 x Intel Edison
- 1 x Intel Edison Arduino breakout board
- 1 x Grove Air Quality Sensor
- 1 x Grove Speaker
- 1 x Grove Infrared Temperature Sensor
- 1 x 433 MHz receiver and transceiver set
- We only need the receiver to decode the remote
- 2 x 433 MHz wireless outlets
- To switch on and off your reading light and room heater
- 2 x LEDs
- 2 x 330 ohm resistors
- For the signaling LEDs
- 1 x Push button
- 1 x 10k ohm resistor
- For the push button
- 1 x Reading light for your desk
- 1 x Room heater
- 1 x Power supply
- Intel Edison needs 7-12 V and at least 1.5 A
- 1 x Breadboard
- Various hookup wires
Setting Up Your Intel Edison

If you are just getting started with your Intel Edison board you should visit this page with a lot of great resources!
Downloading and Installing Library
This instructable uses one arduino library for sending the RC signals to the wireless outlets.
To install these library download the following link, unzip and put in your library folder.
Your library folder is usually found at the disc location: C:\Intel\arduino-1.6.4\libraries
Decoding Your Wireless Remote
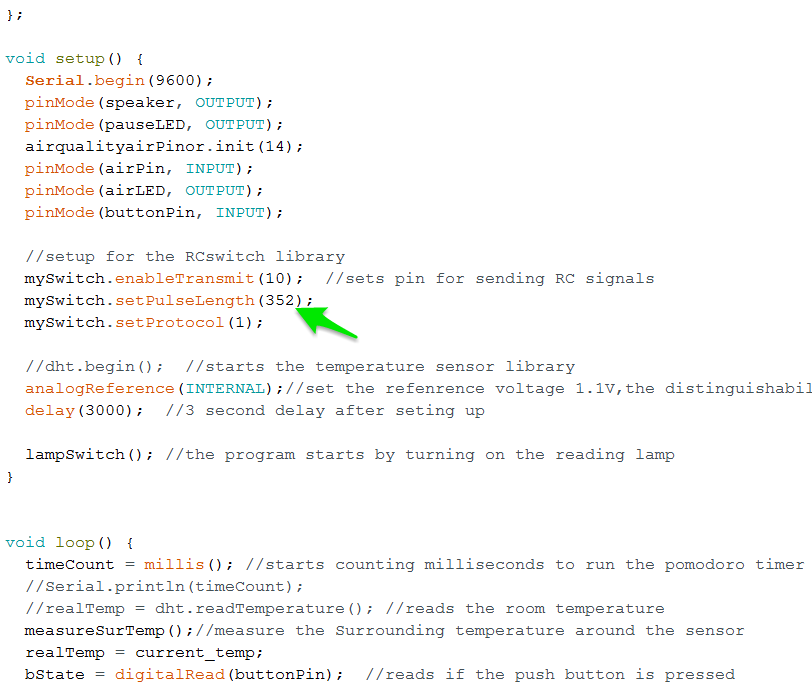
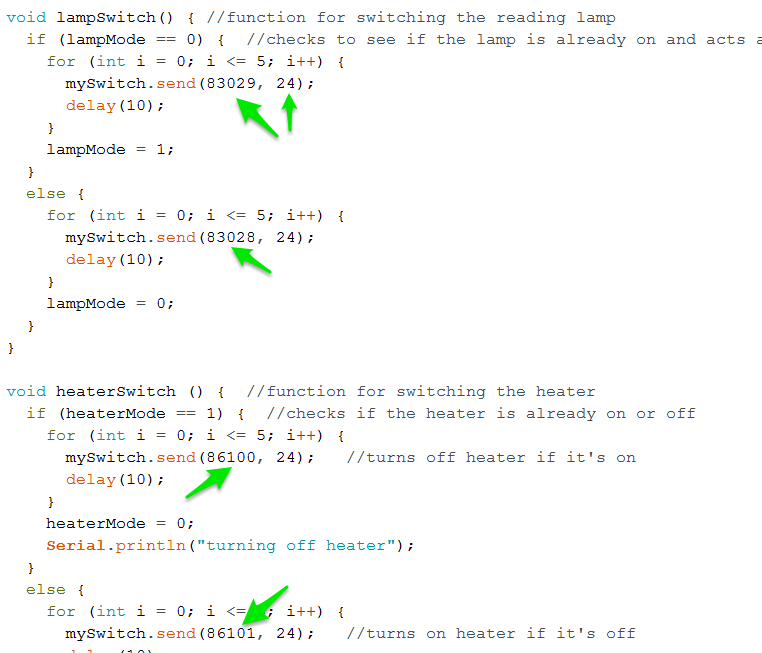
After you have installed the libraries in the previous step you can decode the signals sent by your wireless remote.
This let's you control your own wireless outlets and appliances.
Connect the 433MHz to VCC, GND and D2.
Open the Arduino IDE and find the sketch labeled under "Examples", "rc-switch-master" and "ReceiveDemo_Advanced".¨
Upload the example sketch to your Edison and open serial monitor.
Press the buttons you wan't to decode and control later. Take note of the decimal value of the code, the bitlength, and the pulselength.
These are the values you need to change in my code to control your appliances.
Hooking Up Your Sensors
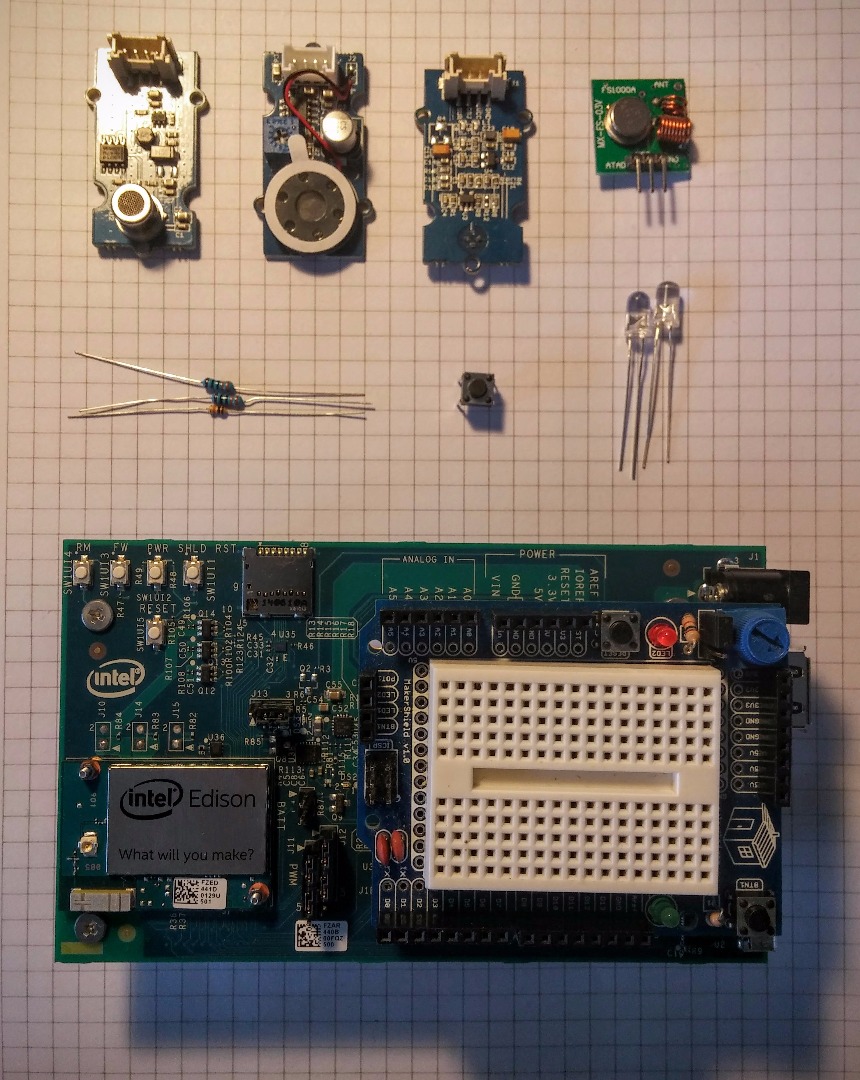
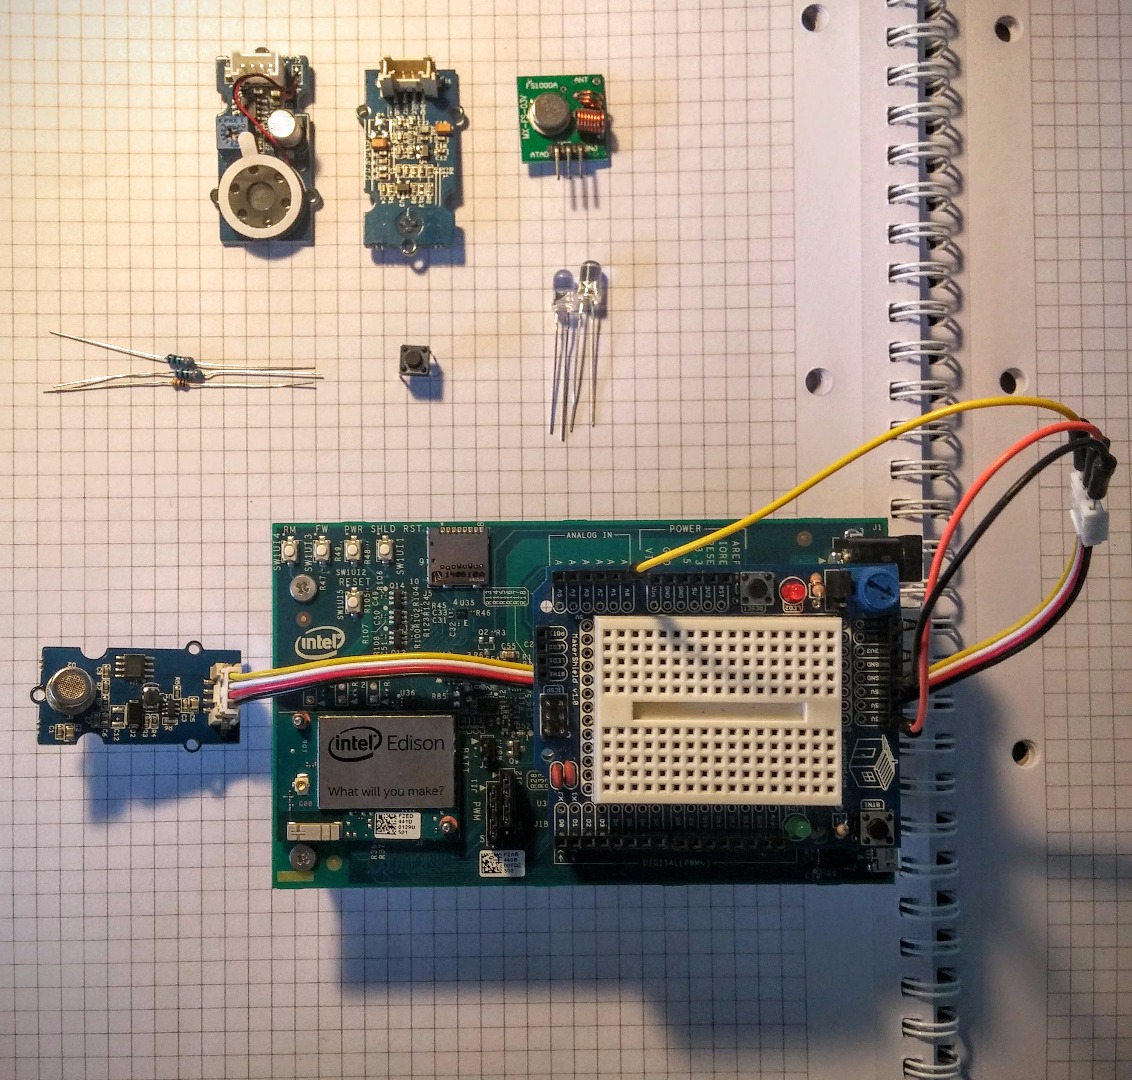
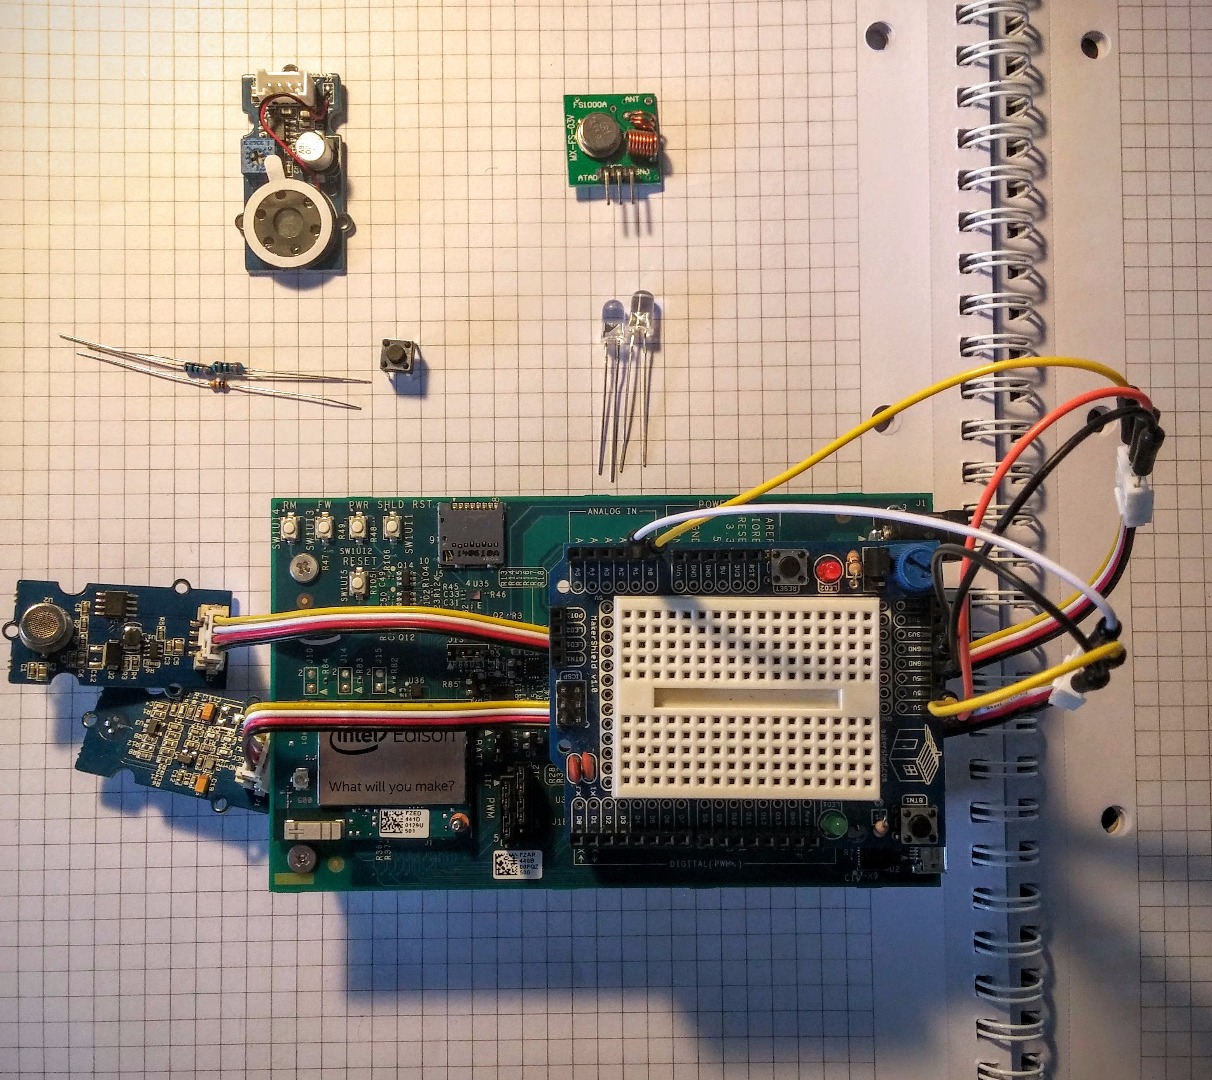
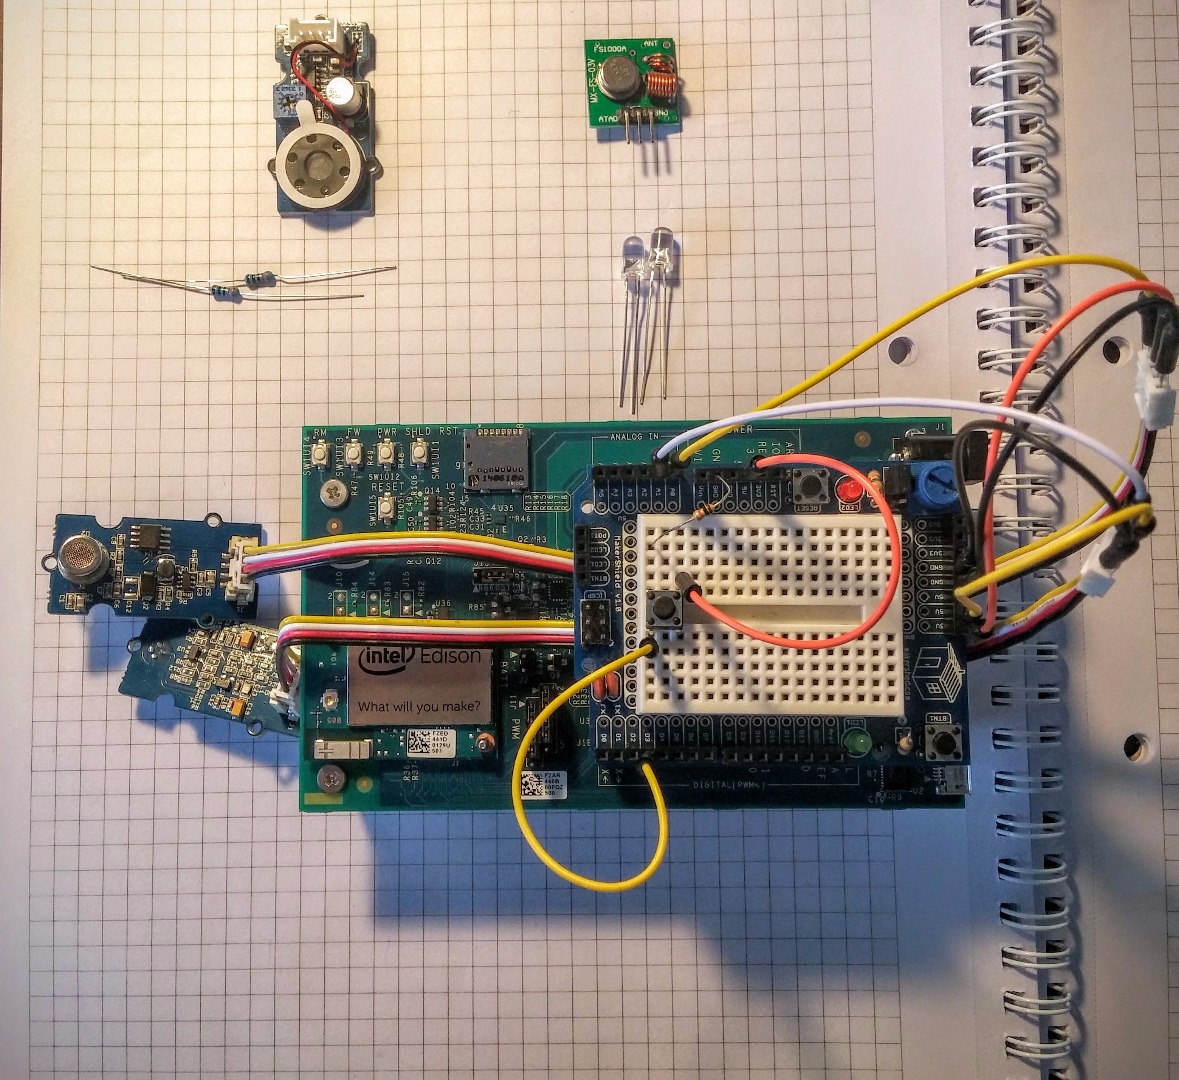
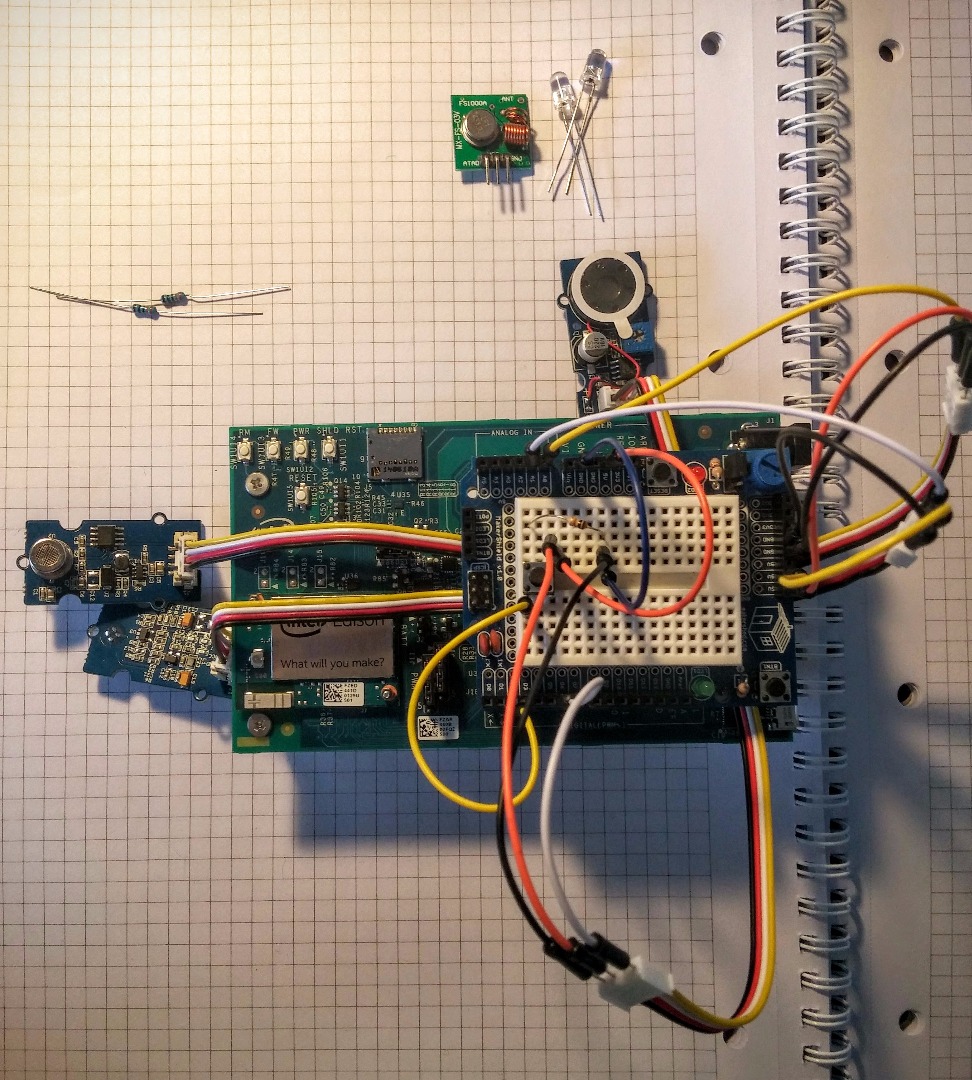
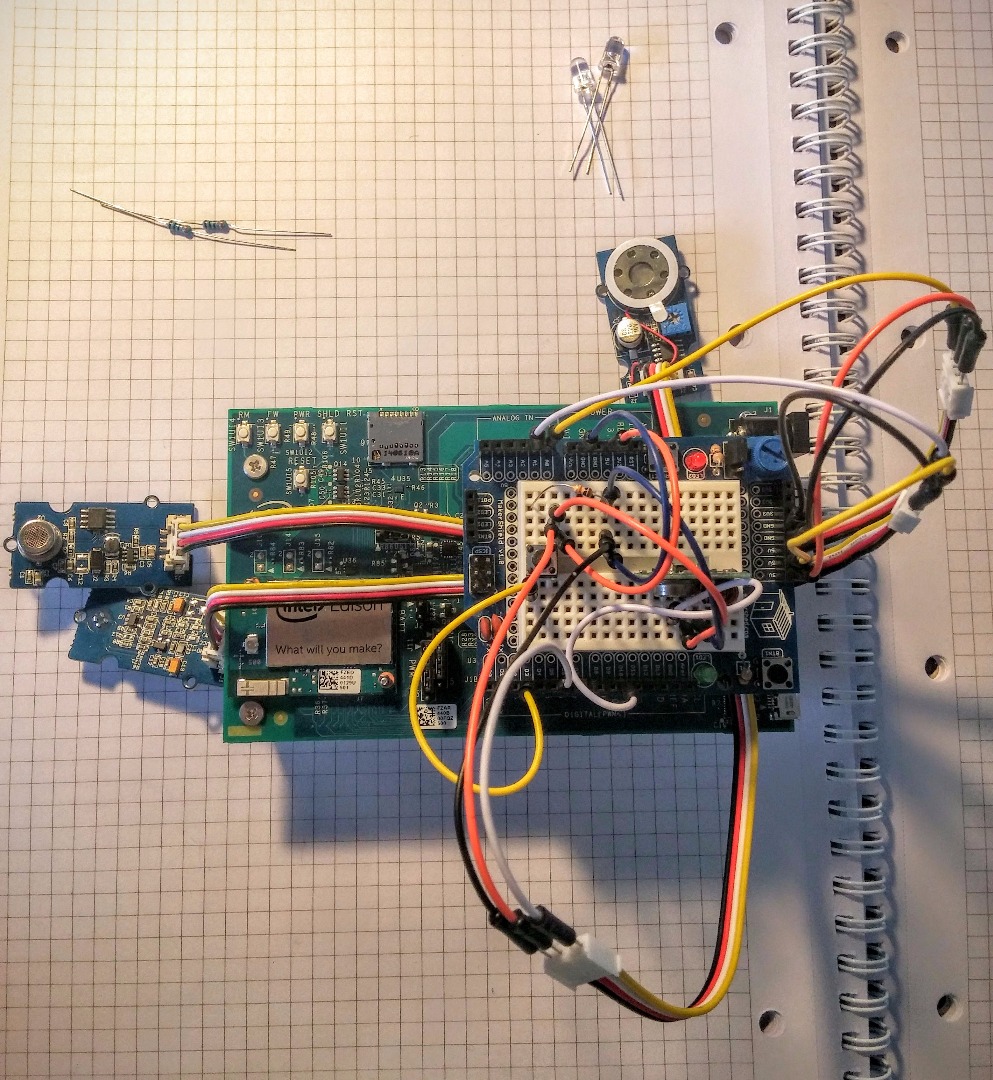
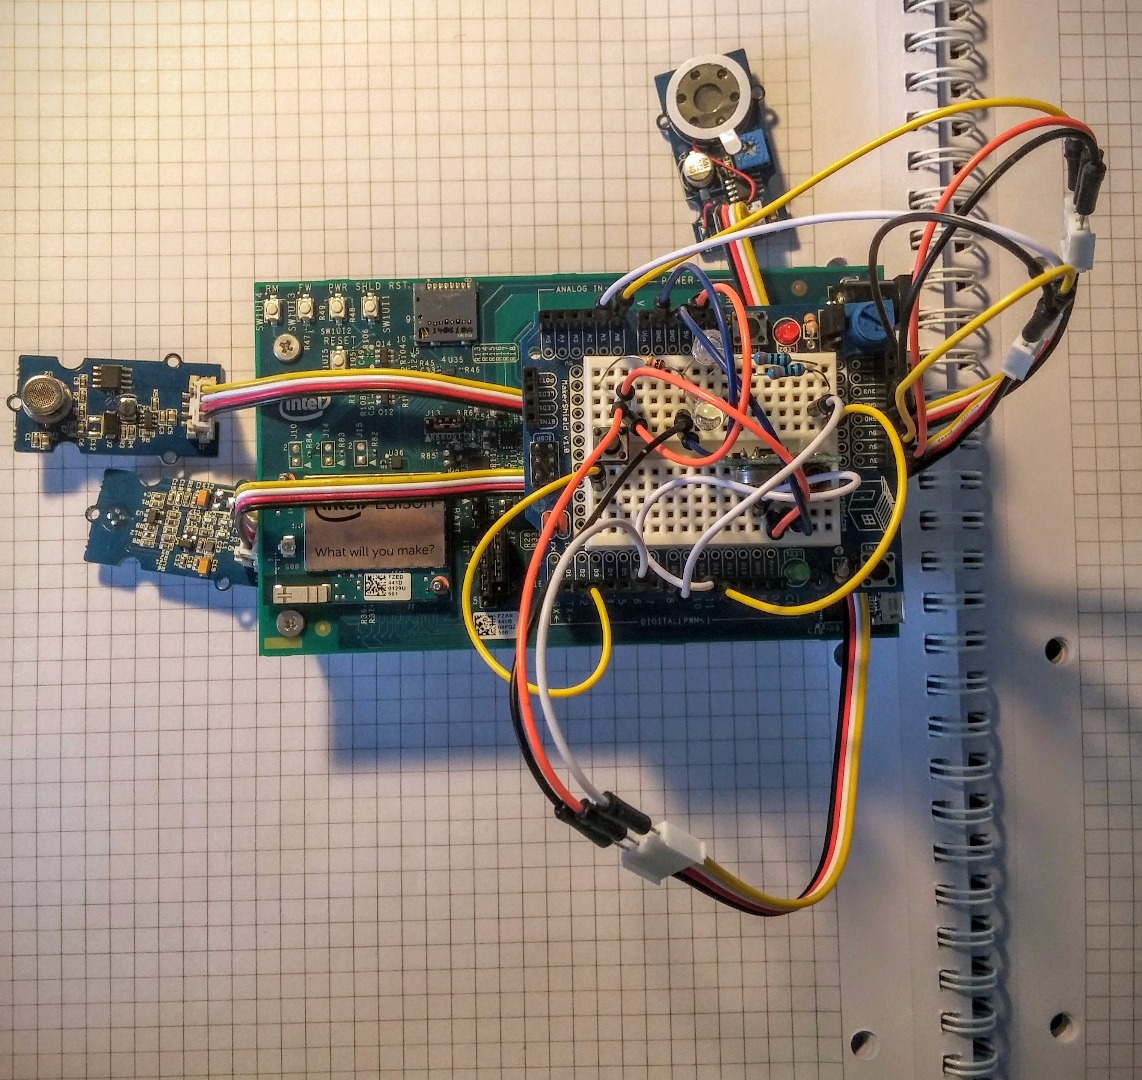
Every component except the LEDs needs to be connected to GND as well as VCC.
The LEDs are connected to each of their digital pins through a 330 ohm resistor on each anode.
The push button is wired with the digital pin connected to GND through a 10k ohm resistor and with VCC flowing through the button when pushed.
Pin out for all the components
- Grove air quality sensor: A0
- Grove temperature sensor: A1
- Push button: D3
- Speaker: D6
- Air quality LED: D8
- RC-switch: D9
- Pause LED: D11
The Code - Where the Magic Happens!
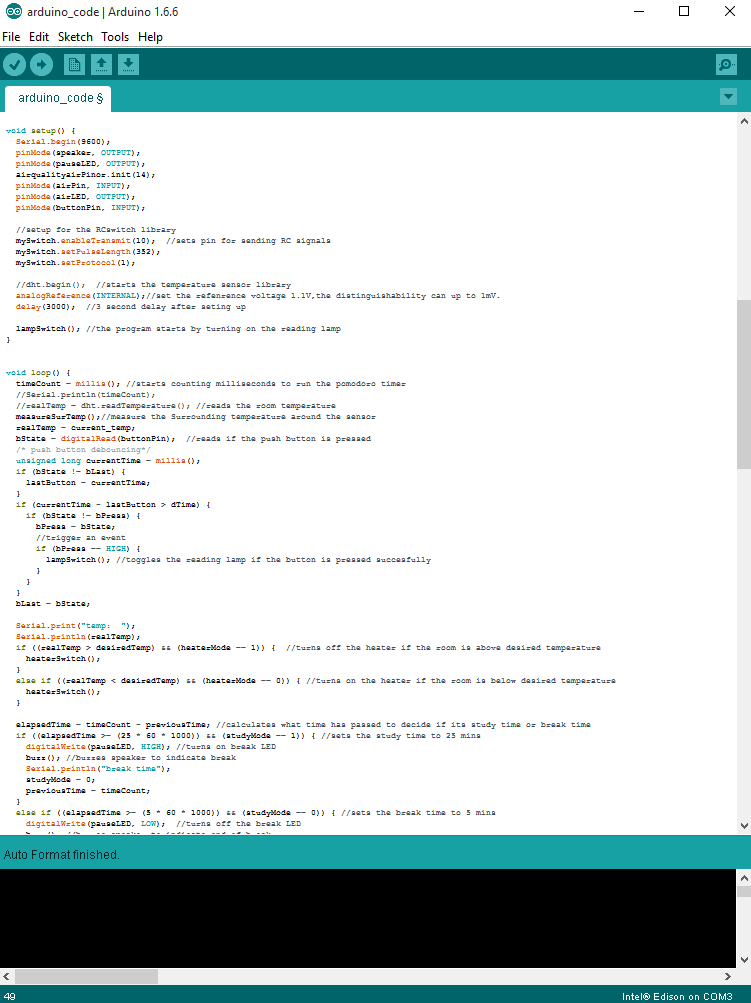
I've spent some time commenting my code so it's a beauty to look at!
The code works by starting off in study mode when you power on the Intel Edison.
When this happens the reading light turns on, this signals that it's time to start reading. This also starts the monitoring process and the pomodoro timer. Of course, if you would like to turn on or off the reading light there's a simple push button to wireless toggle the reading light.
There's an LED which lights up when you've read for 25 minutes and it's time to take a break. This starts a 5 minute break timer which turns off the LED when the break is finished. Both the start and end of break time is signaled by a buzz from the speaker.
There's also a continuous monitoring of the study environment itself.
In the code you preset what temperature you prefer in your room when studying, and at what air quality you really should ventilate the room.
If the room temperature is below one degree of your preset the room heater turns on to remedy the cold temperature. Likewise, if the temperature is above one degree of your preset, the room heater turns off and the room will begin to cool again.
If you've been studying for a while, as is often done in exam periods, the air quality in the room will decline. The air quality sensor will immediately tell you when it's time to open a window to let in some fresh air, and increase the quality of your work.
When the air quality drops below your preset a signaling LED will light up and won't turn off again until the air quality is once again within optimal parameters.
The code is written mostly by me based on both previous projects and example sketches from libraries. The code to make the grove temperature sensor work is mostly from Bruce Qin, which I found at this site. The temperature sensor code has the benefit of not needing an external library. Finding the average value of the air quality sensor was done by following this guide by David A. Mellis.
Downloads
It Works! - Final Thoughts
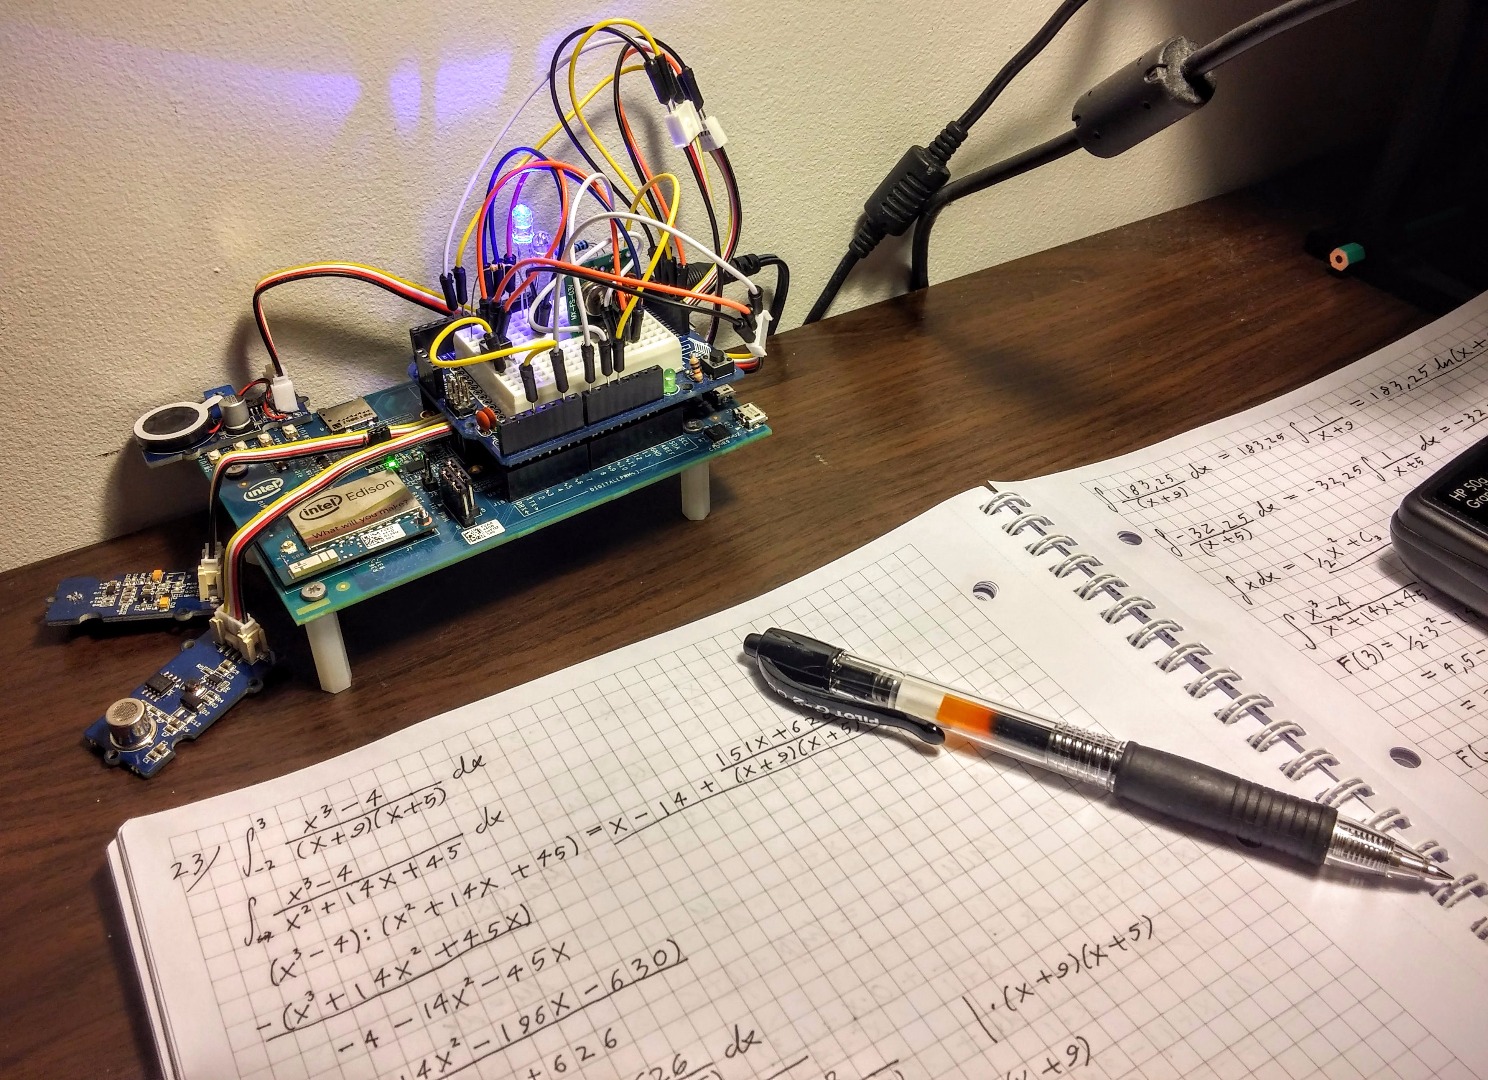
I loved doing this project. I got to develop on some previous ideas and projects to come up with a system I'm going to enjoy using!
Further development:
I would have liked to include more sensor and automating more in the environment. Also, it would be great to push the Intel Edison closer to it's limits.
It would be cool to have the Edison send a signal to my phone over bluetooth or wifi when the study mode starts and ends. This could be set up with the app tasker on my phone, so that the Edison could turn off my phone's notifications when it's study time. Likewise, the Edison could turn on again notifications when it's time for a break.
I would have liked to automate the process of opening and closing my window. This would add to the automated goodness, so the Edison doesn't just tell you when you should increase airflow in your room, the Edison fixes this for you.
All in all I'm super grateful for the opportunity to develop my skills and give back to the community which has inspired me so much!
If you liked this idea and instructable, do like the others and vote for me in the Intel IoT Invitational contest!
Vote at the top of this instructable or you can find this instructable in this list.