Automated Spreadsheet Processing - Node.js
by drewridley in Circuits > Computers
199 Views, 3 Favorites, 0 Comments
Automated Spreadsheet Processing - Node.js
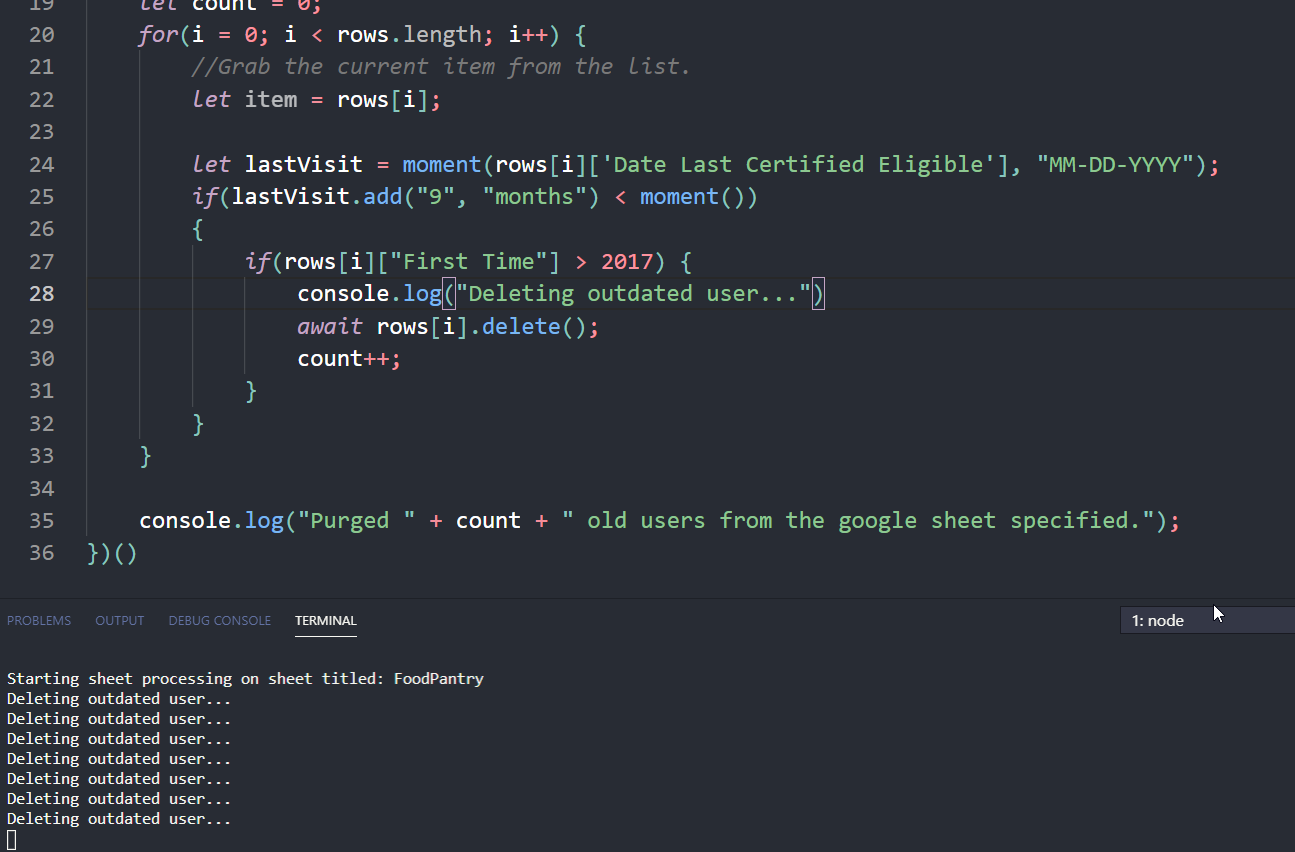
The local food pantry in my town had a large, outdated database consisting of hundreds of outdated records which did not reflect their current visitors. I was tasked with designing an effective automation solution which was capable of iterating through the data and cleaning up their database removing the need for manual cleanup of each monthly report.
Prerequisites:
- Basic experience with the command-line
- Node.js installed on your computer ( Which can be downloaded here )
- A google account and a corresponding google-sheet to process
Project Scaffolding and Dependency Installation
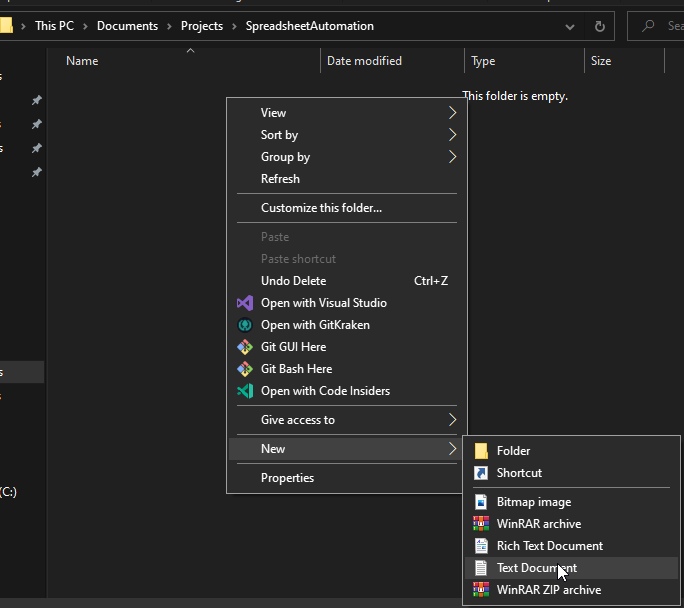

To make development of the script easier, its best to create a separate directory on your computer to hold all of the files related to your project.
- Open windows explorer/finder (or your equivalent for your operating system).
- Navigate to the desktop or documents folder, and create a new directory
- Open the new directory
- Create a new file called 'script.txt. The easiest way to do this is to right click on the folder, press new, and navigate to text file. We will be placing our script inside this file later.
- Install the dependencies.
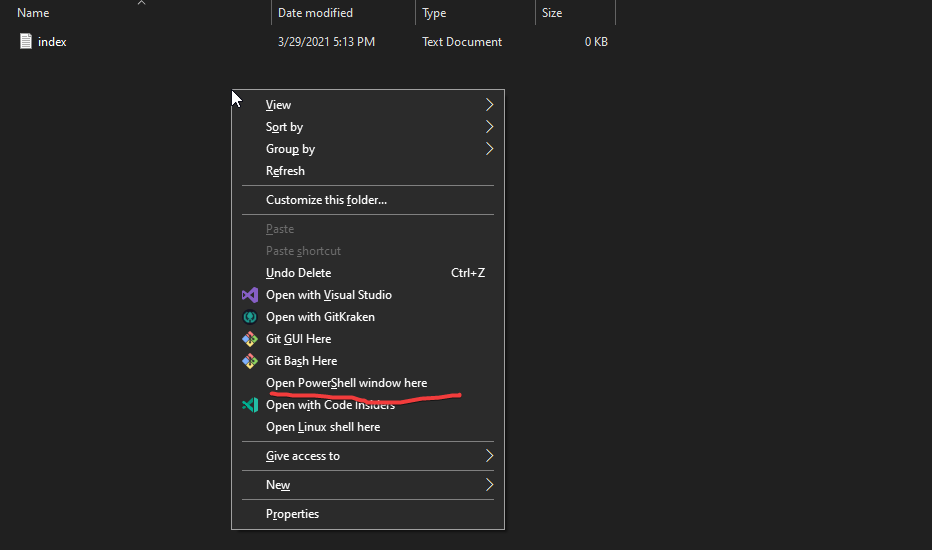
- If on windows, press CTRL and Right Click anywhere inside the folder and an option should appear to 'Open PowerShell window here'. Upon clicking this button, a new black window should appear on your computer.
- In the window, enter 'npm install googleapis@39 --save' to install the google sheets library.
- If successful, the window should then say "Installed 1 package".
- If not successful, the most likely error mesage would be "npm is not recognized as an internal or external command". This error indicates you did not install nodejs correctly.
- Open the text file previously created.
Enabling Access
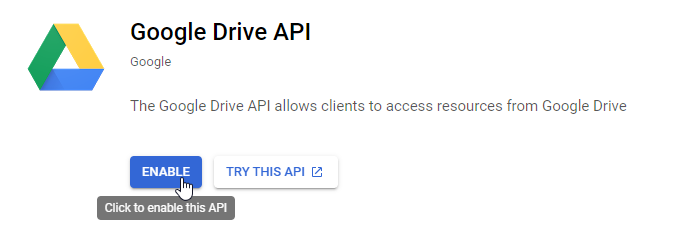
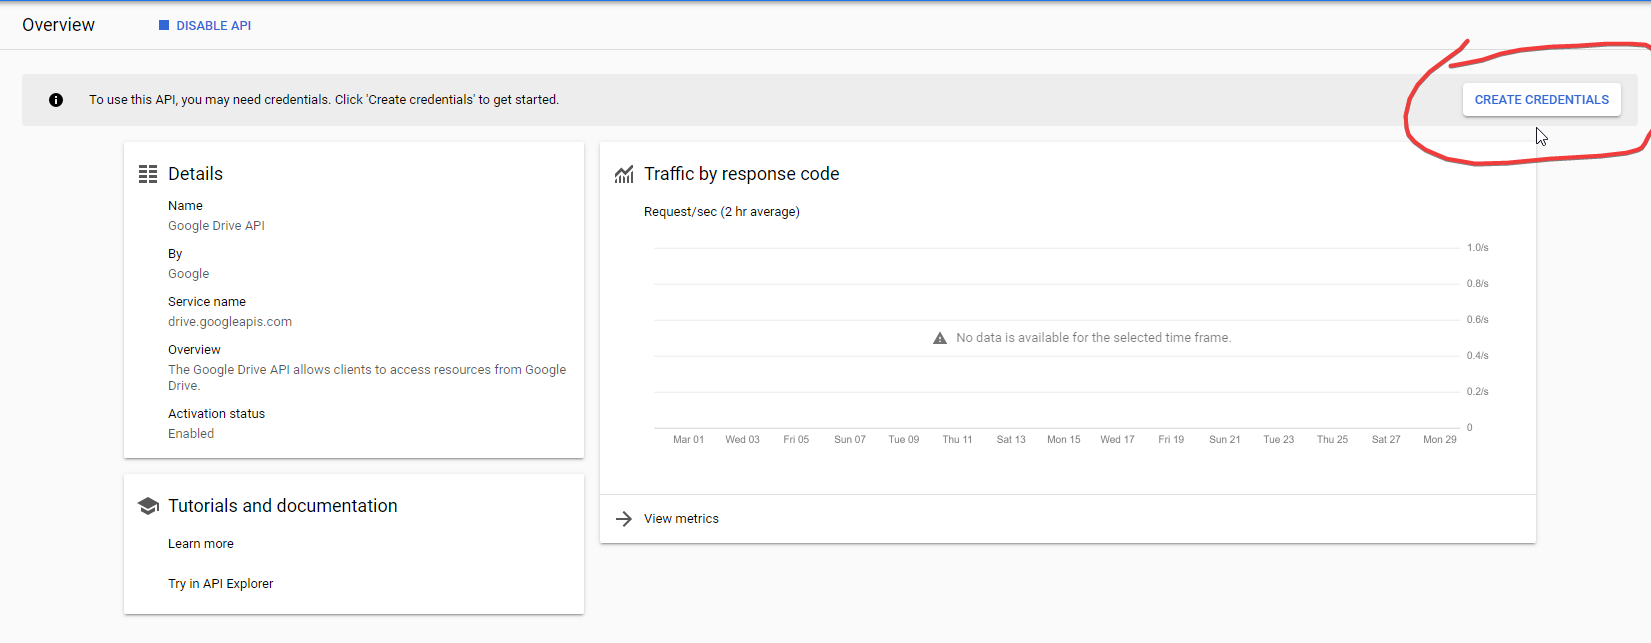
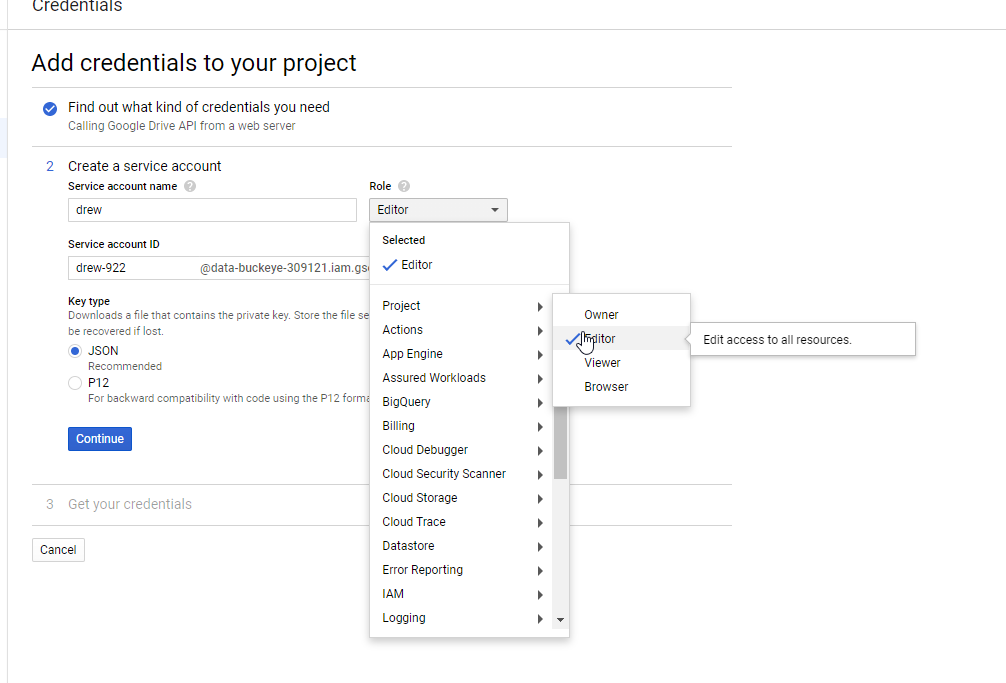
Google requires you to generate credentials to authenticate your access to the spreadsheet. This will prevent other individuals from modifying or accessing your document.
- The first step is to visit https://console.developers.google.com/. This site may prompt you to register for the cloud platform. Once the page loads, at the top left next to the logo, "google cloud platform", there should be a dropdown or a button that says "create new project". Press this button, and give your project a name. Any name is acceptable here.
- Create the project.
- Now, in the search, type 'google drive' or 'drive', and the option 'google drive API' should appear. Then, click on it.
- Press the enable button shown. it should take you to a new page similar to the one in the attached screenshot. At the top of the page, it should say 'create credentials'. Press this button.
- Next, there will be a selection box to indicate which API you are using. Select google drive API from the dropdown.
- A selection will now appear to select where you will be calling the API from. For this dropdown selecting "webserver" is fine.
- For the selection 'which data will you be accessing', select 'application data'. A new selection should appear and you should select "No, I am not using them".
- Press 'what credentials do I need' and a page should appear asking for a service account.
- On the new page, enter a name for the service account, and set the role to project > editor like shown in the screenshot.
- After pressing continue, a file will download. Place this file in the same directory as your project. For convenience, it is best to rename this file to "creds" or "credentials" to simplify future steps.
- Next, in the search, type "google sheets API". Click on it. Then, press the blue "enable" button on the page.
- Congratulations, the access has now been enabled and you are ready to proceed to the next step.
The Code

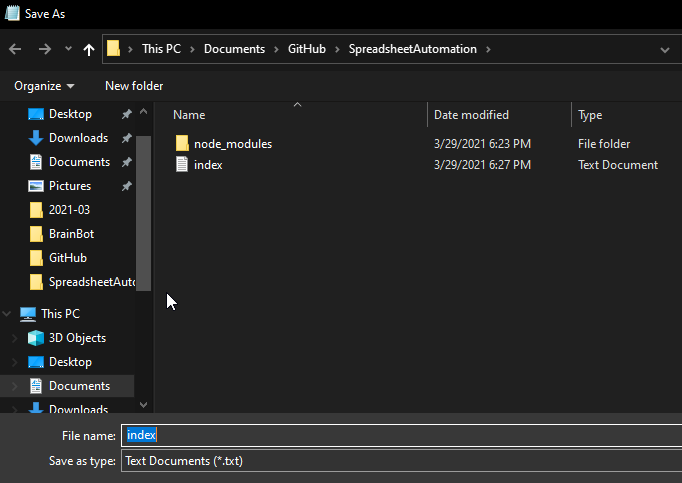
Now that your project is fully configured for spreadsheet automation, it's time to start writing code. Go back into your project directory and open the file created earlier called "index".
1. To fully configure the application, there is one more step involved. Right-click the file labelled "cred" that we saved earlier. Select "open with" and select notepad. If notepad is not listed on that menu, select "Choose another app" and find nodepad. Then, search for a 'client_email' in the document. Copy this very long email and share the document or spreadsheet with the email address.
2. Finally, close this out and reopen the 'index' text file we looked at previously
3.Paste the code linked.
4. Open back up your spreadsheet, and copy the ID in the url. Paste this in the text file where it says "INSERT YOUR ID HERE". This can be obtained as shown in the screenshot provided.
5. Next, its time to save our file. Go to File, then 'Save as'. Change the type to 'all files' and name the file 'index.js'. Press save.
6. Open up the terminal like you did during setup. This time however, enter the following command:
'node index.js'
7. If everything is setup correctly, that should print the sheet name.
8. After verifying that the first snippet is successful, open up the 'index' file with notepad. Then, erase the contents and replace them with the following
The example given is complex, but each step will be explained thoroughly.
First, we are obtaining the sheet, and getting all of the rows of the sheet. We are using javascript's 'for' keyword to visit each row of the document. then, we are parsing the row's "Date Last Certified" column into a date, using 'MM-DD-YYY' in this case to indicate how the date is formatted.