Automated Smart Aquaponics (With Cloud Based Dashboard)
by surajsjain in Circuits > Raspberry Pi
1503 Views, 11 Favorites, 0 Comments
Automated Smart Aquaponics (With Cloud Based Dashboard)
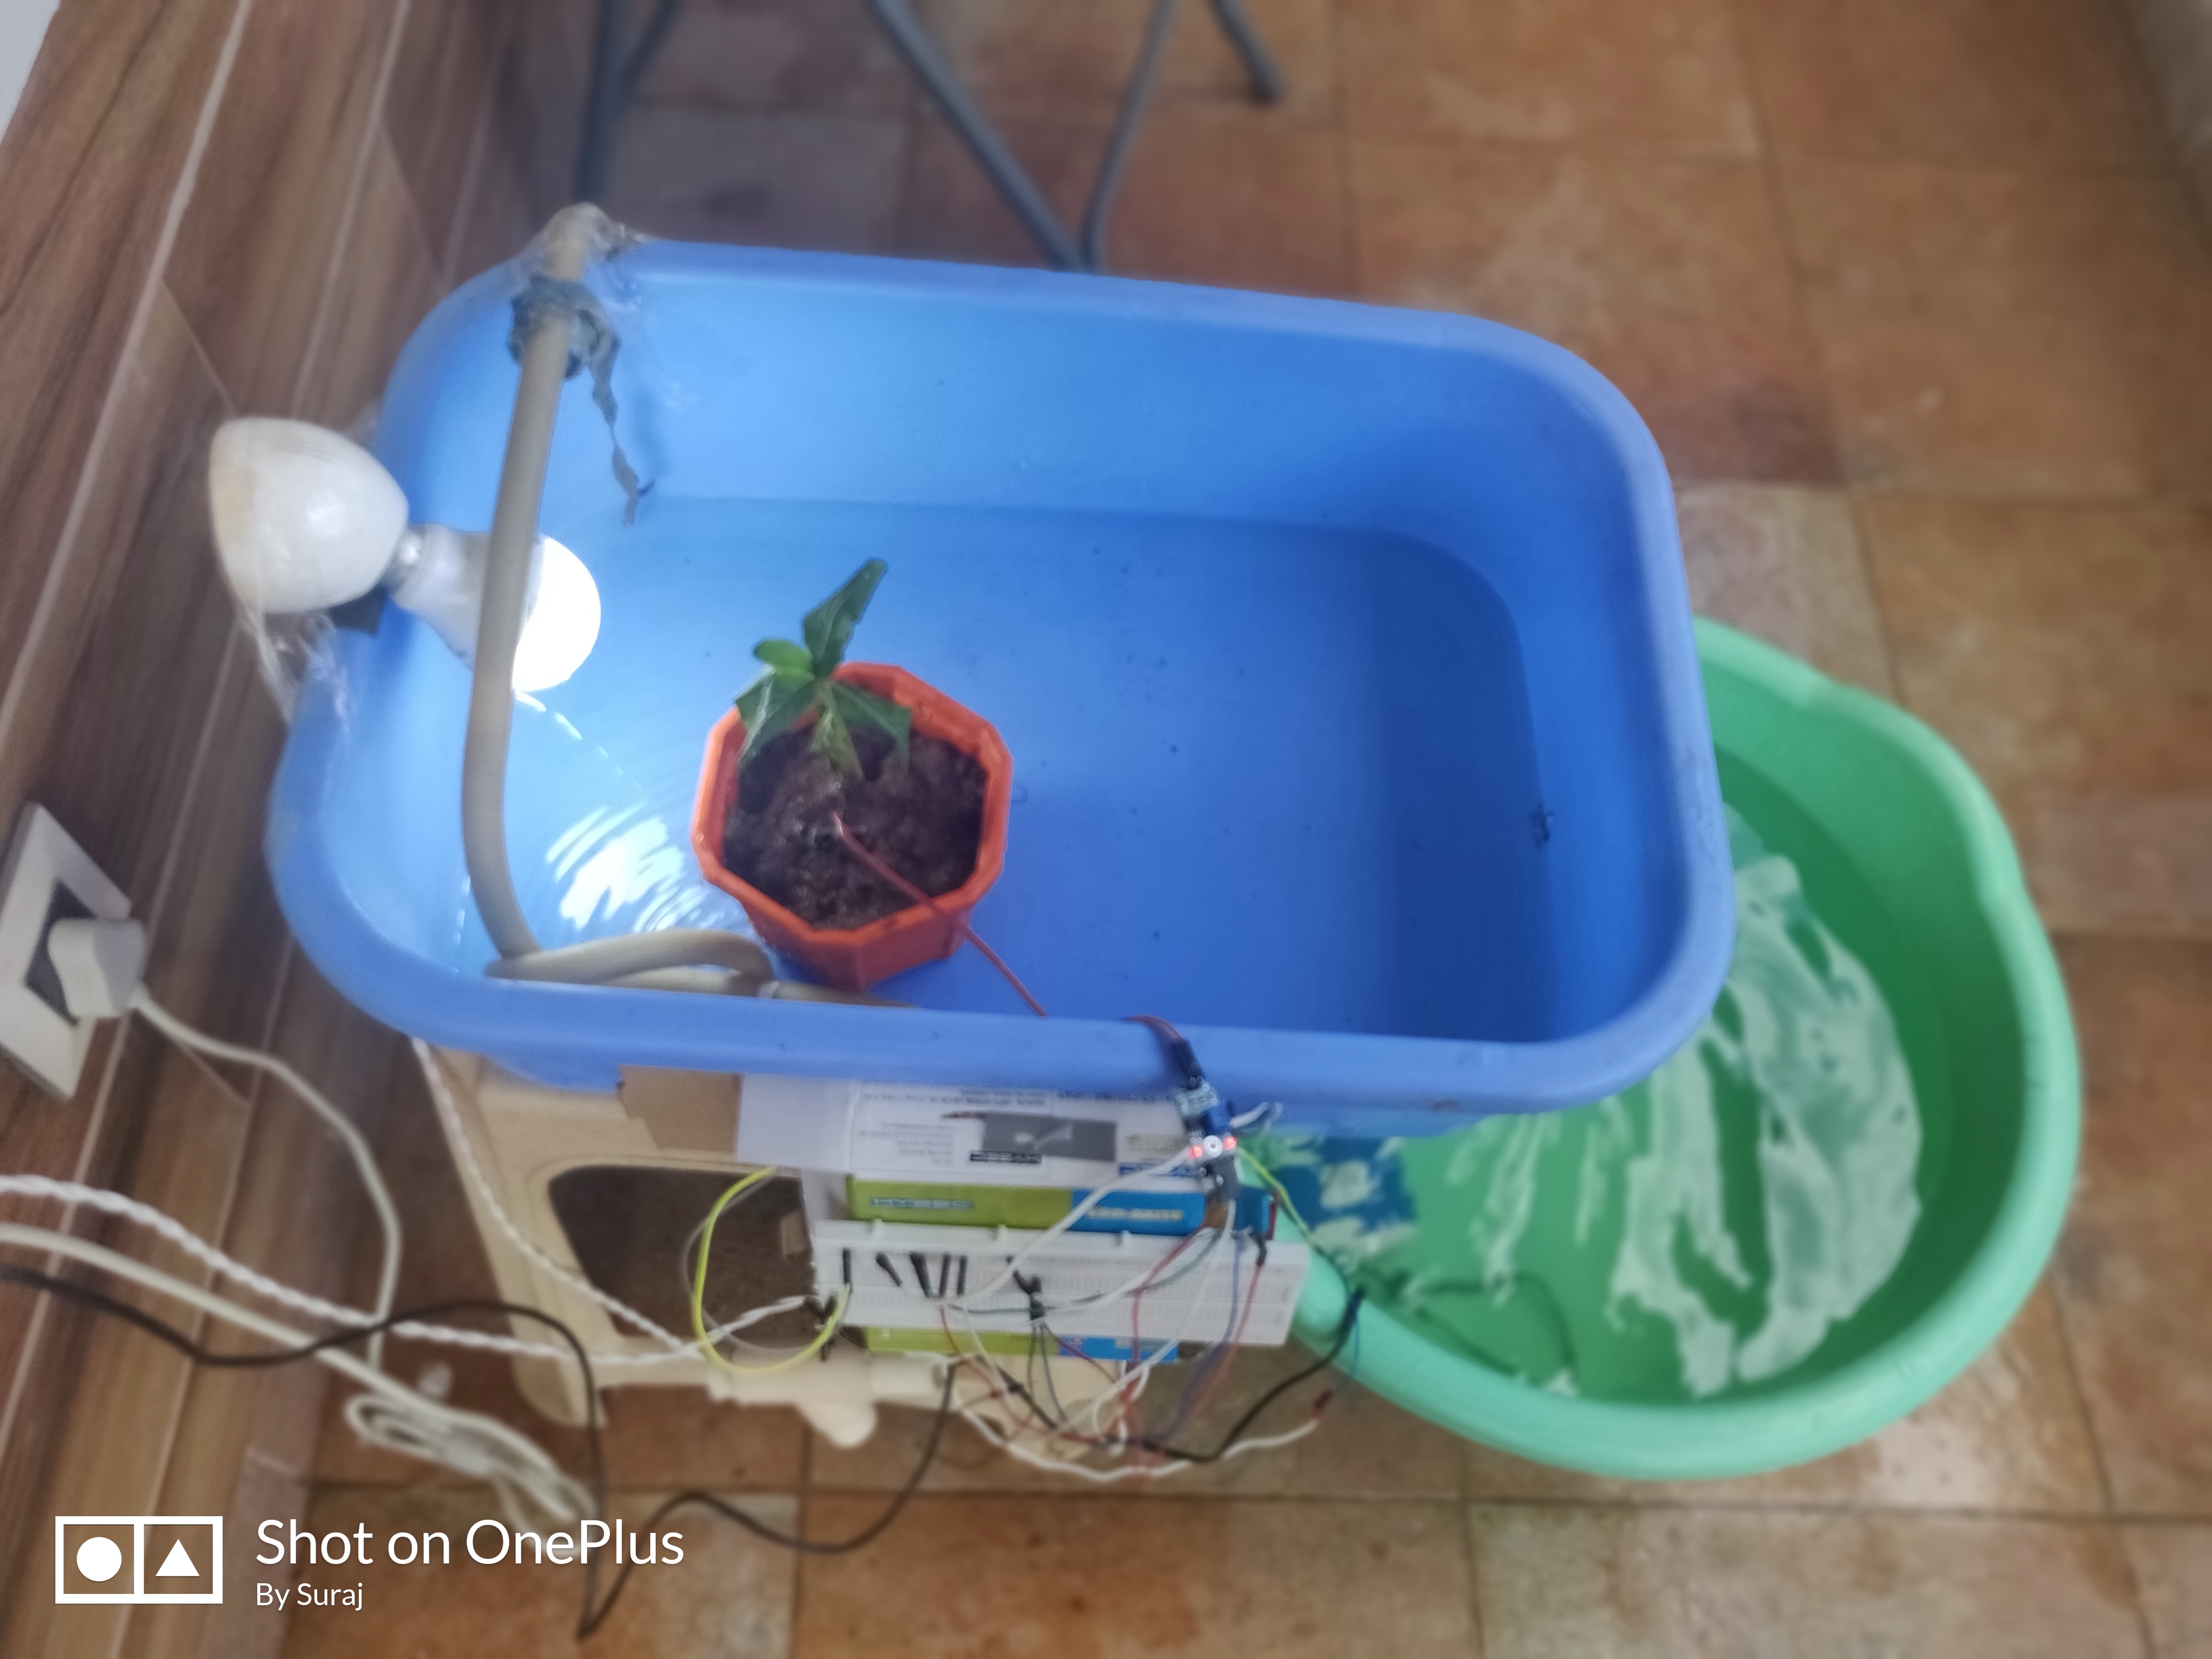
)
)
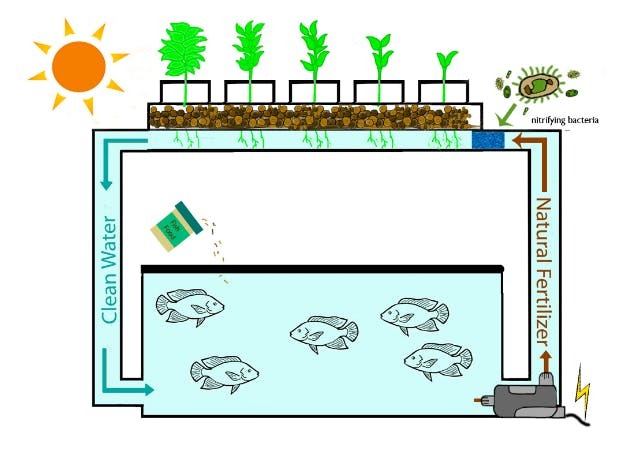
Aquaponics allows you to grow your own organic food anywhere (indoor or outdoor), in very less space, with more growth, less water usage, and without any external chemical fertilizers. Also, you can monitor the conditions on a cloud-based dashboard.
The system uses water mixed with fish waste to water the plants. When the water mixed with fish waste moves down the soil, it leaves the fish waste in the soil, the clean water comes out of the pot and enters back into the fish tank. The fish waste left in the soil acts as natural manure for the growth of crops planted in that soil. Also, the water entering back into the fish tank carries oxygen along with it for the fish. Therefore, the fish tank will not require any external aerator or weekly cleaning.
Supplies
- Raspberry Pi 3 Model B x1
- (OPTIONAL) Wiznet W6100 (or any other Ethernet Shield for Arduino) x1
- (OPTIONAL) Arduino Uno x1
- DHT11 Temperature and Humidity Sensor x1
- Soil moisture sensor with screw terminals x1
- Submersible water pump (recommended 18W or higher for more vertical levels) x1
- Relay Module (min. 2 channel) x1
- LED bulb x1 (or more depending on the size of the system)
- Bulb holder x1 (or more depending on the number of LED bulbs you have in your system)
- Water Pipe
- Soldering Iron x1
- Soldering wire x1
- Either heat shrink tube or insulation tape x1
- Double-Sided tape x1
- Plastic tub
- Plastic trays/pots
- (OPTIONAL) Screws and drilling machine
Getting the Supplies Ready
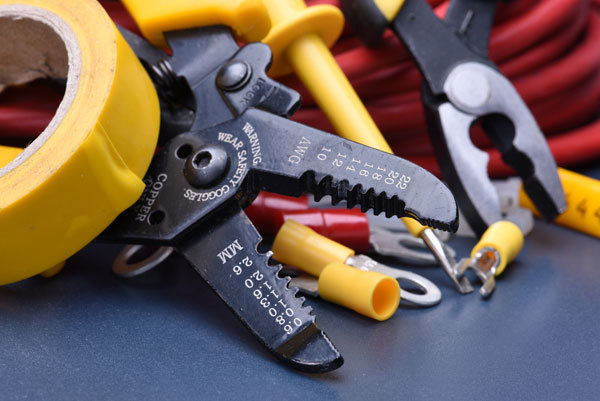
Get the supplies listed above in one place. Just purchase them if you don't have them. You will also be needing basic tools such as screwdrivers, wire strippers, and scissors. You will also want to have some good double-sided tape (I have used 3M) to stick the components wherever necessary. You can also permanently fix the components using screws and a drilling machine to drill a hole for the screws. You would also need a soldering iron and soldering wire for getting the wiring done. It's important to cover the soldering or any other wire joints with a heat shrink tube or some insulation tape.
Setting Up the Trays
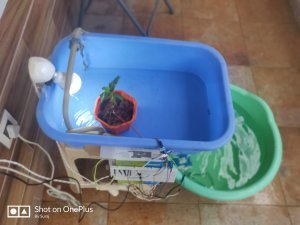

Stack up the trays vertically over the lower tub. The lower tub will be containing the fishes and the upper trays will have the plants. You can either use a small plastic table to keep the upper tray if you have just one level of plants, or you can have your own tray or pot stacks to stack up your trays/pots one above the other.
Plumbing 1 - Setting Up the Water Supply System
Connect one end of the water pipe to the submersible pump and run the water pipe up the trays/pots. You can have PVC pipes with holes running around your trays to sprinkle water over the plants in that tray and have the water pipe connected to those PVC pipes. Or if your system is small, you can make holes on the water pipe and run the water pipe around the trays so that wherever water flows through the pipe, it sprinkles over the plants in the tray/pot.
Plumbing 2 - Water Returning System
Make a hole in the bottom of each tray/pot for the excess water to drain out. You can connect each of those holes through PVC pipes and have the water from all those holes entering into the network of pipes that eventually enters into the lower tub that would have the fishes in it.
Fill Up the Pots/trays
Put some gravel or clay balls in the bottom of the pots or the trays. This is done so that the sand particles do not drain out through the hole along with the excess water and enter into the bottom tub with the fishes in it. Then, fill the pots/trays with soil and plant the crops/plants that you want to grow.
Test the System As It Is (Totally Optional, But Good to Do)
Fill up the lower tub with clean water, turn the submersible pump on for a minute and let the water flow through the system. Just make sure the excess water draining out of the pots/tubs is clean and does not contain any mud in it.
Setting Up the Raspberry Pi
- Install Raspbian OS on the Raspberry Pi.
- Connect the Raspberry Pi to your WiFi network.
- Download the Raspberry Pi code from this link (Or from the .zip file uploaded on this step).
- Unzip the code files (If downloaded from the .zip file)
- Copy the files to a folder on your Raspberry Pi.
- Set the main.py file to execute on the startup of Raspberry Pi. (You can follow this link to get to know how to set programs to run on startup)
Downloads
Make the Electrical Connections
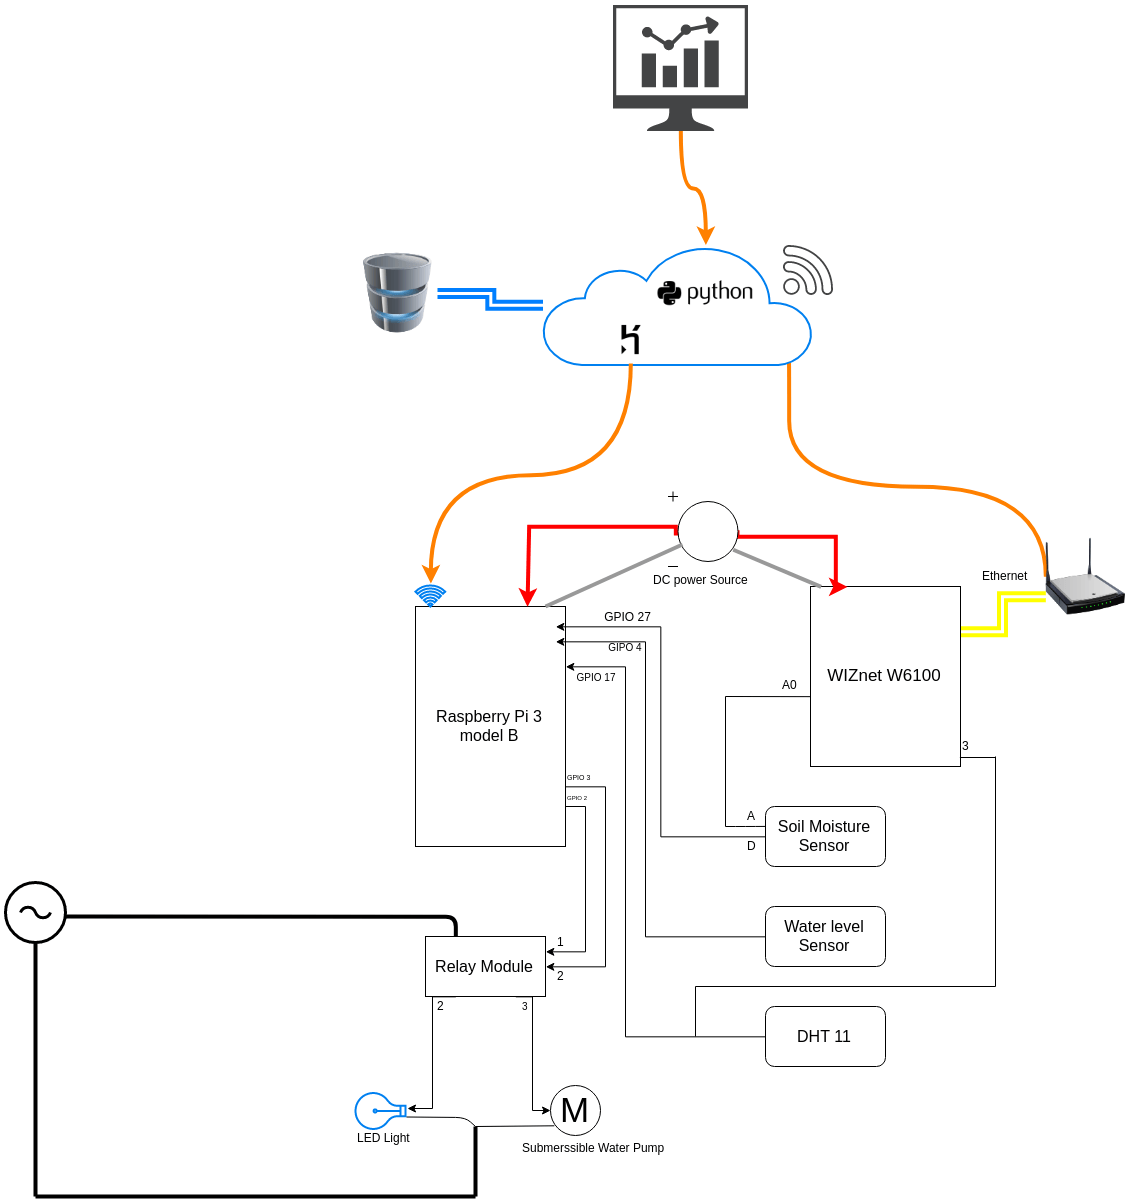
Make the electrical connections as shown in the image above. Using Arduino and an ethernet shield for the Arduino is totally optional. Having one would act as a back-up if the Raspberry Pi fails to connect to your WiFi at any time.
Also, make sure there is no water falling on the Raspberry Pi and the Relay module. Water on Raspberry Pi or Relay module can cause a short circuit and damage your system. A short circuit can even lead to a fire. You can cover your Raspberry Pi and your Relay module with any material that does not allow water to flow into it.
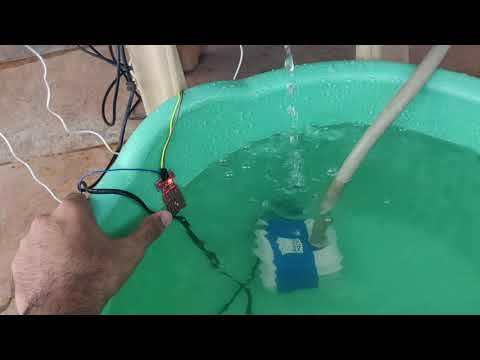
Place the sensors in the right place as demonstrated in the video at the beginning of this post and turn on the system.
The Raspberry Pi has an automation script running on it. The automation script takes care of water supply to your plants, and also the lighting based on the sensor readings. So, you don't have to worry about your plants at any time.
Having a Dashboard to Monitor the Conditions of Your System
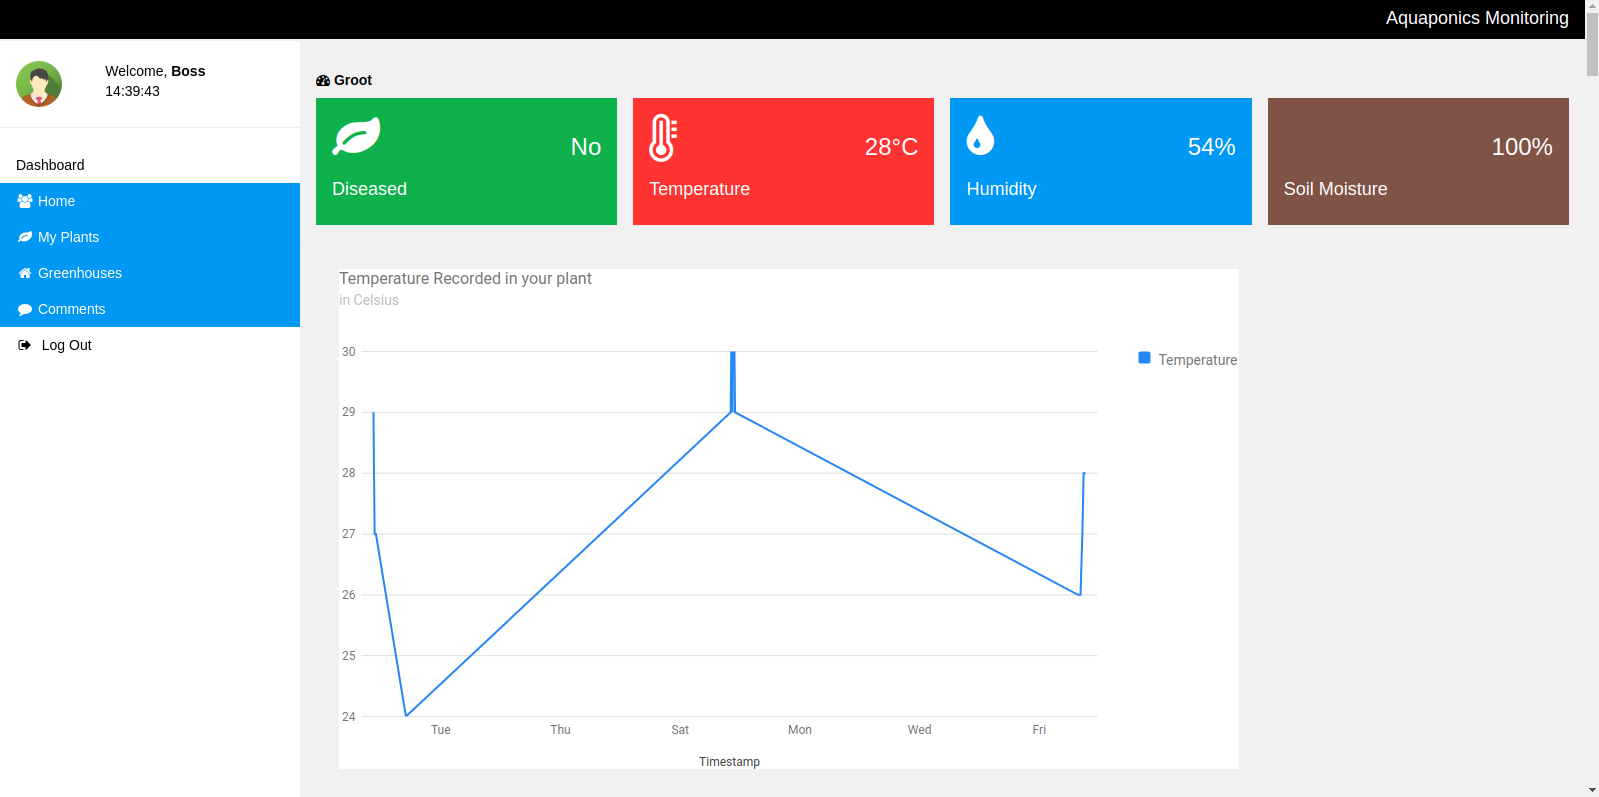
I have built the backend using Django to collect the data and deliver a dashboard to display basic analytics about the data collected from your system. You can have multiple systems across various greenhouses linked to the back-end. This makes it easier for you to manage multiple systems across your various greenhouses in one place. You can also give a cool name for your greenhouses and plants on the dashboard.
The dashboard also allows you to control the lights and pumps of your system manually whenever you want.
You can download the code for the back-end from my GitHub repository (or the link below this step) and deploy it to cloud platforms of your choice. The code comes with a ready to deploy on the Heroku cloud platform, but you can deploy on any cloud platform of your choice (Amazon Web Services, Google Cloud Platform, etc.) by just referring the instructions/documentation for deploying Django based web applications on that particular cloud platform.
Downloads
Run the System With Clean Water for 24 Hours
Fill in the bottom tub with clean water and run it for 24 hours. Check the water in the bottom tub after 24 hours. If the water in the tub is not clean, replace the water with clean water and run the system for another 24 hours. Repeat this process until you are getting clean water in the bottom tub. Else, if the water is clean you are good to go to the next step. Changing the water until you get clean water will do the last bit of cleaning in your system before you put the fishes in.
Put the Fishes In
I would recommend you to use Koi fishes for the system as it is known to produce a lot of waste, but you can put in any similar fish that is easily available in your region. Put the fishes into the lower tub filled with clean water, and also put more water to fill up the tub after the system has watered the plants once. This is to make sure there is enough water in the system.
Also, refill the water whenever necessary as there will be water lost due to evaporation. And feed the fishes on time.
You are good to go!! I wish you all the best for your journey in eating healthy, organic, and homegrown food.
Thank You!