Automated SOS
by Louisville Public Library in Circuits > Gadgets
1787 Views, 7 Favorites, 0 Comments
Automated SOS

This project uses an Arduino at Heart module to repeat
an SOS signal in Morse Code. We start by
constructing the circuit. Next we
install the Arduino IDE on a computer.
Finally, we type the code and upload it to the Arduino at Heart module.
Automated SOS
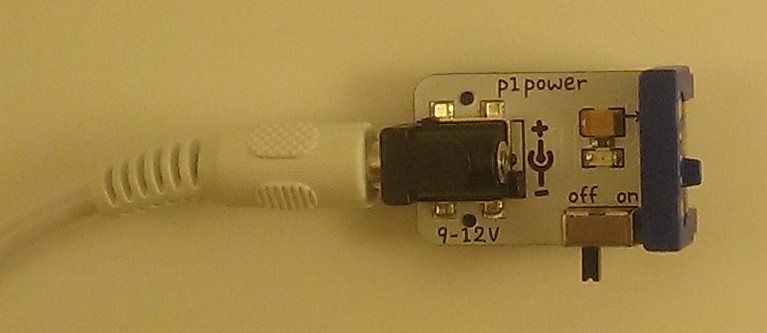
Start with the power module.
Automated SOS
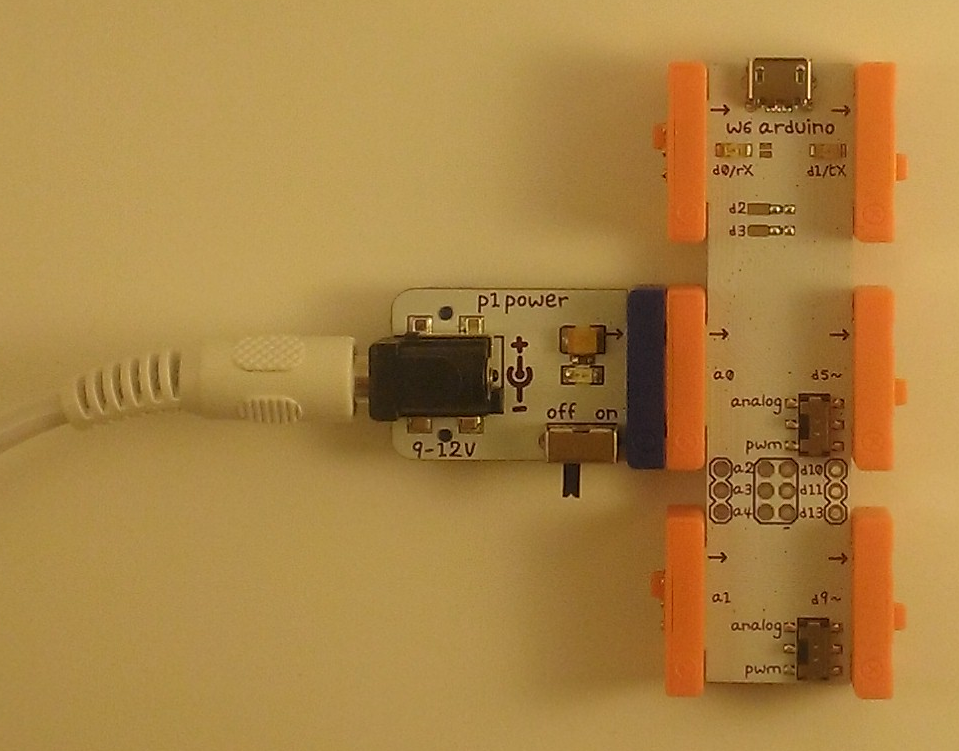
Connect the Arduino at Heart module to the power
module.
Automated SOS
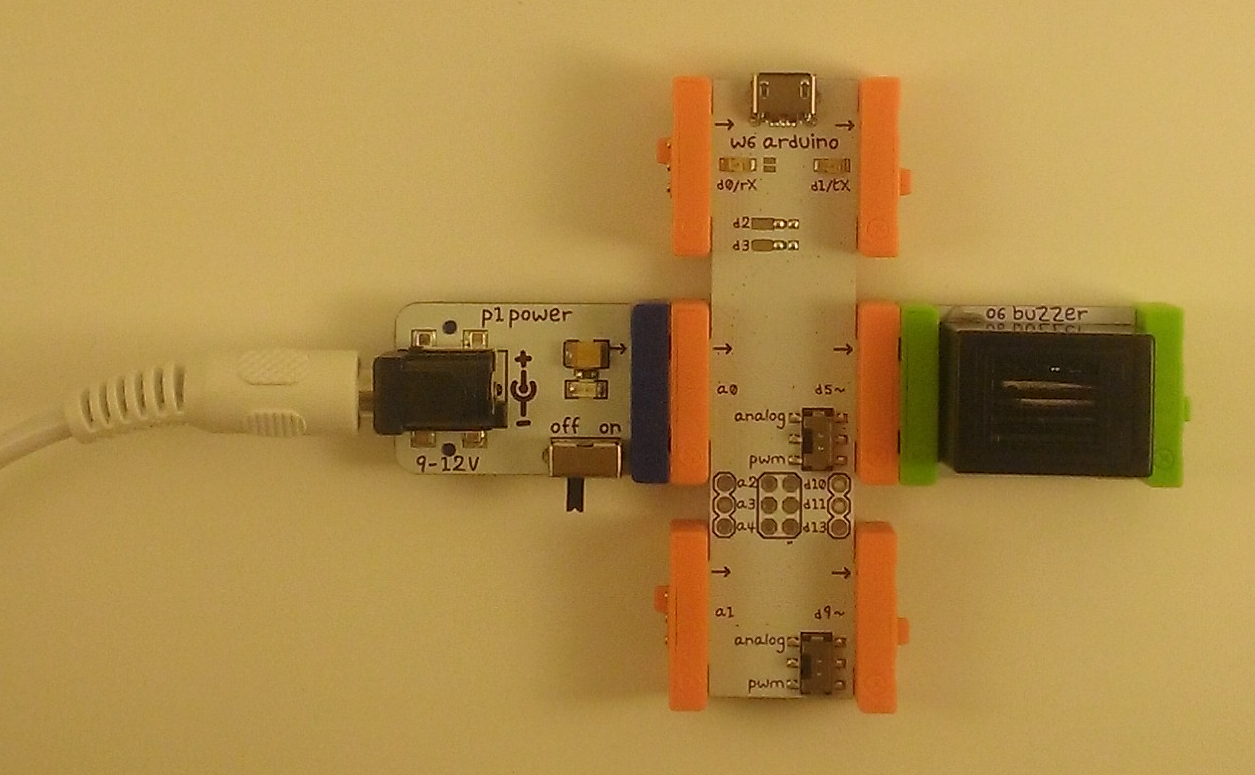
Connect a buzzer to port d5.
Automated SOS
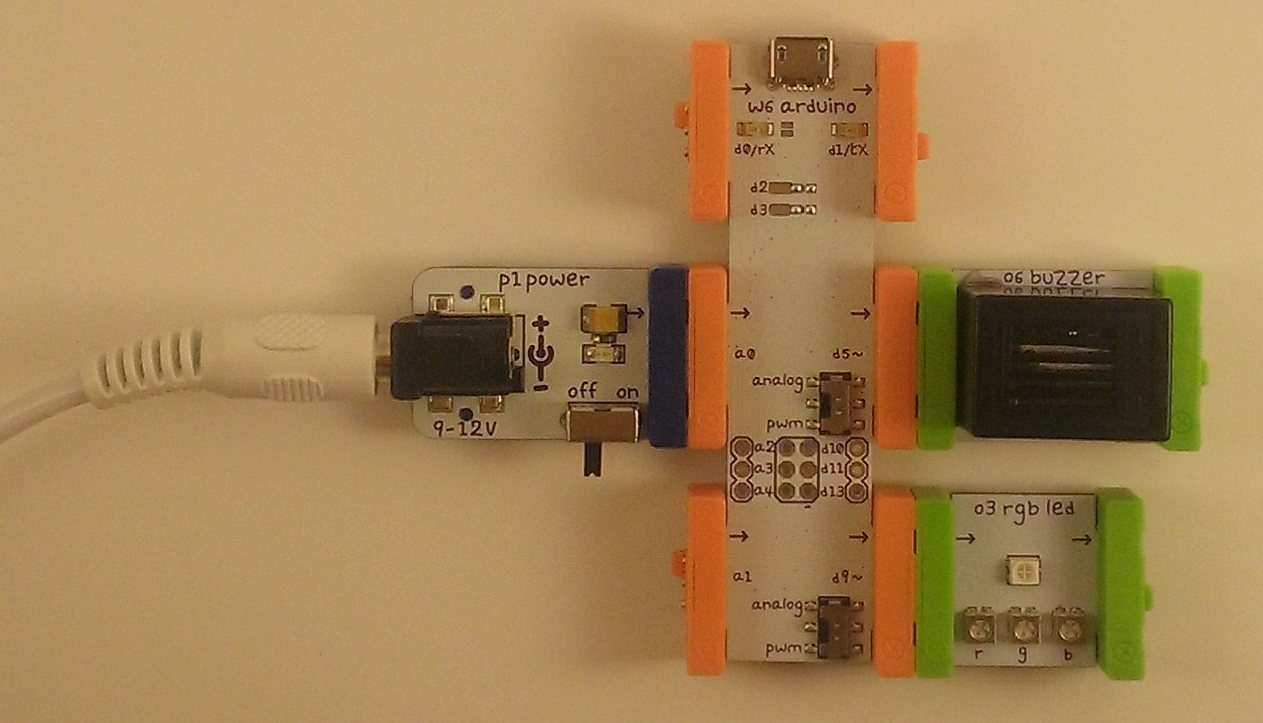
Connect the LED to port d9.
Automated SOS
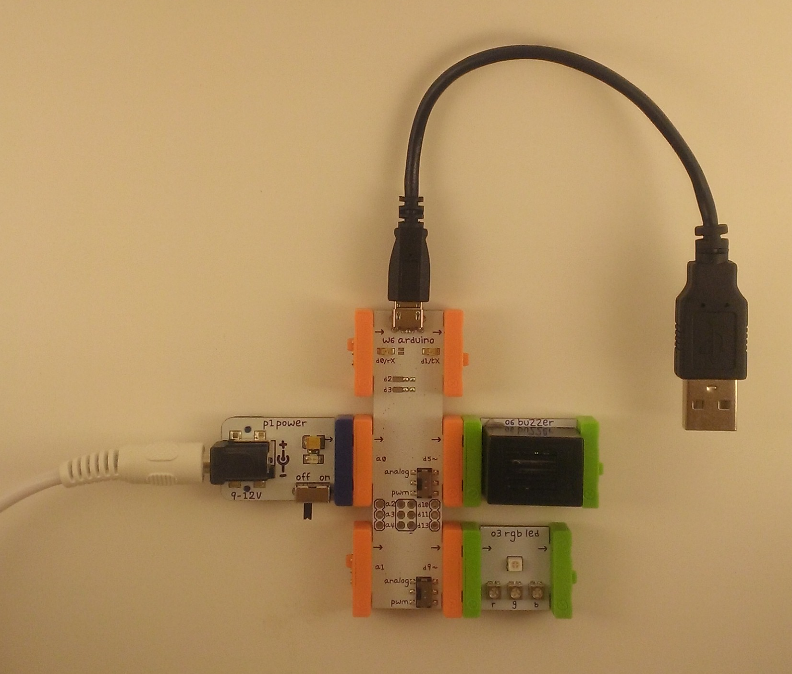
Connect the USB cable from the Arduino at Heart
to your computer (Computer is not shown).
Automated SOS
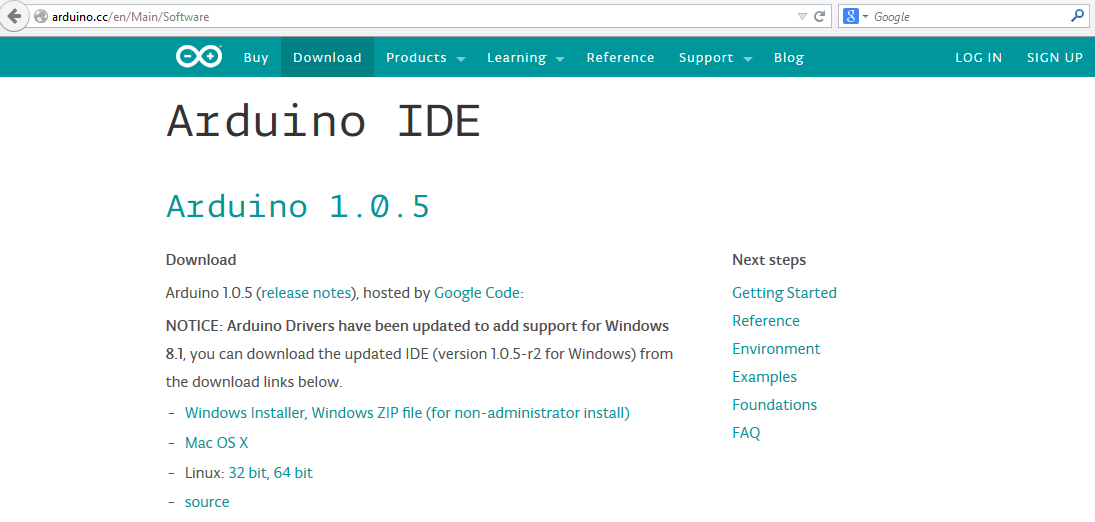
Download the Arduino IDE for your platform from http://arduino.cc
The instructions below demonstrate the
installation of the Arduino IDE for the Windows platform.
Automated SOS
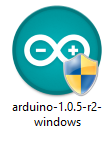
After downloading the appropriate file, install
the Arduino IDE software by double-clicking the downloaded file.
Automated SOS
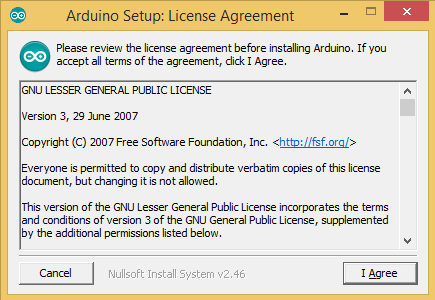
Read and agree to the license by clicking the “I
Agree” button.
Automated SOS
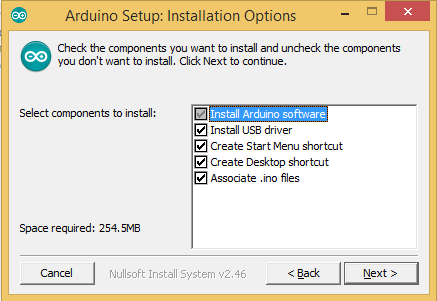
Leave all components checked. Click Next.
Automated SOS
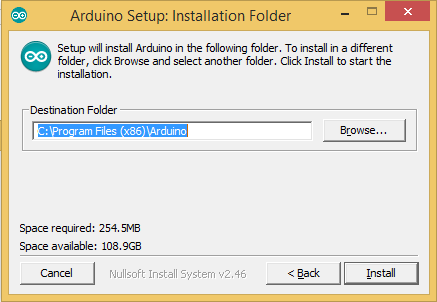
Leave the destination folder as is. Click Install.
Automated SOS
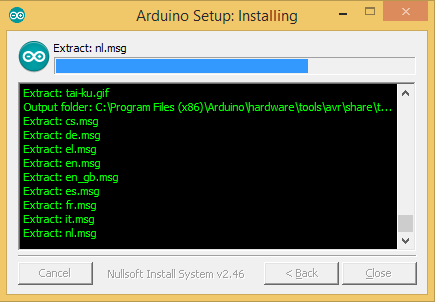
Allow the installer to extract the files.
Automated SOS
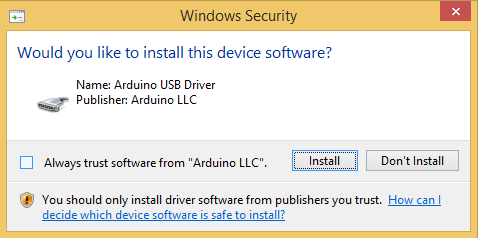
When prompted to install the device driver,
click the Install button.
Automated SOS
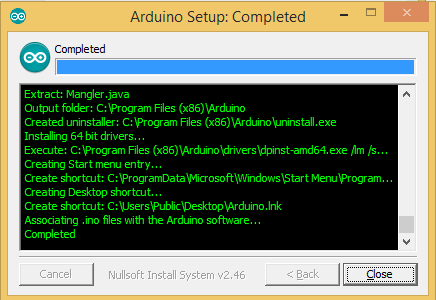
When the installation completes, press the Close
button.
Automated SOS

Start the Arduino IDE by double-clicking the icon.
Automated SOS
1.
Turn on the power module.
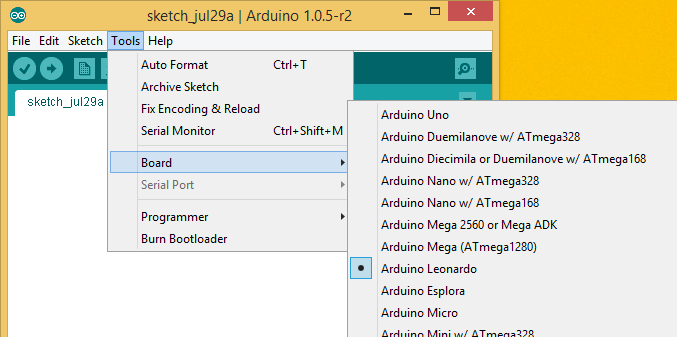
2.
Select the Arduino Leonardo in the Tools menu.
Automated SOS
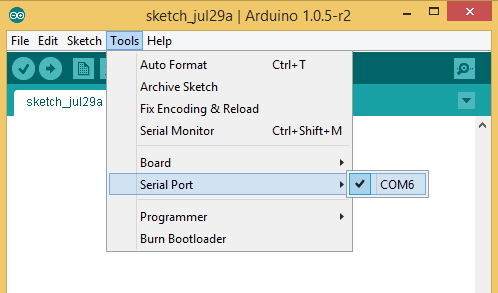
Select the serial port. (This port may change every time you connect
the Arduino at Heart module).
Automated SOS

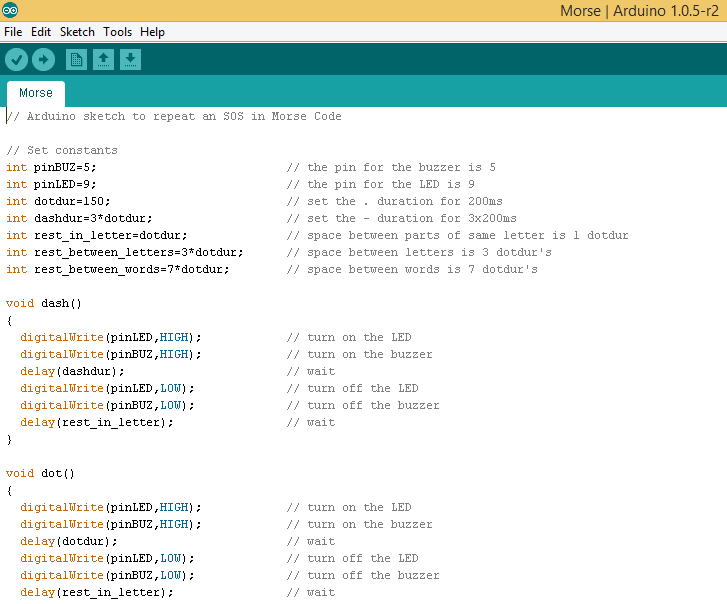
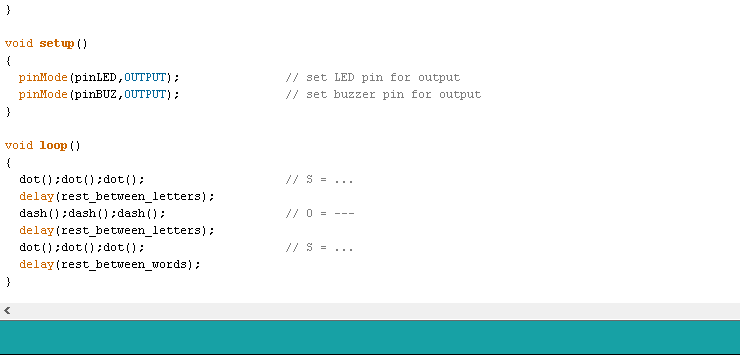
Type in the following code and save it as Morse. This program is called a sketch.
Automated SOS
.png)
Type in the following code and save it as Morse. This program is called a sketch.
Automated SOS
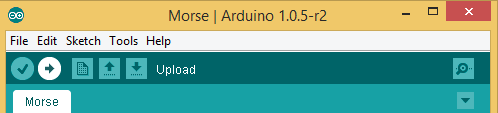
Upload the sketch to the Arduino at Heart module
by clicking the right arrow under the Edit menu.
Watch and listen as an SOS distress call is tapped out!