Automated Plant Watering With Phidgets
by SnapOffensive in Circuits > Sensors
397 Views, 1 Favorites, 0 Comments
Automated Plant Watering With Phidgets
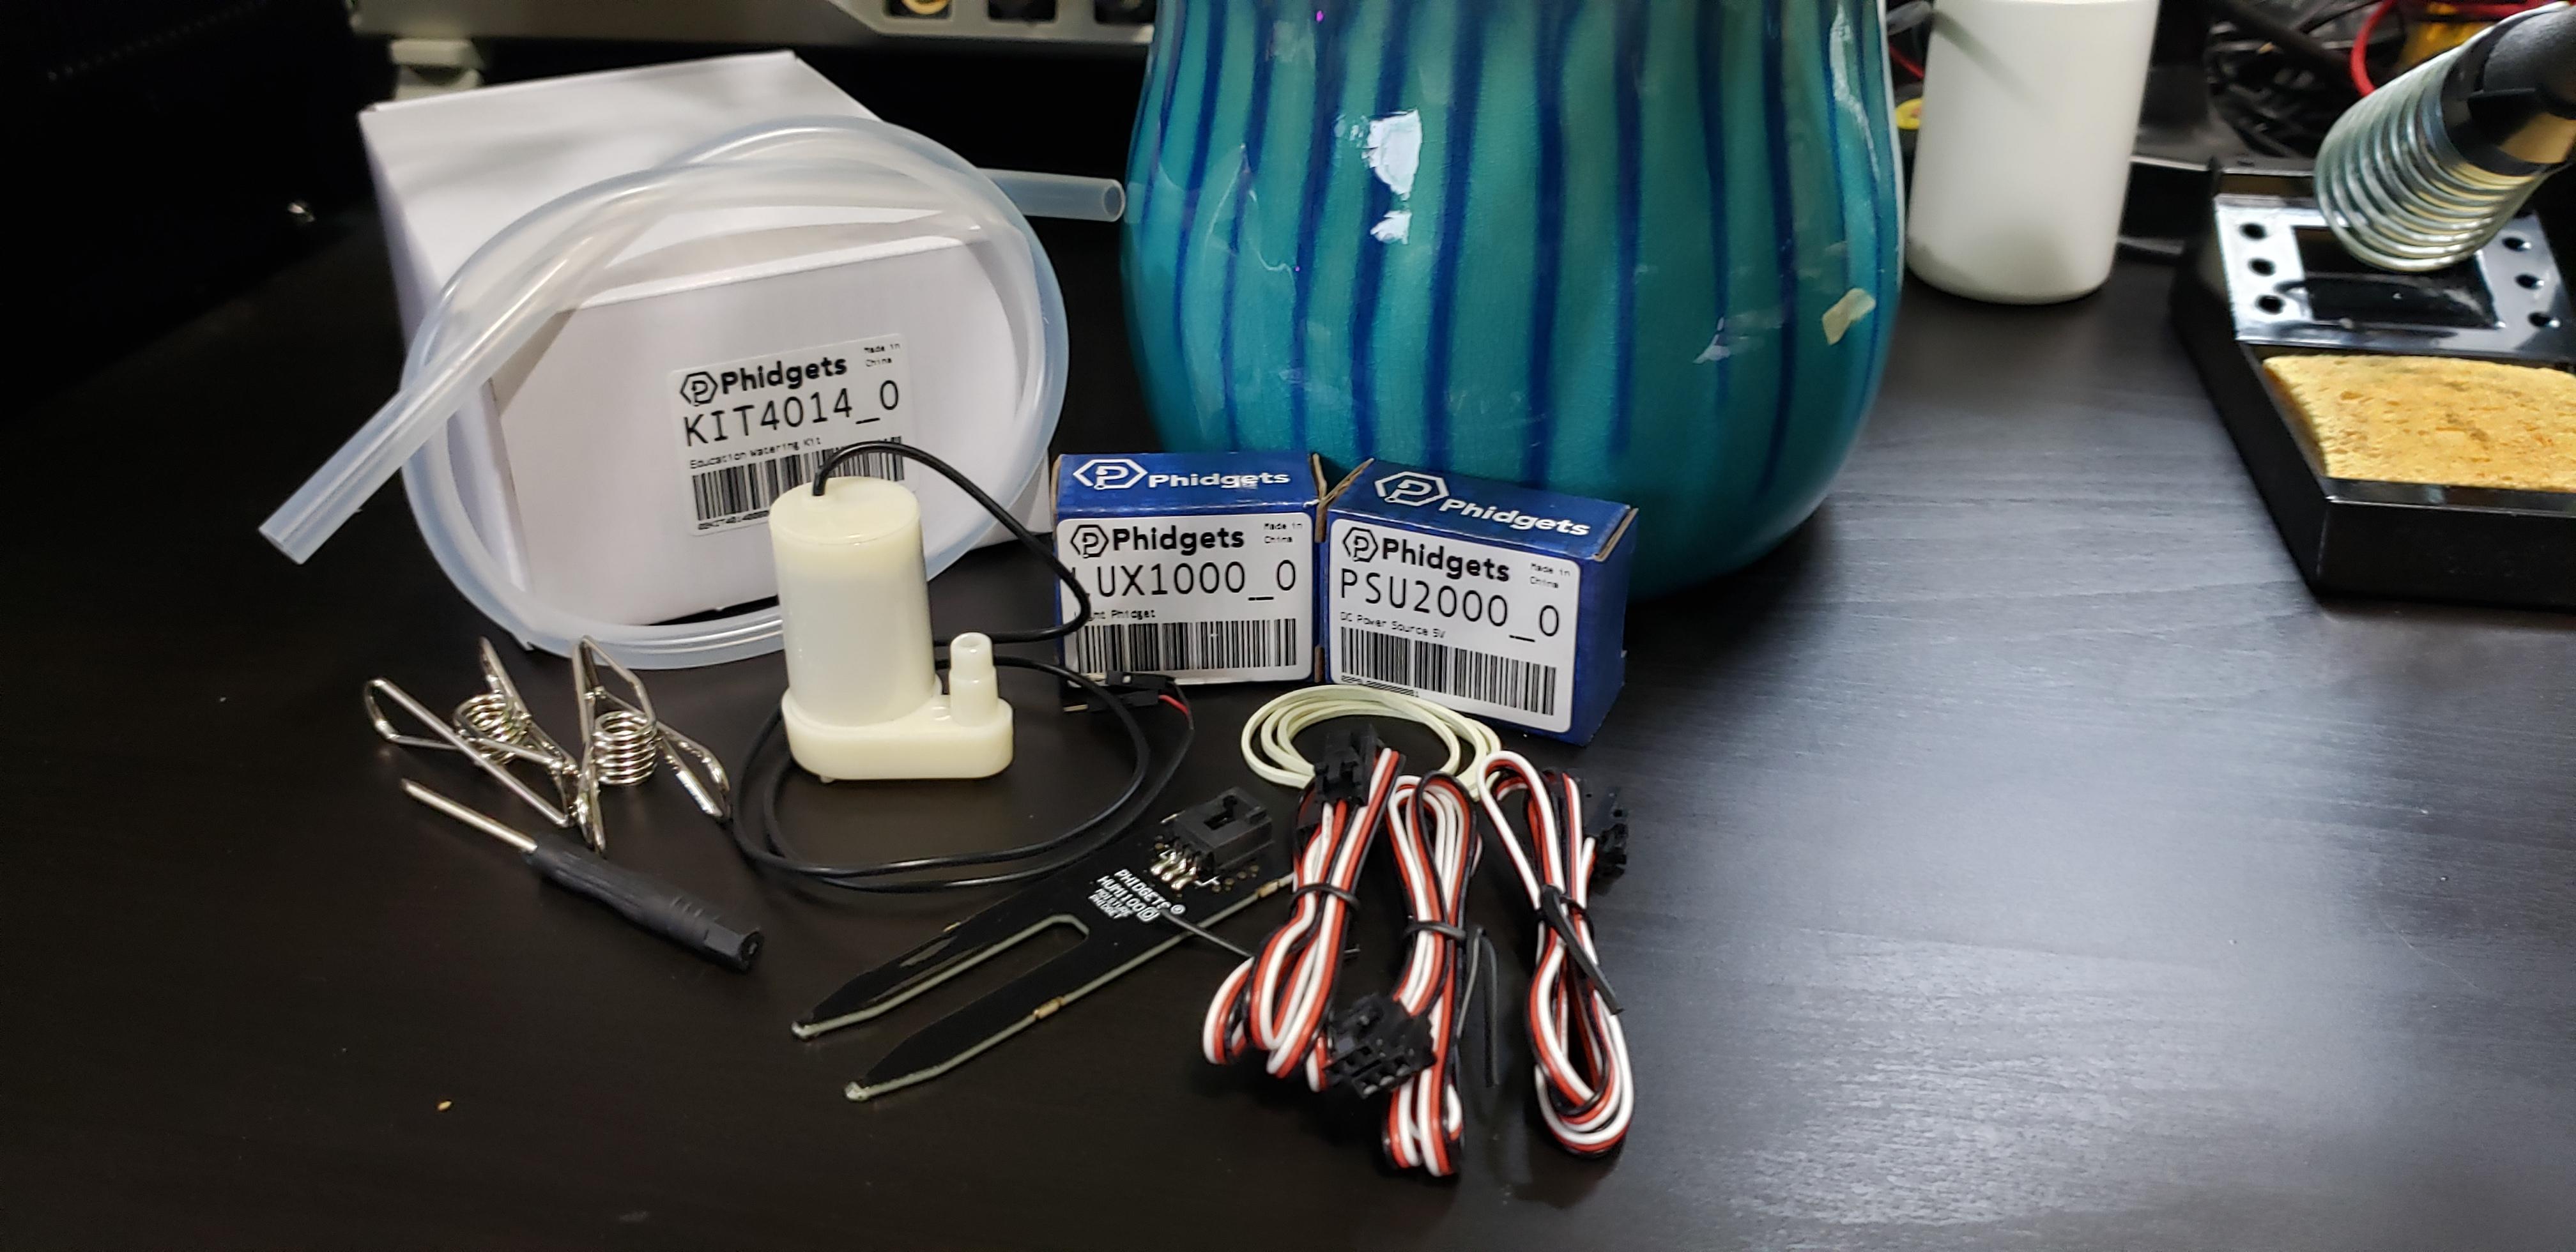
In this article, we will be going over how to set up an automated plant watering system using Phidgets. The Phidgets KIT4014_0 gives a straightforward and easy-to-build experience while also leaving the door open for modification. For this reason, we will be using the KIT4014_0 to build our project, but you could just as easily source individual Phidgets if you had features you either need or don't need from the kit.
You will also need a VINT controller like a HUB0000_0. You can either purchase one separately or use the one that comes in the Getting Started Kit if you happen to have one.
Supplies
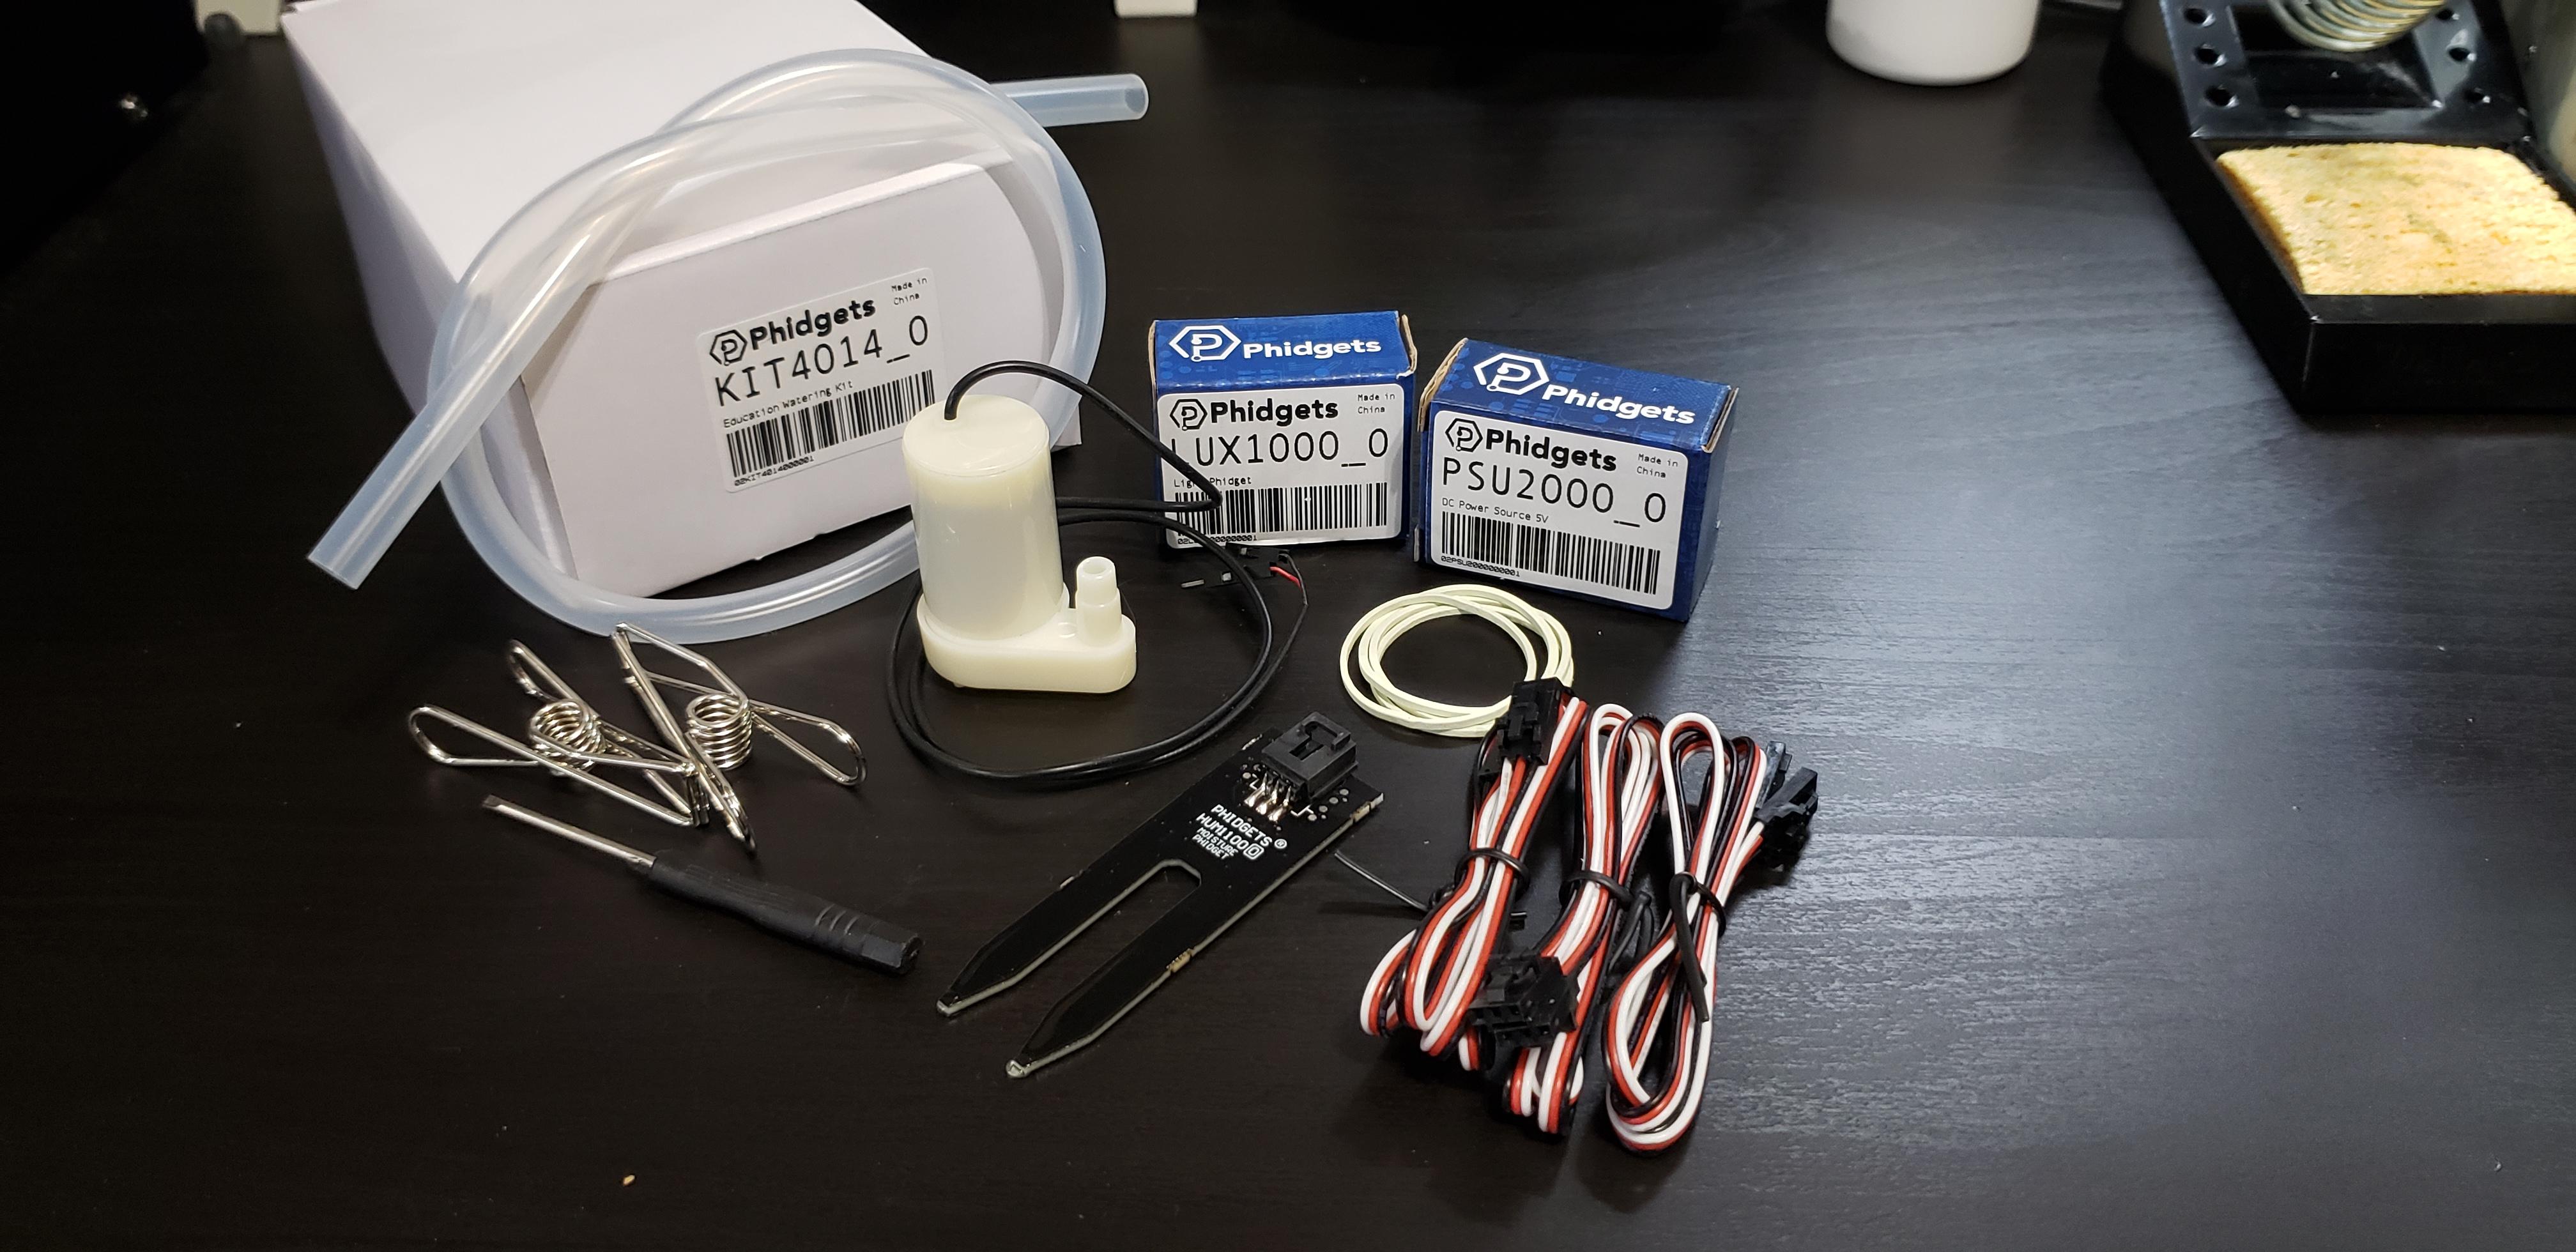
- Phidgets KIT4014_0
- Phidgets HUB0000_0
Connect DC Pump
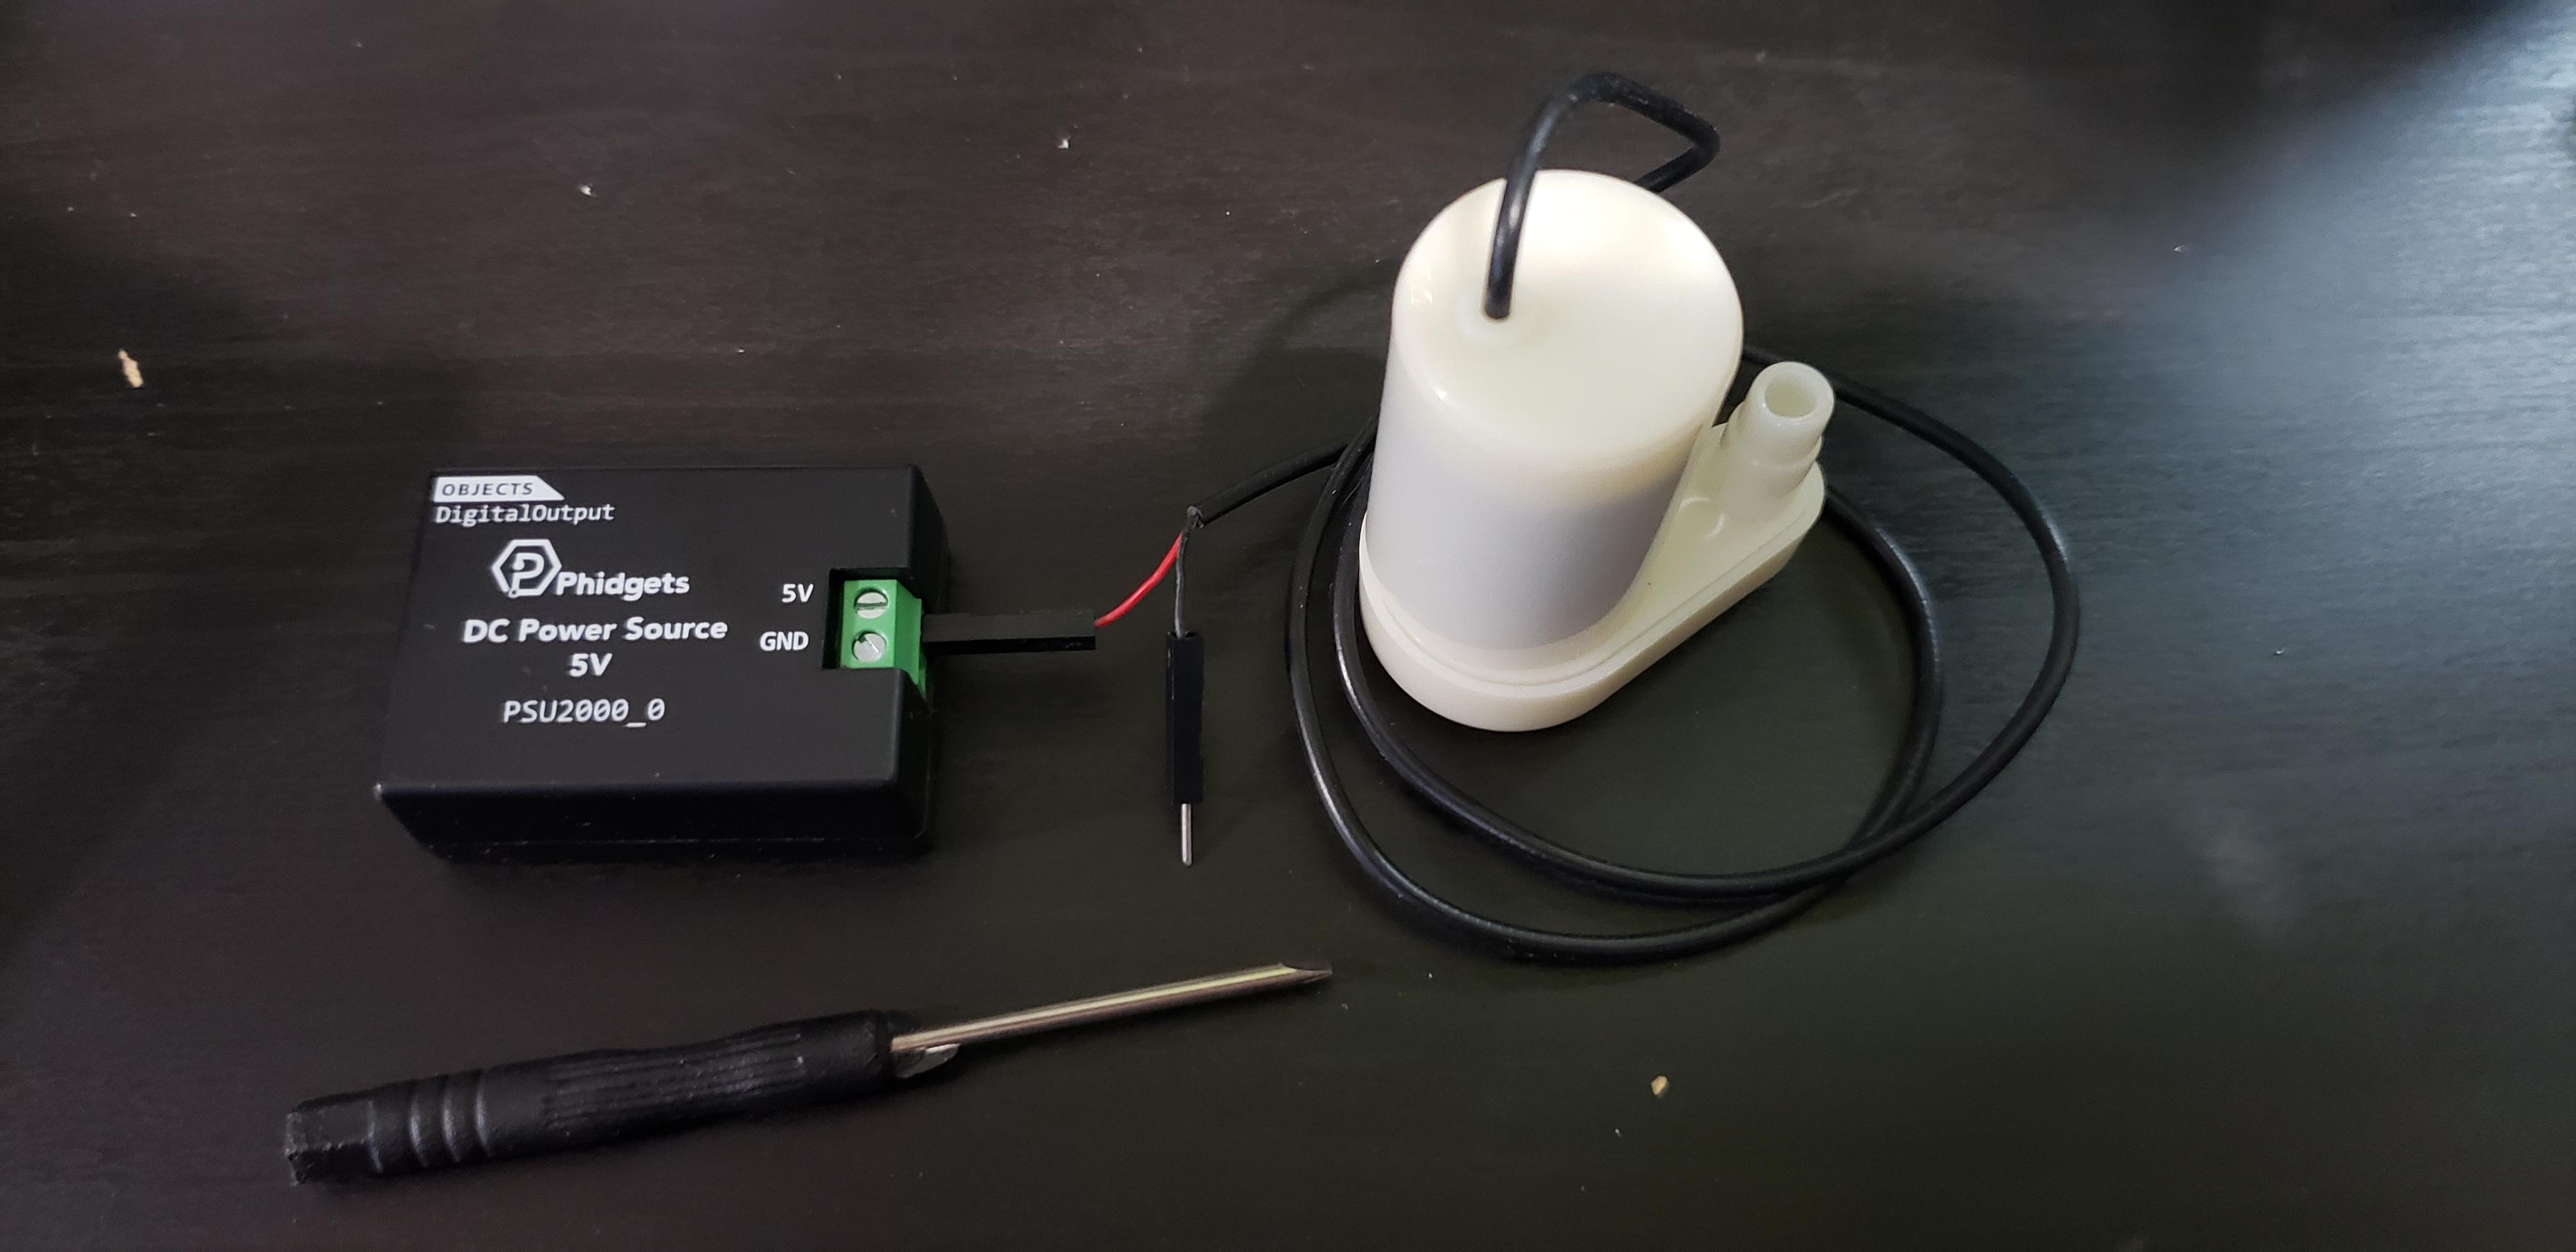
First, we will need to assemble the kit. This may vary depending on where you are putting it and what it will be connected to, but the whole process should be pretty straightforward.
You will want to start by unboxing everything and laying it out. Then connect the pump to the DC Power source by connecting the red wire to the 5V output, and the black wire to GND.
Connect Phidgets to Hub
Now we will connect all the Phidgets to the VINT hub using the VINT cables included in the kit. You may choose to connect the Phidgets to whatever ports you see fit, although if you don't connect them the same way I do you will need to modify the code in order for it to run.
I chose to connect the Moisture Phidget to port 0, the DC Power Source to port 1, and the Light Phidget to port 2. Simply align the VINT cable with the port on the hub and push it in. If you need to remove it just press down on the tab at the top of the cable and pull outwards.
Connect Plant Kit to Plant
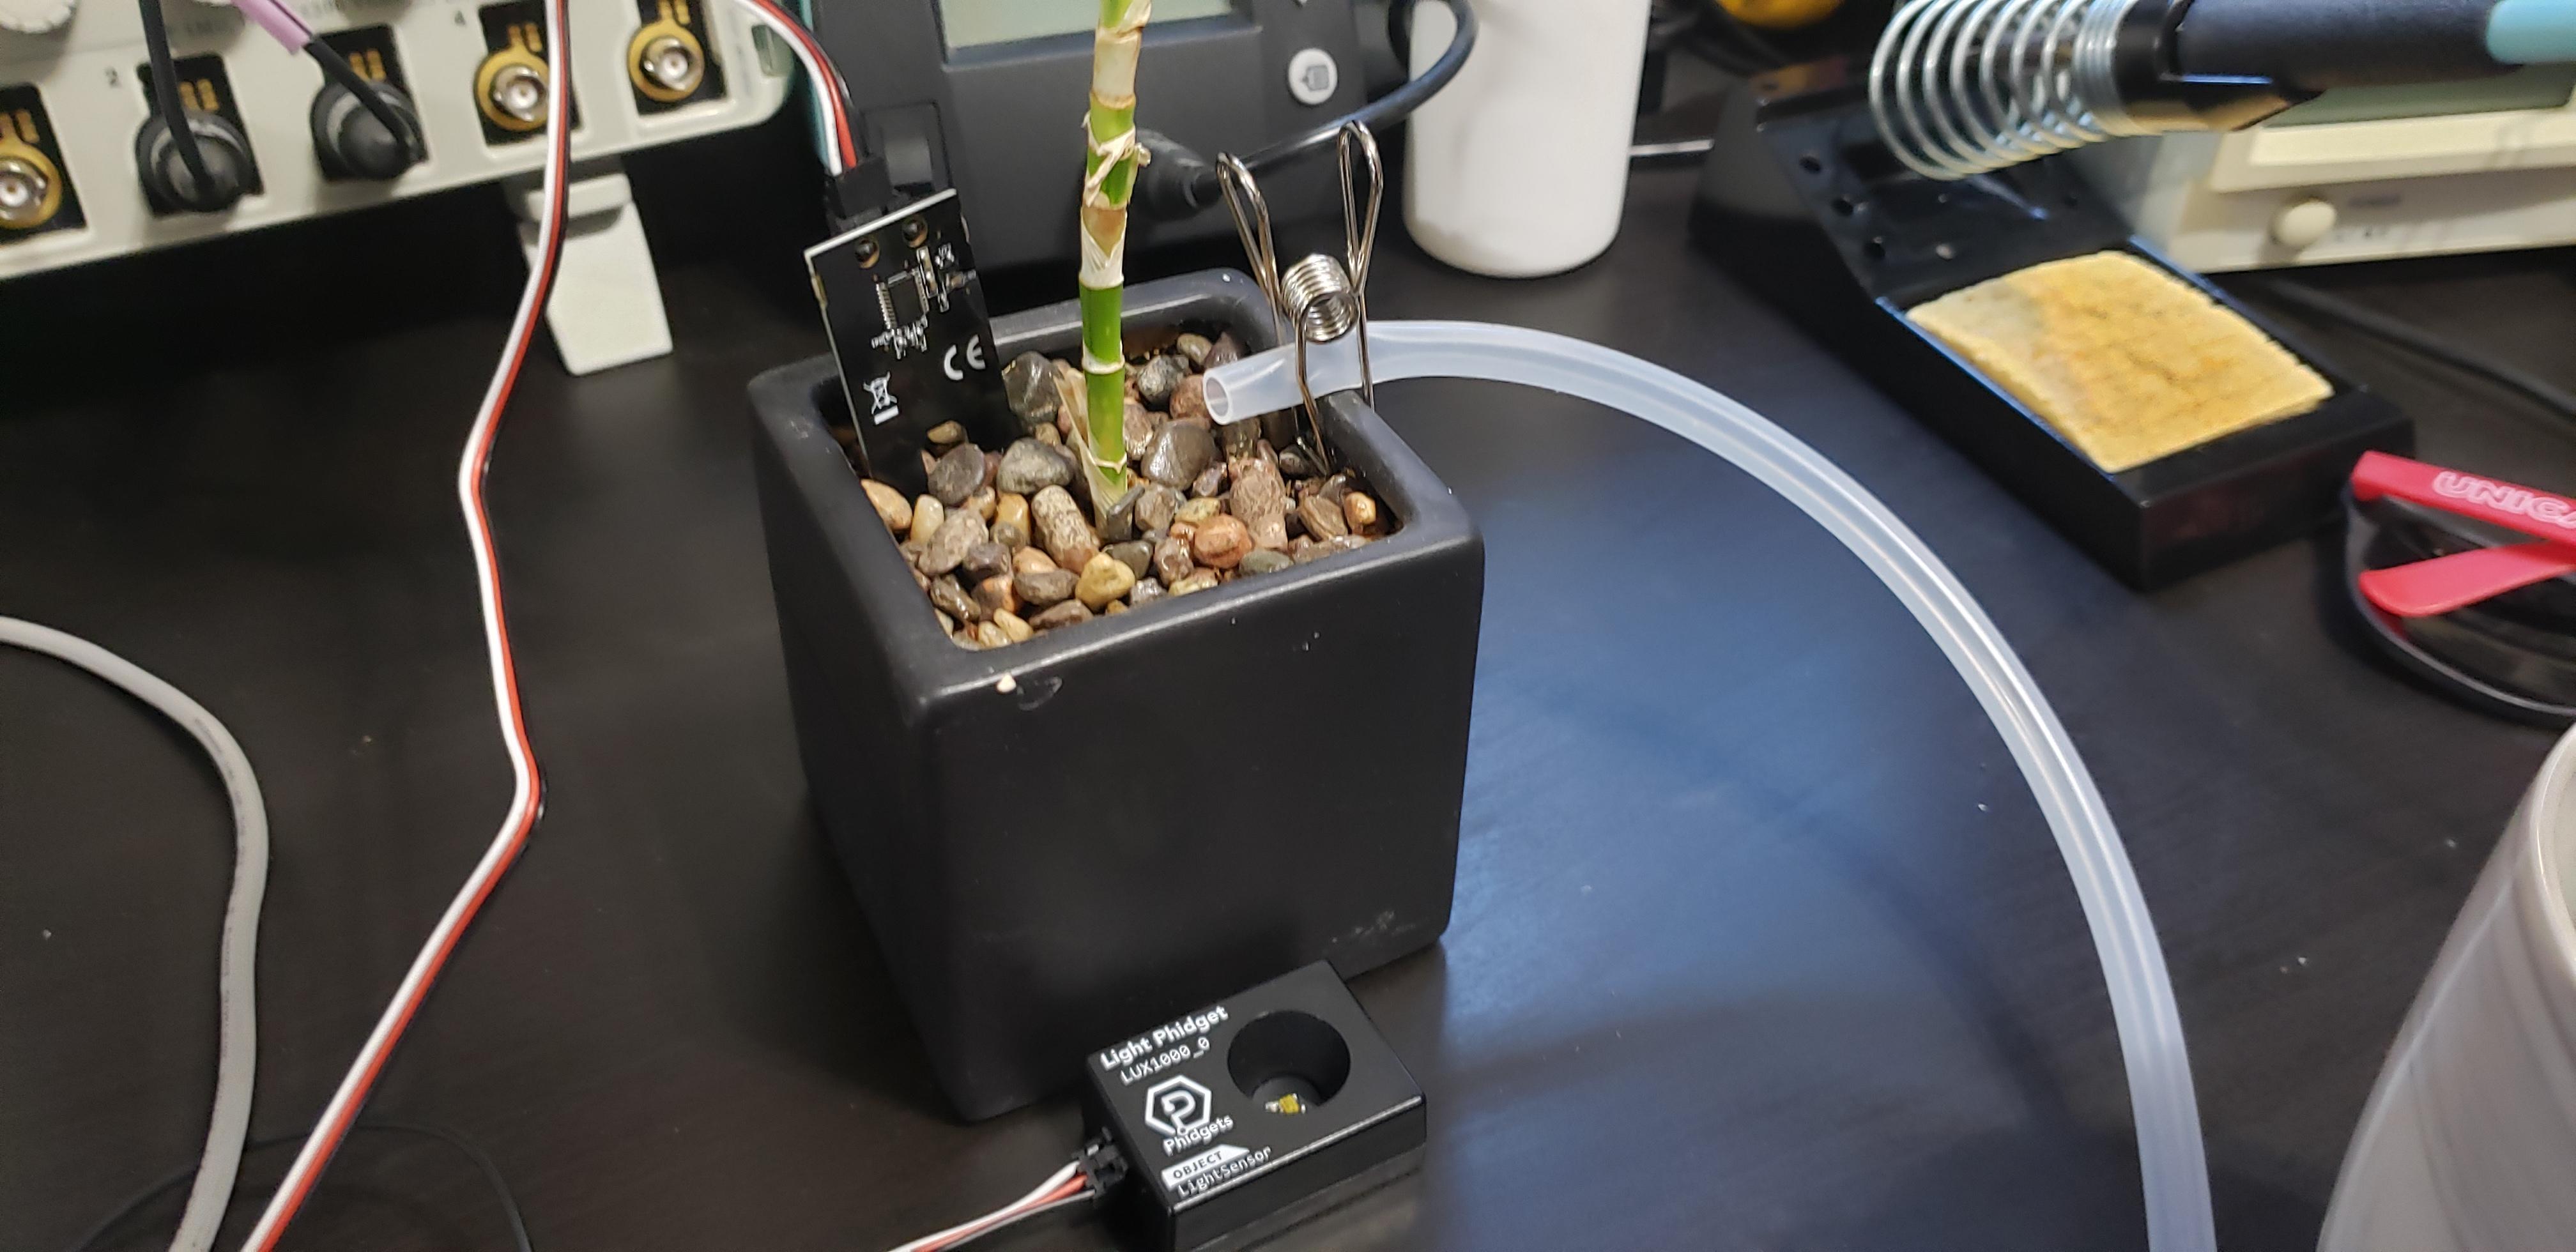
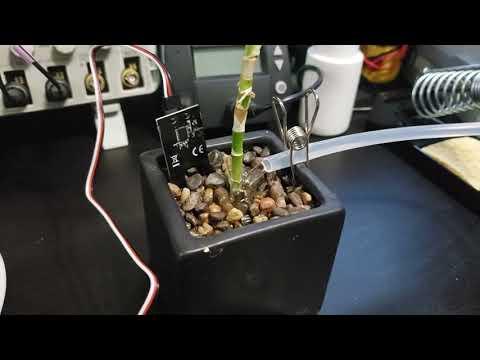
Now finally we place the Moisture Phidget in the plant. It is best to place it close to the plant's roots, but not so close that you puncture them. Then we can feed the tube through one of the metal clips, and attach it to the edge of the plant pot.
It is best if you can aim the tube towards the plant's roots opposite of the Moisture Phidget so that the water will fully saturate the soil around the roots before tripping the Moisture sensor.
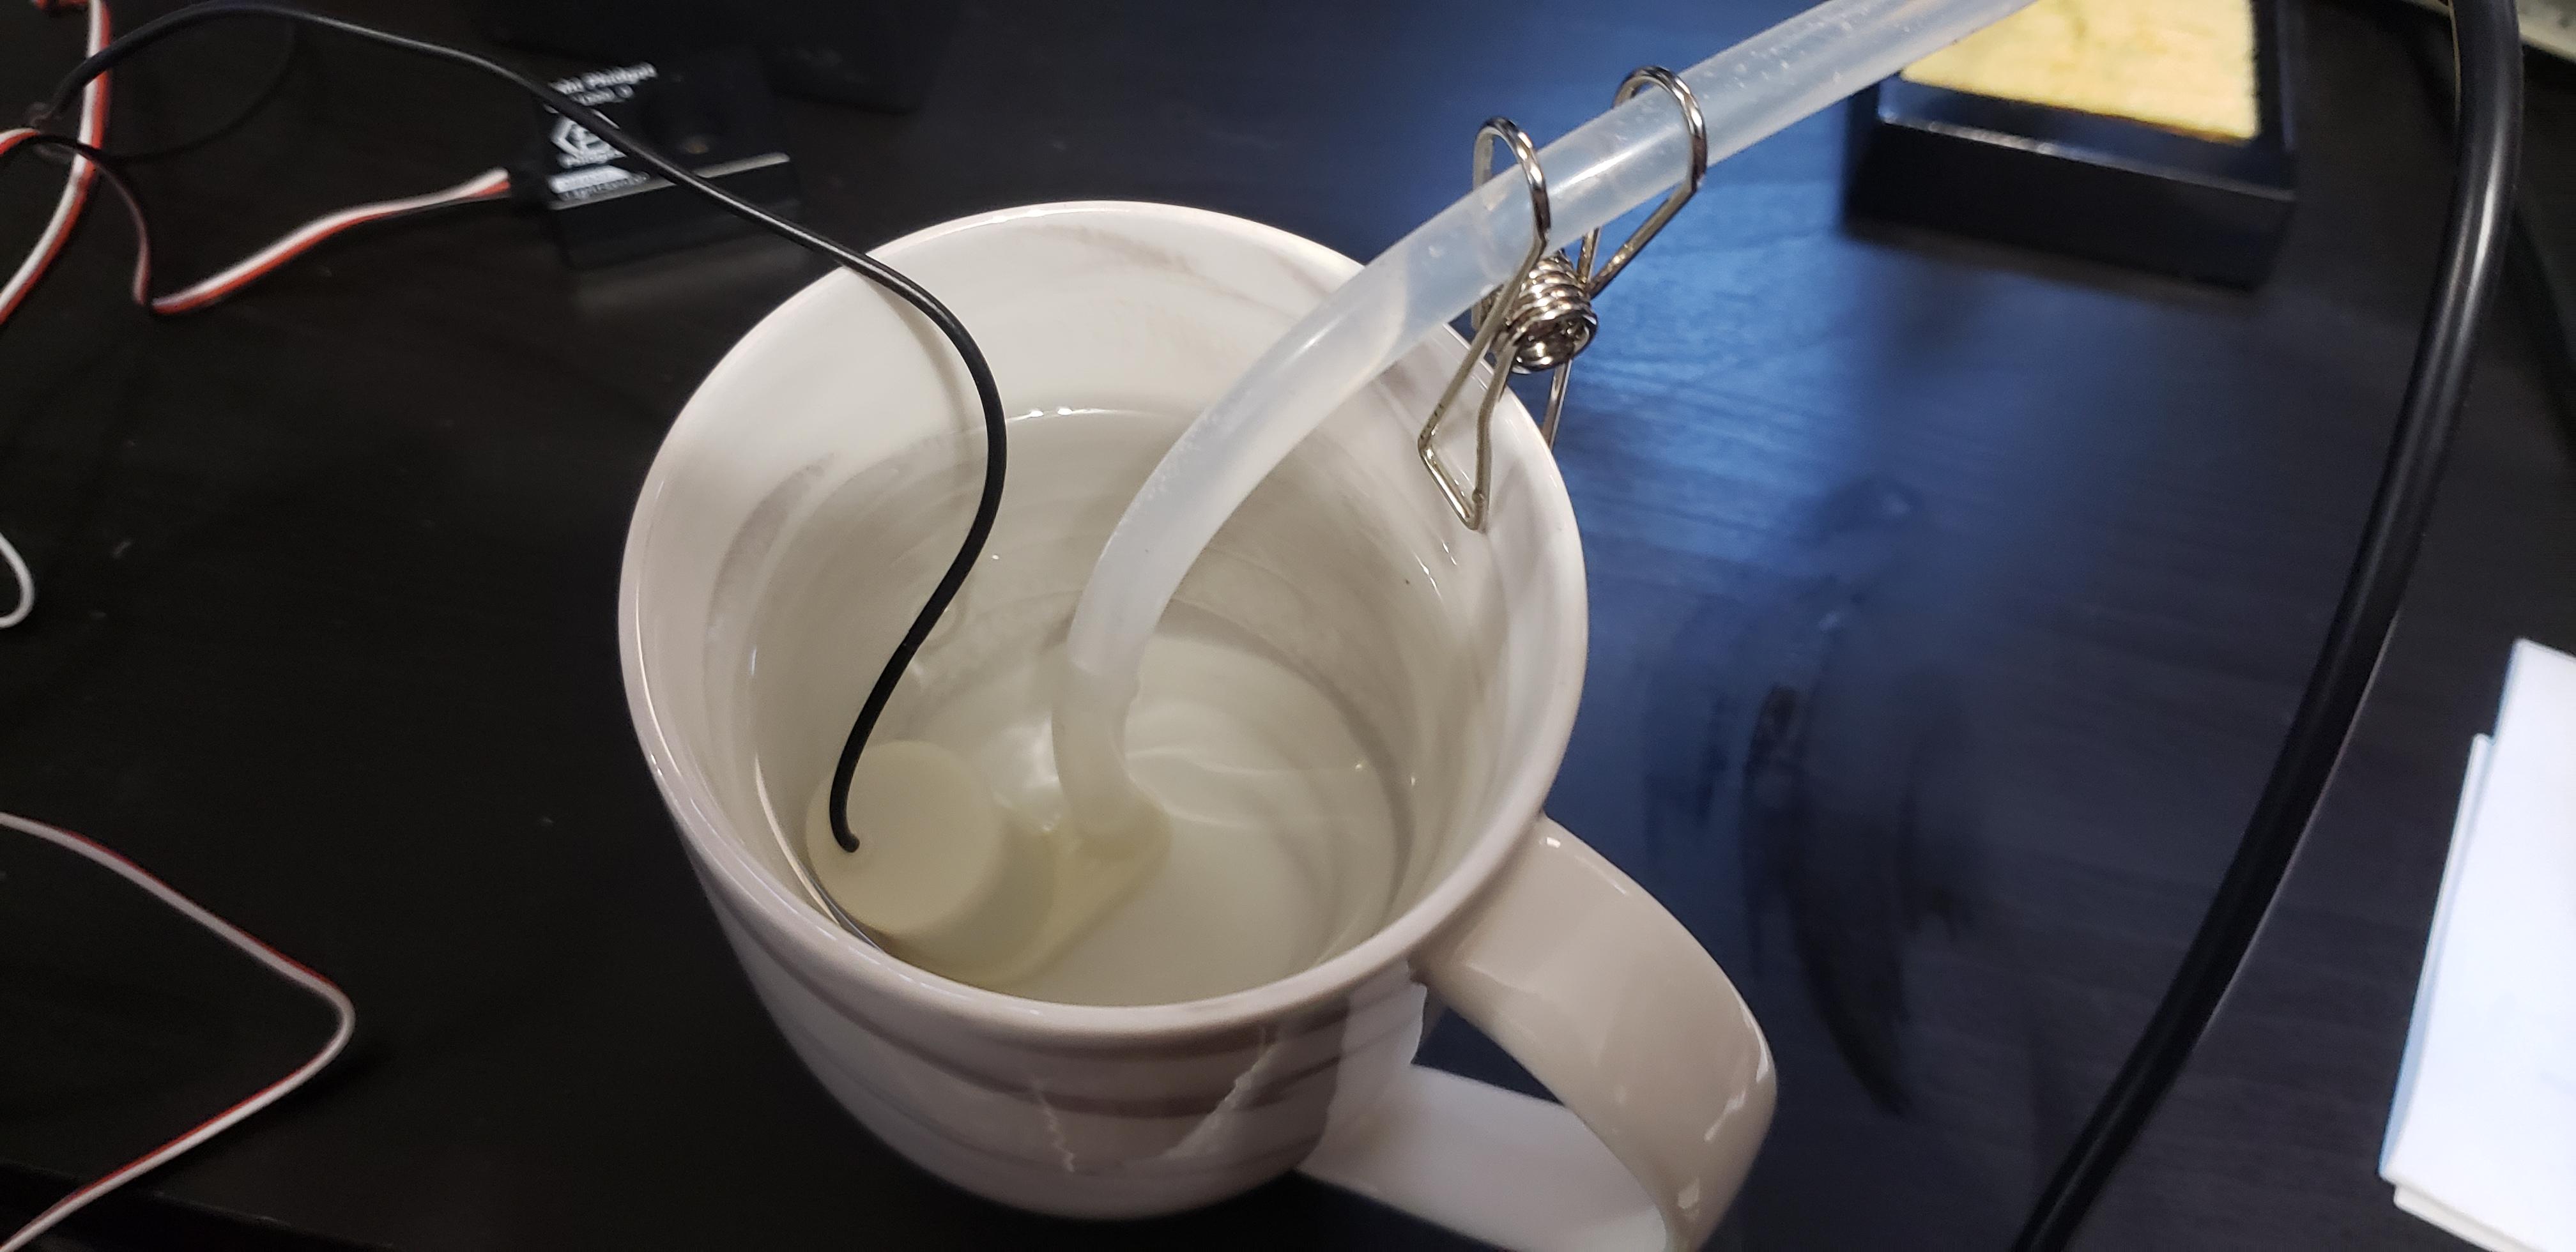
Next, place the second metal clamp on the free end of the tube, and connect the tube to the pump. Then place the pump inside a water reservoir. For this I just used a small mug filled with water, but you may opt for a more permanent solution. Now use the clamp to hold the pump in place inside the reservoir.
Finally, place the Light Sensor somewhere near the plant. The goal is for the light sensor to receive the same amount of light as the plant gets so we can accurately map the plants light intake throughout the day.
Writing Code
The code for this is fairly simple. Some key things to keep in mind are to properly address and open your Phidgets, and to have some sort of system in place to measure and administer water. If you would like to write your own code, then now is the time to do so.
If you get stuck or would like an example of written code the following python example is available below. Just remember that if you chose not to connect your Phidgets to the same ports you will need to modify the port declaration.
#!/usr/bin/python3# Built with Python 3.9.7# Script made by SnapOffensive## Hub Port Assignemnts# LUX1000_0 (LSPort) -> Port 2# PSU2000_0 (PMPort) -> Port 1# HUM1100_0 (MSPort) -> Port 0from Phidget22.Devices.DigitalOutput import *from Phidget22.Devices.VoltageRatioInput import *from Phidget22.Devices.LightSensor import *import timeclass main: # Constructor def __init__(self): # Assign Phidgets to inner class self.LightSensor = LightSensor() self.MoistureSensor = VoltageRatioInput() self.Pump = DigitalOutput() # These Assignments are for port decleration, you may wish to change these self.LSPort = 2 self.MSPort = 0 self.PMPort = 1 # This value is the threshold at which the pump will be enabled/disabled # When the measured voltage is less than this value pump will turn on self.VoltageThreshold = 0.4 def OpenObjects(self): #Add local Variables LightSensor = self.LightSensor MoistureSensor = self.MoistureSensor Pump = self.Pump # Assign Hub Ports LightSensor.setHubPort(self.LSPort) MoistureSensor.setHubPort(self.MSPort) Pump.setHubPort(self.PMPort) # Open Objects LightSensor.setIsHubPortDevice(False) MoistureSensor.setIsHubPortDevice(False) Pump.setIsHubPortDevice(True) LightSensor.openWaitForAttachment(1000) MoistureSensor.openWaitForAttachment(1000) Pump.openWaitForAttachment(1000) def Run(self): #Add local Variables LightSensor = self.LightSensor MoistureSensor = self.MoistureSensor Pump = self.Pump VoltageThreshold = self.VoltageThreshold # Main loop. All Major events are here while (True): # Measure soil moisture. if (MoistureSensor.getVoltageRatio() < VoltageThreshold): # Enable Pump, wait three seconds, then shut it off and measure again print("Watering Plant.") Pump.setState(1) time.sleep(3) Pump.setState(0) # Output light value print ("Light Measurement (Lux): {}".format(LightSensor.getIlluminance())) time.sleep(0.1) def ClosePhidgets(self): # This will be called in the event of a keyboard interrupt # It will close all Phidgets properly self.LightSensor.close() self.MoistureSensor.close() self.Pump.close()# Run Programhandler = main()try: handler.OpenObjects() handler.Run()# Catch CTRL + C interrupt and closeexcept KeyboardInterrupt: print("KeyboardInterrupt, Quitting!") handler.ClosePhidgets()Downloads
Run Your Code
Now it's time to run your code. If this is your first time working with Phidgets and Python, you will need to import the Phidget libraries. Simply install the Phidget Control Panel by clicking here
Then run
pip3 install Phidget22
In your terminal to install Phidget22 libraries
Finally, run your program by typing
python3 <your-program-name>.py
If everything is working you should see light values measured in lux appearing on your screen, and depending on the moisture of the soil you will see and hear the pump start watering your plant.
Conclusion
Thank you for taking the time to read this article. Hopefully you were able to learn a bit more about Phidgets and some of the things that can be done with them. I encourage you to modify the code in this example to help you further understand some of the more complicated features in the Phidgets userspace.