Automated Pet-Food Bowl Project
by brandonLit22 in Circuits > Arduino
334 Views, 1 Favorites, 0 Comments
Automated Pet-Food Bowl Project
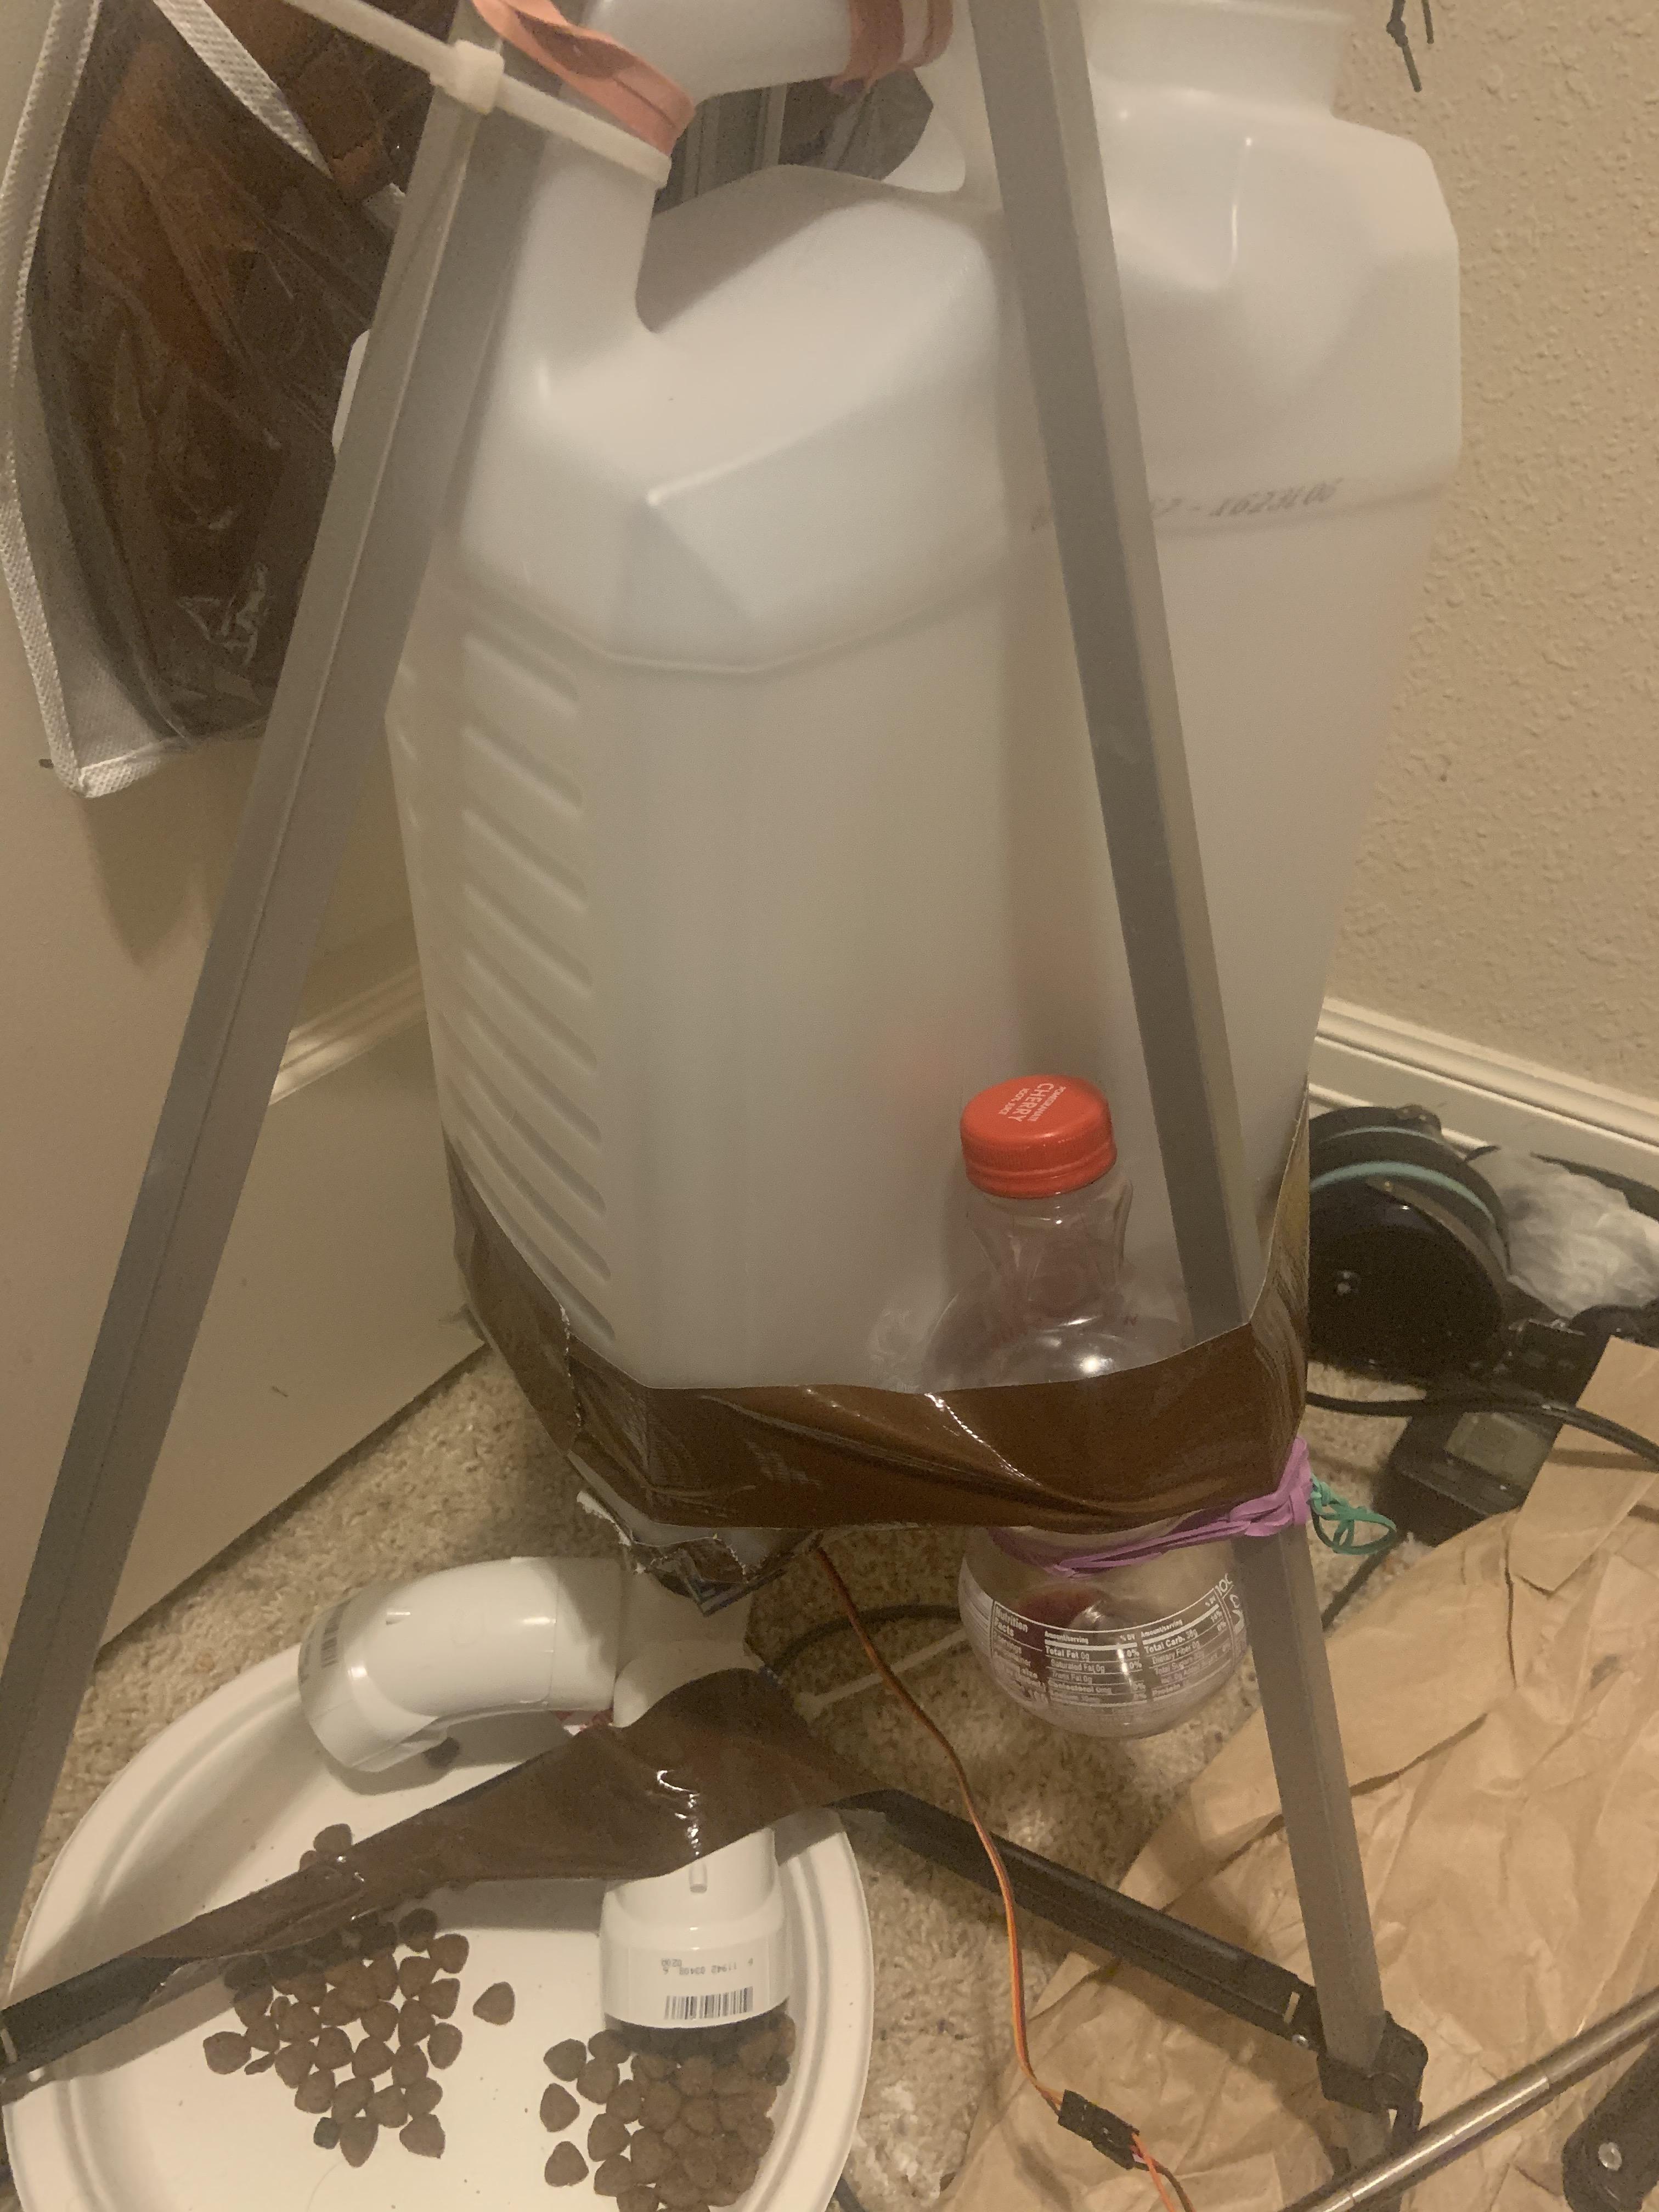
This instructable will depict and explain how to build an automated, programmable pet feeder with attached food bowls. I have attached video here depicting how the products functions and what it looks like.
Videos Depicting How the Device Functions and What It Looks Like
Acquire Necessary Tools, Parts, and Materials
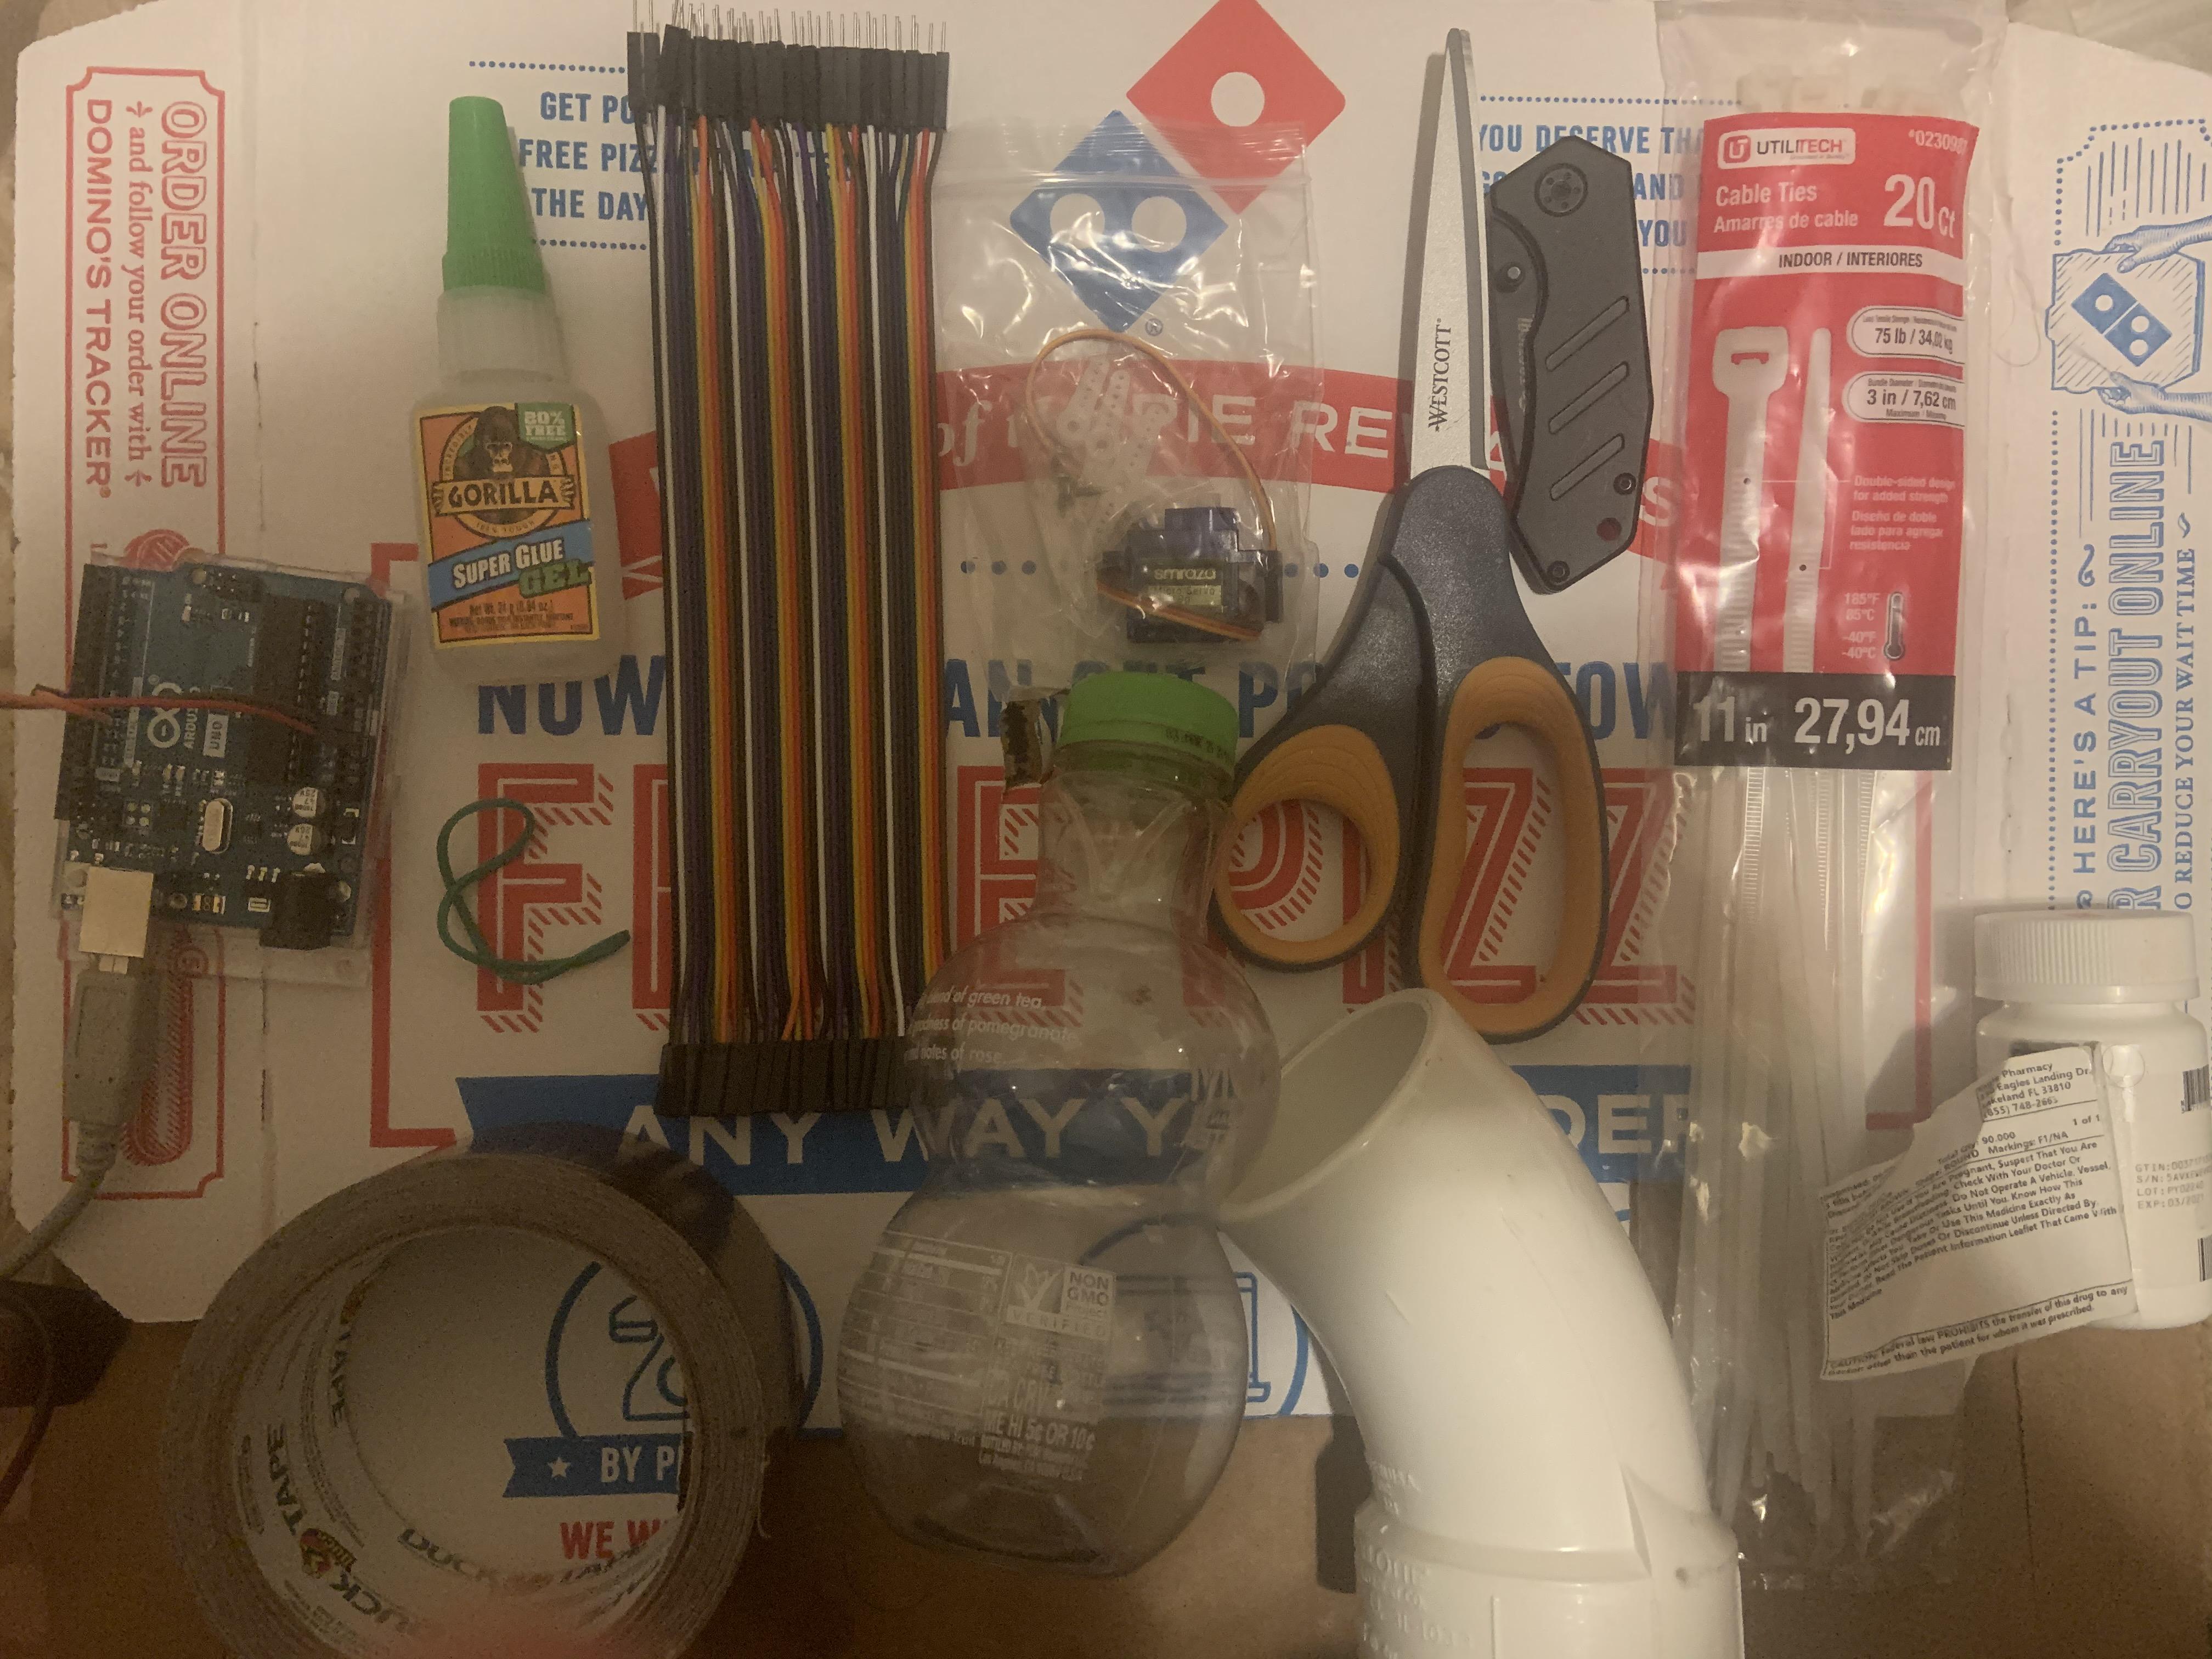
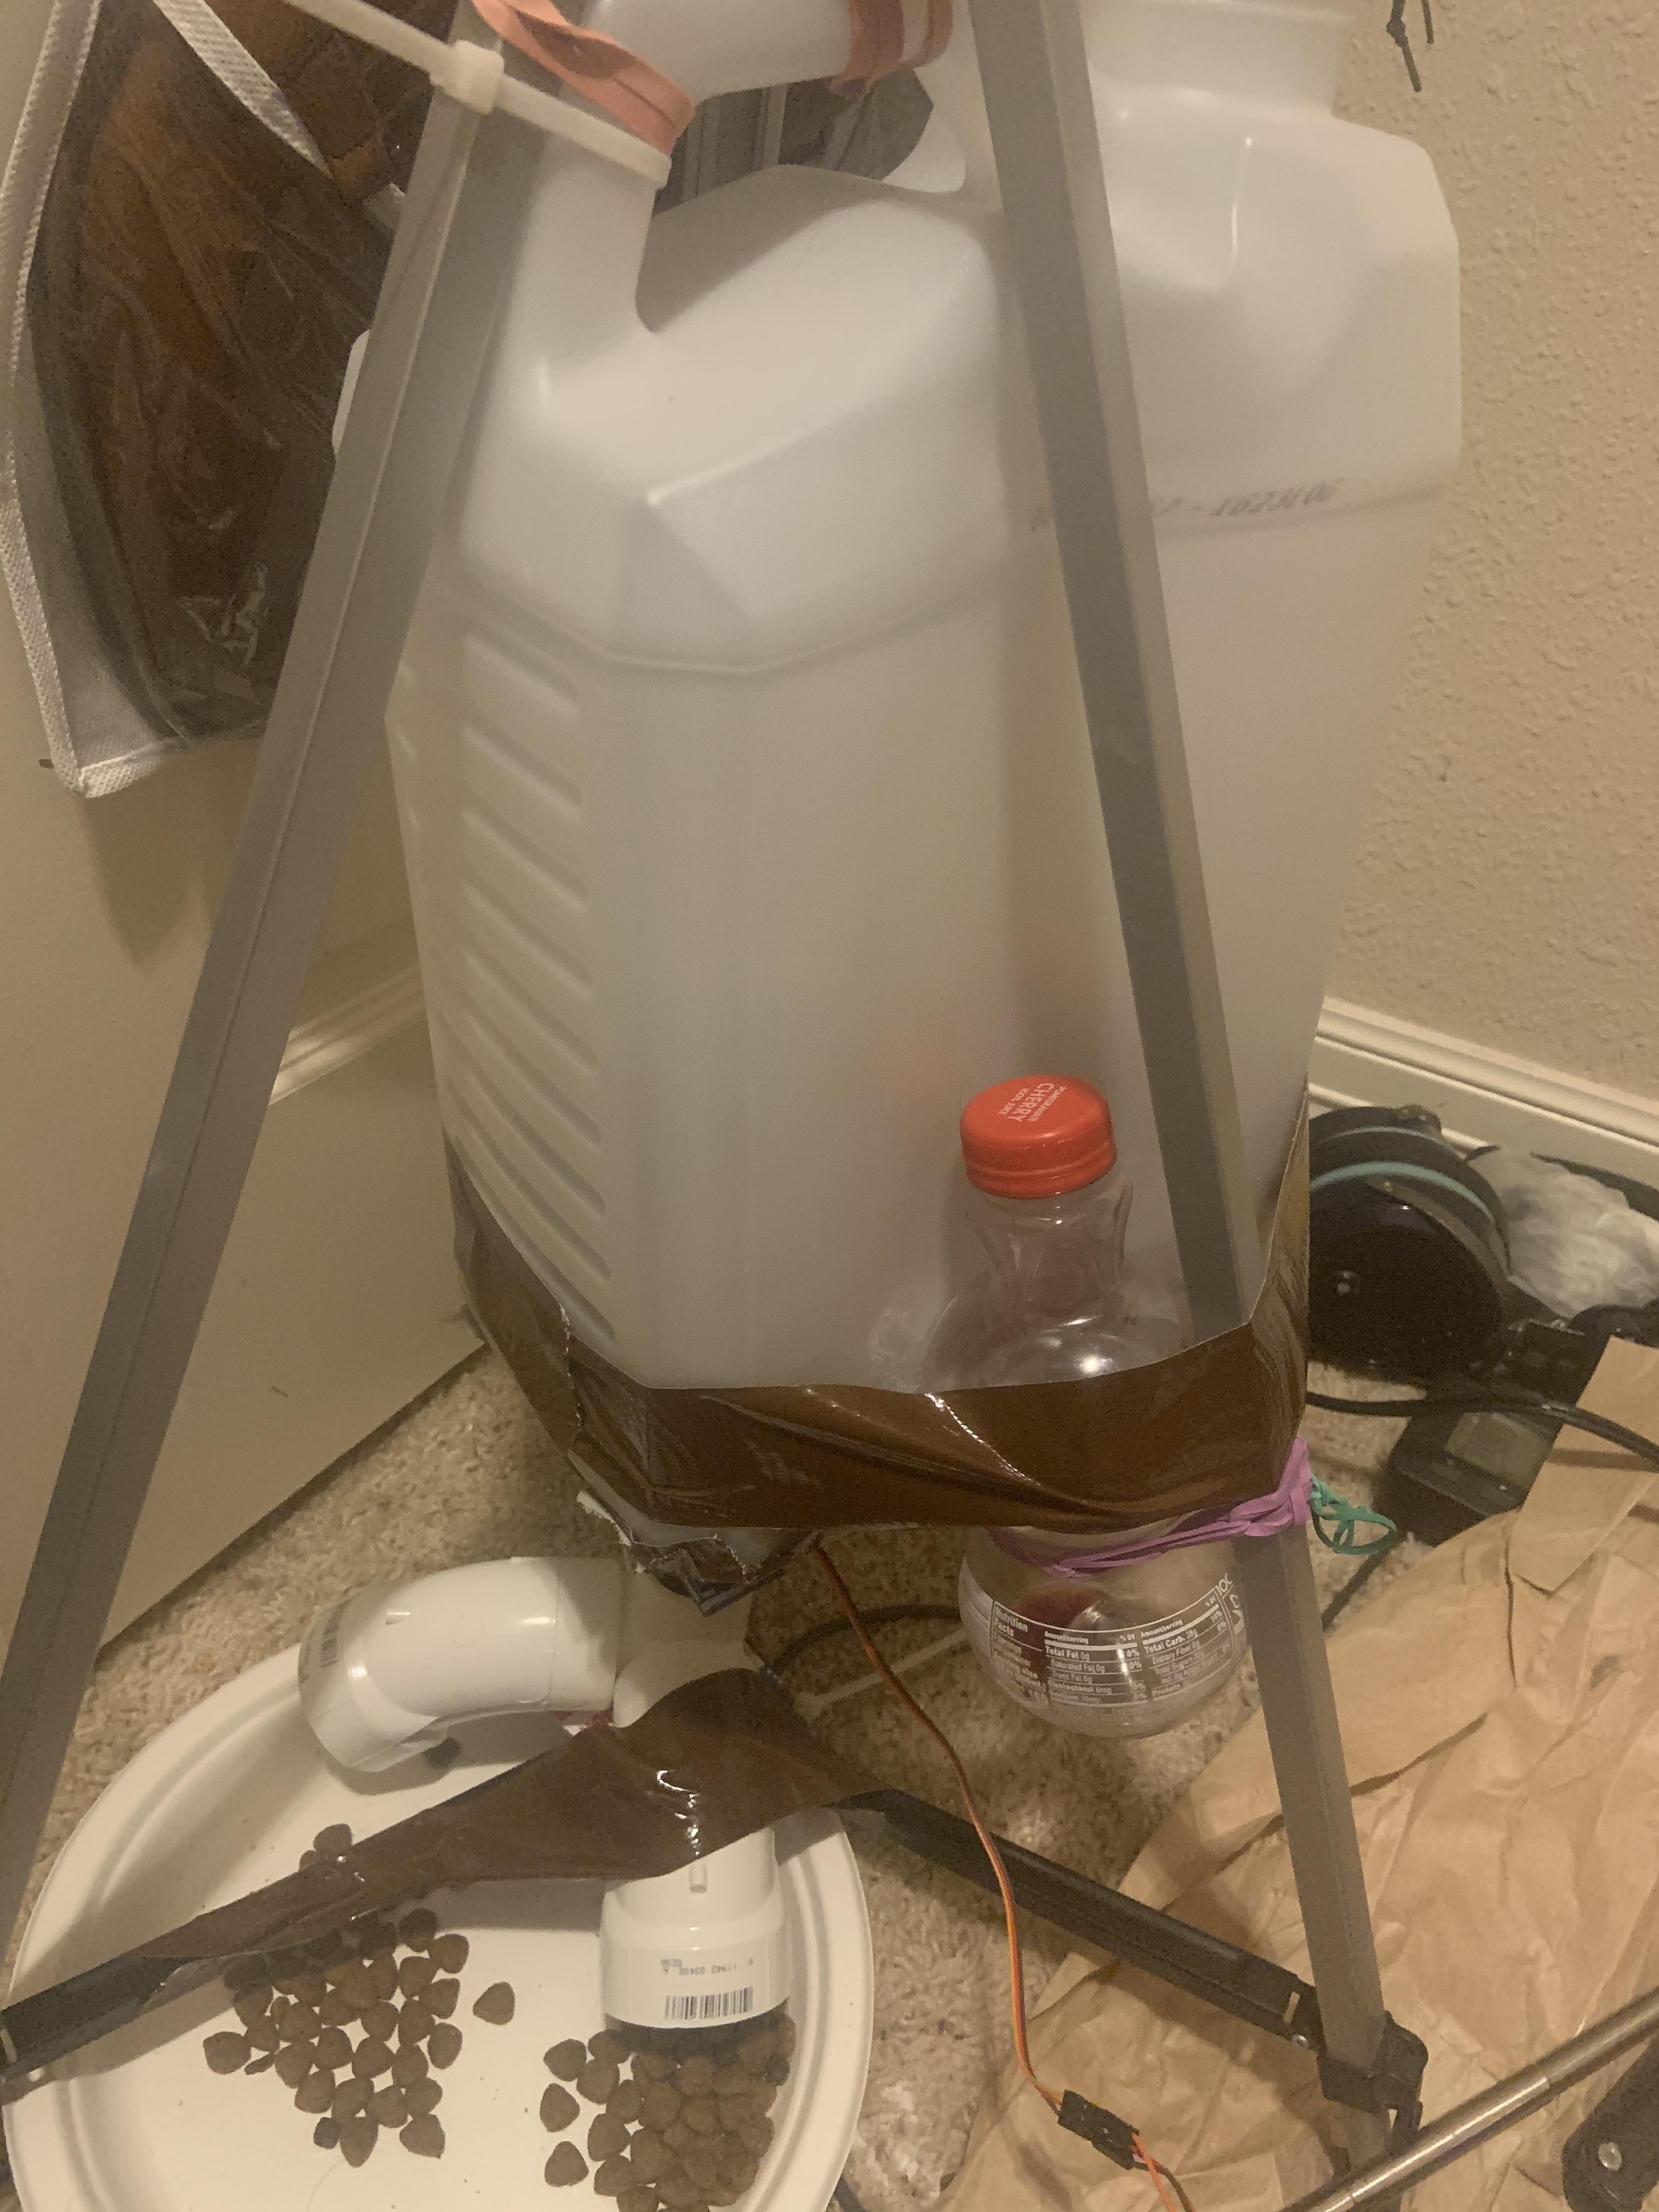
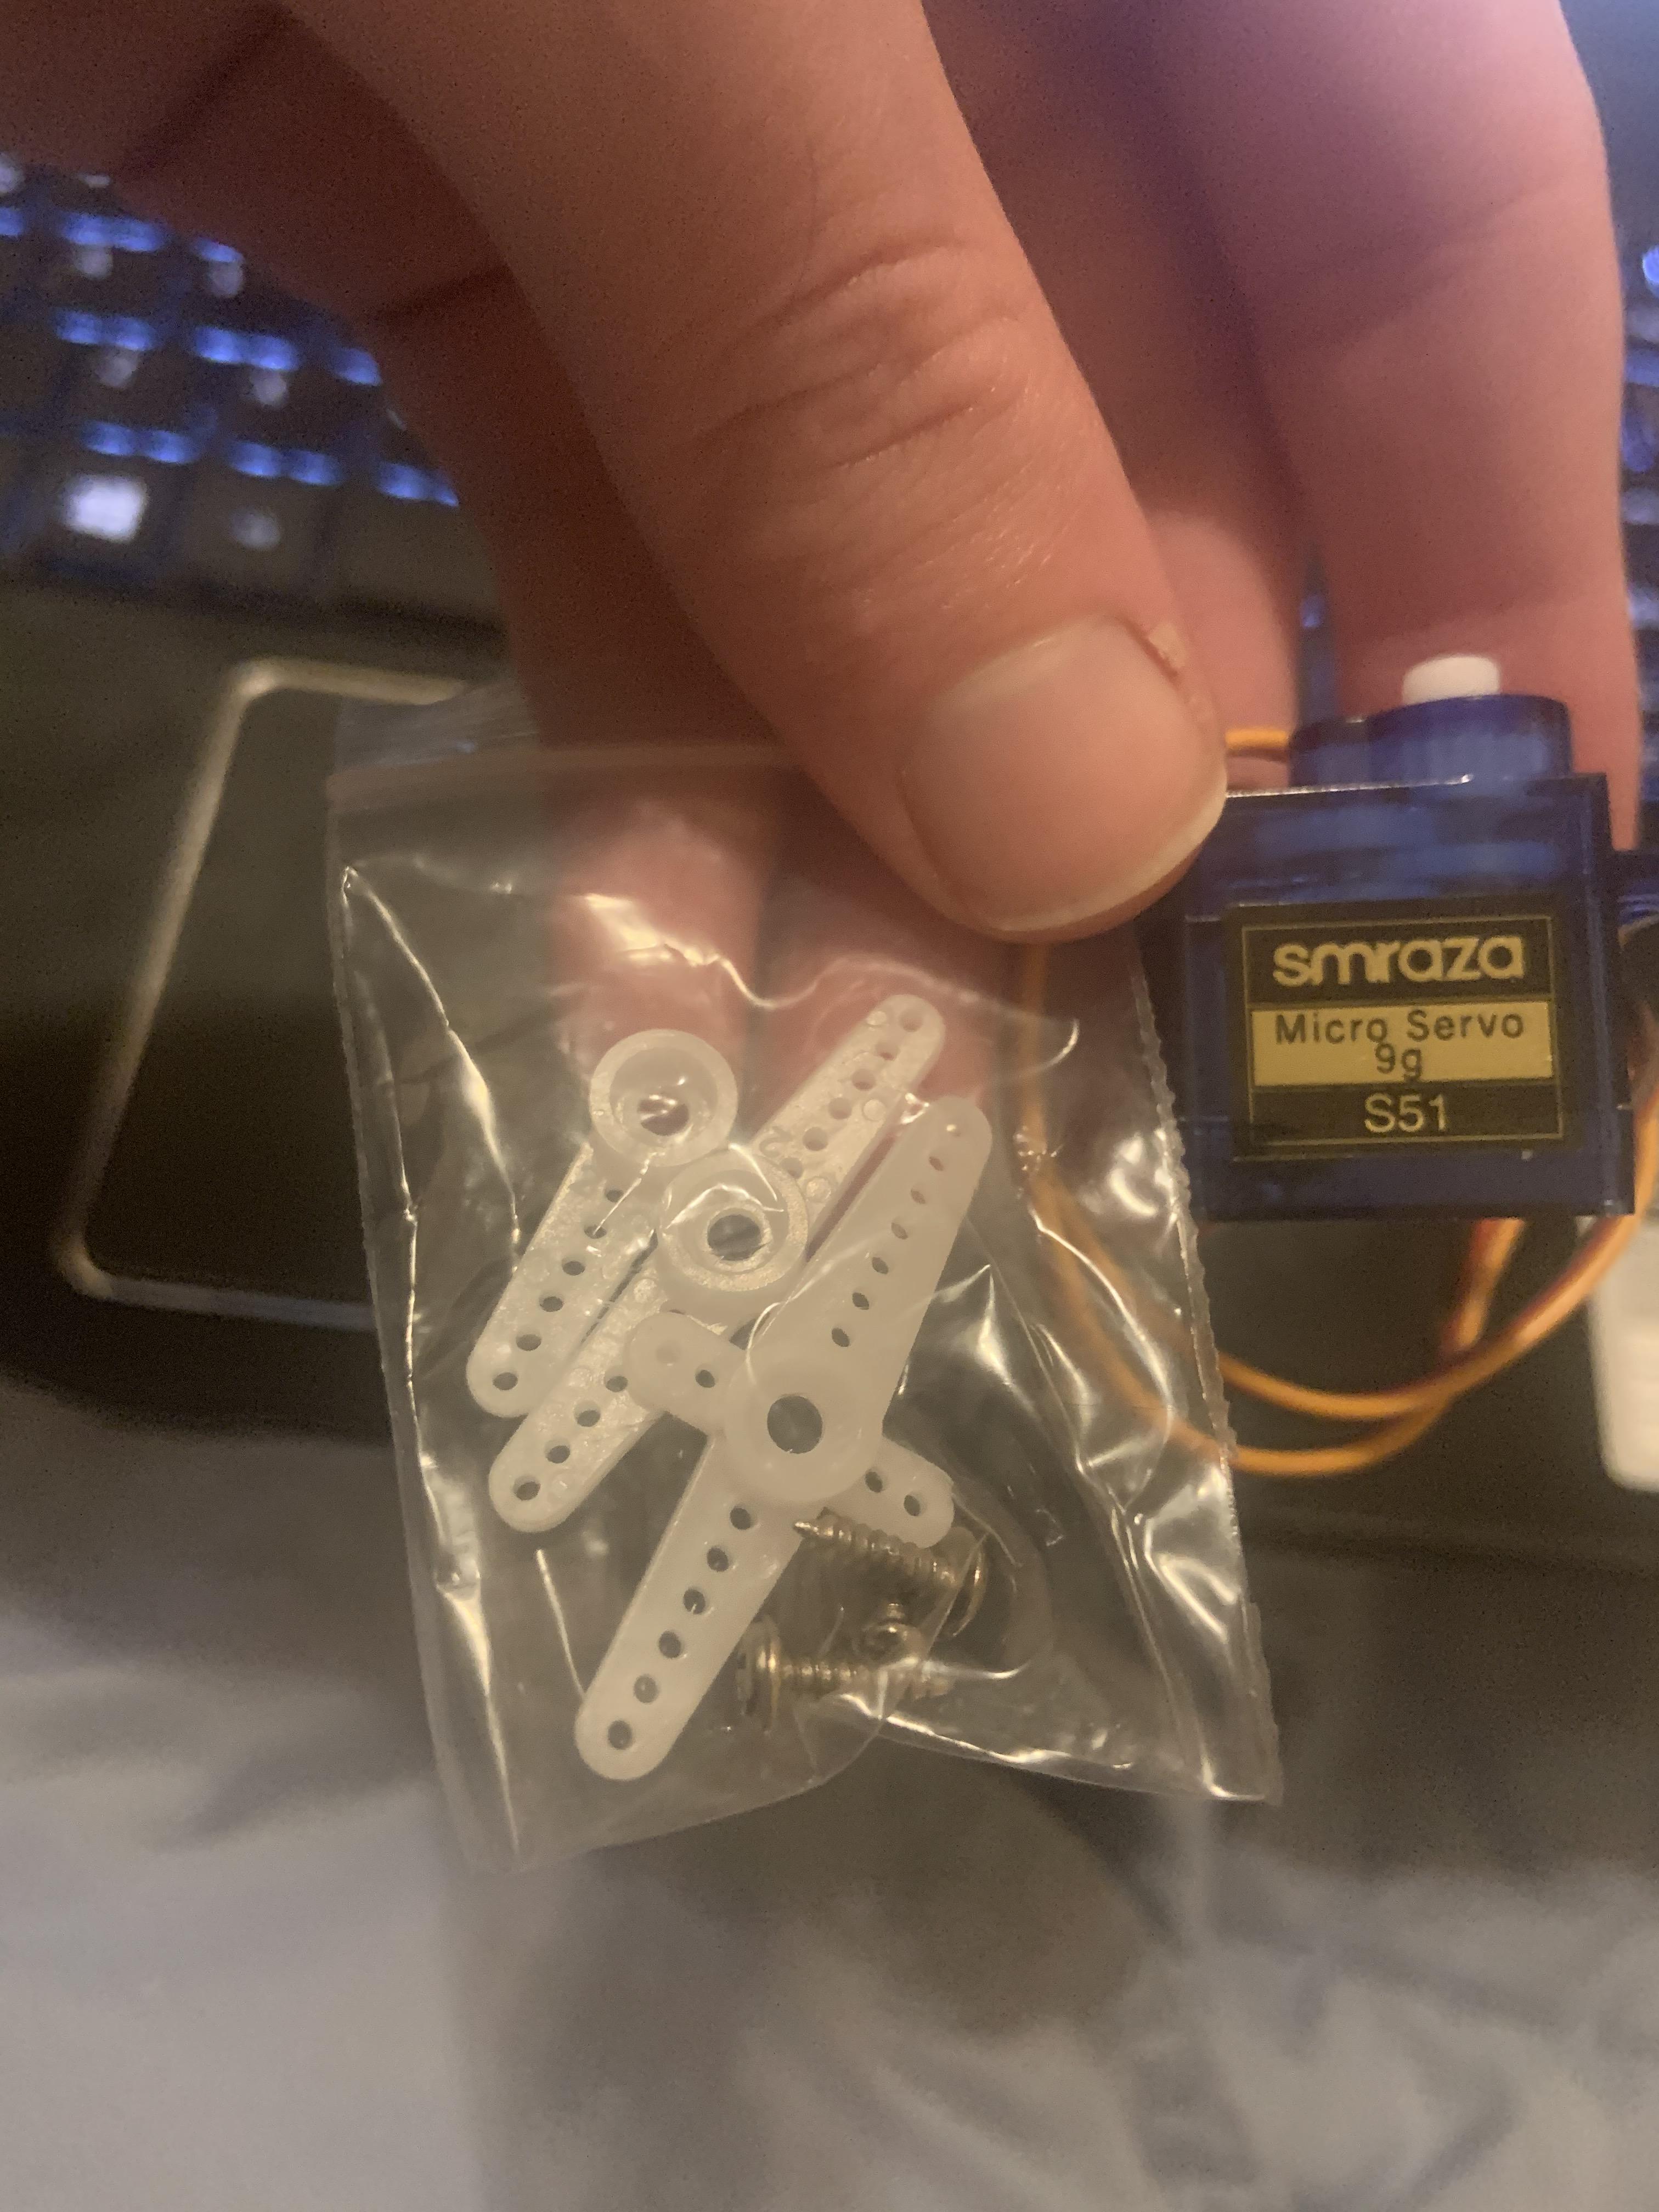
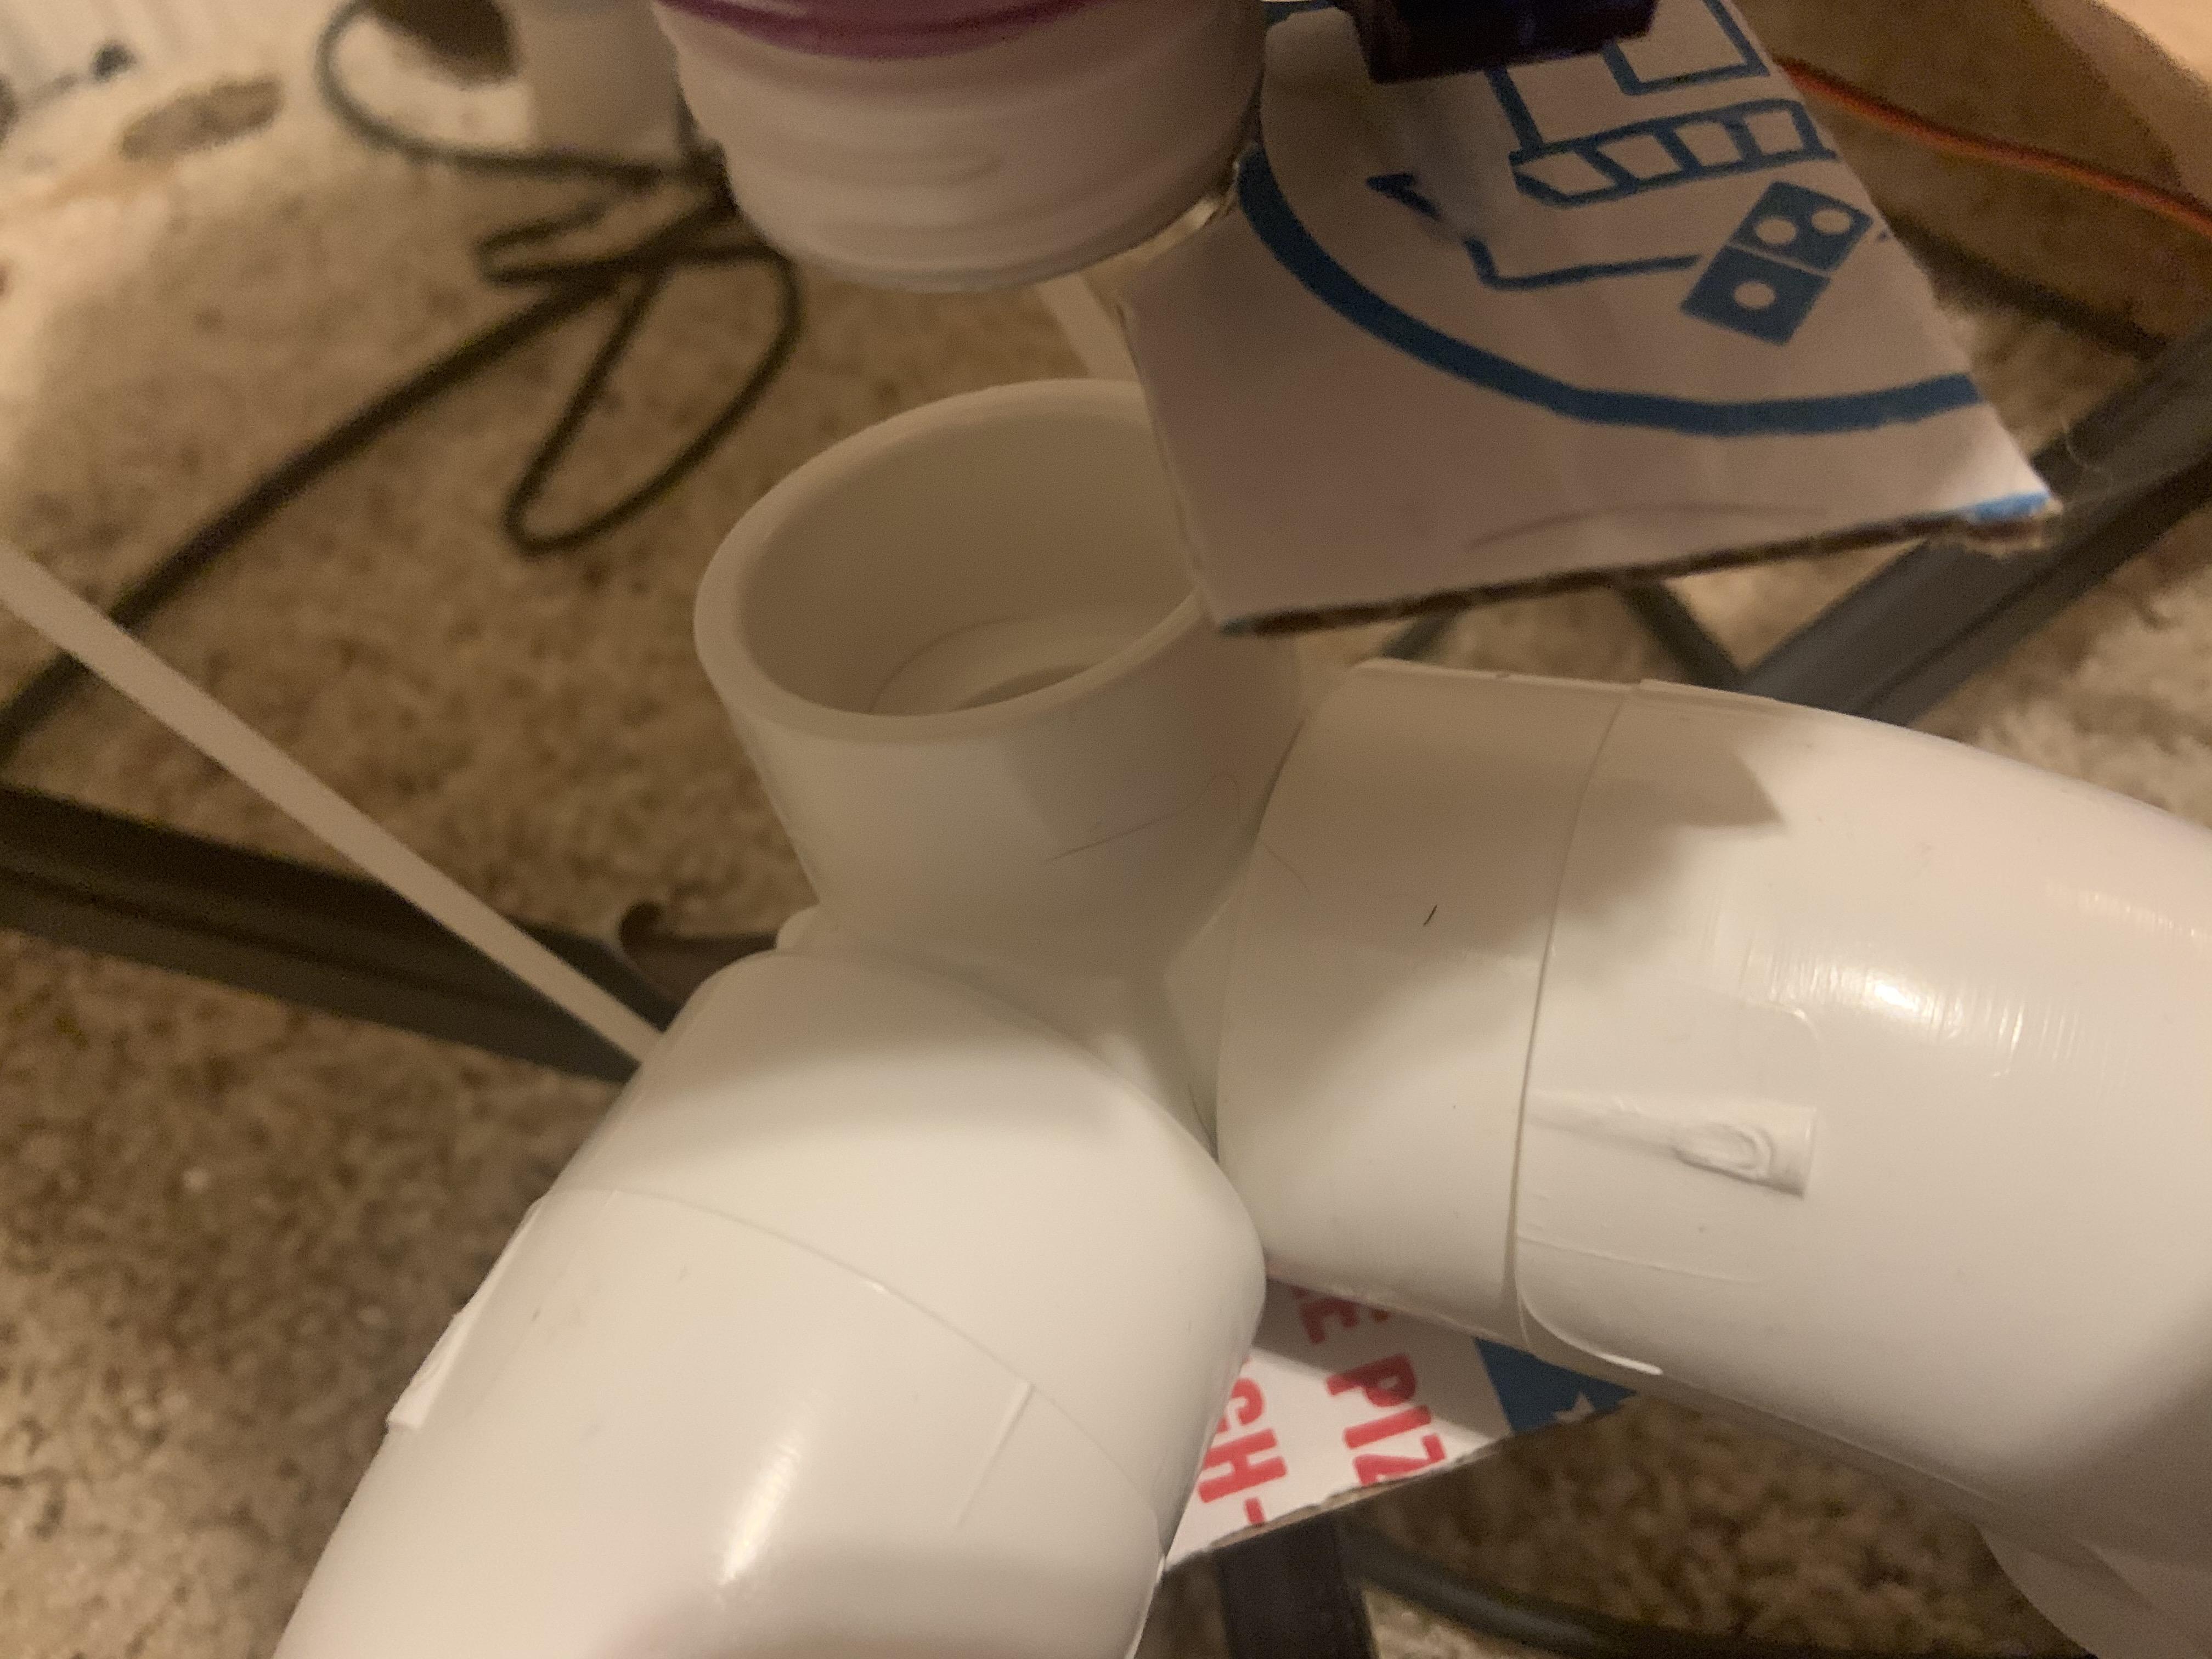
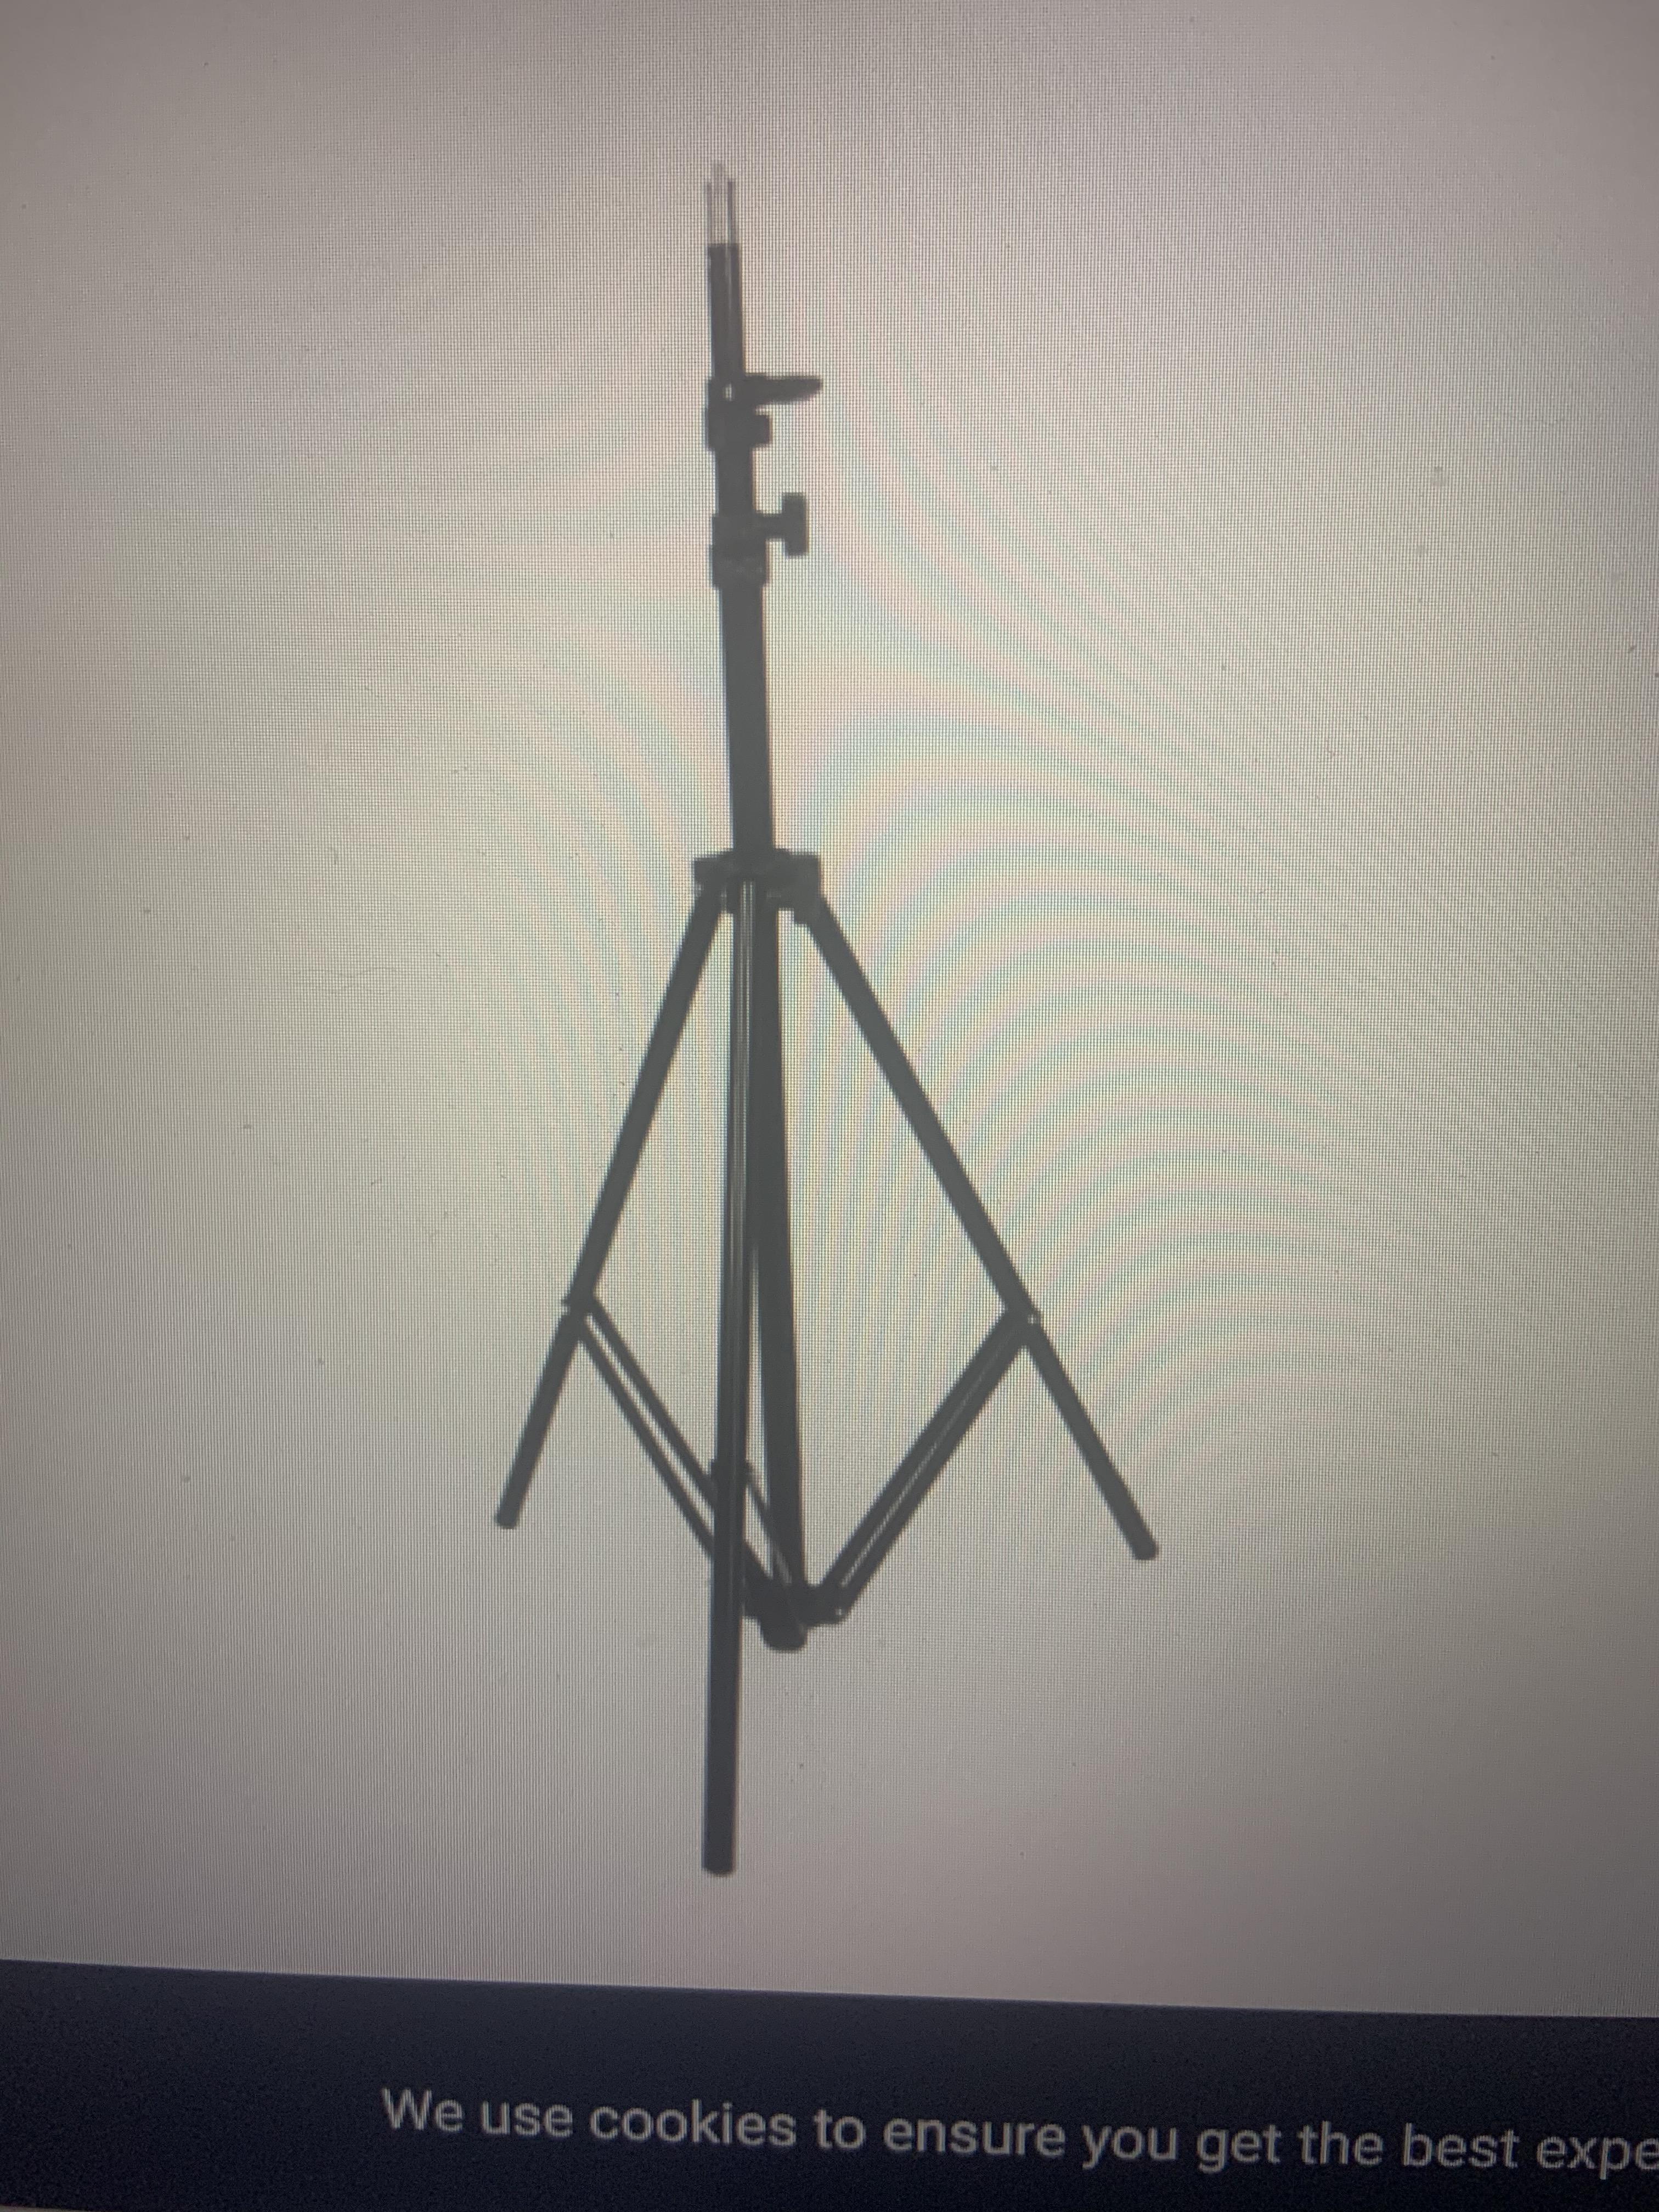
Tools, parts, and materials required for build are shown in above photos
Parts:
1x USB printer cable (male Type A to male Type B) or 5V AC-DC wall socket power adapter
1x Container with hand and screw-on cap on top (I used an 8.5 pound cat litter container)
2x 1-1/4 in. PVC Schedule. 40 45-Degree S x S Elbow Fitting (pvc fitting that has 2 ends shown in pic)
1x Charlotte Pipe 1-1/4 in. PVC Side Outlet 90-Degree Socket Elbow (pvc fitting that has 3 ends shown in pic with the two 45-degree S x S Elbow fittings attached to it)
1x ARDUINO UNO R3 microcontroller board (I purchased from Arduino store on Amazon)
1x Servo motor that comes with small plastic brackets that attach, as shown in photo (I purchased the Smraza SG90 9G Micro Servo Motor Kit from Smraza store on Amazon)
1x Pill bottle (I used a pill bottle that could easily be cut using a knife and scissors with a 1-1/3 in. diameter)
3x male to male Jumper wires (I purchased Elegoo EL-CP-004 Multicolored Dupont Wire 40pin Male to male)
1x tripod with an adjustable base with arms that meet in the middle (similar to one shown in pic without the center column in middle; some tripod can have the center column taken out and made to work with this build. Be sure enough distance is between the base and the top of the tripod so that the container will fit.)
1x part that can put in between tripod and container to center the container in case it is not centered (I used a juice bottle as shown in the pic)
2x food bowls that can be attached to adjustable base (only thing not shown in photos)
Materials:
Rubber bands (preferably medium to size and decent thickness to allow support of the container)
Zip ties (I used 11-inch zip ties purchased from Lowe's)
Super glue ( I used Gorilla super glue gel, the non-gel liquid super glue may be better as the gel tends to not stick well to certain plastics)
Duct tape (I used Duck Tape brand duct tape)
Cardboard (I made cut-outs form a Domino's pizza box, but you should use the sturdiest cardboard you have available)
Baking soda
Tools:
Scissors or a similar cutting device (be sure it is strong enough to properly cut through plastic)
Knife or a similar tool for piercing
Blow dryer (preferably one with adjustable settings to allow low blowing force and high heat)
Gloves (these will be used to prevent super glue from getting on hands
Marker
Attach the Container to the Tripod
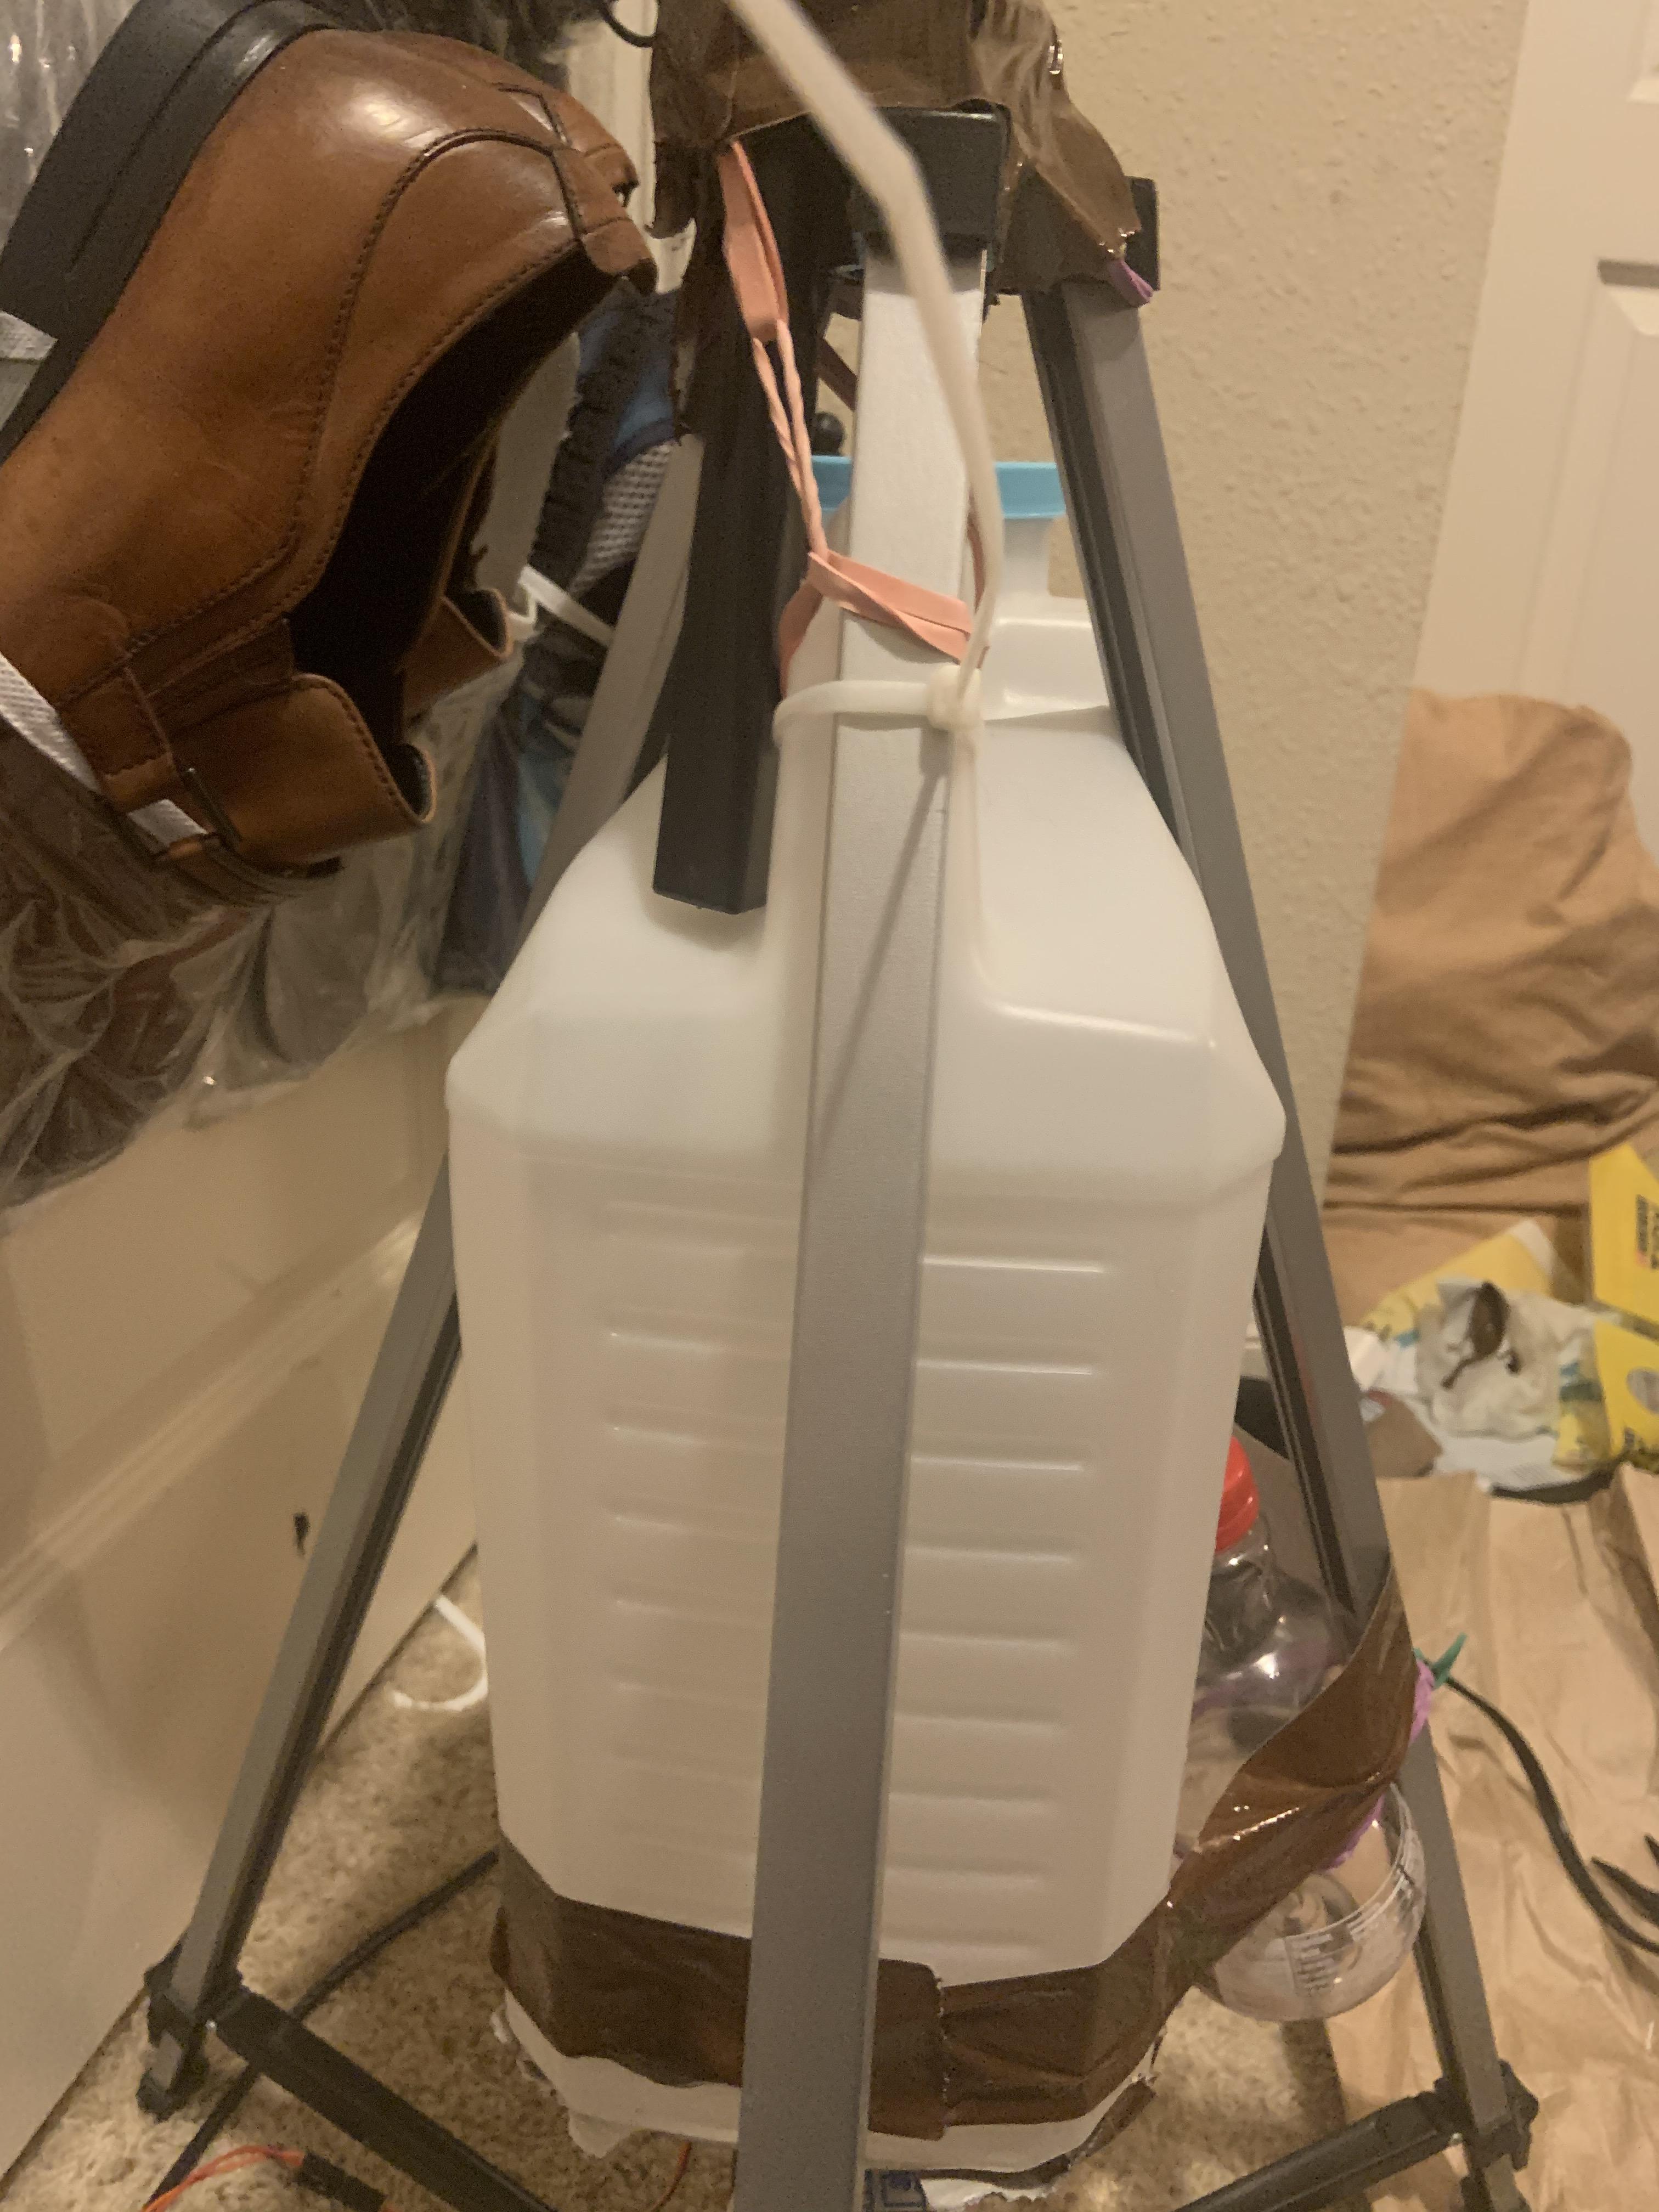
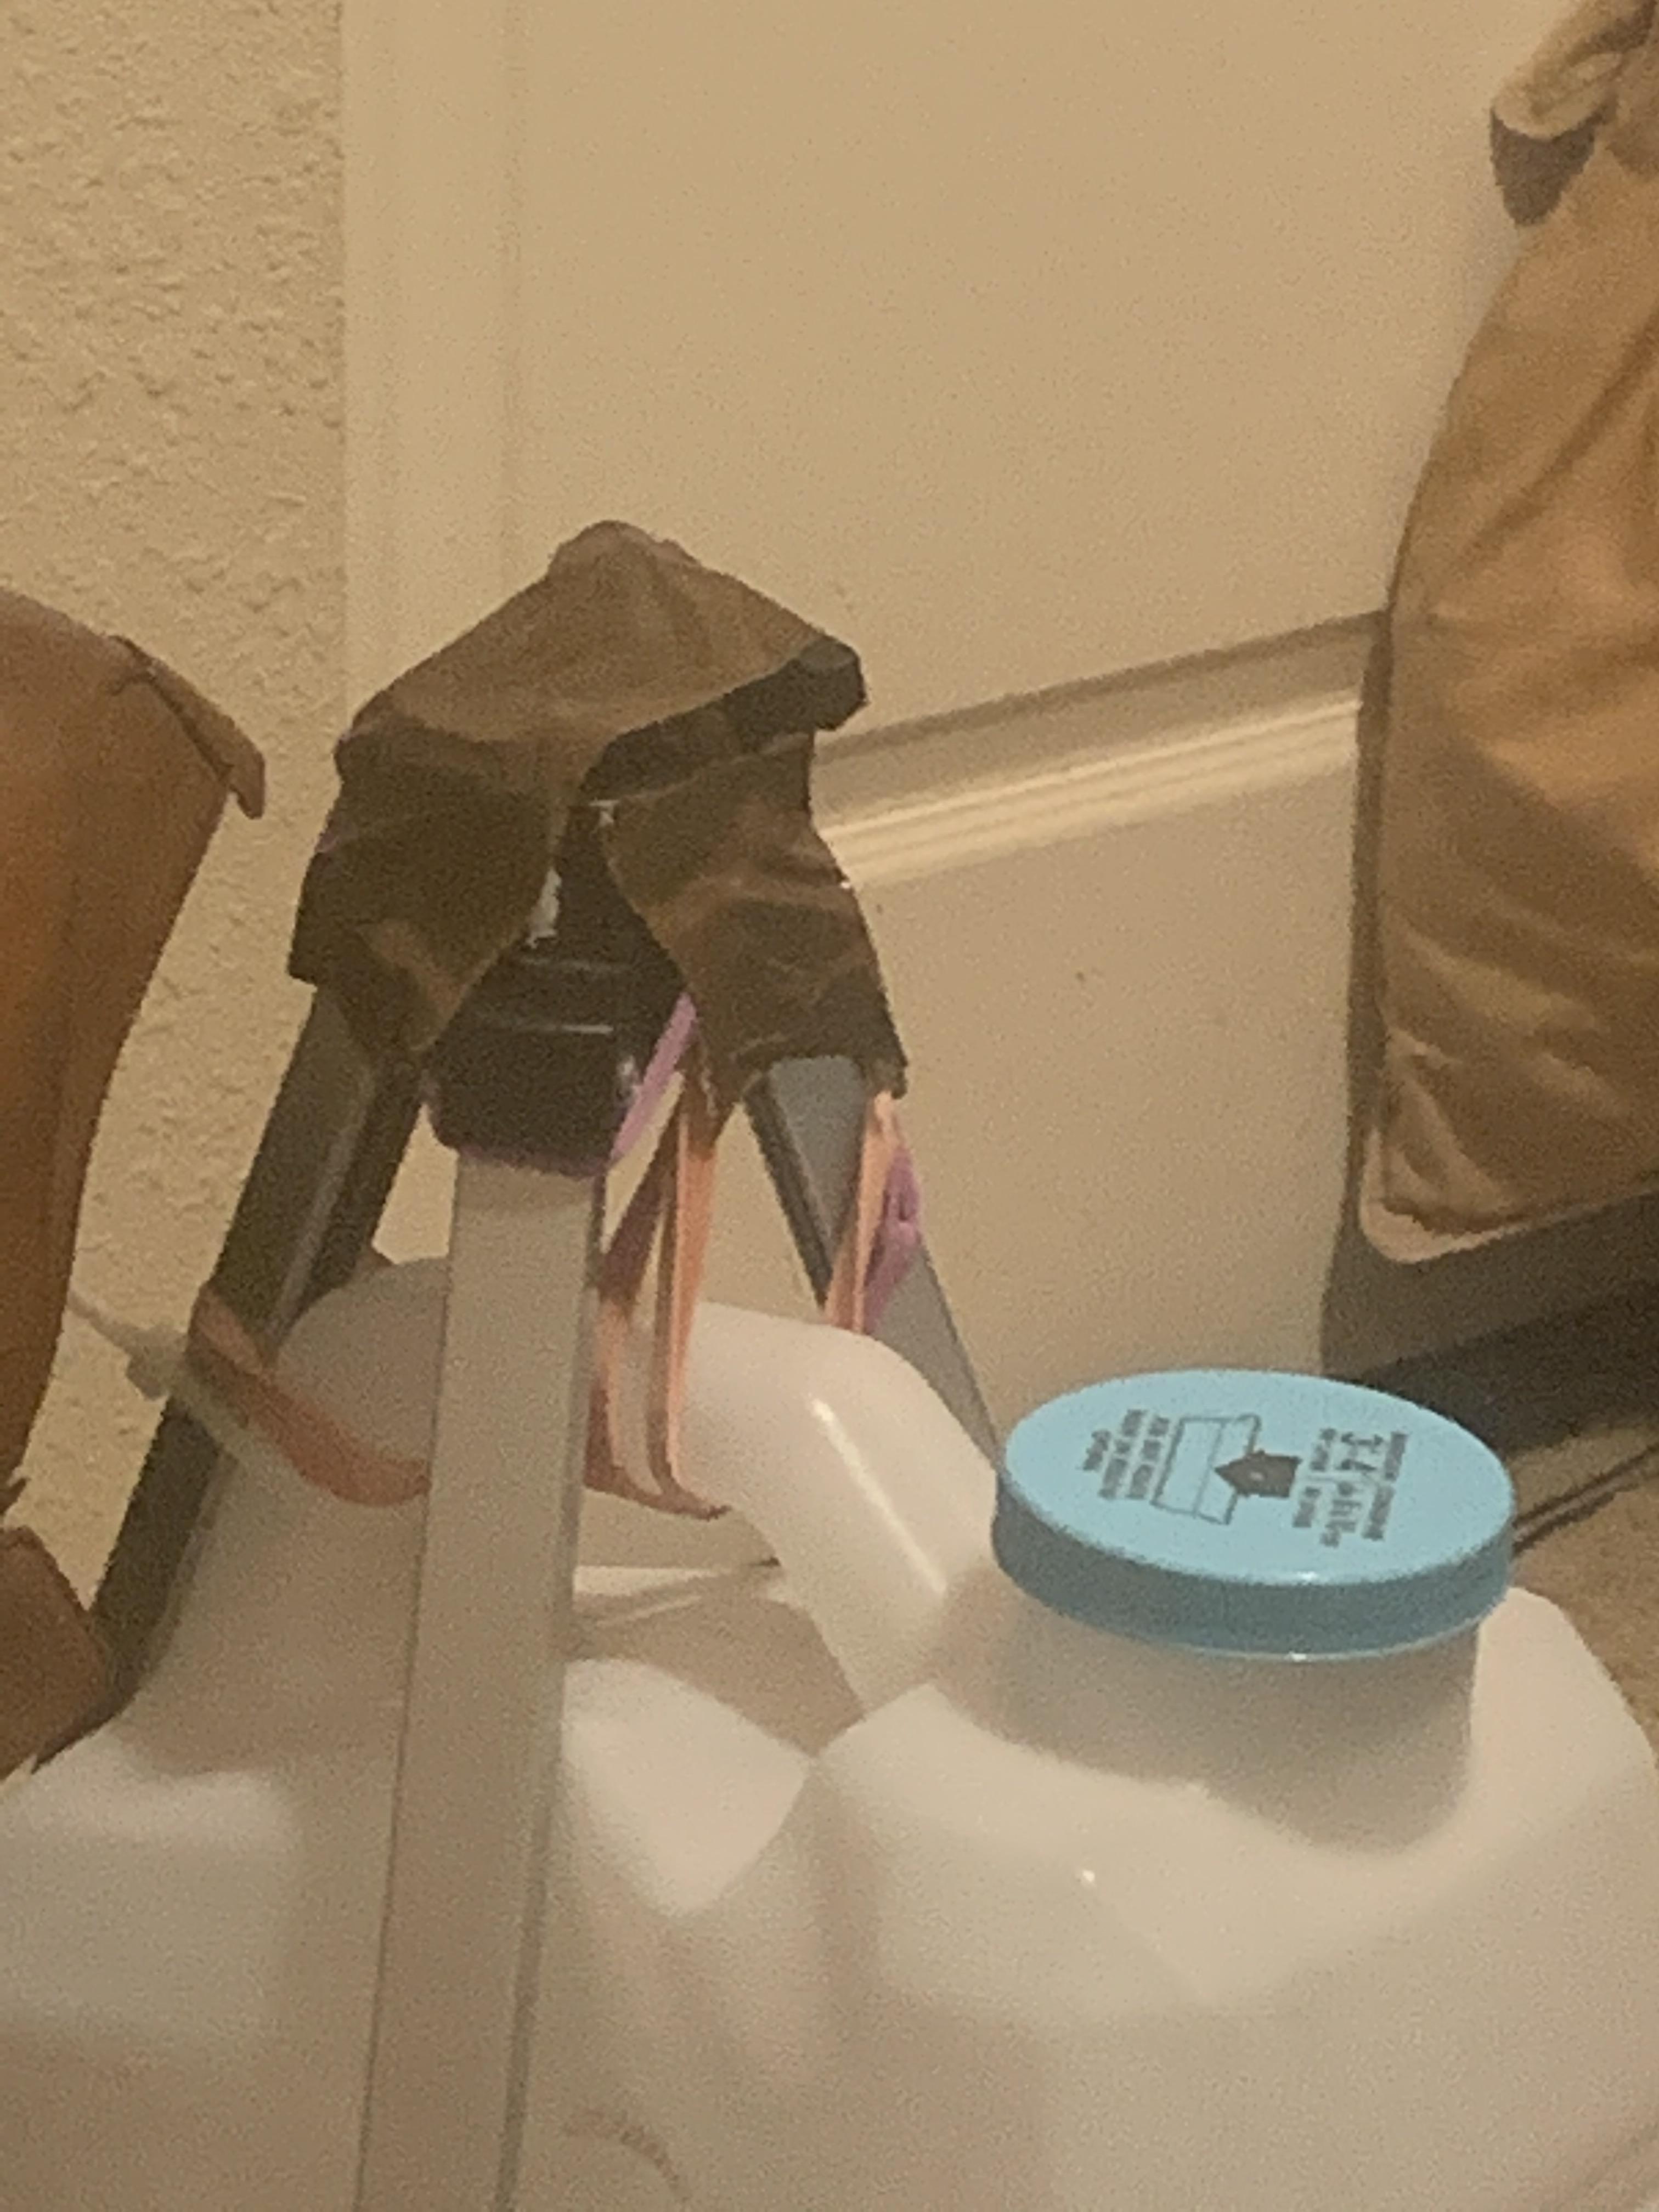
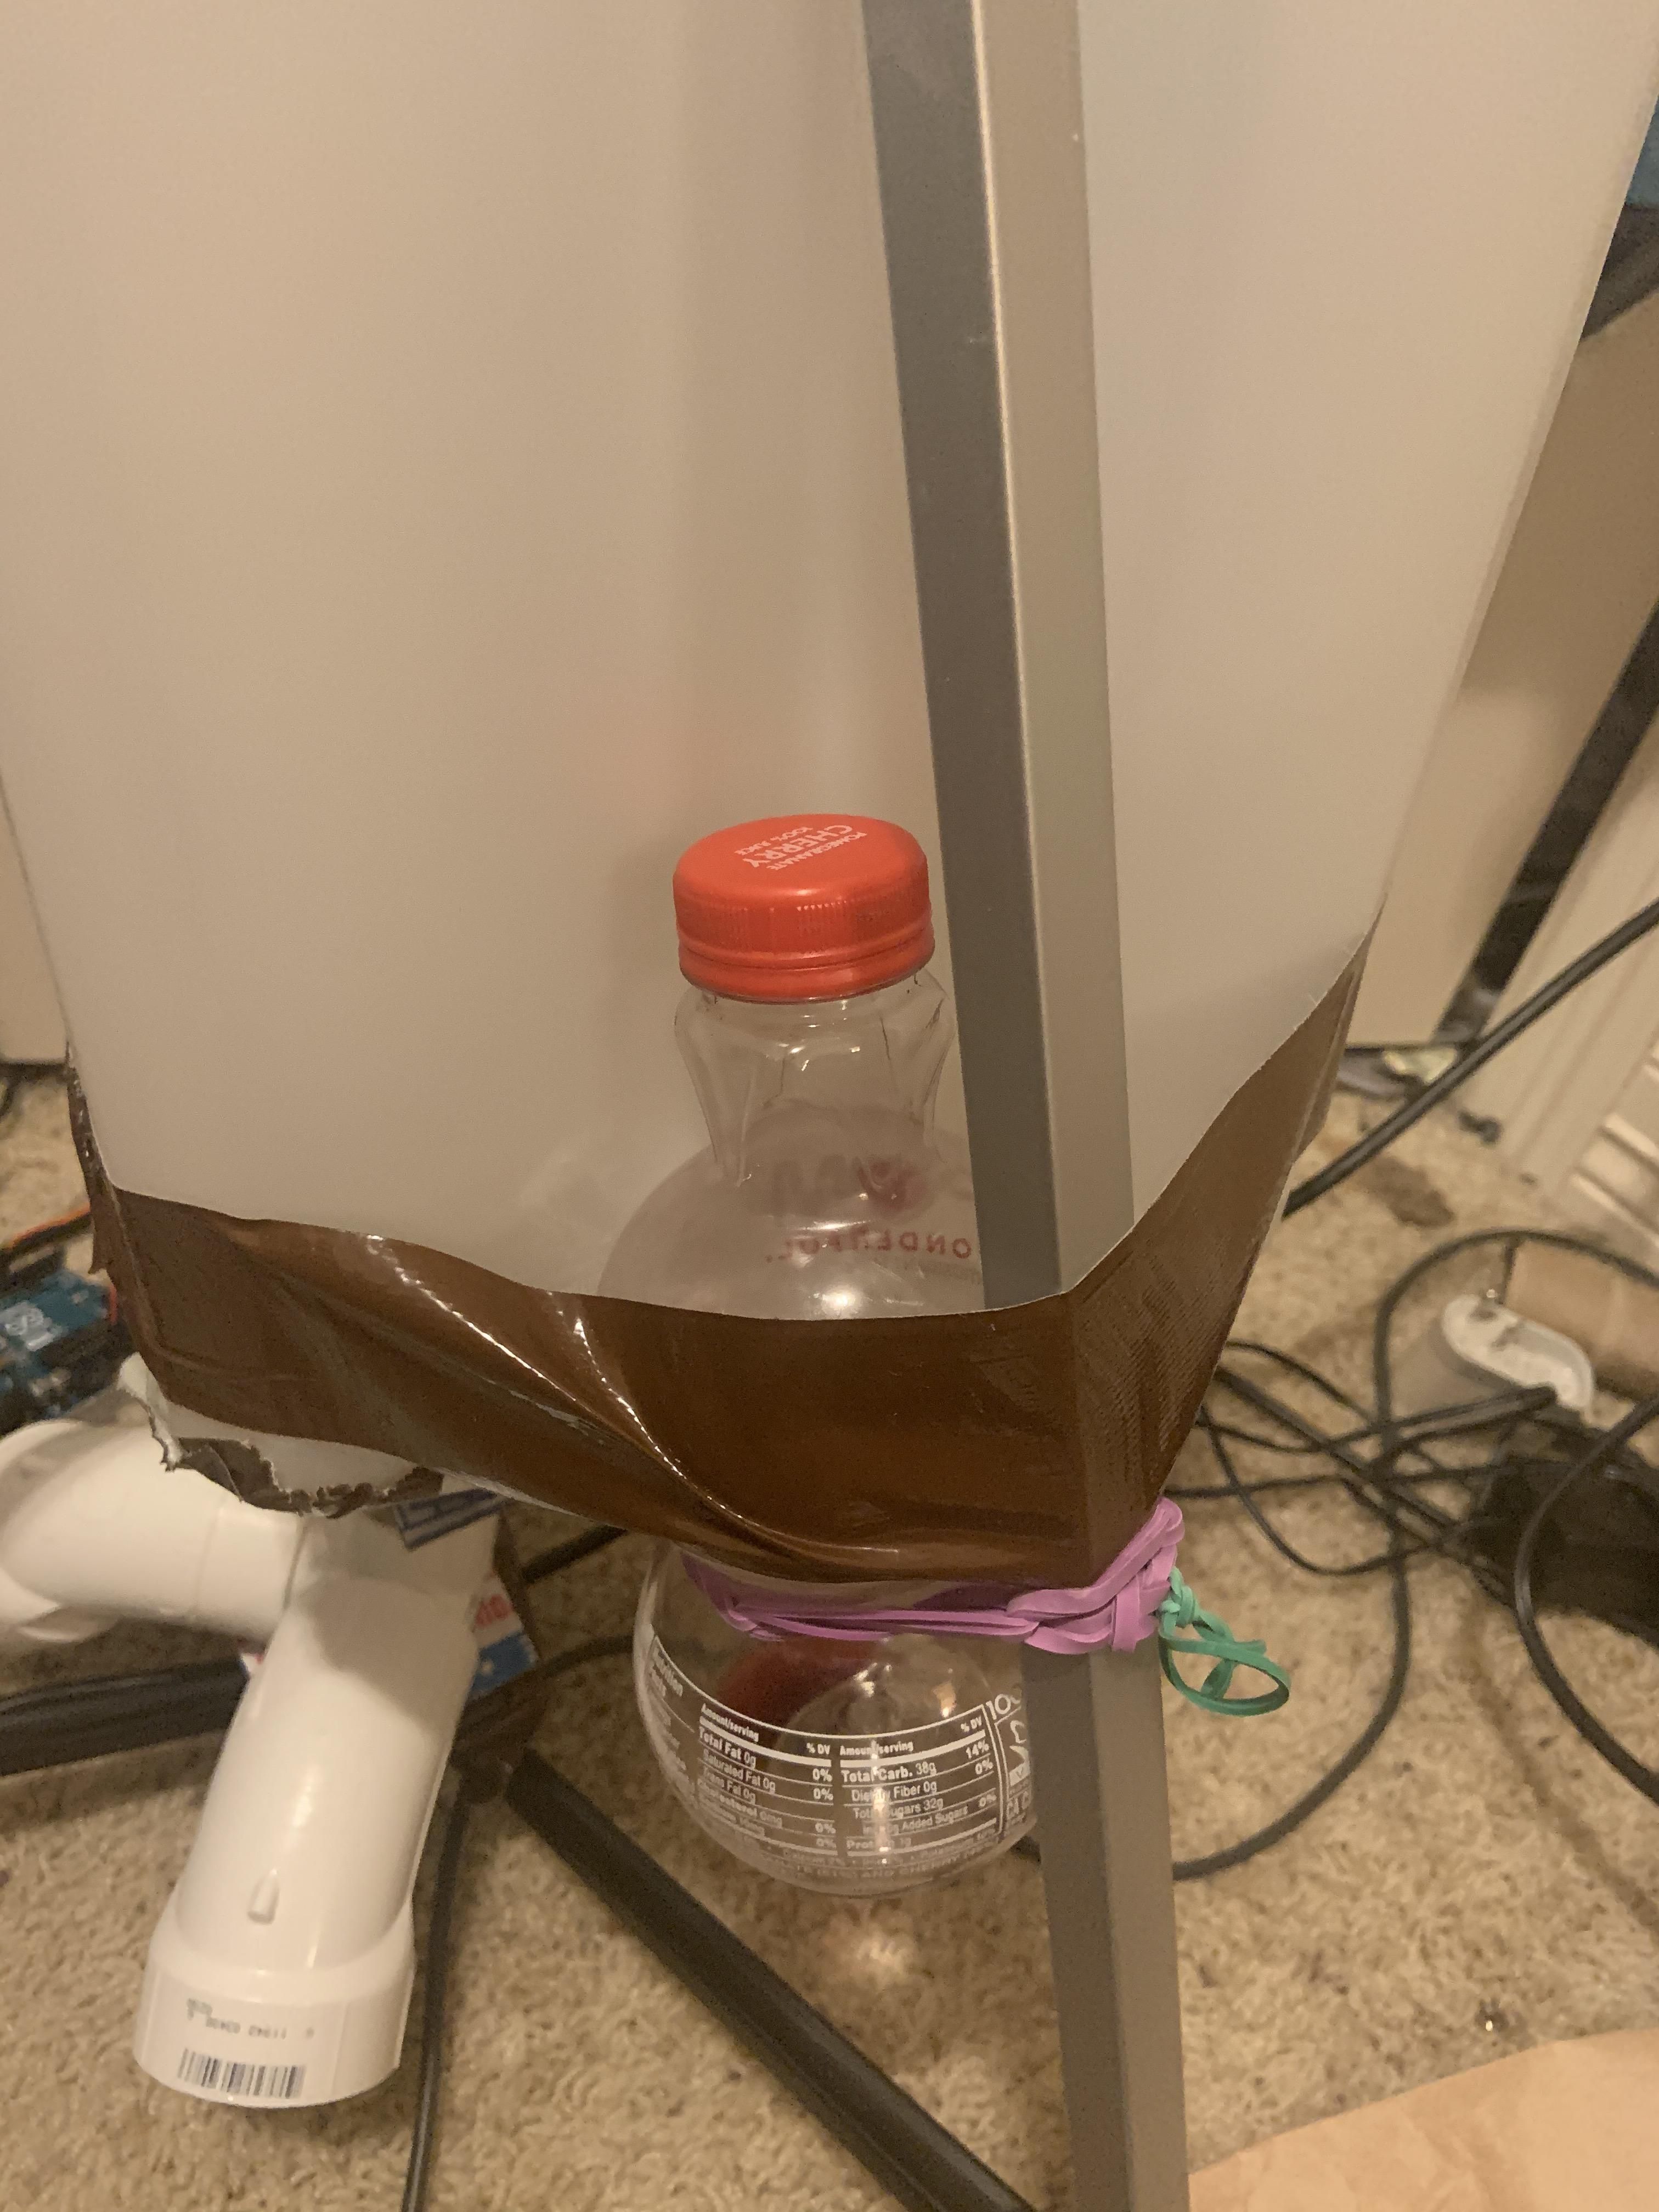
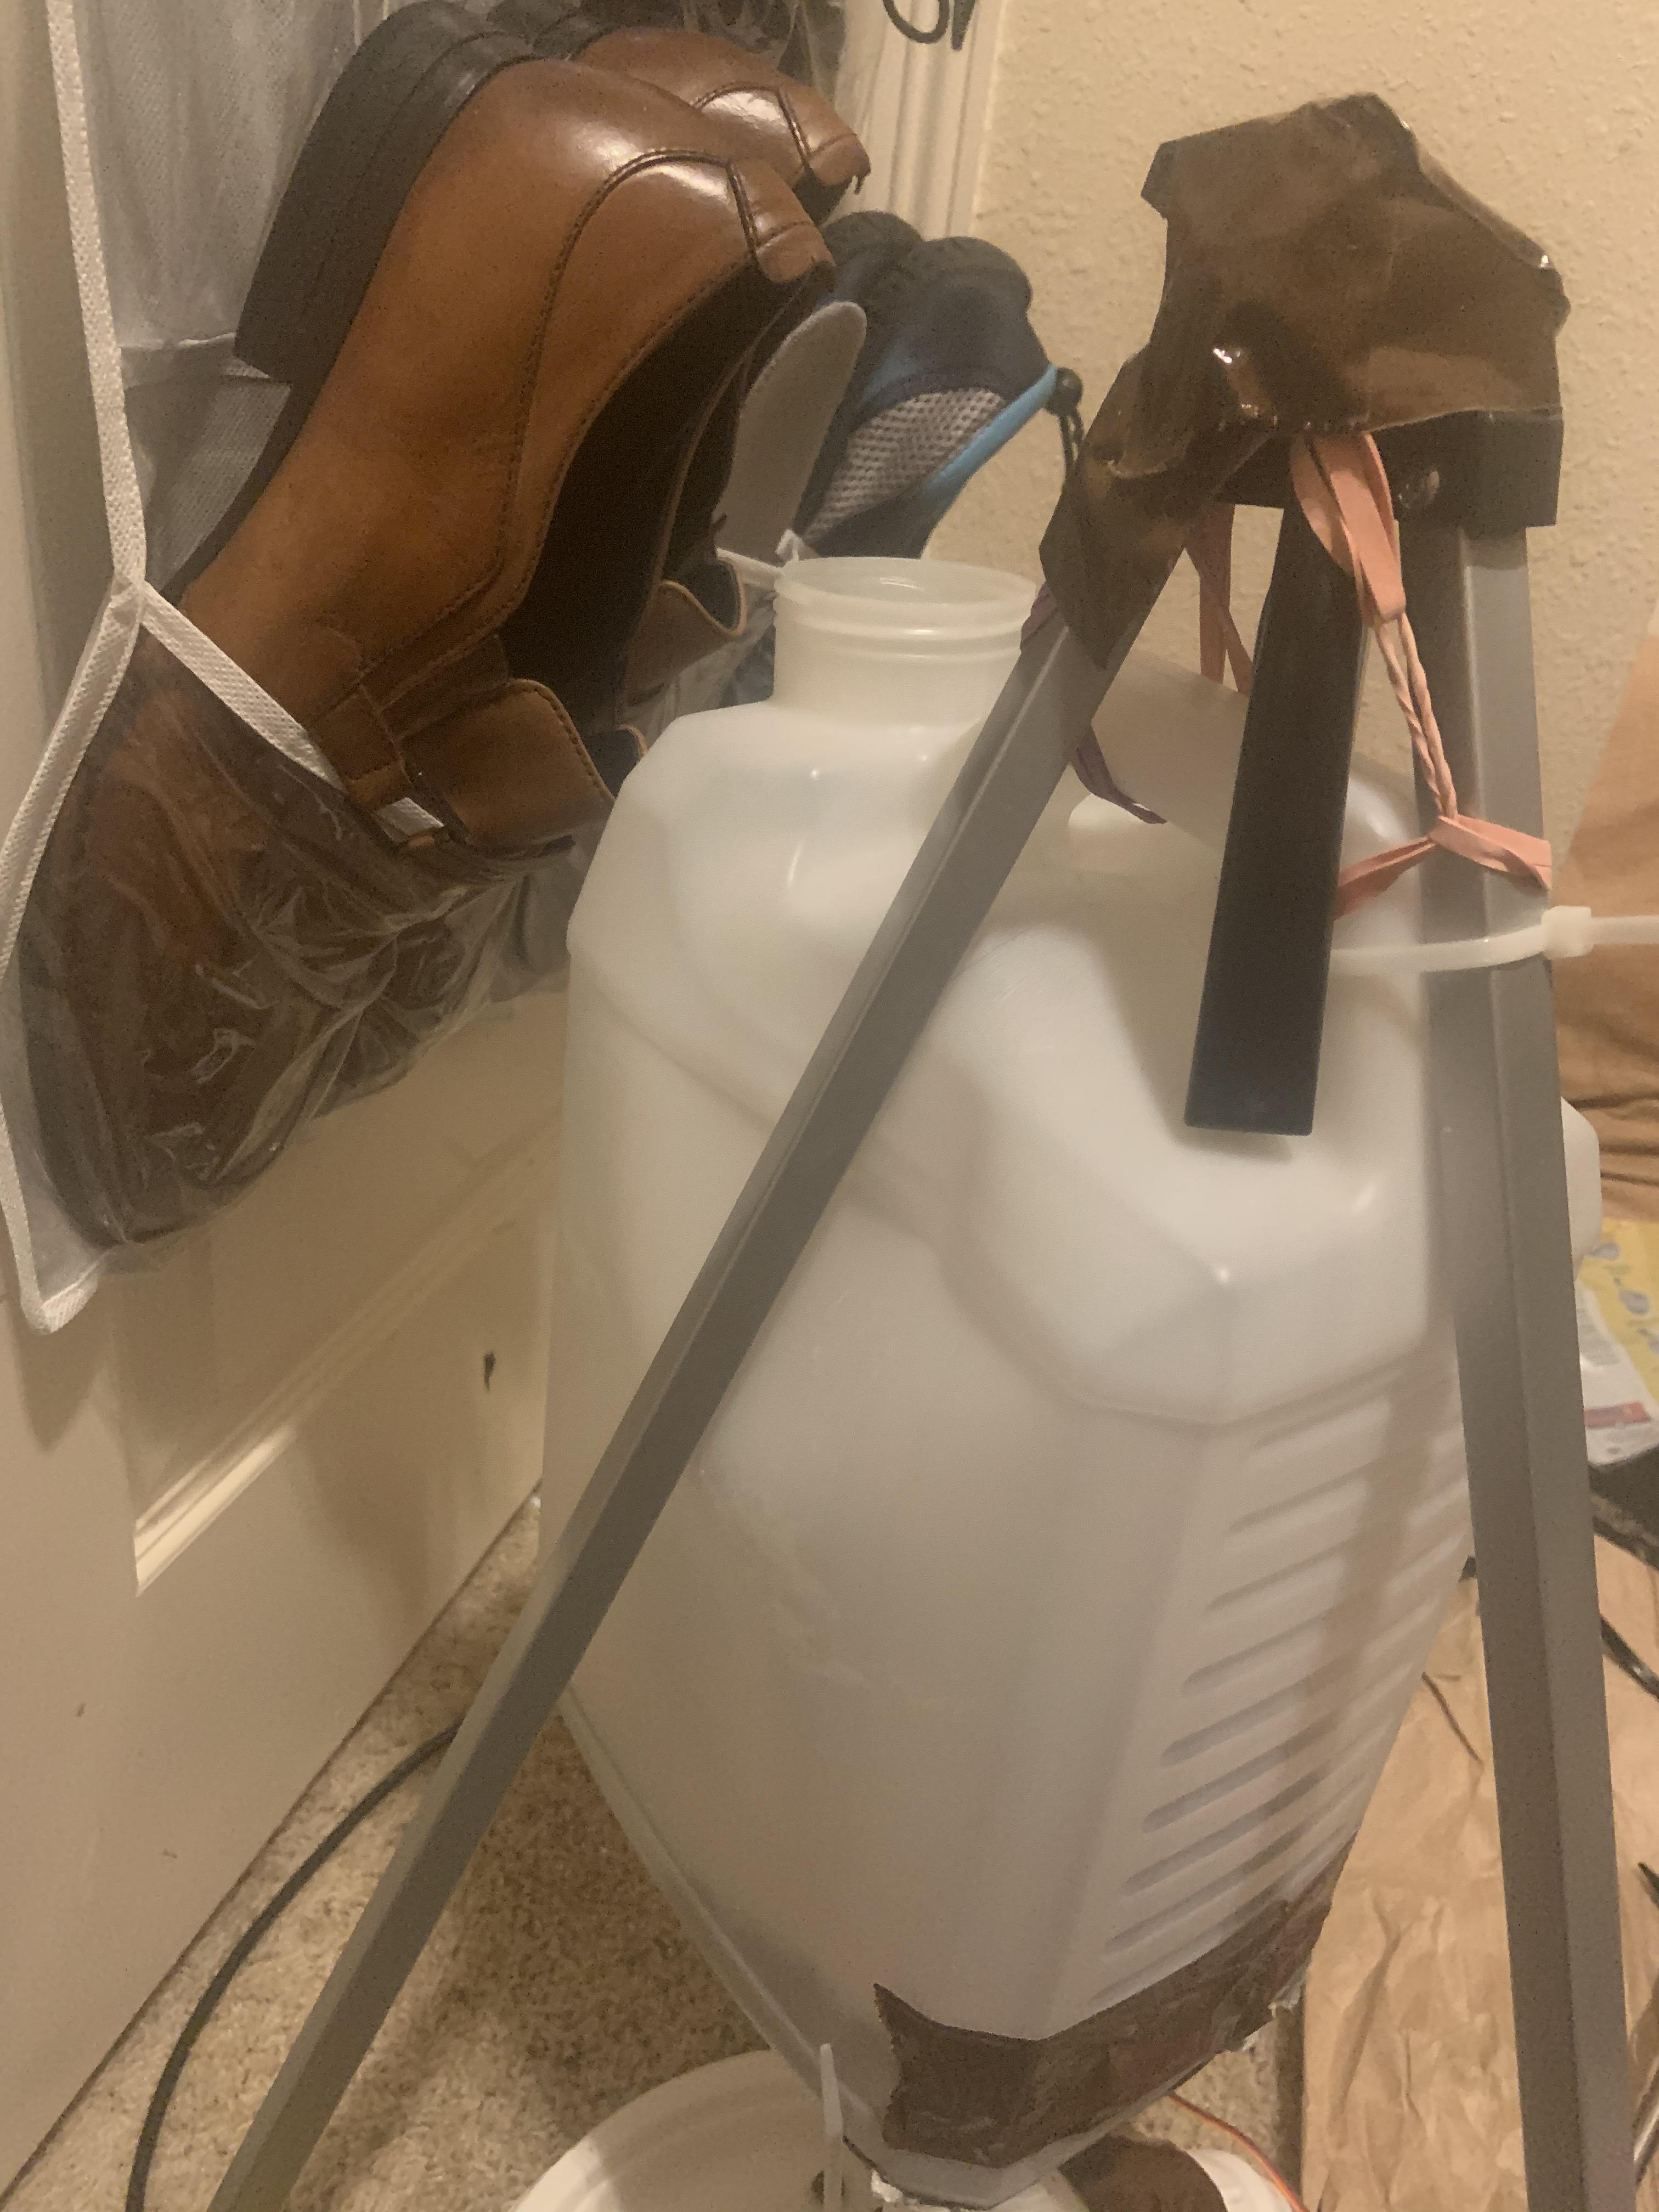
The container will be attached to the tripod using rubber bands, zip ties, and duct tape
- Begin by looping rubber bands through the handle of the container and attaching them to the top of the tripod. If the tripod does not have a design that makes this possible, you can ties the rubber bands together or zip tie the rubber bands together forming a closed chain.
- Next tie rubber bands around the hand of the container the leg of the tripod that the contain backs up to as shown in the picture, and tie them or chain them with a zip tie.
- Next, tie zip ties to the same areas to properly secure the container.
- Once the container is secured, get duct tape and wrap it around the top of the tripod to secure the rubber bands.
- Determine where you would like the hole, which is at the bottom of the container where the food will exit, to be and ensure that it is centered of the middle of the adjustable tripod base. If it is not, you will need to center the container as I did and have shown in a picture.
If you need to center the container:
- Begin by finding an object that would work well.
- To attach this object, begin by tying rubber bands around the object and the leg of the tripod on the side that needs to be pressed upon to center the container.
- Figure out where the object will need to touch the container, and apply super glue to this spot, as well as a small amount of baking soda to the glue once it has been added. Note: Baking soda causes the glue to dry much faster due to the pH of the baking soda relative to the glue, and it also strengthens the bond due to the different chemical reactions that occur due to the presence of the baking soda.
- Mix the baking soda and glue together and quickly press the spot with the glue onto the container. Hold it there for about 30 seconds and release.
- Now use a blow dryer, set to lowest blowing setting and highest heat setting, to heat the glue and speed up its drying process. After about 30 second to a minute, it should be good. Be careful to not overheat the area.
- Finally, wrap duct tape around the object and the container to secure it further.
Assemble the Electrical Components
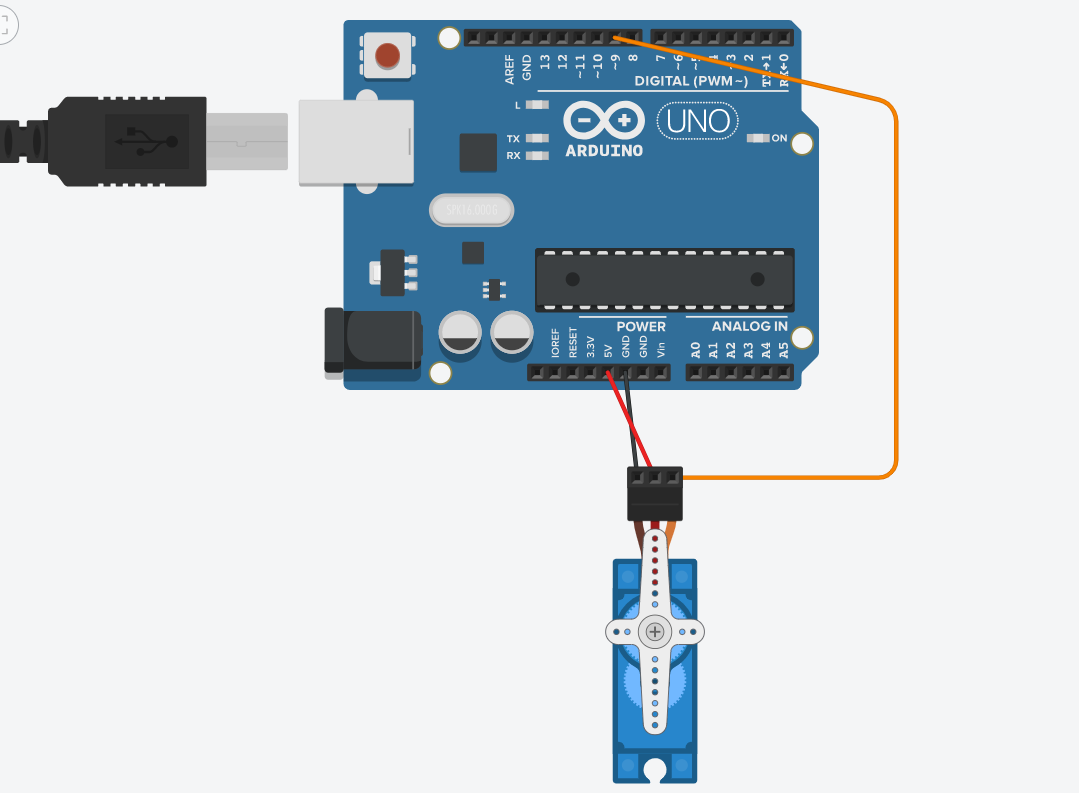
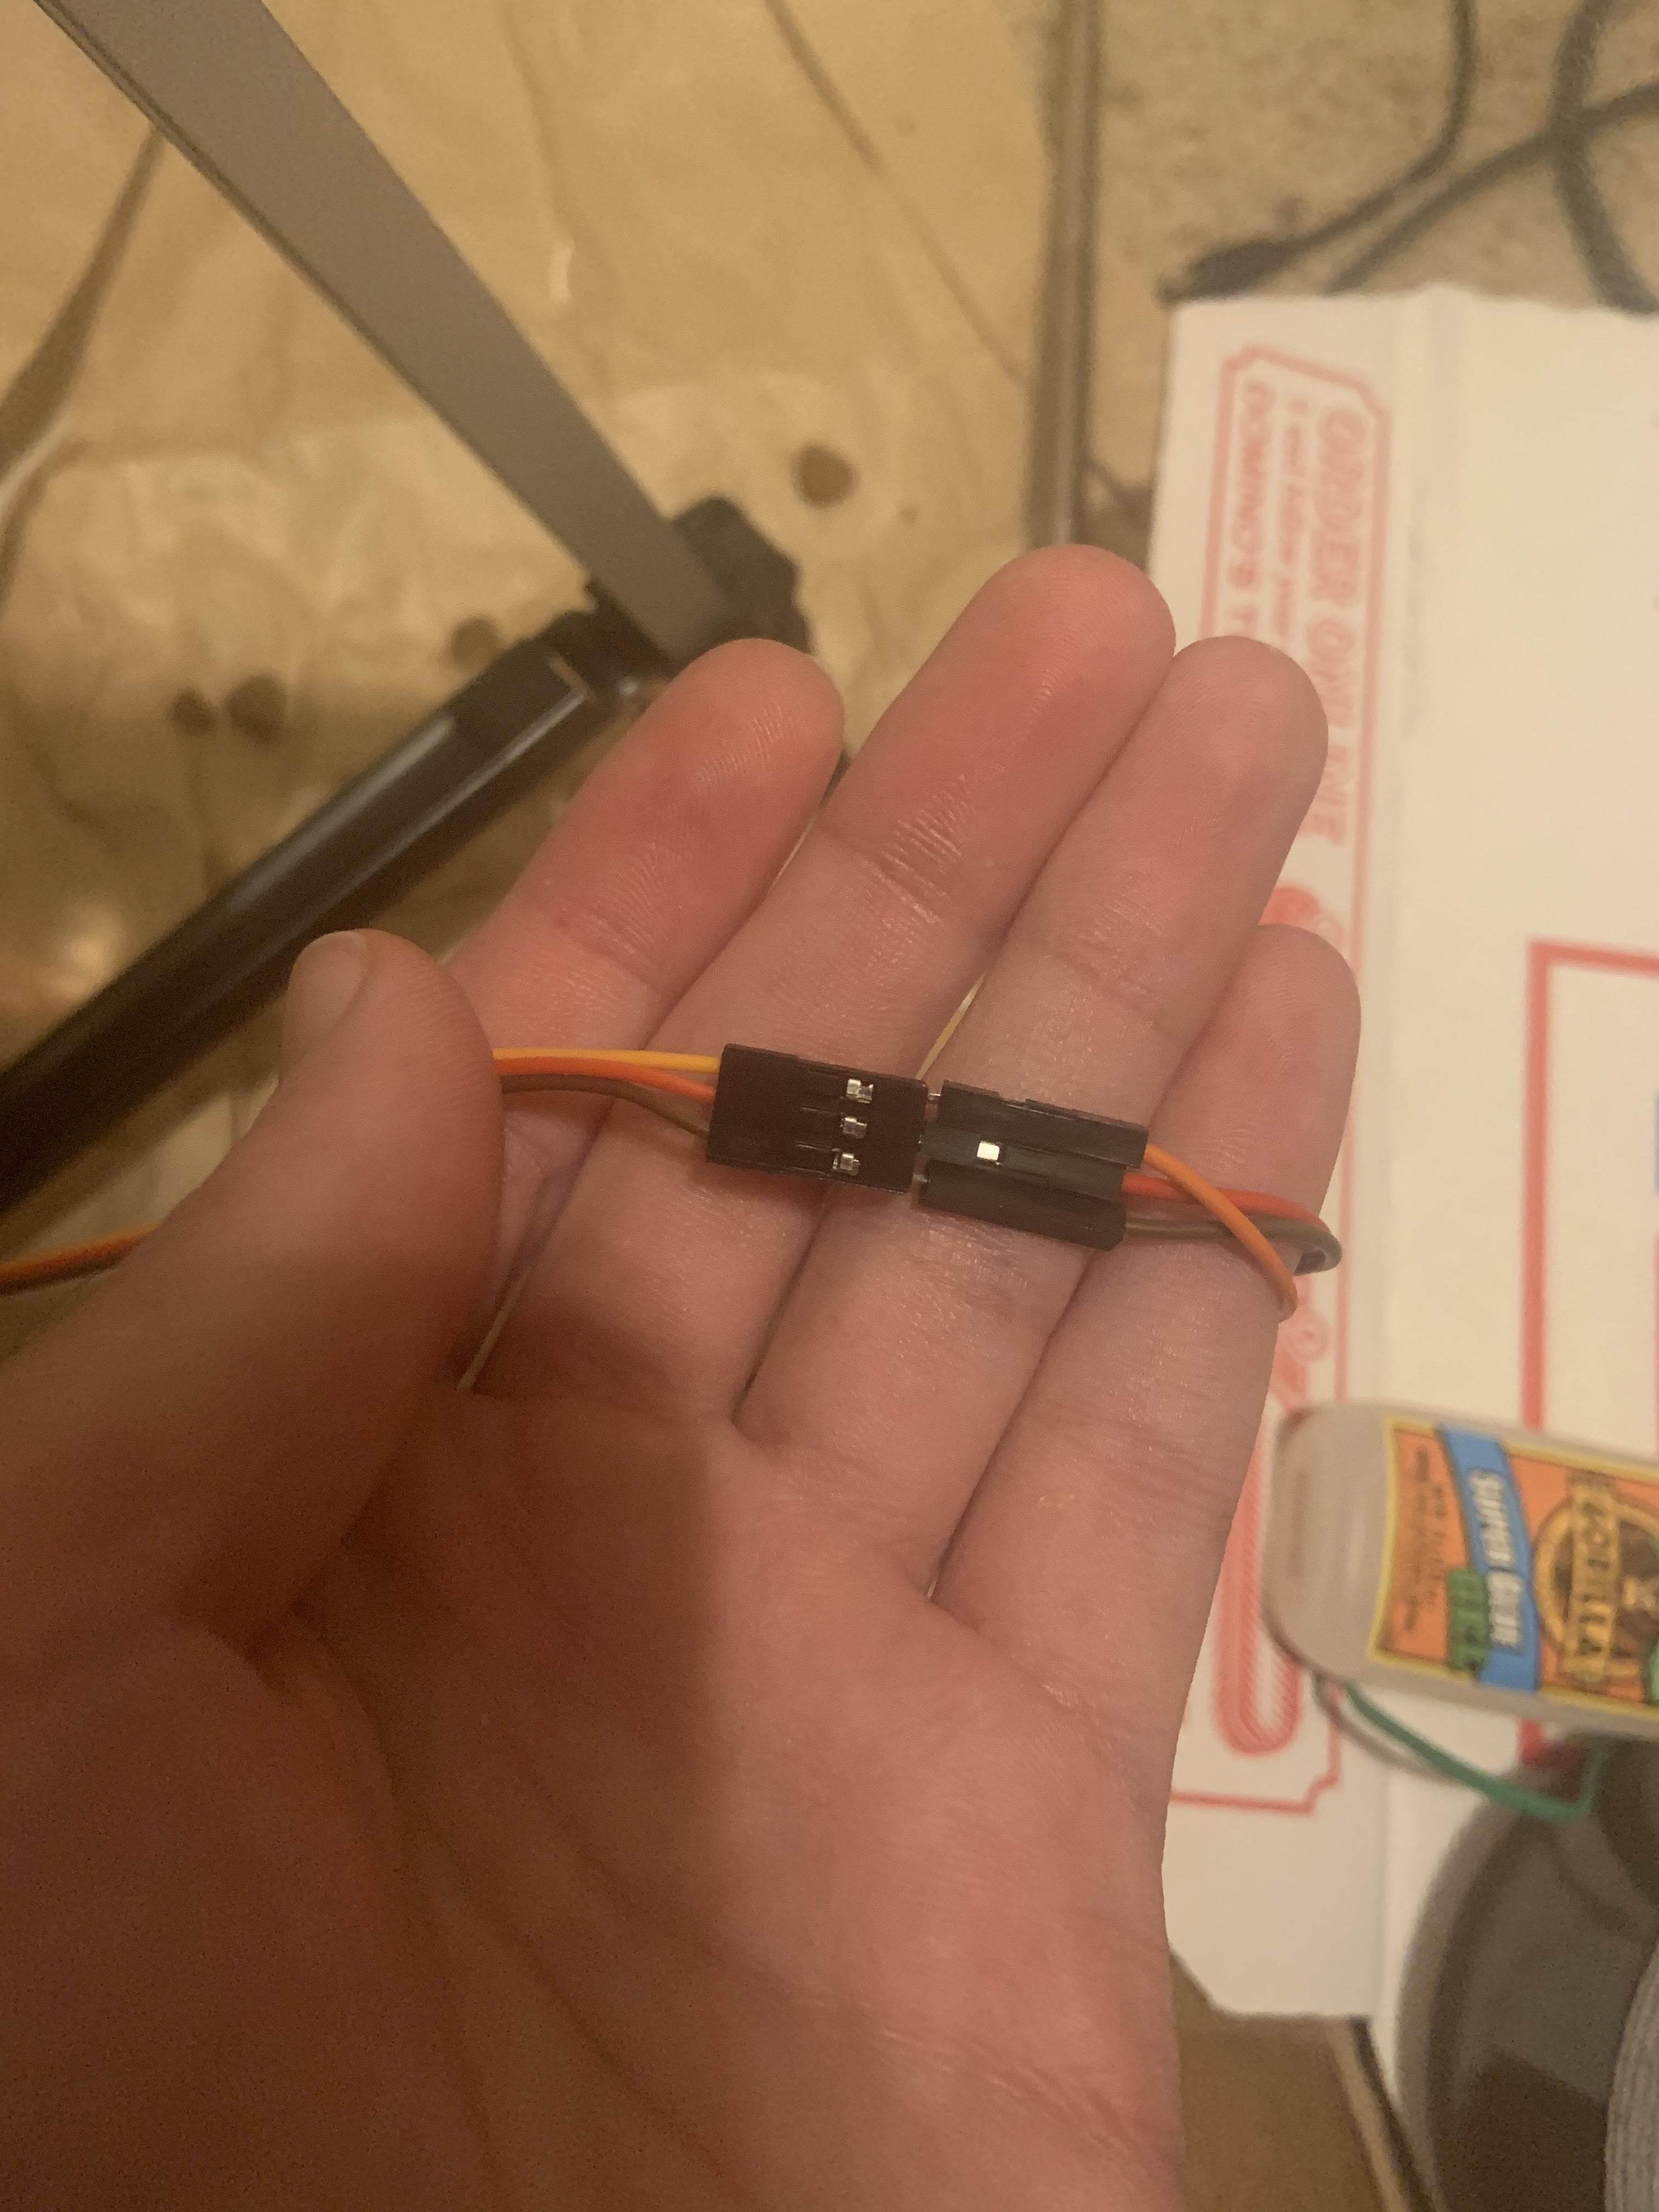
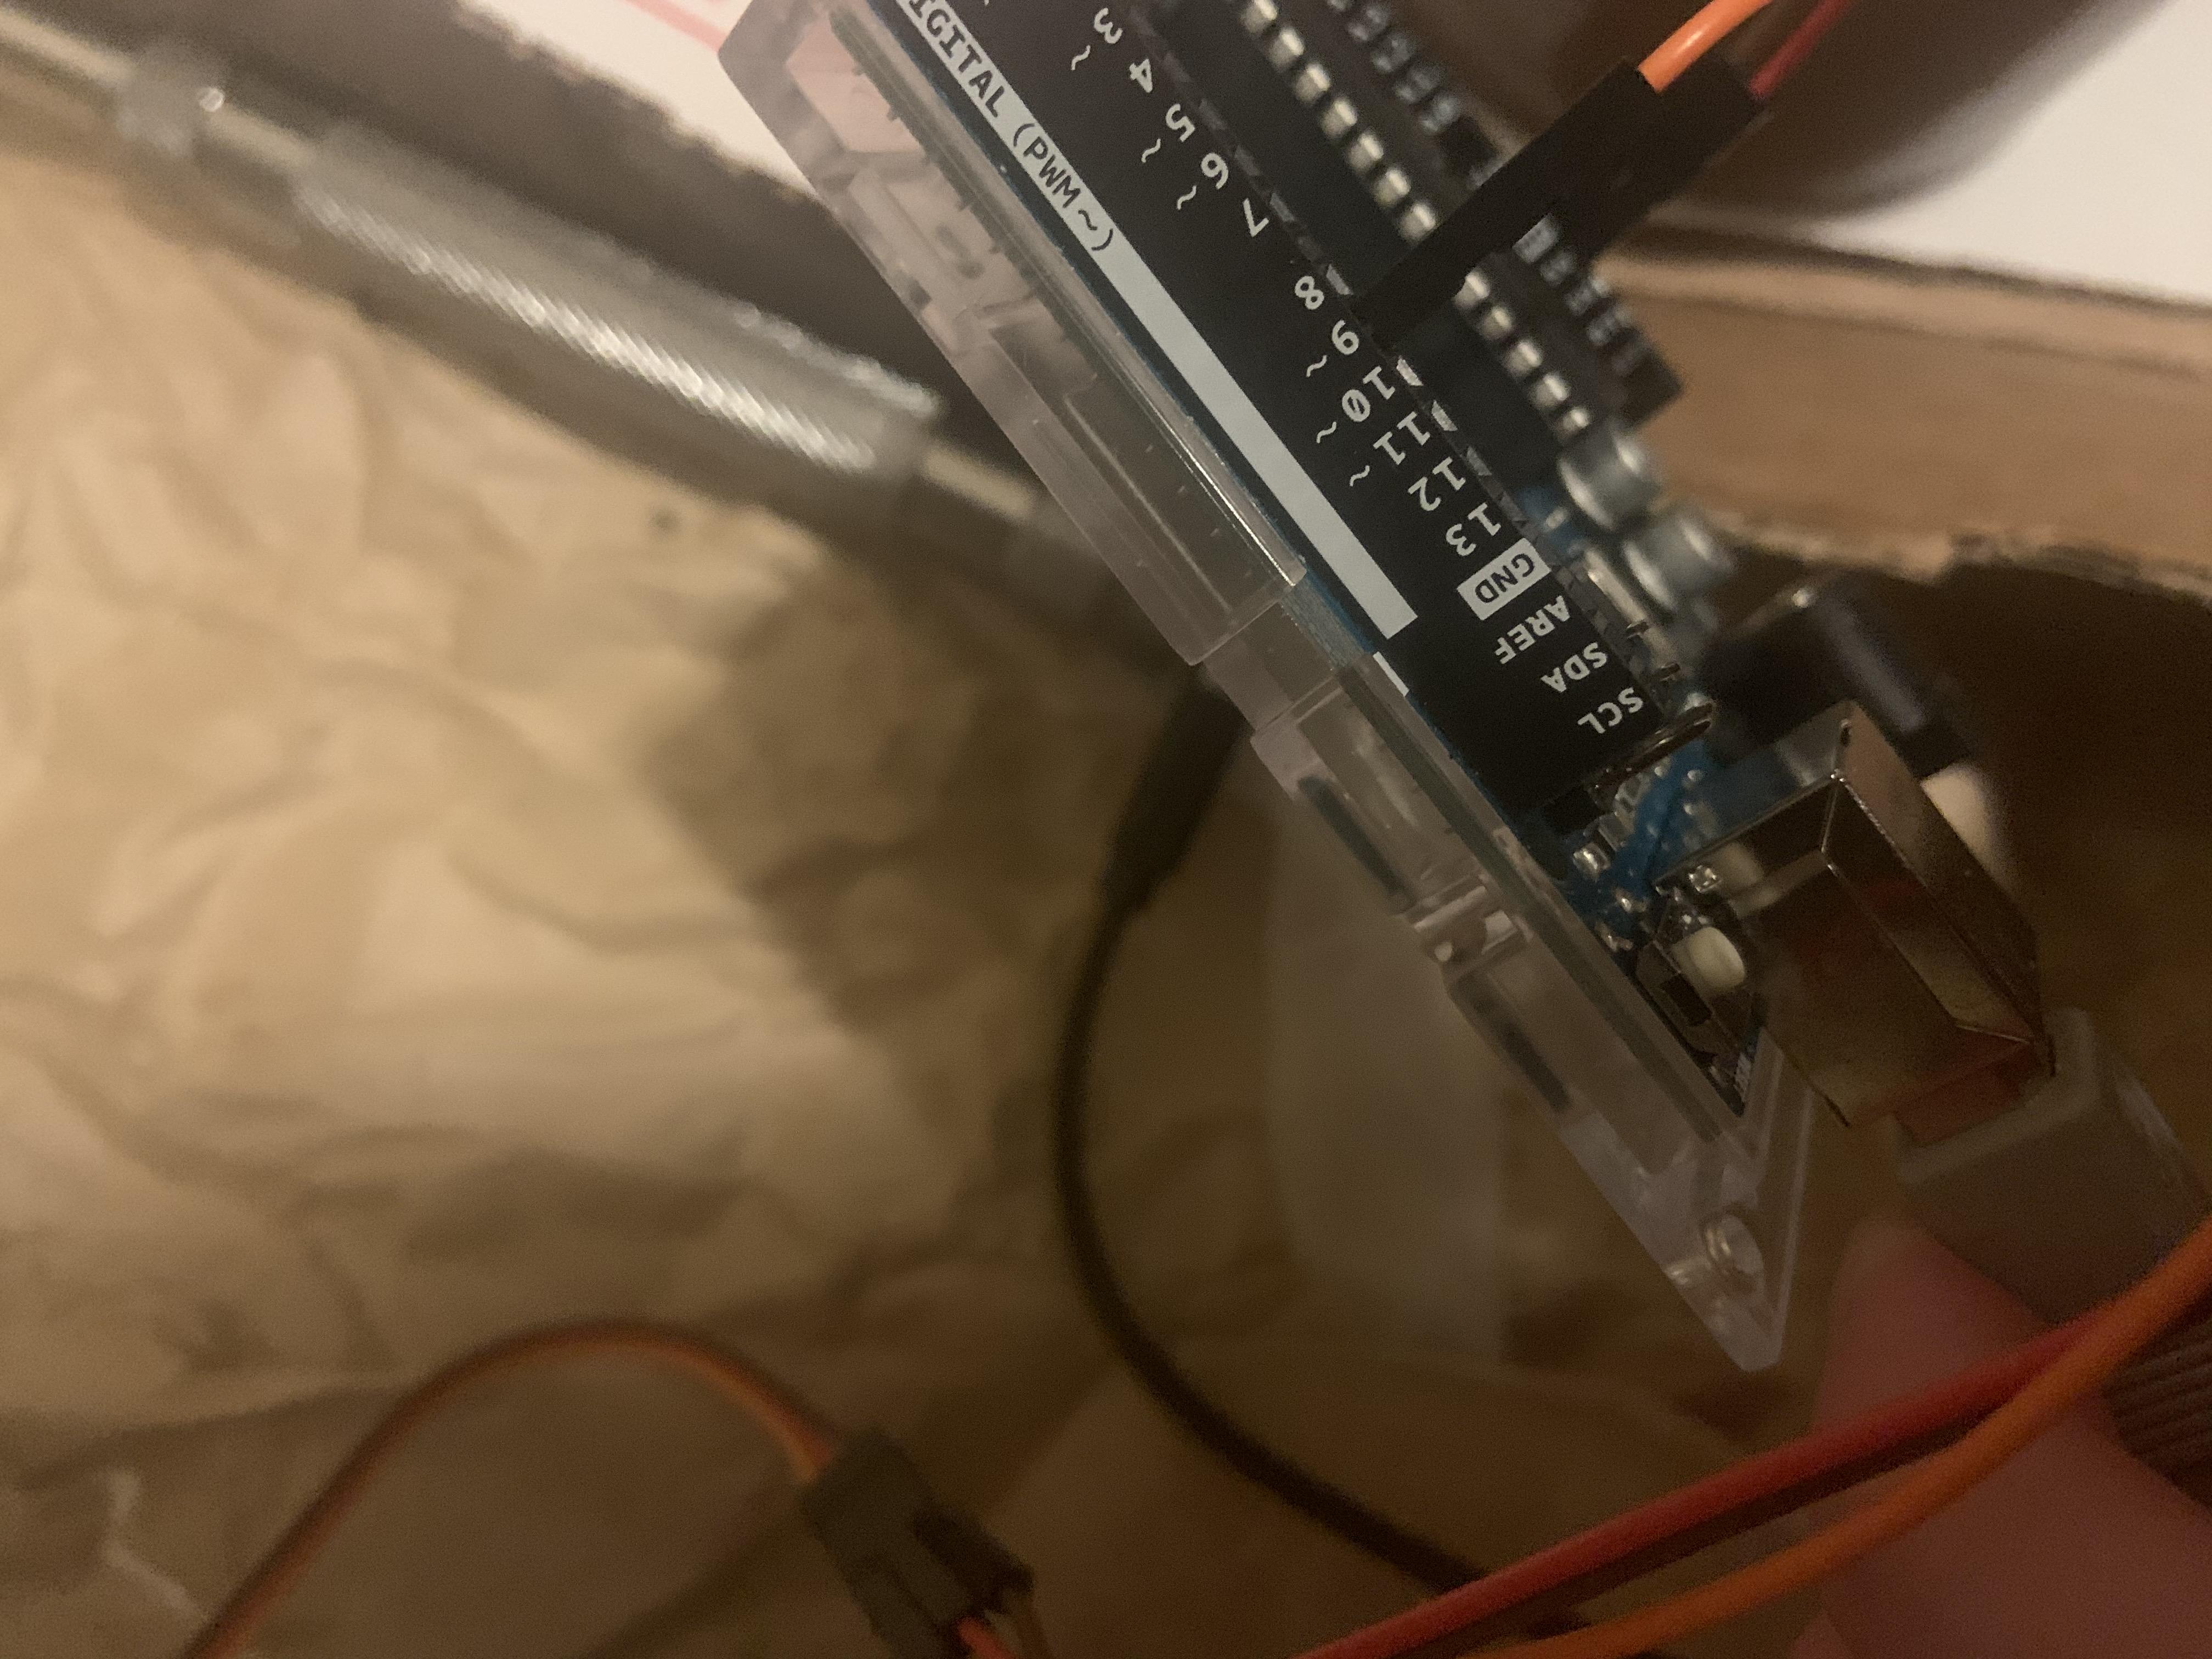
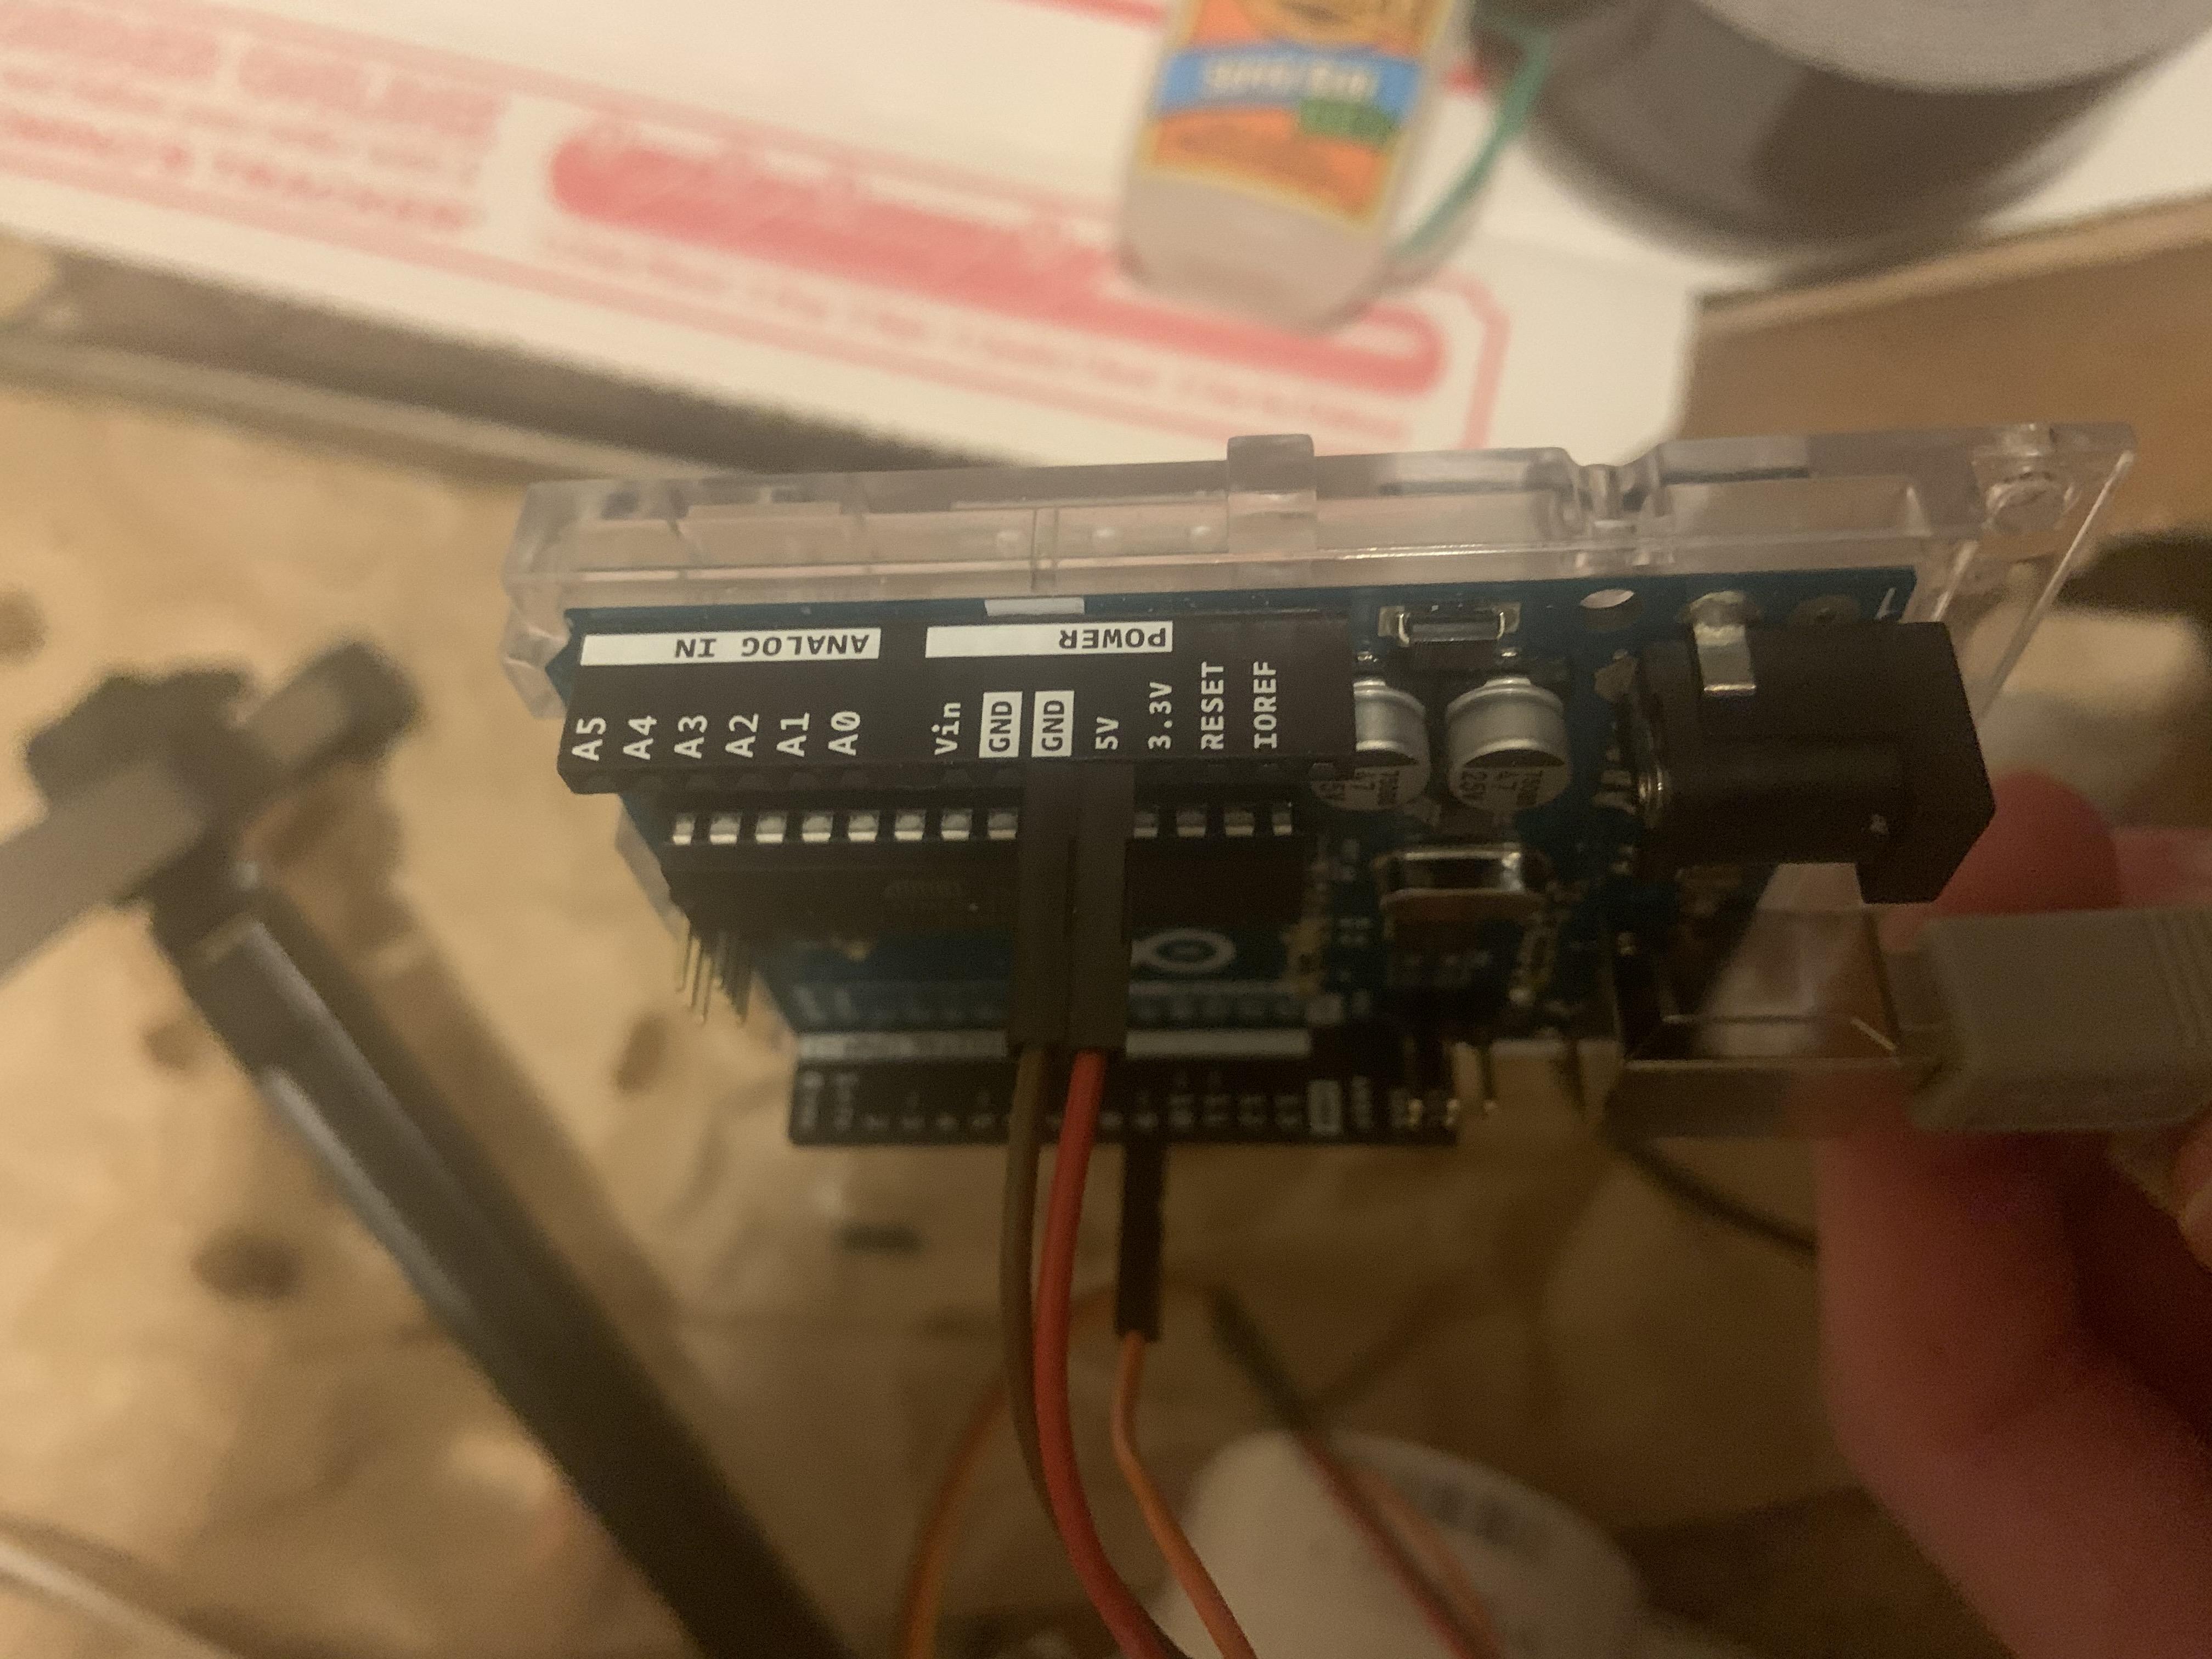
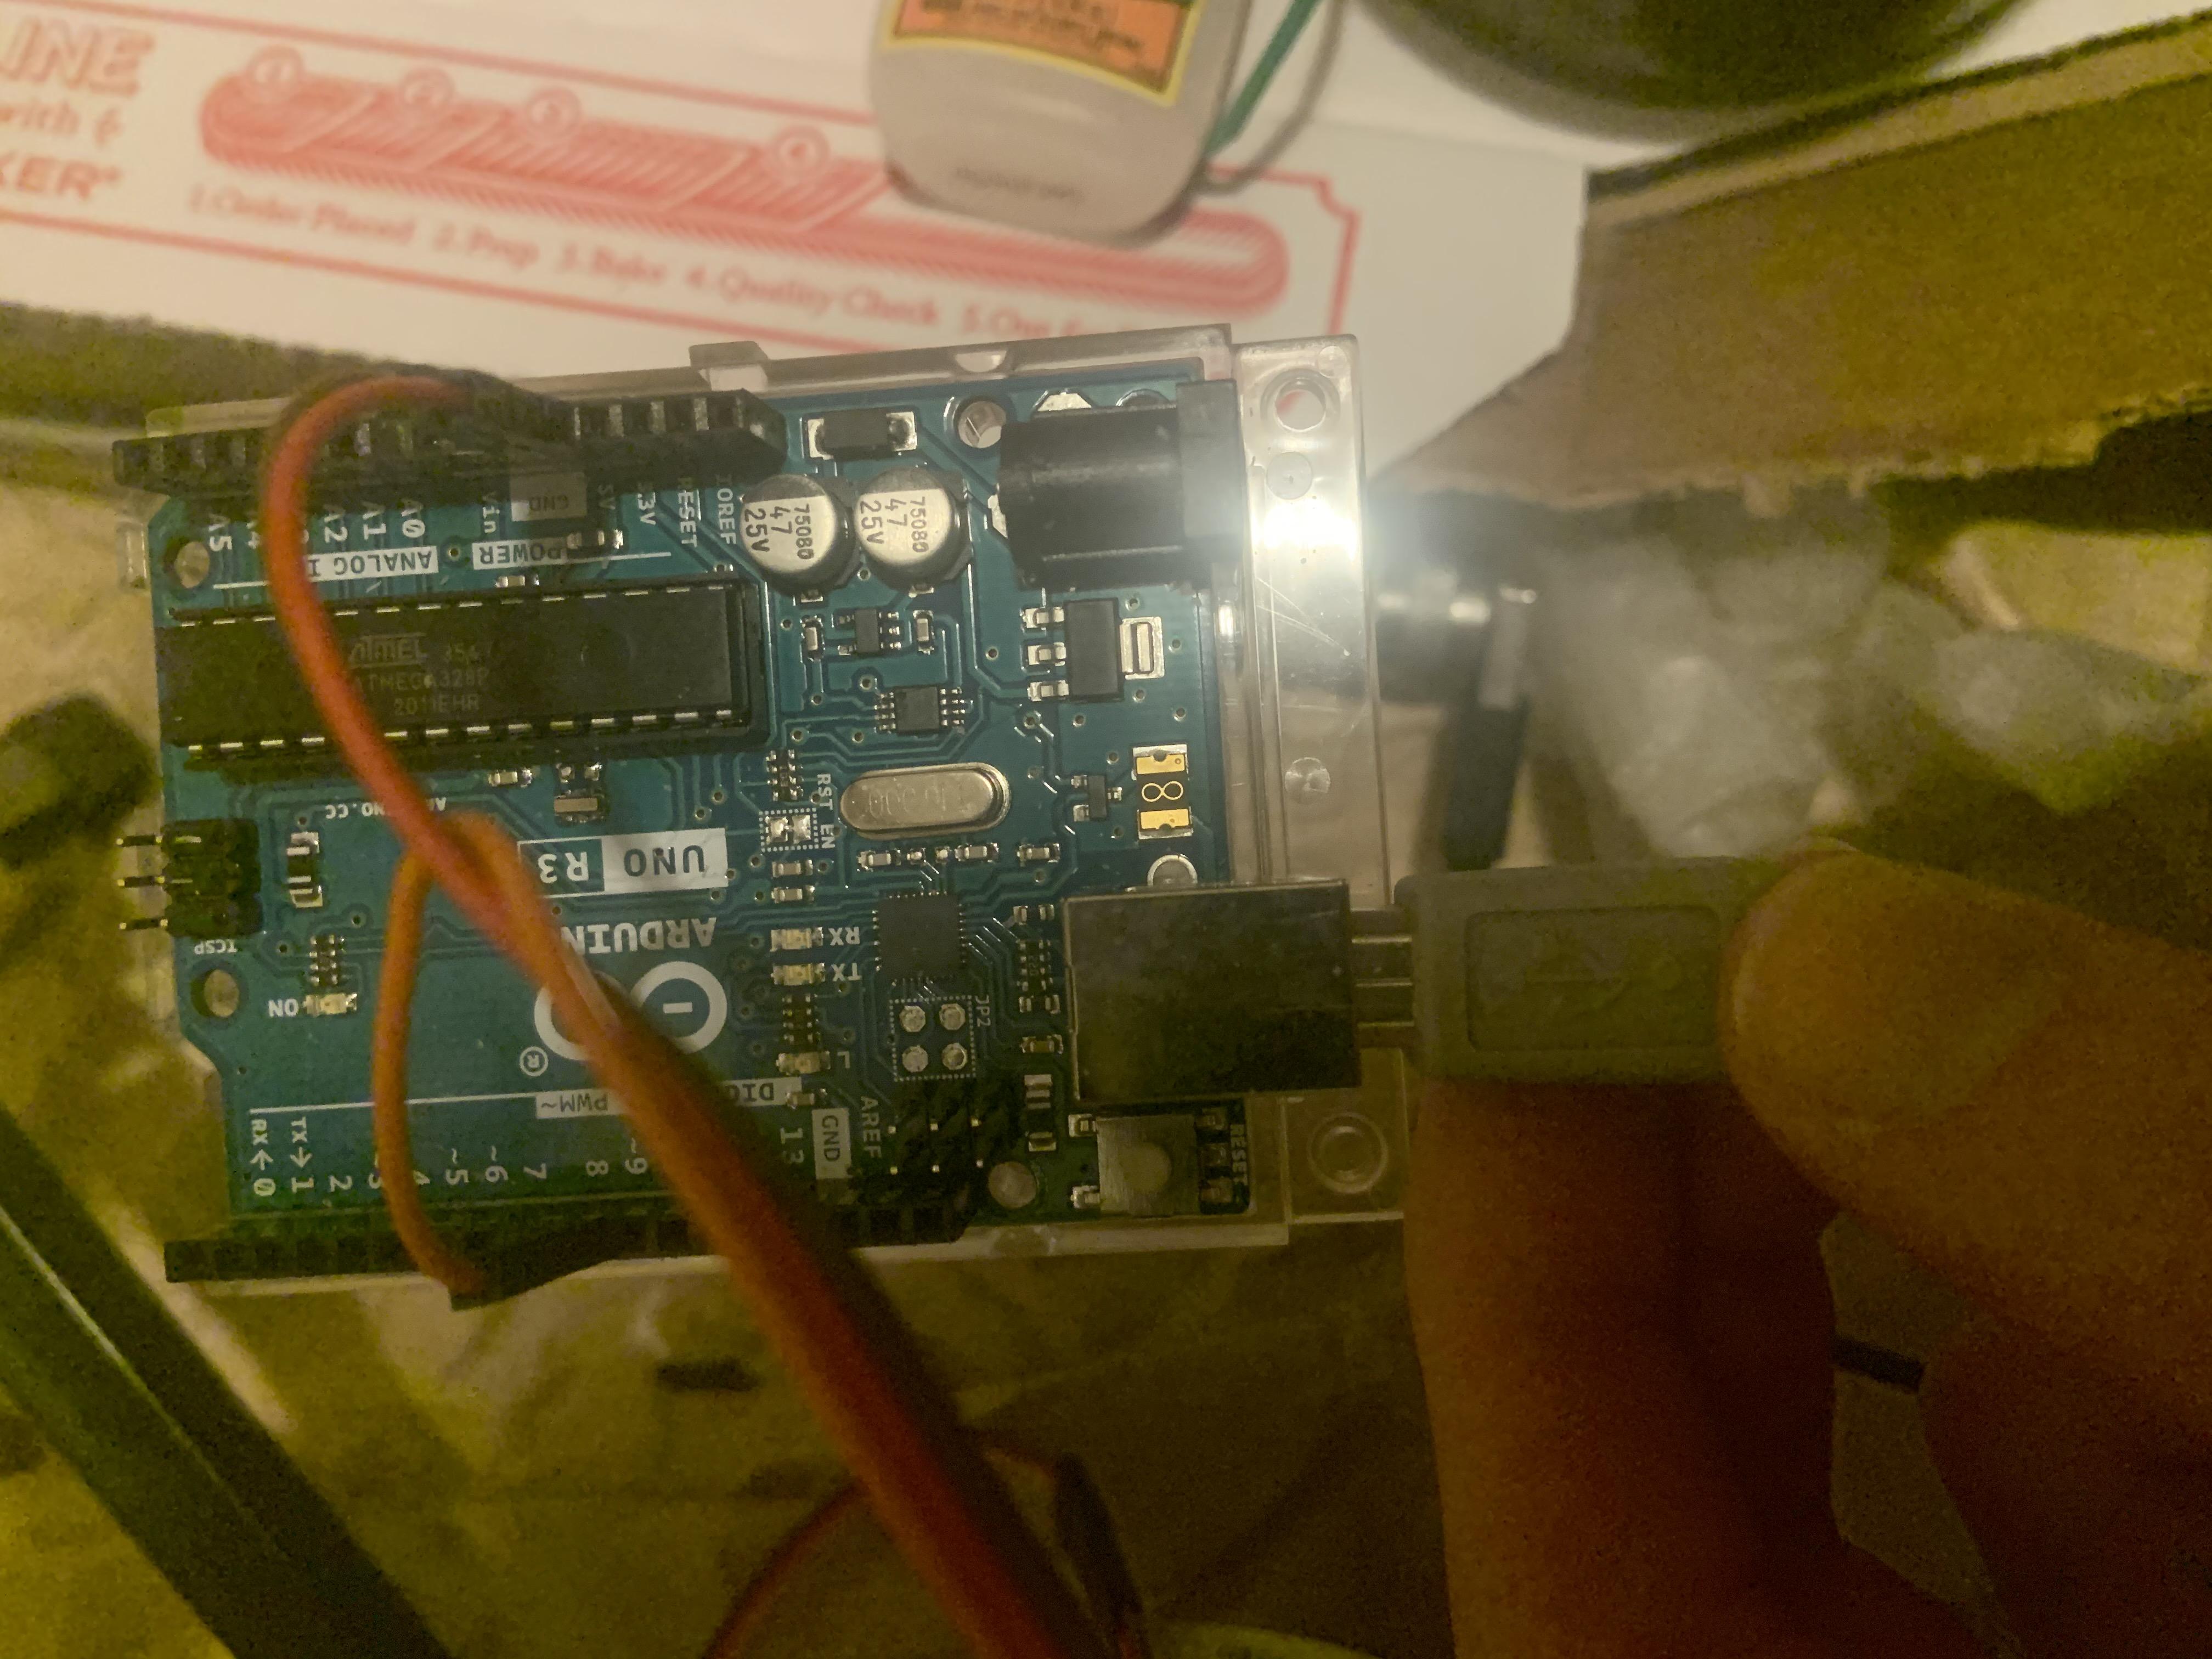
You will need the 3 jumper wires, servo motor, printer cable or 5 volt power adapter, and Arduino Uno R3 for this step
- Attach one end of each of the three jumper wires to the Arduino Uno R3 board according to the diagram, color coding each wire appropriately. In the case that you have brown wires instead of black wires, use brown instead.
- The servo motor you acquire may have brown wire instead of black wire, and that connection is the same as the one with the black wire in the circuit diagram attached here.
- If using a printer cable to power the circuit, plug the printer cable into the appropriate jack shown in the diagram, it will likely be encased in metal in real life. Plug the other end of the printer cable into a USB jack of an appropriate power source. If using a 5V wall socket power adapter cable to power the circuit, plug the appropriate end into the black jack shown in the diagram and the other end into an appropriate power socket.
Upload Program to Arduino Uno R3
Here you will upload code, which I have provided here in a download link, which will allow you to program the servo motor and set the degree of rotation, how long the servo motor stays in the rotated position, and how often the servo motor will perform this rotation If all the hardware set-up is connected properly, you can simply compile and upload the software to the board.
- Install Arduino IDE, from following link: https://www.arduino.cc/en/main/software
- Click on Windows installer
- Click on JUST DOWNLOAD
- After download is complete, click on RUN button
- Click on I Agree button (Arduino IDE is a free software)
- Select all components from the list and click on Next button
- Proceed with the installation after selecting the desired location
- Install driver “Adafruit Industries LLC Ports”, by clicking on Install button
- Install driver Arduino USB Driver” by clicking on Install button
- Install driver “Linino Ports (COM&LPT)” by clicking on Install button
- Press CLOSE button when installation is complete.
- Download application file : PetFeeder.ino.
- If all the hardware set-up is connected properly, you can simply compile and upload the software to the board.
Downloads
Instructions to Configure Program Parameters to Fit Your Needs
Here you will learn how to alter the code of the program that controls the servo motor
To configure how often the servo motor will rotate:
- The following two lines of code will be altered to set how often the servo motor will rotate. In the set up show below, the motor will rotate every 5 seconds. The value is determine by multiplying the feed interval value, the 1, by the unsigned long value, 5, shown in the second line. You can use these two numbers to create any length of time you would like the intervals to be. For example, if you wanted it to rotate every 6 hours, you could change the 5 to 60, which is changing it from 5 seconds to 60 seconds, and you could change the 1 to a 360, which is changing it from 1 set of 60 seconds to 360 sets of 60 seconds. 360 sets of 60 seconds is equivalent to 360 hours, which is equivalent to 6 hours.
#define FEED_INTERVAL 1 // minutes between feeding time
const unsigned long feedInterval = (unsigned long) FEED_INTERVAL * (unsigned long) 5; // expressed in seconds
To configure how long the servo motor will remain rotated:
- Use the following code to alter this. The void feederOpen code first resets the servo motor to its base angle of 0, then rotates to 90 degree's for a period of 4000 thousandths of a second, or 4 seconds, and after these 4 seconds, the servo motor runs the void feederClose code to rotate 90 degree's in the opposite direction, back to the original position of 0. To alter the degree that the servo motor rotates, change the value of 90 to the degree's you would like in both of the void sections. To set how long you would like the servo motor to remain rotated, change the value of the delay, which is 4000 in this example.
void feederClose() {
servo.write(90);
}
void feederOpen() {
servo.write(0);
delay(4000);
servo.write(90);
}
Attach Cardboard Cutout to Servo Motor, and Servo Motor to Pill Bottle
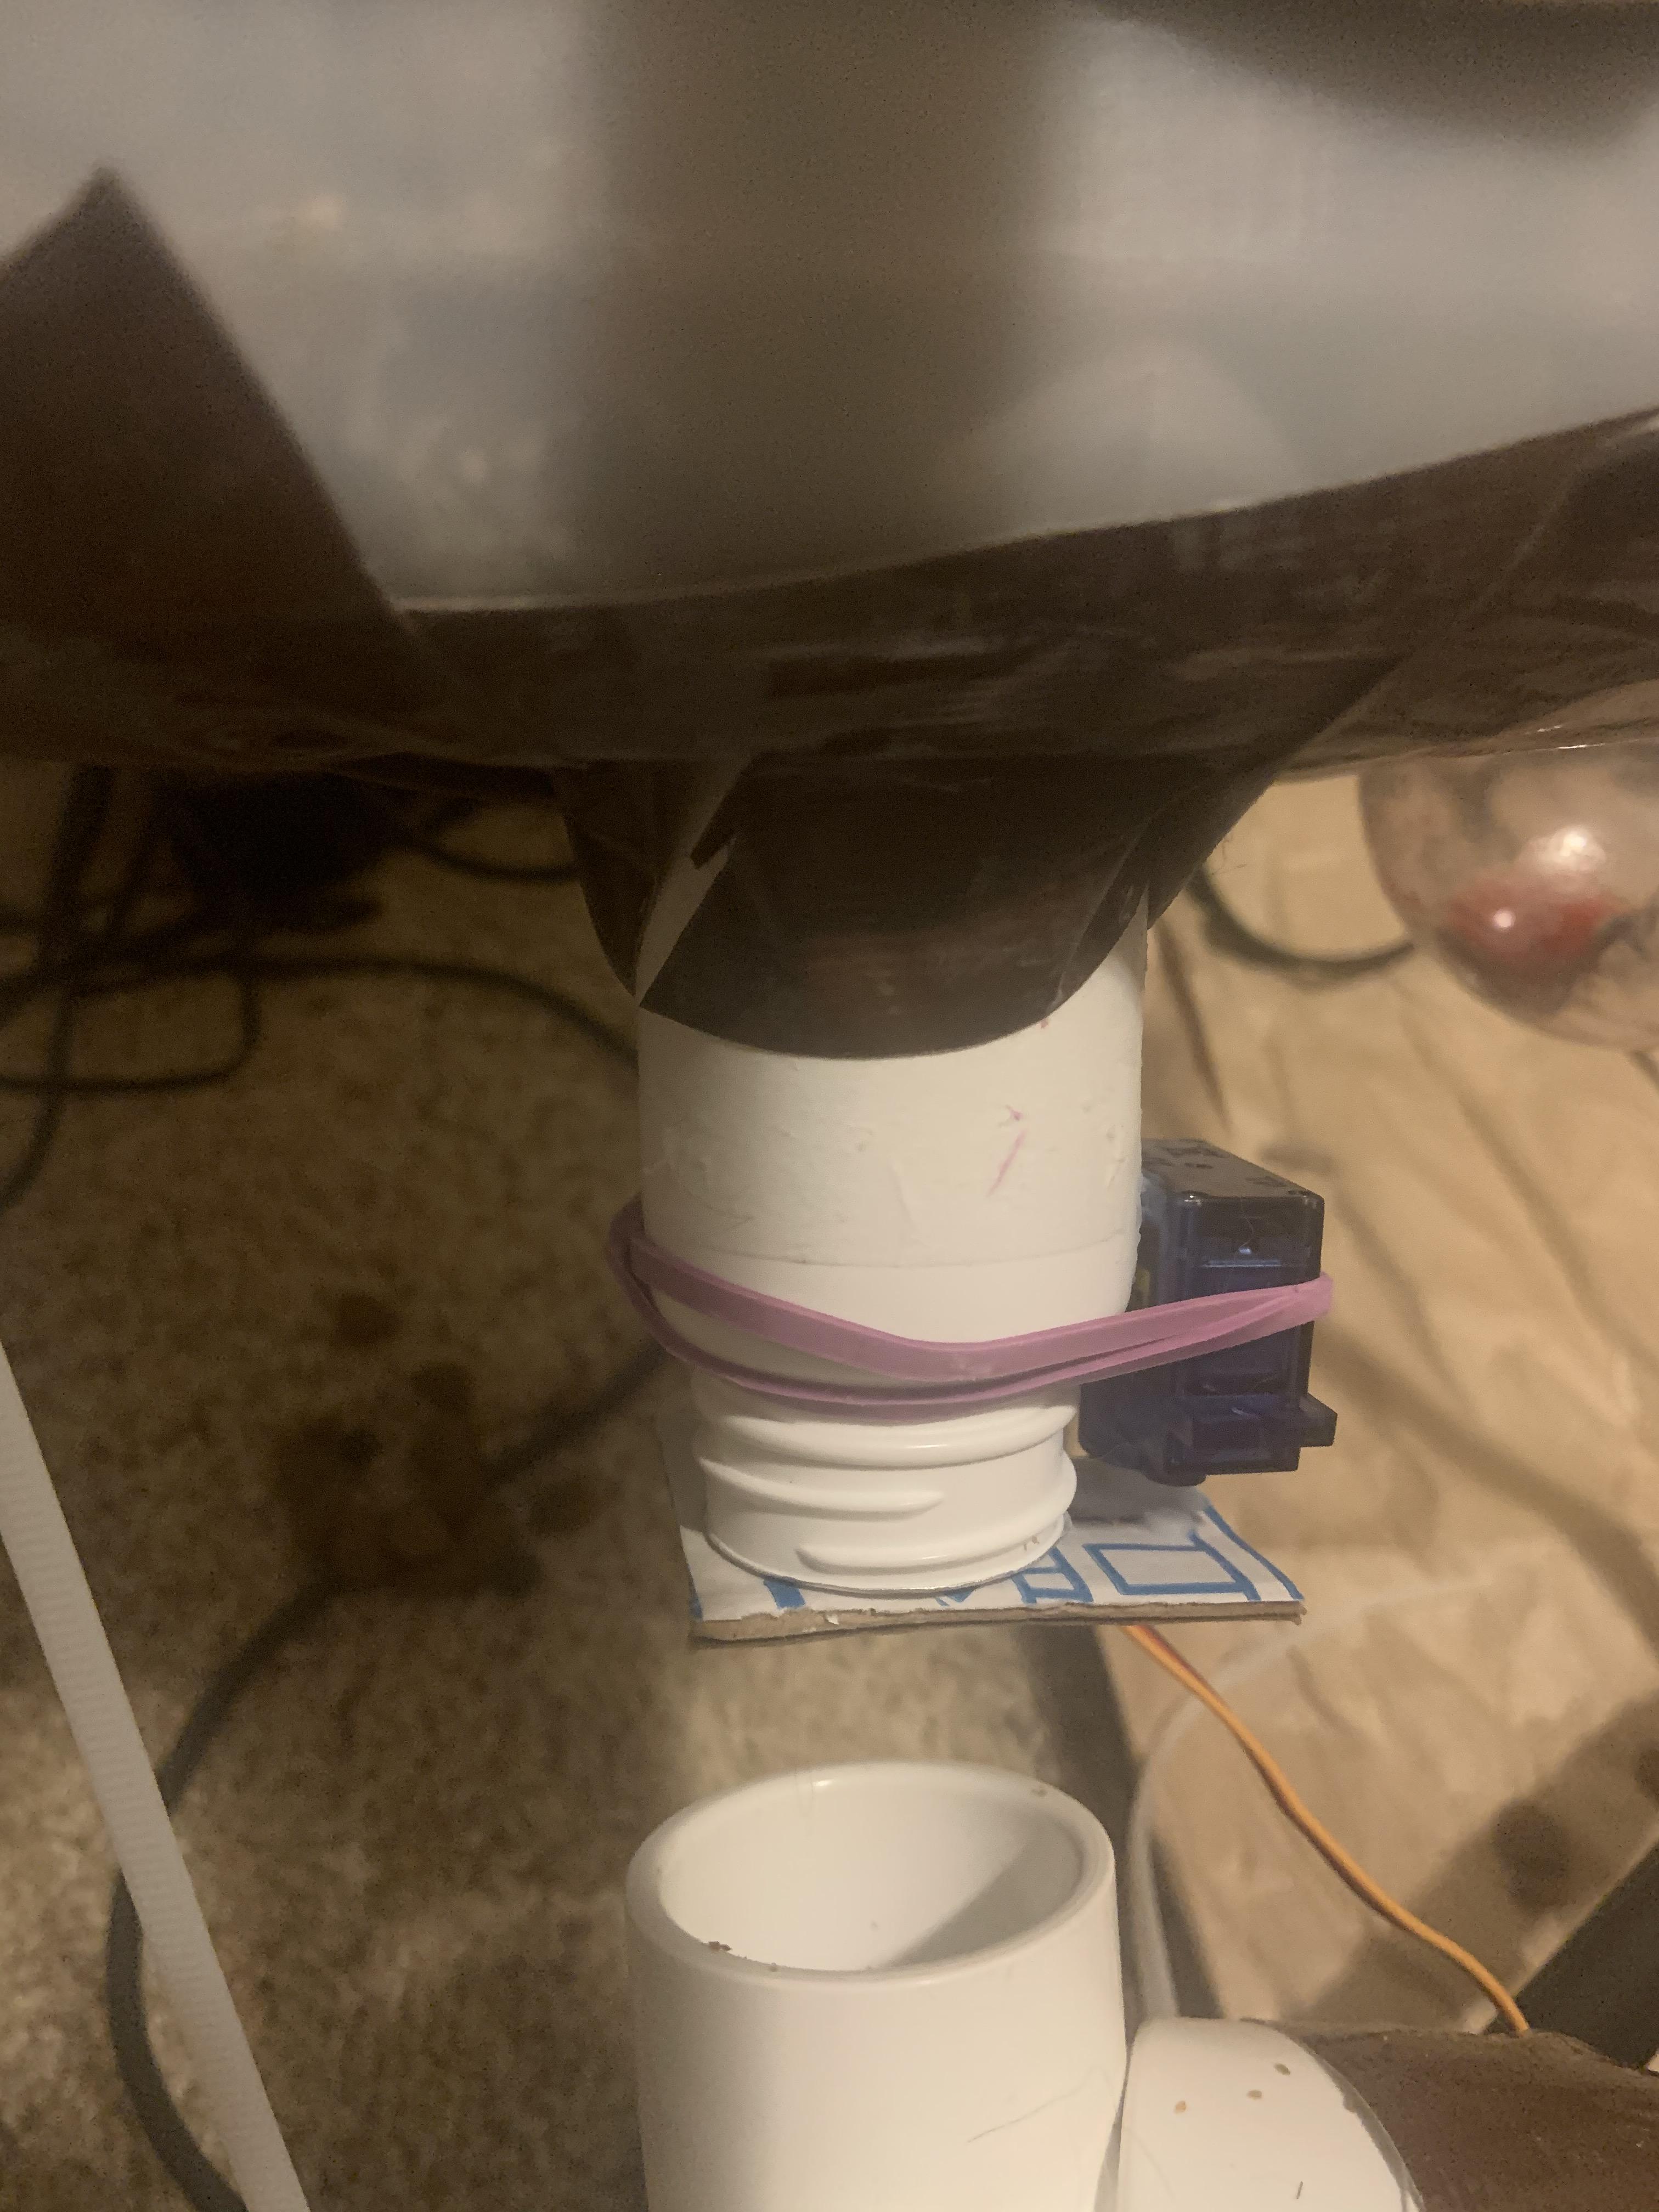
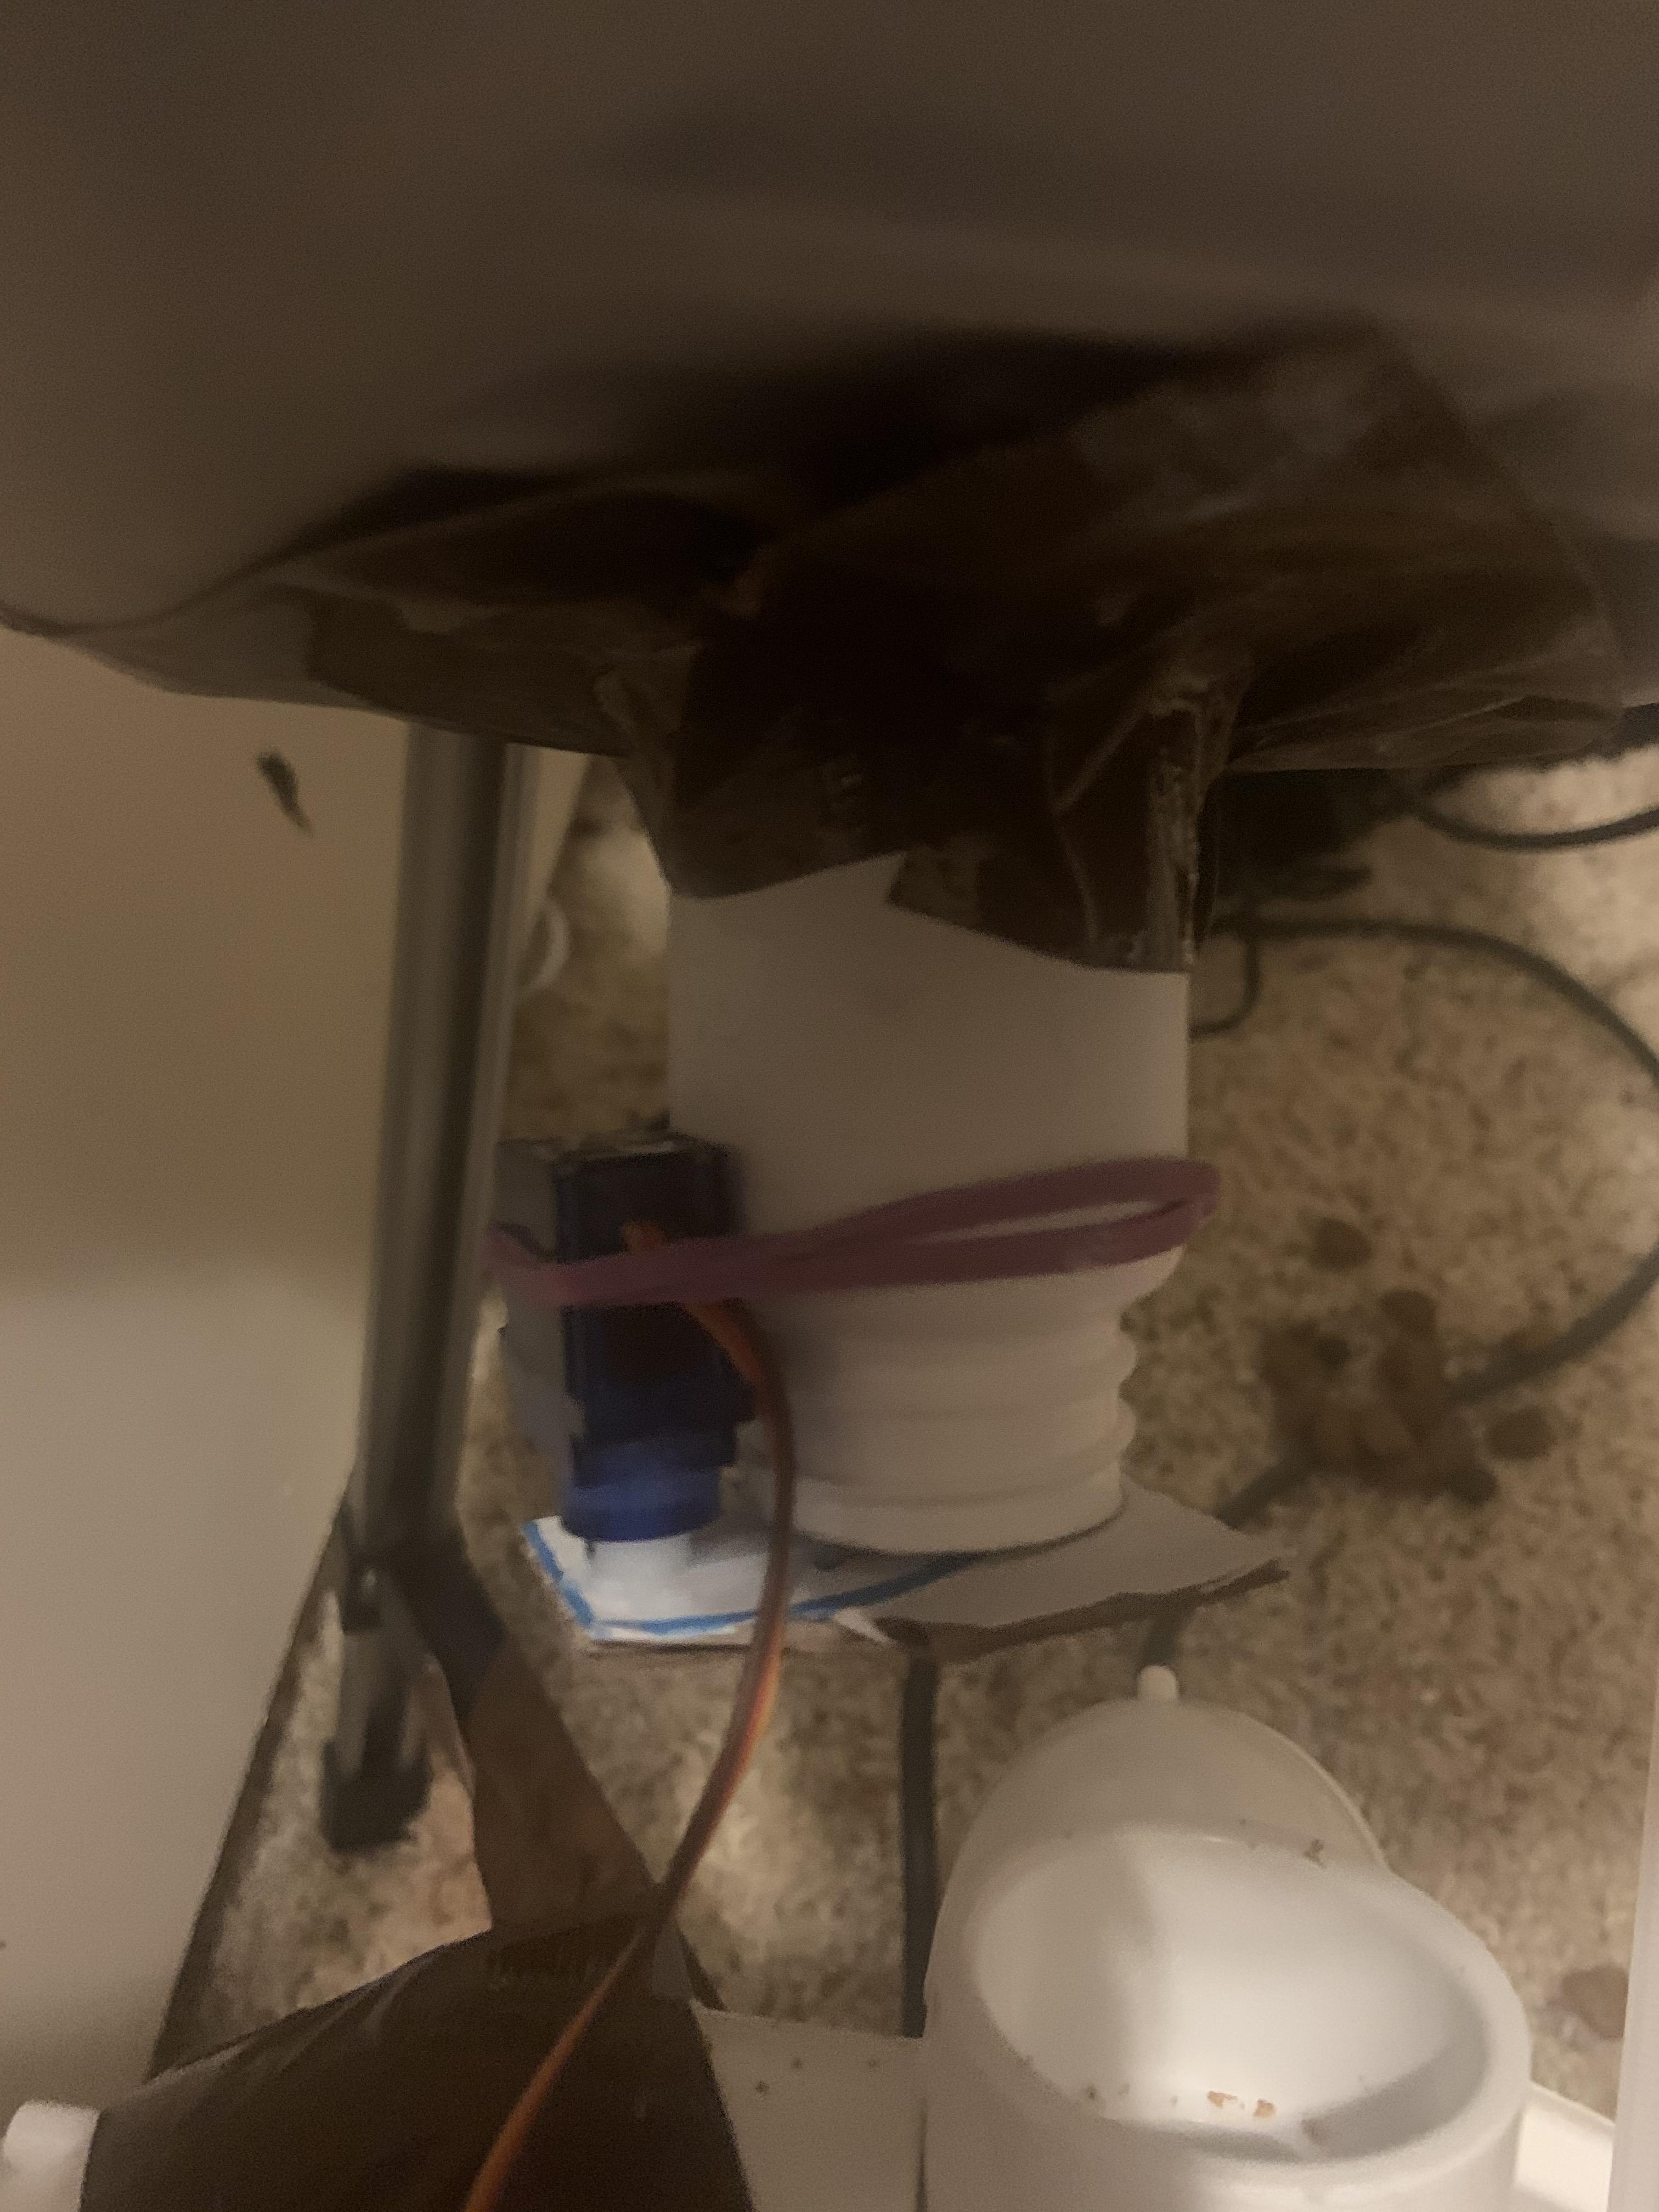
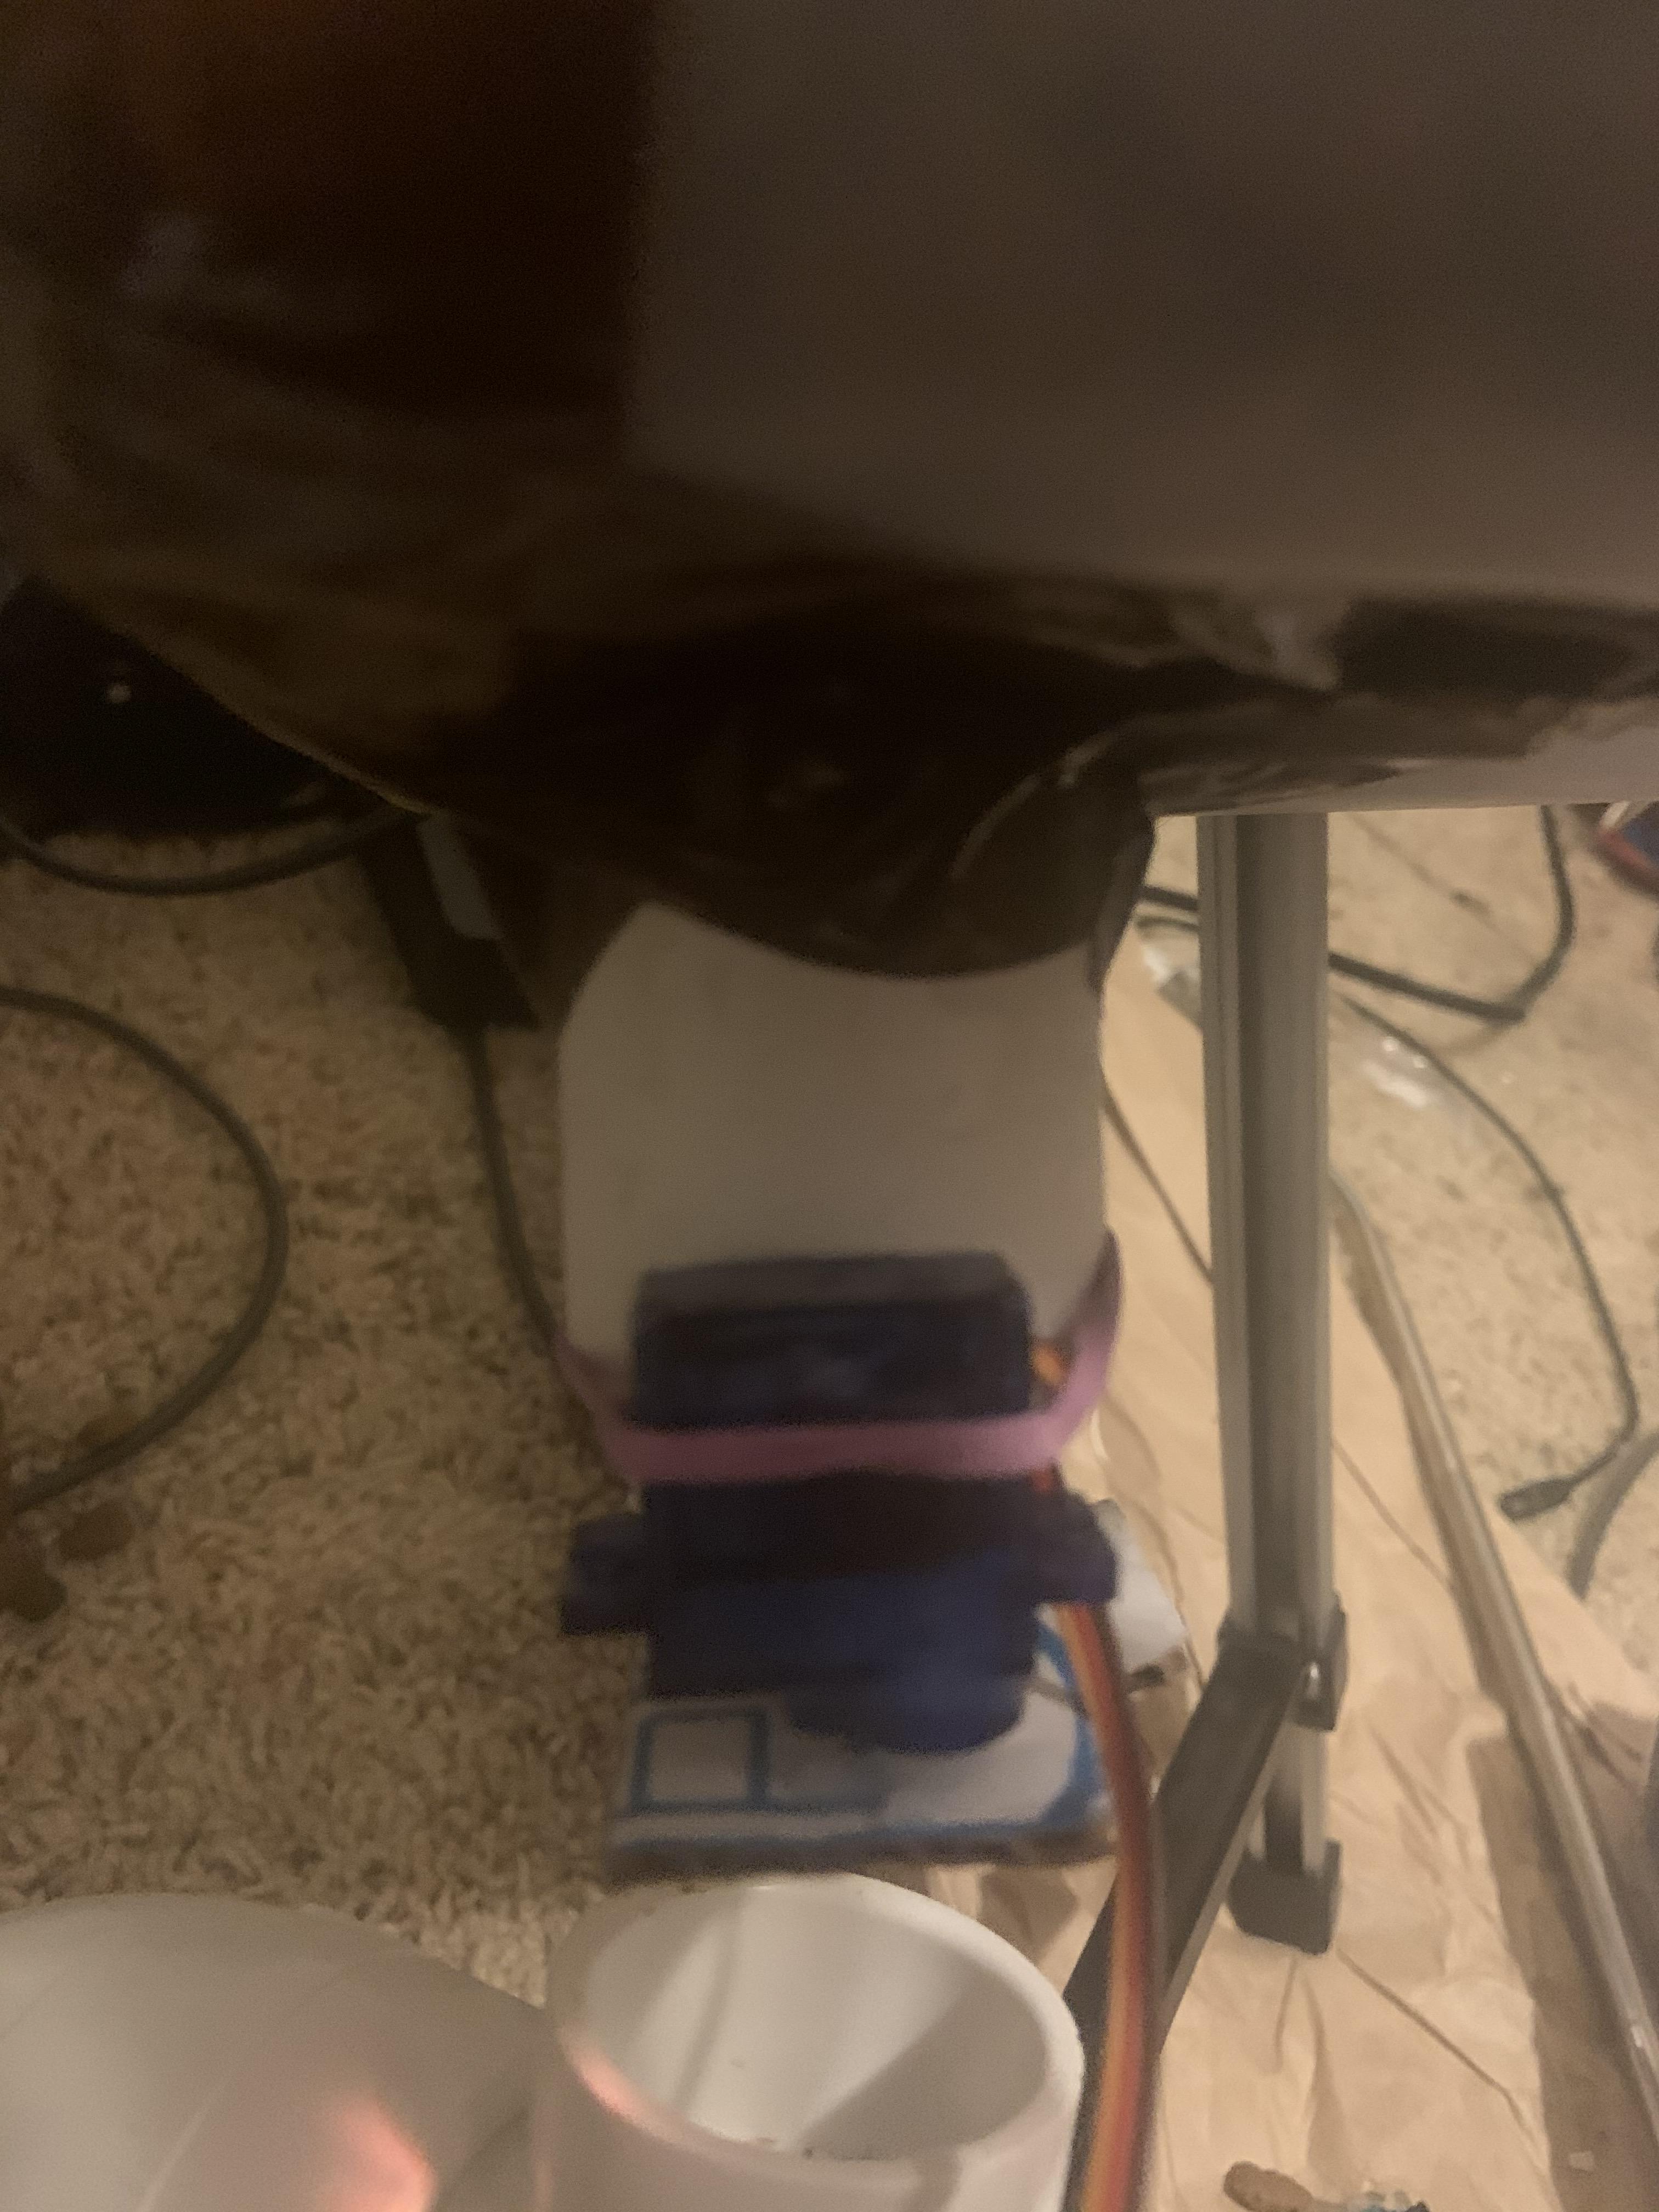
The cardboard cut-out will be attached to the servo motor using superglue, and the servo motor will be attached to the pill bottle using rubber bands and super glue
- Determine an appropriate size for the cardboard cutout based on the diameter of the pill bottle opening that will be covered. Leave a little extra room on each side in case the card board is not perfectly aligned with the opening of the pill bottle after it has been permanently fixated onto the servo motor with super glue.
- Cut out a square or rectangle shape based on the decided dimensions with scissors or another cutting tool.
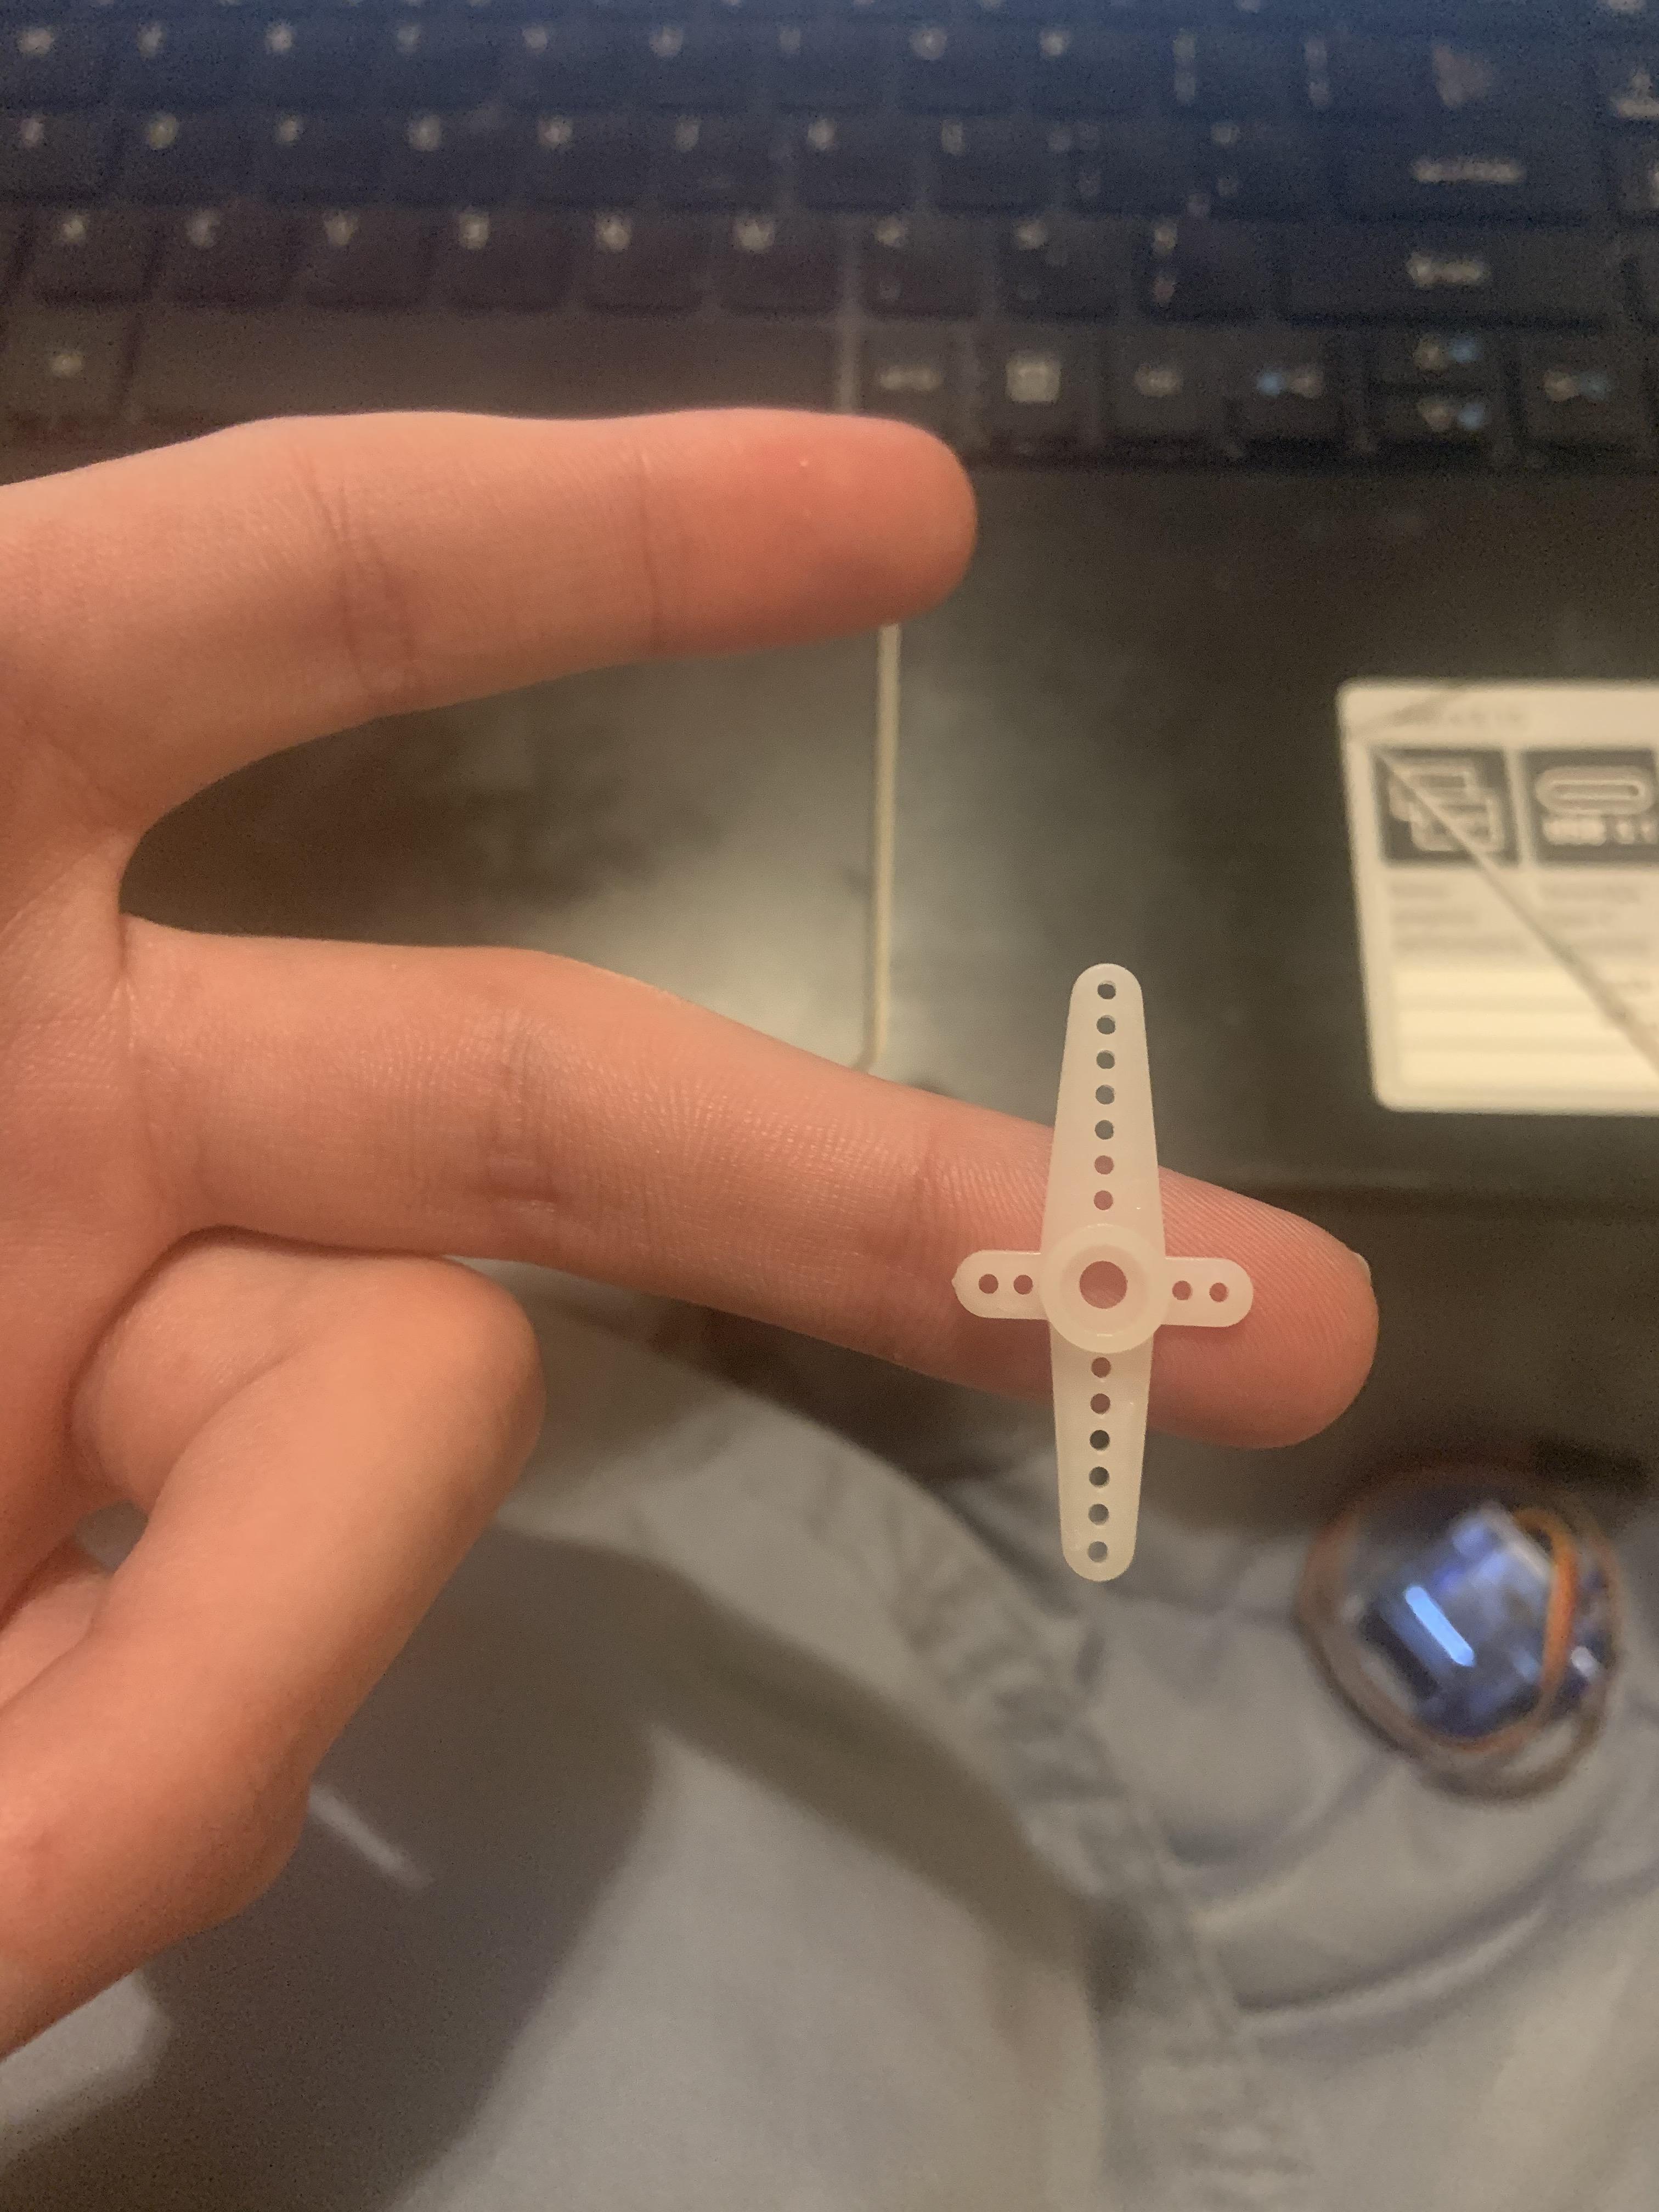
- Take the small plastic bracket, shown in the picture, or one similar, and cut the end off the arm off that has 6 holes bored into it. There 4 arms, one with 7 holes, one with 6 holes and two with 2 holes. This is to keep the arm from hitting the pill bottle when the servo motor rotates.
- Attach the plastic bracket to the cardboard cutout using superglue. Orient the cardboard onto the bracket as you see fit and ensure that there is some extra space on each side just in case.
- Attach the bracket to the appropriate area of the servo motor. I oriented it so that the 7 hole arm was extended directly at the pill bottle.
- Tie rubber bands around the servo motor and orient it so that there is just barely a little space between the cardboard and the opening of pill bottle.
- Once situated, apply superglue in the spot where the servo motor touches the pill bottle as well as a little baking soda treat the mixture in the same manner as earlier.
Ensure the Correct Degree of Rotation and Glue Bracket to Servo Motor
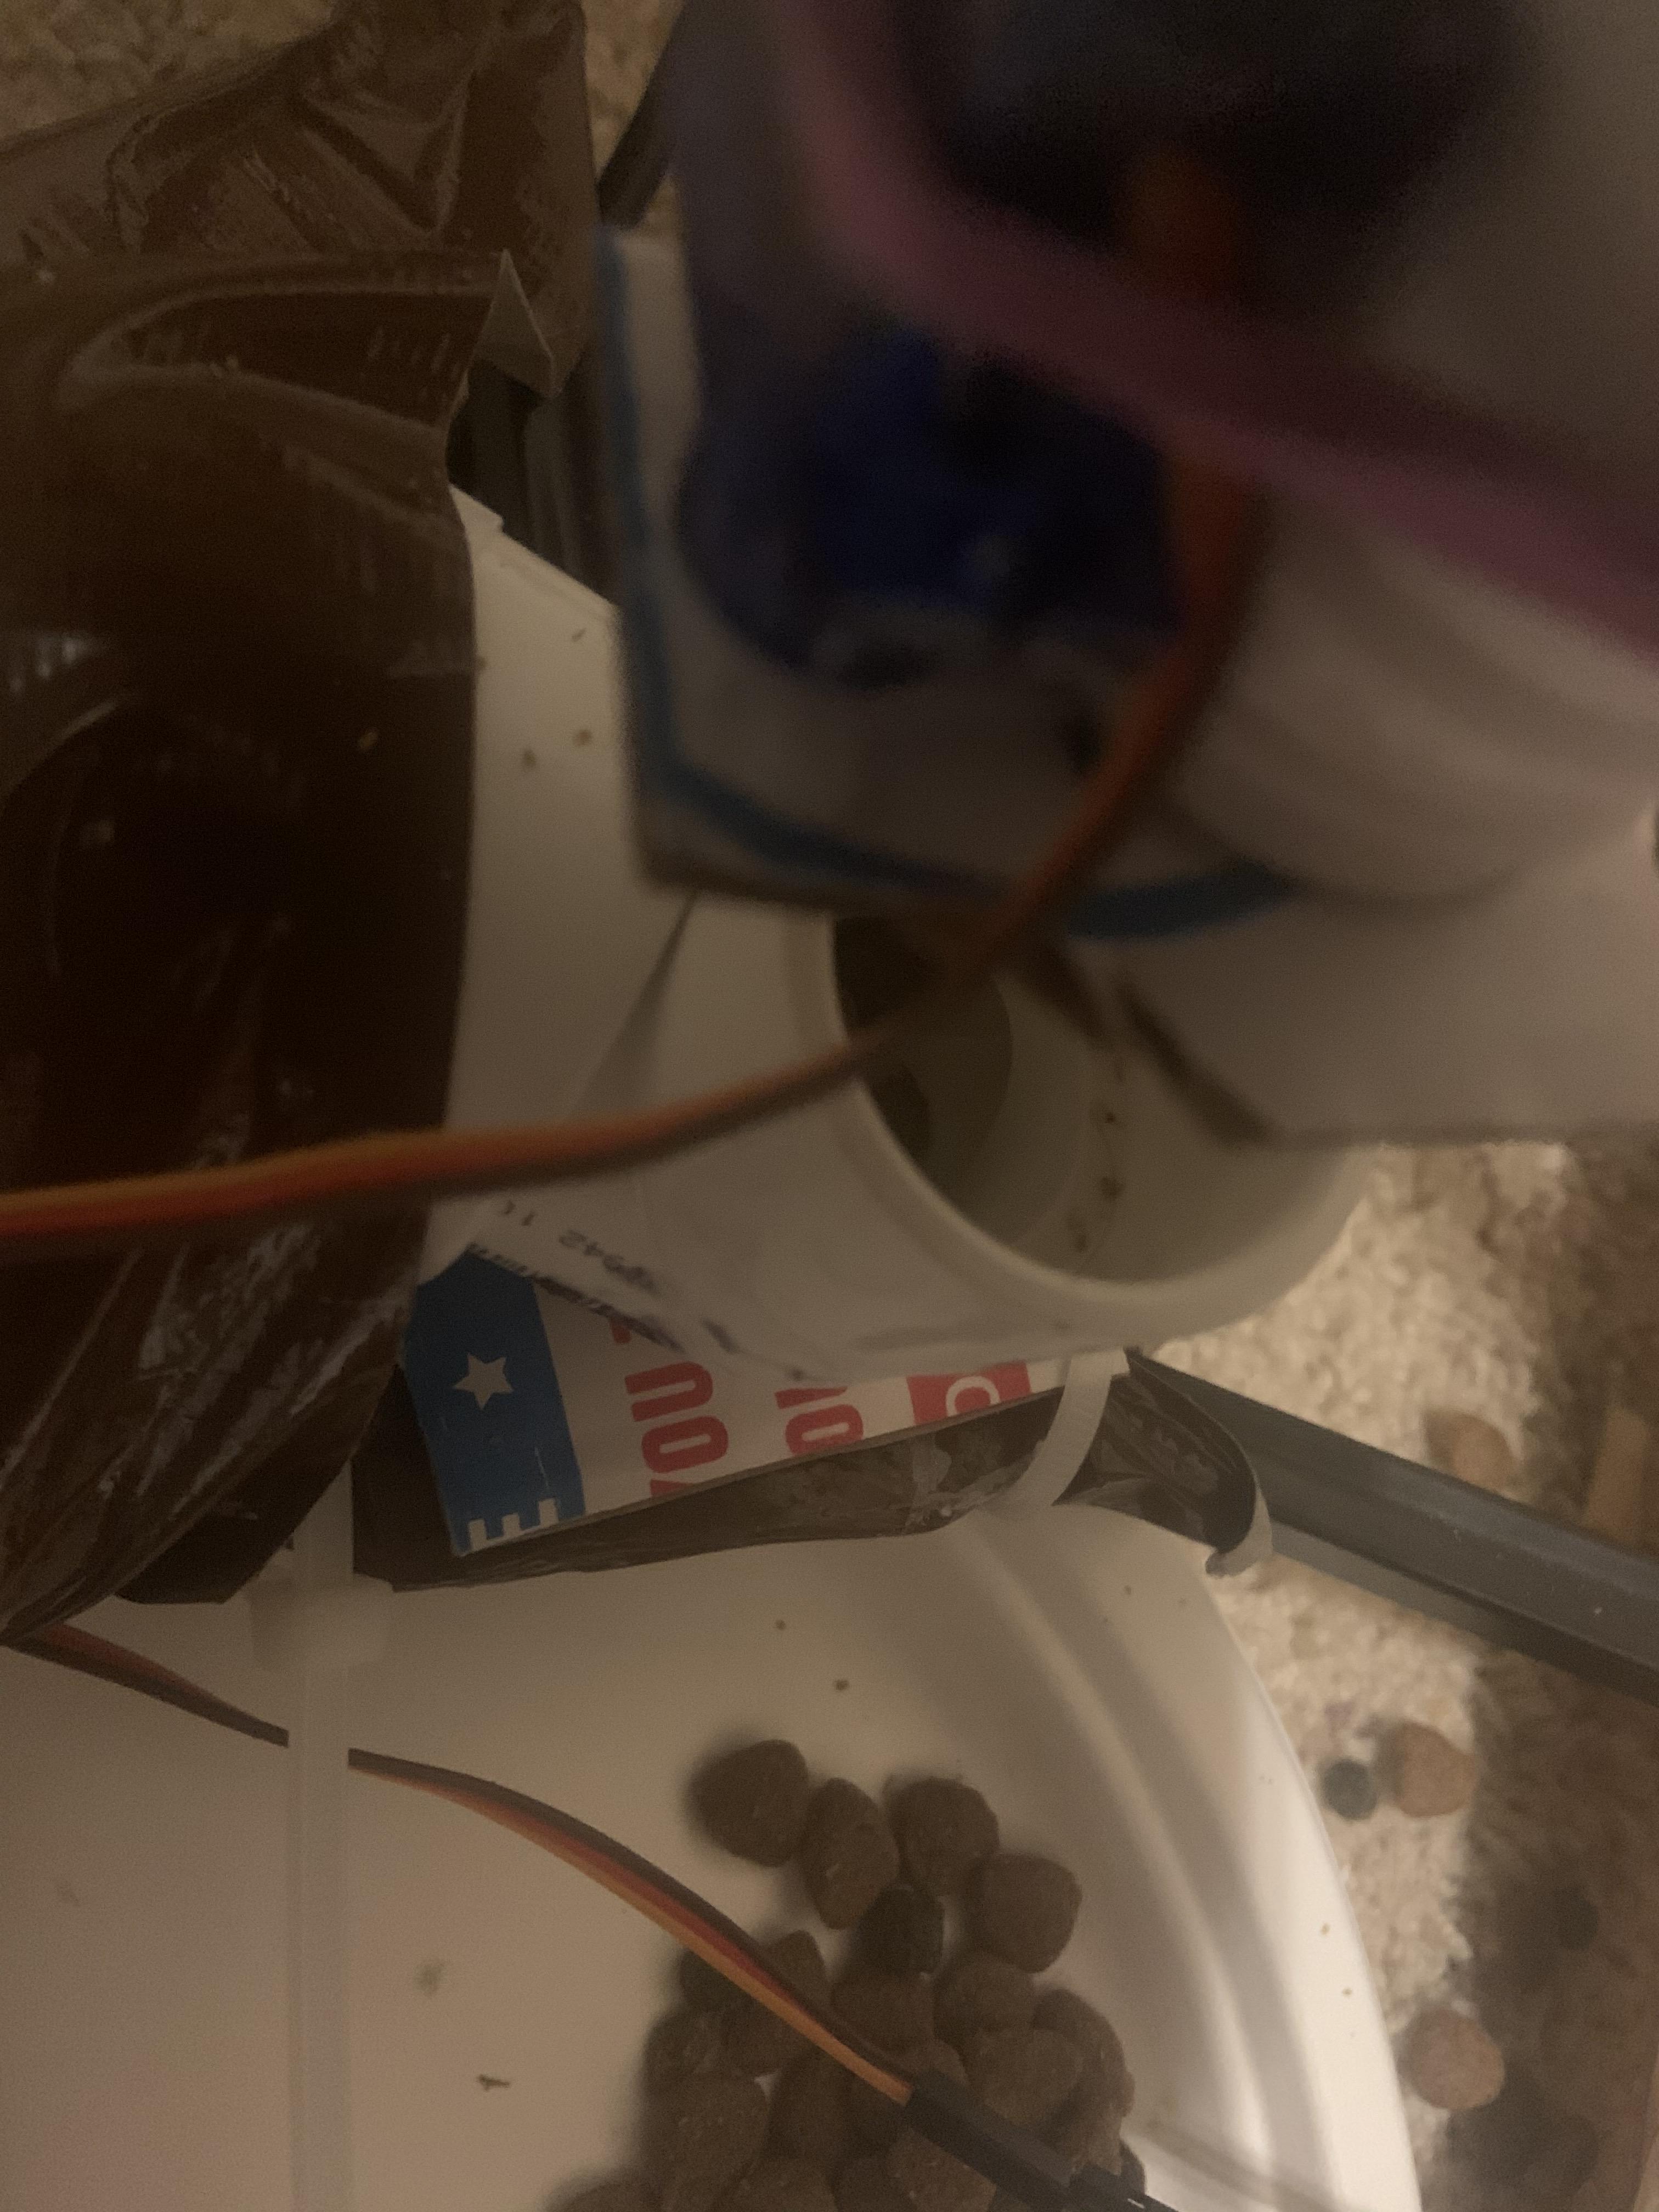
Here you will glue the bracket with the cardboard to the servo motor and test that the servo motor is properly programmed to the correct degree's
- First, with the program uploaded and the electrical components plugged in, run the program and make sure that the servo motor is properly aligned and set to the correct rotation, if you cannot get it perfect and there is enough room to do this without creating too much of an opening in the cardboard which would result in constant spillage of food, cut out the area of the cardboard that remains covering the opening of the pill bottle while it is in the open rotation position.
- Now that the correct rotation has been determine, note where the card board was situated while in the 0 degree position, take the bracket with cardboard off of the servo motor, apply a little superglue to the area of the bracket that attaches to the servo motor and apply it back to the servo motor in the position that was previously noted while in the 0 degree position. Let this piece dry for a while so the glue can set, the glue I used fully sets after 24 hours.
Apply the Pill Bottle to the Container and Cut Out a Hole in Container
Here you will adhere the pill bottle to the container using superglue, scissors the pill bottle mechanism and a knife or other piercing object
- Determine where you want the hole in the container to be located and the put the bottom of the pill bottle onto the container and draw a circle on the bottom of the container with a marker. It will need to be placed properly above the center of the tripod's base.
- Cut out the hole using the piercing tool and cutting tool.
- Cut the bottom of the pill bottle off using the piercing tool and the cutting tool.
- Cut a piece of cardboard that can fit around the hole and cover the hole
- Perfectly cut off the card board that would be covering the hole
- Glue, using baking soda and heating method, the cardboard around the hole so it will act as a base for the pill bottle
- Duct tape the edges of the base
- Glue, using the baking soda and heating method, the pill bottle to the cardboard base and let it dry for an appropriate amount of time. After it has dried, apply duct tape around the side of the pill bottle and the container to give better support
Attach Pvc Pipes to the Base of the Tripod
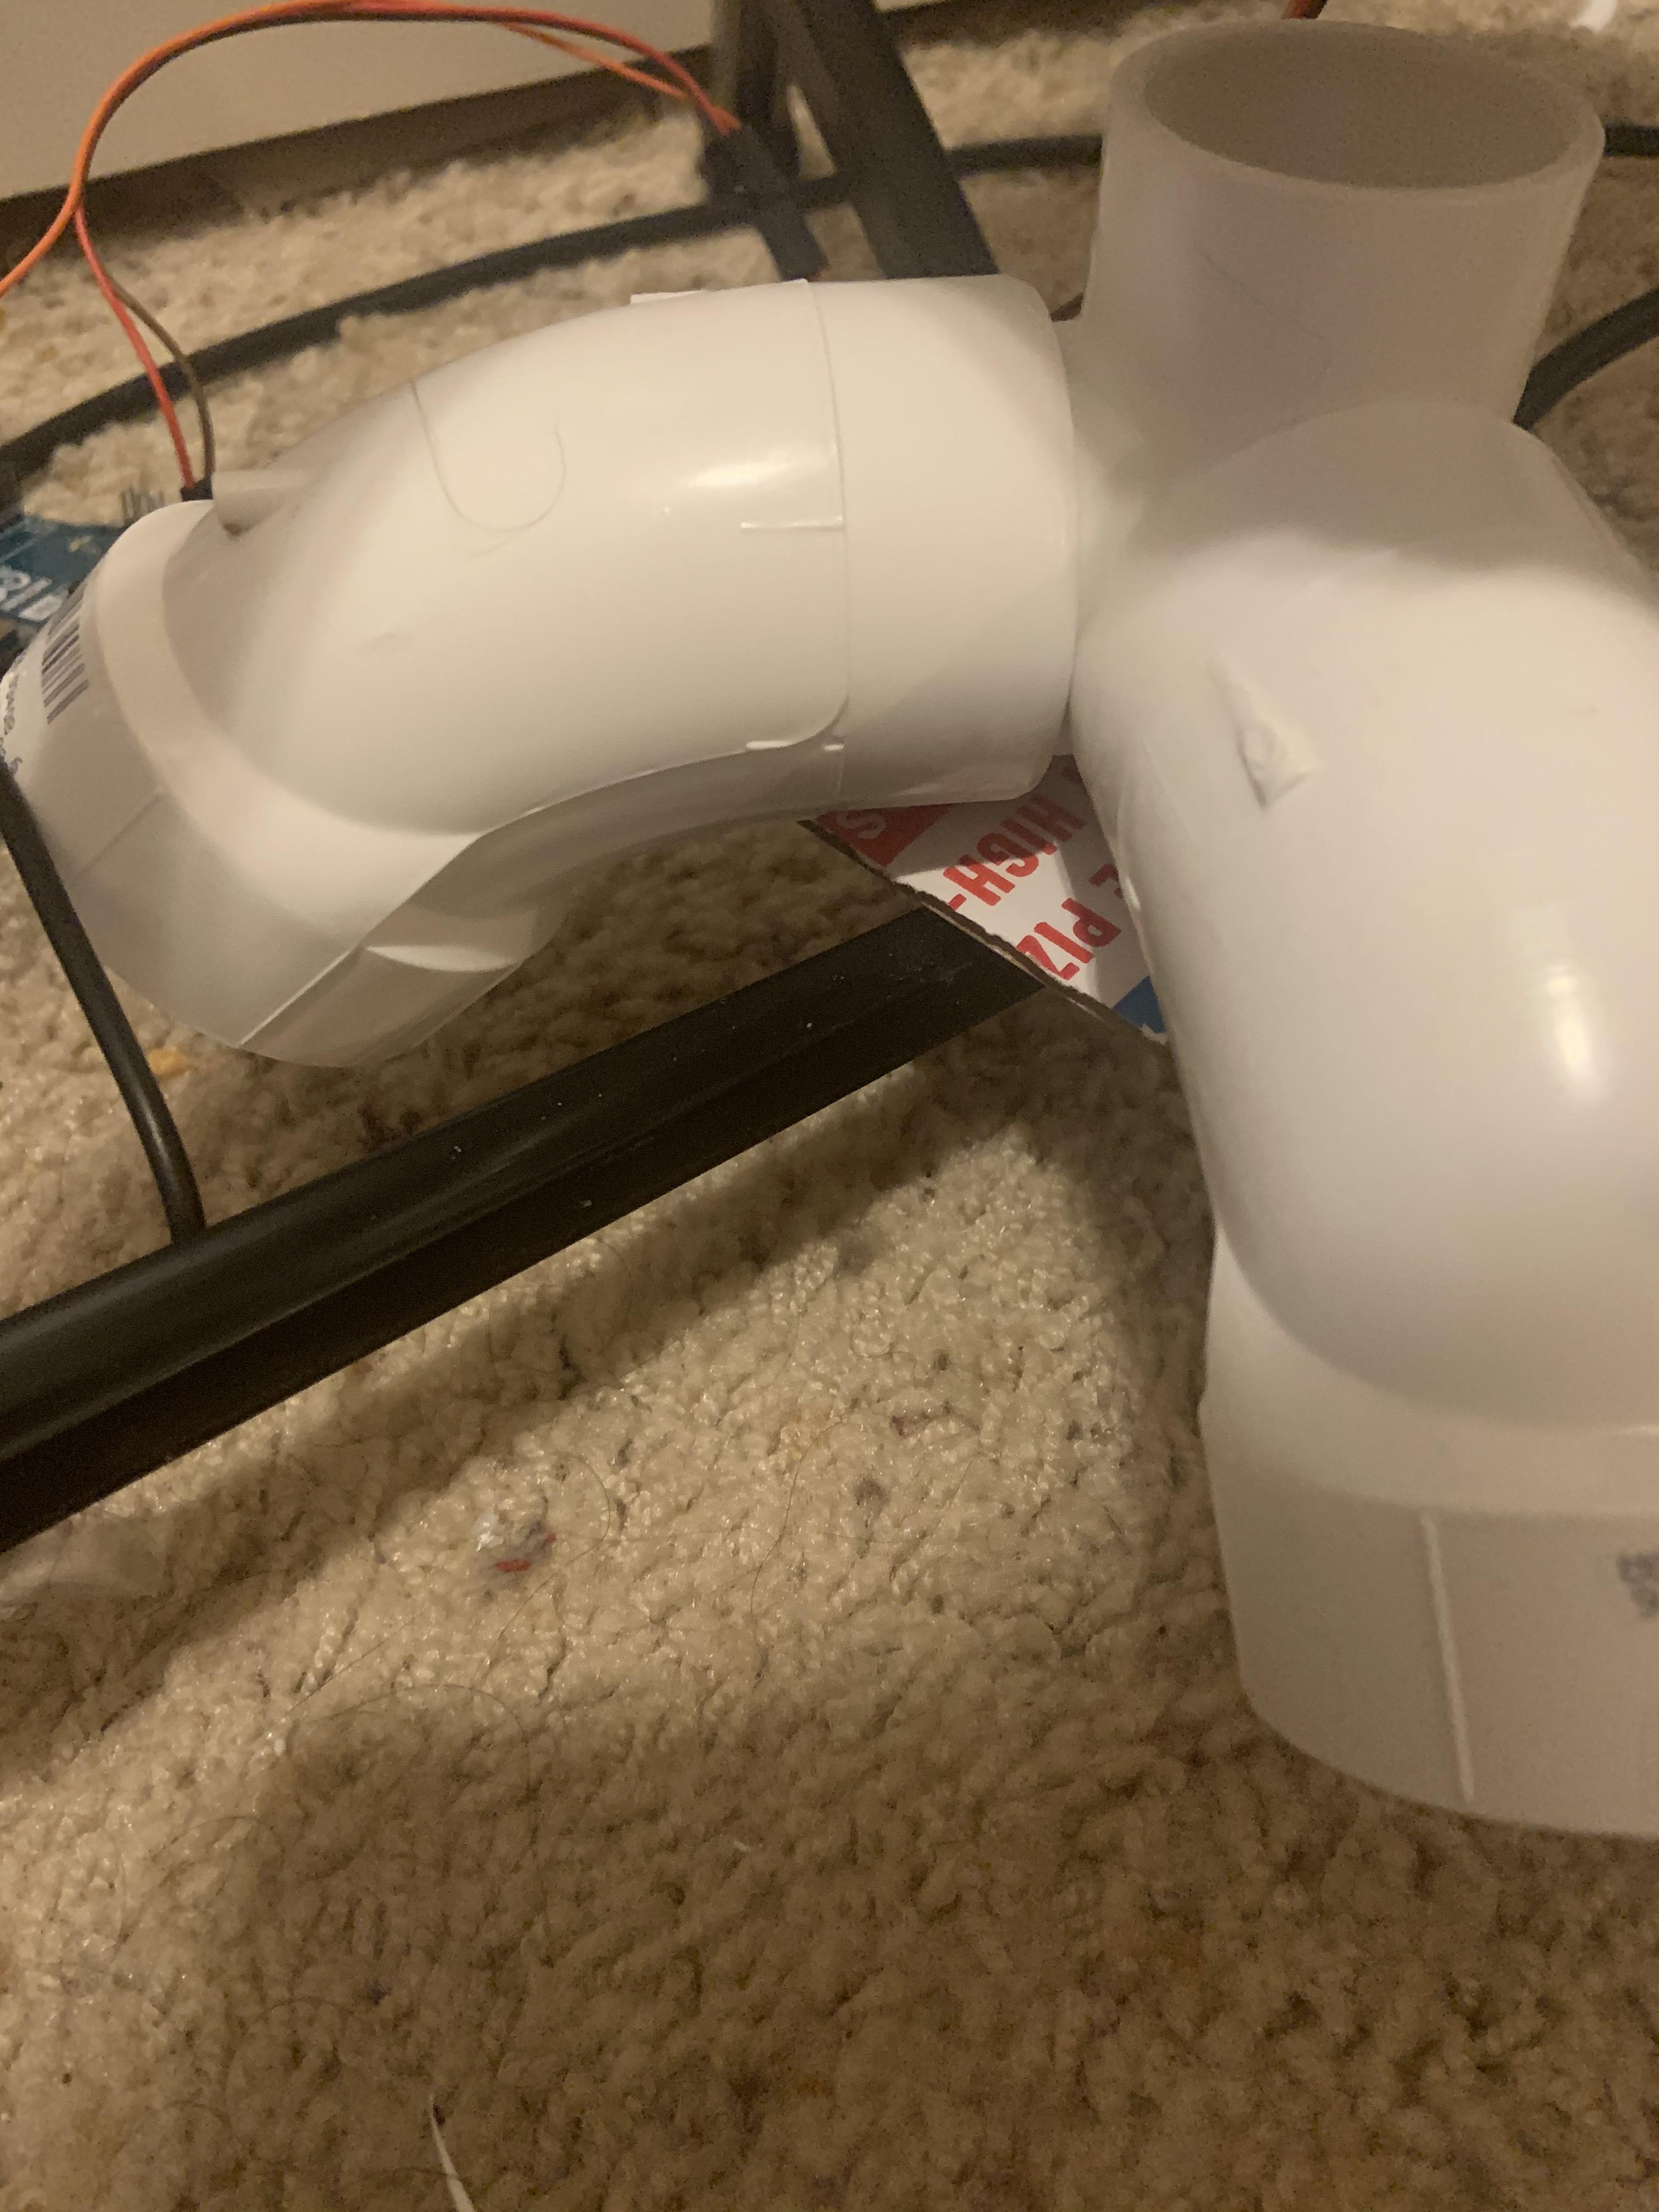
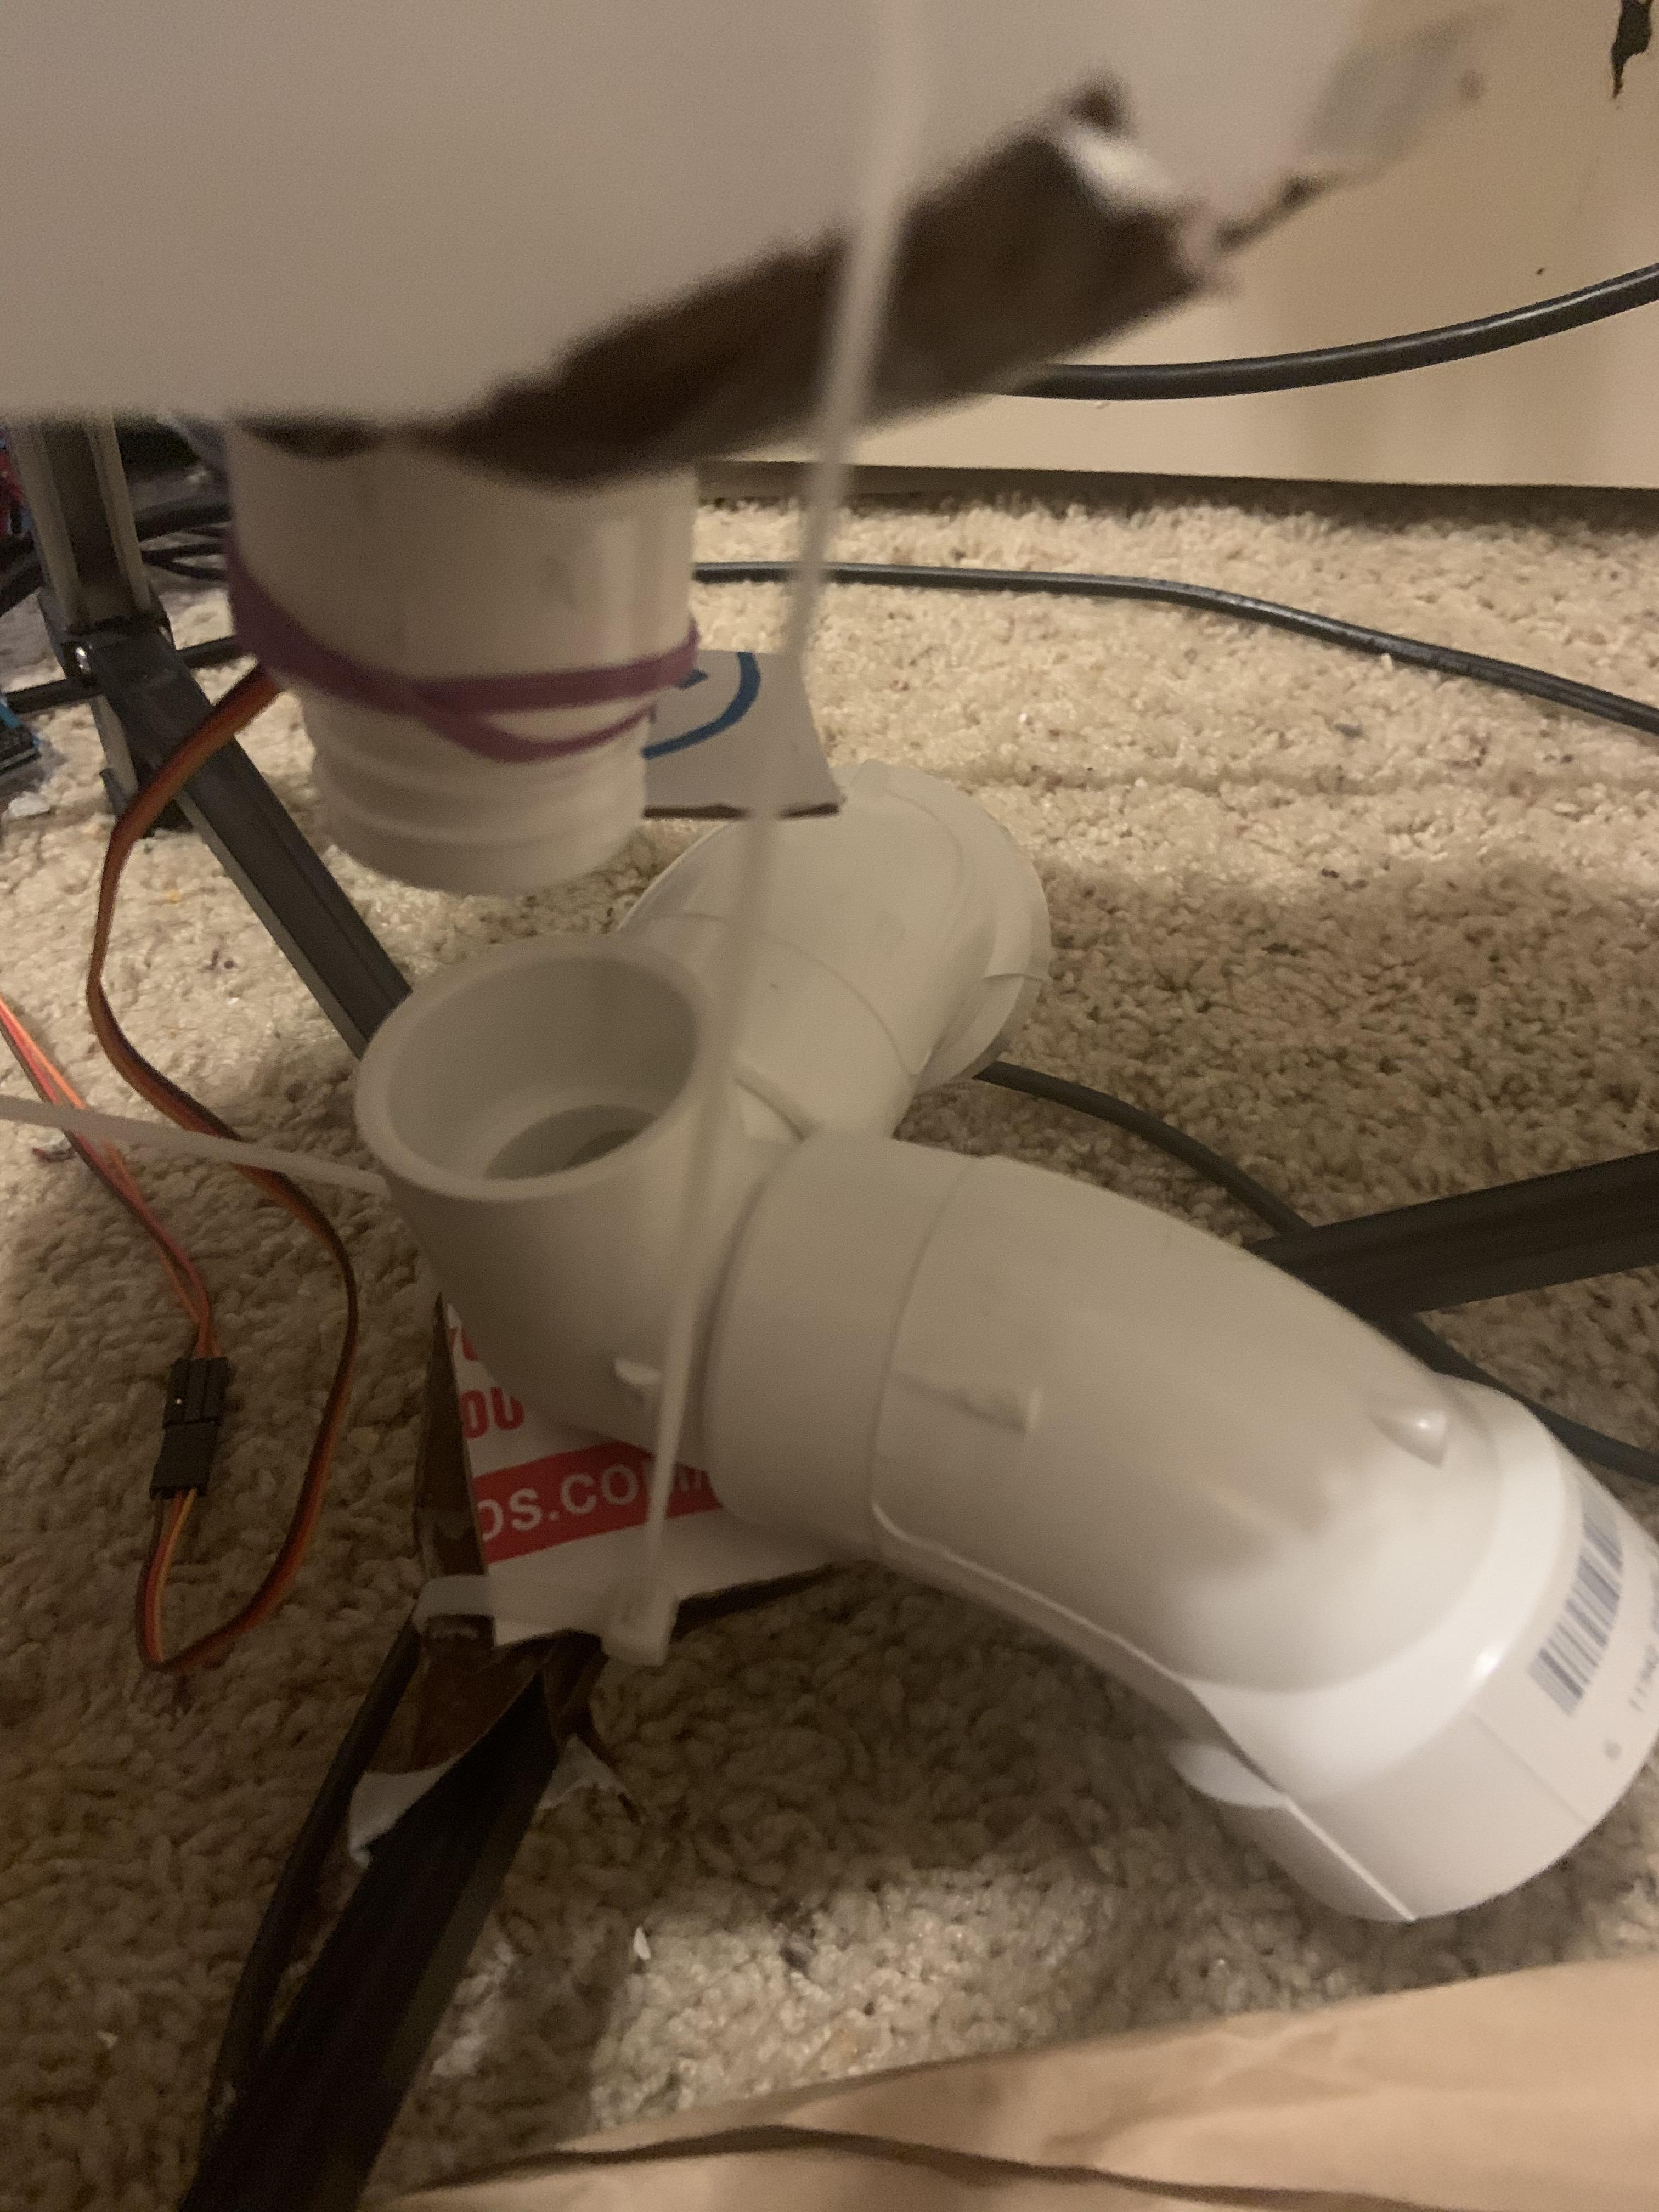
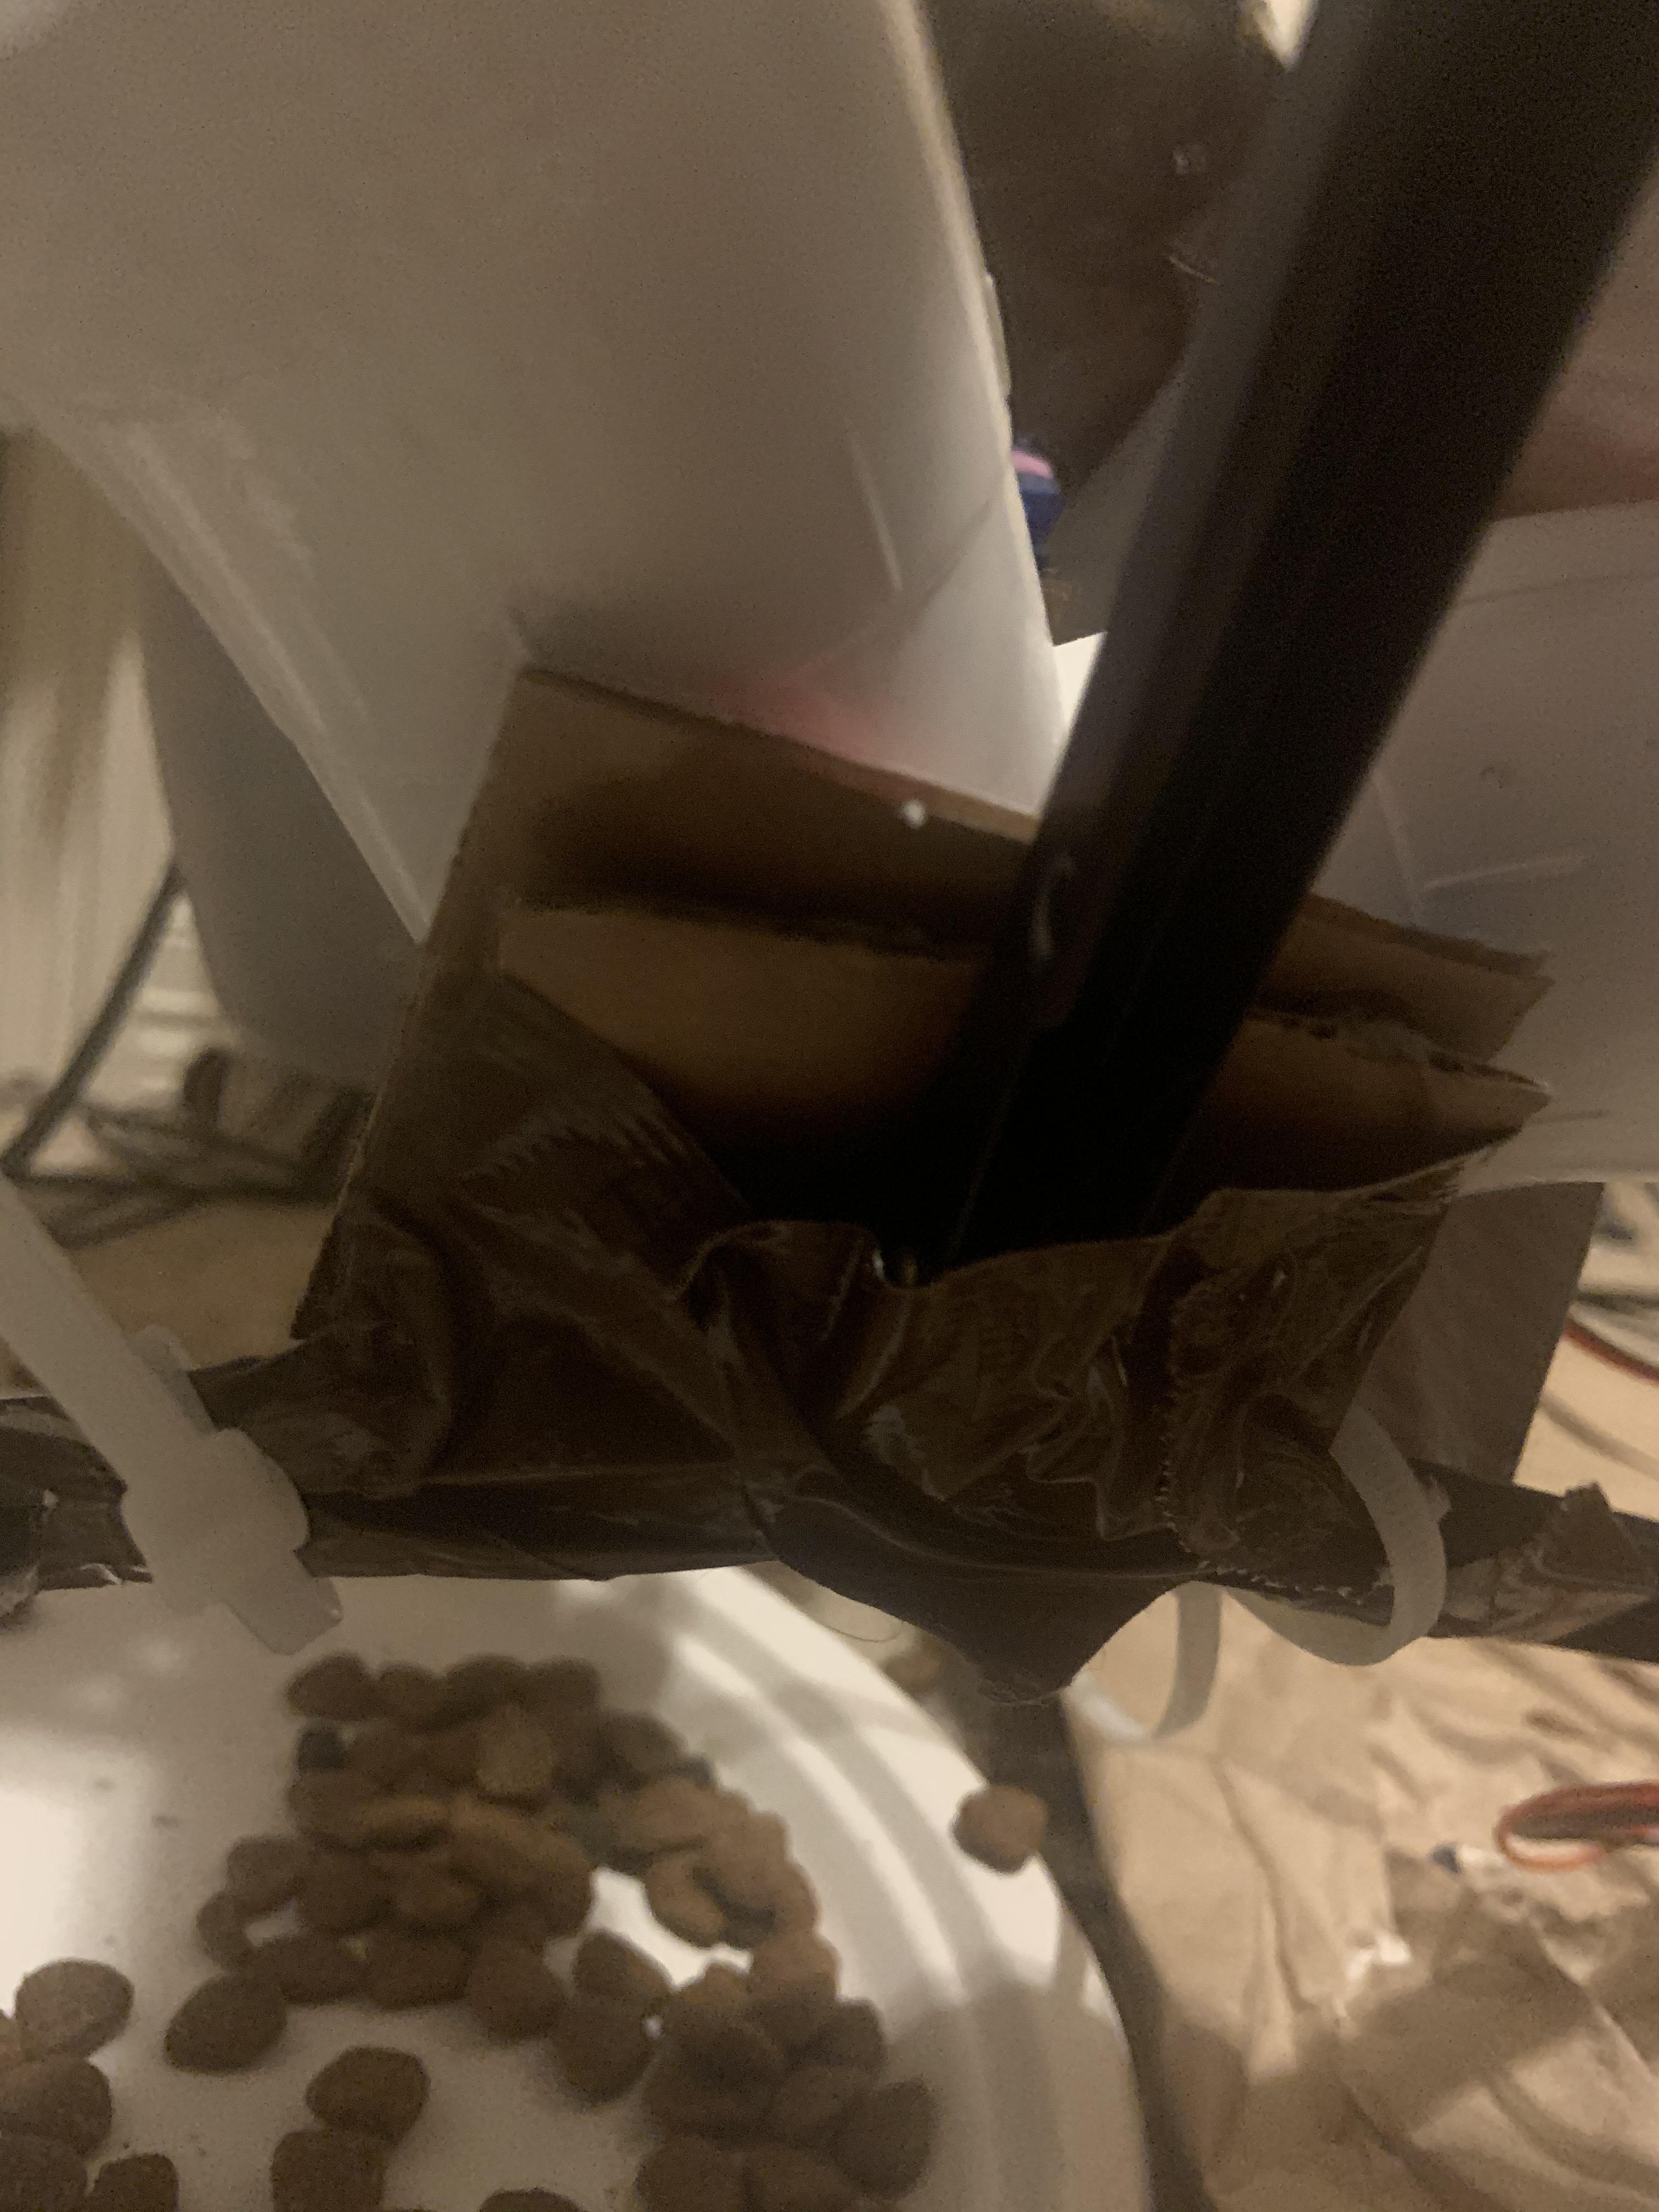
Here you will attach the pvc pipes to the base of tripod using cardboard, super glue, zip ties, and duct tape
- Cut out a cardboard piece that you can attach your pvc pipe to that will act as a base for it. Cut out another identical piece.
- Superglue one piece to the base and use the baking soda heating method, then super glue the other piece to the first piece of cardboard using the same method. Now duct tape the corners to the base.
- Connect the pvc pipe as shown in the photos and super glue them in place using the baking soda/heating method.
- Figure out how the pvc pipe needs to be positioned to properly fit under the pill bottle so that the food falls into the pvc pipe. Now super glue the base off the pvc pipe to the cardboard base using the baking soda/heating method. Keep it properly situated while doing this.
- Further secure the pvc pipe using zip ties and duct tape by attaching them to the base of the tripod.
In the case that the pvc did not properly set after super gluing:
- Use zip ties and duct tape to alter the position of the pvc pipe and situate it properly under the pill bottle opening.
Attach Food Bowls to the Feeder
In this step you will learn how to attach food bowls to the feeder using super glue, or super glue and duct tape
- Determine which two bowls you want to use. Because the tripod has an adjustable base that you can raise and lower, you can fit it to the height of your bowl.
- If possible, cut holes in the bowl, and loop zip ties through it and then tie and super glue the bowls in a position where is will remain under the pvc pipe. Otherwise super glue the bowls directly under the opening of the pvc pipe where the food will flow out and into the bowl using the baking soda/heating method.
Program the Code to Dispense the Amount of Food You Would Like to Dispense
This section explain to determine how long the servo motor should stay open, which will determine the amount of food that flows into the bowls at each feeding time
- The conversion rate for my 1-1/3 inch diameter pill bottle is as follow: every second, about 2 fluid ounces of food on average flows out of the container. Based on this rate, you can determine how to program the code to release the exact amount of food you would like released if you use the same diameter pill bottle as me.
- You will need to figure out your own conversion rate based on your set up as it could vary.
- Example, you want to feed your cats 4 fluid ounces of food per each feed and the flow rate is 2 fluid ounces per second. You will set the value to 2000, which equals 2 seconds of time that the servo motor is rotated to open position.
Your Are Now Finished! Extra Section Containing R&D Information and Suggestions for Upgrades
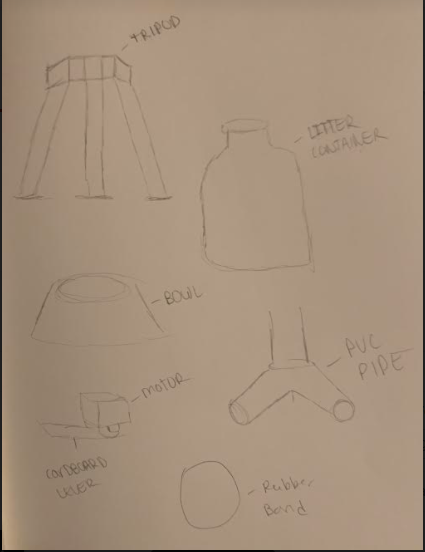
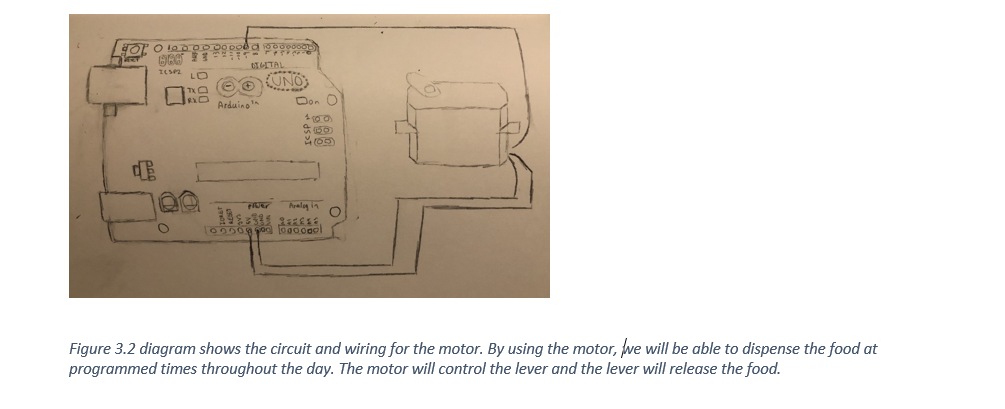
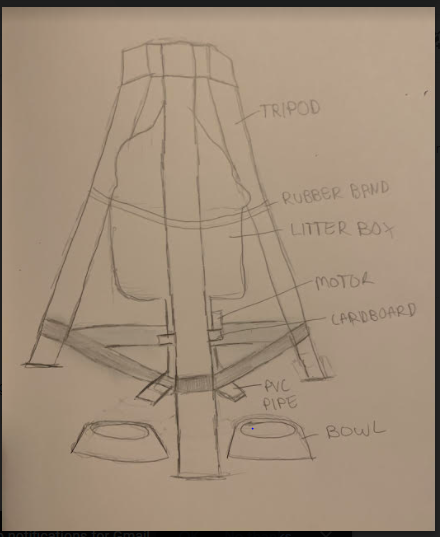
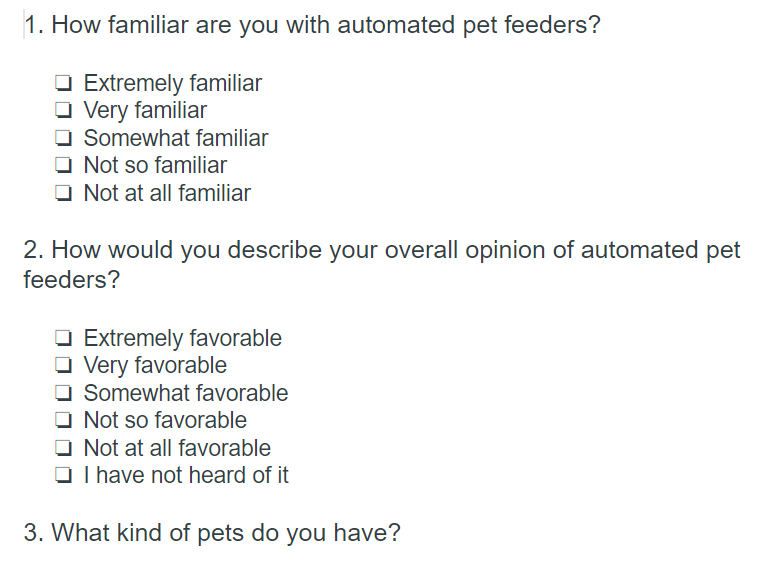
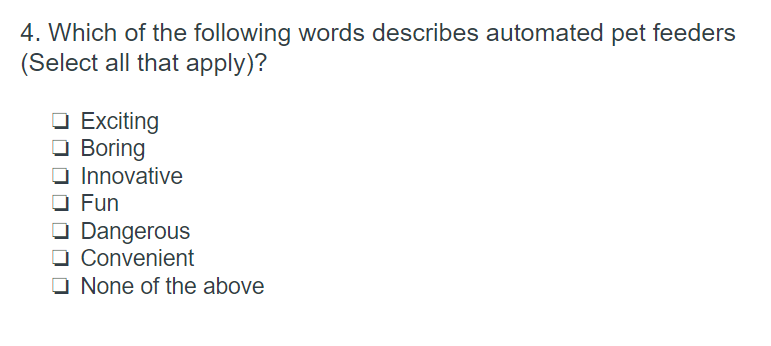
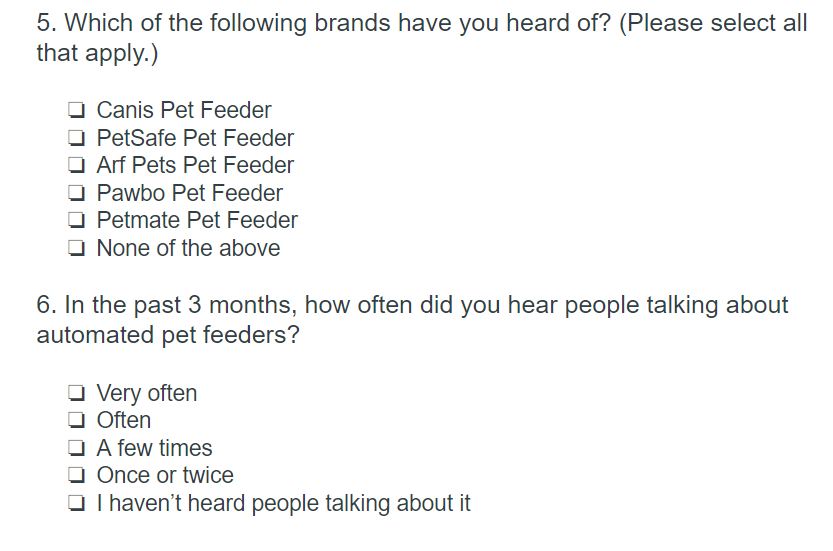
This section will contain extra information and photo regarding the building process of this device, as well as suggestions to upgrade this build. We have included sketches of the build as well as photos of a survey we created to research the market
Suggestions for upgrades: The product could benefit from the implementation of more advanced technology. Adding an app that consumers could use to program the time would help with convenience. Furthermore, one could add a camera, speaker and microphone so that the user could check up on the pet and even talk to them. Adding weighted objects to each leg of the tripod would enhance the stability of the device so that it doesn't fall over. Applying a protective shell to the Arduino Uno R3 as well as some other form of protection for the jumper wires would offer great improvement in durability.
Information on dog food research: Our food bowl must be designed to accommodate various types of dry food in order to function with different pets. Below are the most popular brands of pet foods. Taste of the Wild Natural - Dog Purina - Dog Iams - Cat Friskies - Cat When designing our bowl and dispenser, we kept in mind that pet food comes in all kinds of shapes and sizes depending on the size of the pet. To begin, I found the most sold pet food brands for dogs and cats so we could be certain that our dispenser could accommodate these popular brands.