Automated Home Curtains – Mini Project With MakerChips’ BluChip (nRF51 BLE) Module
by jeevanAnga in Circuits > Wireless
7556 Views, 43 Favorites, 0 Comments
Automated Home Curtains – Mini Project With MakerChips’ BluChip (nRF51 BLE) Module
Imagine waking up and wanting to get a beam of sunshine through your windows, or shutting the curtains so you can sleep in further, without the effort of getting yourself up close to the curtains but rather with the touch of a button on your smartphone. With the Automated Home Curtain System, you get to achieve this with components that cost no more than $90!
The Design
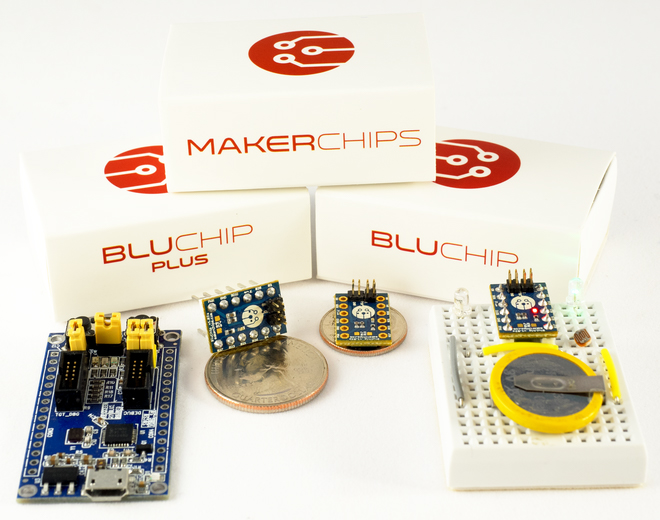
At the heart of the Automated Home Curtain System is MakerChips' BluChip module.
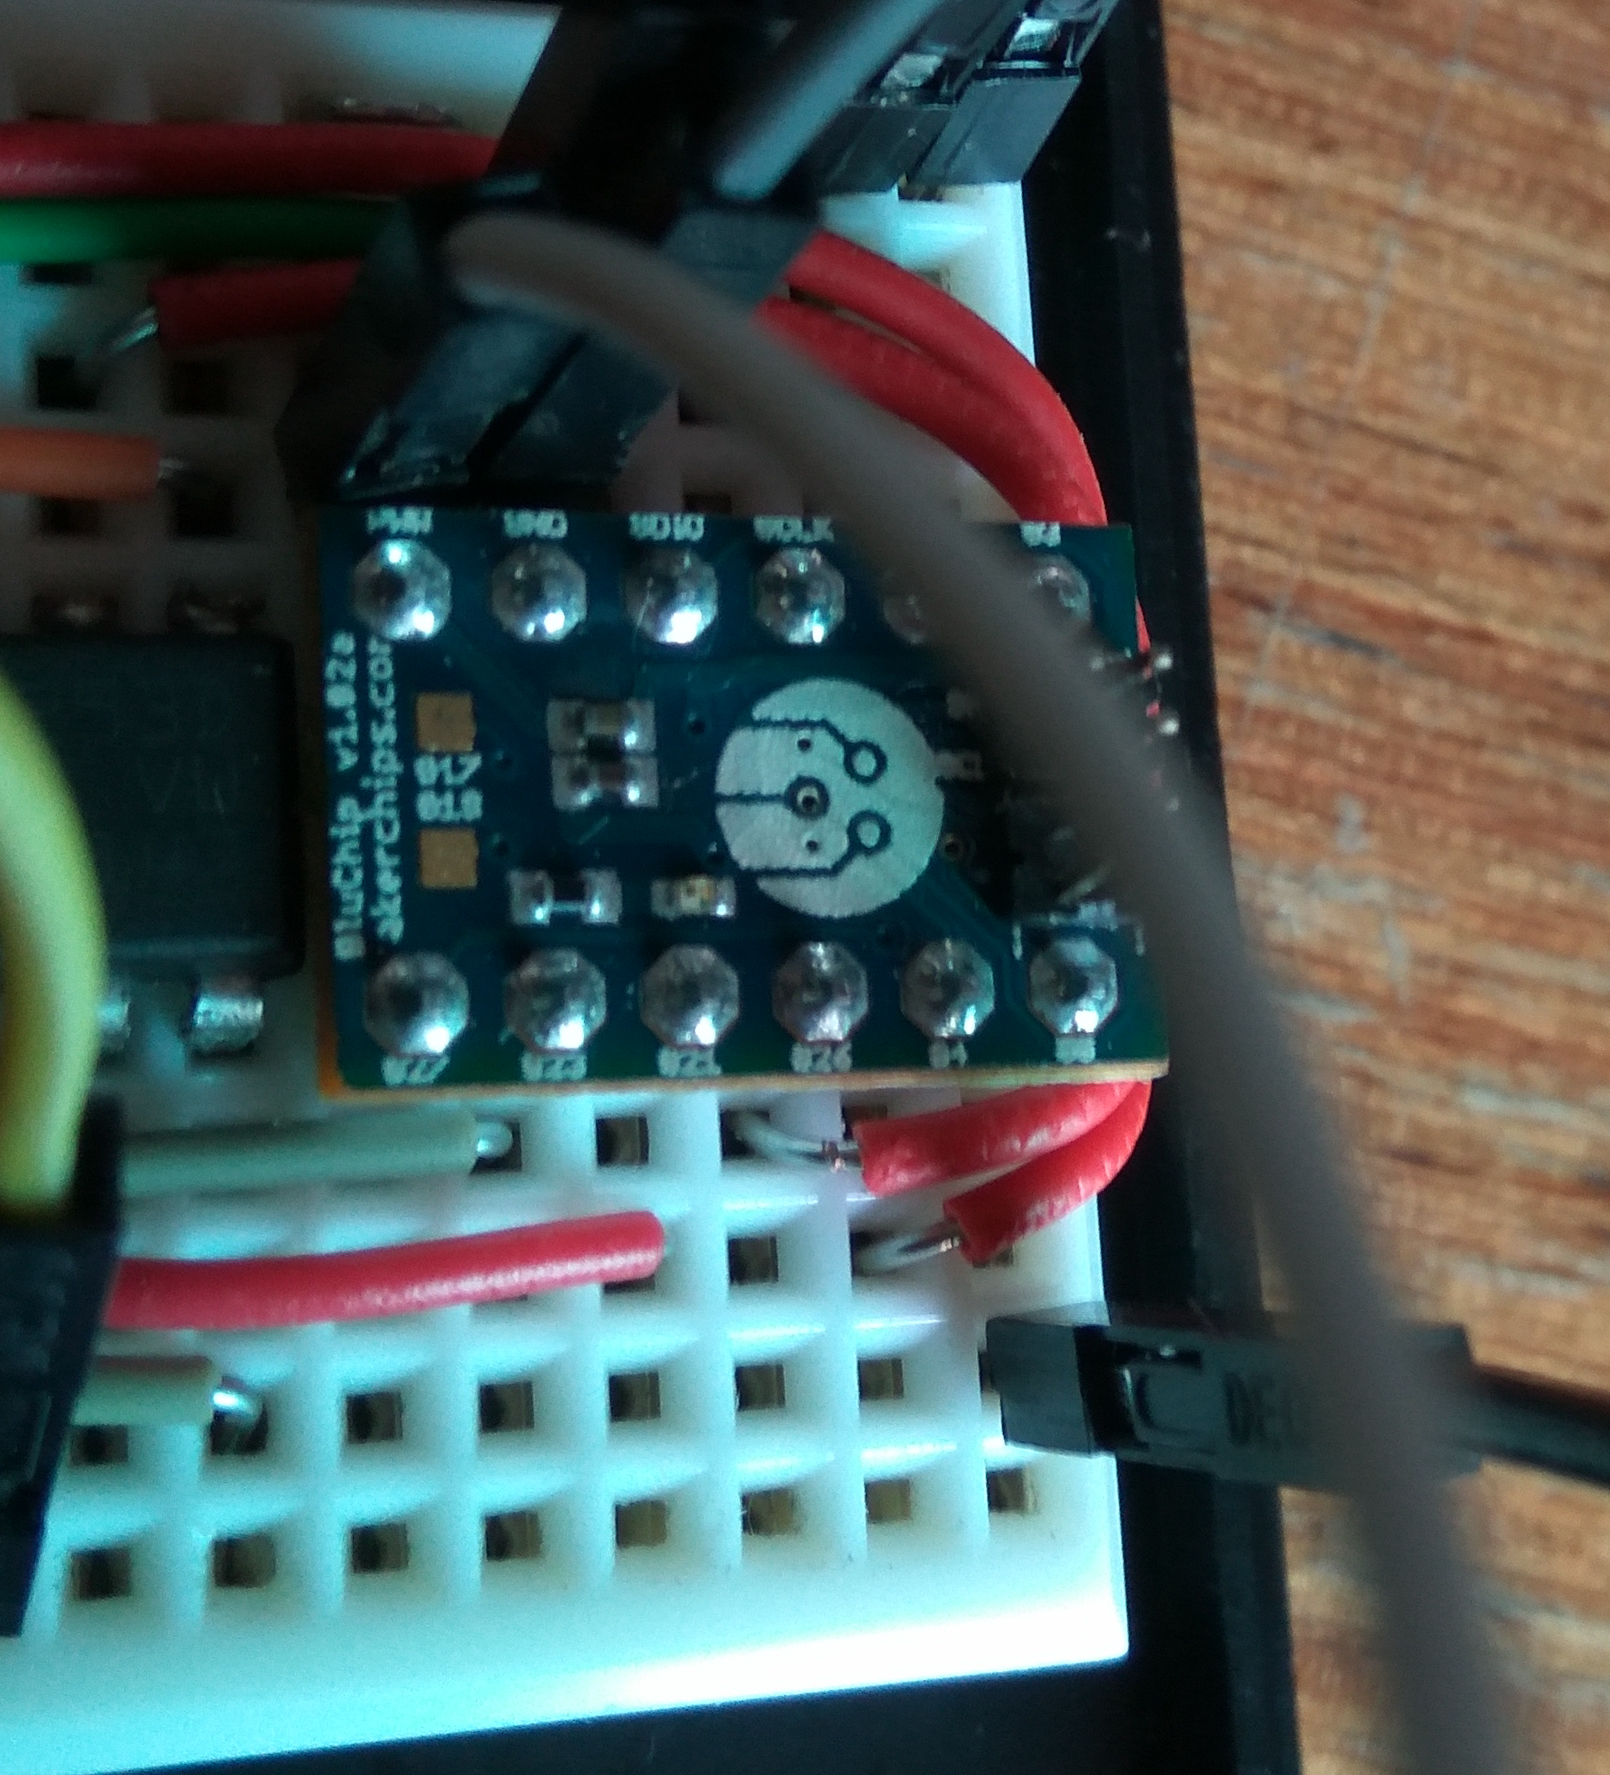
The BluChip is a tiny 16.6x11.15mm Bluetooth module that can serve as a peripheral to smartphones via BTLE.
Click here for an introduction to Bluetooth Low Energy(BTLE).
The module consists of an nRF51 SoC by Nordic Semiconductors, a great platform for BLE applications as it supports many integrated features on both Android and Apple apps.
BluChip Explorer Kit
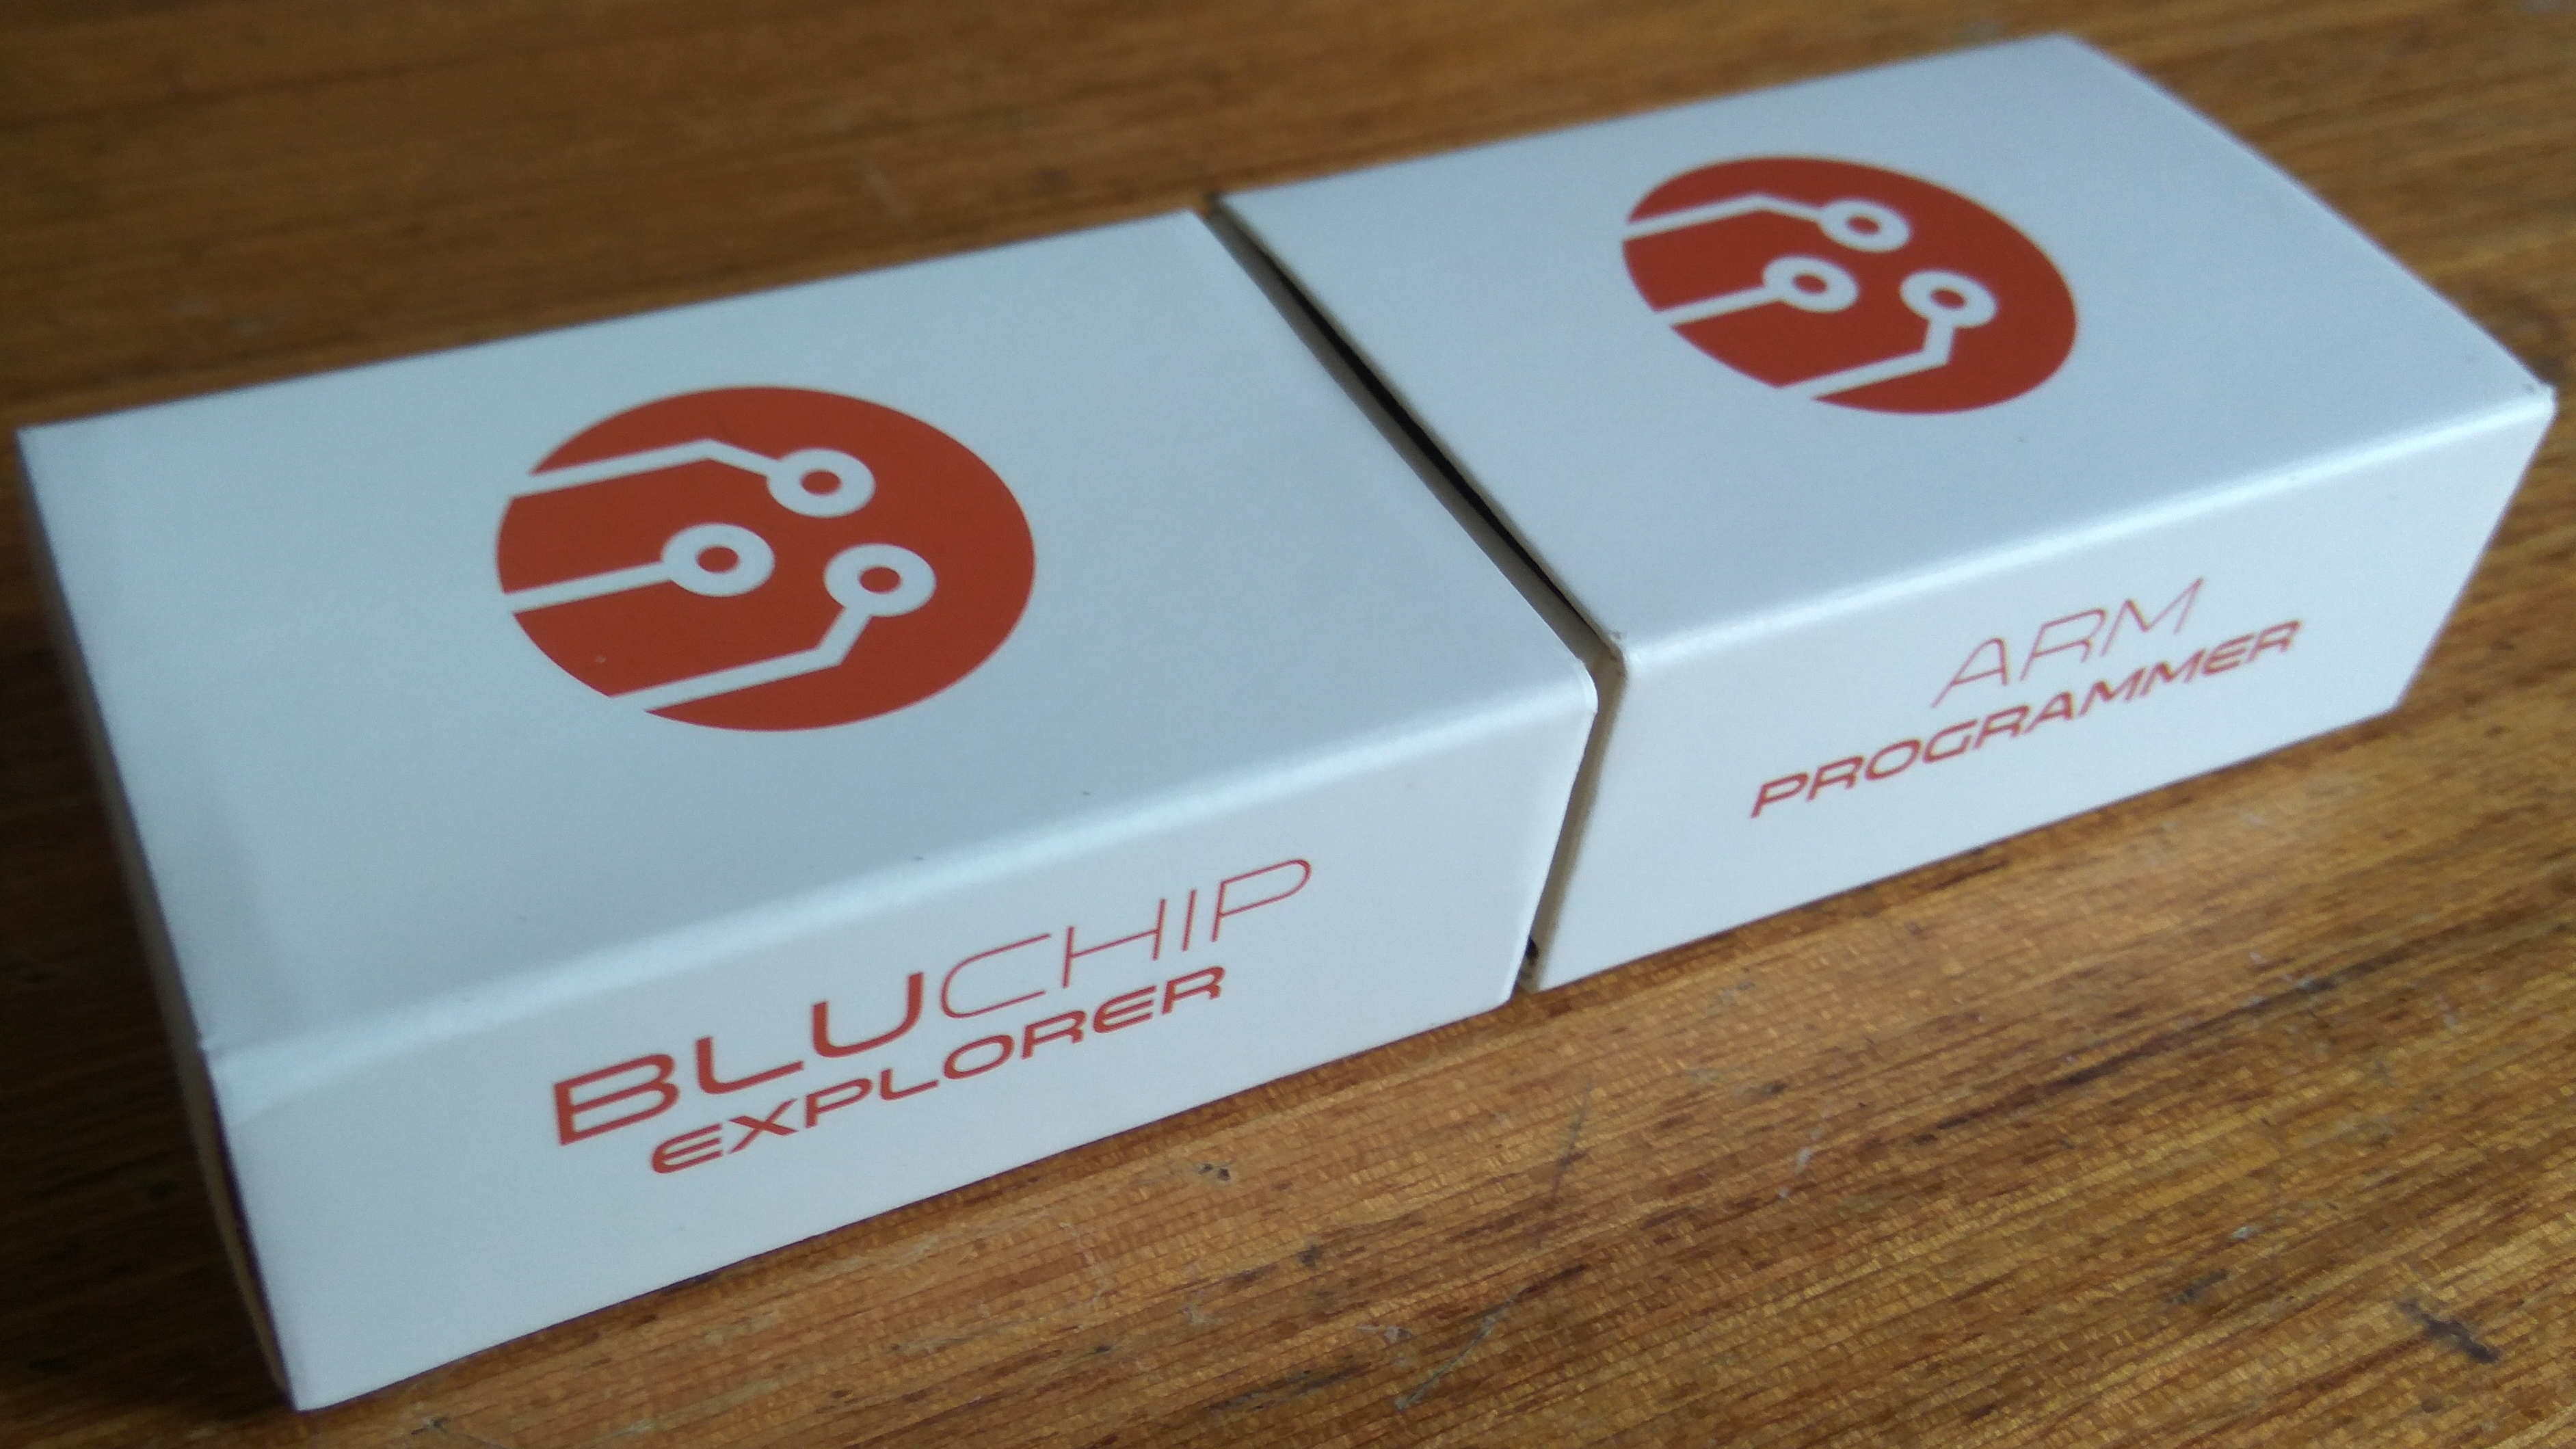
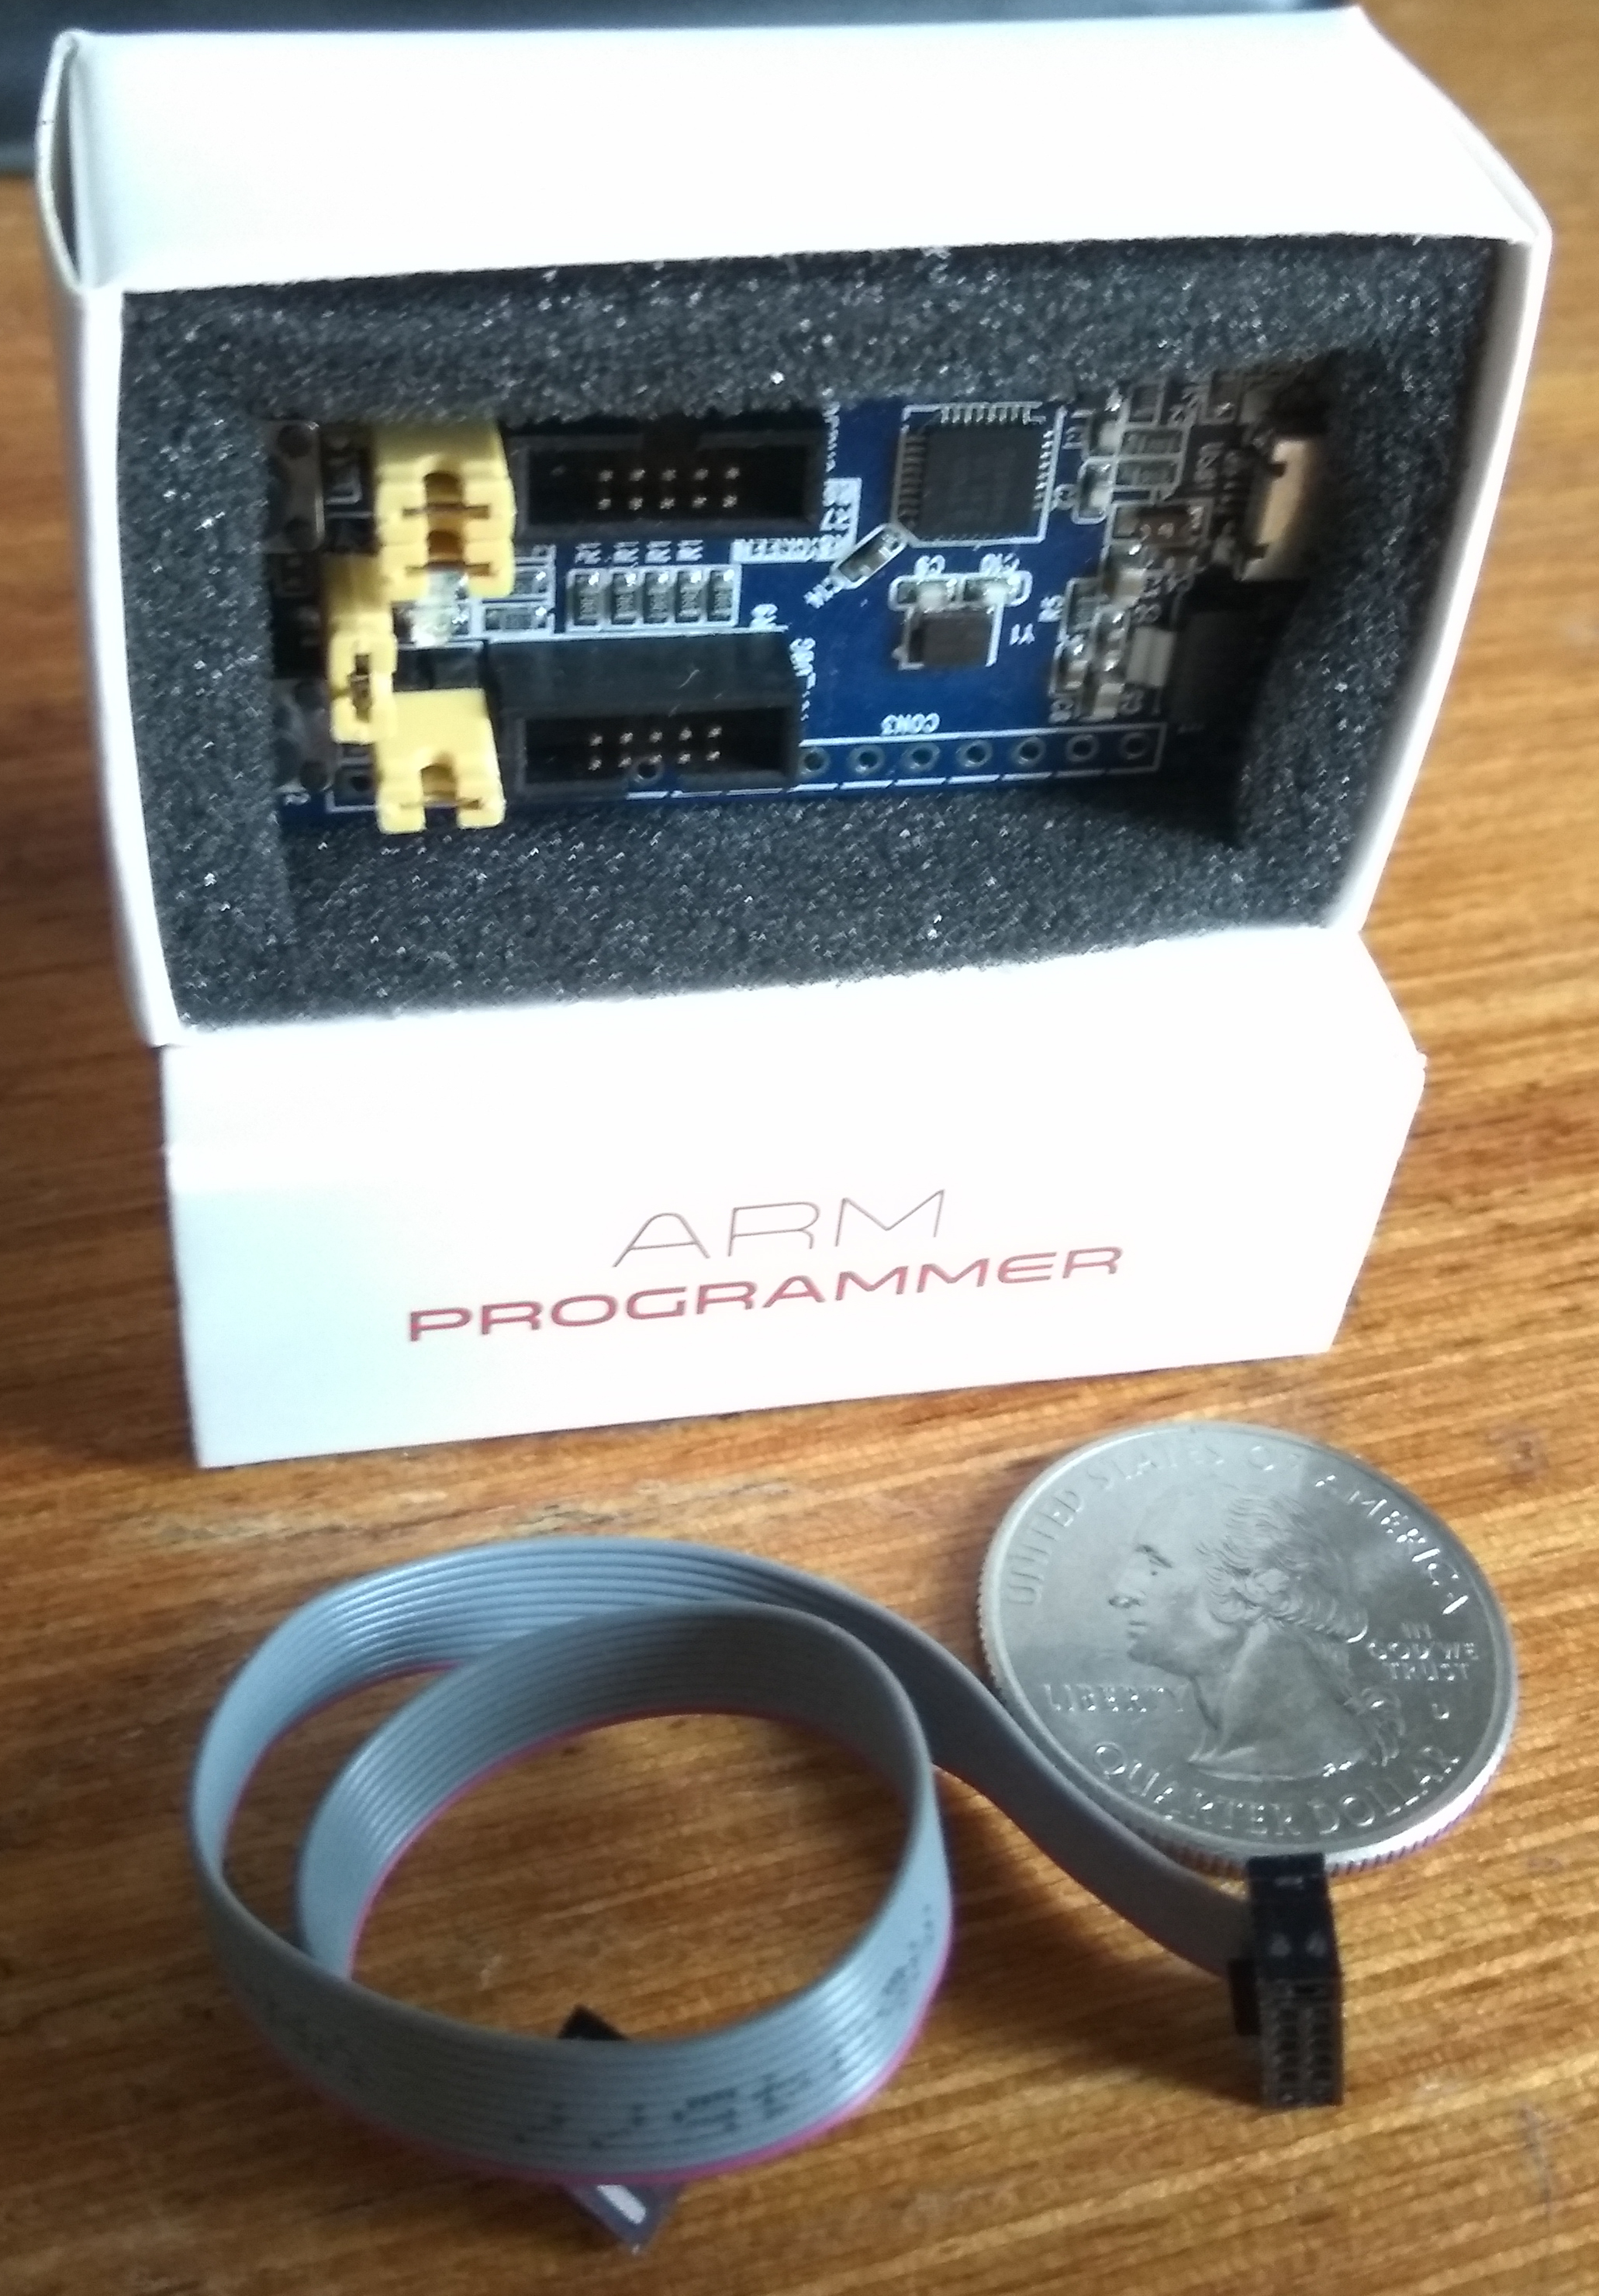
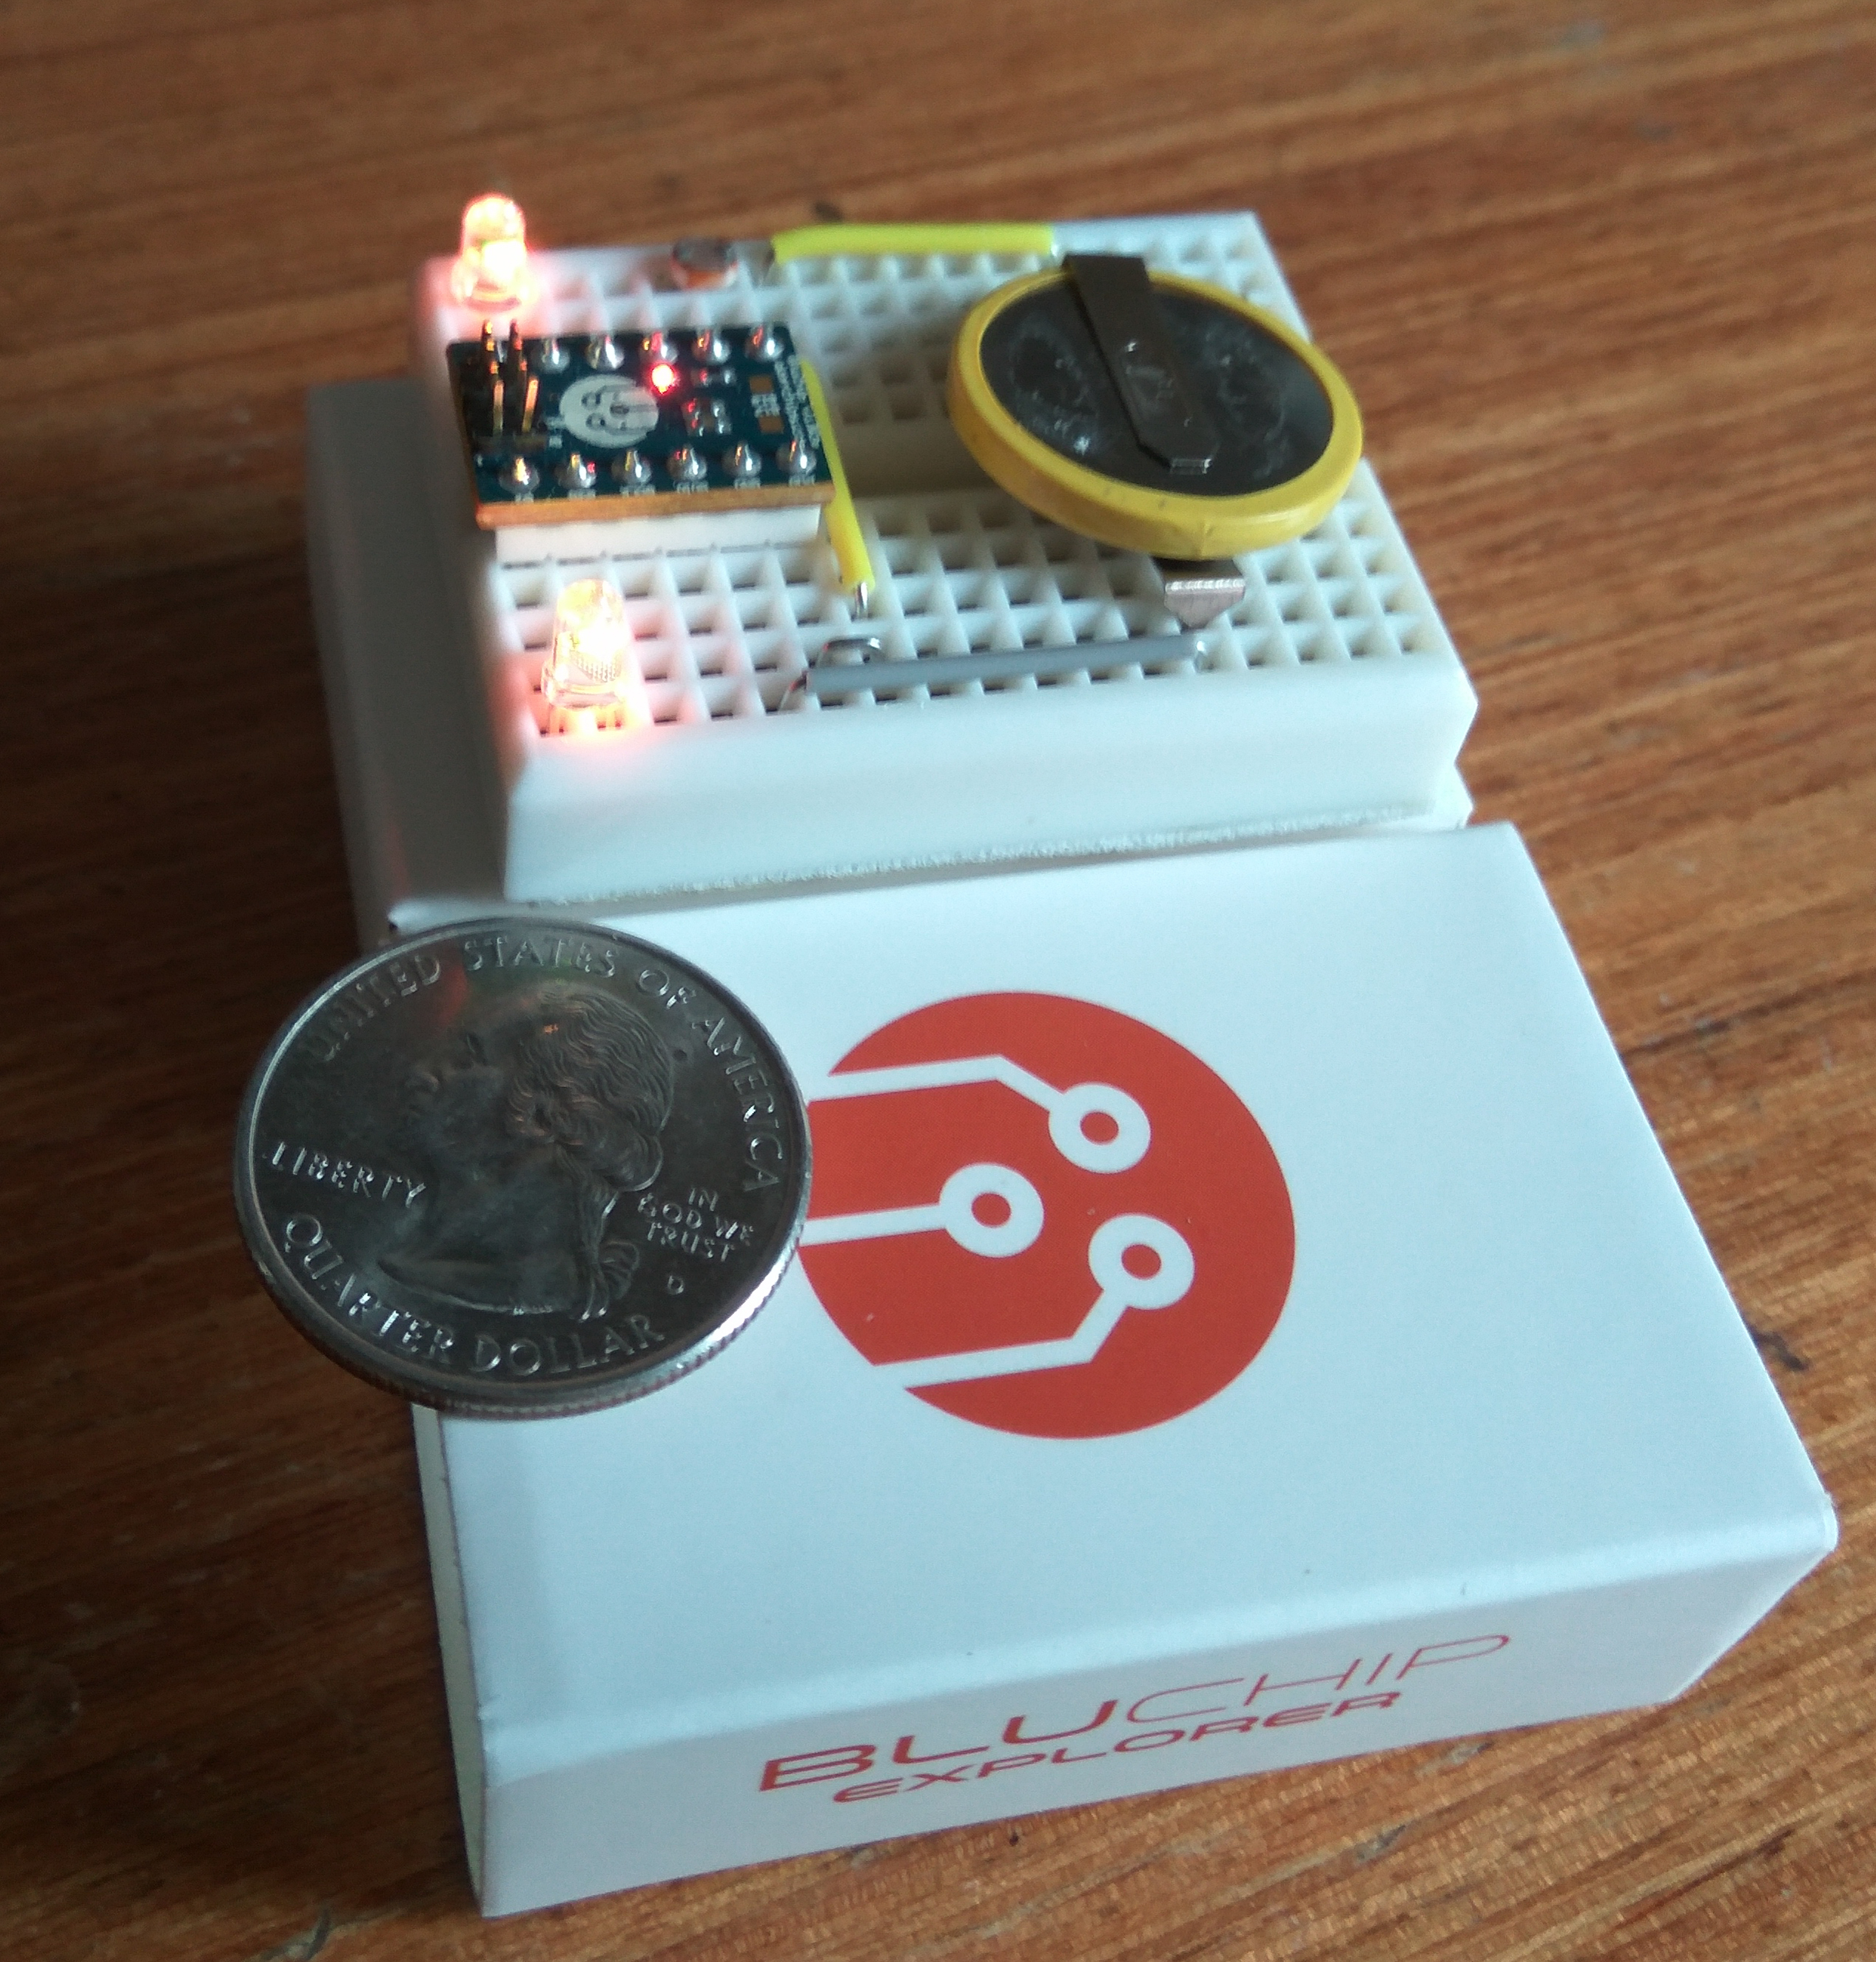
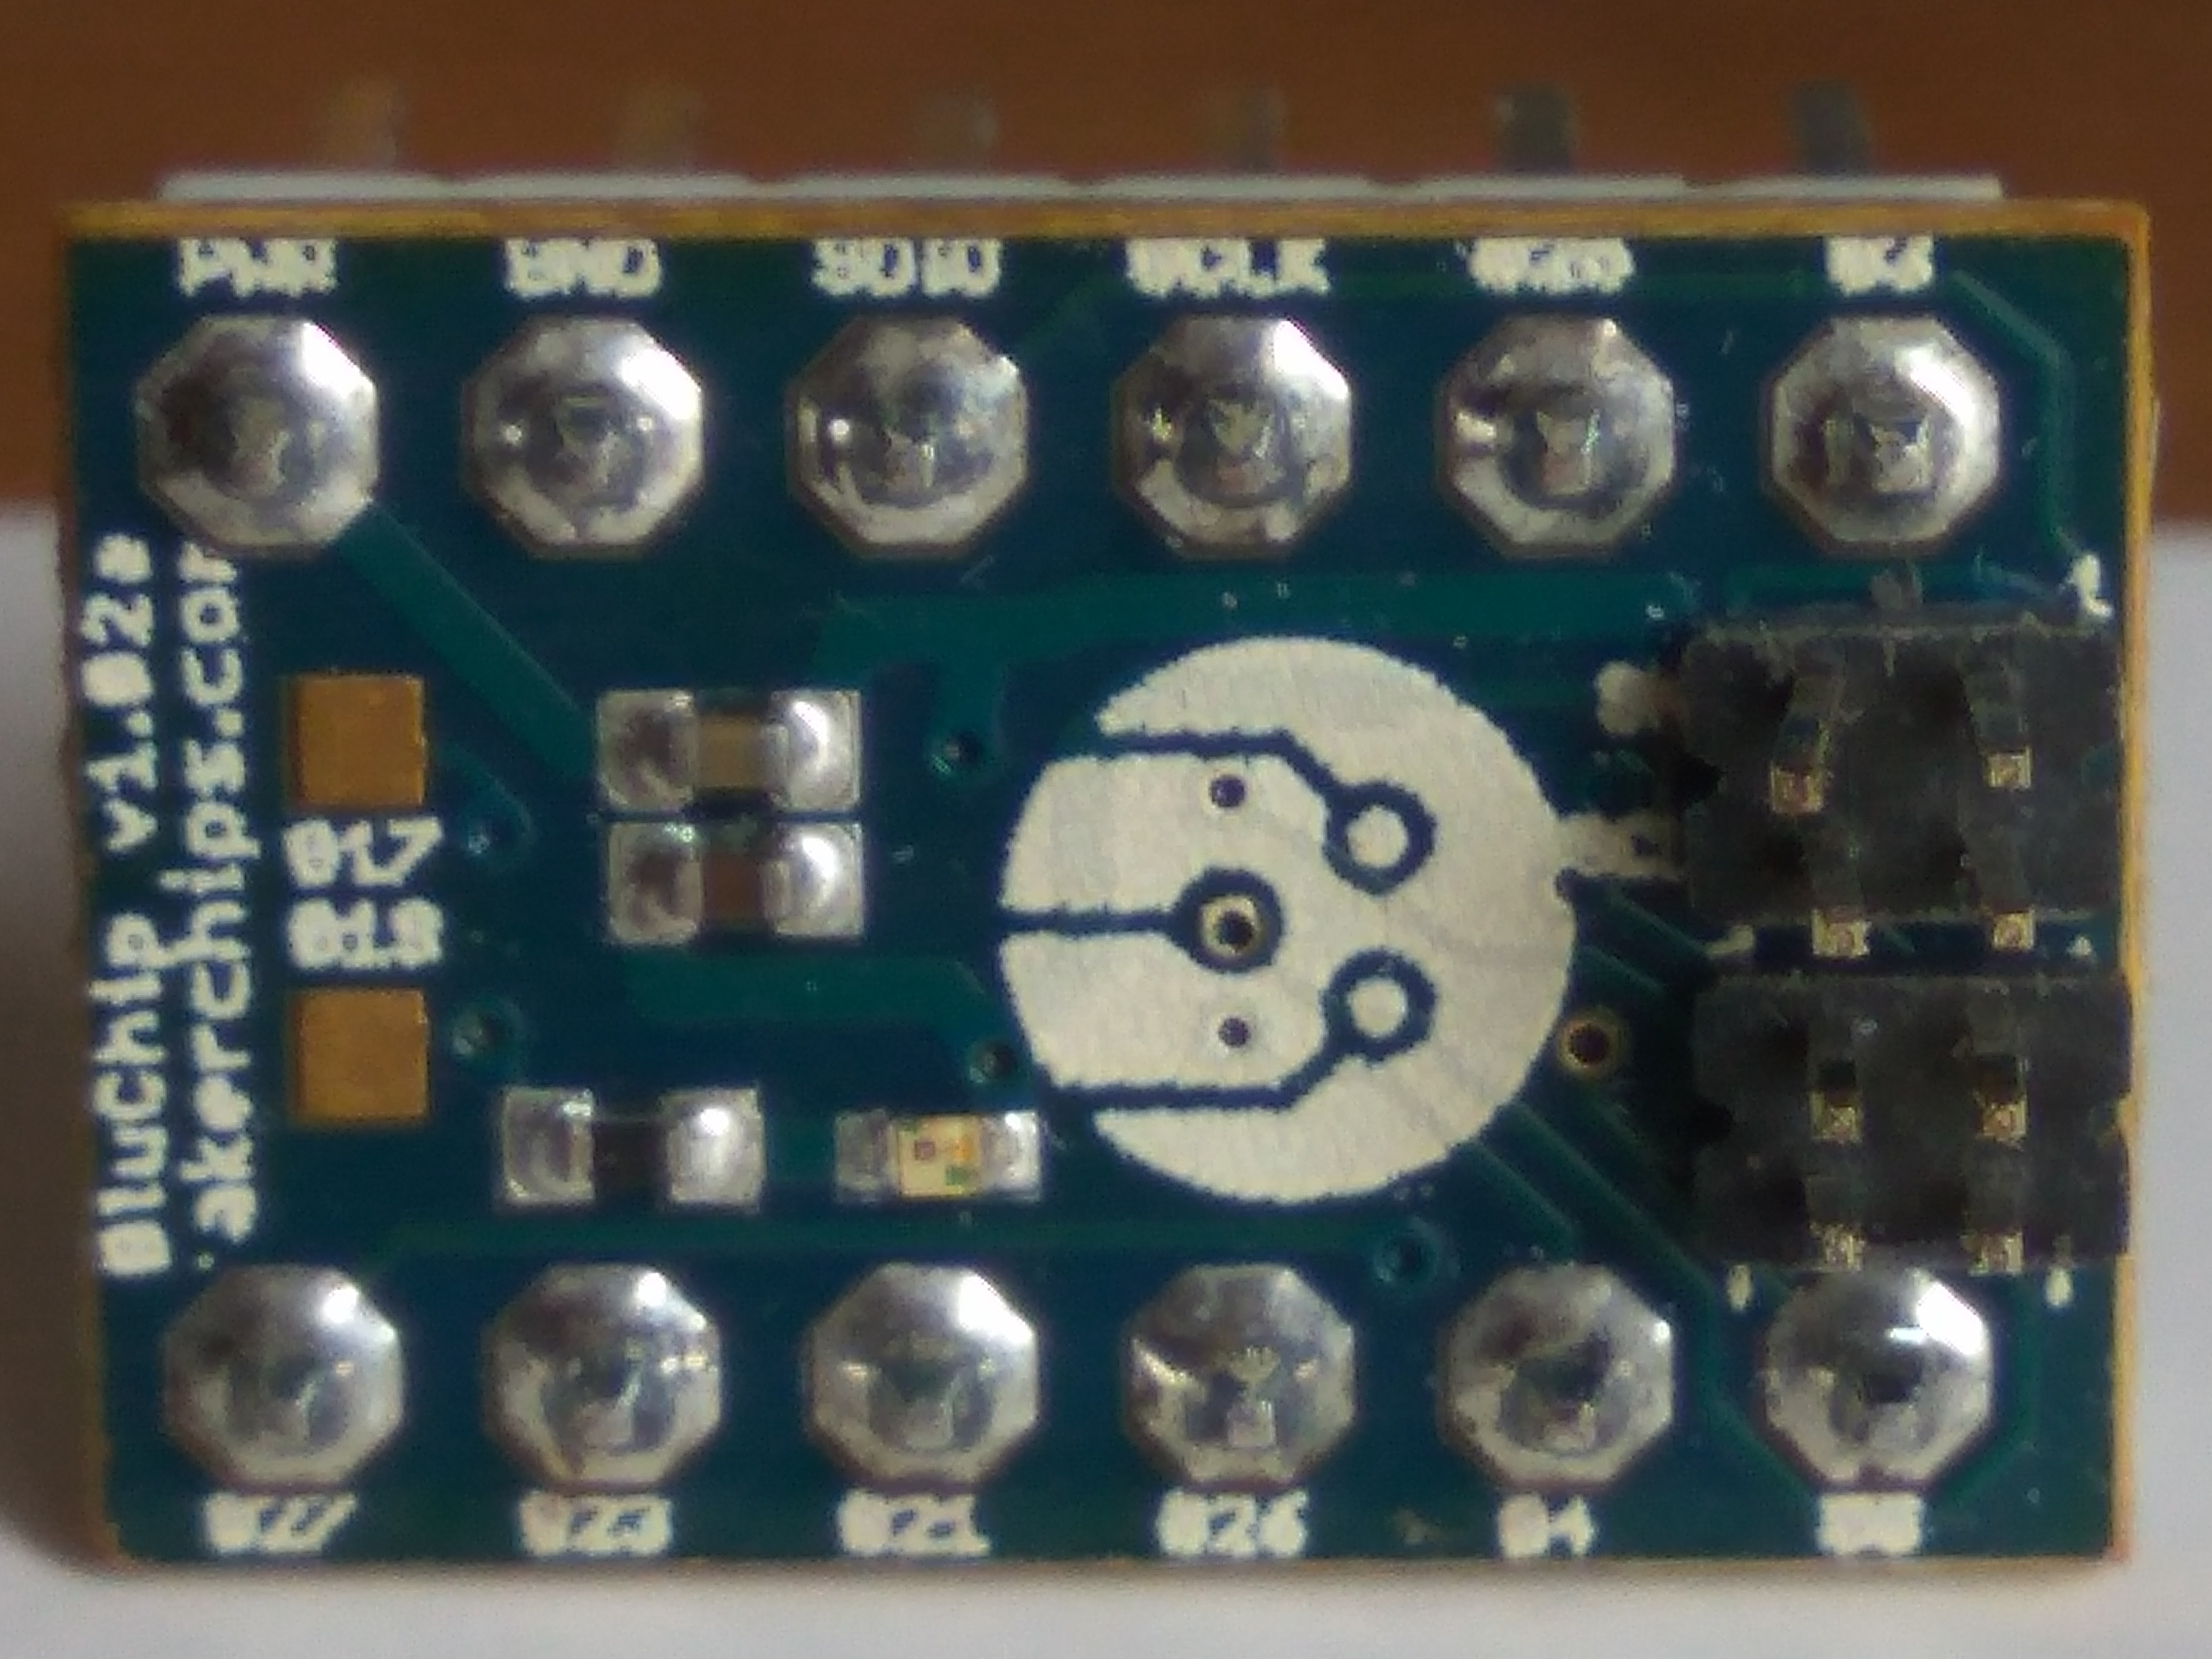
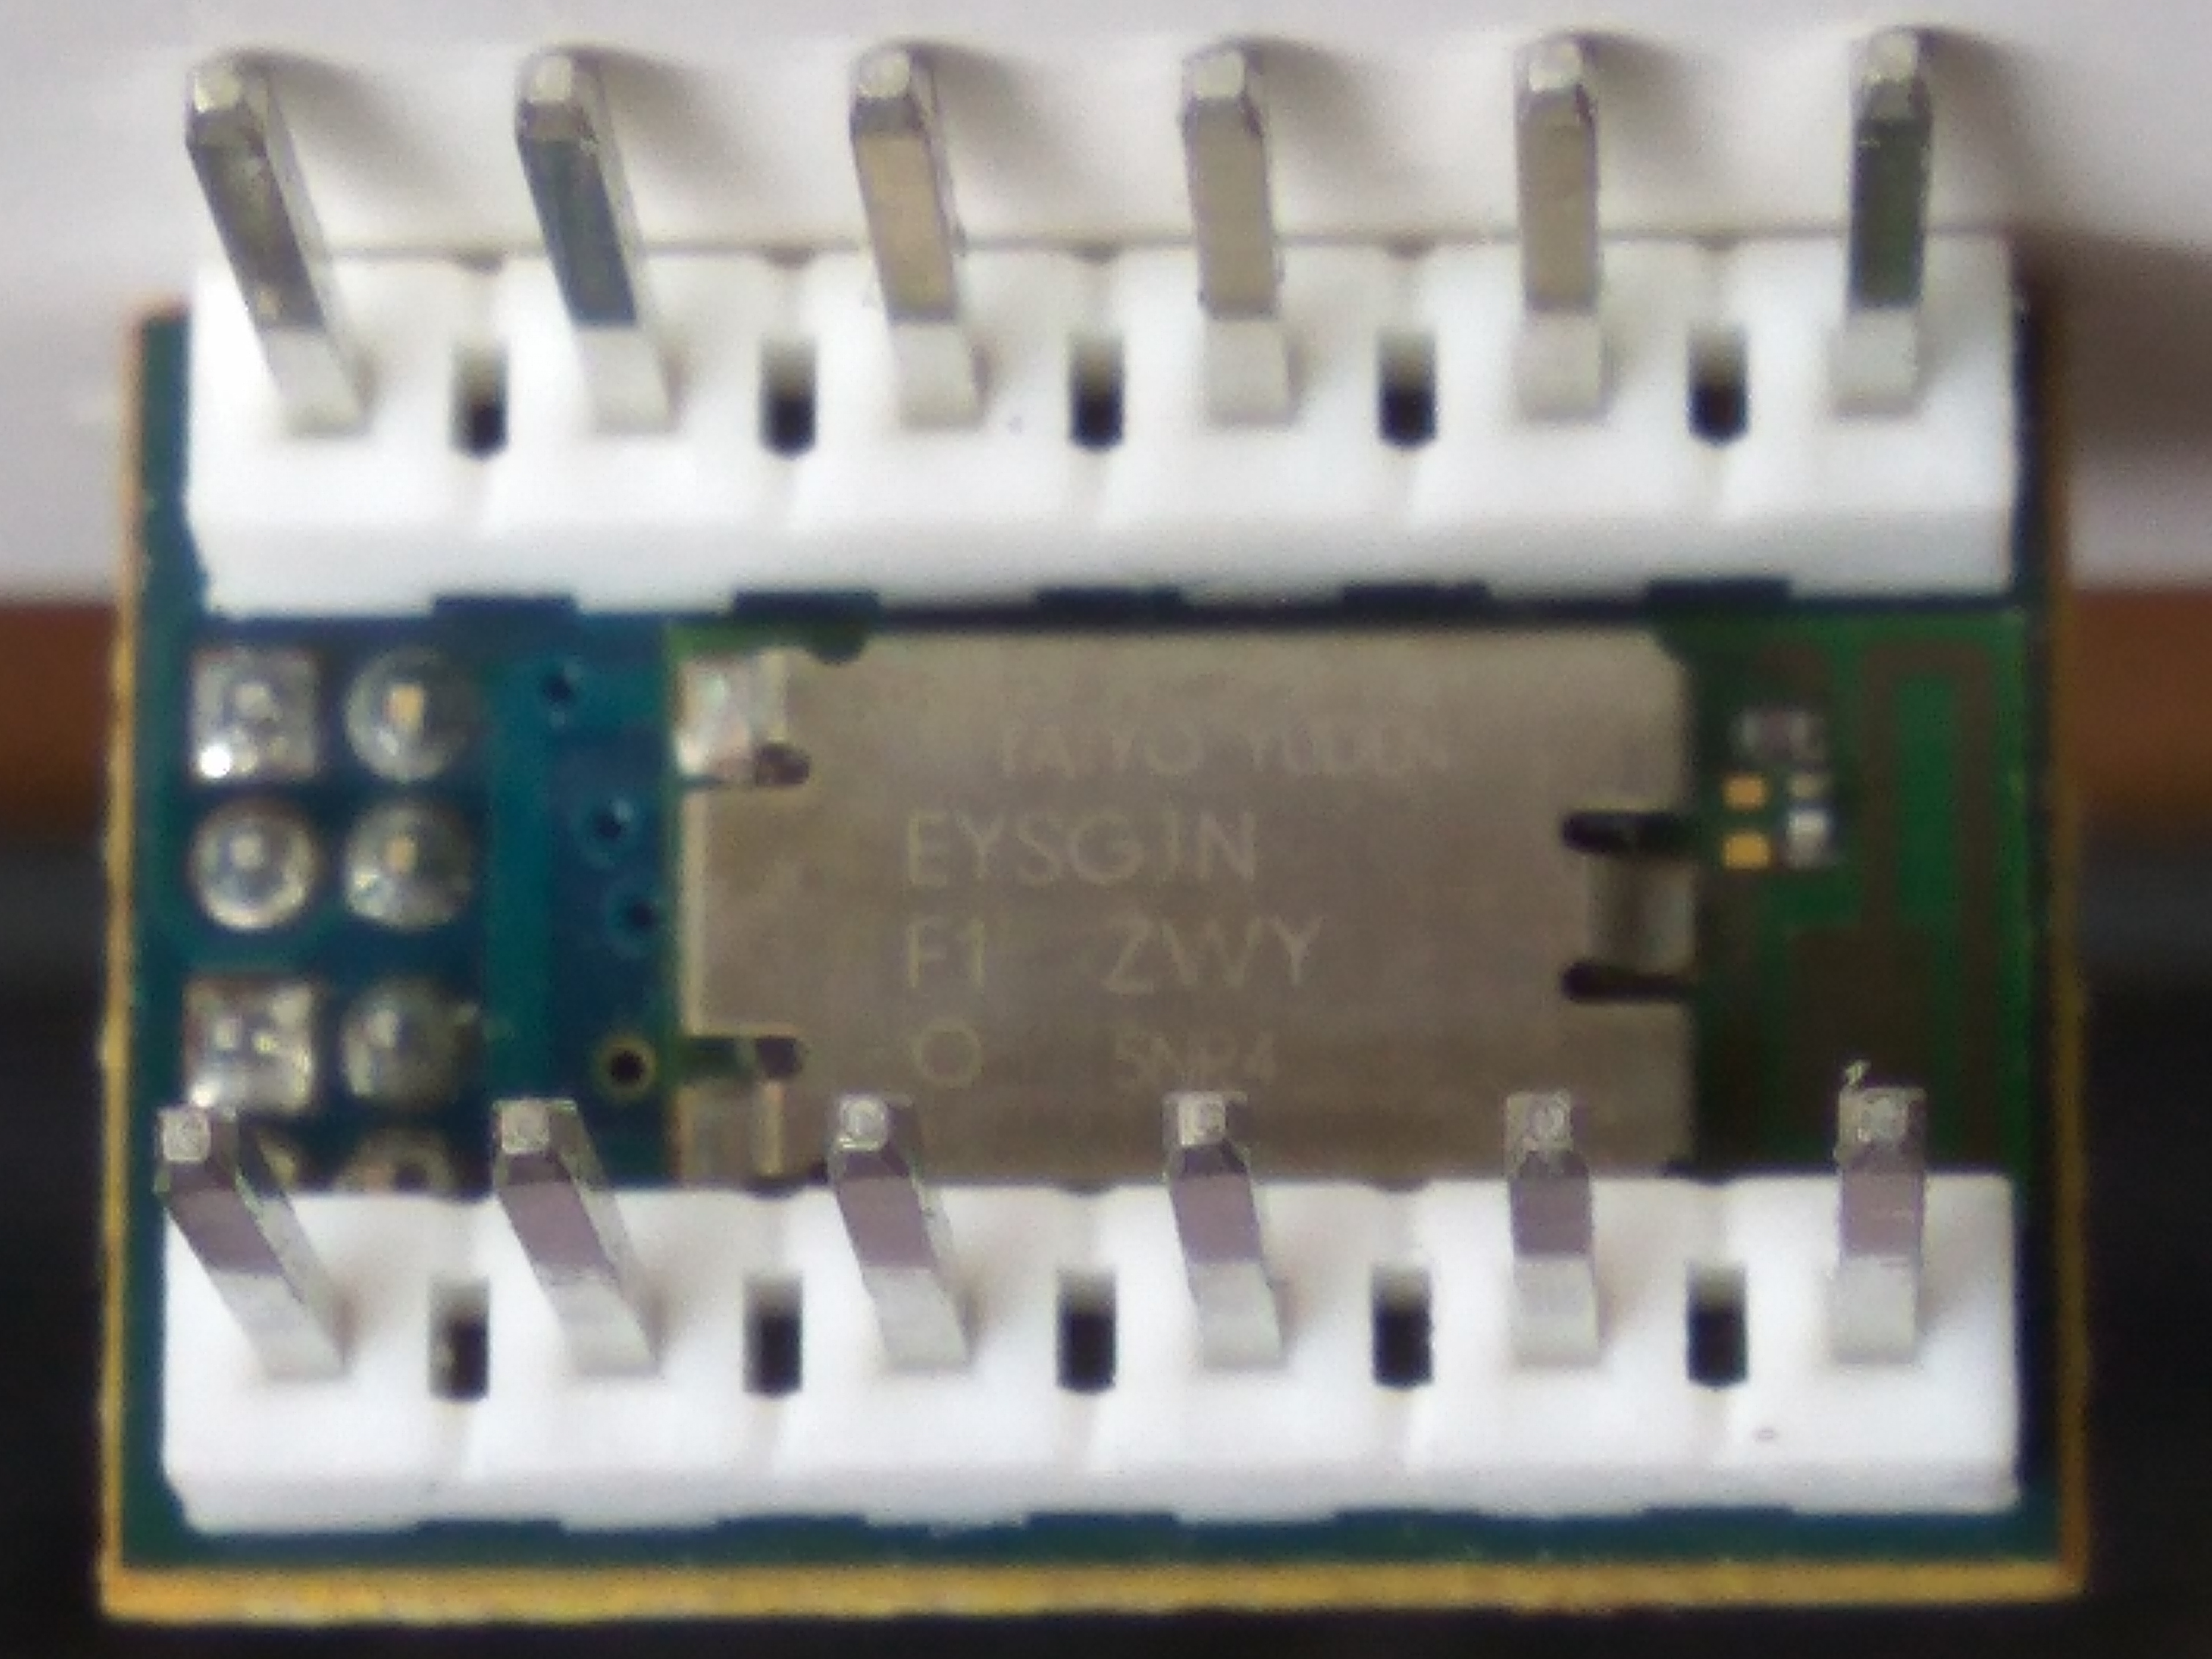
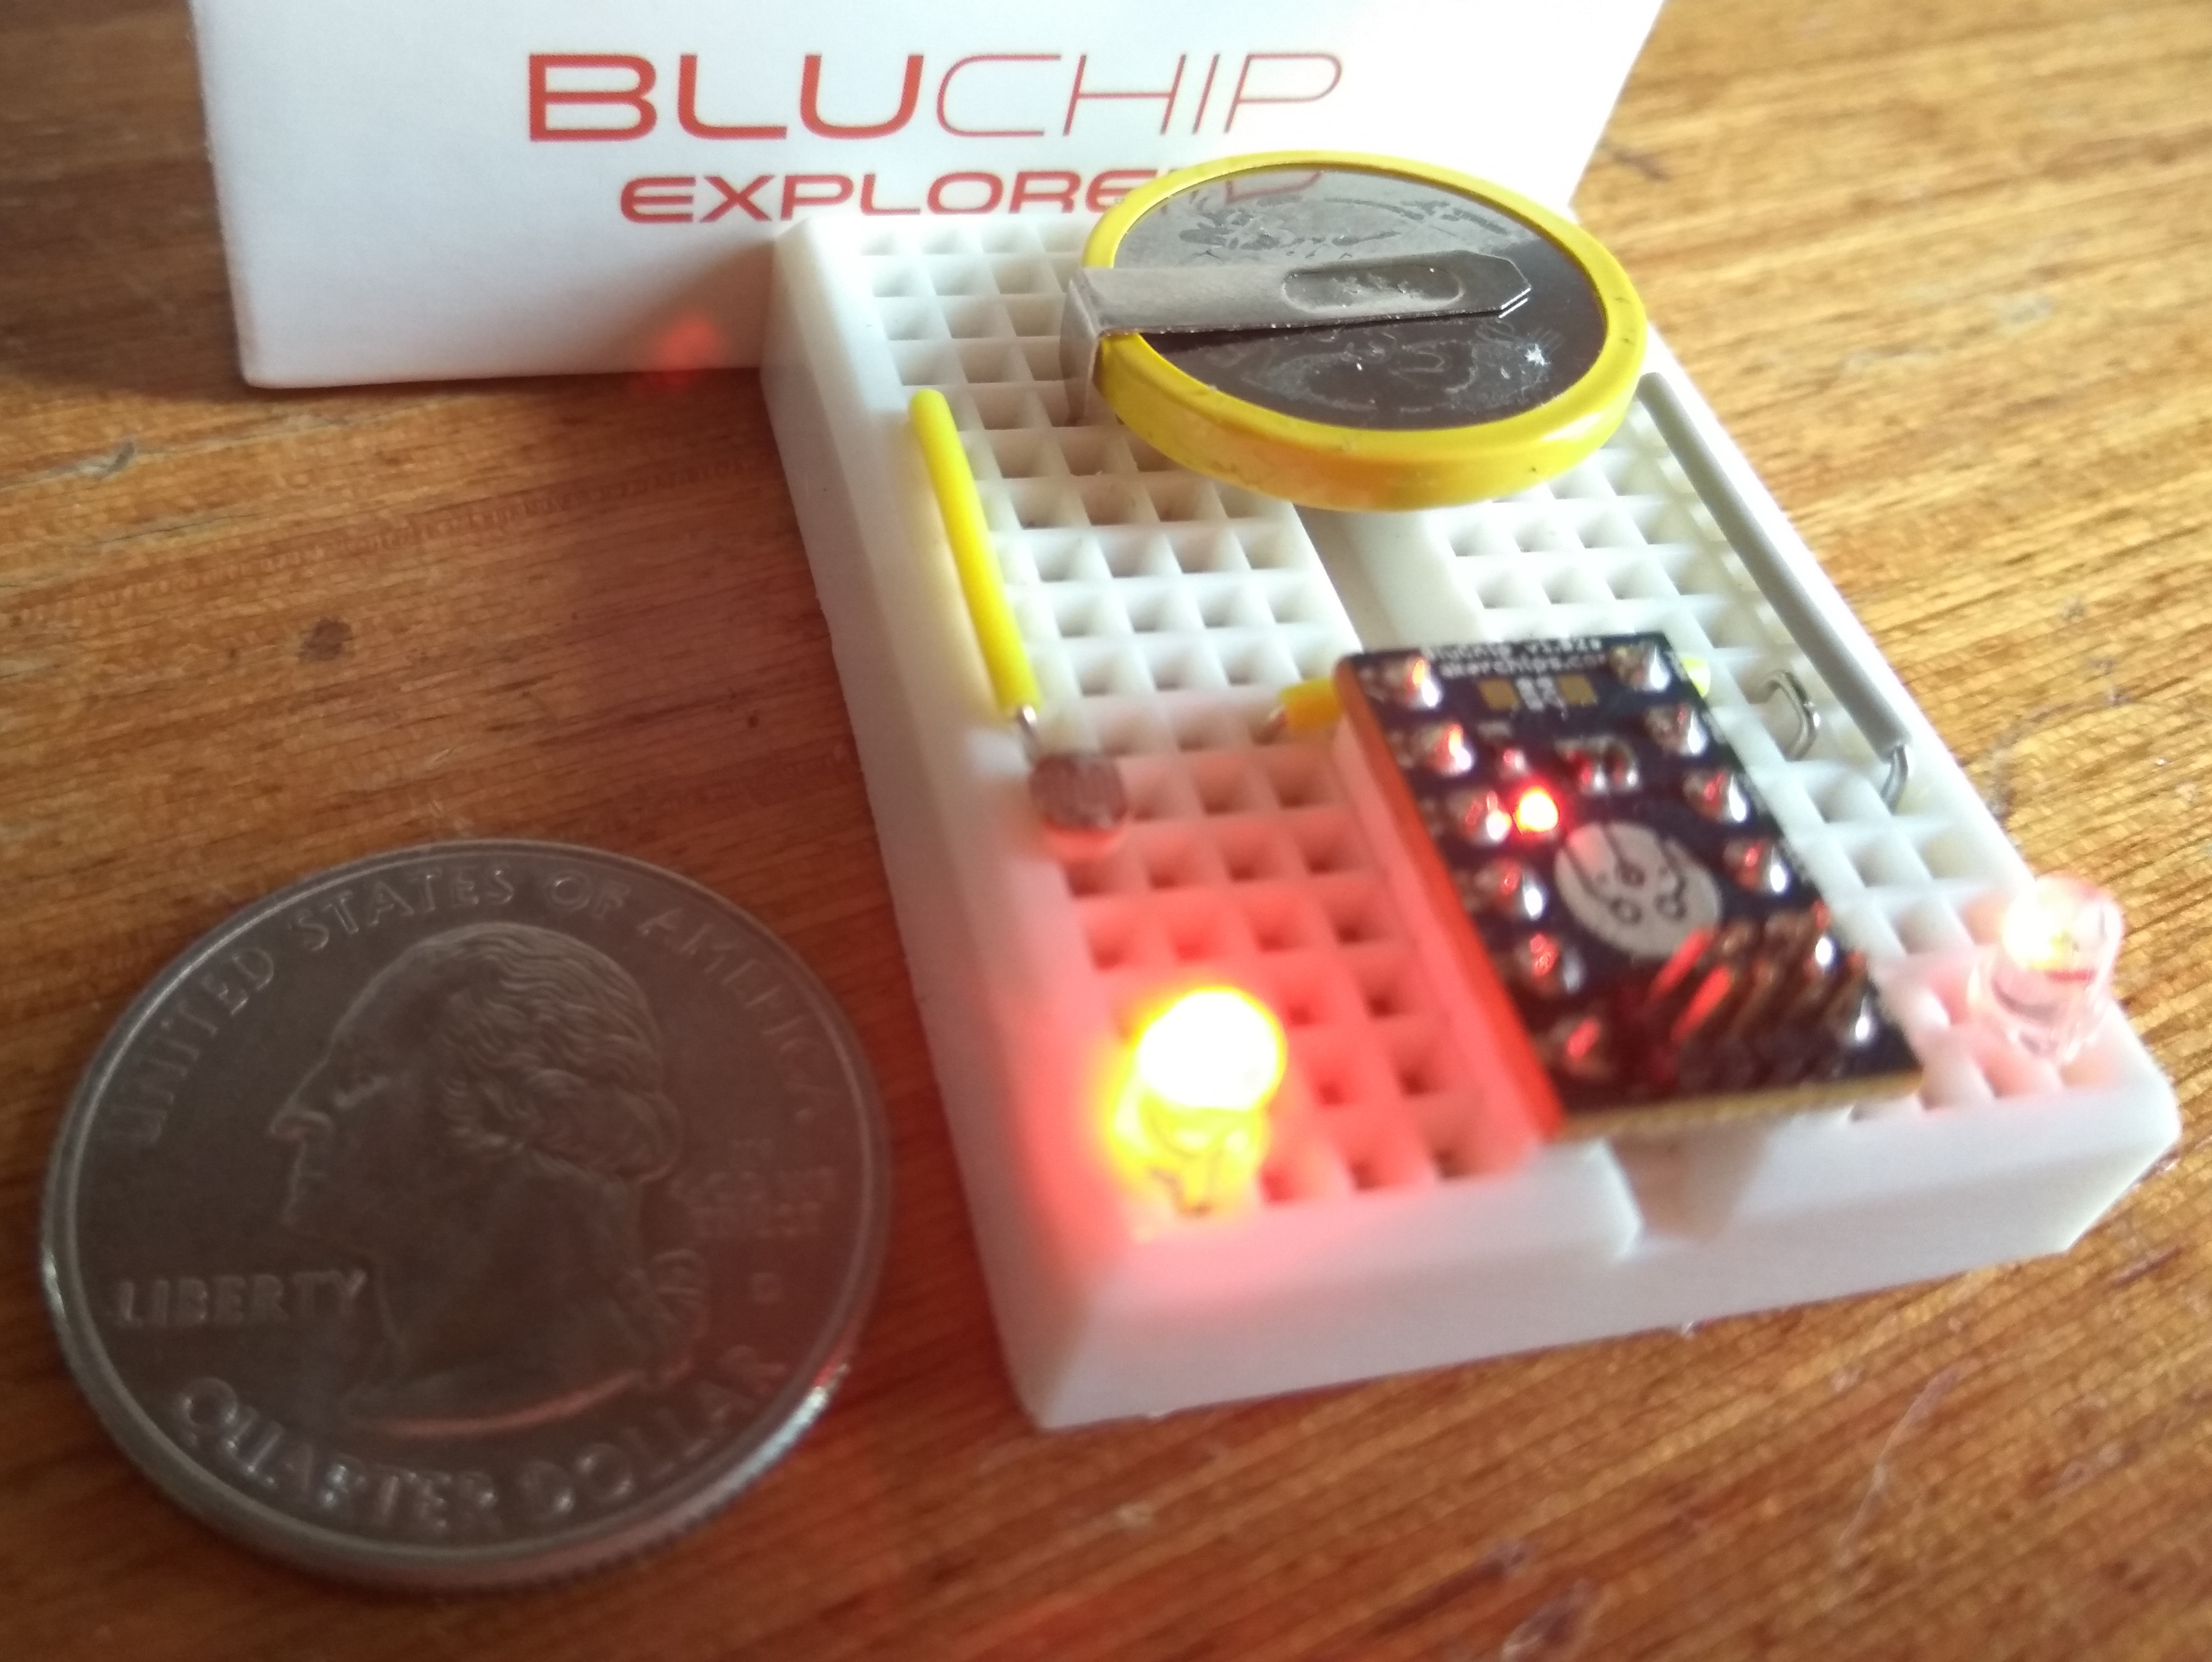
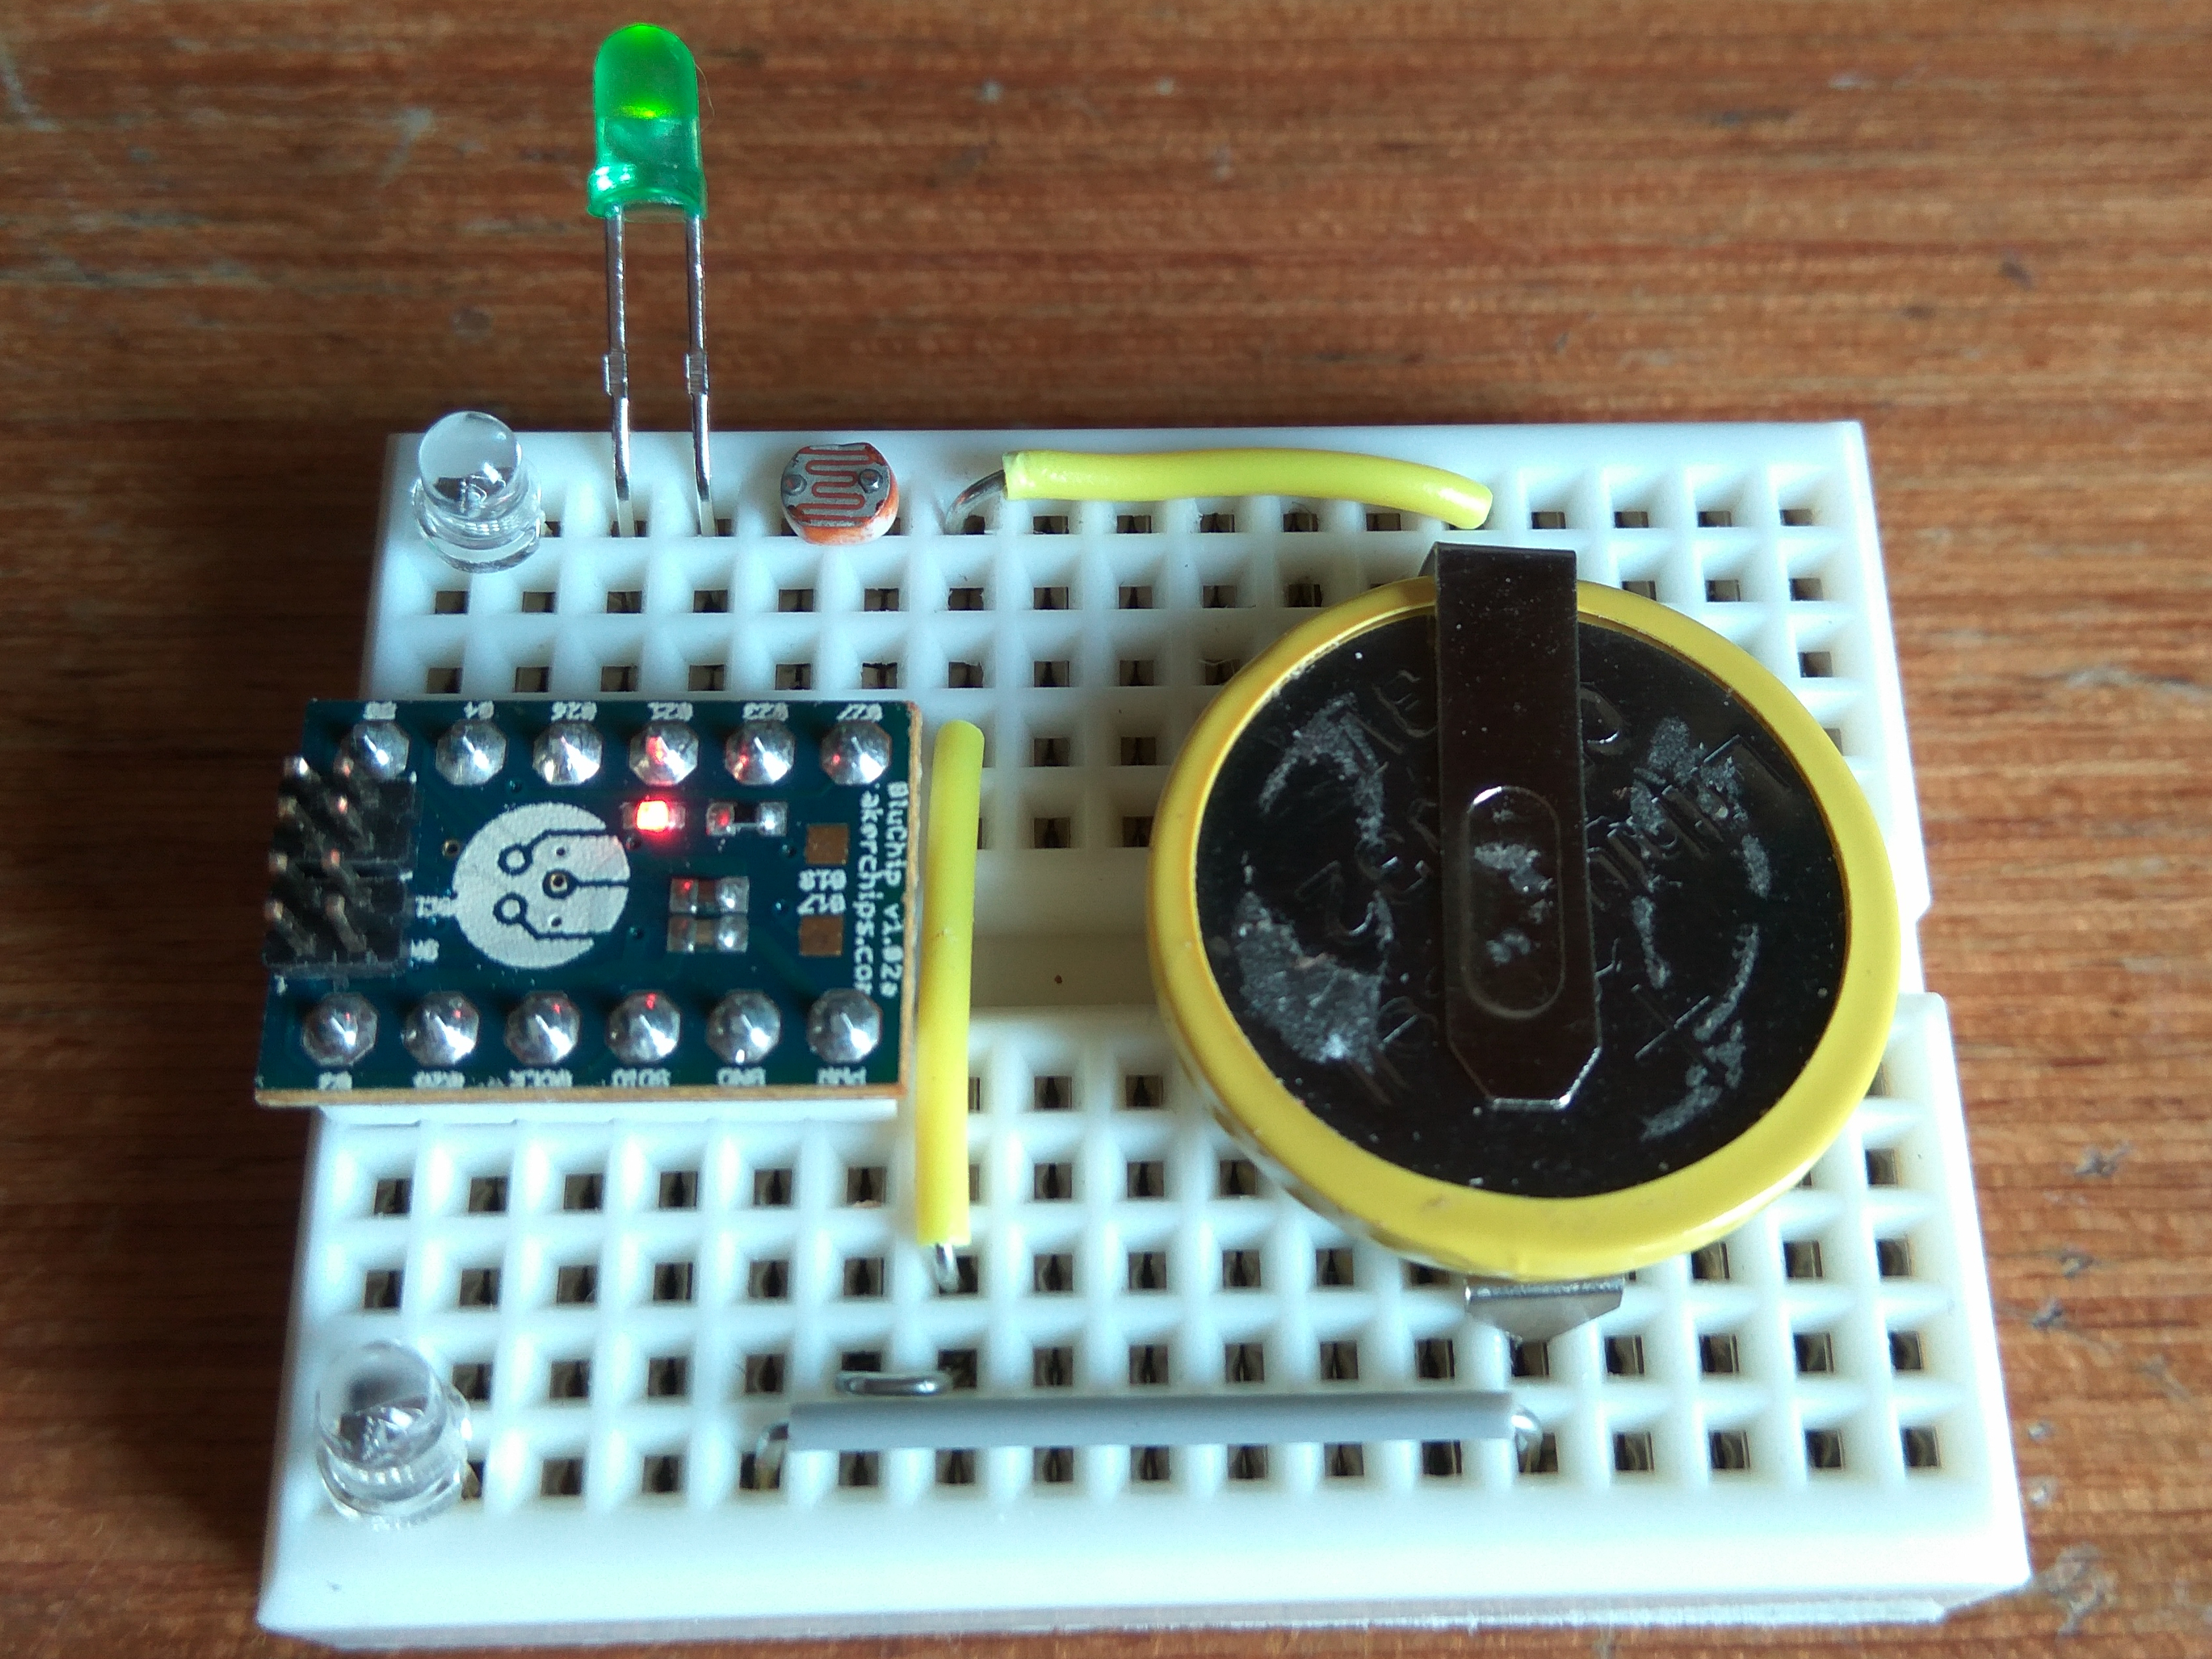
To build this project, I got the BluChip Explorer Kit from MakerChips which arrived in 2 separate boxes, one for the CMSIS-DAP programmer and another box containing the BluChip on a breadboard with 2 RGB LEDs, a photo-resistor and a CR2032 battery.
As you've noticed, the BluChip module is extremely tiny, making it perfect for small embedded low powered Bluetooth projects. It fits on a footprint of only 6x4 0.1" headers on a breadboard and has additional 0.05" headers on the top of the board, pretty impressive for a commercially FCC certified package!
Here are some key features of the BluChip from MakerChips' website:
- 14 Accessible GPIO Pins
- ARM Cortex M0 32bit processor and 256KB flash and 32KB RAM
- 16.6 mm x 11.15 mm Smallest bread-boardable Bluetooth ® module available
- Power supply supports 1.8V - 3.6V
- Bluetooth Features
- BTLE - Bluetooth Low Energy - (BLE, BT 4.1)
- Bluetooth® and Japan, FCC, IC qualified
- Integrated 32 Mhz System Clock
- Output power: +4dBm typical
- Frequency: 2402 to 2480 MHz
- Integrated high performance pattern antenna
- Single Mode Bluetooth® Smart Slave/Master
- Supported interfaces: SPI, UART, I2C and 8/9/10bit ADC
- Two sets of programming pins
- .05" headers for easy coupling to CMSIS-DAP and J-Link devices
- .1" headers for interfacing with breadboards
- Software controllable red LED
NRF Connect App
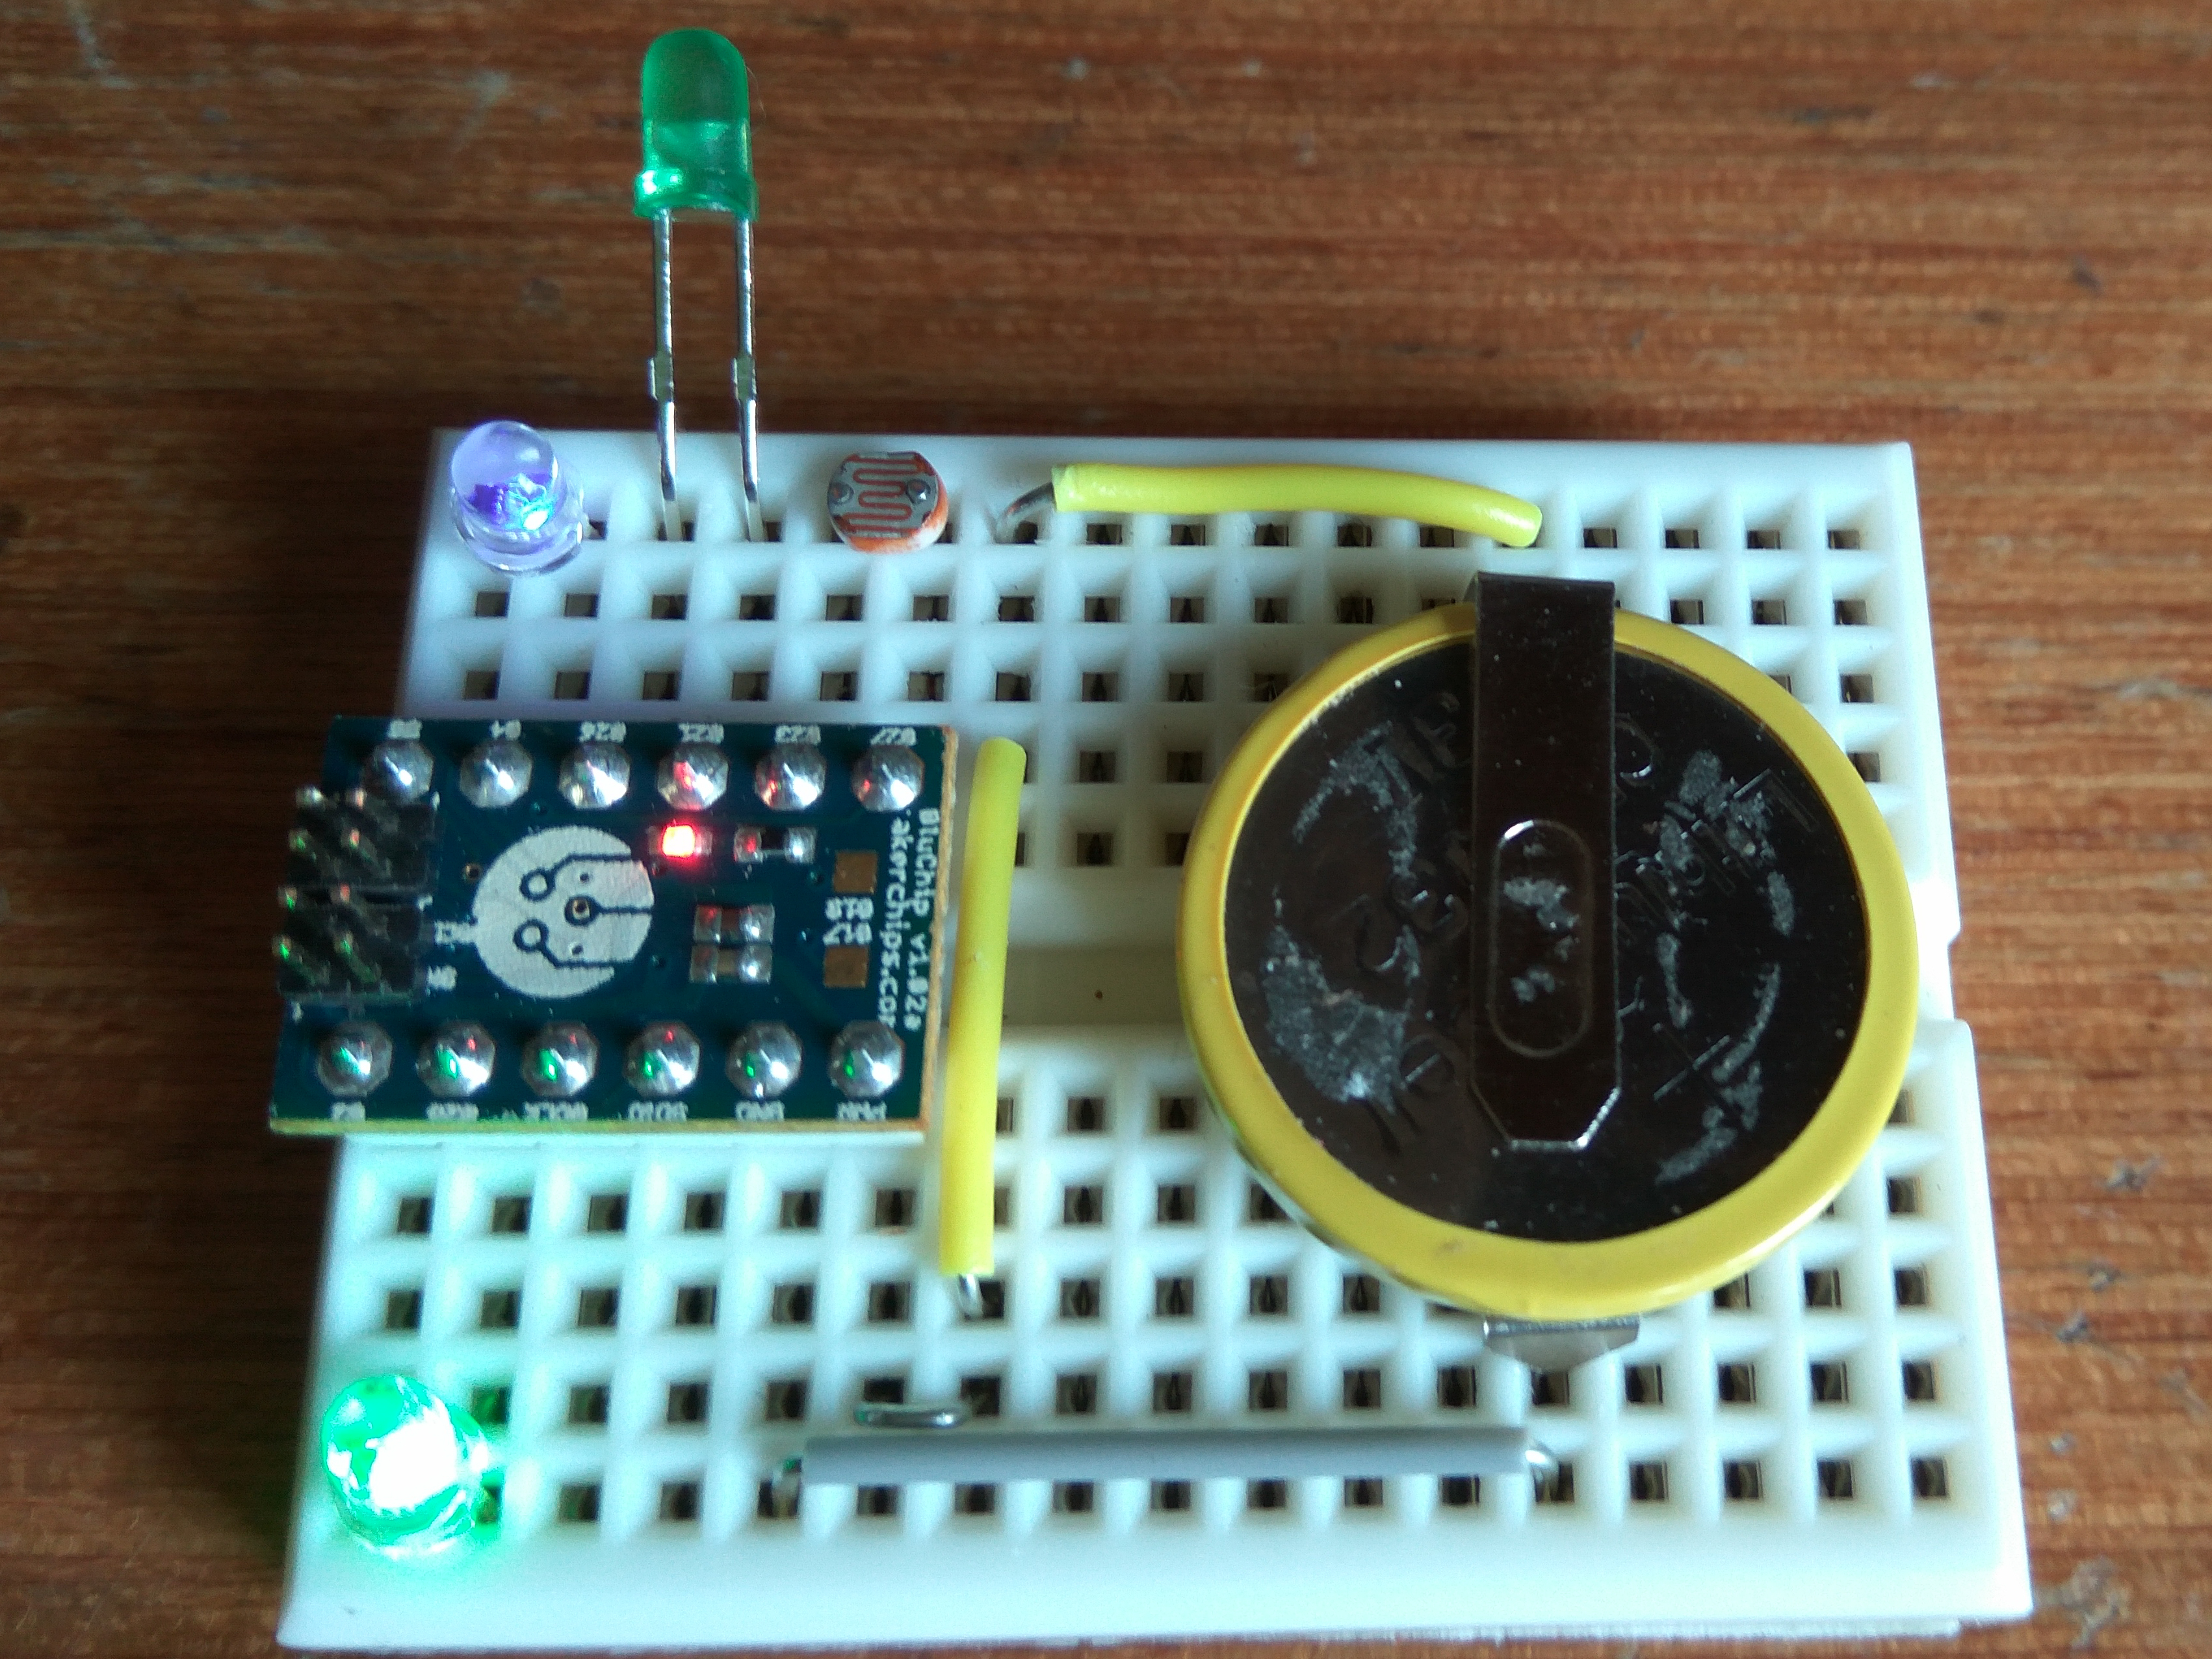
As soon as you pop open the BluChip explorer box, you see it come to life with blinking LEDs, quite a fascinating sight, isn't it?
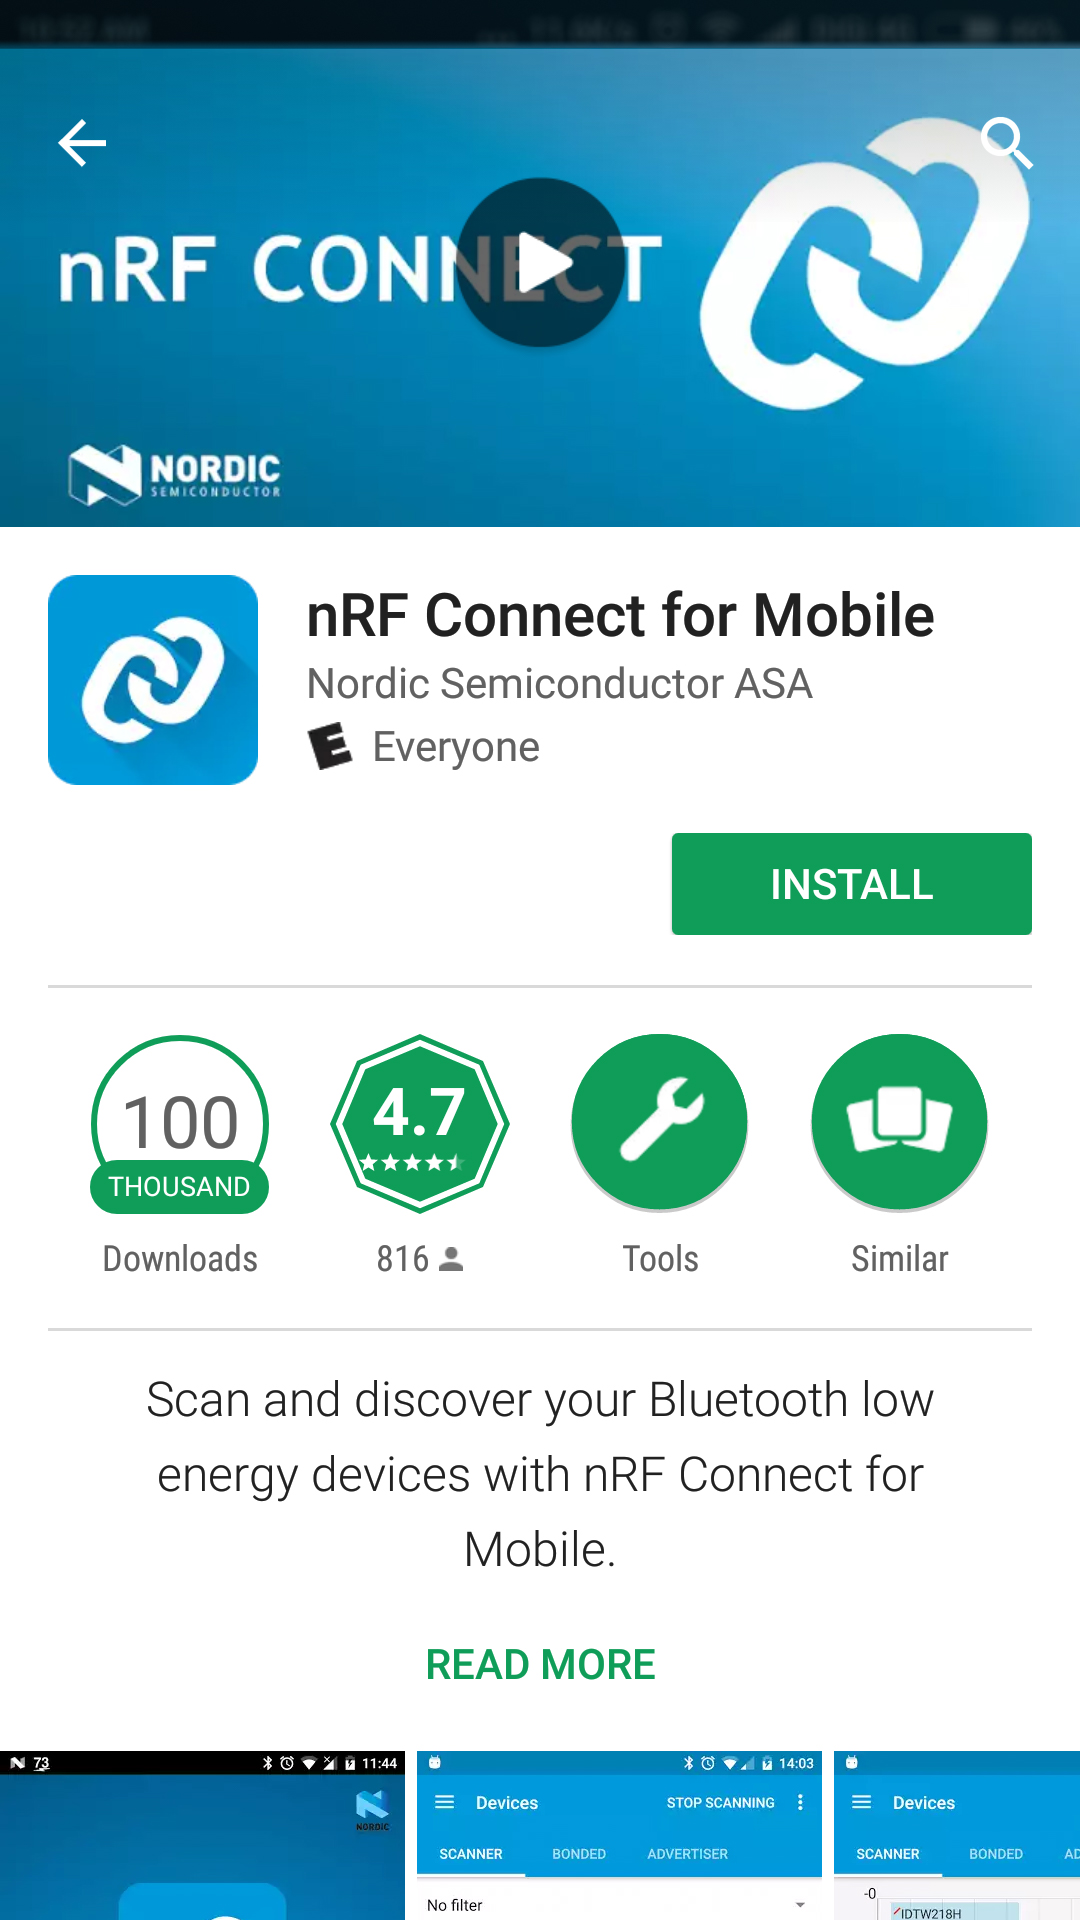
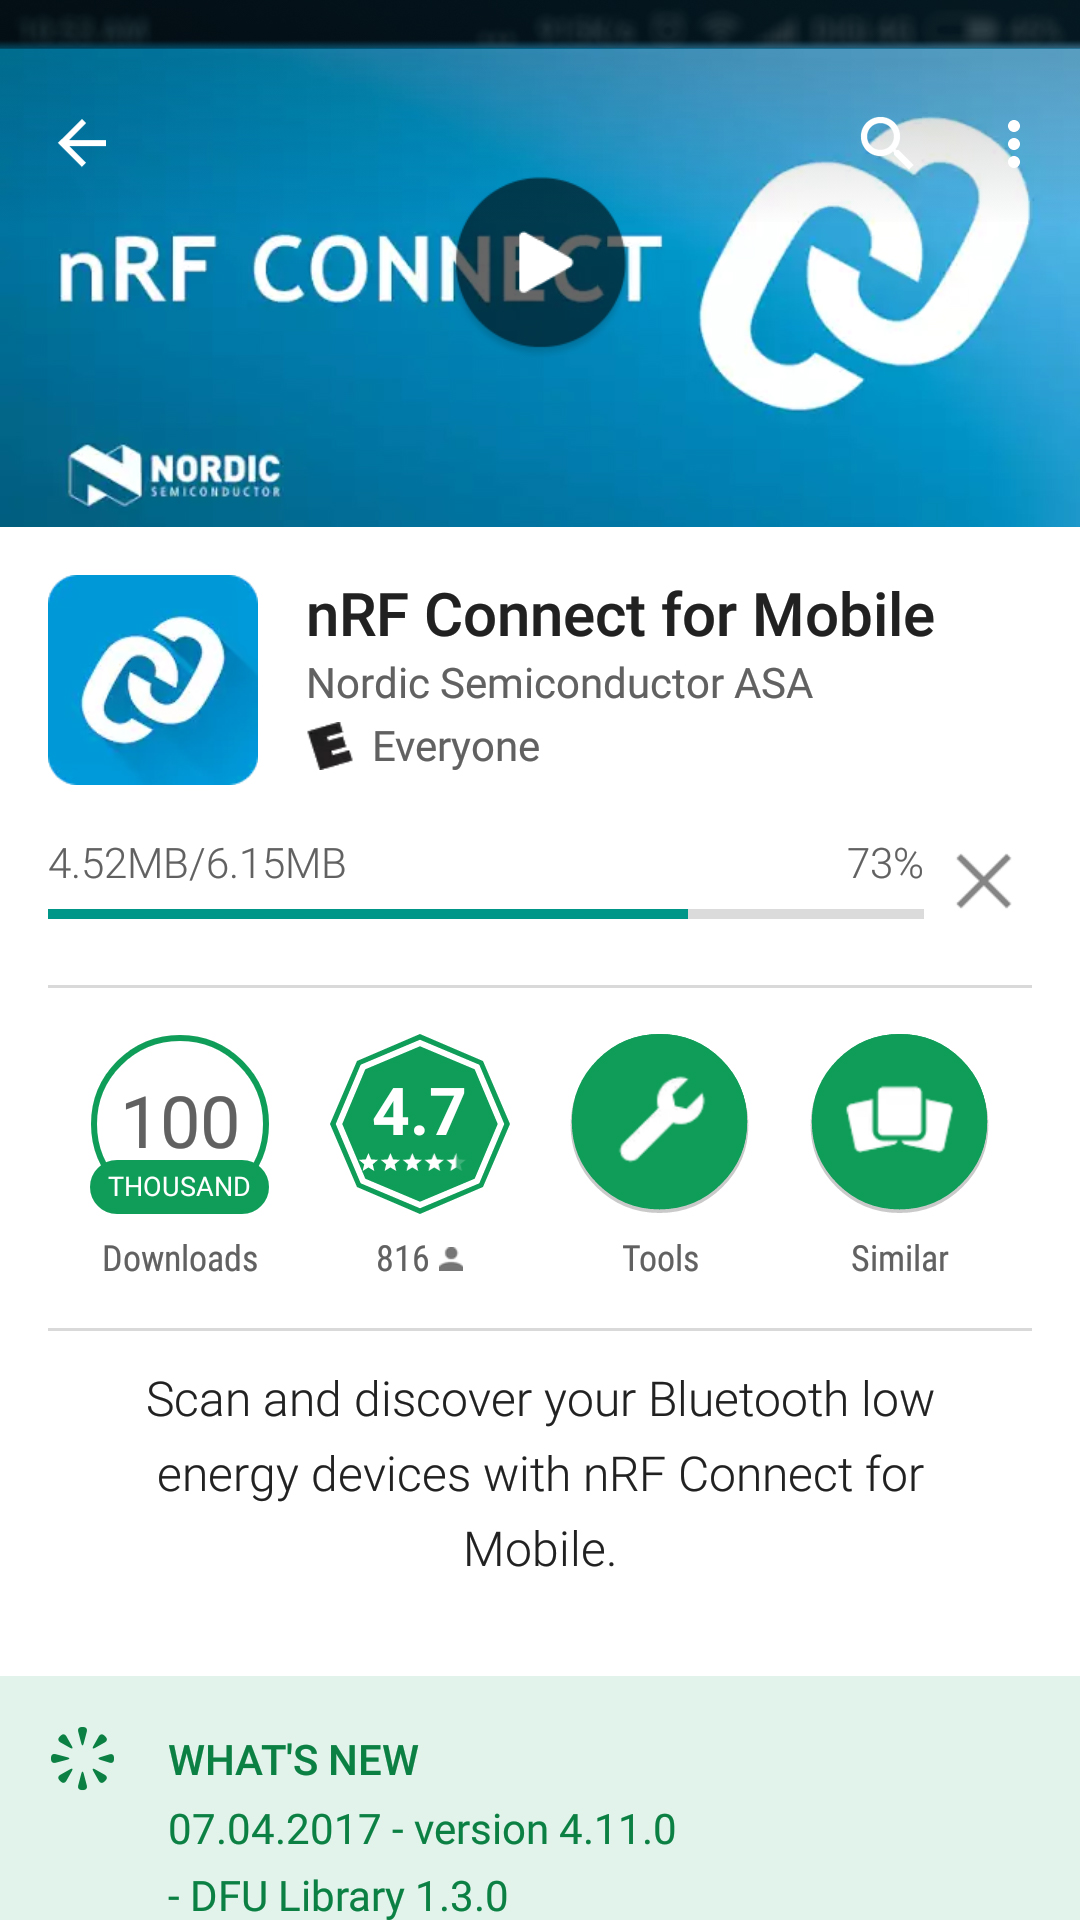
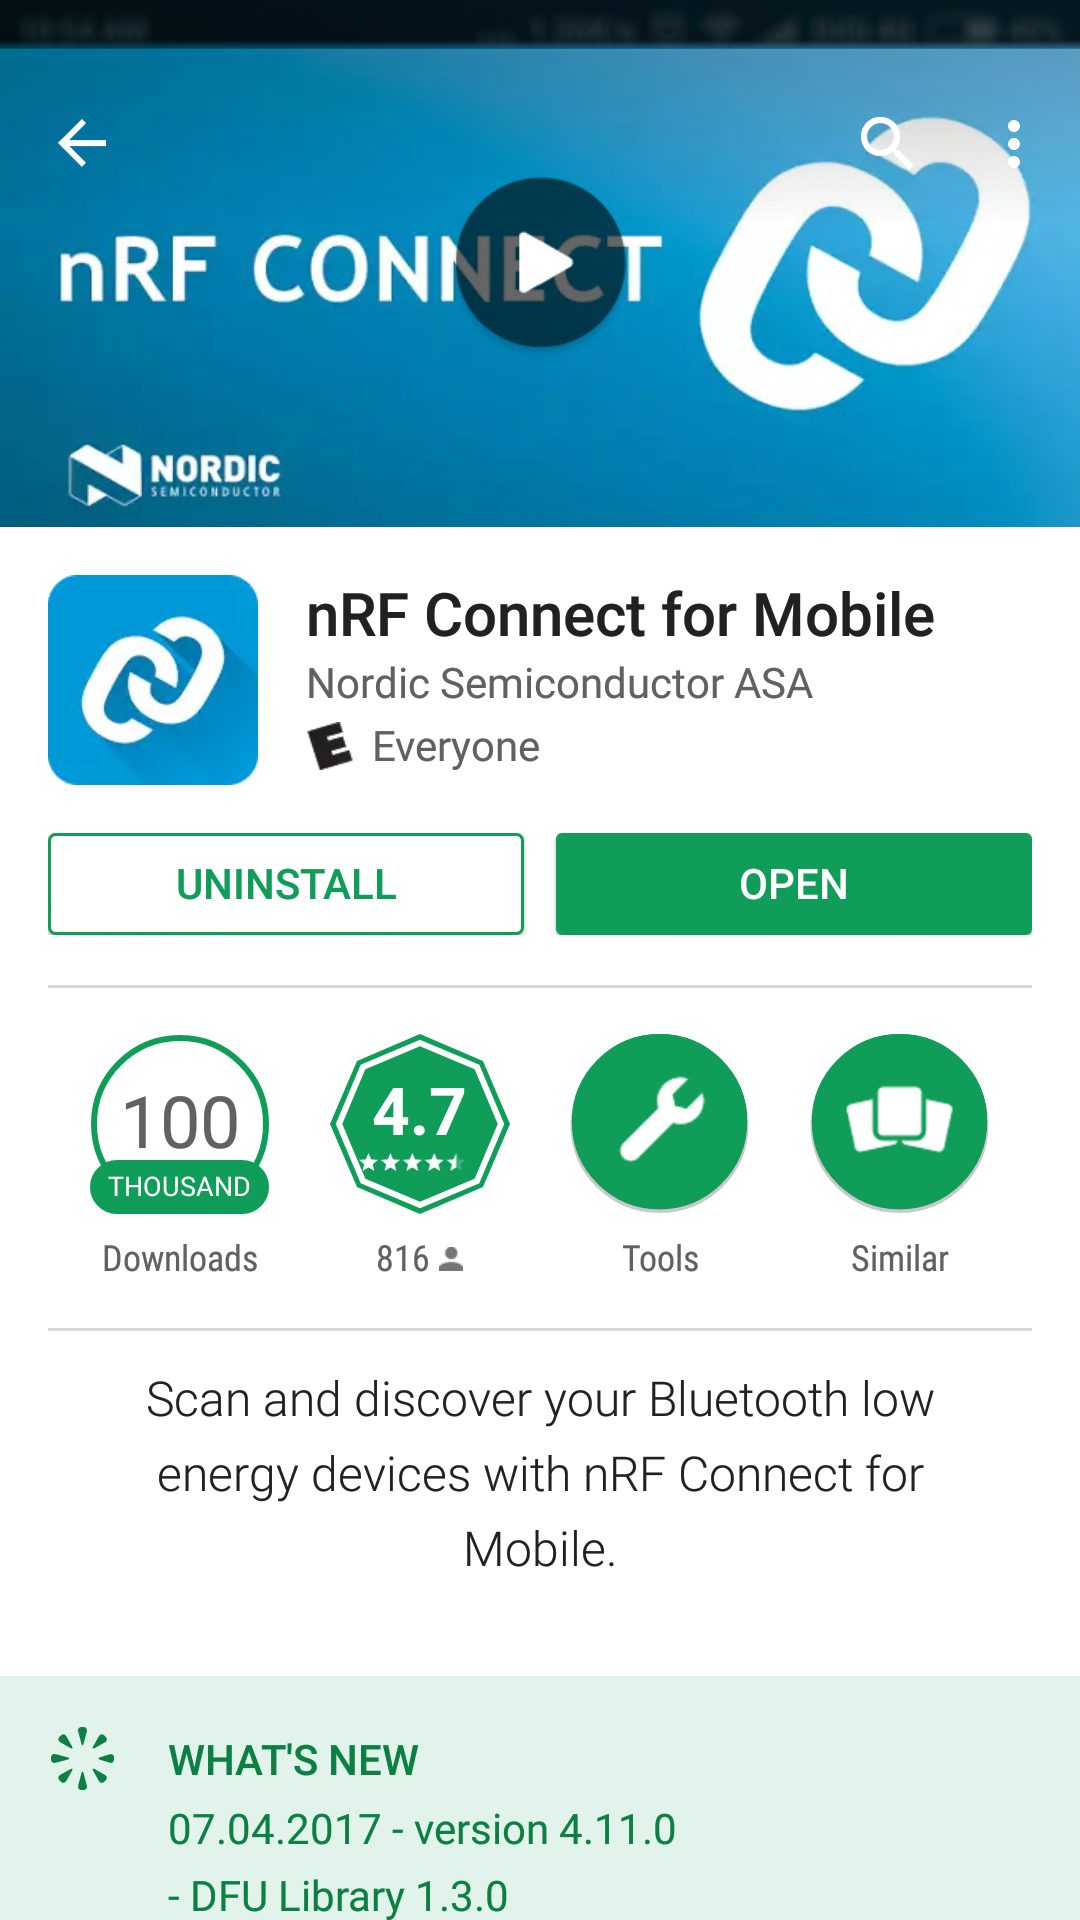
To see what's in store with this BLE module, let's go ahead and install the nRF Connect app from Google Play or App Store.
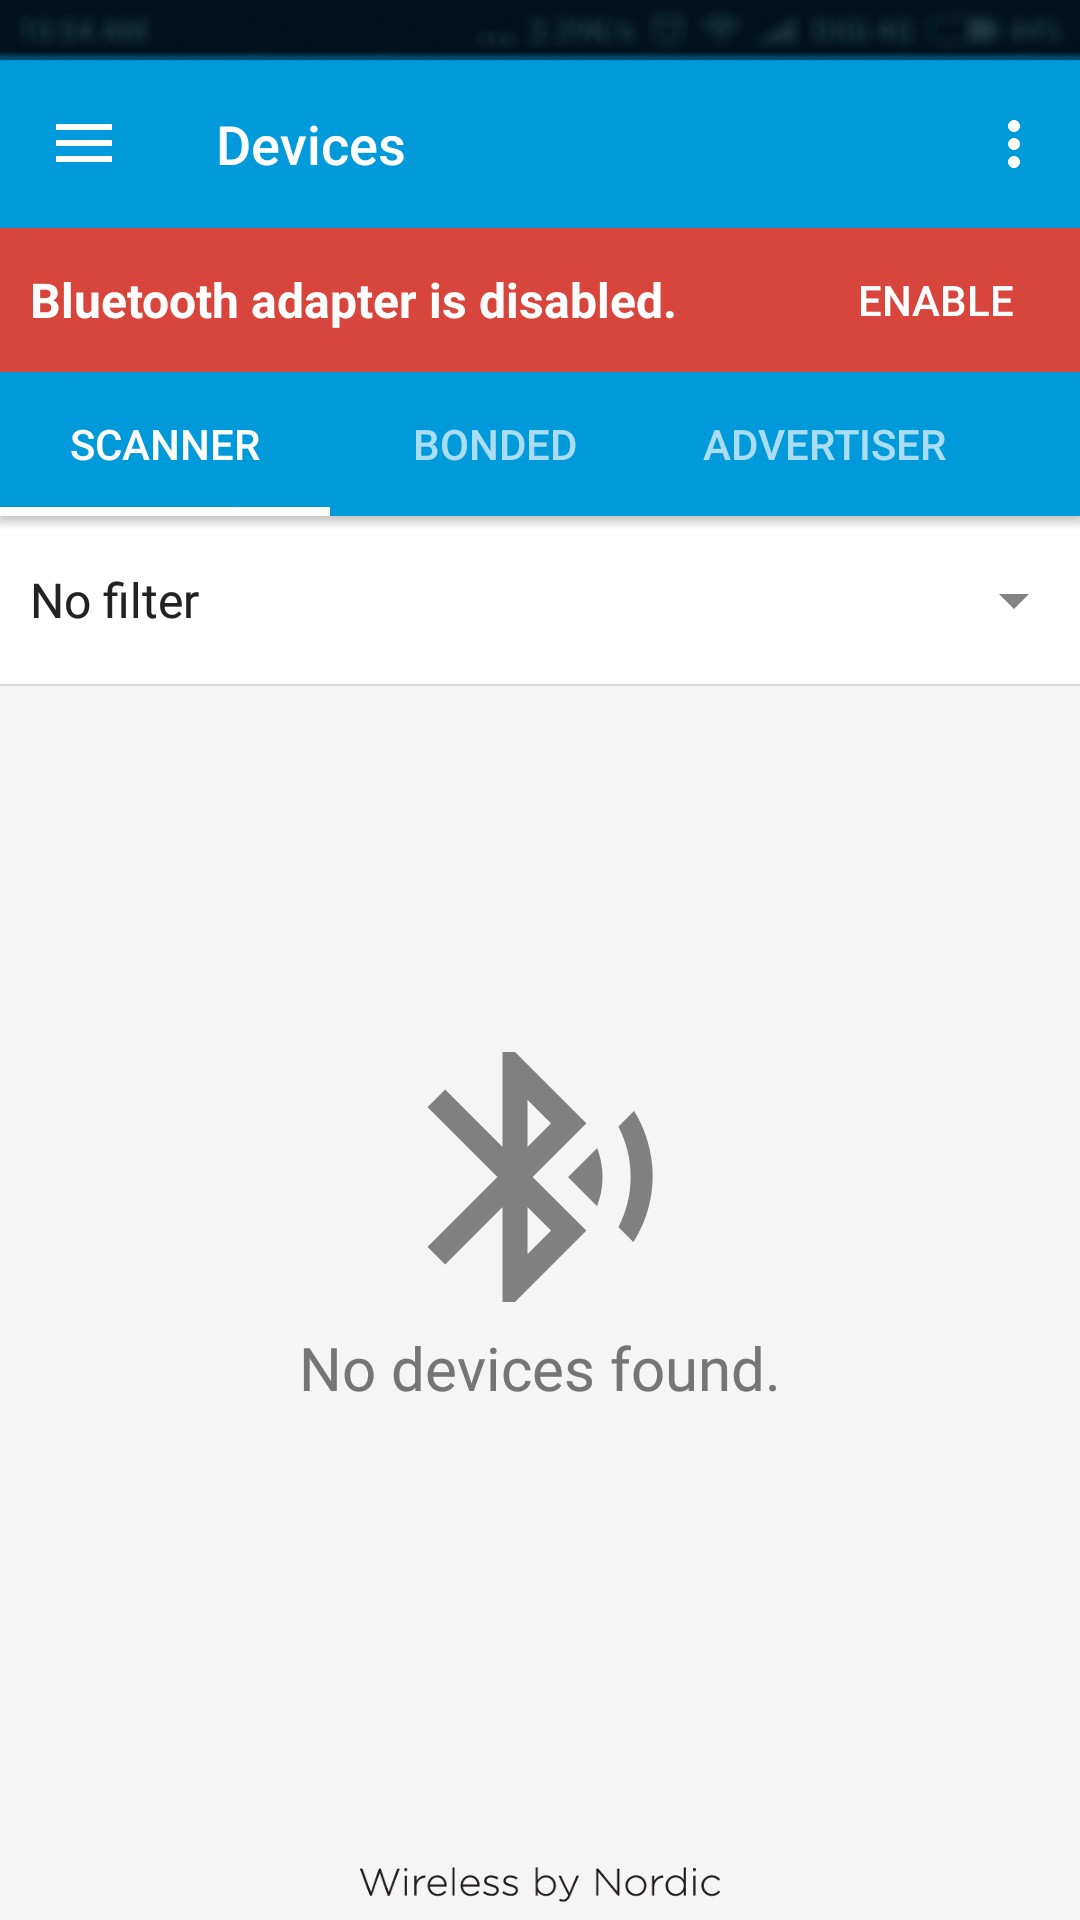
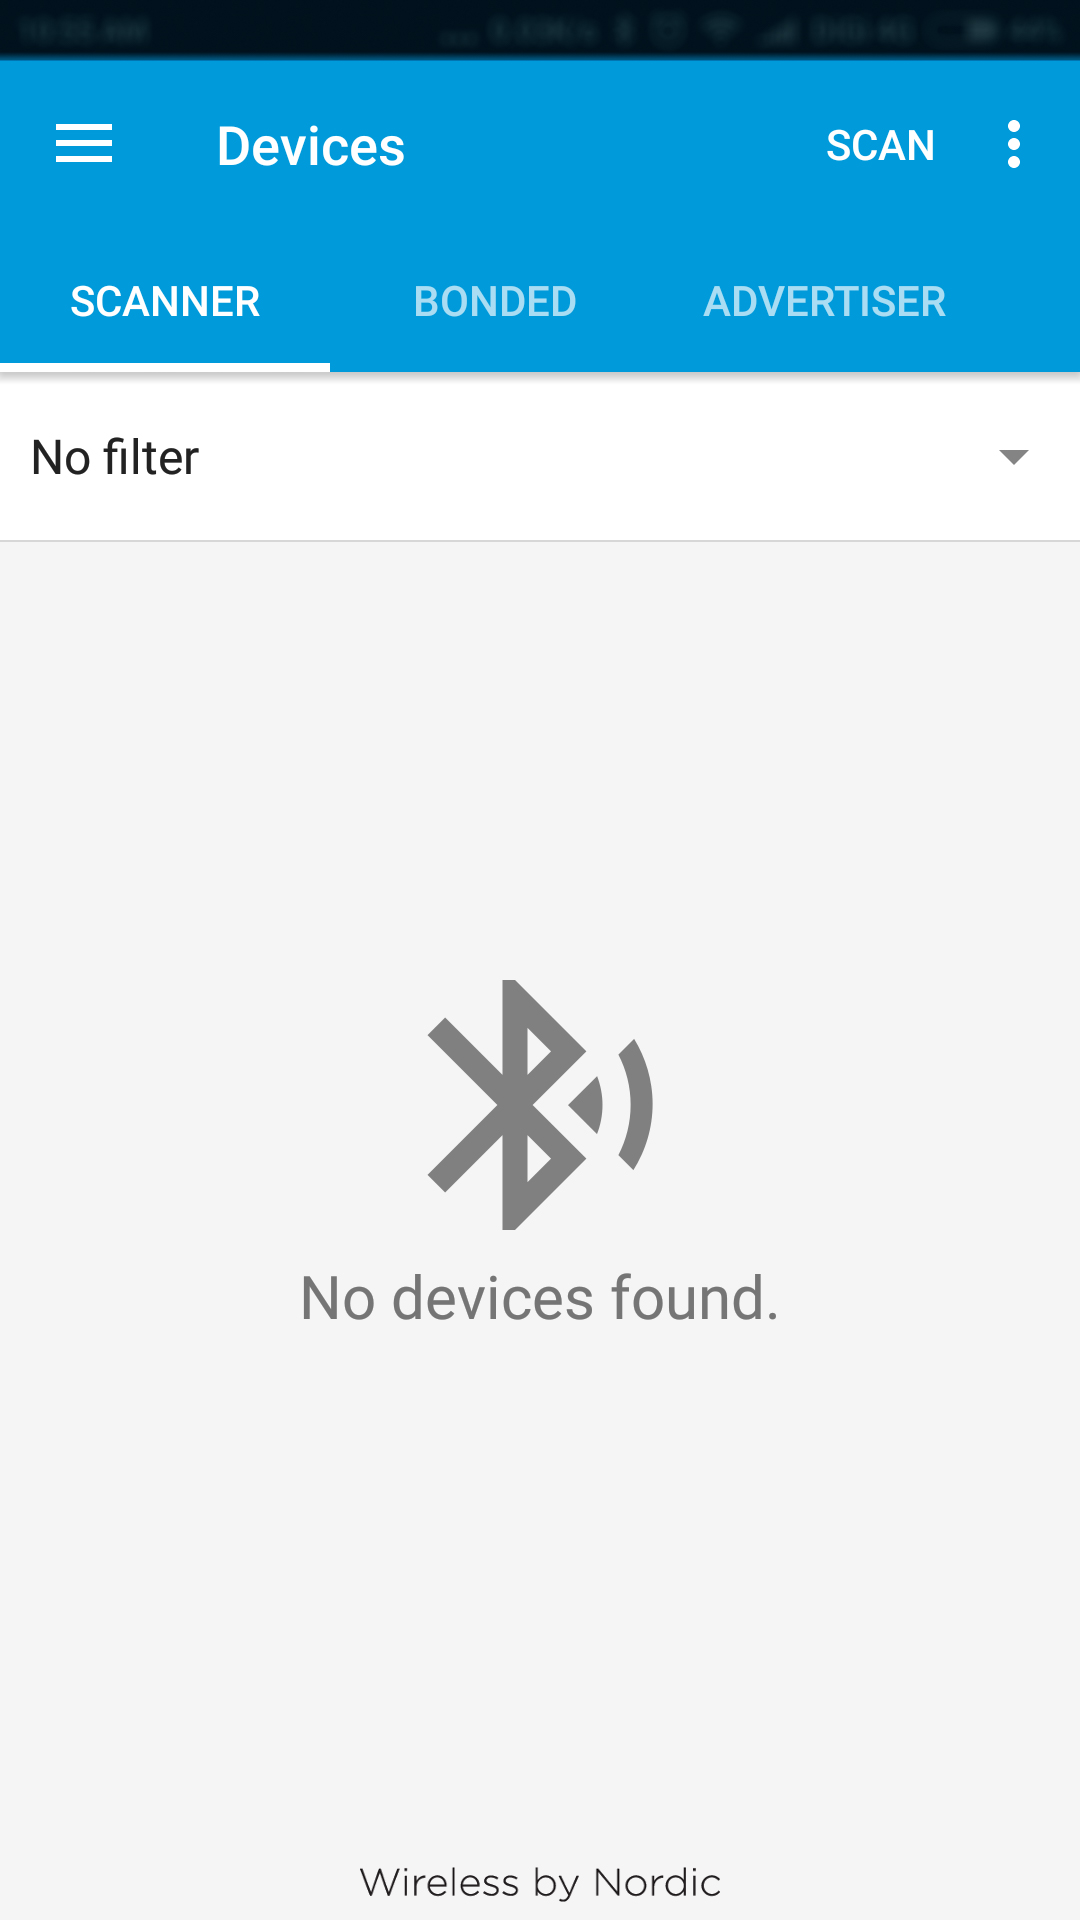
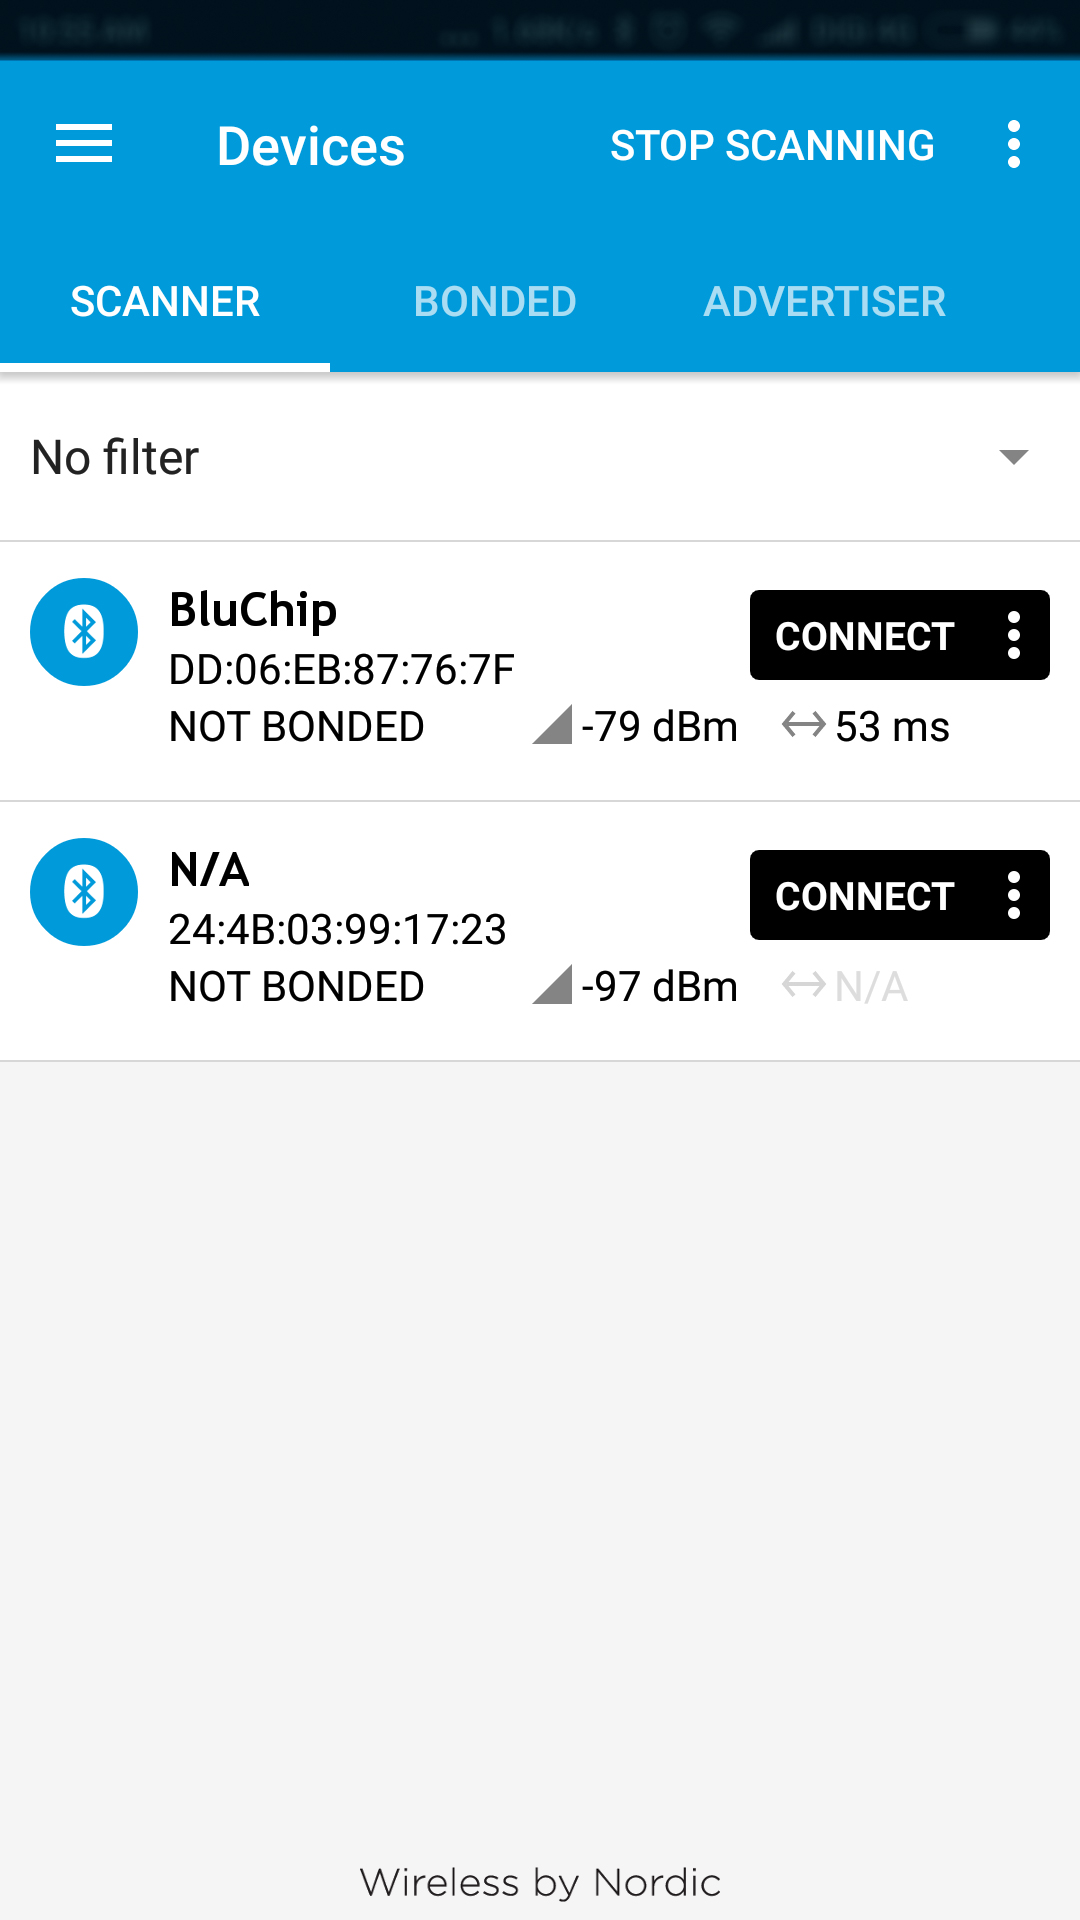
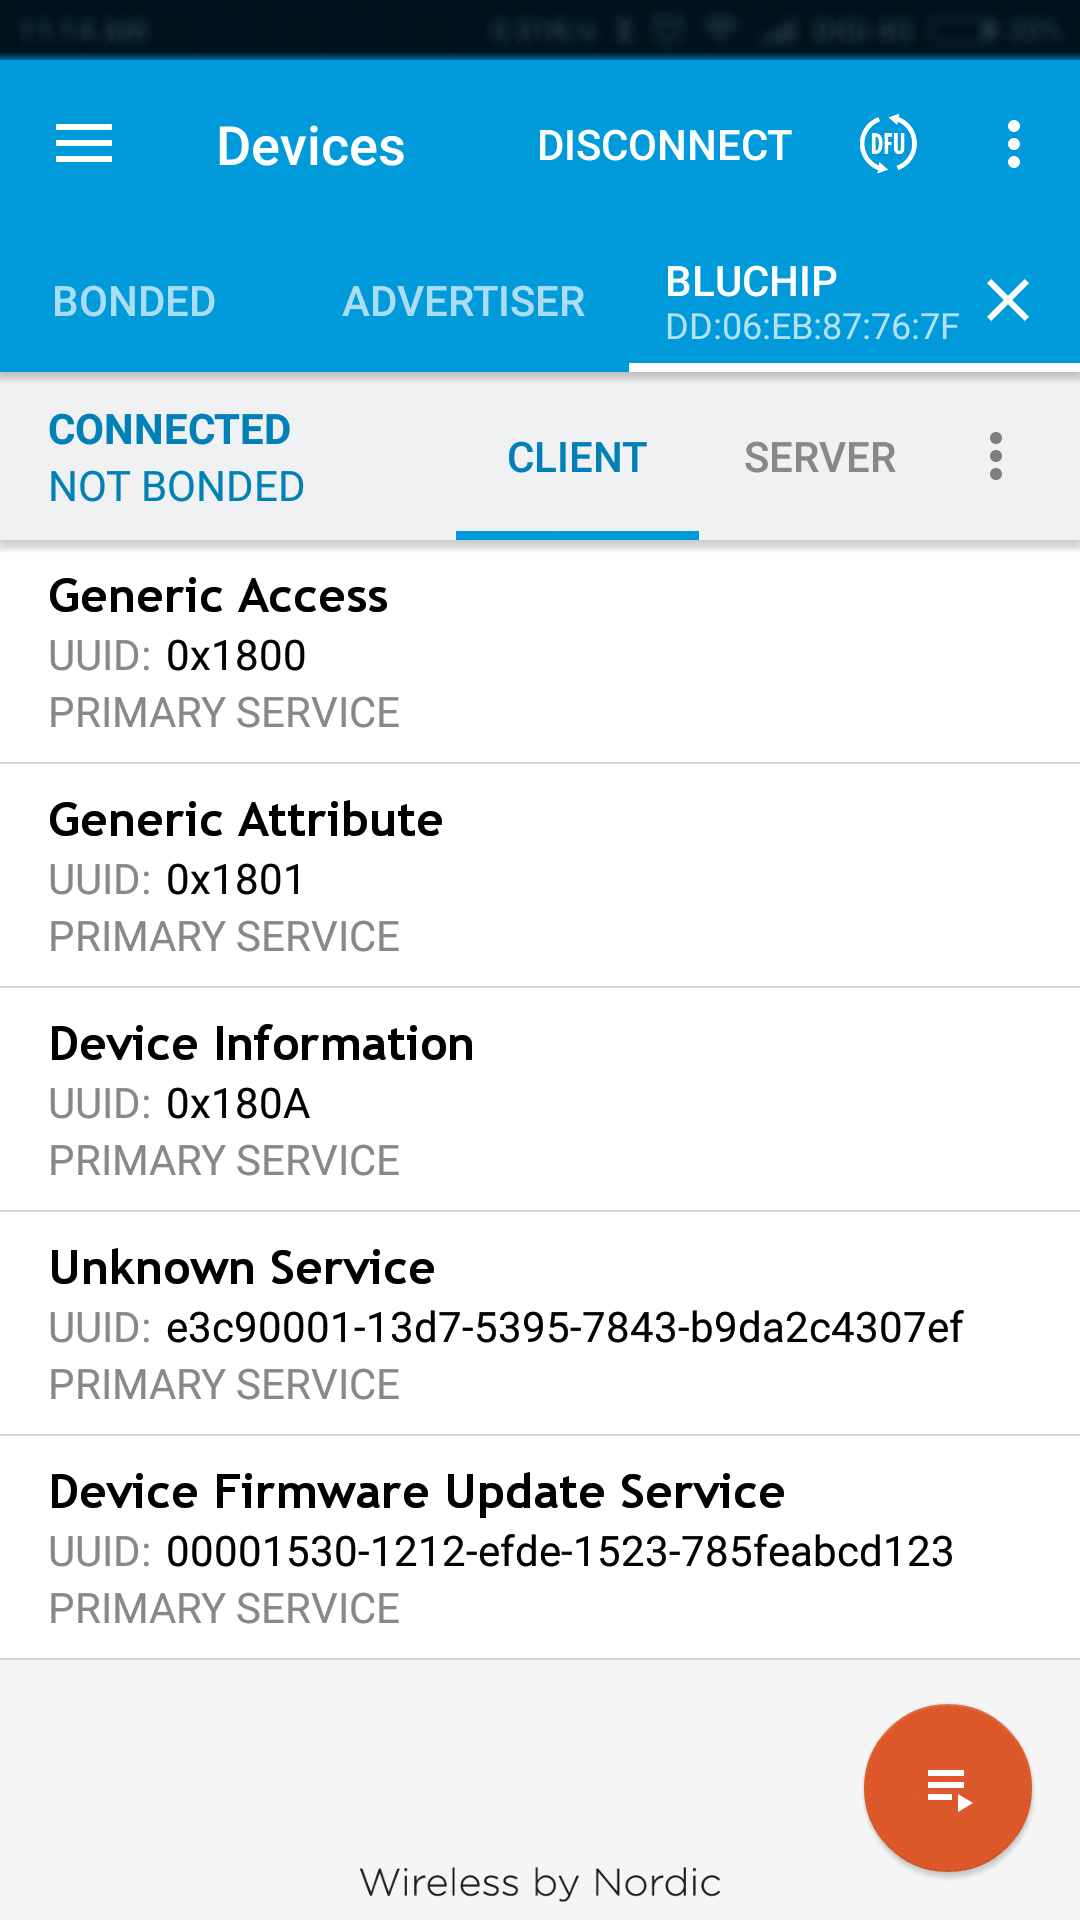
We are going to connect to the BluChip with our phone, so open the nRF Connect app, browse through the welcome screen, and tap Enable to turn Bluetooth on. Next, tap Scan and you'll soon discover that your BluChip device is listed under the Scanner tab.
Before we actually connect to the BluChip, let's get an LED and place it on the breadboard next to pins 026(+ve) and 021(-ve). The LED should immediately light up because pin 026 outputs 3.3V (logic level HIGH) whereas pin 021 is logic LOW(Ground).
Go ahead and tap connect to establish a connection between your smartphone and the BluChip, which then takes you to the device's client tab in the app.
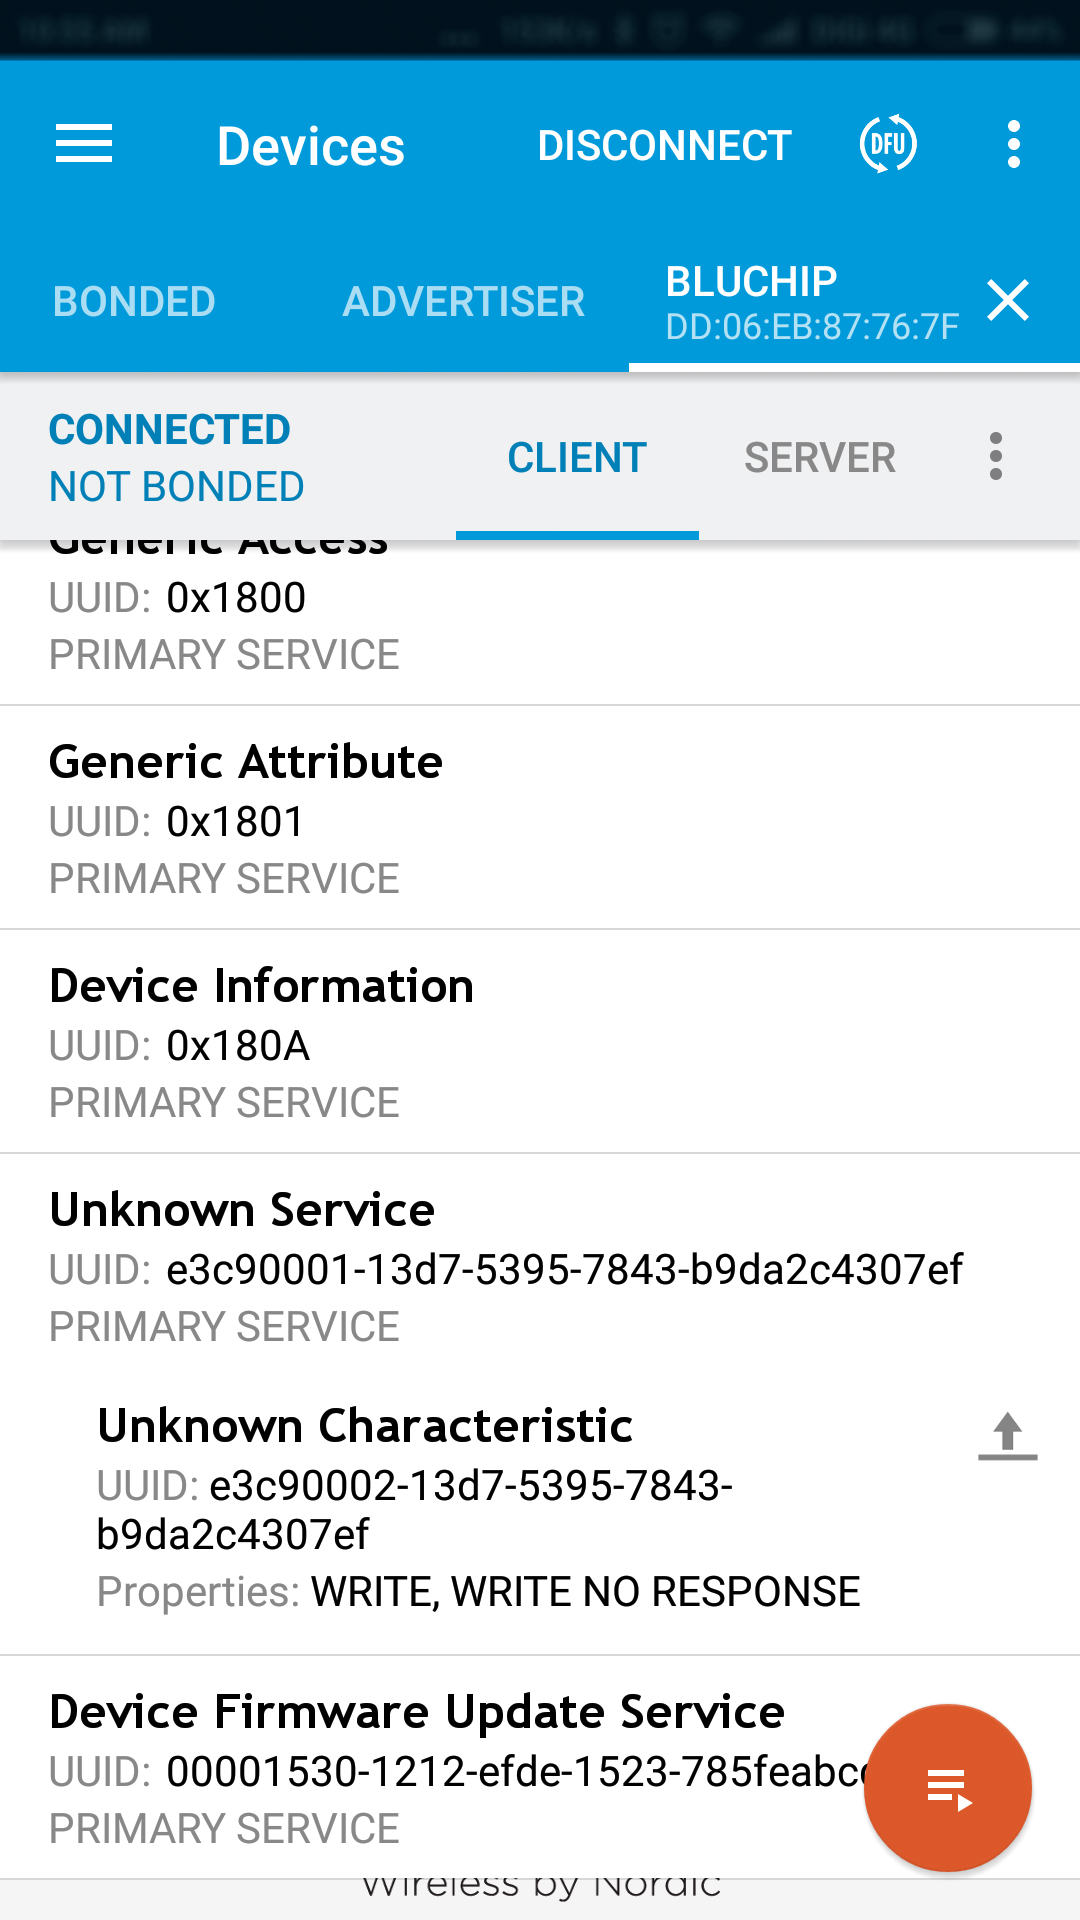
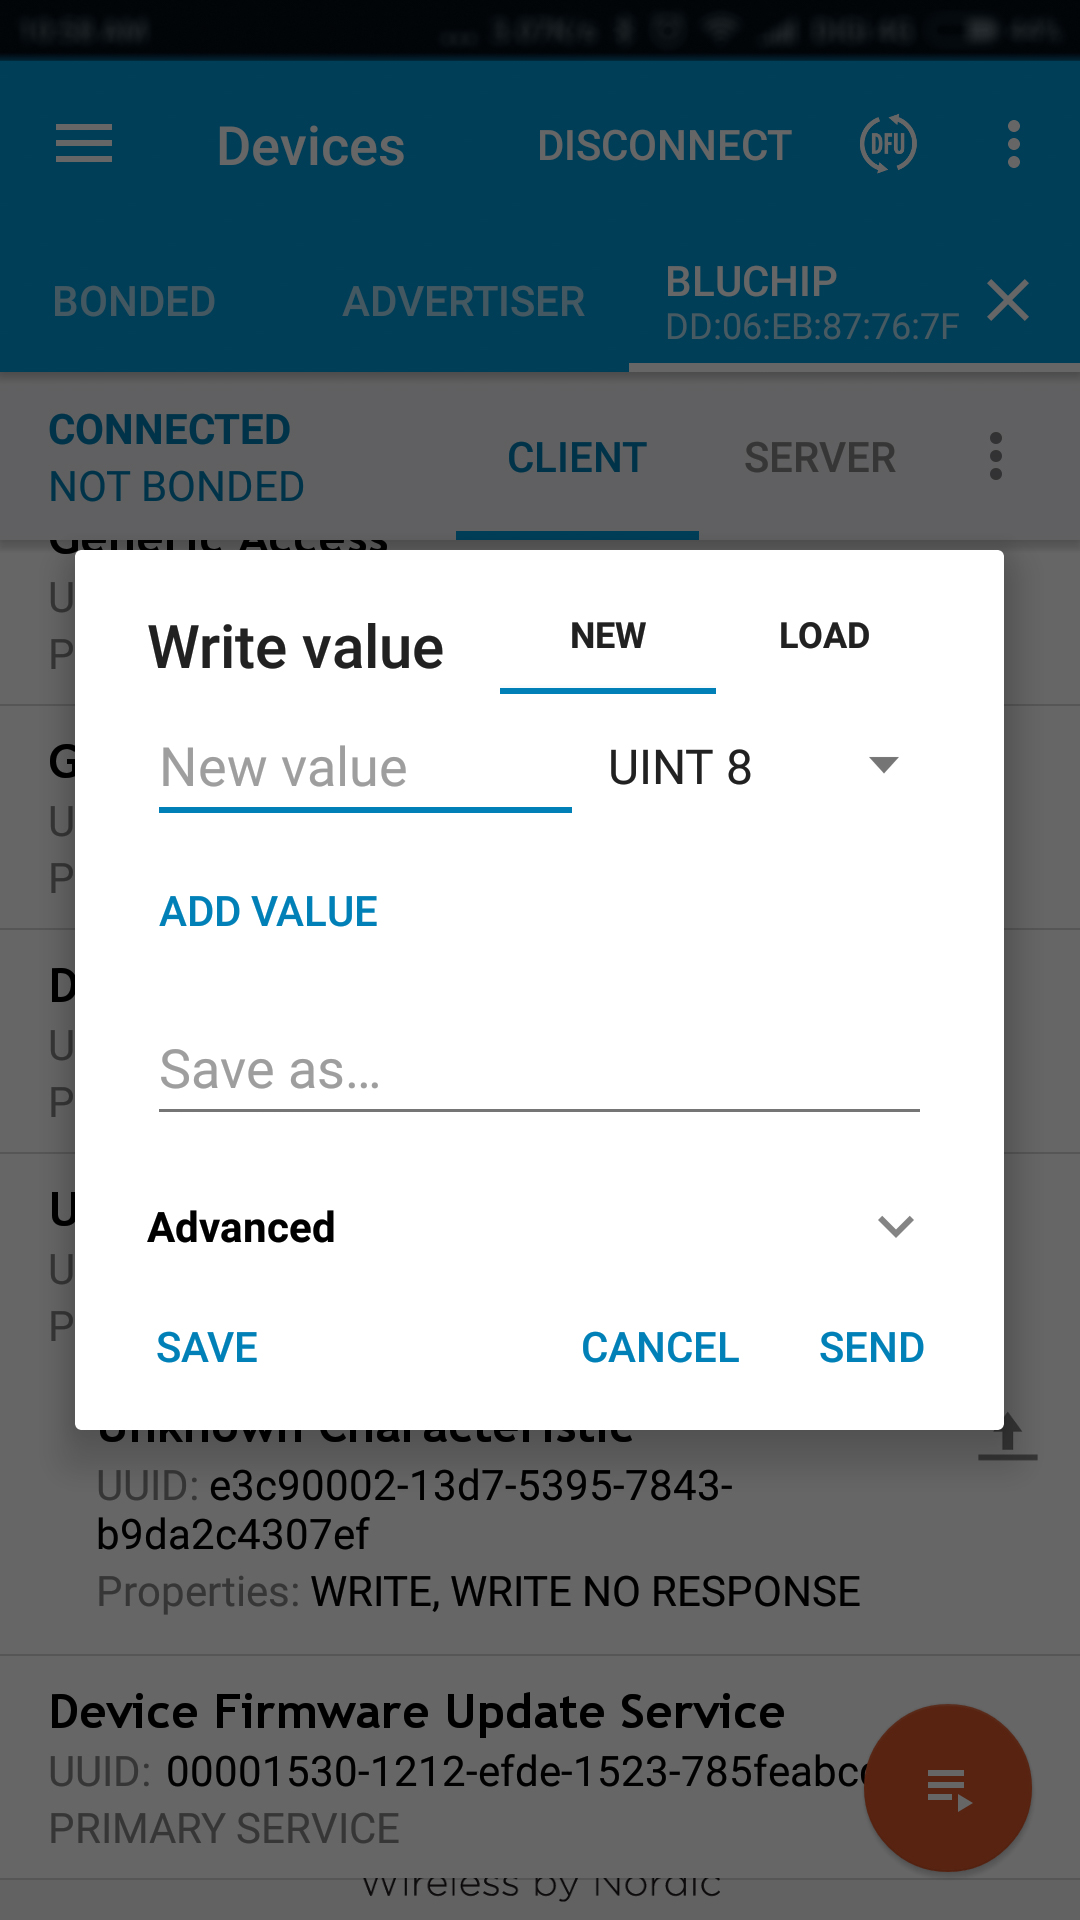
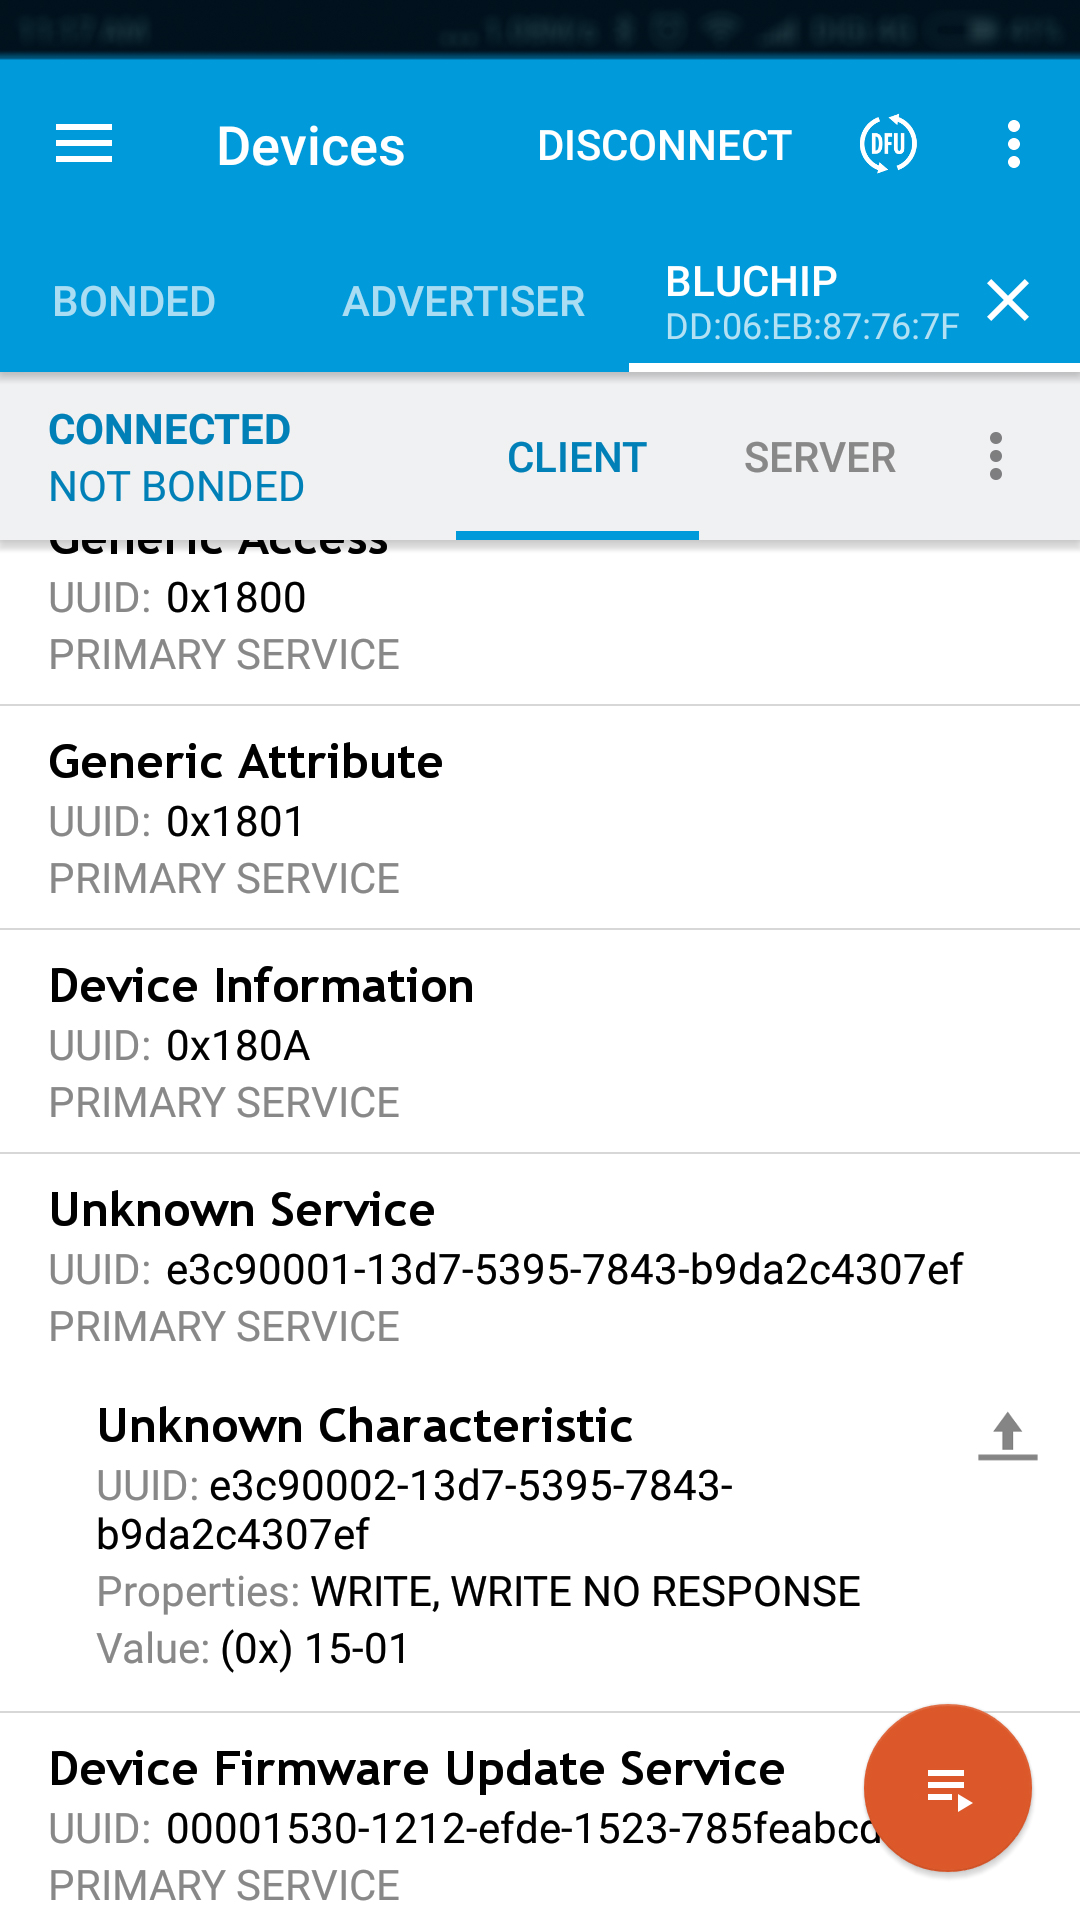
The BluChip client tab displays all the services available on your device. What we're interested here is the BlueChip GPIO Service (listed as Unknown Service). Tap on it and then tap on the upward facing arrow next to the GPIO Modulation Characteristic (listed as Unknown Characteristic).
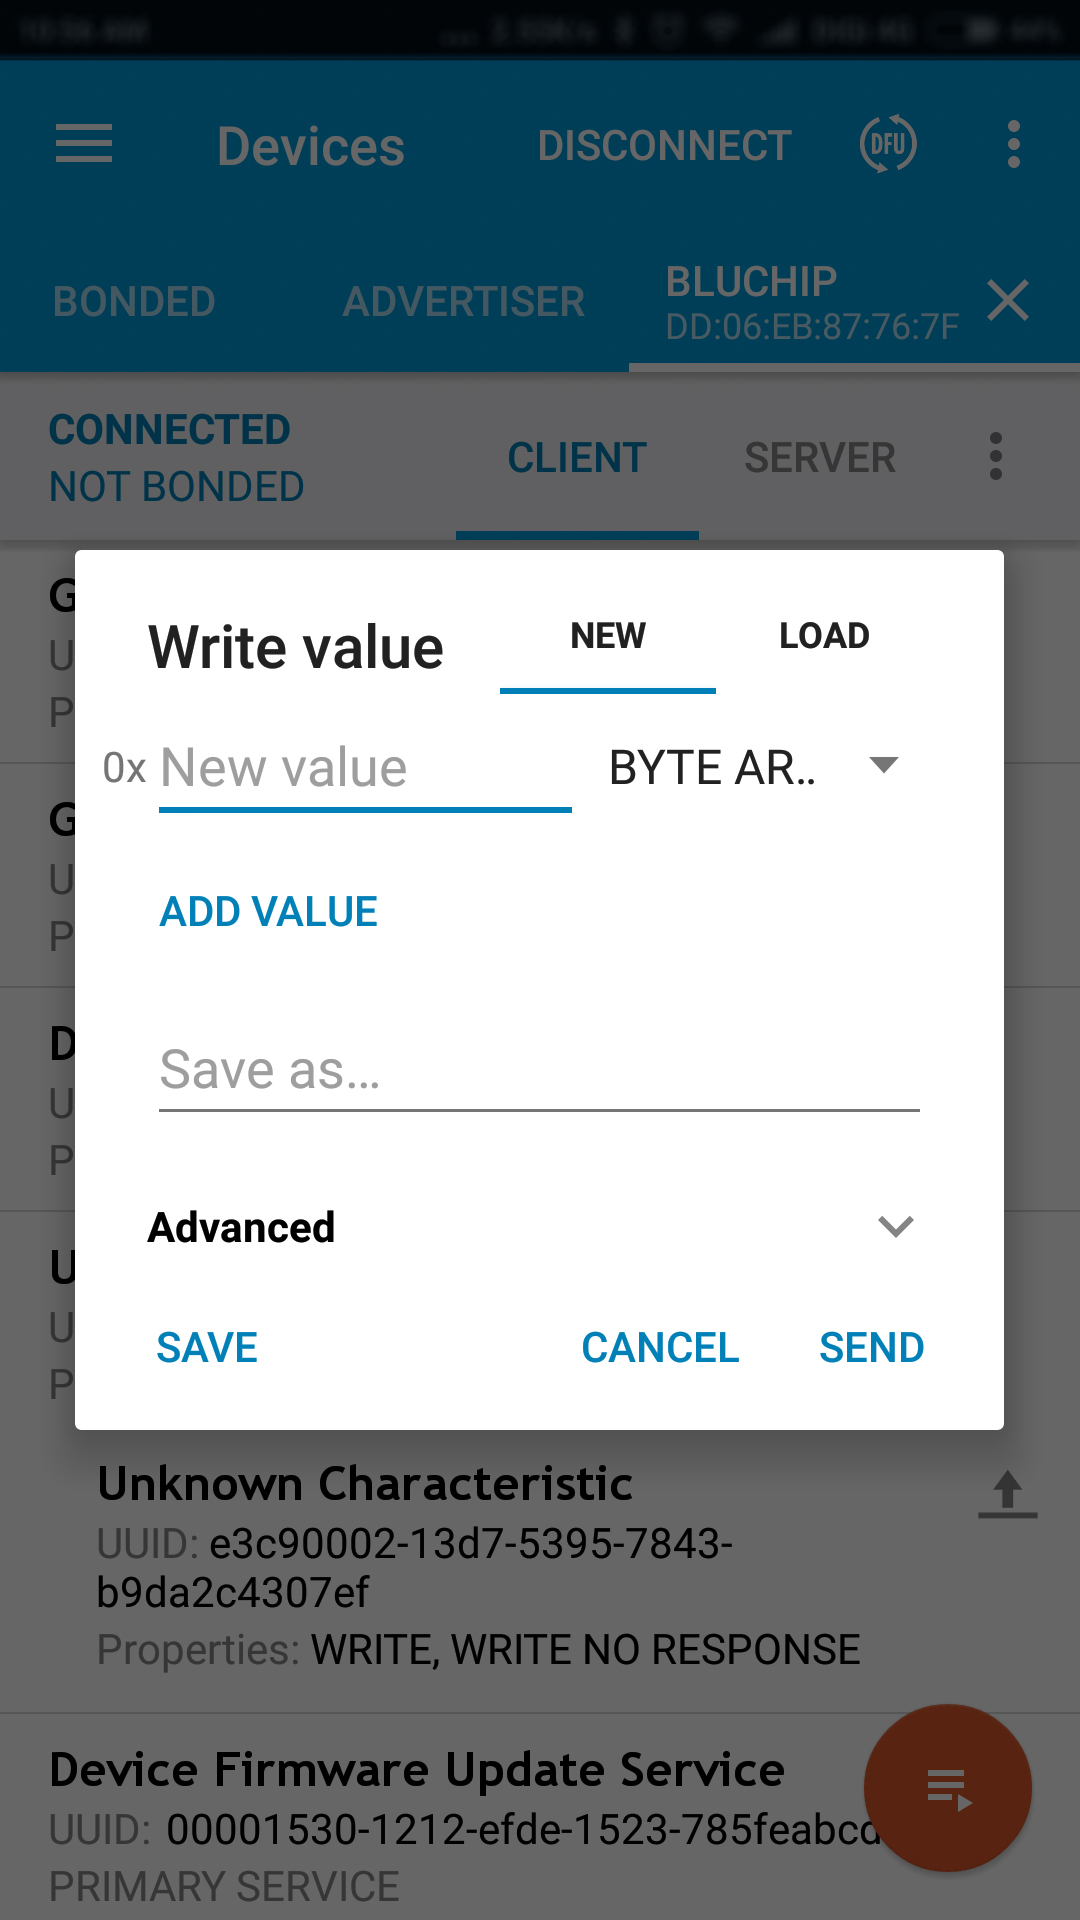
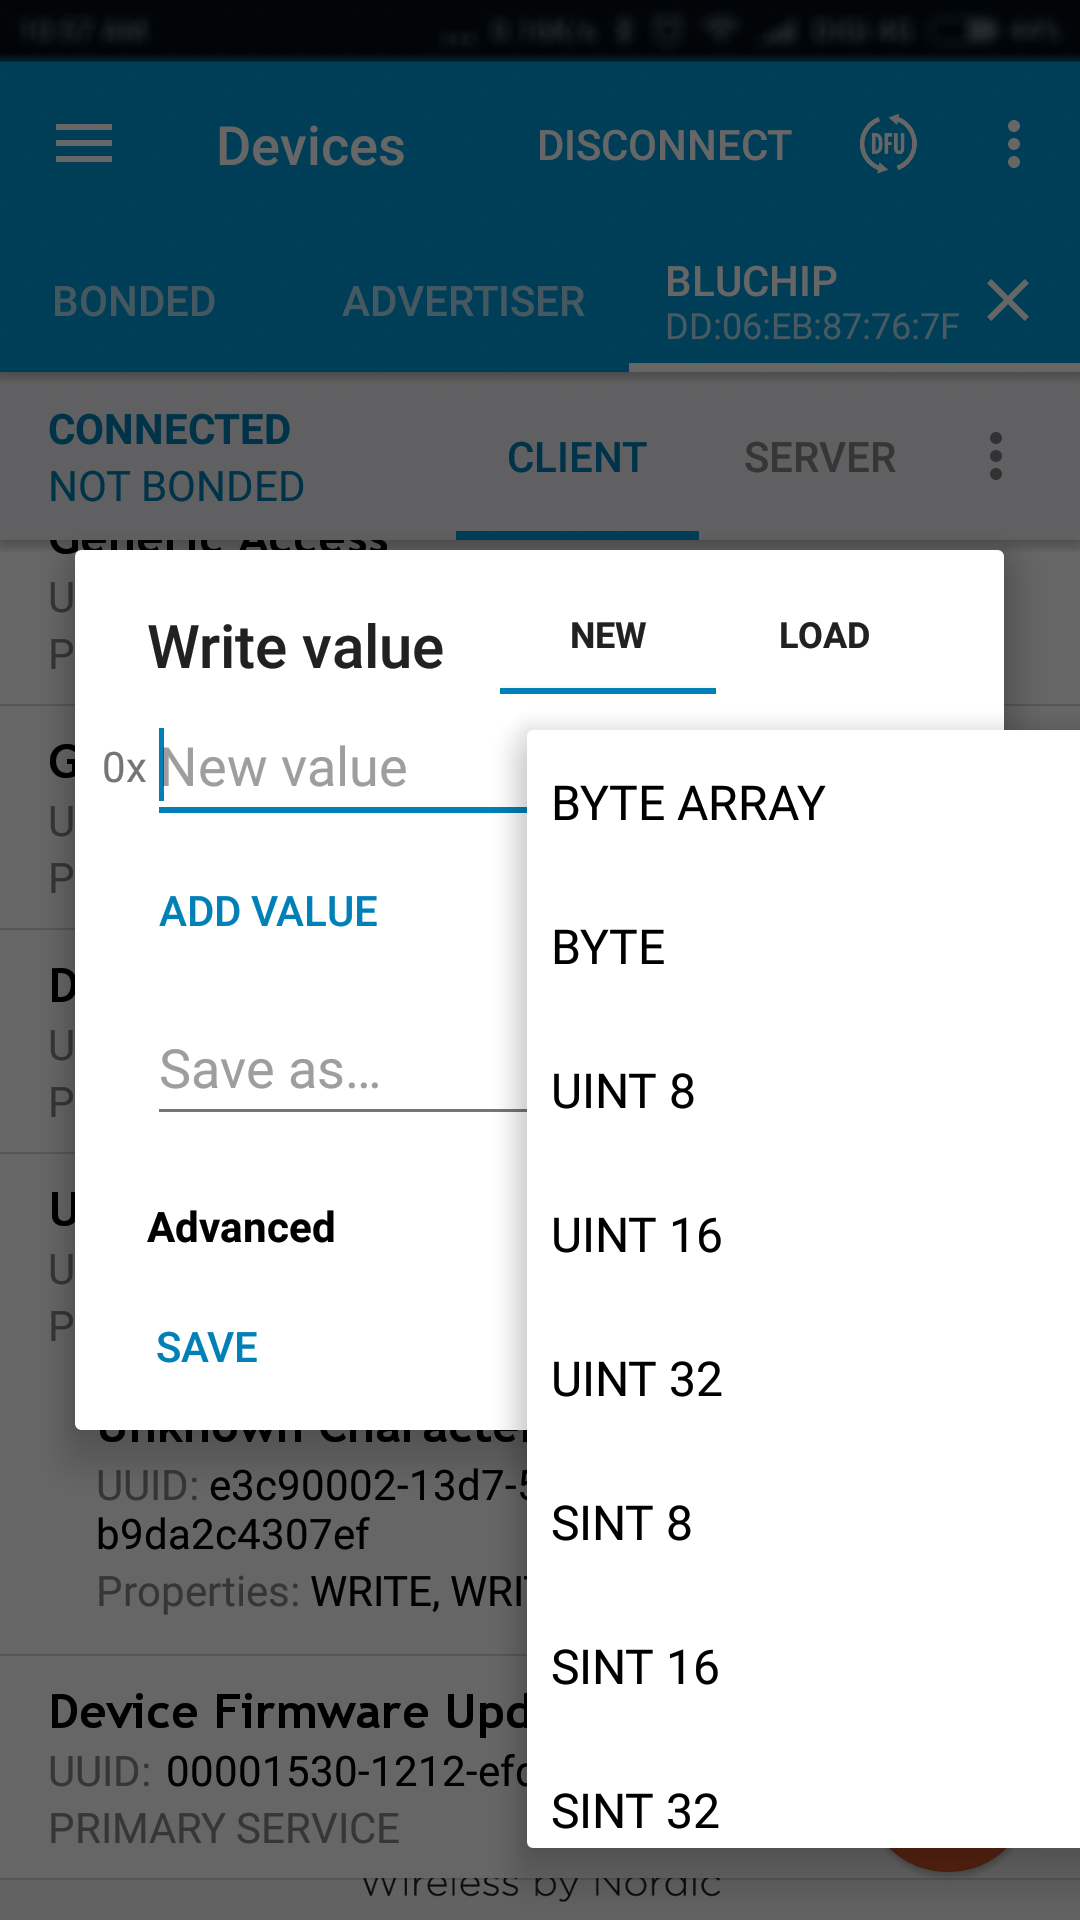
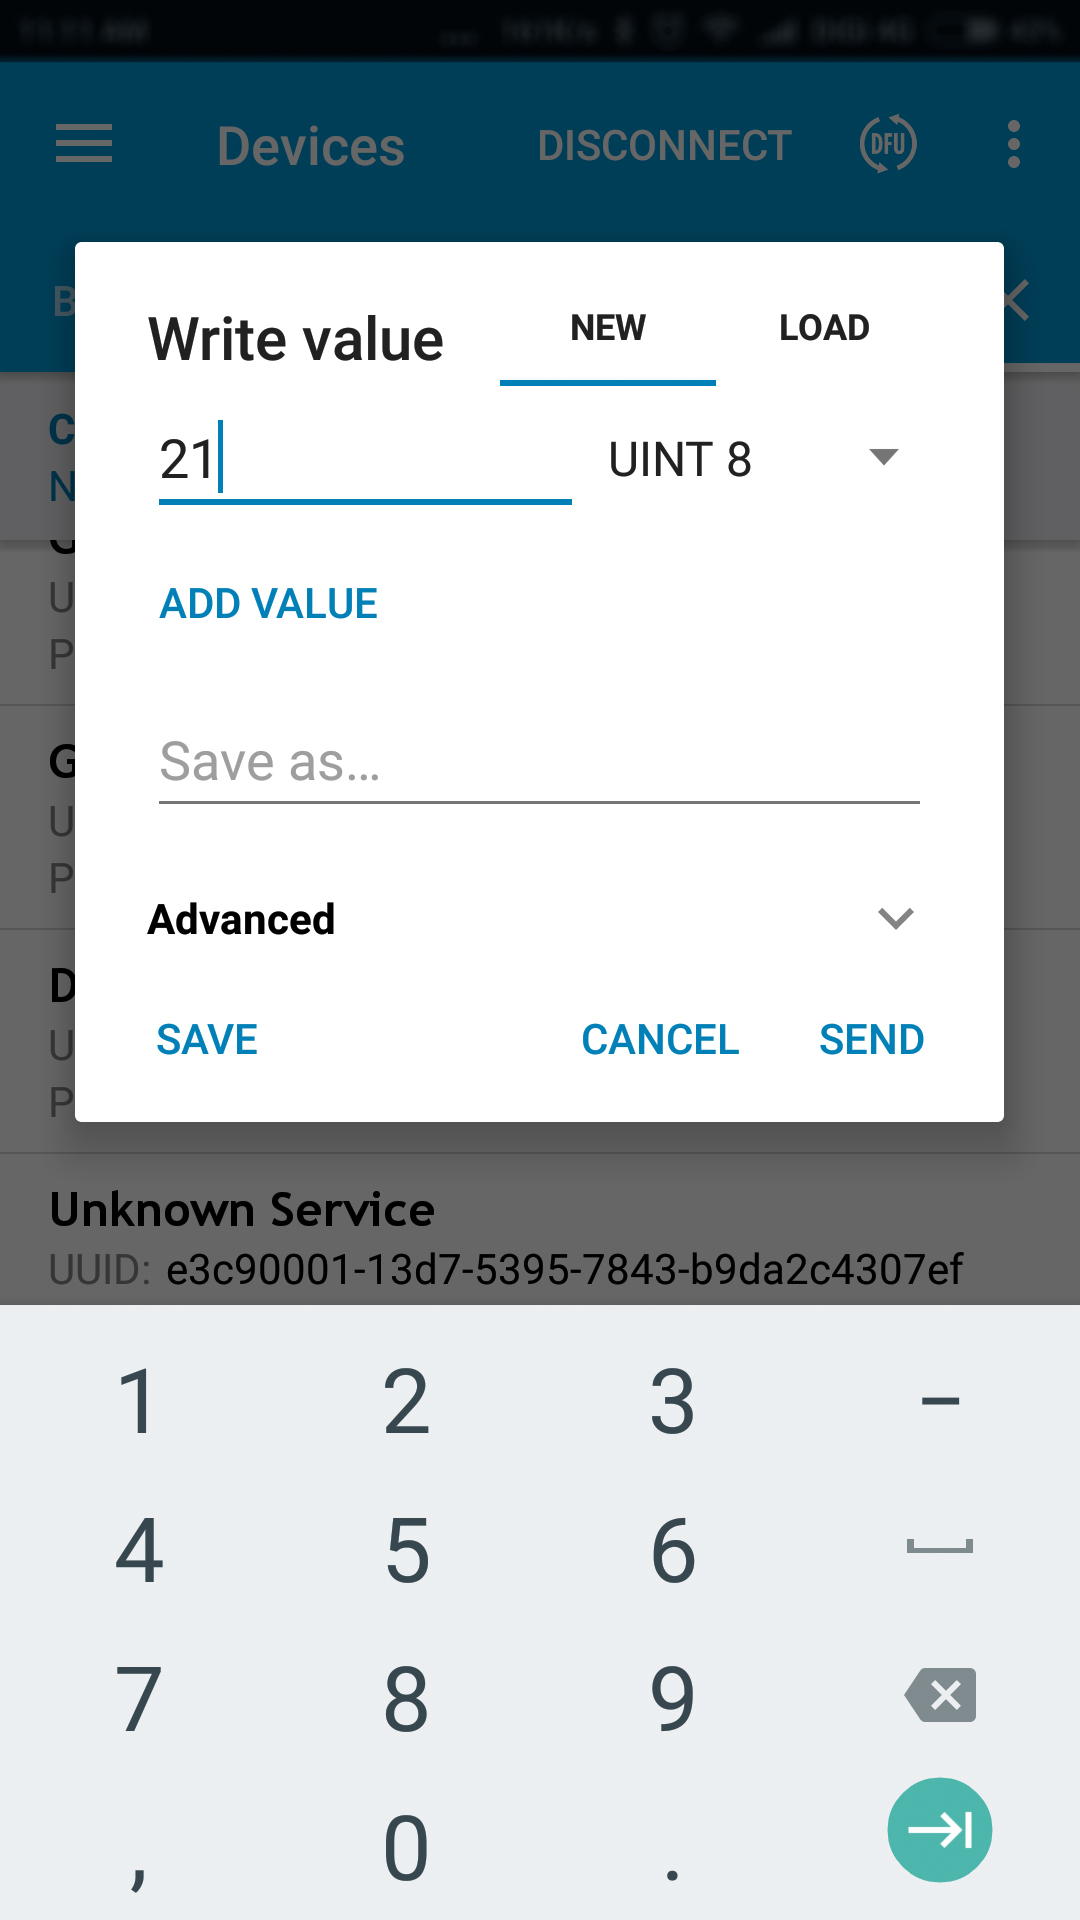
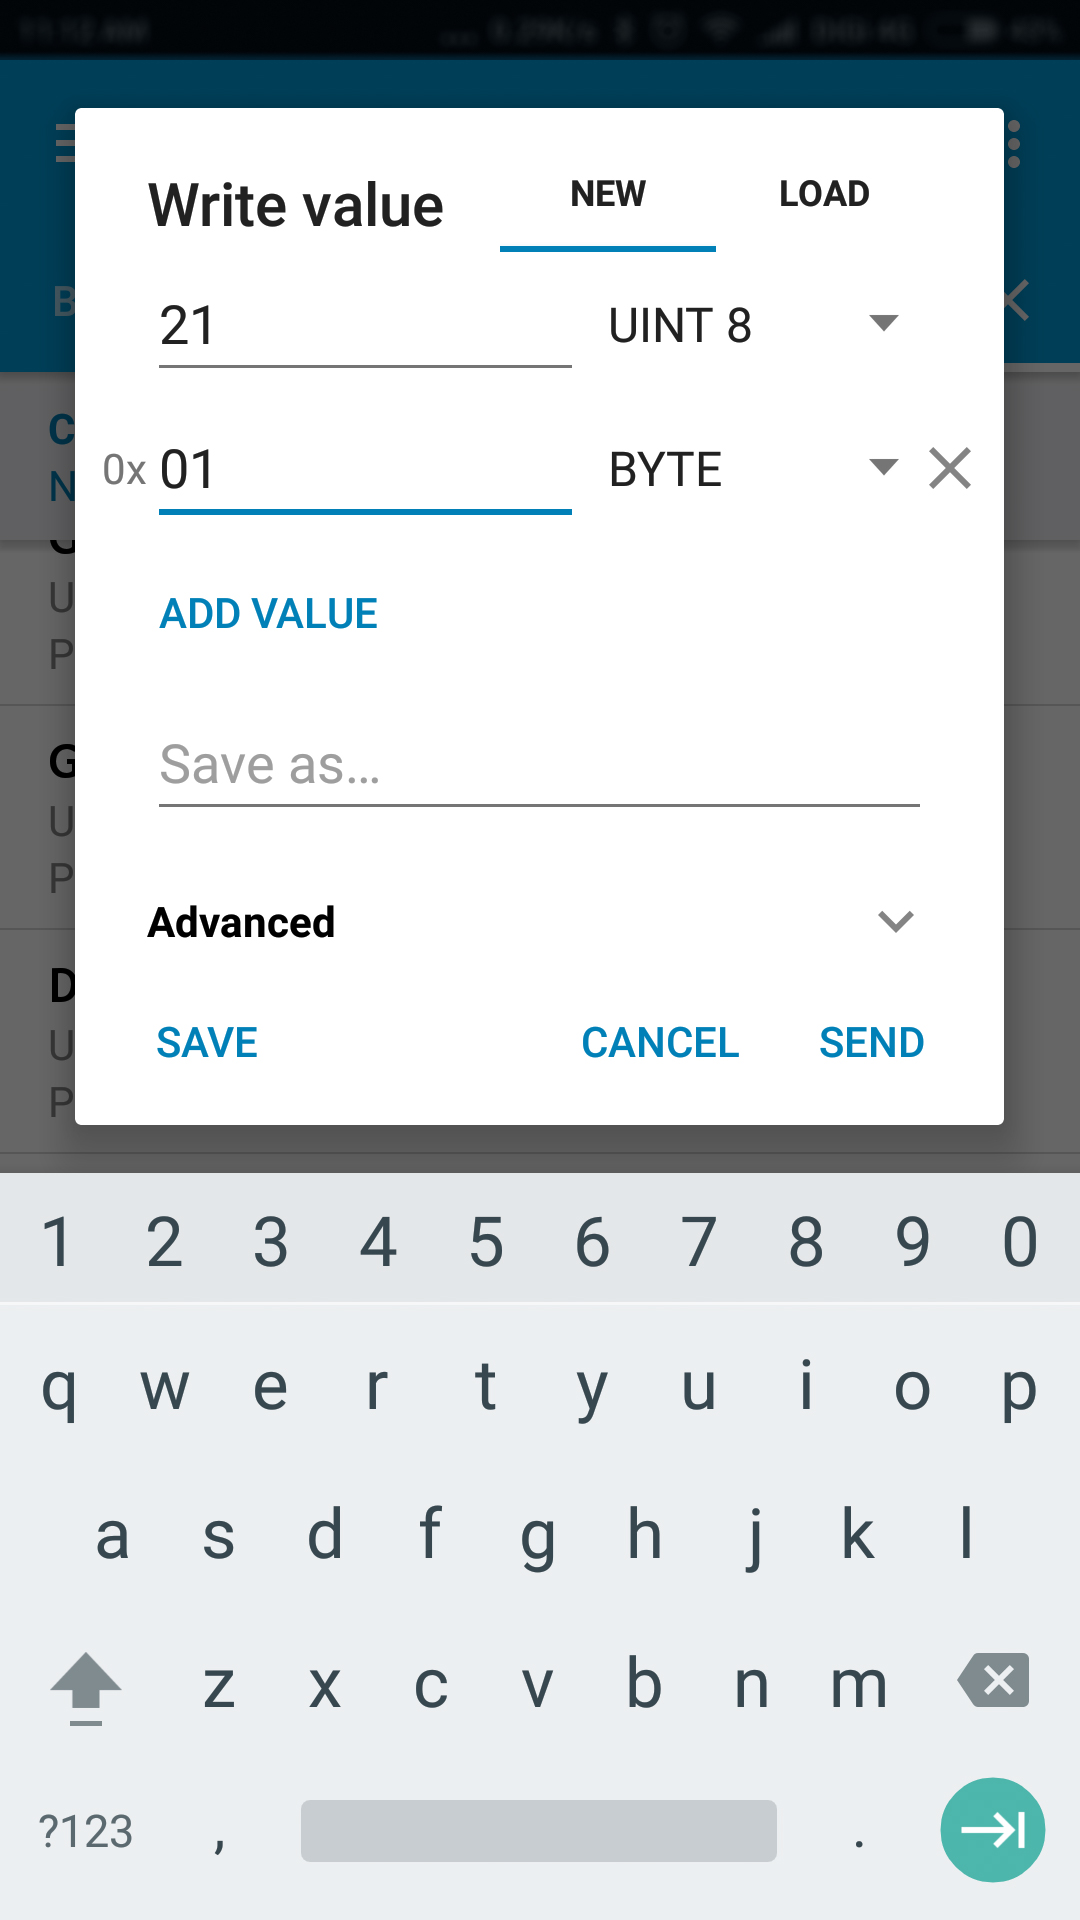
A write value popup will surface, giving you the option to send data to your BluChip device. In our case, we want to turn the LED off, so tap on the arrow next to BYTE ARRAY and change the data format to UINT 8. We will be sending the pin number as the first value, so enter 21 for pin021. Tap on add value to send the next piece of data, the state of which the pin is to be set (hex BYTE format). To turn the LED off, we will be setting pin 021 to 3.3V(logic level high), so enter 01 then tap Send.
The LED instantaneously turns off! To turn the LED back on, send a value of 0x00(logic level LOW) to pin021. As seen below the listed characteristic, the sent value of (0x) 15-01 is displayed. {[(decimal UINT8) 21 = (hex BYTE) 0x15] + (hex BYTE) 0x01 => (hex BYTEs) 0x1501 }
If you choose save these values on the Write value popup by giving it a name and then tapping save, you can load them in the future as presets for easy GPIO modulation!
Programming the BluChip
.jpg)
.jpg)
.jpg)
.jpg)
.jpg)
.jpg)
.jpg)
.jpg)
.jpg)
.jpg)
.jpg)
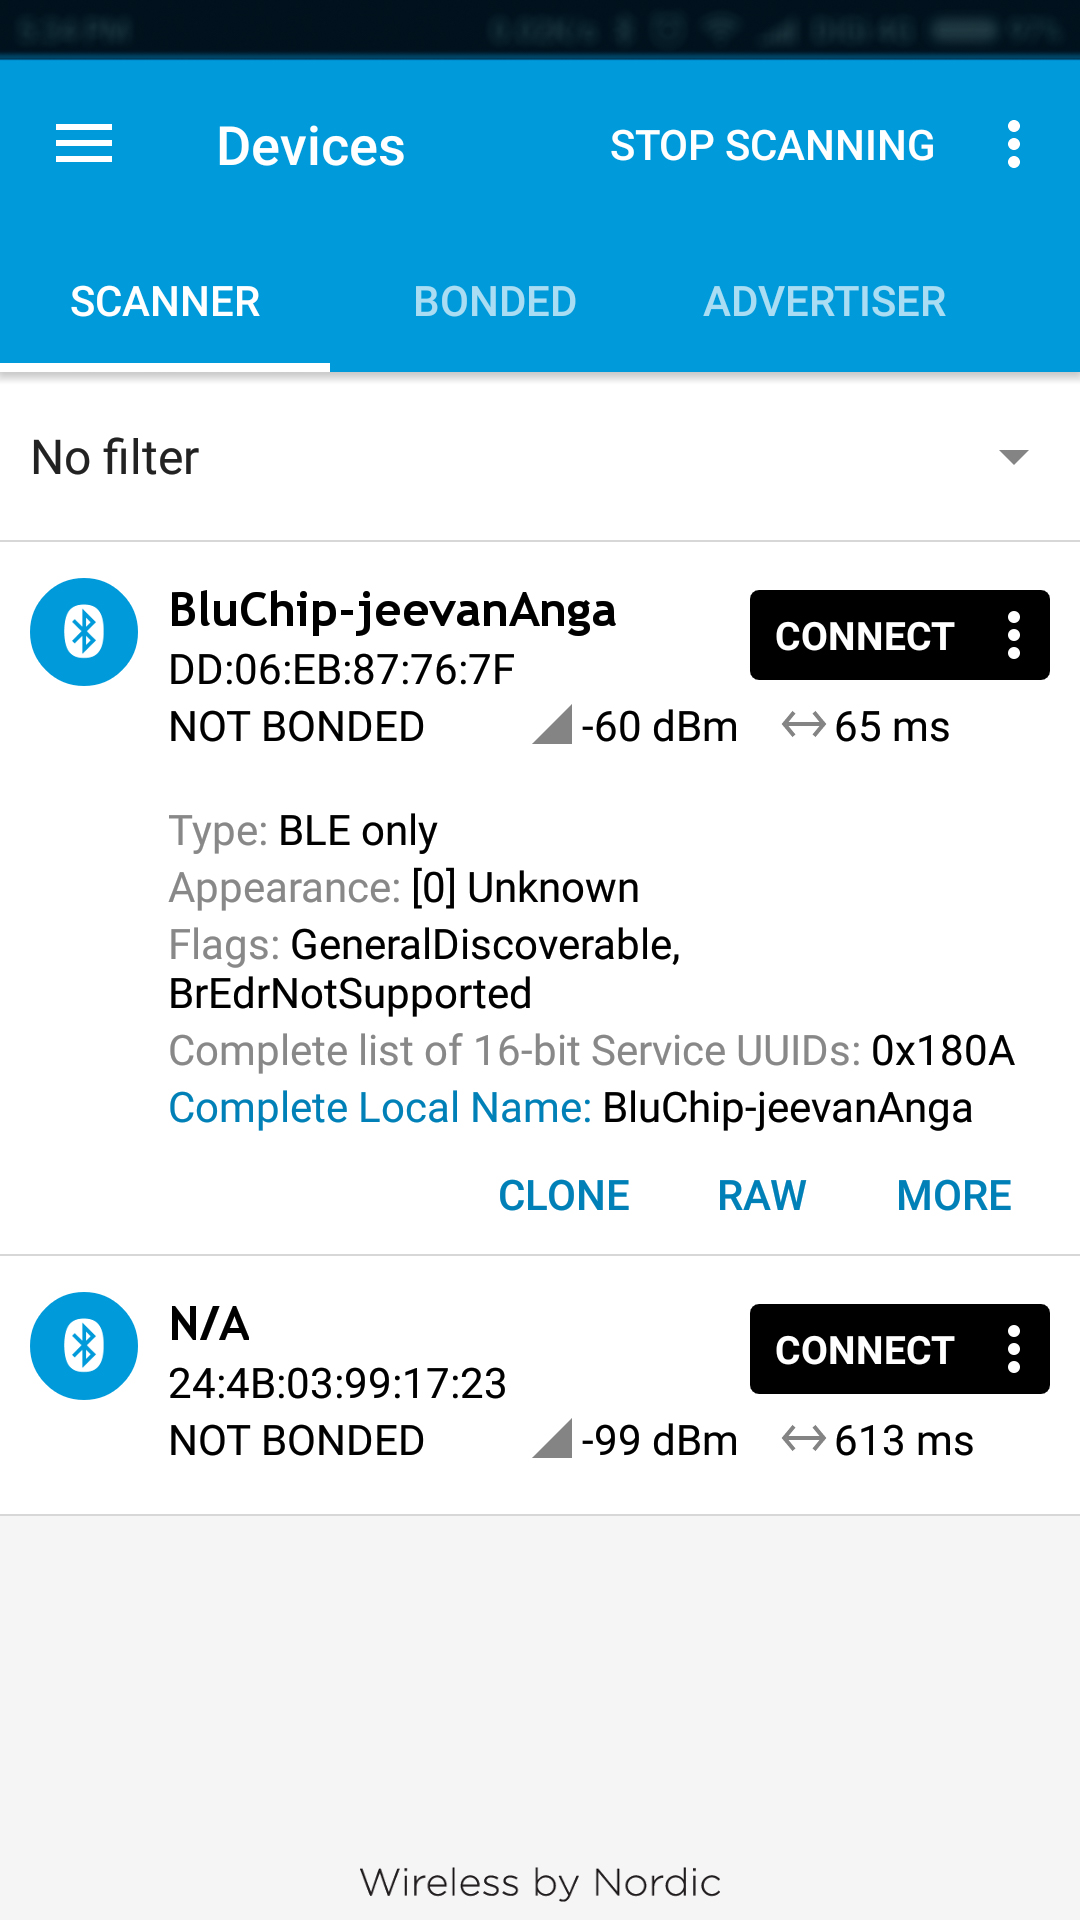
You would have noticed from the video above that the BluChip device name on my phone is different from yours, so how do we go about changing it to our very own liking?
The application firmware running on the BluChip serves as a Peripheral device(slave) over BLE to Central devices(master) such as smartphones connected to it. To change our device's name, let's dig in to flashing application firmware onto our BluChip.
Included with the BluChip Explorer kit is the ARM Programmer(CMSIS-DAP). MakerChips has provided a neat How-To guide on the details of flashing firmware onto the BluChip with the CMSIS-DAP.
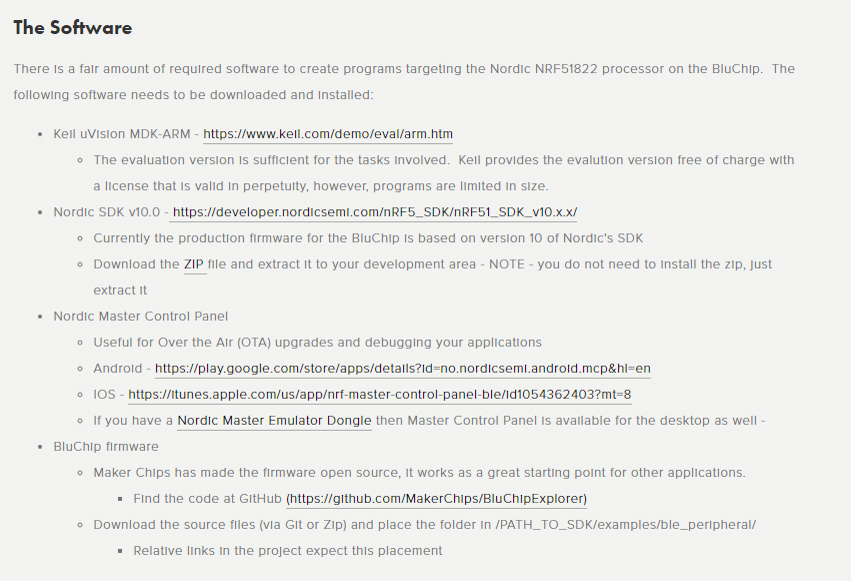
To compile firmware into a hex file and flash it, we will need Keil, nRF51 Software Development Kit(SDK), and BluChip firmware. Go ahead and download them from the links in "The Software" section on MakerChips' Programming the BluChip with CMSIS-DAP and Keil page.
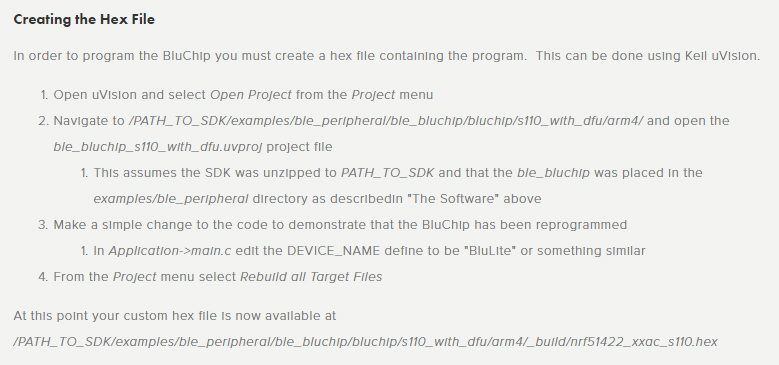
Install Keil, then follow steps 1-3 in the "Creating the Hex File" section.
At this point, you may continue to Step 4, Rebuilding all Target Files.
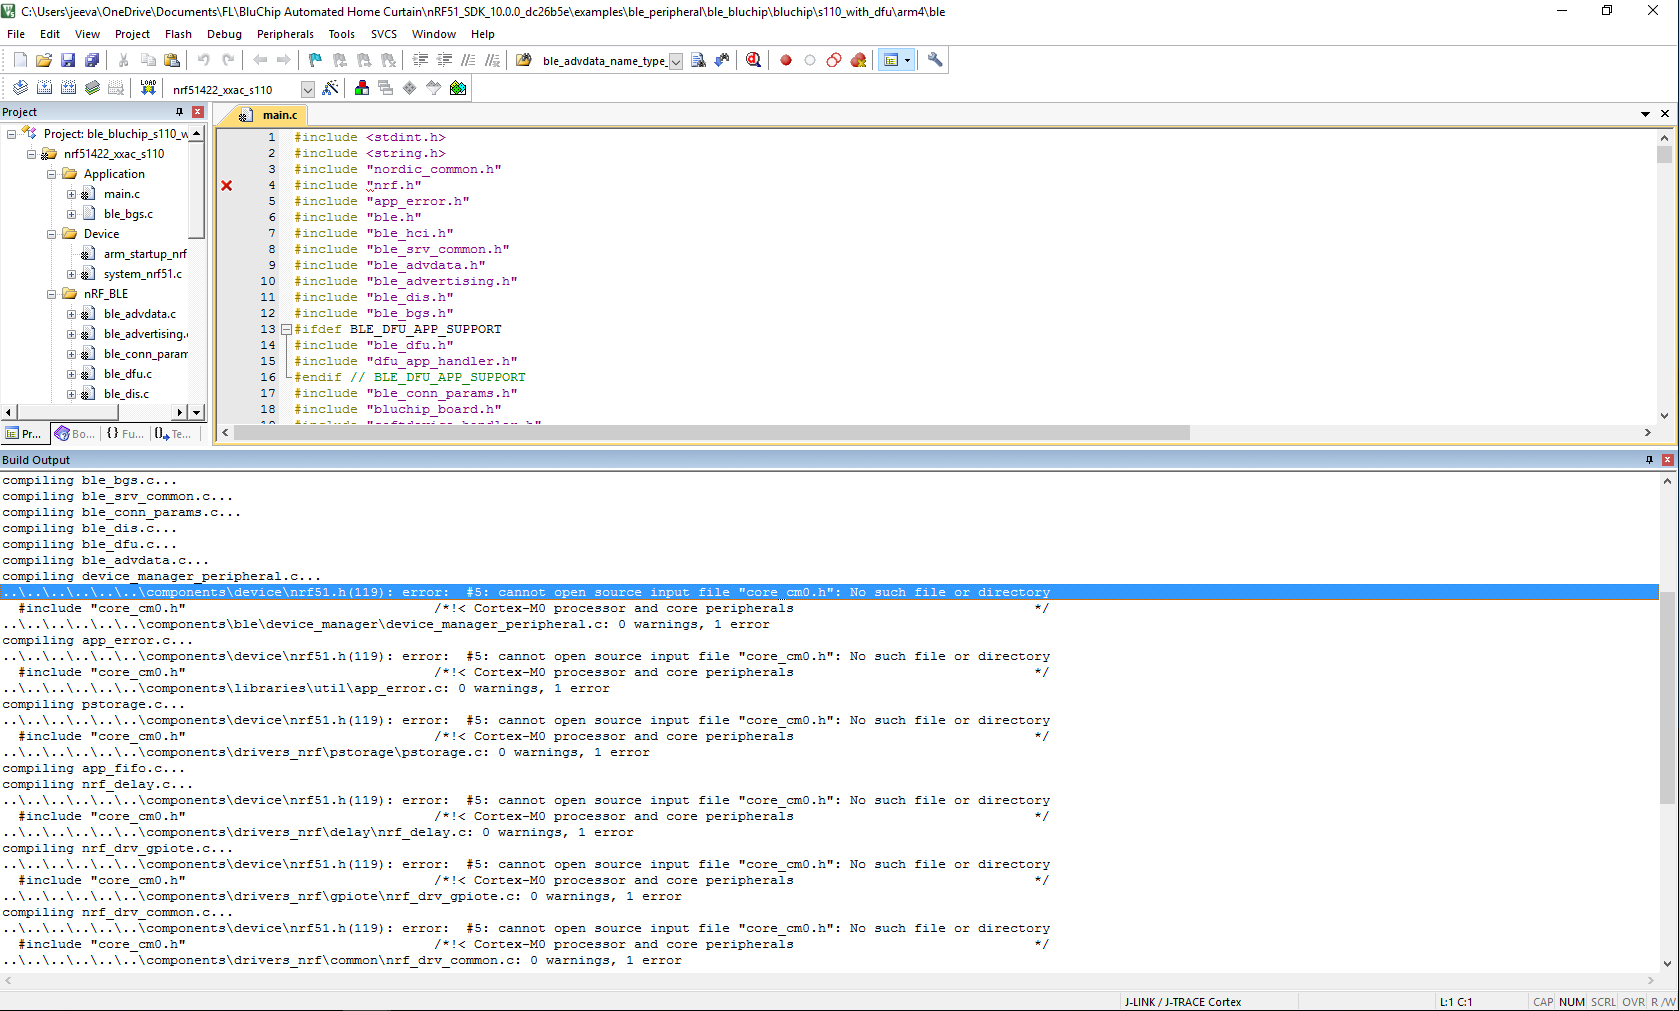
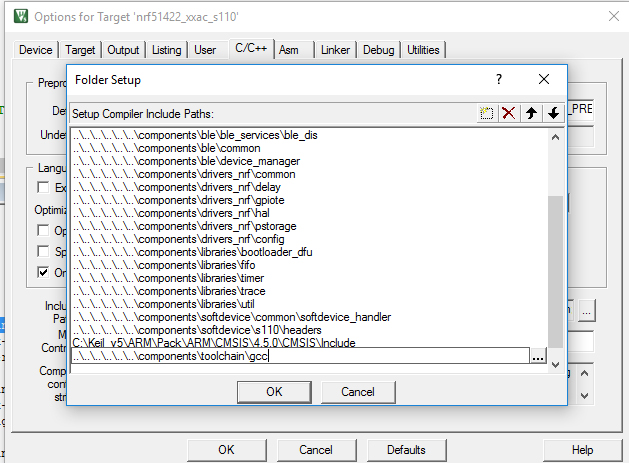
If you get an error regarding "core_cm0.h", you would need to add its path to the project to compile it.
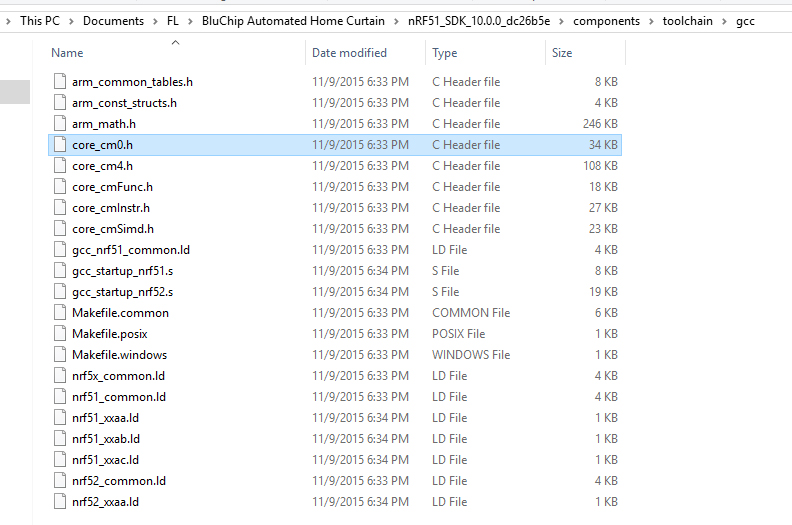
We simply would need to search for the file, and locate its directory, which is "\components\toolchain\gcc".
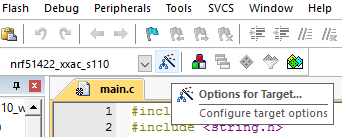
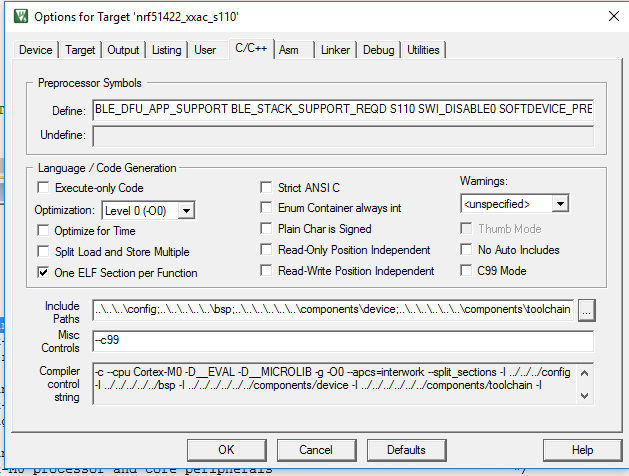
Let's include this path to our project. Click Options for Target, go to the C/C++ tab then include the path as shown in Figure 16.
After including necessary dependencies, our project compiles and we can now view the compiled output, a custom hex file at "nRF51_SDK_10.0.0_dc26b5e\examples\ble_peripheral\ble_app_ahc-master\bluchip\s110_with_dfu\arm4\_buildnrf51422_xxac_s110.hex".
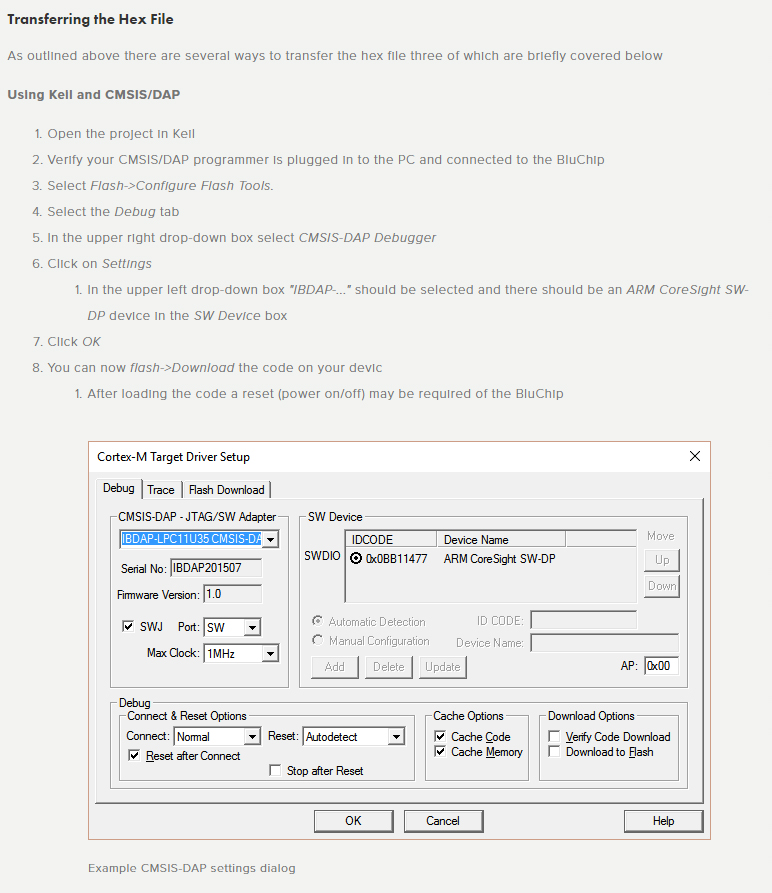
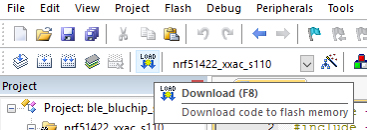
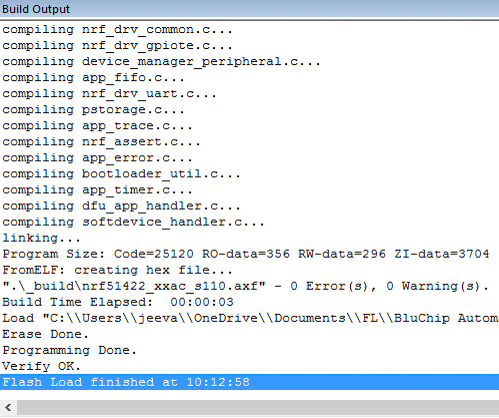
To flash the hex file onto the BluChip, follow steps 1-8 in the "Transferring the Hex File" section.
Now that you have loaded firmware onto the BluChip with a custom Device name, fire up the nRF Connect app and scan for your device. You will notice that it's now named after what you've define in the DEVICE_NAME in the firmware!
In the next step, we will begin to set up the hardware, electronics & software of our Automated Home Curtain System.
Building the Automated Curtains



.jpg)

After having reviewed the process of compiling and flashing our firmware, let's move on to building our very own bluetooth curtains!
A stepper motor will be used to drive a timing belt which moves the curtains open and close. The stepper motor is driven by a Half-H driver IC that will be controlled by the BluChip.
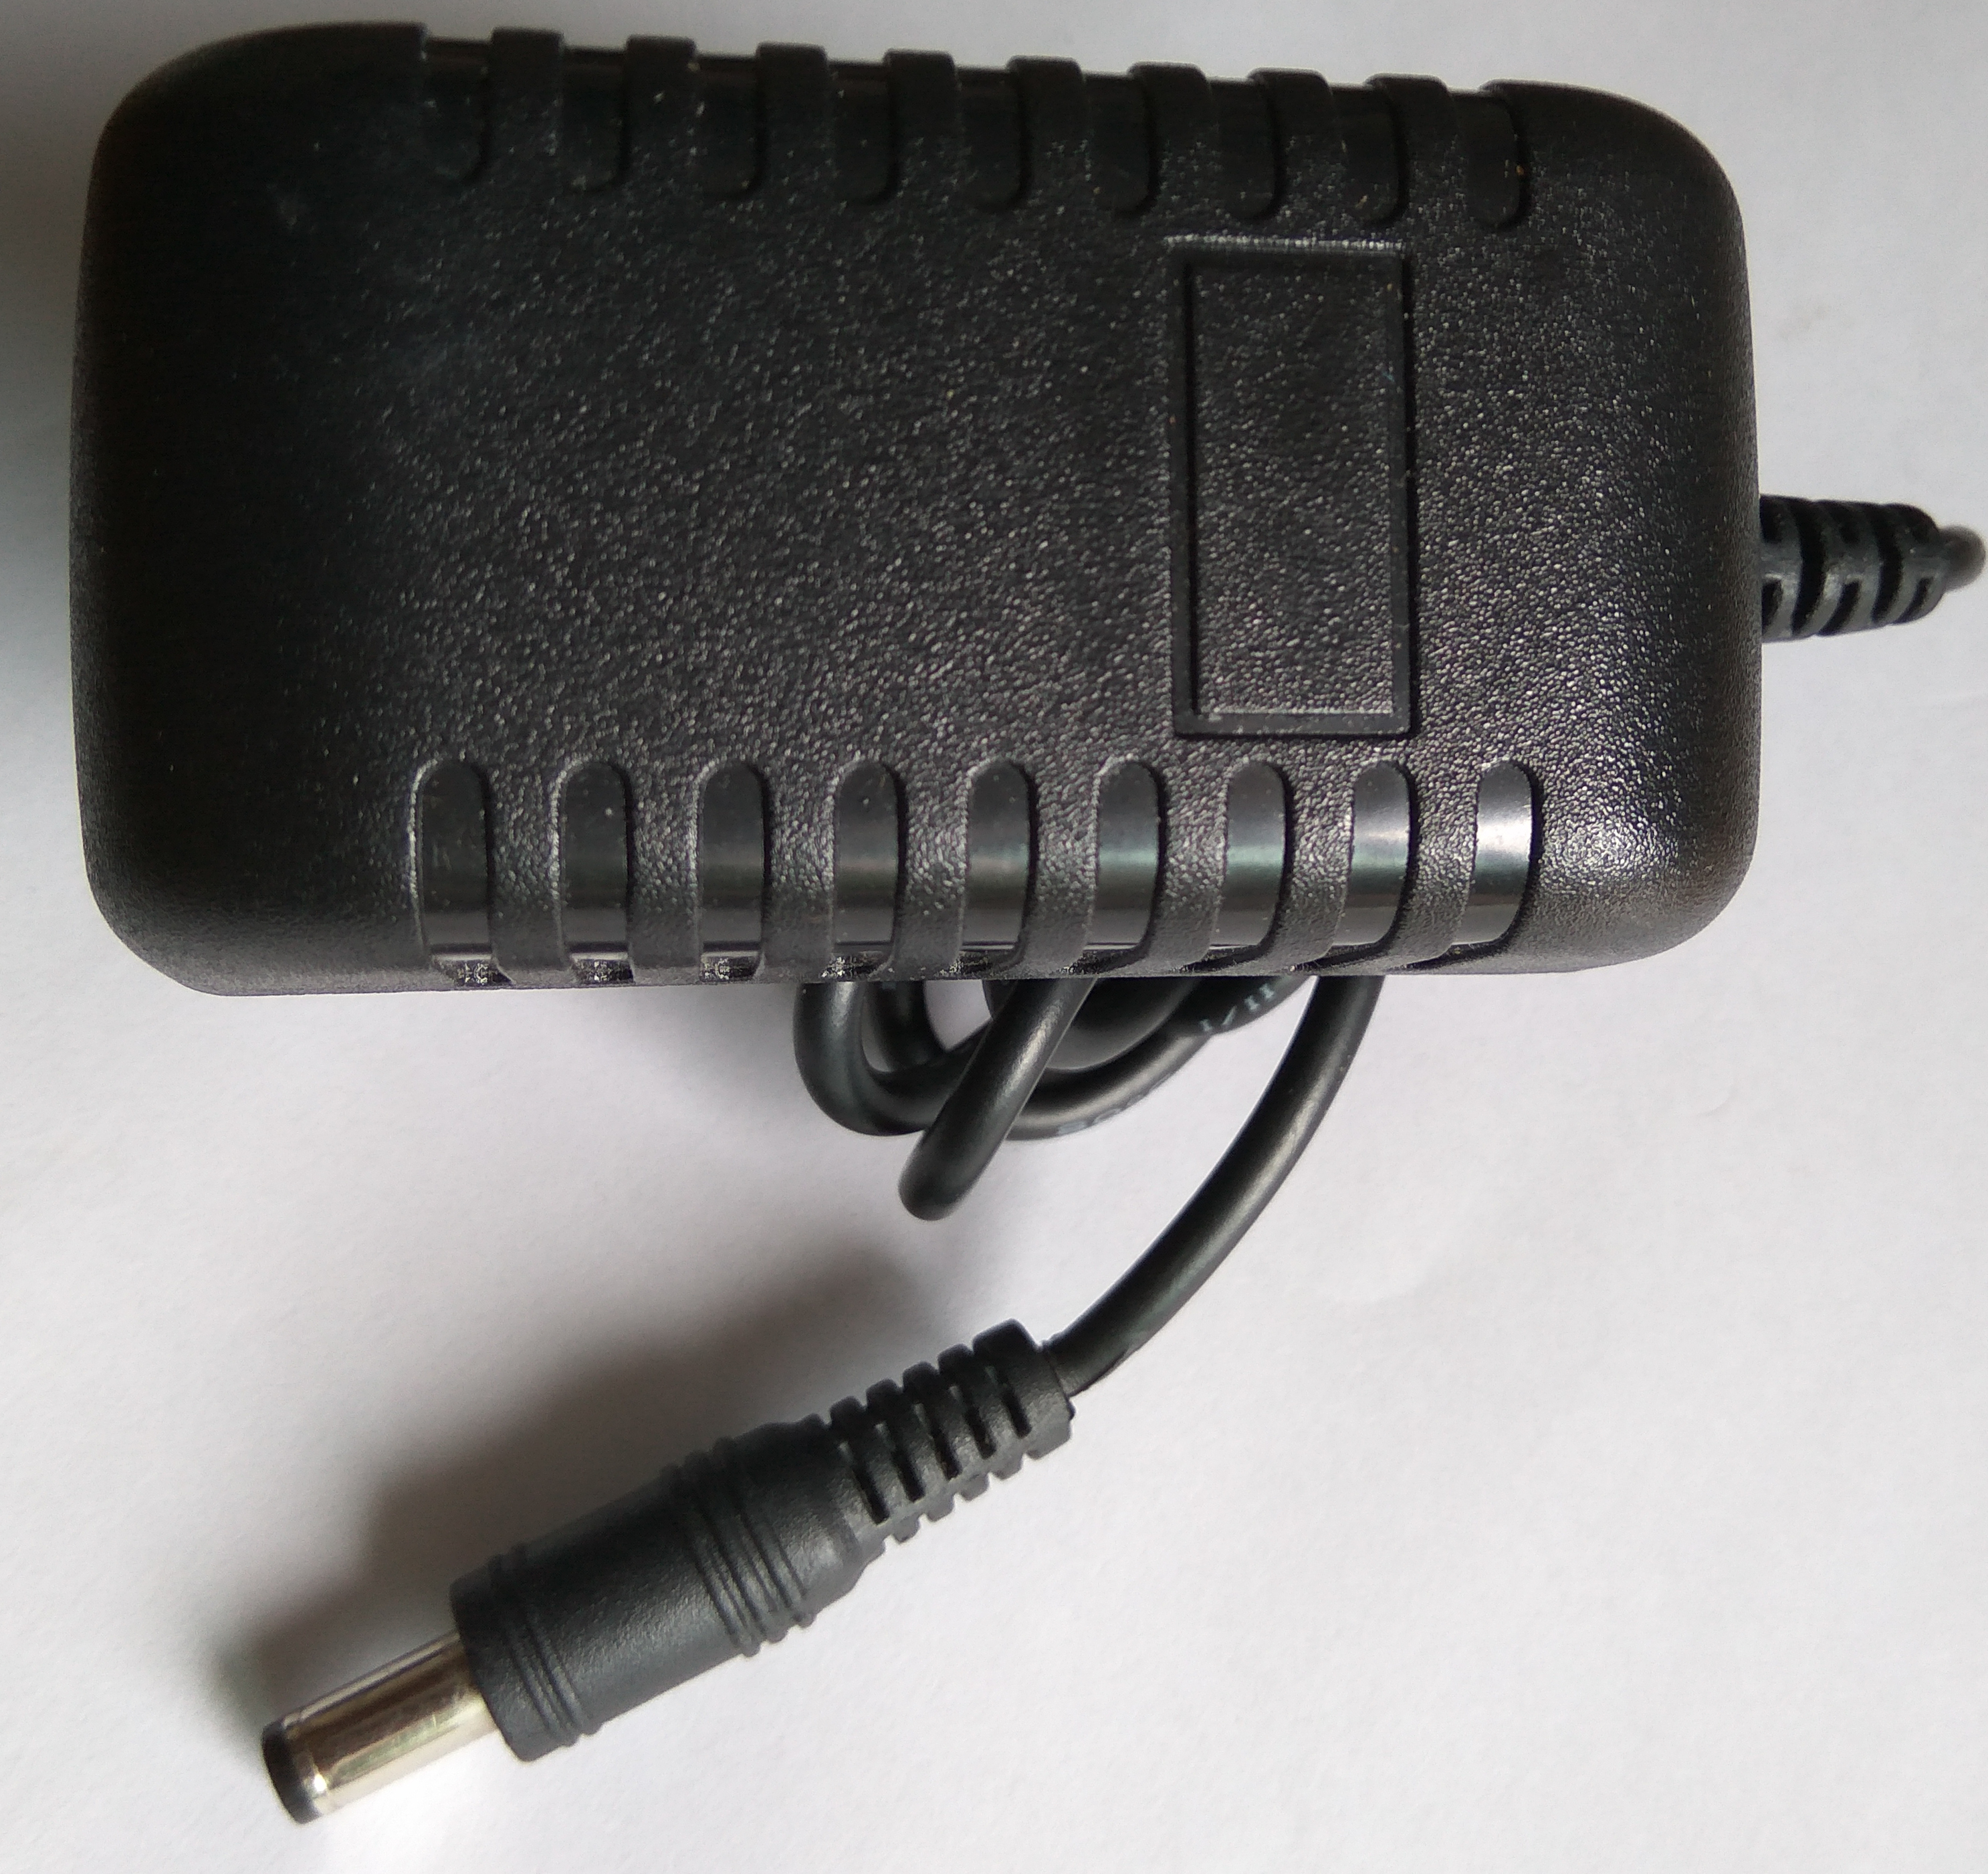
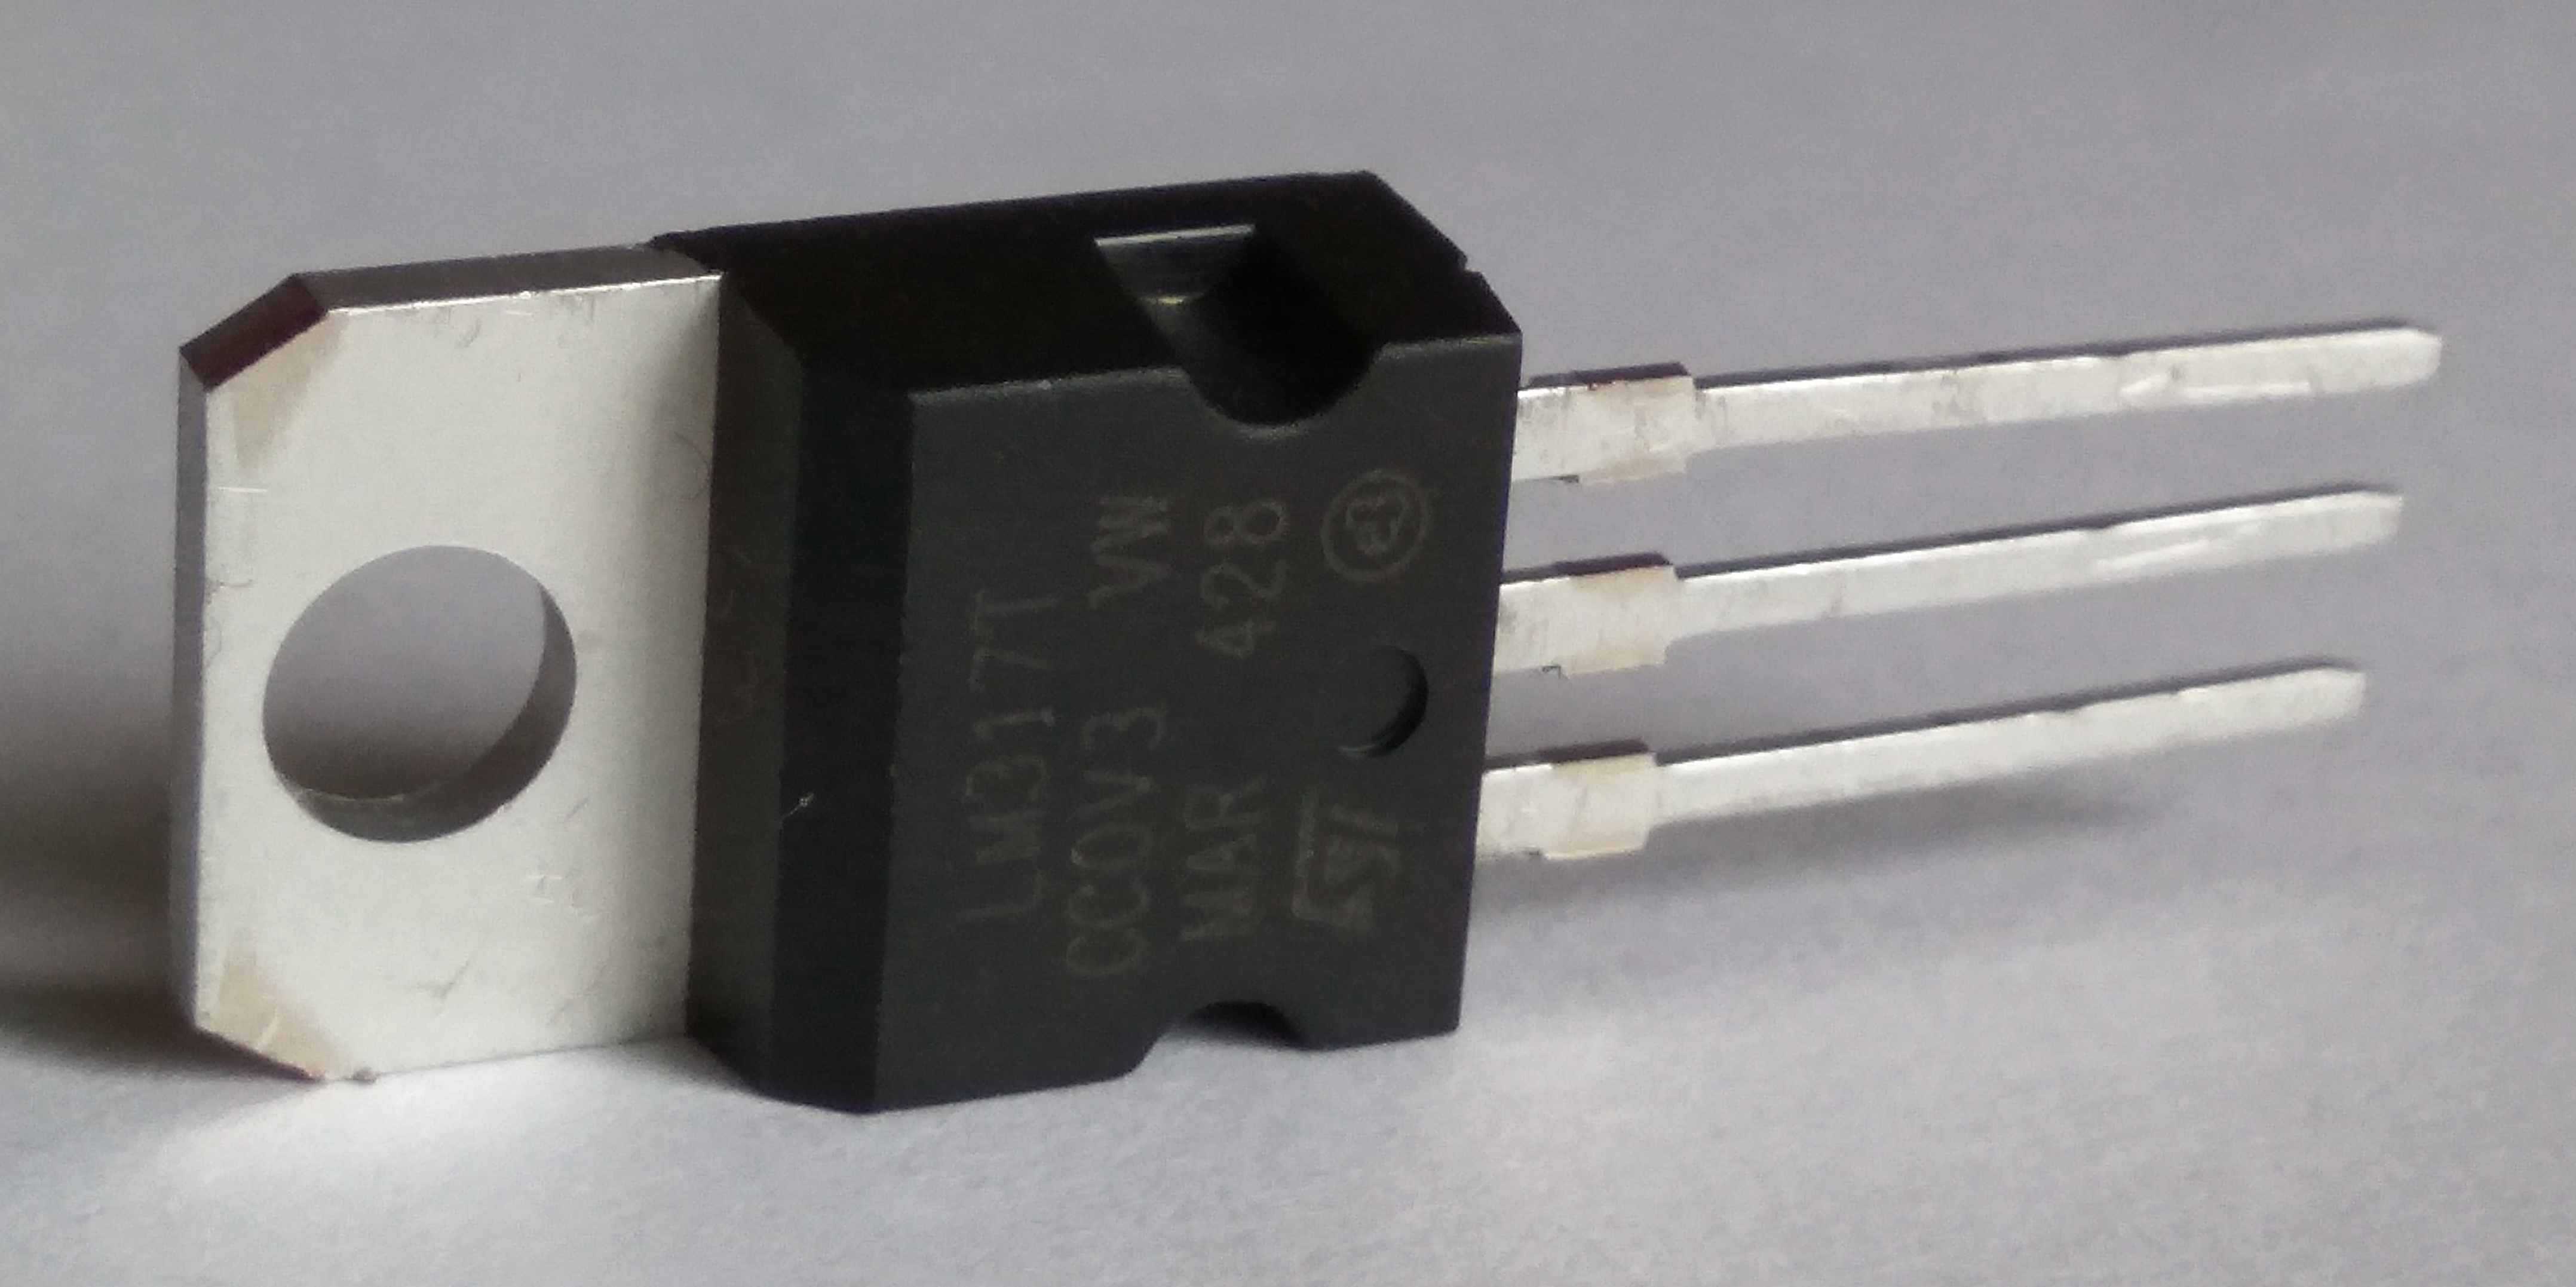
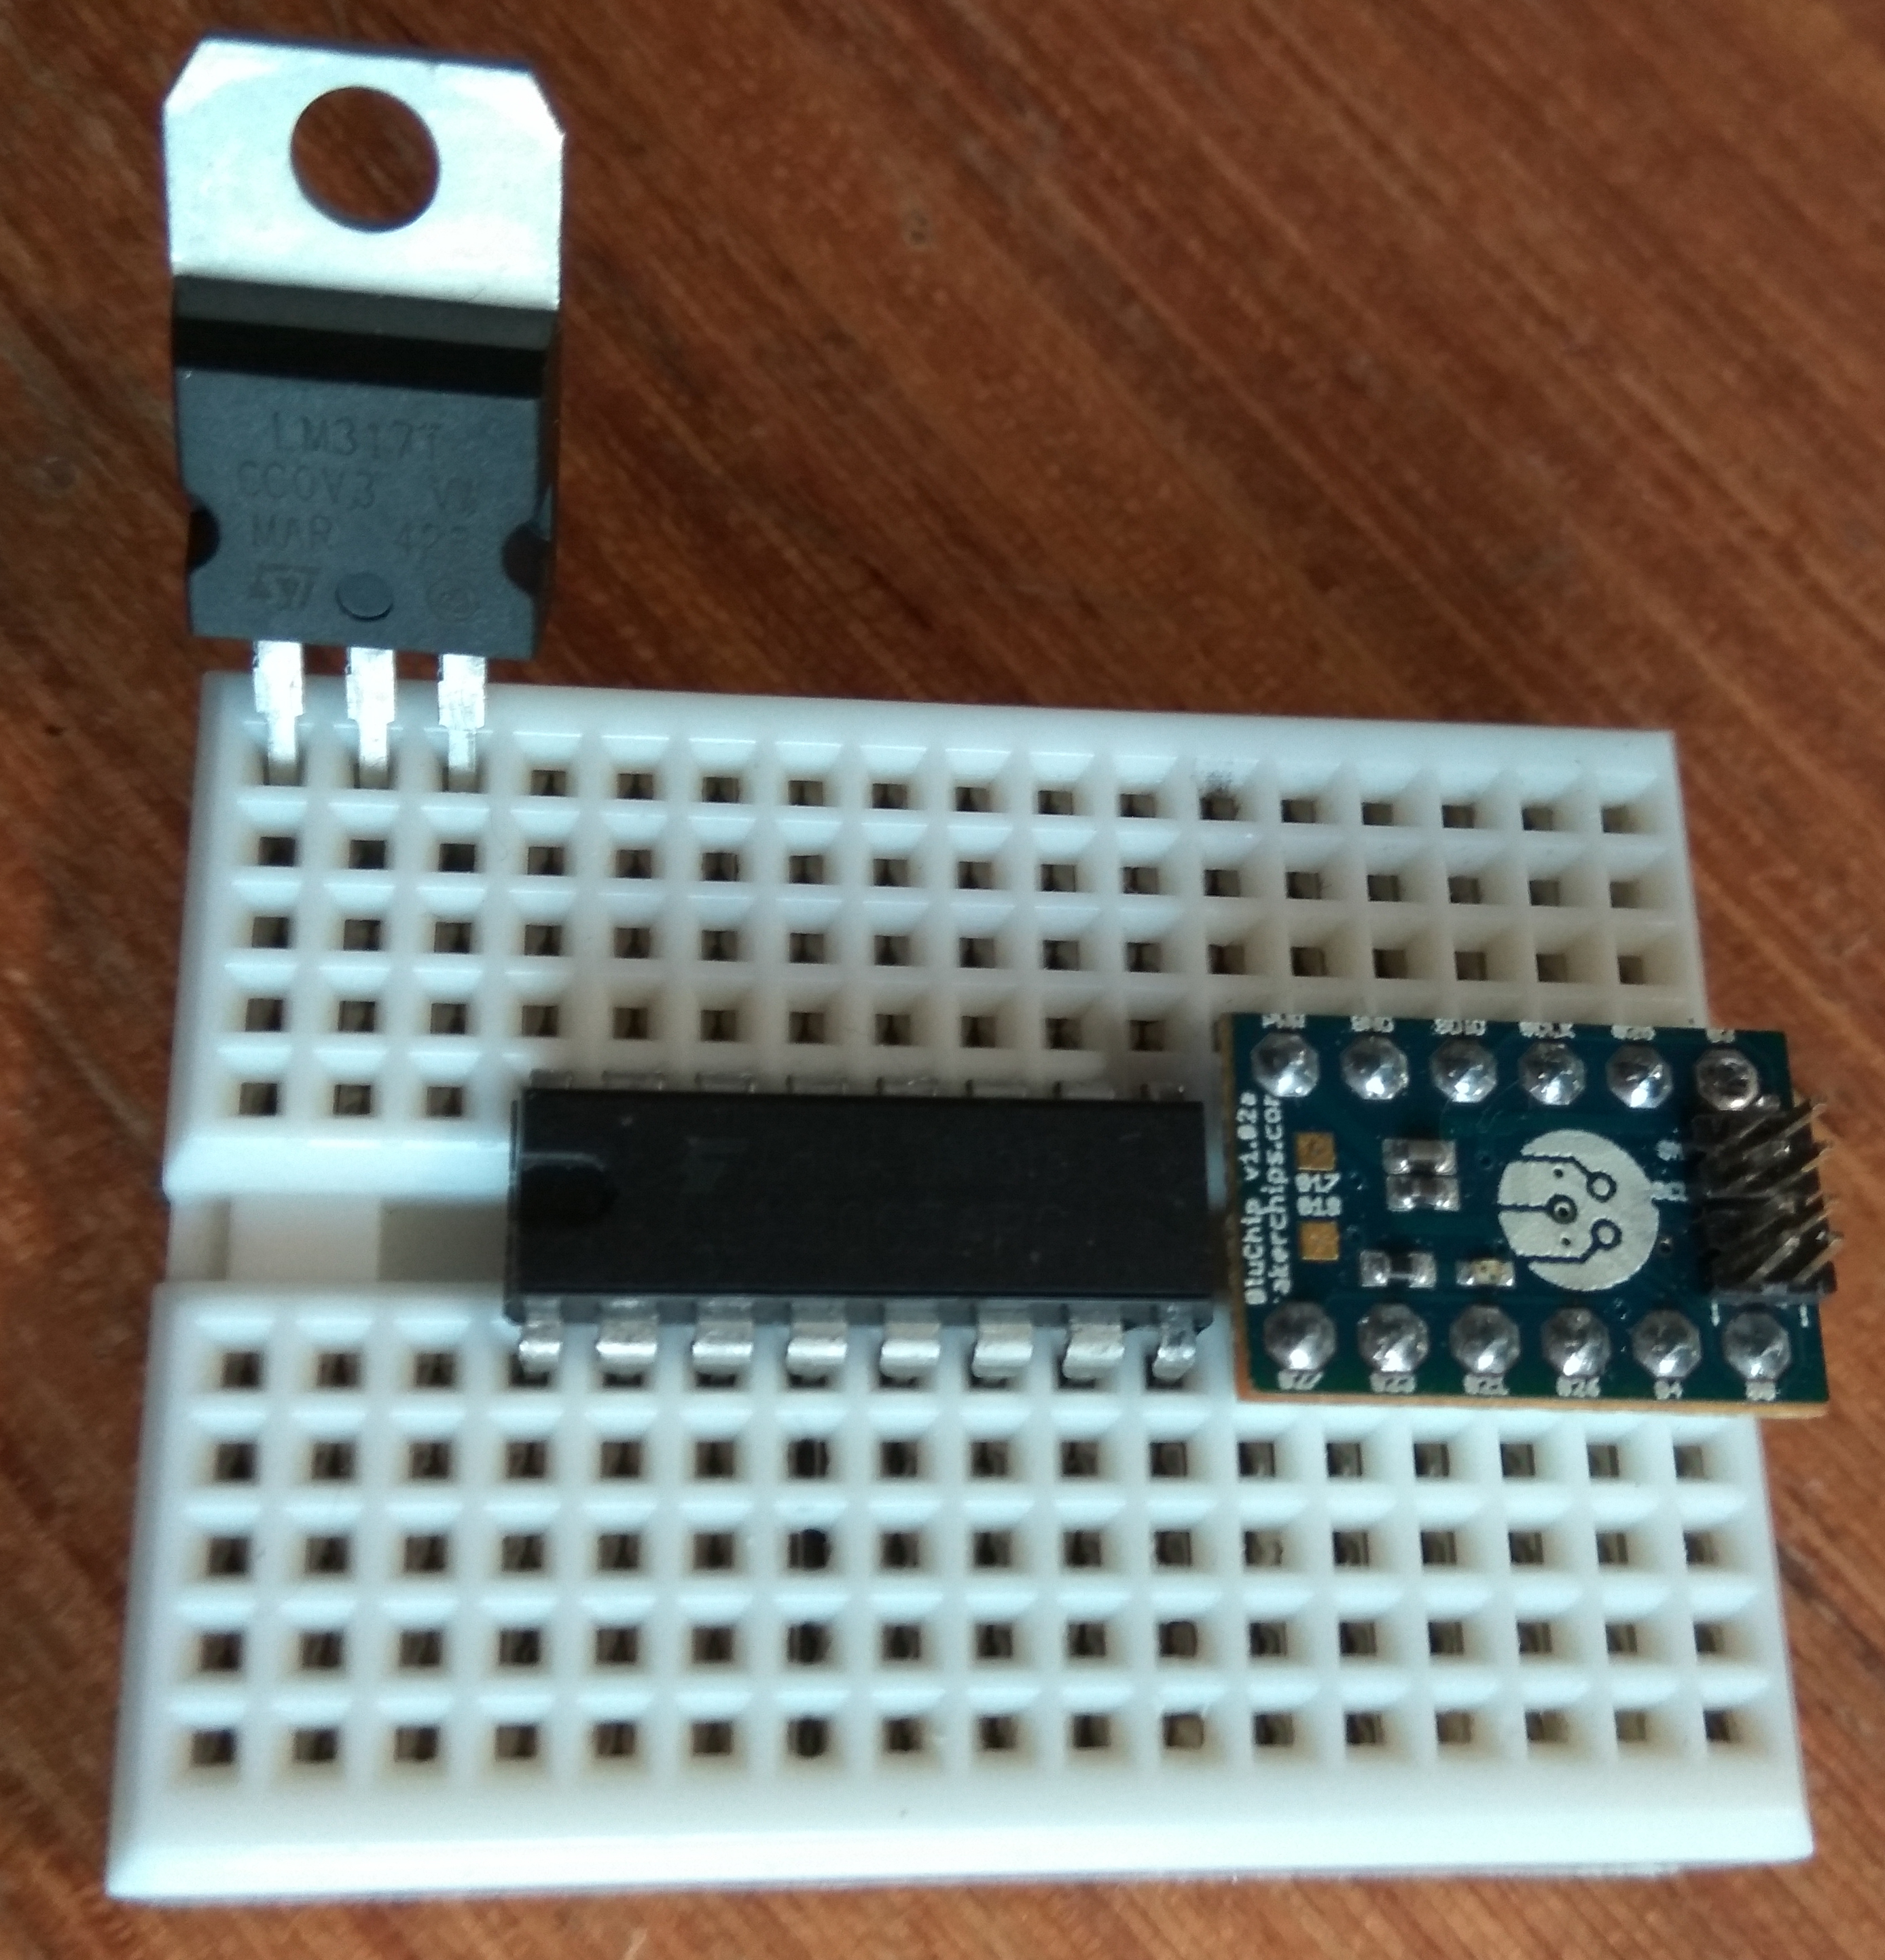
For power, we will use a 12V AC-DC voltage regulator that is fed to the motor, together with a LM317 DC-DC voltage regulator to step down 12V to 3.3V which will power the BluChip and Stepper Driver IC.
You can get your very own BluChip module from MakerChips' brand new store over at Tindie, or from the MakerChips Website.
Let's get the parts listed below in addition to the BluChip Explorer Kit to begin assembling the automatic curtains:
- 12V 1A Power Adapter $3.40
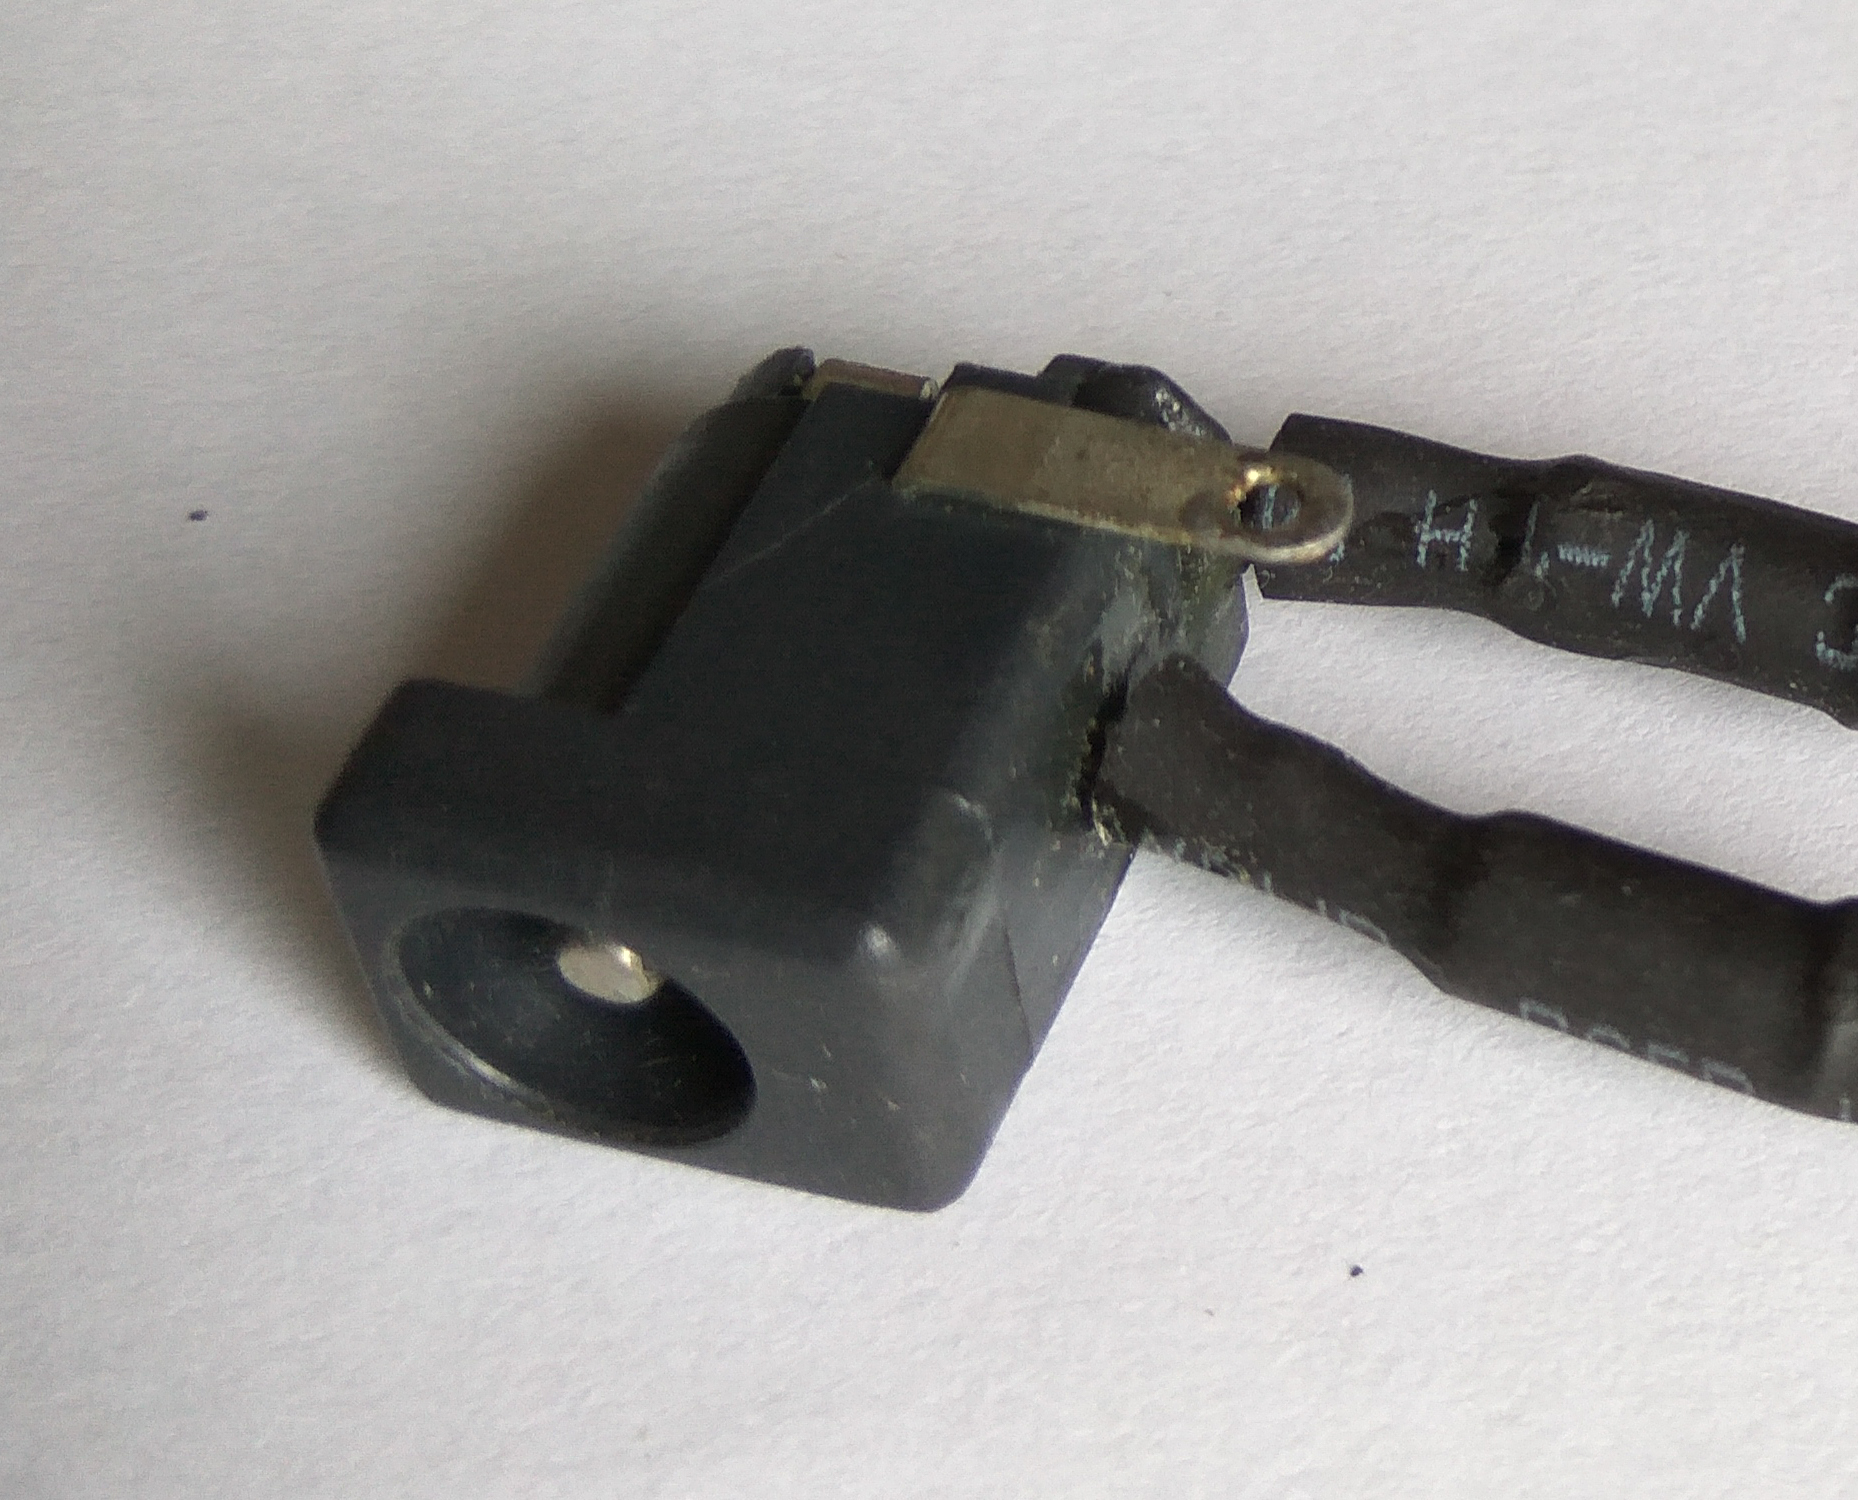
- Barrel Jack $0.68
- LM317T Voltage Regulator $0.80
- Resistors(200 & 330 Ohm) $1.69
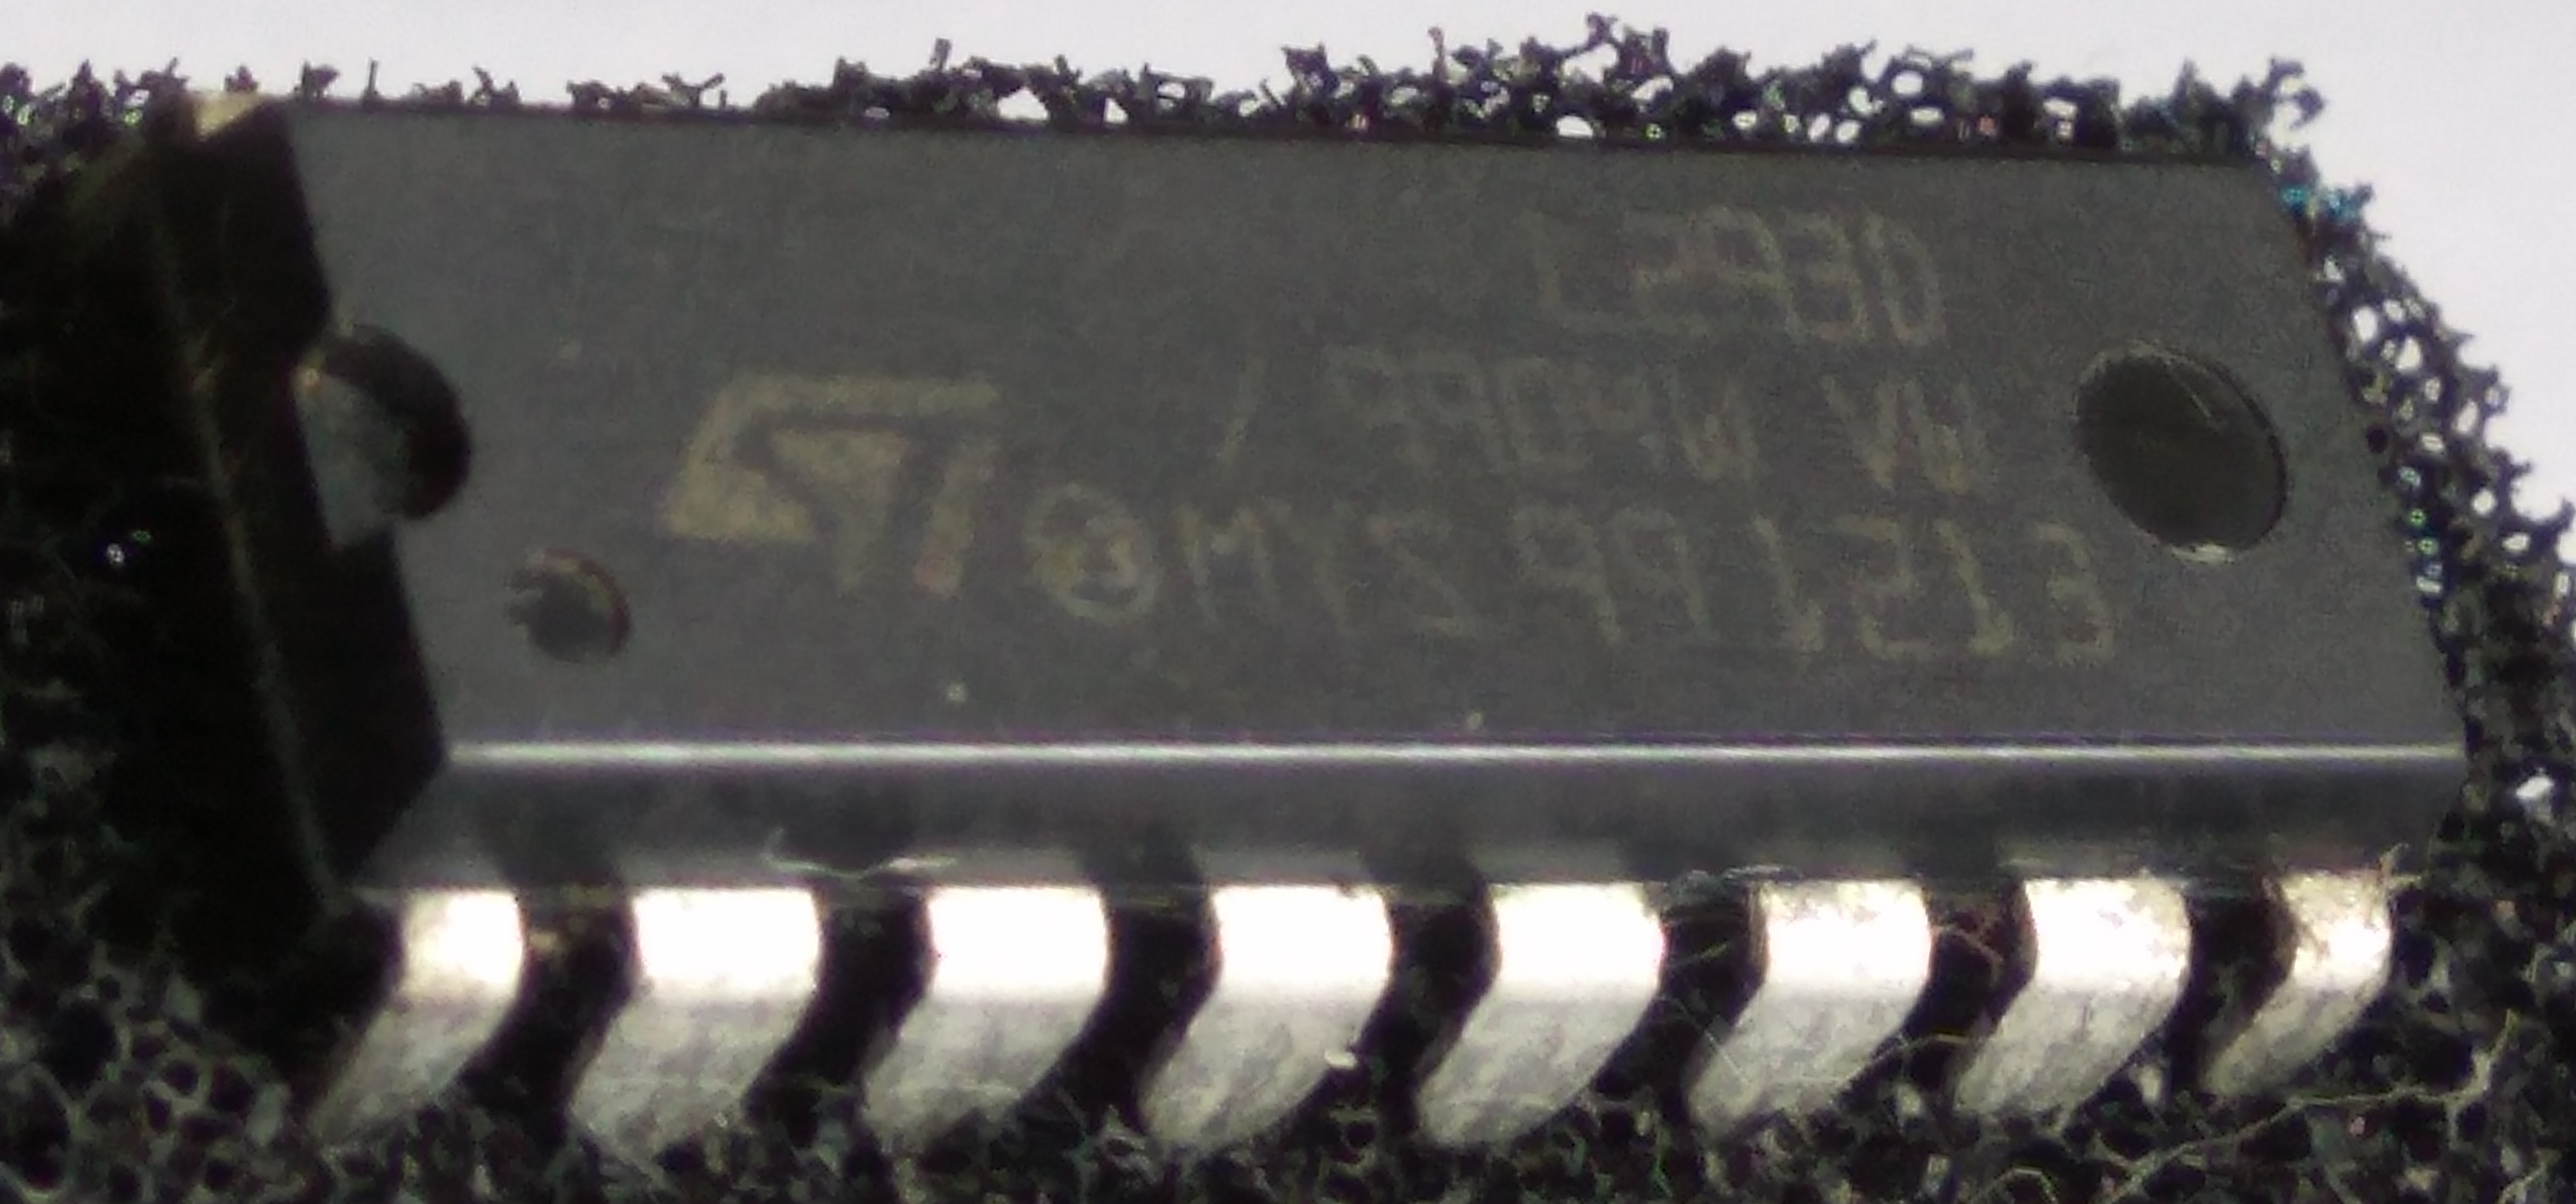
- L293D Stepper Driver $1.63
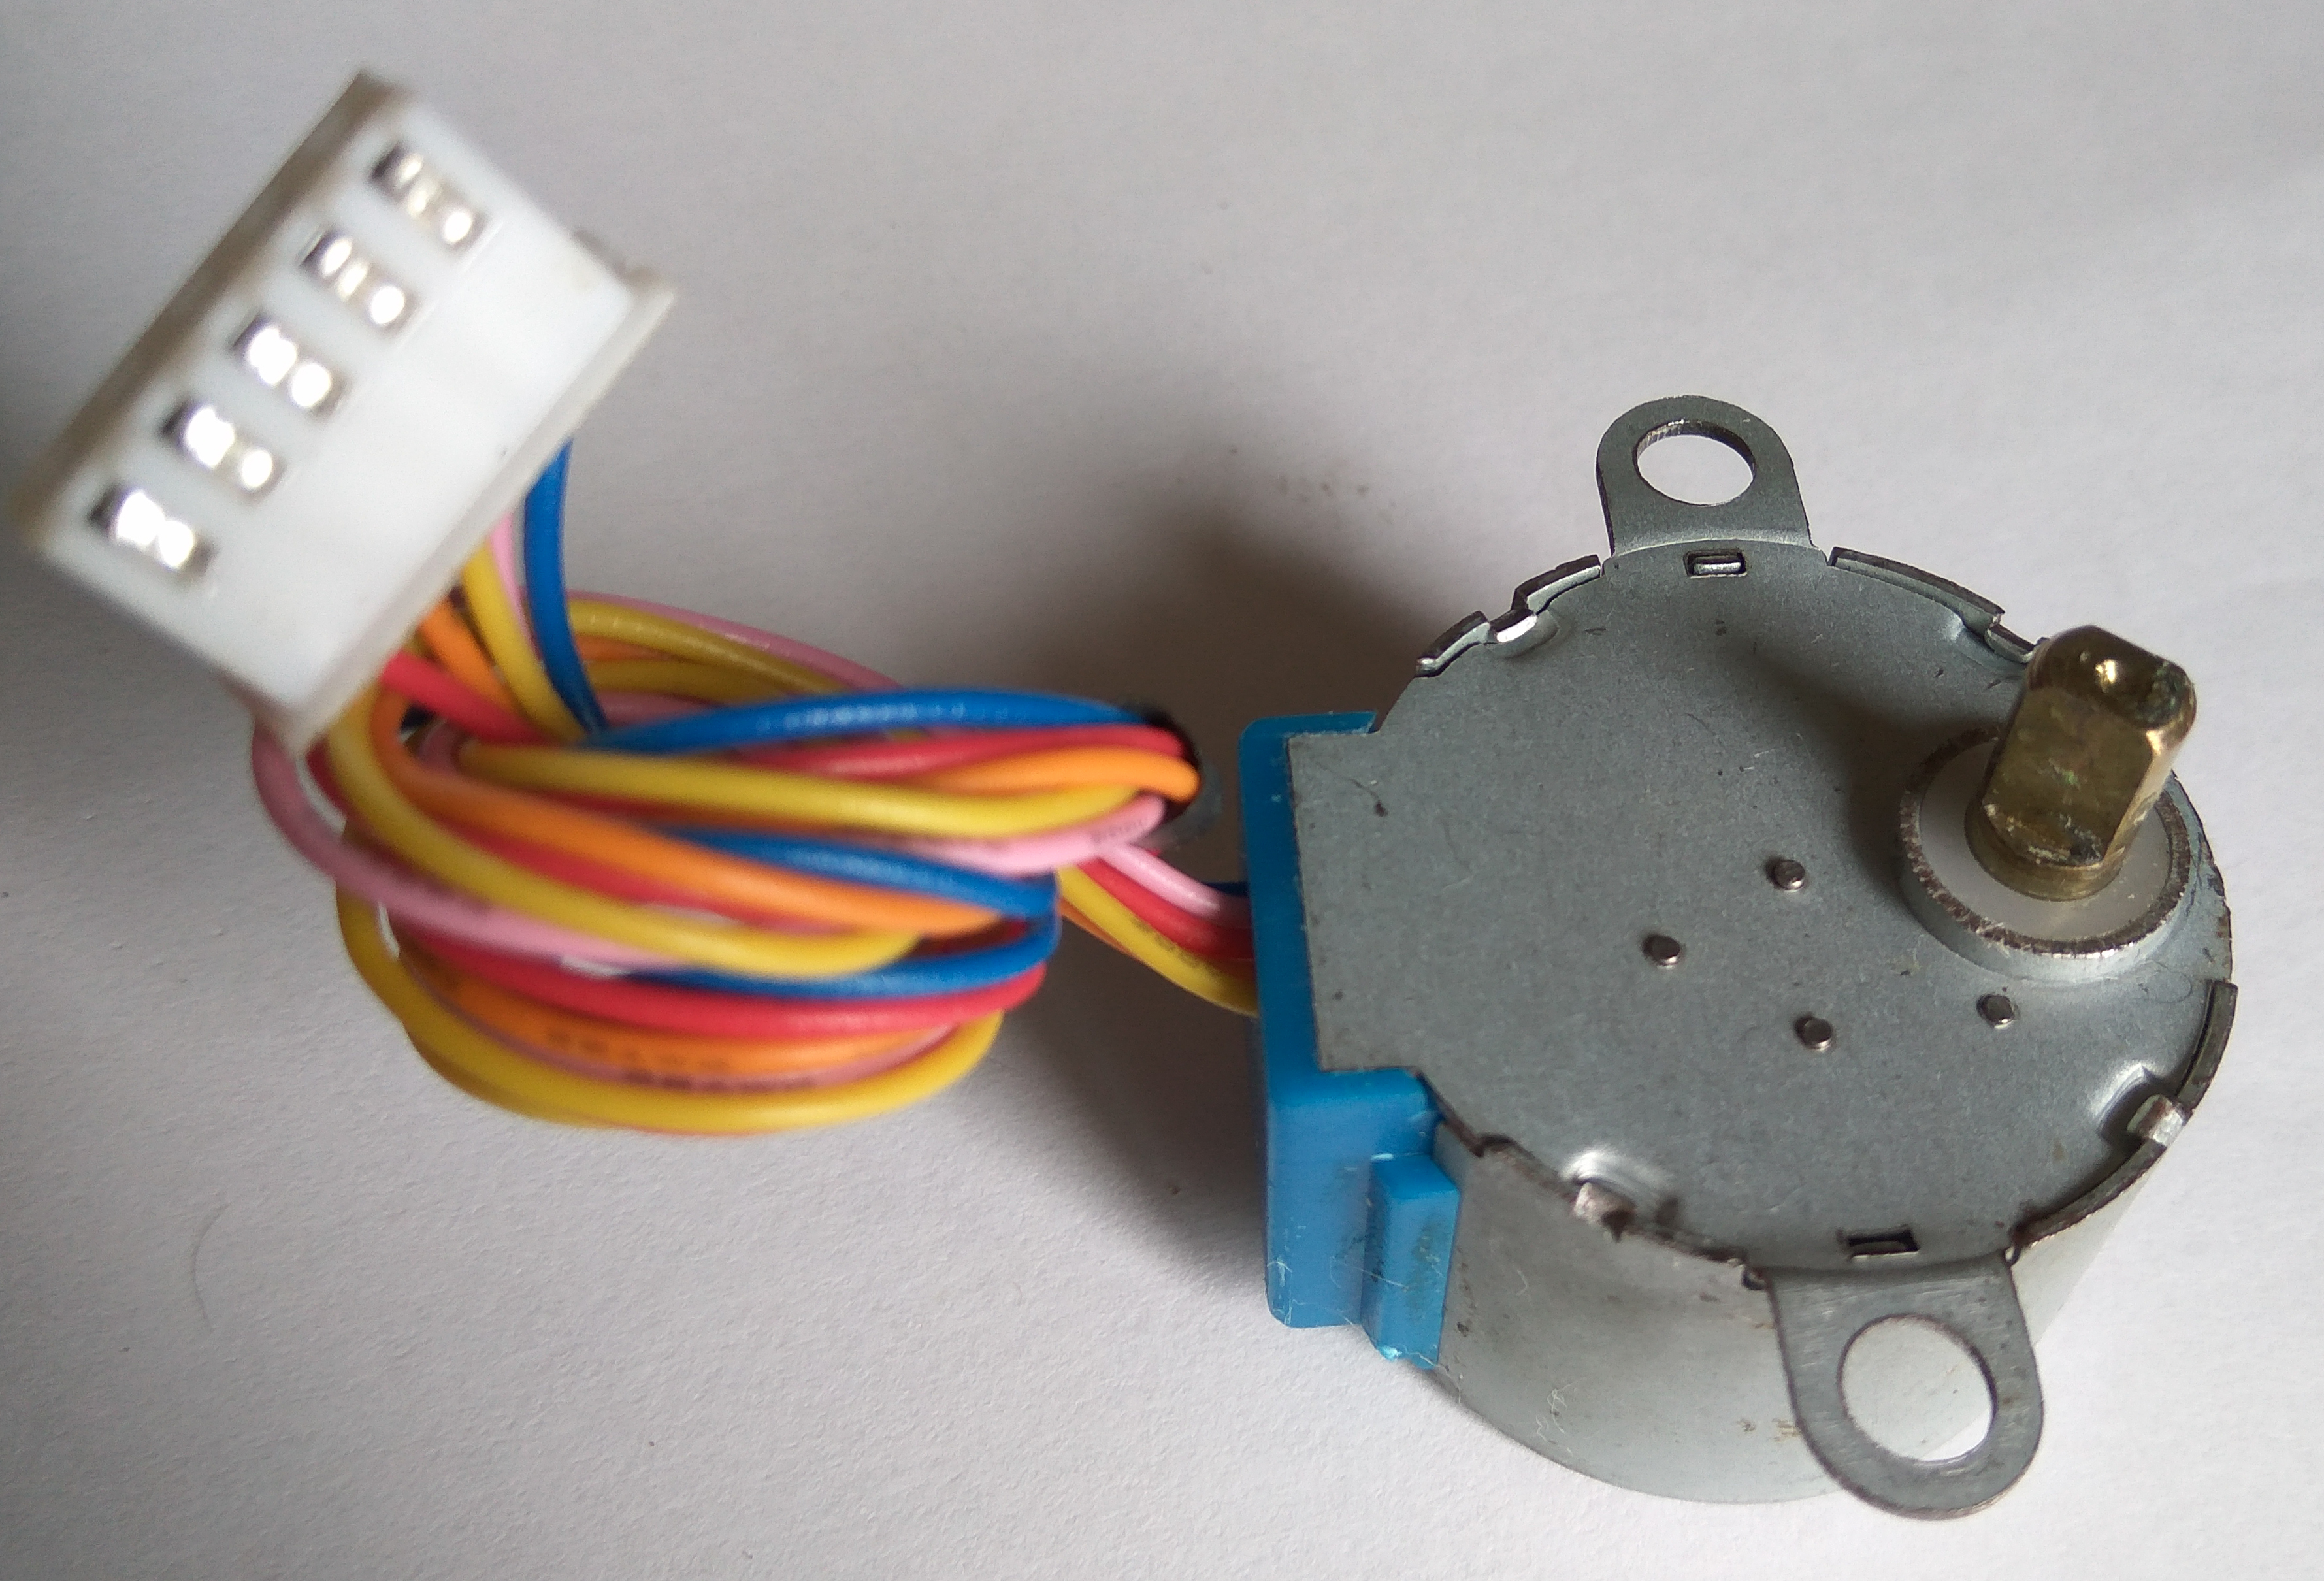
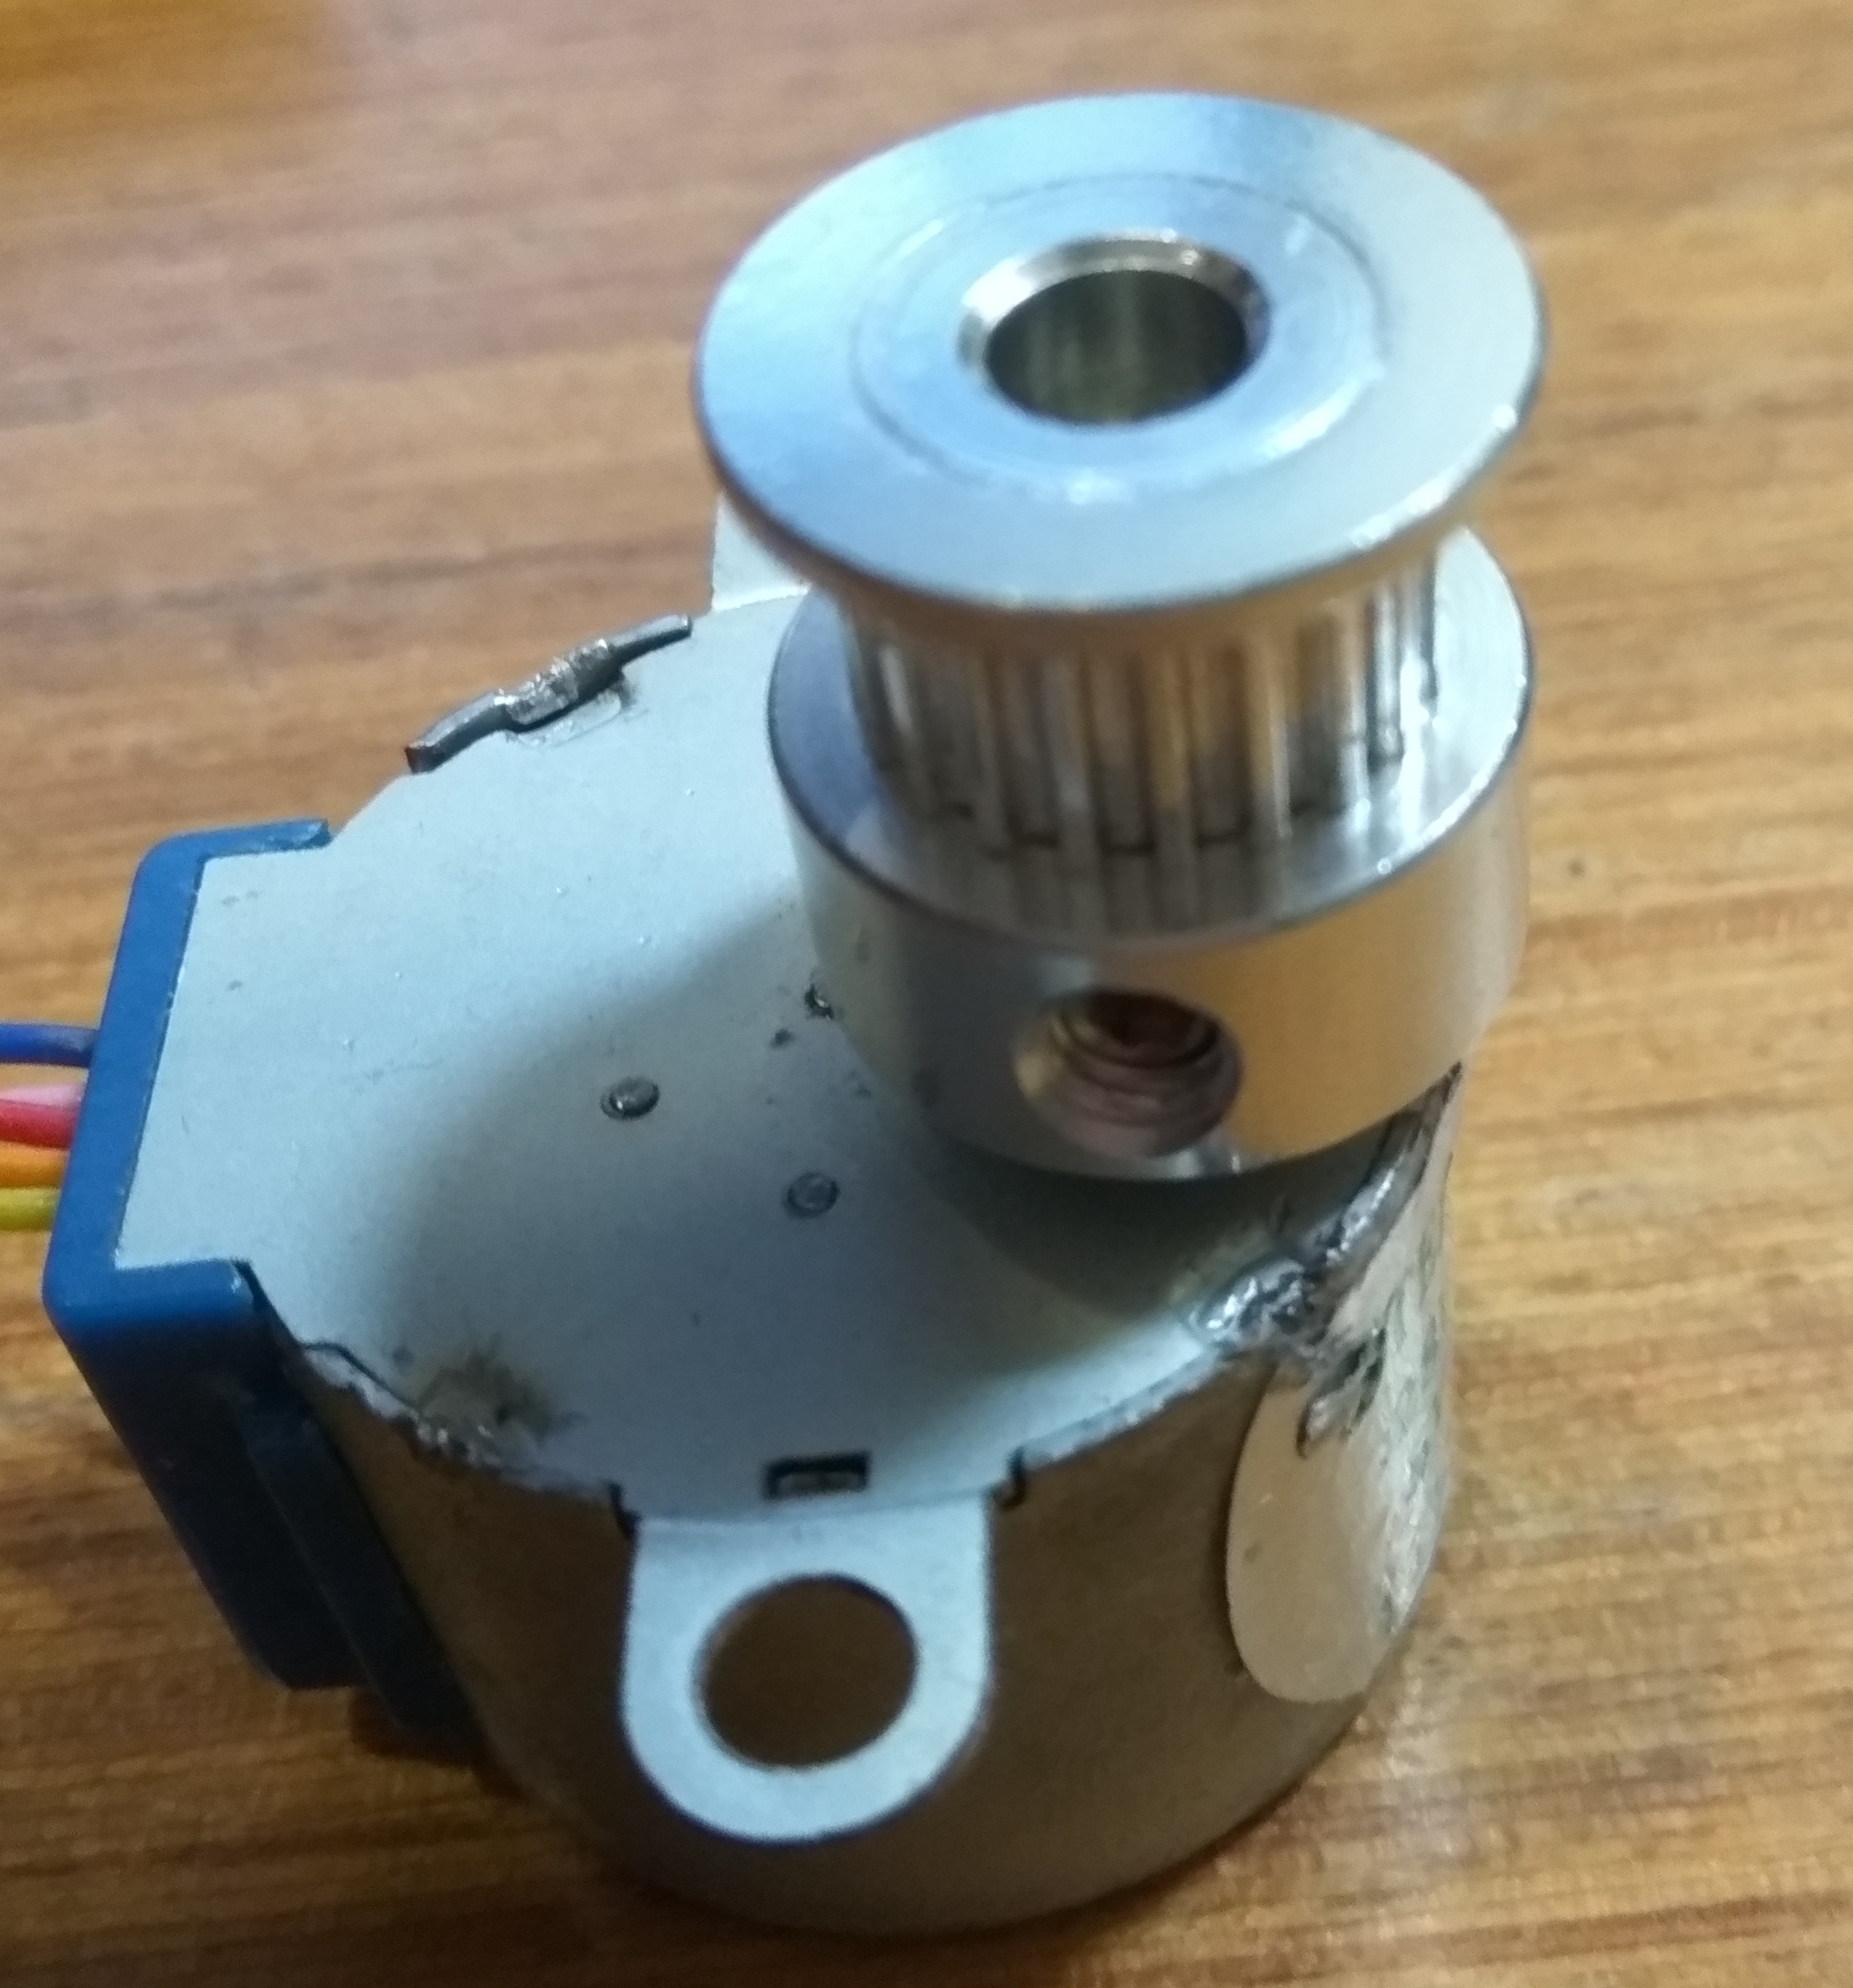
- Unipolar Stepper Motor $8.00 (or $1.66 <= modify this smaller unipolar into a bipolar stepper)
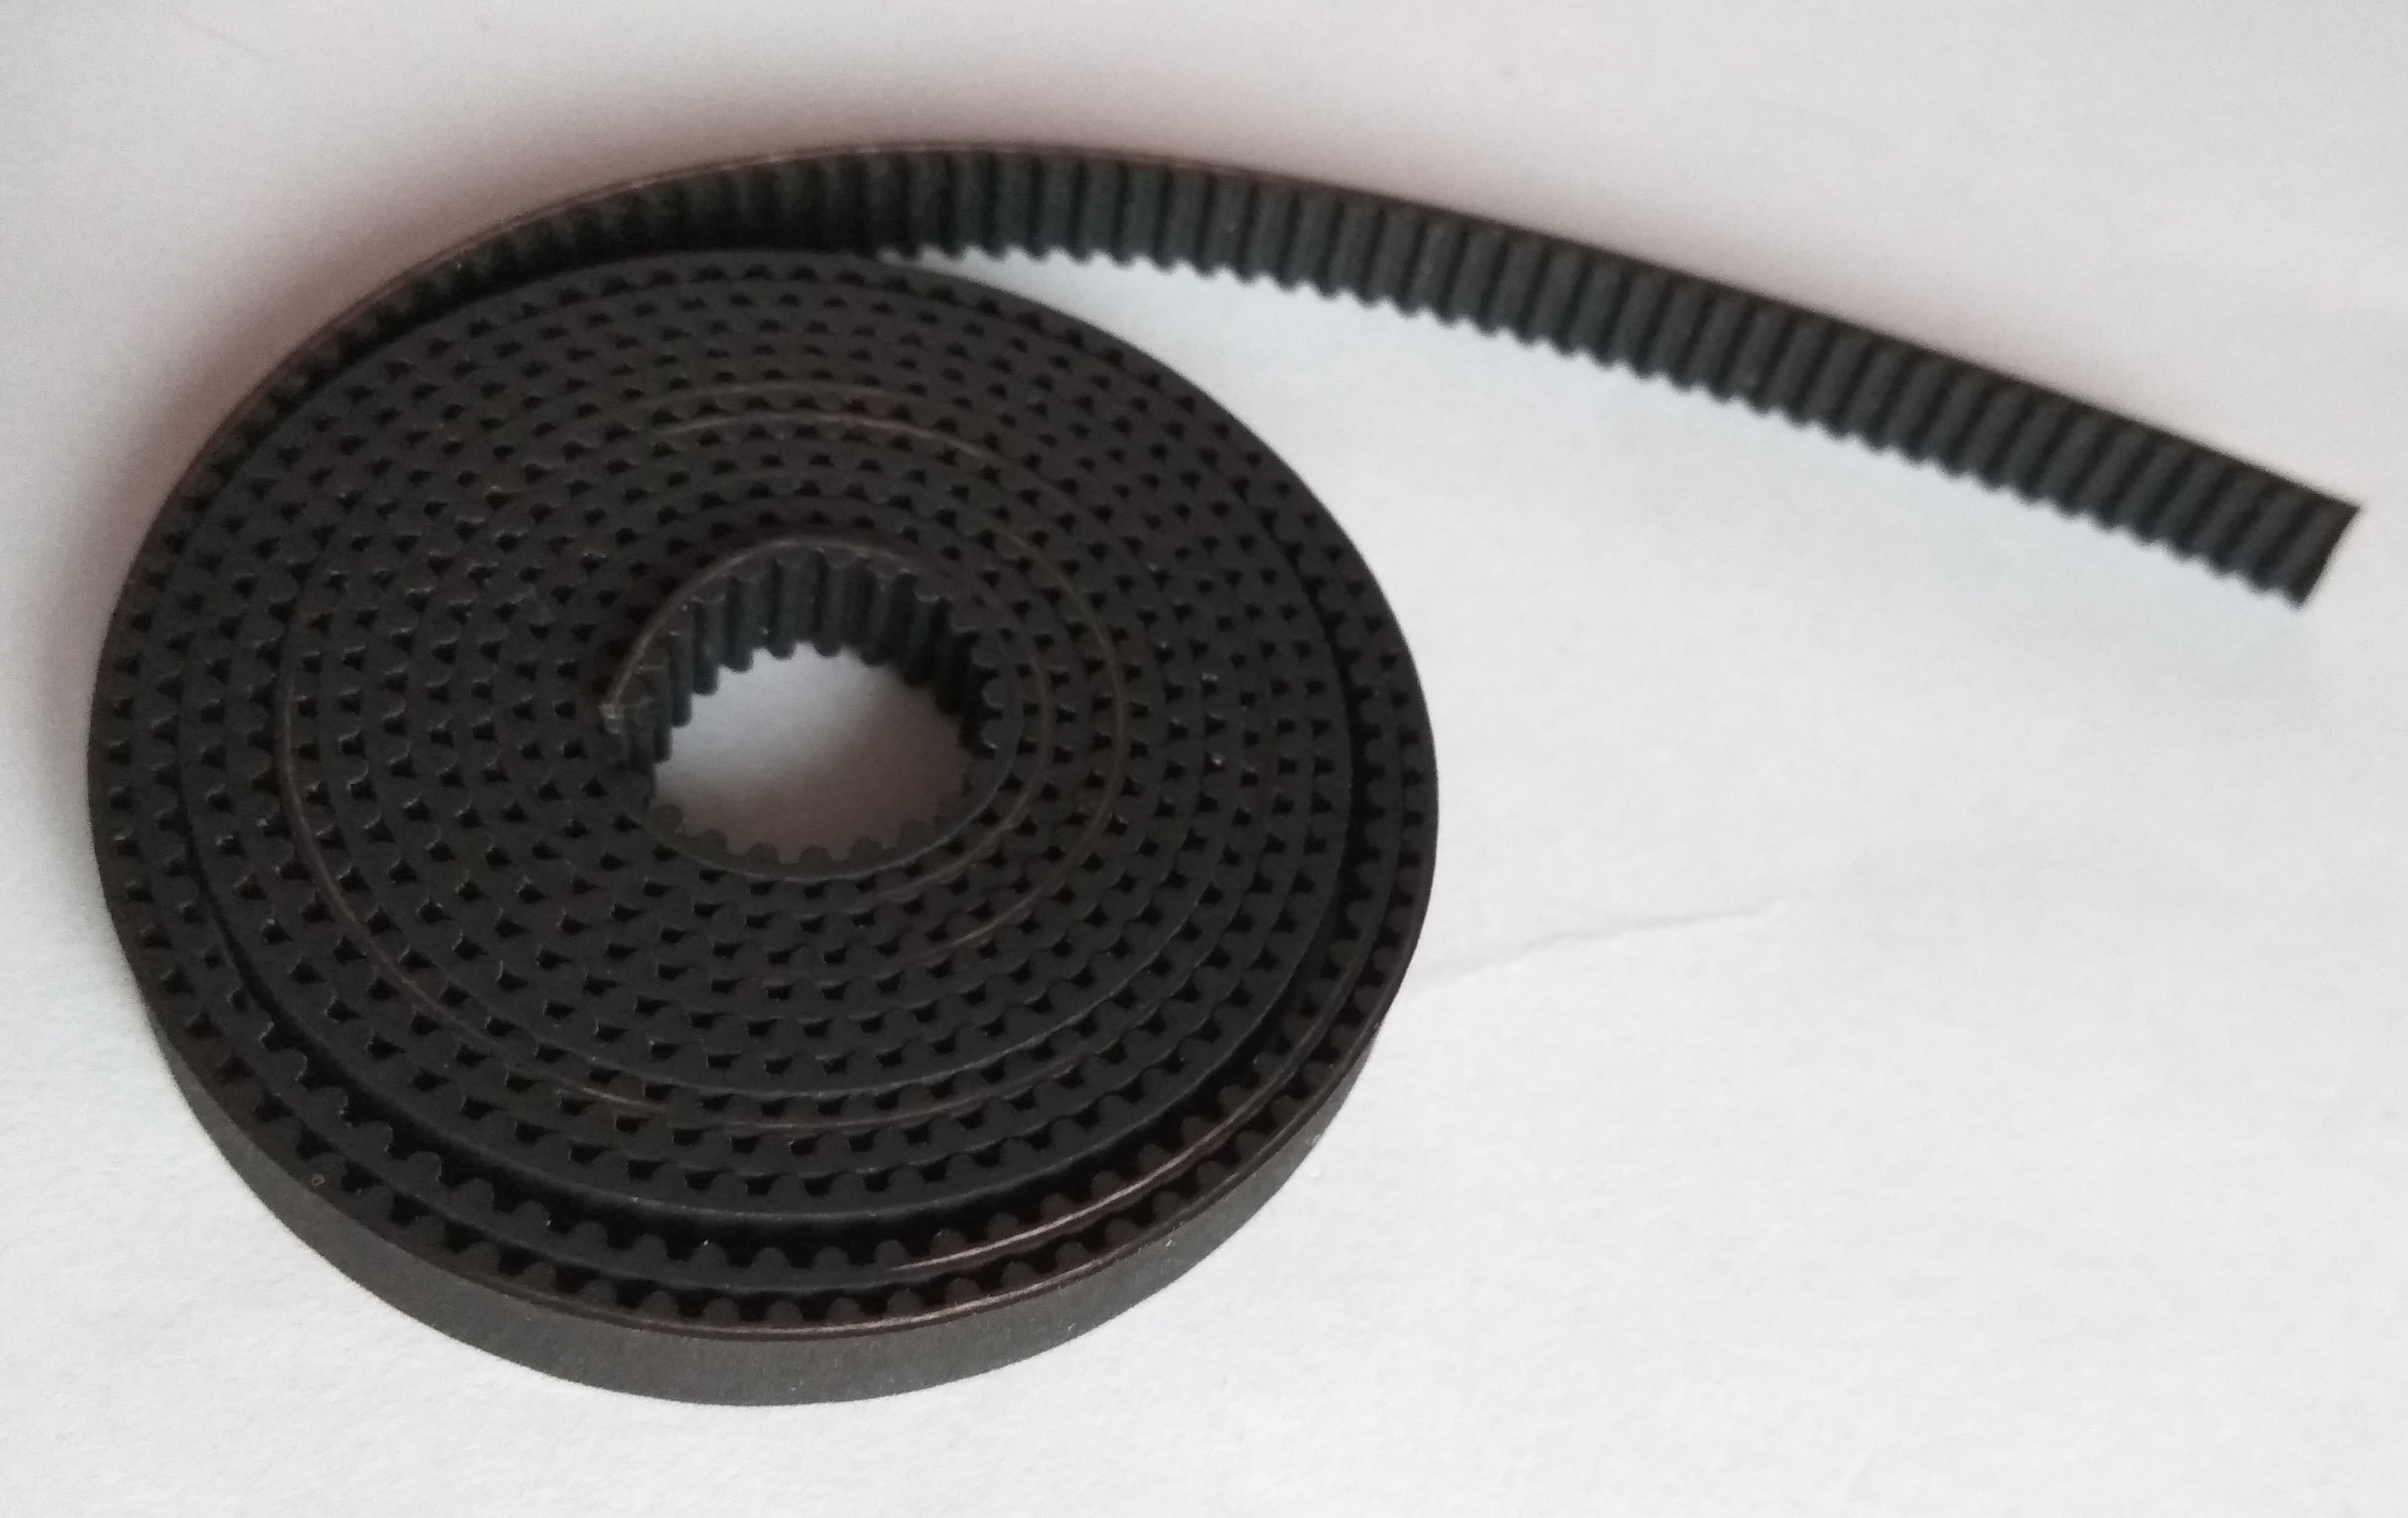
- 6mm Timing Belt $7.31
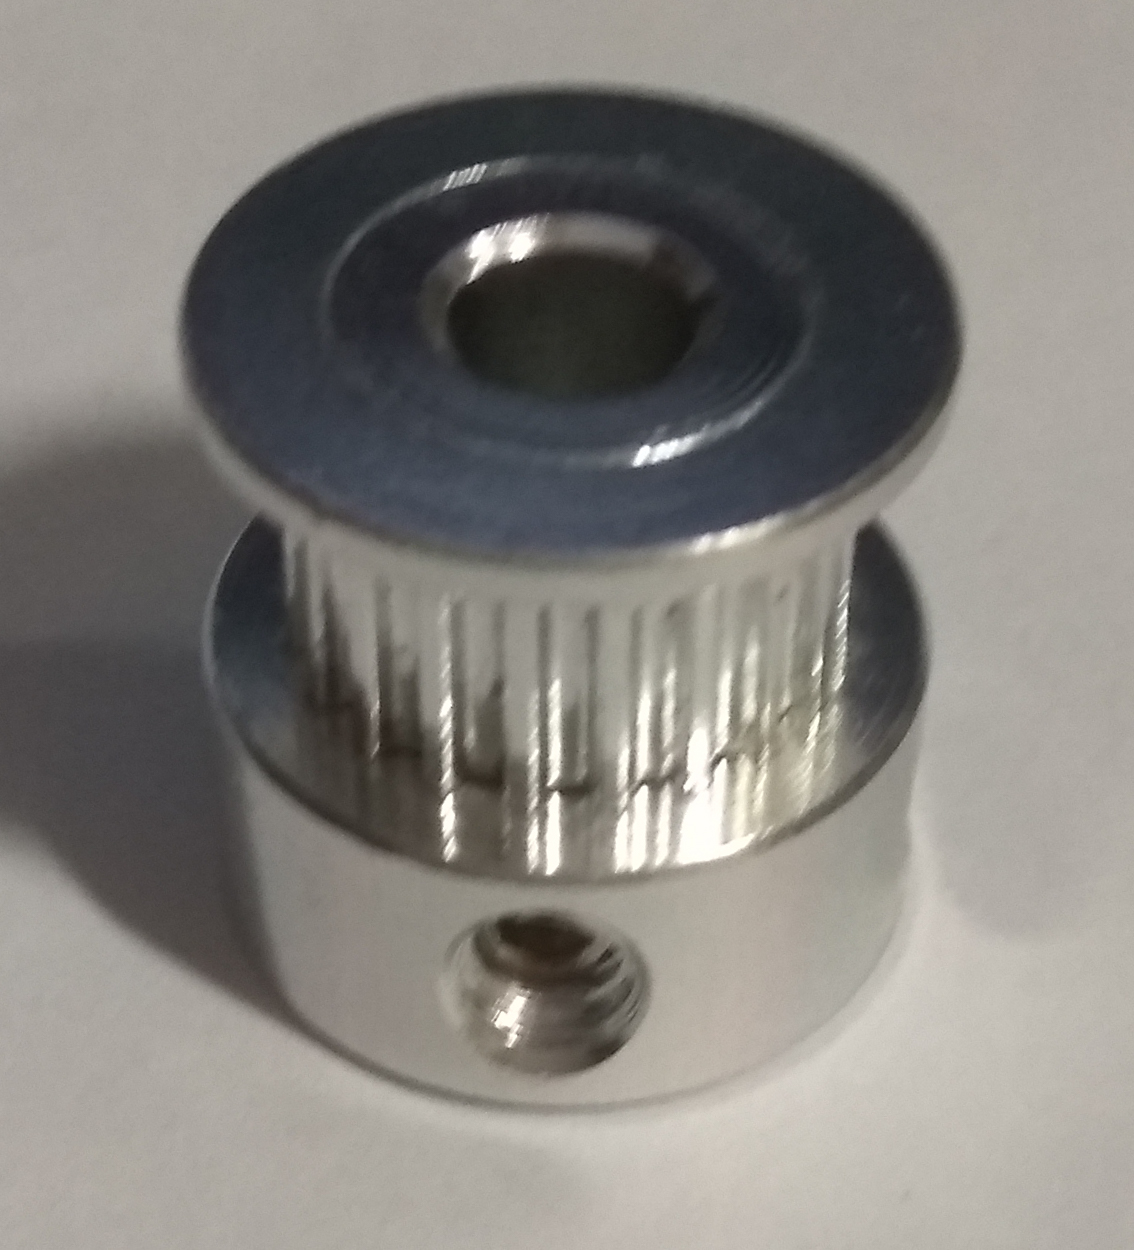
- 6mm Gear $0.54 (or 3D printable from Thingiverse)
- 6mm Pulley $1.17 (or 3D printable from Thingiverse)
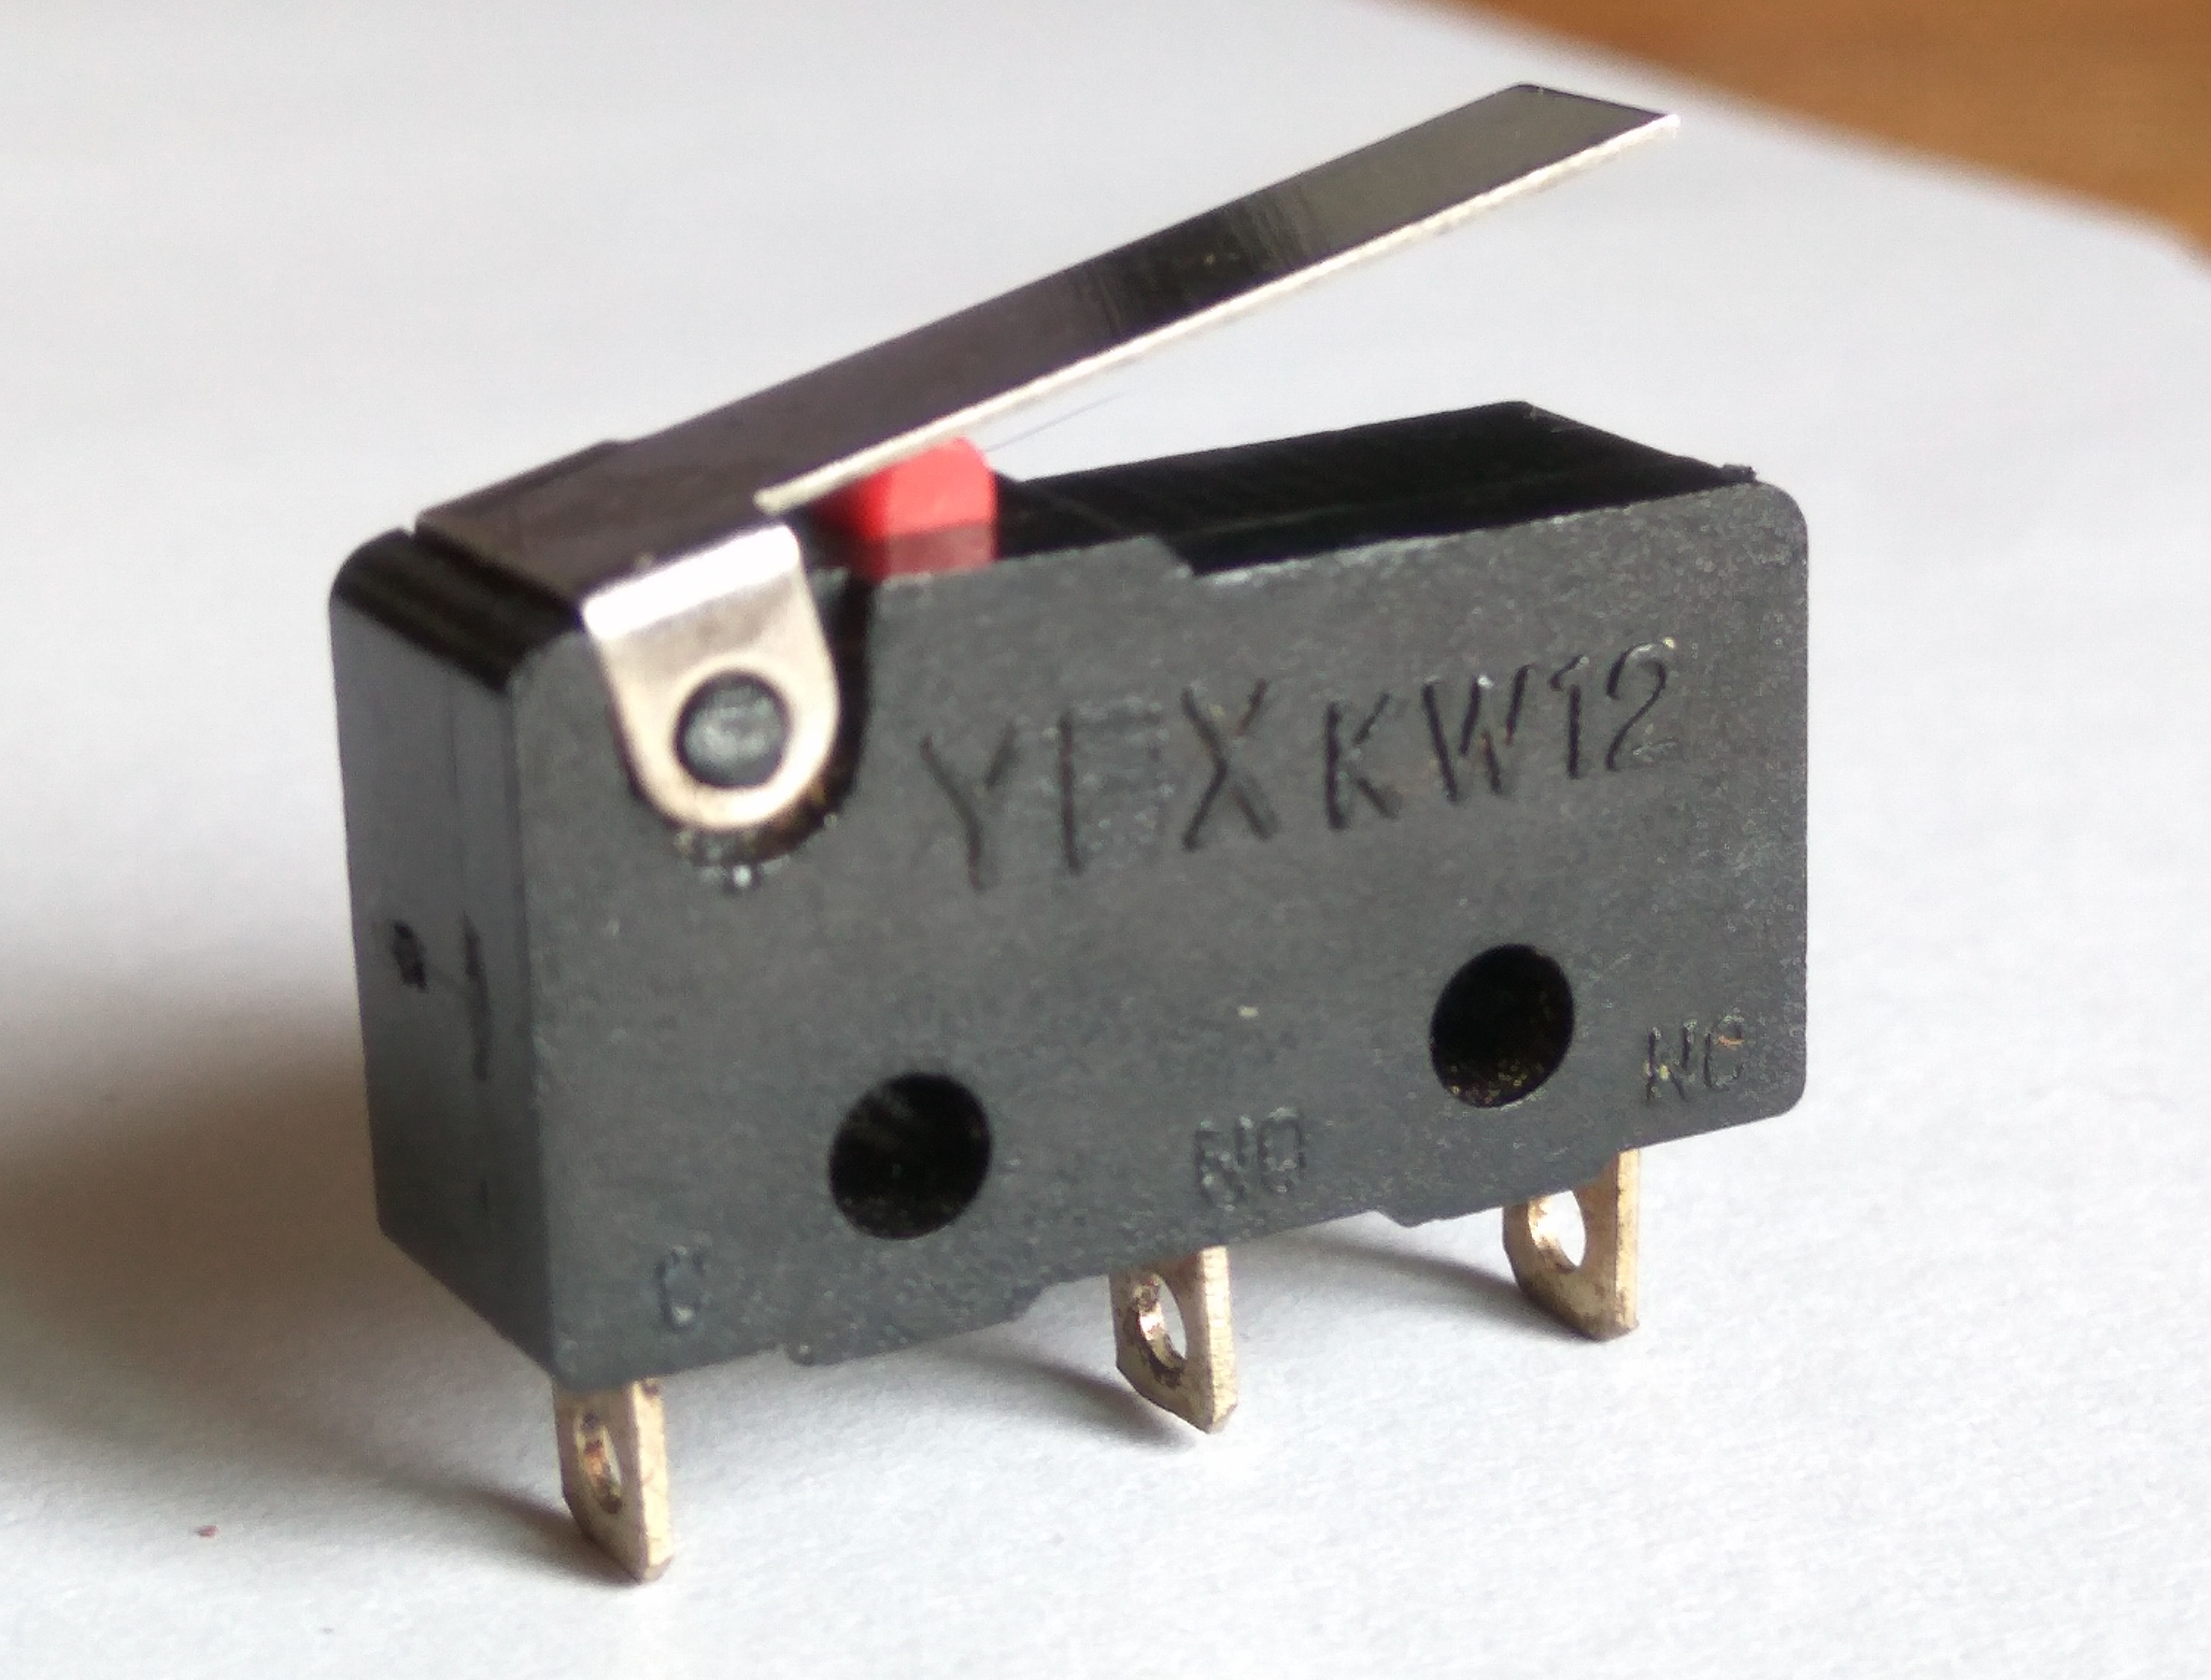
- Limit Switch x2 (optional) $1.34
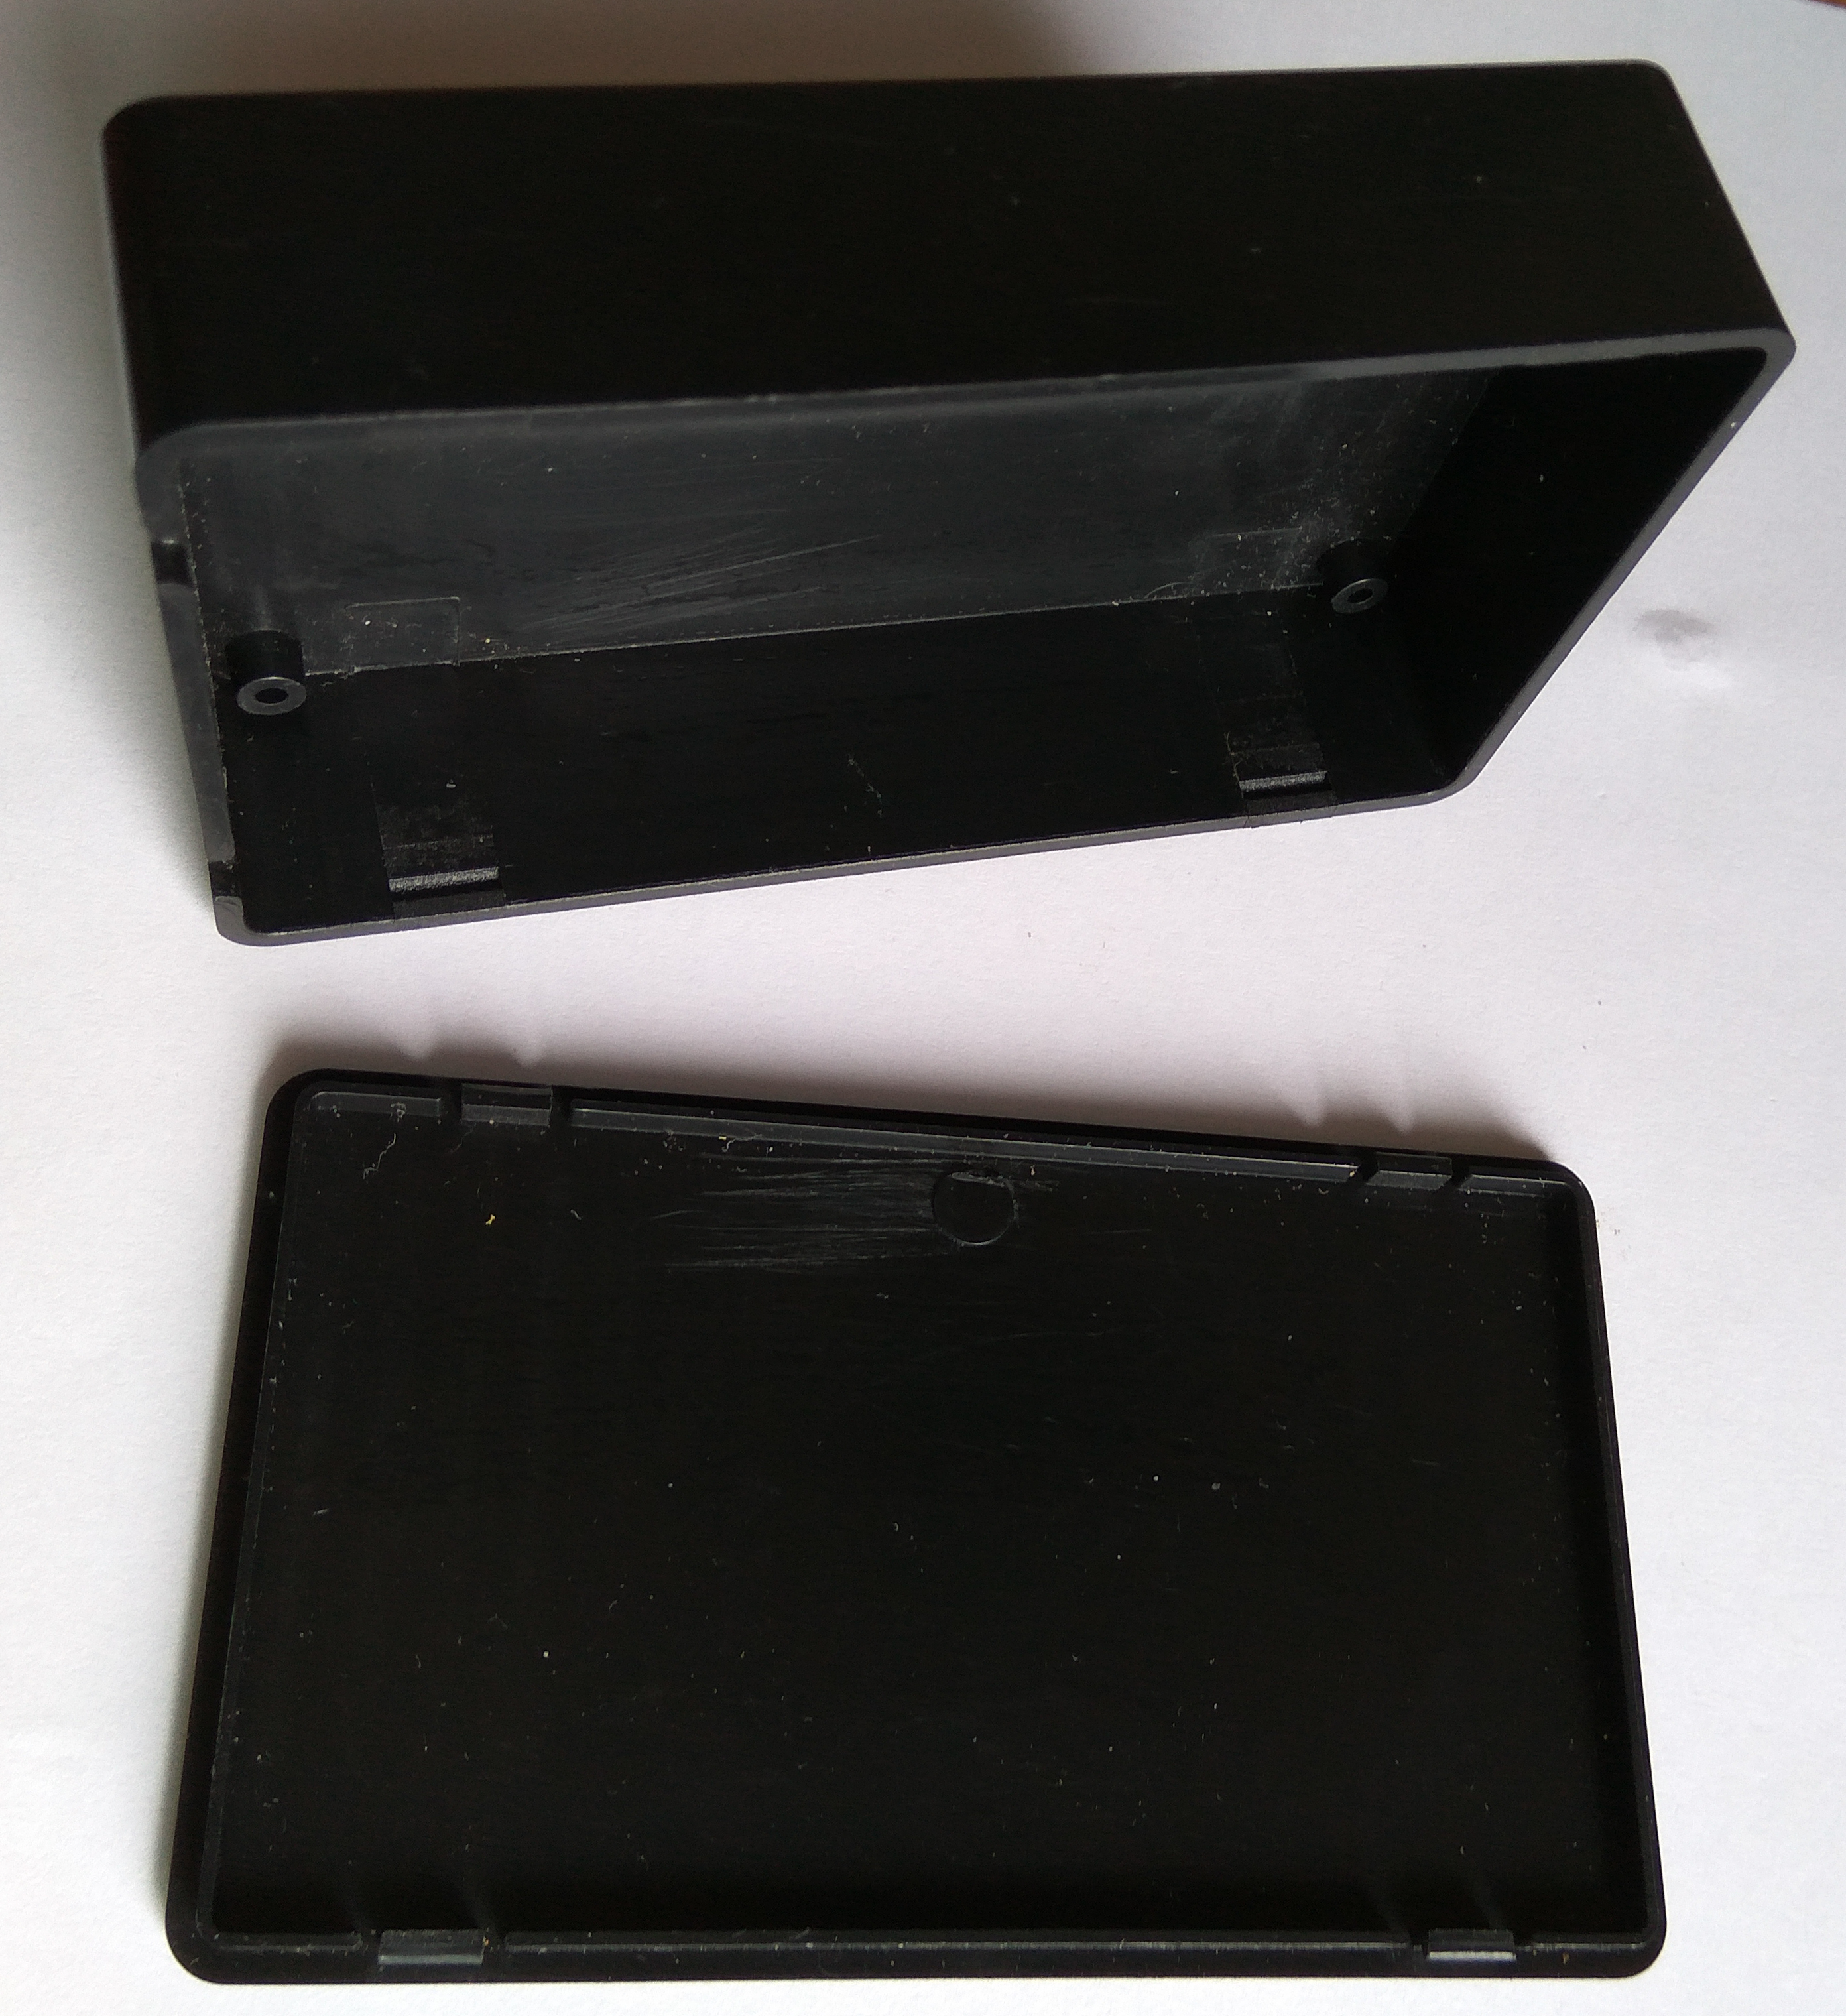
- Project Enclosure Box (optional) $1.06
- Breadboard Jumper Wires $2.09
- Dupont Jumper Wires $2.80
- Rubber Bands $1.13
- Twist Ties $3.22
- 22 AWG Wire (optional) $1.22
- Zip ties (optional) $0.63
- Shrink tube (optional) $1.97
Tools (optional):
Download Bill of Materials from GitHub(Amazon)
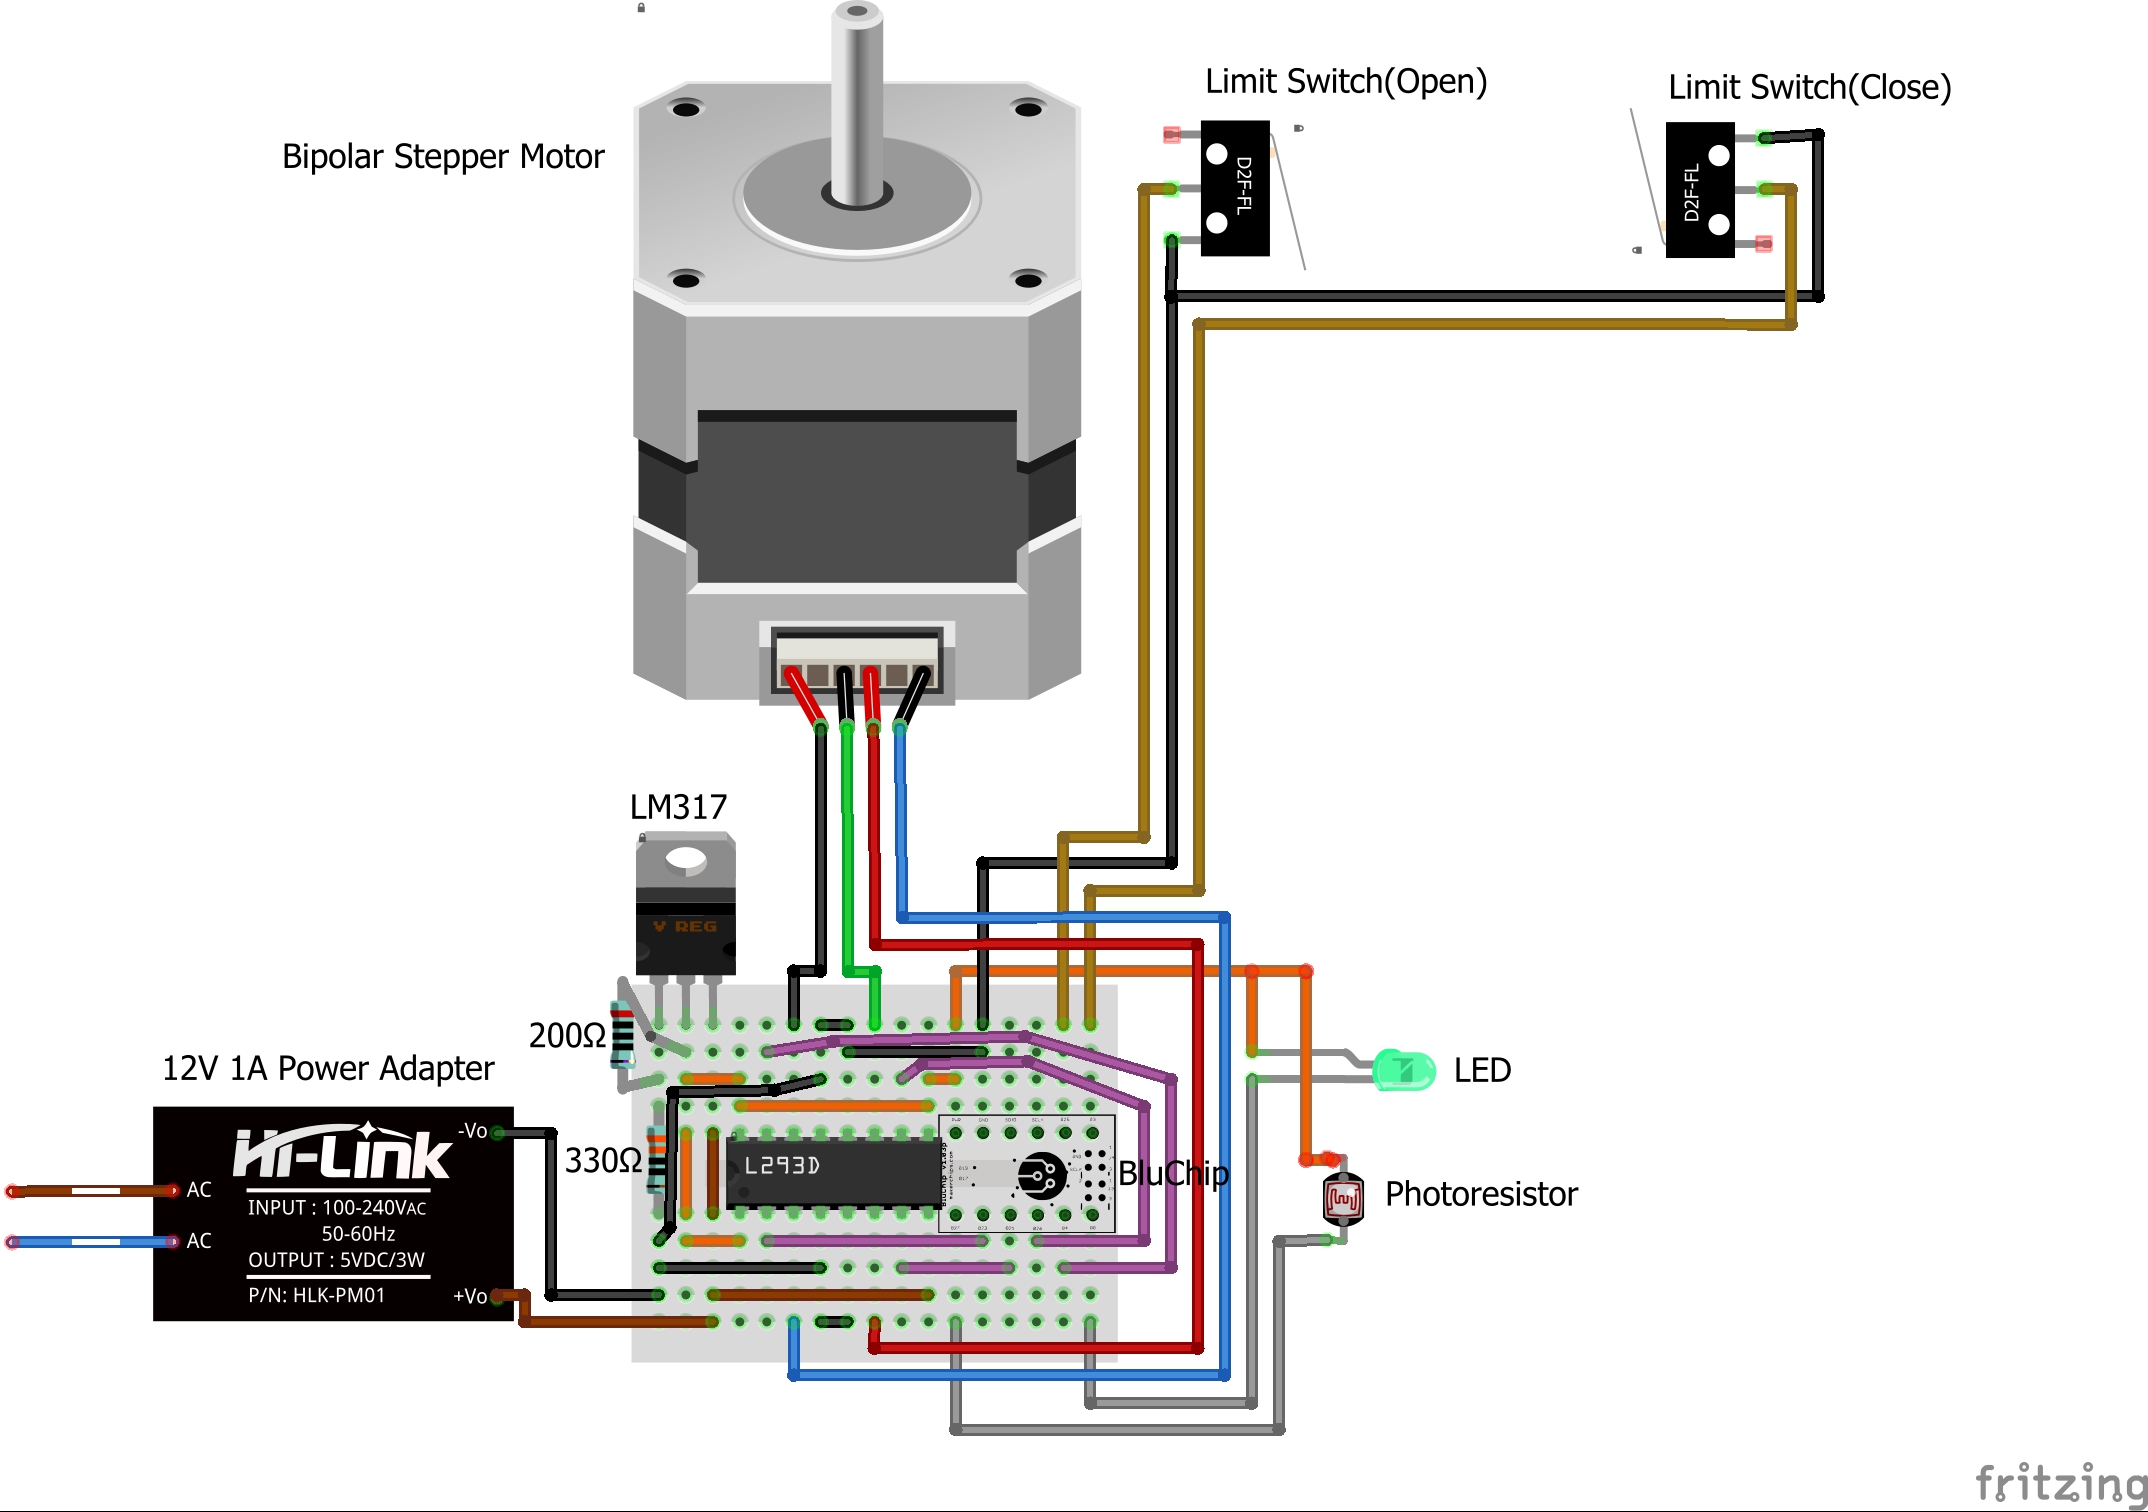
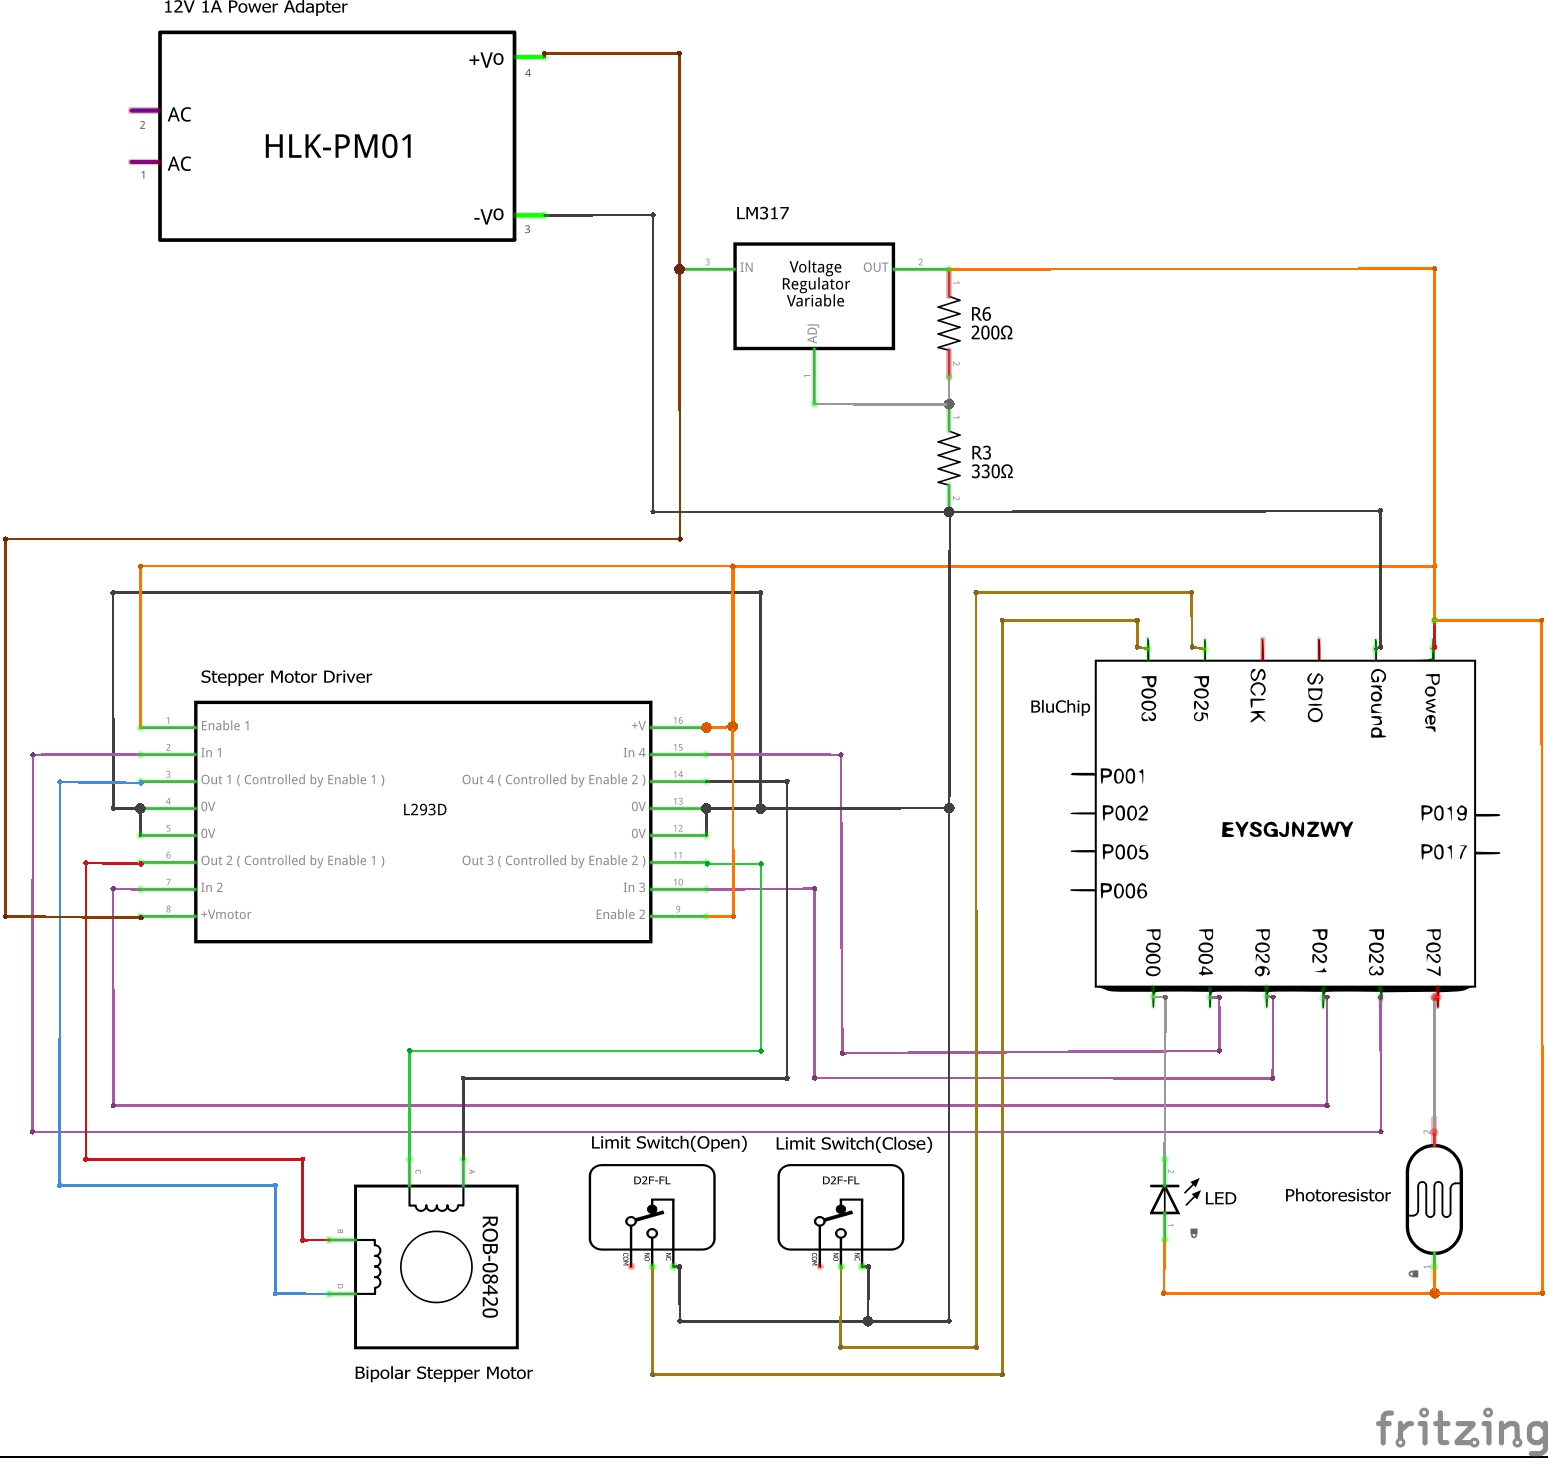
Figure 20 shows how you are going to wire up the system, depending on what features you choose to add. If you want more precise movement, you would add limit switches to the project.
Limit switches are endpoints to the curtains which tell the BluChip when it is opened or closed. Without the Limit Switches, you would need to configure the firmware to indicate how far your curtains move in the upcoming "Firmware Configuration" section.
Figure 20 also includes an optional photo resistor which allows for day and night detection, also configurable in the "Firmware Configuration" section.
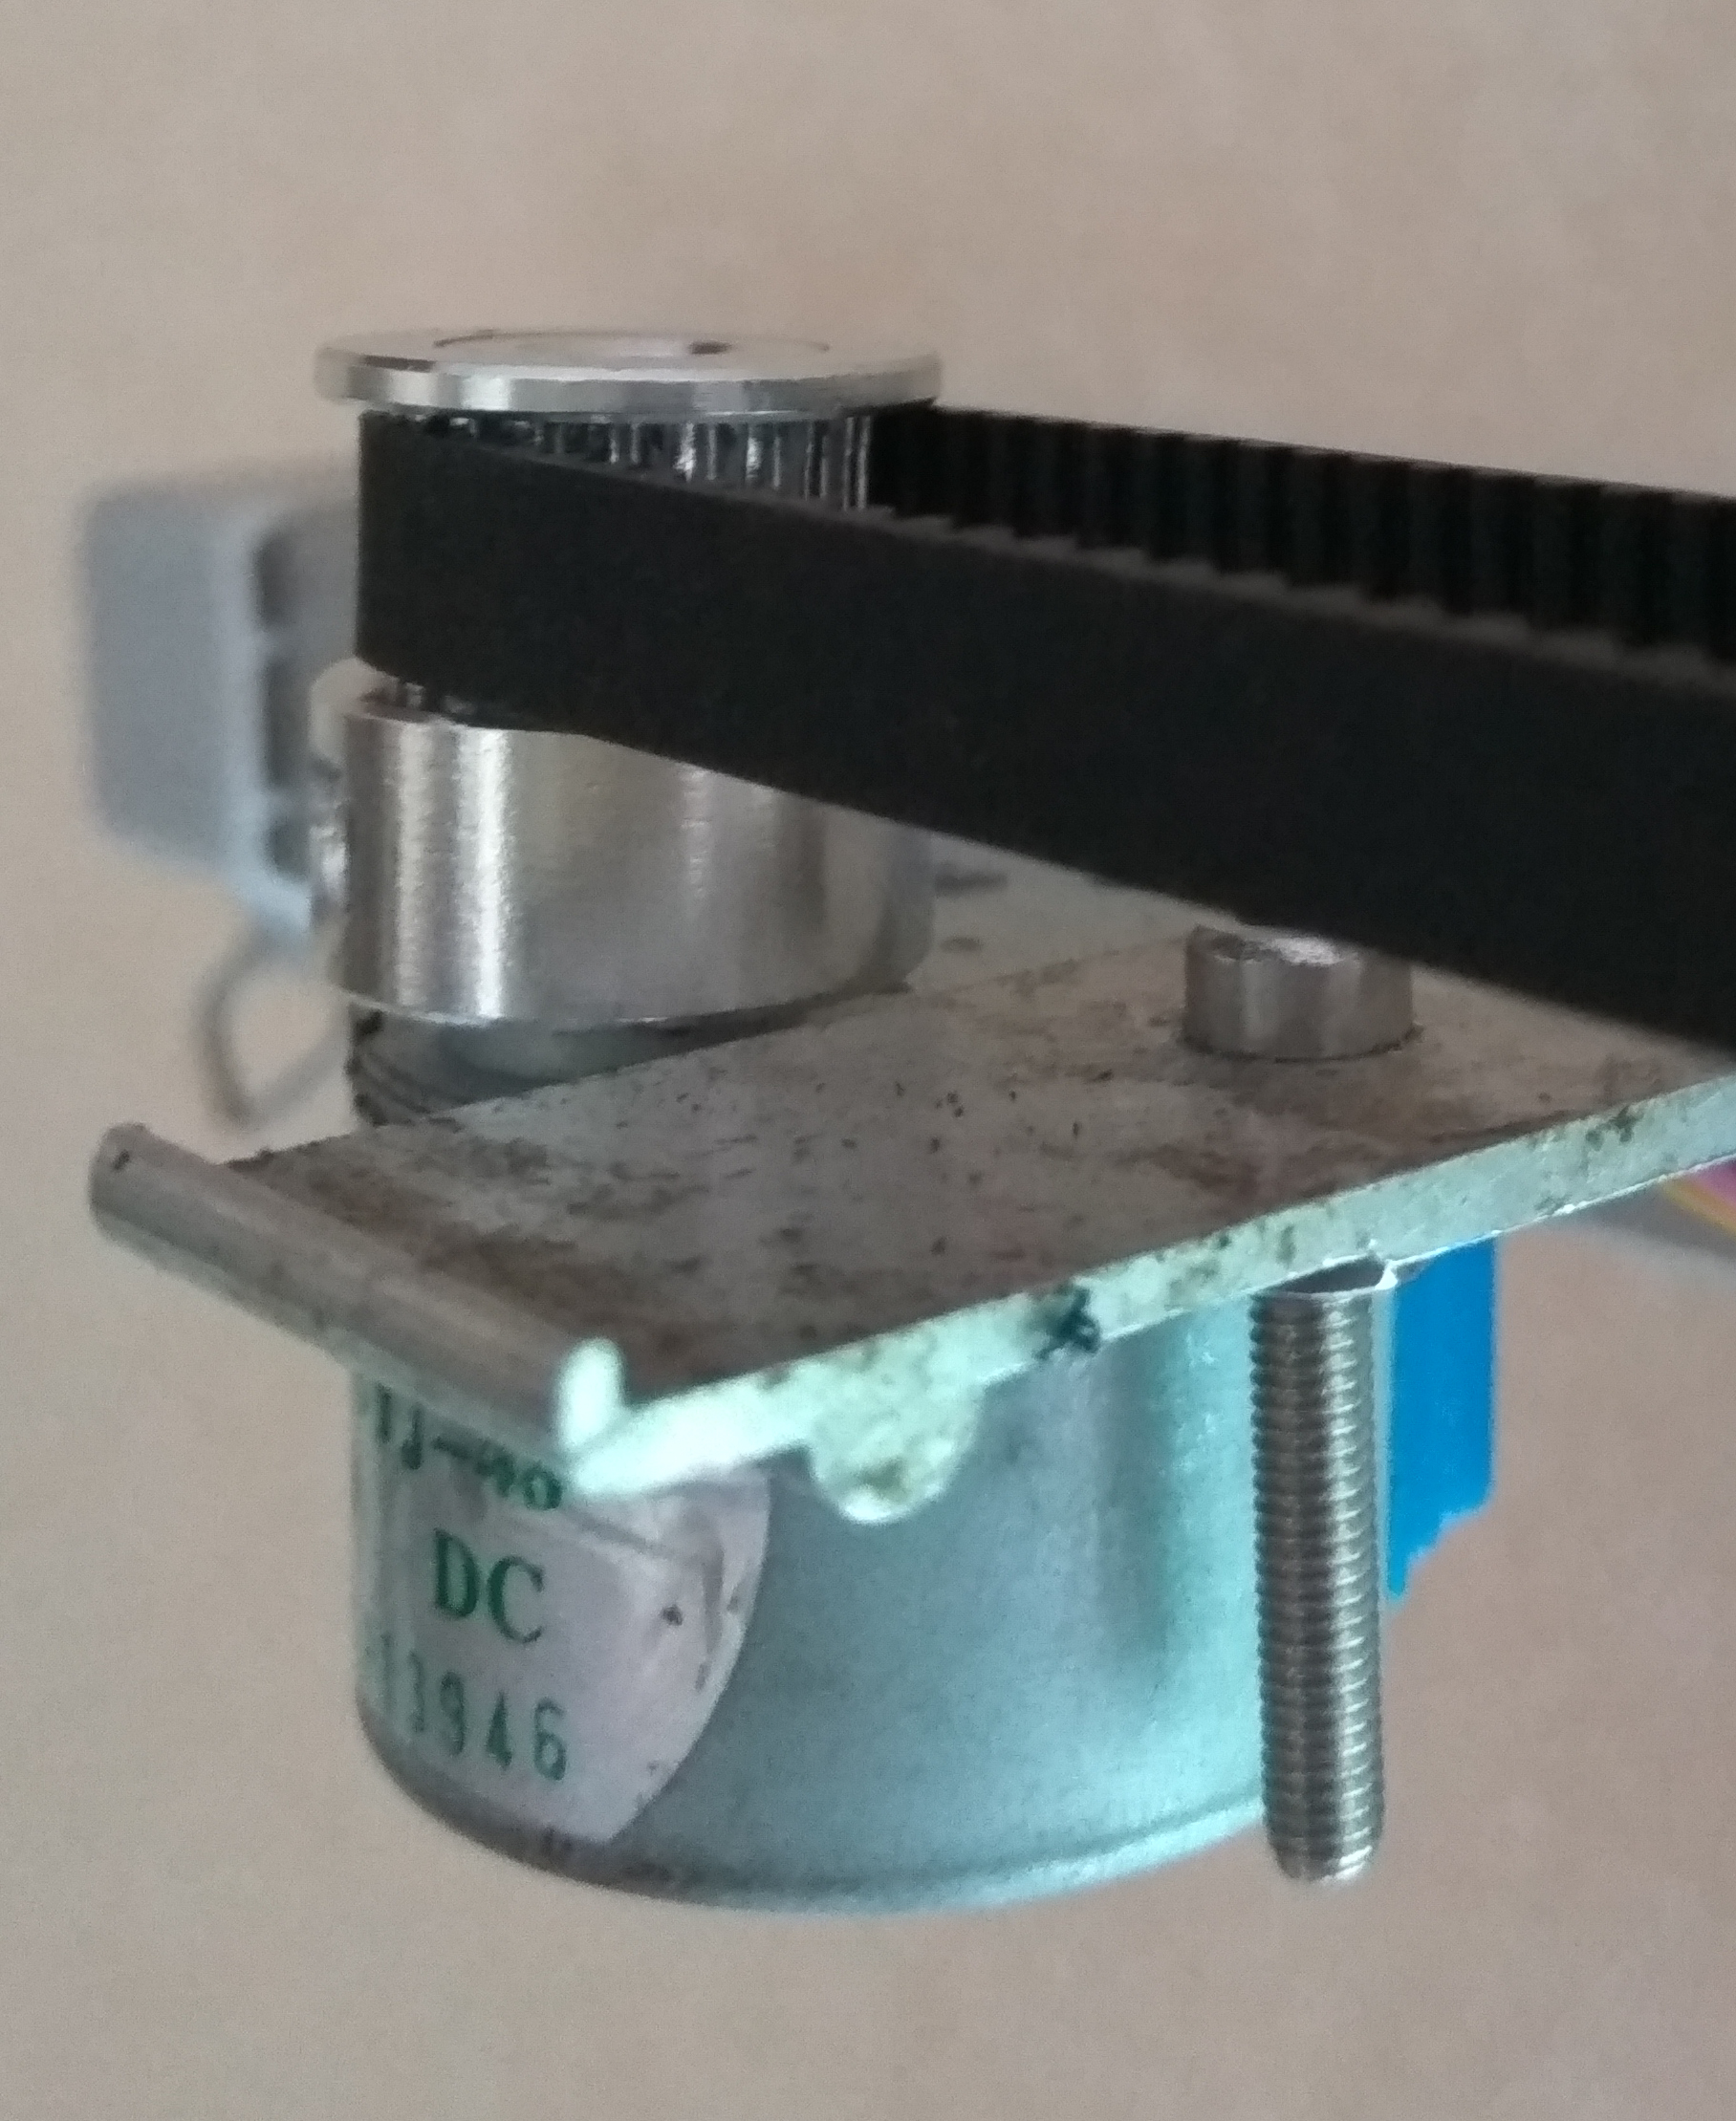
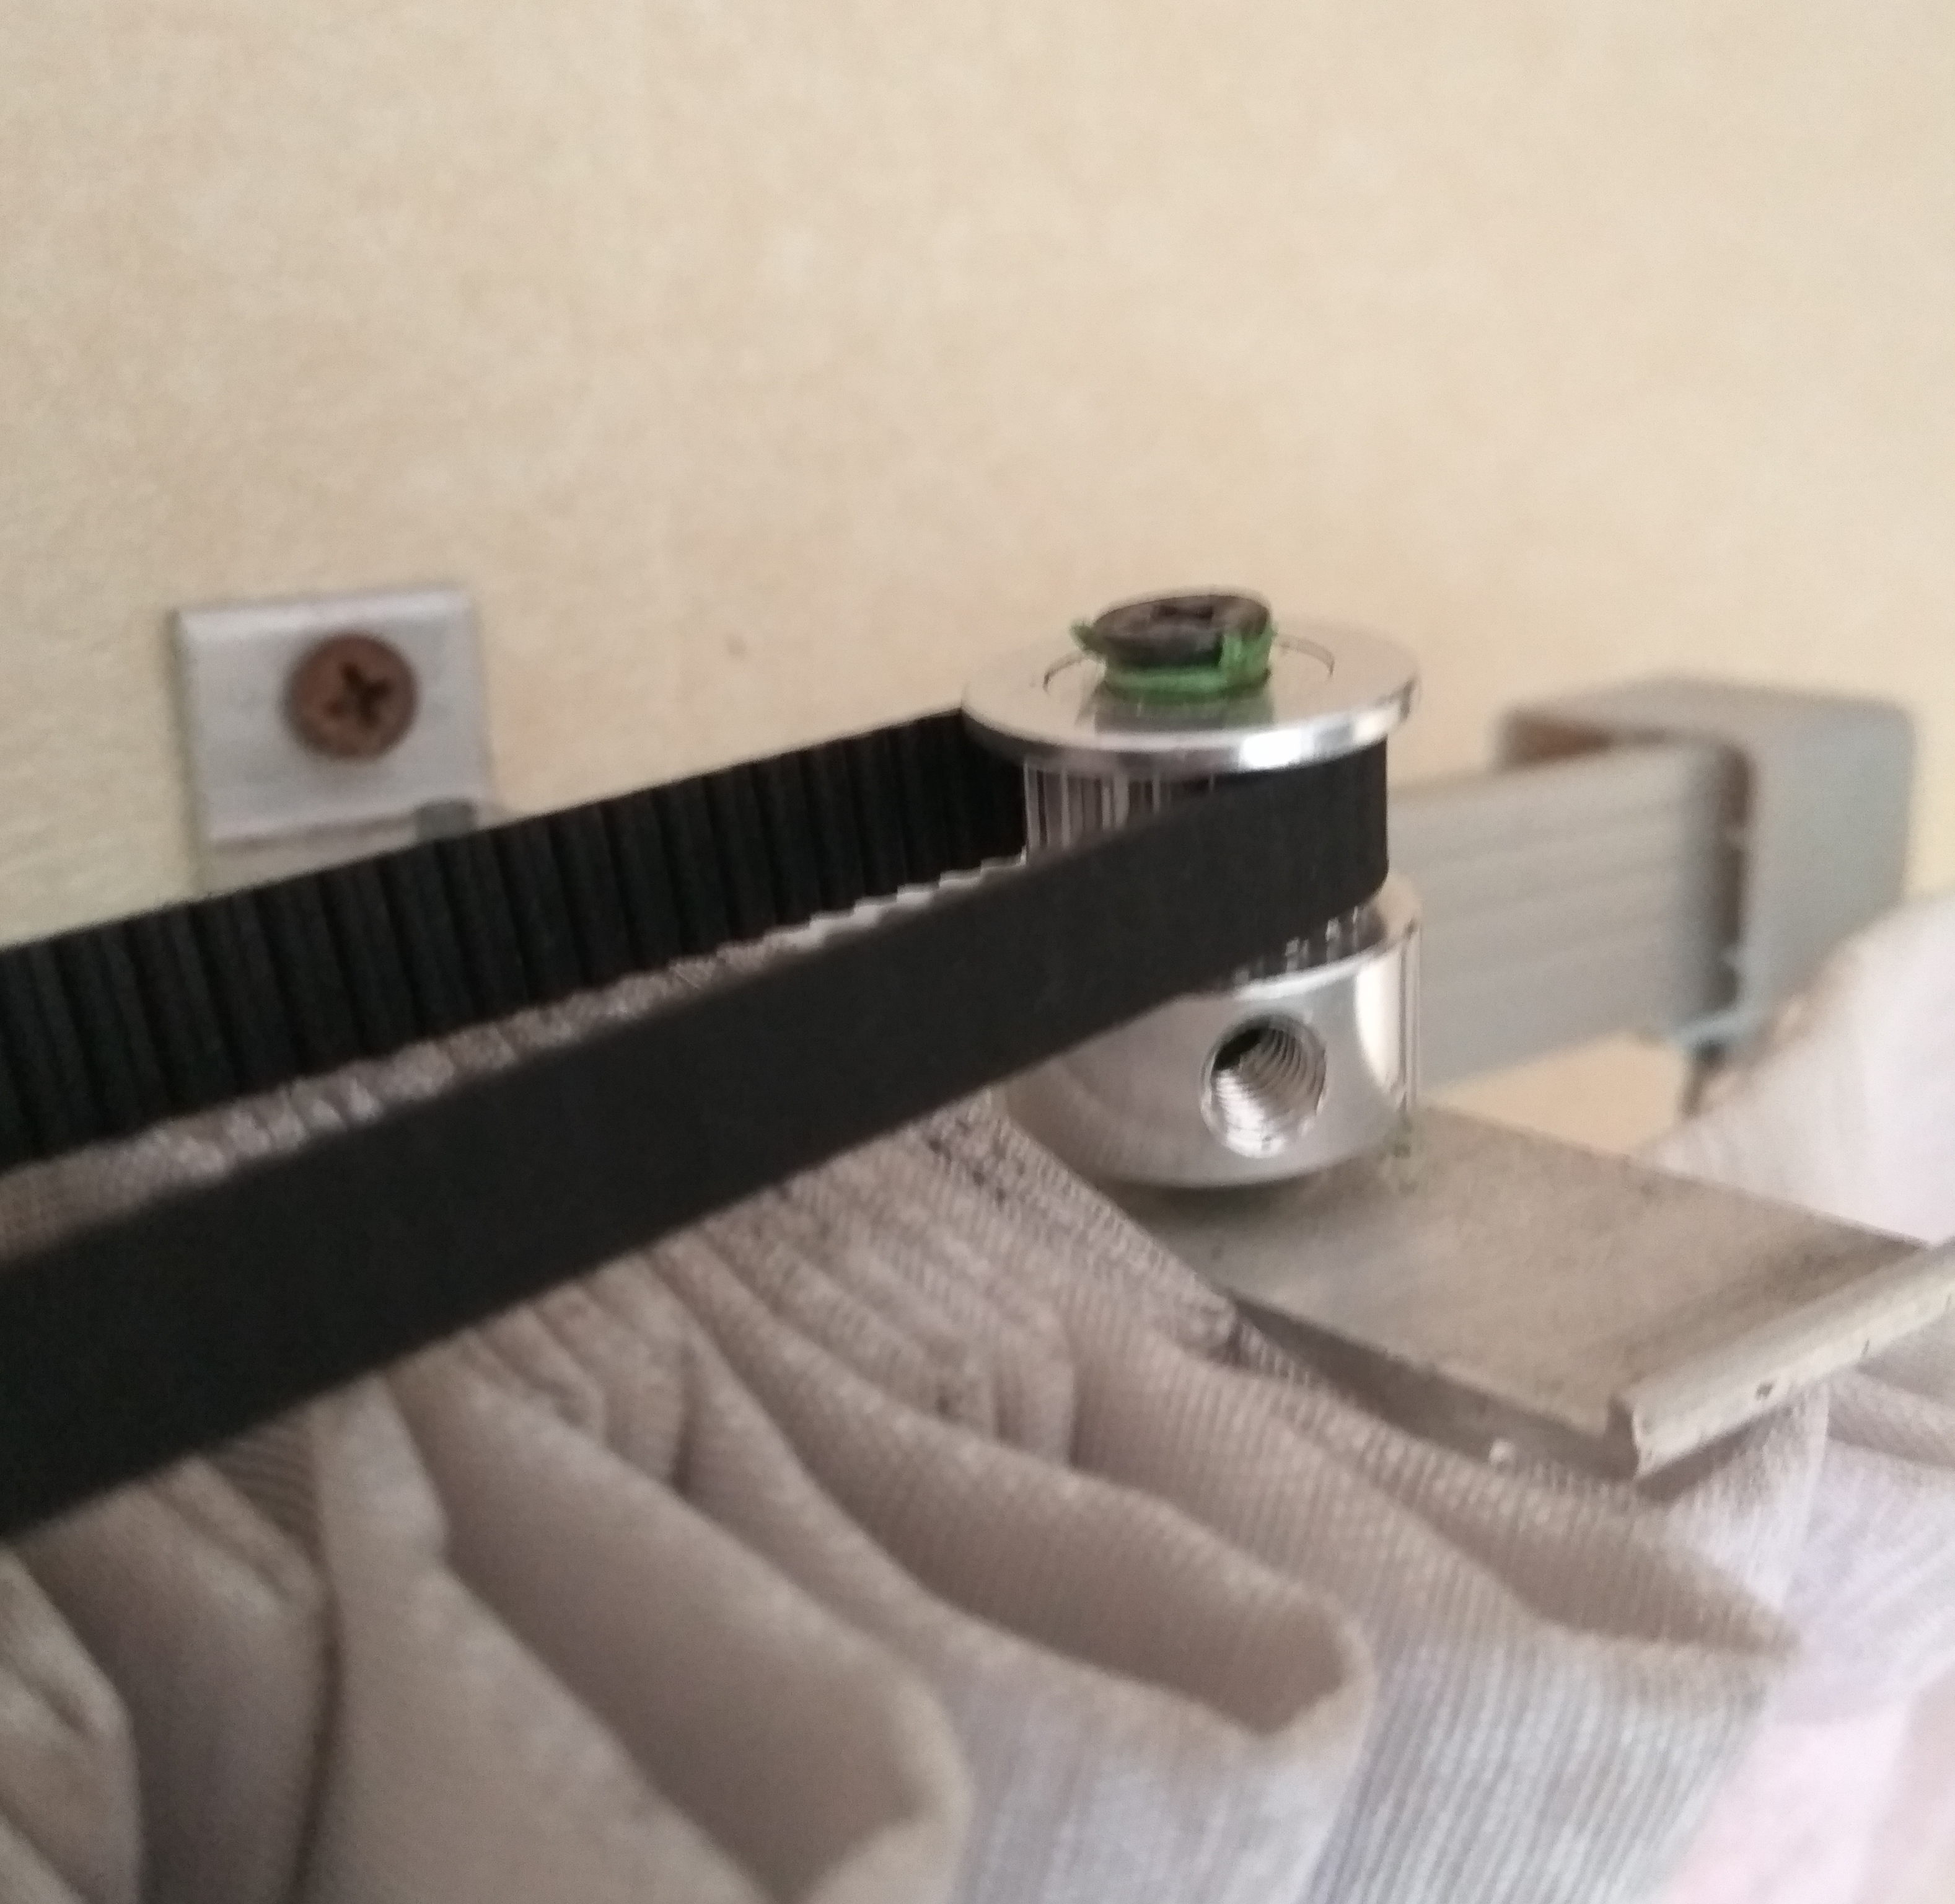
Start the assembly of the hardware off by mounting the stepper motor, pulley & timing belt to the top of your curtains. (Figure 21)
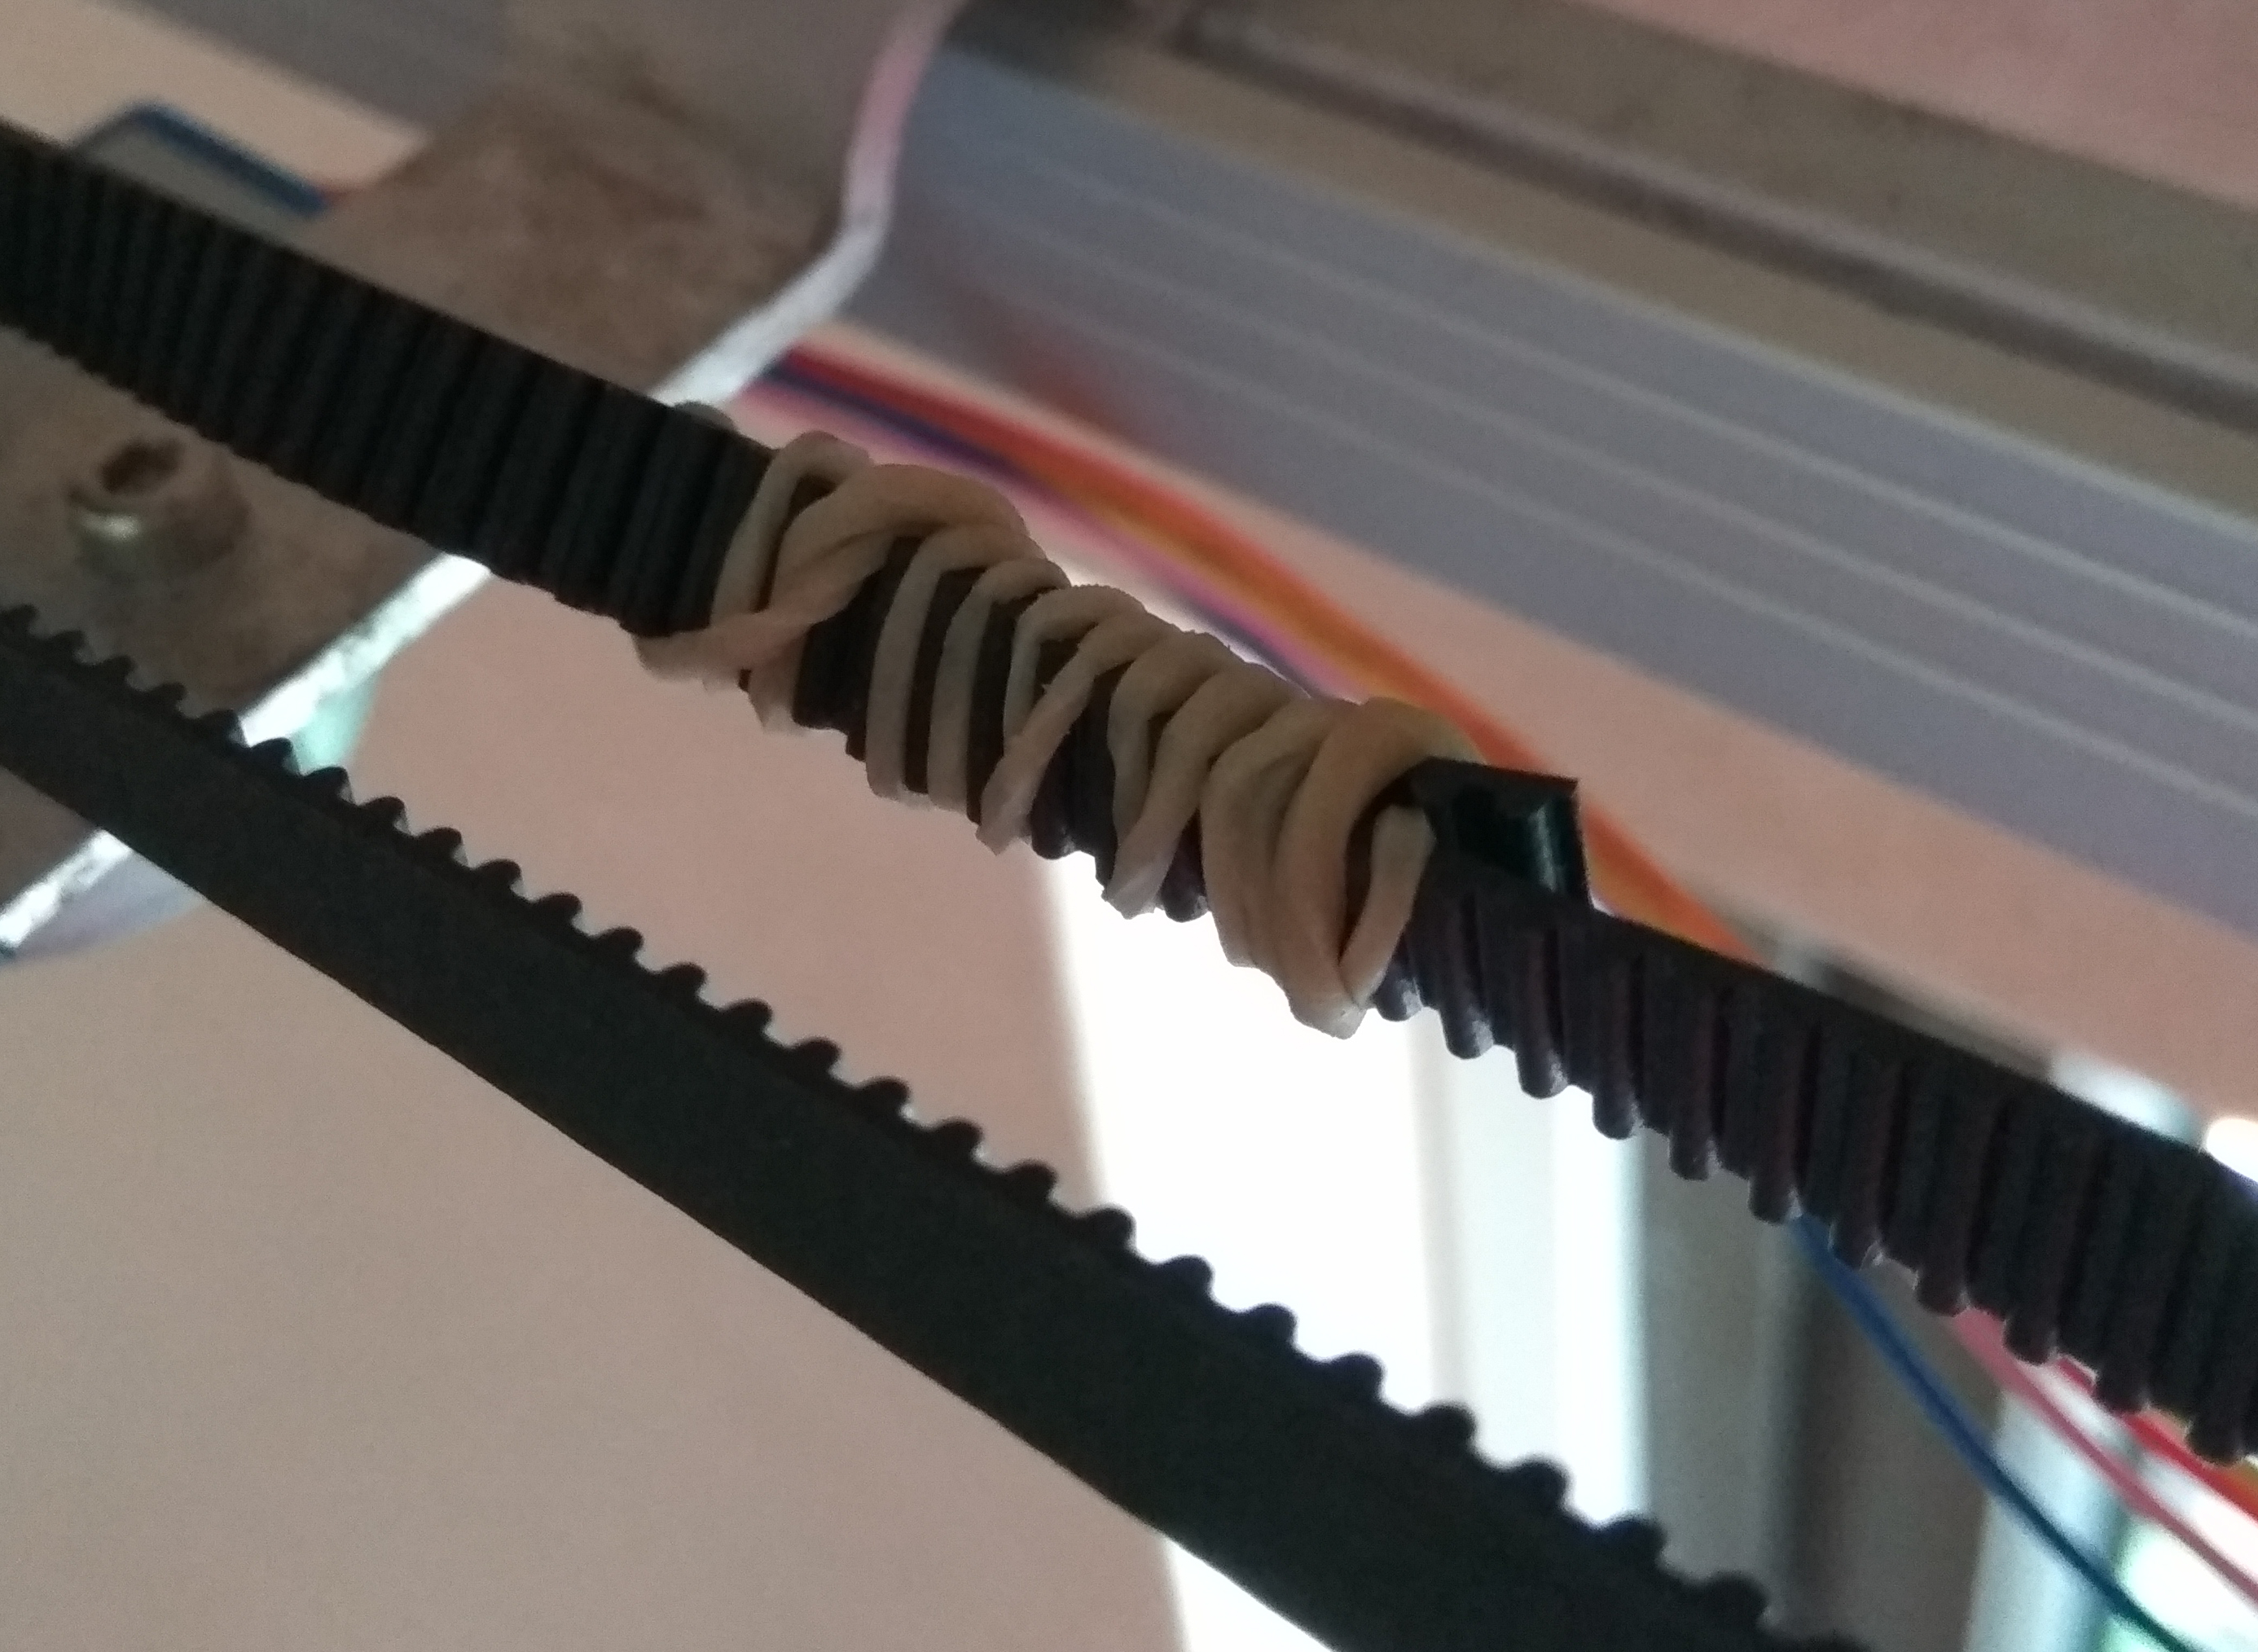
Temporarily tension the timing belt with rubber band. Later on, before completing the project, you are going to zip tie it together to hold it permanently.
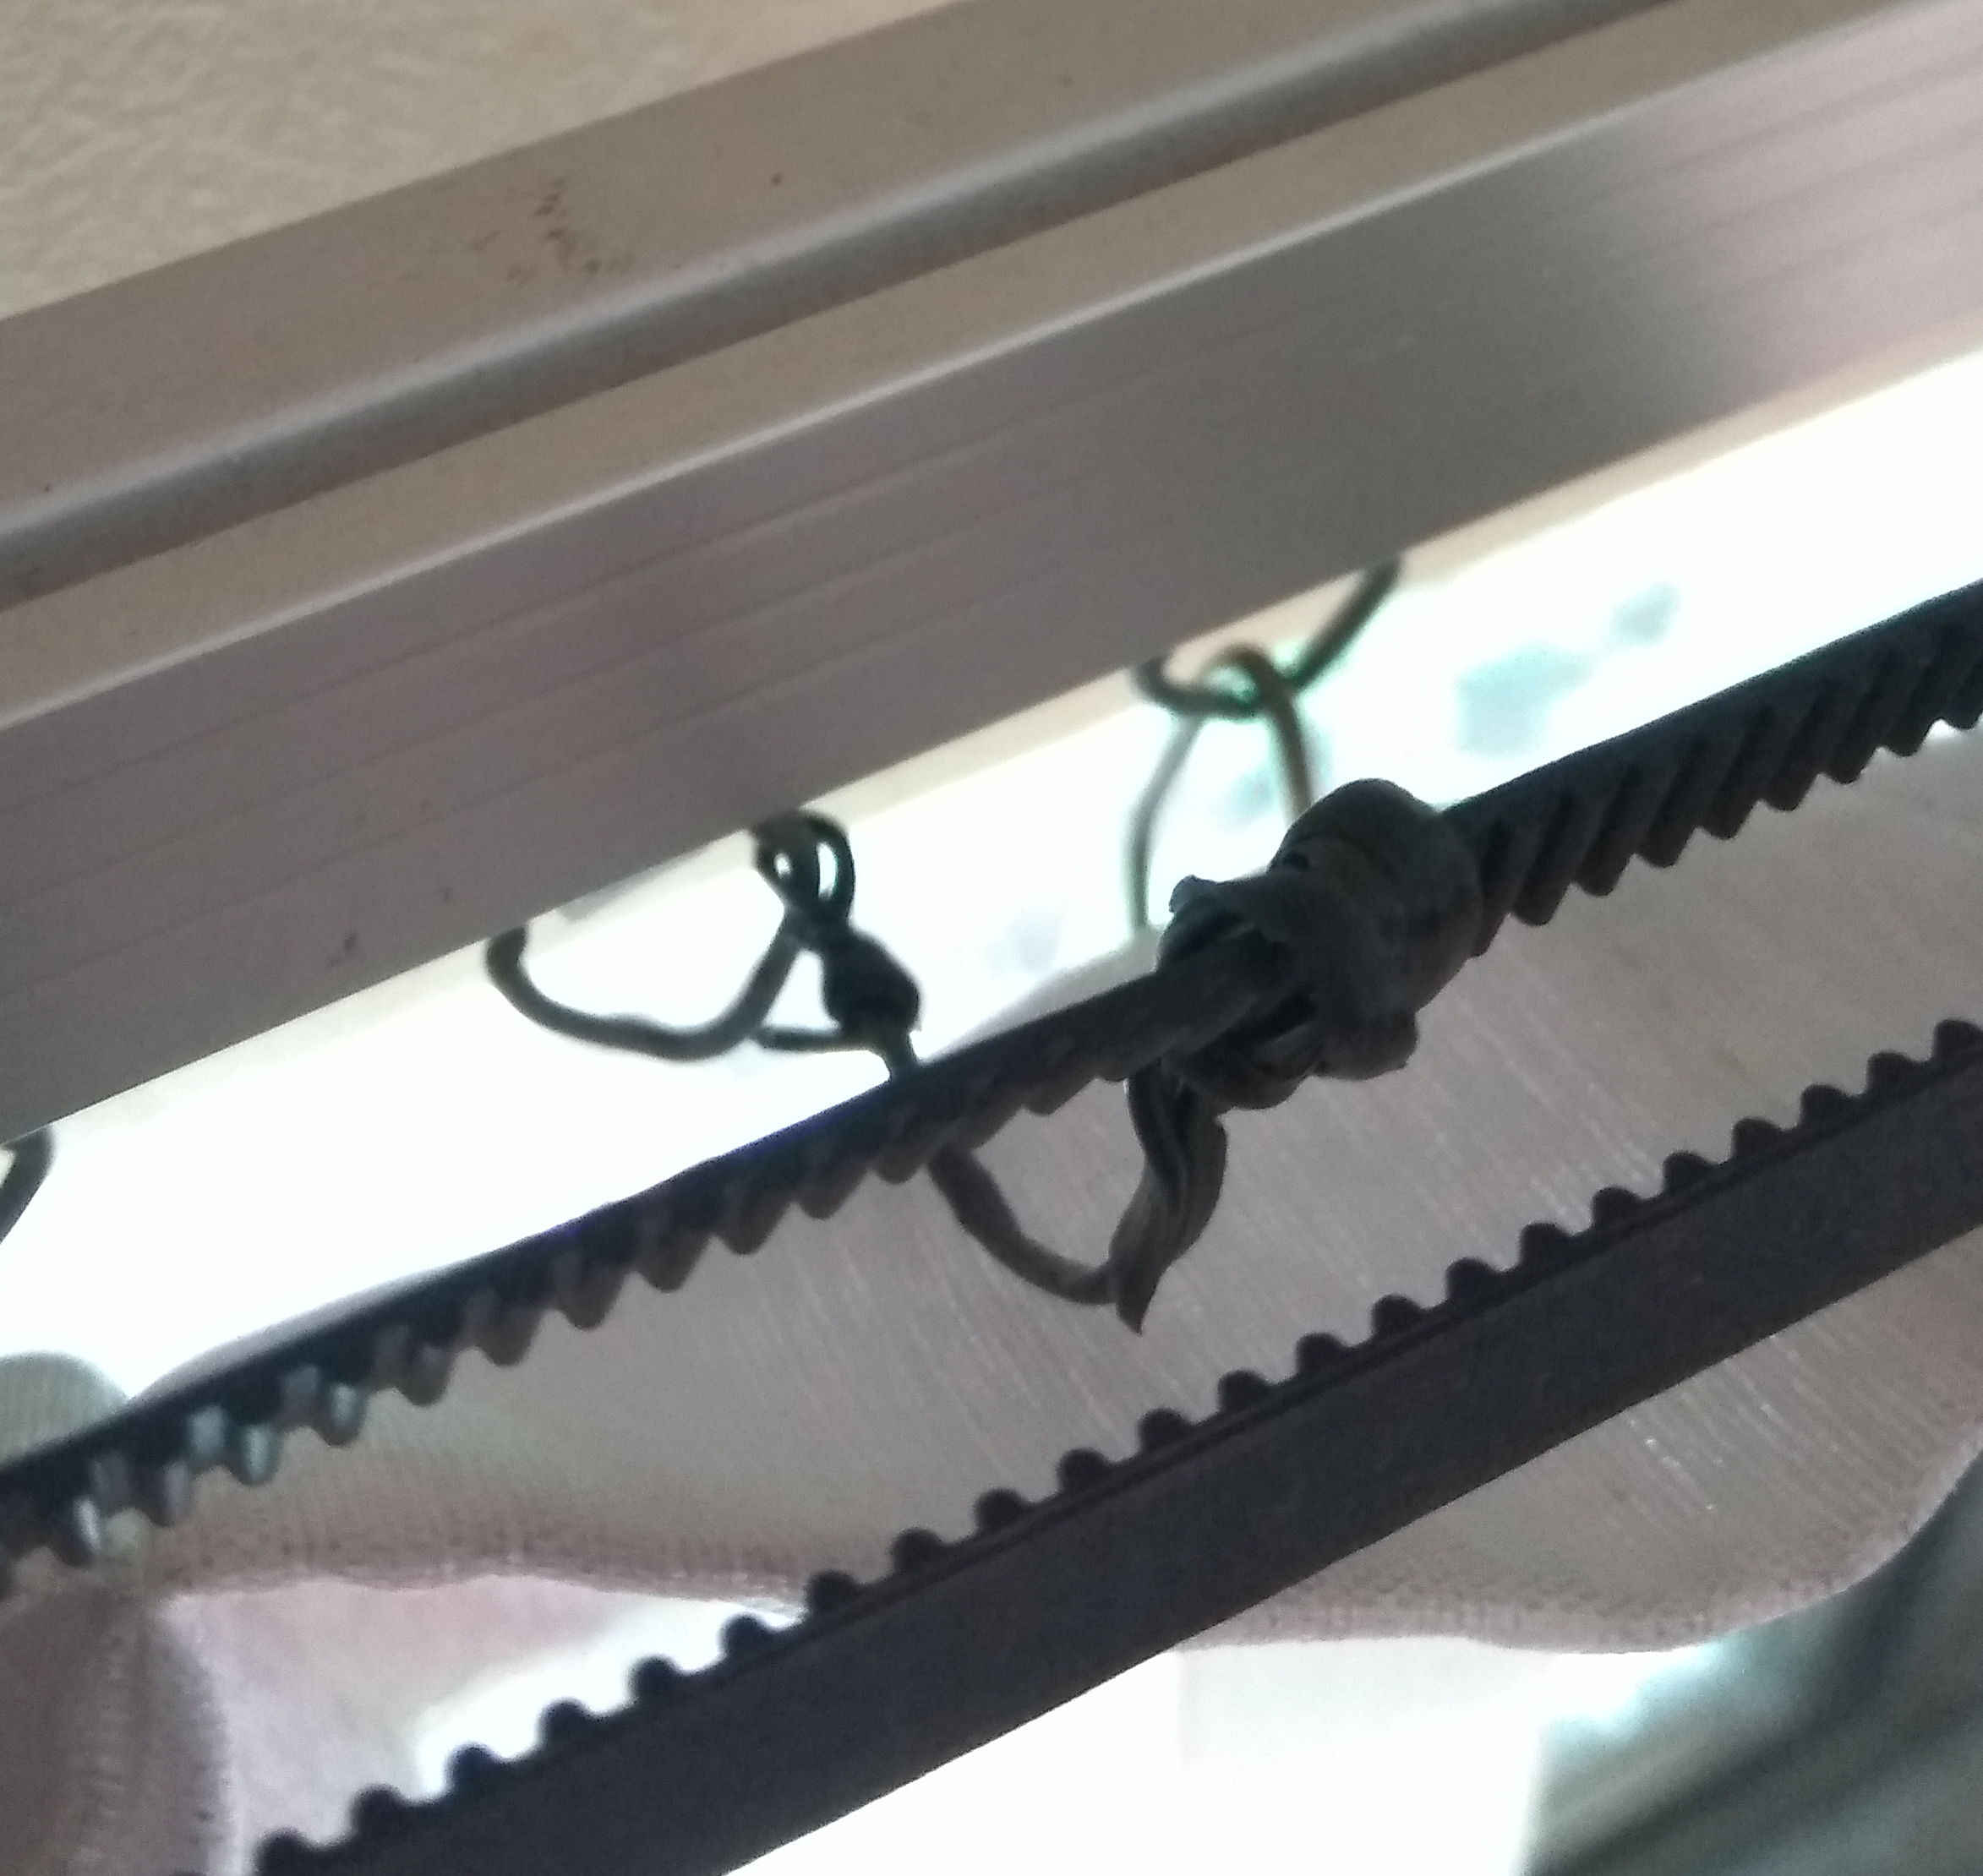
To attach the curtains to your timing belt, loop Wire Ties around the belt and curtain hook.
To get a better idea on how to hook up the curtains to the belt, follow Figure 22. You will be tying the left curtain to the rear of the timing belt with a wire tie, and the right curtain to the front of the timing belt with a wire tie.
Once you get the belt secured and curtain tied, remove the stepper motor so that we can begin to assemble and test the electronic circuit that will drive it.
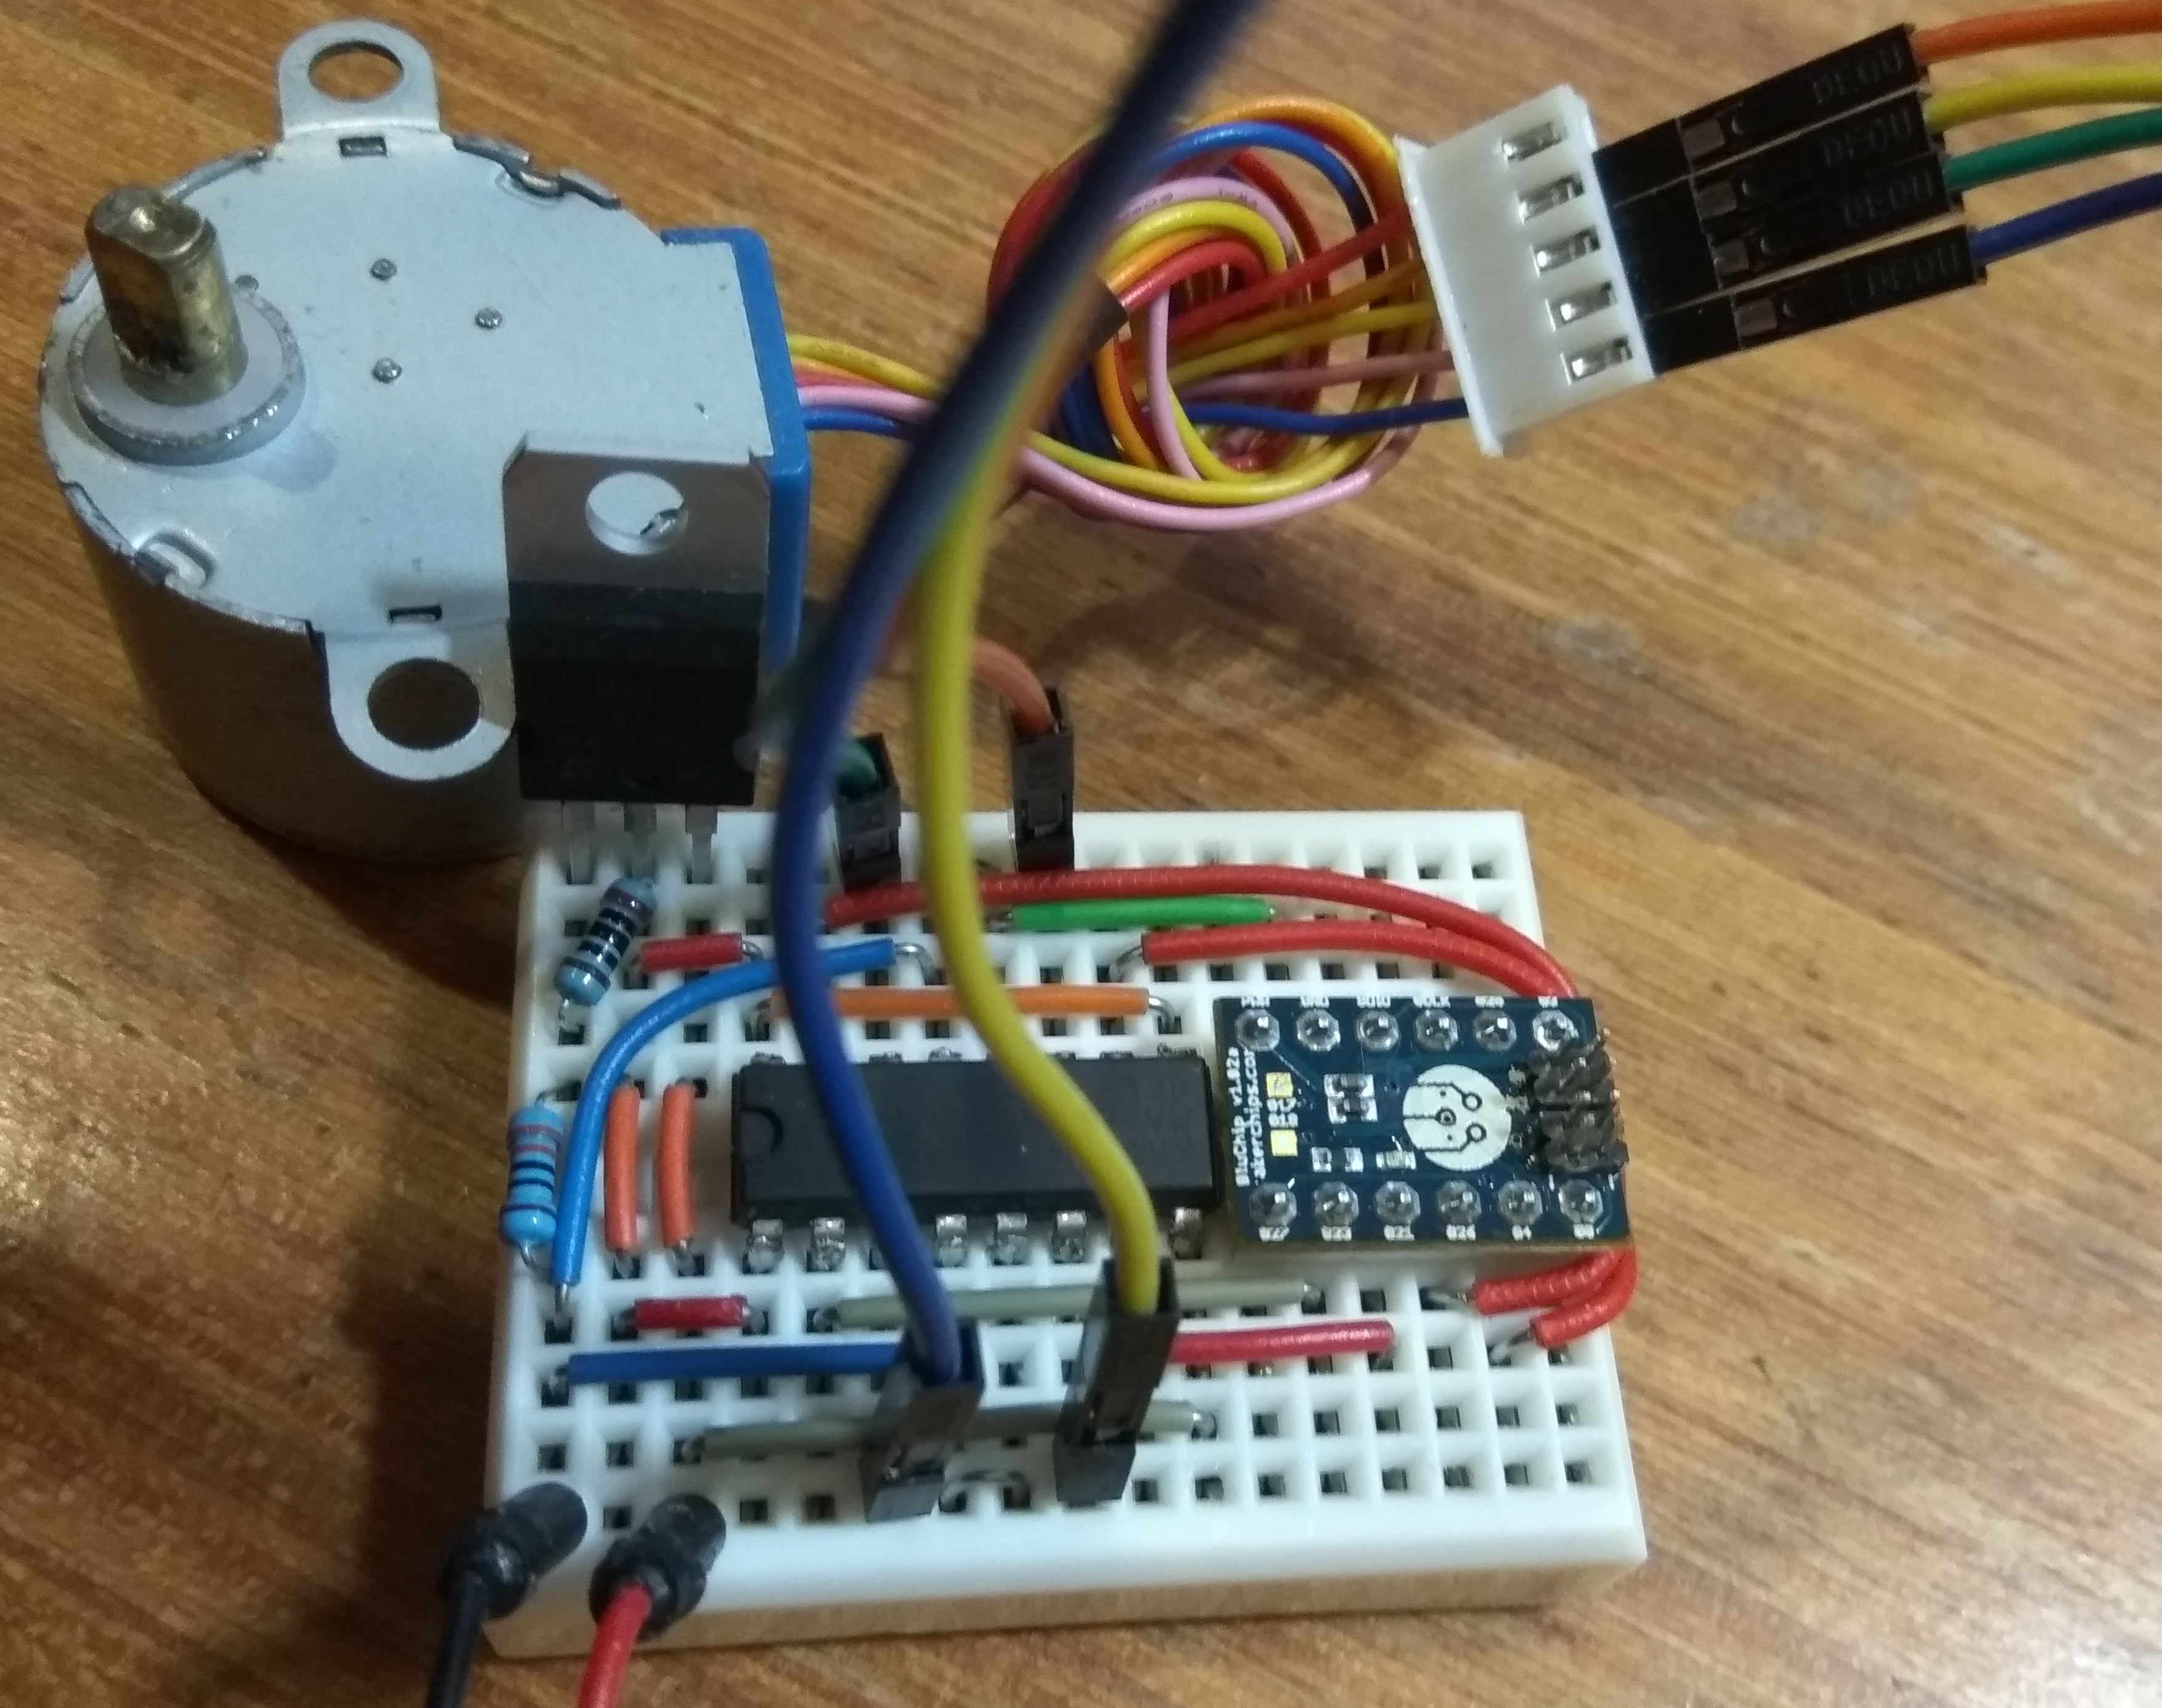
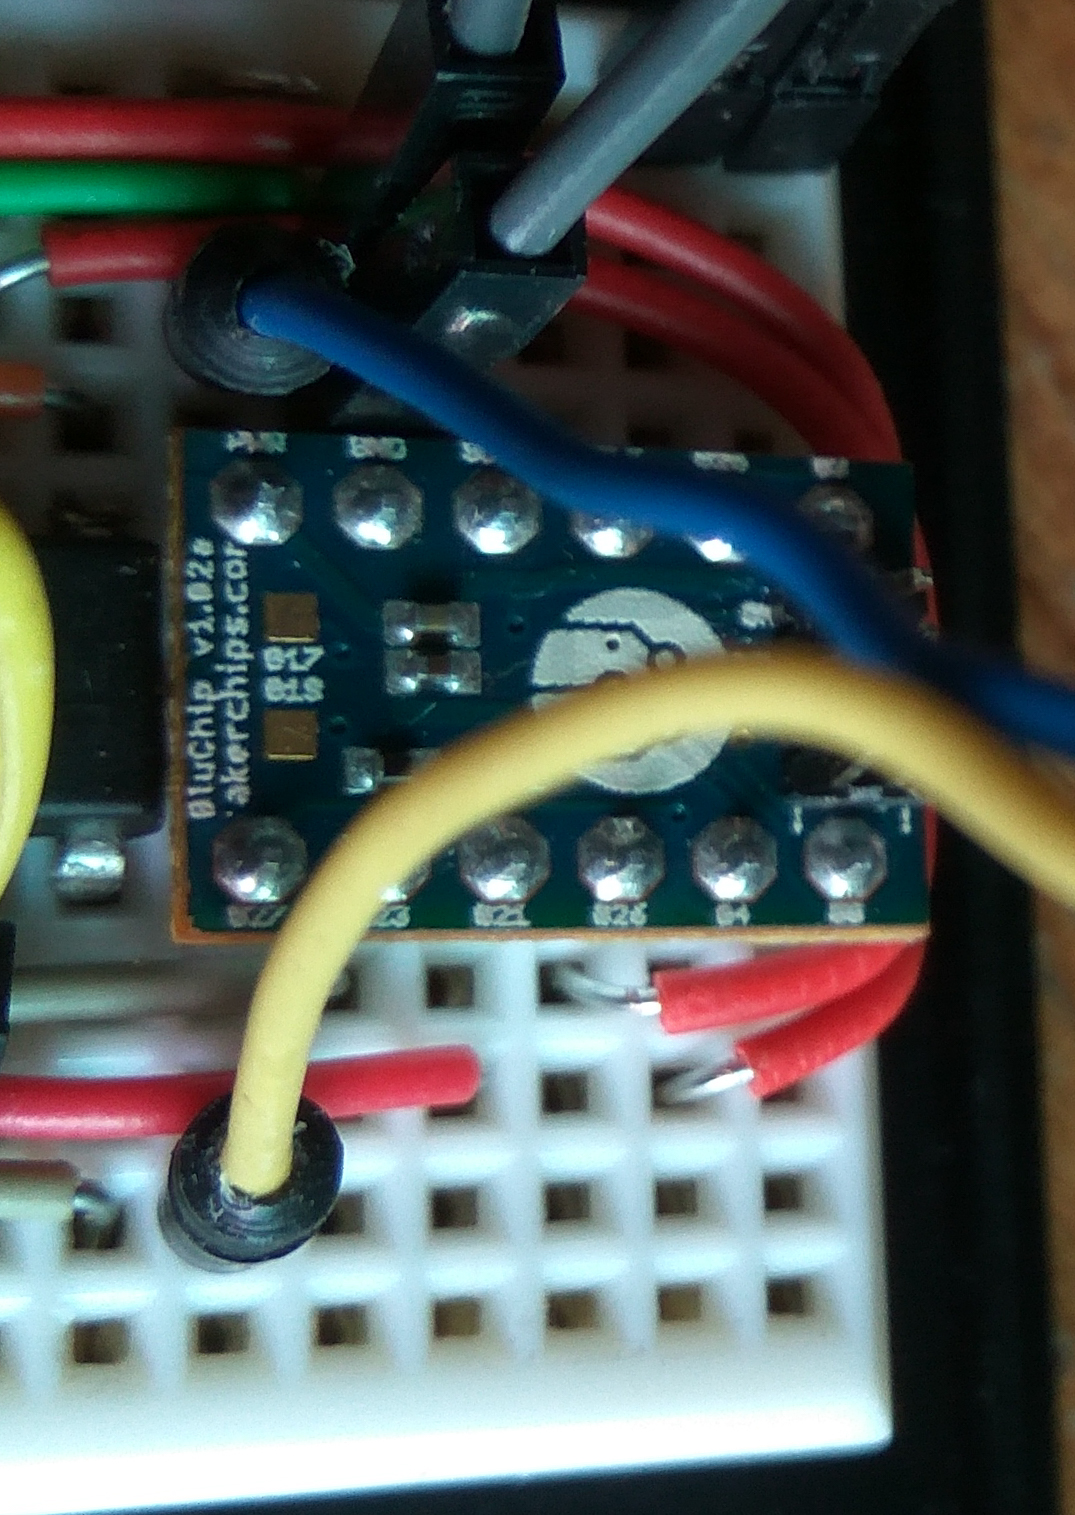
Start building the electronics by placing the Bluchip, L293d IC and LM317t Voltage Regulator on the breadboard according to Figure 20.
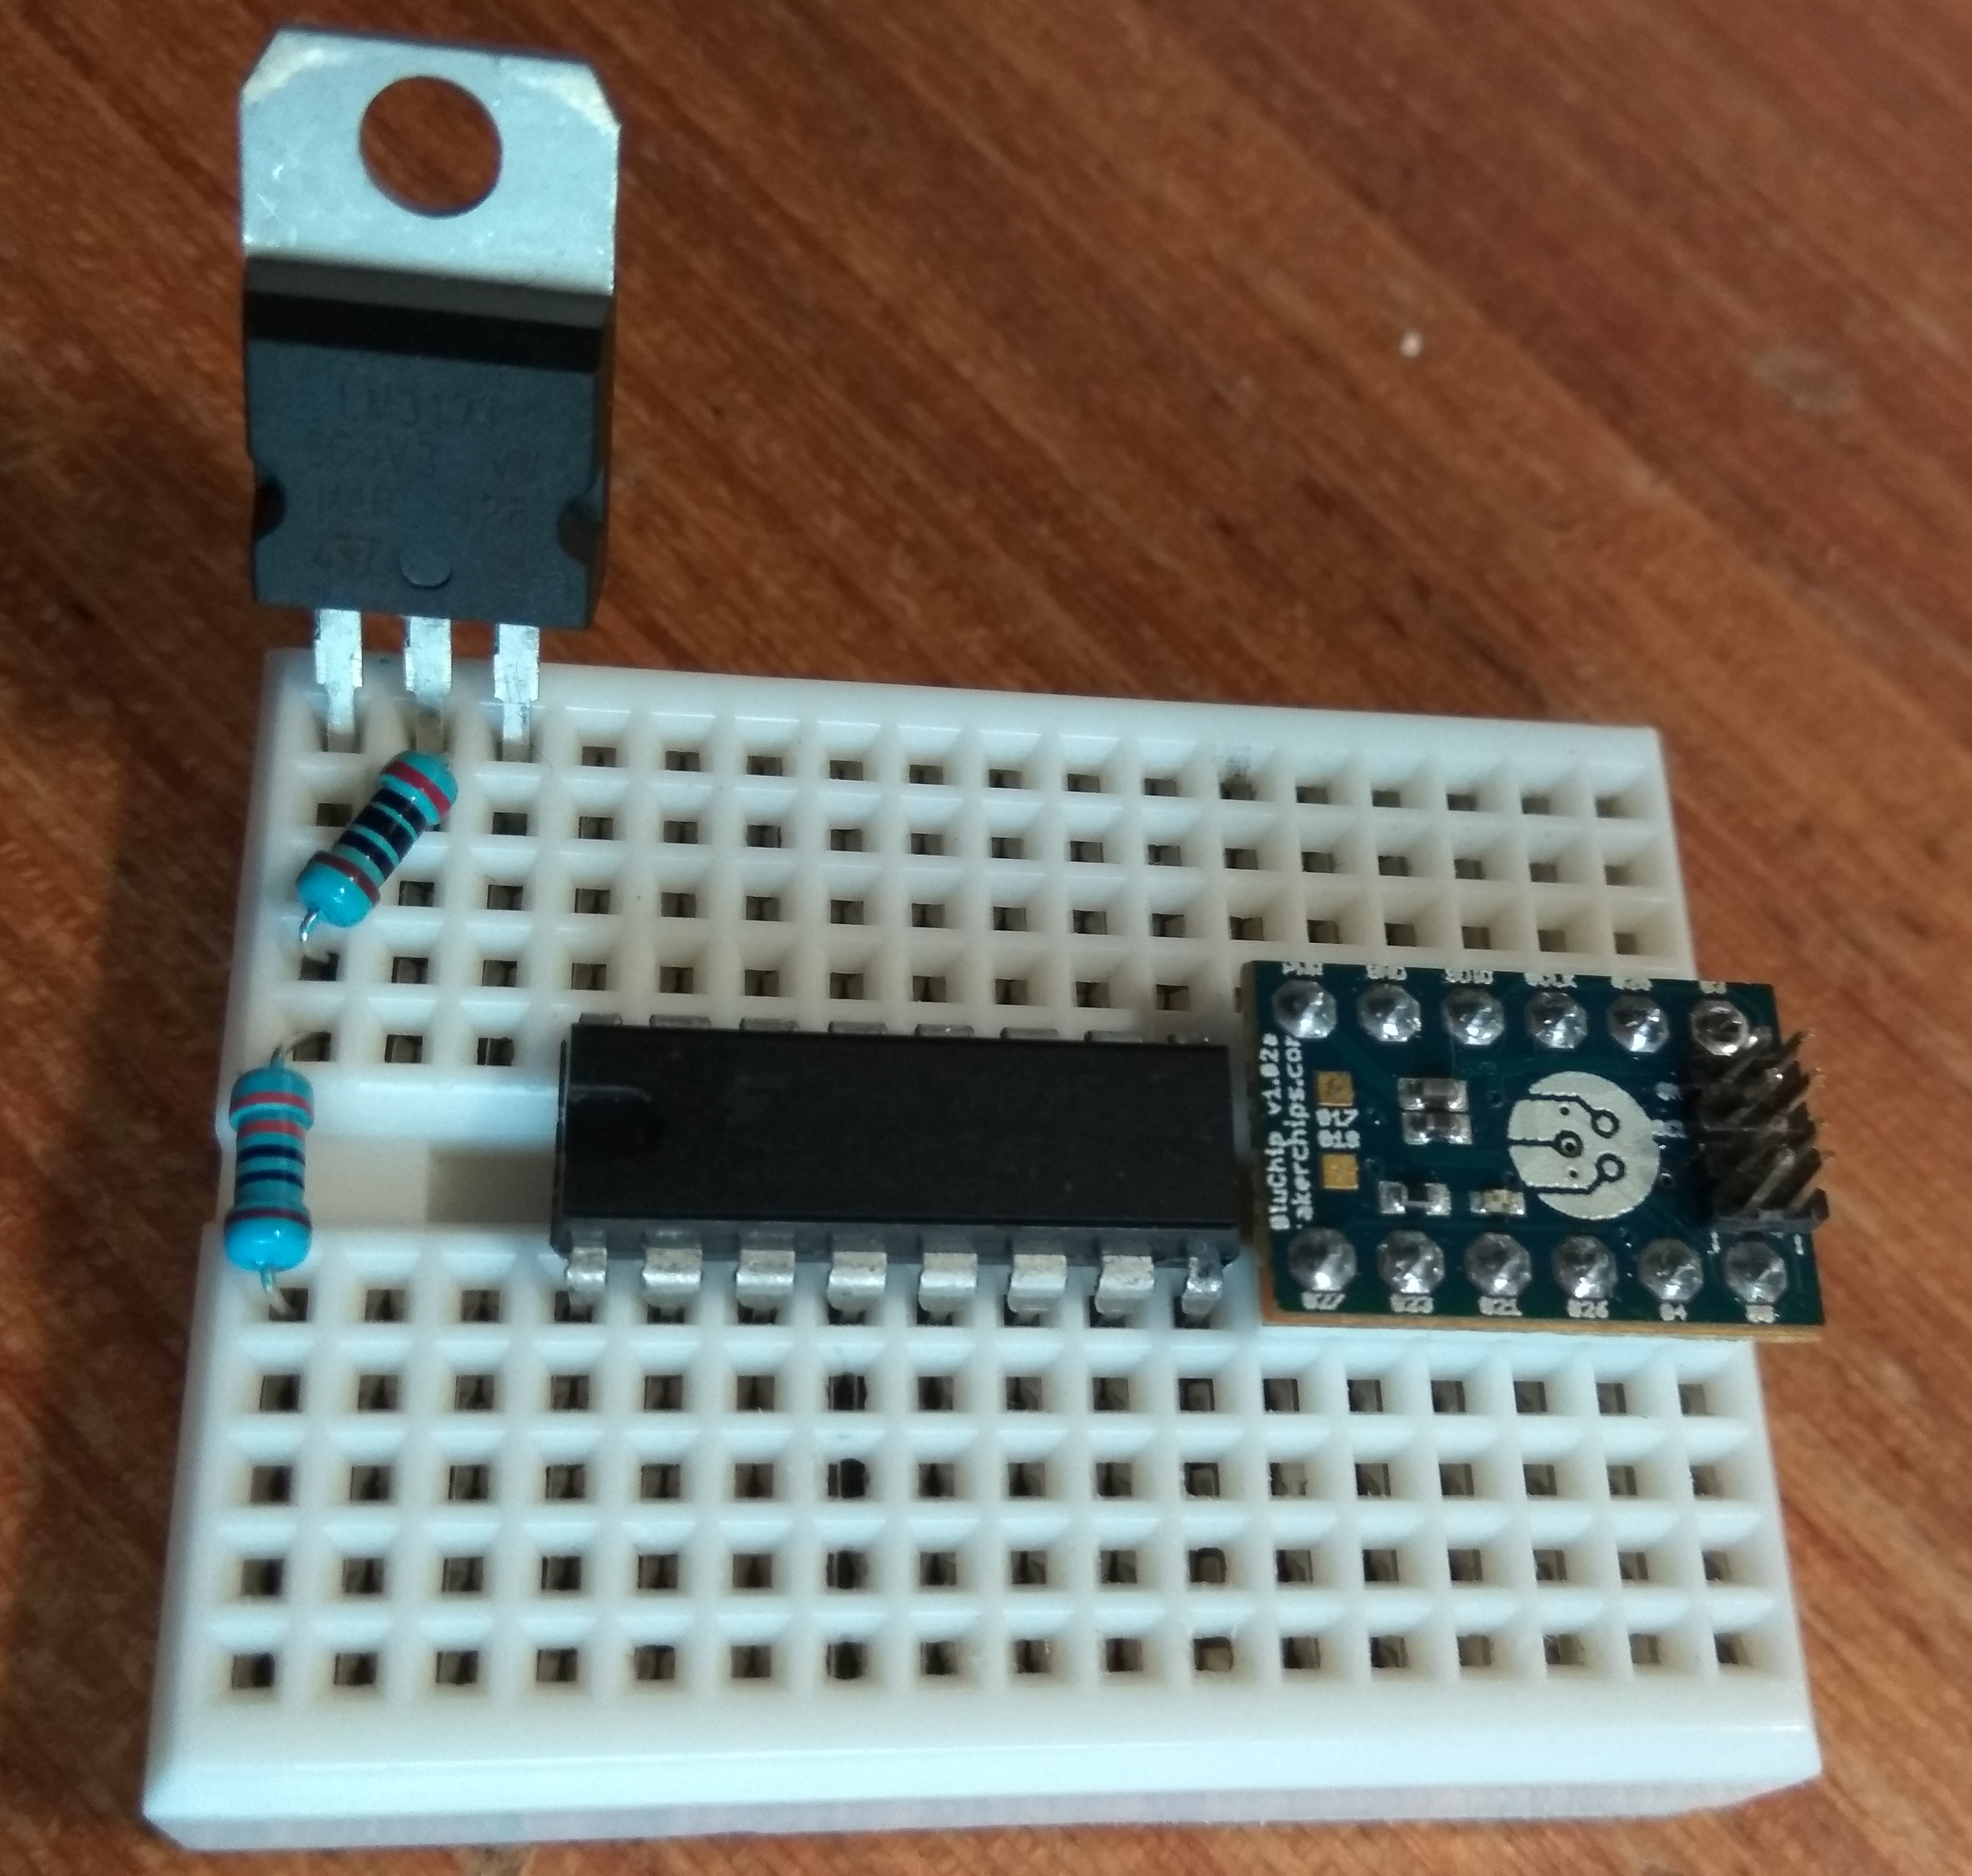
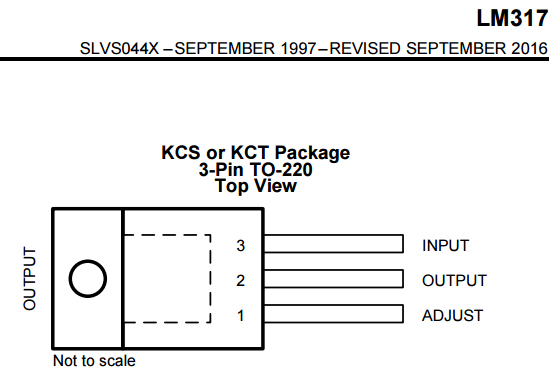
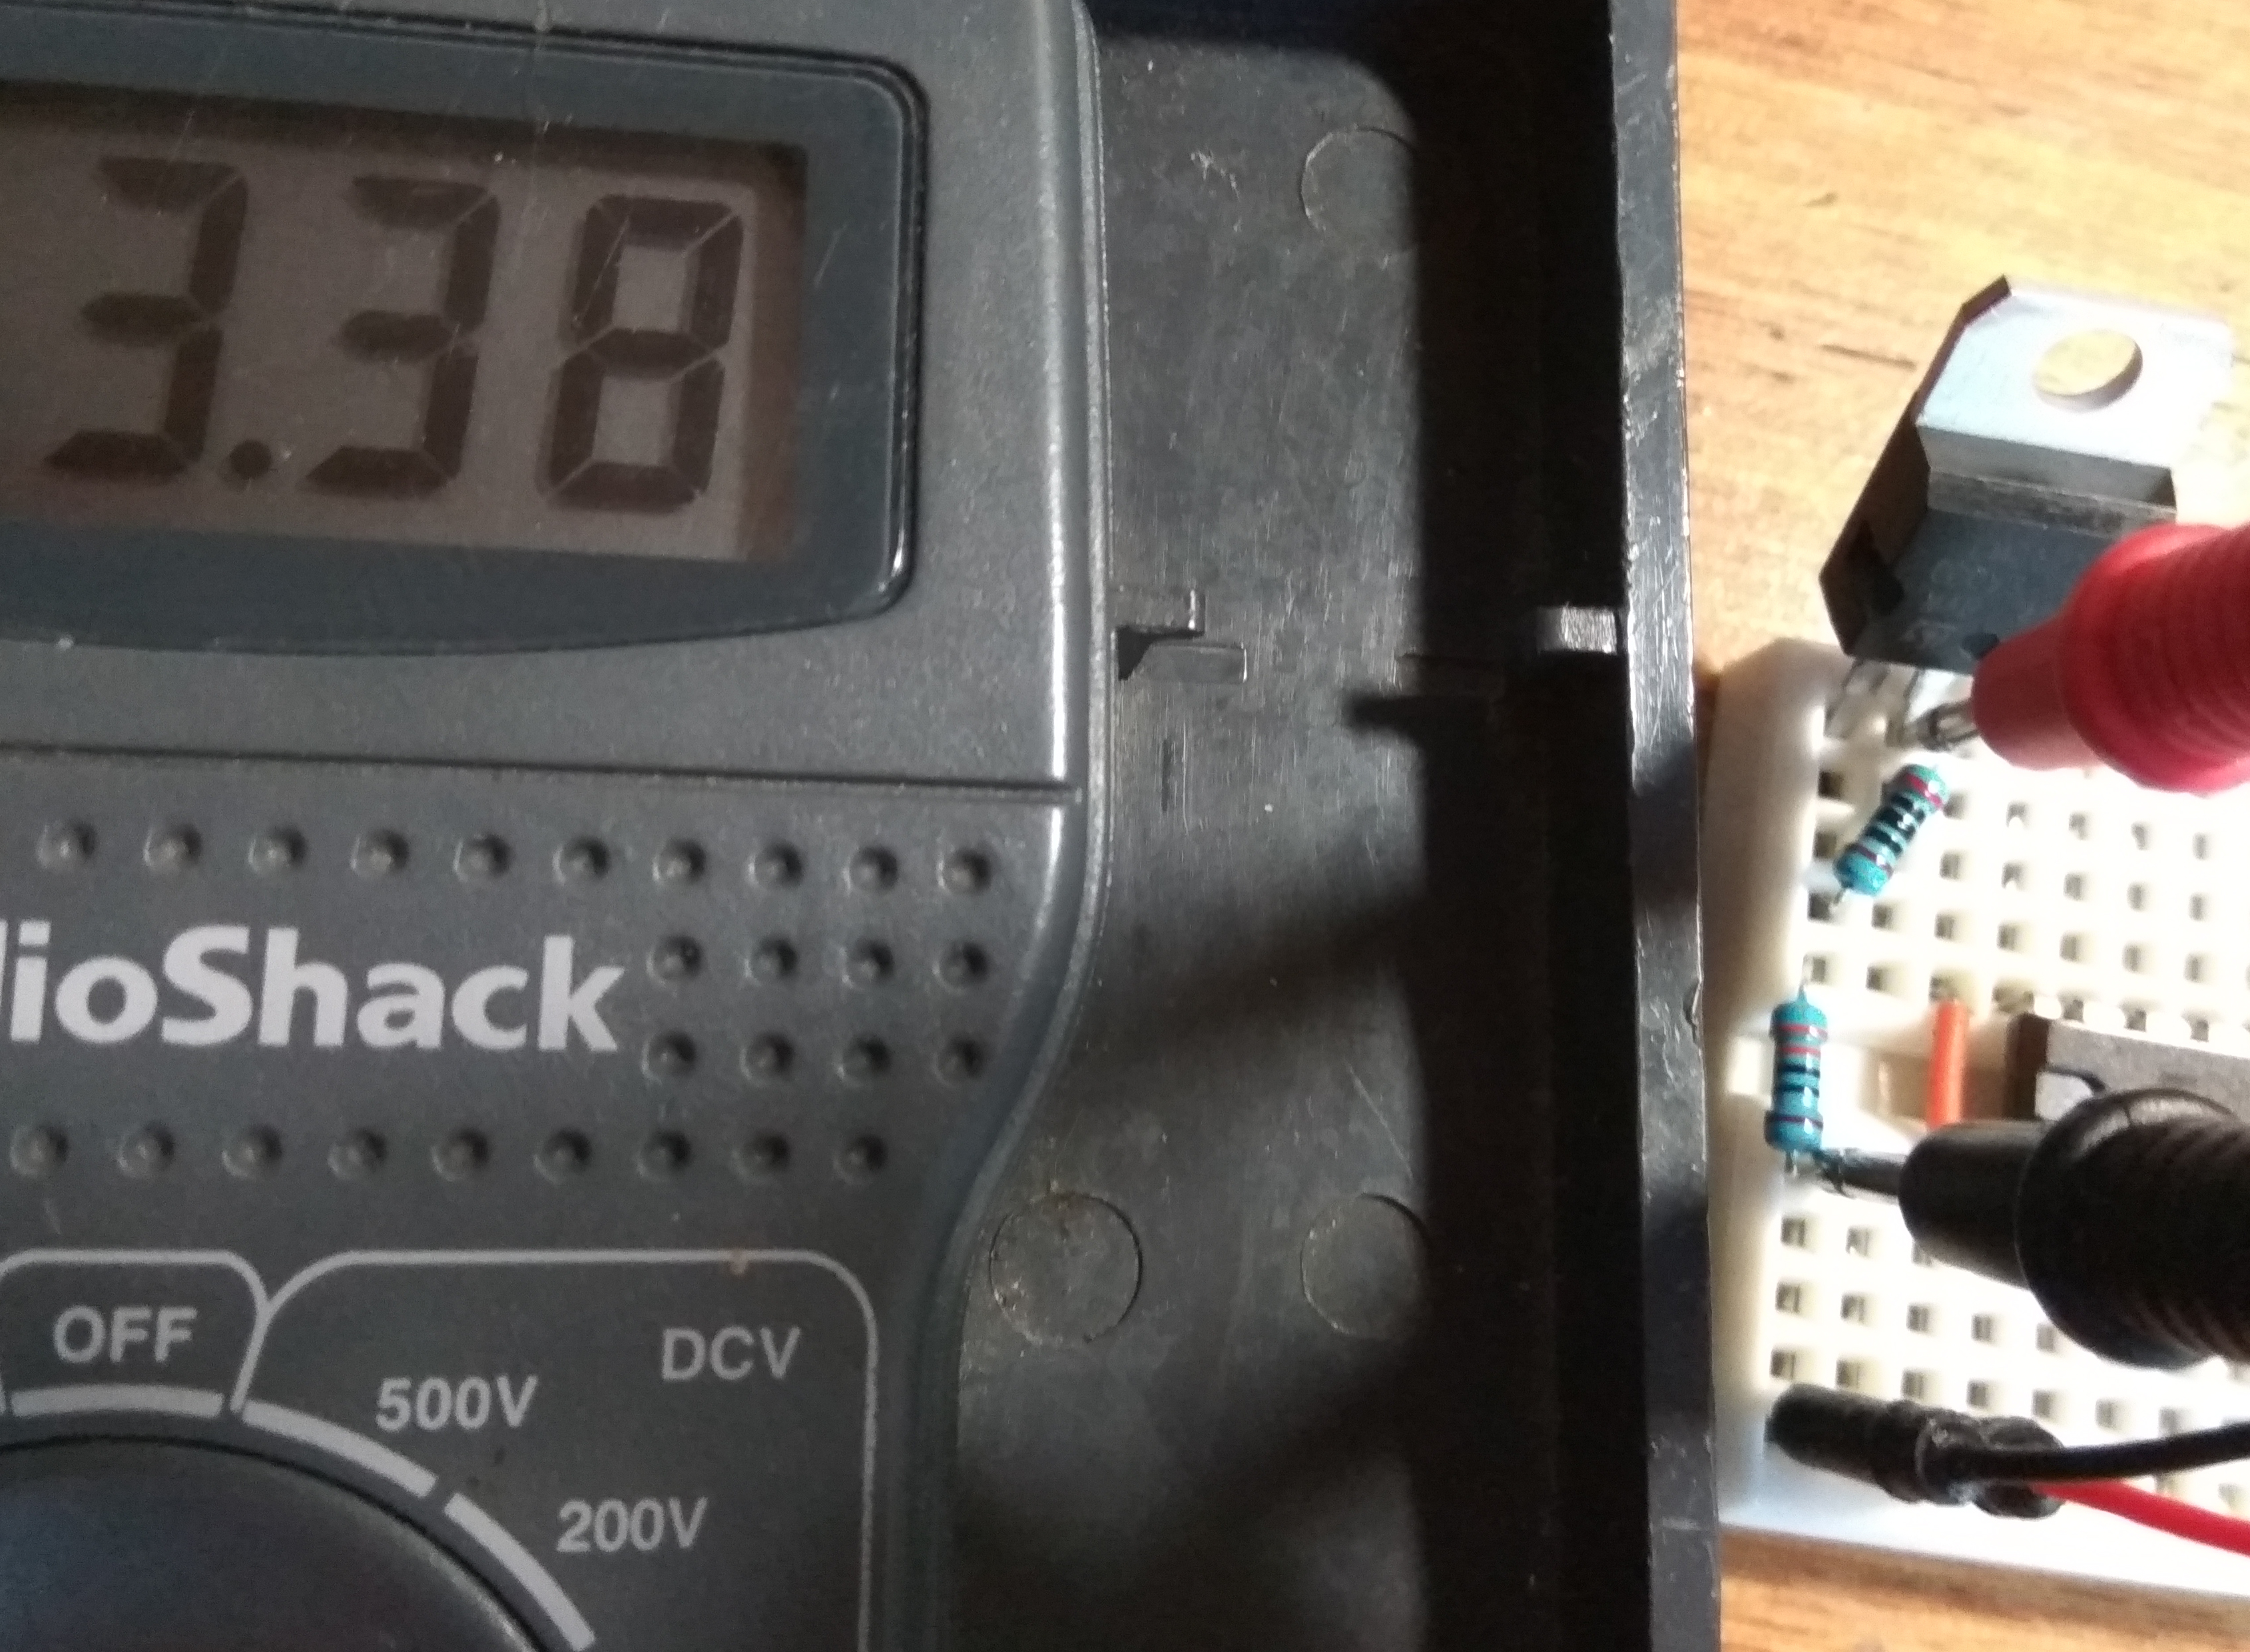
Insert the 200 & 330 ohm resistors according to Figure 20. The resistors adjust the LM317's output so that it provides ~3.3V. (Figure 24)
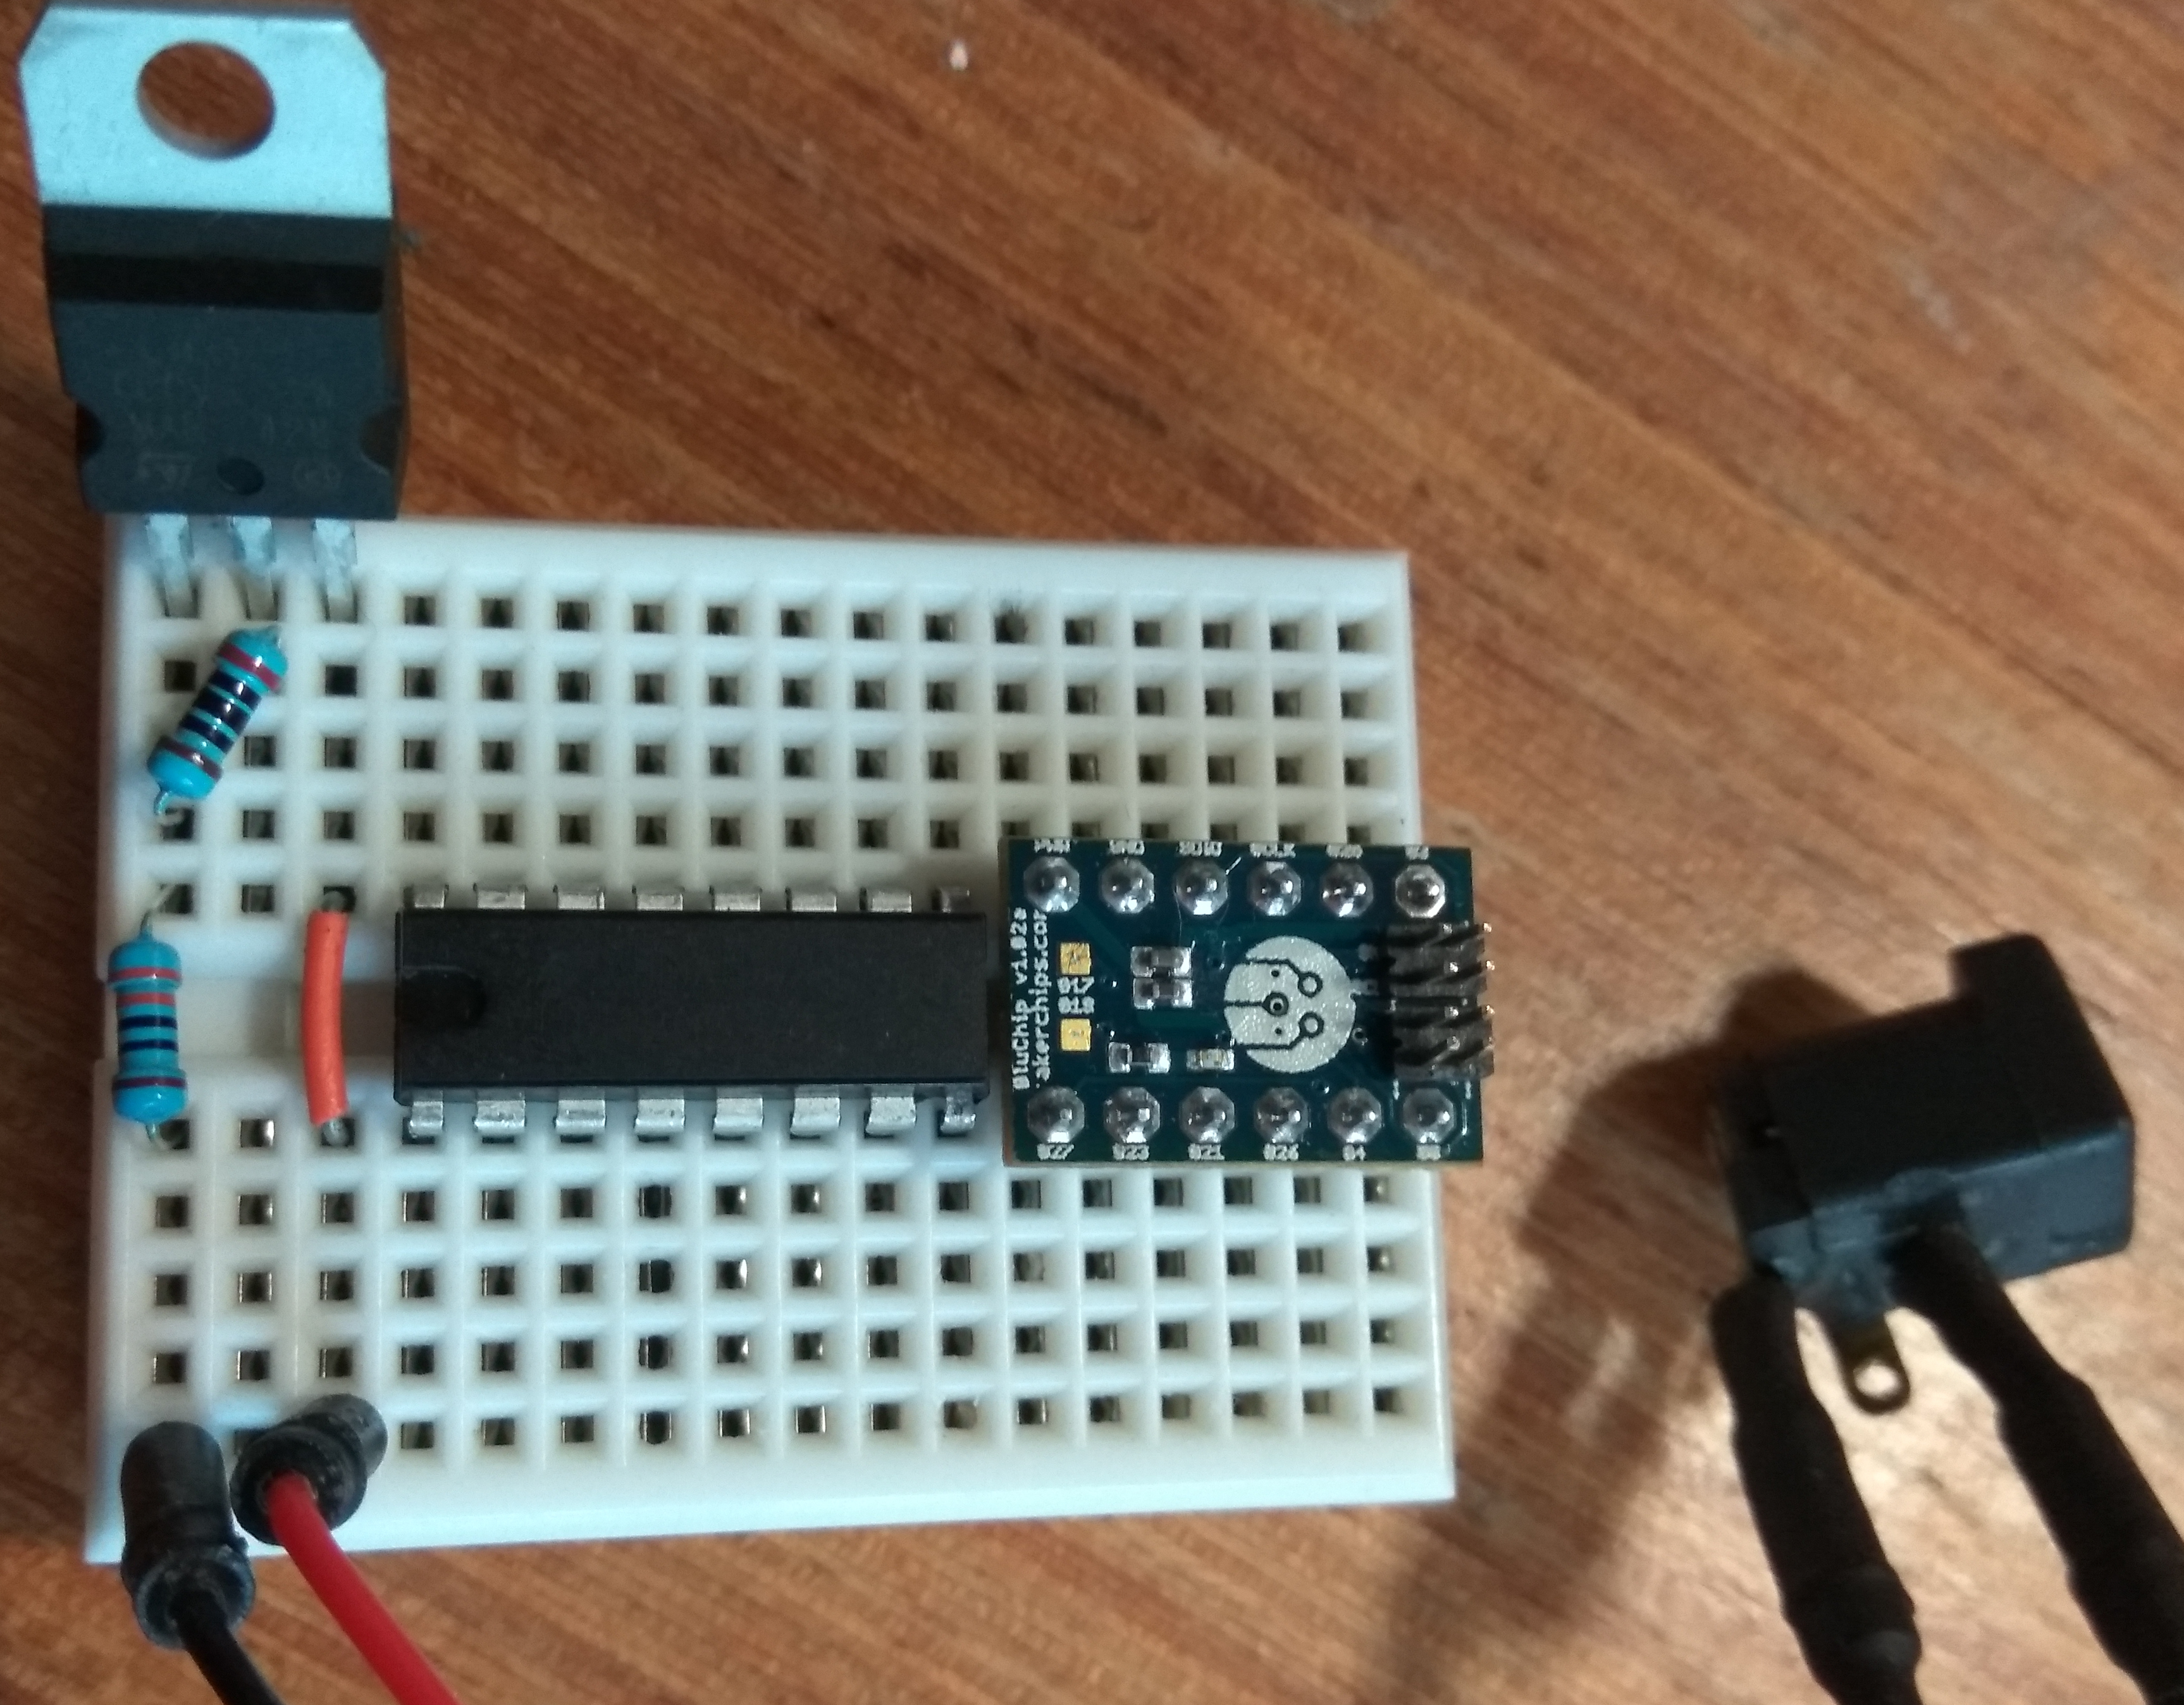
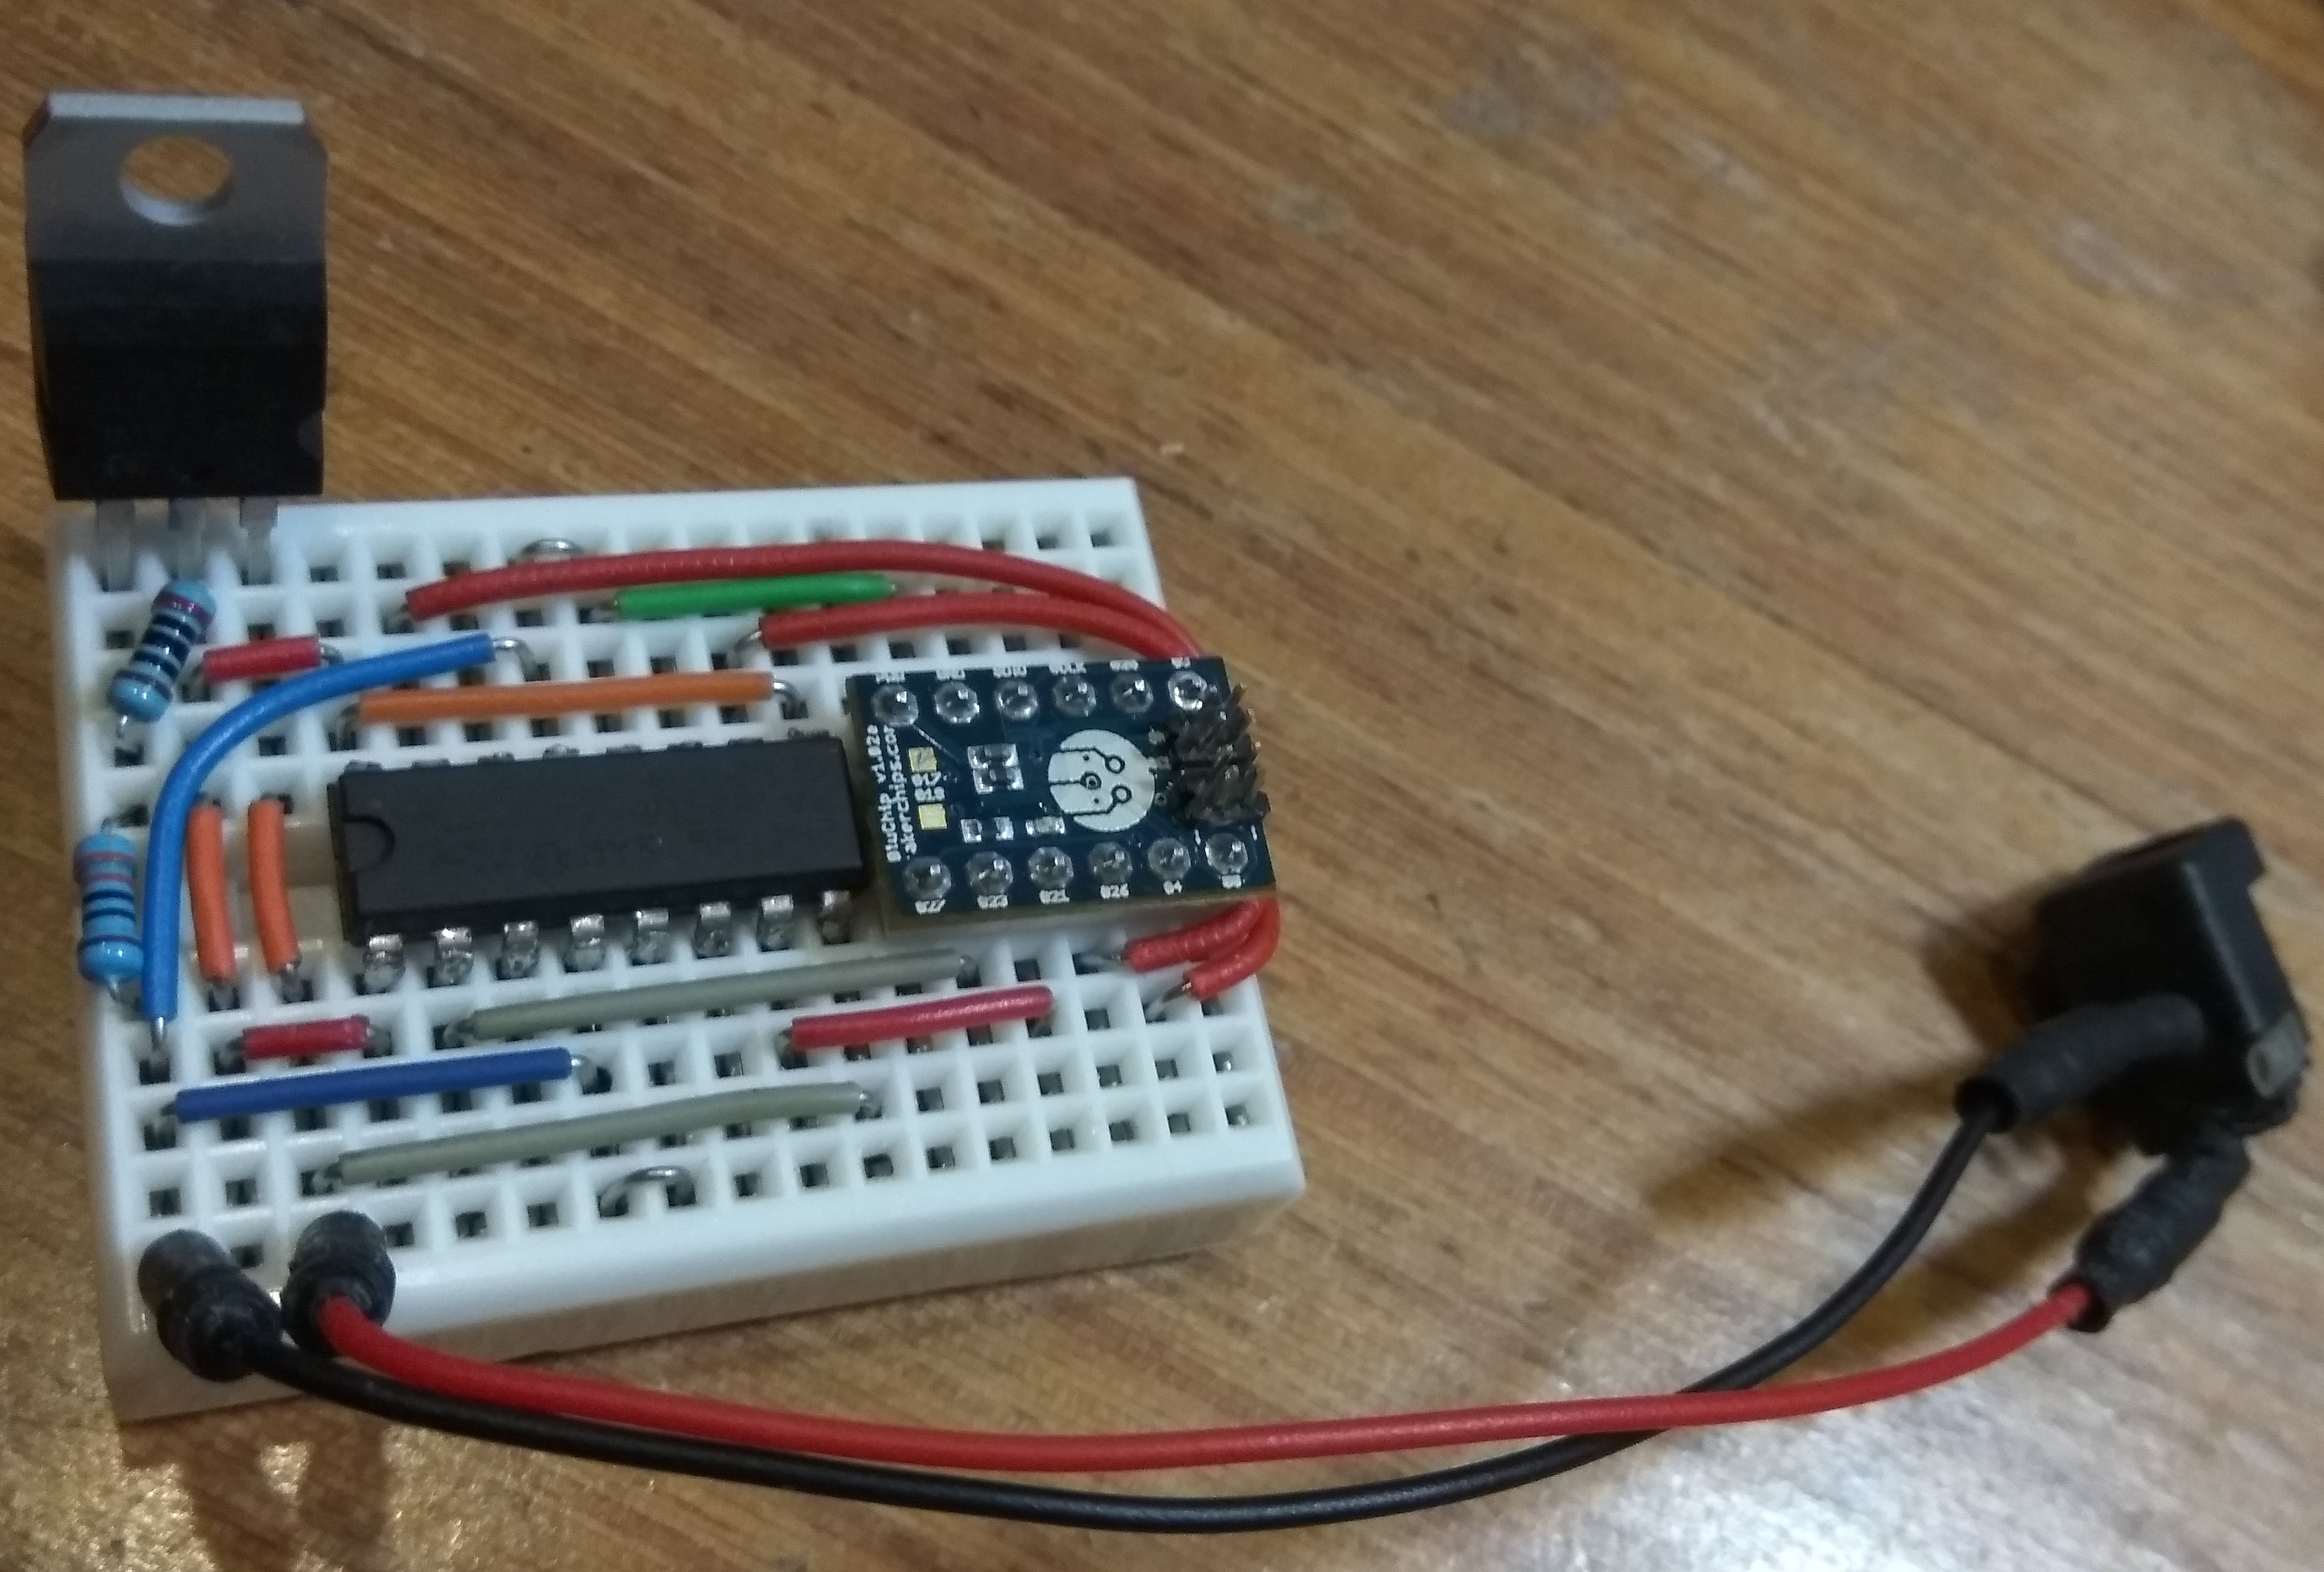
Insert the jumper wire then a wired barrel jack as shown in Figure 26.
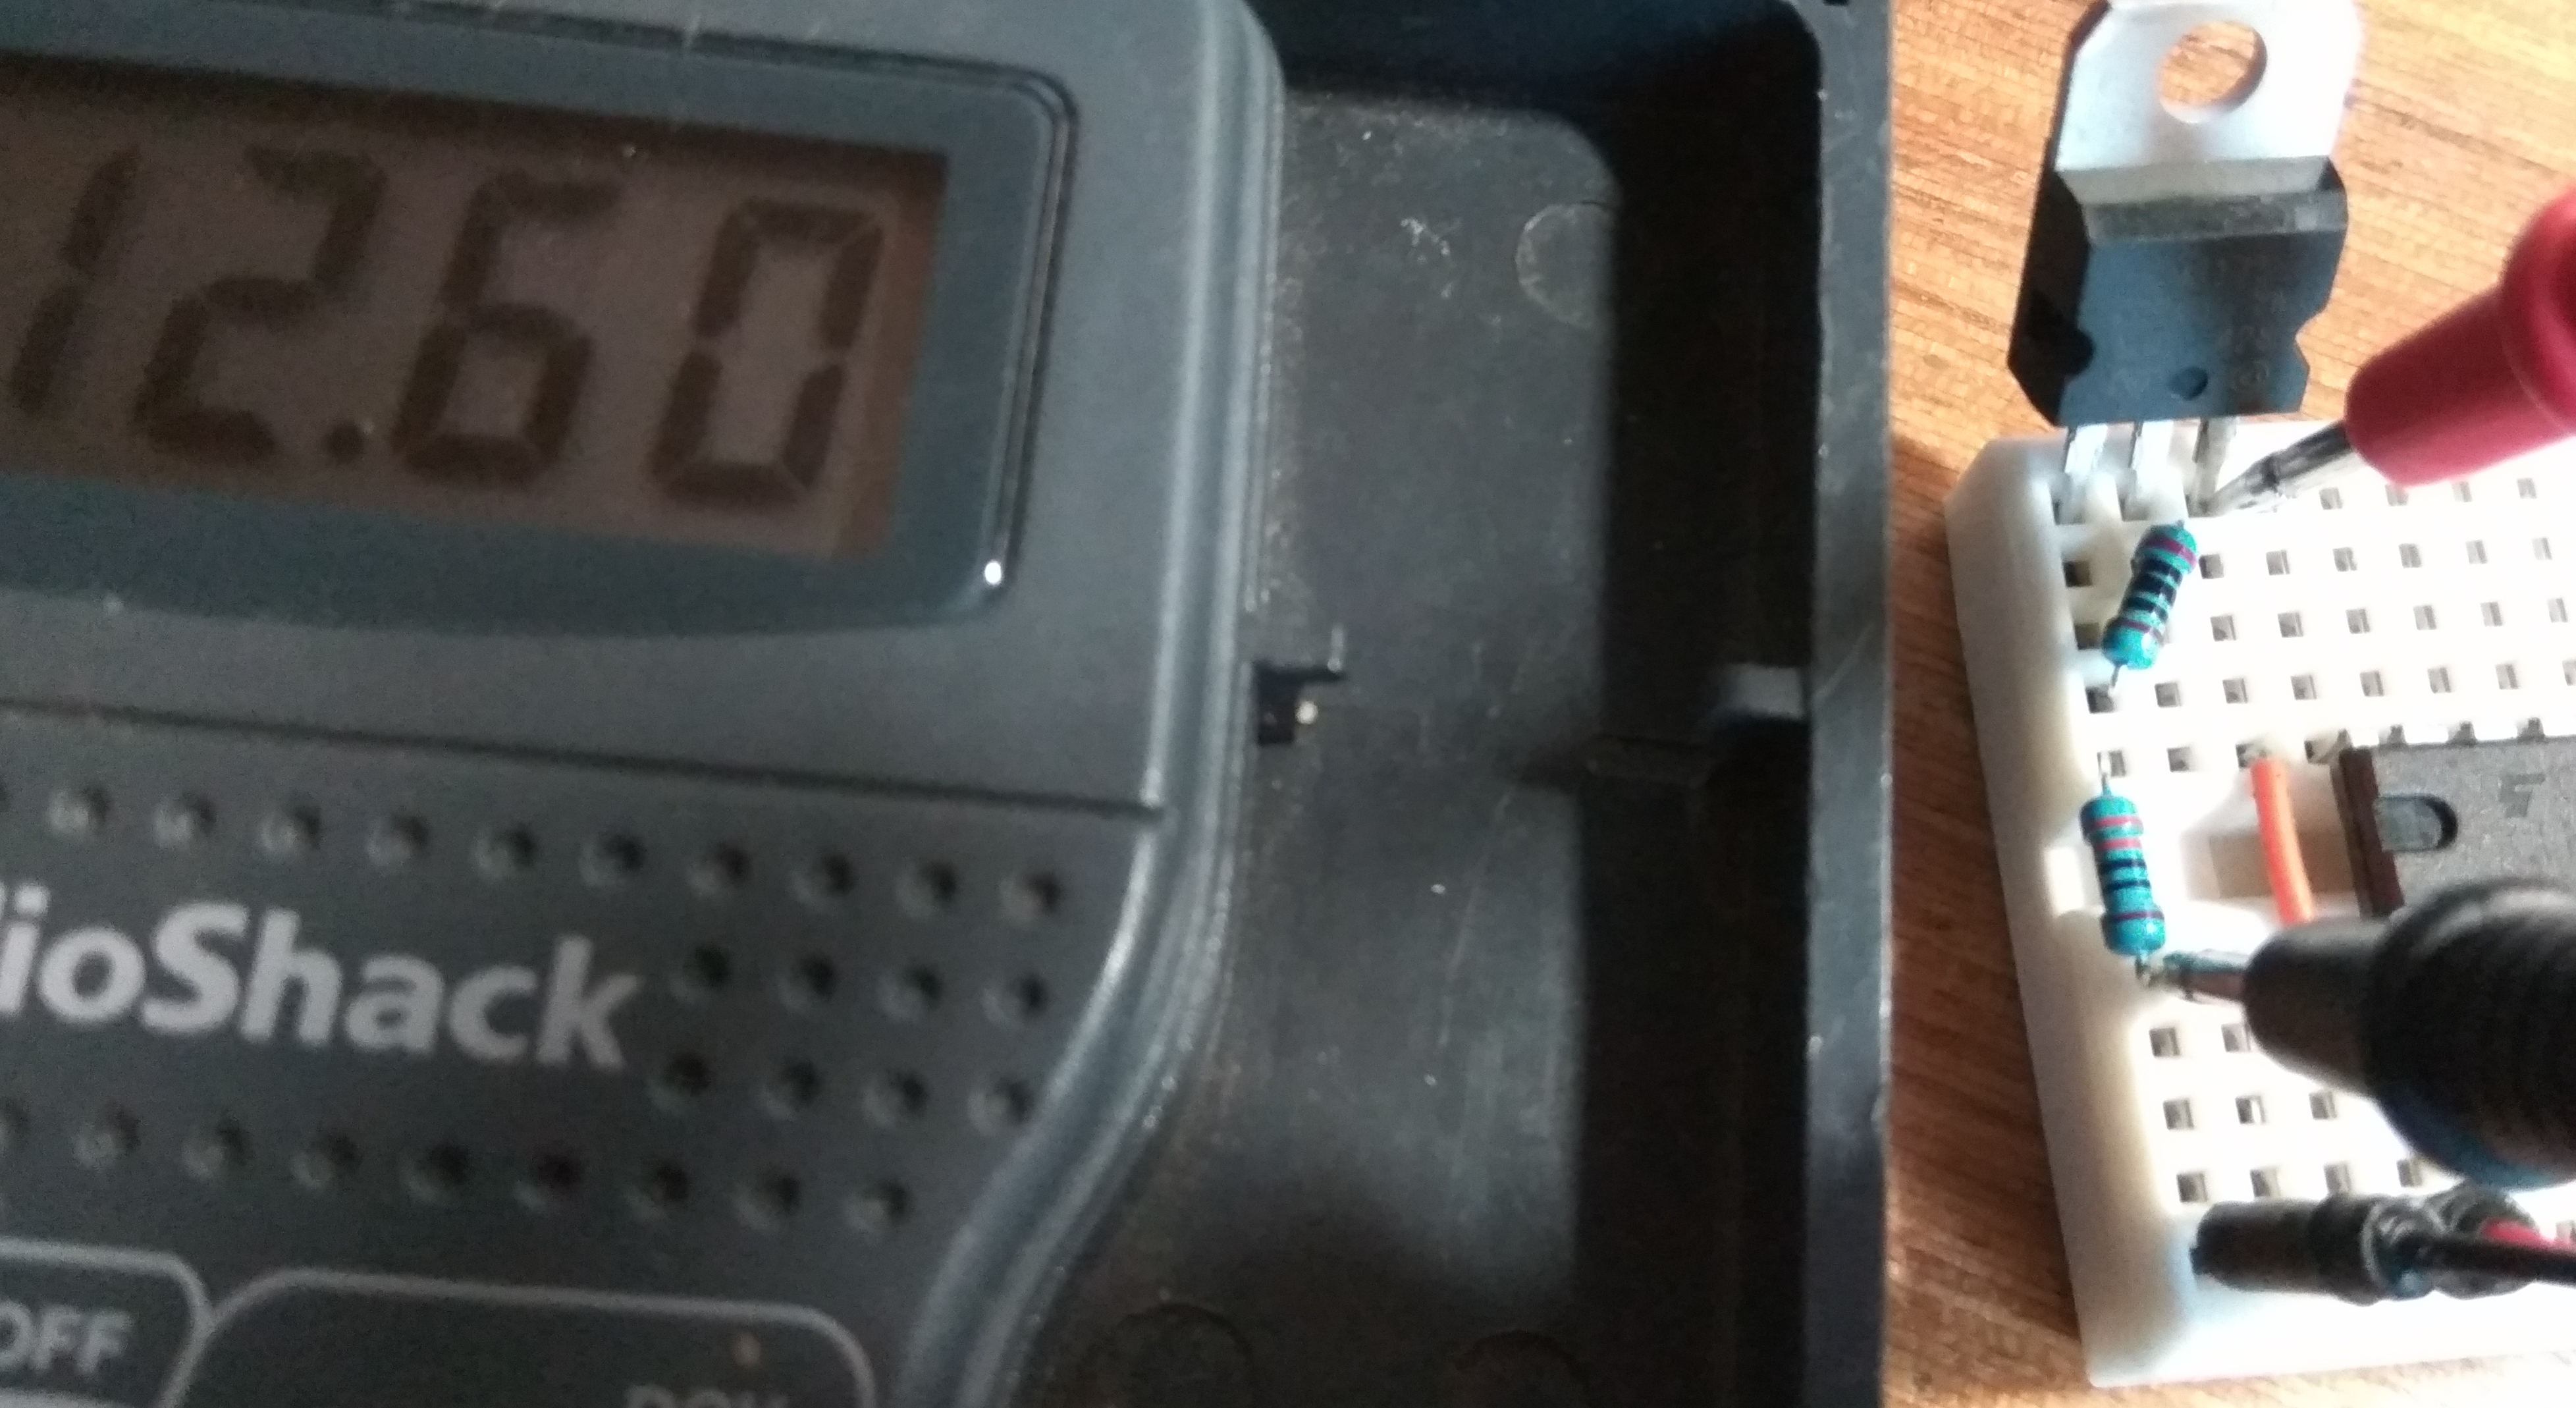
Let's plug in our power adapter to the wall socket, and plug the adapter into the barrel jack to test the voltages as seen in Figure 27.
Once correct voltages have been ascertained, remove the power jack and start placing the remaining breadboard jumper wires according to Figure 20.
Next up, we are going to wire up our bipolar stepper motor to the L293d IC.
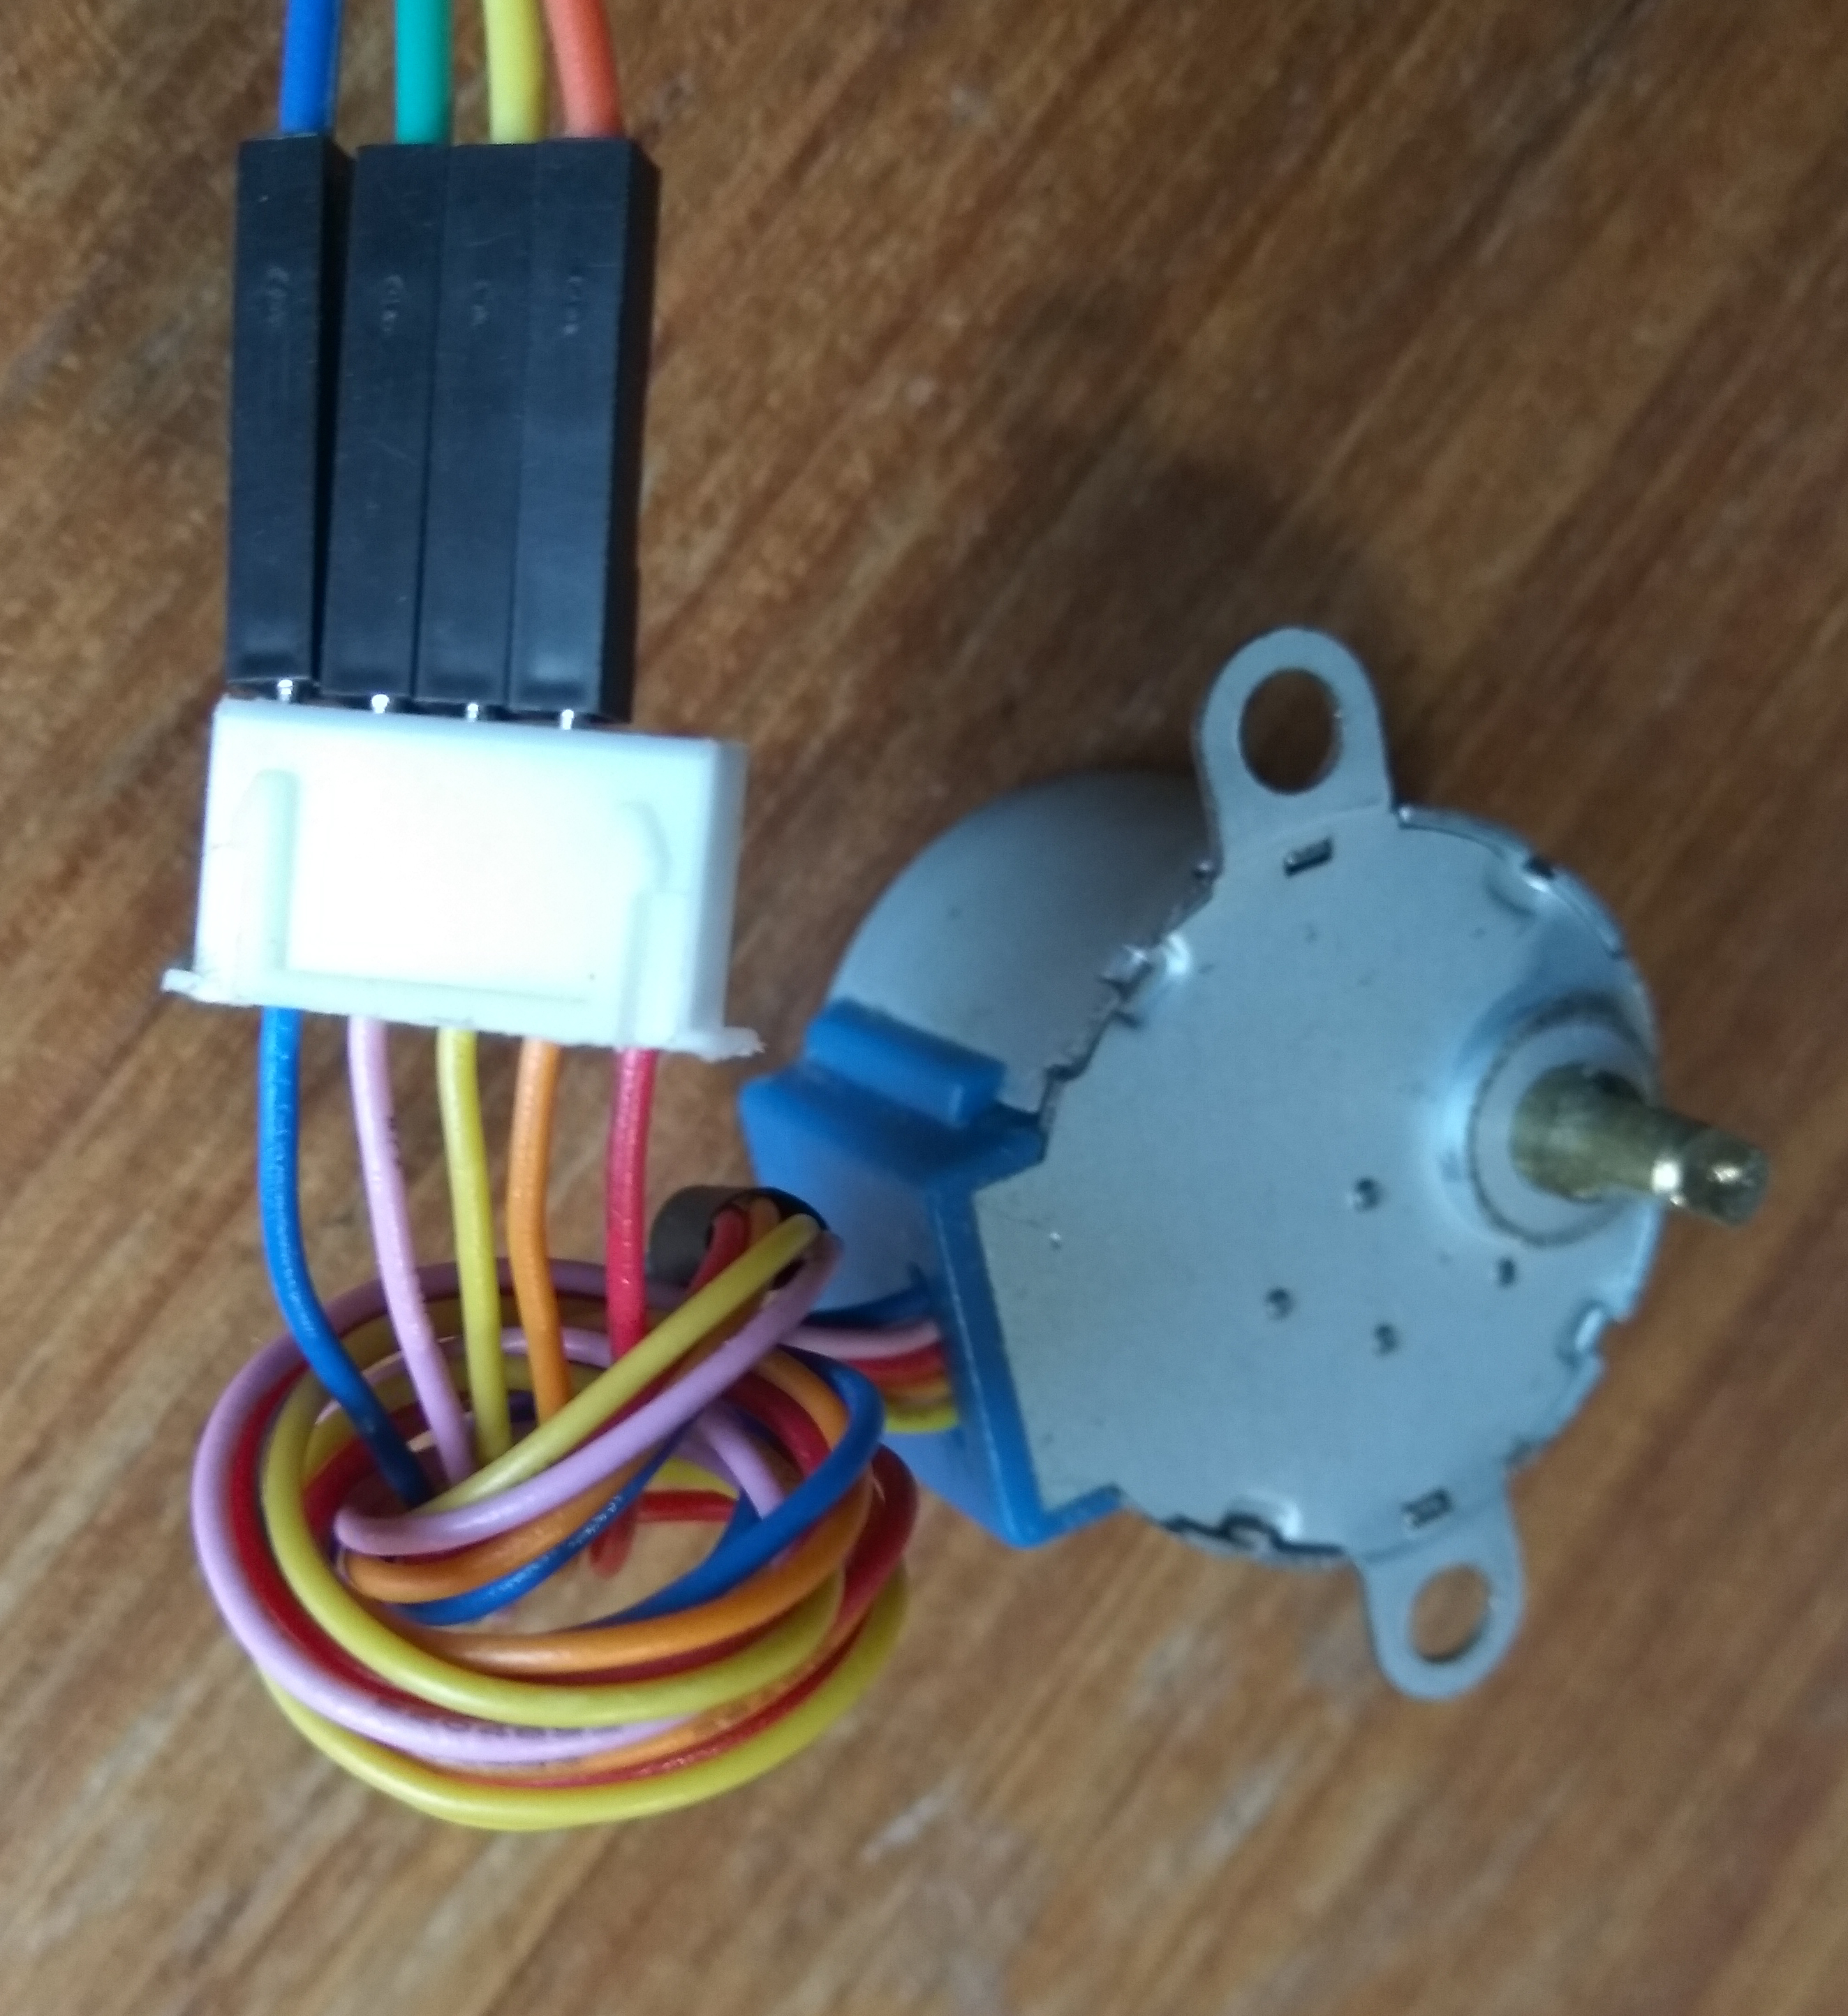
First, place Dupont jumper wires into the stepper motor connector as shown in Figure 29.
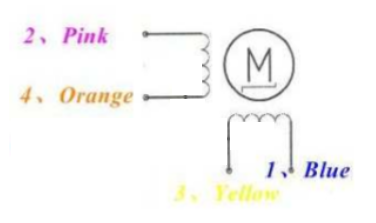
To know which wire goes where, follow the schematic in Figure 30.
As seen in the schematic, the leads from one coil goes to Pin2 & Pin6 of the L293D. Leads from the other coil goes to Pin11 & Pin14.
The modified 28BYJ-48 bipolar stepper motor has four usable colored wires as seen in Figure 31.
We wire blue to Pin3, yellow to Pin6, orange to Pin11 and pink to Pin14 on the L293d.
The basic circuitry is now complete!
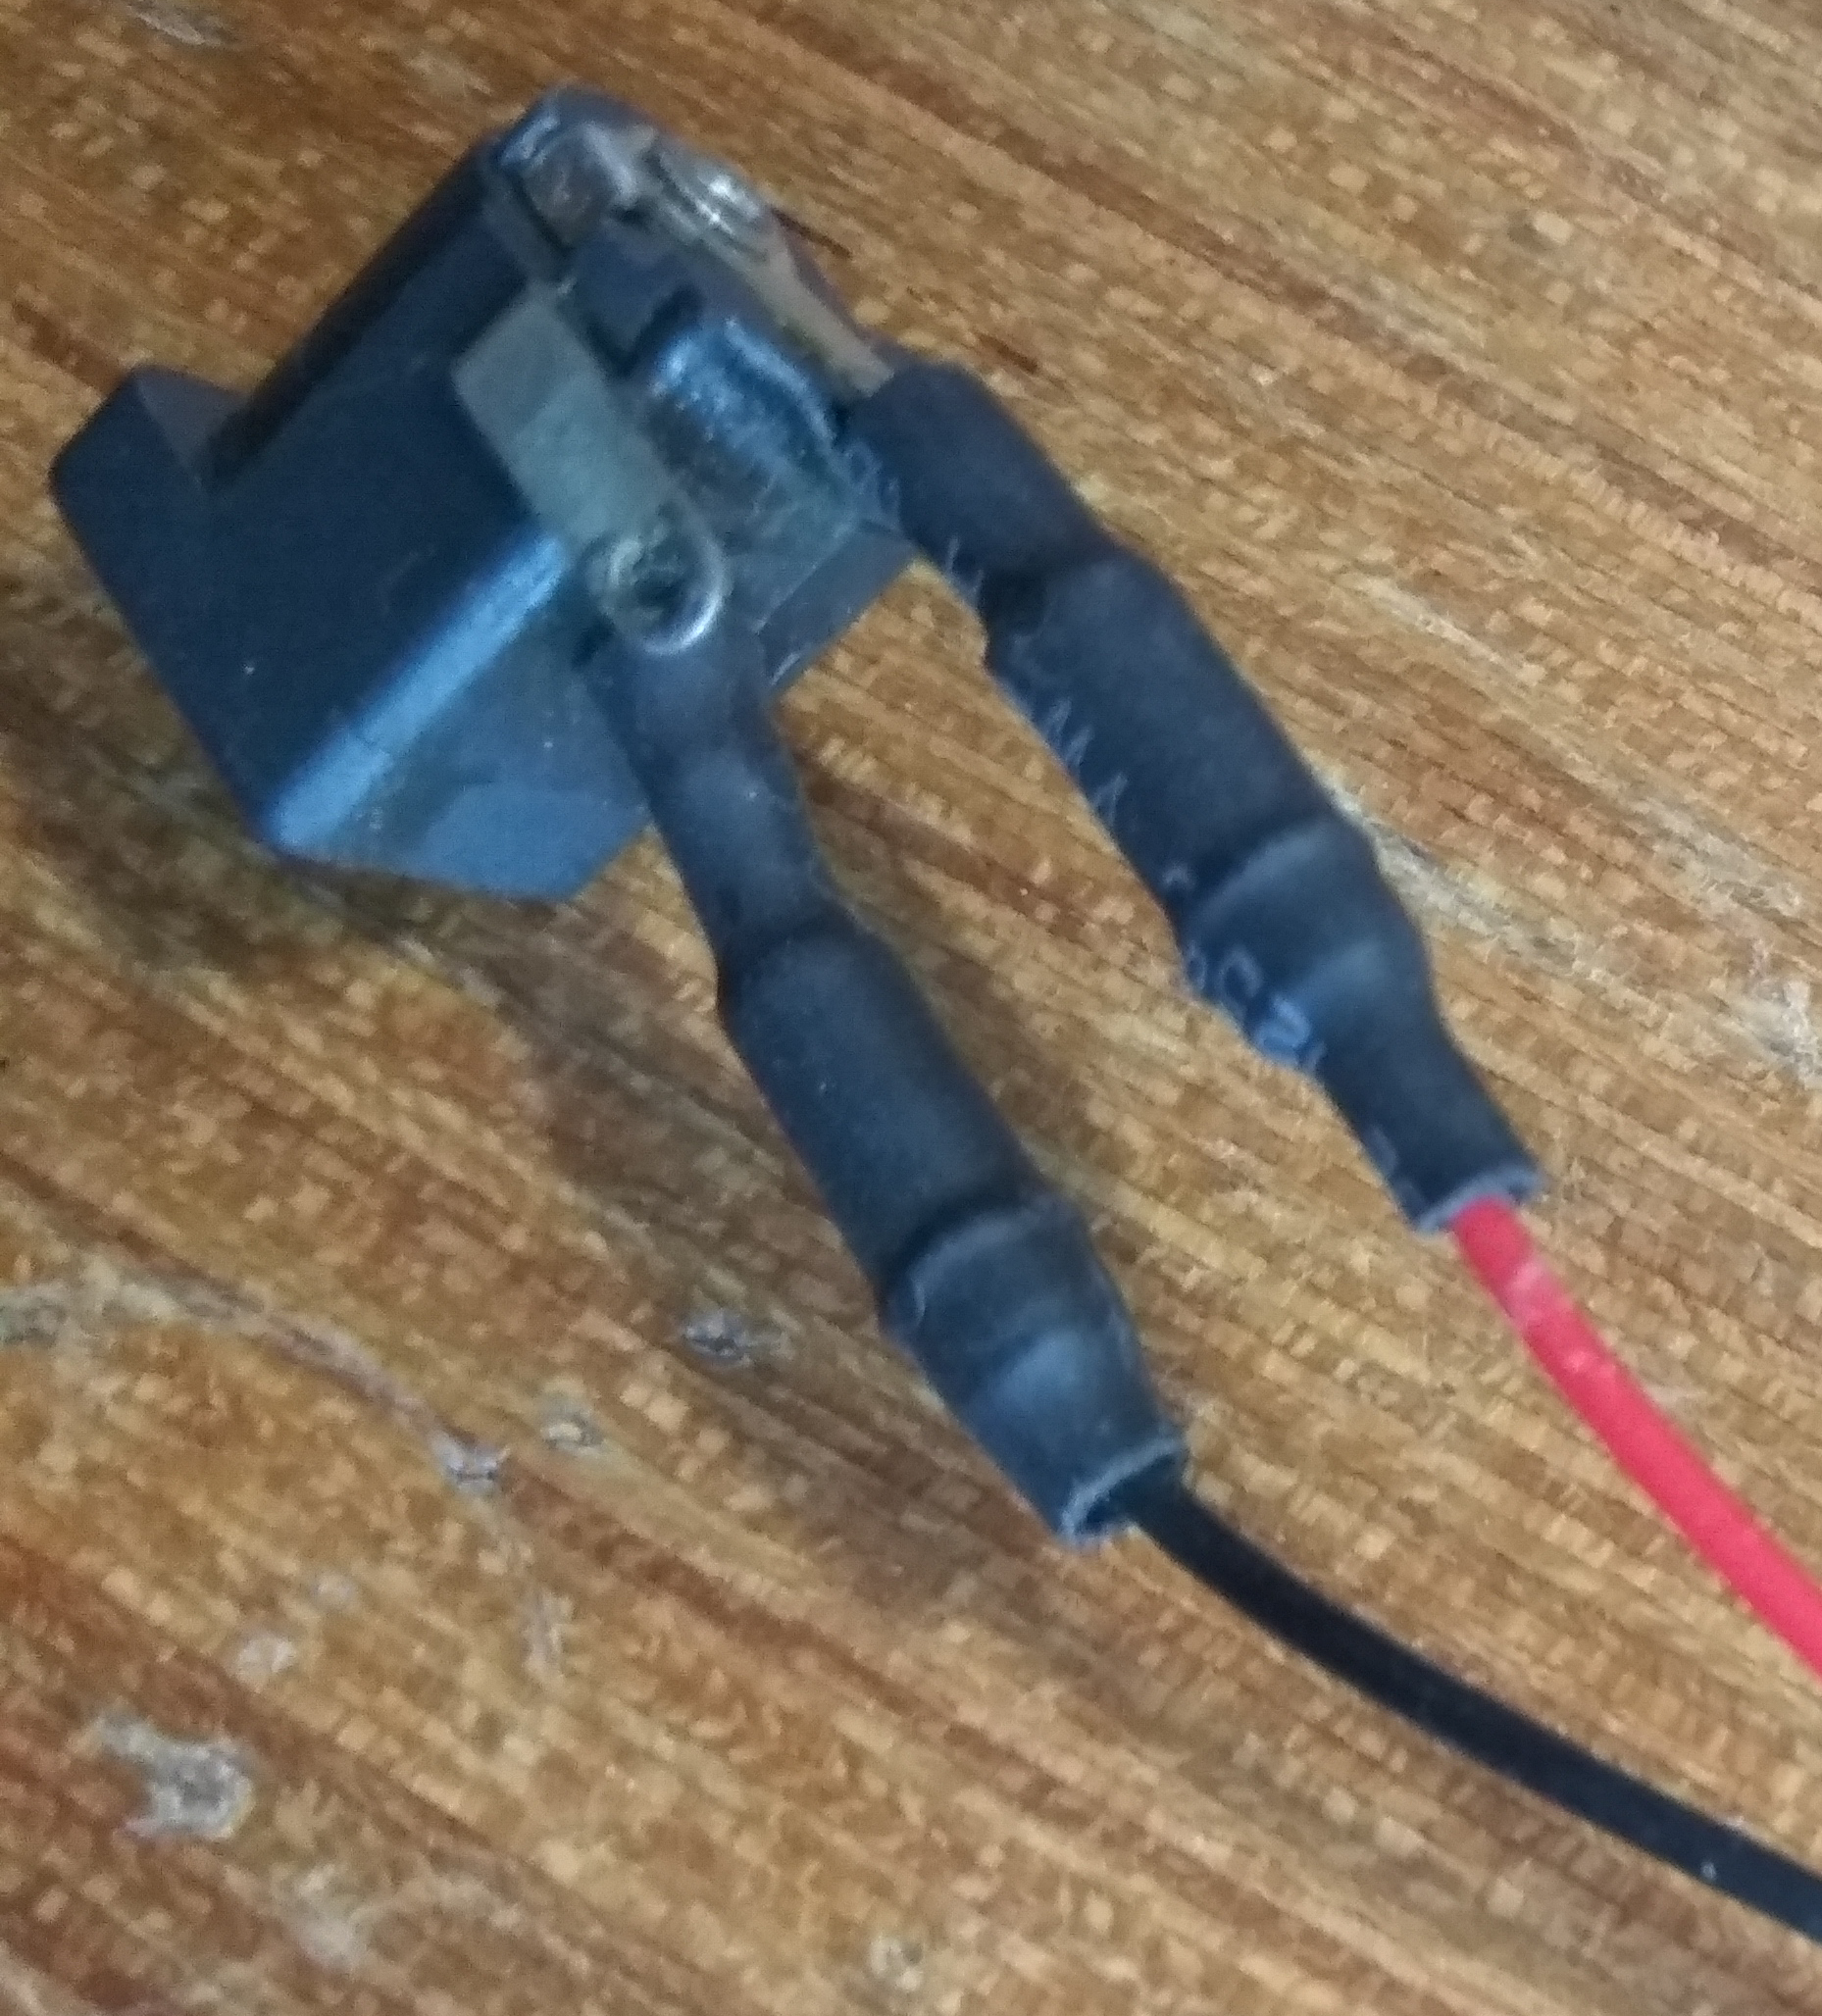
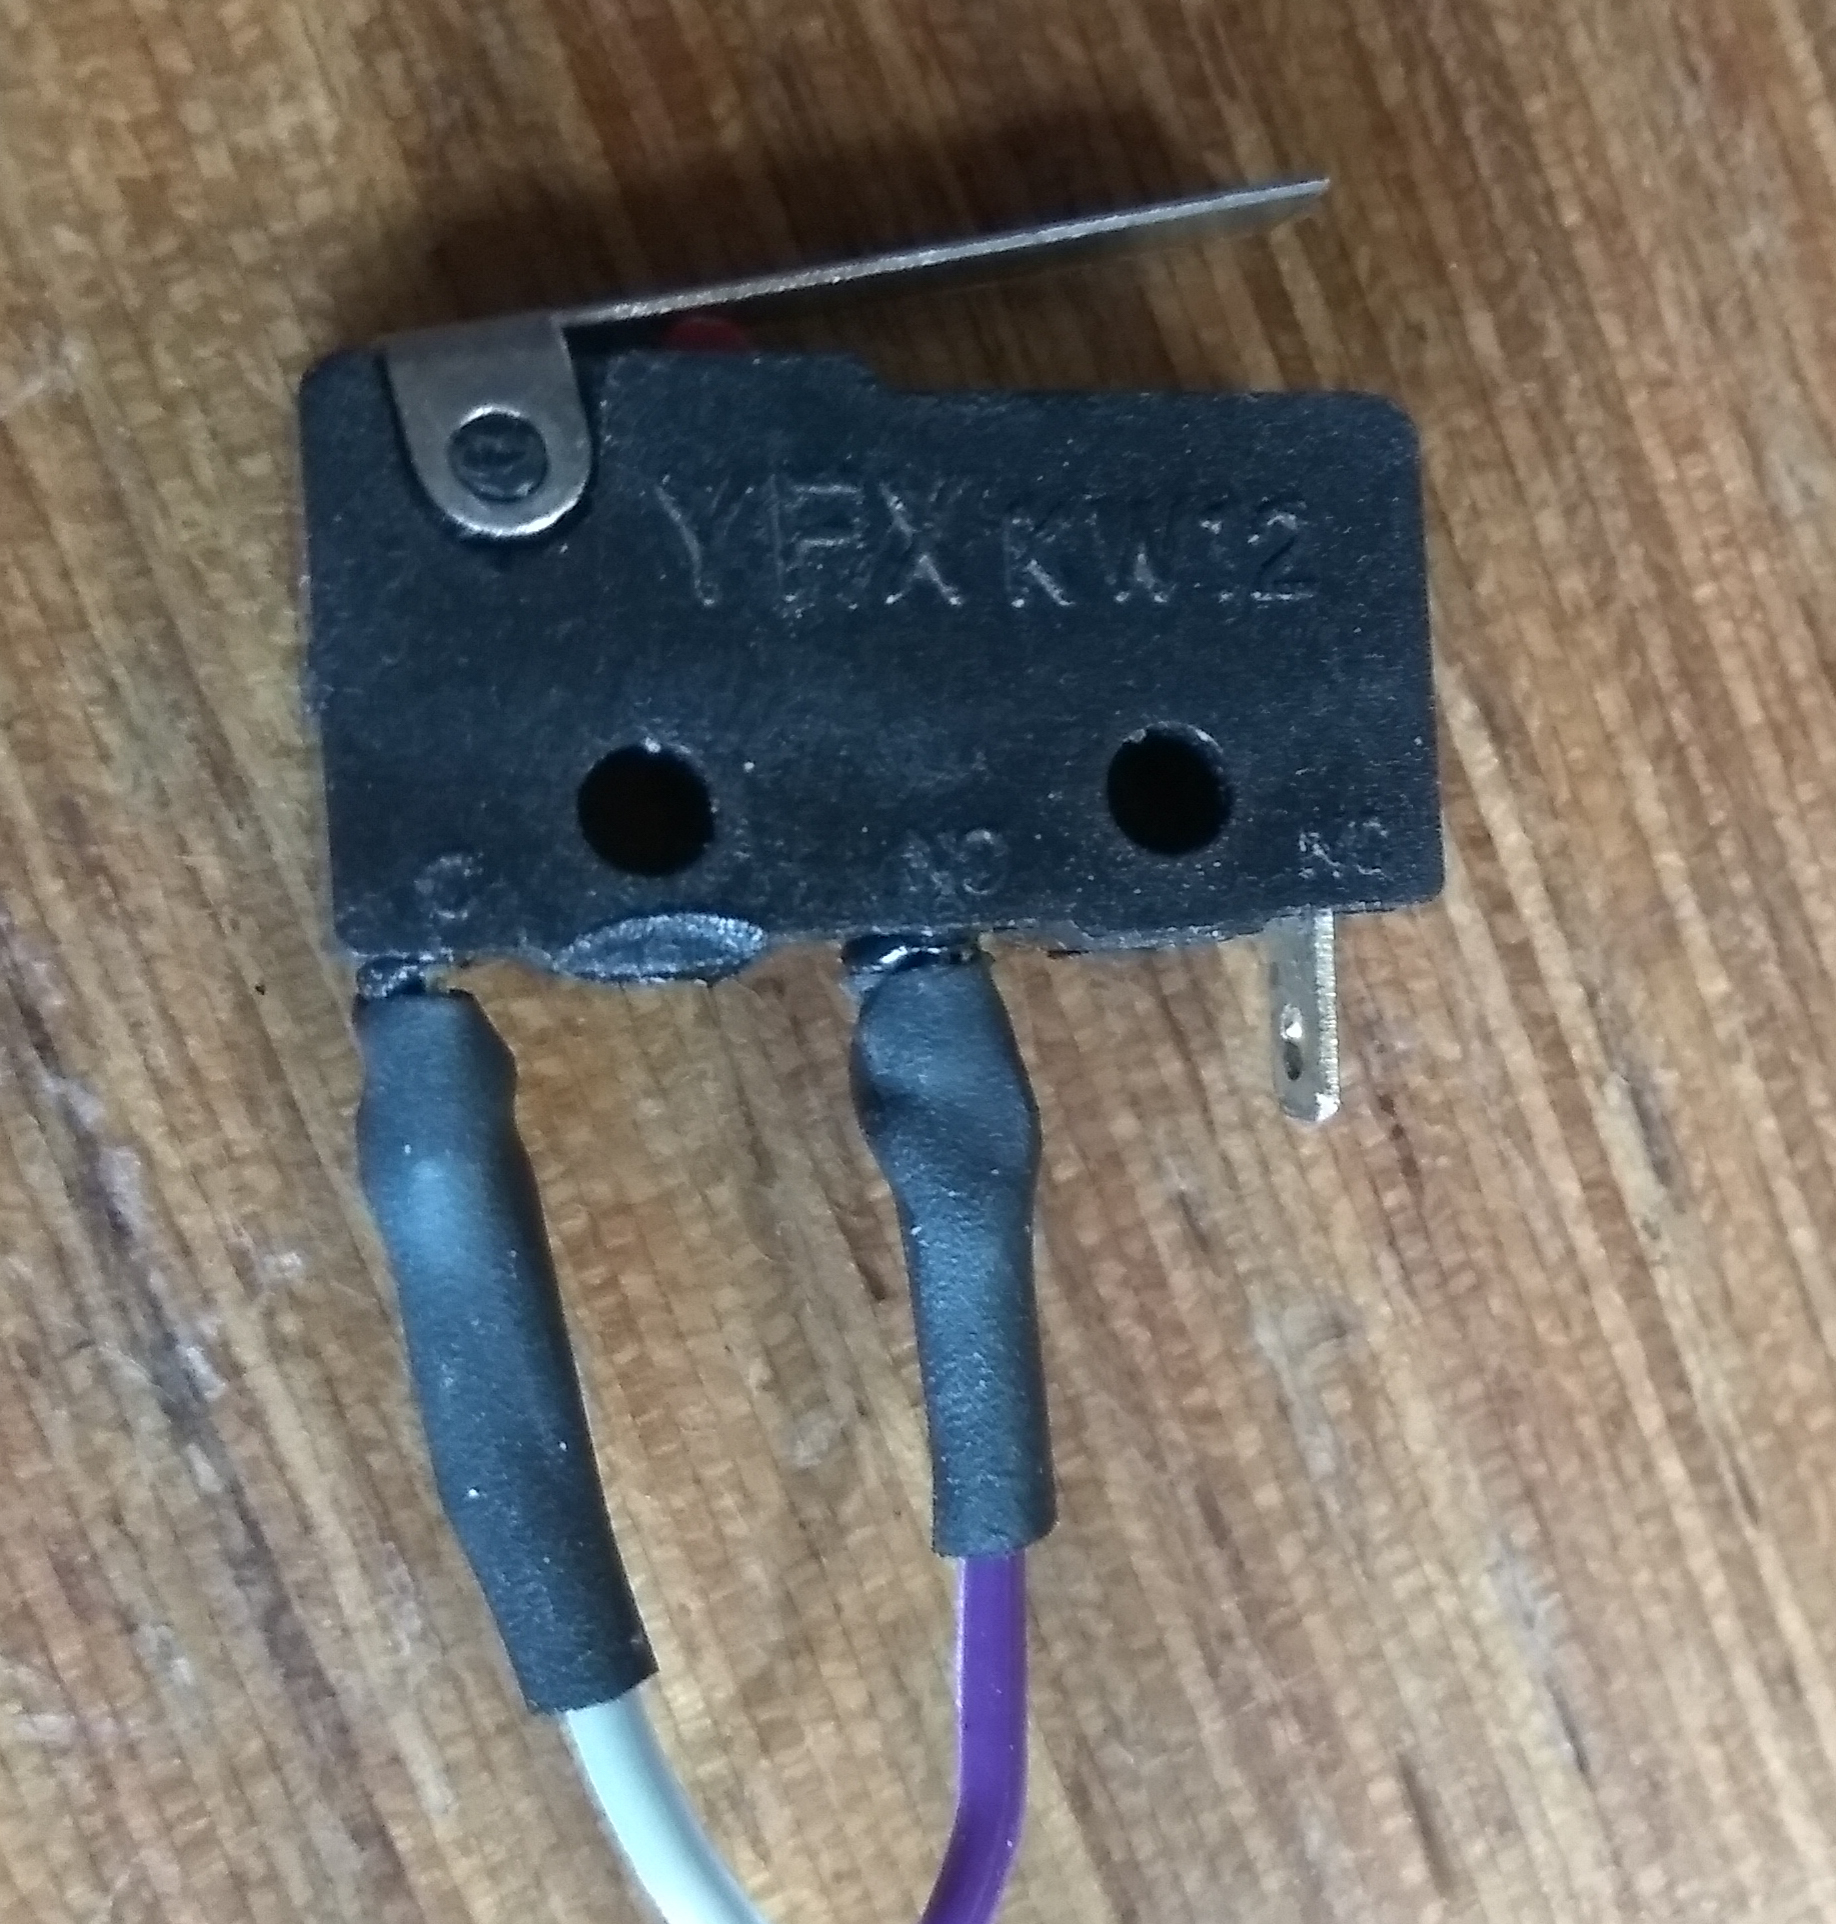
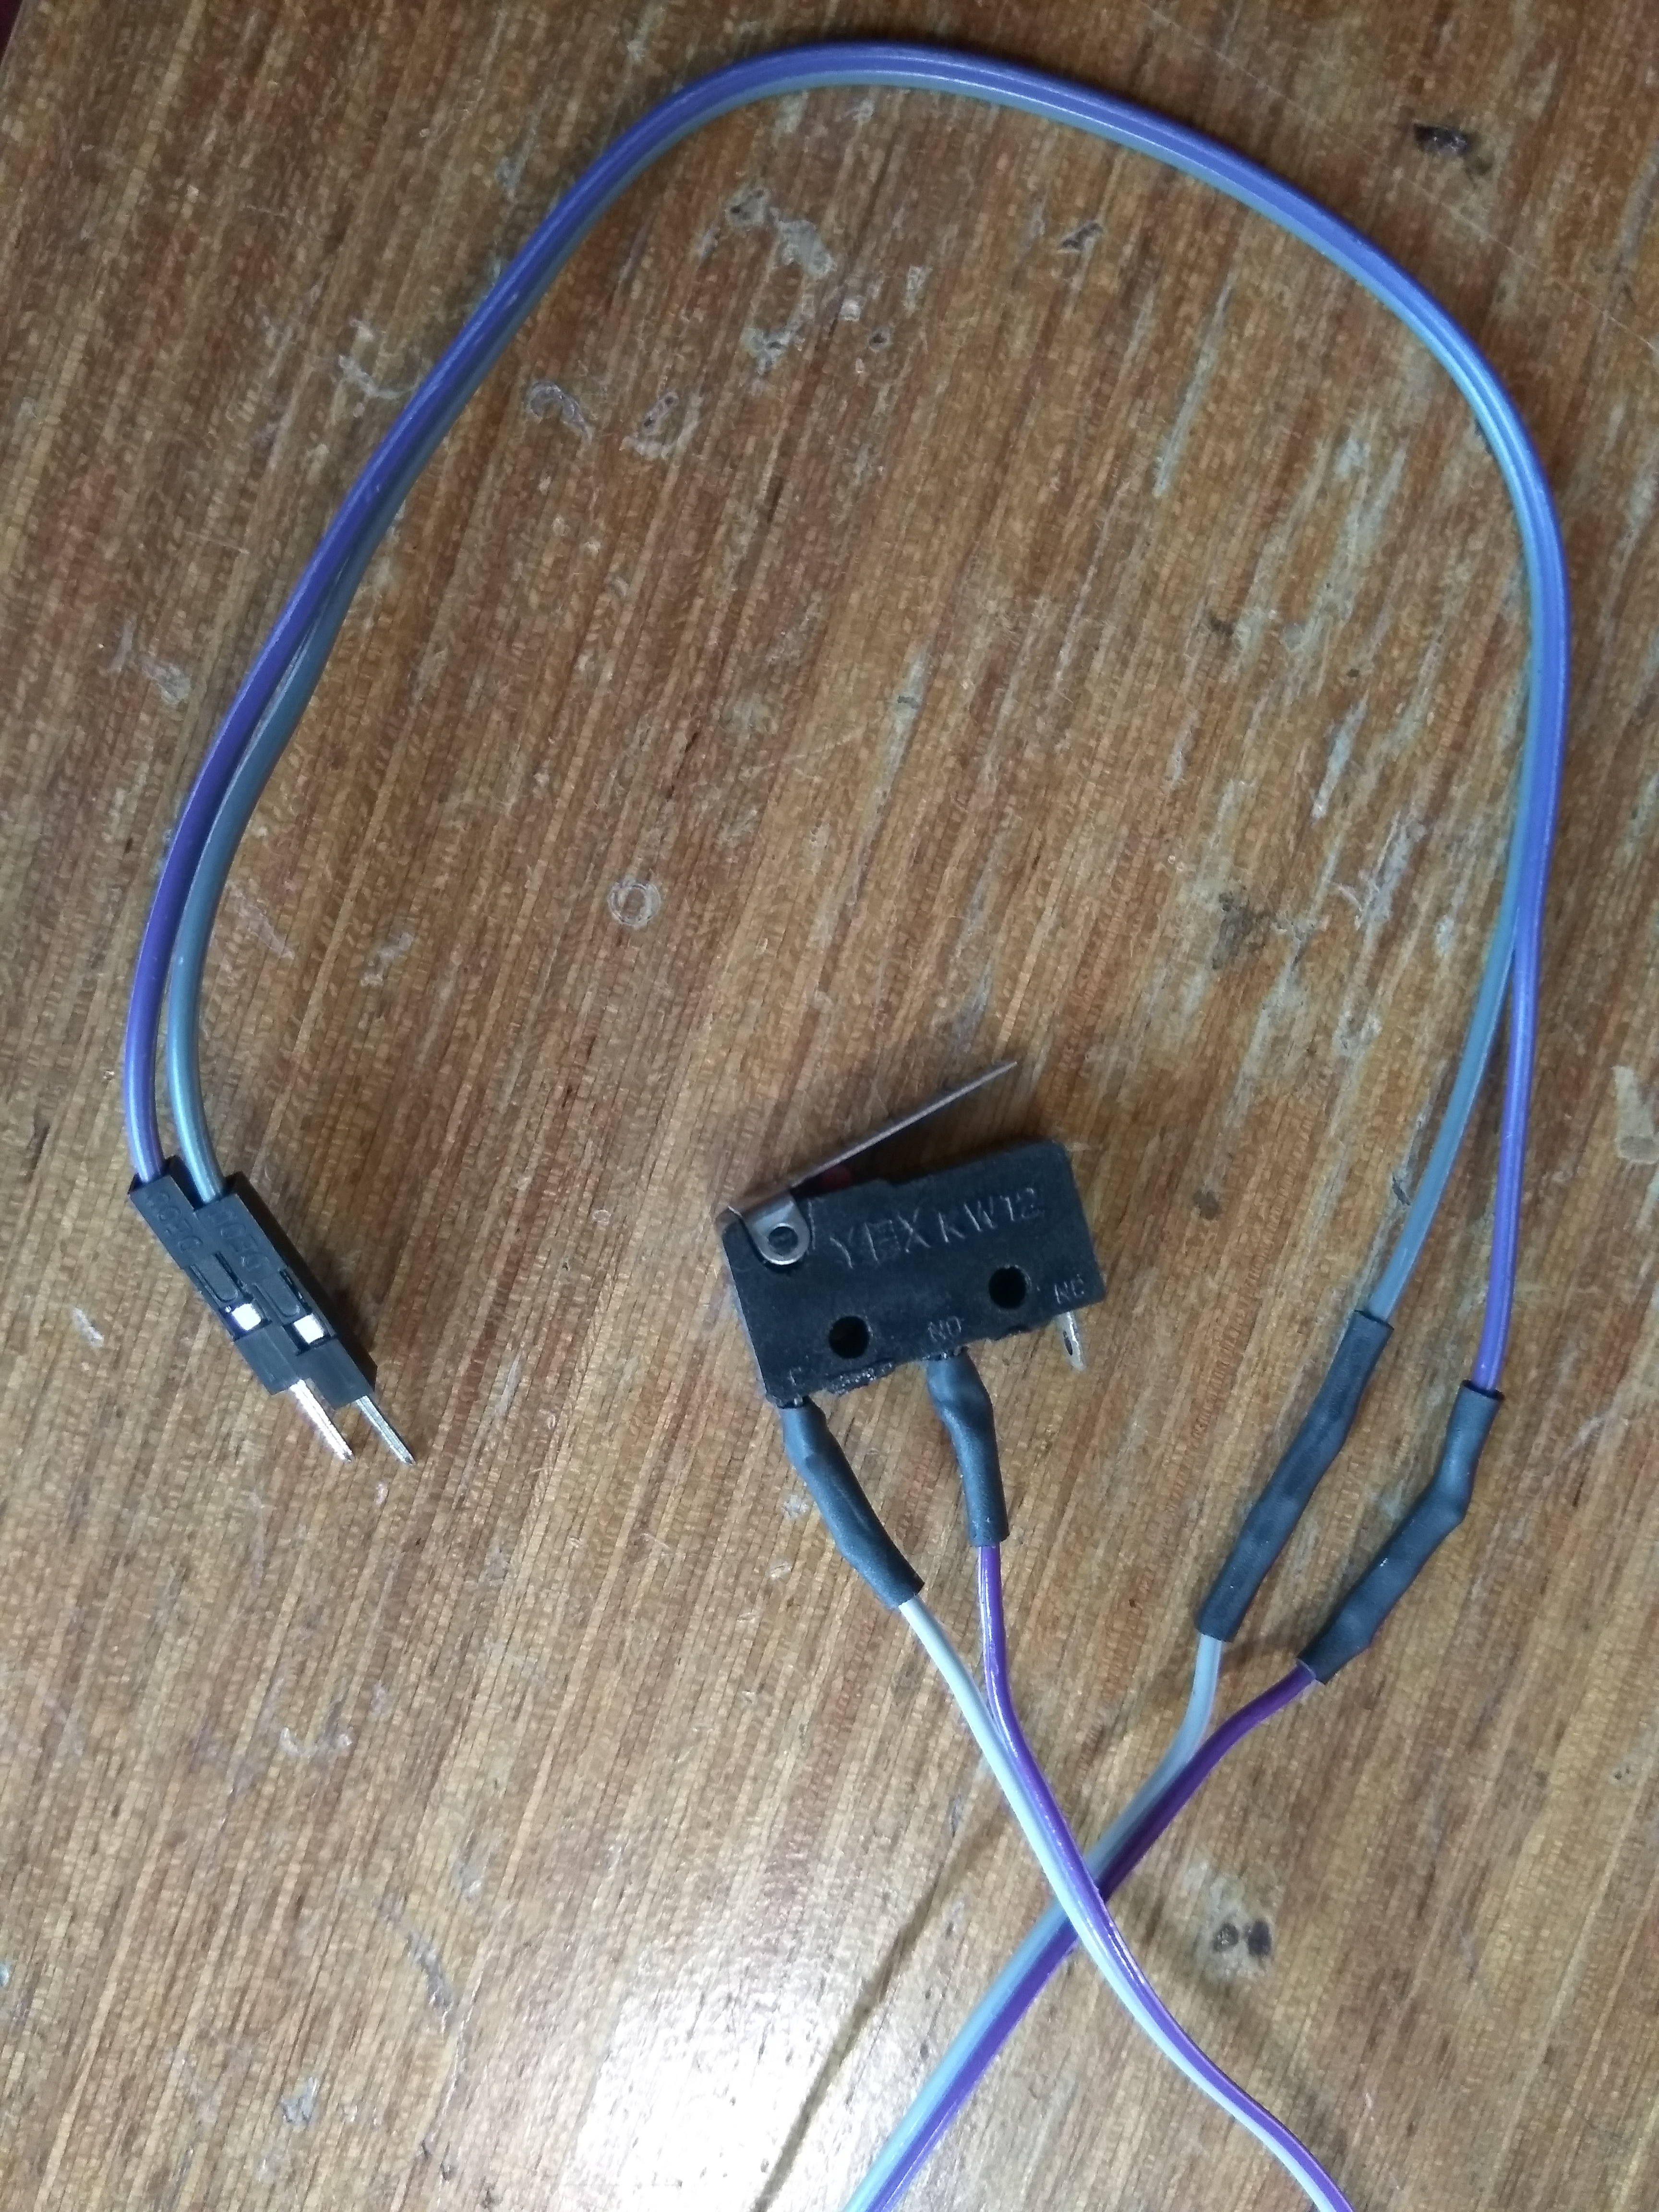
If you want to implement limit switches, wire the NO & C leads to some 22AWG wire. At the other end, attach DuPont jumpers to form leads that fit onto the breadboard. (Figure 32)
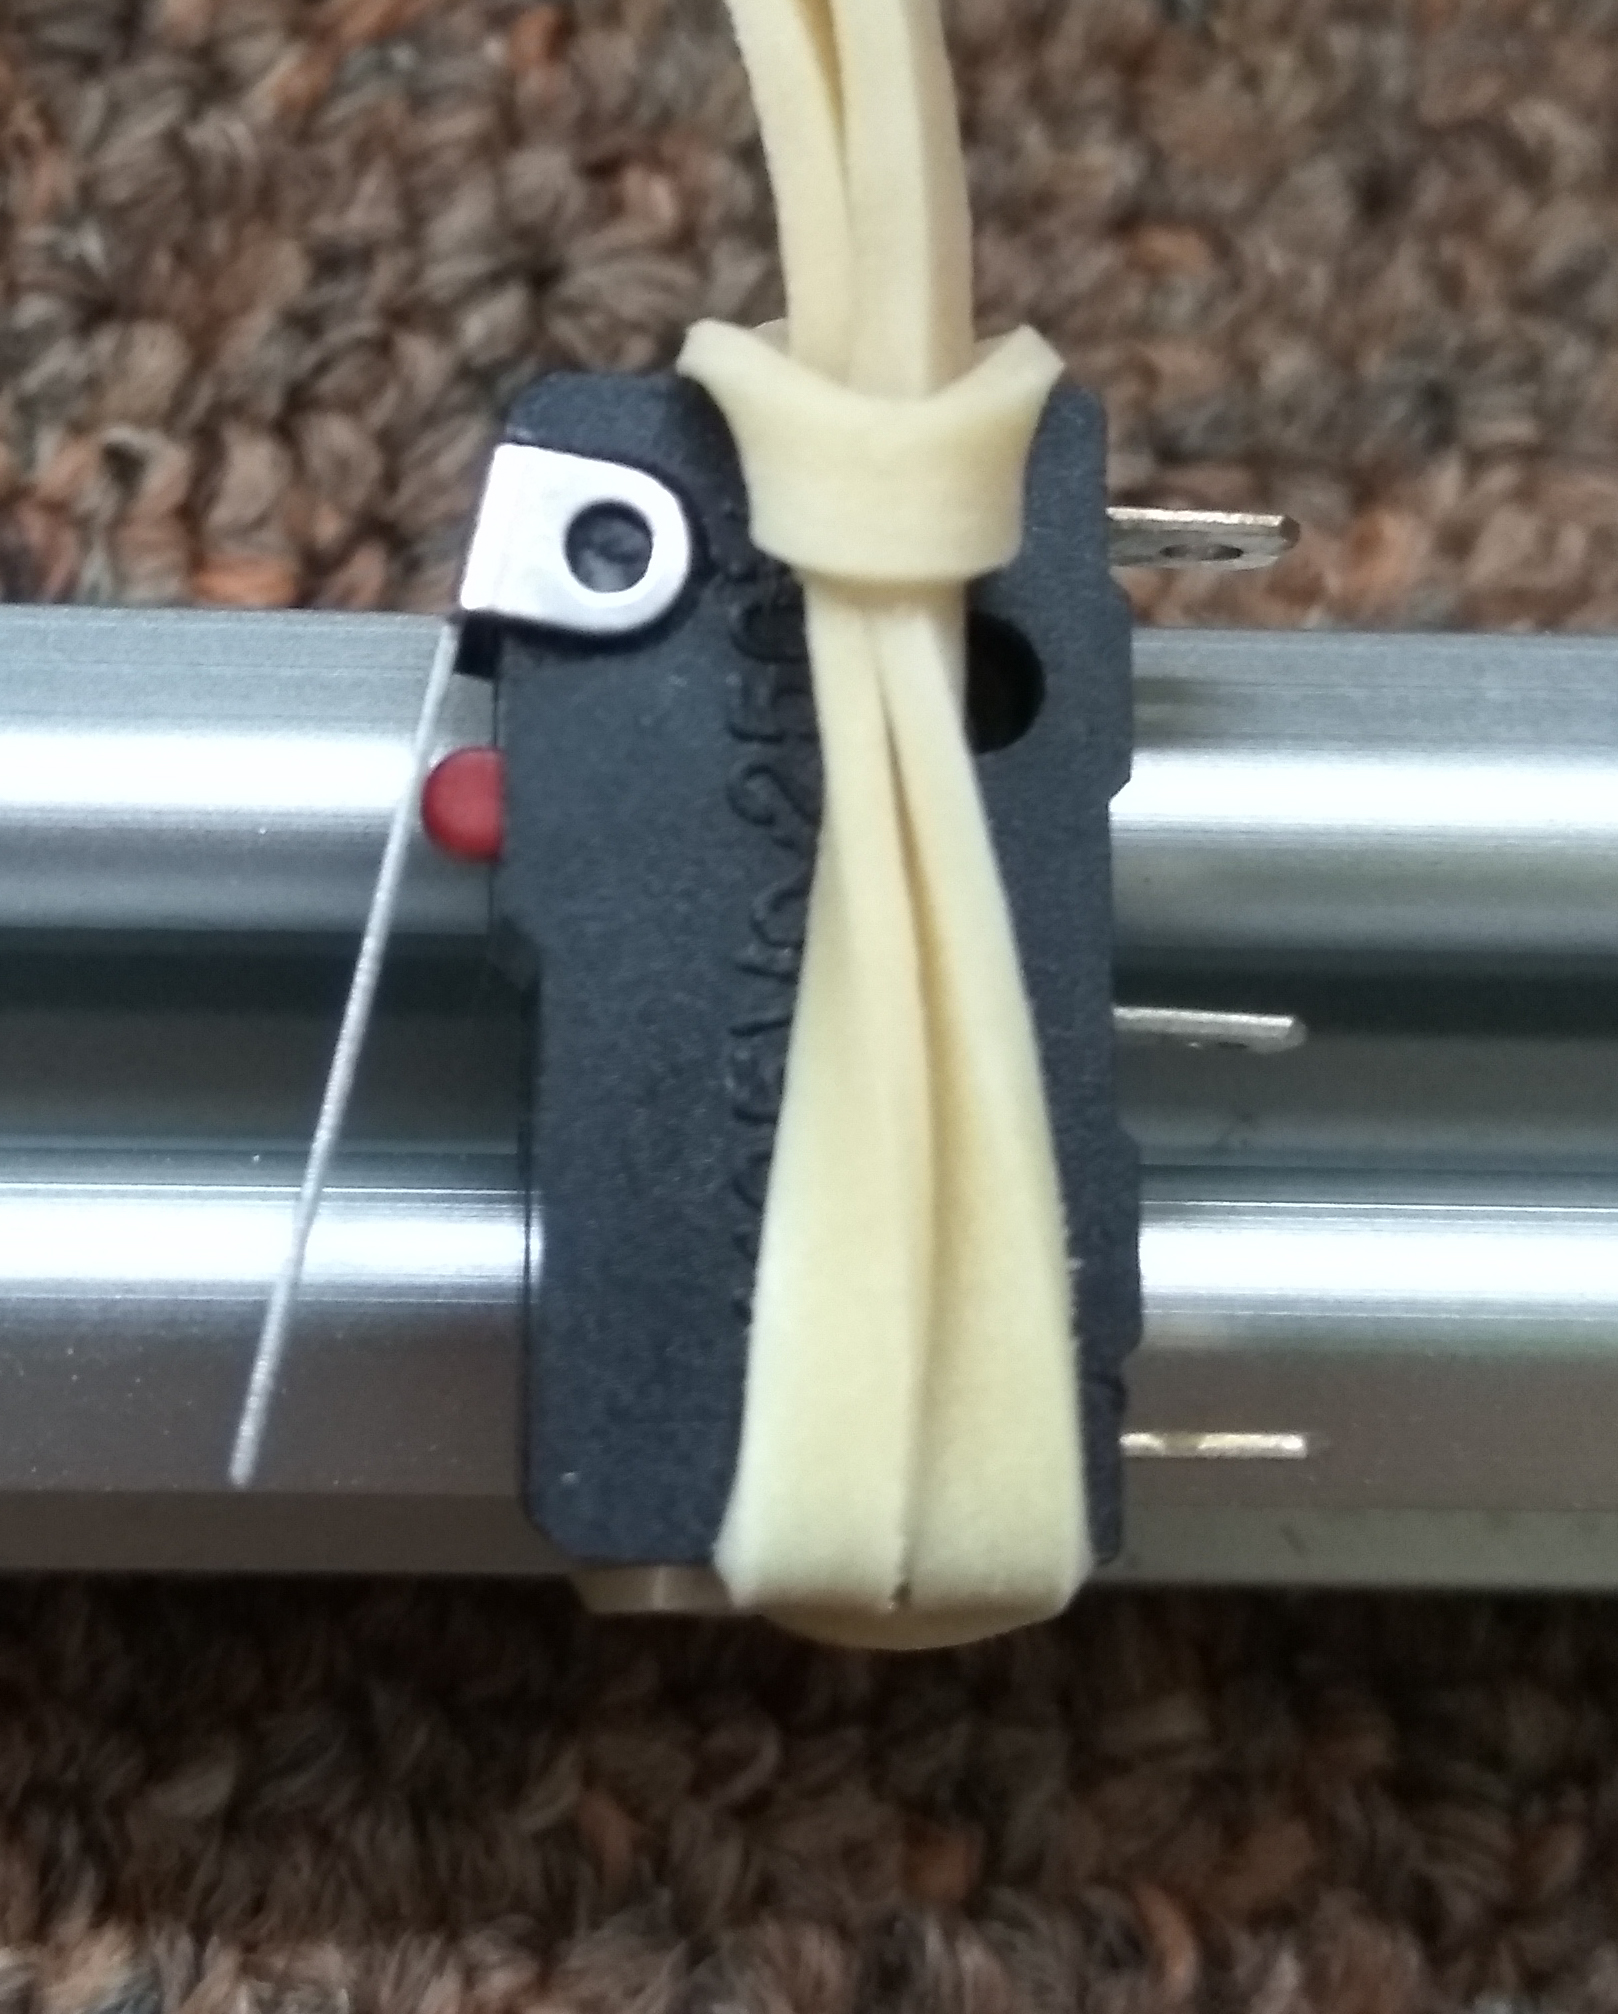
You can mount them onto the curtain rail as shown in Figure 33 with rubber bands, or if you have a hot glue gun at hand you can zip tie it to the rail then dab a good amount of hot glue to ensure it doesn't move around.
To get an idea of where to place them, refer to Figure 34.
One limit switch is attached to the far-left end of the curtain rail, between the first rail hook and the second, so that when the curtains open the hook presses against the switch and activates it. The other limit switch is placed directly at the center of the rail, facing left. This way, it gets activated when the curtains close.
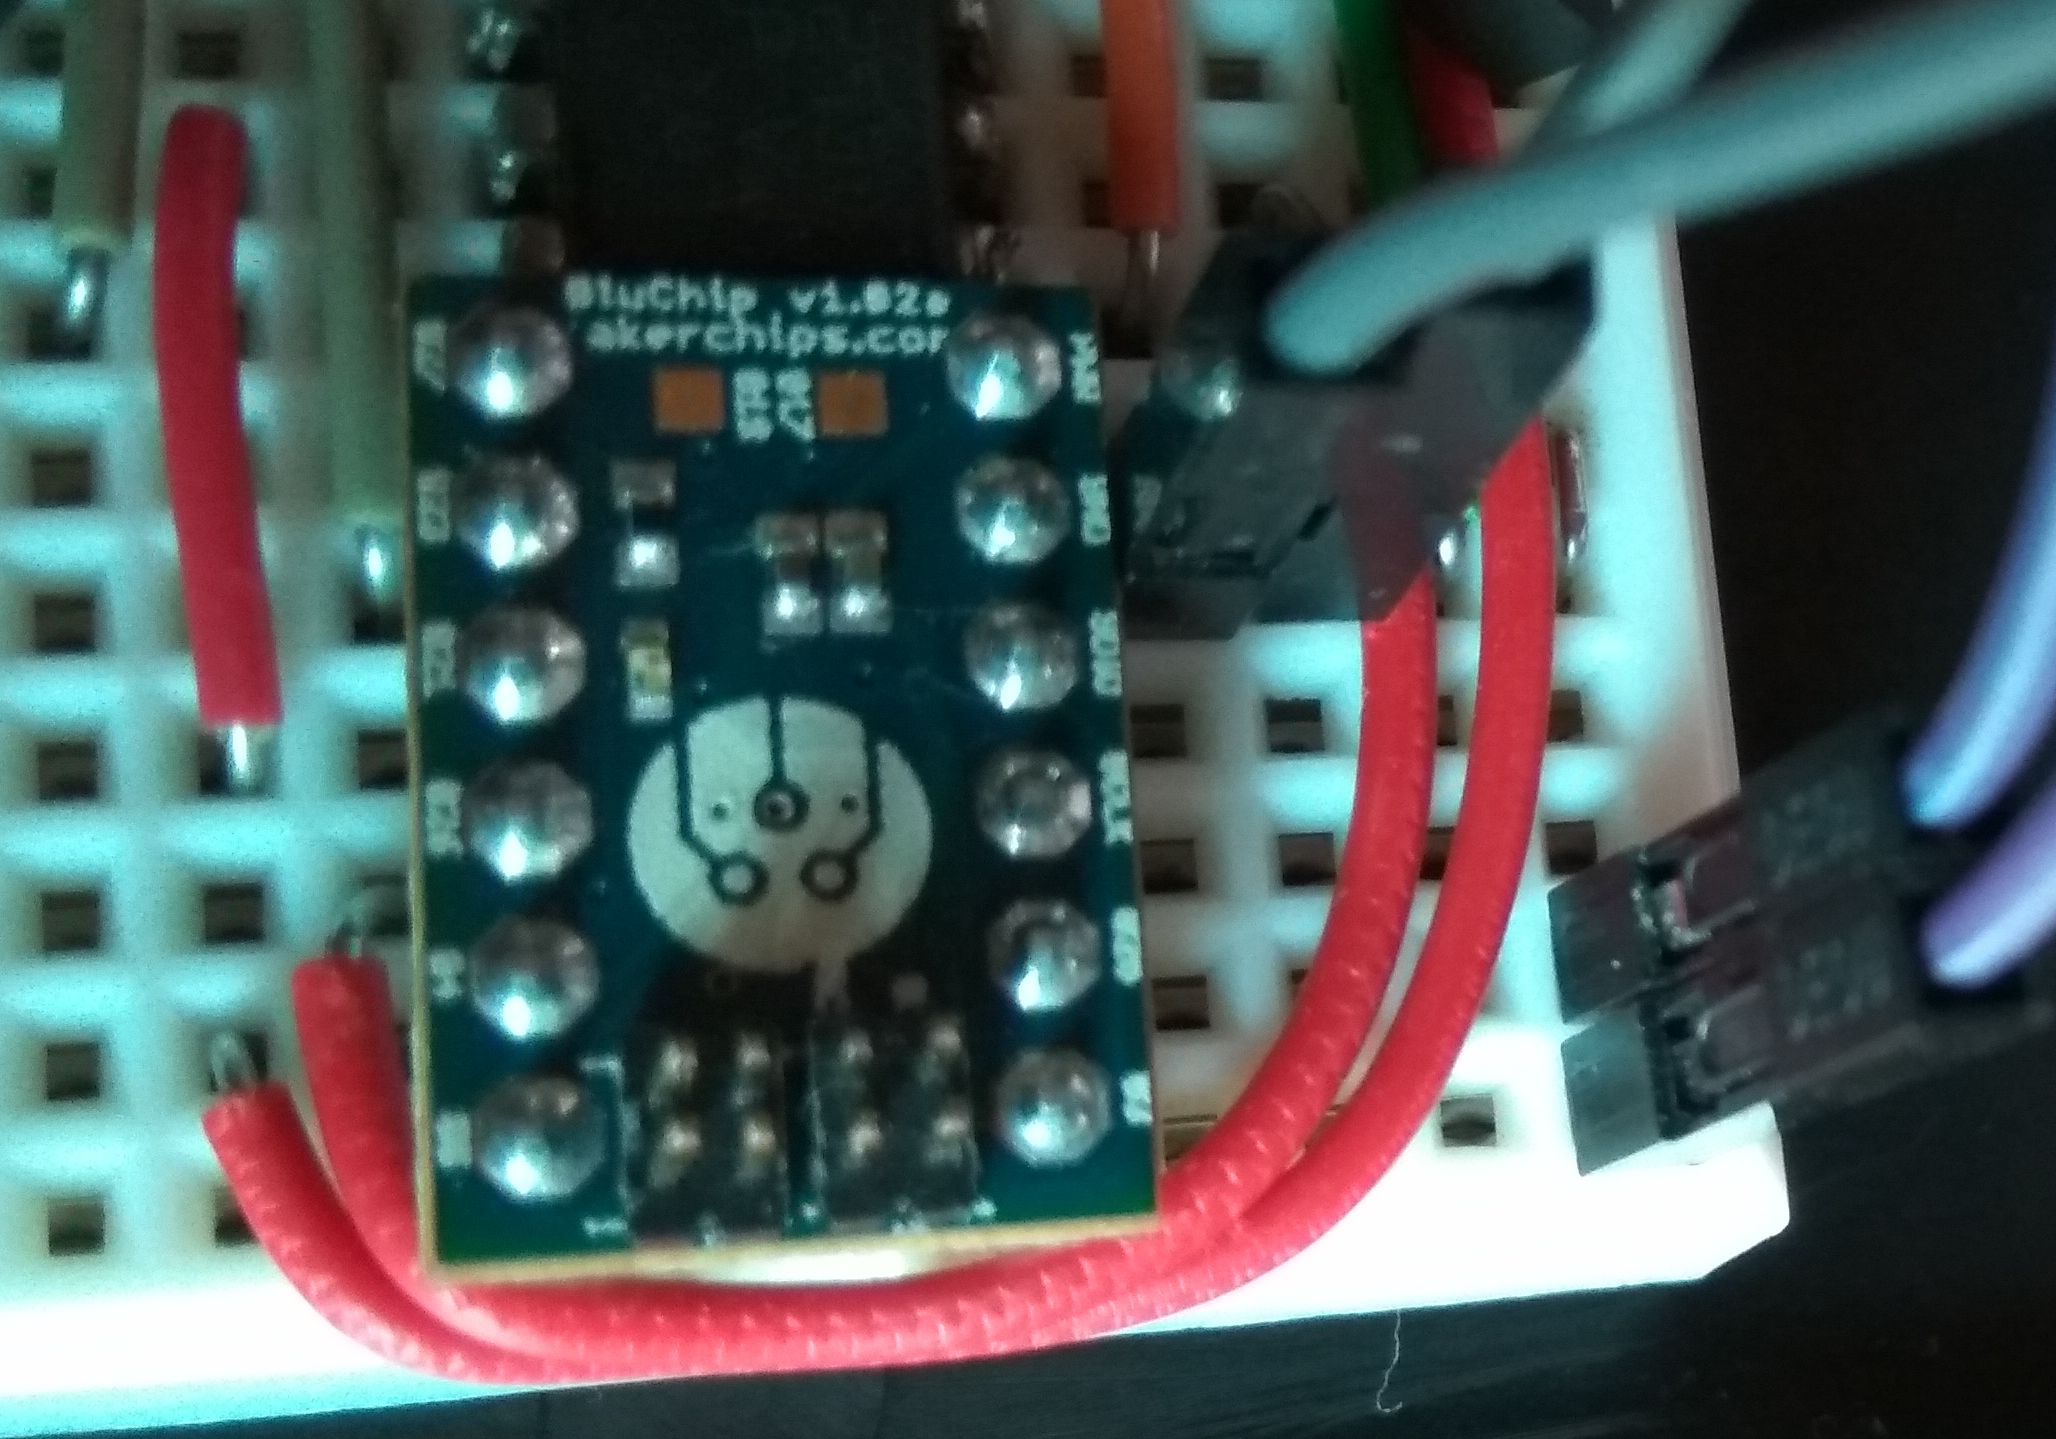
Insert the limit switch leads onto the breadboard according to Figure 20.
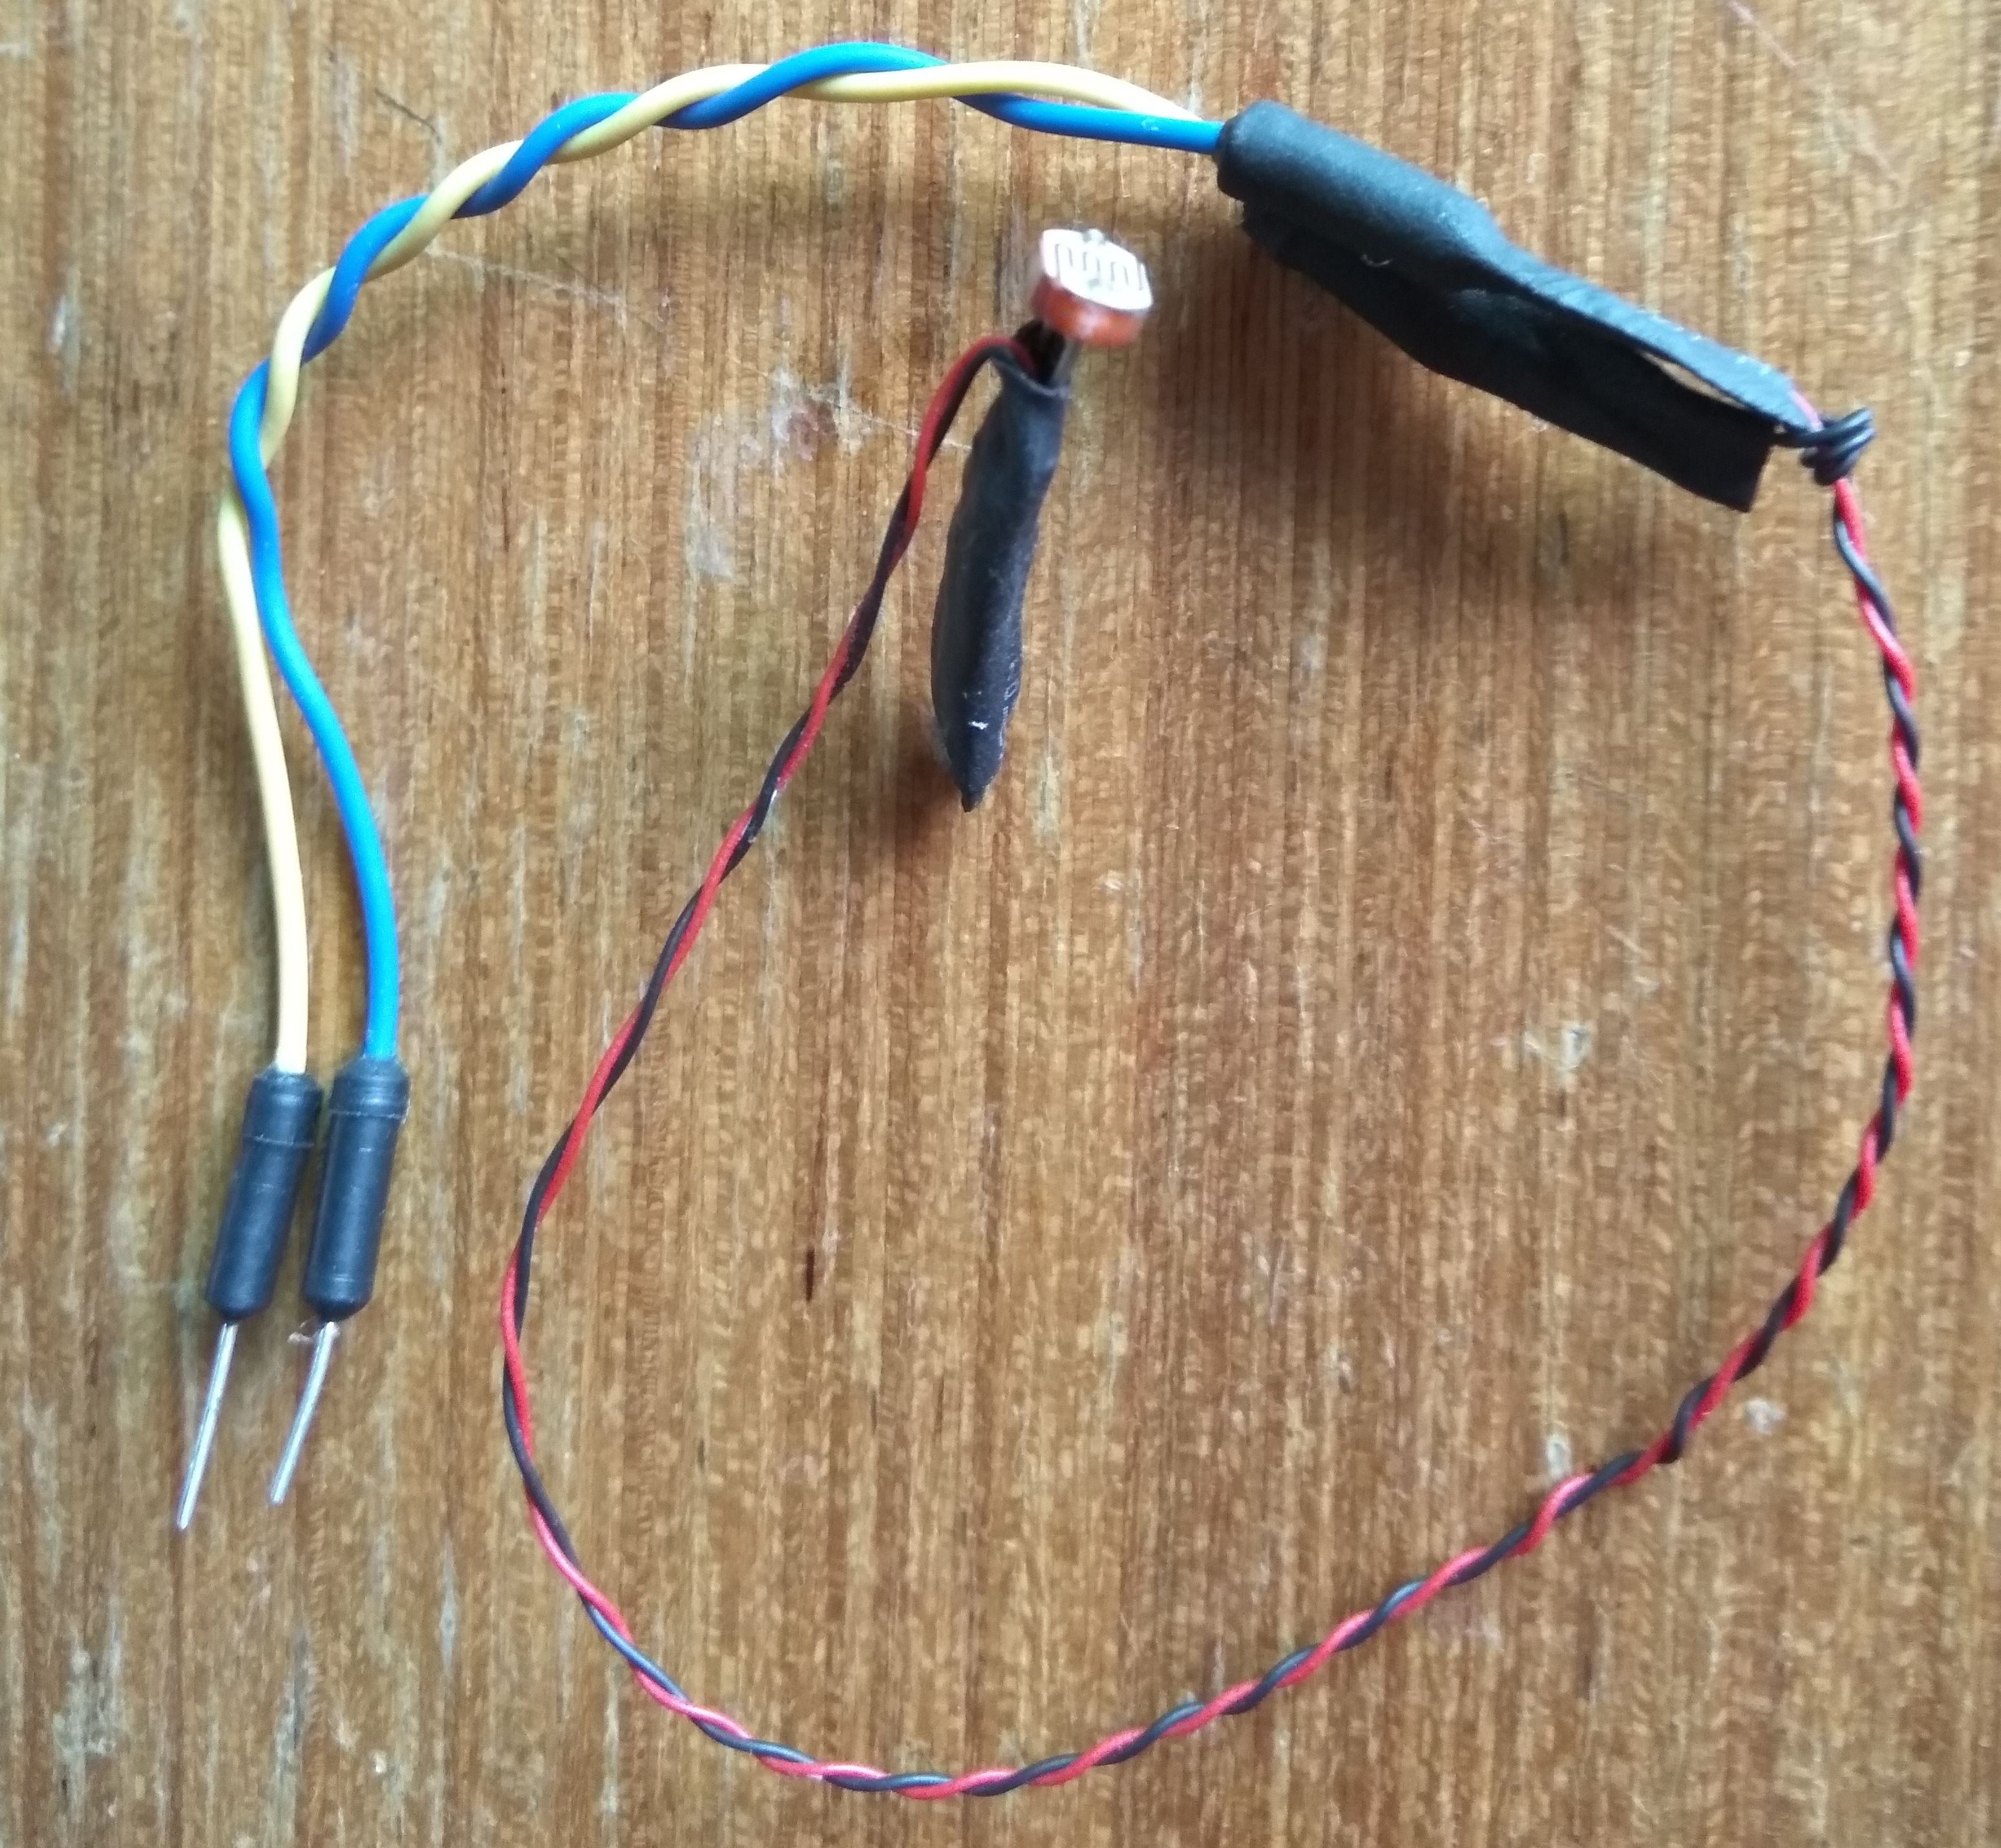
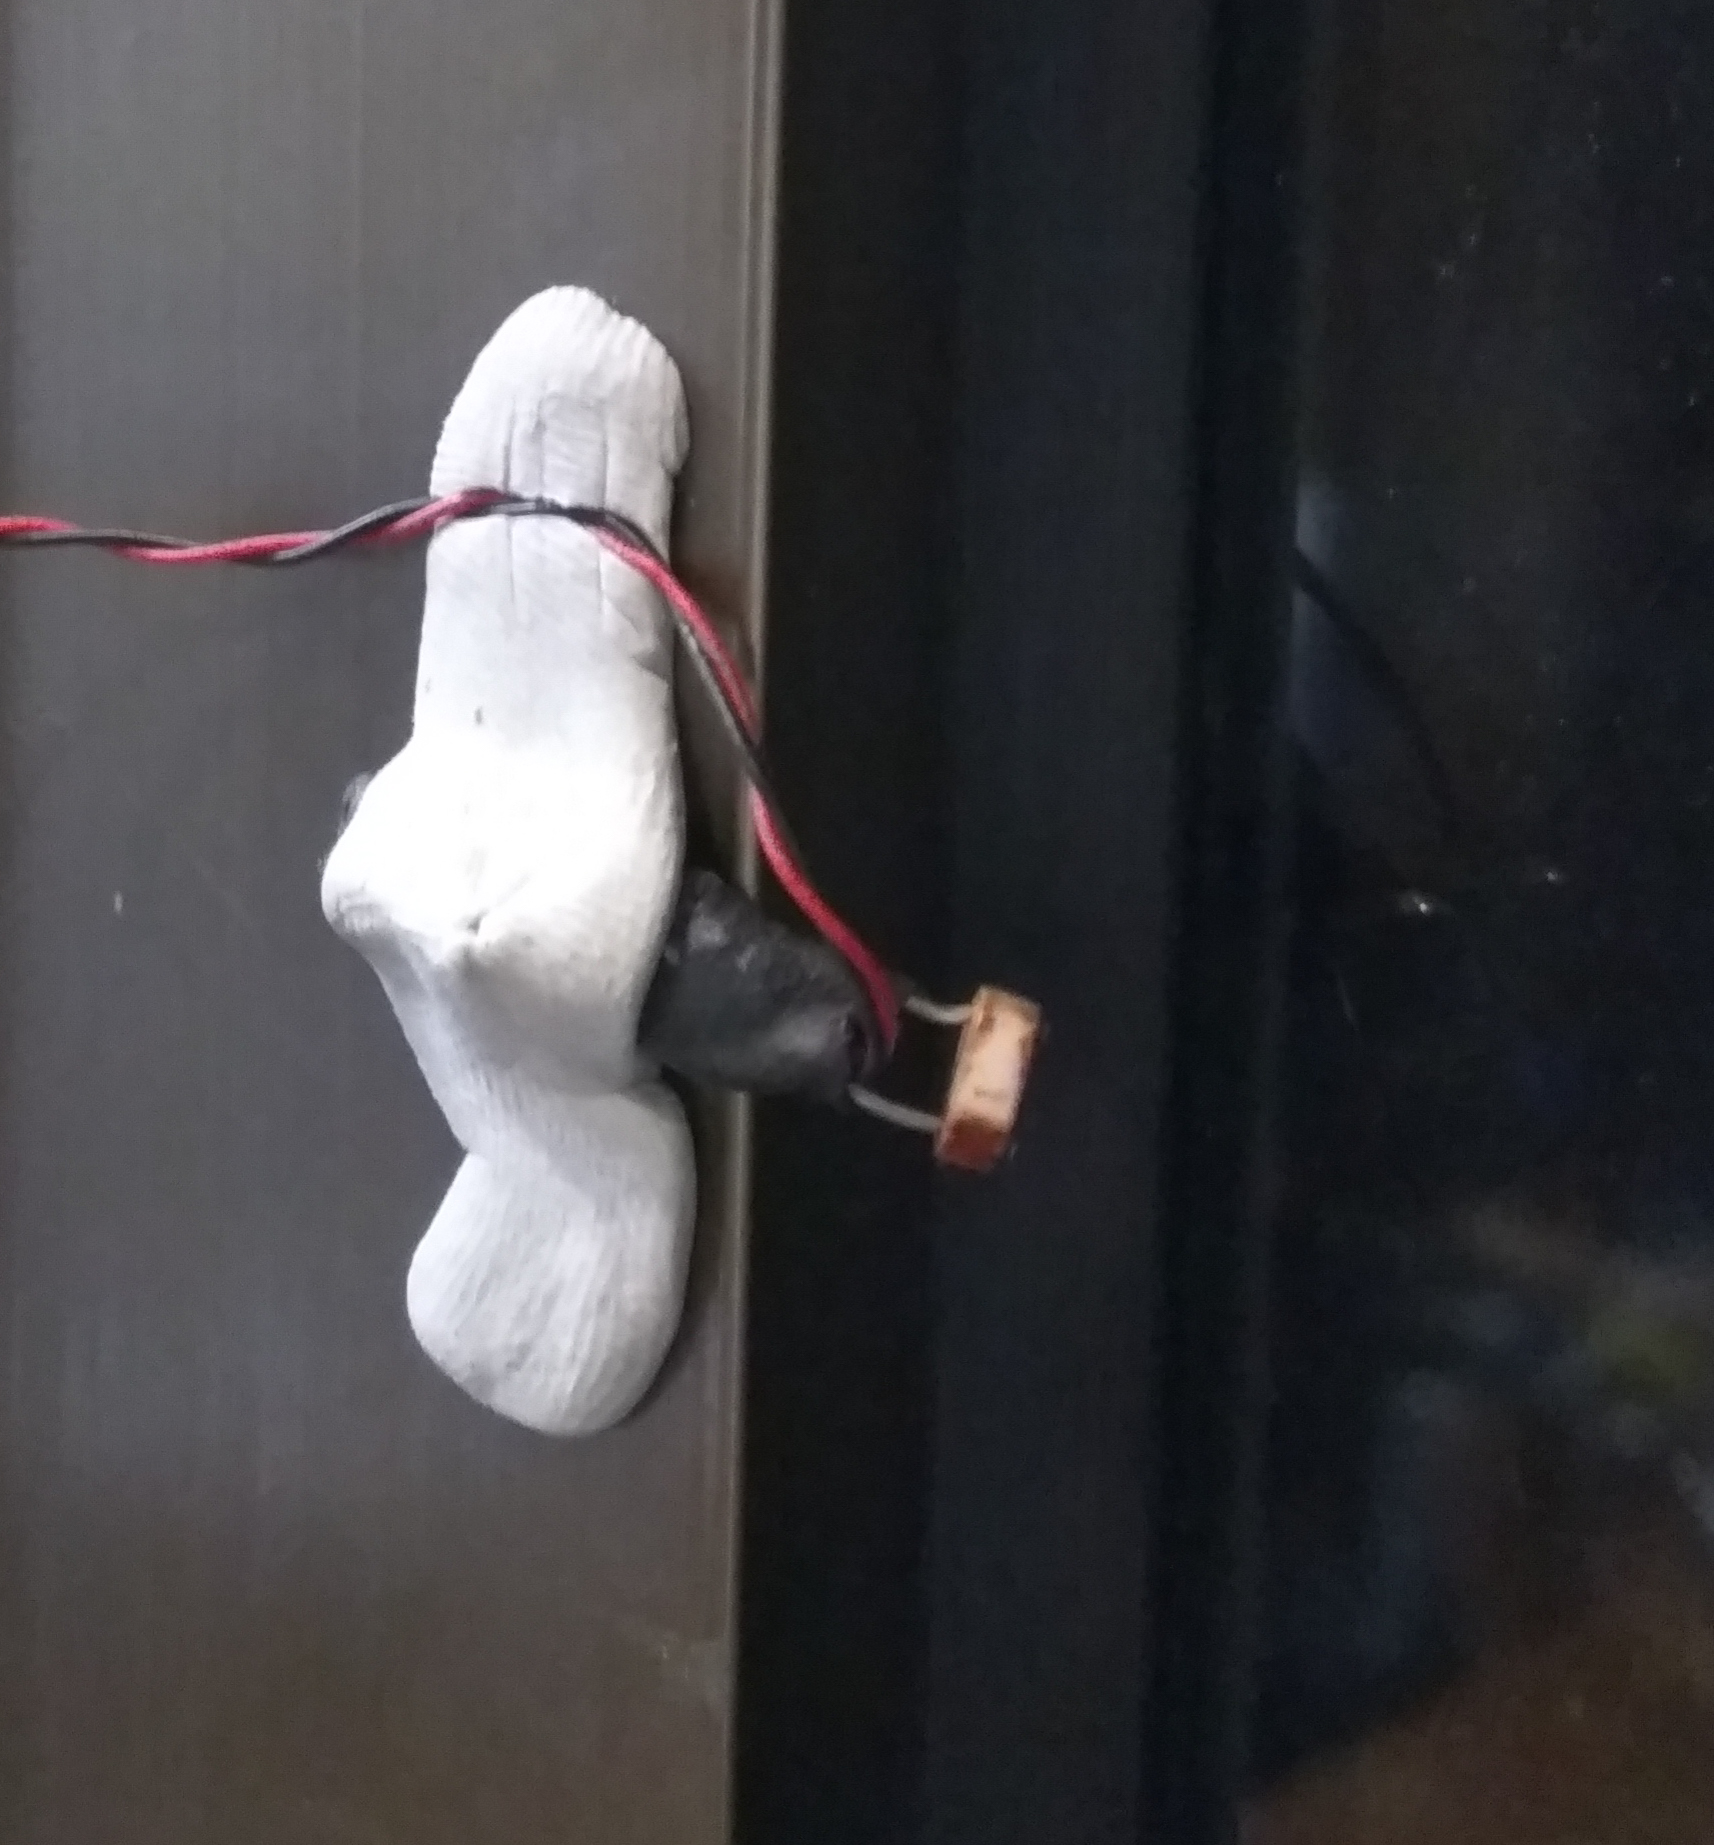
Finally, if you want your curtains to open when the sun rises and close when it sets, you would need to wire up the photo resistor as shown in FIgure 36, and set it up close to where it has access to sunlight during dawn.
After you're done with the breadboard circuit set up, get ready and connect your programmer to the BluChip to flash the firmware. Download the firmware from GitHub and extract it into your SDK directory as you did before.
Download ble_app_ahc.zip from Github.
Open the project up, then compile and upload the firmware to the BluChip.
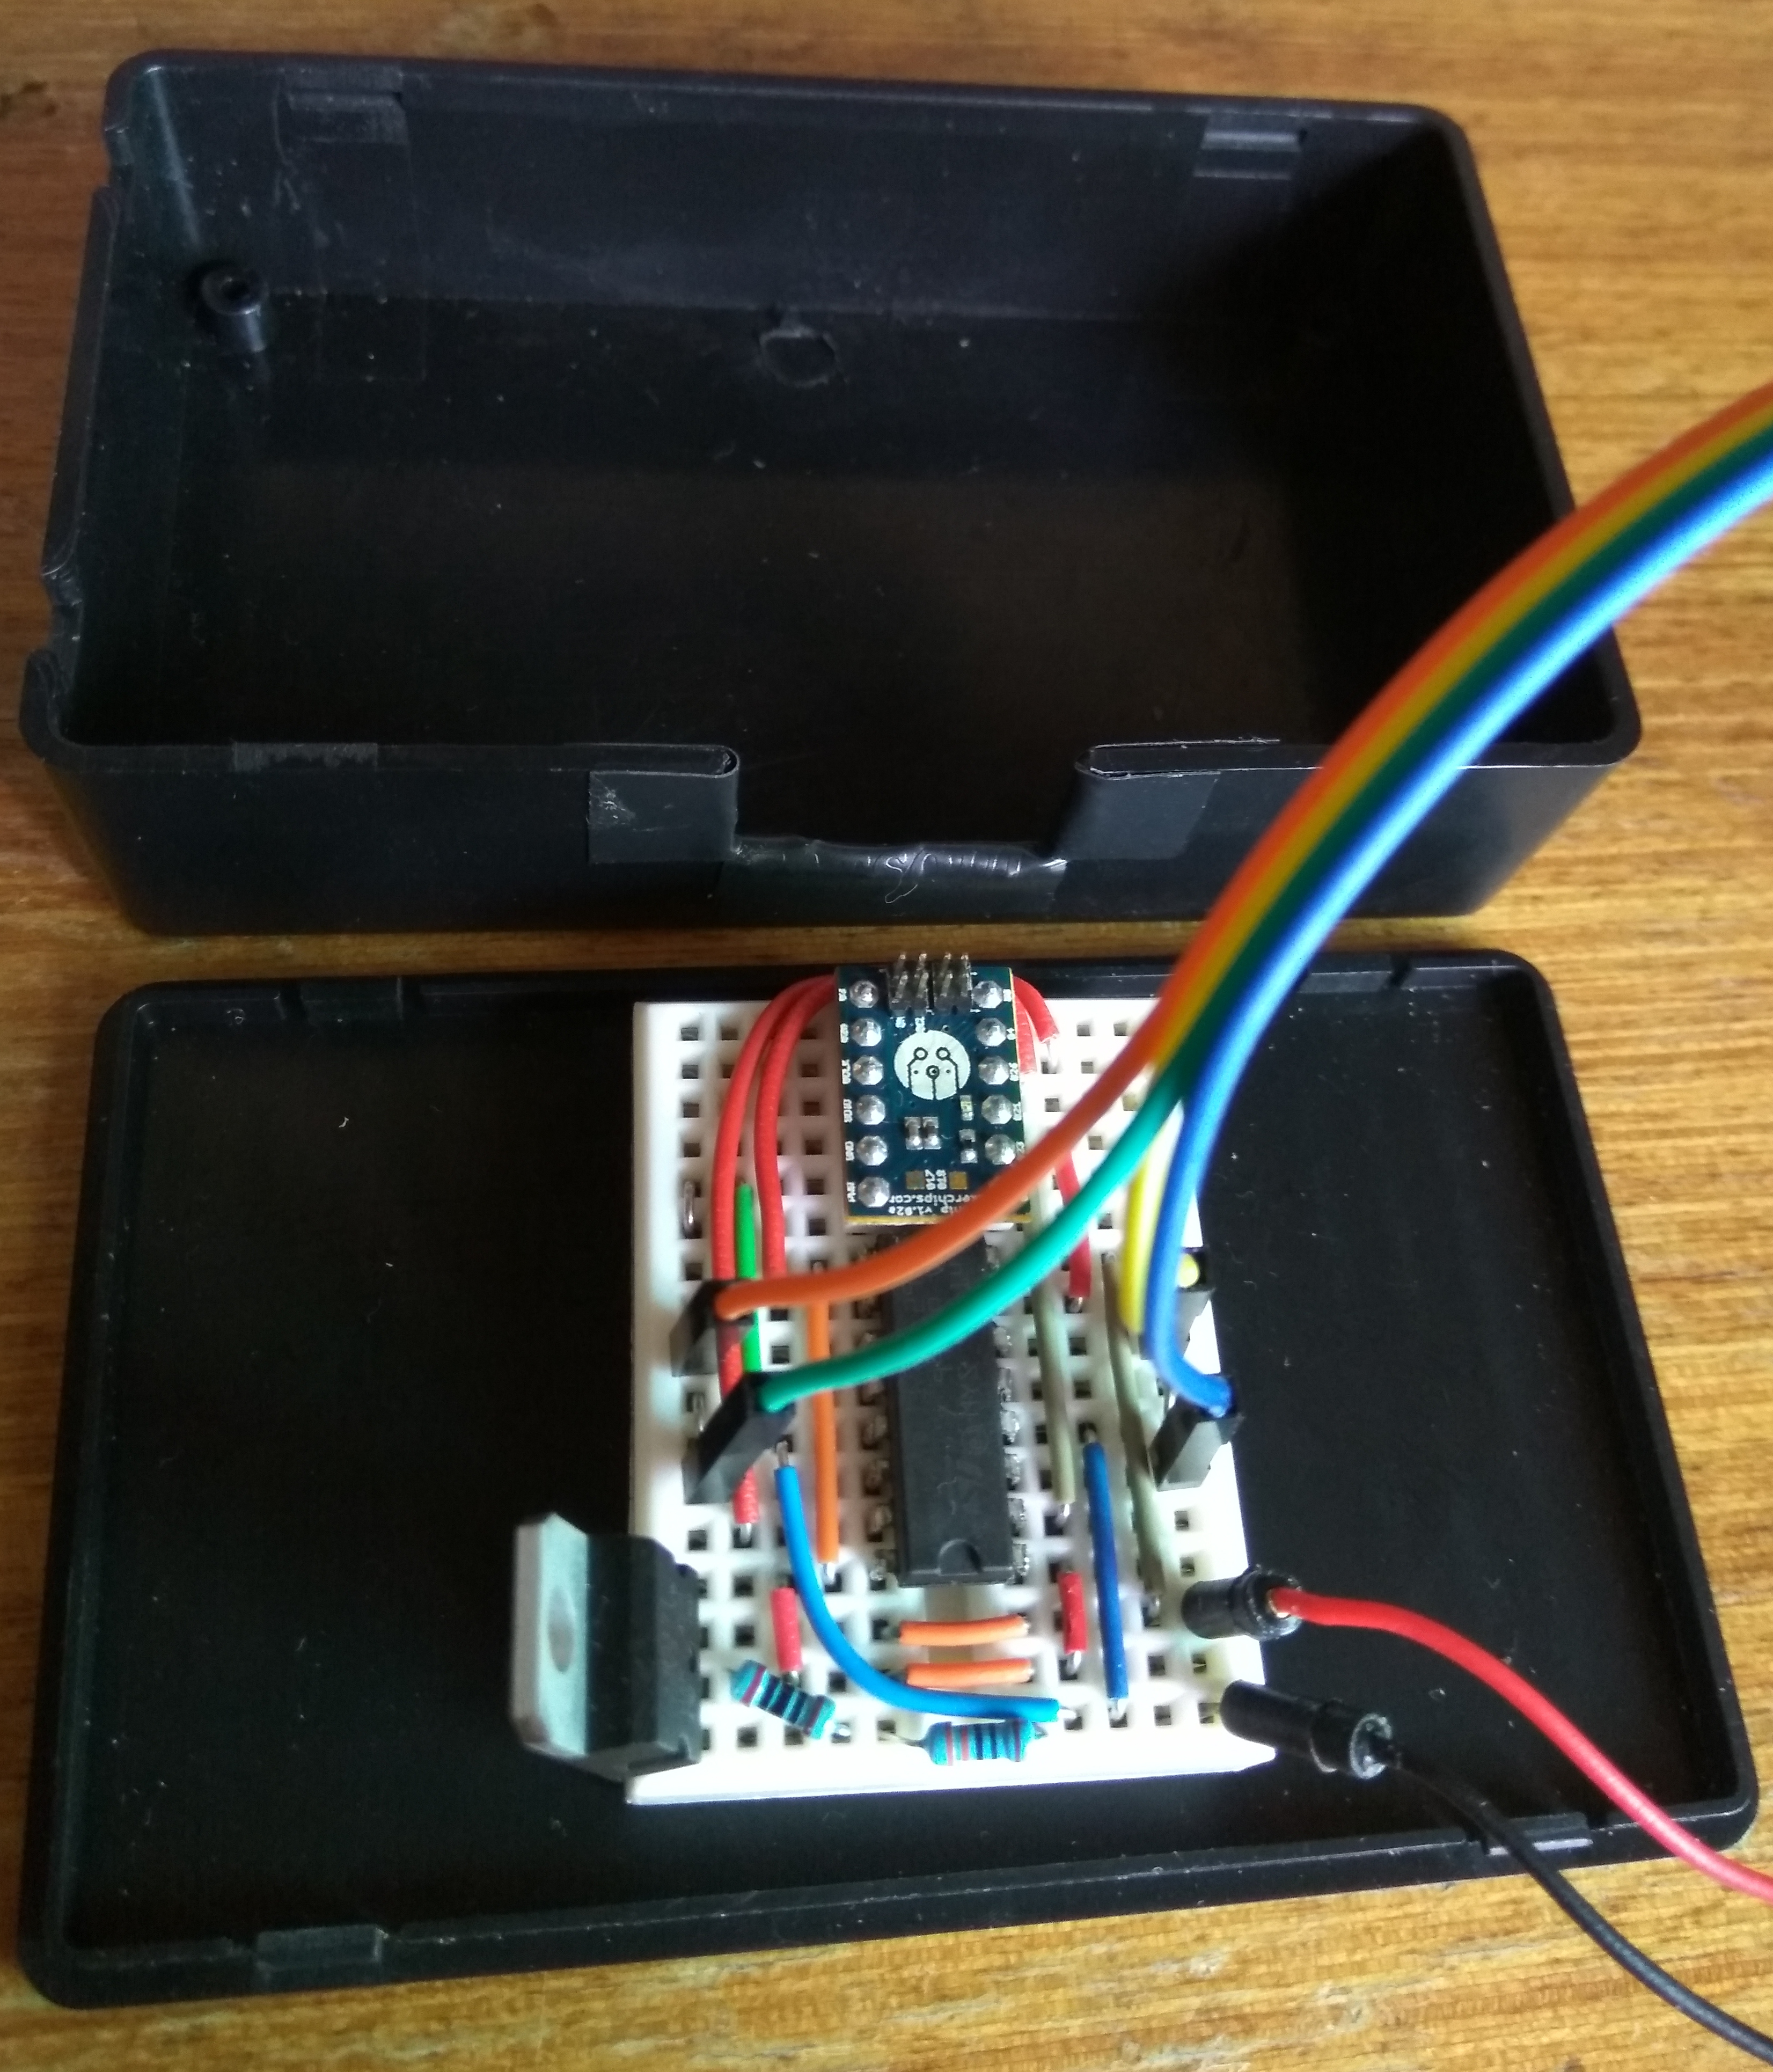
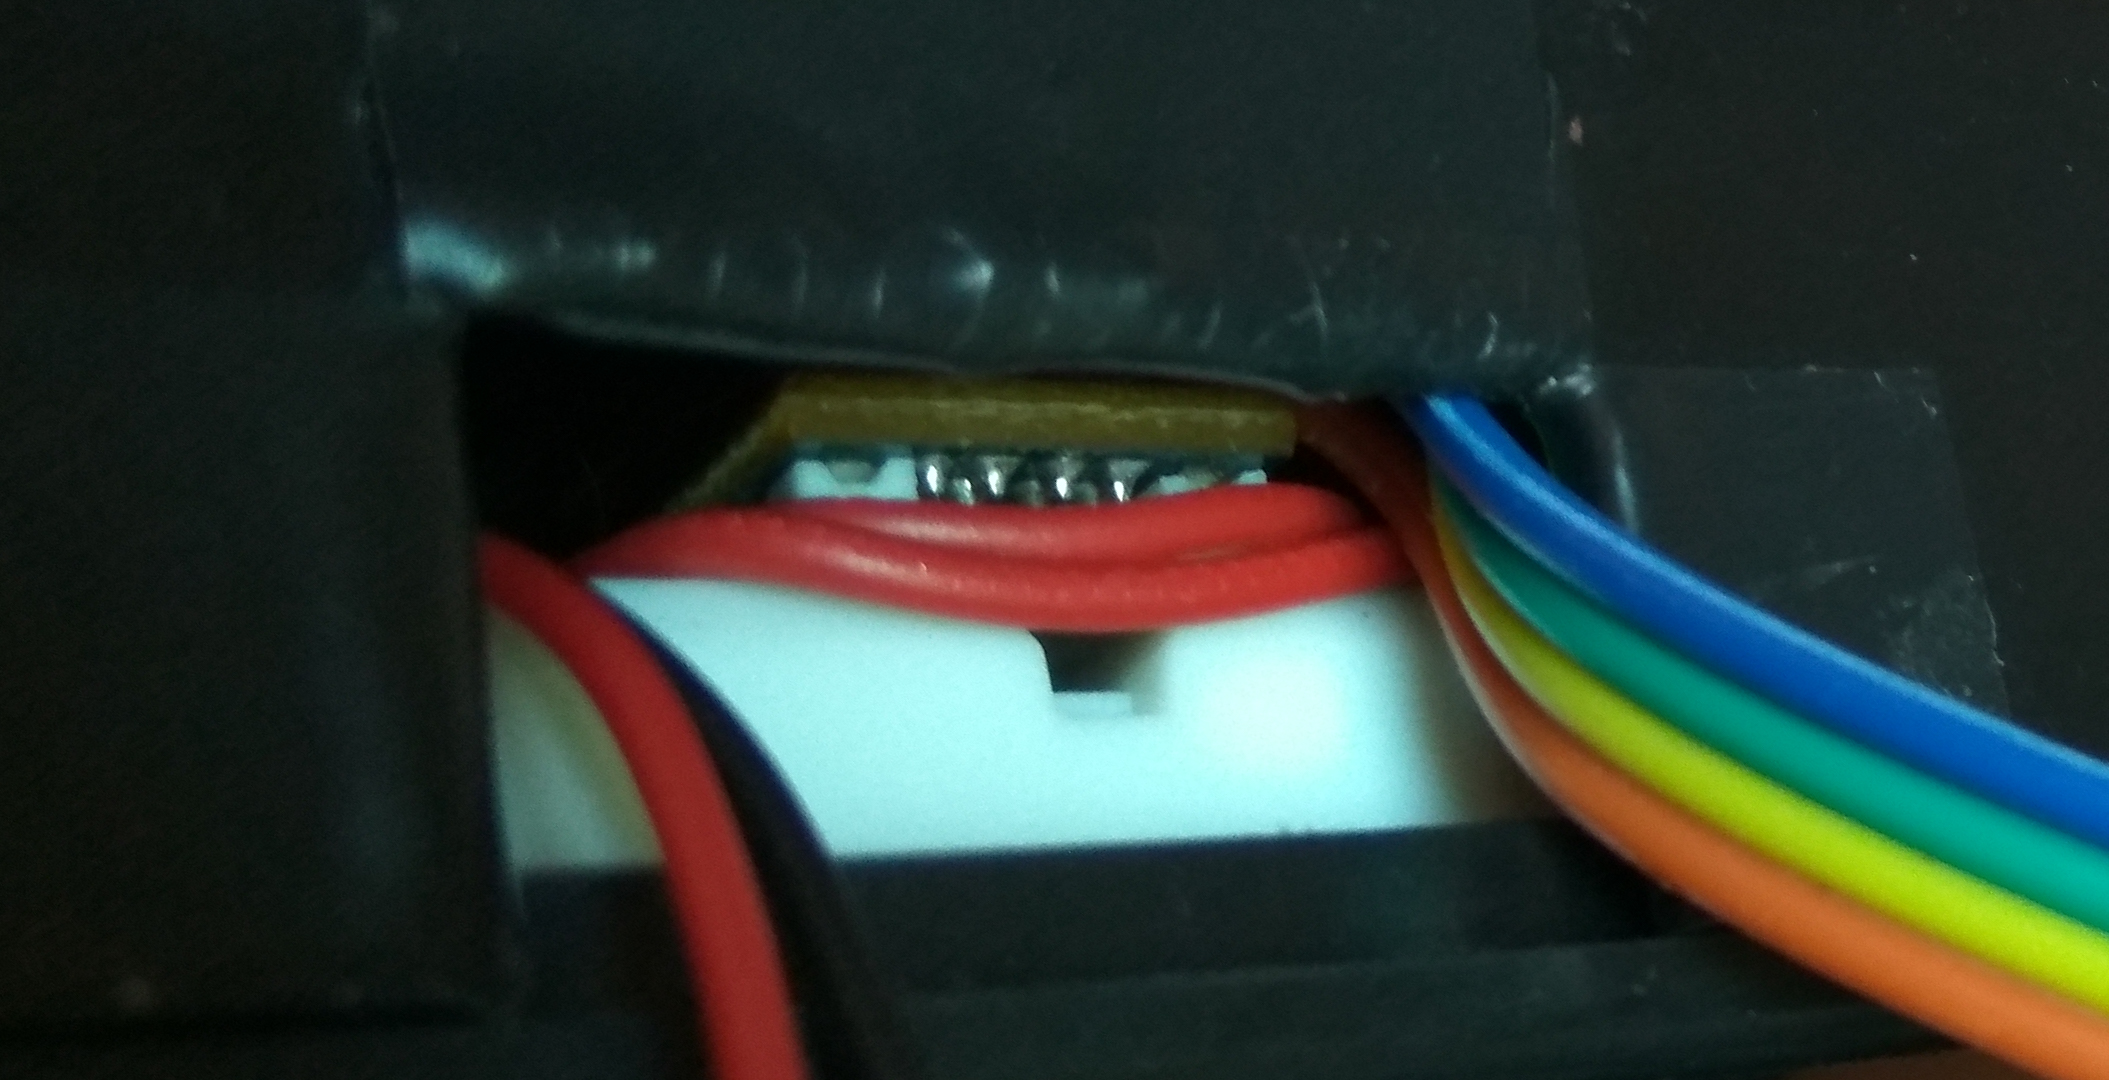
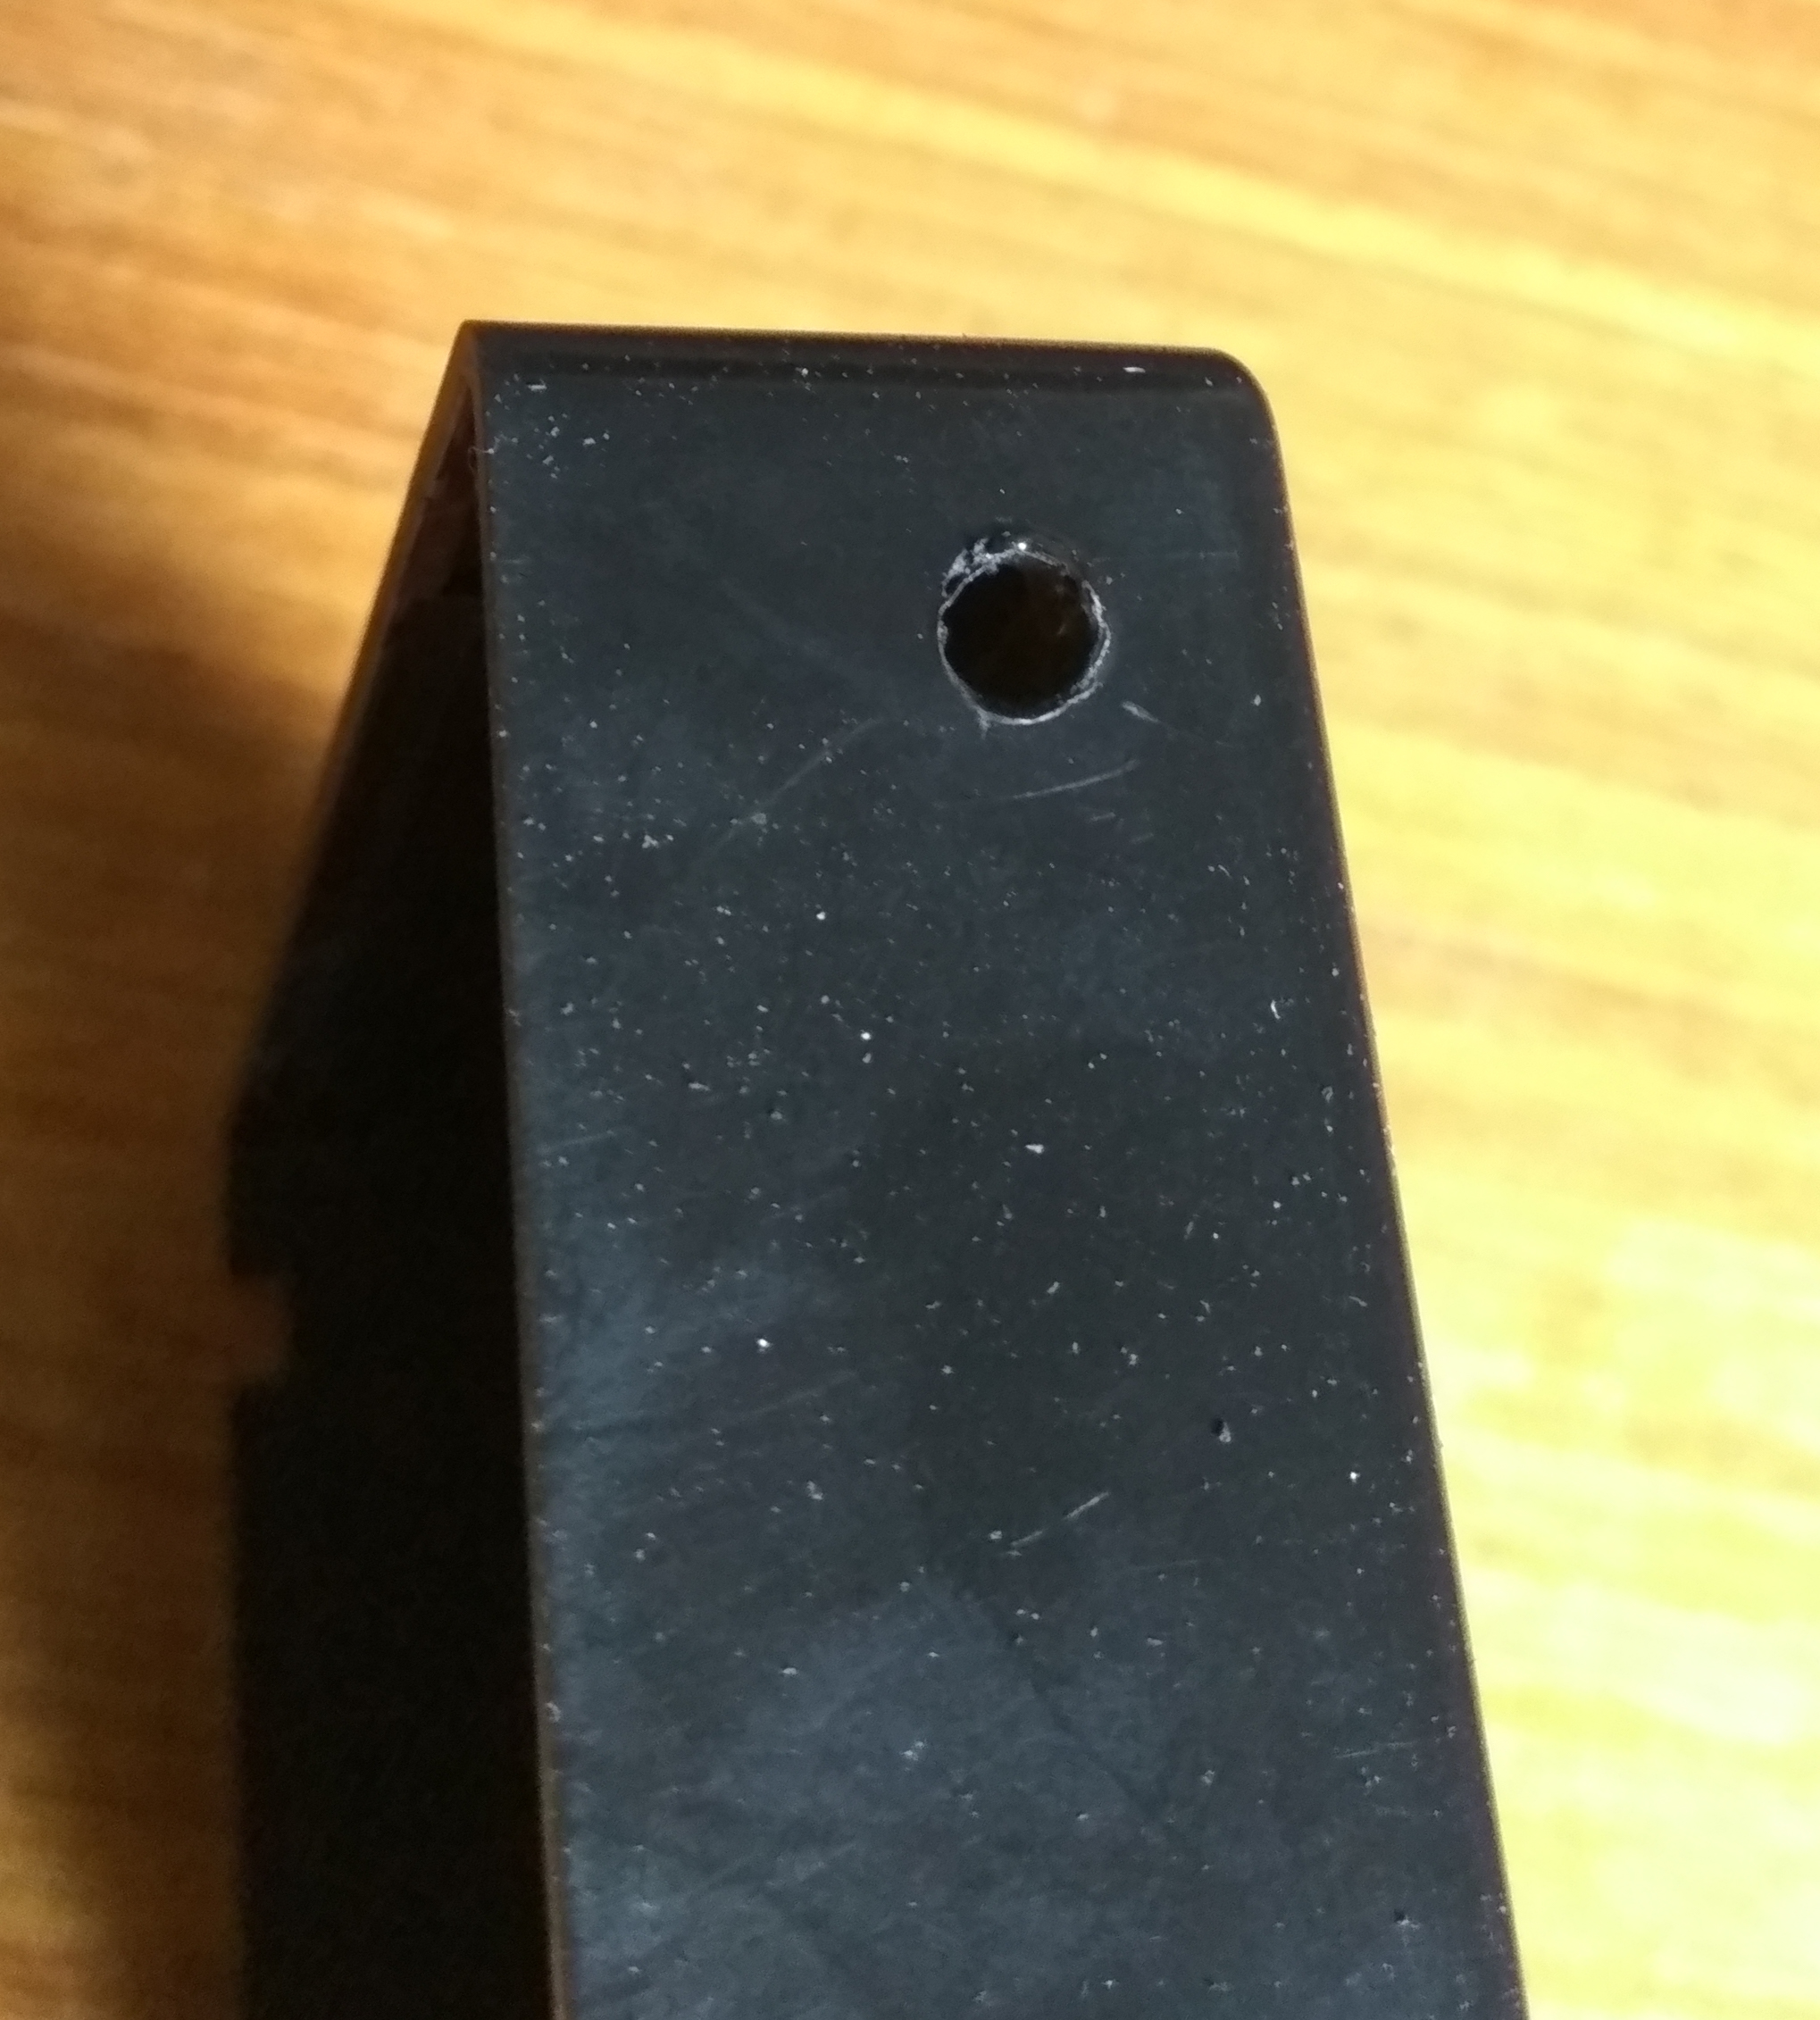
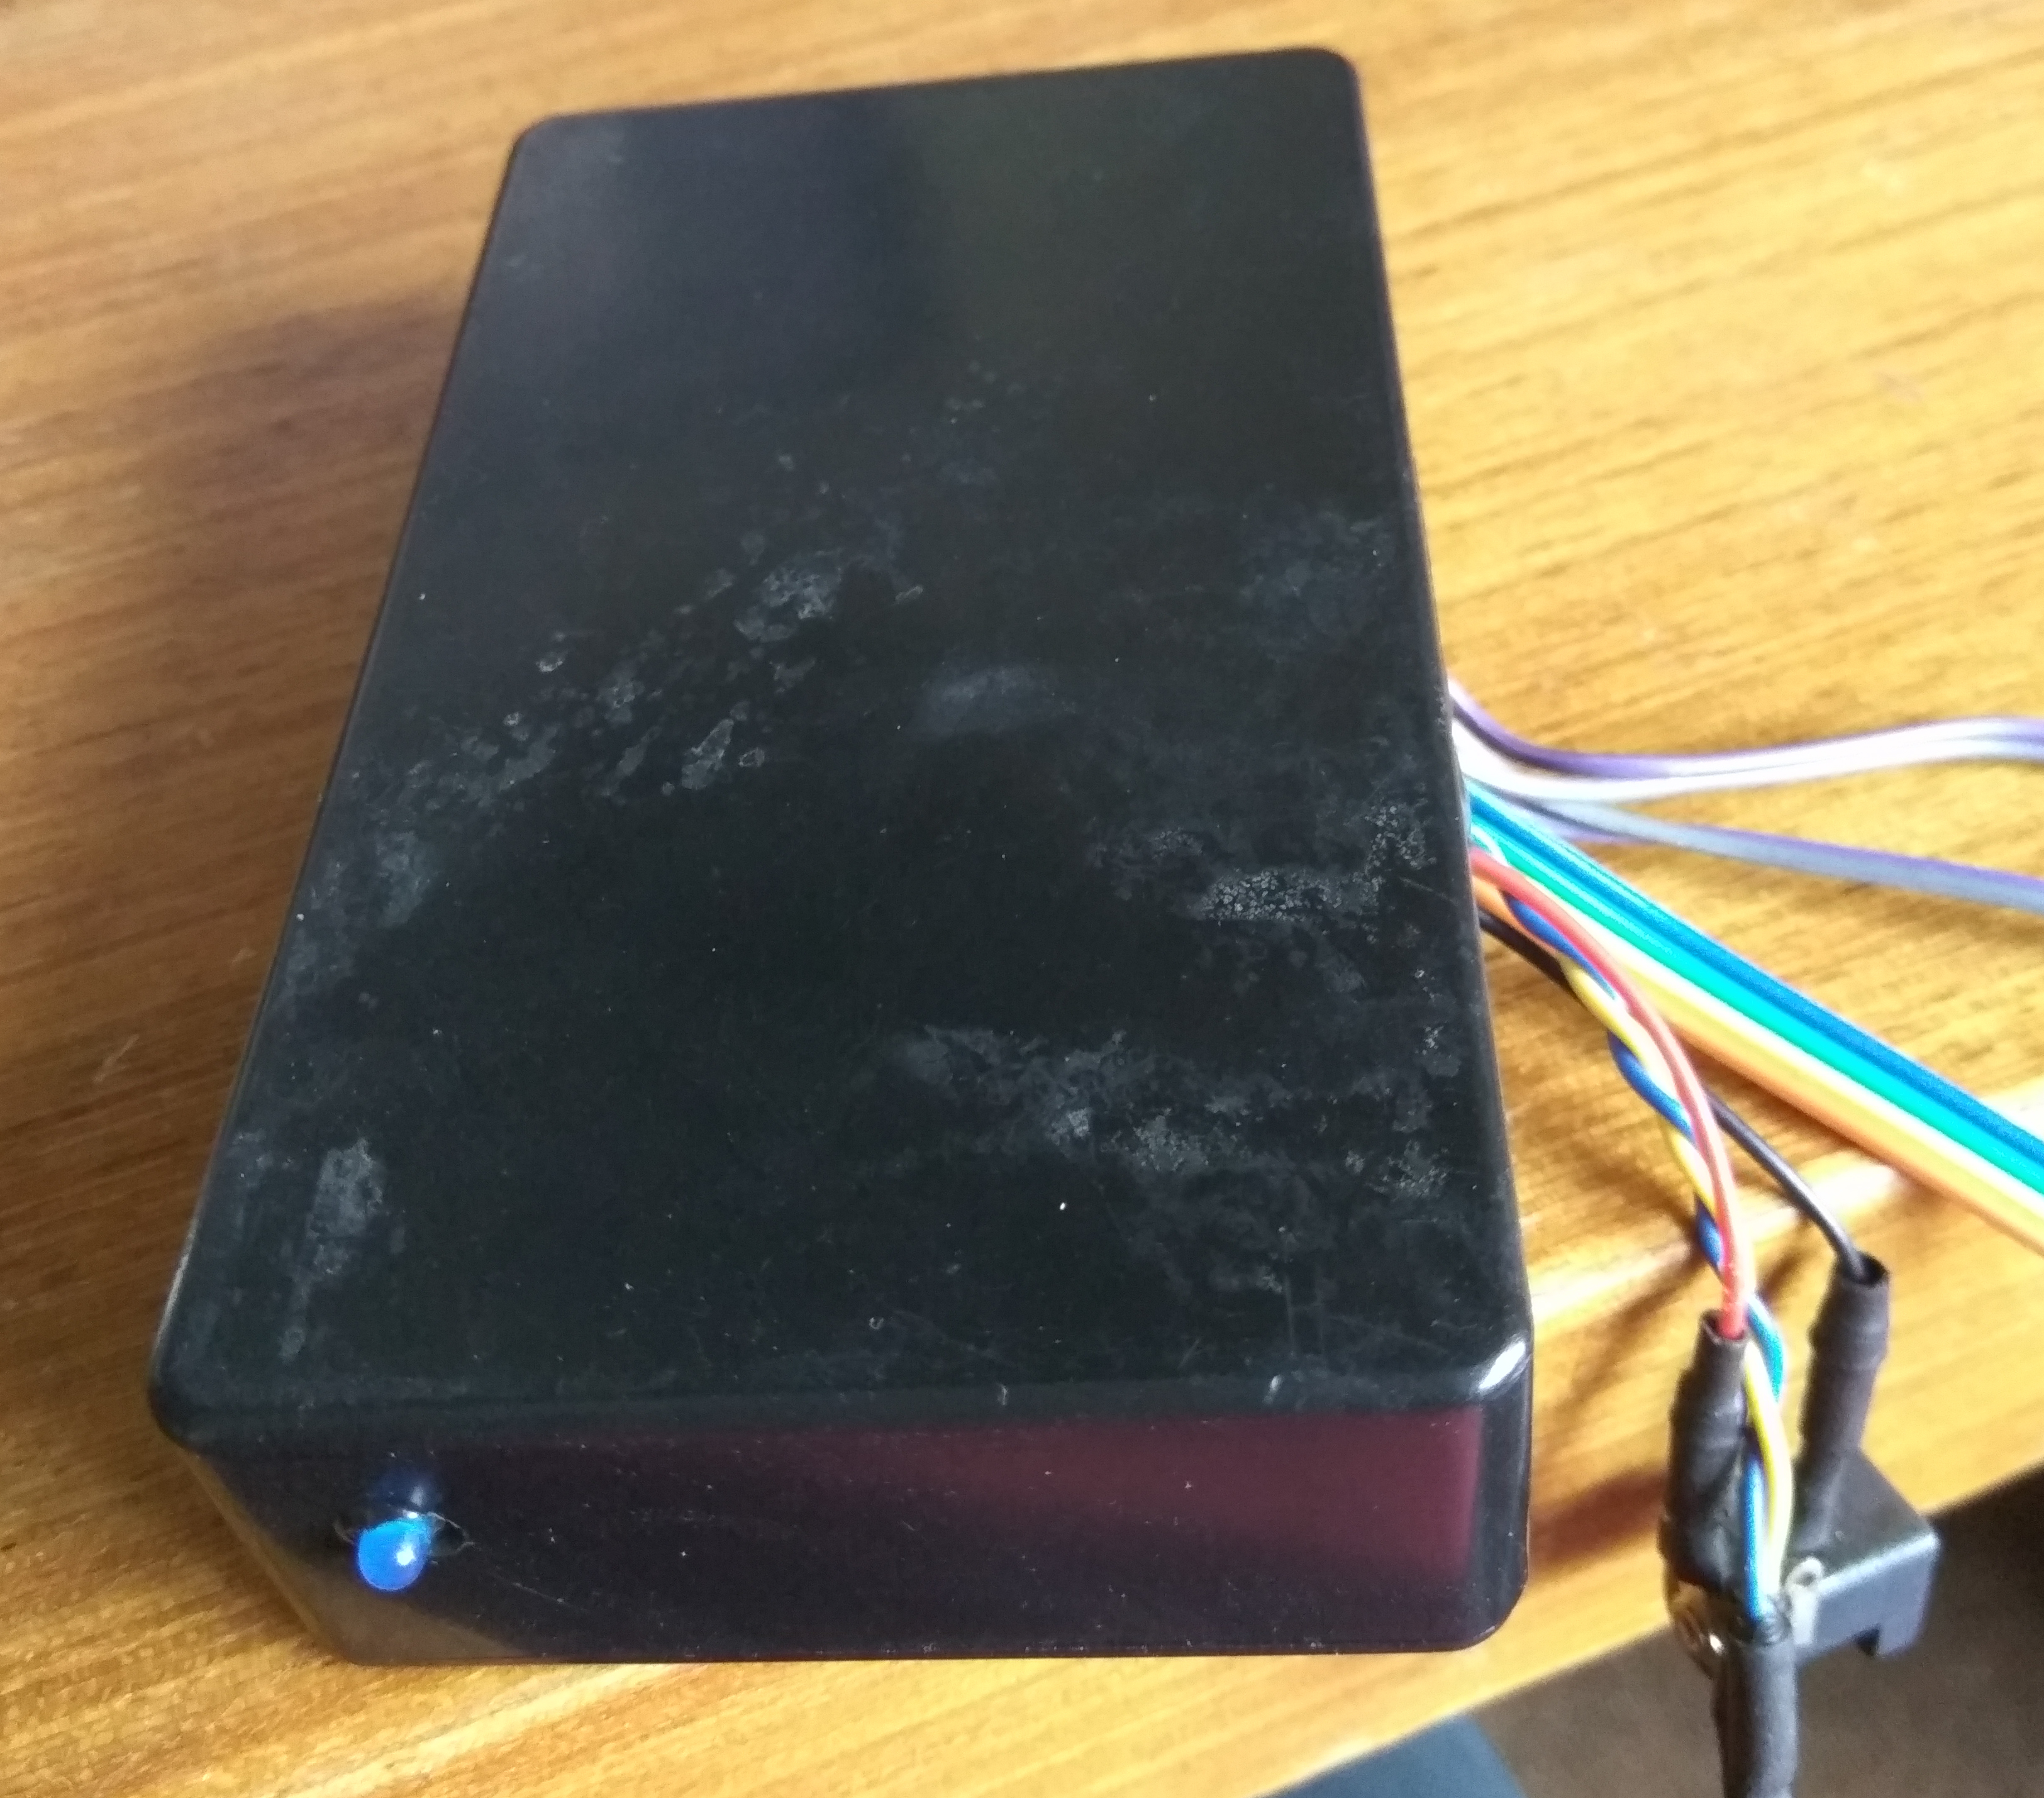
Before testing it out, we will enclose the breadboard in a box and make holes for the wires and our Curtain Status LED.
Place the breadboard onto the base of the enclosure box and make an opening for the wires. The opening also serves as a point for the BluChip to communicate to other devices through its antenna. (Figure 37)
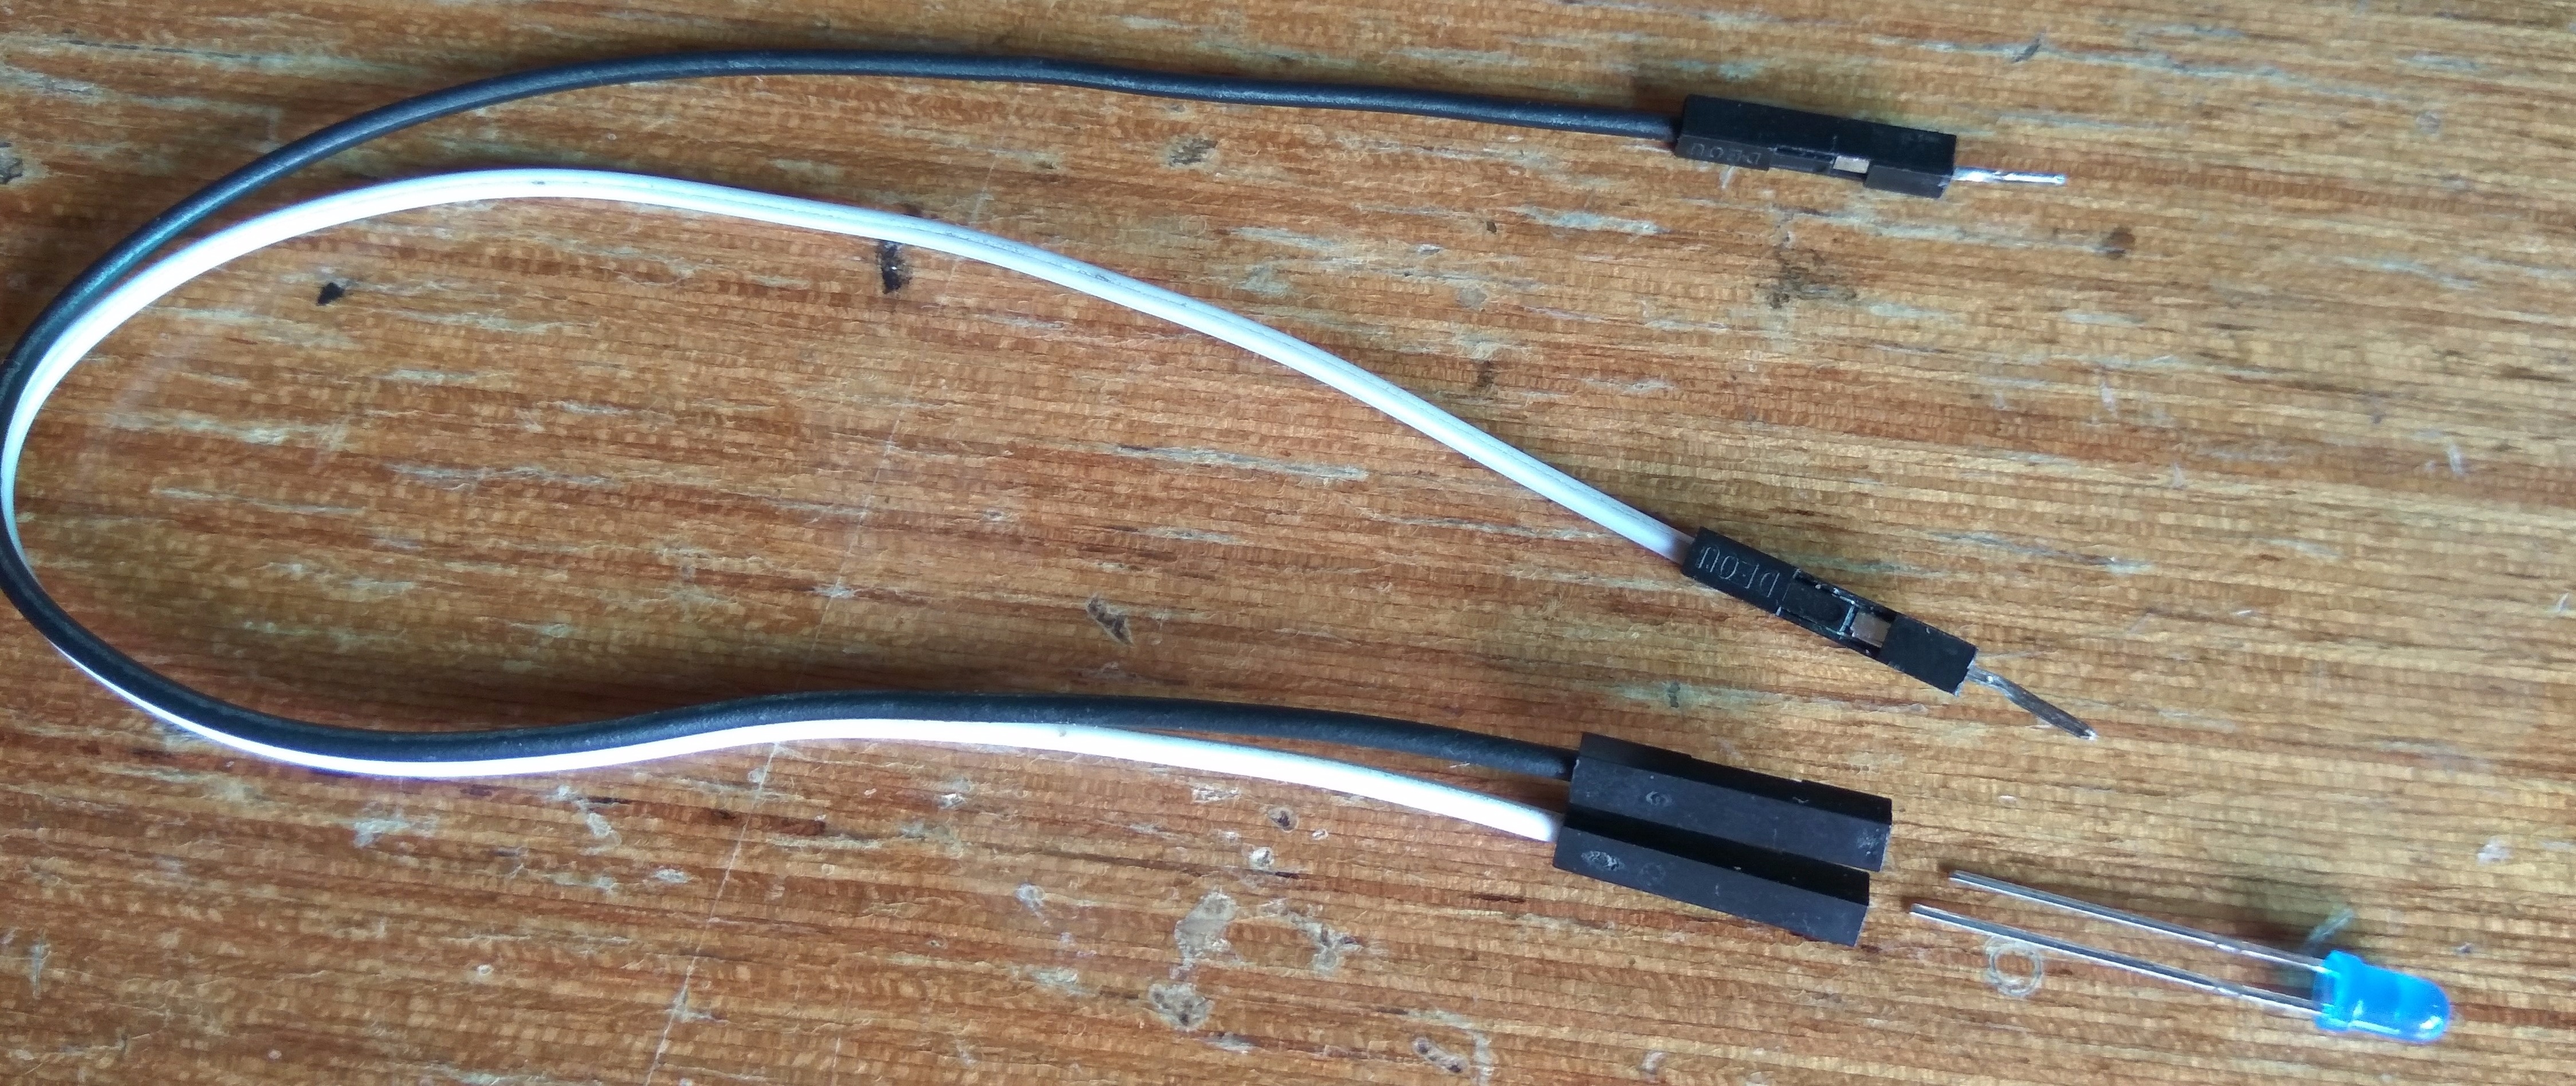
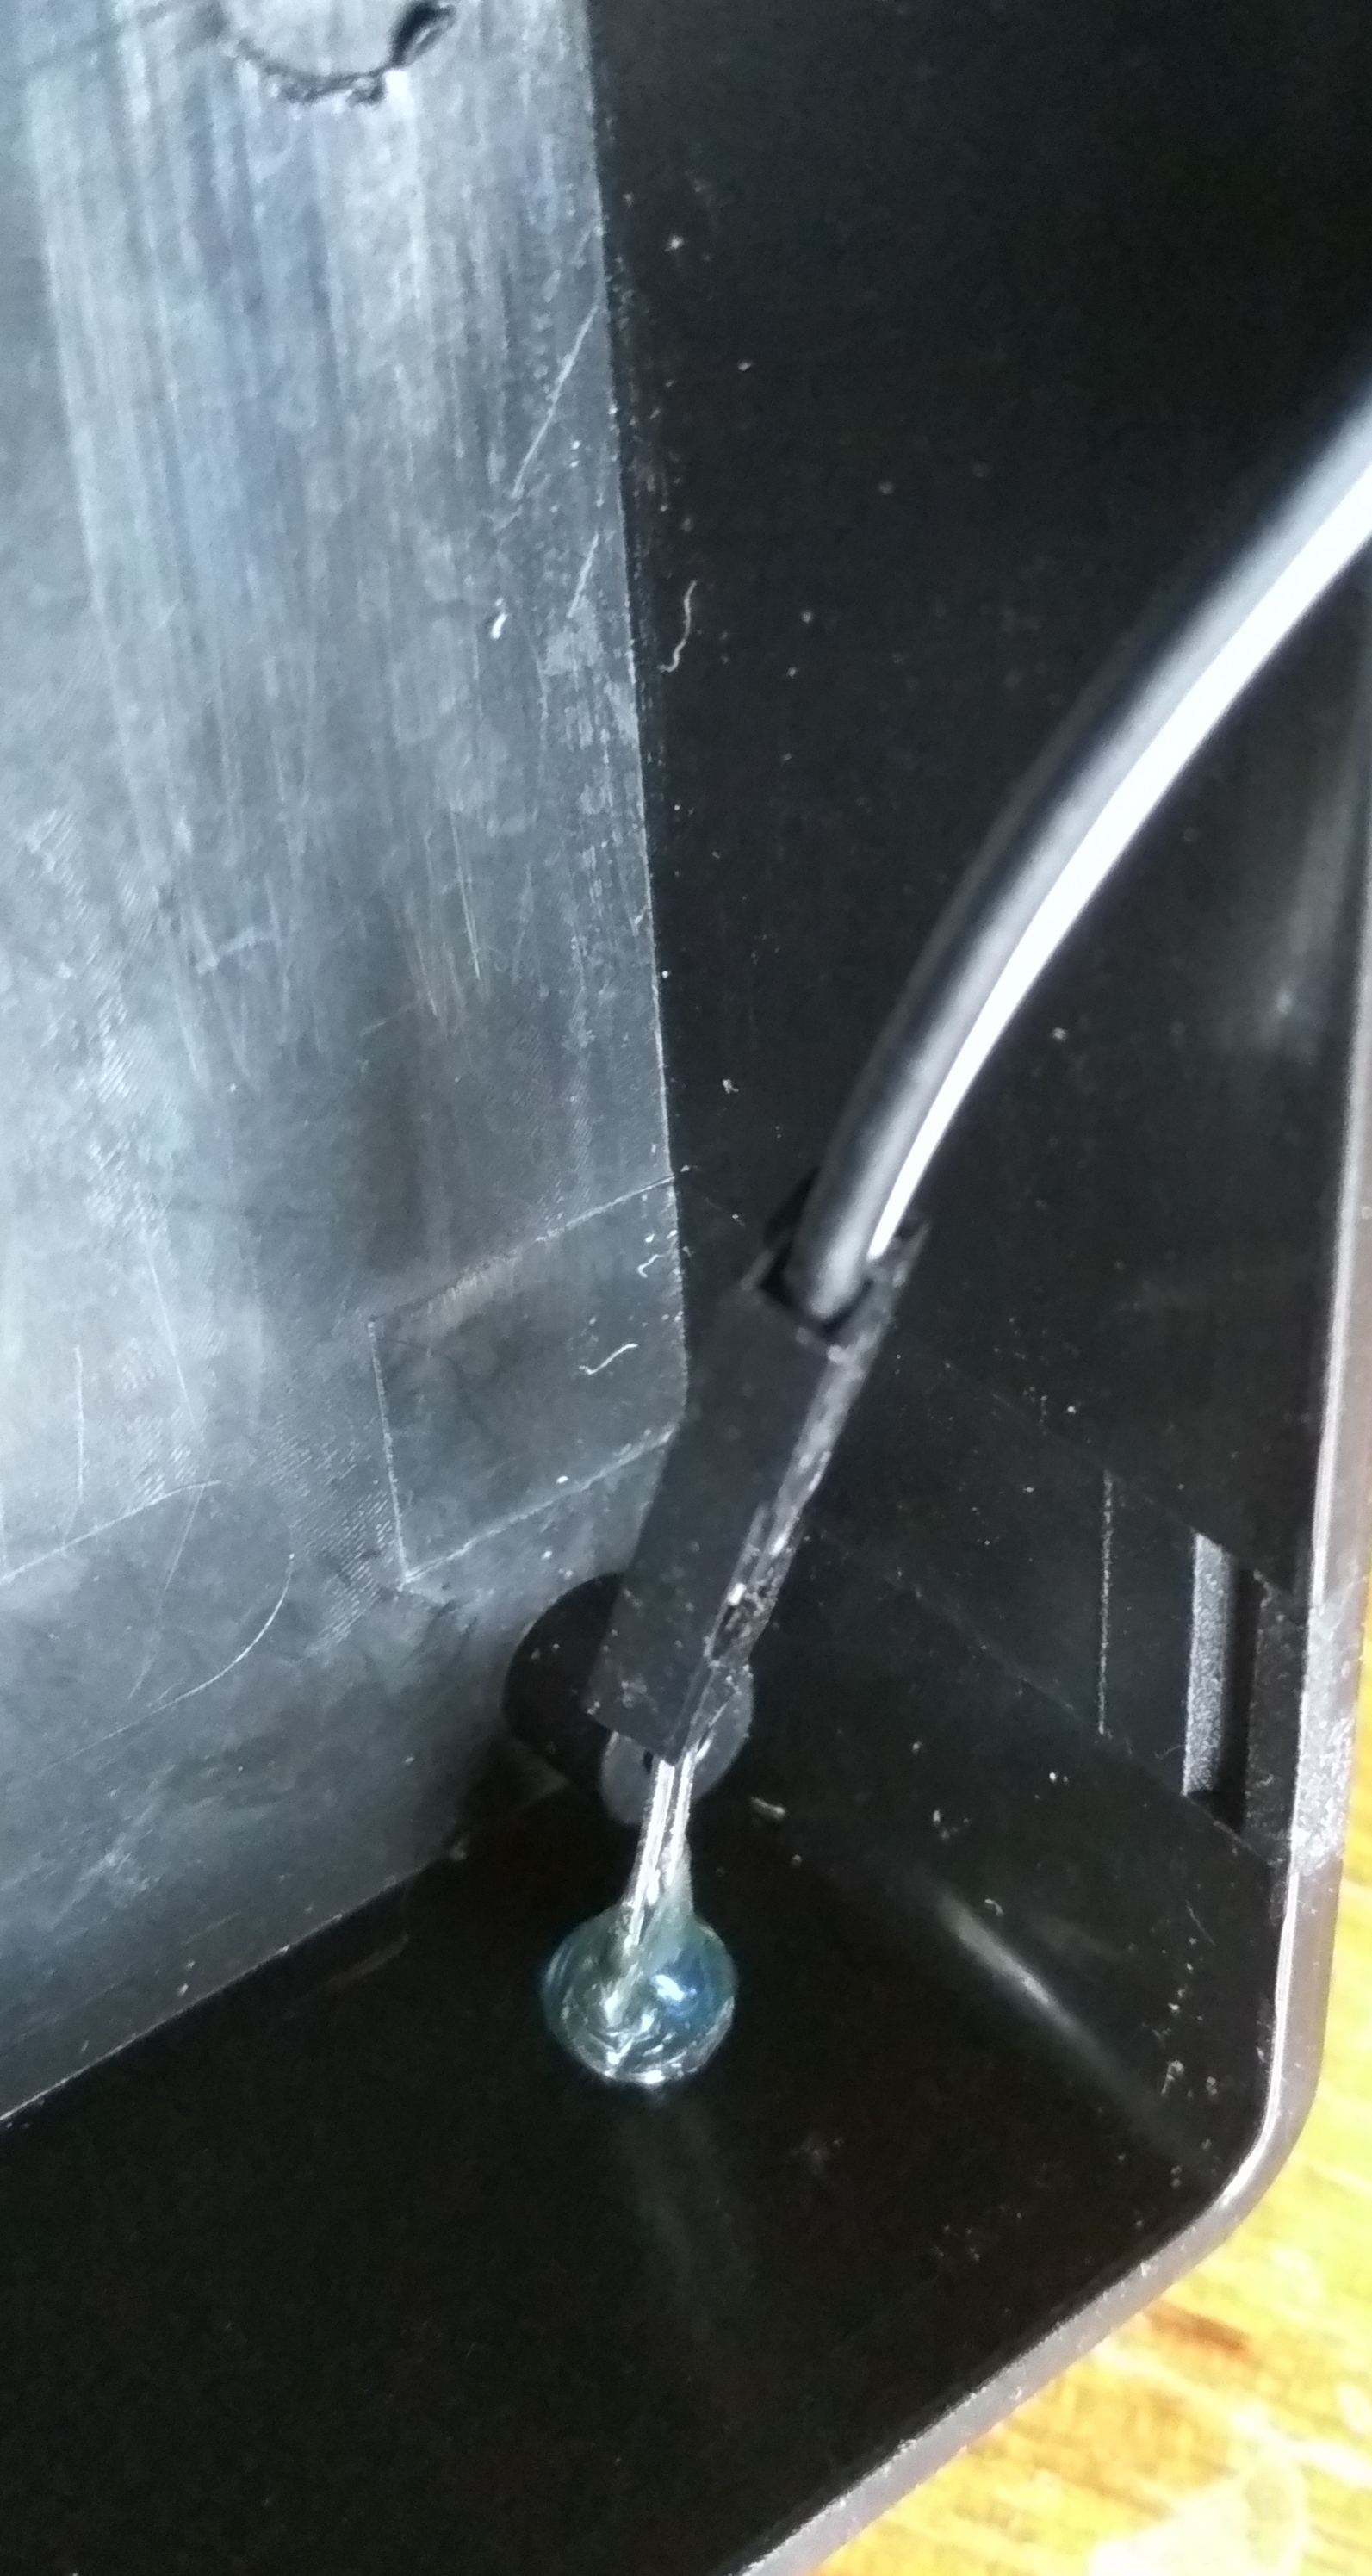
Drill a hole the size of the LED on the side of the enclosure and mount the LED on it. Wire the LED according to Figure 20.
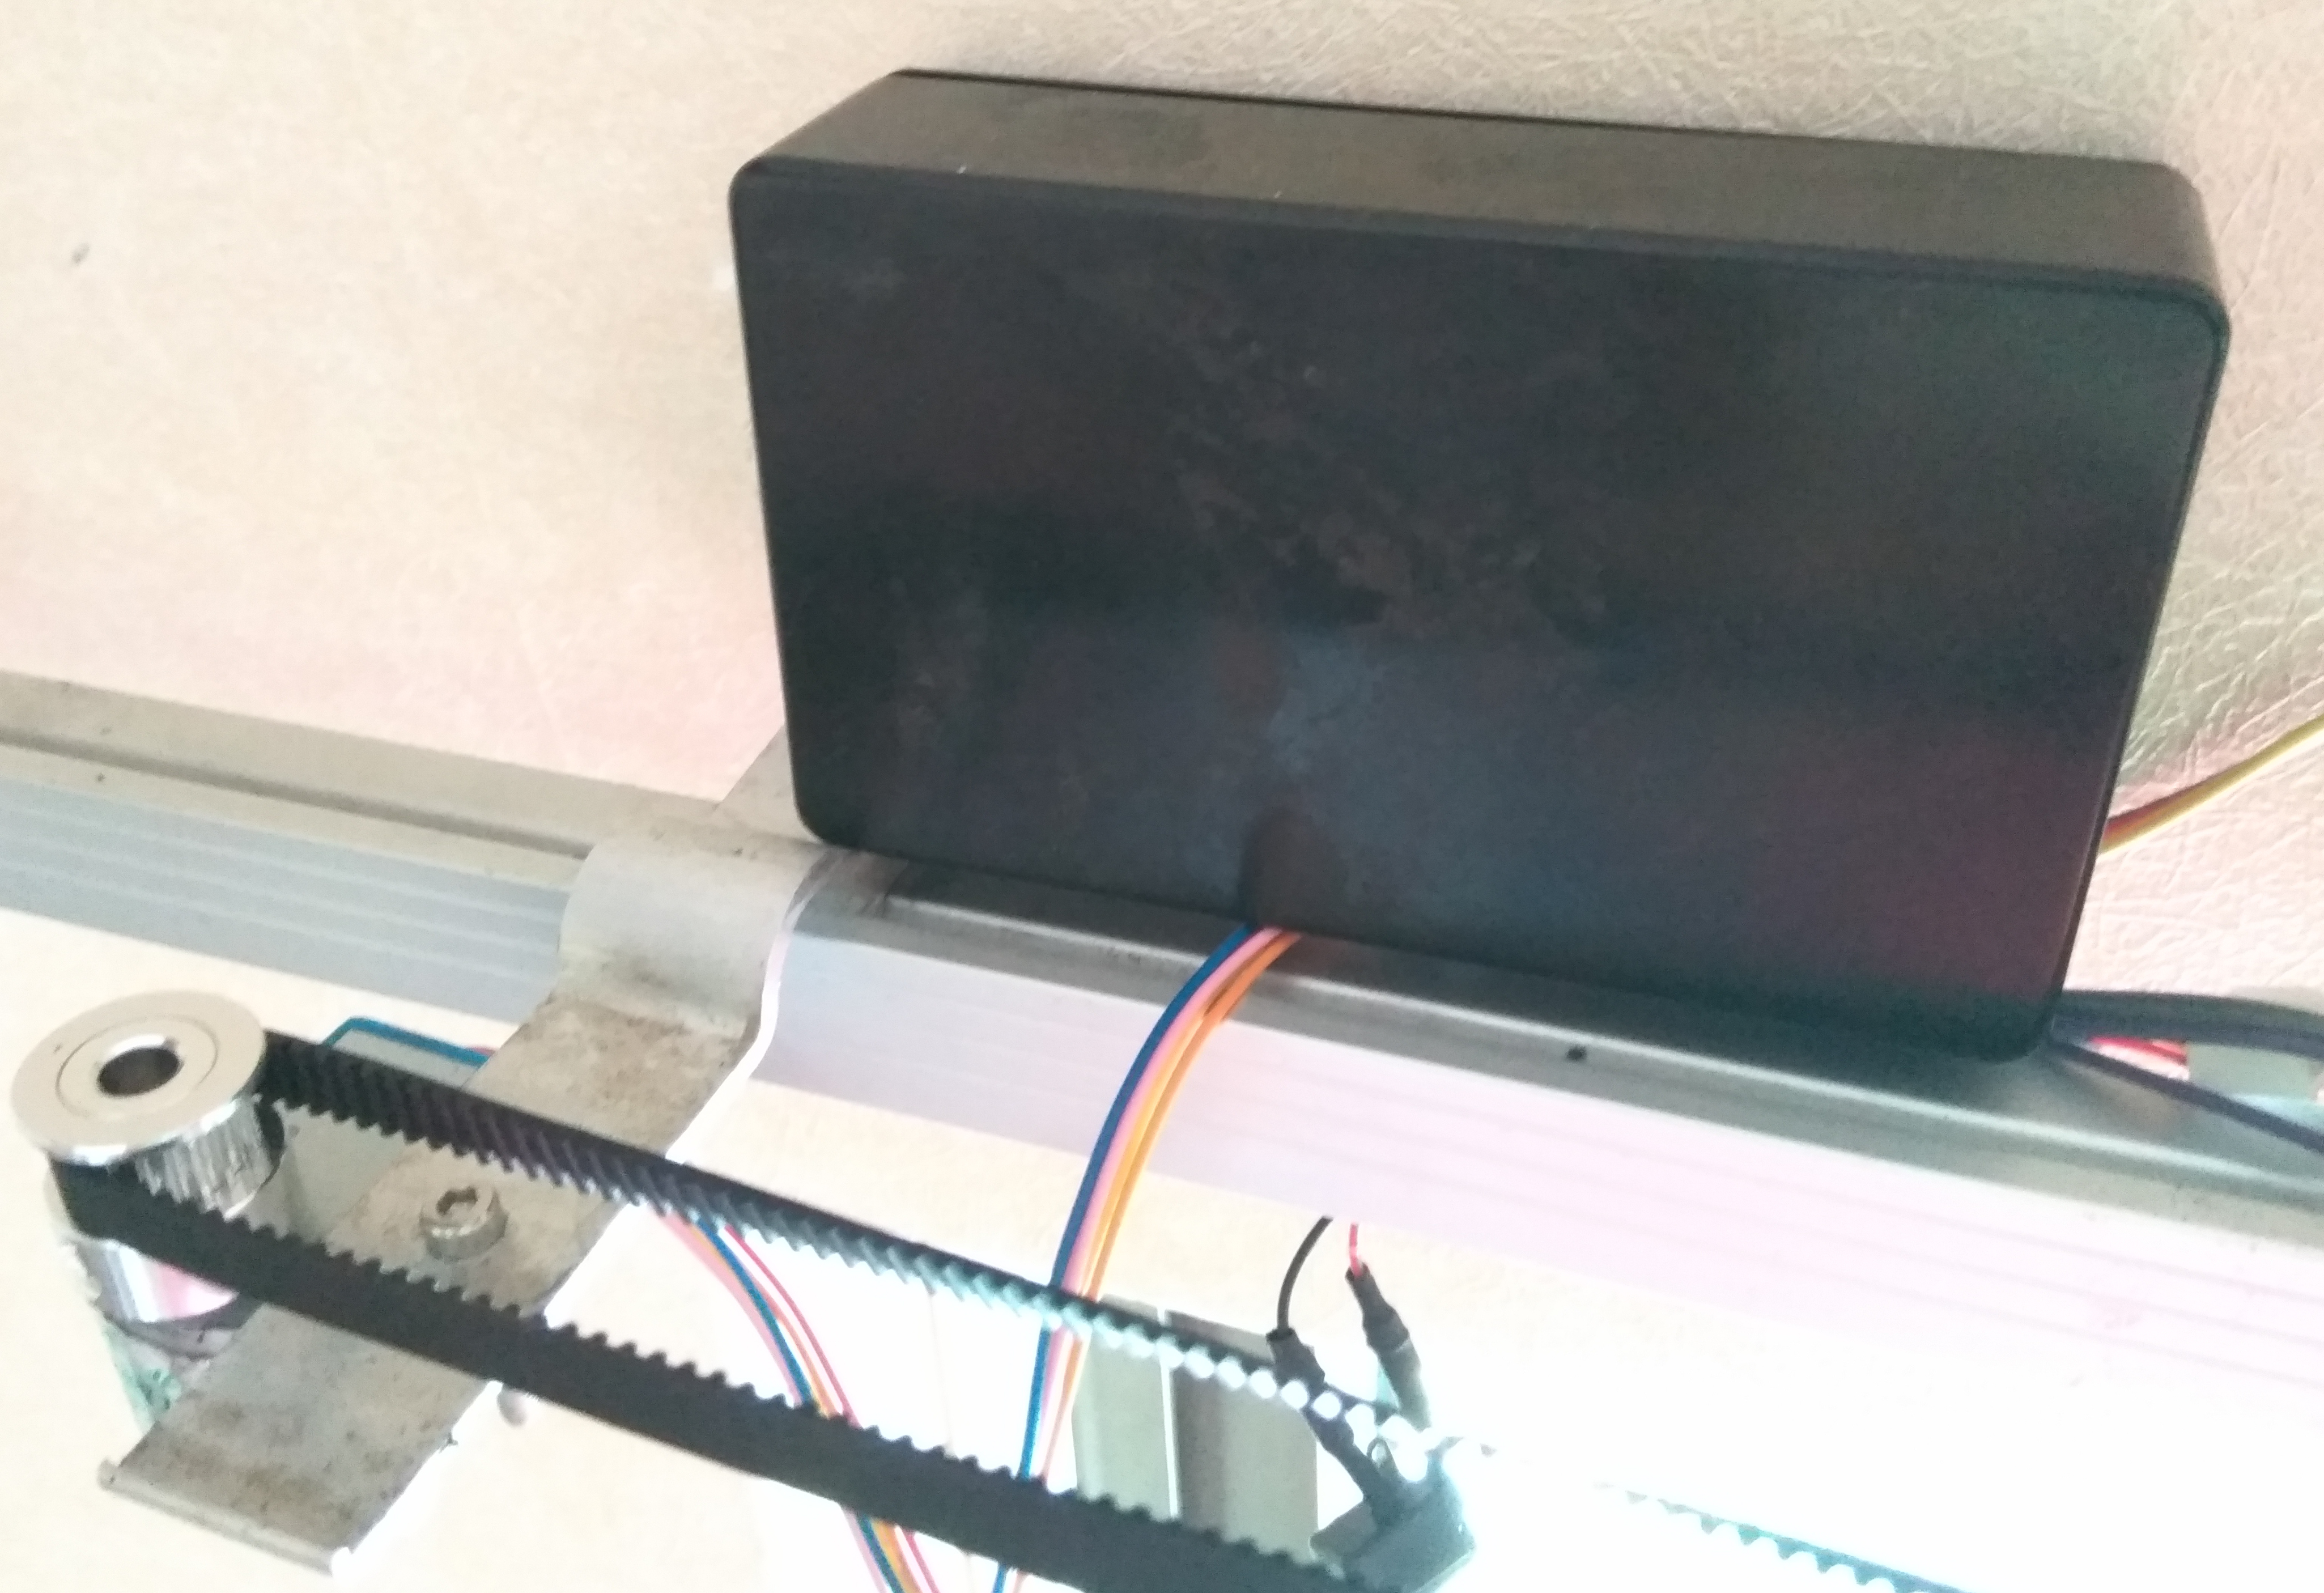
Find a suitable place to mount the enclosure box to the left of the curtain rail, close to a power outlet. Remount the motor and do a final tension test of the timing belt, making sure no slack is present. (Figure 39)
Now it's time to test our assembled system. Insert the power adapter and fire up your nRF Connect app. You will discover a device named Curtains.BluChip.
Connect to it, send a value of UINT8 1(Open curtains) to the Unknown Characteristic under Unknown service, and watch the curtains open!
Now that you have successfully tested your system, let's have a look at configuring some of the code that is running the show on the BluChip.
BluChip Firmware Configuration
.jpg)
.jpg)
-2.jpg)
.jpg)
.jpg)
.jpg)
.jpg)
.jpg)
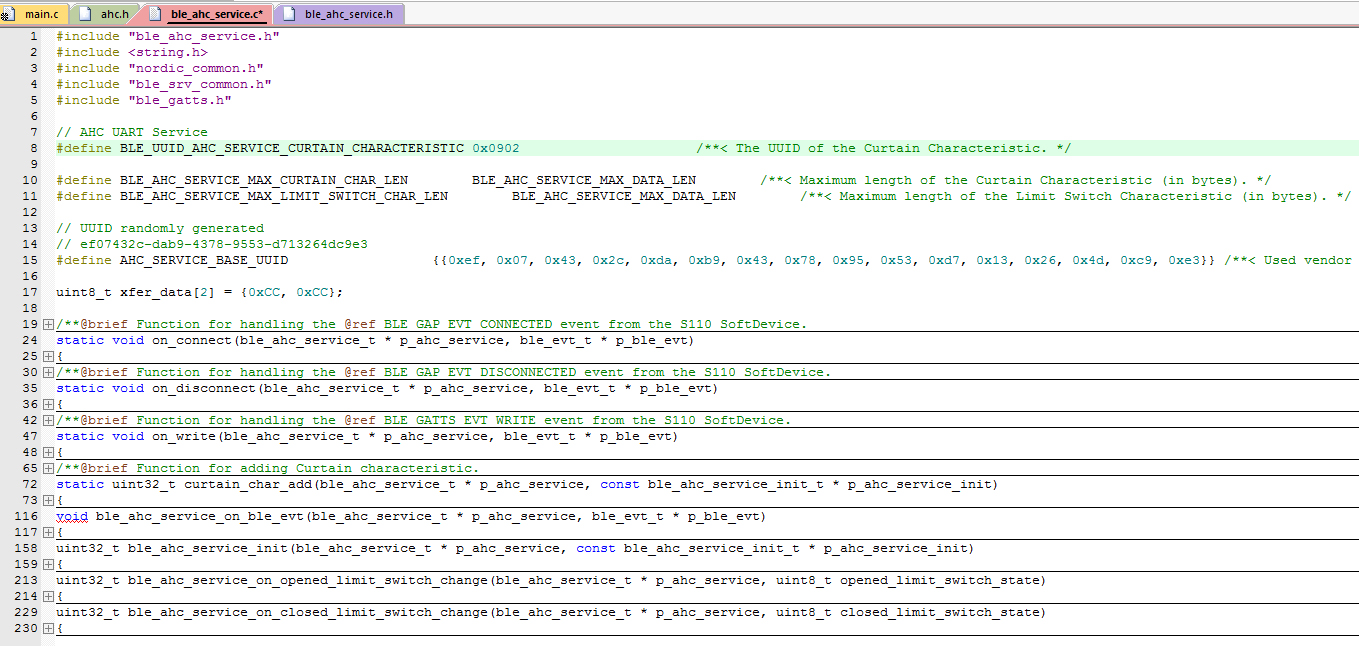
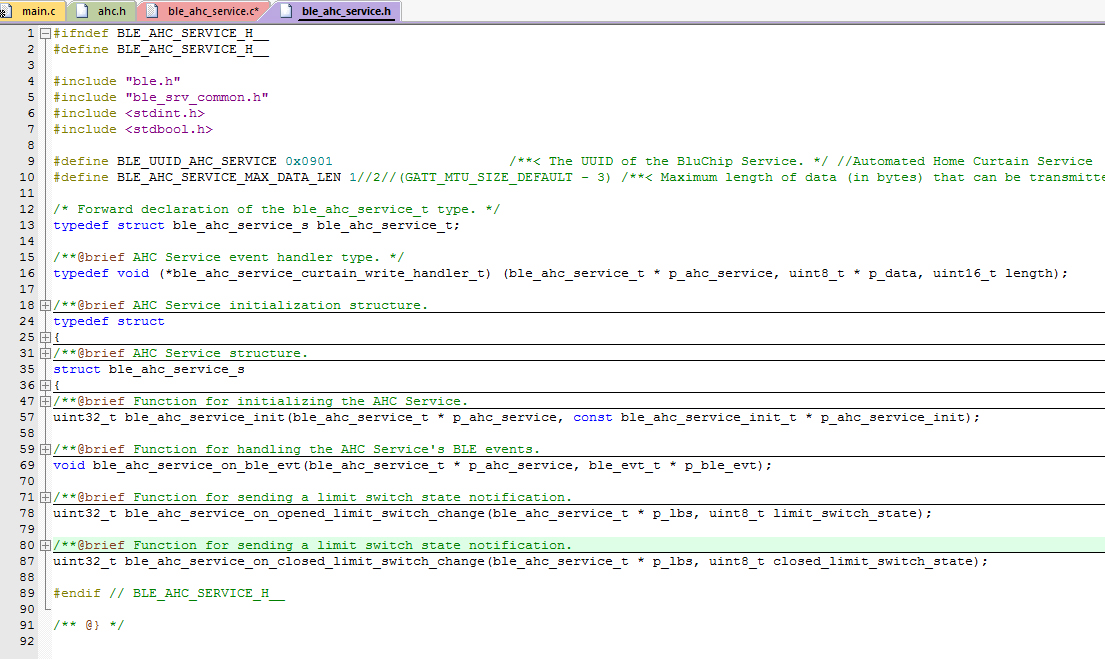
The Automated Home Curtain firmware project consist mainly of 4 files: main.c, ahc.c, ble_ahc_service.c & ble_ahc_service.h.
While building the electronics & hardware, we had the option to choose if we wanted limit switches to increase the accuracy of our automated system.
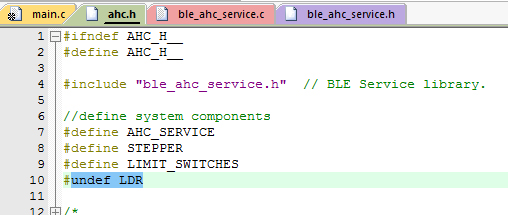
In the code from ahc.h, we can see #define for LIMIT_SWITCHES.
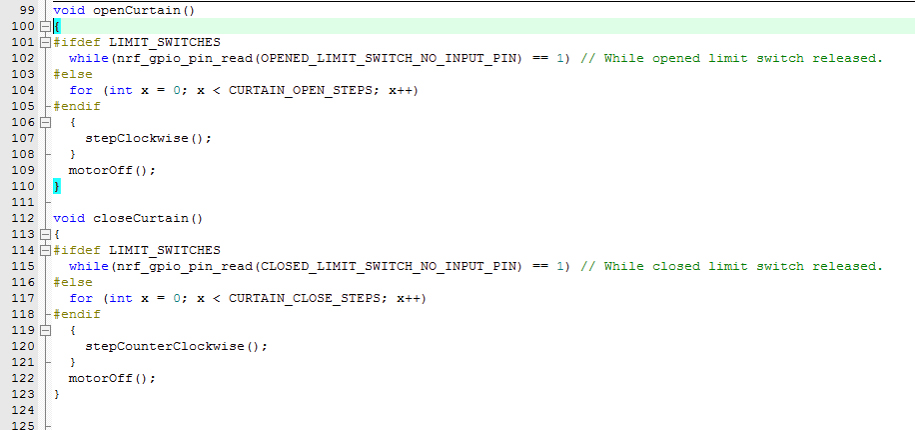
Compiling and flashing code with #define LIMIT_SWITCHES enables the use of both limit switches to detect when the curtains have opened and closed.
Renaming it to #undef LIMIT_SWITCHES is needed if you opted not to include limit switches for your project. In this case, you would need to fine tune the distance to which your curtain travels in the variables CURTAIN_OPEN_STEPS and CURTAIN_CLOSE_STEPS. Adjust these values to lengthen or shorten the curtain travel distance.
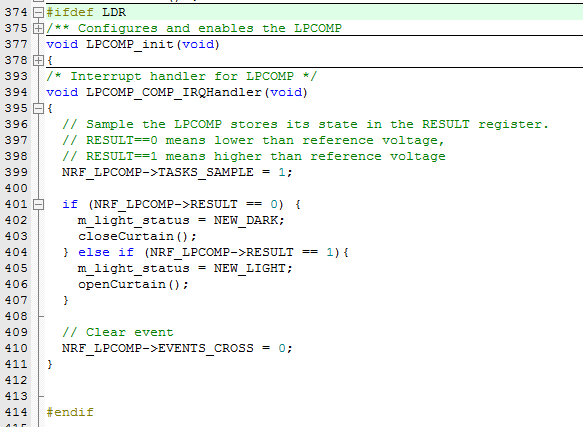
The other option, adding a photoresistor, can be enabled by modifying #undef LDR to #define LDR. LDR stands for Light-dependent resistor, also known as photoresistor. When we enable LDR, the photoresistor knows when its bright or dark outside, and helps you shut or open your curtains at the start or end of the day.
Besides configuring the Limit Switches and Photoresistor, let's take a look at some of the other main blocks of code that allow you to automatically open and close the curtains.
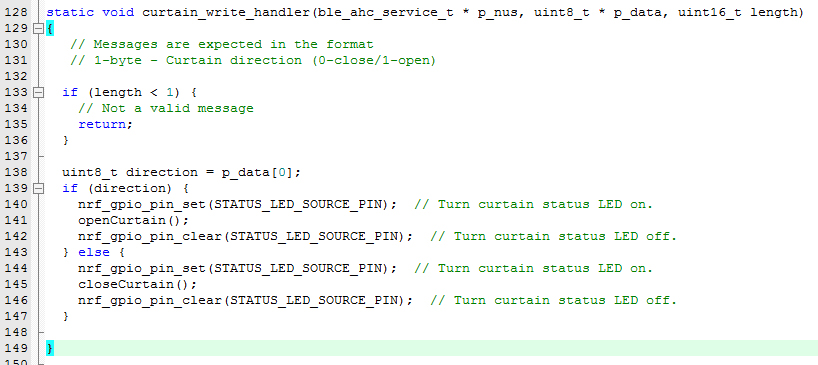
The files ble_ahc_service.c & ble_ahc_service.h contain code that transmits data from your phone to the BluChip.
When the BluChip receives the data, it parses it according to if a 0 or a 1 is sent. It then activates the status LED, performs motor movement, and then deactivates the LED signaling completion.
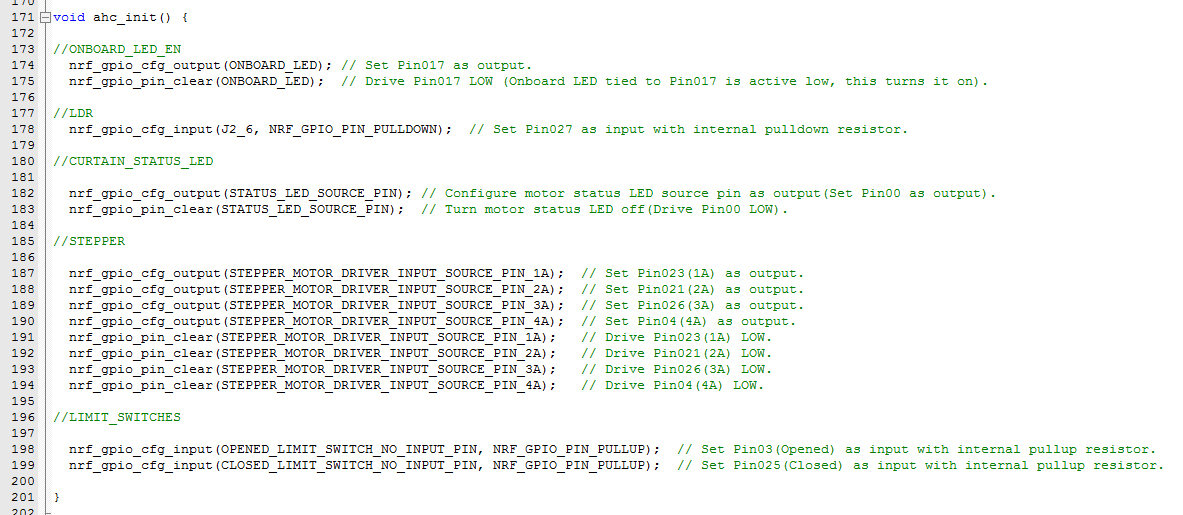
The function ahc_init() from ahc.h is run at the beginning of the main loop, initializing all pins on the BluChip.
Summary
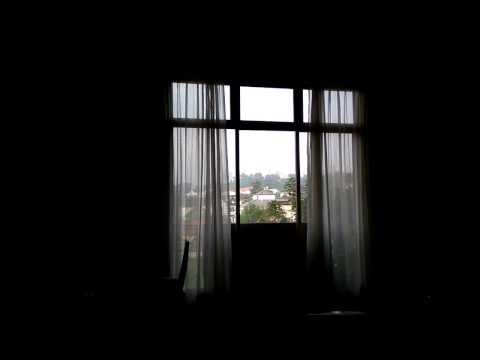
To conclude, this was an extremely fun and fairly easy project to get to learn BLE basics. The fact that BluChip's breakout module fits snugly on a breadboard makes it really easy to prototype quickly on any breadboard that you might have laying around.
I would say that after building my automated curtains, I've already thought of various other things to hook the BluChip up with, including smart neopixels, an OLED to create a digital watch, a smartphone controlled robot, and many other low powered electronic project ideas that would need compact wireless communication!
Anyone with a keen interest in electronics and programming would be pleasantly surprised at what the BluChip has to offer, as well as the convenience of setting up and implementing BLE to turn projects into even cooler ones.
As of now, I'll get back to enjoying my handy automated Home Curtains..