Automated Cocktail and Drinks Mixer
by Jorik Devreese in Circuits > Raspberry Pi
781 Views, 4 Favorites, 0 Comments
Automated Cocktail and Drinks Mixer
Project goals
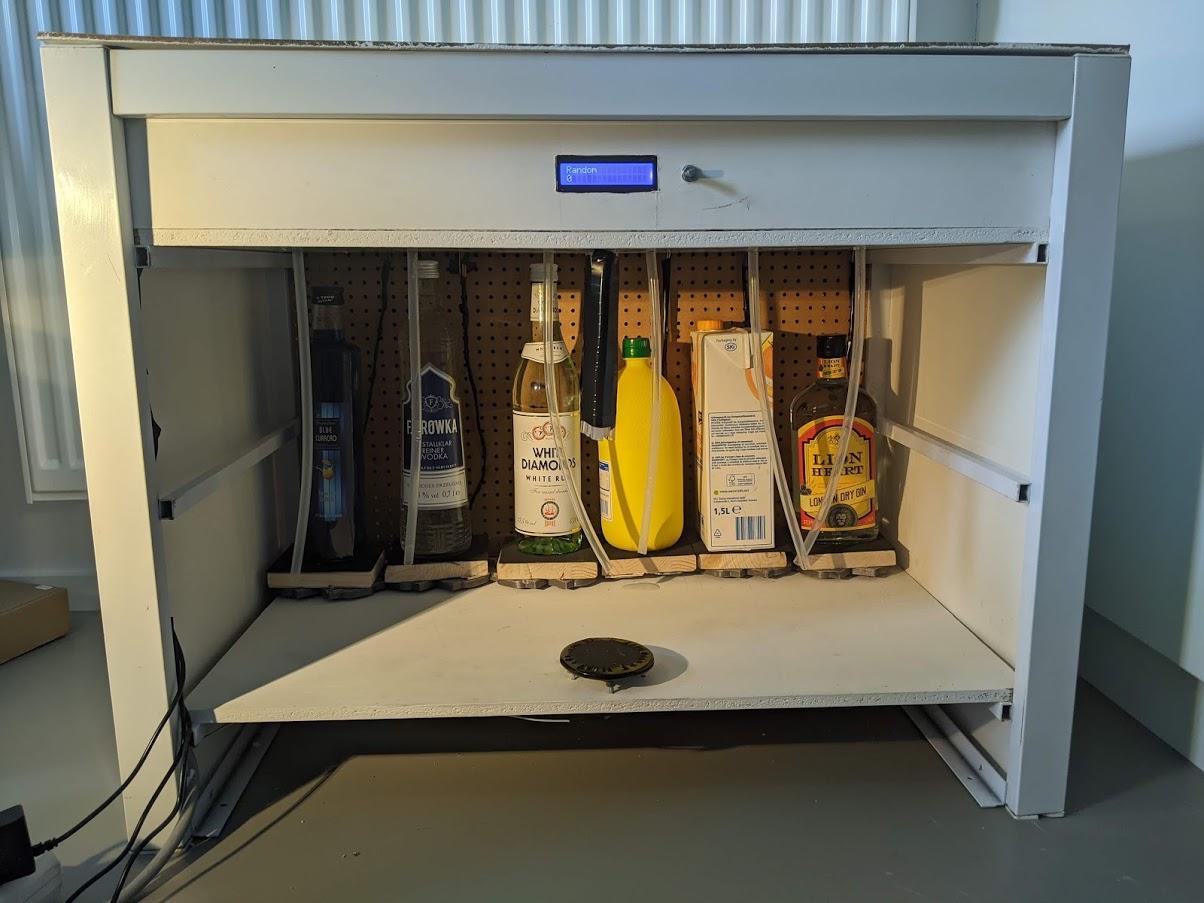
This instructable covers the creation of a Cocktail Bot. It is controllable through both a website and manual input. All recipes will be pulled from an SQL database, and created cocktails will be kept inside a history, allowing for statistical analysis. Any sensor data and actuator uses will also be kept in its own history. This allows us to keep track of popularity of drinks and any potential failures of the system. It also allows us to display this data on a website.
All code can be found on my GitHub Page.
Supplies
Electronical supplies
1x Arduino UNO
1x Raspberry Pi
1x Level shifter
1x 12V supply
1x Rotary encoder
1x 5V 8 channel relay
1x 7x2 LCD display
2x 5V supply
1x Temperature sensor
6x Membrane pump
6x Load cell
6x Hx711
Miscellaneous supplies
1x 10m 6x9mm silicone hose (food grade)
Initialising the Raspberry Pi
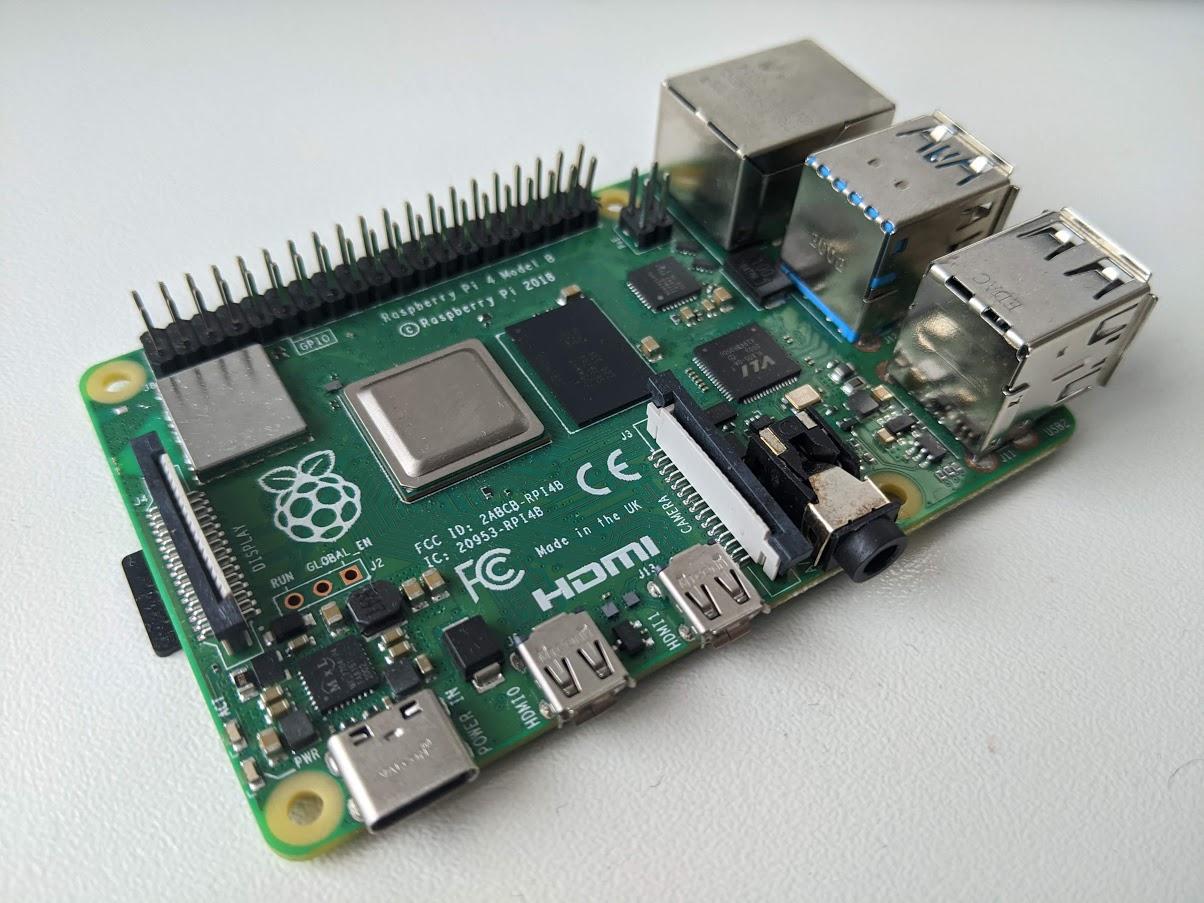
Set up an SSH connection with the Raspberry Pi and set up a WiFi connection if that hasn't happened yet using the following command:
wpa_passphrase <SSID> <password> >> /etc/wpa_supplicant/wpa_supplicant.conf
In which is your network name and
the corresponding WiFi password.
Then, use the following commands in order to connect:wpa_cli interface wlan0 reconfigure quit ping google.com
Next, install the packages: Apache2, MariaDB, Python3 using the following commands:
apt install apache2 -y
apt install mariadb-server mariadb-client -y
apt install python3 -y
Once python3 is installed, we'll need several libraries to connect to the frontend and database. The backend itself is written in python3.
pip3 install flask-cors
pip3 install flask-socketio
pip3 install mysql-connector-python
pip3 install gevent
pip3 install gevent-websocket
Create a workfolder which contains (at least) 3 subfolders. Frontend, backend and database. Create an HTML file to test with. You may also use the files in the repository instead. We will redirect towards the frontend with Apache2. Open the default config file using the following commando:
nano /etc/apache2/sites-available/000-default.conf
Search for the line in which "DocumentRoot" is written, followed by a directory. Exchange the directory for the directory of the folder for the frontend code. Restart Apache2 using the following commando:
service apache2 restart
Now we'll set some of the rights of this folder. Open Apache2's main config file:
nano /etc/apache2/apache2.conf
Exchange the lines
"<Directory/>
	Options FollowSymLinks
	AllowOverride All
	Require all denied
</Directory>"
With
"<Directory/>
	Options Indexes FollowSymLinks Includes ExecCGI
	AllowOverride All
	Require all granted
</Directory>;"
Creating the Database
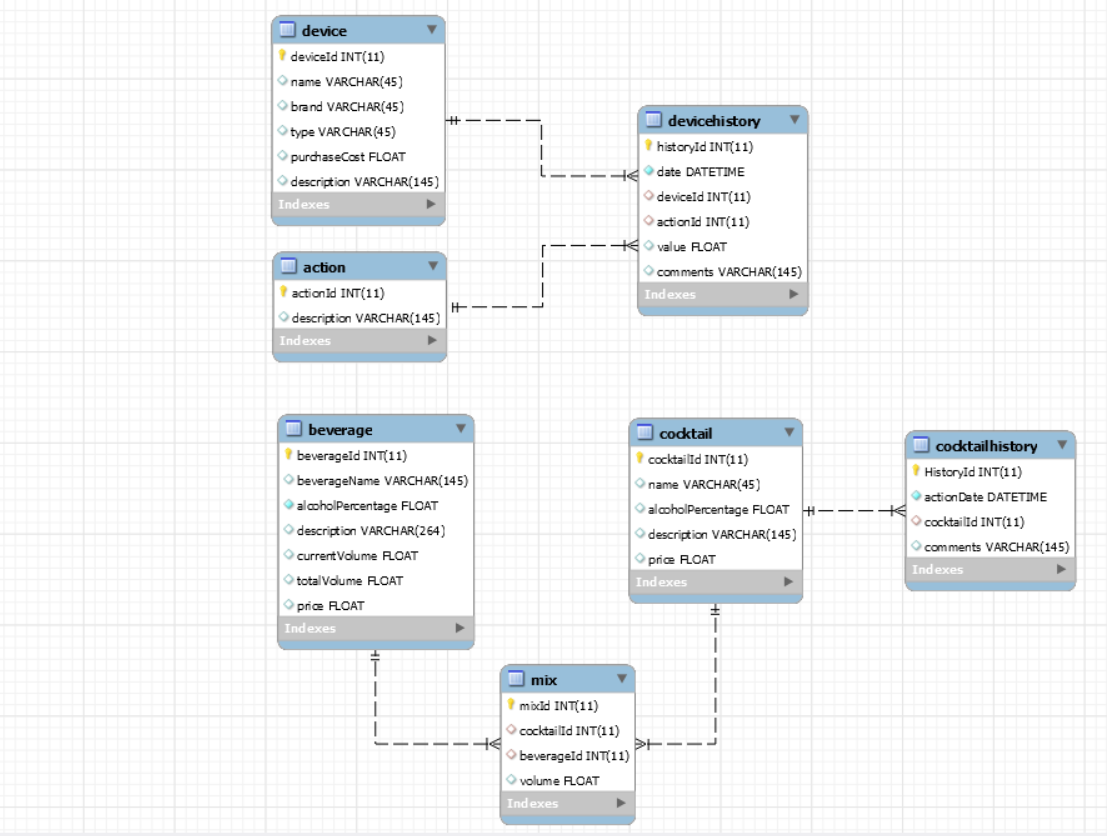
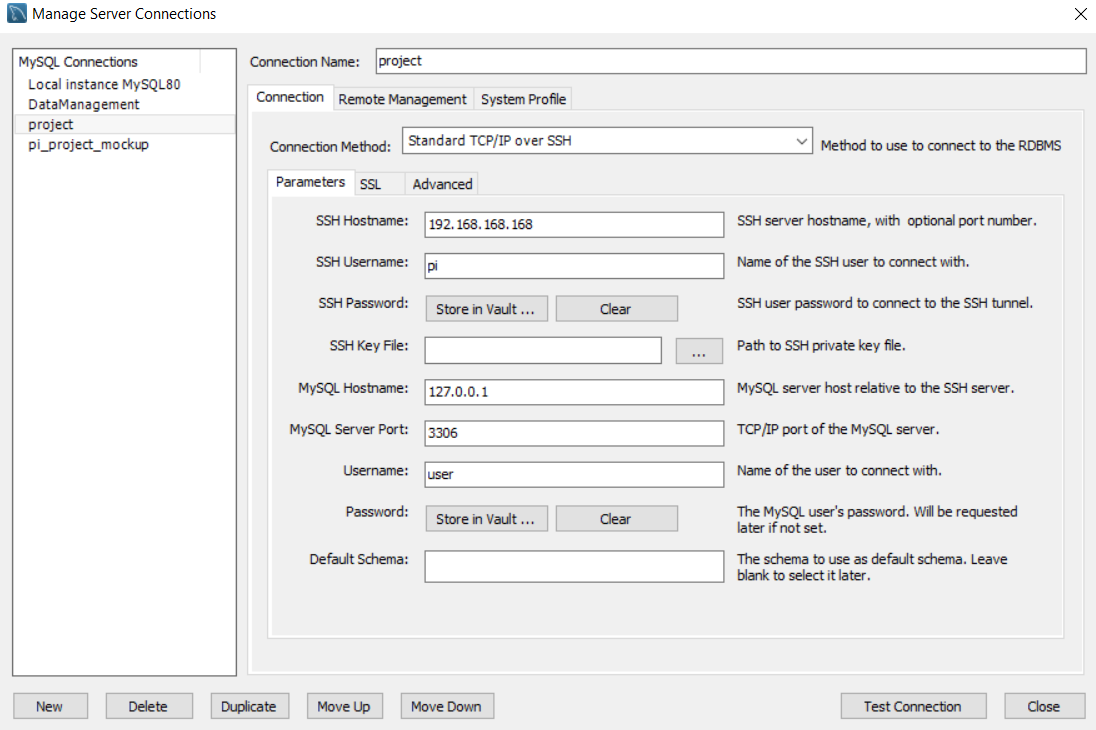
Create a MySQL database similar to the provided example, you may also use the provided database in the repository. Keep in mind that practically every table requires a many-to-many connection, and thus some in-between tables may be necessary. Next, establish a connection between MySQL and the Raspberry Pi. Add a new MySQL connection and put the connection method on "Standard TCP/IP over SSH". Enter the requested forms as shown in the example, but exchange the hostname, passwords and username according to how you configured your Raspberry Pi. Once connected, you may enter some cocktails, recipes and their required ingredients in the database. These will be essential for later testing.
Preparing the Backend & Frontend
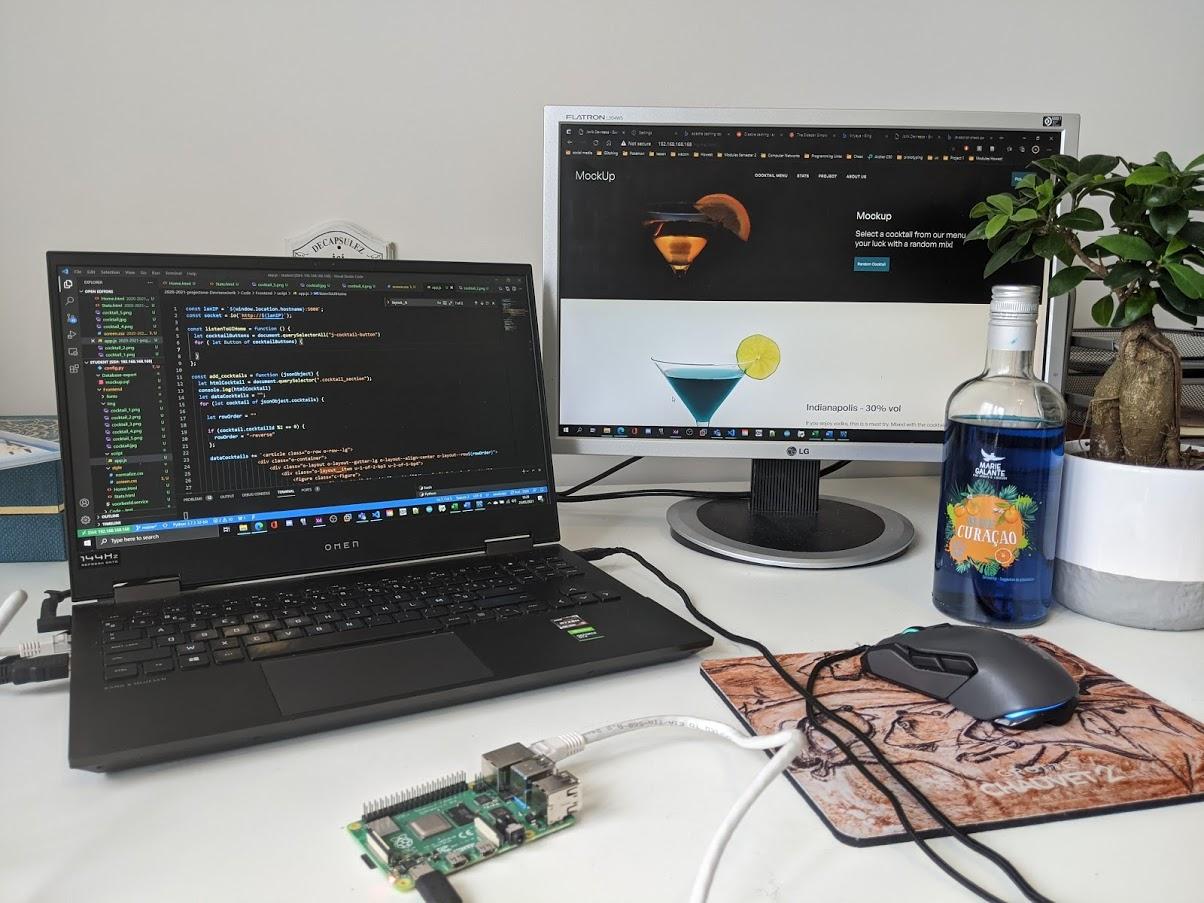
In step 1 we set up multiple folders for the database, backend and frontend. Write a python program that is capable of communicating to the SQL database and return values. You can base yourself on the database.py and DataRepository.py files in the backend folder of the repository. You can skip the rest of this step if you use the repository, but it may be a great reference to how it works.
To establish communication between frontend and backend you can make use of flask and SocketIo. This is not meant to be used for big servers, but is perfect for small projects and serves as a great testing environment. In your main python file, you import it as follows.
from flask_cors import CORS
from flask_socketio import SocketIO, emit, send
from flask import Flask, jsonify
Your HTML files will also require a script tag which will serve as an import for SocketIo. you can insert it as a script tag in the header.
src="https://cdn.socket.io/4.0.1/socket.io.min.js" integrity="sha384-LzhRnpGmQP+lOvWruF/lgkcqD+WDVt9fU3H4BWmwP5u5LTmkUGafMcpZKNObVMLU"
Once the DOM is loaded of the frontend, request the cocktails from the database, and respond with a JsonObject containing the cocktaildata. In python, the following code can be used to transmit and receive data.
# to send data
emit('subject', data)

# to receive data
@socketio.on('subject')
def function_name(parameter):
	pass
The decorator will execute the next following function whenever it receives data, and if any data is present, insert it as a parameter. This isn't always necessary, but it can be used to request a singular cocktail to be created, given a specific id.
In JavaScript, the following code is the equivalent of what you saw in python:
# to send data
socket.emit('subject',data)
# to receive data
socket.on('subject', function (jsonObject) {}
Similar to the python3 version, when data is received it will execute the function following the subject. You can request to give all the cocktails here once the DOM is loaded. Or you can use 'connect' as subject in python, and it'll provide the cocktails whenever a client connects, automatically.
Add some buttons to request cocktails in the HTML file, intercept the requests through JavaScript using querySelectors. Then, use the mentioned emit function to request the cocktail to be made. If you haven't wired anything, then simply print the data as a test for now.
Build a Frame
.jpg)
.jpg)
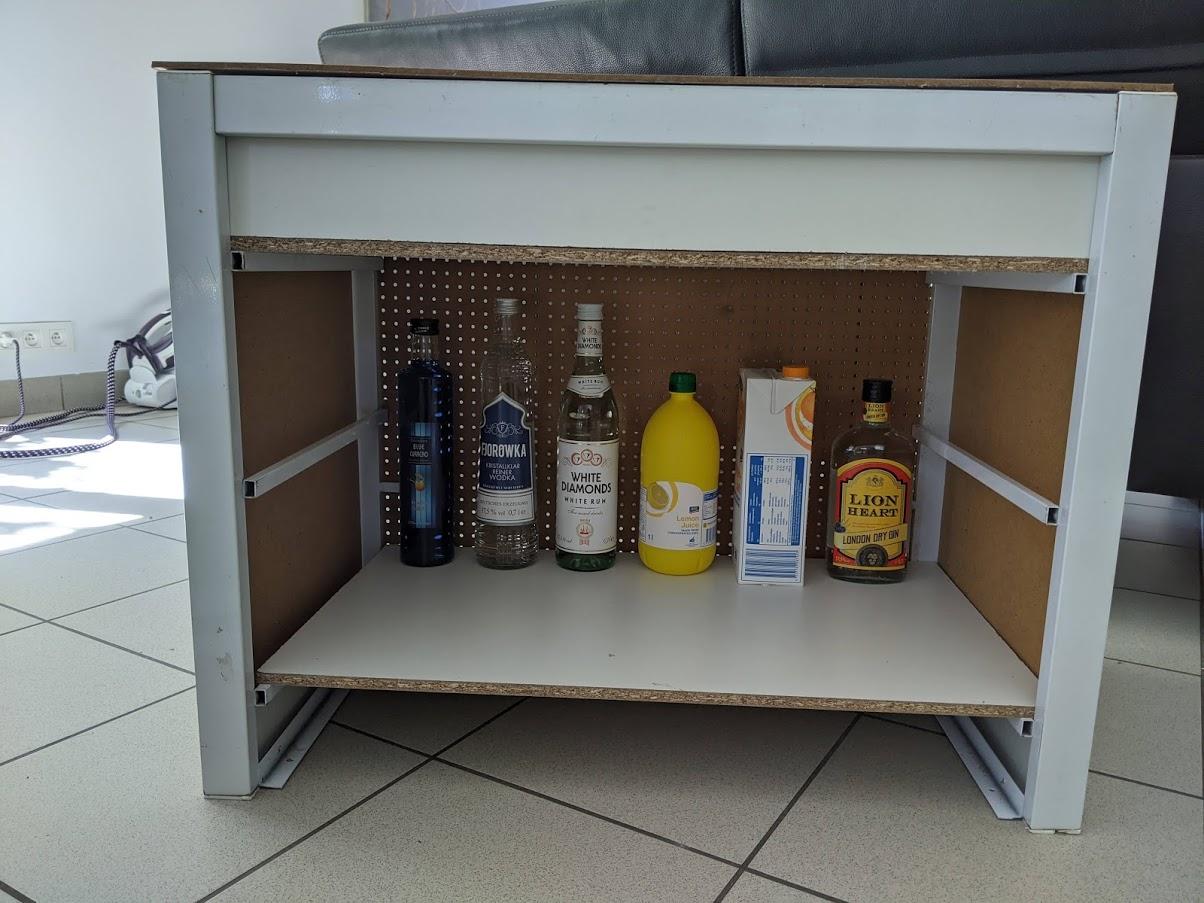
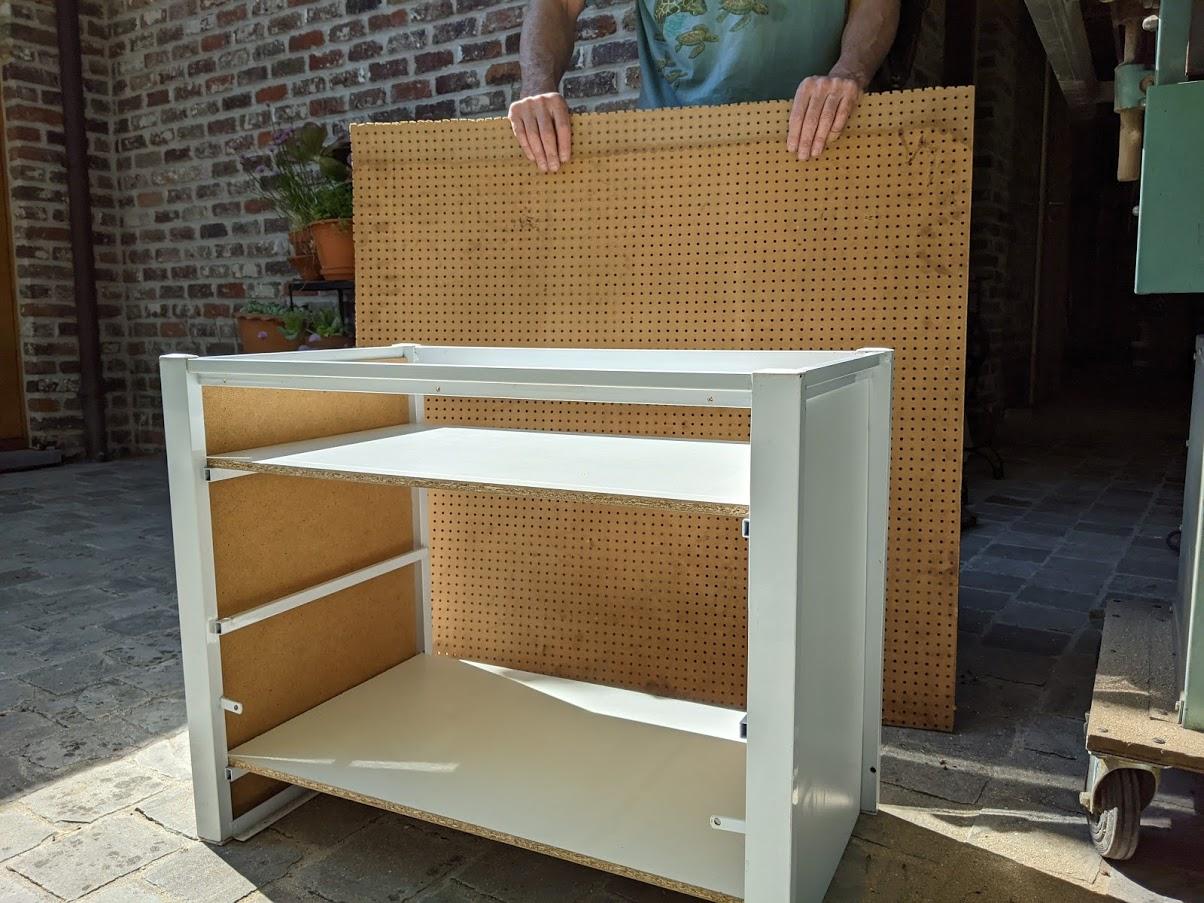
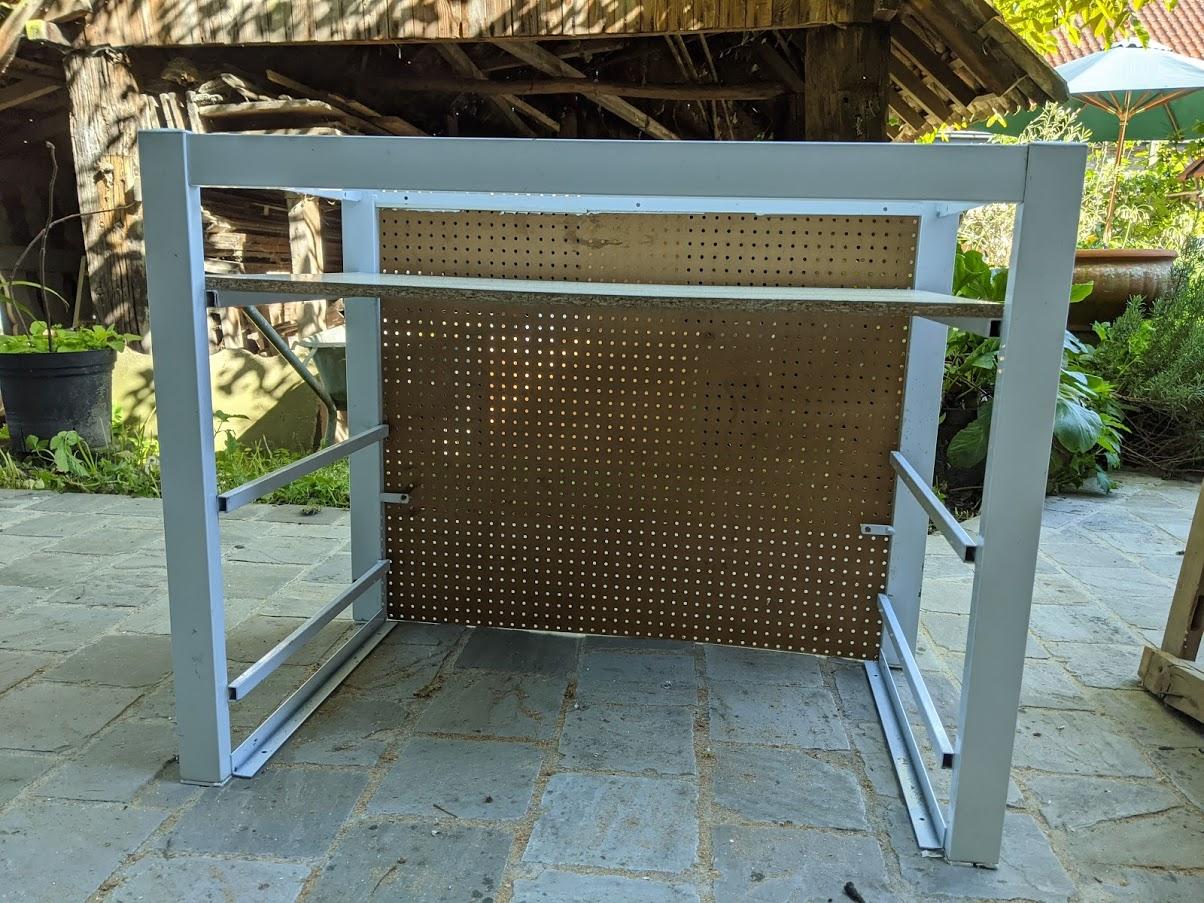
For the frame, you can follow the dimensions provided. If you create your own, make sure to measure the dimensions of your bottles, then add at least 5-10 cm to height. You will lose some space by implementing weight sensors under the bottle, and will need the tubes for the pumps to be able to access the bottles without bending too much. Bending may result in slower pumping, or faster wearing out of the tubes. Make sure the materials under the bottles is liquid-proof. A spill is bound to happen eventually, either by accident or by an issue with the system. Using wooden planks with a waterproofing coating should do the trick, or you may put a plastic on top.
Leave some space to add a display and the rotary encoder, in my case these are put in the middle of the top compartment, with all the electronical components.
The Schematic
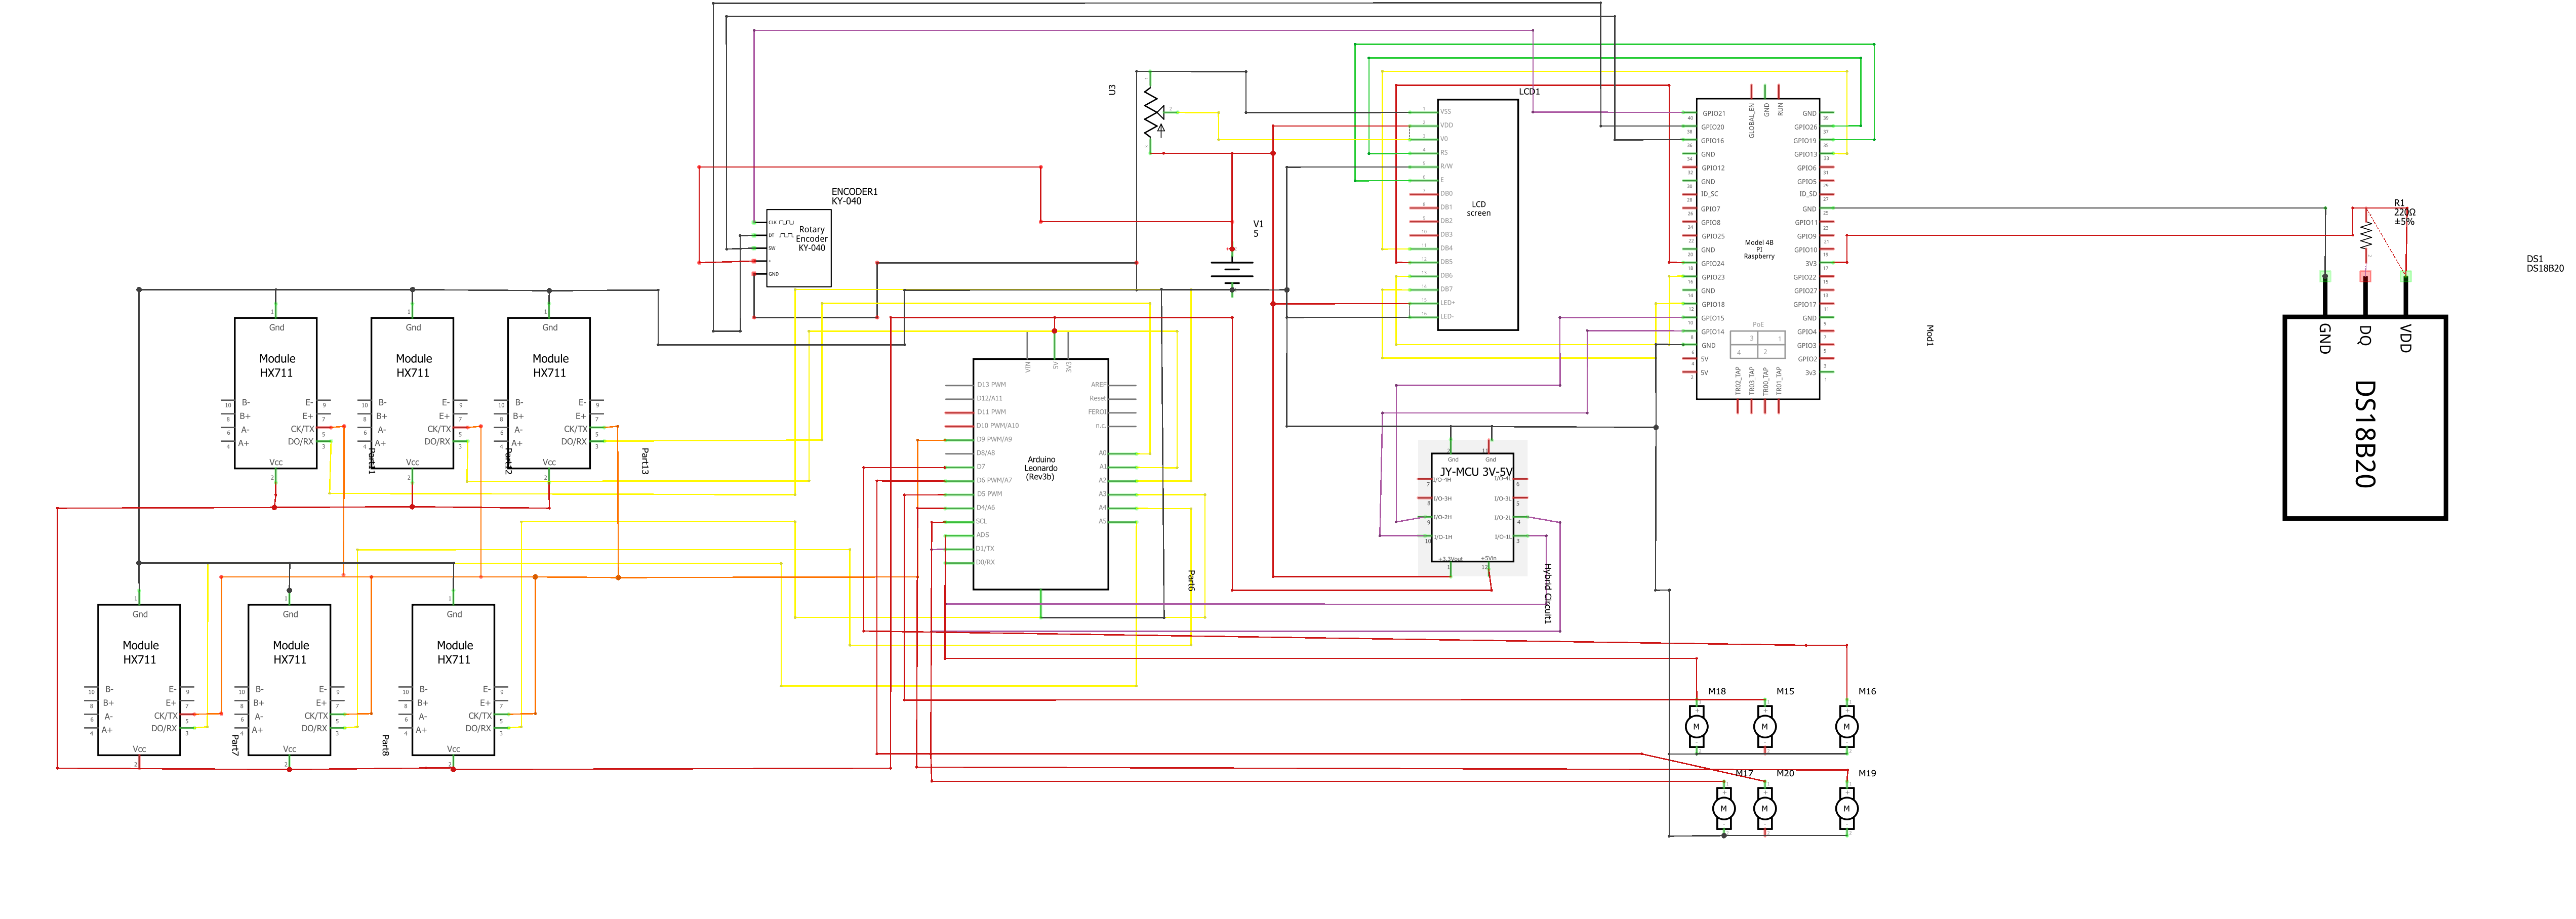
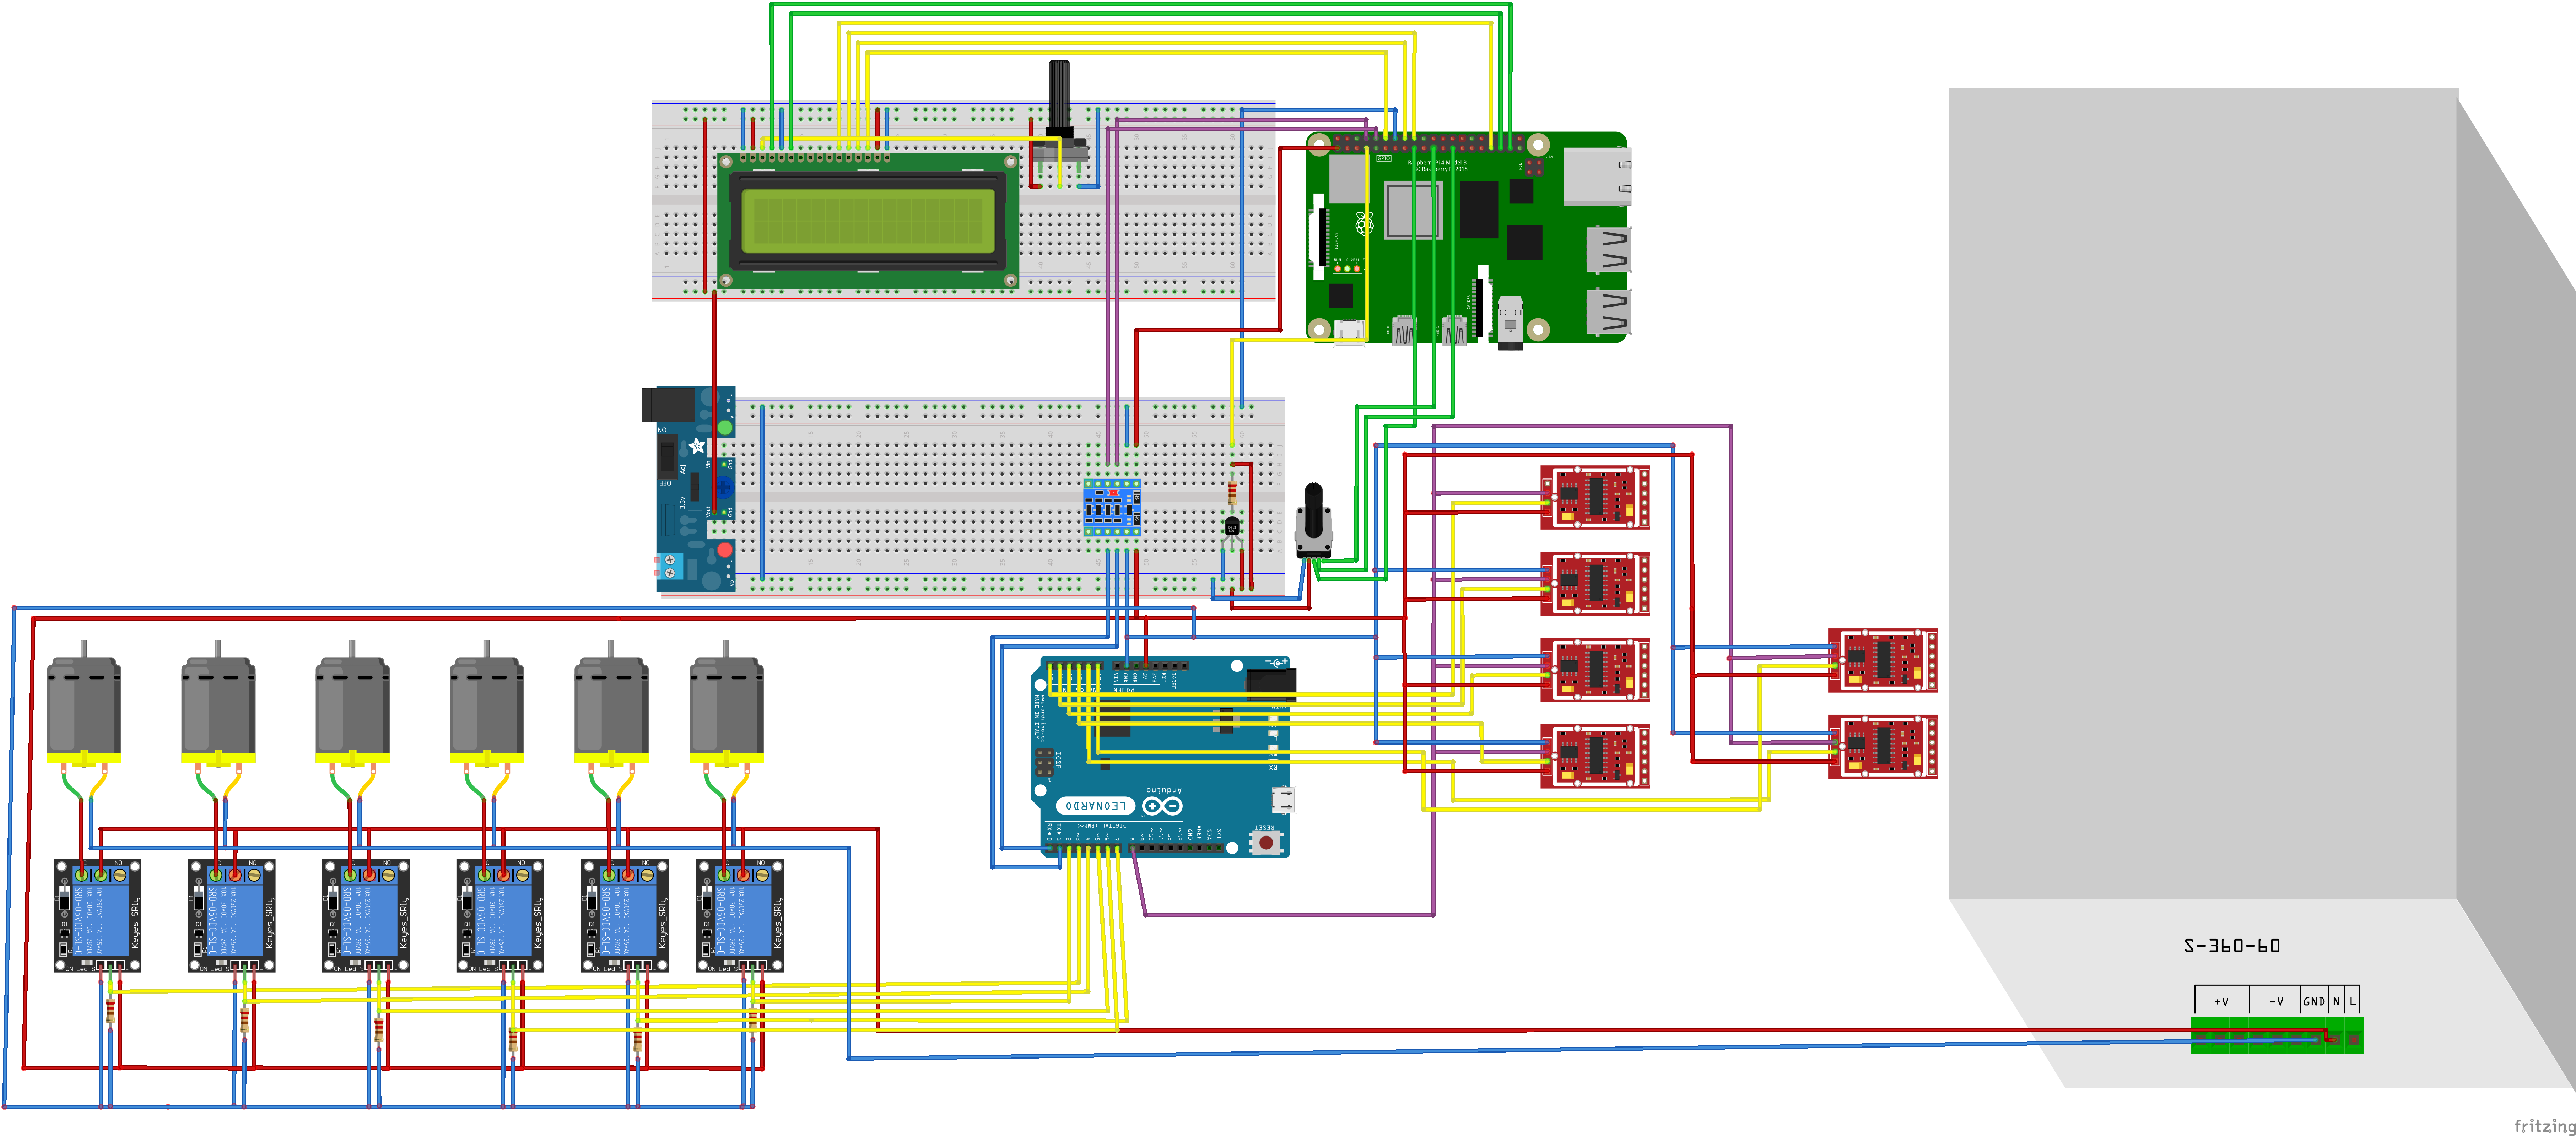
The schematic provided here will be used for all further wiring. Do note that depending on your component, you may require some tweaking. If you choose to use membrane pumps which require a higher voltage input, you may choose to include some relays to communicate with the Arduino.
Wiring Up the Pumps and Arduino
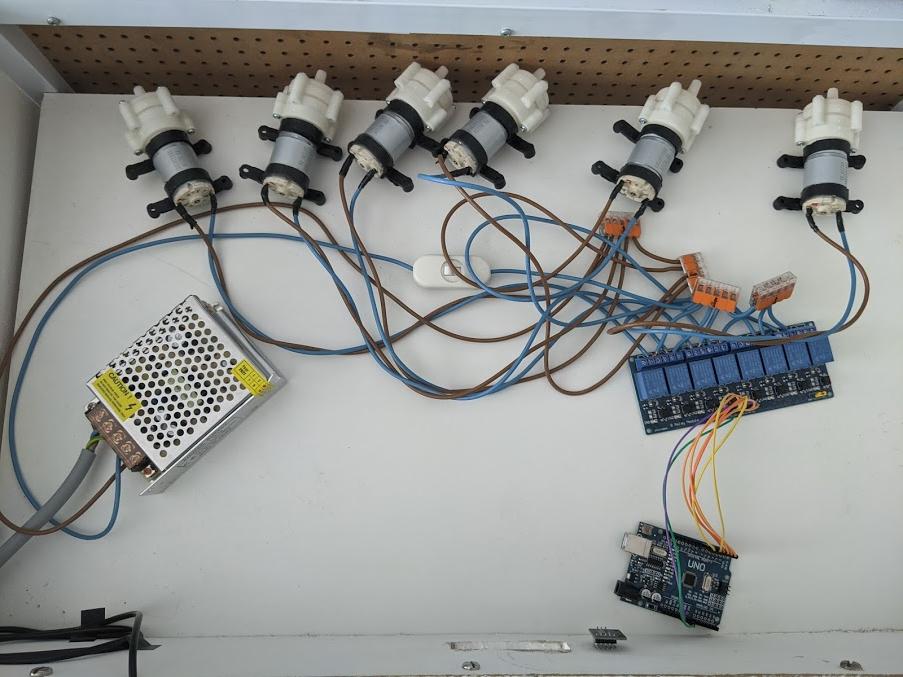
Acknowledging the fact that these pumps require a 12V supply, hook them up to a relay board according to the provided schematic. I wired them directly onto the Arduino UNO, since using a shift register gave me inconsistent results. While ideally the two sides of the relay should be completely isolated, I still noticed that when the 12 V was supplied it would skip some of the pumps when testing with the shift register. Depending on your relay board, you may be able to use one to free up some pins on the Arduino. If any crashes occur which aren't software related, you may want to put some diodes to prevent unwanted spikes. Using pulldown resistors on the driving pins may also help solve this issue.
In the Arduino file, it's simply a matter of setting the pins to high or low with specific time intervals in between. For my pumps, I found they would pump 38ml/sec for water, but the value could fluctuate depending on the drink being dispensed.
We also want to prepare the Arduino for Serial communication with the Raspberry Pi. Unlike python, Arduino doesn't have any great way to create substrings, which makes the communication rather limited. The code in the repository therefore focuses on short messages containing a lot of data, which makes it simpler to use. I hooked up a button here that serves as a check whether a glass is present. When it is, it'll ask print the fact that it's routine finished. This can be picked up by the Raspberry Pi to send the data for the next cocktail.
Serial Communication Between Arduino and Raspberry Pi
The Arduino's code may be in place, but without requests it won't perform any action. It acts like a slave to the Raspberry Pi, which will send requests through it's serial port. First, enable the serial interface by using the following commands:
sudo raspi-config
interfacing options
Serial
Only enable the opening of the port, don't allow logging in through it. This should have added the line 'enable_uart=1' to /boot/config.txt. Check whether it did, or manually add it through
sudo nano /boot/config.txt
With the port opened, restart the Raspberry Pi, then we must disable certain services which handle logging in through serial port.
sudo systemctl stop serial-getty@ttyS0.service
sudo systemctl disable serial-getty@ttyS0.service
Additionally, enter the cmdline.txt file and check wether the line 'console=serial,115200' is present. If it is, then you should remove it.
sudo nanot /boot/cmdline.txt
After a final reboot, and with the SerialRepositoy imported, this should allow for communication with the Arduino. However, since Arduino doesn't have a lot of string manipulation support you might have to get creative with what you send and how you send it.
Setting Up Load Cell Sensors
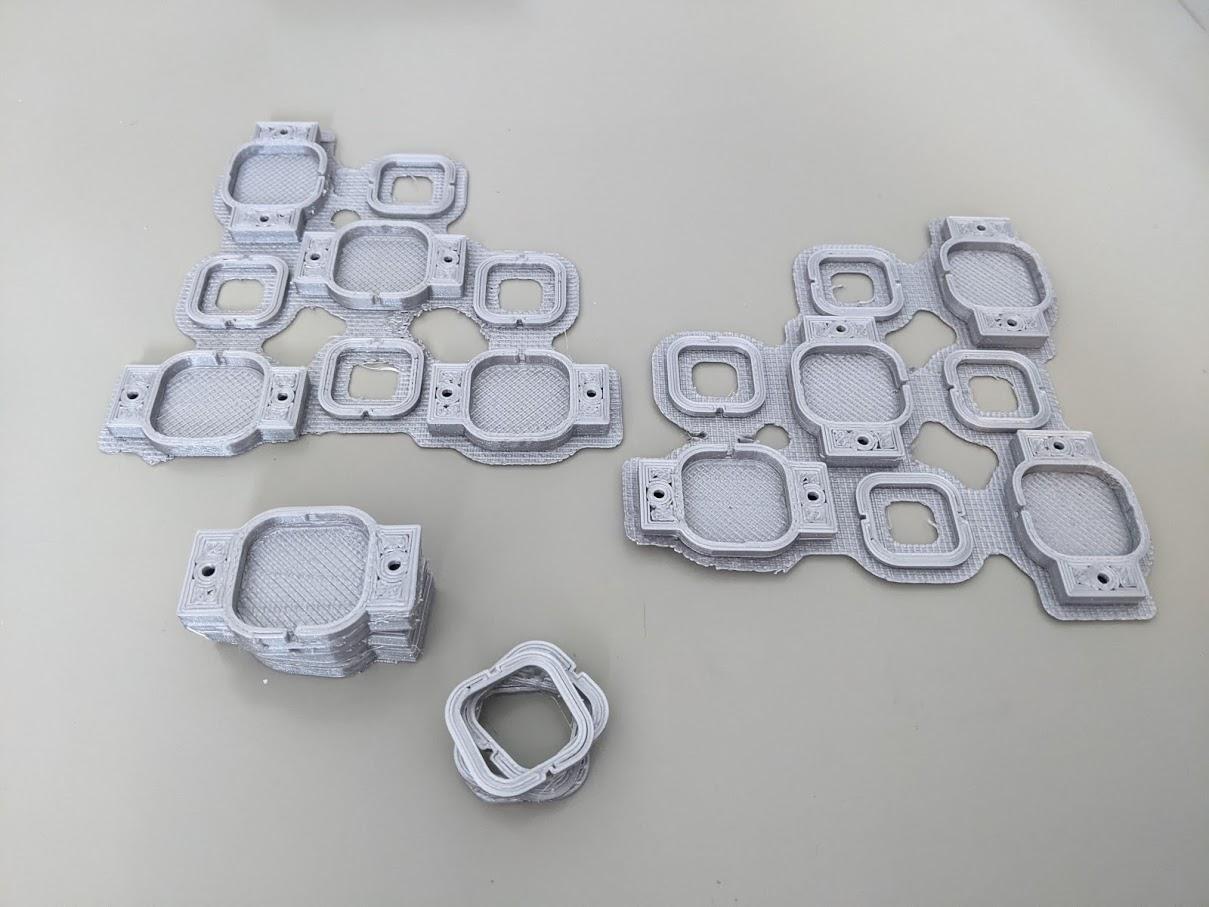
Hook up your load cells to the Hx711 amplifiers. The way you hook them up entirely depends on what sort of load cell you have. If you use 4-wire load cells, all the complicated stuff is already done for you. If you chose 50kg load cells that come with 4 pieces, you'll need to do a little bit of soldering. You can insert them in these 3D printed cases, or add a hole in the plate you put them on. The most important thing is that the middle section has some free space to move. In hindsight, I don't recommend using them for this project, sticking with the 4-wire ones should be substantially easier. This guide explains the process in more detail and is definitely worth checking out.
In the Arduino file, import the 'HX711_asukiaaa.h' library. It allows you to read multiple Hx711 components using a single clock line. Hook up all the clocklines to the same line, and the data lines to any pin you have left on your Arduino. It doesn't matter whether you use analog or digital pins. Most of your time will be spent putting the load cells on some sort of tile that can hold the bottles for you.
Setting Up the LCD Display
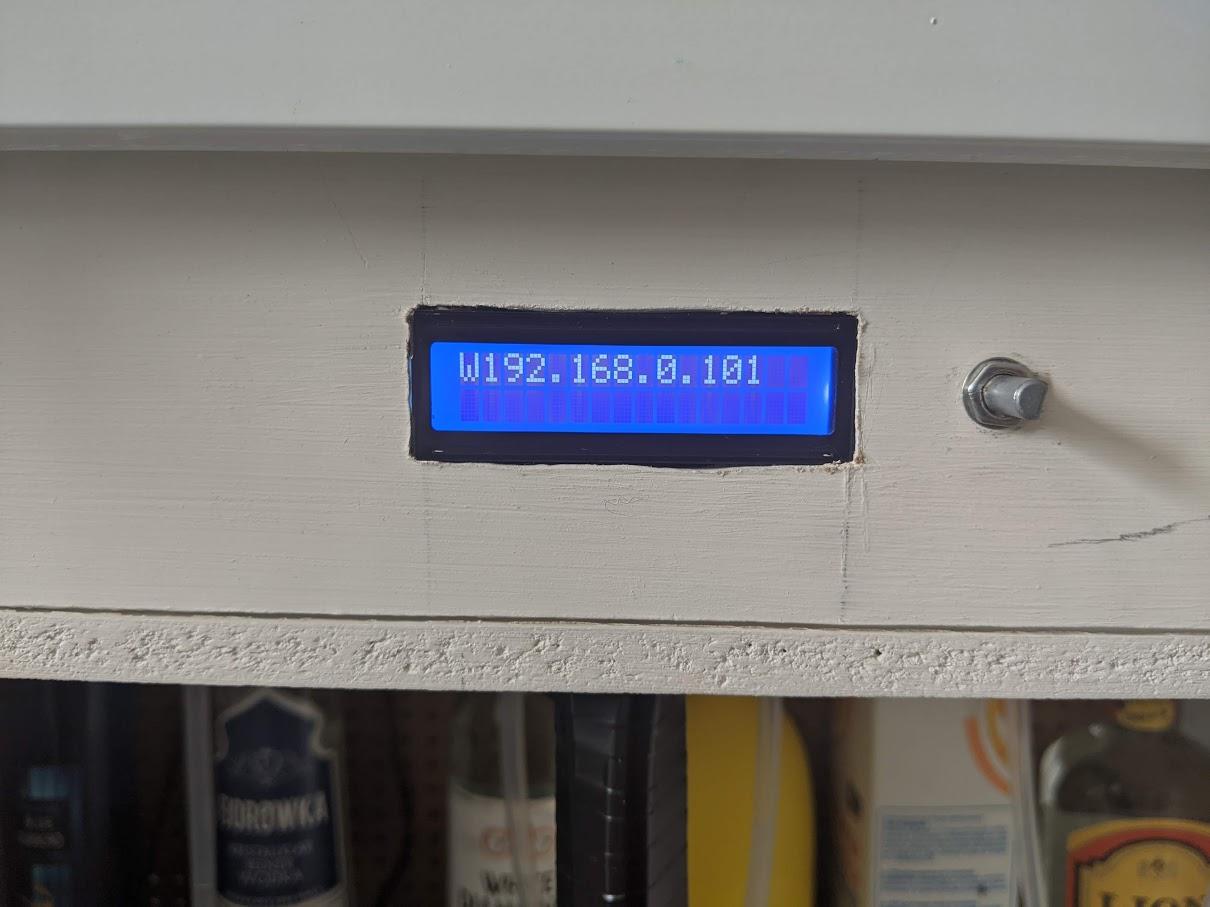
Wire the LCD display as shown in the schematic. If you want to, you can use the 4bit-modus or a shift register to free up some more pins. This isn't strictly necessary unless you want to put other projects on your pi or add additional functions. Once the LCD id wired up, we may want to display something.
The LCD can send either instructions or characters, depending on the state of the RS line. When it is low, the LCD expects an instruction, when high a character. After that, you send the 8 bits and end by creating a clock pulse. The LCD uses falling edge detection, so set the E line to low and then back to high so it's ready for the next pulse. You must then initialise the LCD by sending certain instructions to it.
To initialize the usage of the LCD, you send instructions 0x38 and 0x0C. Refer to the datasheet of your LCD to find more useful instructions. In the repository a lot more useful functions can be found.
In order to display text, you perform a loop on a string and send each character to the send_character() function. There is already a send_string() function present that does this for you. You can change addresses and the position of your cursor on the display, do this before sending a string to position.
In order to connect to the site hosted by our Raspberry Pi, it's useful to know the IP address of the Pi. That's why we'll display it by using the check_output() function of the subprocess library. It allows you to open and read files, and returns it to you. In the repository, this will occur when you scroll past the last cocktail, or scroll under the first cocktail.
Setting Up the Rotary Encoder and Cocktail Code
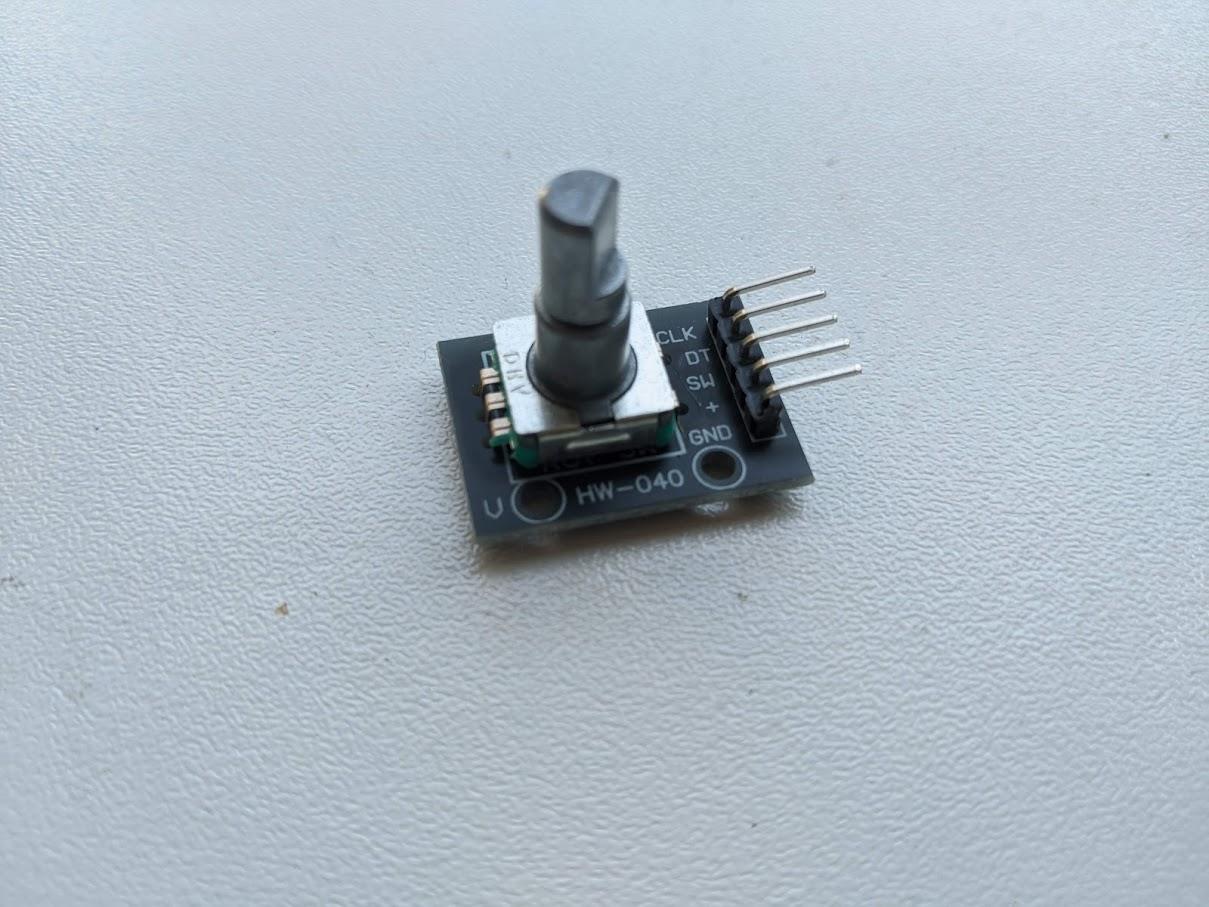
If one doesn't want to use the site, or is unable to, it may be handy to implement a rotary encoder that allows you to manually select the drinks you want. In this case, you can show the drinks on the LCD display using multiple menu's. Refer to the schematic to wire it up. The code for the rotary encoder is inserted as a part of the cocktail class, because this mitigates any issues with multiple instances of the cocktail class and the queue system. Therefore, the code was merged with the general cocktail repository. There are also libraries that allow same-instance classes through multiple files, which is also a good solution. I simply decided to not use any libraries for this. A queue function is present in this code, it will keep any upcoming requests in a list and empty them over time. This occurs whenever it receives a finished statement from the Arduino, which occurs when a glass it removed and a new one placed.
Reading the Temperature
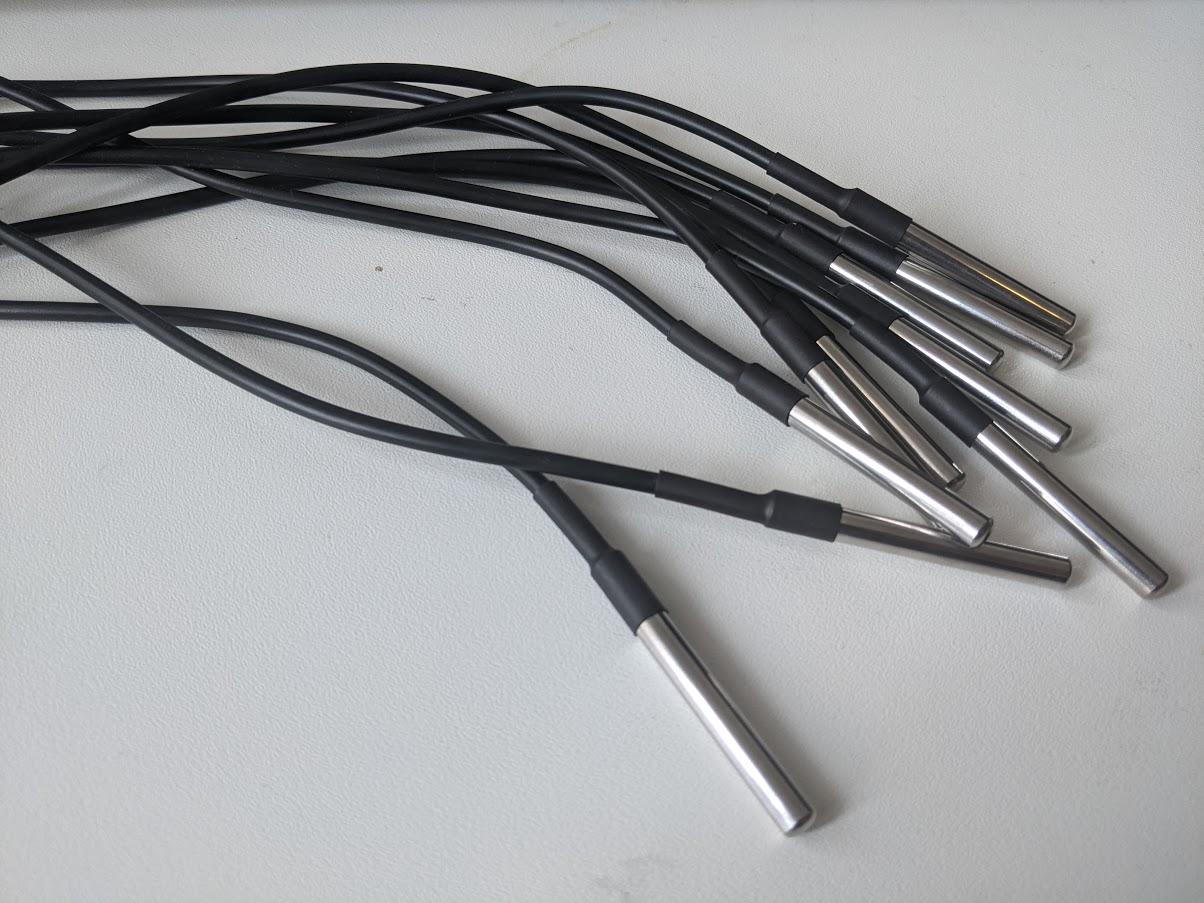
Since a cocktail bar may be present outside in the summer, you must be careful not to overheat your drinks. Therefore it is suggested to measure the temperature, and to cool the bottles every now and then. By measuring the temperature you may also perform statistical analysis on the effect of heat on your drinking habits. The simplest solution to this is using the one-wire system on your Raspberry Pi. First, enable the one-wire on the system by doing the following:
open raspi-config through the following code:
sudo raspi-config
interfacing options
one wire - enable
after this, 'dtoverlay=w1-gpio' should be present as the last line in boot/config.txt. Check if it is, otherwise add it manually.
sudo nano /boot/config.txt
Now, reboot the Raspberry Pi and with the sensor wired up, enter the following commands.
cd /sys/bus/w1/devices/
ls
There should be a an Id present, following by w1_bus_master1. If there isn't, check whether your temperature sensor is wired up correctly. Otherwise, write down the Id and perform the following commands, with #id being the one you wrote down:
cd w1_bus_master1
cat #id/w1_slave
Now you should receive data that is sent from your temperature sensor. If this is all set up, you cthe code in teh OneWire.py file. simply change the Id to the one you have.
class OneWire:
   def __init__(self, device_id="28-3c01d07567bf"): #change device_id to your id
        self.device_id = device_id
        self.filename = f'/sys/bus/w1/devices/{device_id}/w1_slave'

    def read_temp(self):
        # print('\n*** Reading temperature **')
        sensor_file = open(self.filename, 'r')
        for line in sensor_file:
            if 't=' in line:
                line = line.strip("\n")
                line = line.split('t=')
                temperature = float(line[1])/1000
                # print(f"Current temperature is: {temperature} °C")
        sensor_file.close()
        return temperature
The Main Frontend Code
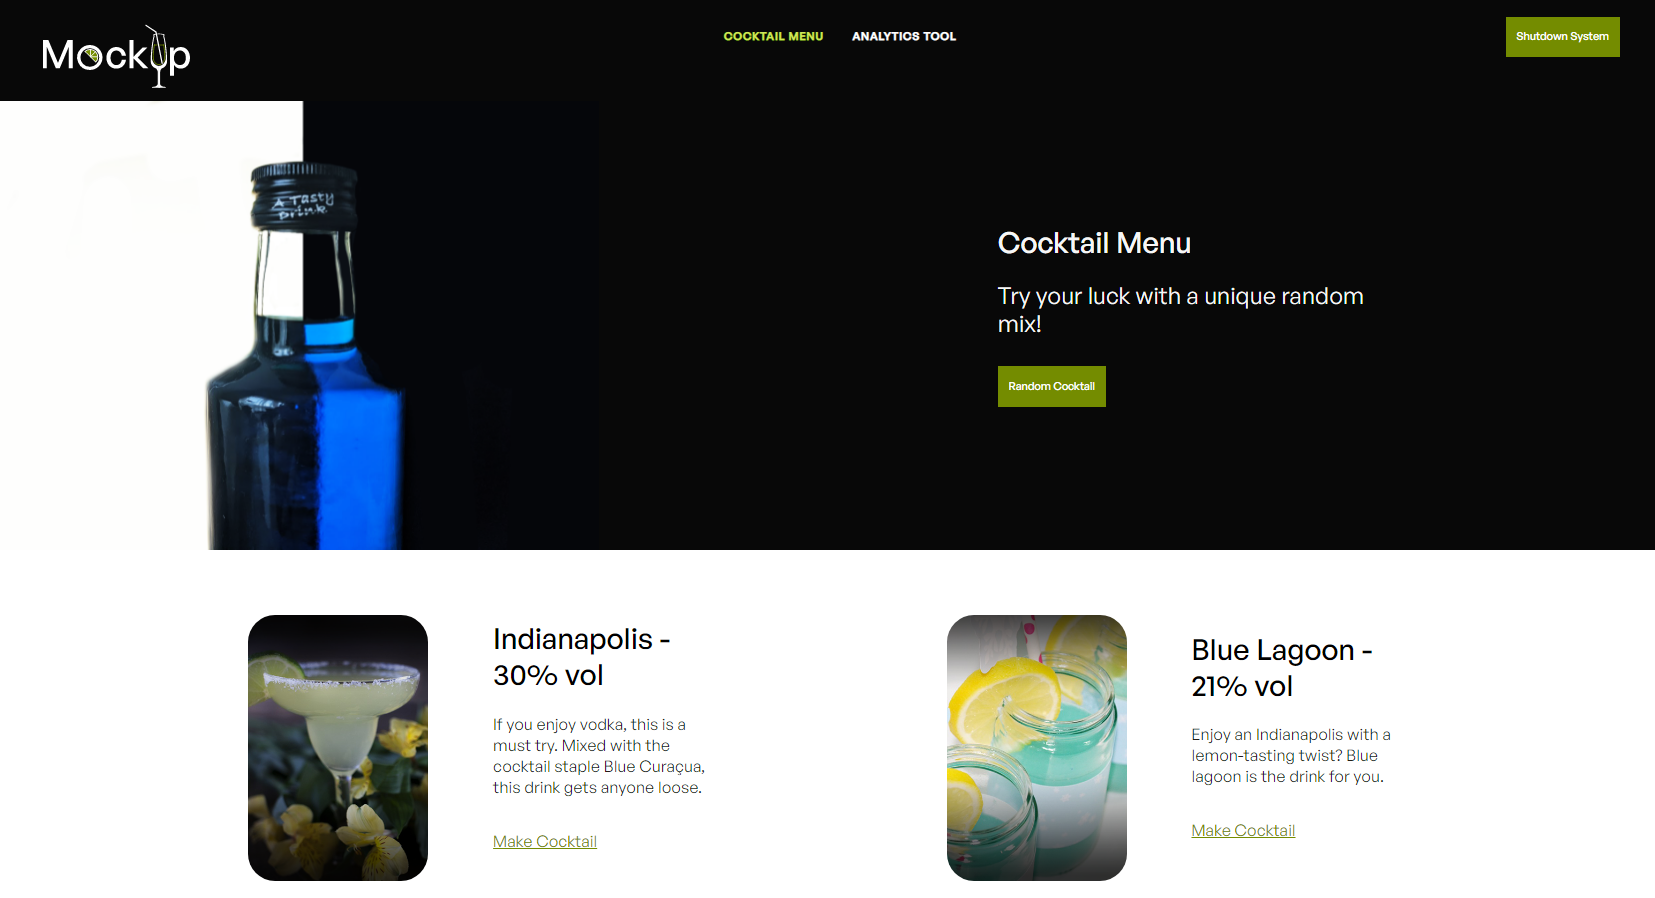
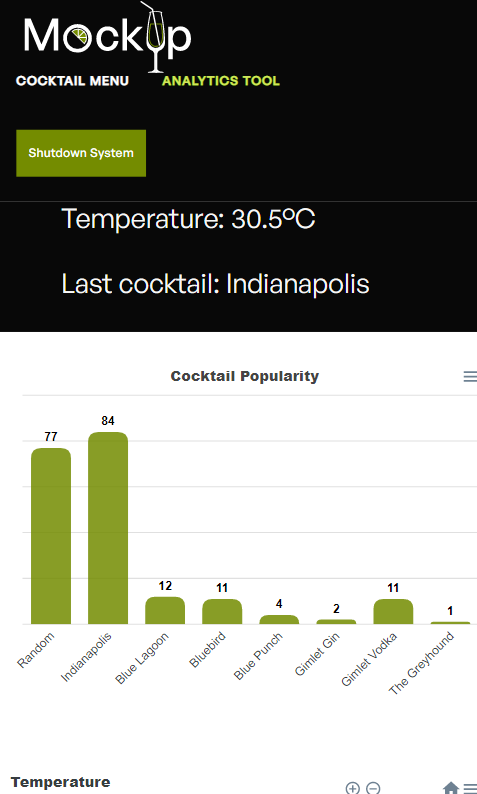
If the frontend that was set up before wasn't worked out yet, now is the time to make it look good for both mobile applications and on any wider screens. With all the data that can be read at this point, displaying it seems like a logical option. In order to show the statistics you can make use of ApexCharts, which can be imported by a simple script tag in the HTML. Next to any data you may find interesting, it is recommended to display any system status that may become faulty over time. This way you can find the issue much faster.
The design of this site is left up to you. But the code for both the cocktail selection page and statistics page is available, and may be edited to your liking.
This project is not cheap, even if you don't consider the cost of the alcohol. Assuming you already own a Raspberry Pi, this will cost you roughly 140 € on components. The main costs are the load cells and pumps, as well as the Arduino. Adding the casing cost, it may go as high as 300 €.