Automat With Pinoo
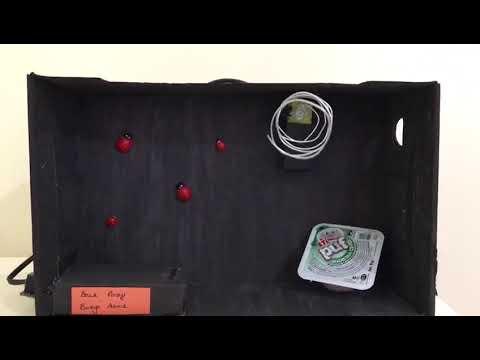
Project Purpose: To make a vending project using Pinoo Control Card, Distance Sensor and DC Motor.
Duration: 2 lessons
Age Group: 9 years old and above
Pinoo Sets: PinooBot Kit and full set.
Benefits: Learns to code Pinoo control card.Learns to use the distance sensor.Learns to use DC Motor.Improves the skill of setting up algorithms.Improves coding skill.
Supplies
Materials to be used: Mblock 3 program, Pinoo sensor card, distance sensor, DC motor.
Materials Required for Design: Shoe box, medicine box, acrylic paint and brush, utility knife, aluminum wire, silicone gun and silicone.
Design (Part1)
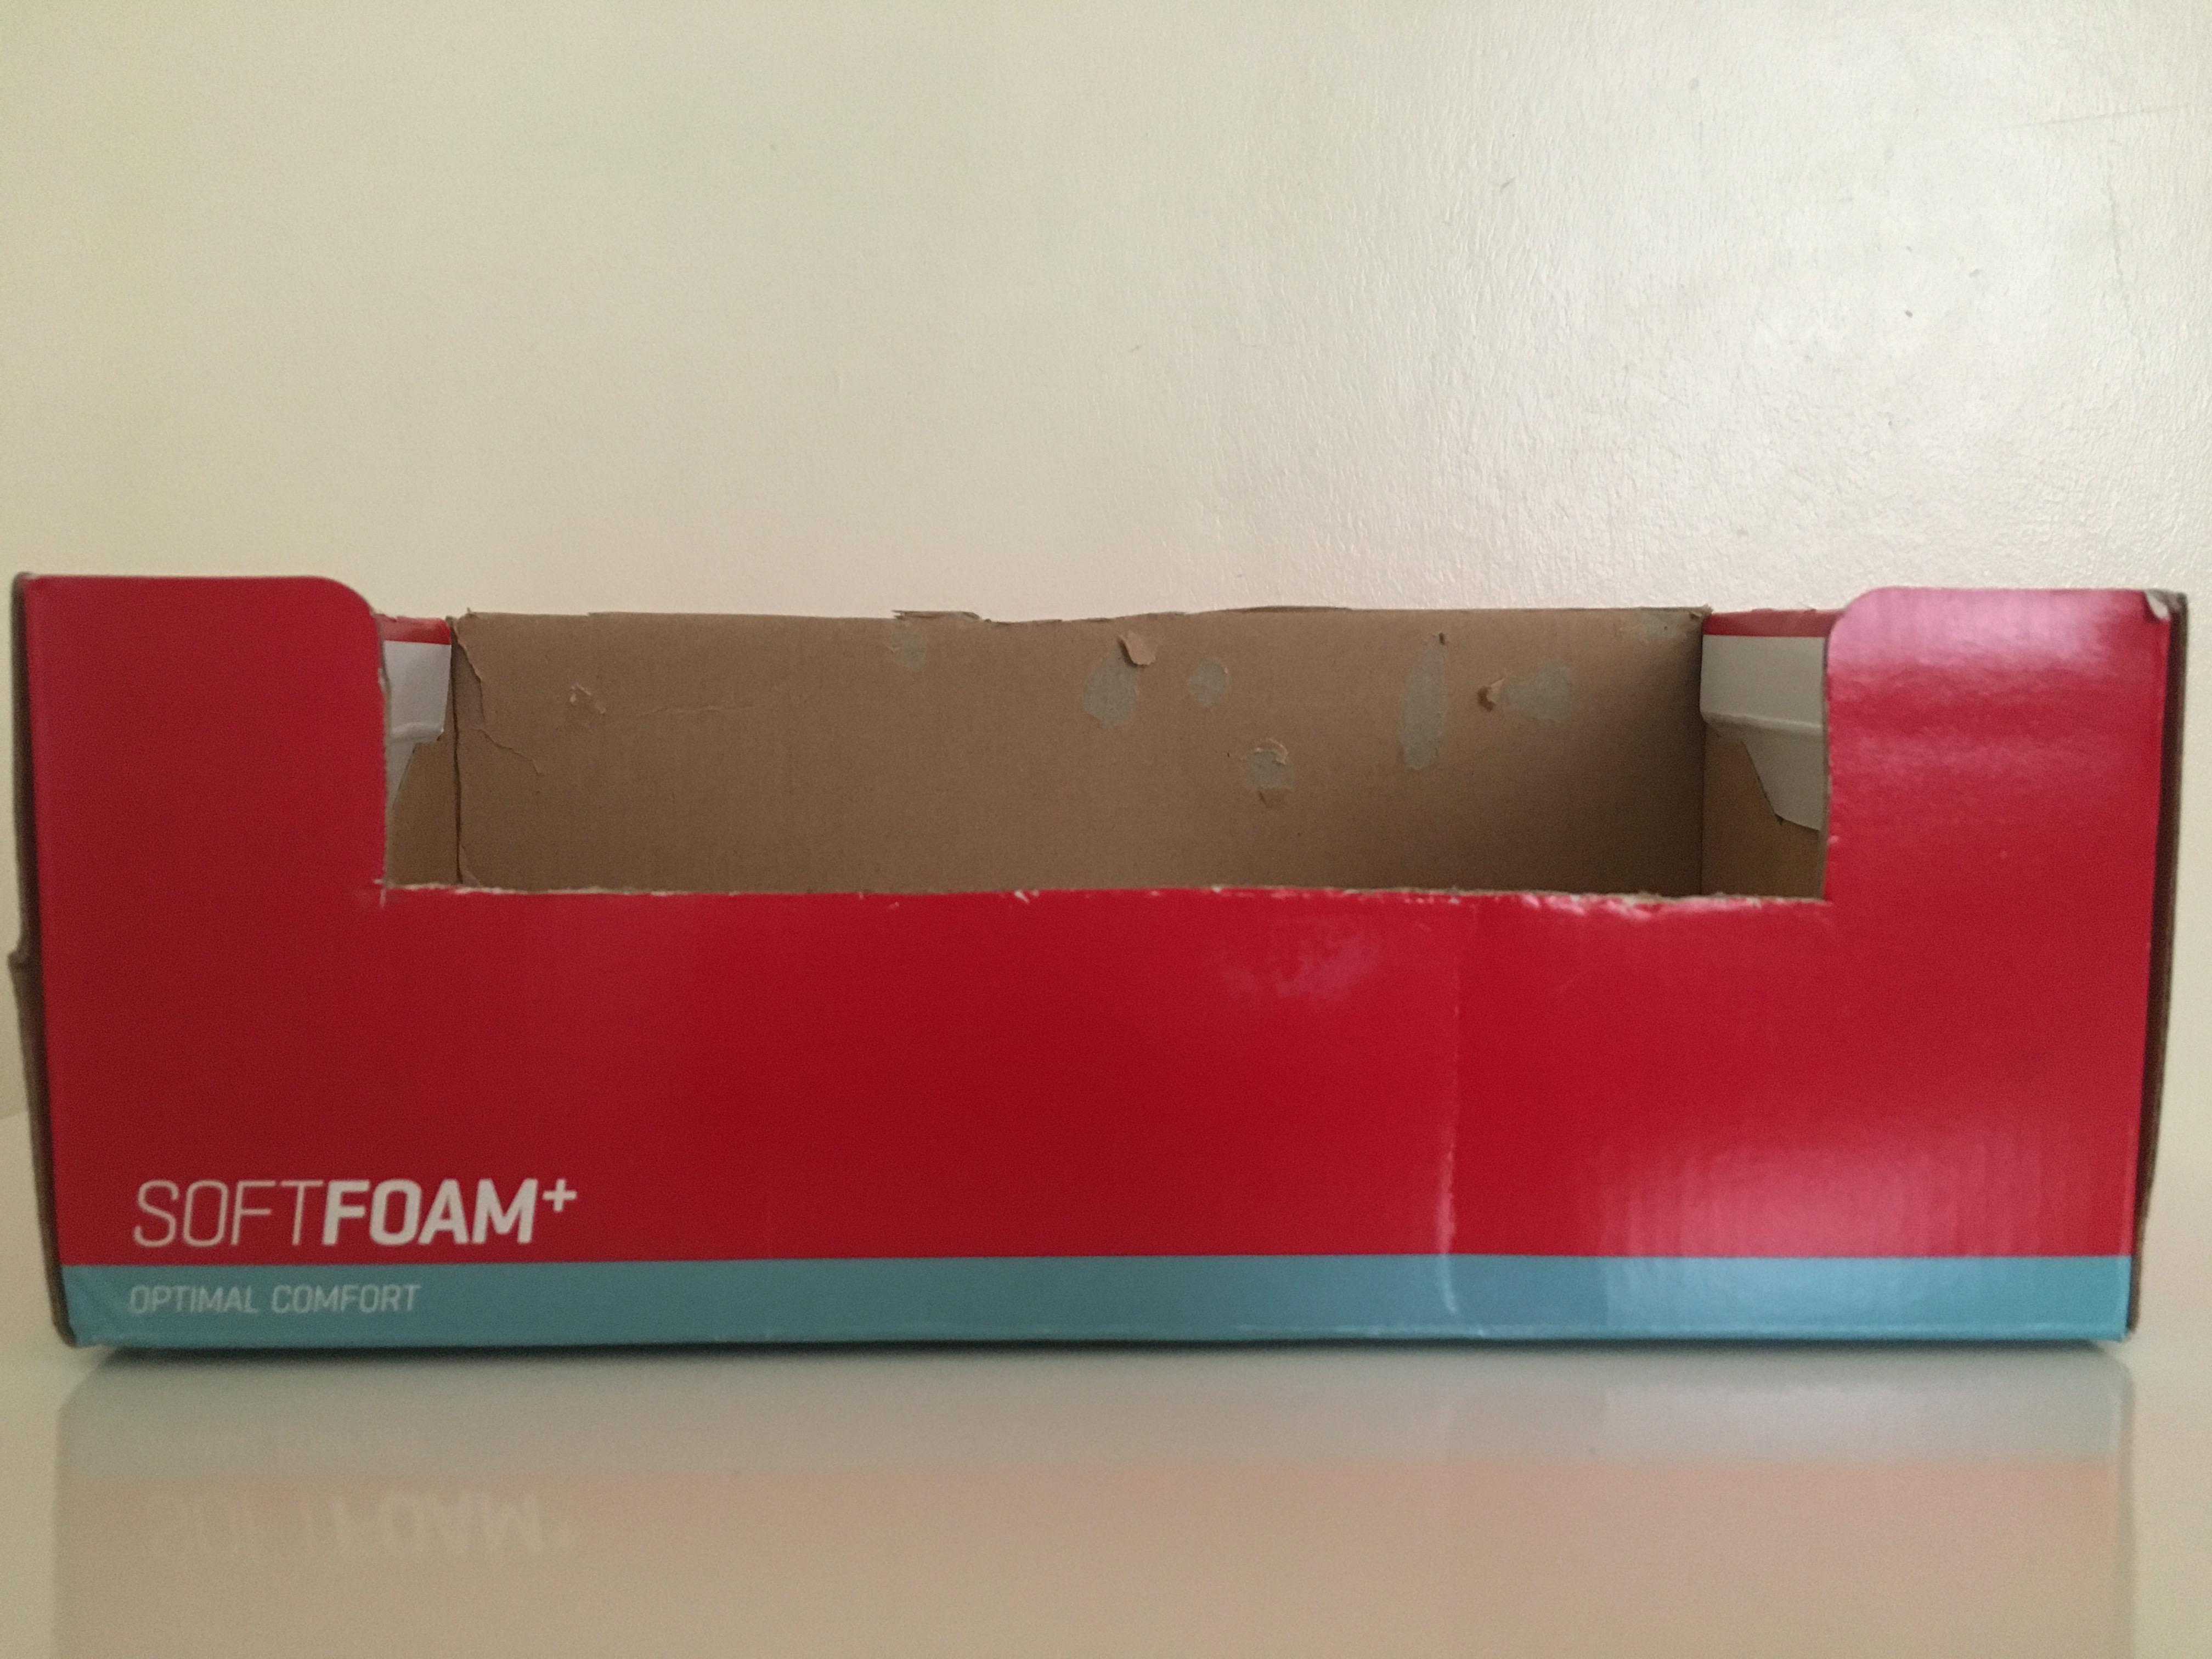
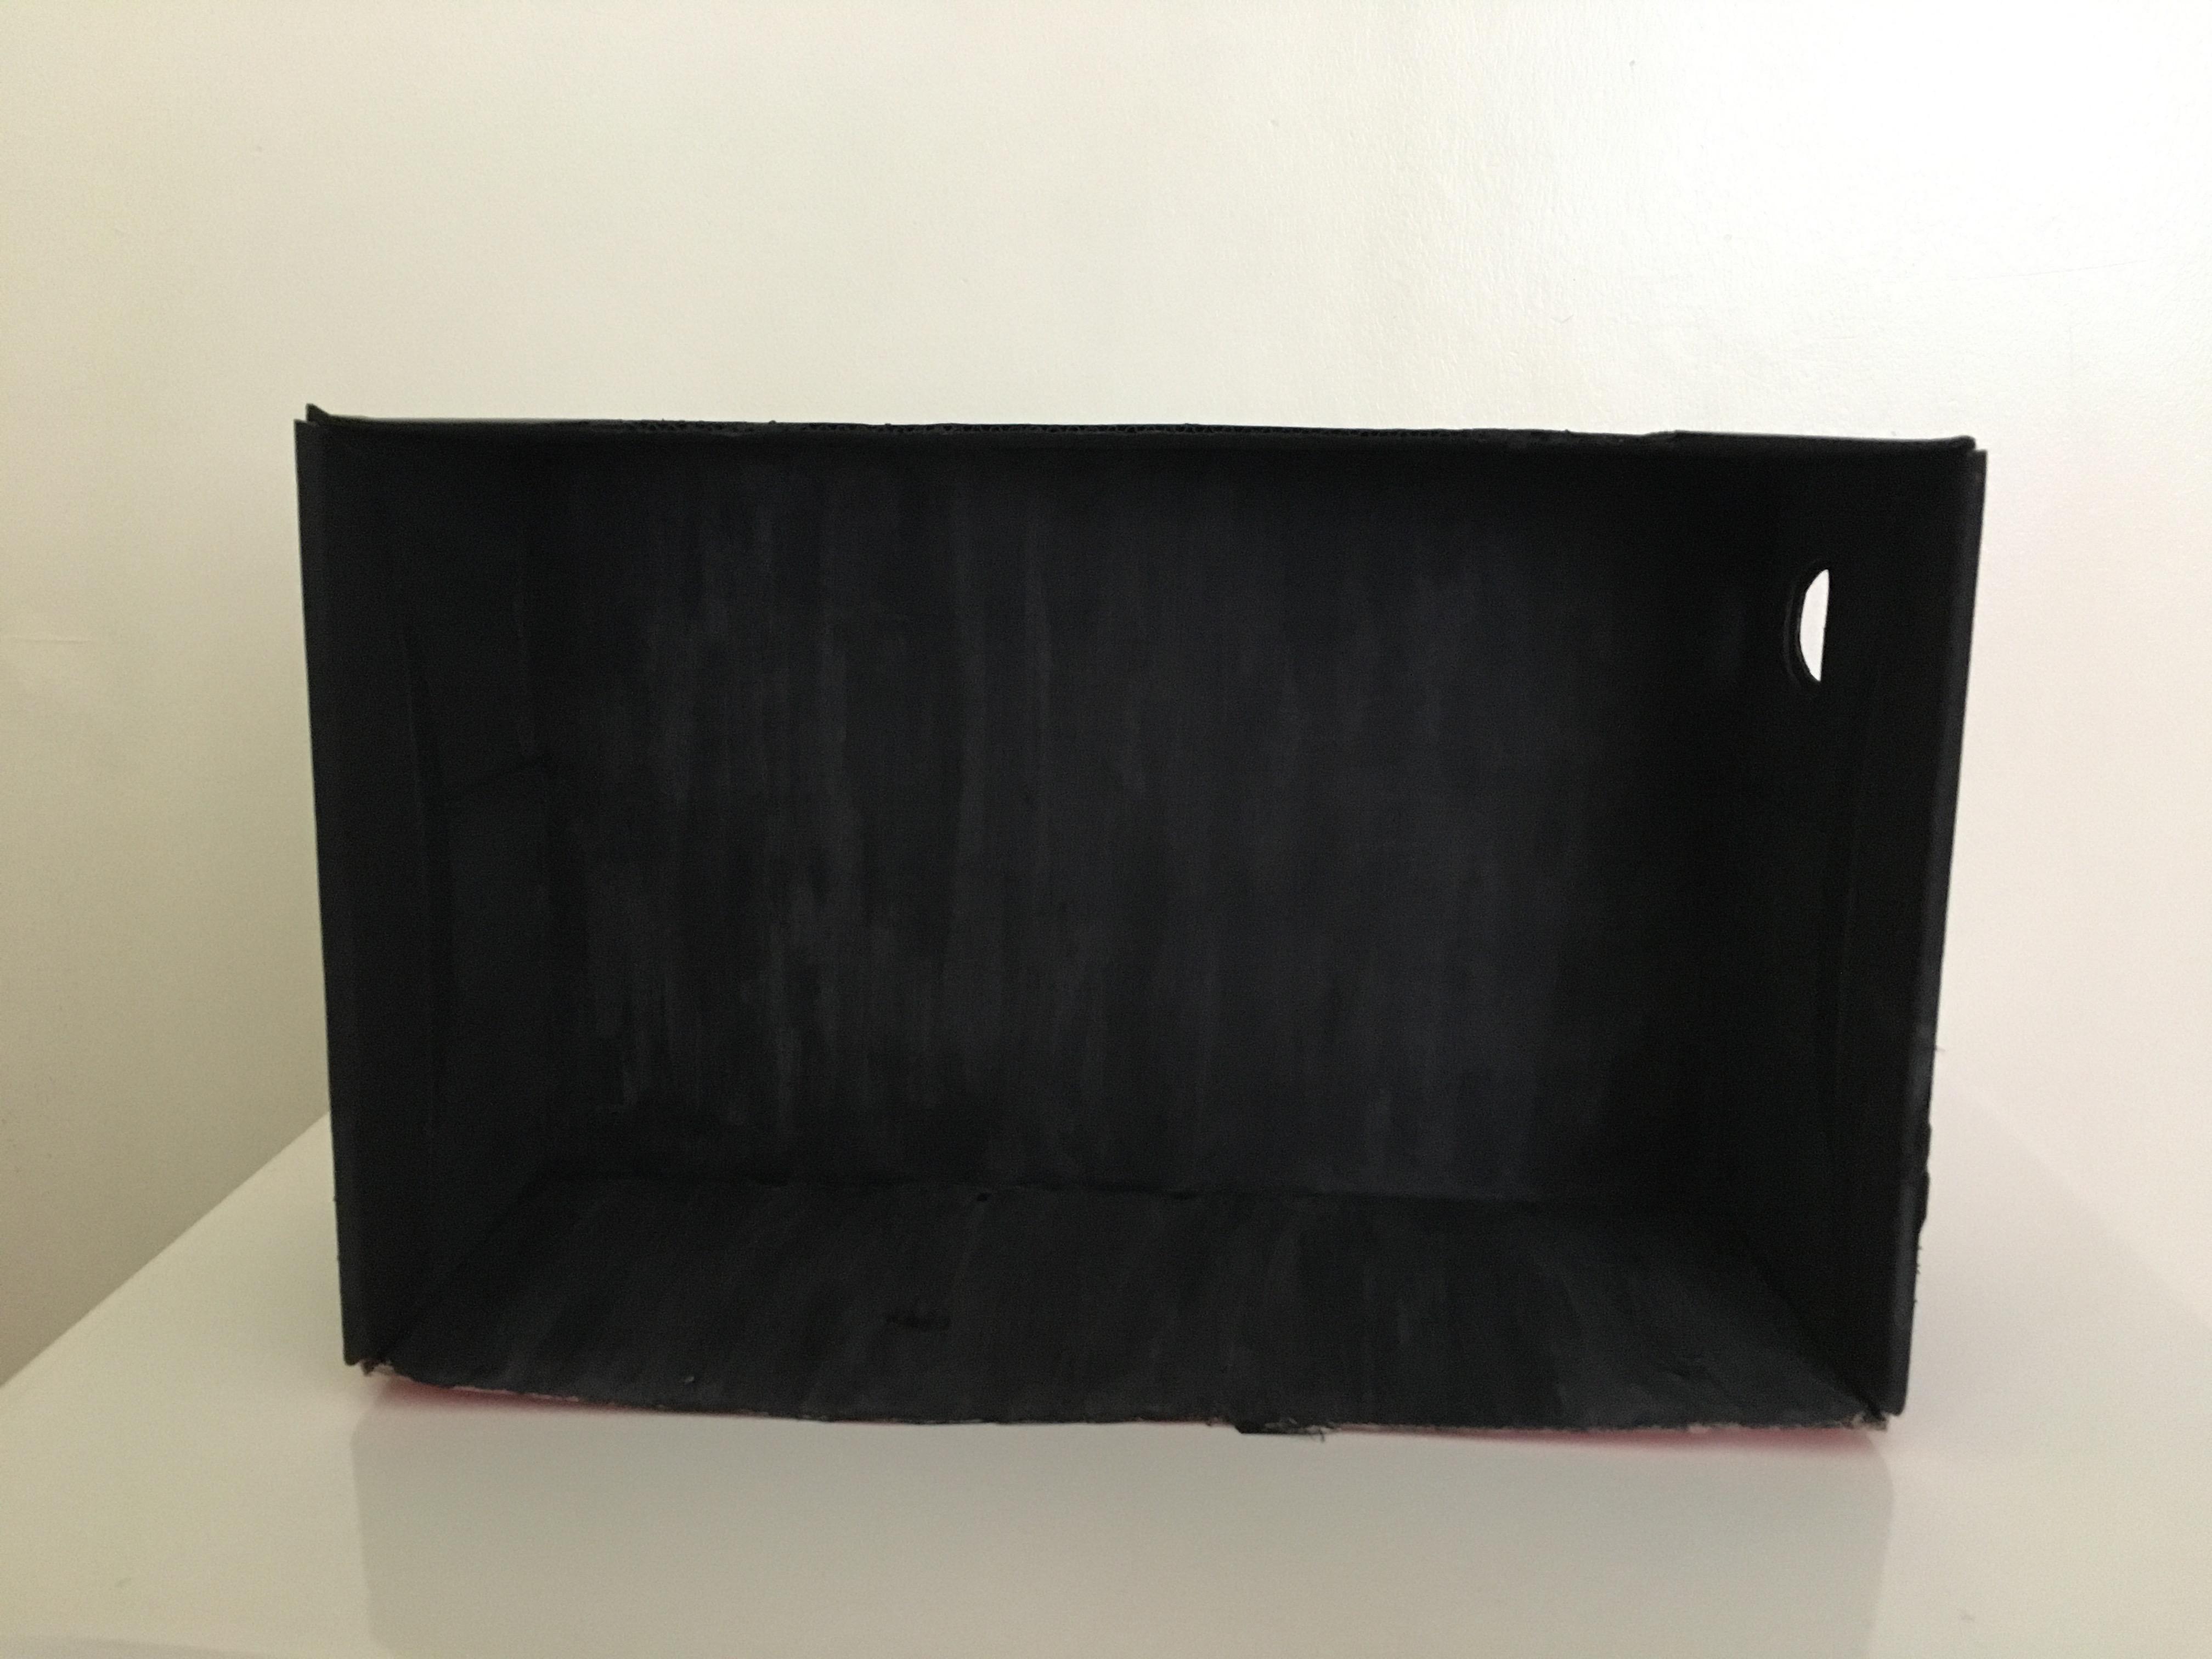
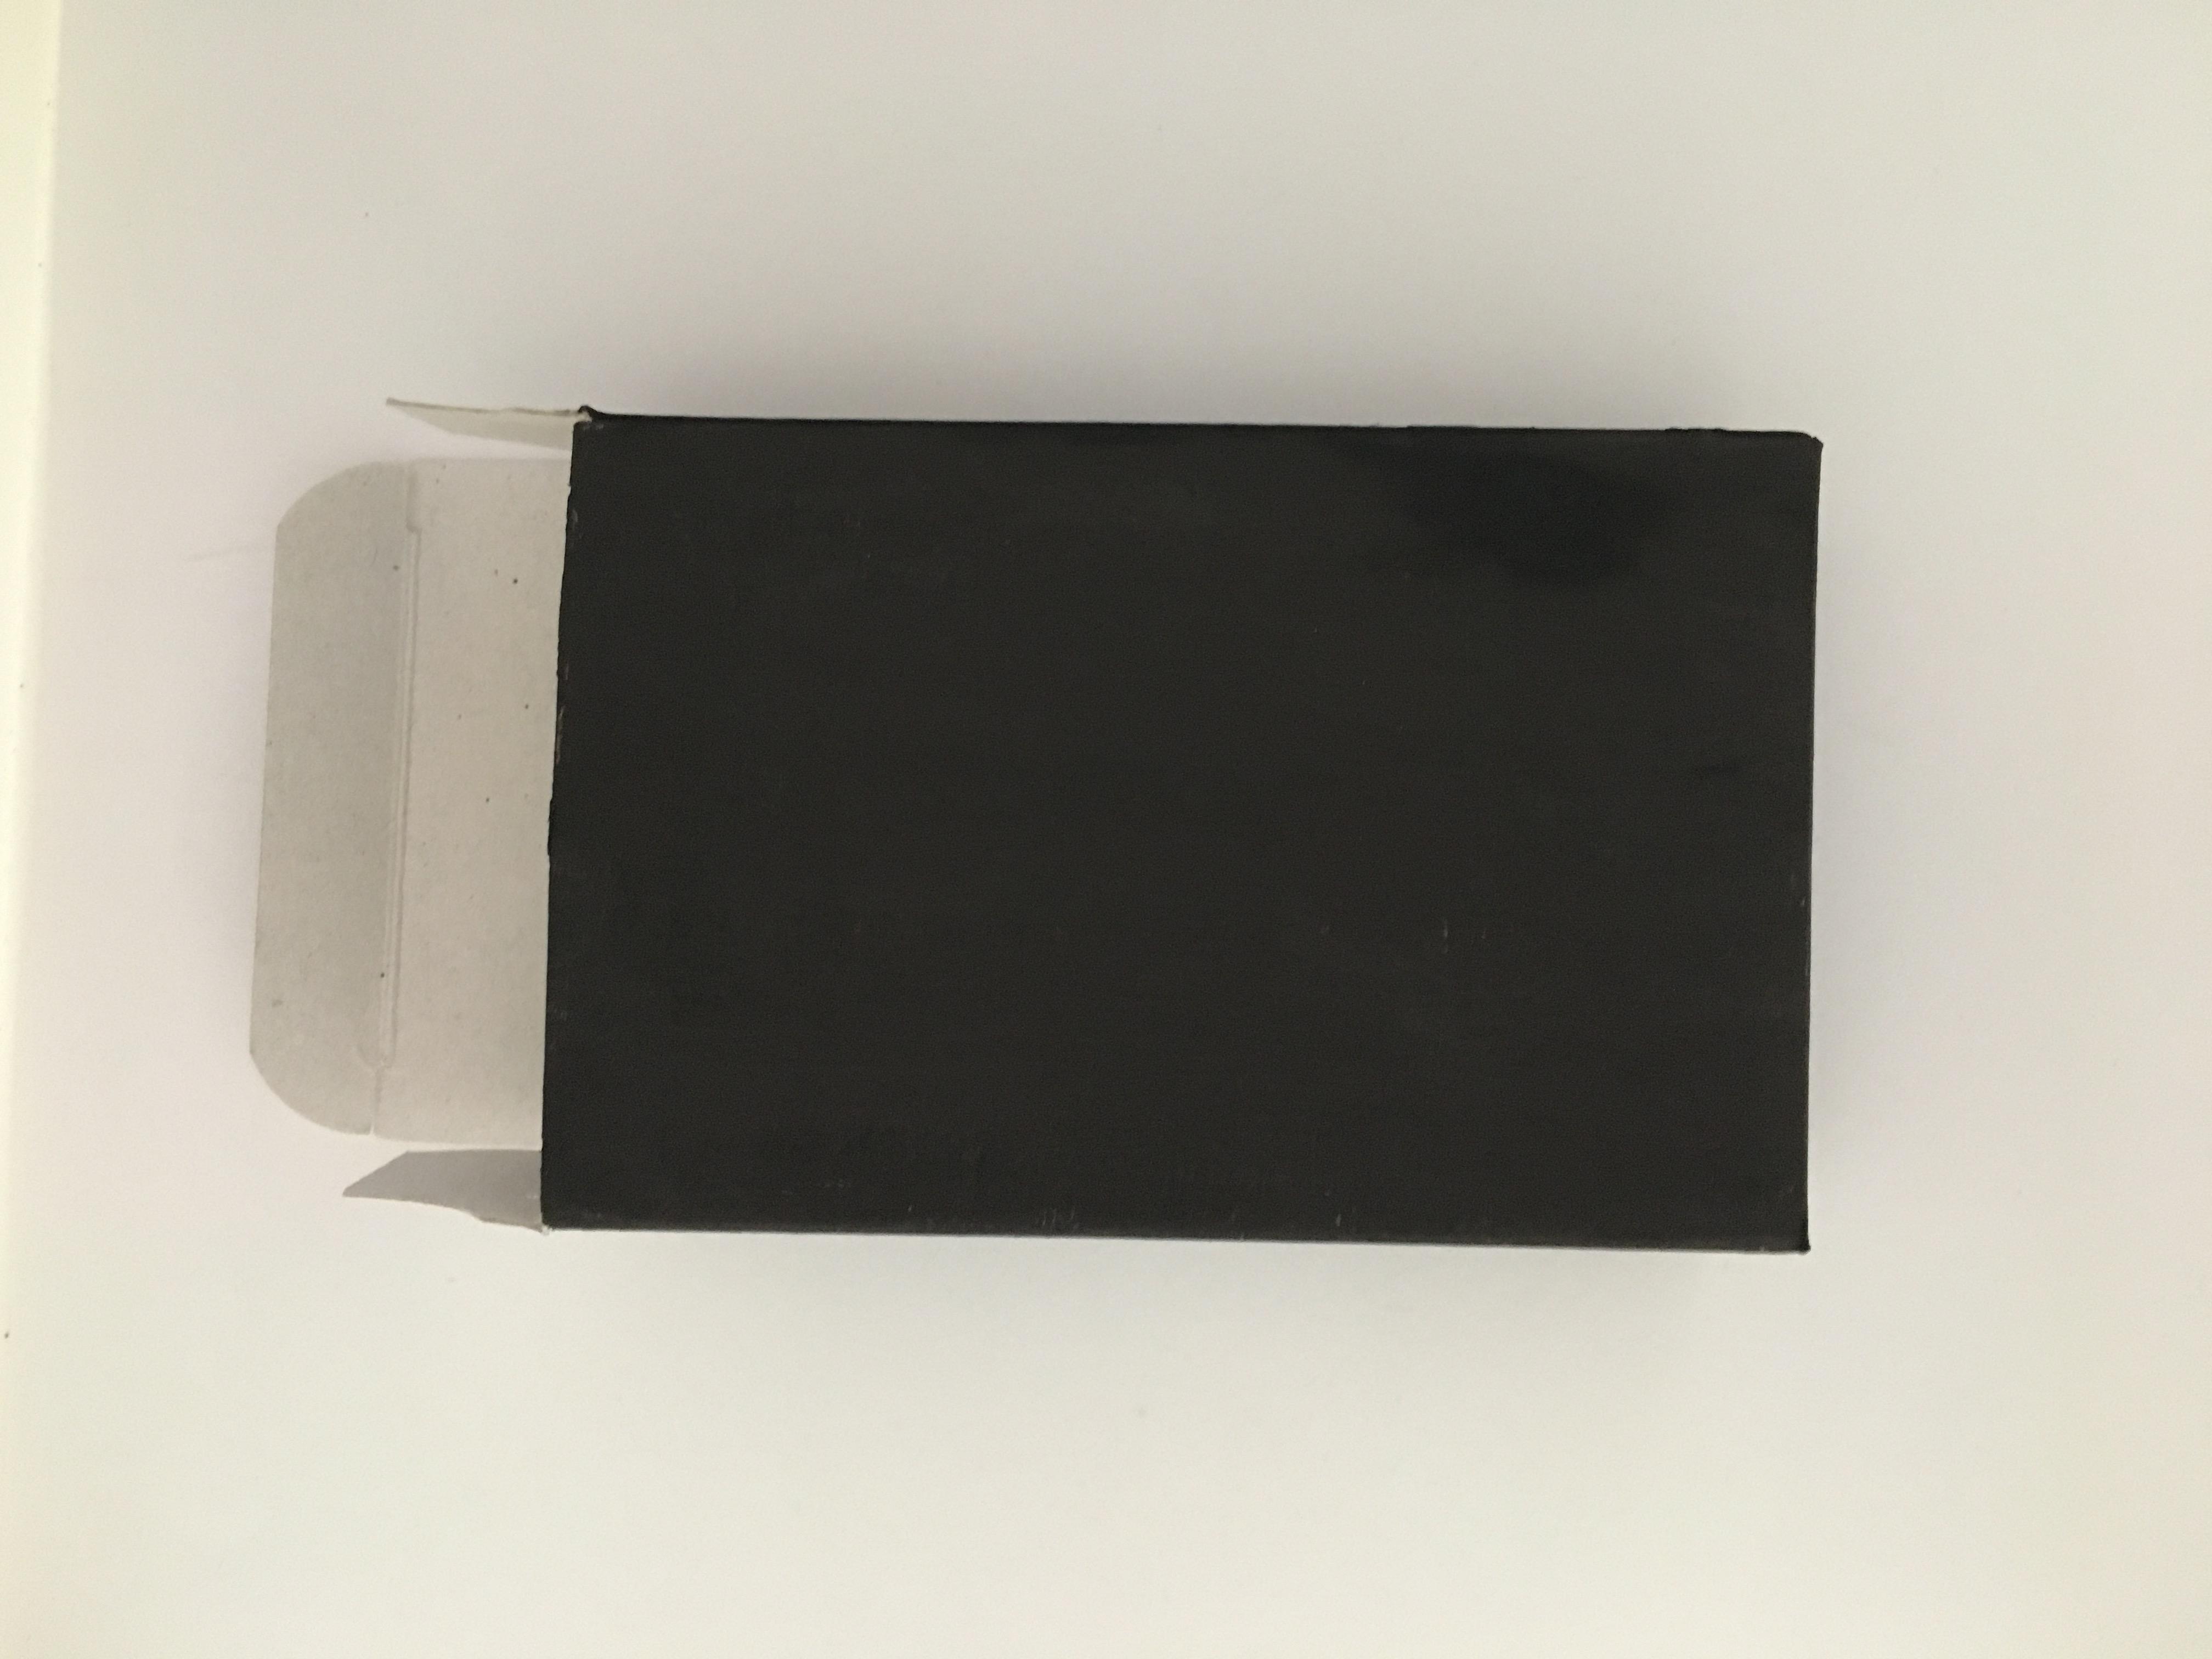
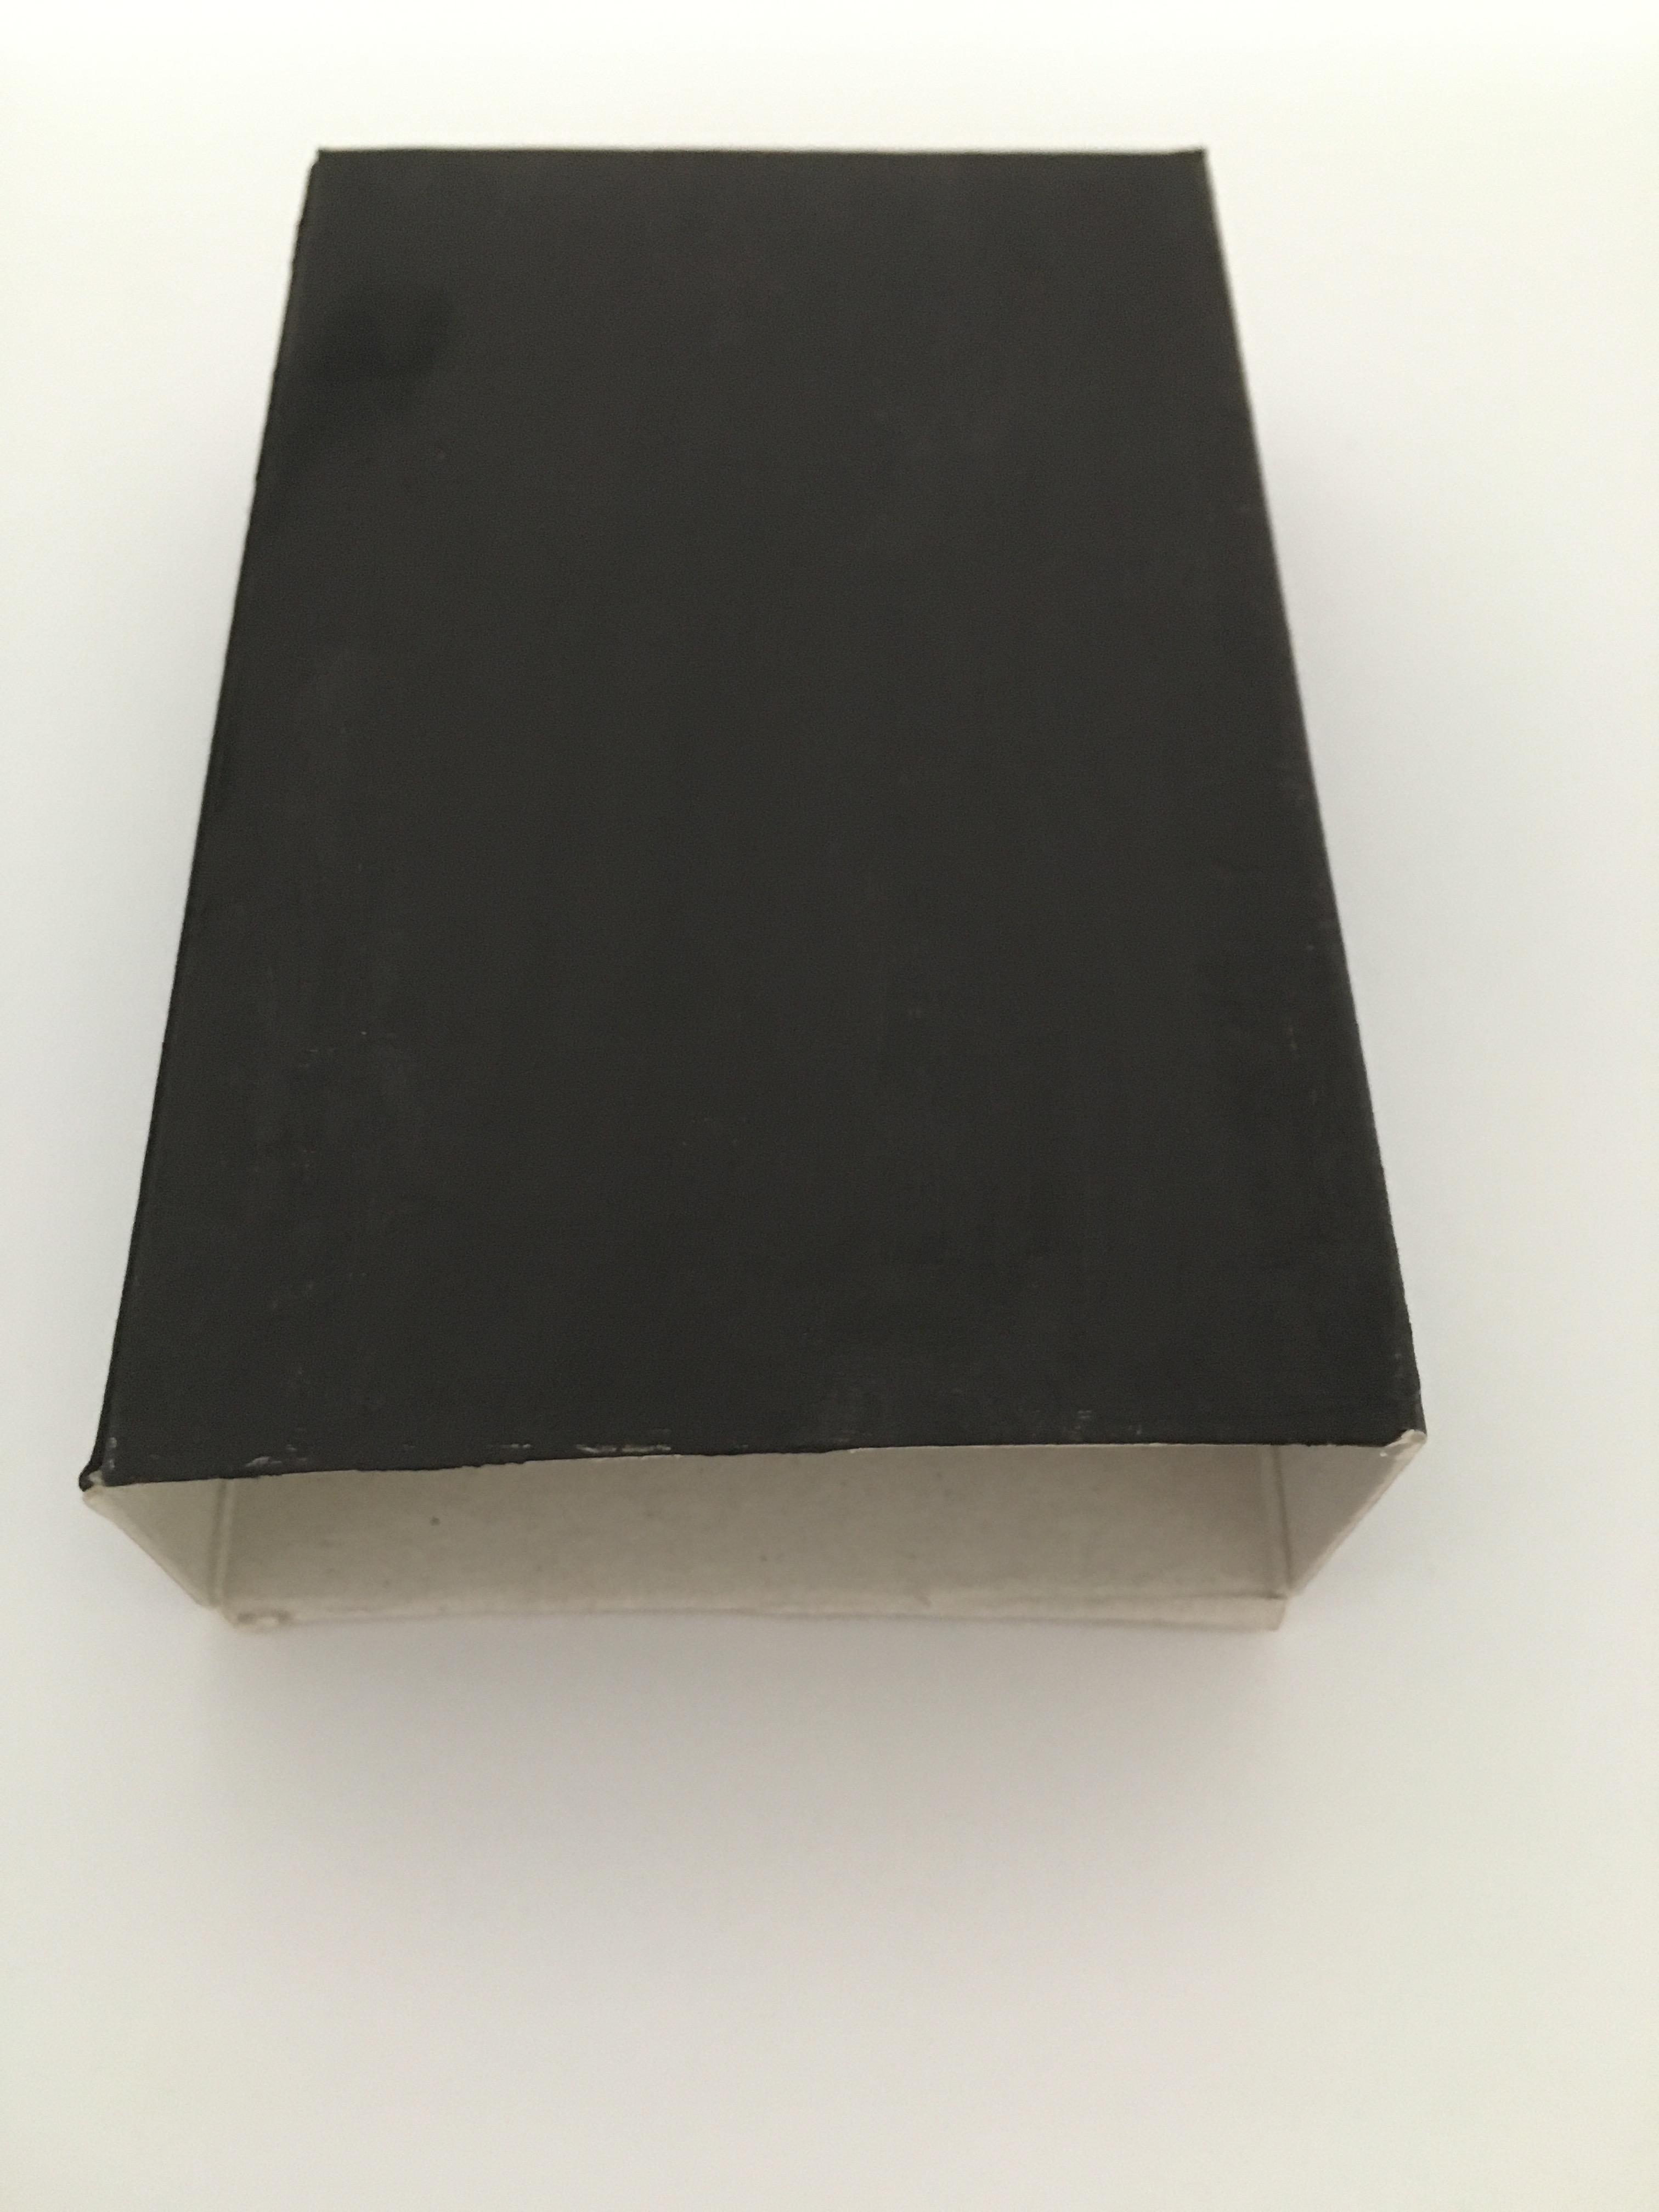
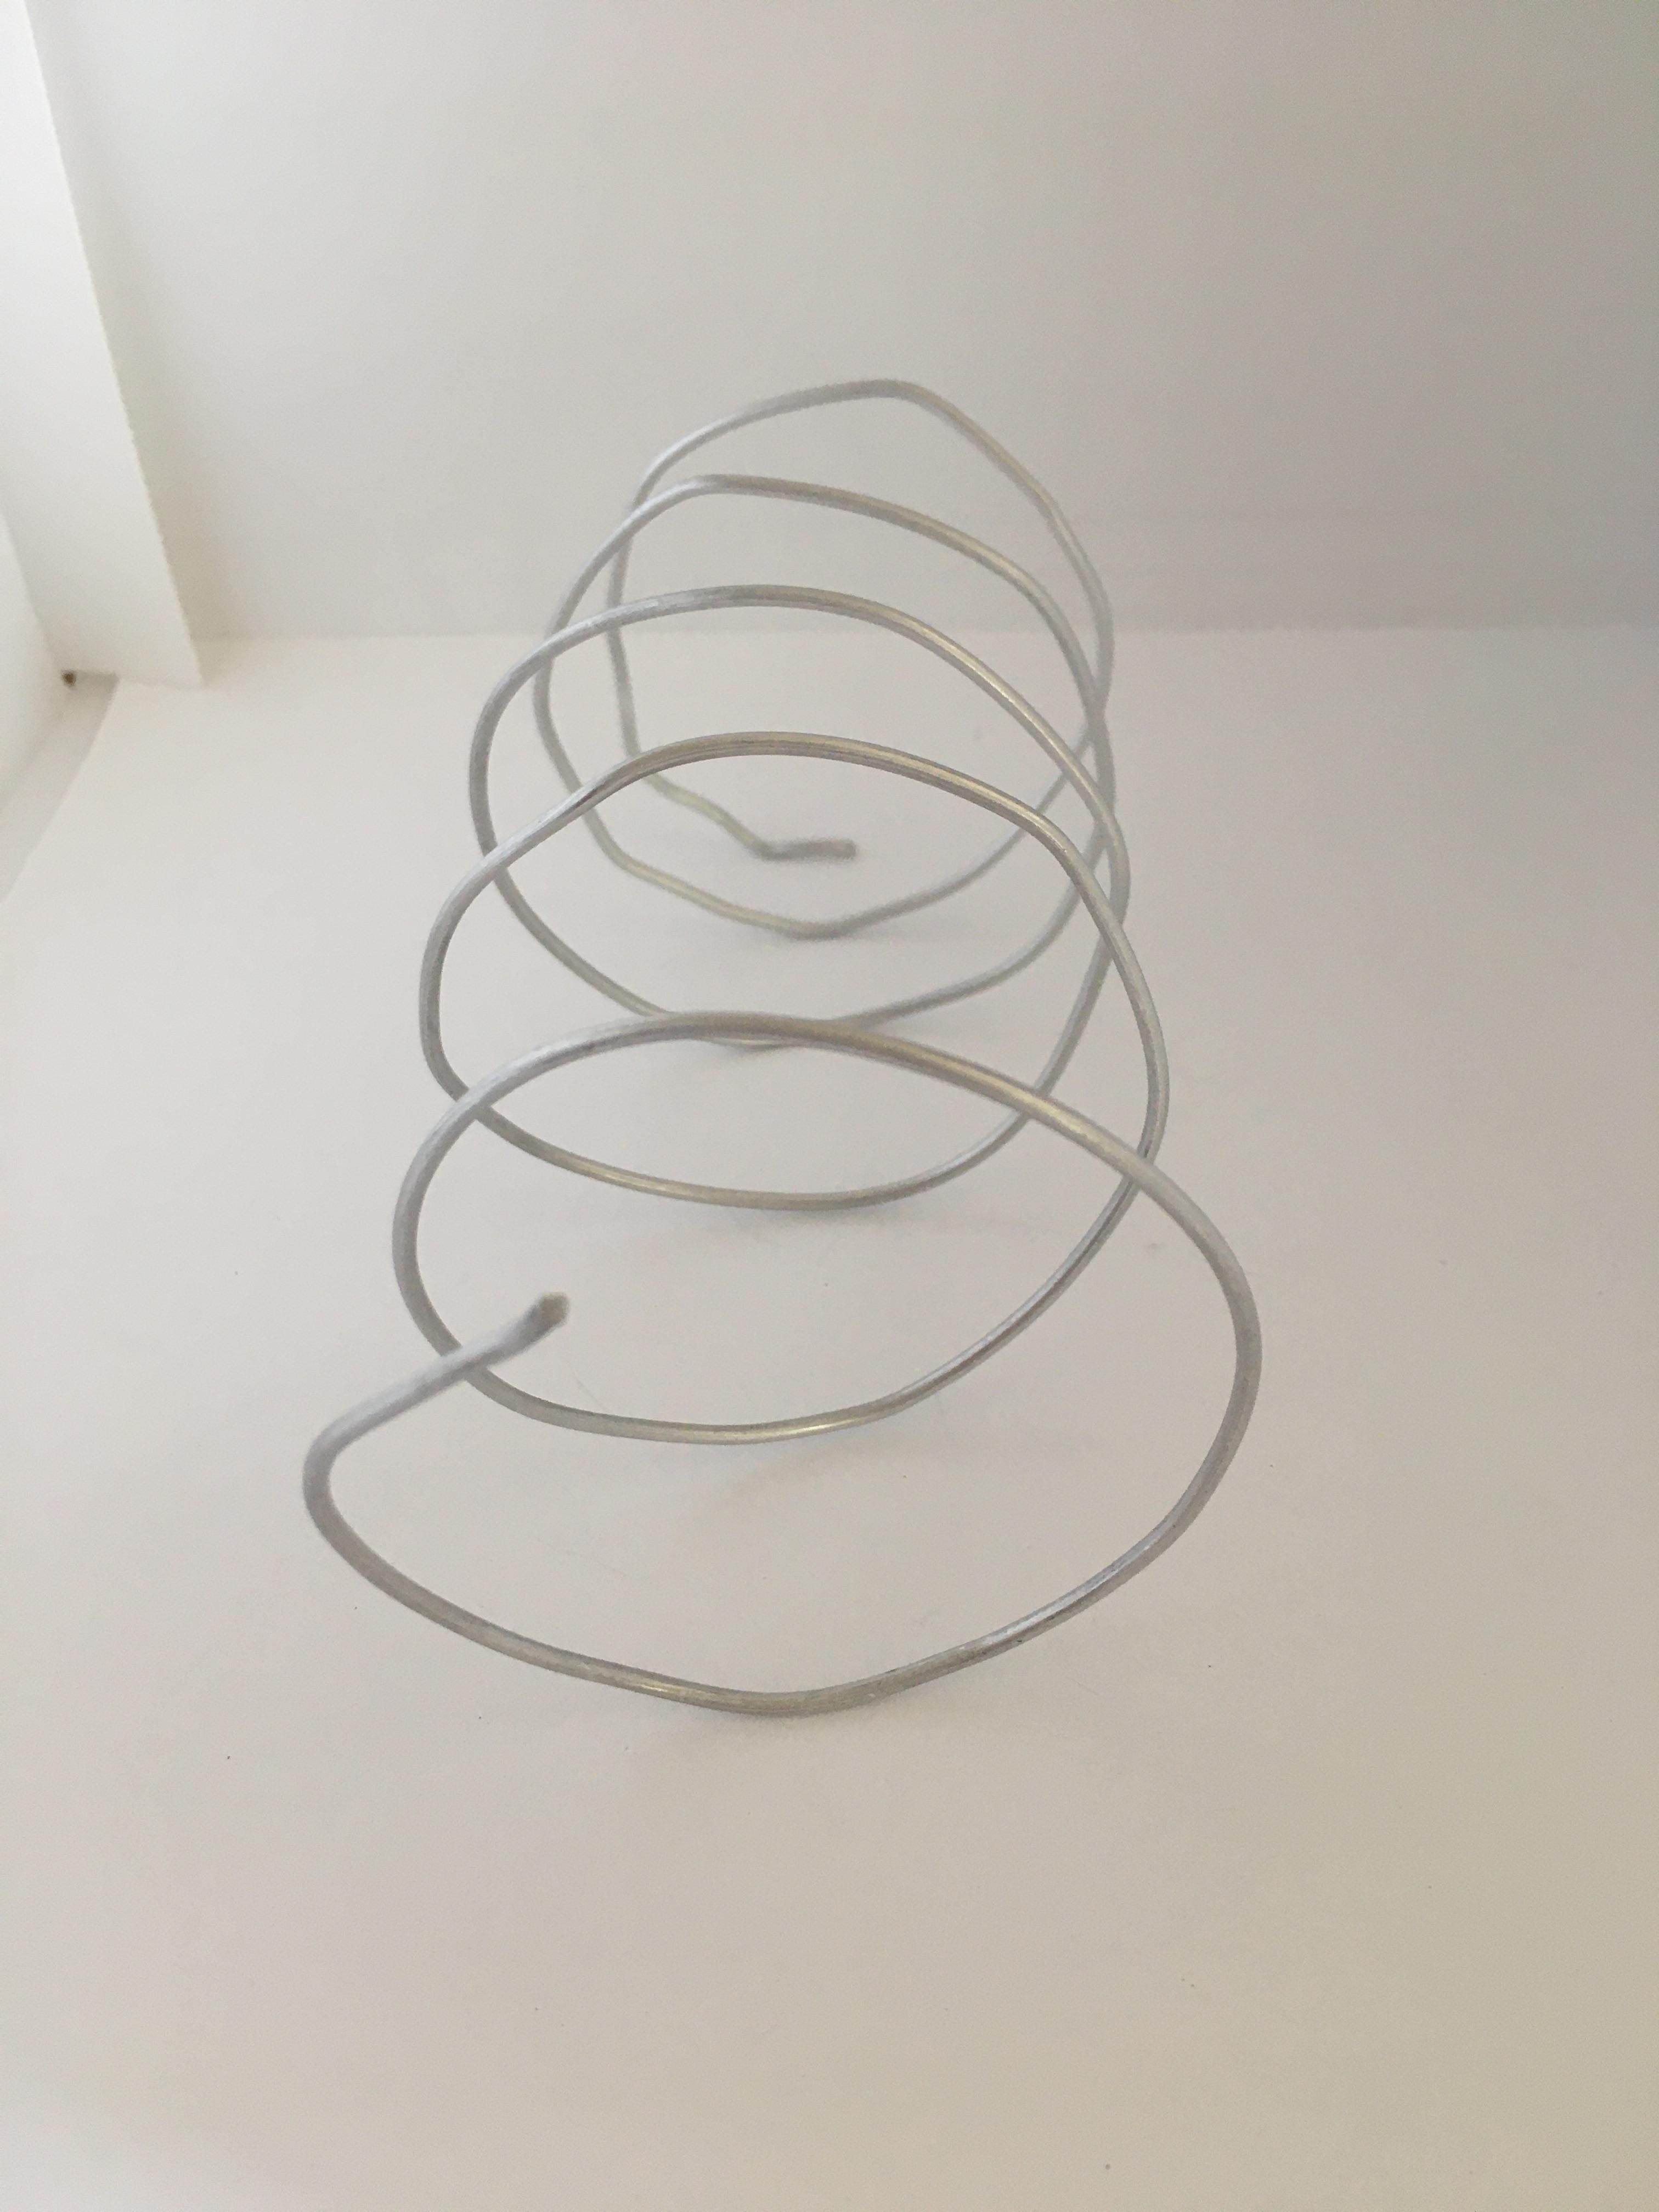
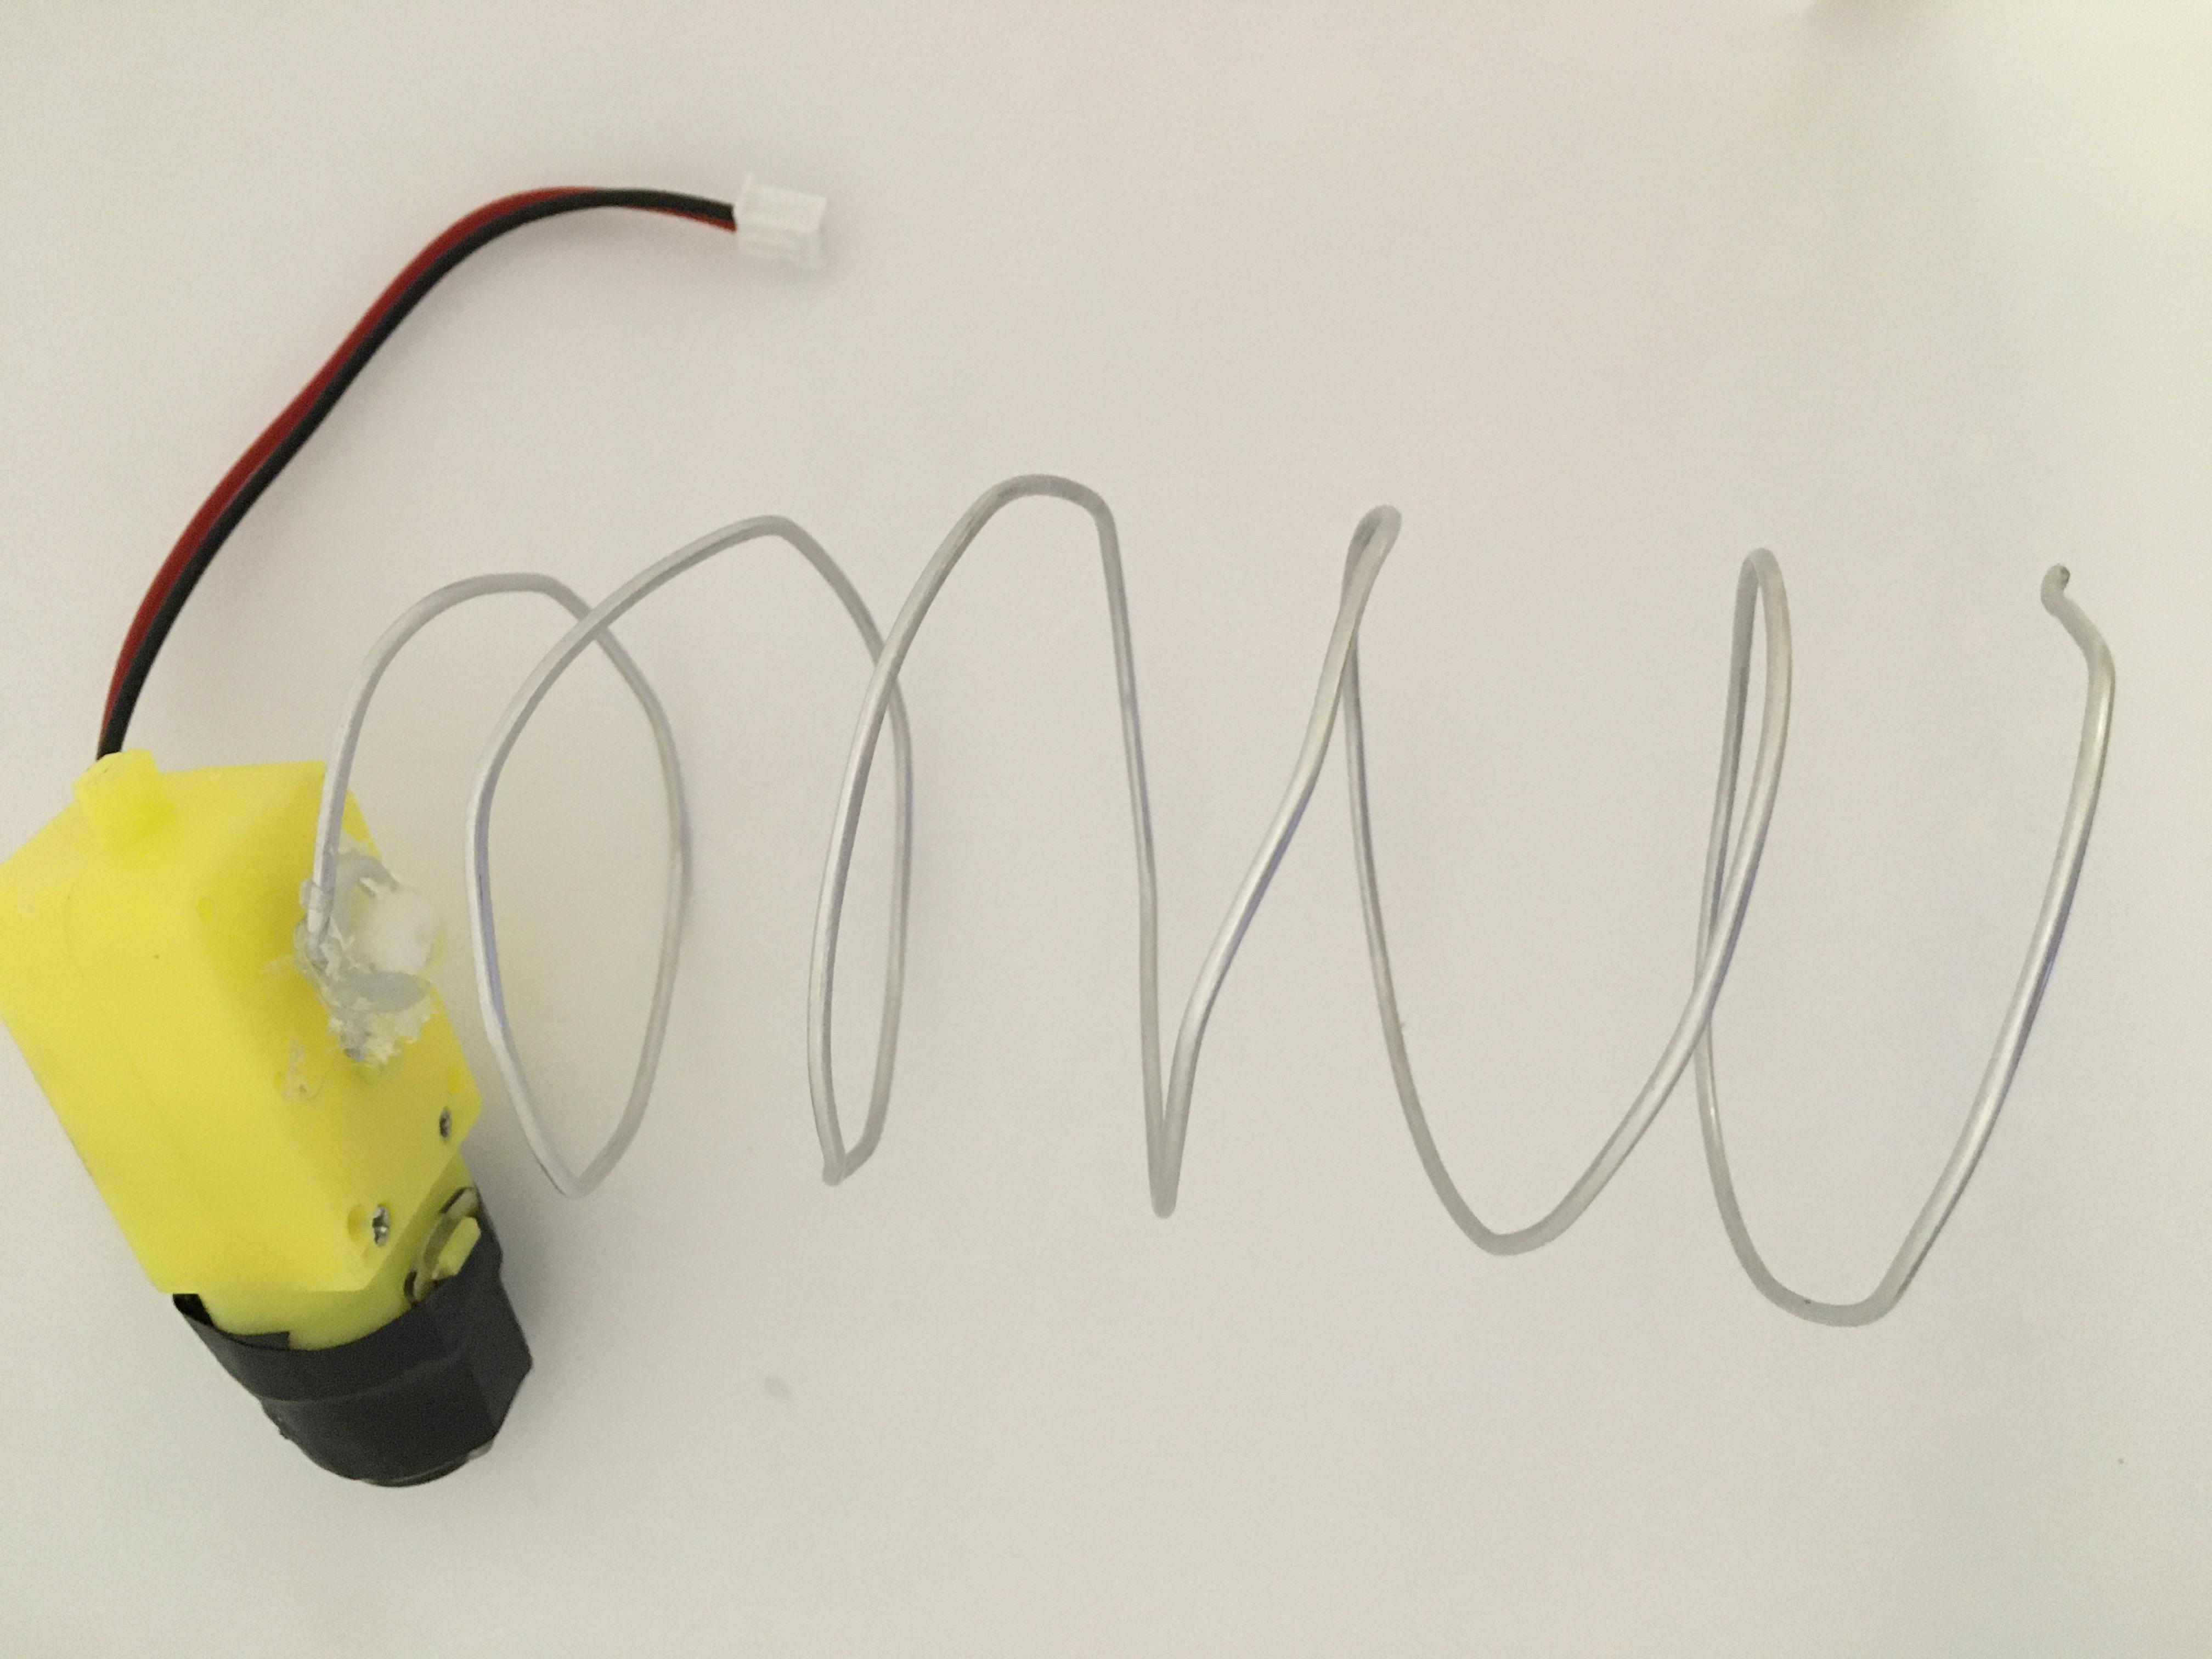
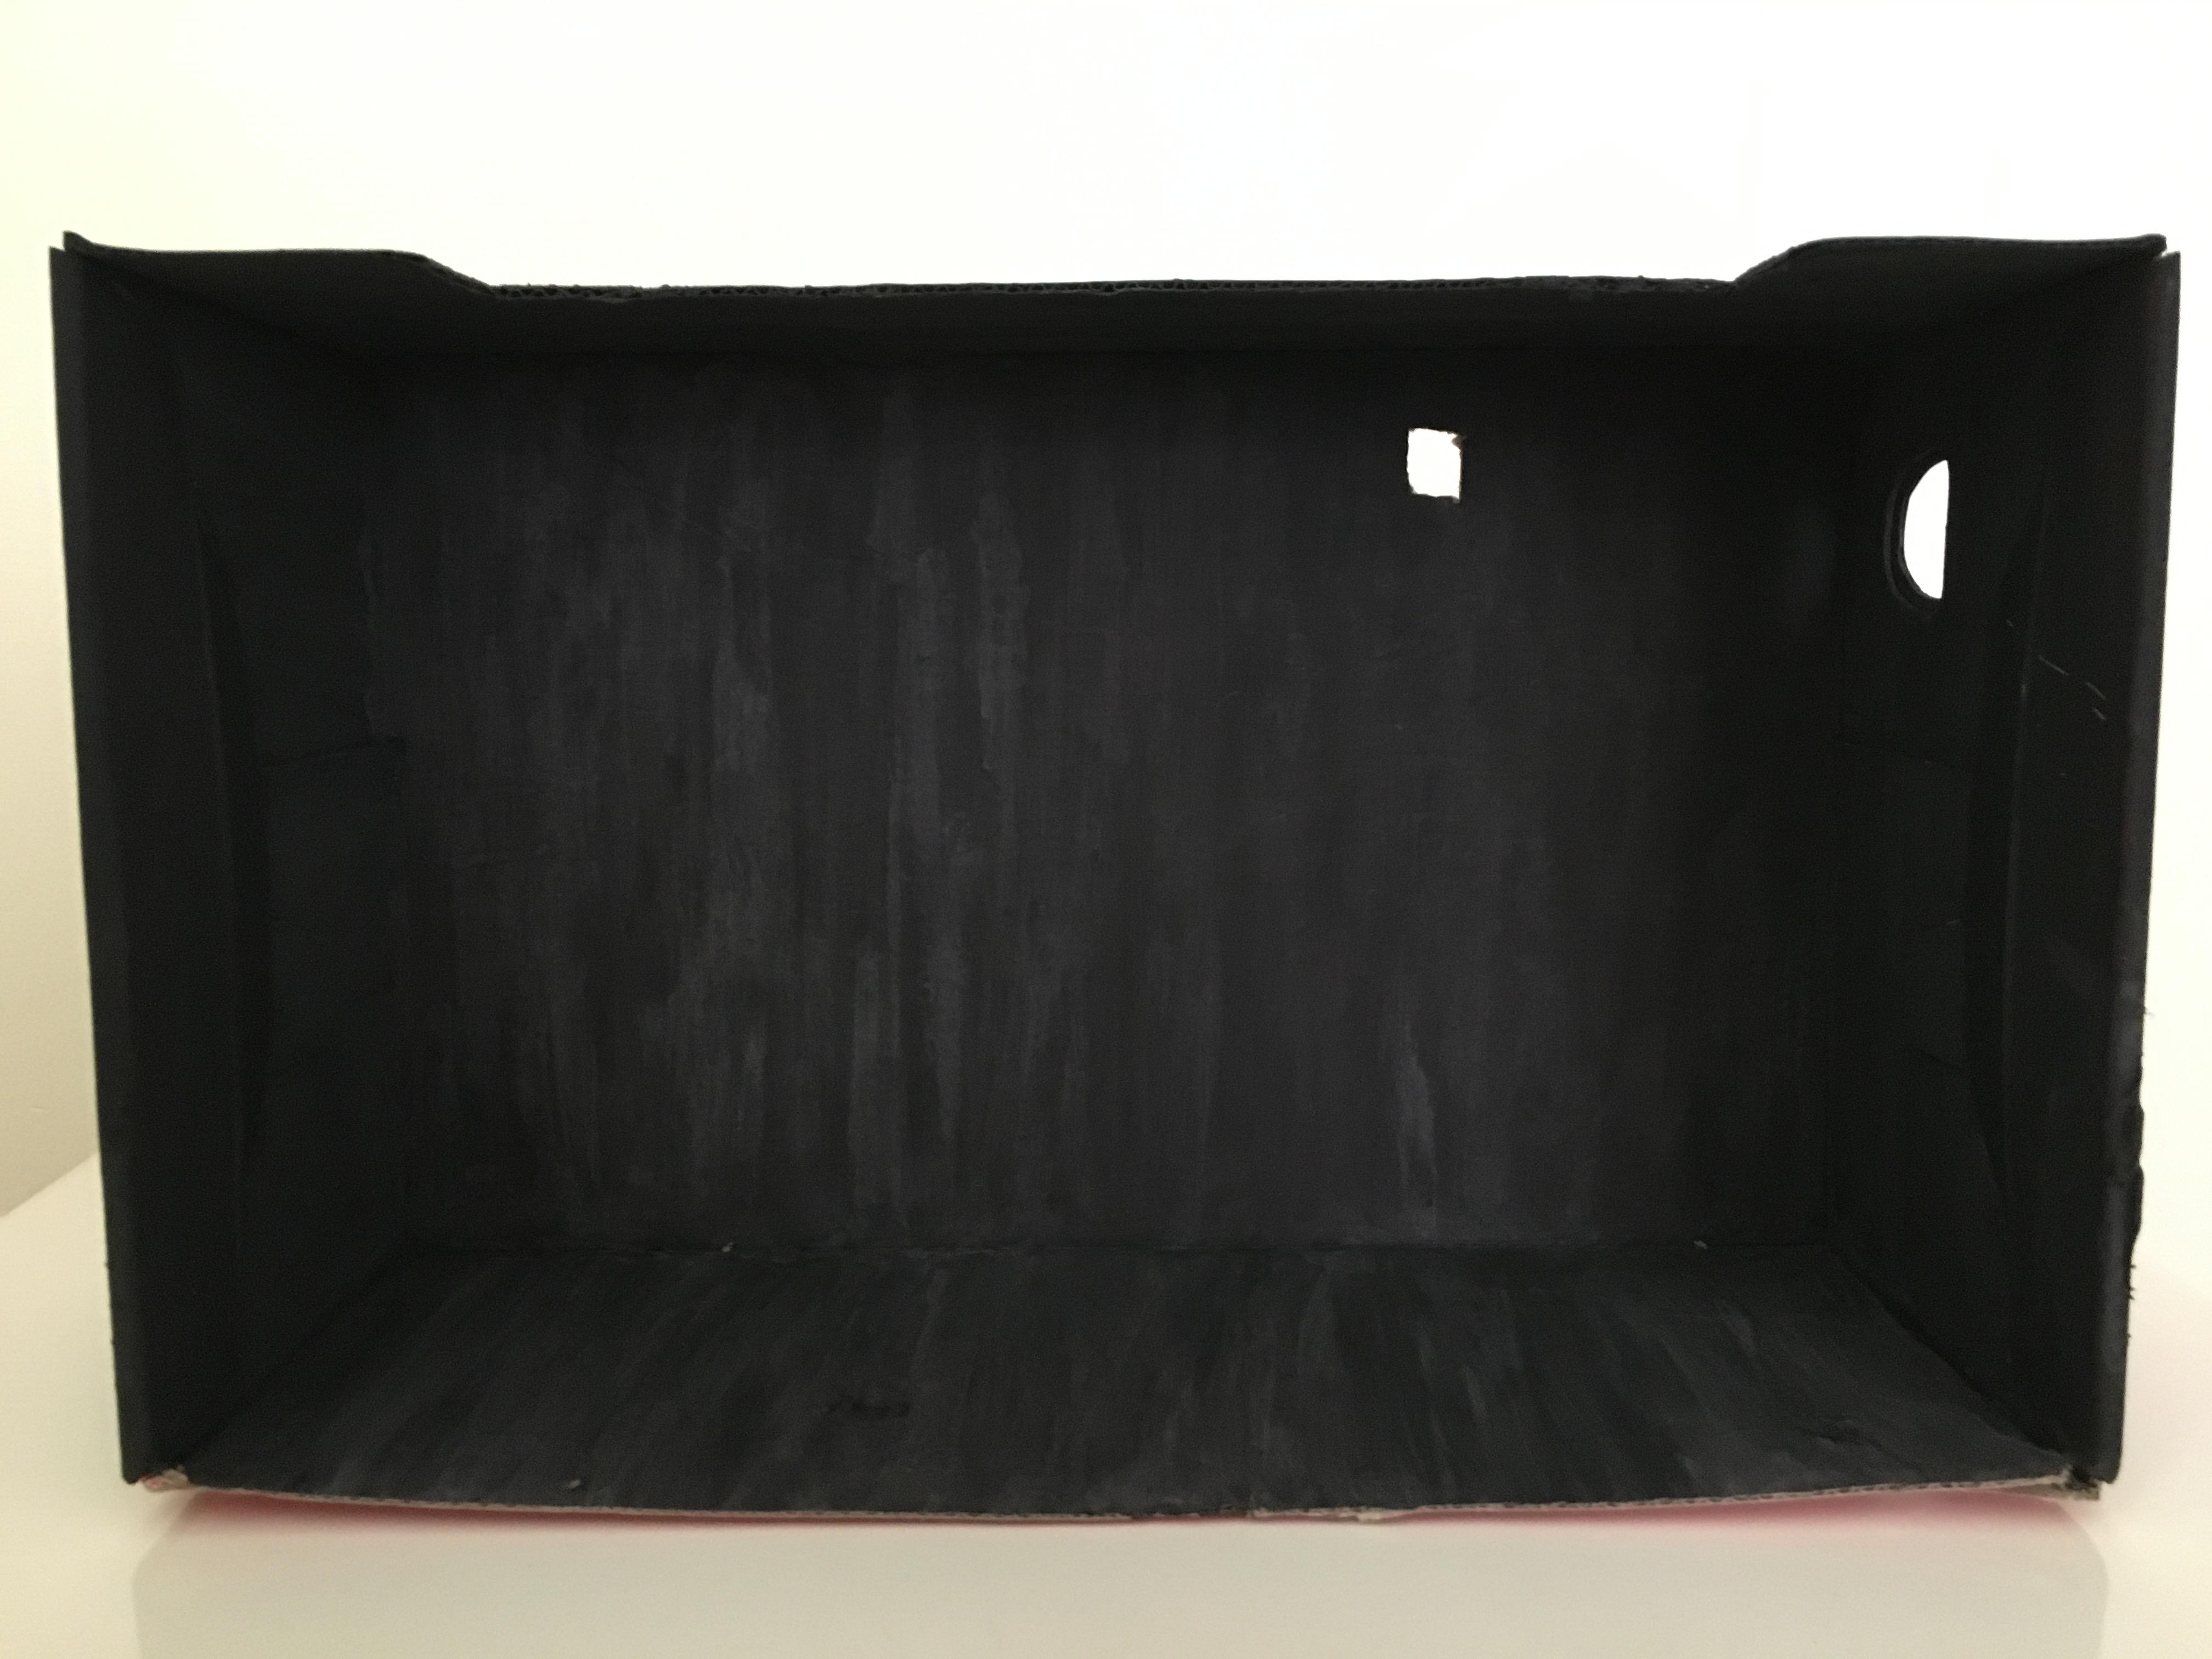
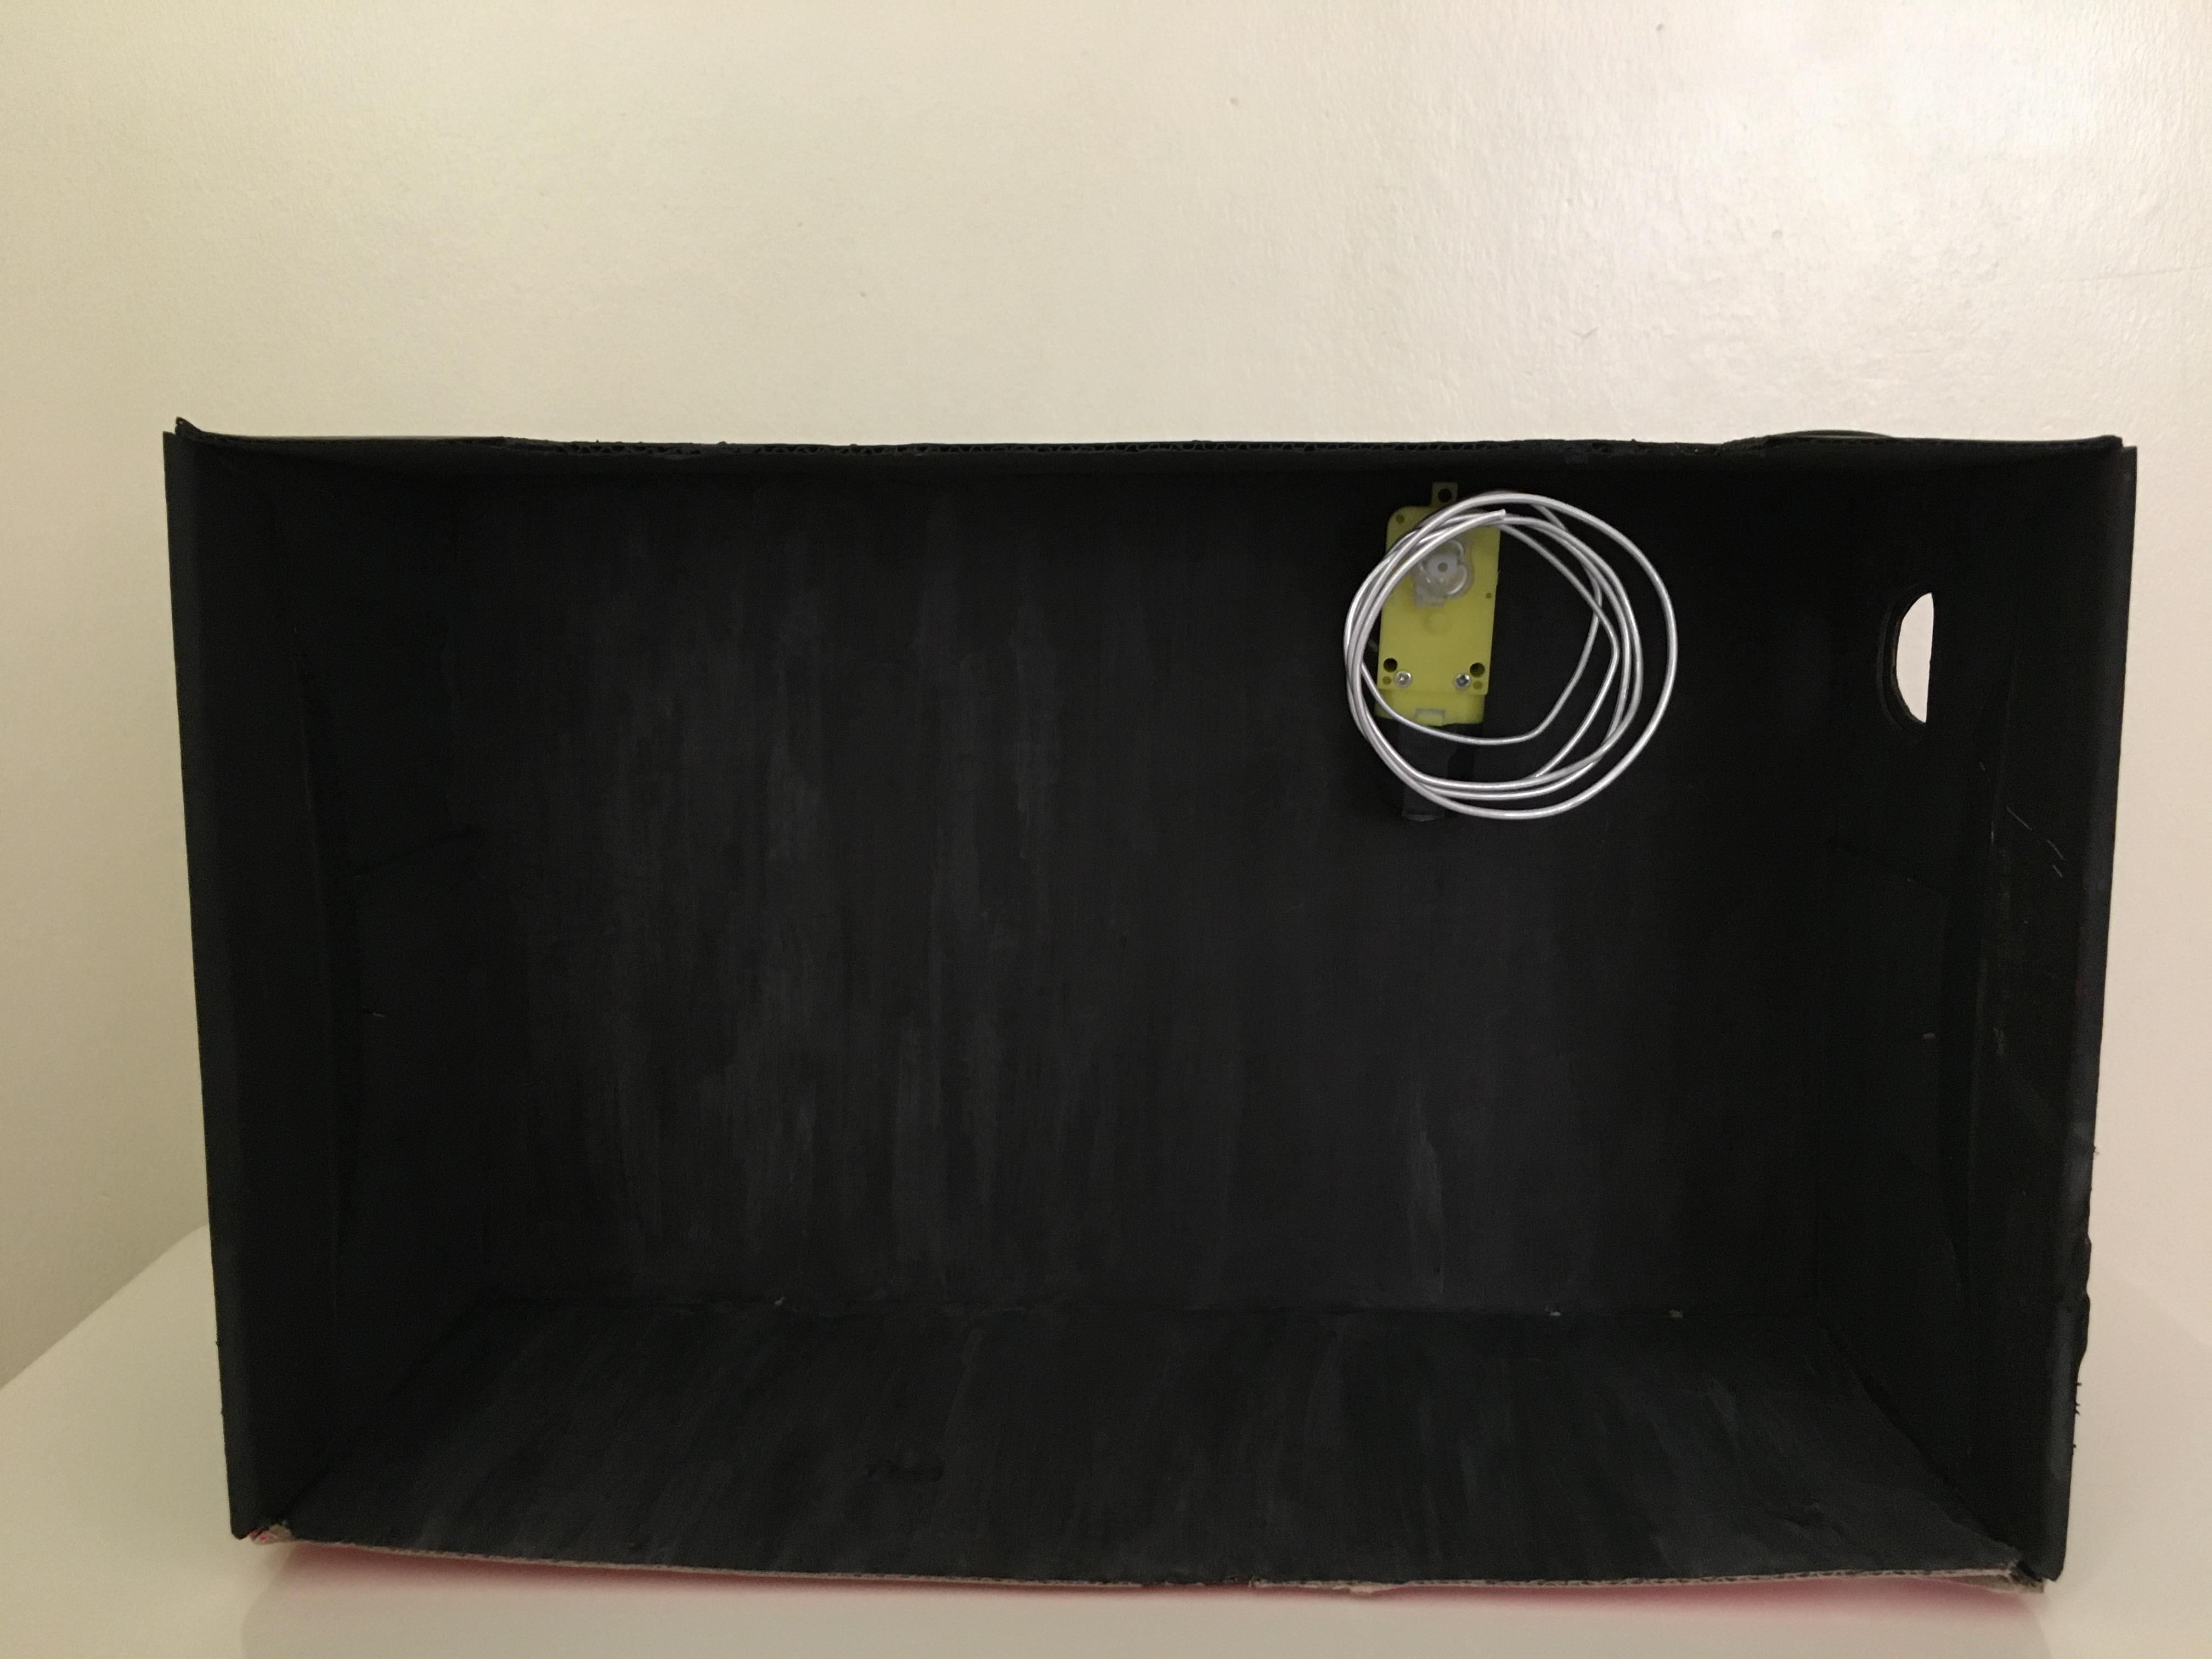
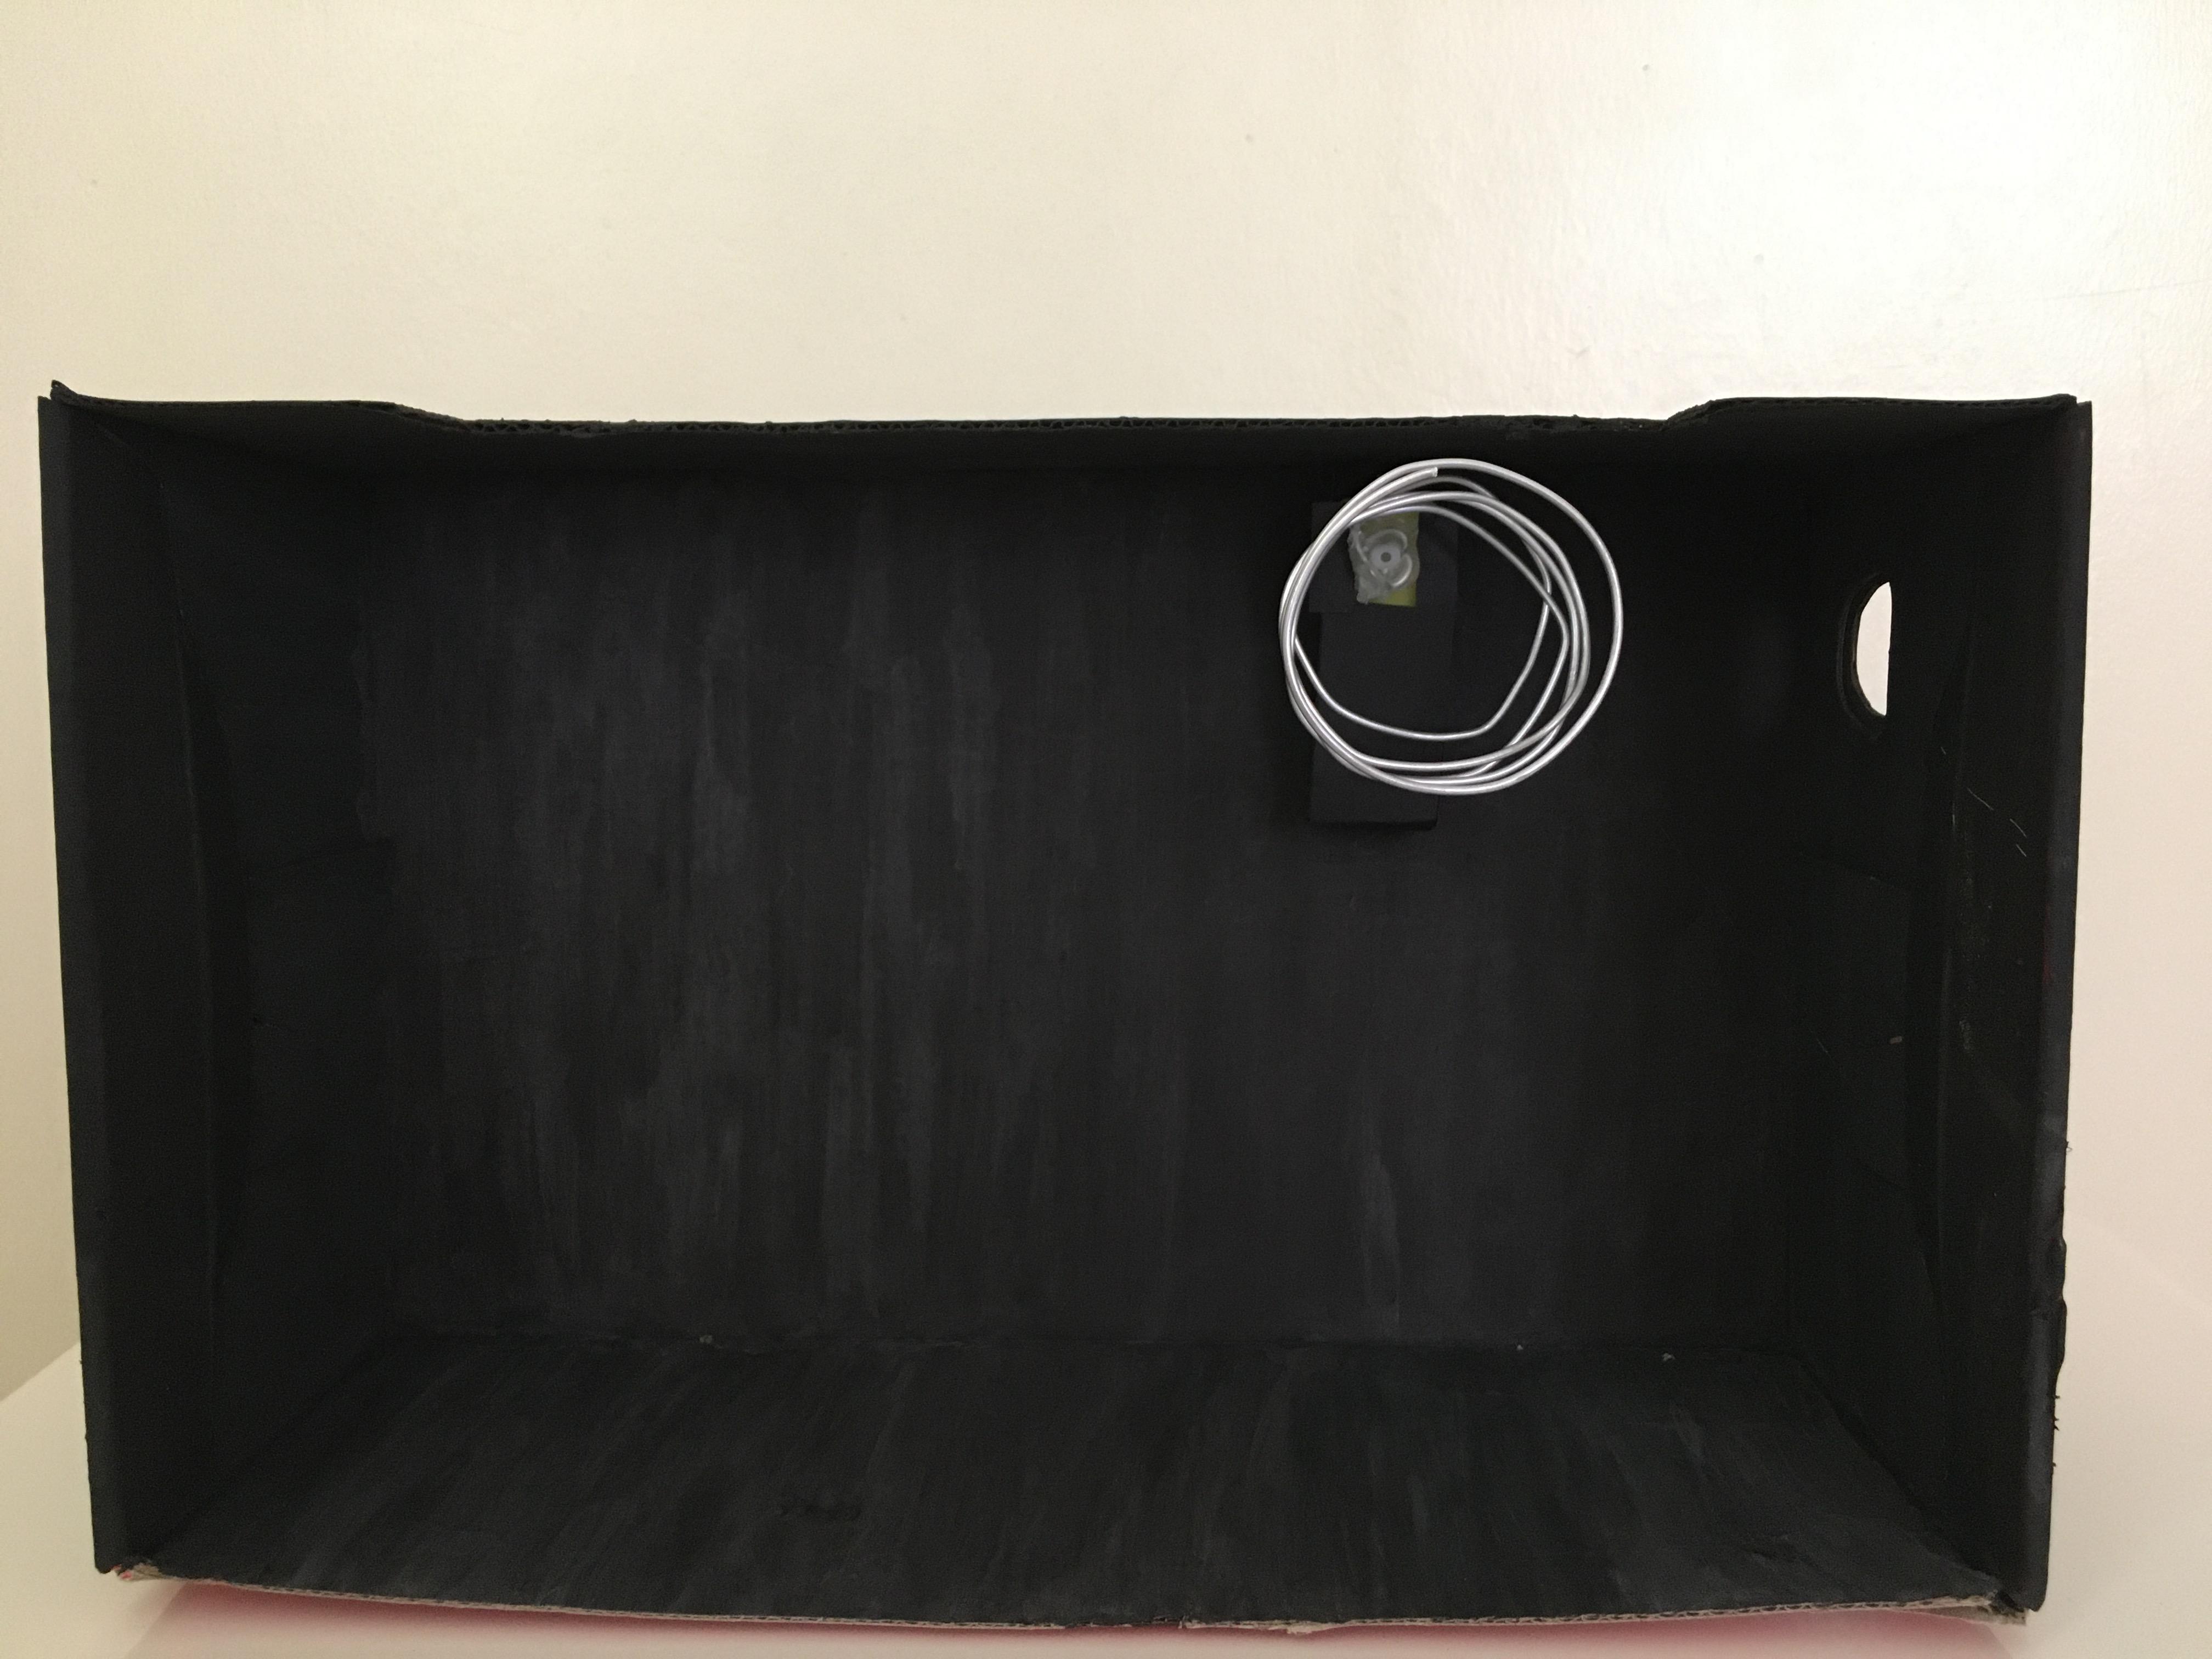
- For our project, let's start with designing a box.
- We cut a little from the front of the shoe box.
- We paint the outer and inner parts of the shoe box with acrylic paint.
- We paint the outer part of the medicine box.
- We cut off some of the caps.
- We give the aluminum wire a spiral shape.
- We stick helix shape on the end of the dc motor.
- We cut a blank to stick the DC motor on the back of the box.
- We paste the DC motor.
- We cover the DC motor with small pieces of cardboard.
Design (Part2)
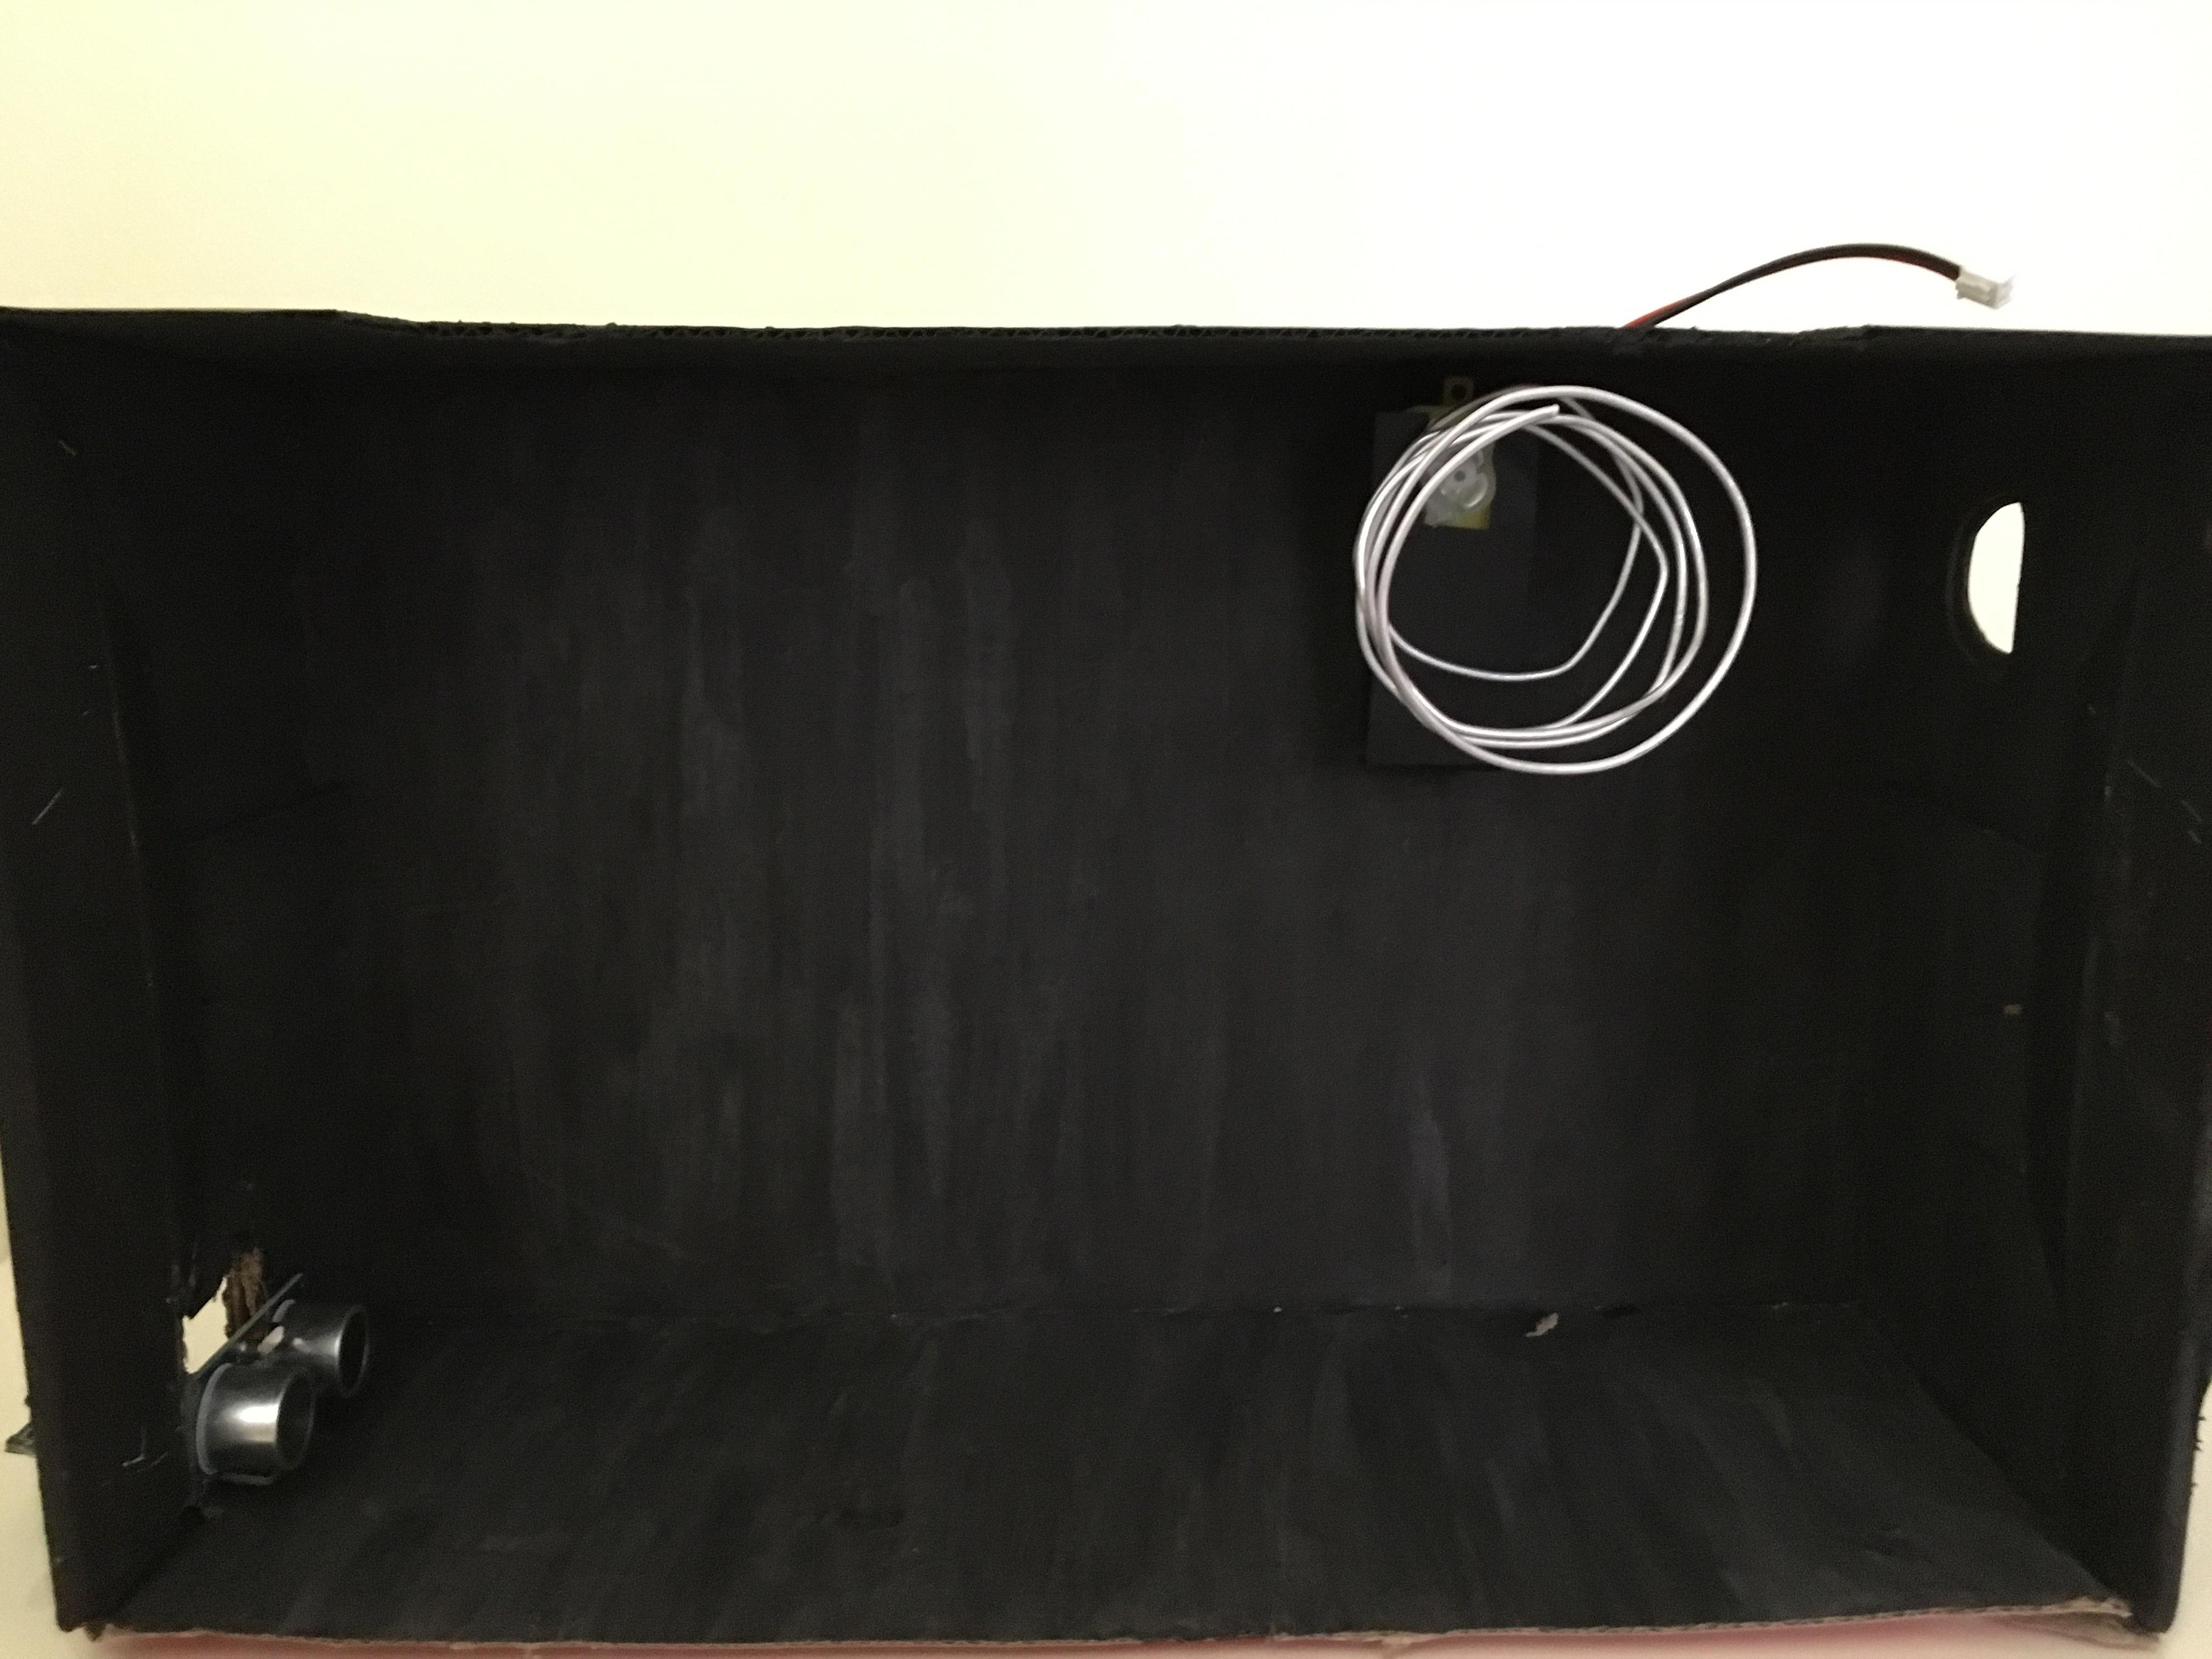
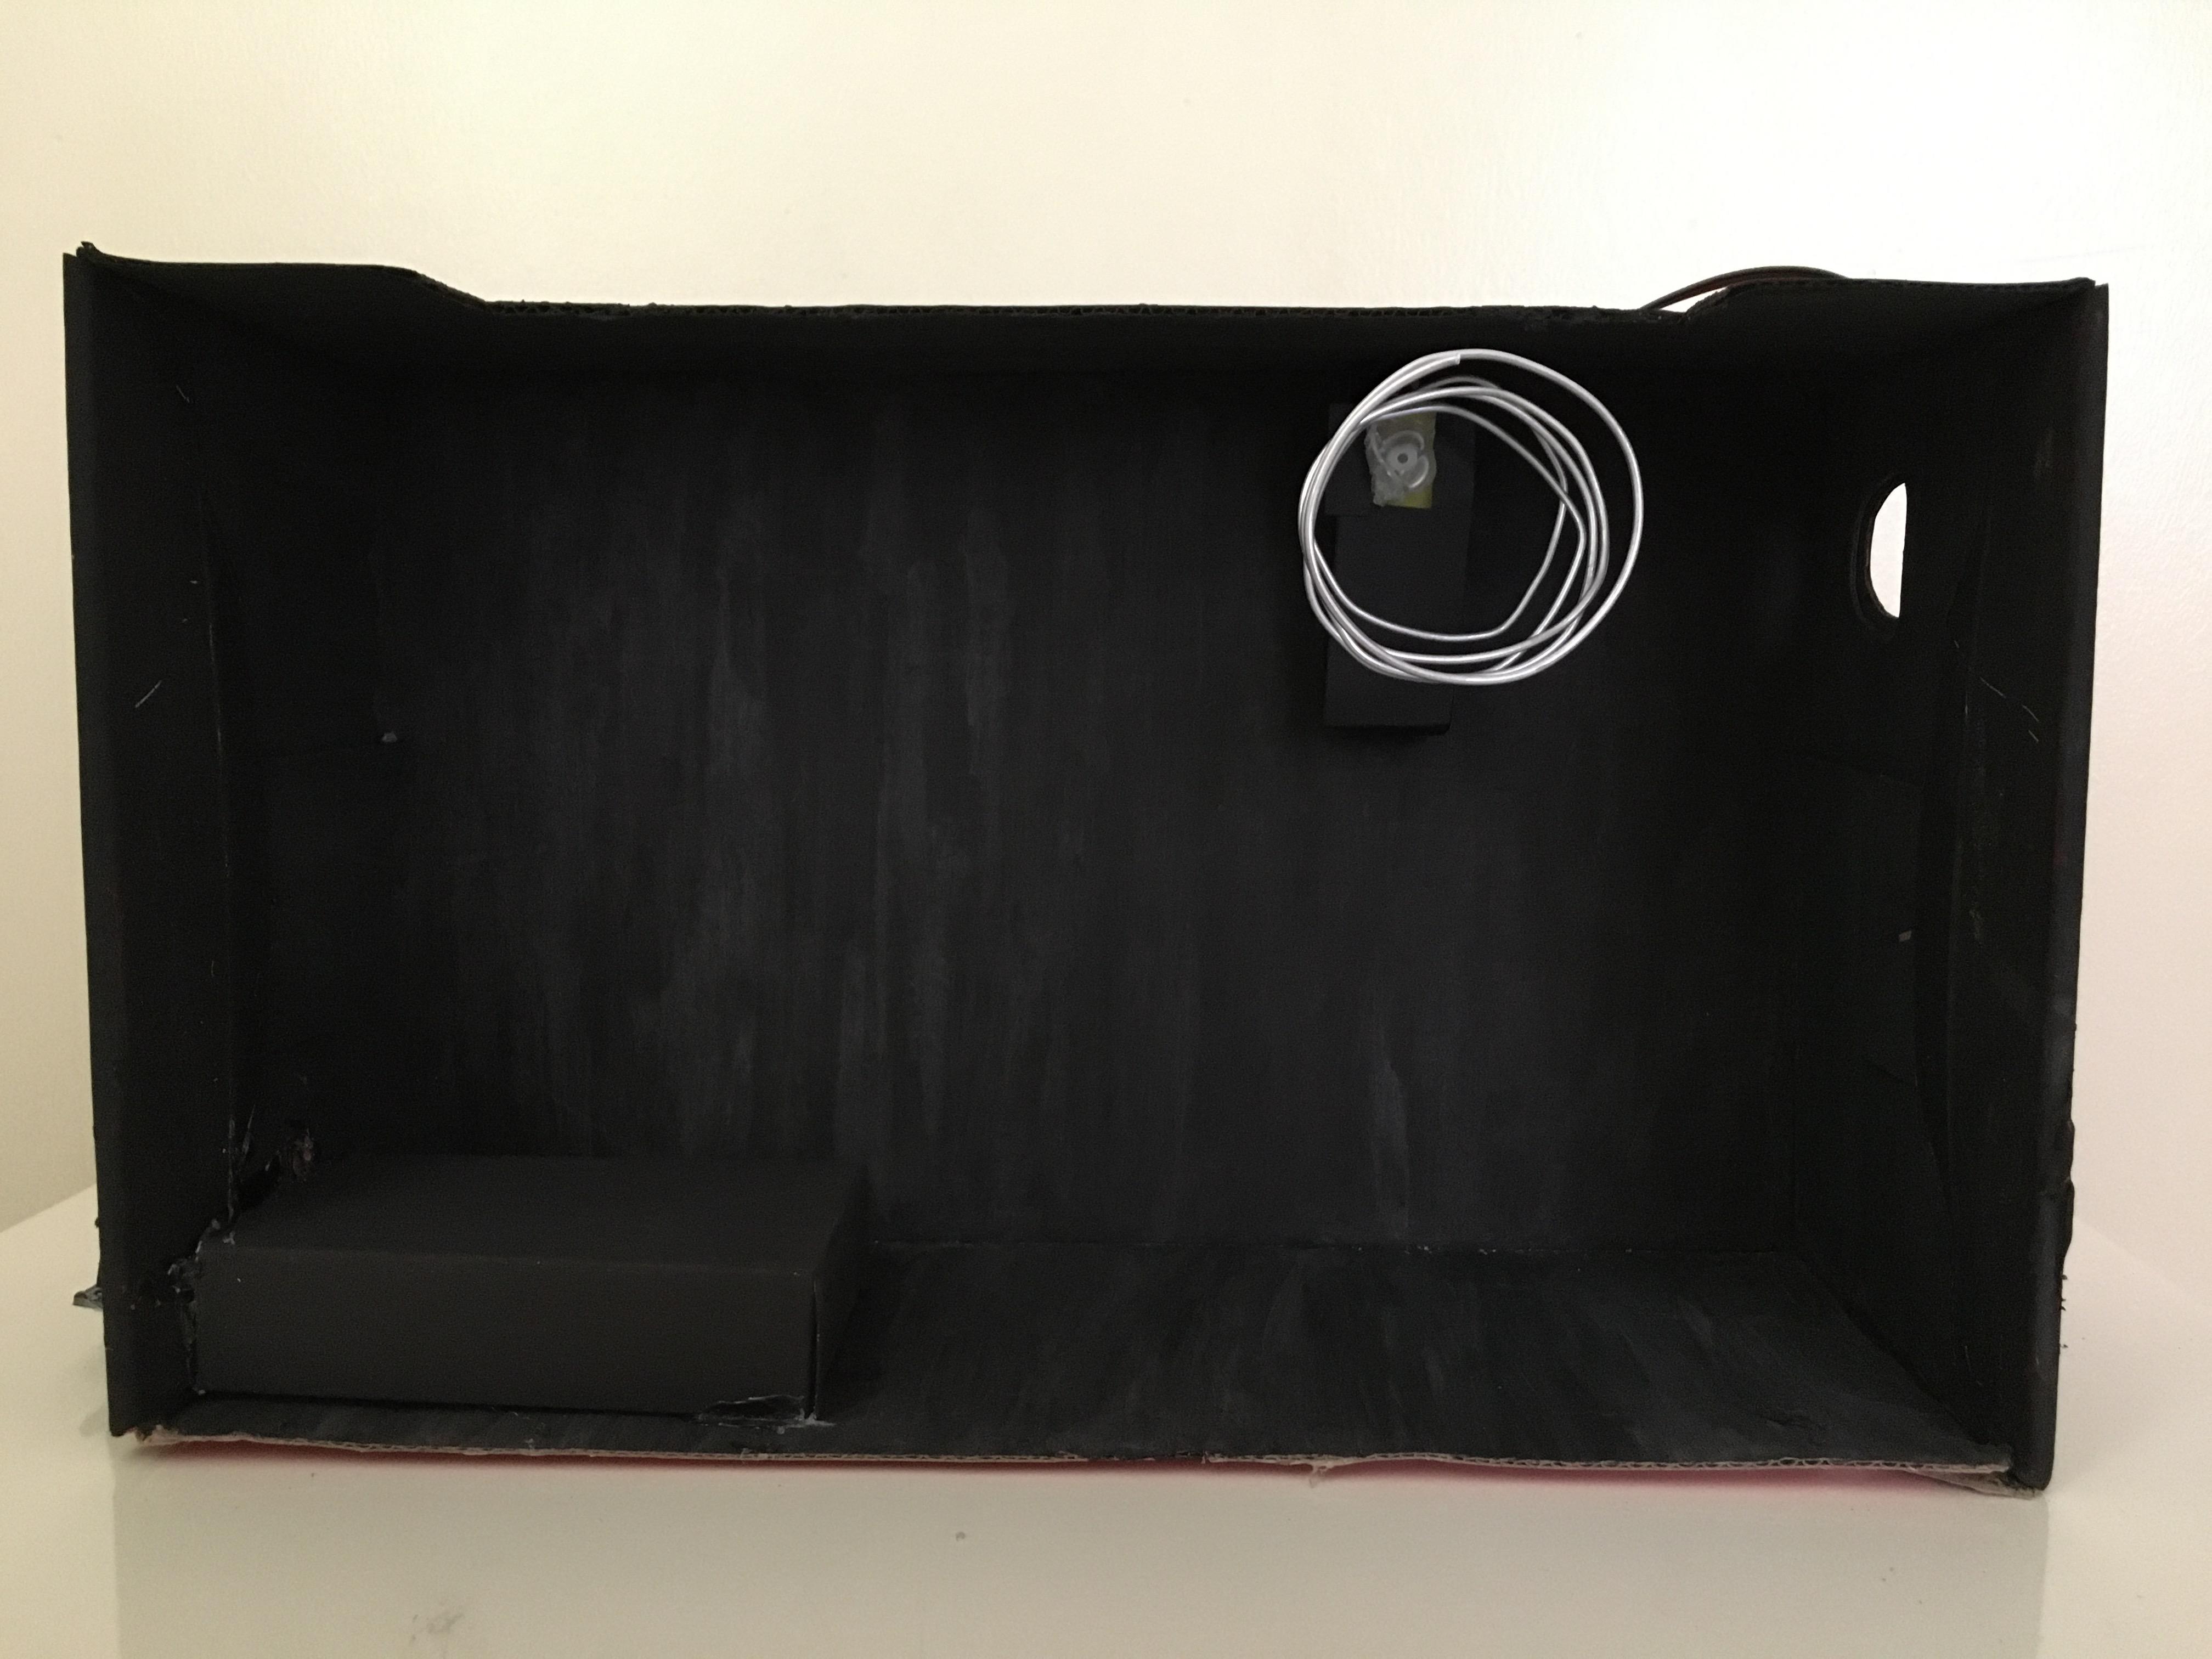
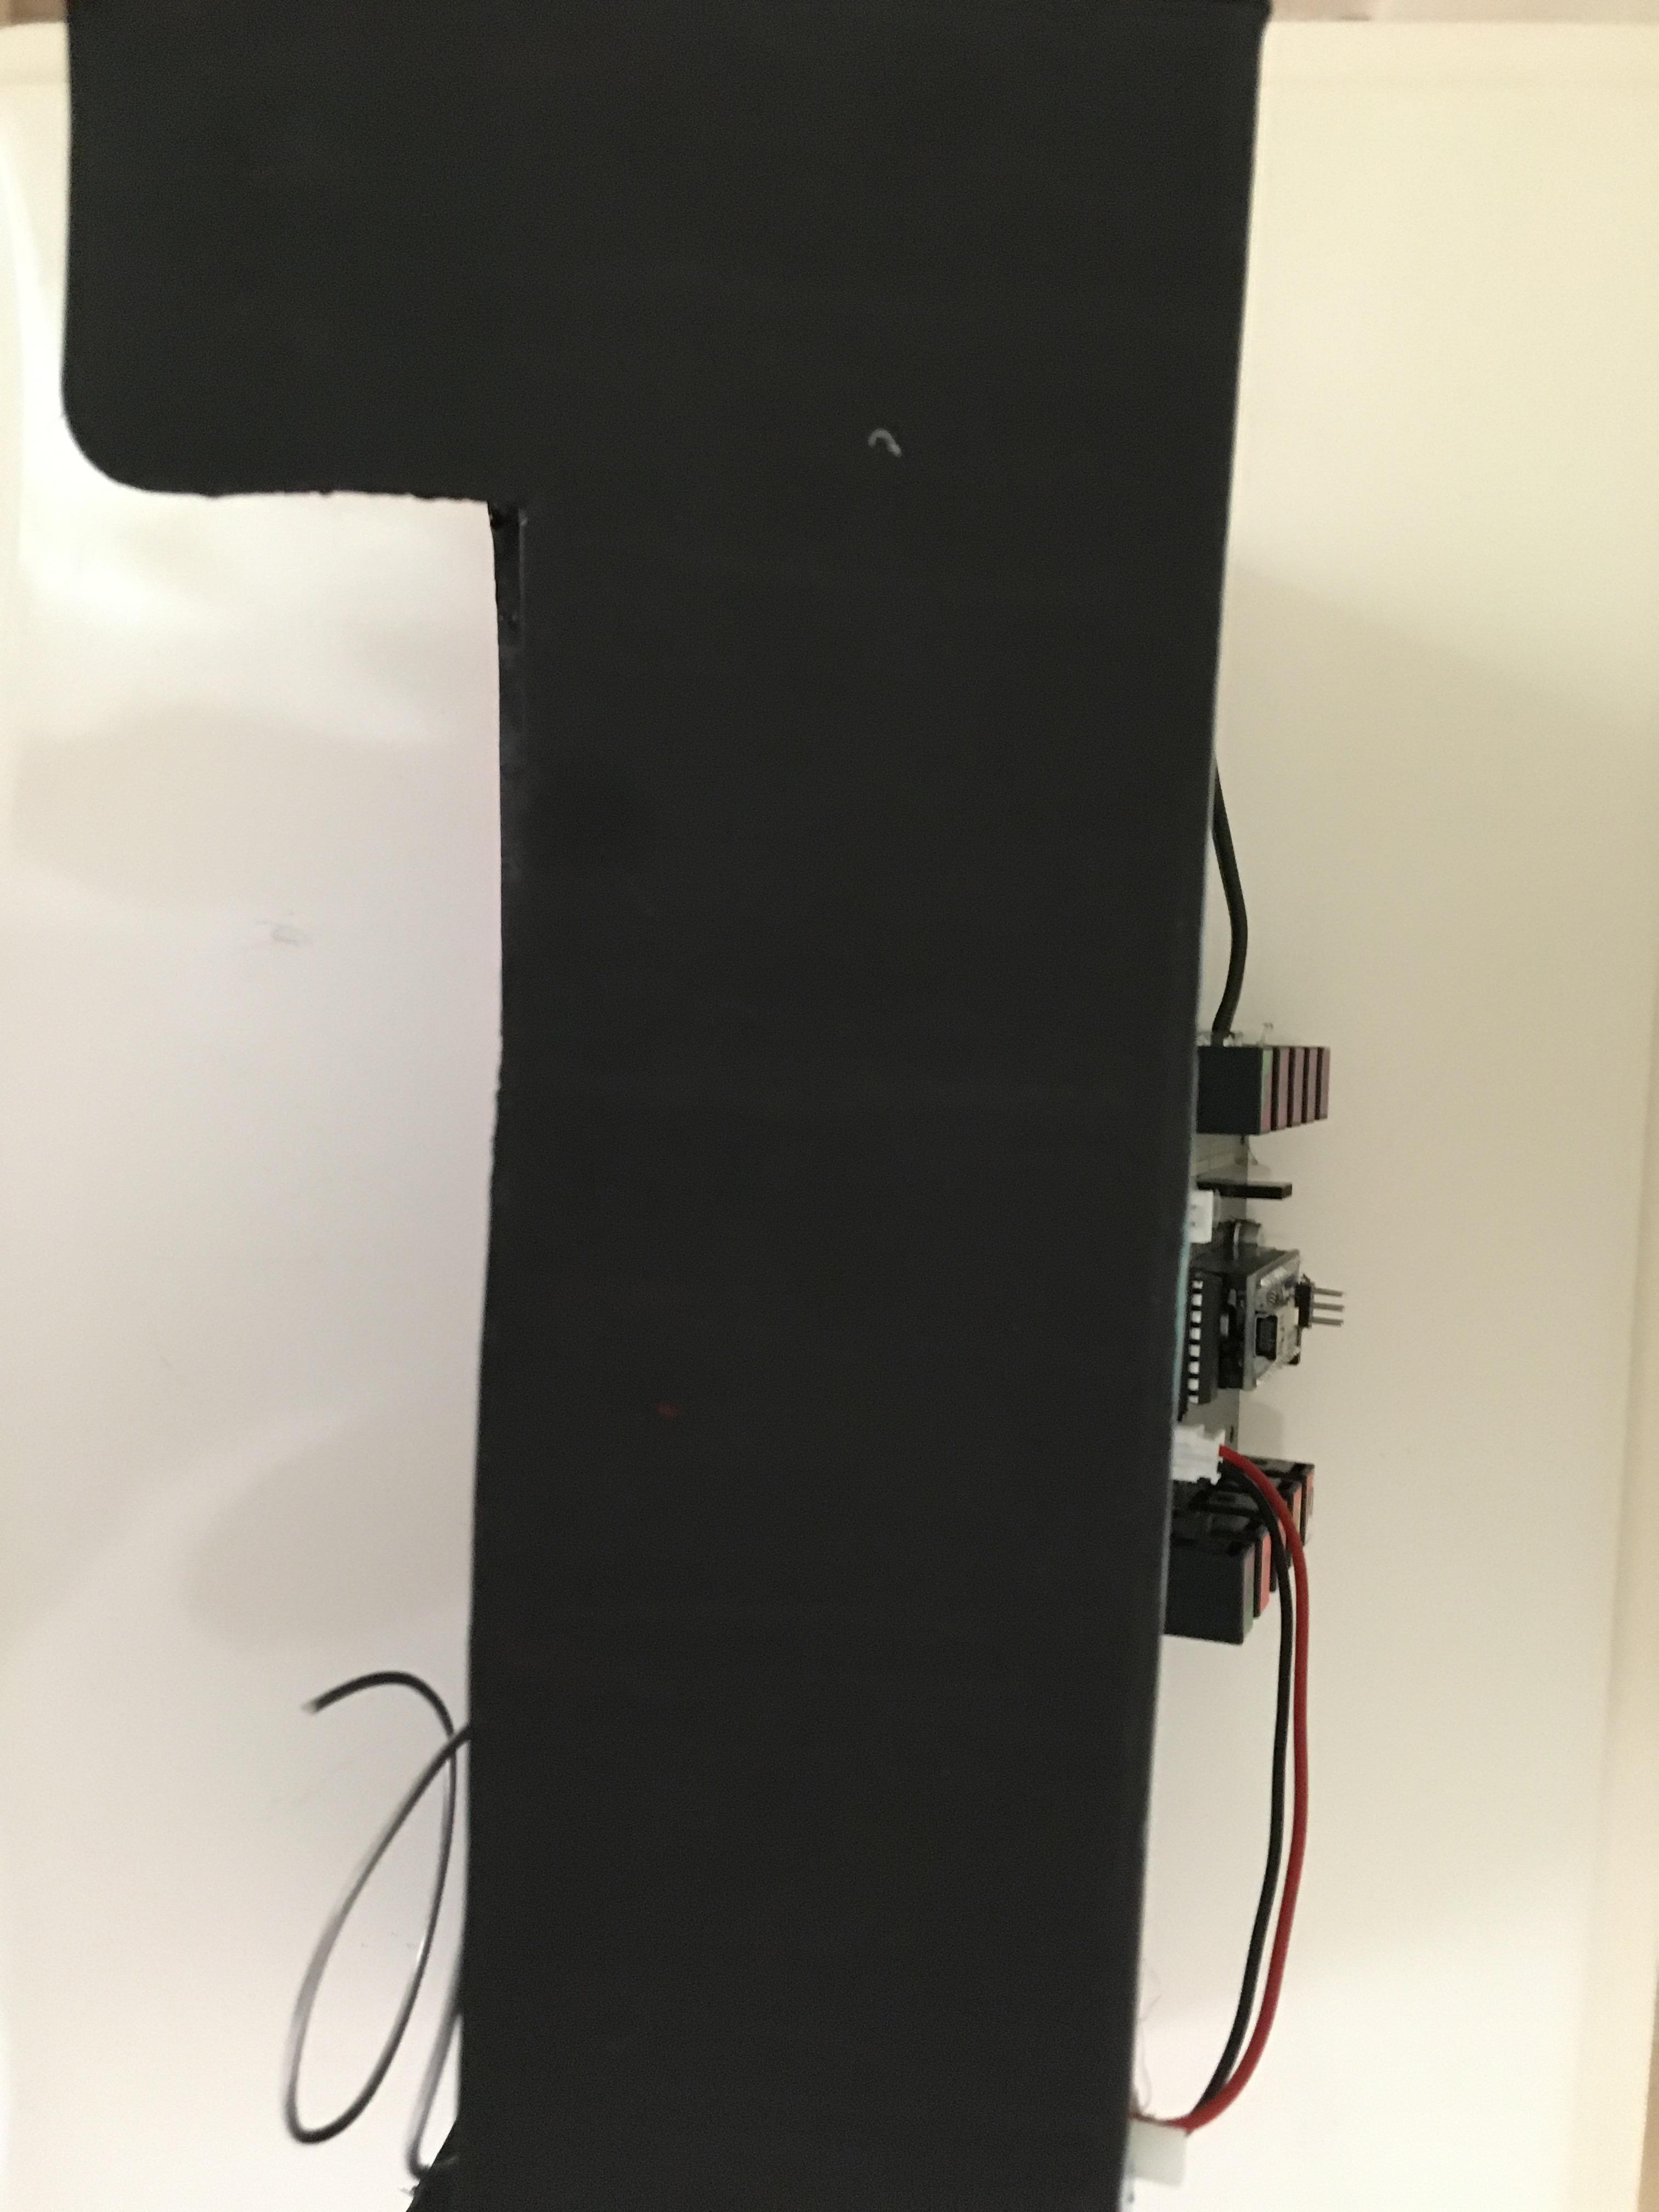
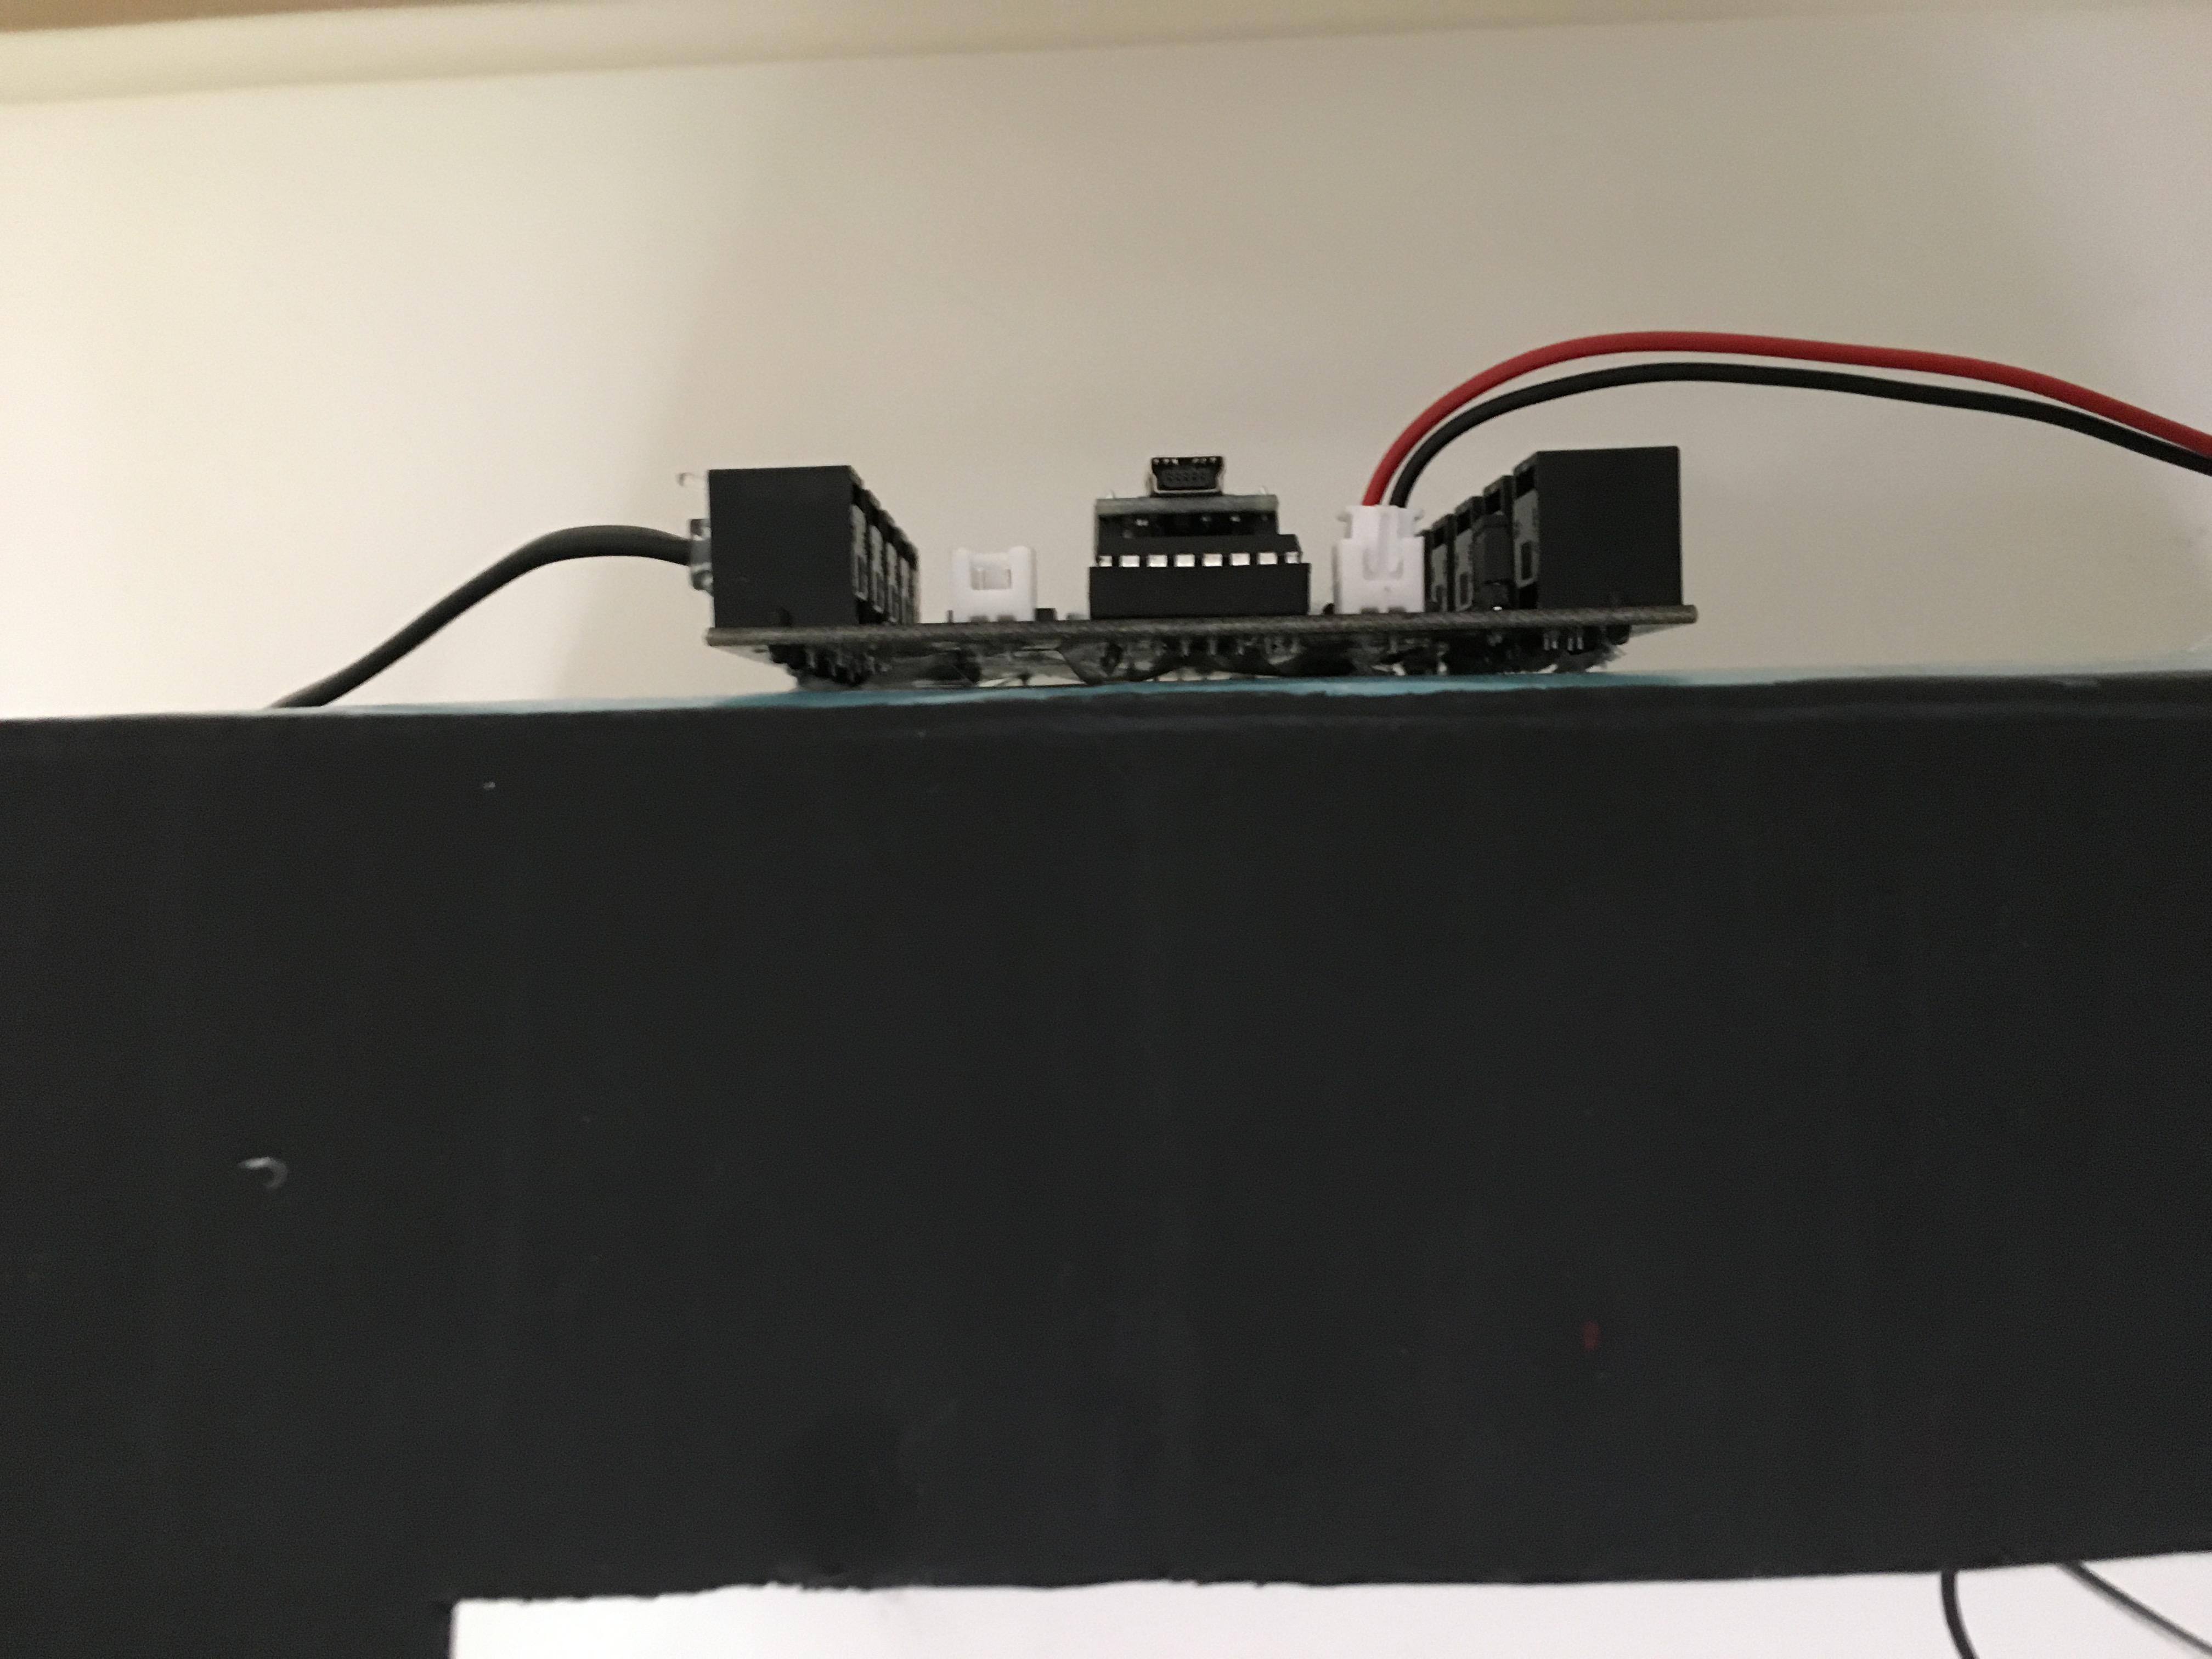
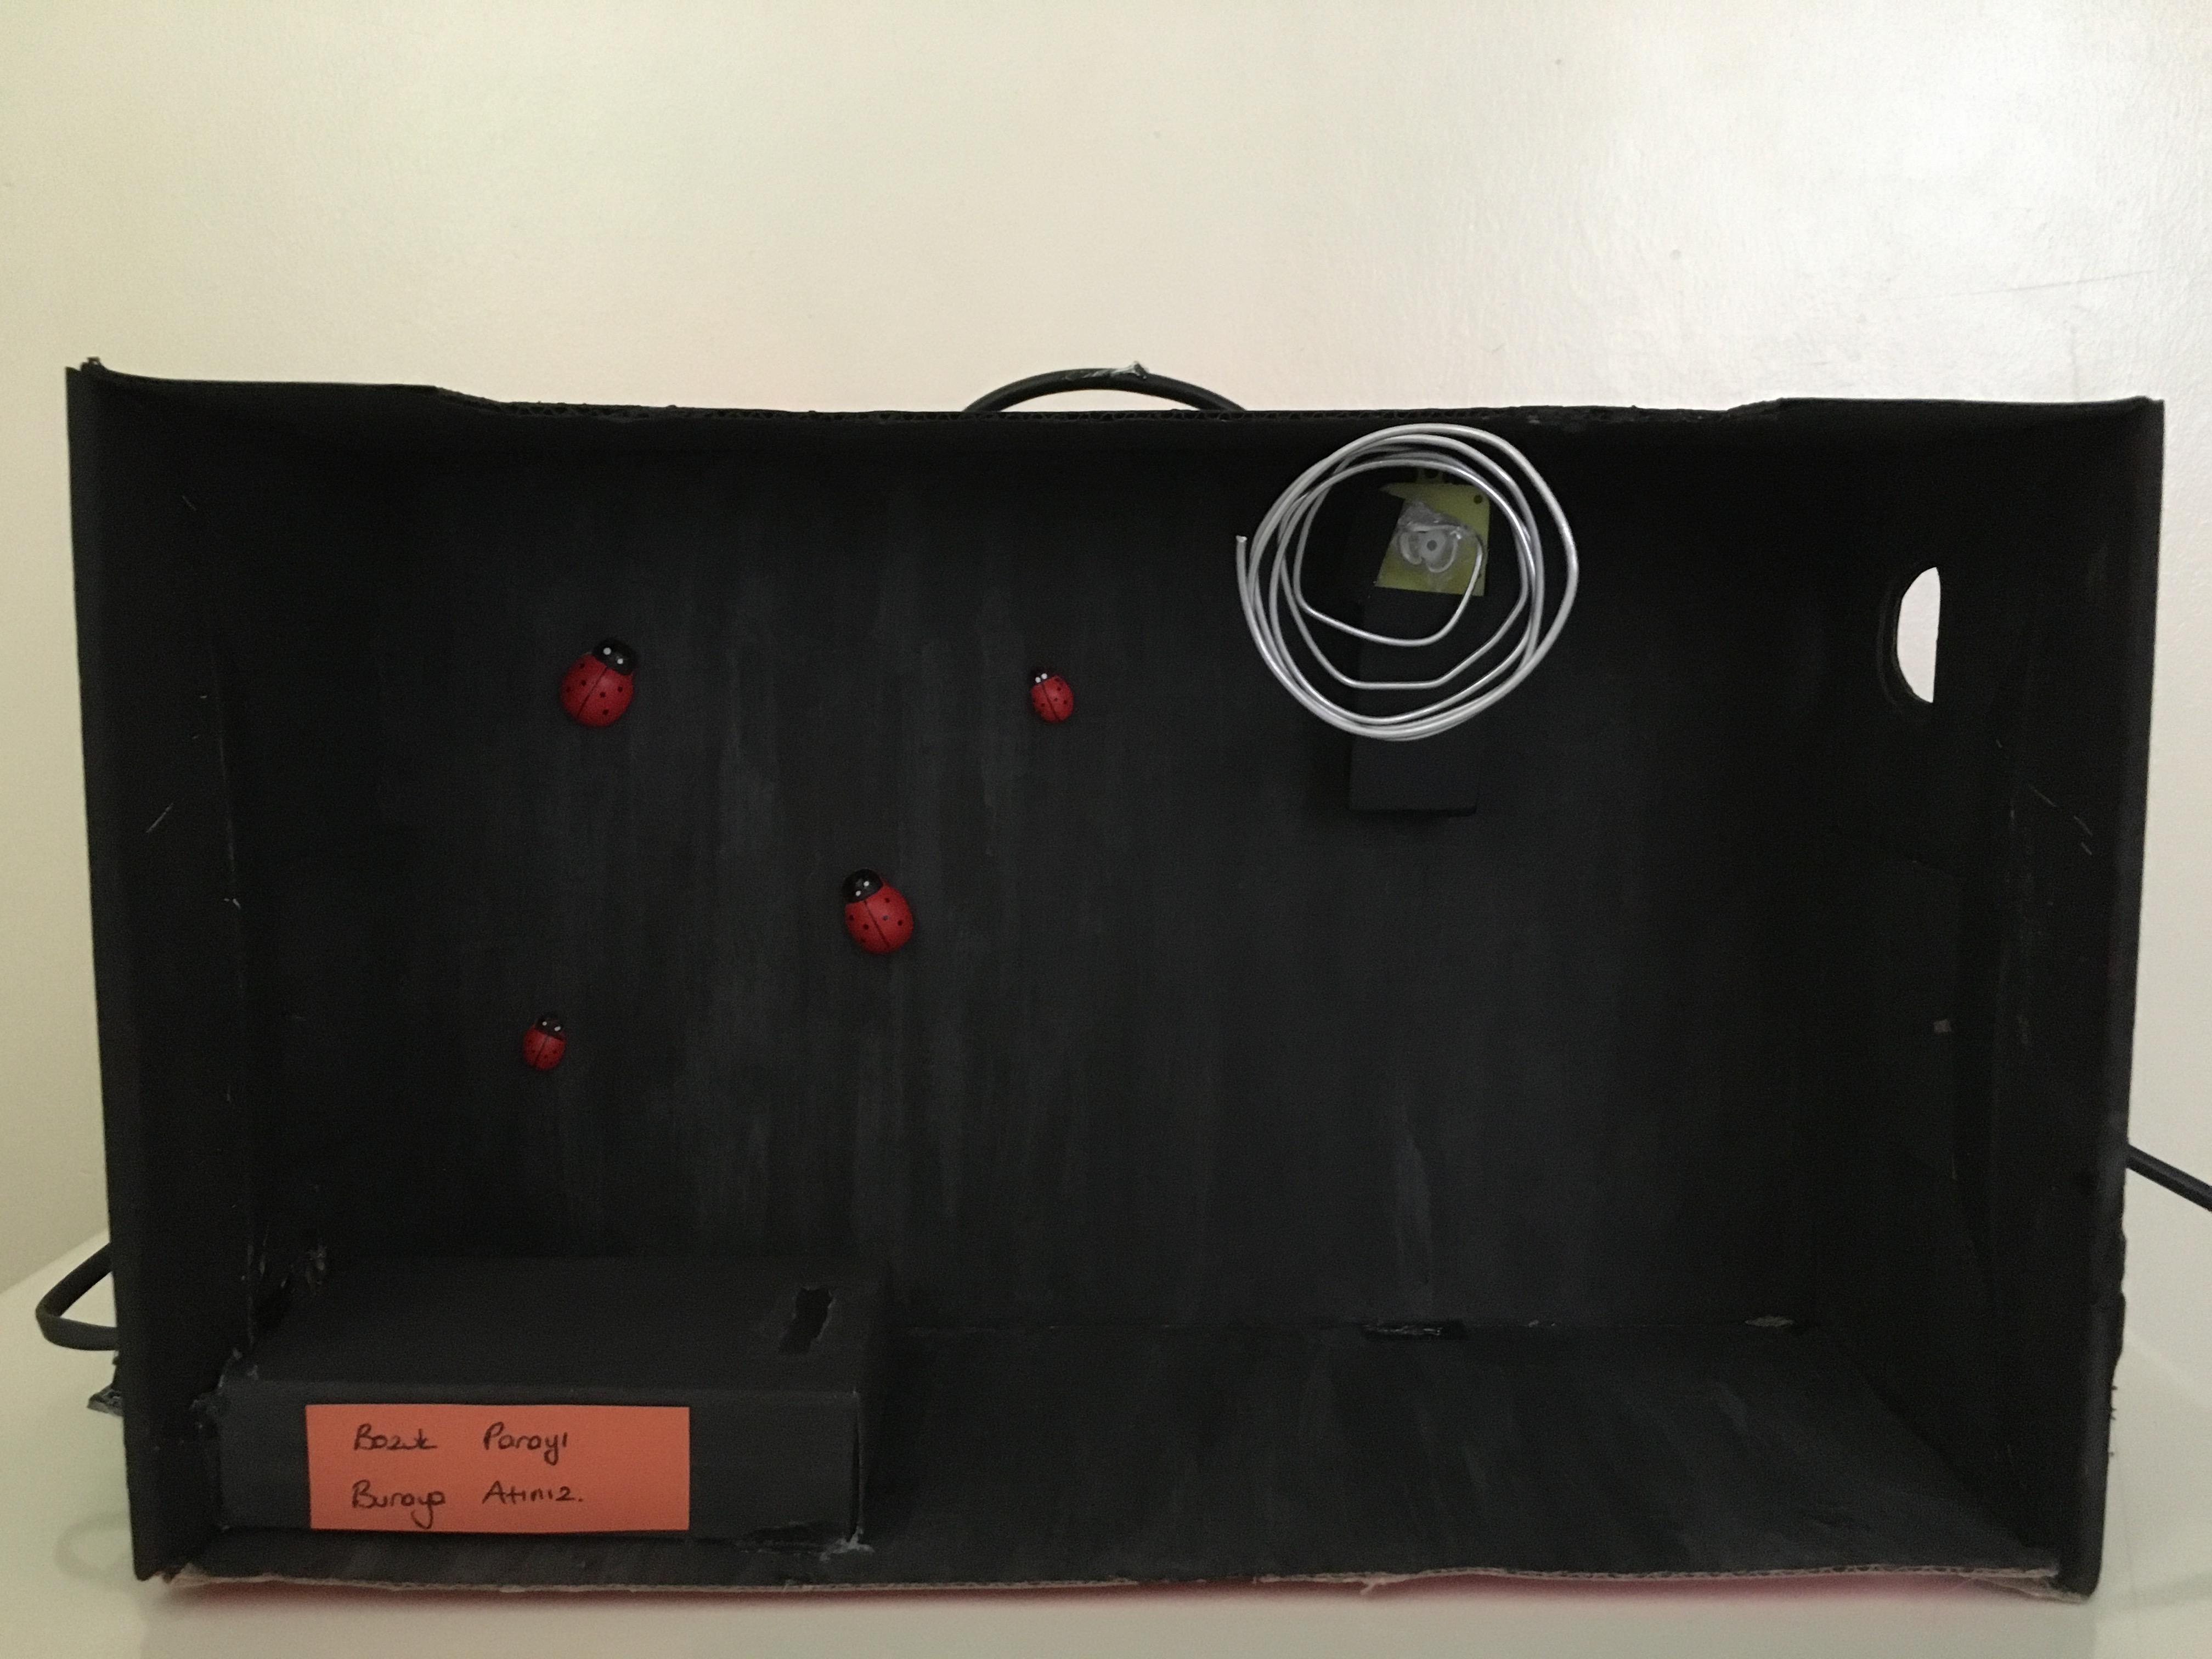
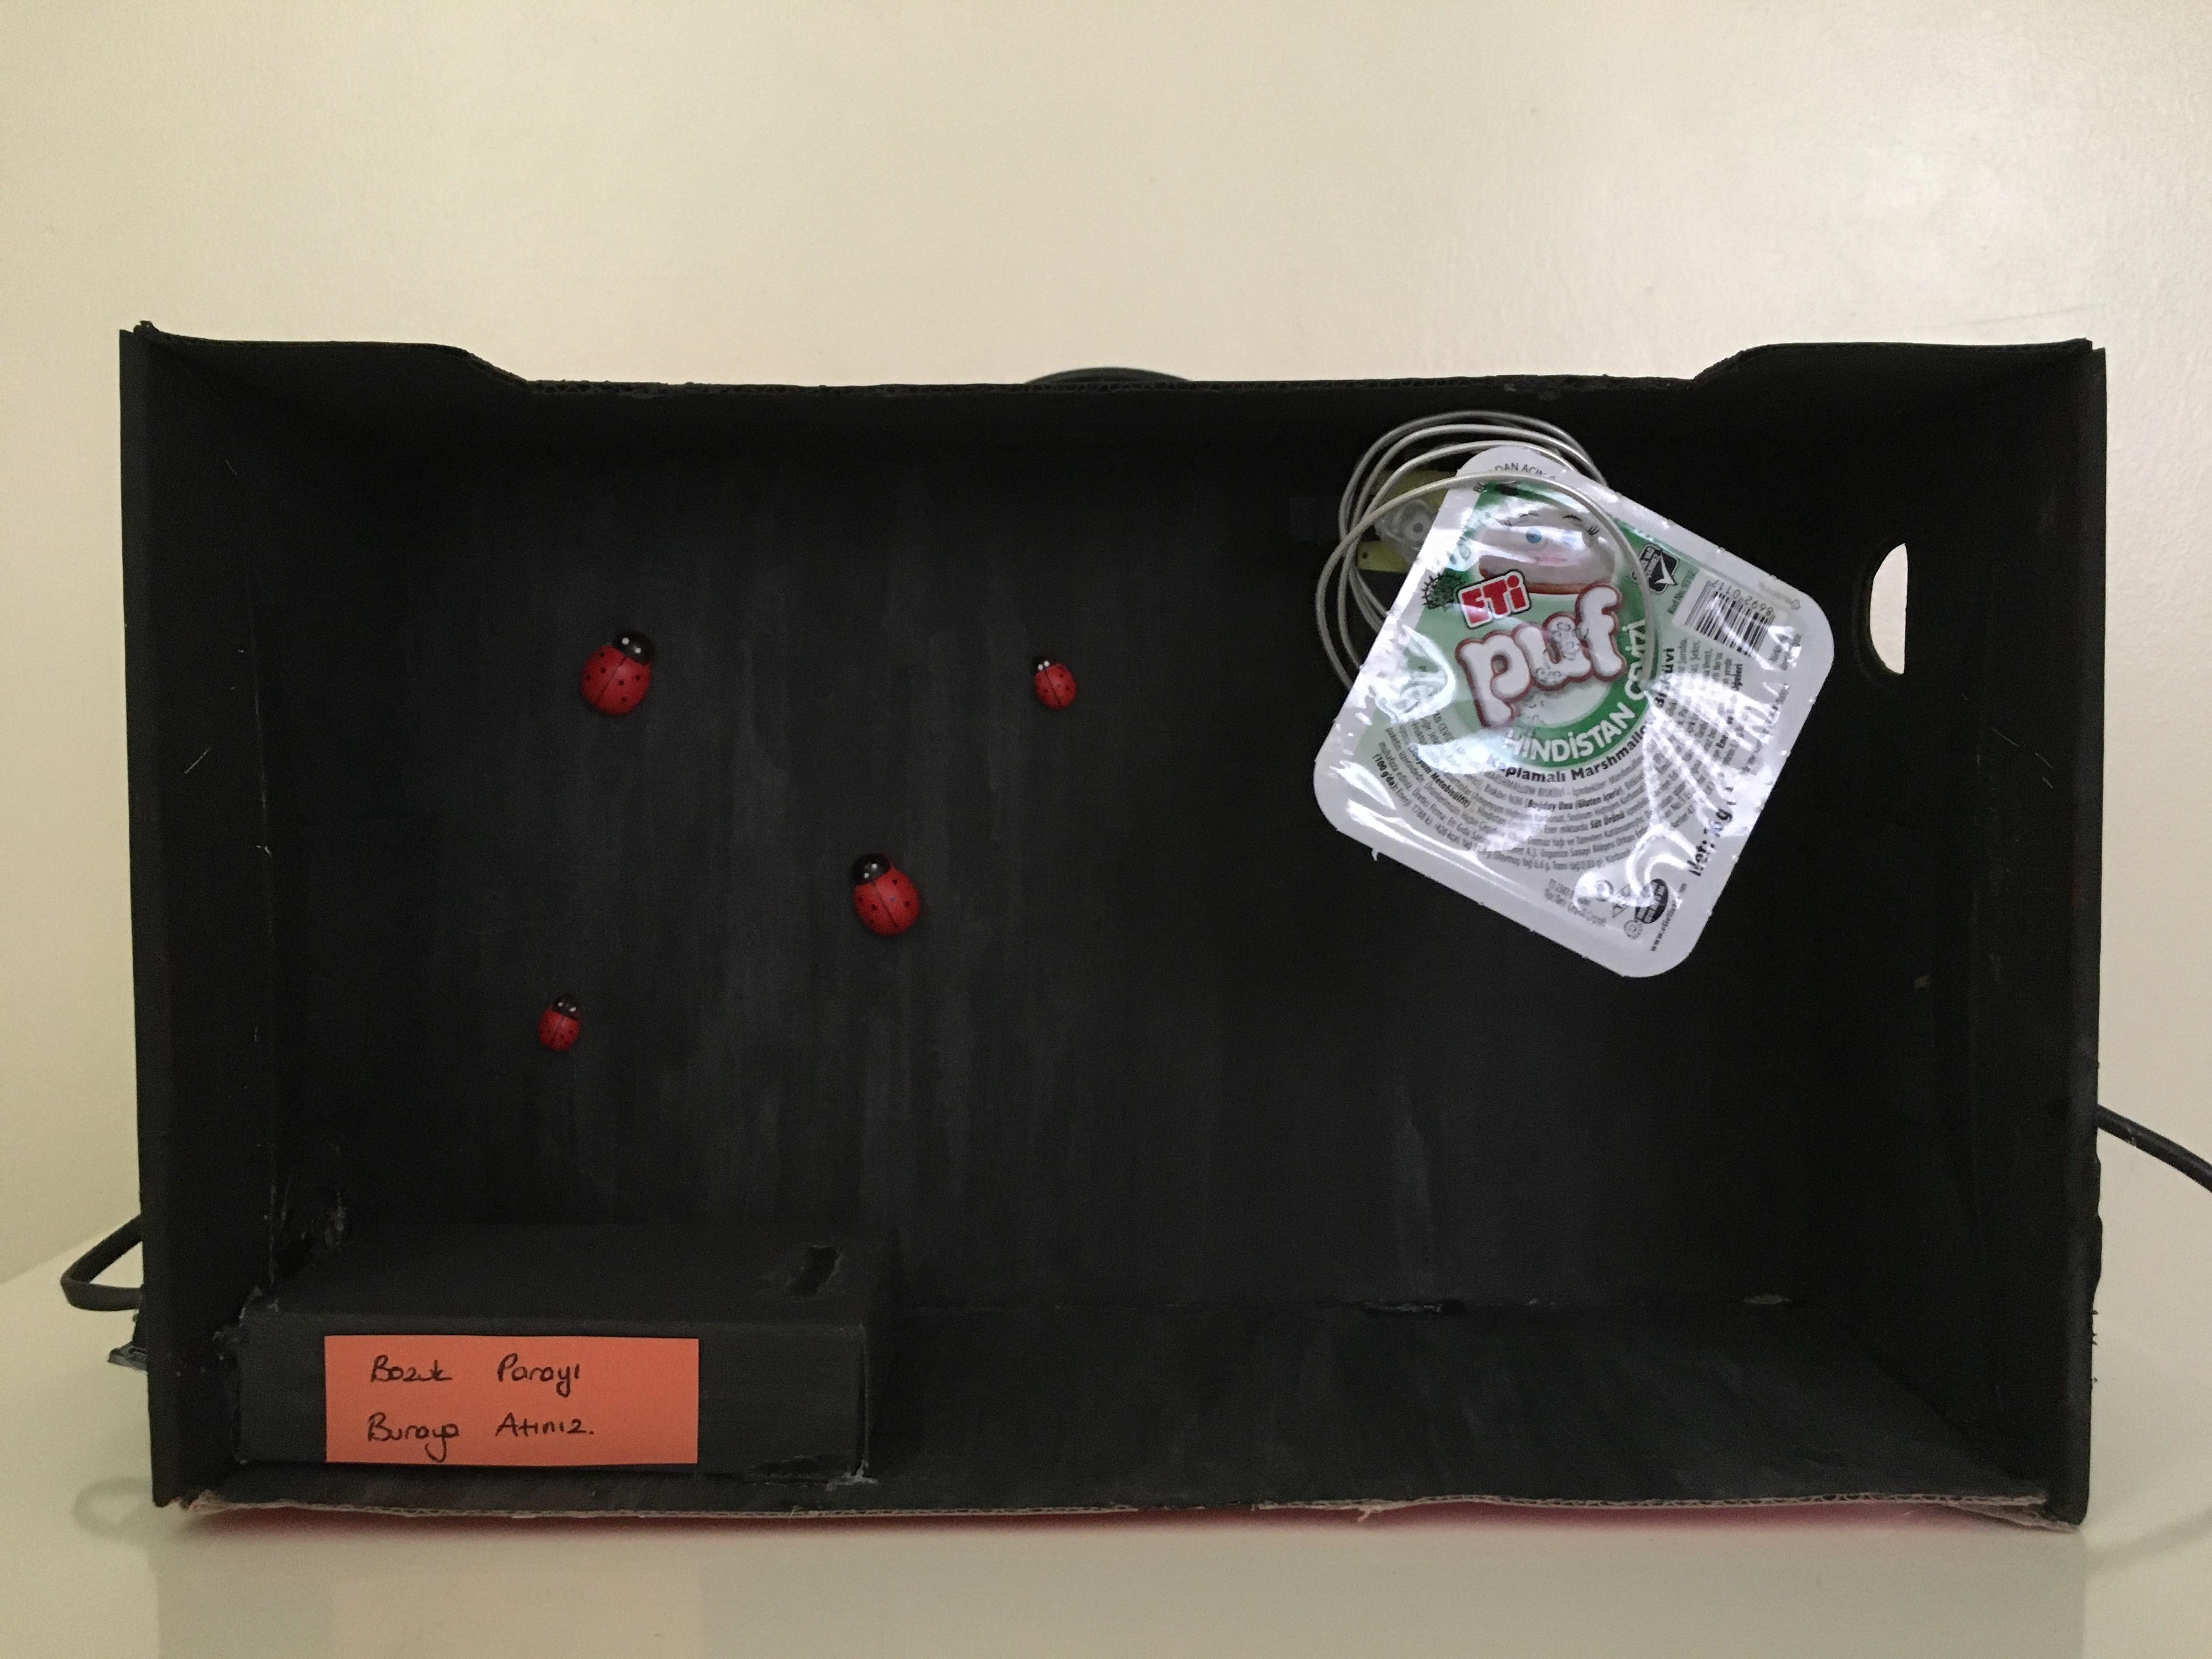
- We drill a hole on the side that is large enough for the distance sensor to enter. Let's insert the distance sensor and silicon it. Let's cover the back part.
- We attach the cable of the DC motor and the cable of the distance sensor to the Pinoo board.
- We silicon the Pinoo card on the back.
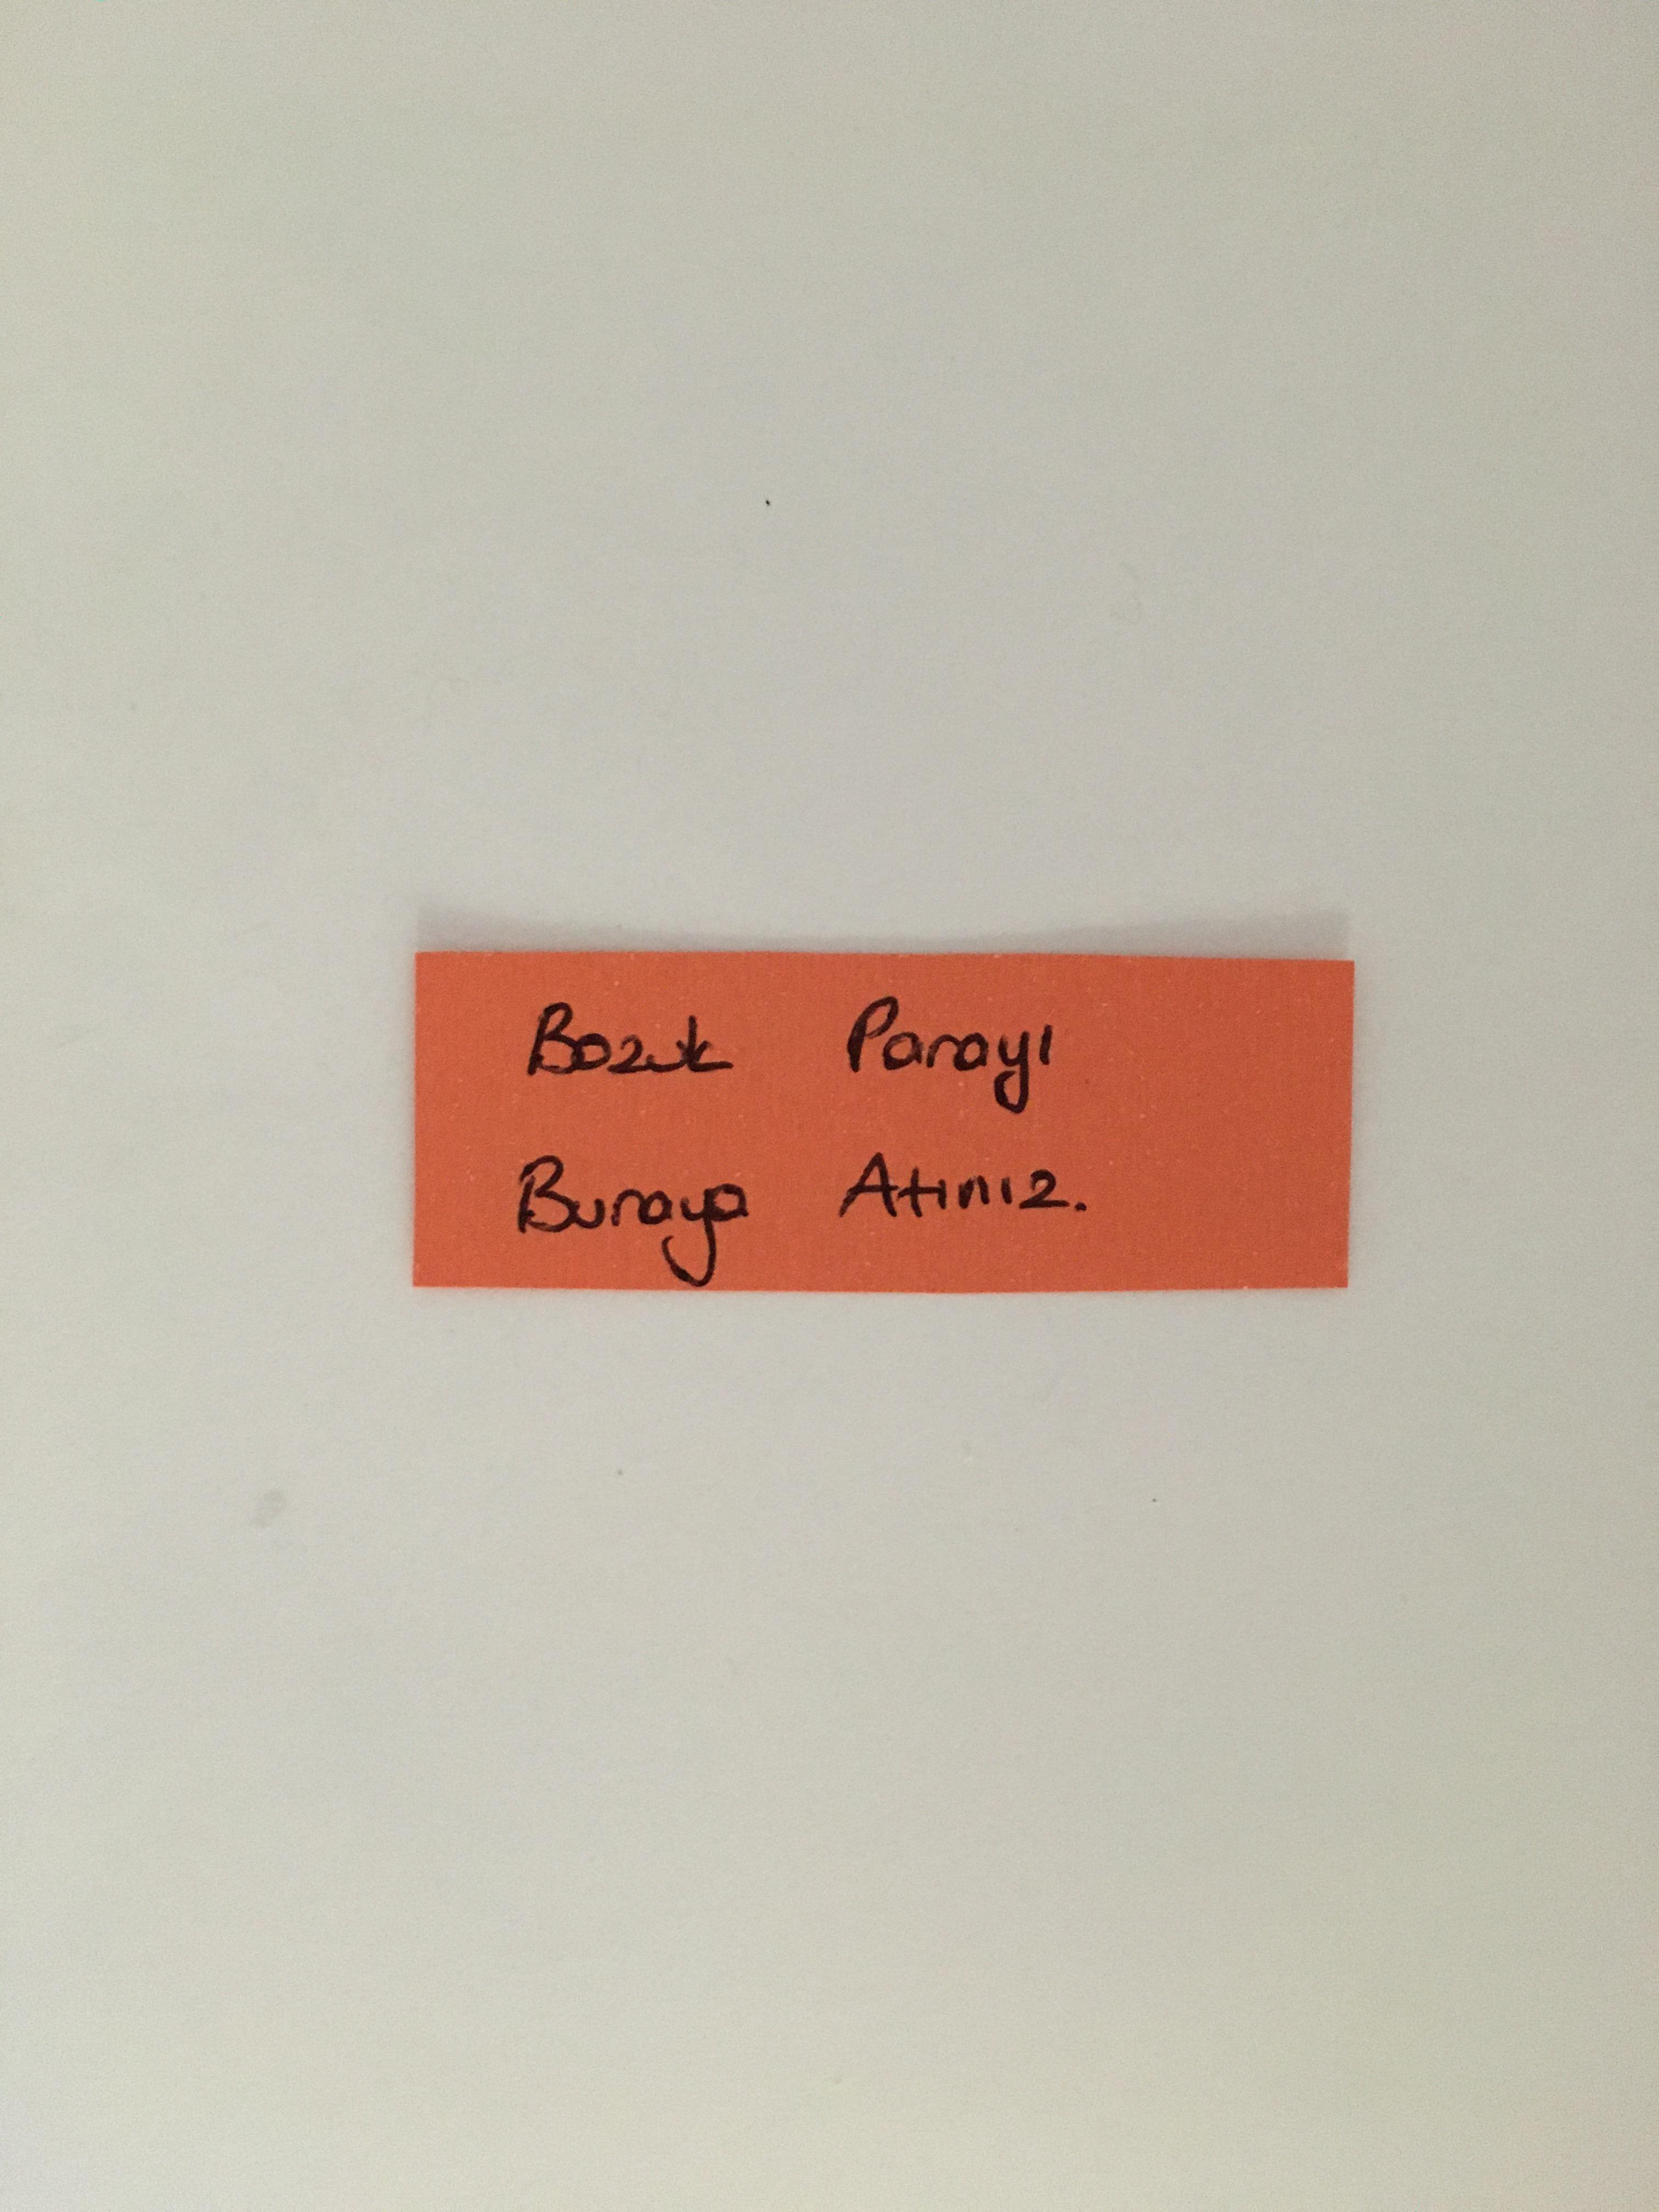
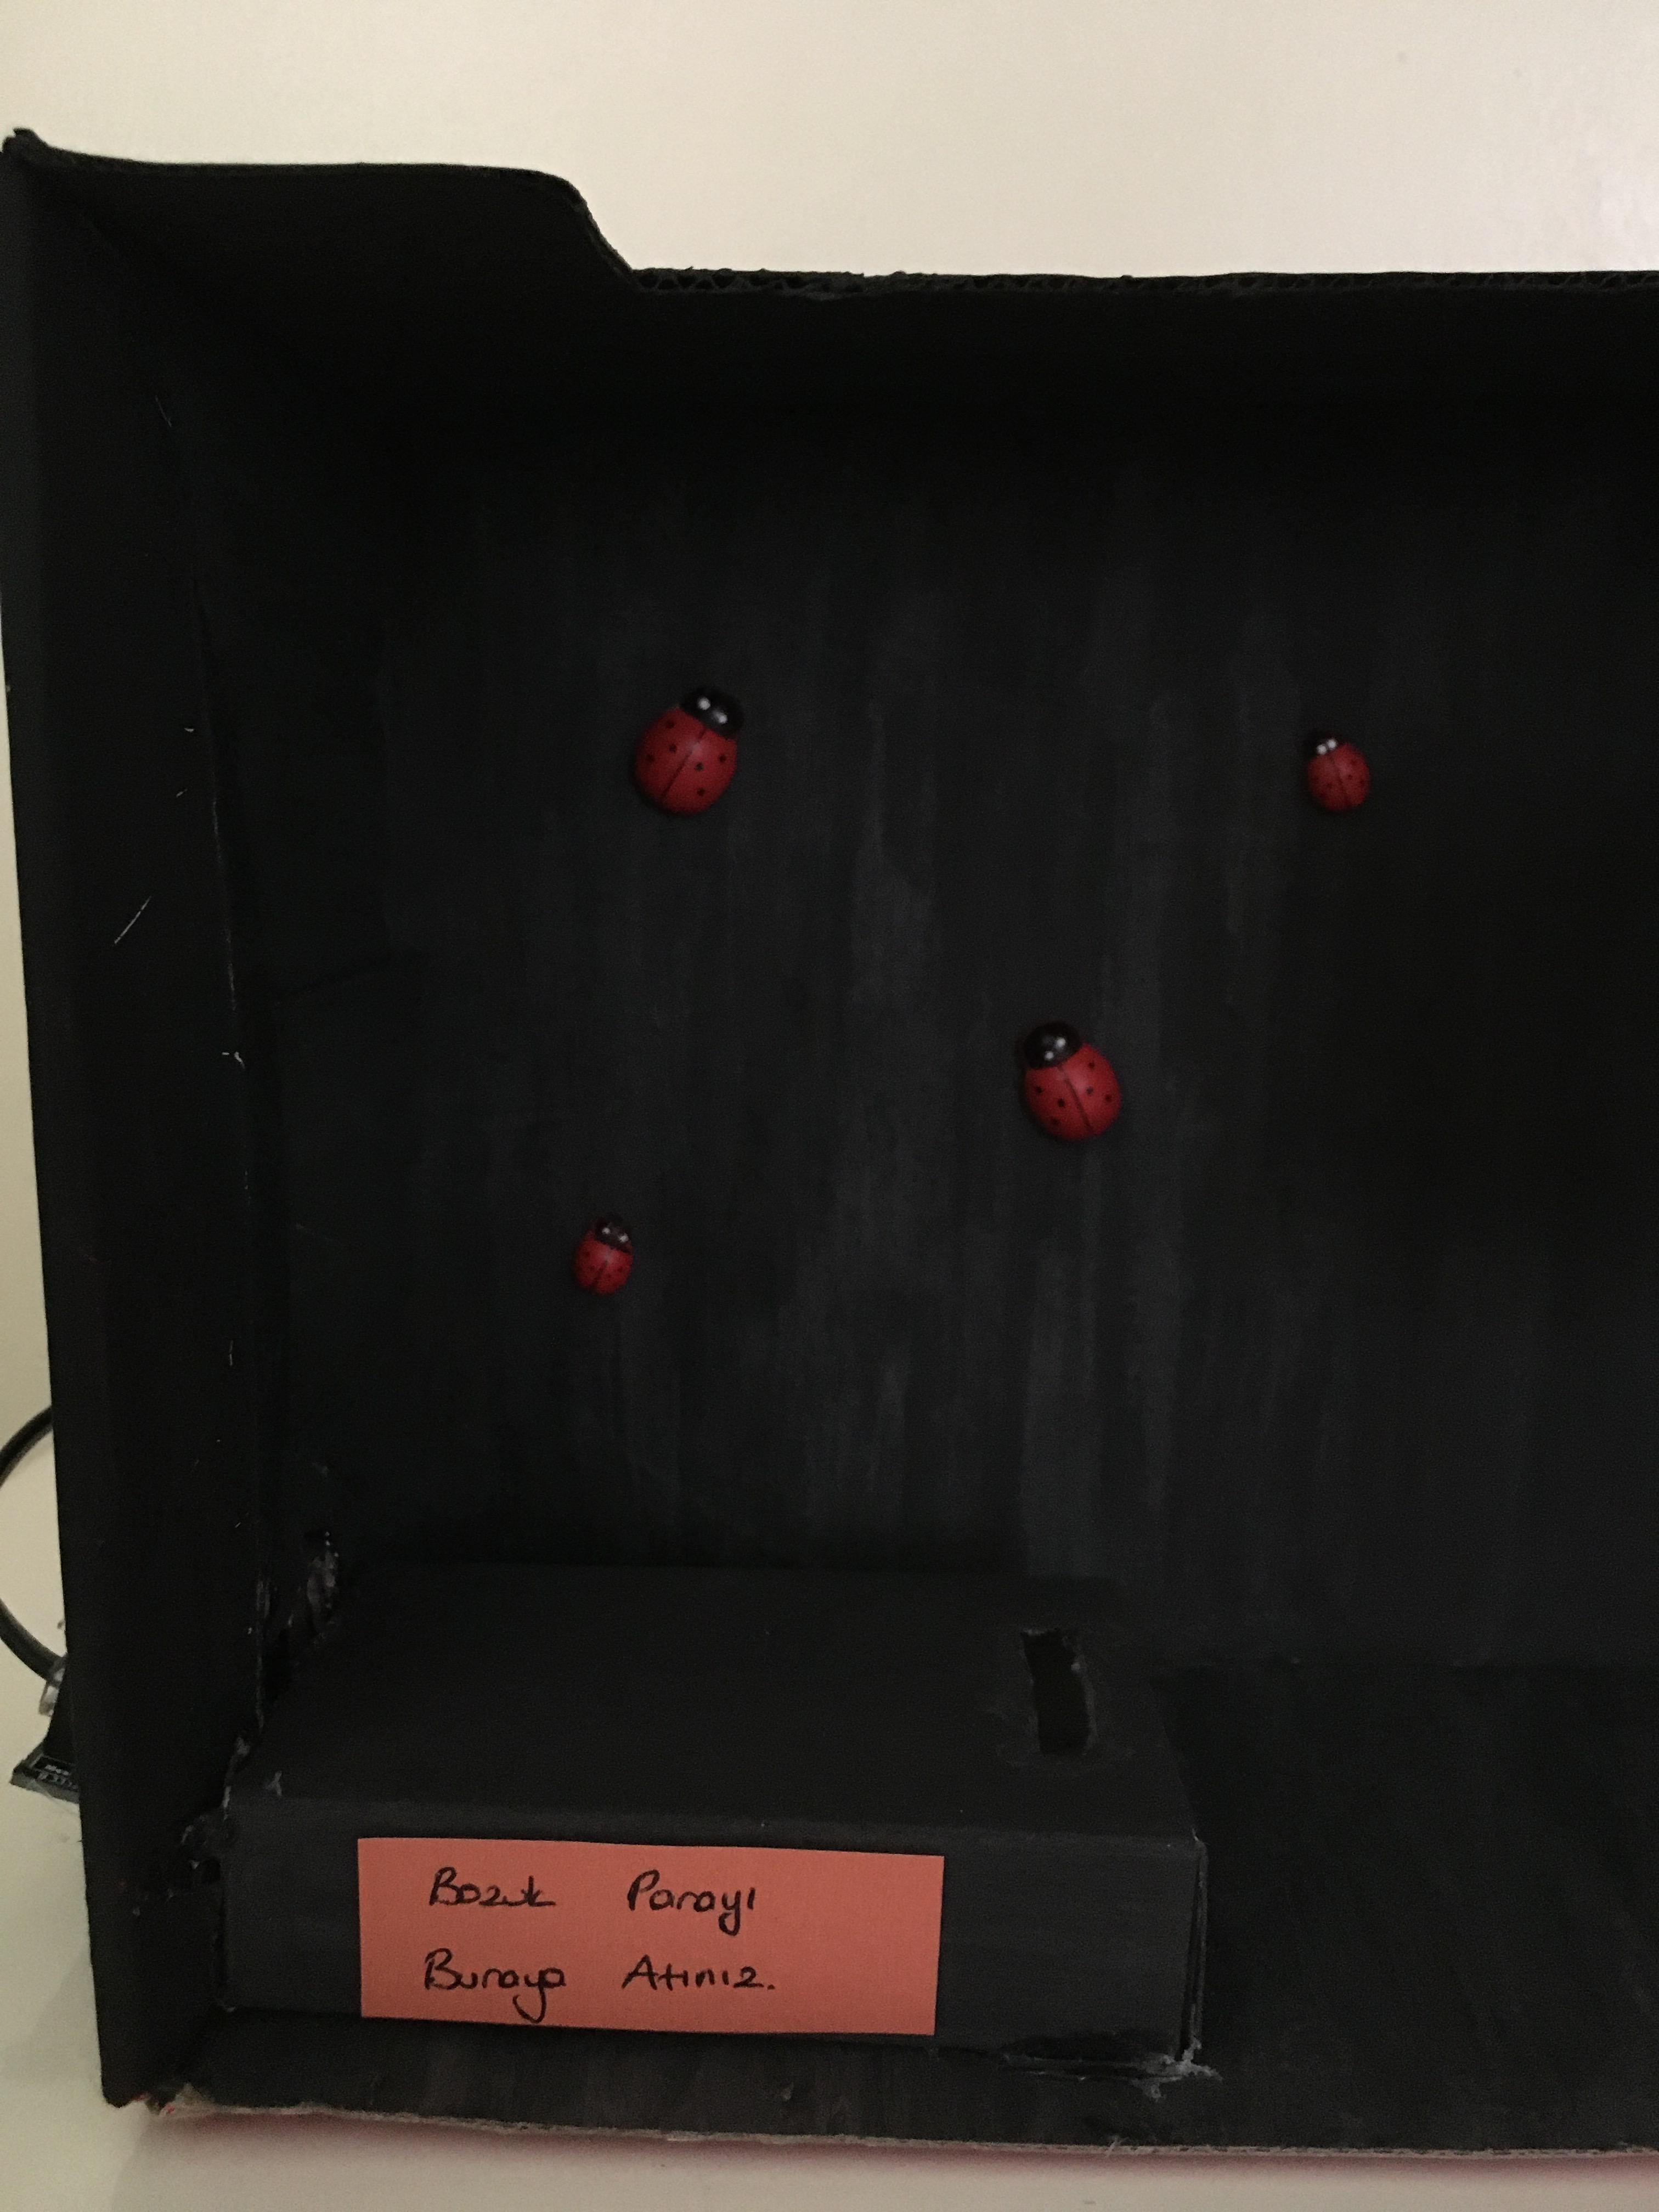
- "Throw the Coin Here." We write your message and paste it on the medicine box.
- If you want to decorate, you can paste the shapes like in the picture.
- We attach the connecting cable.
- Let's place one product on the spiral platform.
Adding Pinoo Extension

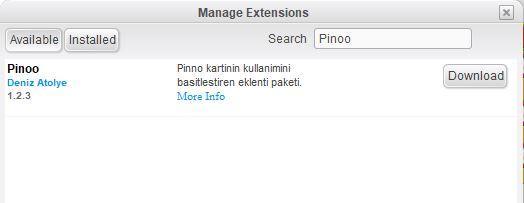
- From the Extensions tab, we click on the "Manage Extensions" option.
- In the window that opens, we type "Pinoo" into the search engine and simply say download to the result. It was installed on our computer.
Connecting the Pinoo Sensor Board to the Computer
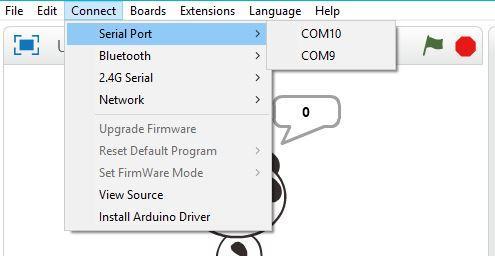
- In Mblock 3, we click on the "Connect" tab on the upper left.
- We click on the "Serial Port" section from the window that opens and select the "COM6" option from the page that opens. NOTE: Since the port entries of each computer are different, the numbers next to the COM text may change.
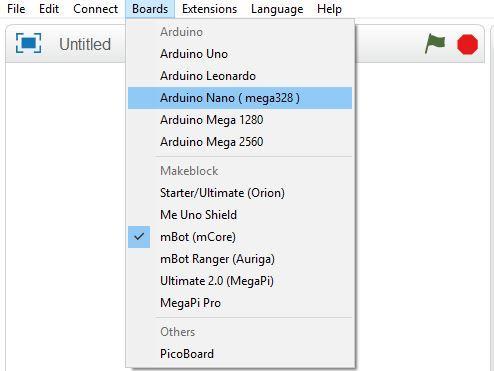
- We click on the Cards tab.
- We select the "Arduino Nano" card option used by the Pinoo sensor card from the window that opens.
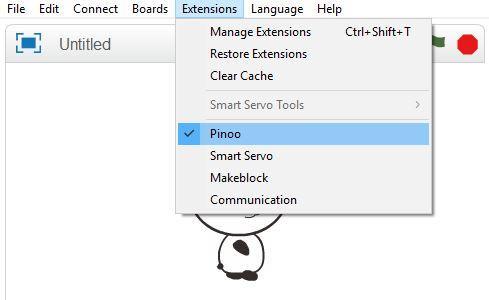
- We click on the Extensions tab.
- In the window that opens, we select the extension "Pinoo" of the sensor card we use.
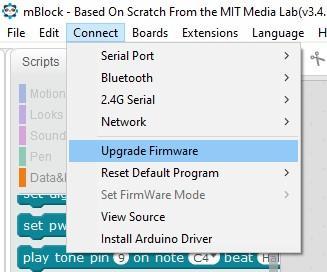
- We click on the Connect tab.
- We click on "Firmware Update" from the window that opens.
Coding
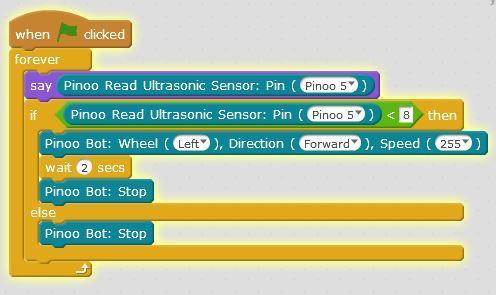
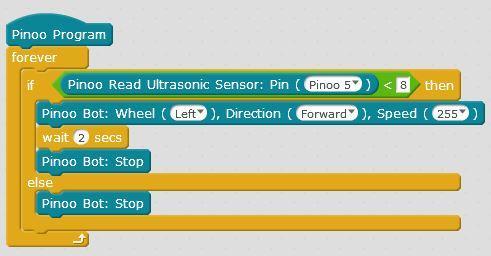
- When we click on the green flag, we run it to see the distance value on the screen. The distance value in mine is about 10. When he sees the money, he reads about 8. We will encode according to this value.
- If the distance value is less than 8, we start and stop the dc motor on the left for 2 seconds. If not, we stop.
- In order to upload our codes to the Pinoo sensor card, we make the start of the event "Pinoo Program" command and delete the code we use to display the light value on the screen. * The purpose here is to start the dc motor and drop the product when the distance sees the money.
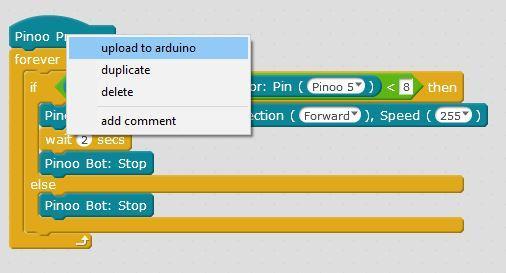
- We right click on the "Pinoo Program" command and select the "Upload to Arduino" option in the window that opens.
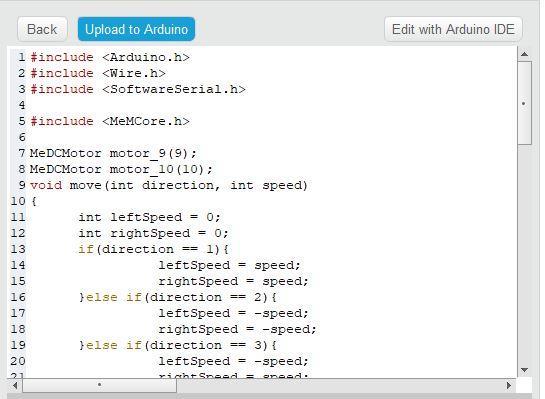
- On the page that opens, we click on the "Upload to Arduino" button selected in red.
- Our codes are uploaded to our Pinoo sensor card. We click on the "Close" button after the "Download Finished" text appears. After the loading is finished, the Pinoo card and sensors are placed in the hard hat.
Working Status of the Project
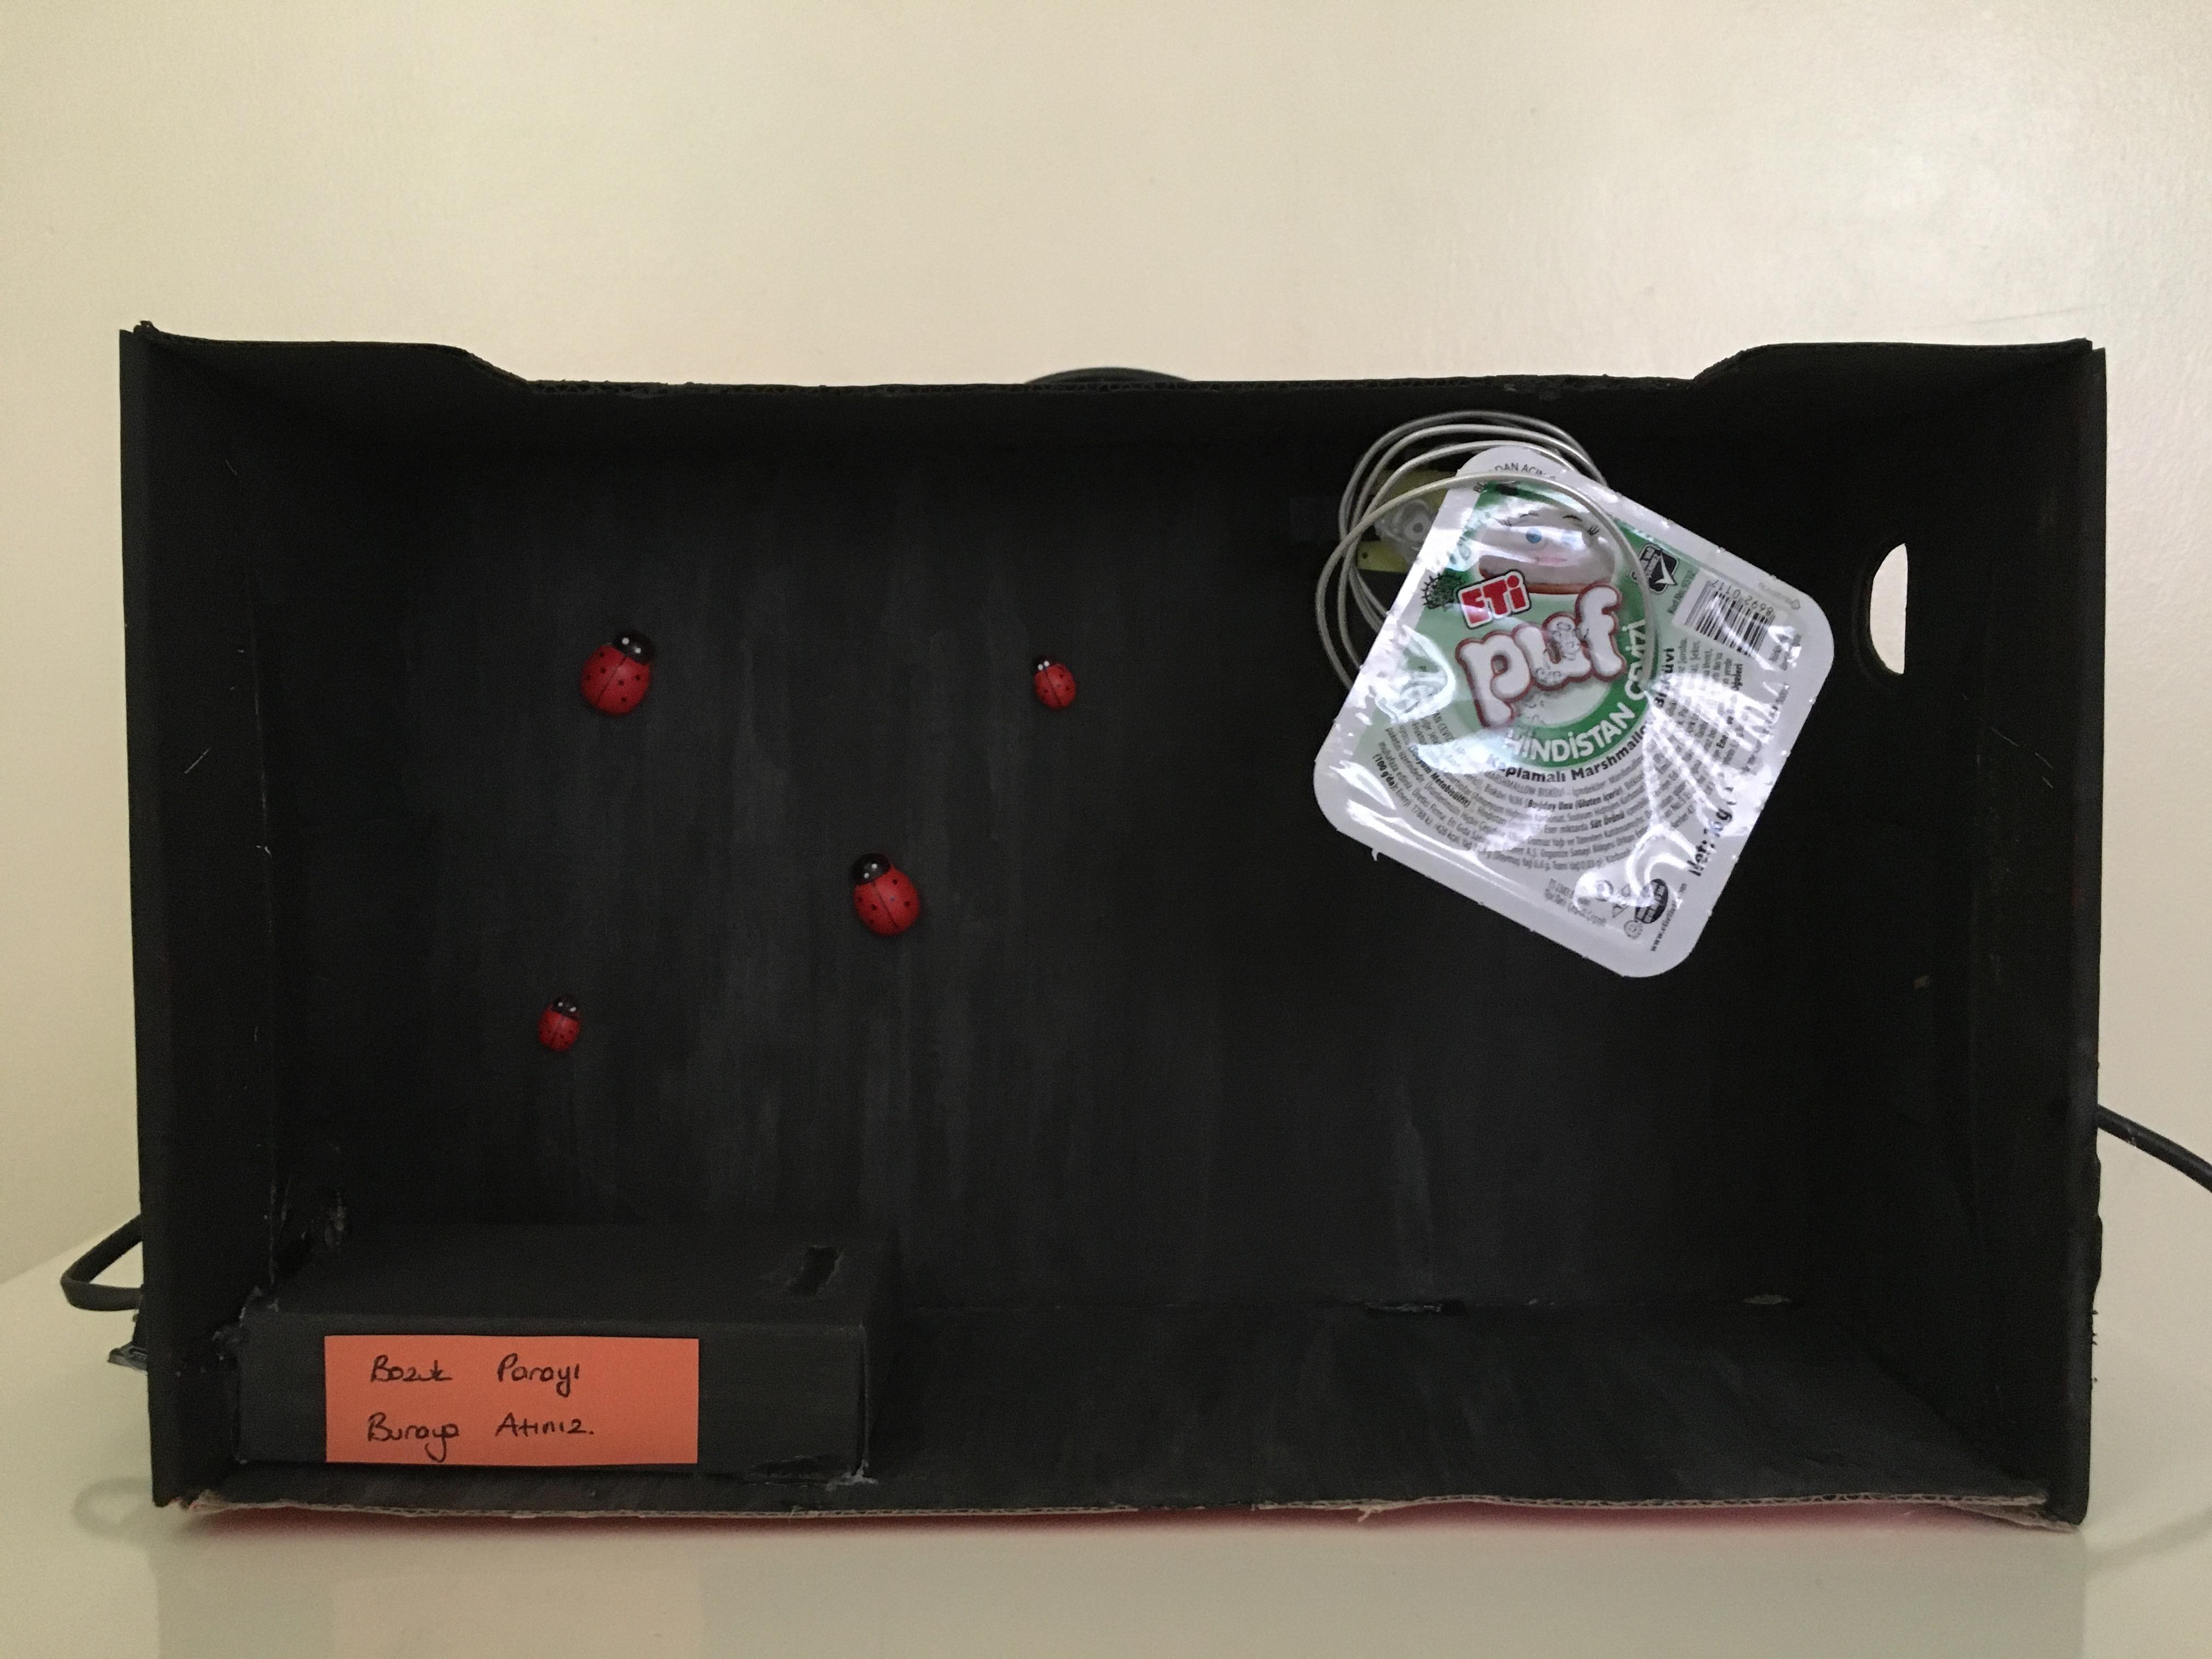
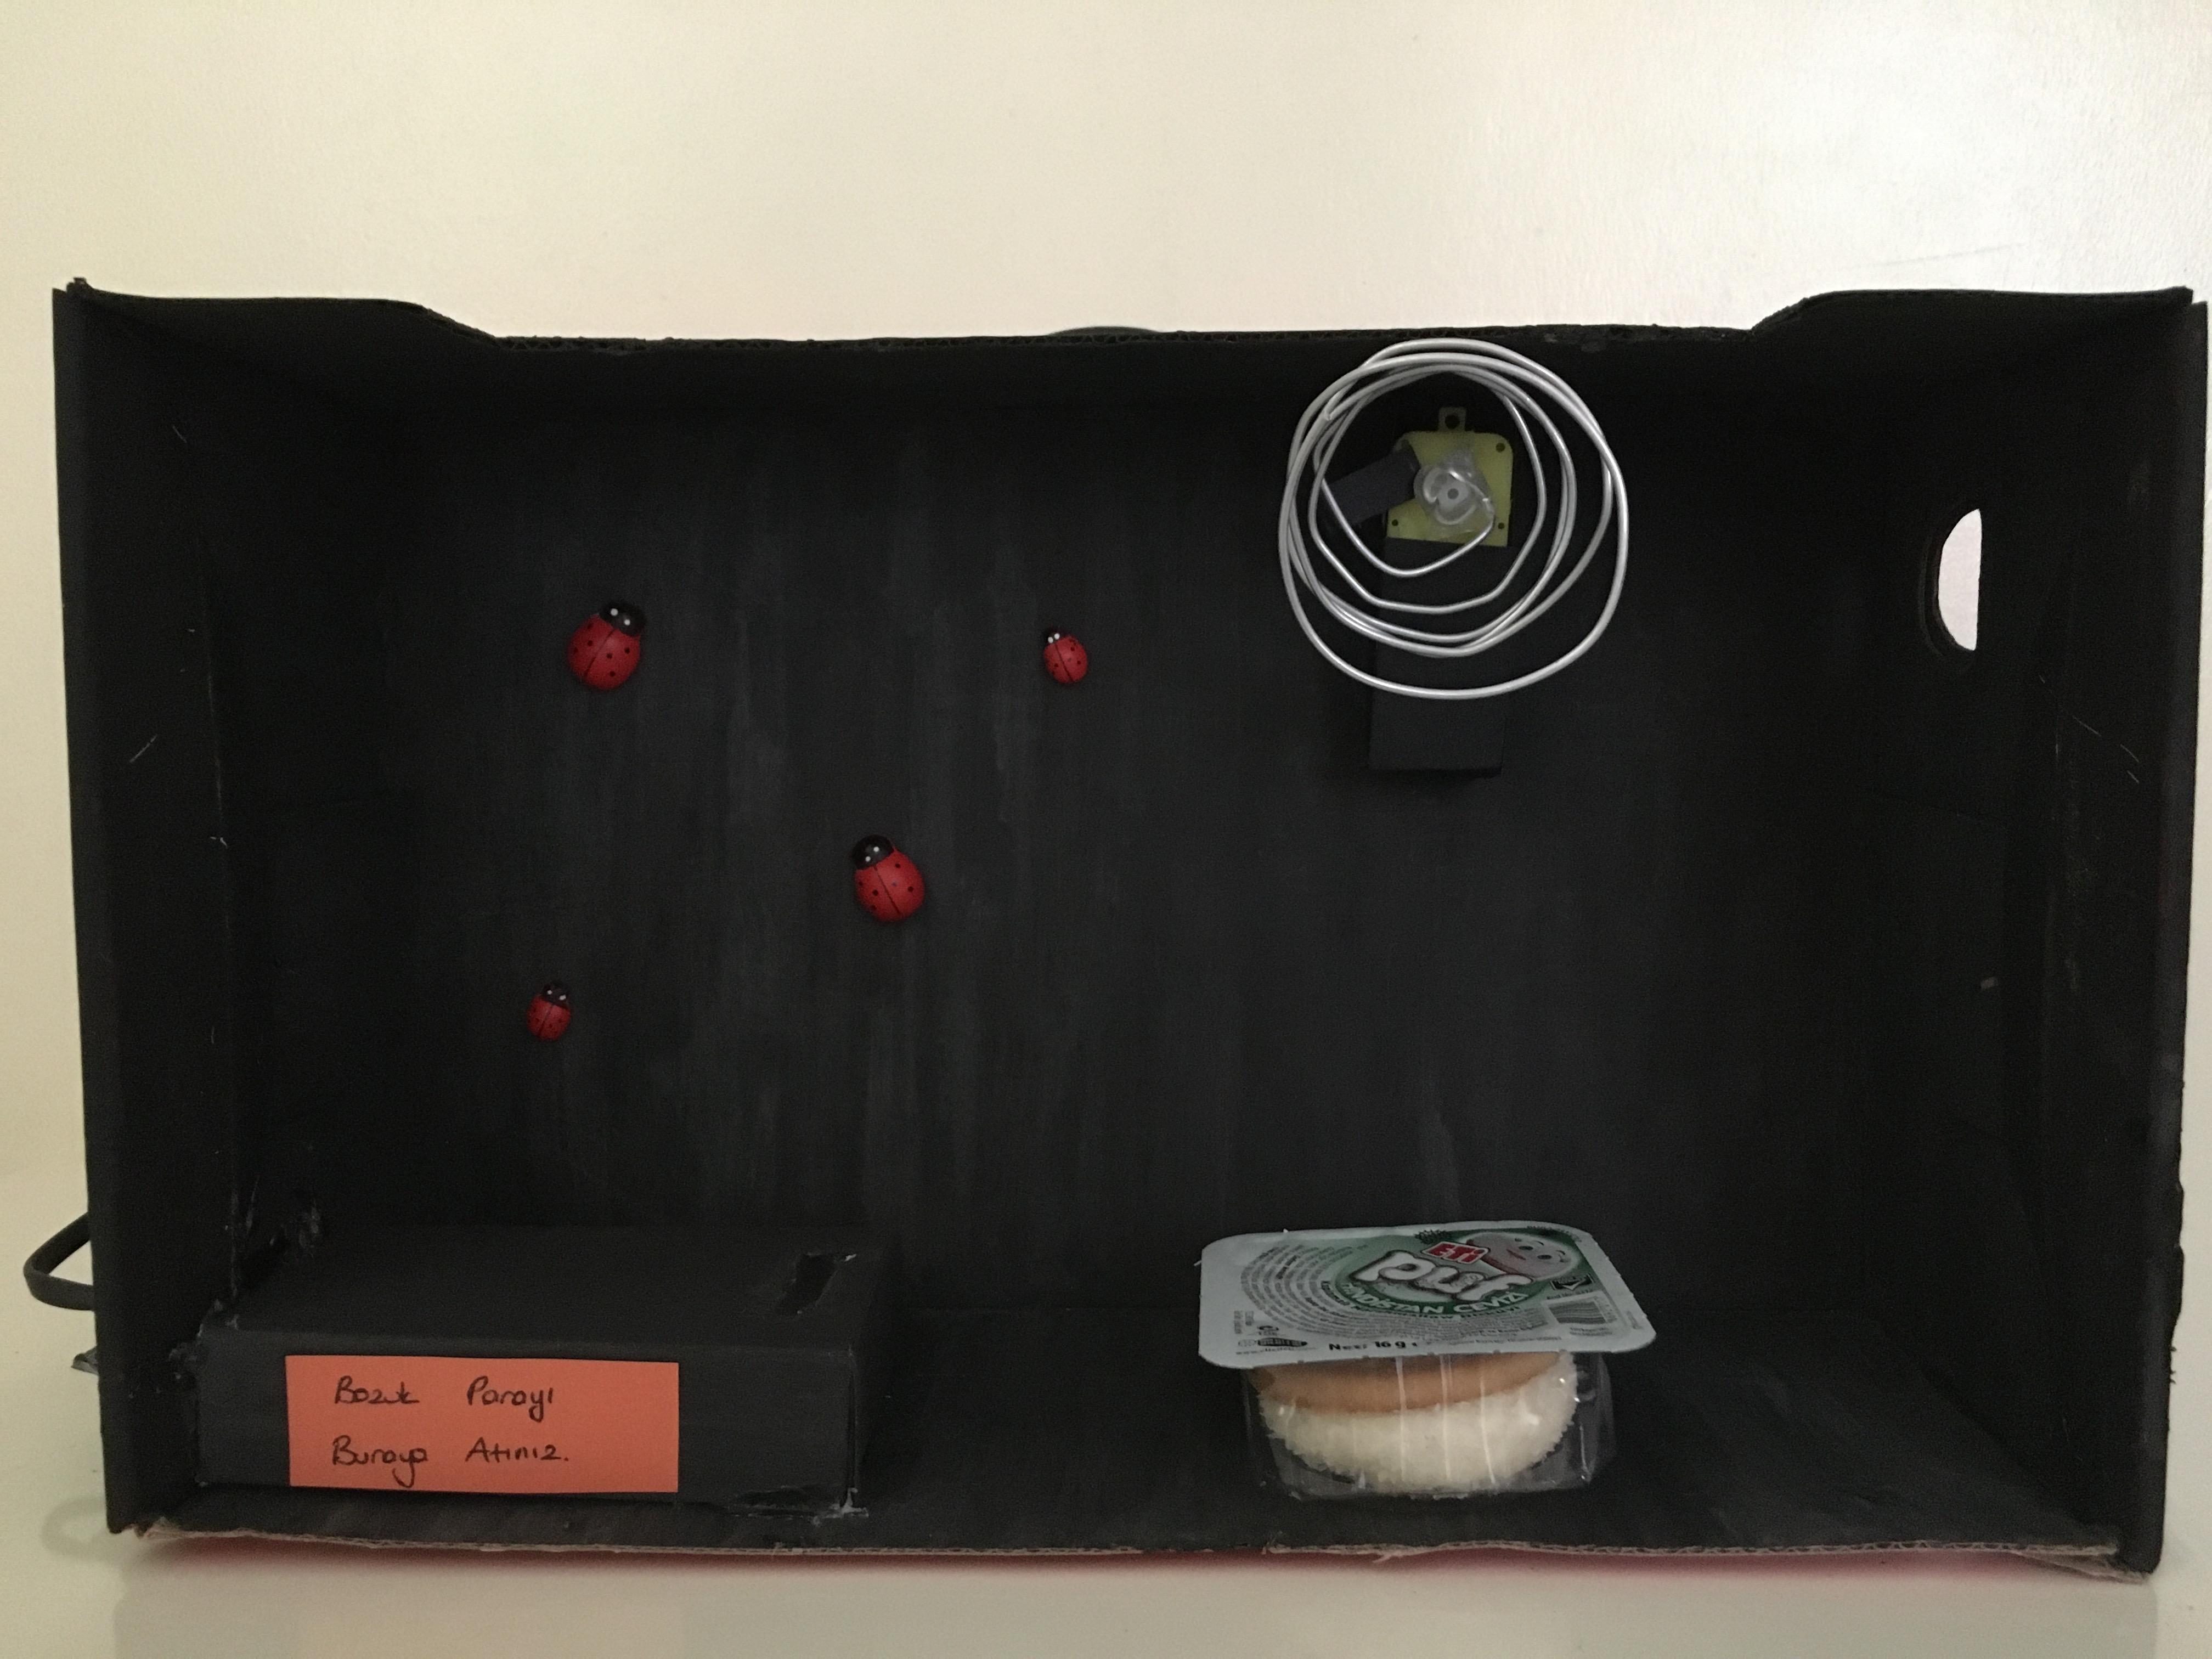
- After the installation is finished, we insert the 9V battery into the Pinoo board.
- Nothing happens until I throw out the money.
- When we throw away the money the product will fall.