Autodesk Fusion Arcade Cabinet
by lukepython33 in Circuits > Electronics
219 Views, 2 Favorites, 0 Comments
Autodesk Fusion Arcade Cabinet
Hello and welcome to my Arcade Cabinet Tutorial. In this tutorial, we will make the cabinet's basic outline, the glass, and probably some more stuff. This tutorial is beginner-friendly, so if it's your first time using Fusion, it's still fine. Before you start this tutorial, I have a little warning. When you are doing this tutorial, please follow the steps very strictly. If you want to make this Arcade Cabinet your way, follow the tutorial 2 times before getting started doing it your way. Now let's get started!
Supplies
These are the supplies:
- Computer
- Your hands
- Your brain
If you are missing any of these things, you can't do this project. Otherwise, you're good to go!
(Optional Step for Beginners) Learn Navigation.
- First, to move around you can click on the middle mouse button and drag to move left, right, up, or down. You can see this in the first video below. There are two ways to free orbit.
- Hold the shift key and middle mouse button to move around, as you can see in the second video below.
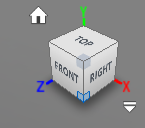
- Drag the little box to move around, as you can see in the third video below.
- To zoom, use the middle mouse button and scroll, as you can see in the fourth video below.
- To look at something without dragging, click on it and click look at, as you can see in the fifth video below.
- When you are using the little box, make sure that "perspective with ortho faces" is turned on. To do this, right-click on the box and click perspective with ortho faces, as you can see in the sixth video below.
- You can click E for extrude, D for dimensions, M for move, X for construction line, L for line, S for shortcut, and T for trim.
(Optional Step for Beginners) Learn Navigation Continued.
- As you can see on the top left side of the screen, there is a button that lets you show or hide the data panel, which allows you to see your documents, as you can see in the seventh video below.
- To save your documents alter it and then click the save button at the top left or click ctrl + s, as you can see in the eighth video below. You don't have to copy the way I changed it, I'm just showing you how to save your document.
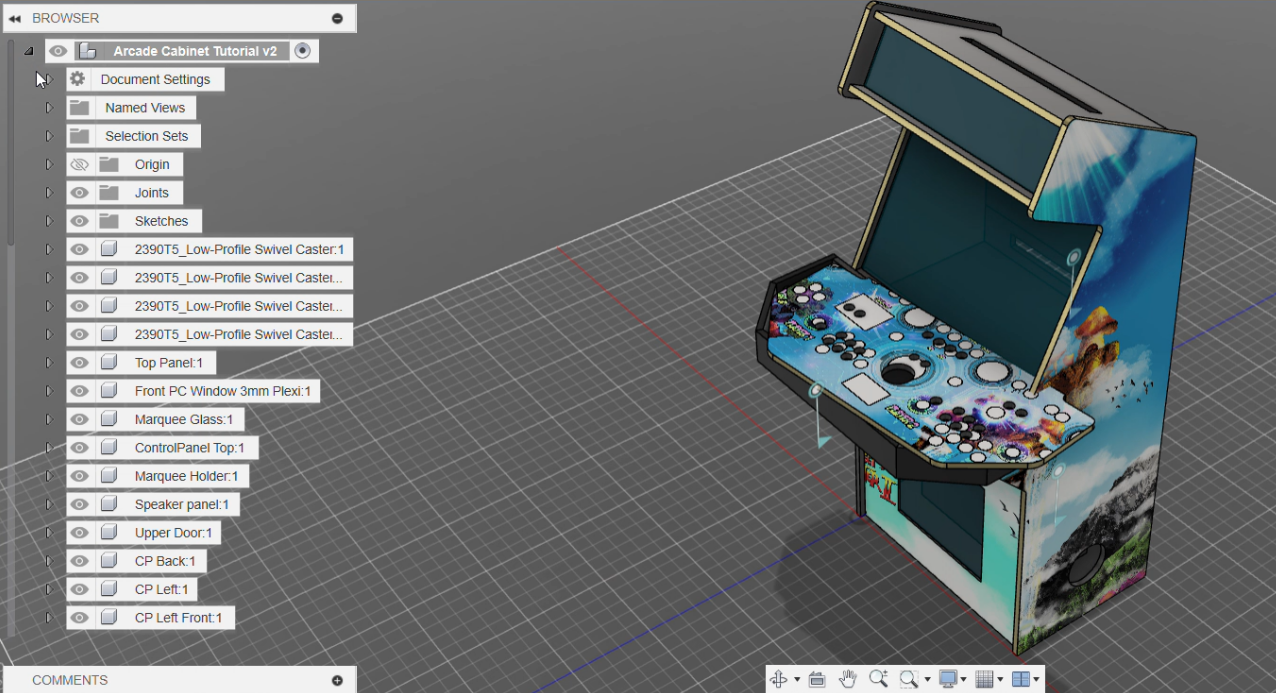
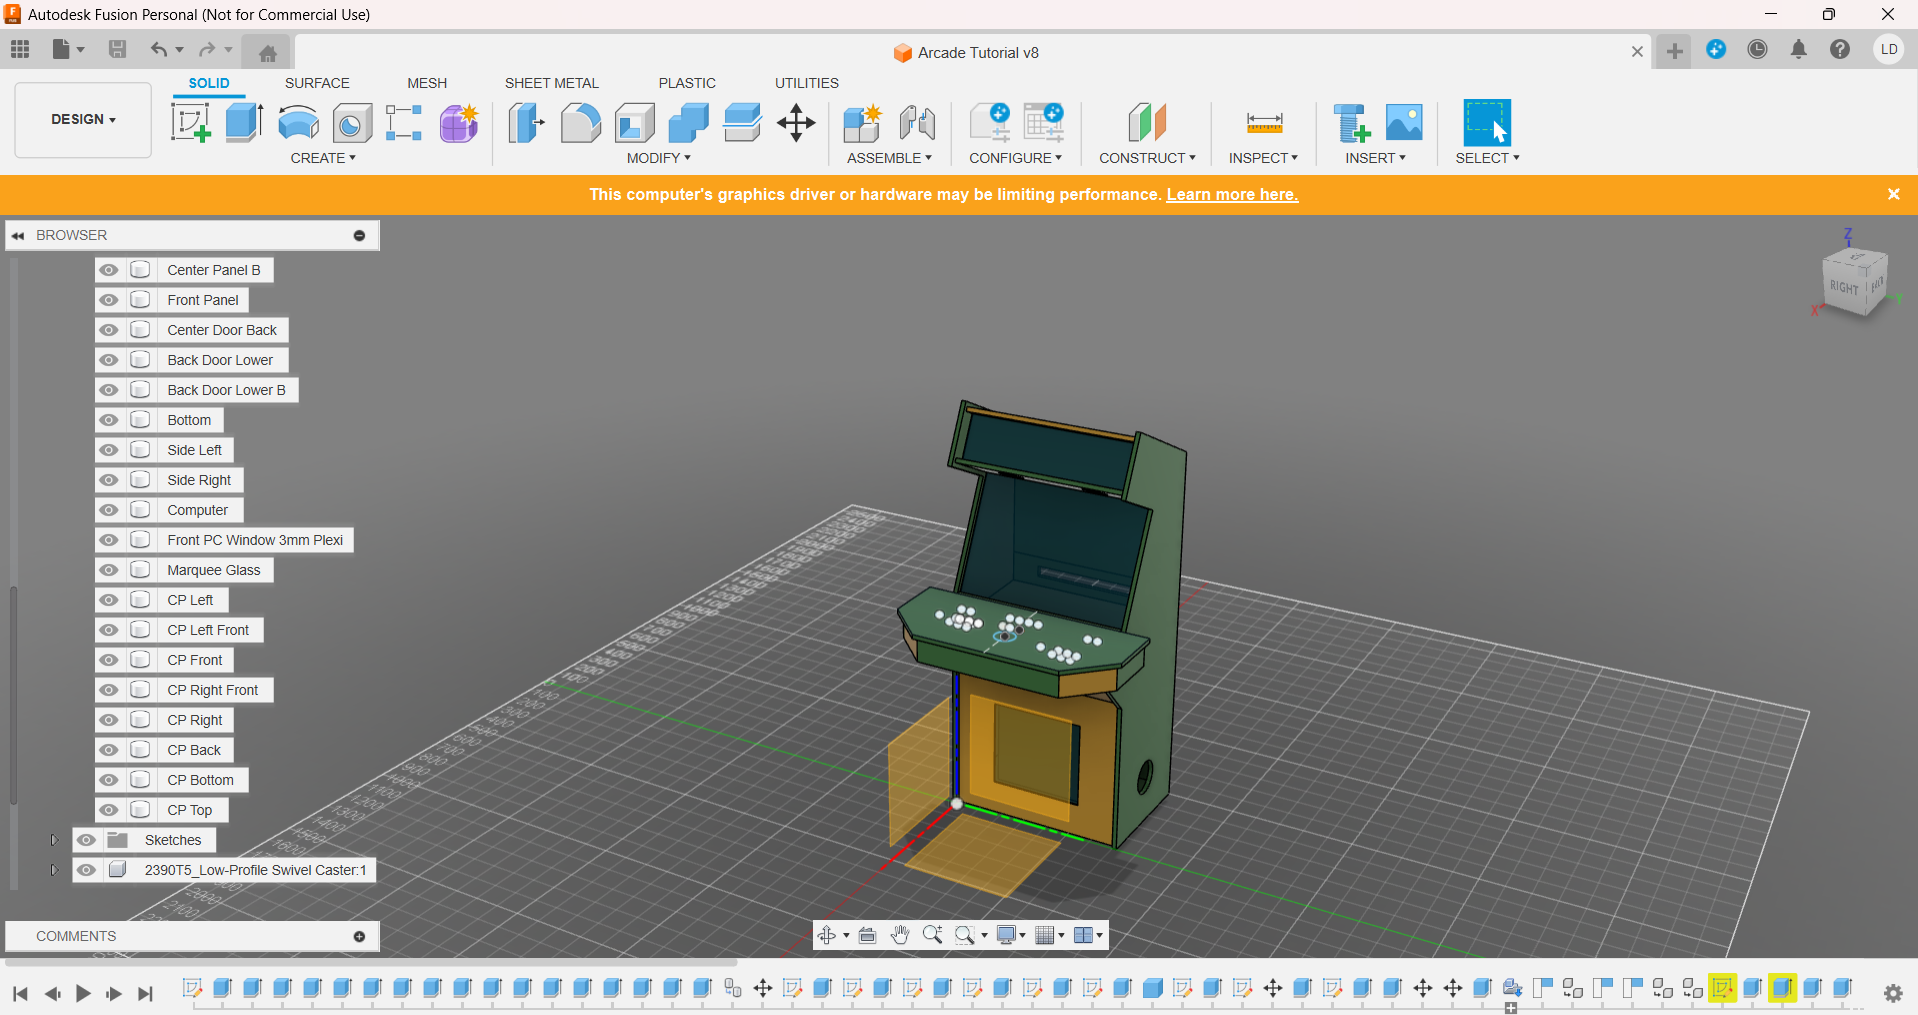
- To look at all the components of your model, you click on the browser on the left side of the screen, as you can see in the ninth video below.
- To customize the look of your environment, watch the tenth video below. As for the environment, I like the grey room, but you can choose whatever you want. For visual style, trust me, you'll want it shaded with visible edges. Also, turn on snap to grid.
Videos
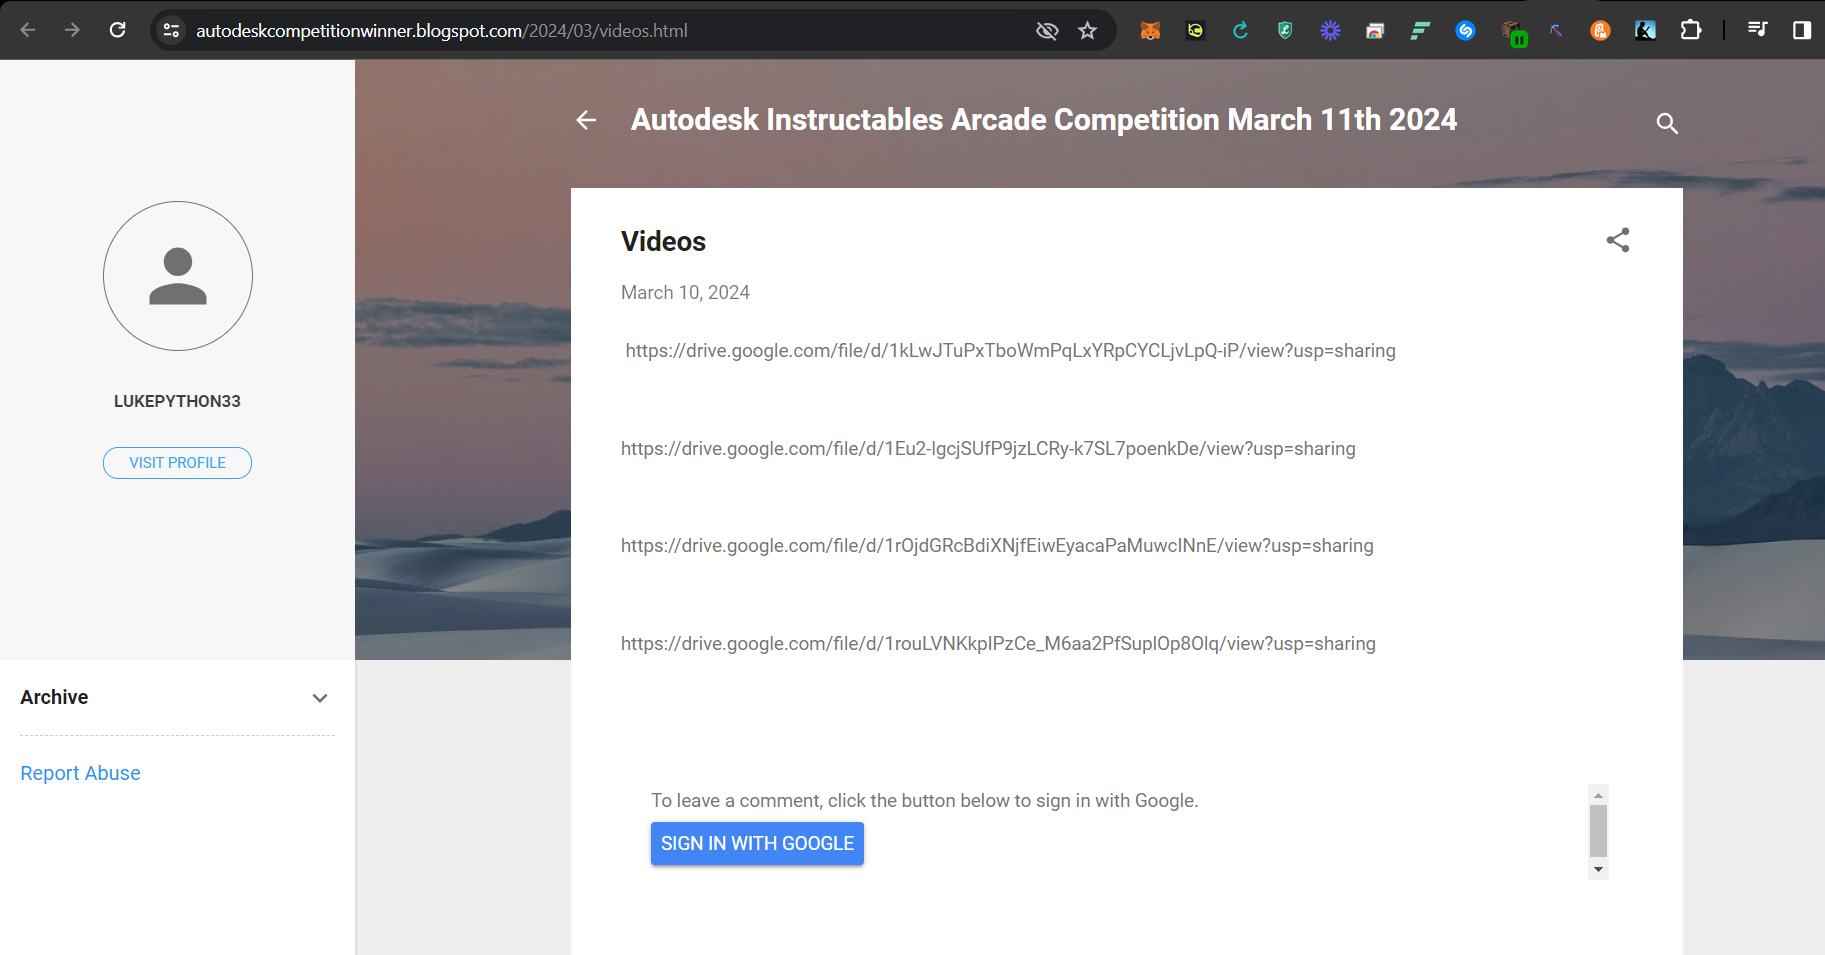
Here are the video links:
https://drive.google.com/file/d/1kLwJTuPxTboWmPqLxYRpCYCLjvLpQ-iP/view?usp=sharing
https://drive.google.com/file/d/1Eu2-lgcjSUfP9jzLCRy-k7SL7poenkDe/view?usp=sharing
https://drive.google.com/file/d/1rOjdGRcBdiXNjfEiwEyacaPaMuwcINnE/view?usp=sharing
https://drive.google.com/file/d/1rouLVNKkpIPzCe_M6aa2PfSuplOp8Olq/view?usp=sharing
And a link to my blog, which will get information added to it the whole time:
https://autodeskcompetitionwinner.blogspot.com/
Just Design!
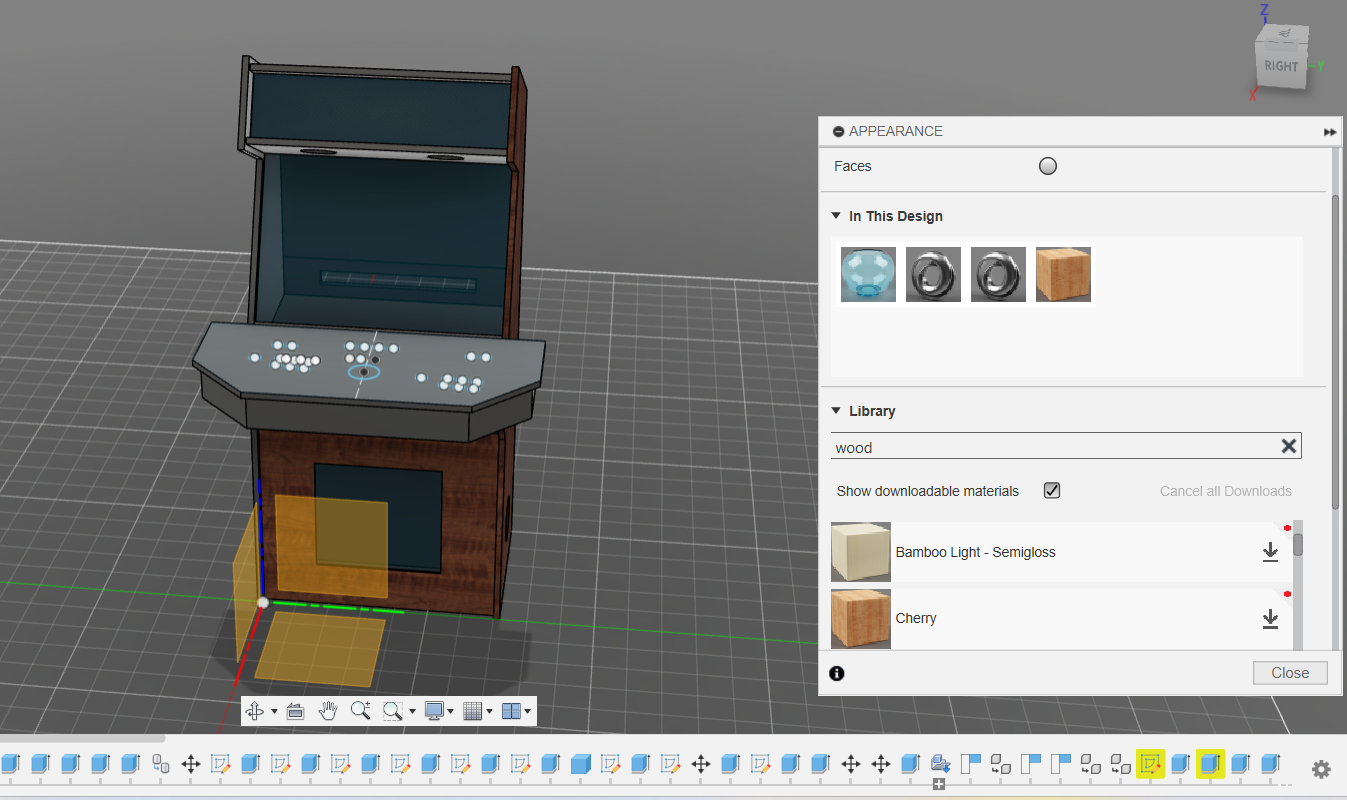
This arcade is done, but not totally. There are still many things you can do, like adding an appearance of your choice to the whole arcade. Using what you've learned, try to do this.