AutoTona
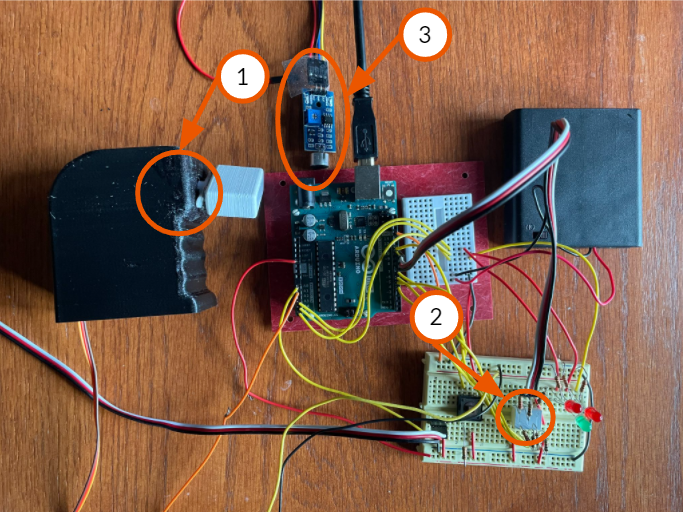
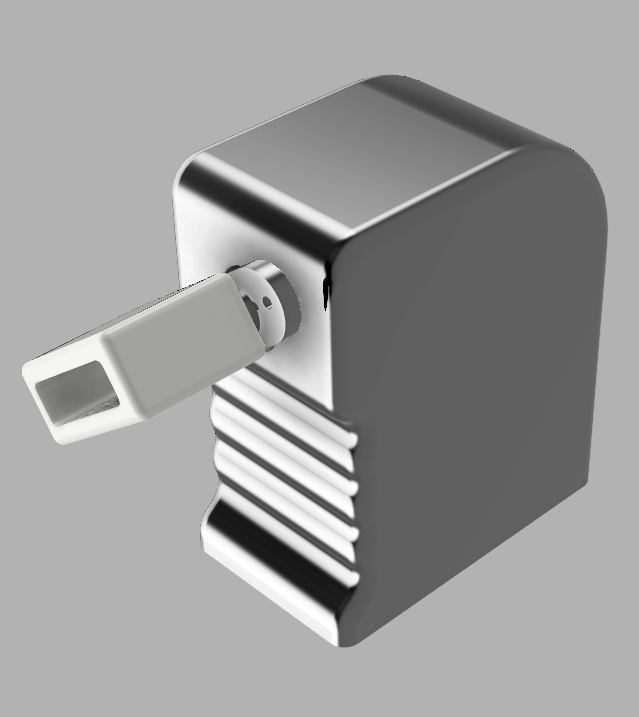
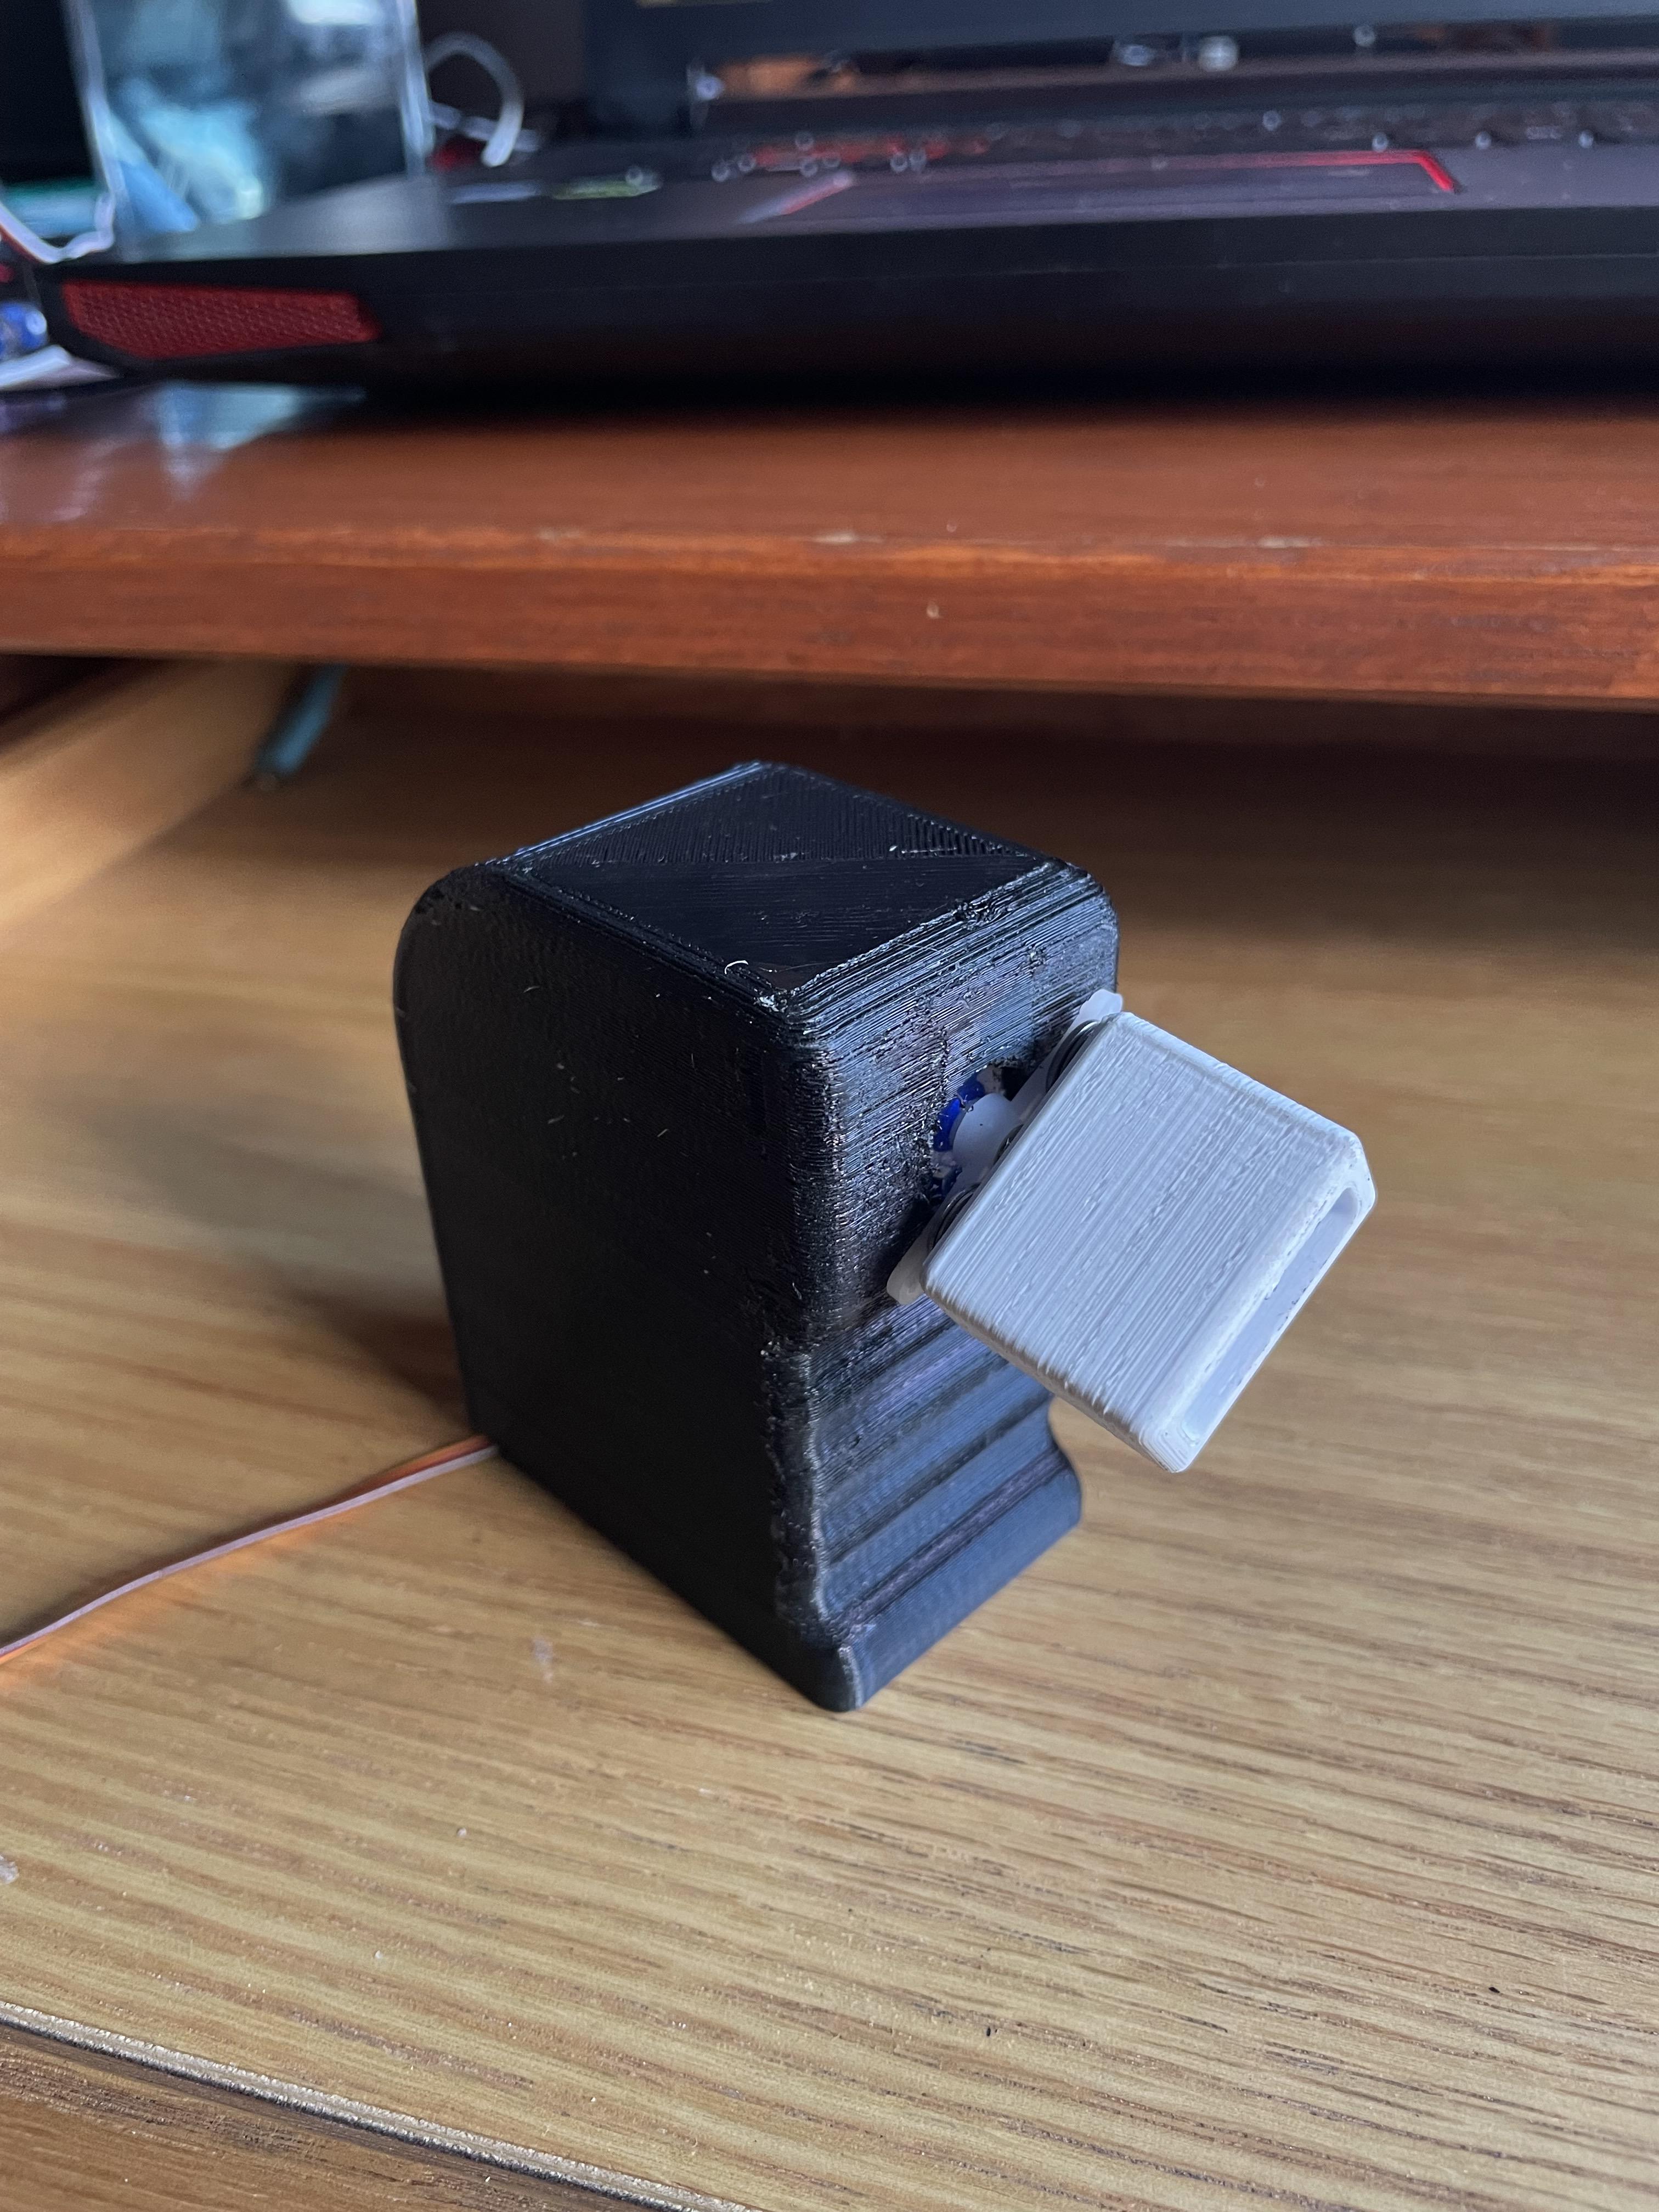
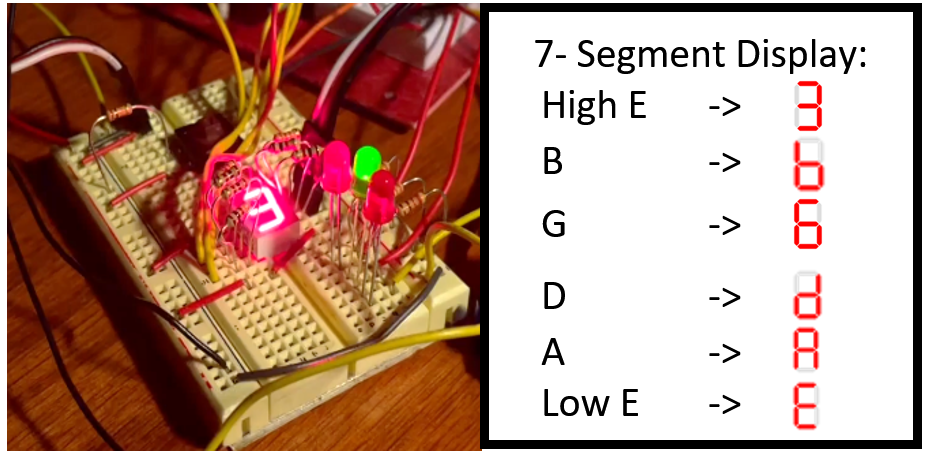
AutoTona is an automatic guitar tuner that tightens or loosens guitar strings based on the played note (Figure 1). The user can select which string they are tuning by switching string settings using a button. A DF9GMS 360-degree micro servo (1) is used for string tightening/loosening, a 7-segment display (2) is used to display string setting and a DAOKI microphone sensor (3) is used to detect note frequency. The servo is powered by a 6V battery source composed of 4 2.5V double A batteries, the other components are powered by the 5V source from the Arduino. The servo has power/ground/signal wire that is 3 foot in length to allow for ease of use when reaching over to the guitar.
Assemble Circuit and Program
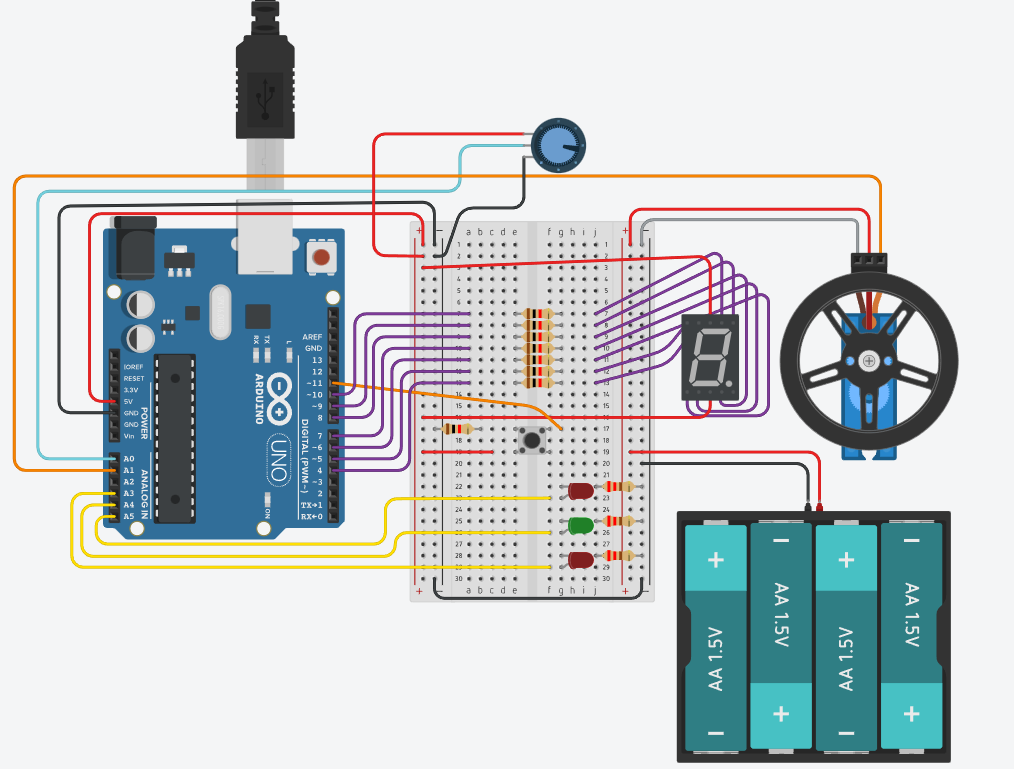
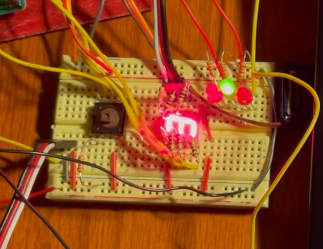
The largest difference between the circuit and the physical circuit is that since the 7-segment display purchased has a different pin configuration that is why it is placed into the circuit the way that it is.
Link to TinkerCad:
https://www.tinkercad.com/things/7LSjxEKwGFG
Downloads
Assemble Physical Product
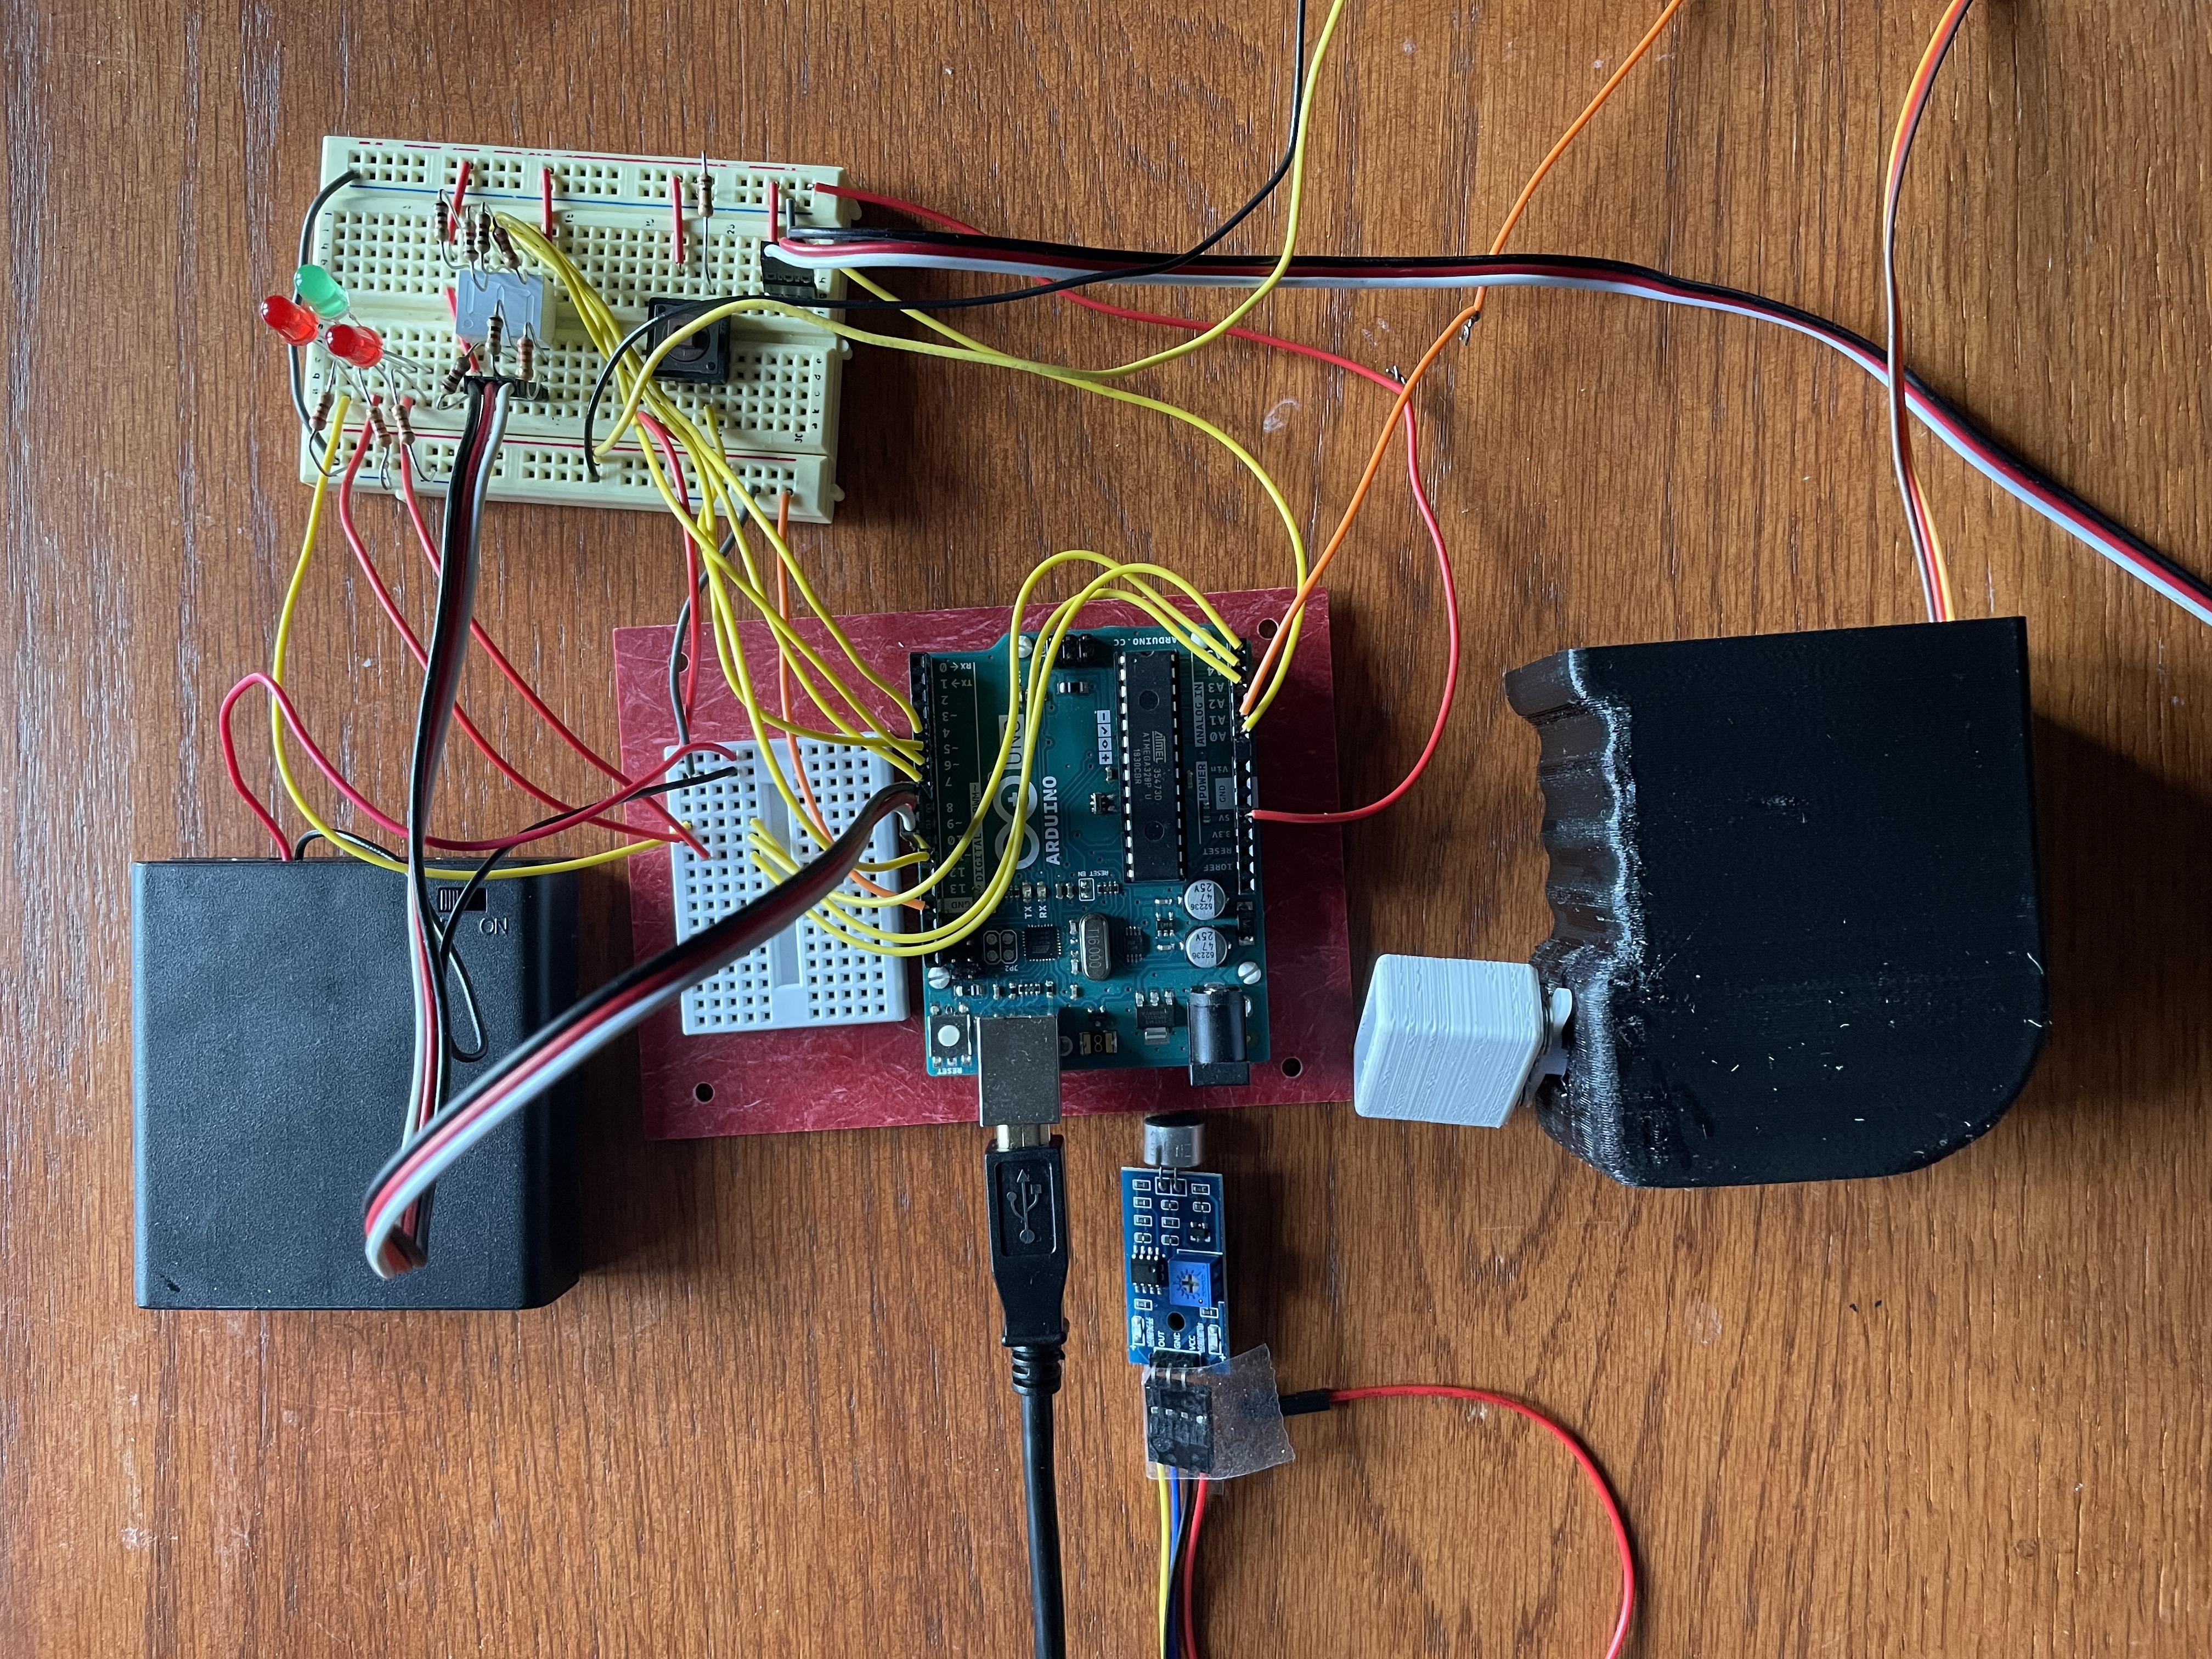
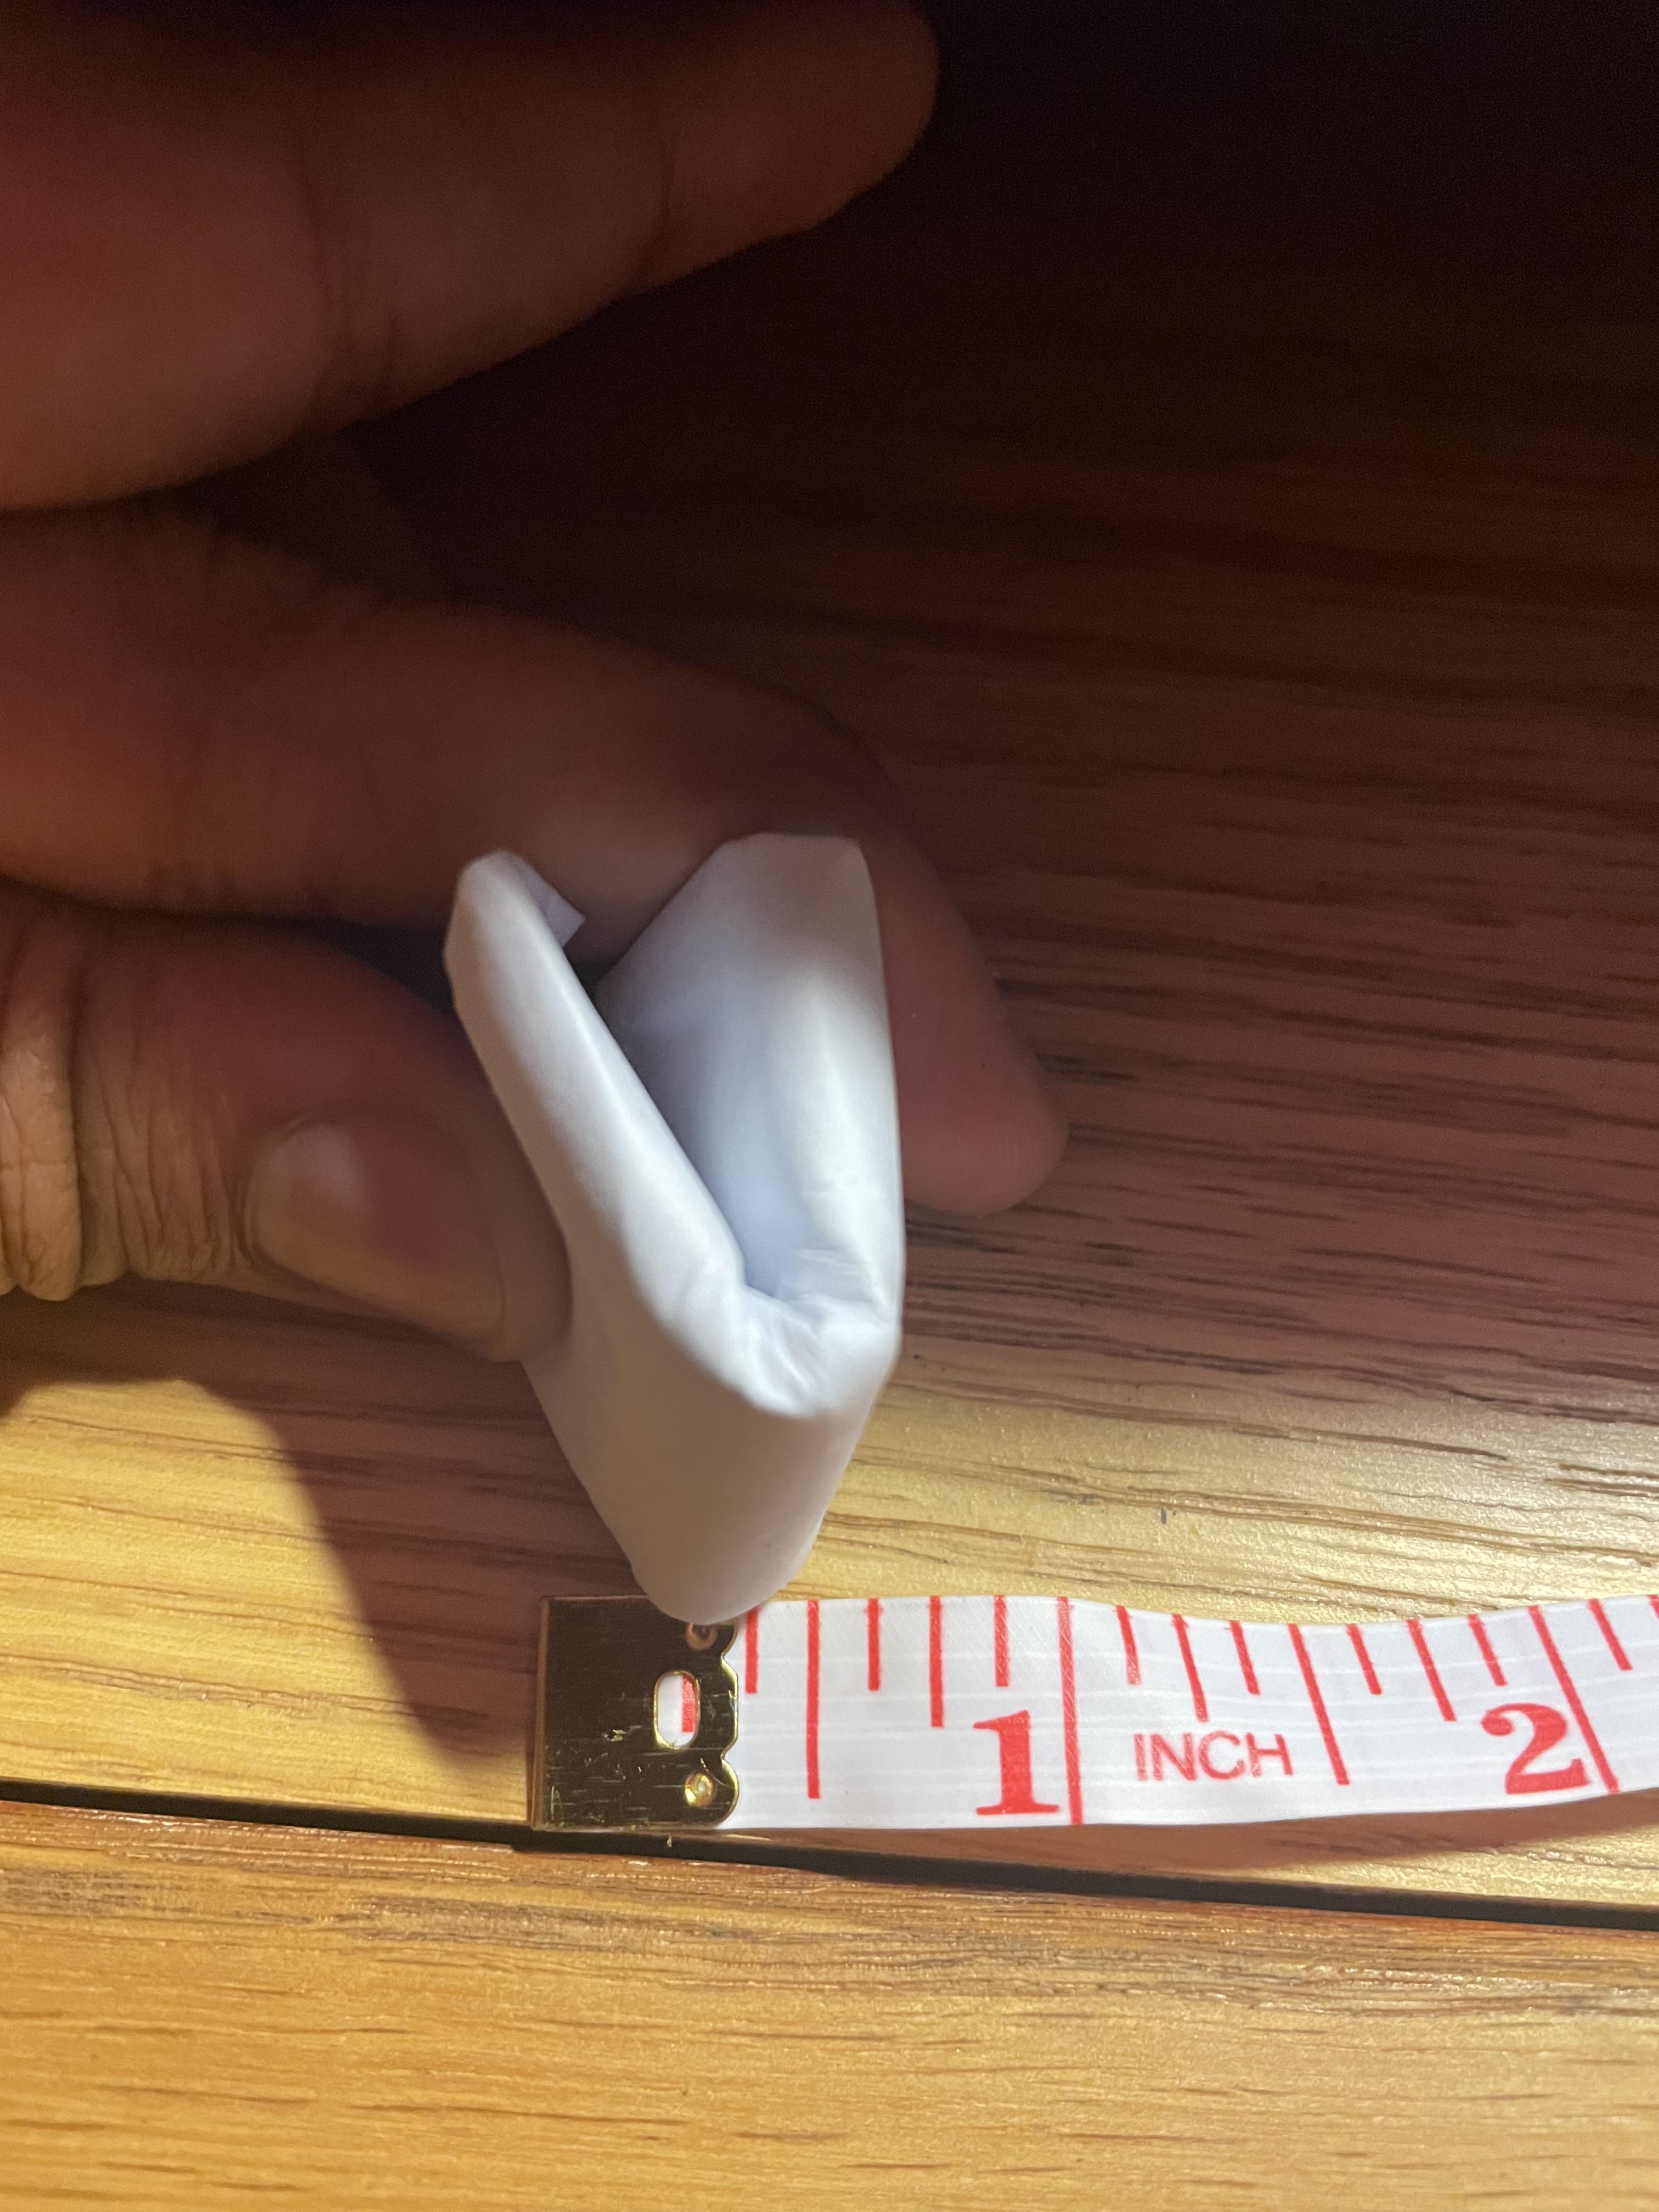
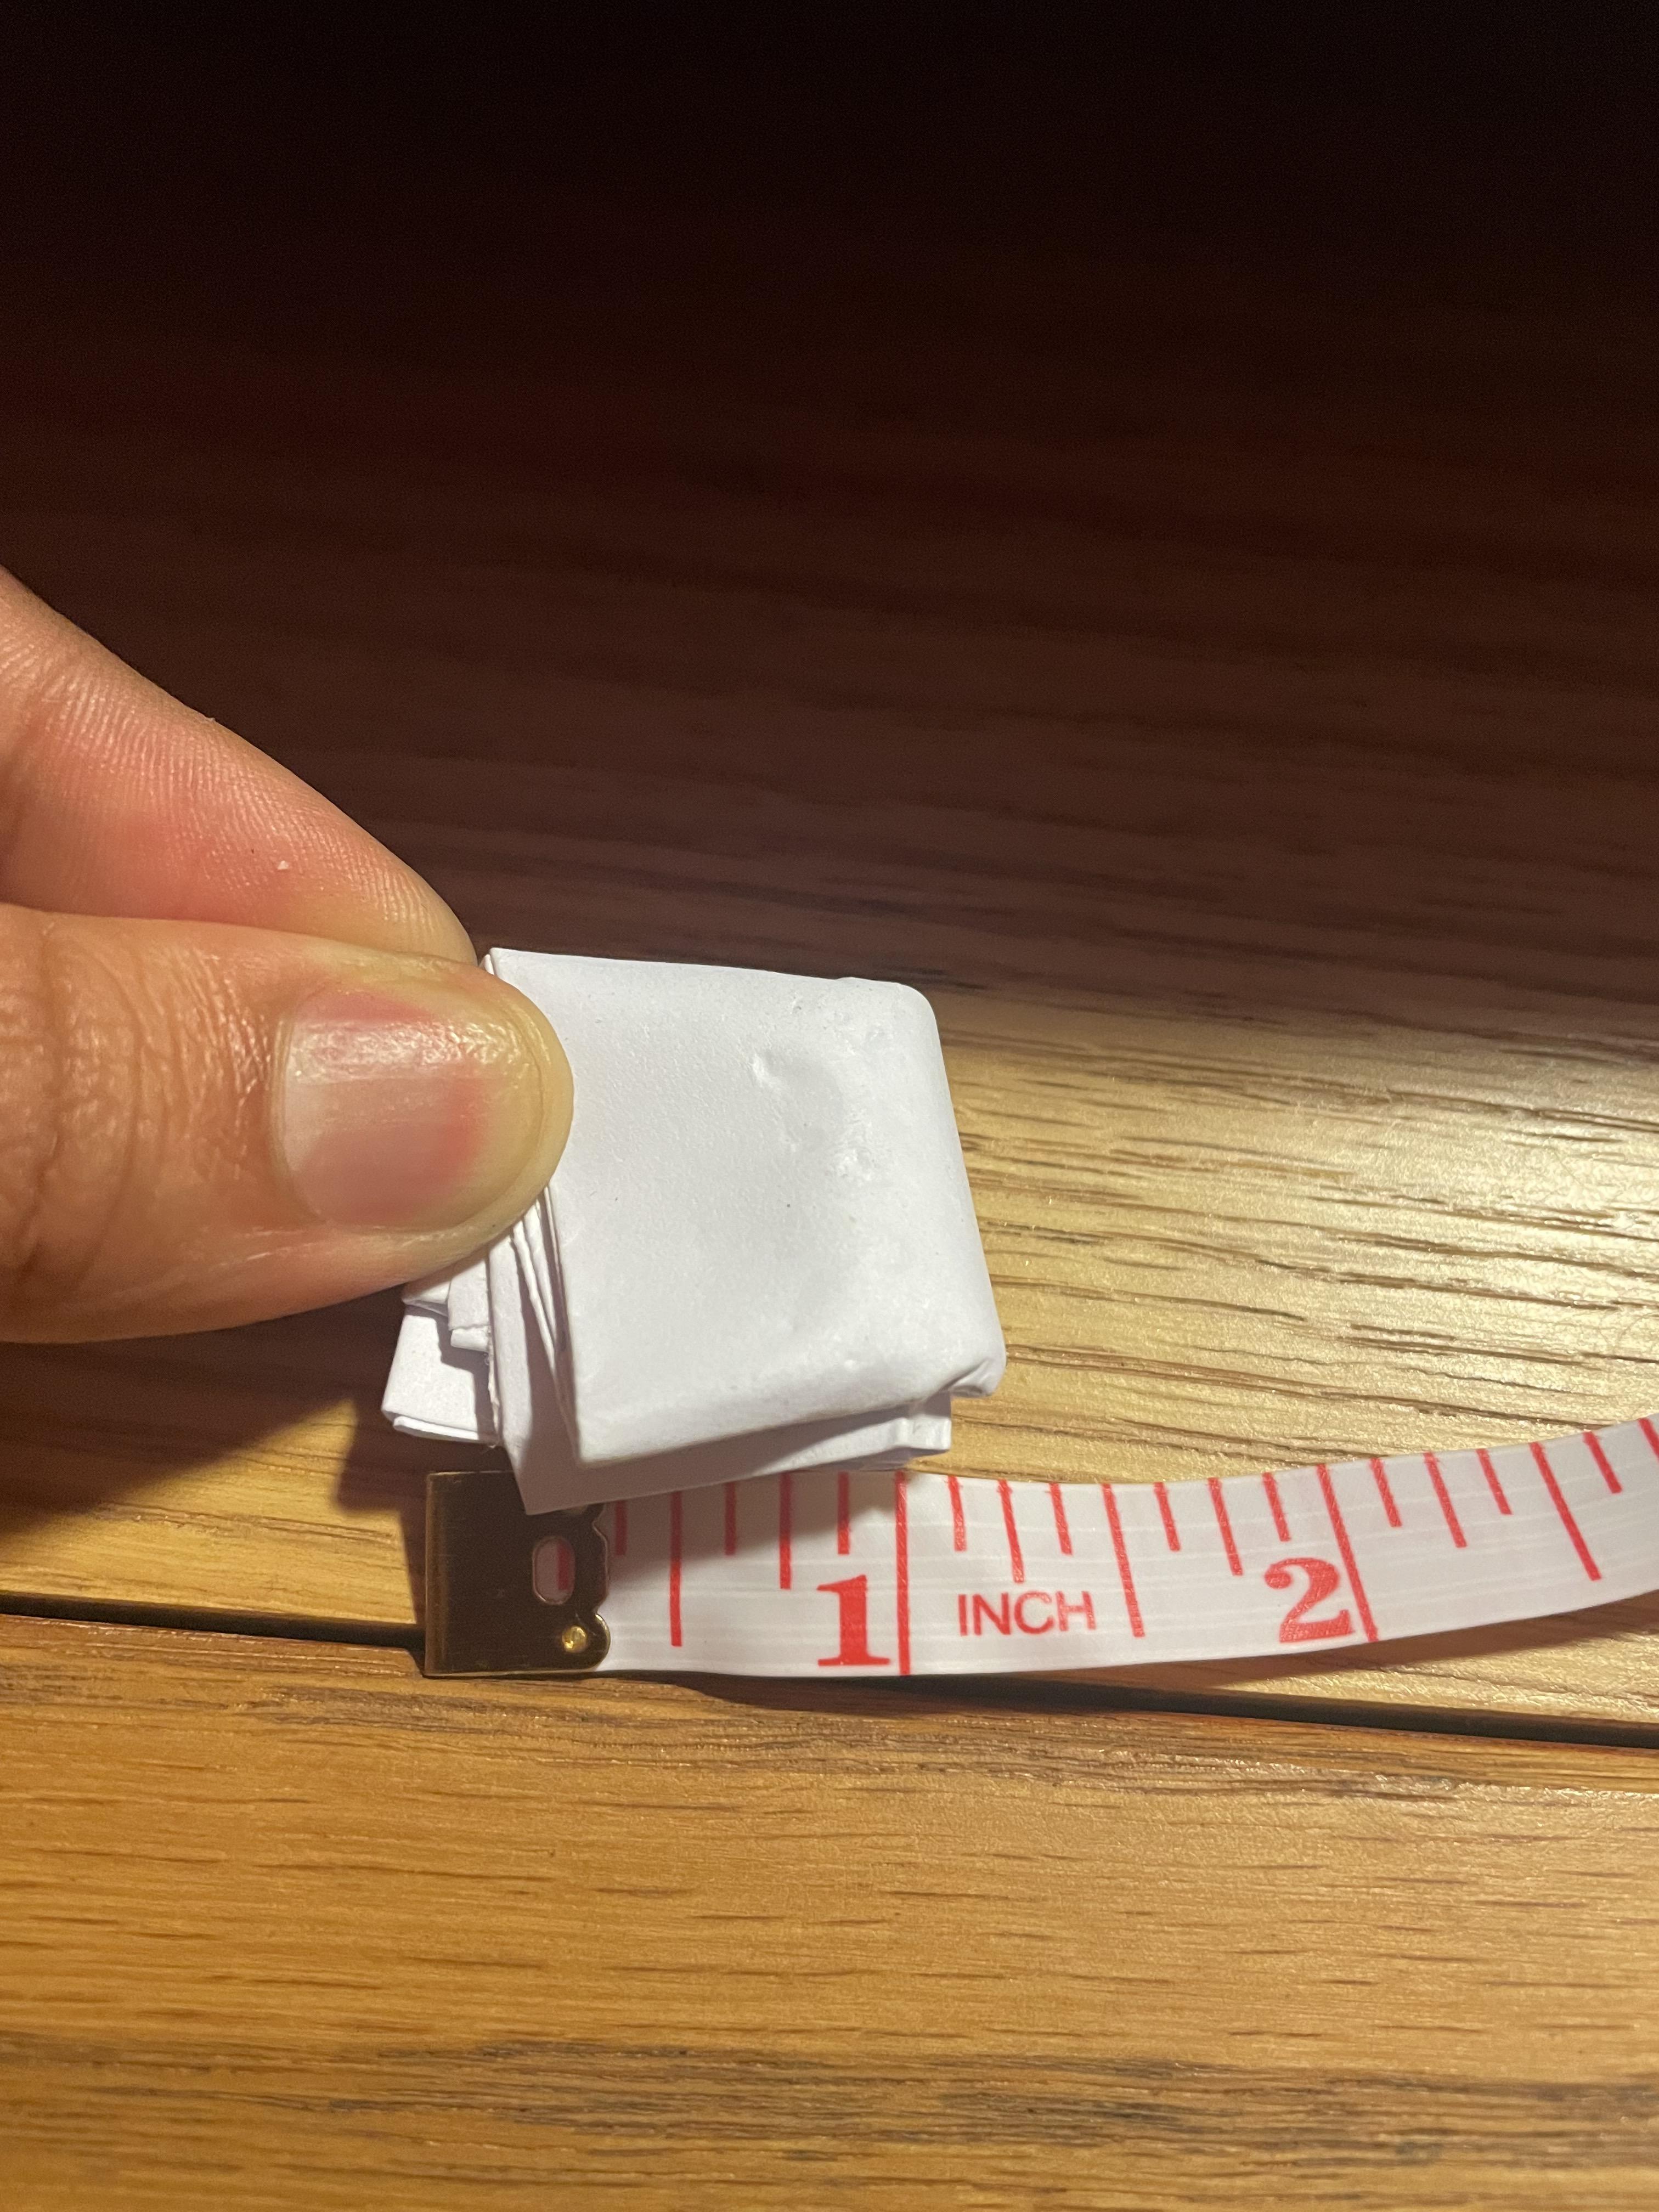
** The Step numbers correlate to the images
1) Collect all required mechanical components listed below:
- Base
- Peg Interface
- Continuous Servo
- Servo Horn (Servo Kit)
- Fasteners (Servo Kit)
- Washers (Servo Kit)
- Printer Paper
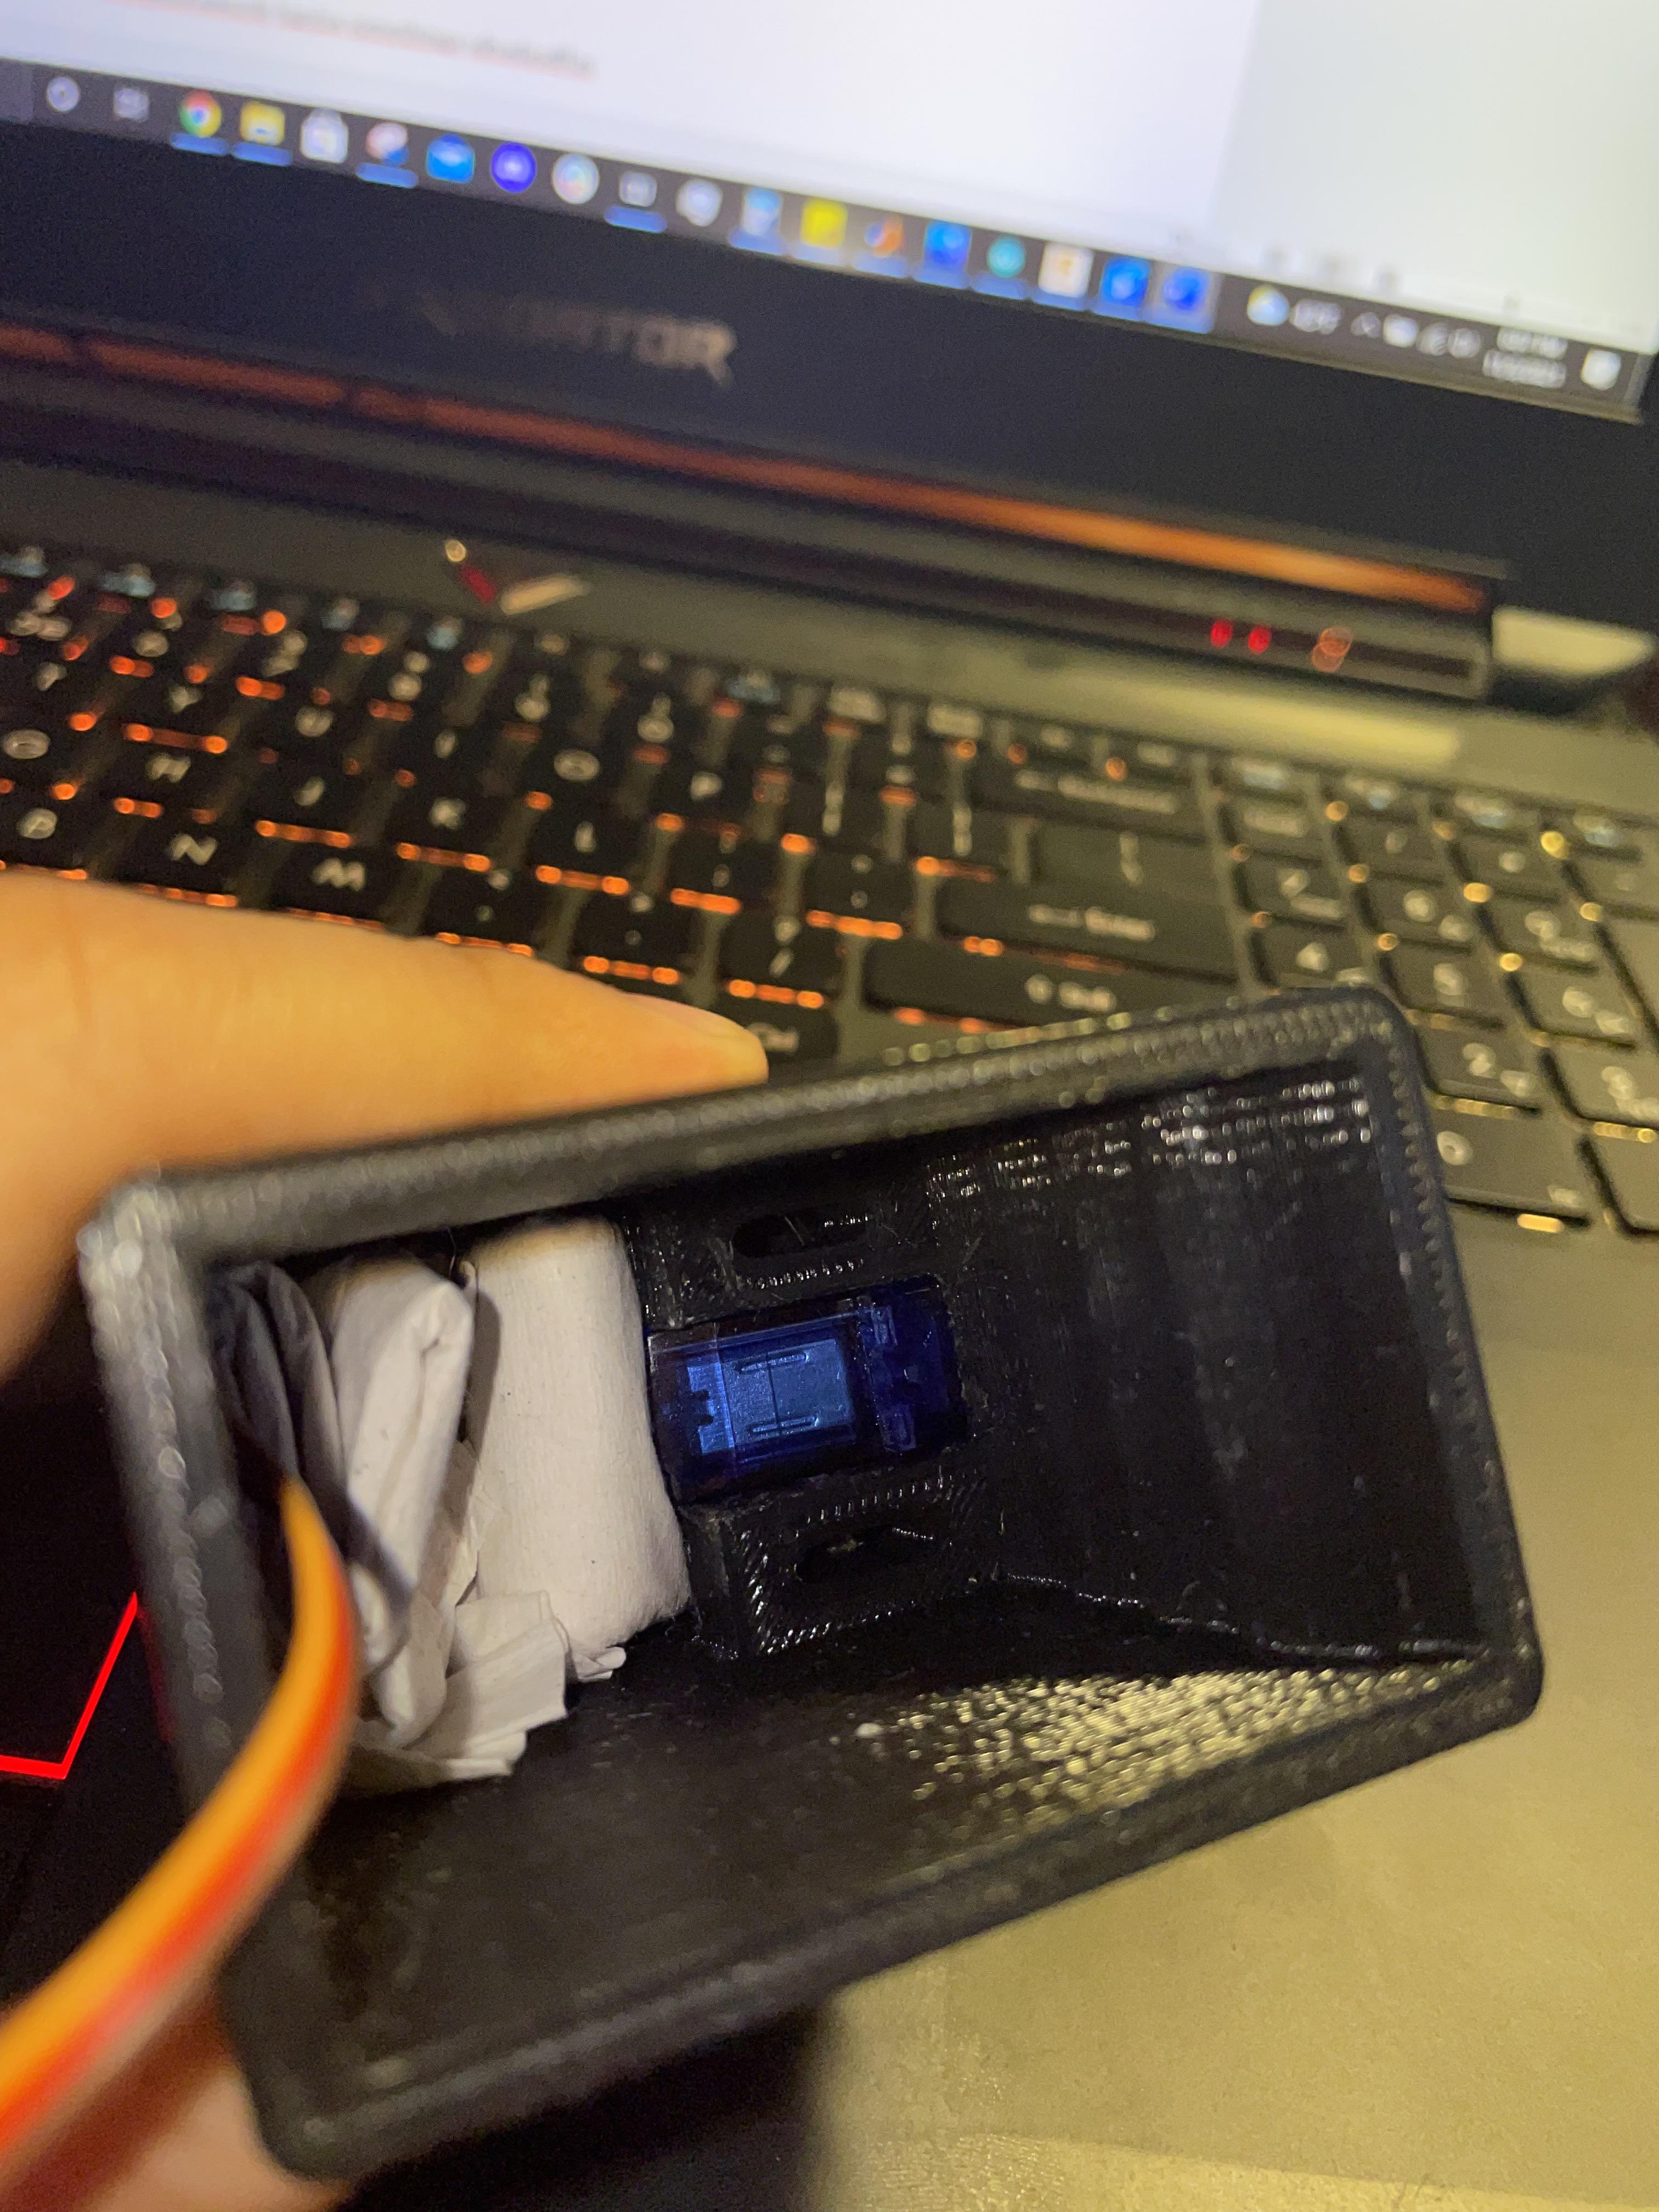
2/3) Acquire a paper square of 6 x 6 inches (cut a piece of printer paper) and fold in half twice to make a denser square. Repeat twice to make a 1 X 1 X 0.5 inches rectangular prism (view images)
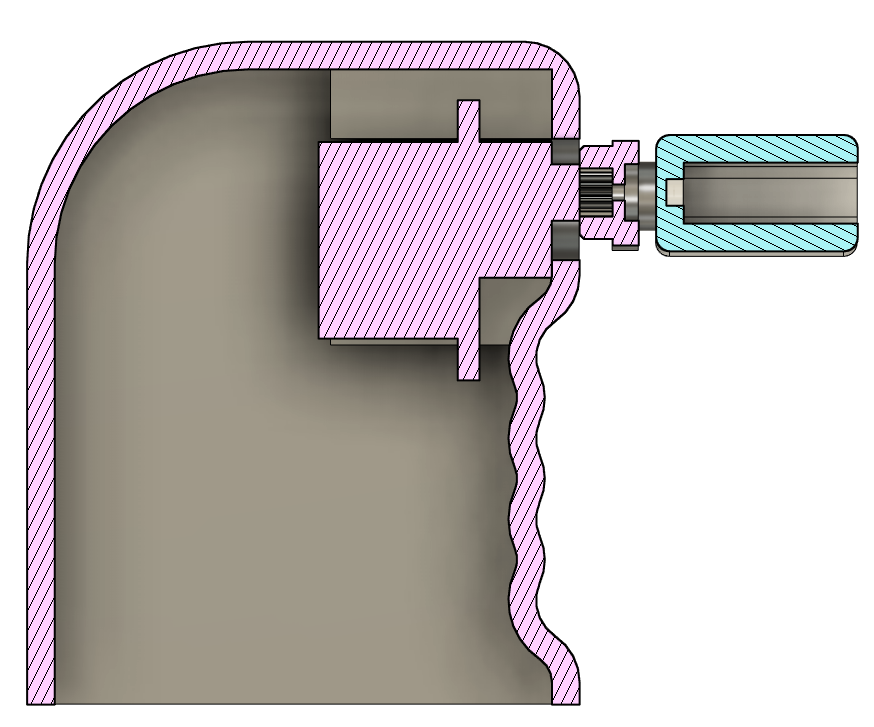
4) Place Continuous Servo into Mechanical Base and place paper squares for fixed support (look at section view)
5) Mesh servo horn onto servo and fasten using servo kit screw.
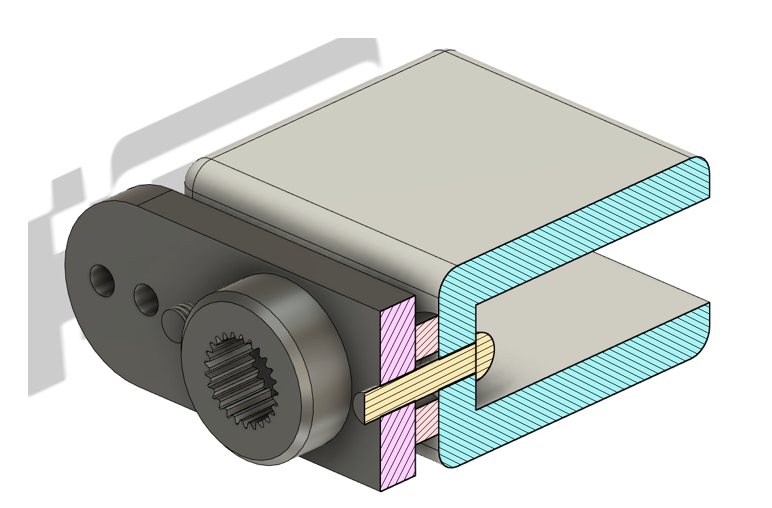
6) Using the additional servo screws place into Peg Interface (view peg interface and screw section view) and place washers on the contact face to the servo horn and fasten screws. Reference: Peg Interface holes should align with Servo Horn
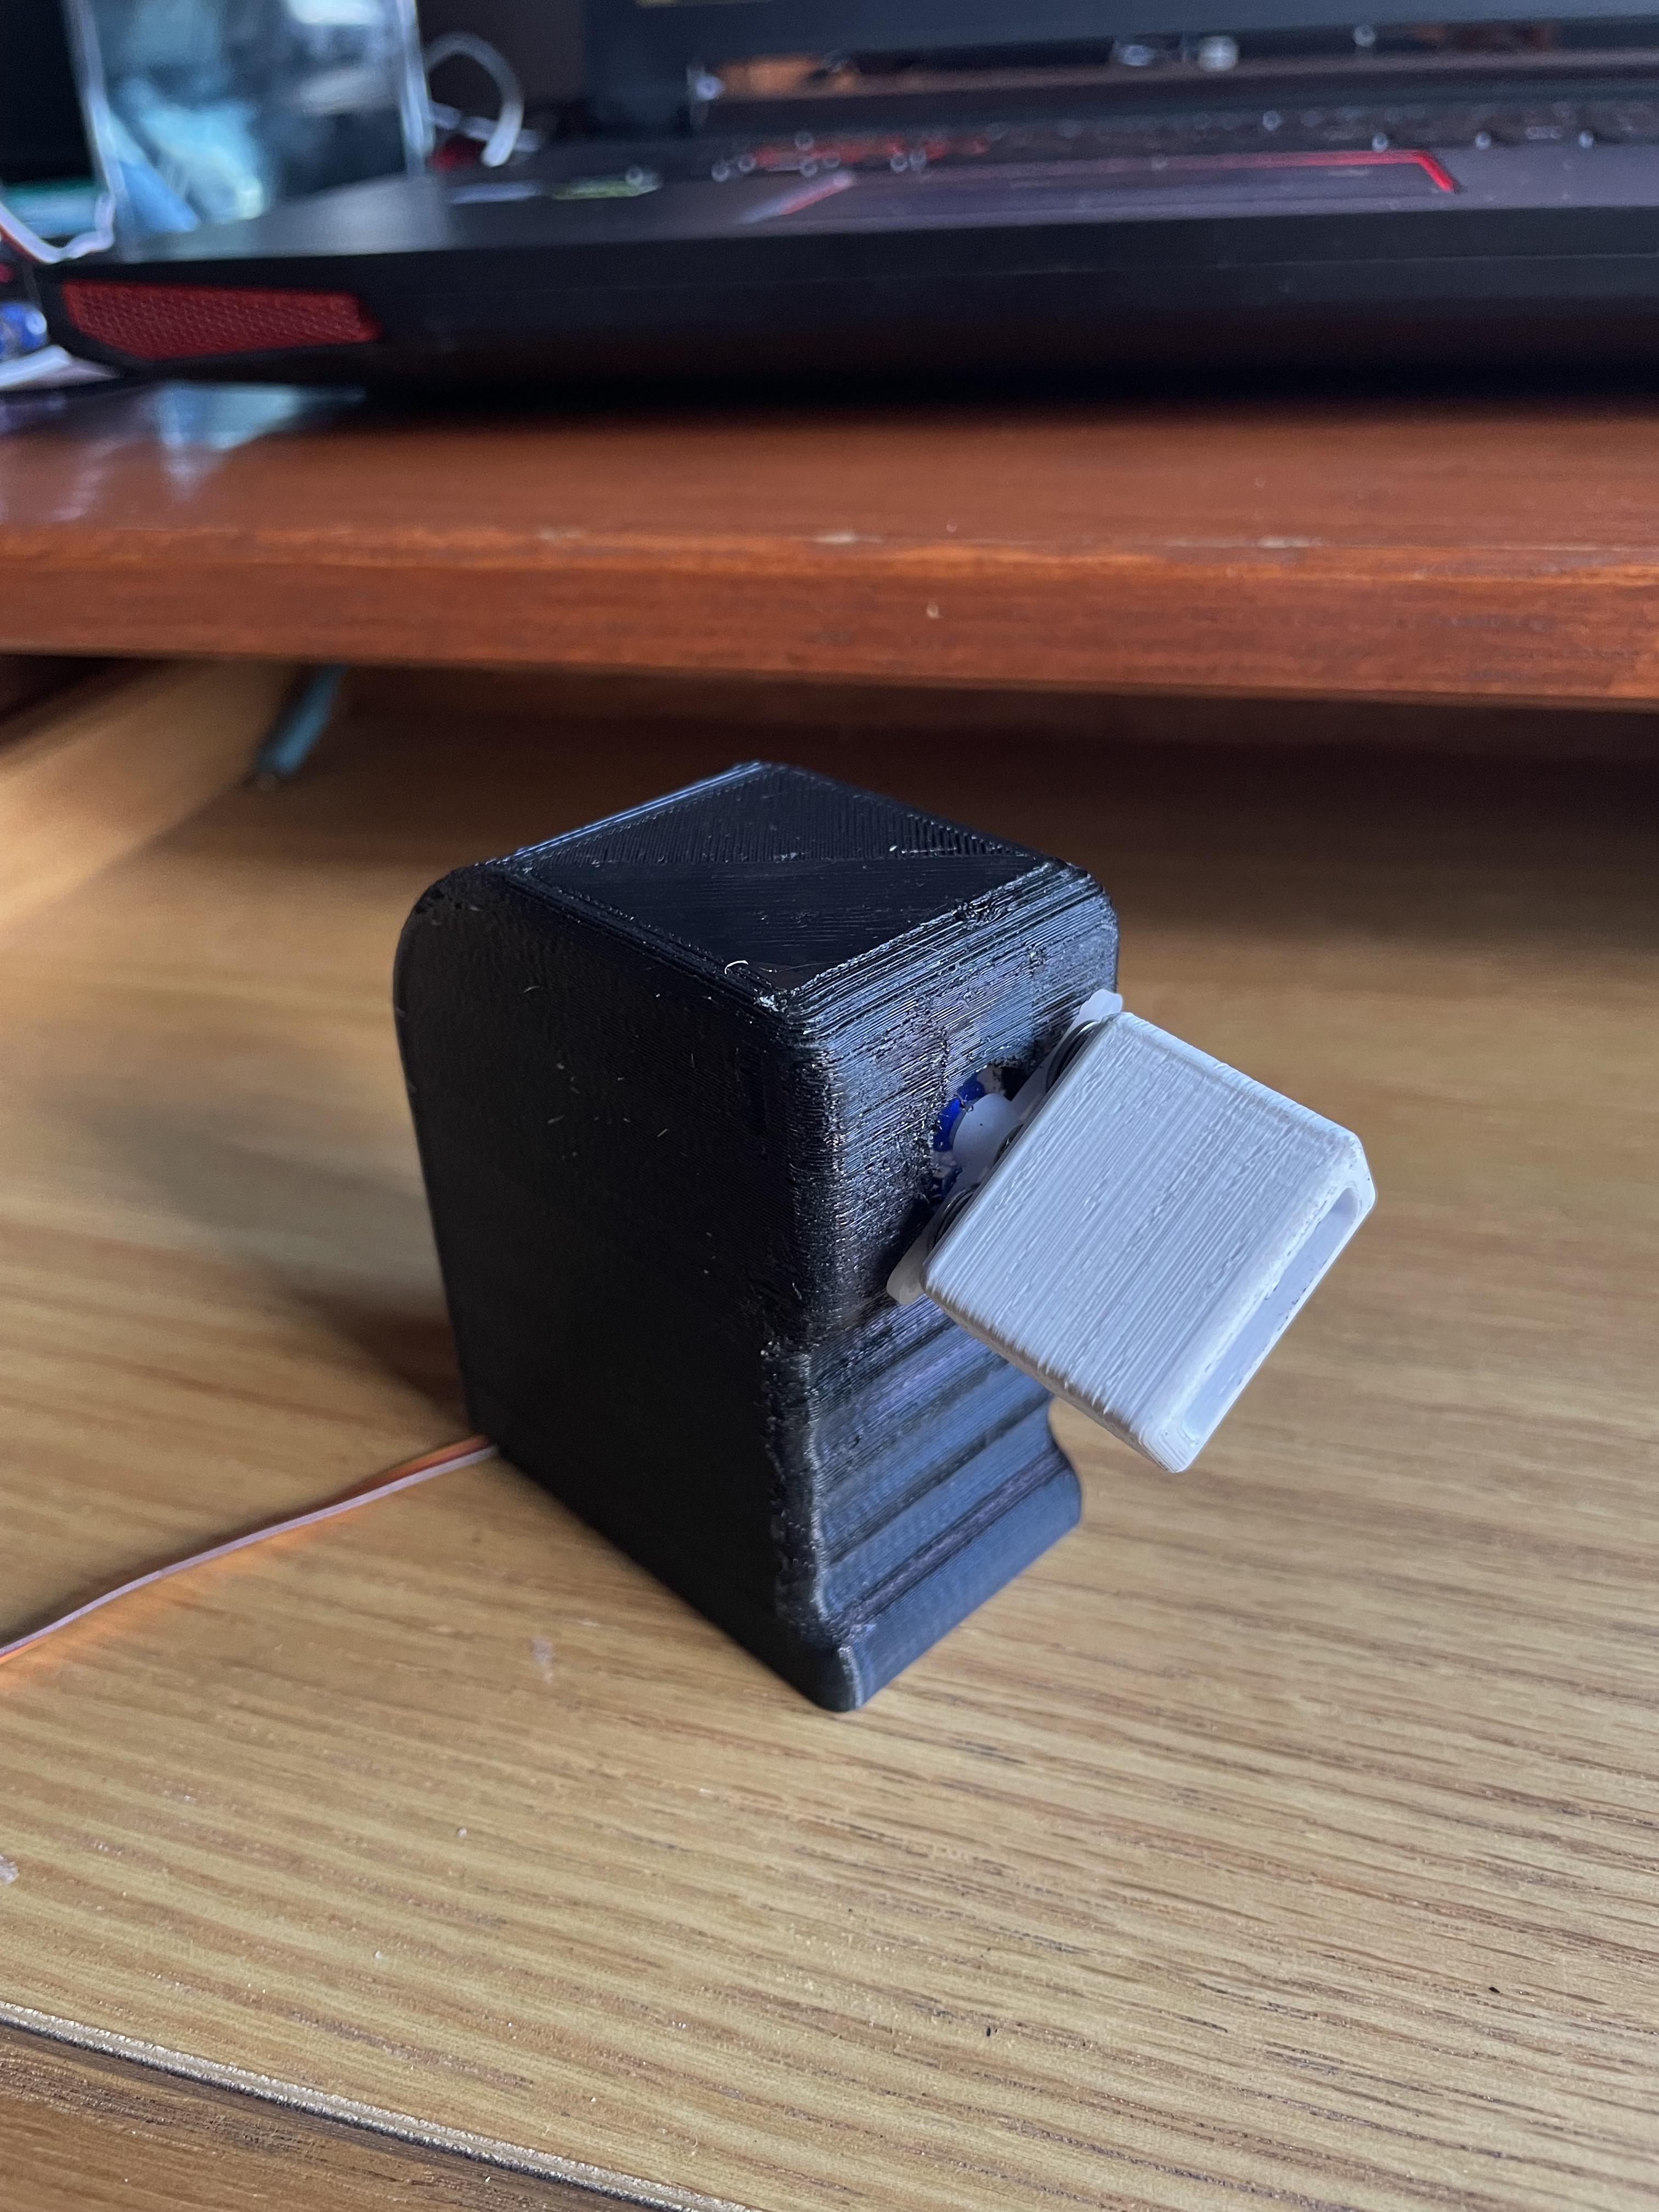
7) Assembly Complete.
Using AutoTona
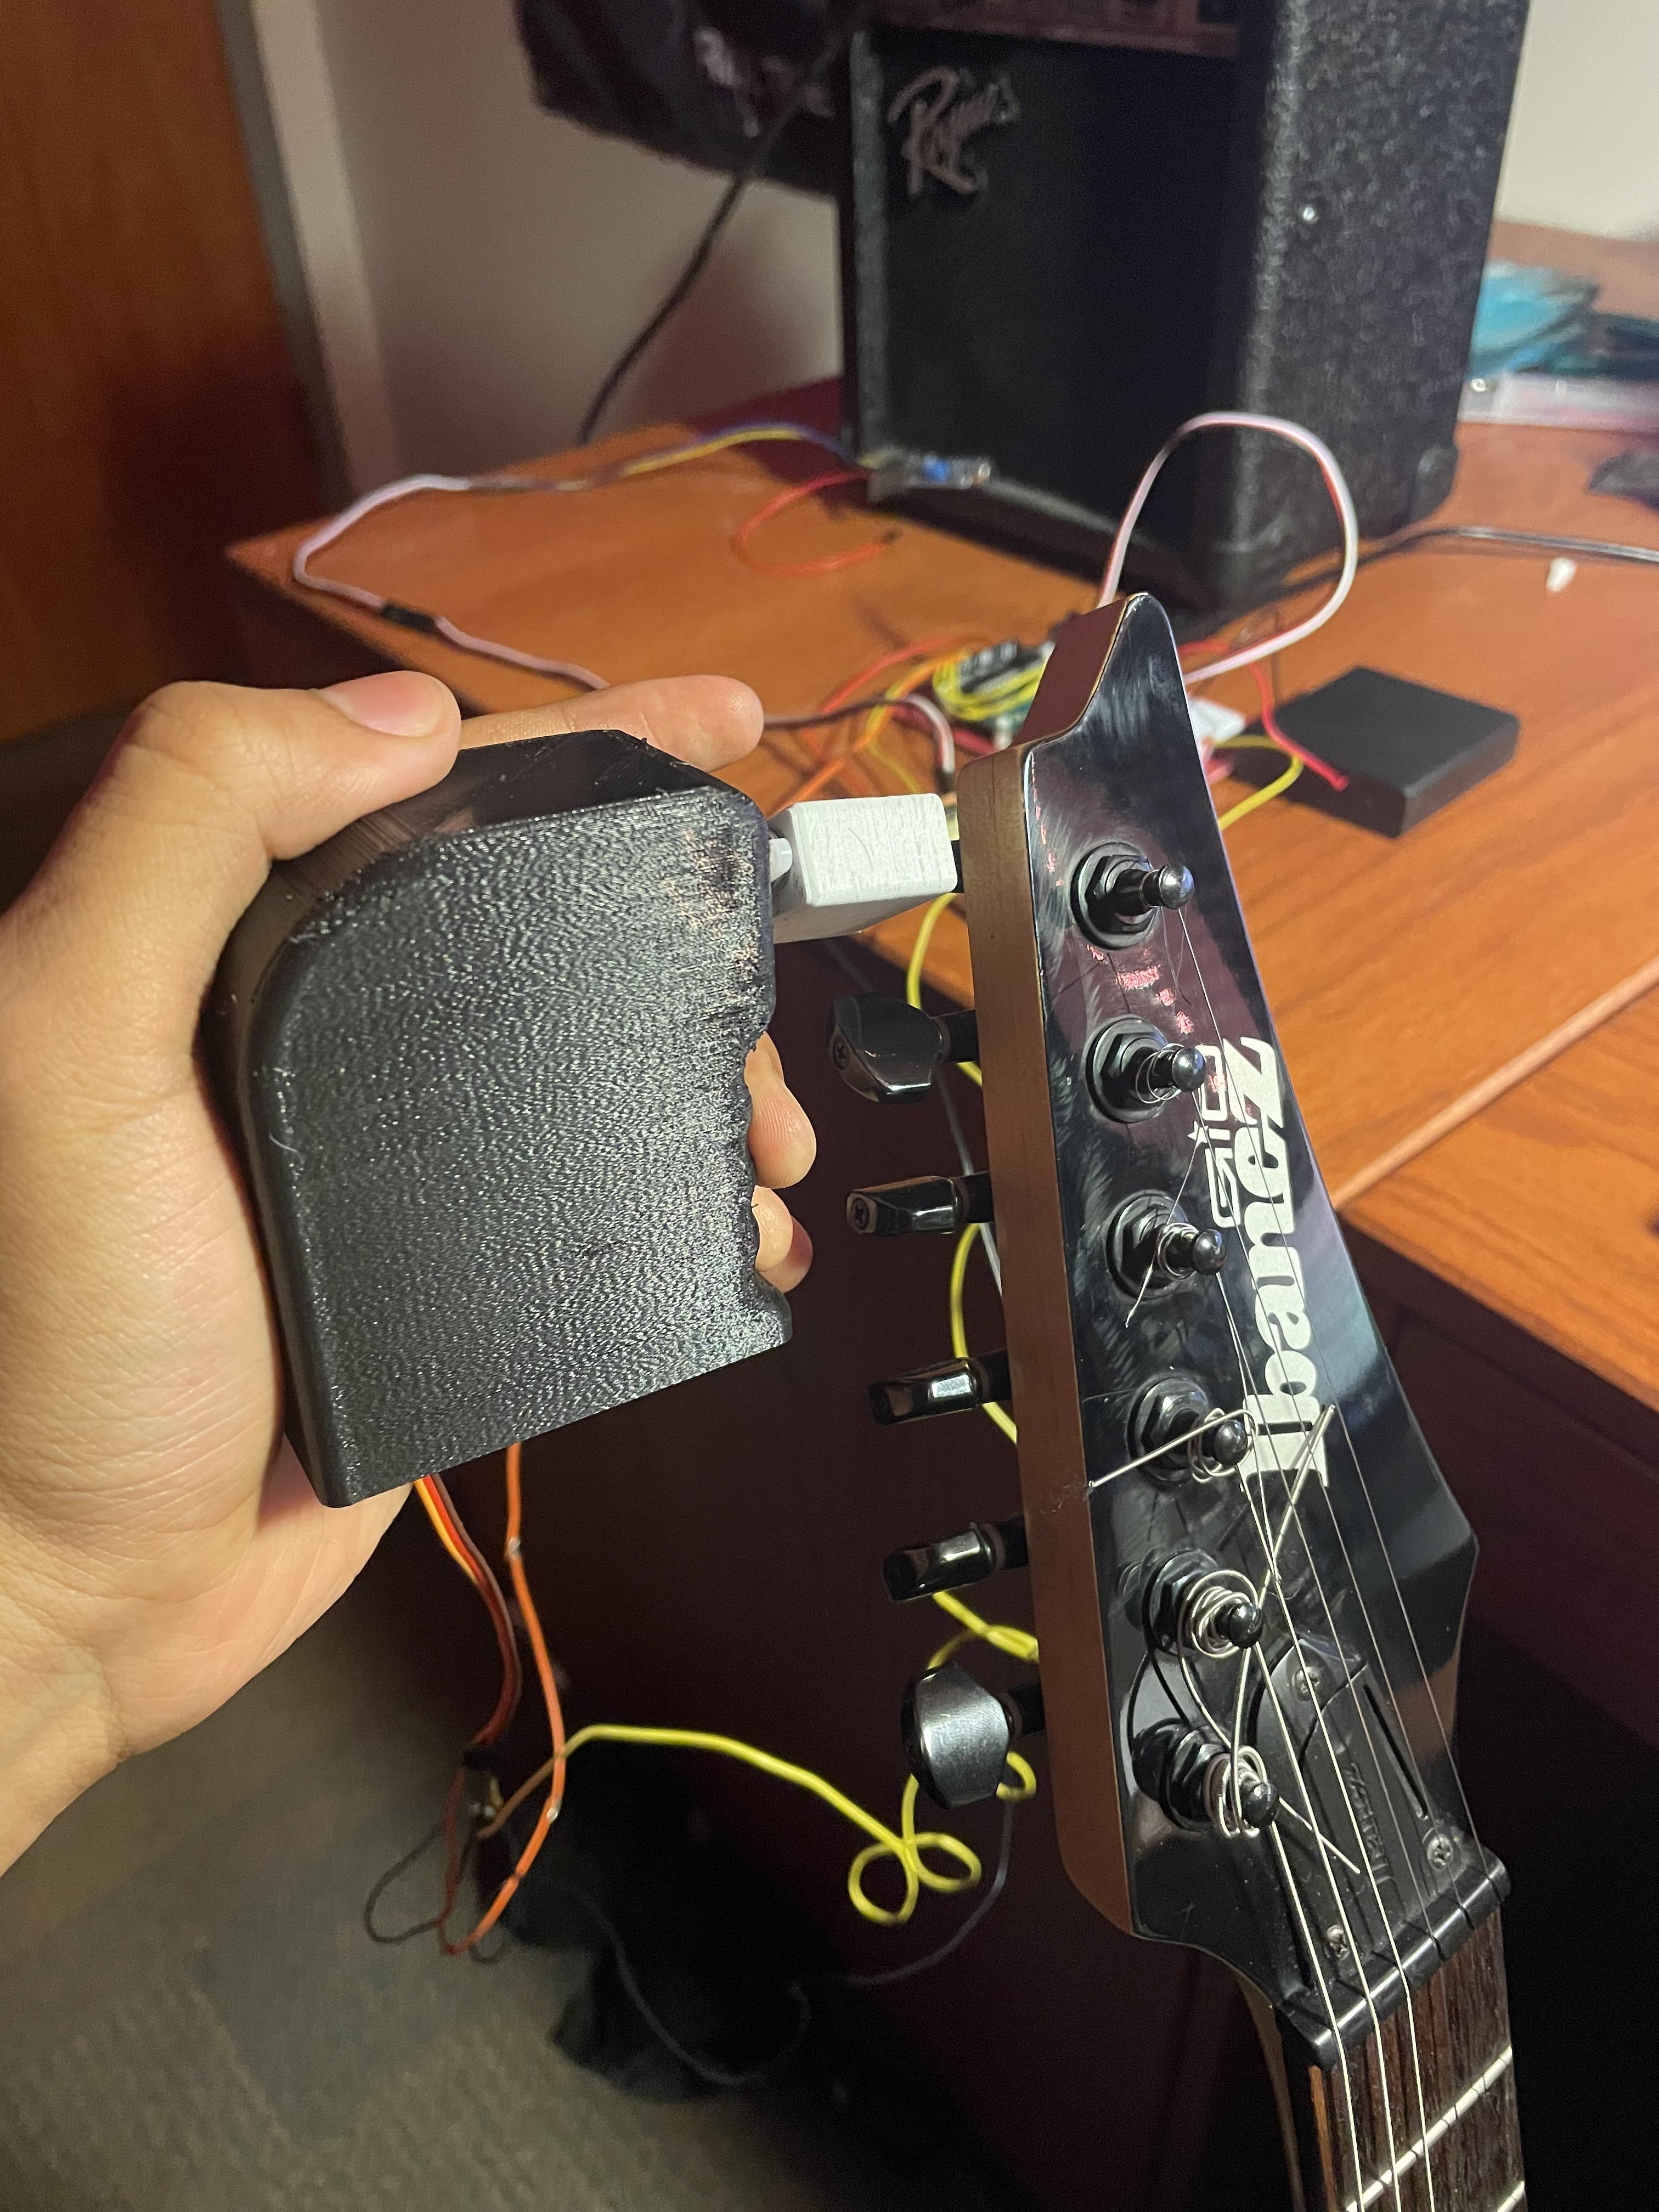
** The Step numbers correlate to the images
1) Plug in Arduino into laptop and power on external 6V power source for servo.
i. Note: Program begins with High E string and each button press changes string tuning setting to a lower string. On the last string it resets back to the High E string.
2) Grab guitar and place AutoTona on desired string to be tuned.
3) Manually strum guitar string repeatedly maintaining a consistent frequency for microphone to receive signal with minimal fluctuation.
i. If the note is flat, the red LED to the left of the green will light and if too sharp the red LED to the right will light.
ii. Once properly tuned, the green LED will light solid.
4) Repeat steps 1-3 for other strings out of tune.
Thank You!
