Auto Turn-On Air Conditioner Device
by EfanChiu in Circuits > Arduino
190 Views, 0 Favorites, 0 Comments
Auto Turn-On Air Conditioner Device
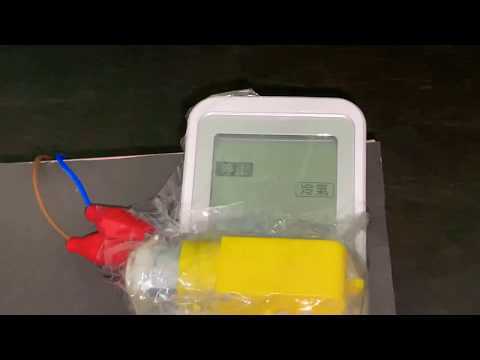
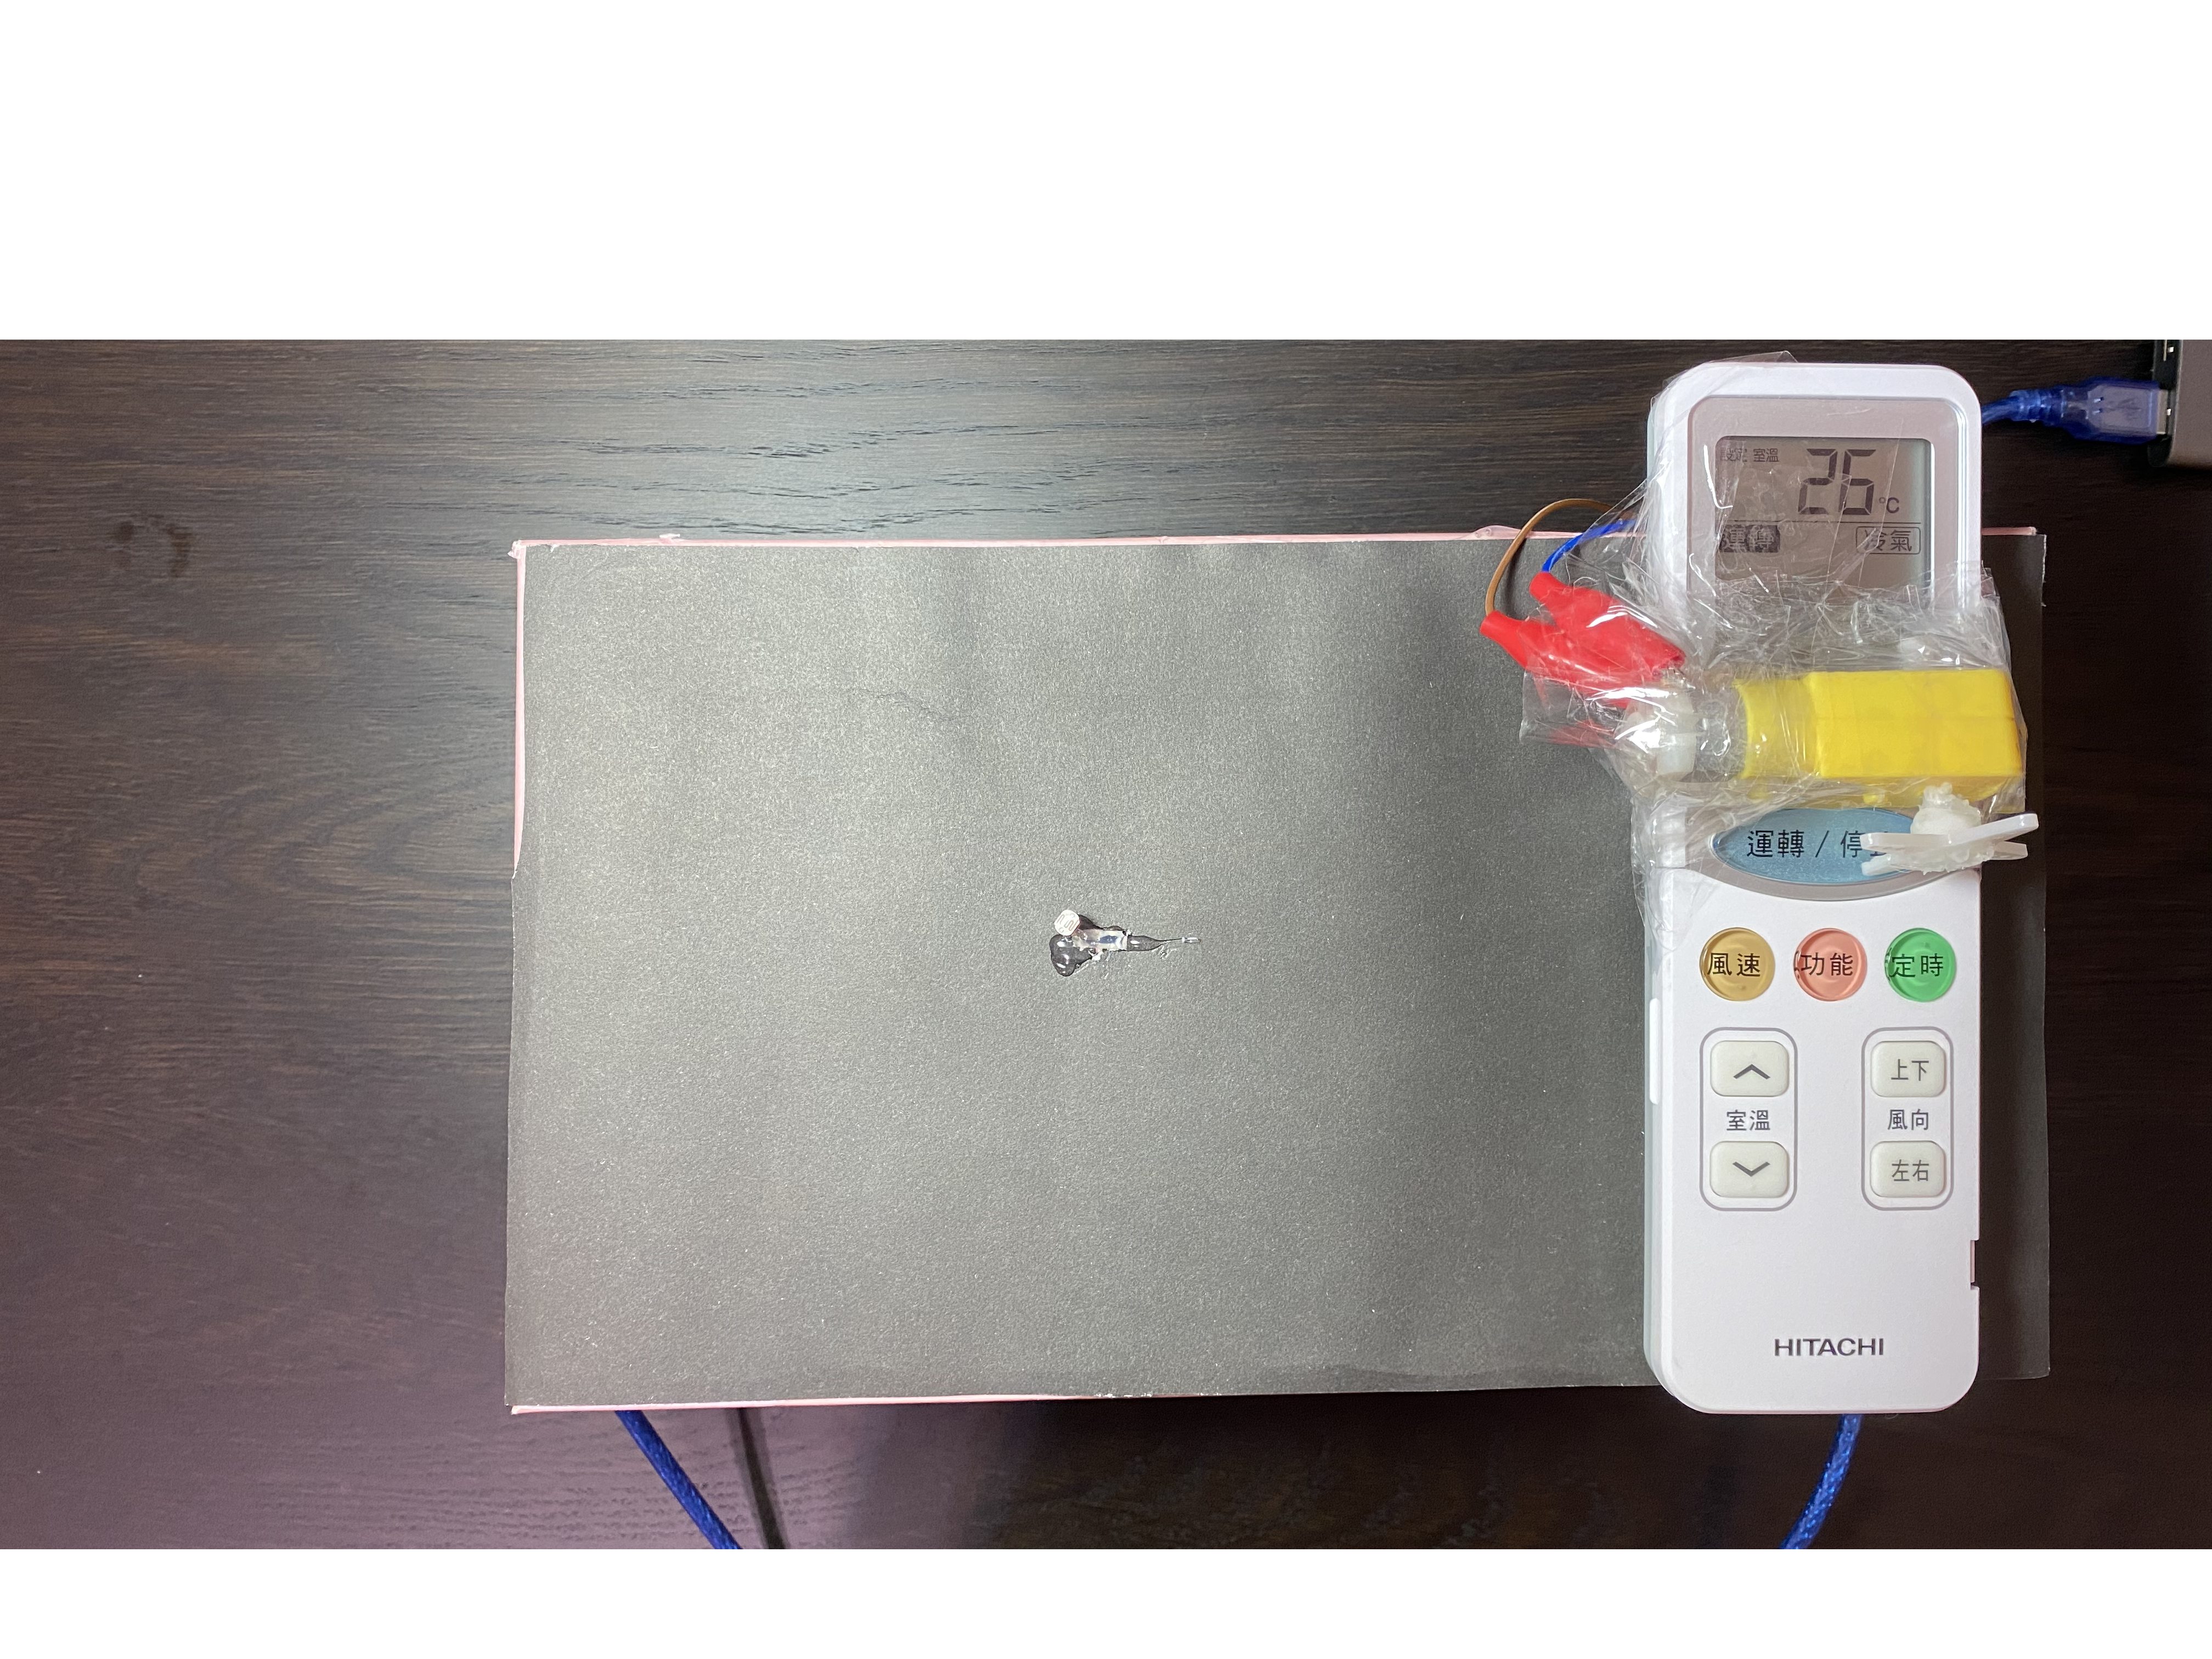
This device is called the Auto Turn-On Air Conditioner Device. When in your hot room, and you've just finished school, your just too tired to turn on the air conditioner, then this device is perfect for you. This device's mechanism is very simple. When you enter your room and turn on the light, the light sensor on the device will trigger the motor and the gear attached to it, which the gear will be turning and pressing on the air conditioner controller switch.
Gathering the Materials
- 1 Arduino Leonardo
- 1 DC Motor
- 1 Photoresistor
- 1 Air Conditioner Controller
- 1 star-shaped gear
- 1 Portable Charger
- 4 alligator clips
- 1 shrew and shrew driver(optional)
- 1 hot glue gun(optional)
- 1 shoebox (not mandatory)
Code
Making the Circuits
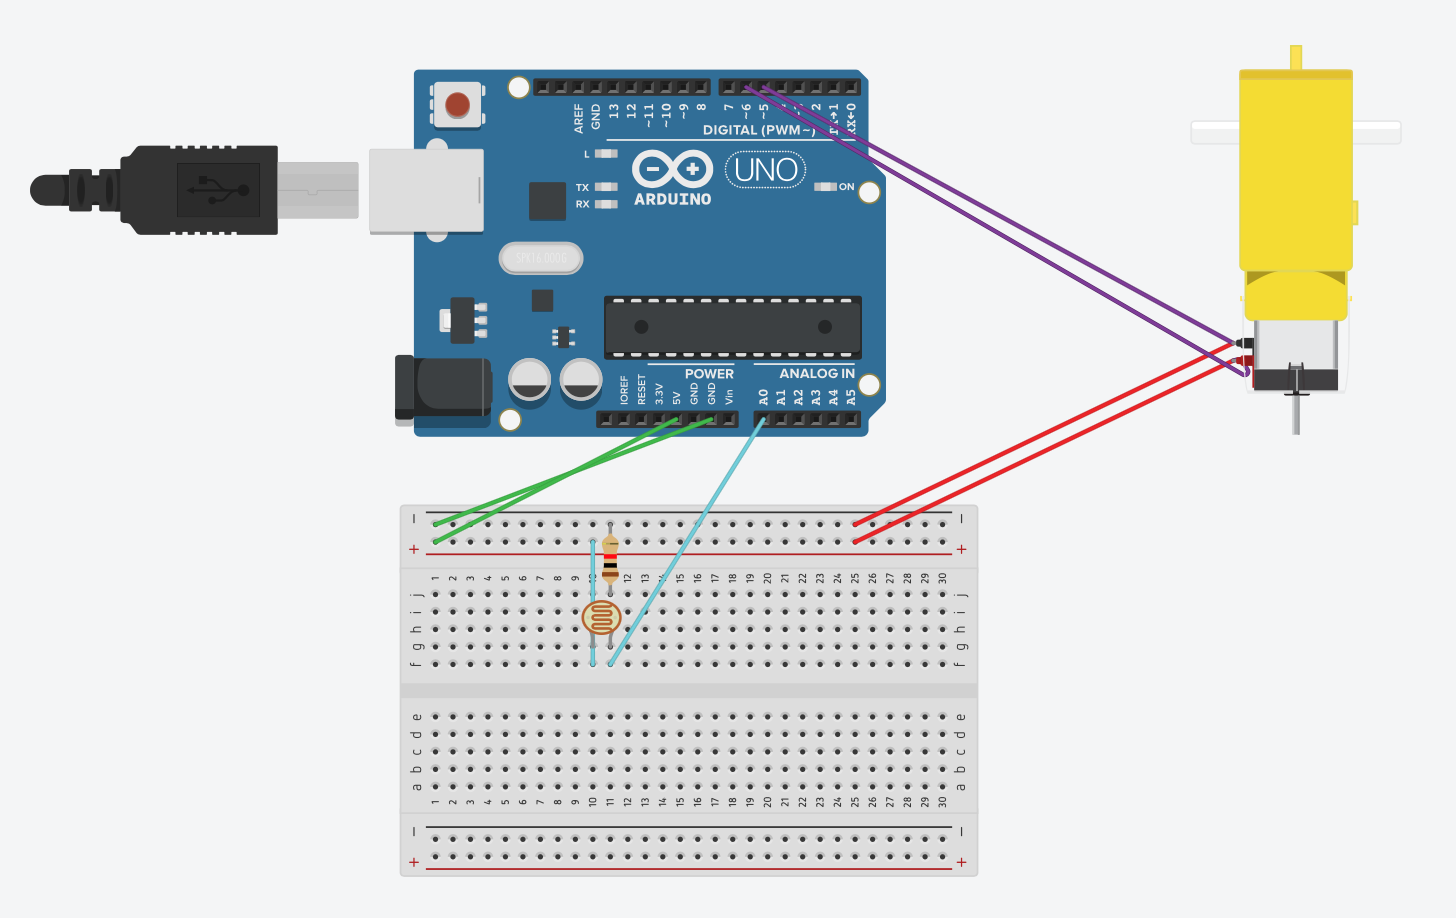
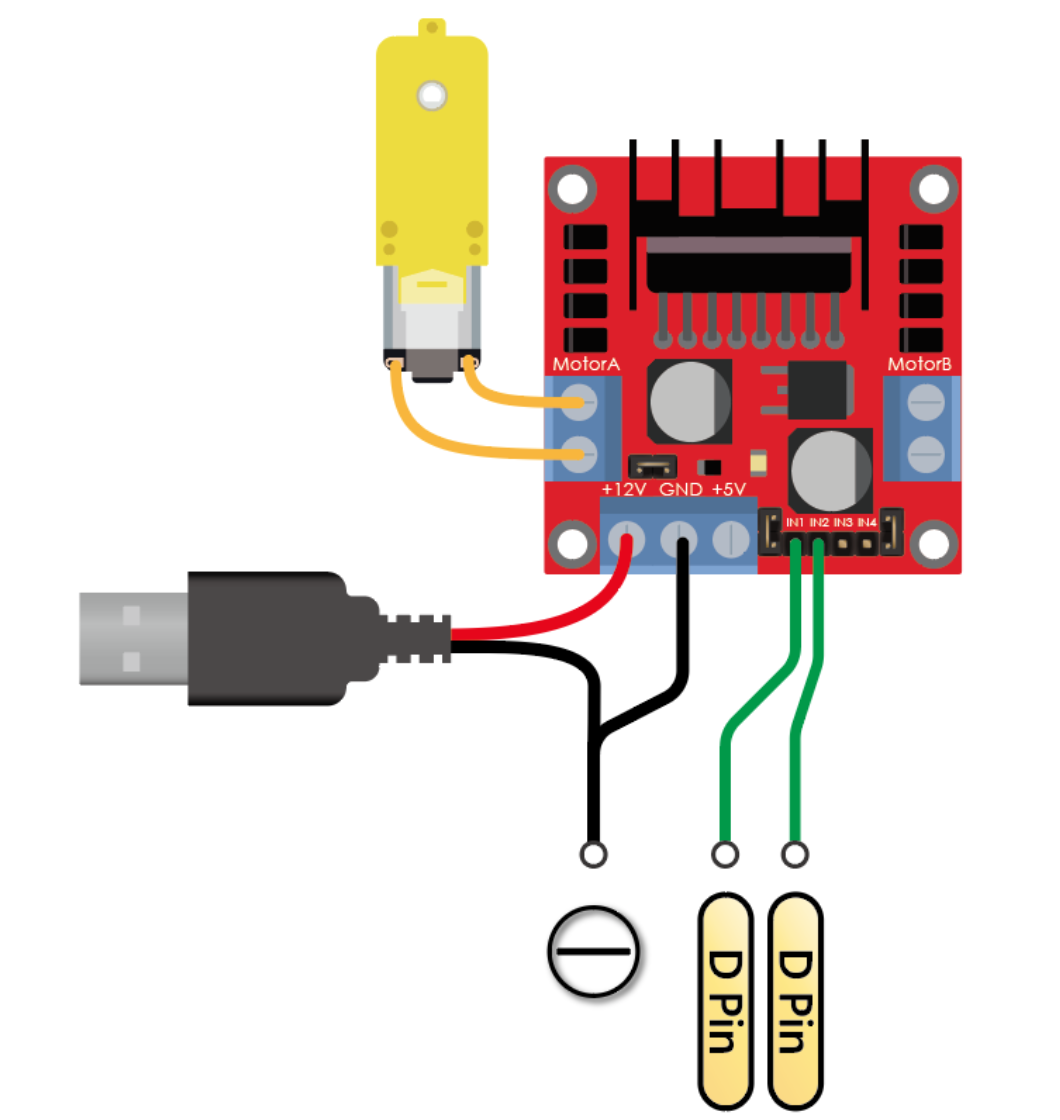
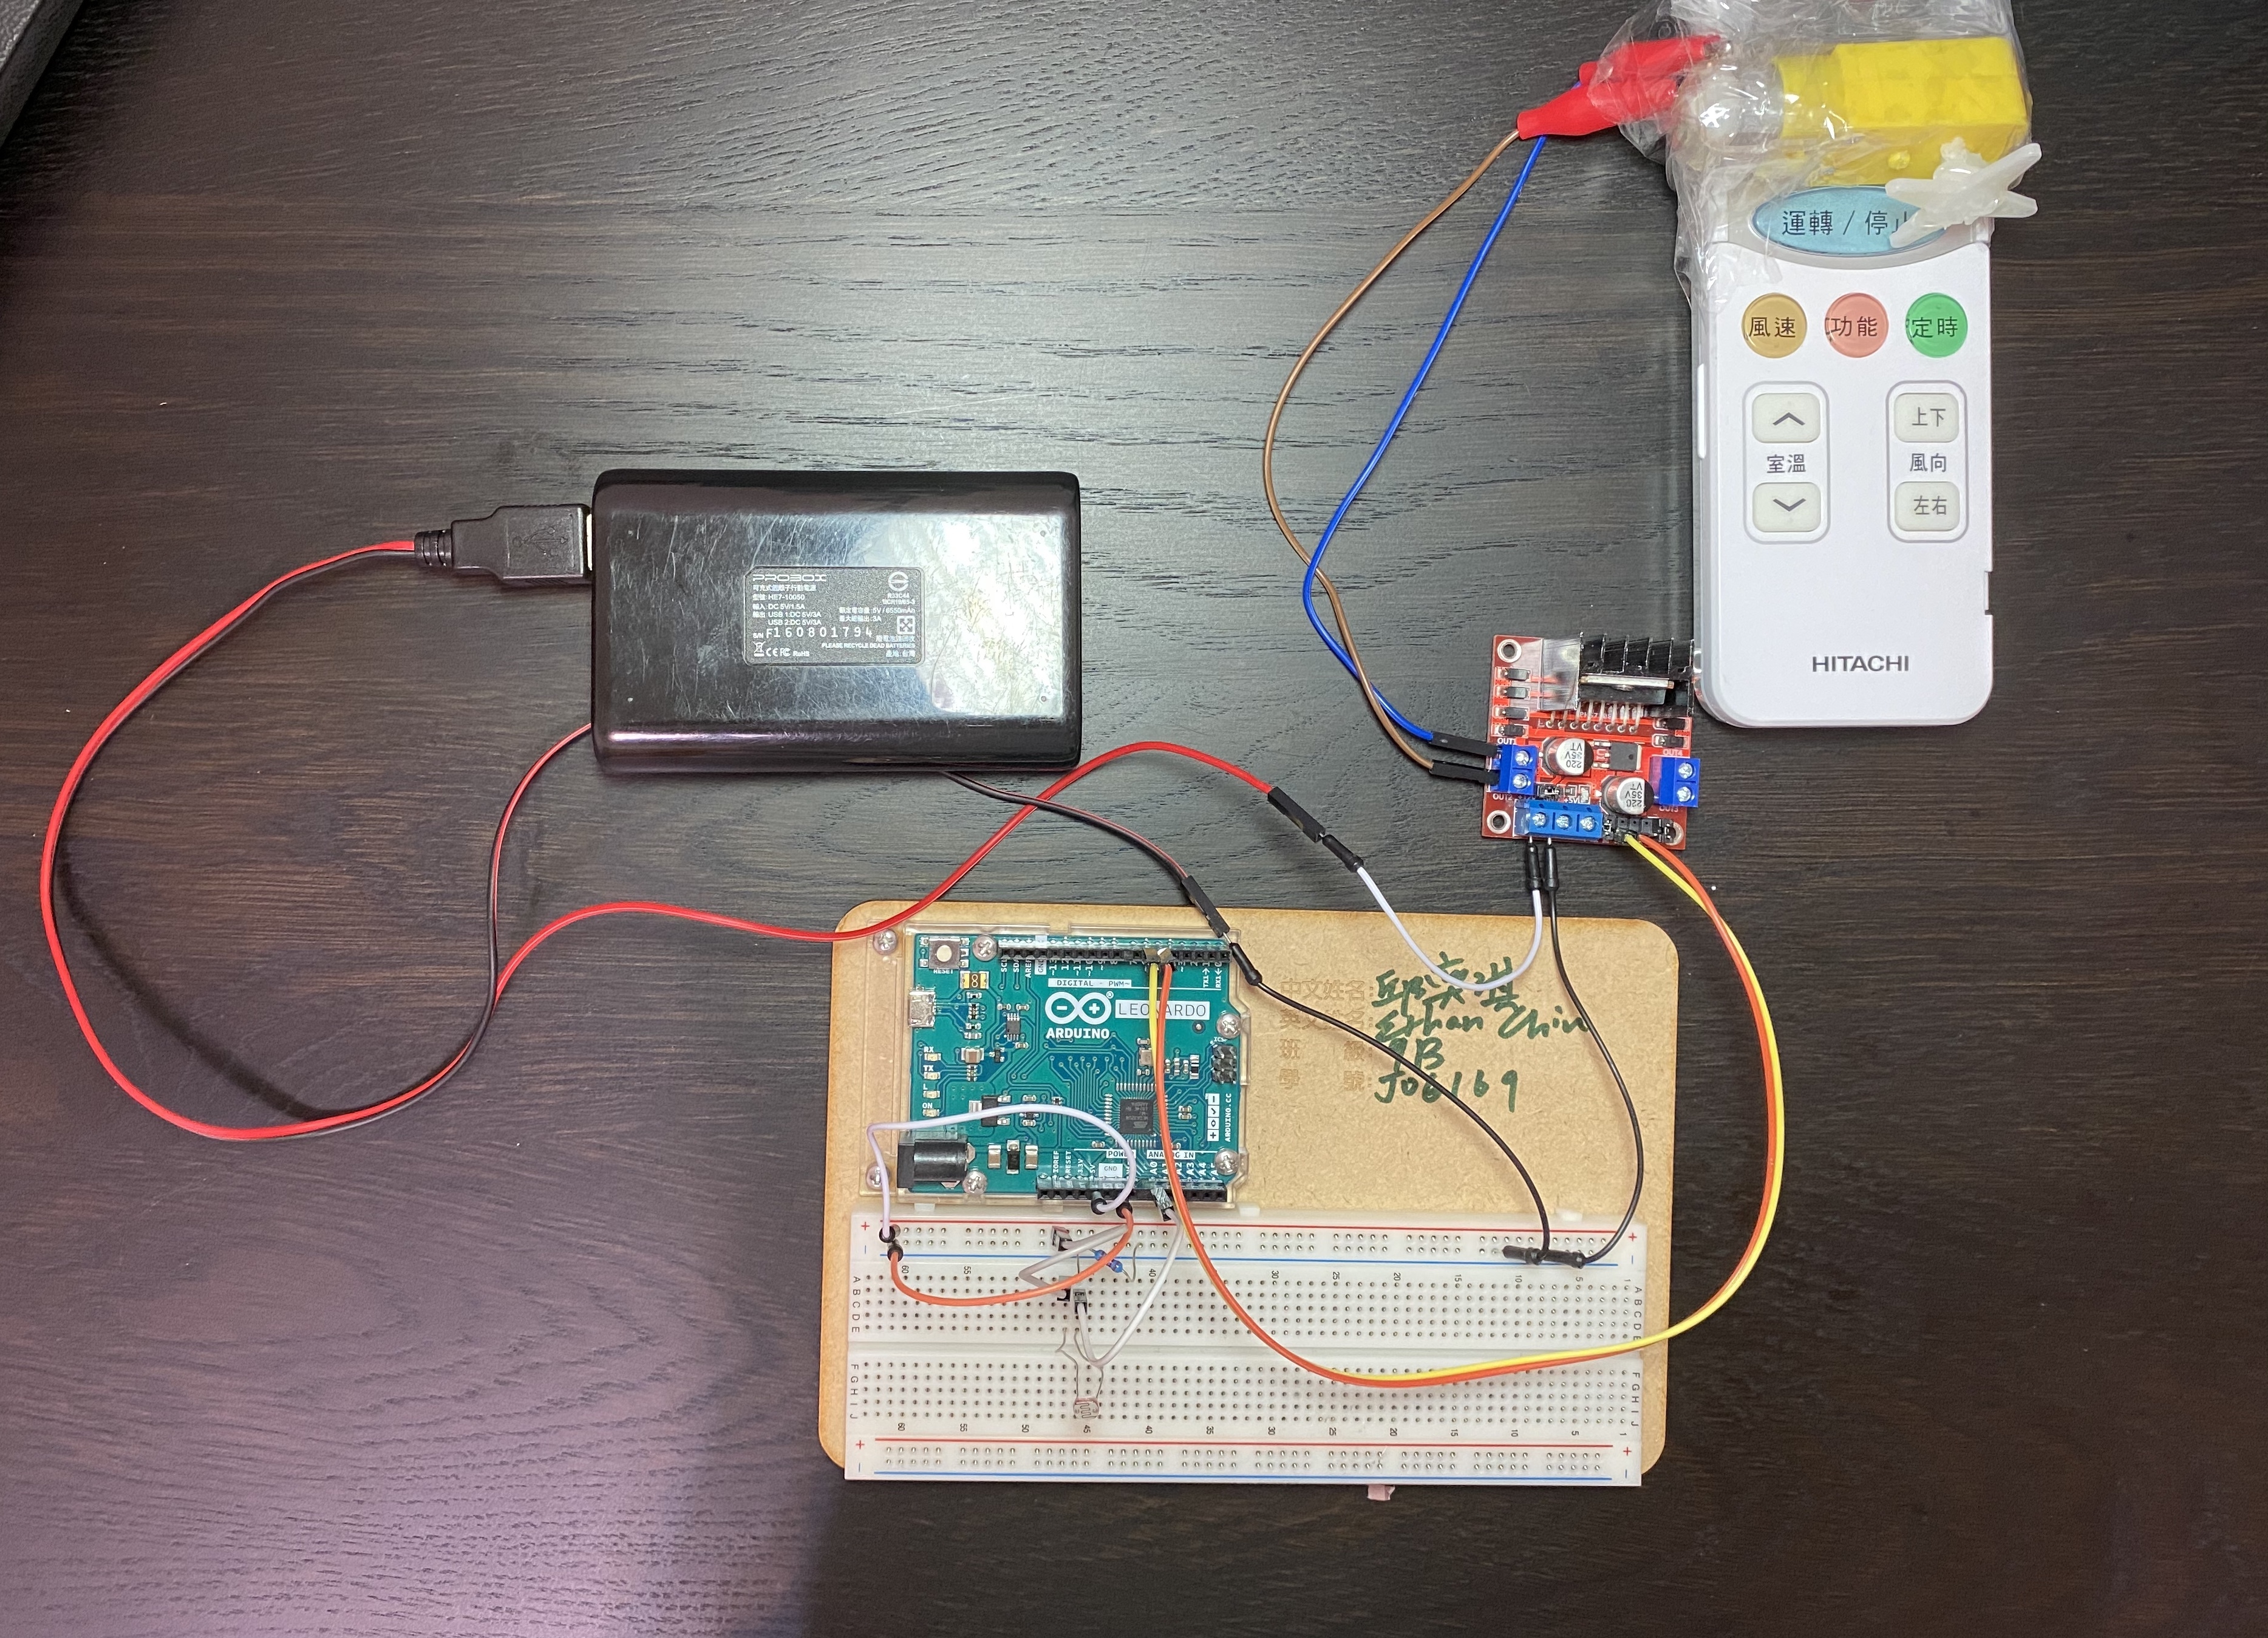
- Connect the Photoresistor onto the Arduino Leonardo. Pin is A0(See image 1)
- Connect the DC Motor to the Red Plate using 2 alligator clips(See image 2, ignore the DC motor on image 1, the app doesn't have a clear image for DC motors, so just look at the image 2 when connecting the DC motor)
- Connect the potable charger to the Red Plate. (See image 2, the USB plug is where the portable charger should go)
- Connect the Red Plate onto the Arduino Leonardo. Pin is 6 and 5(See image 1 and 2. Image 1 provides which pin, and image 2 provides where to connect the pin to the Red Plate.)
- The final circuit should look like (image 3, or image 1 combined with image 2)
Making the Final Product
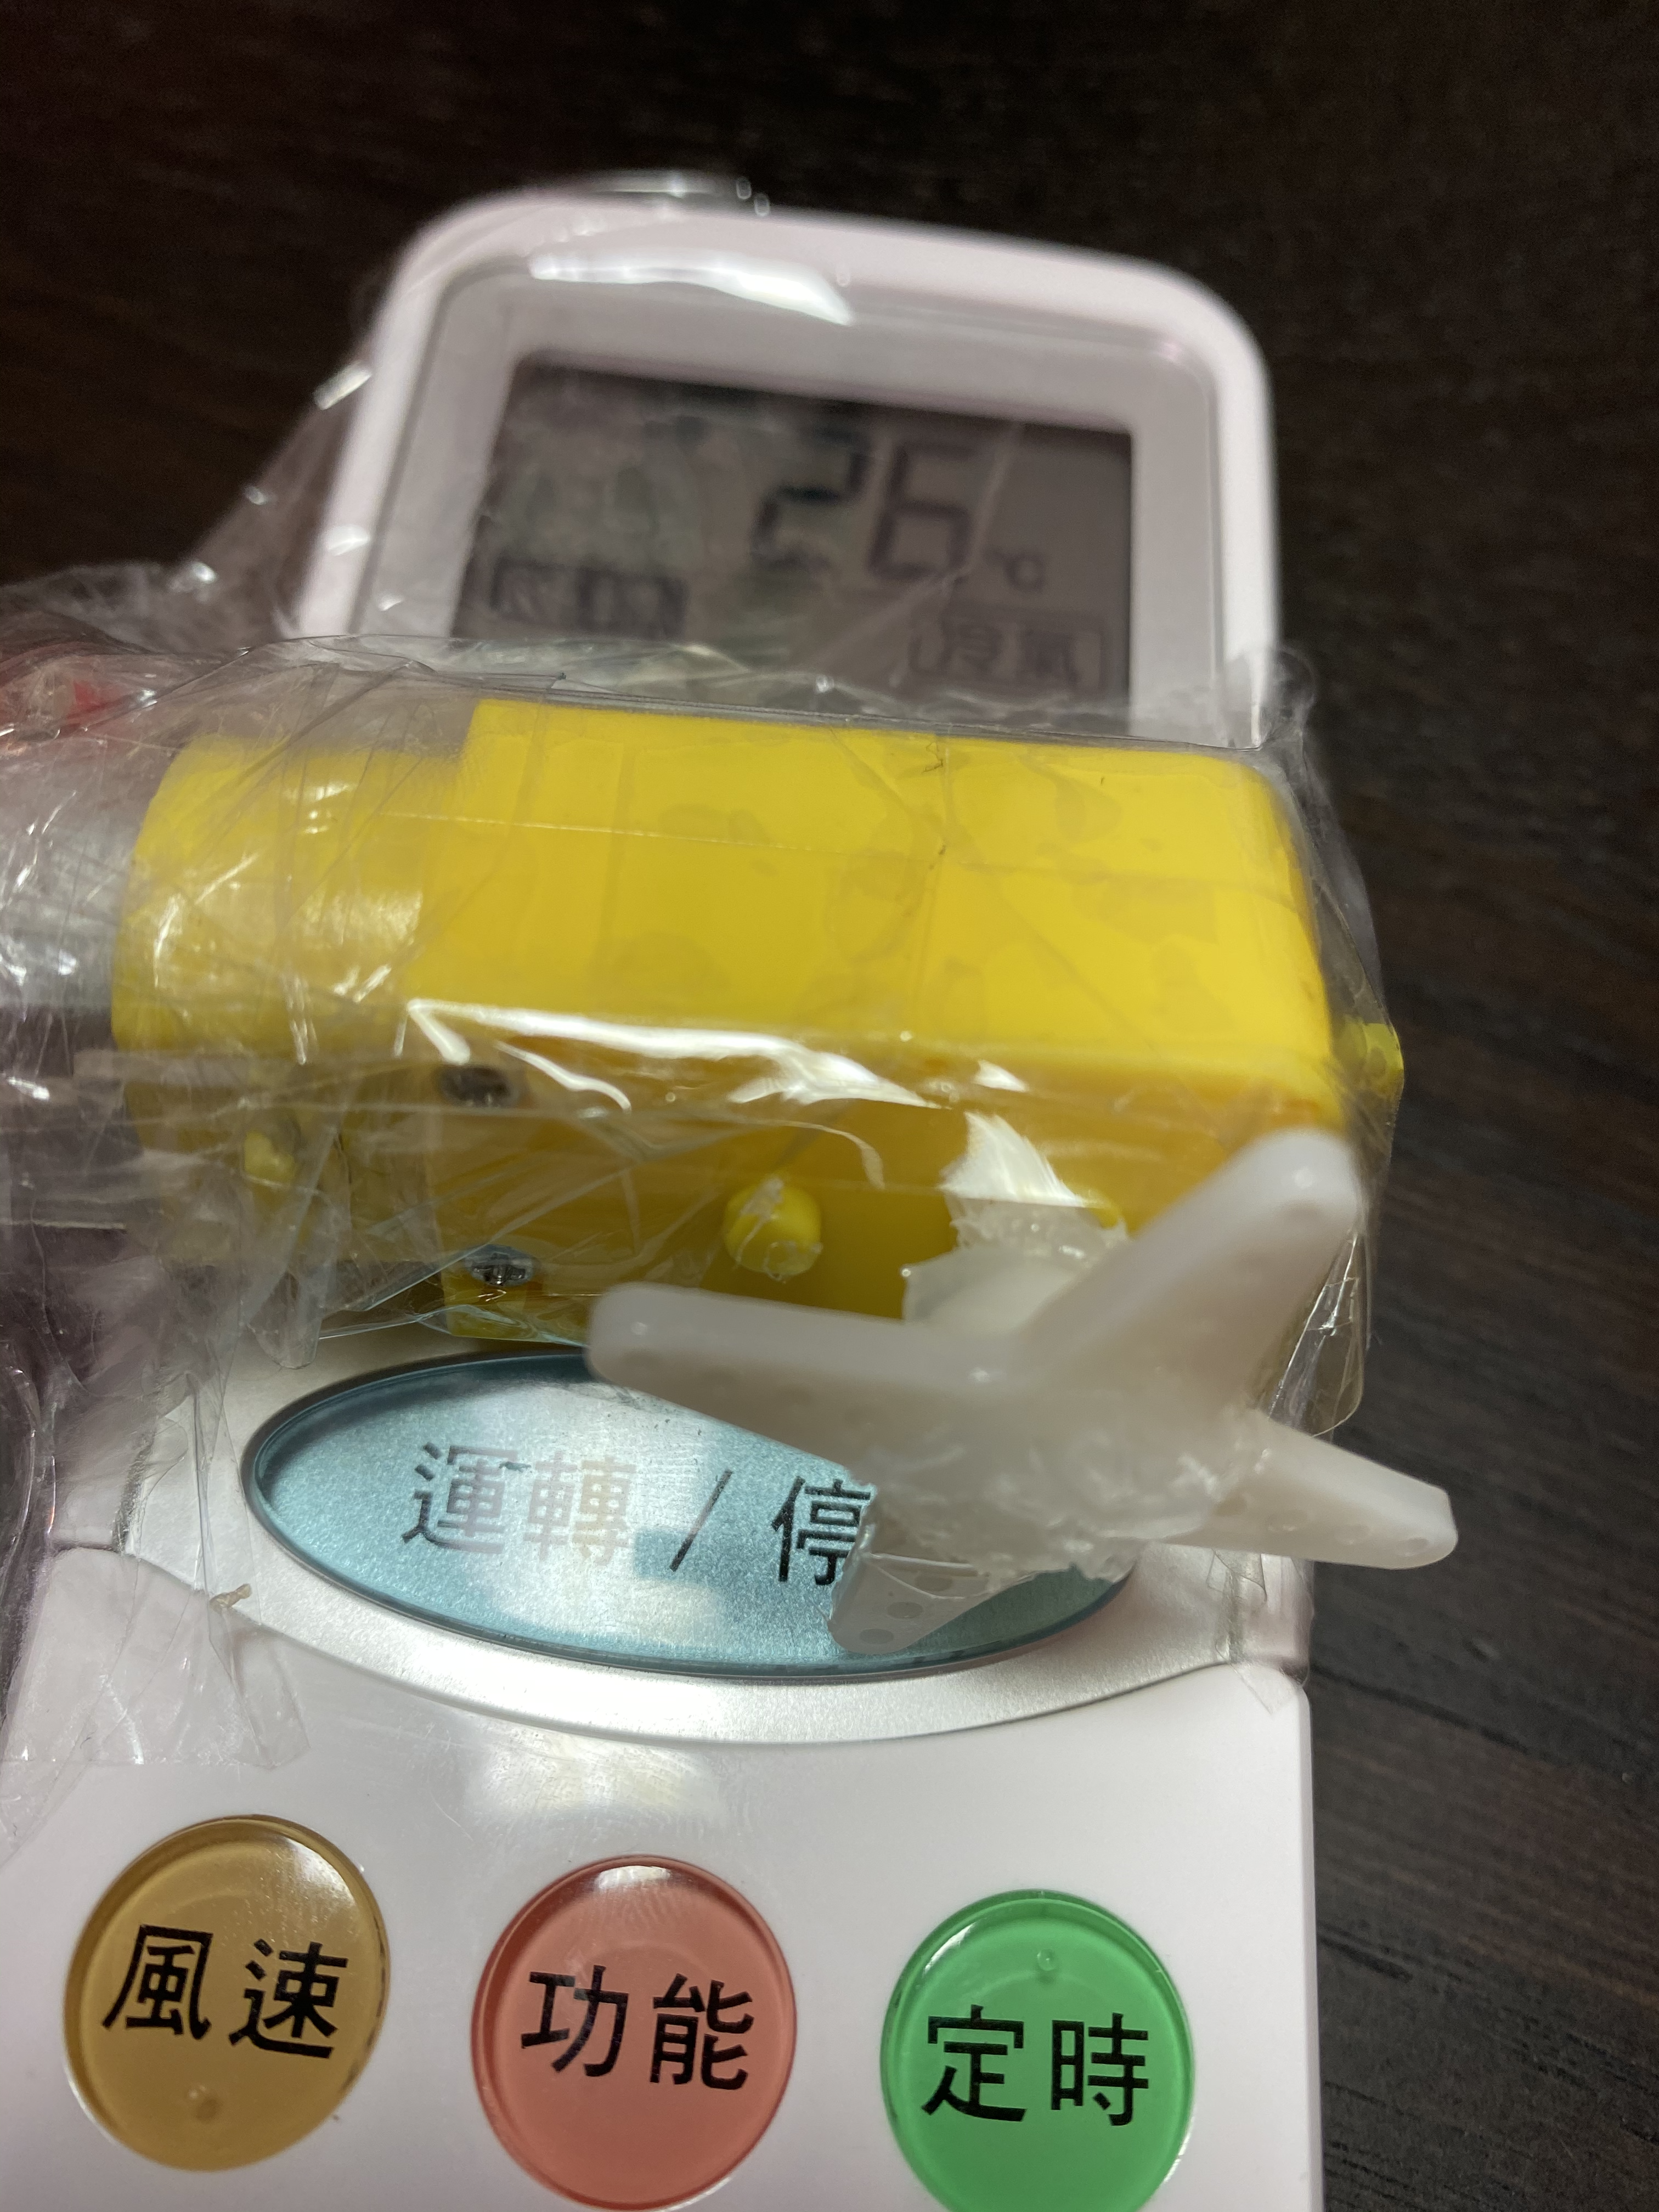

- Take the DC motor and attach the gear shape like a star to one of the sides of the motor.(See image 1) You can shrew the gear onto the motor using a shrew and shrew driver or just using a hot glue gun to stick it.
- Take the DC motor, using tape, tape the motor onto your air conditioner controller switch. Make sure the motor is tightly taped onto the surface of the switch. Or else, when the gear is spinning, it will not turn the switch on. (See image 2)
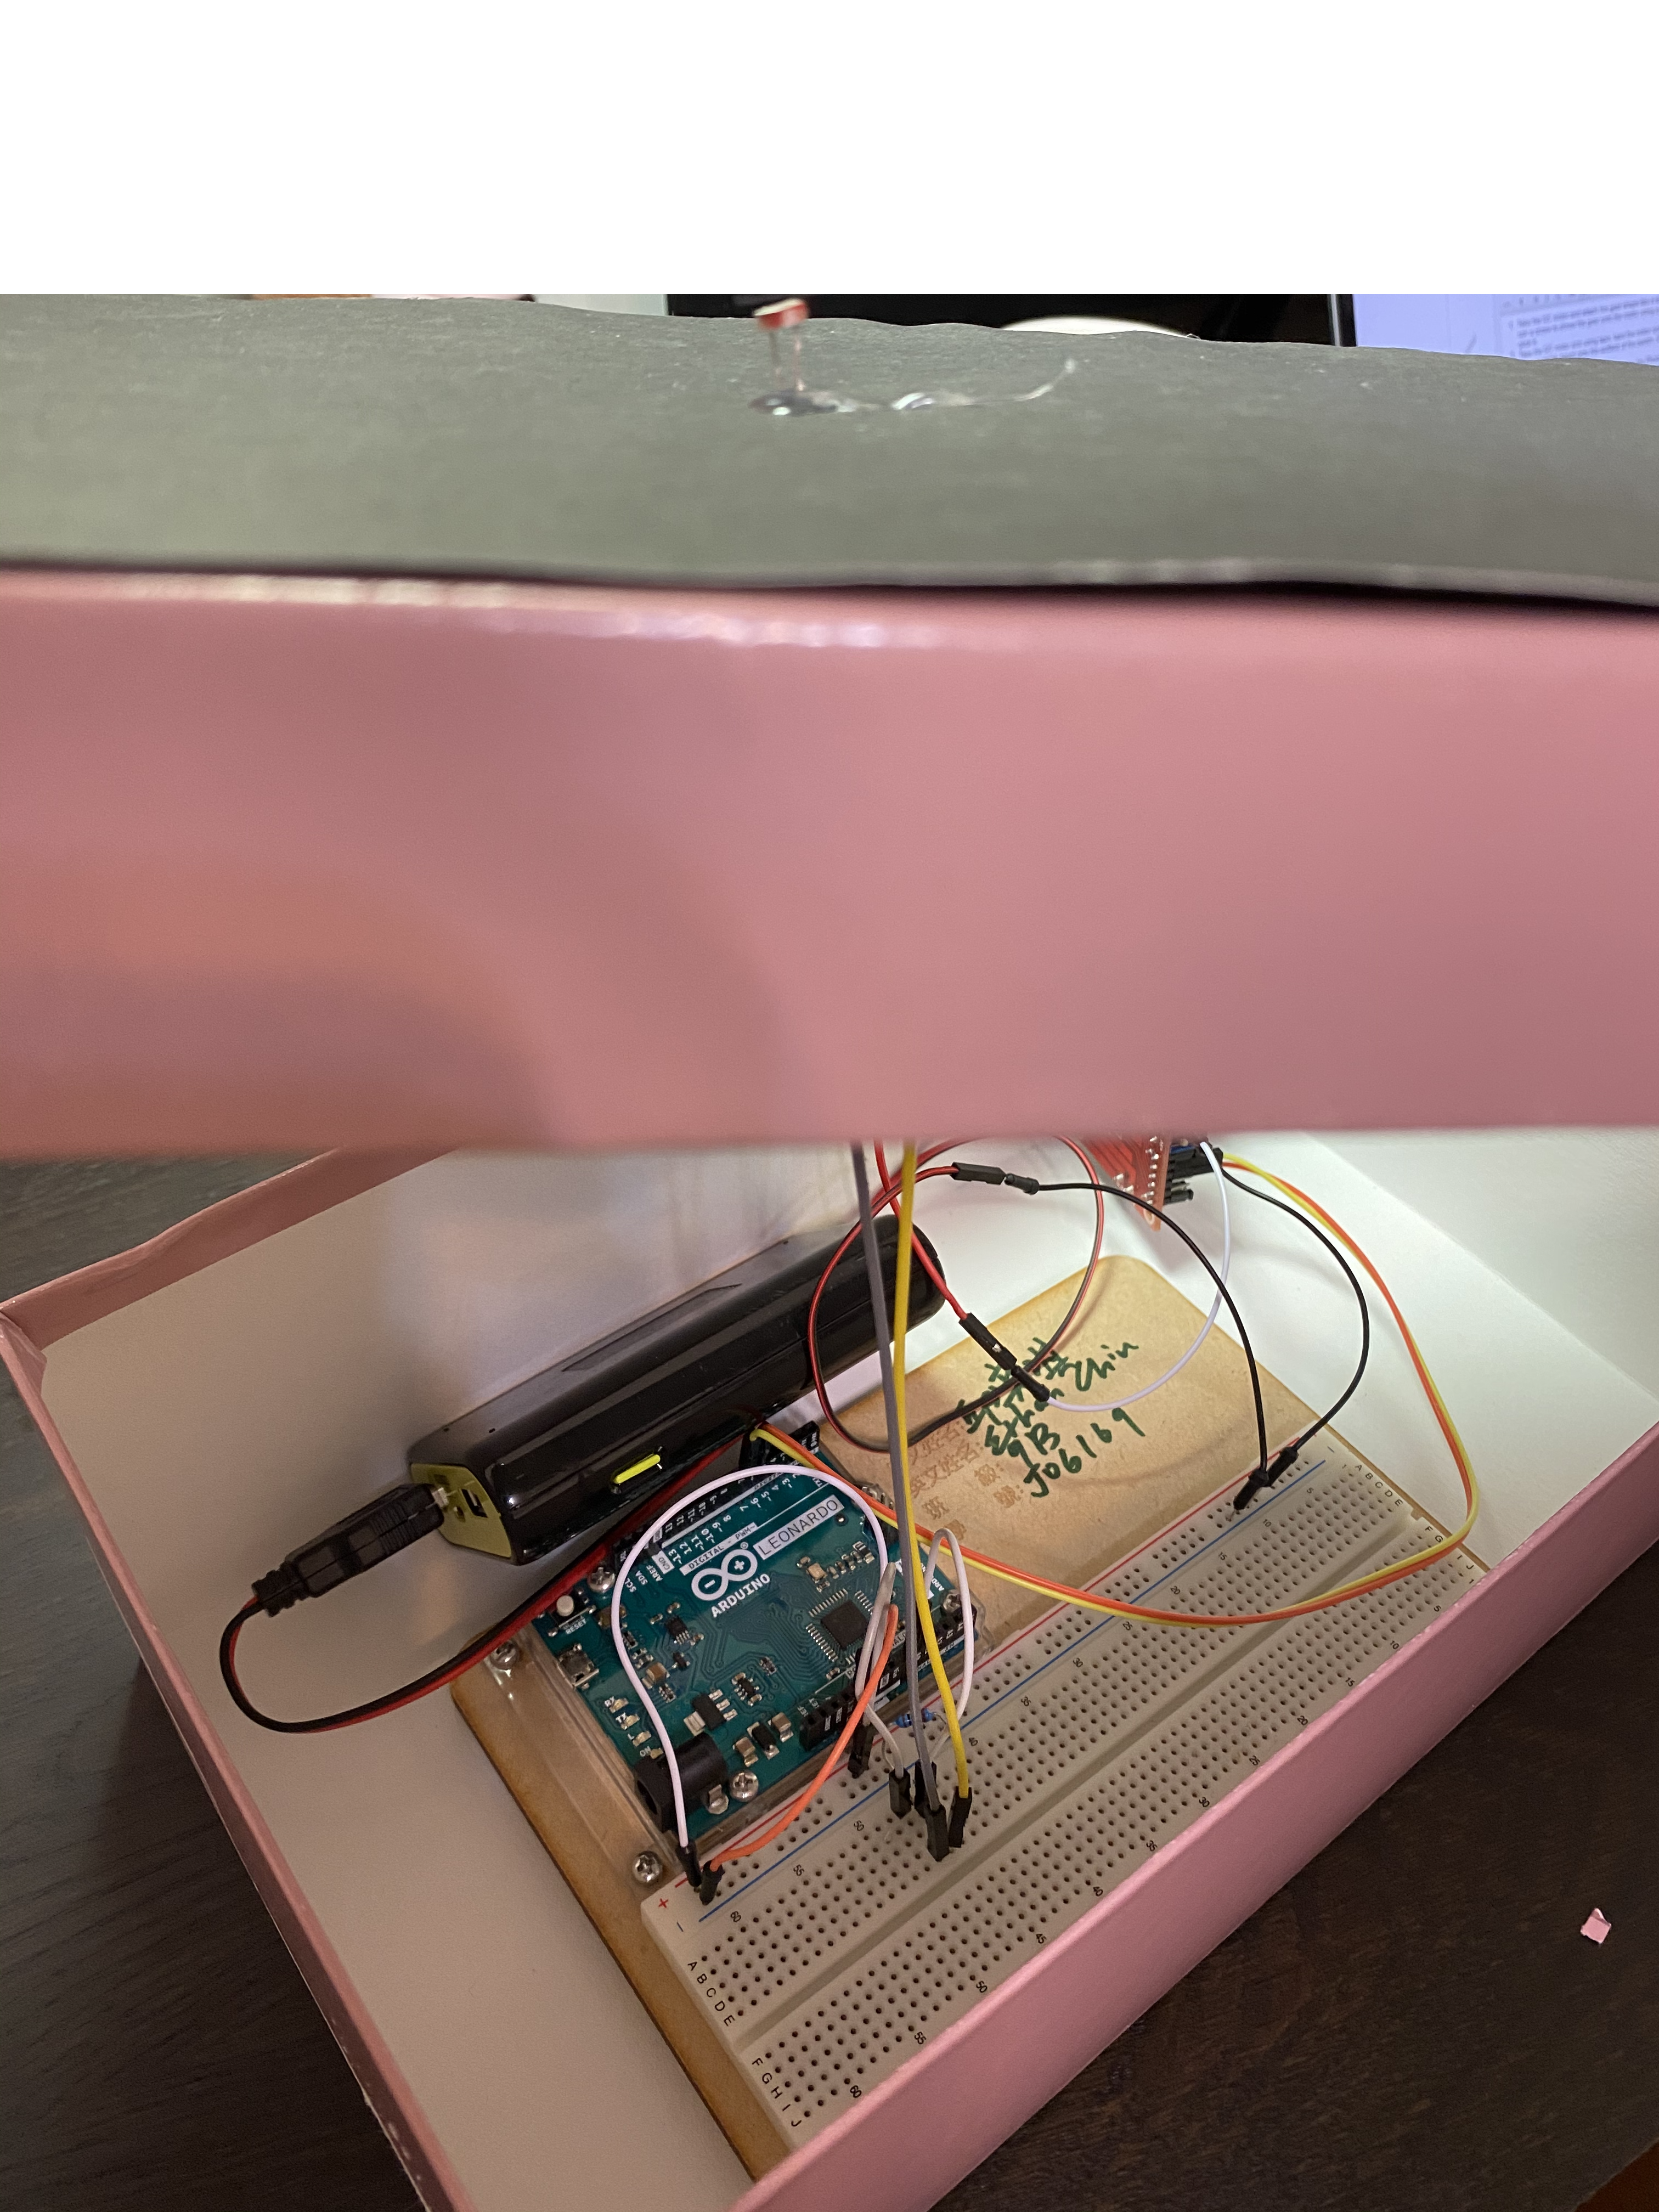
- Using the rest of the 2 alligator clip, clip it to the Photoresistor, so that the wire is long enough for the Photoresistor to reach out of the shoebox and receive the light later when we're decorating. (See image 3)
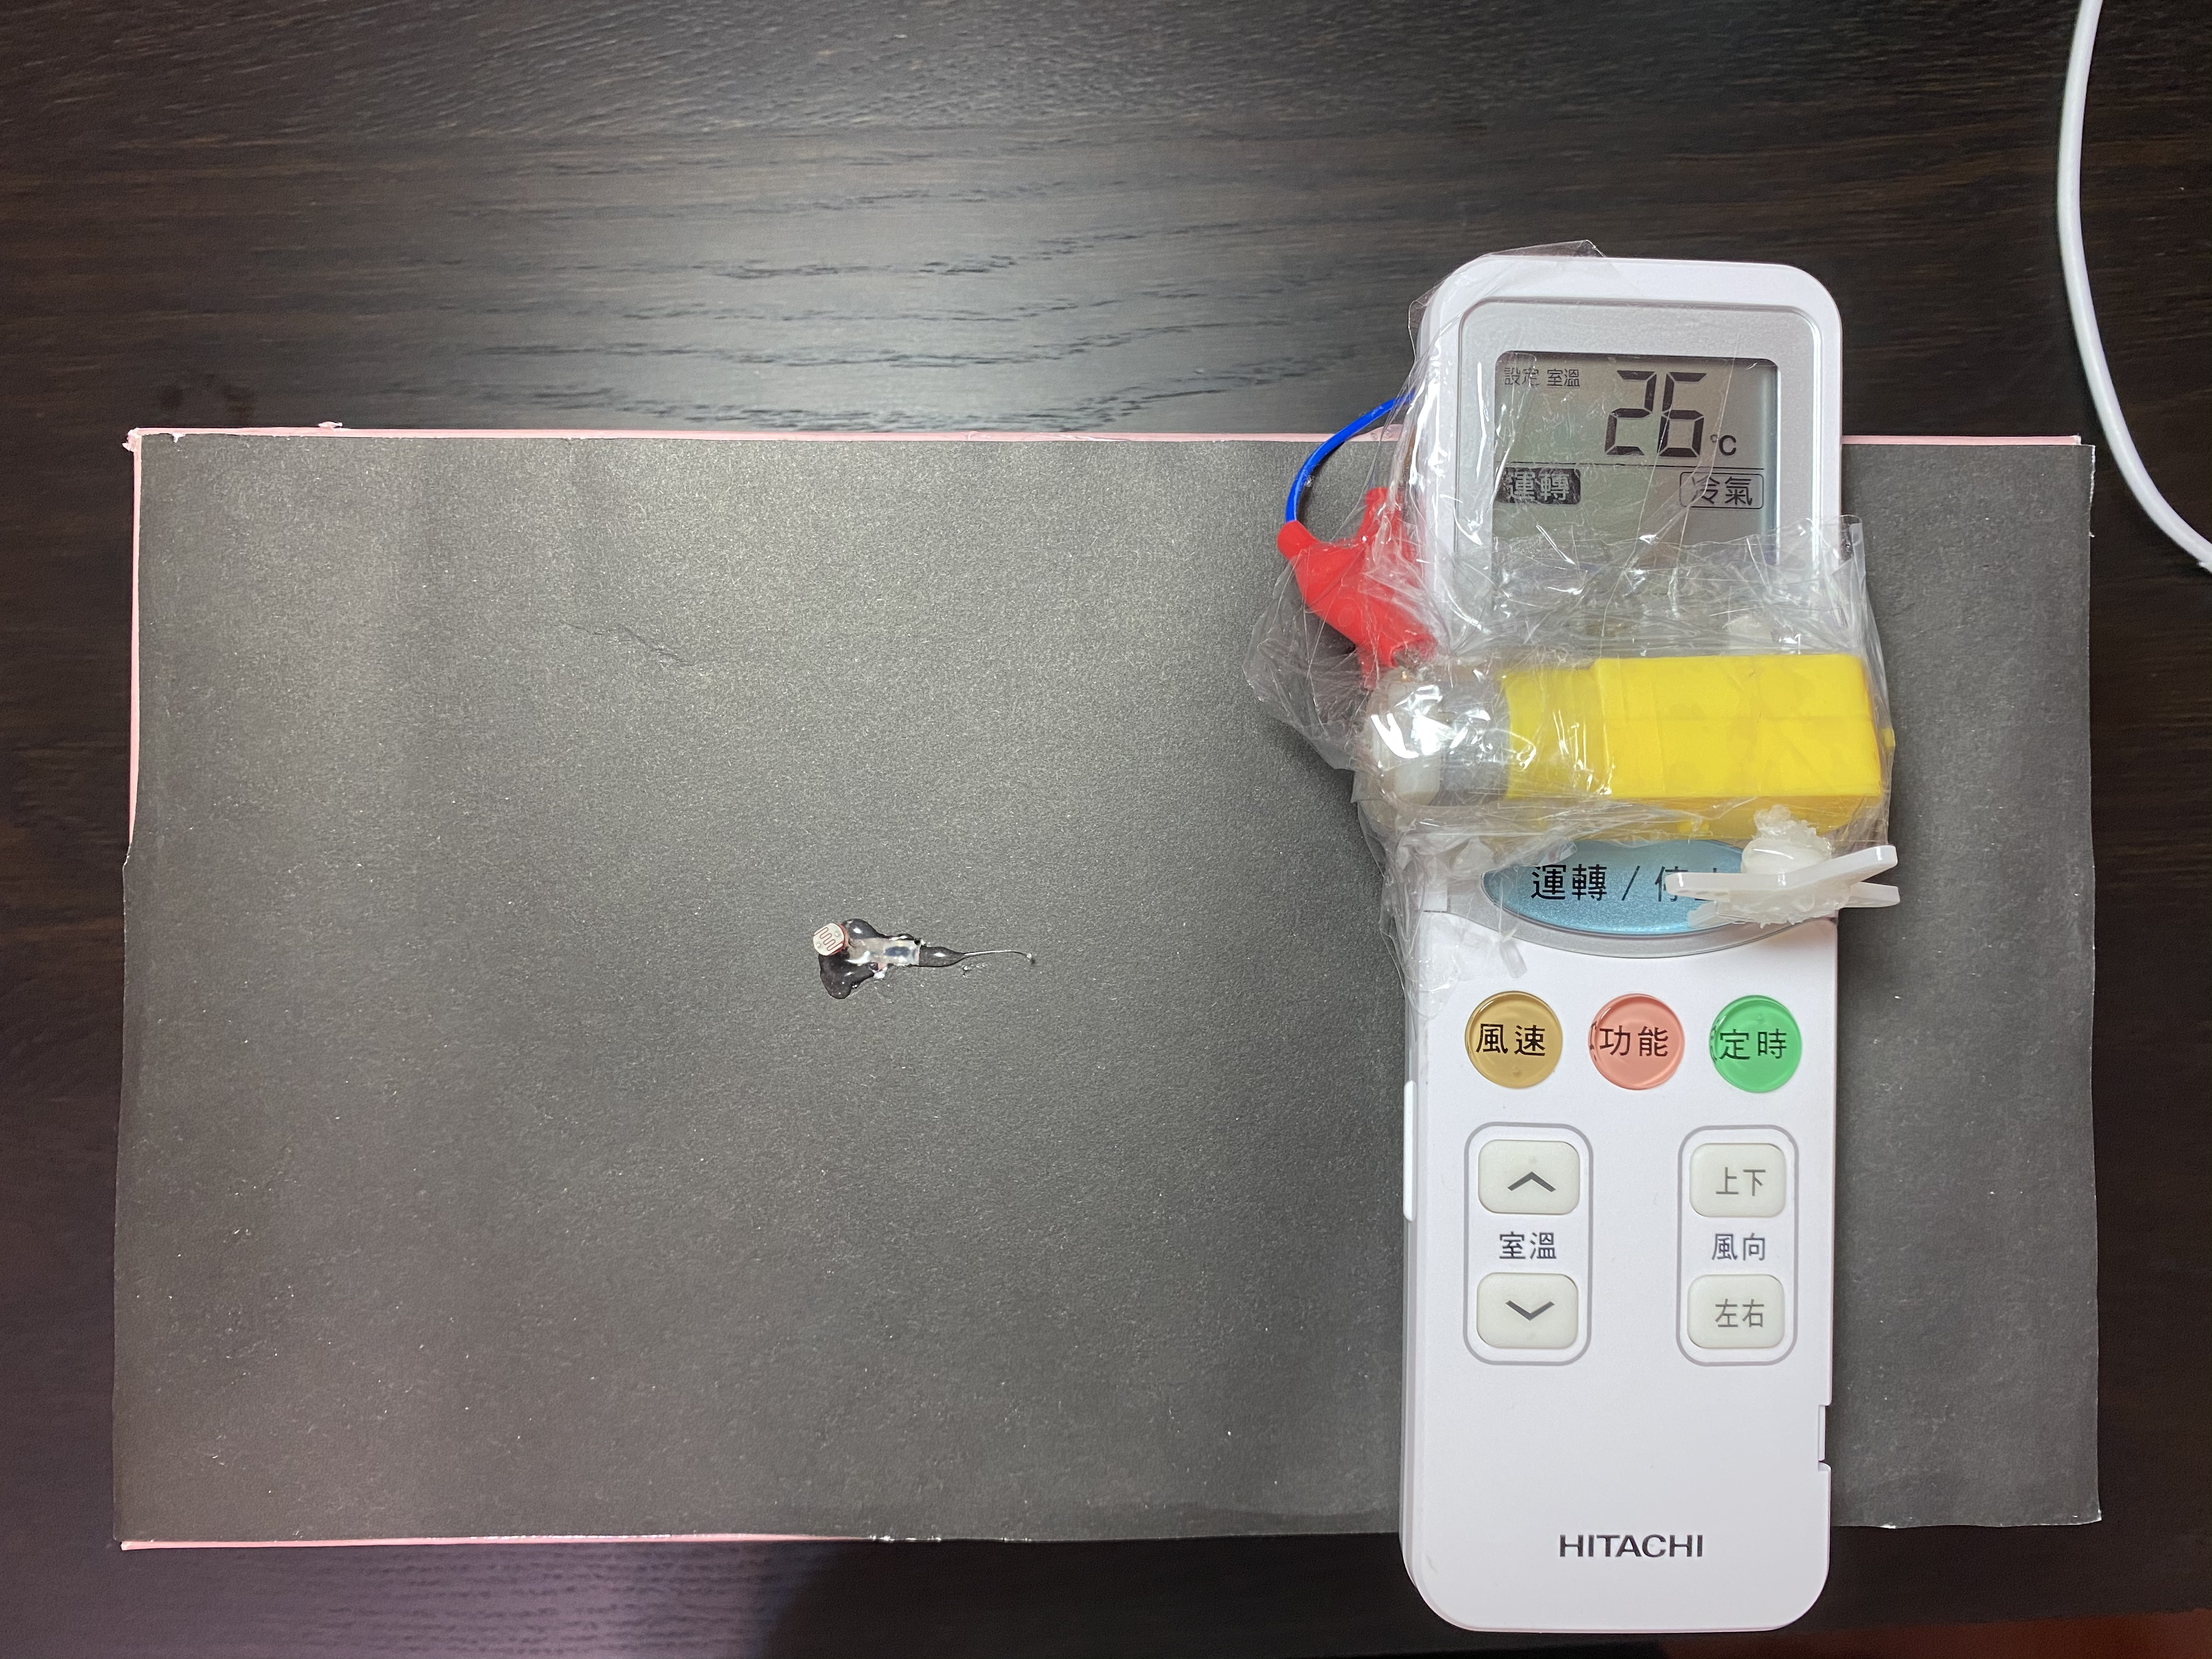
- You can decorate your device by putting your device into a shoebox. Like mention previously, if you decided to put a shoebox, then you have to make sure the Photoresistor can detect the light or else the device won't work. Furthermore, you also have to place the air conditioner controller with the DC motor on it out of the box, so that you can monotreme whether the device did successfully turn on your air-con.
- Your finished device should look like (image 4)
DONE!!!
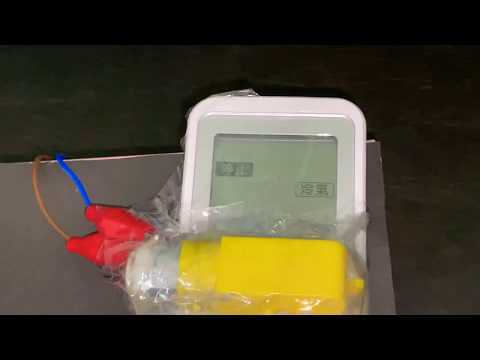
YOU'RE DONE!!!, you can check out my final product in my video. If you made it, please feel free to tell me in the comments.