Augmented Reality Diorama in Tinkercad Prototyping Bremen Musicians Tale
by Angel_vbc in Teachers > 3D Design
2276 Views, 16 Favorites, 0 Comments
Augmented Reality Diorama in Tinkercad Prototyping Bremen Musicians Tale

Hello and welcome!
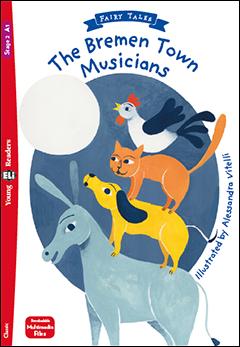
here you will find an augmented reality diorama using Tinkercad inspired by the tale of the Bremen musicians.
In this instructable, I will guide you through my prototyping process. It is very useful if you have an idea but you are not sure how to start developing it. This process includes sketching, 3D modeling, augmented reality and Diorama.
Augmented Reality will allow you to enrich the prototyping experience through technology and prevent you from spending on extra materials.
I hope you enjoy it and have fun!
Supplies
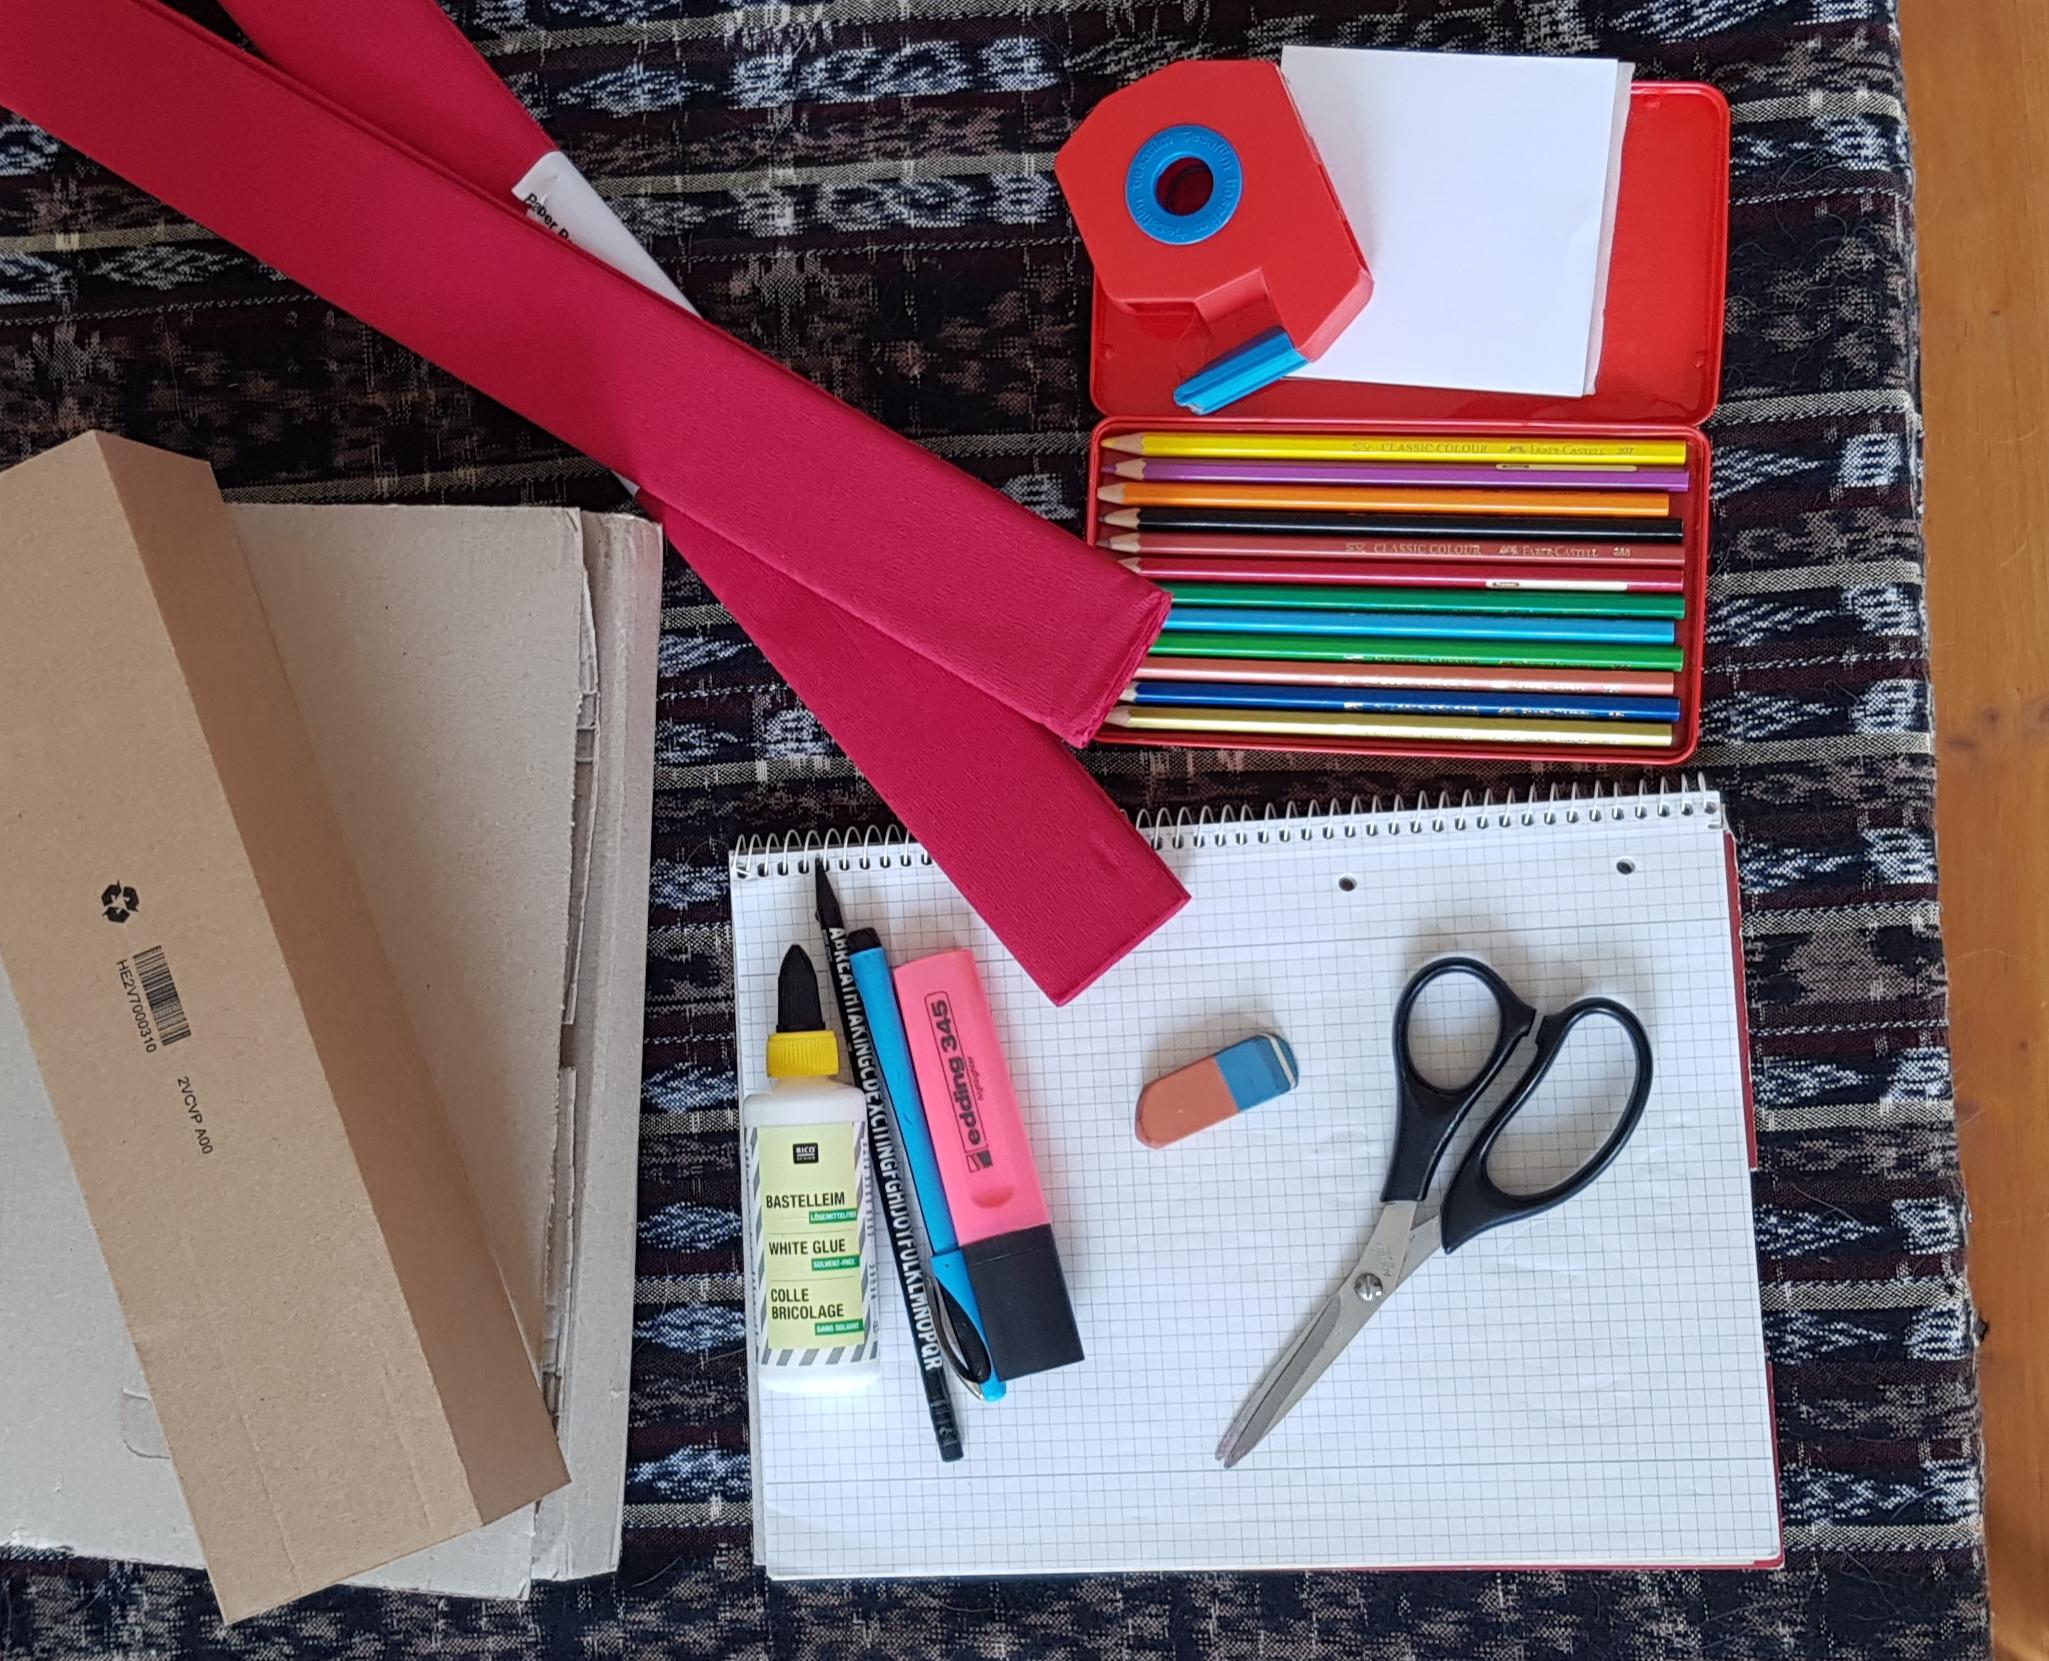
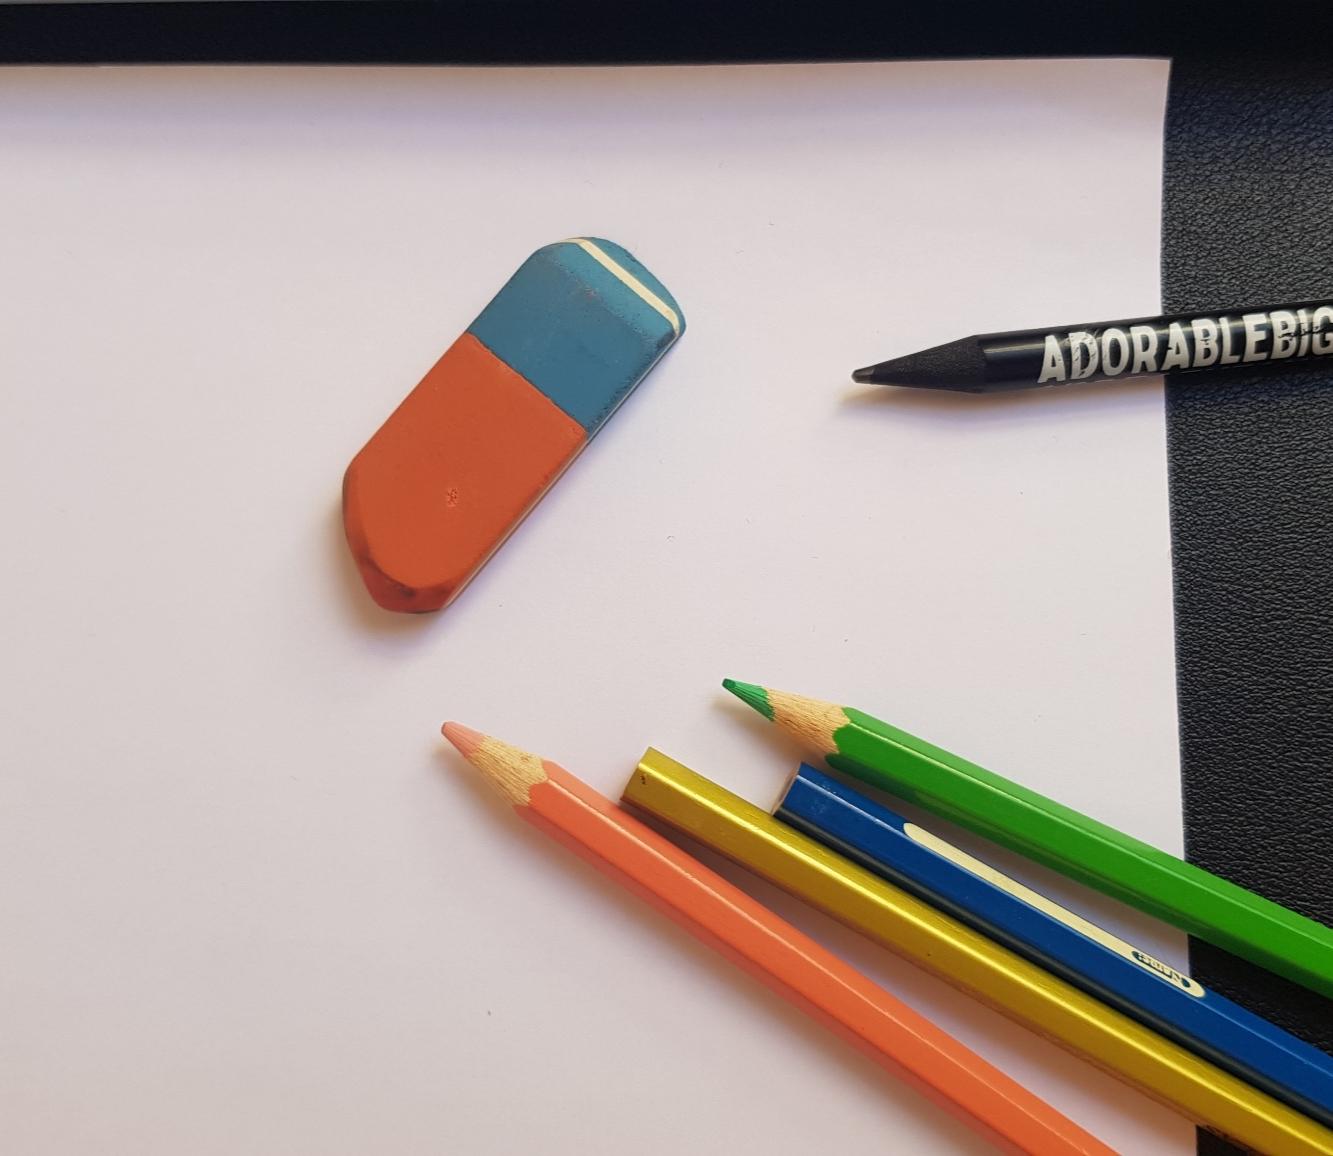
- Paper, pen or pencil
- Colour pencils
- Cardboard
- Tinkercad
- Tapes
- iPad
- Patience :)
Get Inspired :)
The very first step is: your idea!
Be inspired by anything you want to accomplish - even if it may be considered too crazy or difficult. Once you follow step 2 and you see the results on paper, you will realize it wasn't that hard.
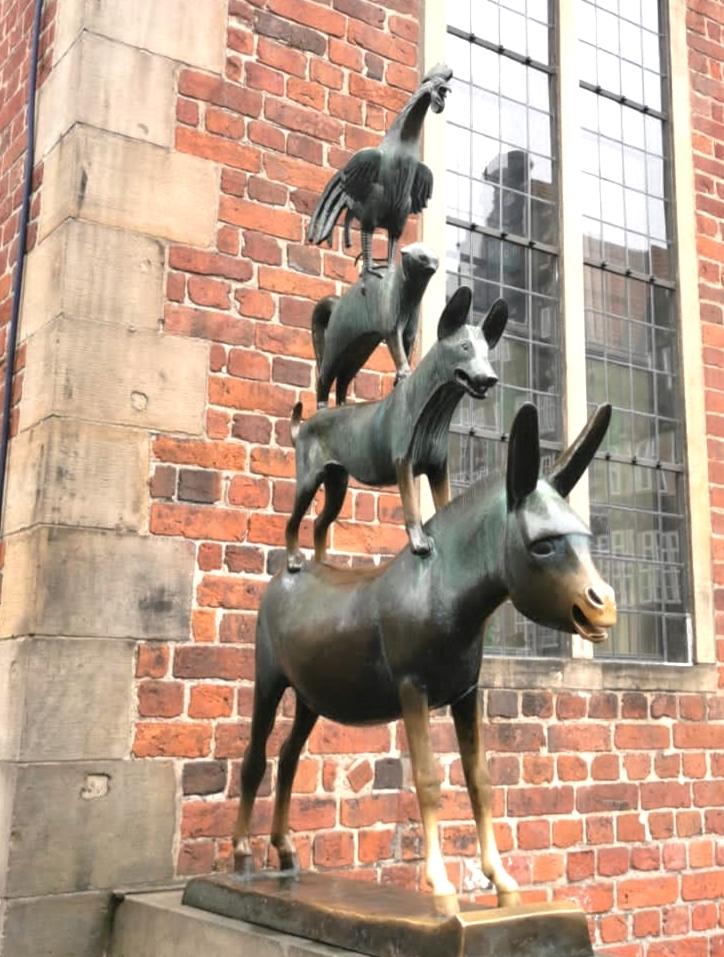
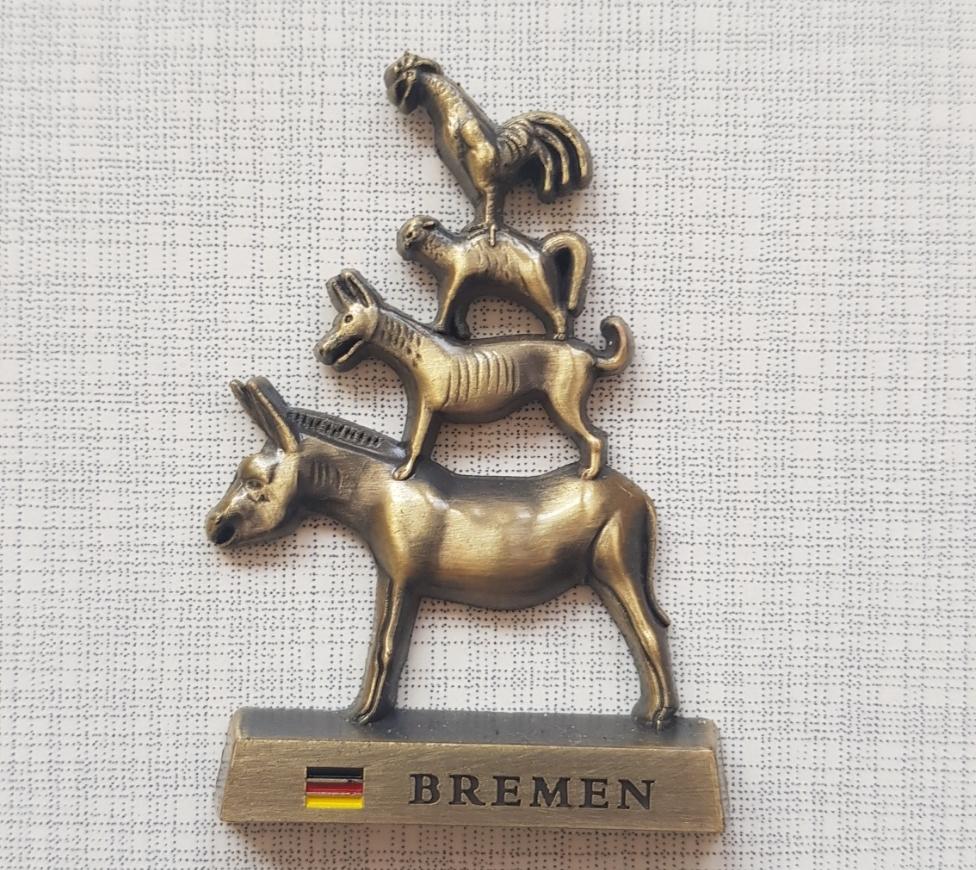
In my particular case, I visited Bremen, which is a city located in northern Germany. It is, among other things, known for its famous tale of the Bremen musicians.
I wanted to recreate the key scene of the story- the reason why the animals are on top of each other.
I don't want to spoil you the story, but I will tell you a couple of things about the Statue...It is said that if you touch the mouth of the donkey you will have good luck, and if you touch both legs you will return to Bremen one day. You will notice that many people touch both parts, the contact with the metal changes the color of the statue.
Interesting, don't you think?
Start Sketching

This is where we start doing fun stuff! :)
Let your ideas flow and use lots of "what ifs" until you are happy with the concept.
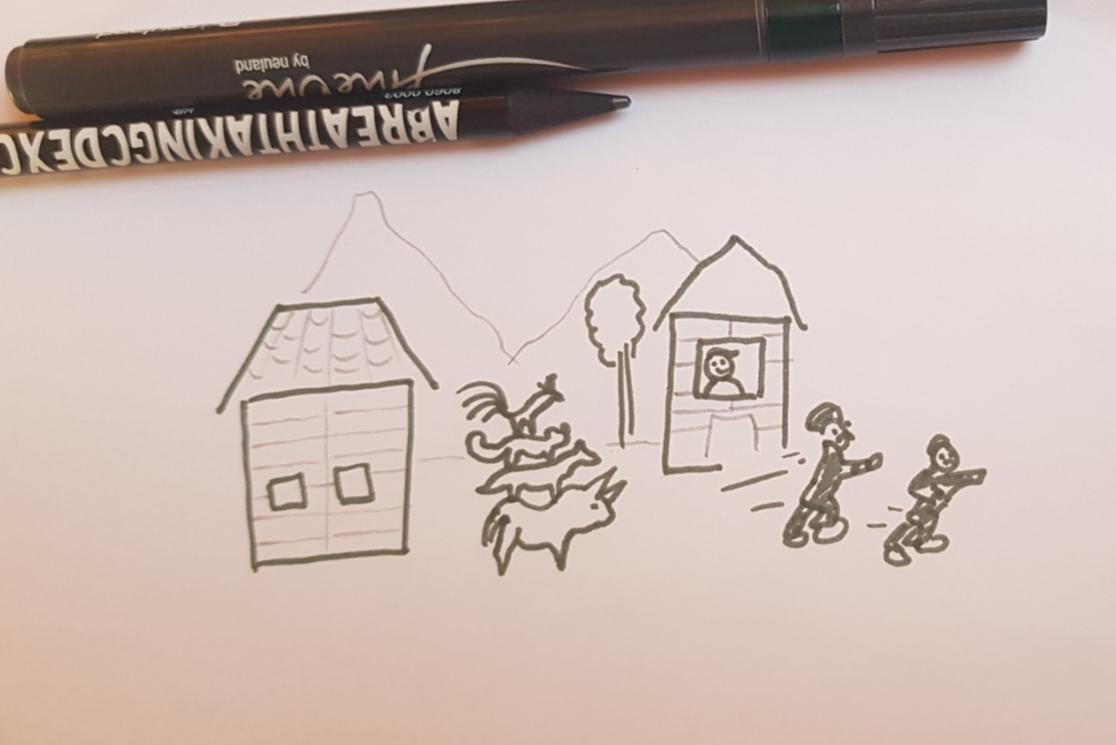
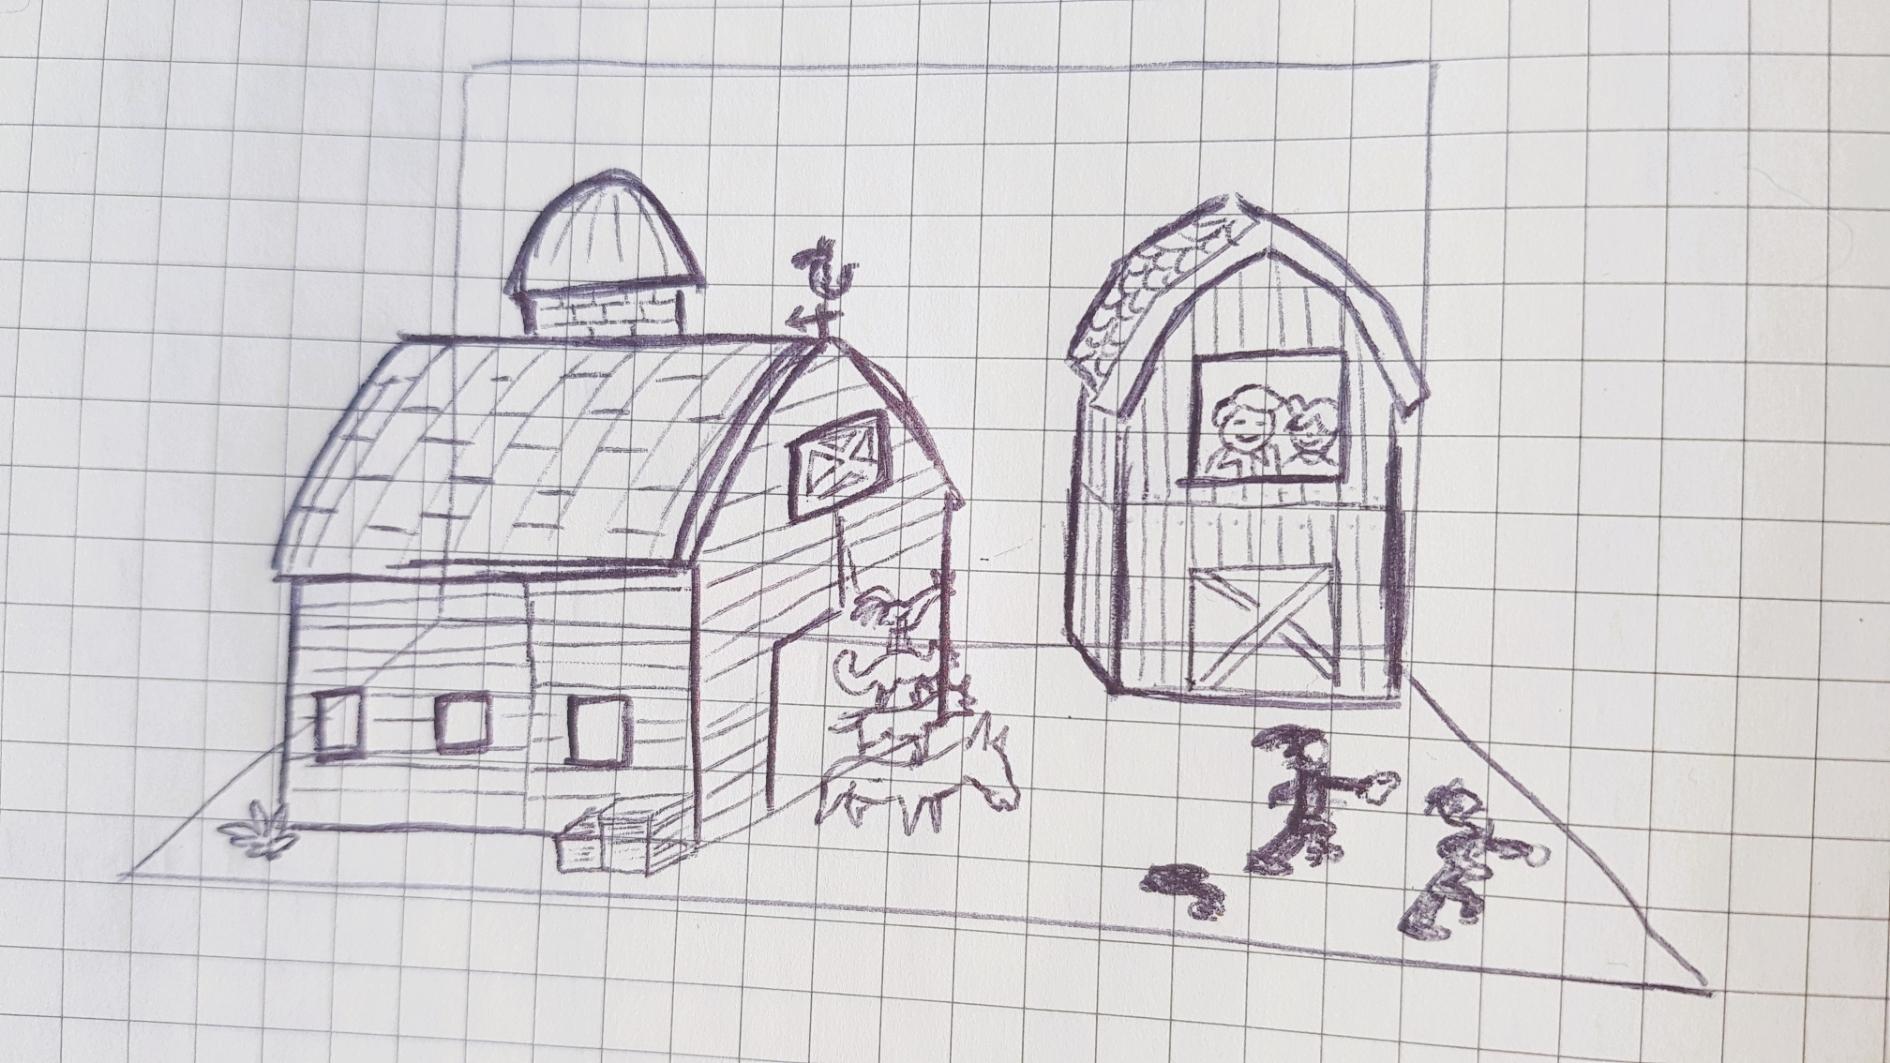
Start drawing: you can use a pen and paper. Draw what you think is important about the idea and let others comment on it as well.
Consider this step as: low-fidelity prototyping, because it essentially uses only pen and paper. In theory, low-fidelity sketches are faster to create. You can be as detailed as you want.
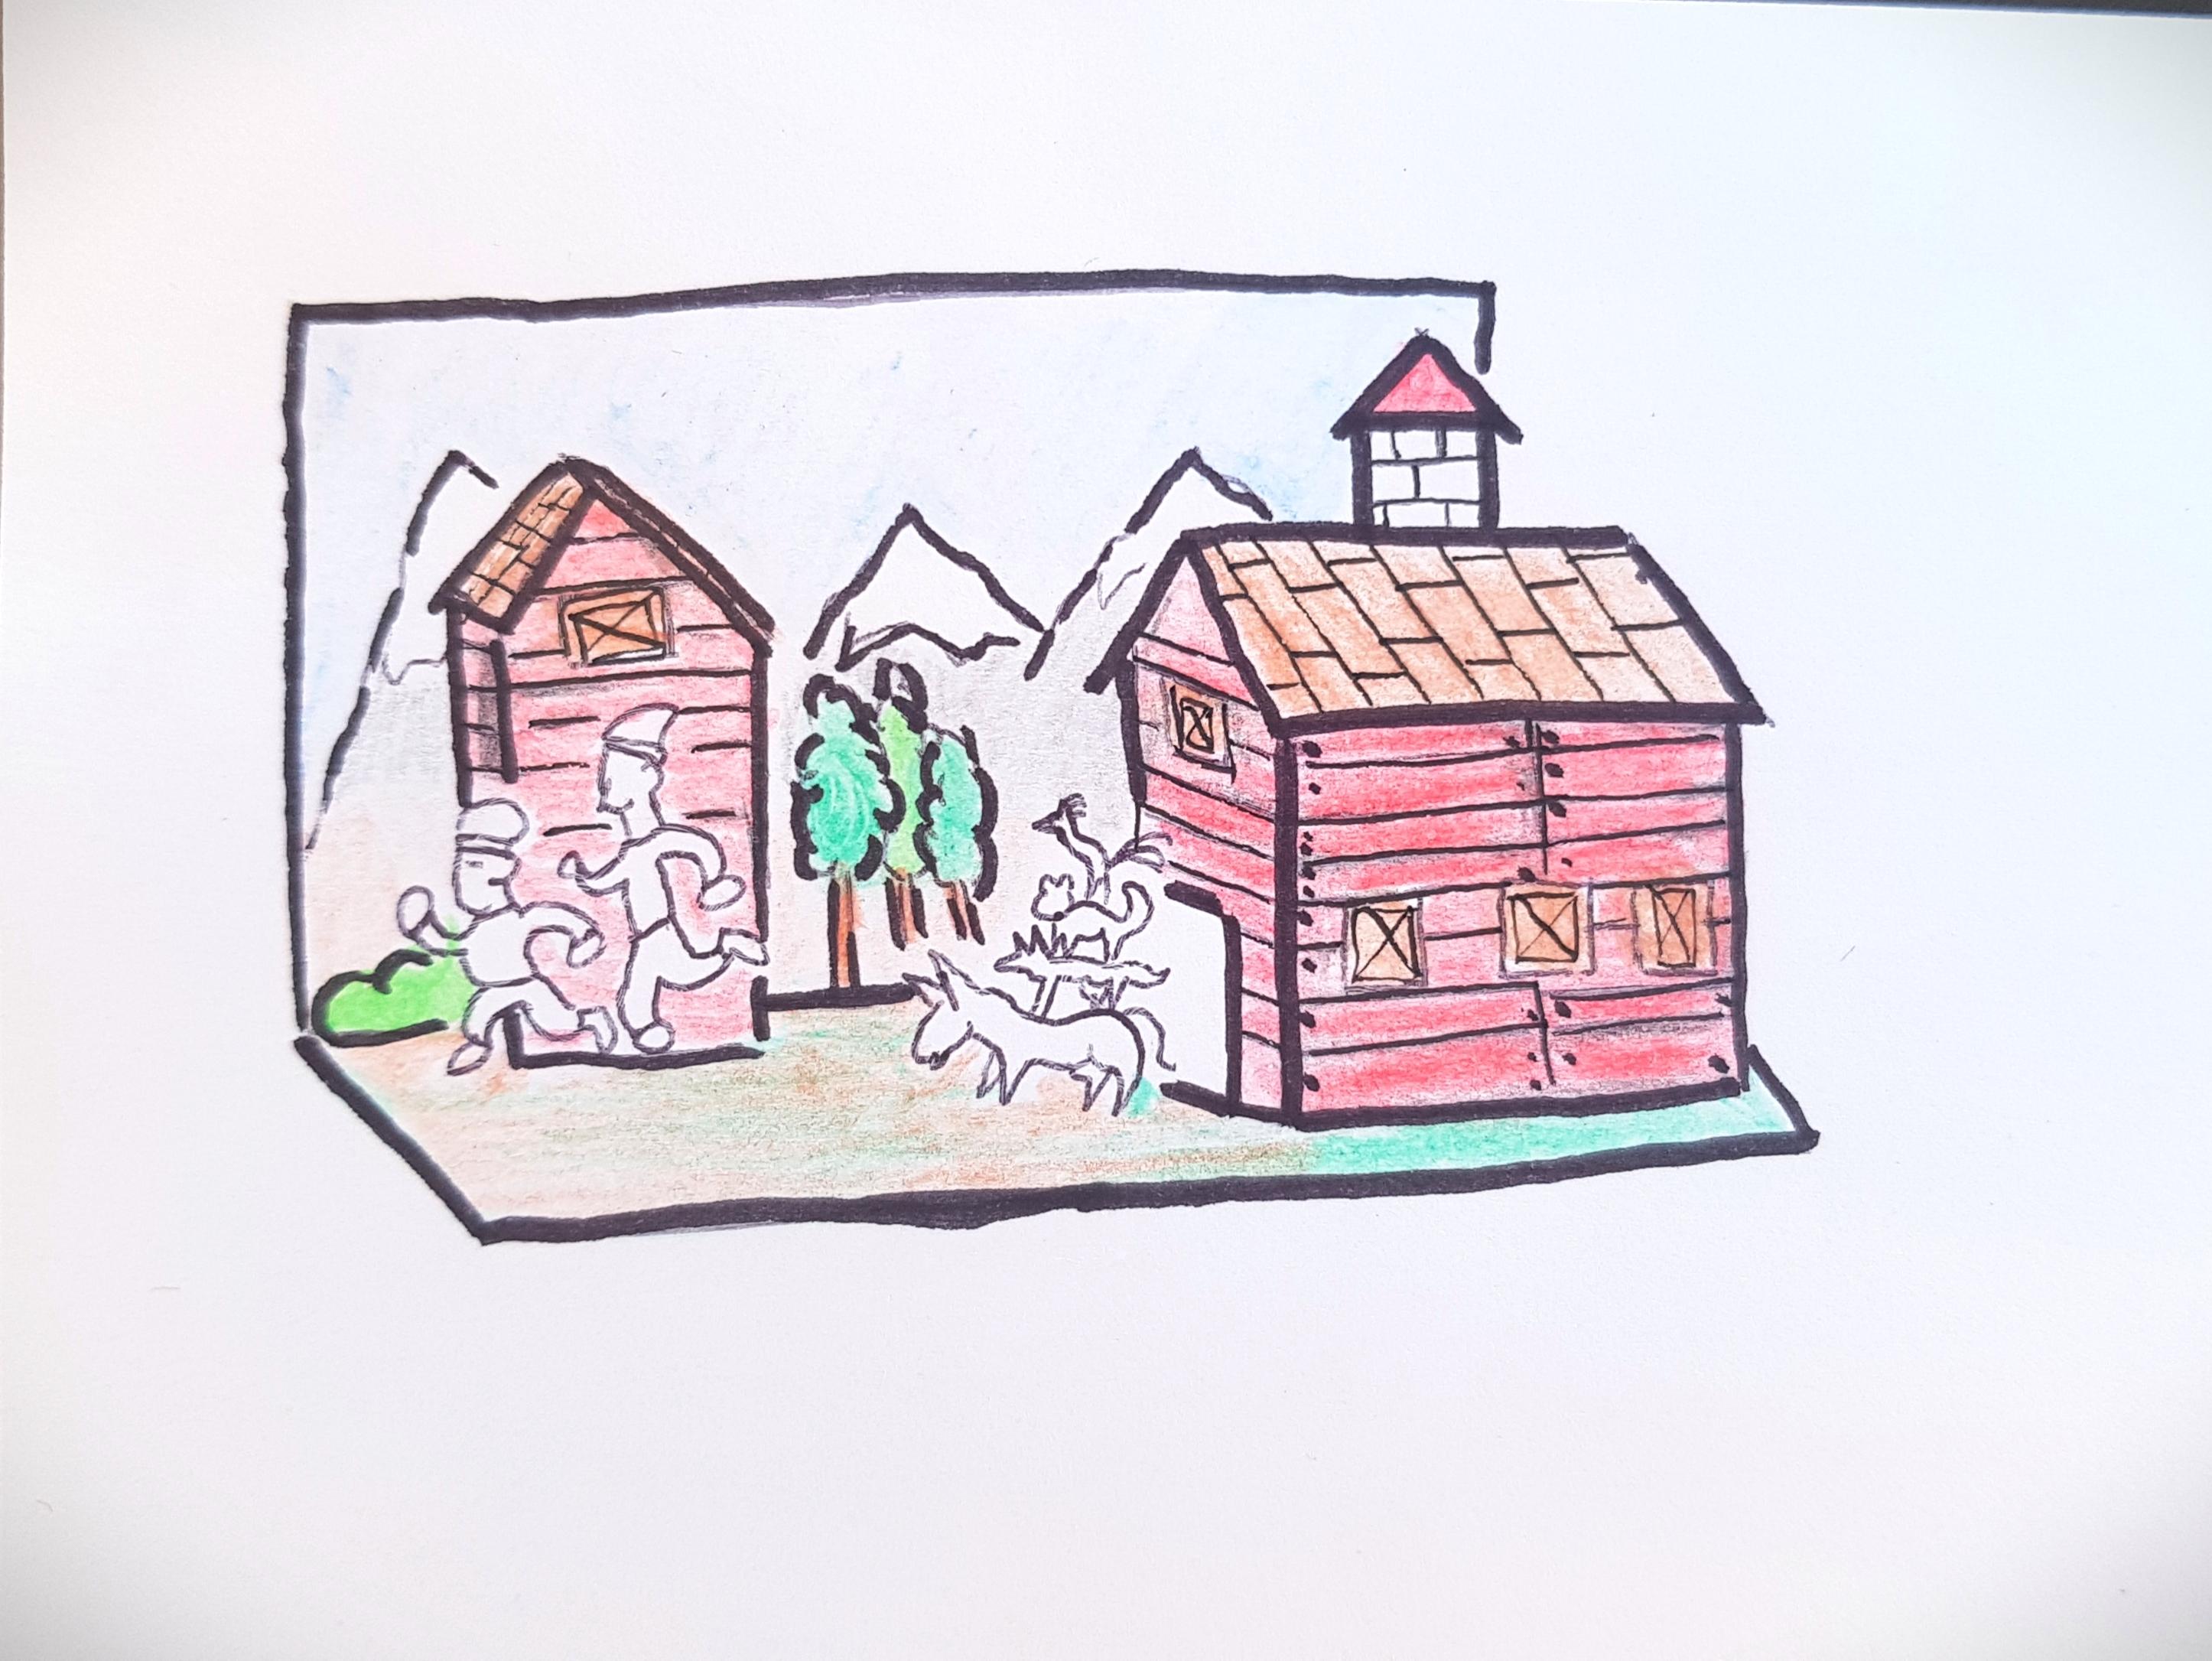
In my case I wanted to recreate a farm type scene, I wanted to highlight nature, musicians, and people who wanted to steal the farmers' valuables.
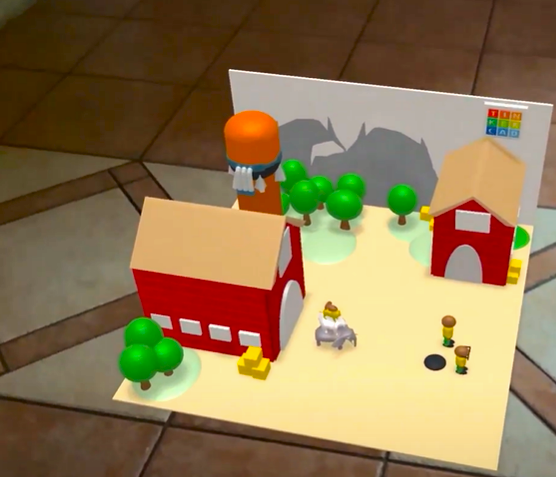
Start Modeling
Going from 2D to 3D with Tinkercad
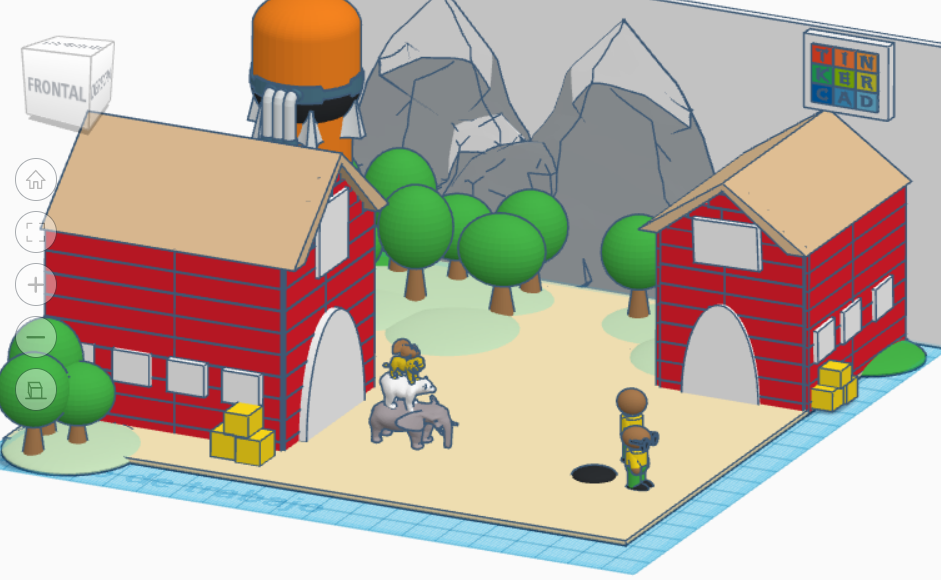
In this phase we are going to transform our drawing from 2D (paper) to 3D (objects with volume). Keep in mind that we want to highlight the most important ideas of our project. In my case it is a farm type scene with animals on top of each other.
I like Tinkercad because it is easy to use, has a good library with different models and is supported by Autodesk. We can model almost anything in a matter of minutes. It will also allow us to move to Augmented Reality. You can create an account here.
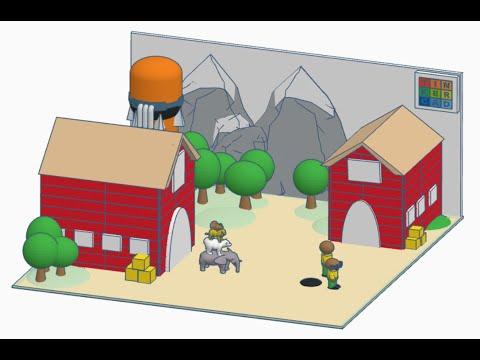
I invite you to browse my scene. Notice that I have represented as best I can the key things in my story. Feel free to zoom in and out and check it out from different perspectives as it's fun and interesting :)
Tips & Tricks in Tinkercad
This step will require patience, but it will be worth it :)
If this is your first time using Tinkercad: do not worry! When you find your rhythm in the software, you will be able to model everything you want. Here you can find some tutorials.
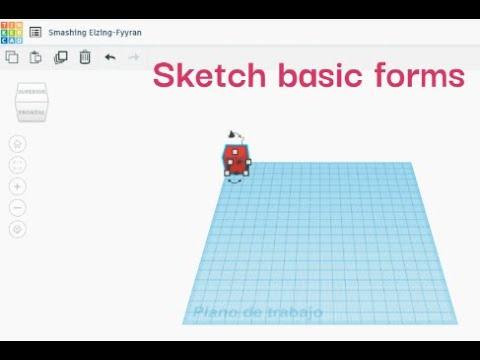
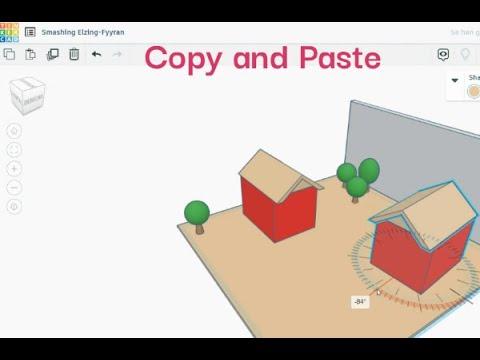
I have prepared two Clips of less than 1 minute highlighting two great combinations that helped me to get my model:
- Start drawing basic shapes around to get a better idea of space and scale.
- Duplicating will save you time and by grouping objects together you can achieve more complex shapes.
The process takes a bit of practice and patience, but I'm sure you'll have as much fun as I did. When the objects start to look like our idea, it will all be worth it.
I leave you with one last timelaps of my complete process, I hope you like it! You can be as detailed as you like :)
Set-up Before Going AR

It is important to set up the iPad before going to the AR.
The first step is to download on the iPad the Tinkercad App, you can find it here. Then, on the iPad, log in to Tinkercad and browse the App until you find your 3D Model or Scene.
Once you have located the file you will need to open it, look for the AR icon on the top right of the Tinkercad workspace.
In case you don't have access to an iPad, I am working on a way to accomplish this without it. Once I figure it out, I will post it in the near future. In the meantime you can skip to step 7 or see step 6.
Once you are satisfy with the results, lets move on.
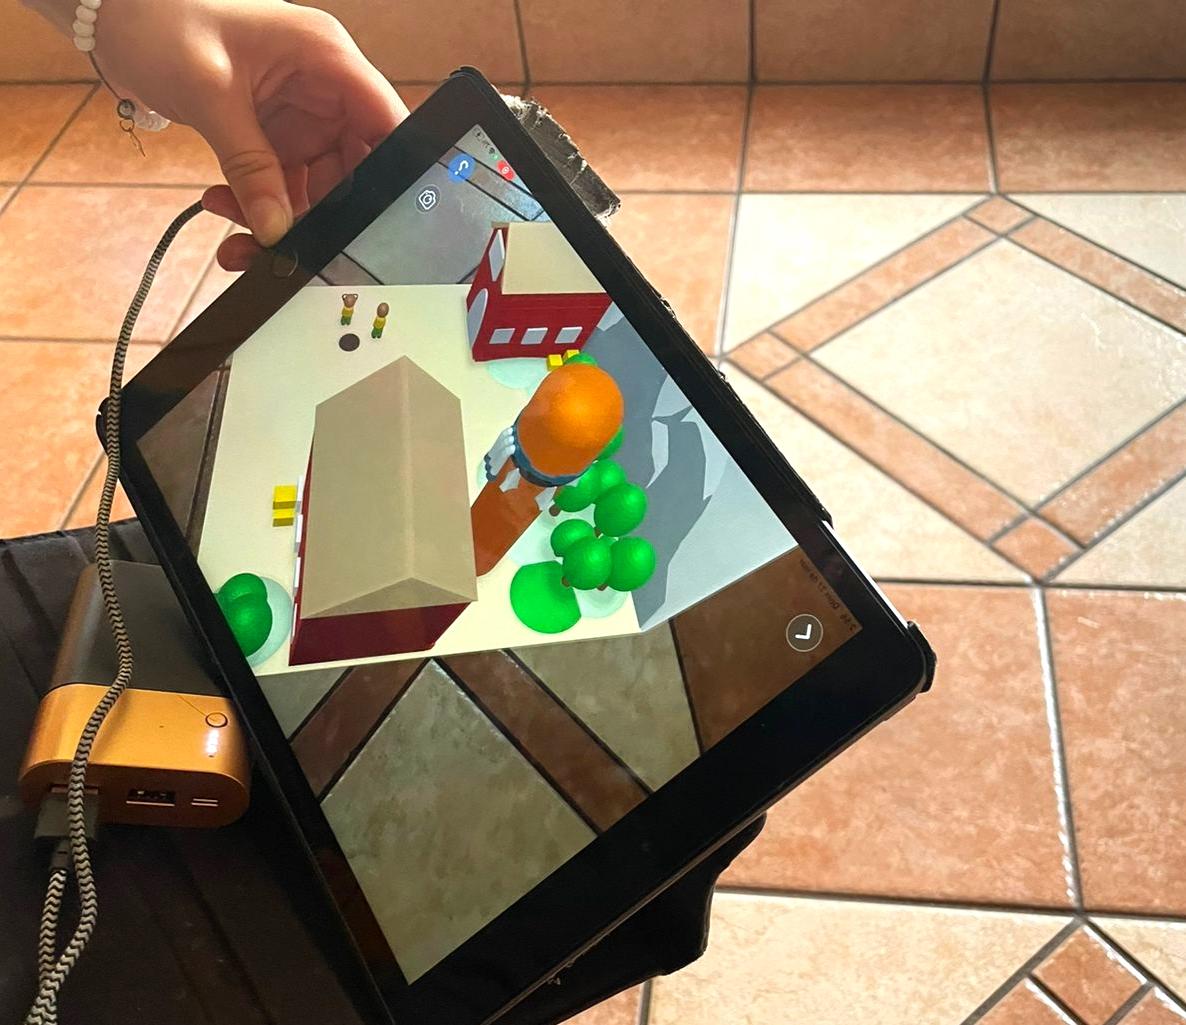
Start AR
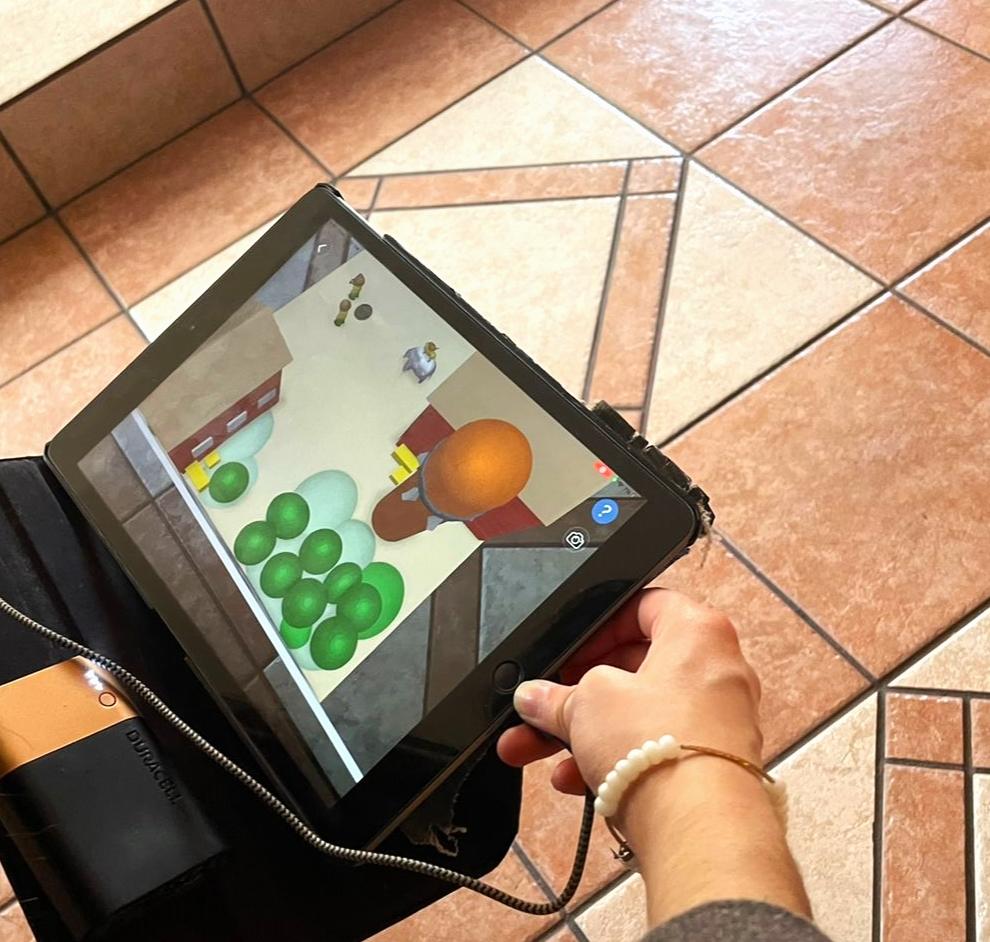
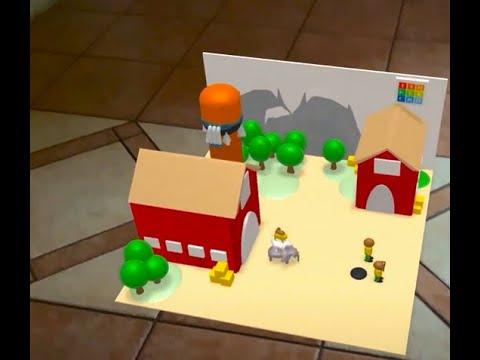
This is an interesting variation :)
Locate a clear and safe space around you and start the AR Experience. Keep in mind the position and scale while launching the model or scene. Once you achieve those steps, start exploring :)
I prepared a short Clip with my case to demonstrate how it looks like AR in the app.
Lets Do It Real
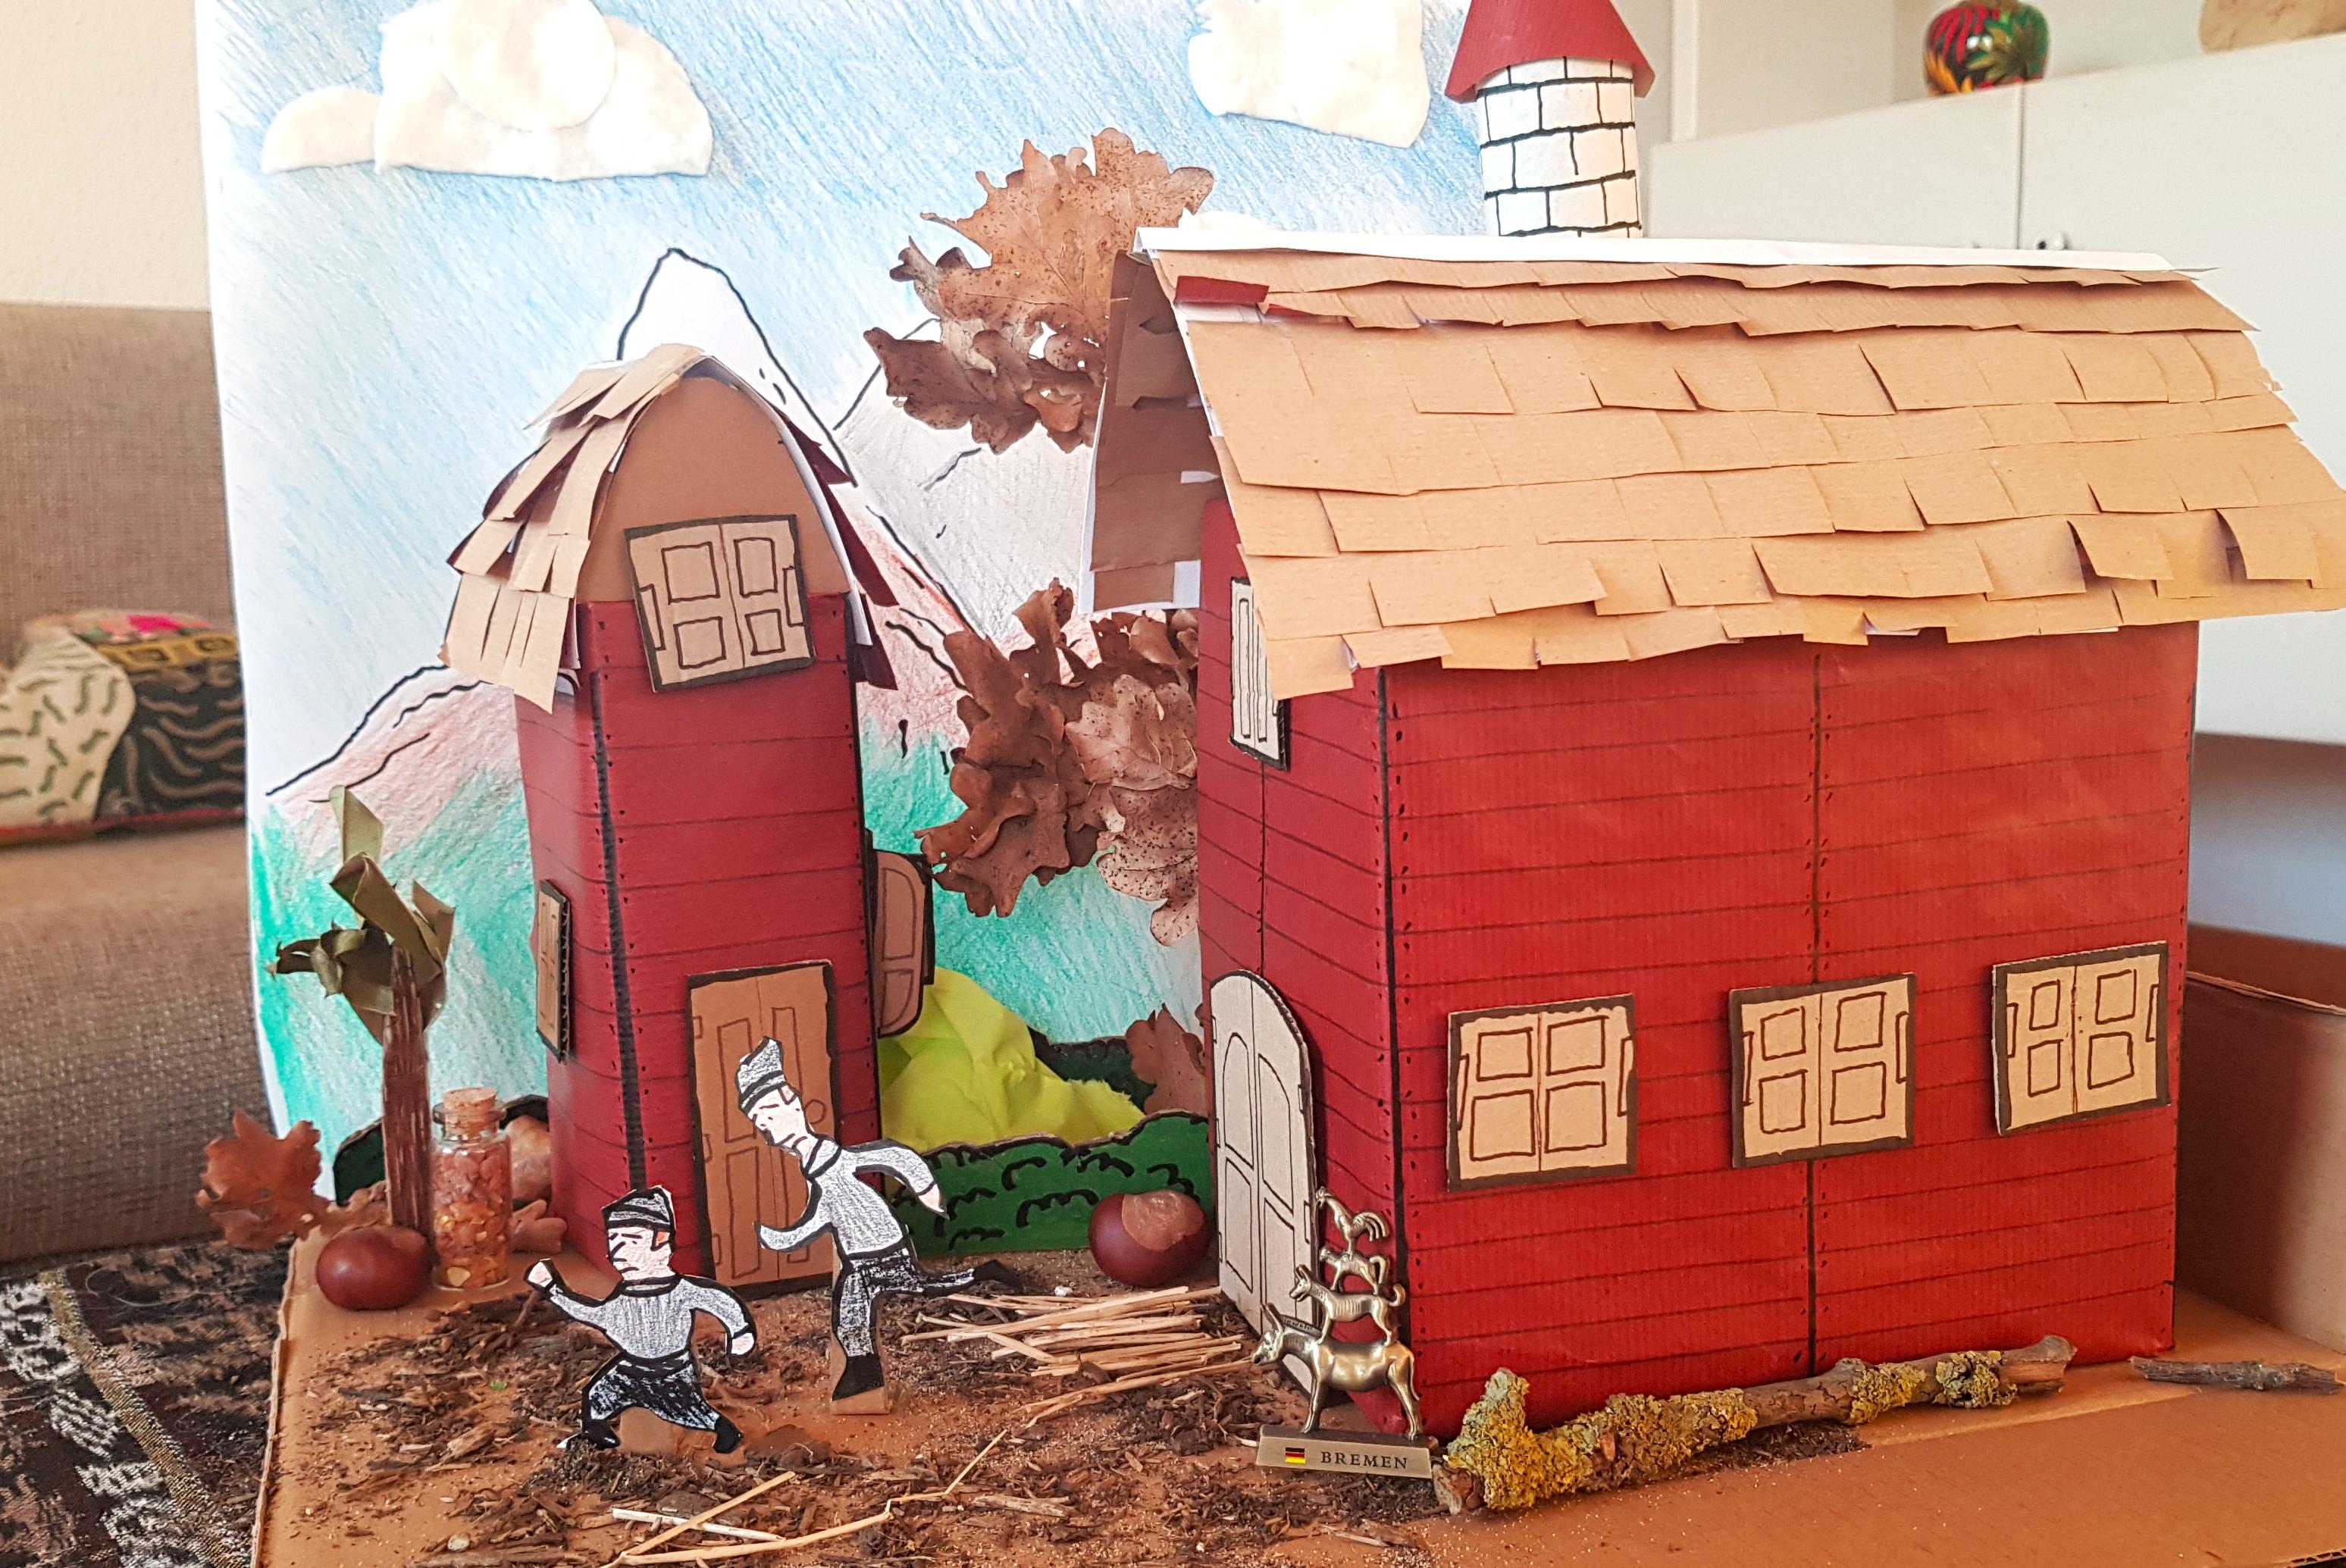
Let's get to work! Time for the Diorama :)
At this stage our idea is more than a concept. It will seem ready to be implemented, but before investing large amounts of time, effort and resources, it is advisable to build a Diorama to detect and evaluate possible challenges or improvements for the next and last stage of our idea: the final construction.
A Diorama is a physical scaled representation that allows us to better communicate our concepts and also allows others to incorporate their visions. It is very useful for decision making and encourages participation.
As in steps 2 and 3 you can be as detailed as you want :)
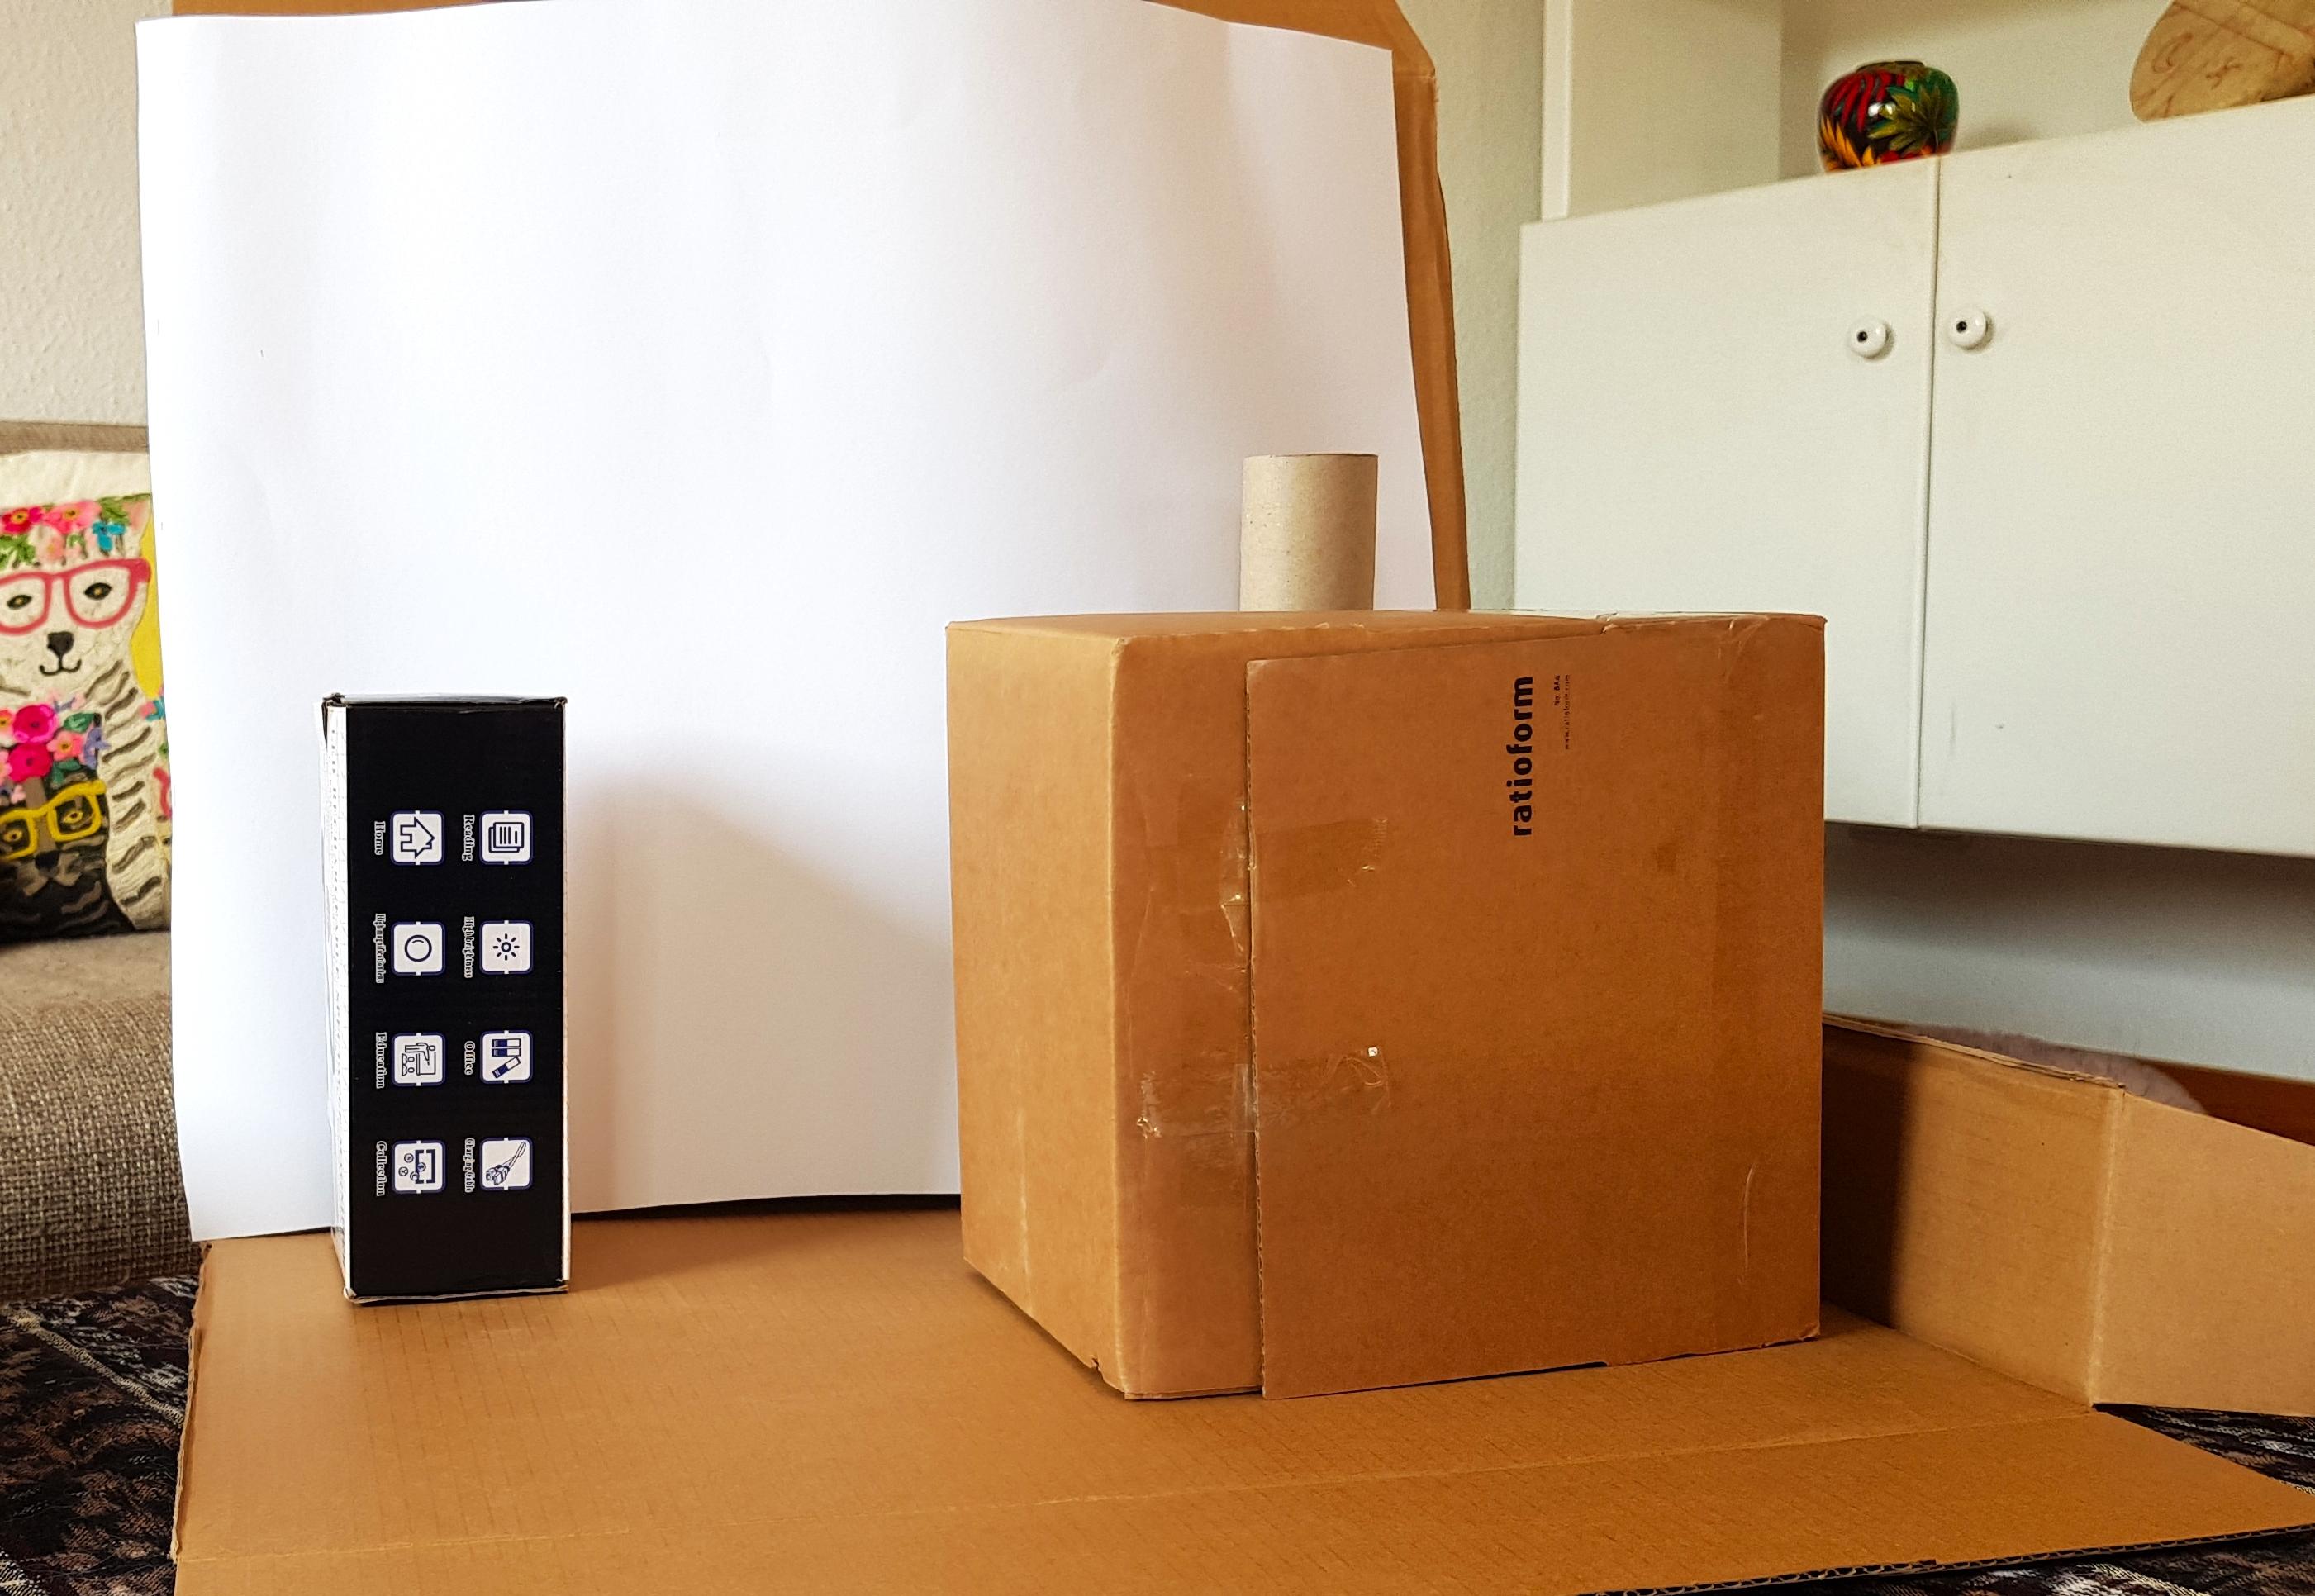
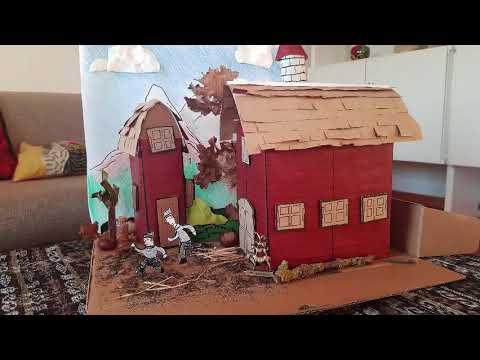
In my case, my approach was similar to Step 3. My procedures were as follows:
- I set up some boxes of different sizes to understand the space and scale of the Diorama.
- Then I covered up the background with paper to be able to draw on them.
- Like wrapping presents, I wrapped the boxes with red paper and then drew the details with pen.
- From there I started to improvise the rest and hoped for the best :)
I made a video summarizing my Diorama building process, including the messy parts to keep it realistic. Have patience and have fun. Remember that even at this stage you can still make improvements. I had a lot of fun, I hope you did, too!
To summarize:
- Having an idea is great, but trying to develop it without any approach is difficult.
- Sketches are a great way to communicate our thoughts and allow others to enrich the idea.
- 3D modeling gives us a clearer vision of what we want to achieve.
- Augmented Reality is a great way to experiment with our ideas.
- Diorama will save us time, resources and possible future mistakes.
Last but not least: if you have read this far I want to thank you. This is my first post of many more. I will appreciate any comments and thumbs up!
Have fun!