Augmented Reality Business Card With Spark AR Studio
by nomadecraftsanddreams in Circuits > Art
6859 Views, 49 Favorites, 0 Comments
Augmented Reality Business Card With Spark AR Studio
This idea started as it often does: I was working on a completely different project when I veered off-tracks after stumbling upon the work of an artist called Catalina Villegas on social media. She creates Instagram AR filters which bring the illustrations that she sells as stickers to life. AR is nothing new, I had an app that showcased that kind of effects on my brand new Sony smartphone in...2012. But discovering that a tool was available to easily make AR effects and then publish them on an ubiquitous platform such as Instagram really made it click for me.
I then started thinking about what kind of use I could have of such a technology taking into account my personal and professional activities. I wish I was able to create beautiful digital illustrations and give them a new dimension by making them interactive but for the time being this is too far from my skill-set. So I settled on making a simple project that would somehow make sense for me: creating a filter that would play a 3D animation when the camera would be pointed to one of my business cards. I have a small etsy shop and I thought that it could be a fun way to nudge my customers into posting about it on social networks since they might be curious to try this AR filter once they receive their order along with my business card.
Supplies
The following softwares have been used to create this project:
- Blender to generate the animation of the text and export it frame by frame.
- Inkscape for all the vector drawings.
- Spark AR Studio to create the AR filter.
Download the Project Files
I uploaded all the project files to Google Drive.
Project files repository's structure:
- /Spark AR Business Card Tutorial
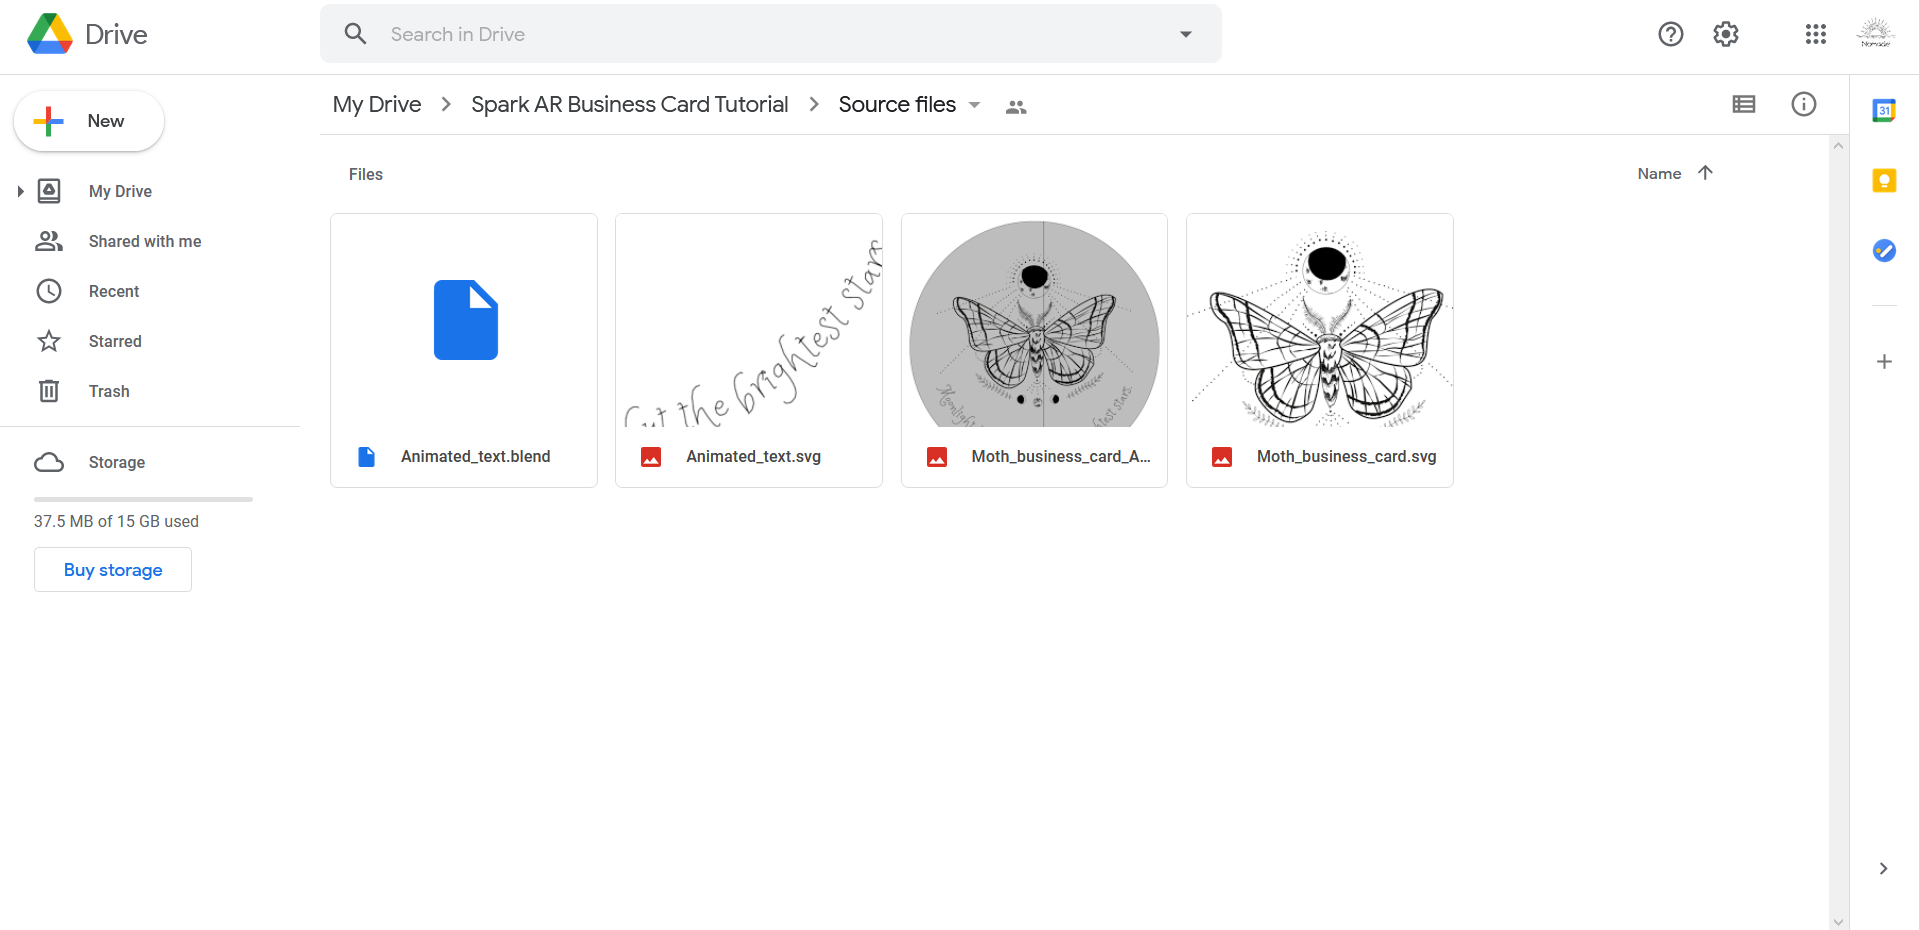
- /Source files - the vector drawings from which all the textures were derived.
- Animated_text.blend
- Animated_text.svg
- Moth_business_card_AR_mockup.svg
- Moth_business_card.svg
- Spark_AR_business_card_icon.svg
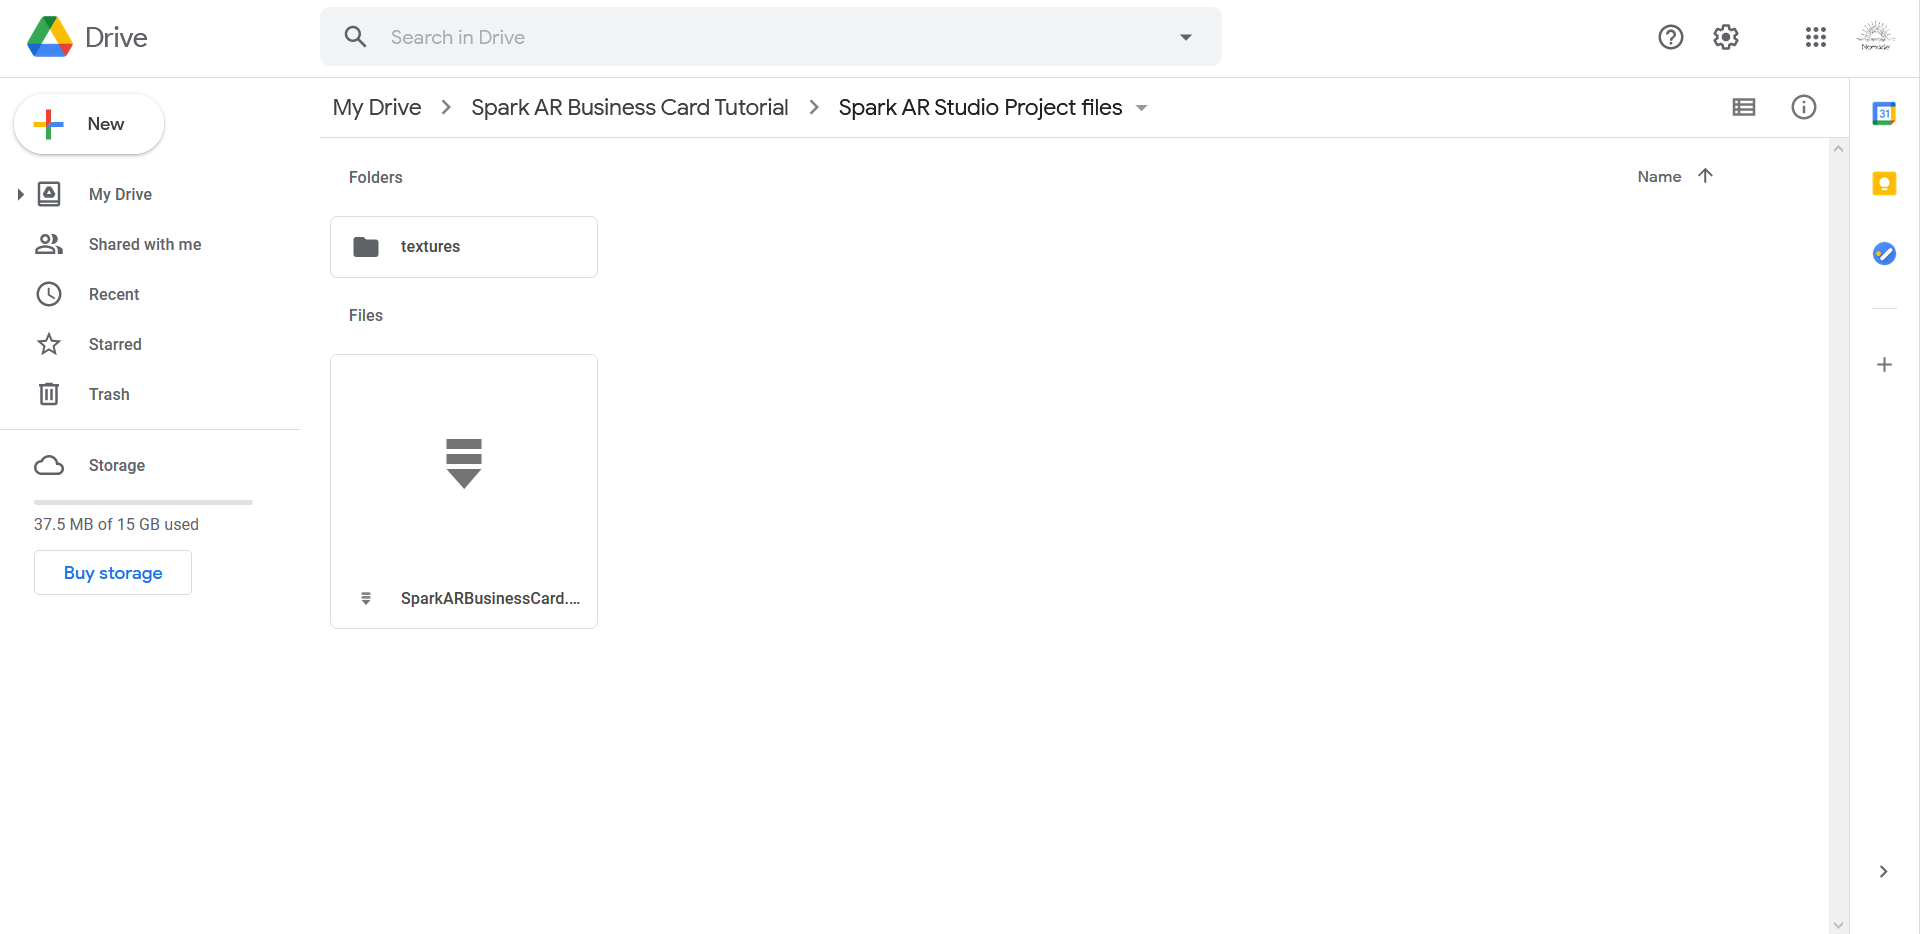
- /Spark AR Studio Project files - the project files of the completed filter as saved and organized by Spark AR Studio.
- /textures
- SparkARBusinessCard.arproj
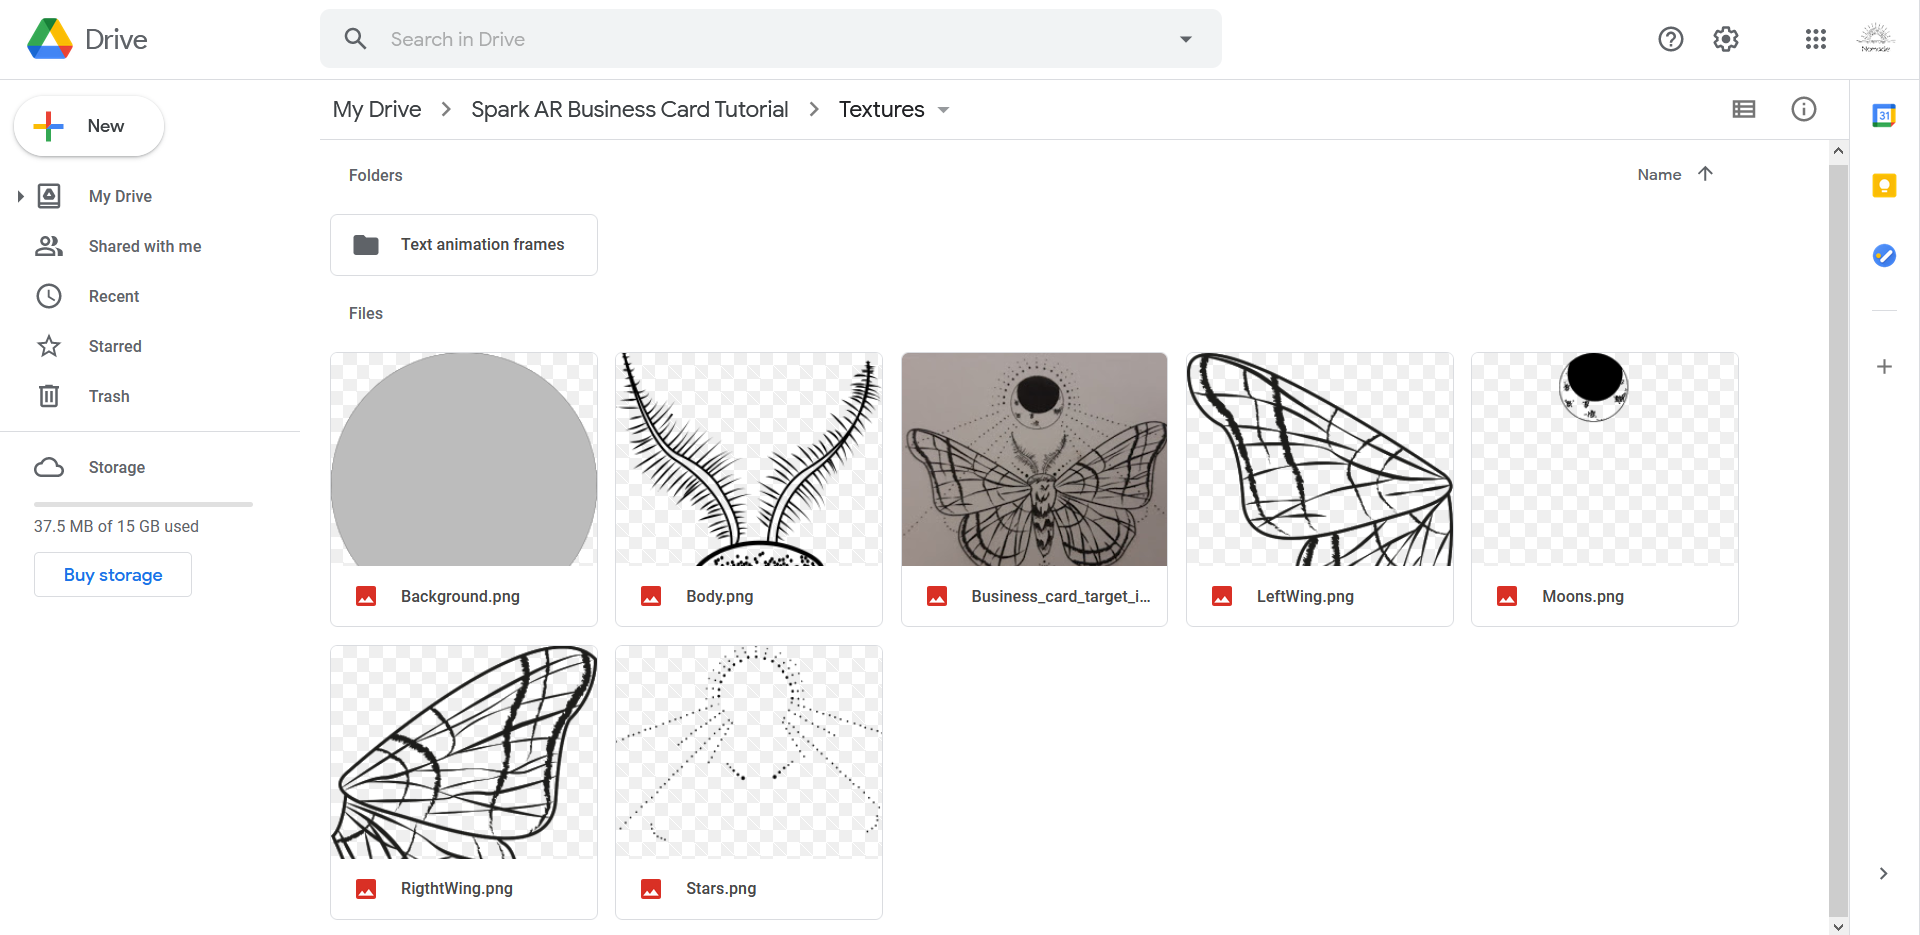
- /Textures - stricktly speaking, the only files necessary to complete this tutorial.
- /Text animation Frames
- Background.png
- Body.png
- Business_card_target_image.jpg
- LeftWing.png
- Moons.png
- RightWing.png
- Stars.png
- /Source files - the vector drawings from which all the textures were derived.
Designing a Business Card and a Mockup for the AR Animation
The business card
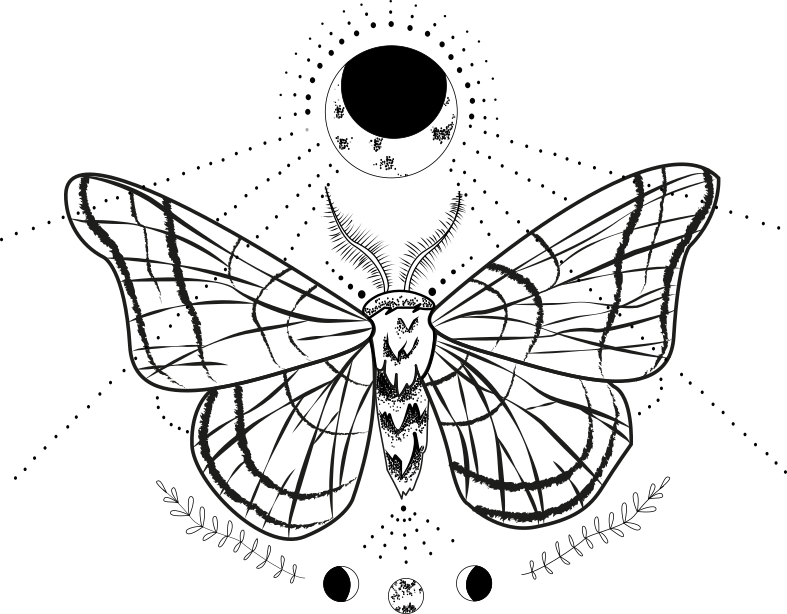
The first task that you will need to complete will be to come up with your own business card design.
For this tutorial we will be using a moth illustration that was designed by my talented friend Hui Chen. Thank you Hui for letting us use your work!
Tip: have a look at this article about the Best practices for target tracking in Spark AR Studio to get a good understanding of what your business card design should look like to be easily recognized by the filter.
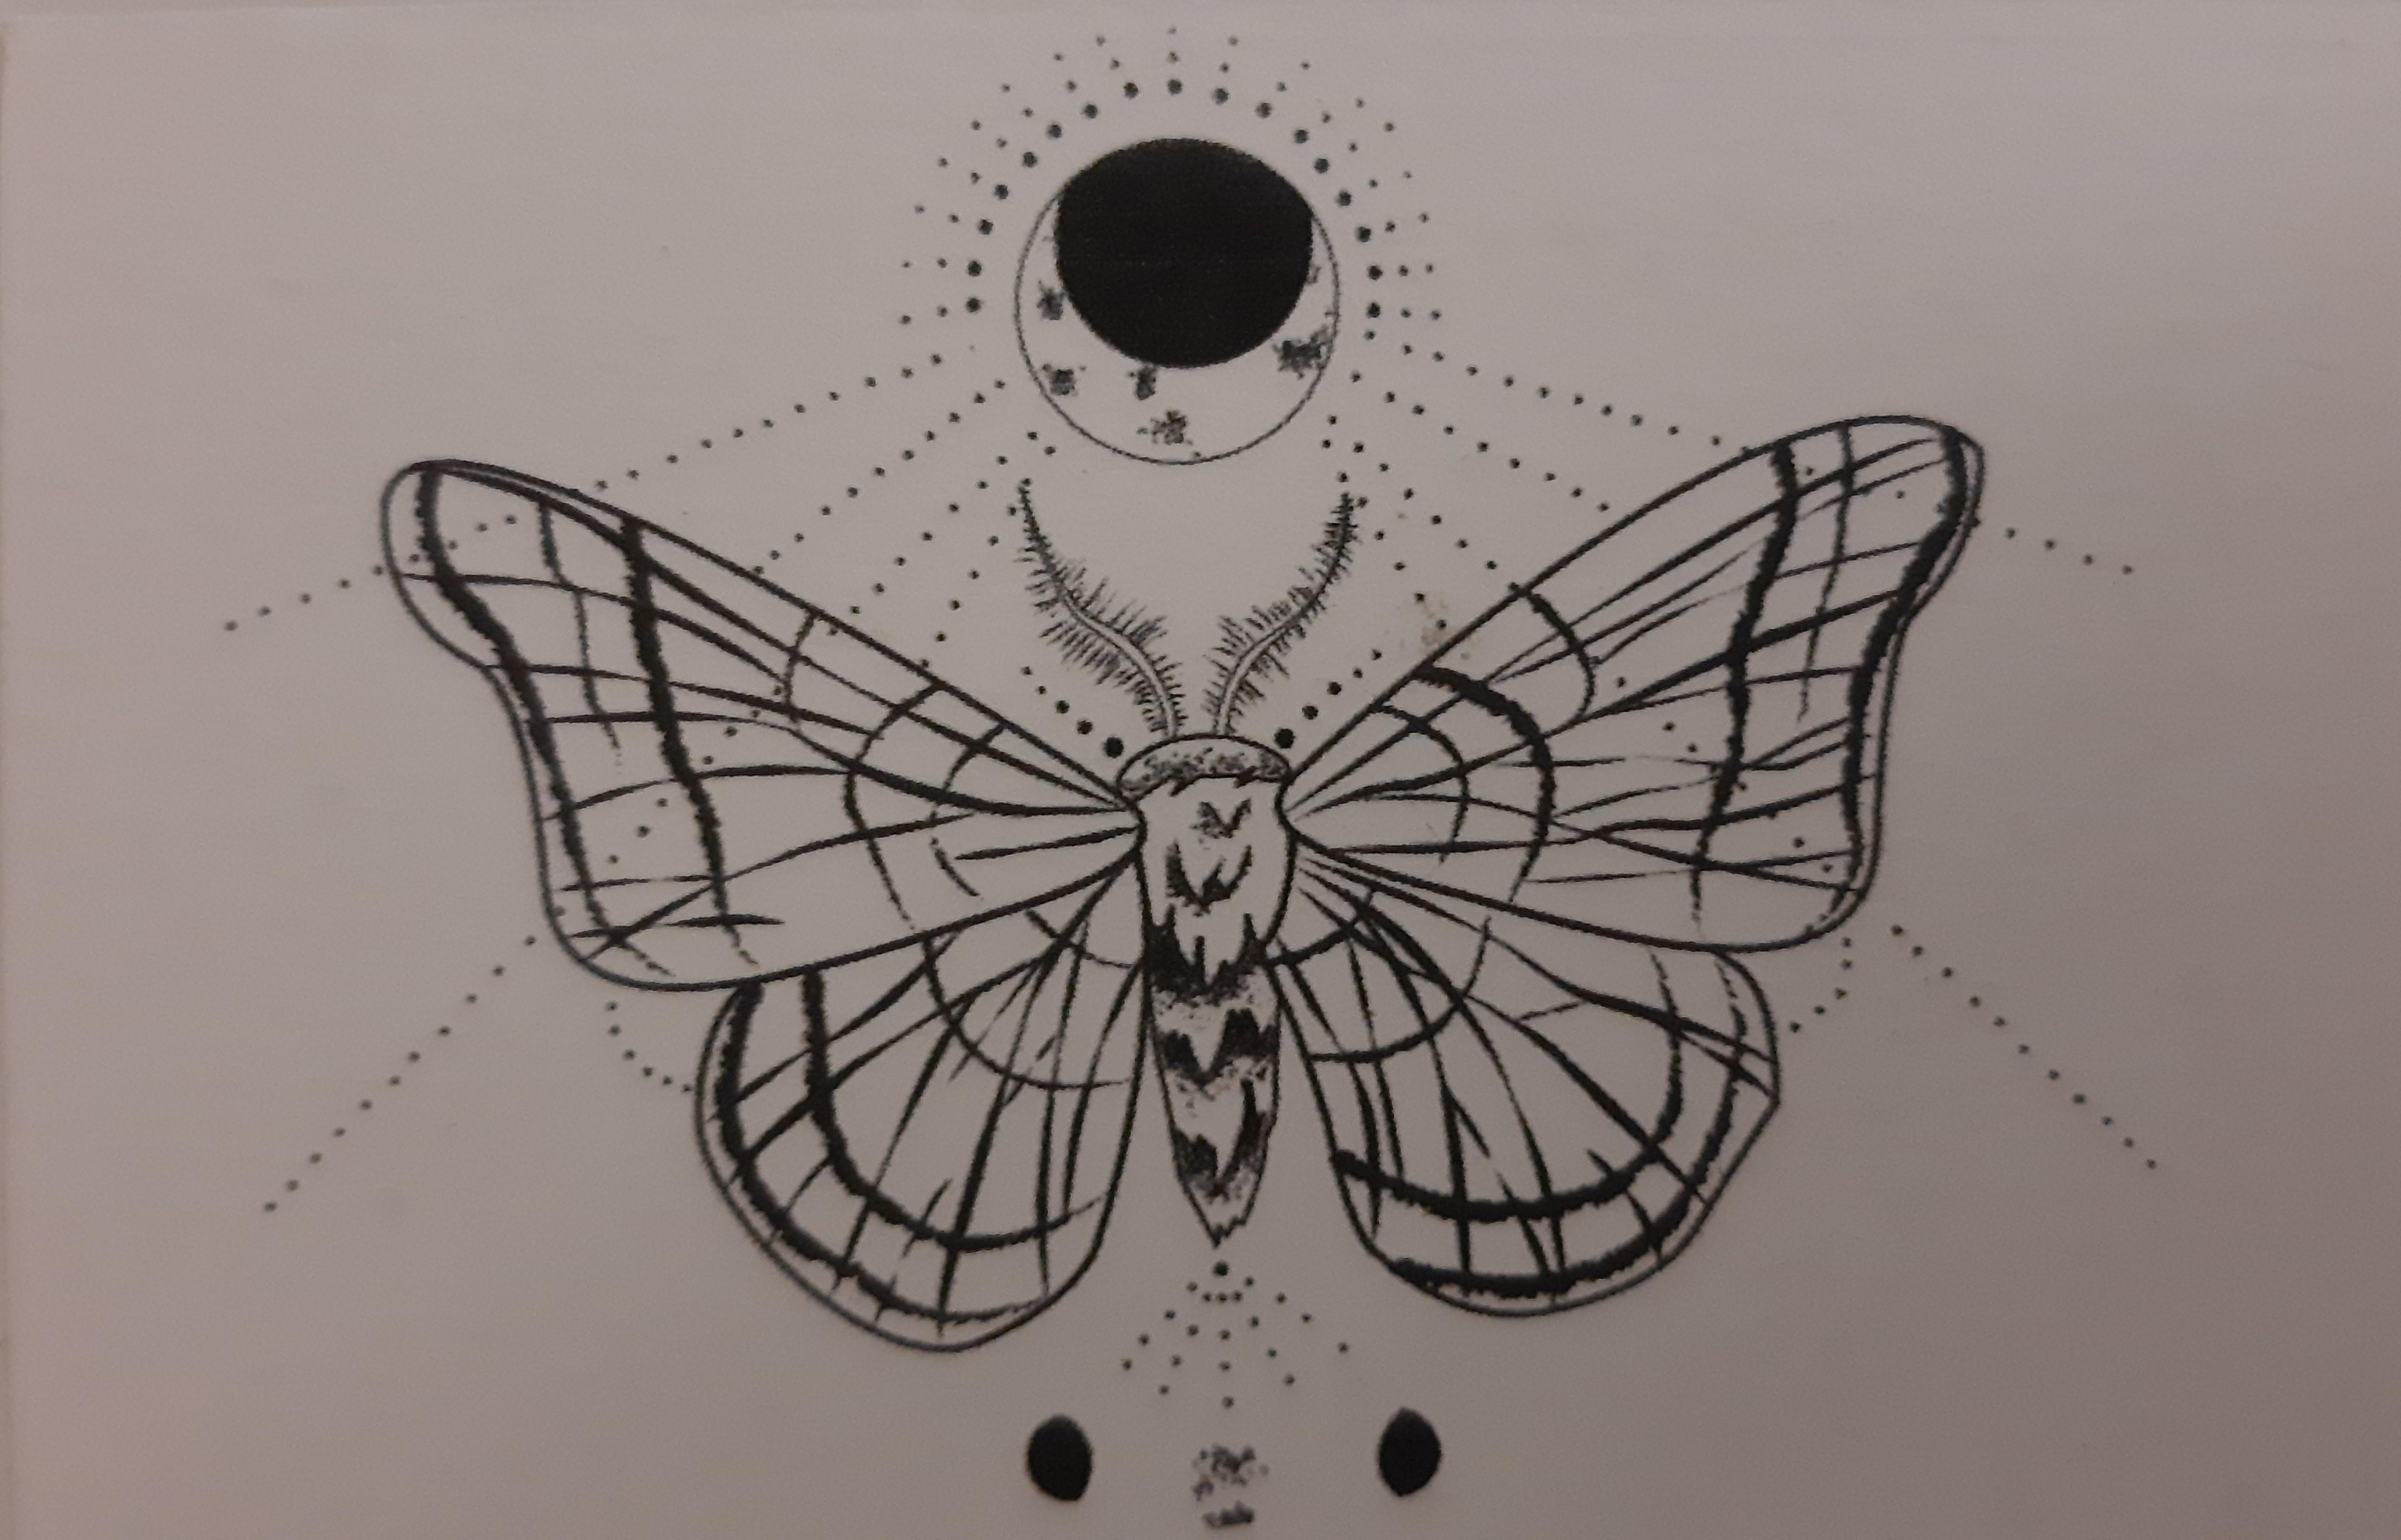
Once you will be satisfied about your design, print it and snap a picture of the card. Indeed, I found that the target tracking will work better if you use a picture of the real world object that you want to track instead of its digital counterpart.
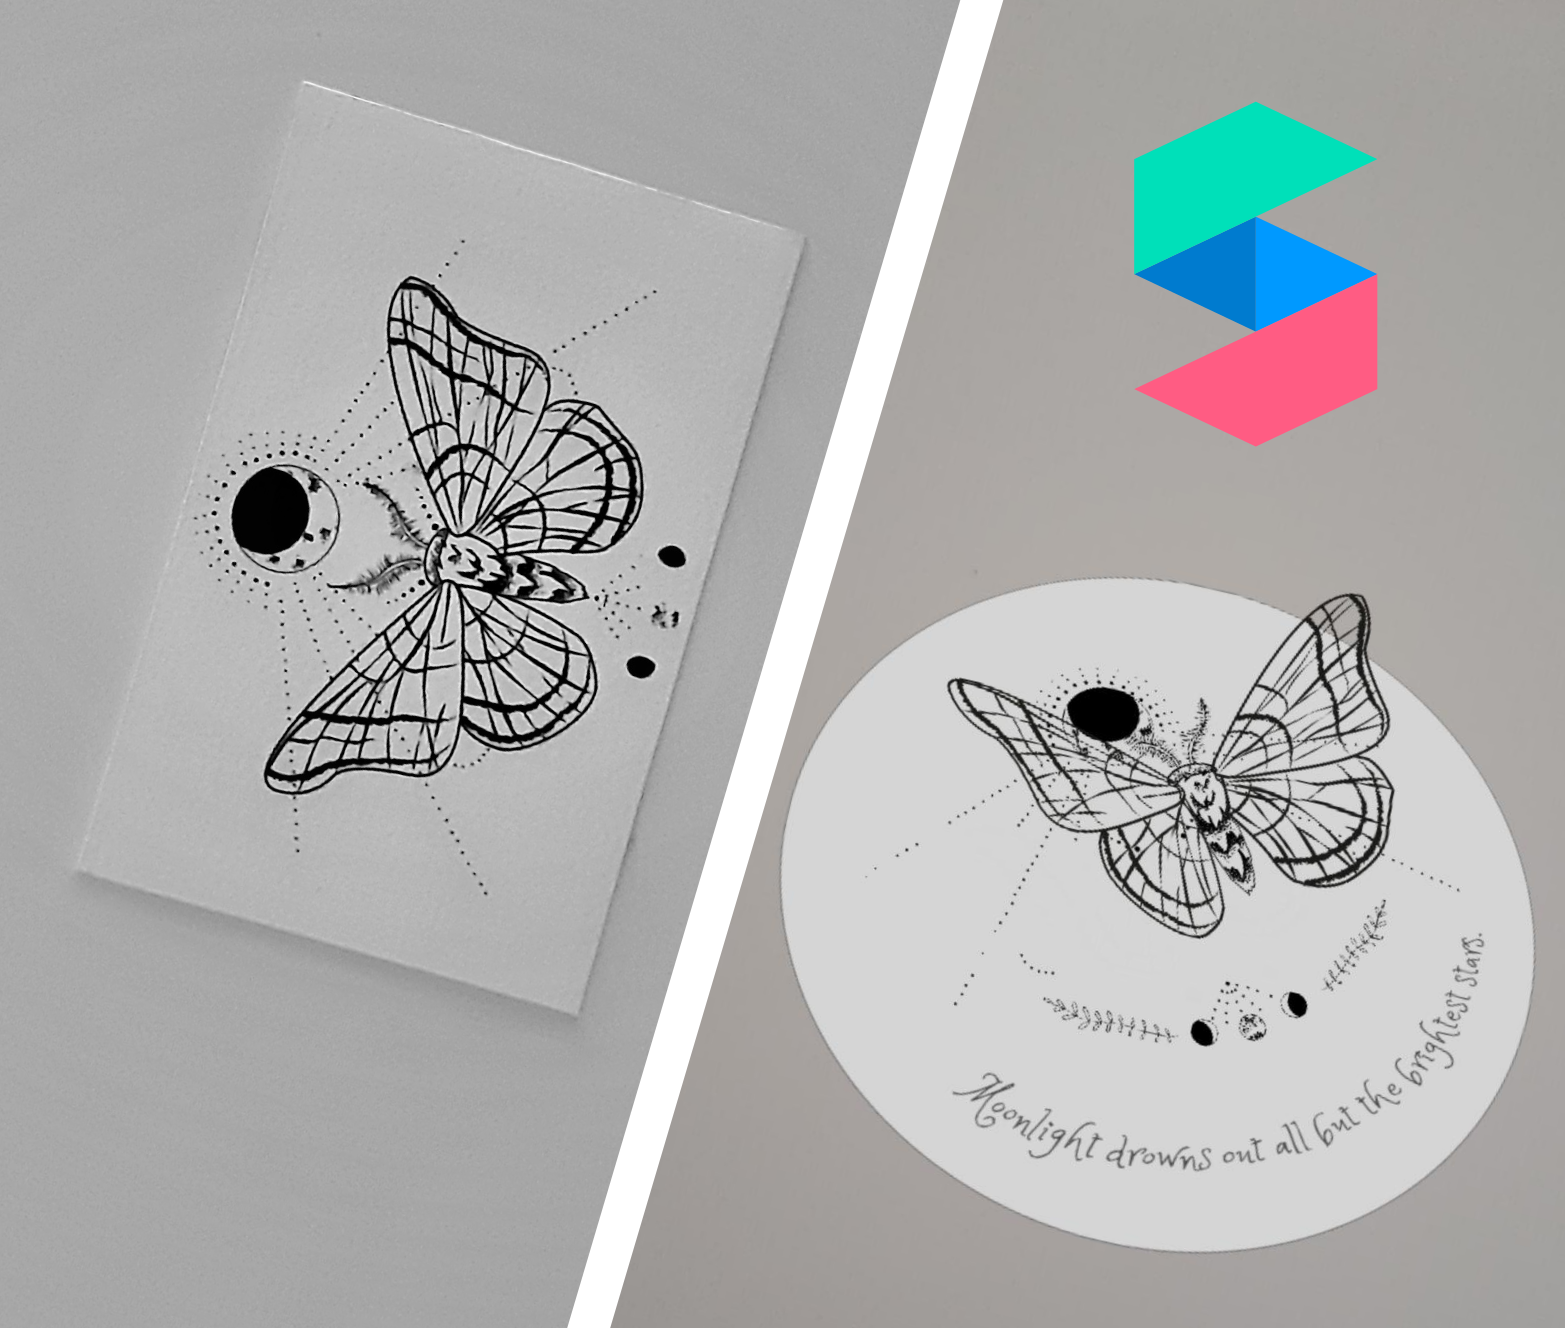
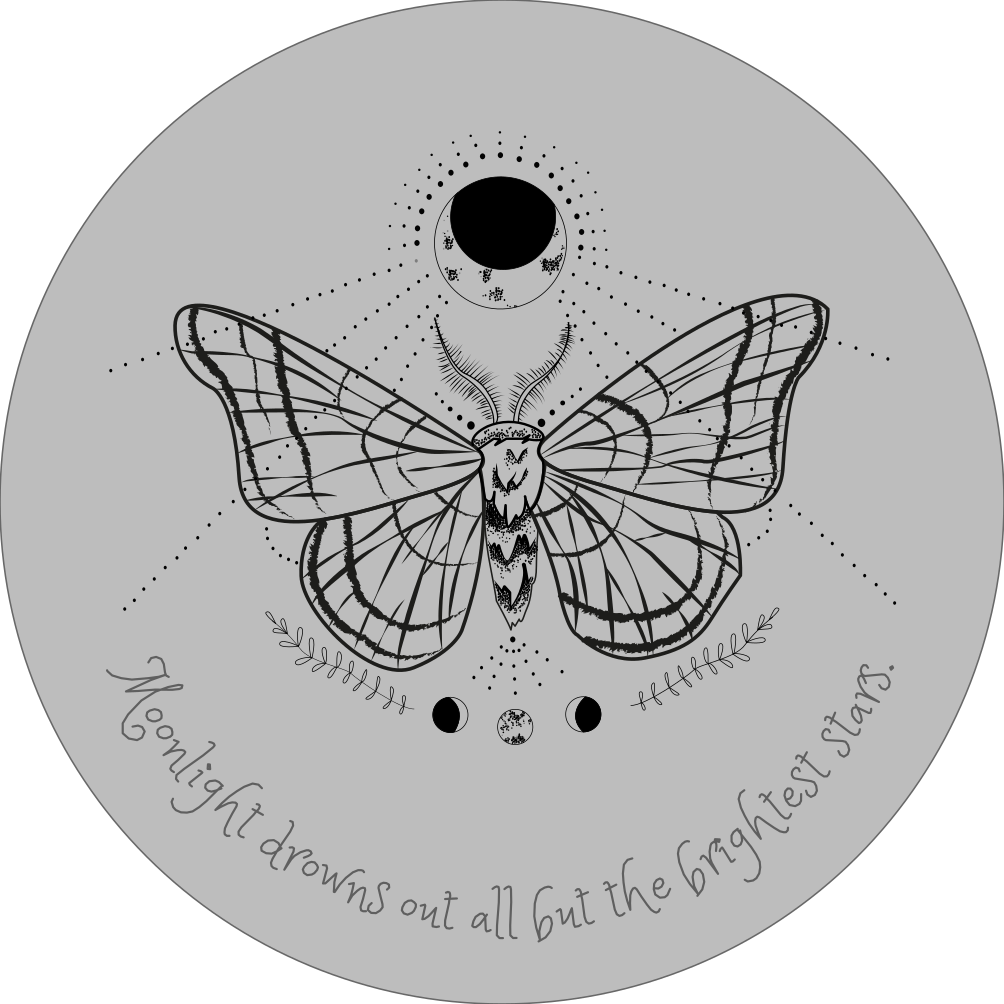
Mockup of the AR animation & preparation of the visual elements
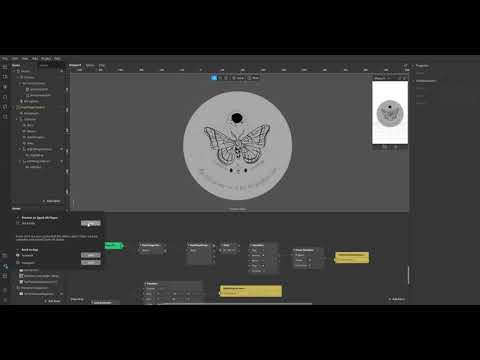
Next design a mockup of how you envision your AR animation as seen from above. It will help you organize and position the different elements of your scene on Spark AR Studio.
Organize your main elements in different layers in the vector editor and export them as .png images with transparent background.
The animated text: turns out this proved to be one of the most troublesome parts of the project for me. In short, I designed the text's stroke on Inkscape and loaded it on Blender in order to generate a frame by frame animation. If anyone would like more details about that process let me know in the comments and I might get around to writing a short tutorial about that.
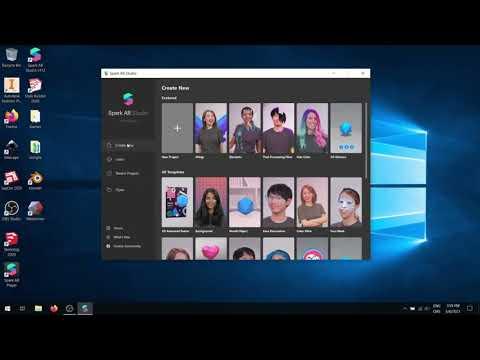
Install Spark AR Studio
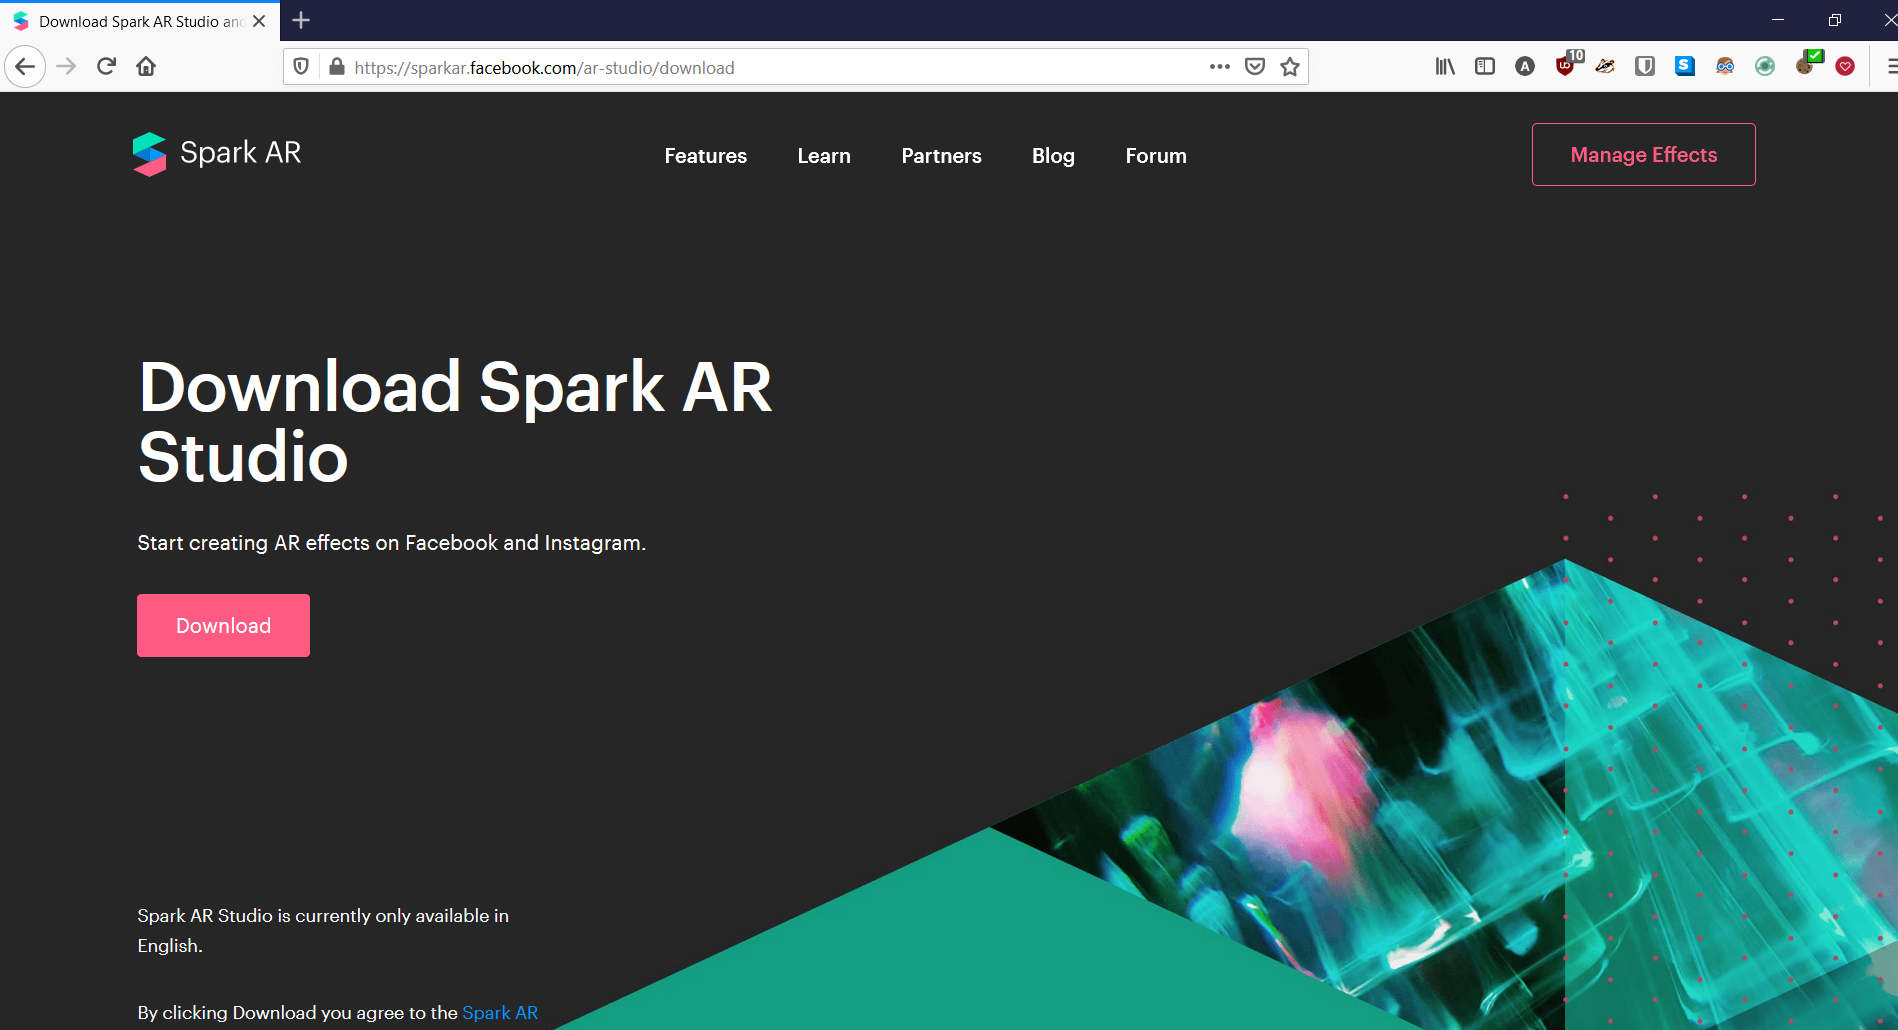
Head to the download page of Spark AR Studio, download the installation file and follow the instructions to install the program.
Note: a facebook account is required to work with this program...no comment.
Create a New Project
Once you managed to launch and login to Spark AR Studio, create a new project by clicking Create New -> New Project -> Target Tracking.
Tip: this software is quite buggy and unstable so you may want to save your project right away and remember to periodically save after you made any significant progress.
Import the Textures to the Project
Remember the scene elements that we saved as .png earlier? We need to load them as Textures so that we can use them within our project.
To quote the documentation of the software:
A texture is an image file used to help define the appearance of an object in your scene.<br>You can apply one or more textures to a material, then apply the material to an object.<br>
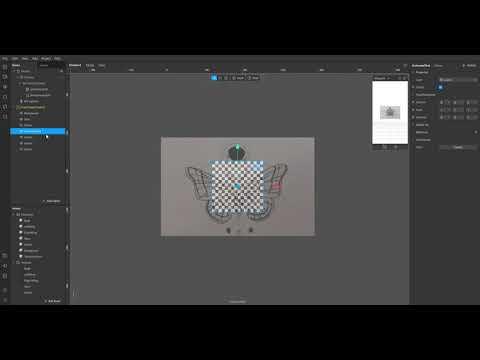
In the Assets panel on the bottom left corner of the window, click on Import From Computer and load all the files in the Textures folder of the Google Drive repository, except the content of /Text animation frames (for now).
Then select all the newly imported textures except for Background and Business_card_target_image. On the Texture panel to your right in the Compression sub-panel, set all three compression options to None. We do this because the images are already lite enough, and the program's compression module has a tendency to get stuck forever using way too many CPU and GPU resources for no clear reason.
Now to import the frames of the text animation. Once again I have to use a workaround to avoid getting stuck waiting forever for the compression module to (not) do its work. At the bottom right of the Assets panel, click on + Add Asset -> Import -> From Computer. Load all the images of the /Text animation frames folder, one half at a time. I have to do this to avoid crashing the program...There is a Texture Animation import option which would be more convenient to use if it didn't... crash the program.
Once the 50 frames are imported, select them all and change the Type to Texture Sequence at the top of the Texture panel.
Set the compression to None for all three compression options as we did with the other textures.
Finally we need to create another type of object to work with our animation. In the + Add Asset menu, select Animation Sequence. In the panel that opened on your right, click on the drop-down arrow in front of Texture and select the texture sequence that we just created.
Create the Materials
To create the required materials, click on + Add Asset -> Material. We're going to need 7 of those so go ahead and duplicate it 6 times with CTRL + D.
Give all the materials a more meaningful name. Now we have to set a few parameters on each of them.
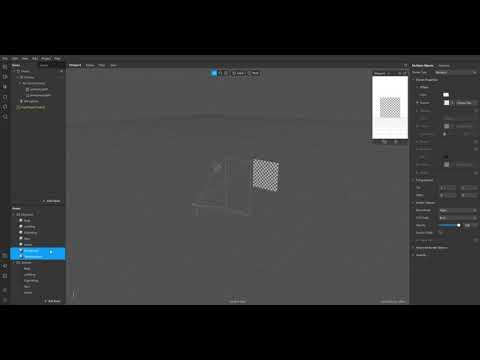
Select all the materials except for the Background.
On the Material panel on your right select Double Sided in the Render Options sub-panel. This is so that our textures are visible if viewed from the underneath as well - something that will be especially relevant for the wings and the moth's body since they will be hovering in the air.
In the Advanced Render option sub-panel, untick Write to Depth. This will allow the transparent background of our textures to really disappear and not interfere with each other when we will be working with planes later on.
Then select the relevant Texture for each material in the Shader Properties sub-panel.
Add the Texture to the Target Tracker
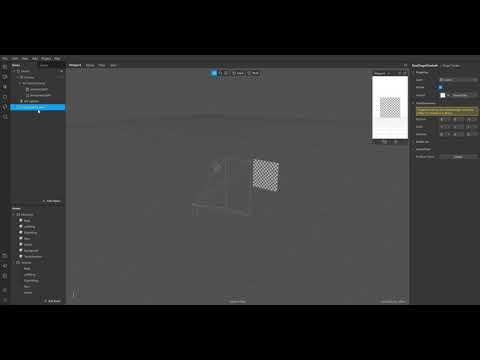
Now we need to give a target to our Target Tracker - the module of the program that is in charge of locating the real world object that will trigger the animation and give it information about the plane it should be oriented on.
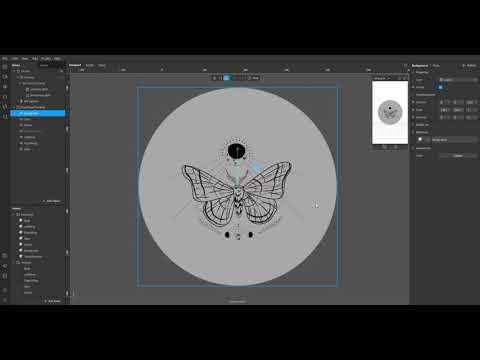
Select fixedTargetTracker0 in the Scene panel at your top left and in the Target Tracker menu on your right select Business_card_target_image as the Texture.
Create the Planes for the Elements of the Scene
The first thing we're gonna do is to switch from a 3D to a 2D view of our scene by changing the Mode.
Next Right Click on fixedTargetTracker0 to Add a new Plane to the scene.
Use CTRL + D to duplicate this plane 6 times in order to end up with 7 planes.
Rename the planes reflecting all the elements that will be included in our scene.
In the Plane panel on your right, add the relevant Material to each plane.
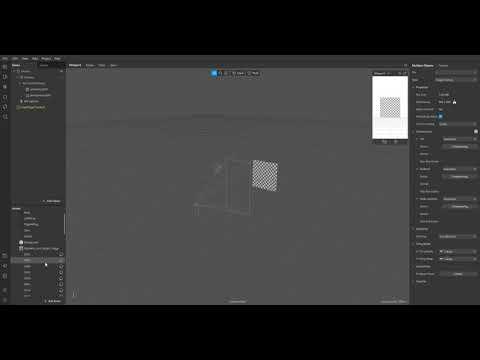
Scale and Position the Planes
Now that our planes have been textured, we need to adjust them to give the elements of our scene their proper dimensions and positions. To do so we are going to work one plane at a time.
So start by selecting all the planes except the first one you will work with (in that case Stars) and make them hidden by unticking Visible.
Use the target image as a reference to scale and re-position the stars until they somehow match the background. When you are done, set the visibility of the Stars plane to hidden and move on to another plane. Repeat this operation with all the planes except for the Background and TextAnimation.
Once you are satisfied, reveal all the planes you have been working on as well as the Background. Select the Background plane and scale it to the desired dimensions - ideally you probably want to it completely cover the target image.
Then make the TextAnimation visible and once again scale it back to its original proportions and position it appropriately.
The moth now seems a bit small compared to the background. Indeed, we scaled the moth using the target image as a reference but made the background bigger than the business card. Thus our proportions are not really true to the mockup anymore.
To solve this, we want to scale everything except for the background in a consistent way. We will achieve this by emcompassing all those elements in a Null Container, and scaling this container instead of all the individual planes.
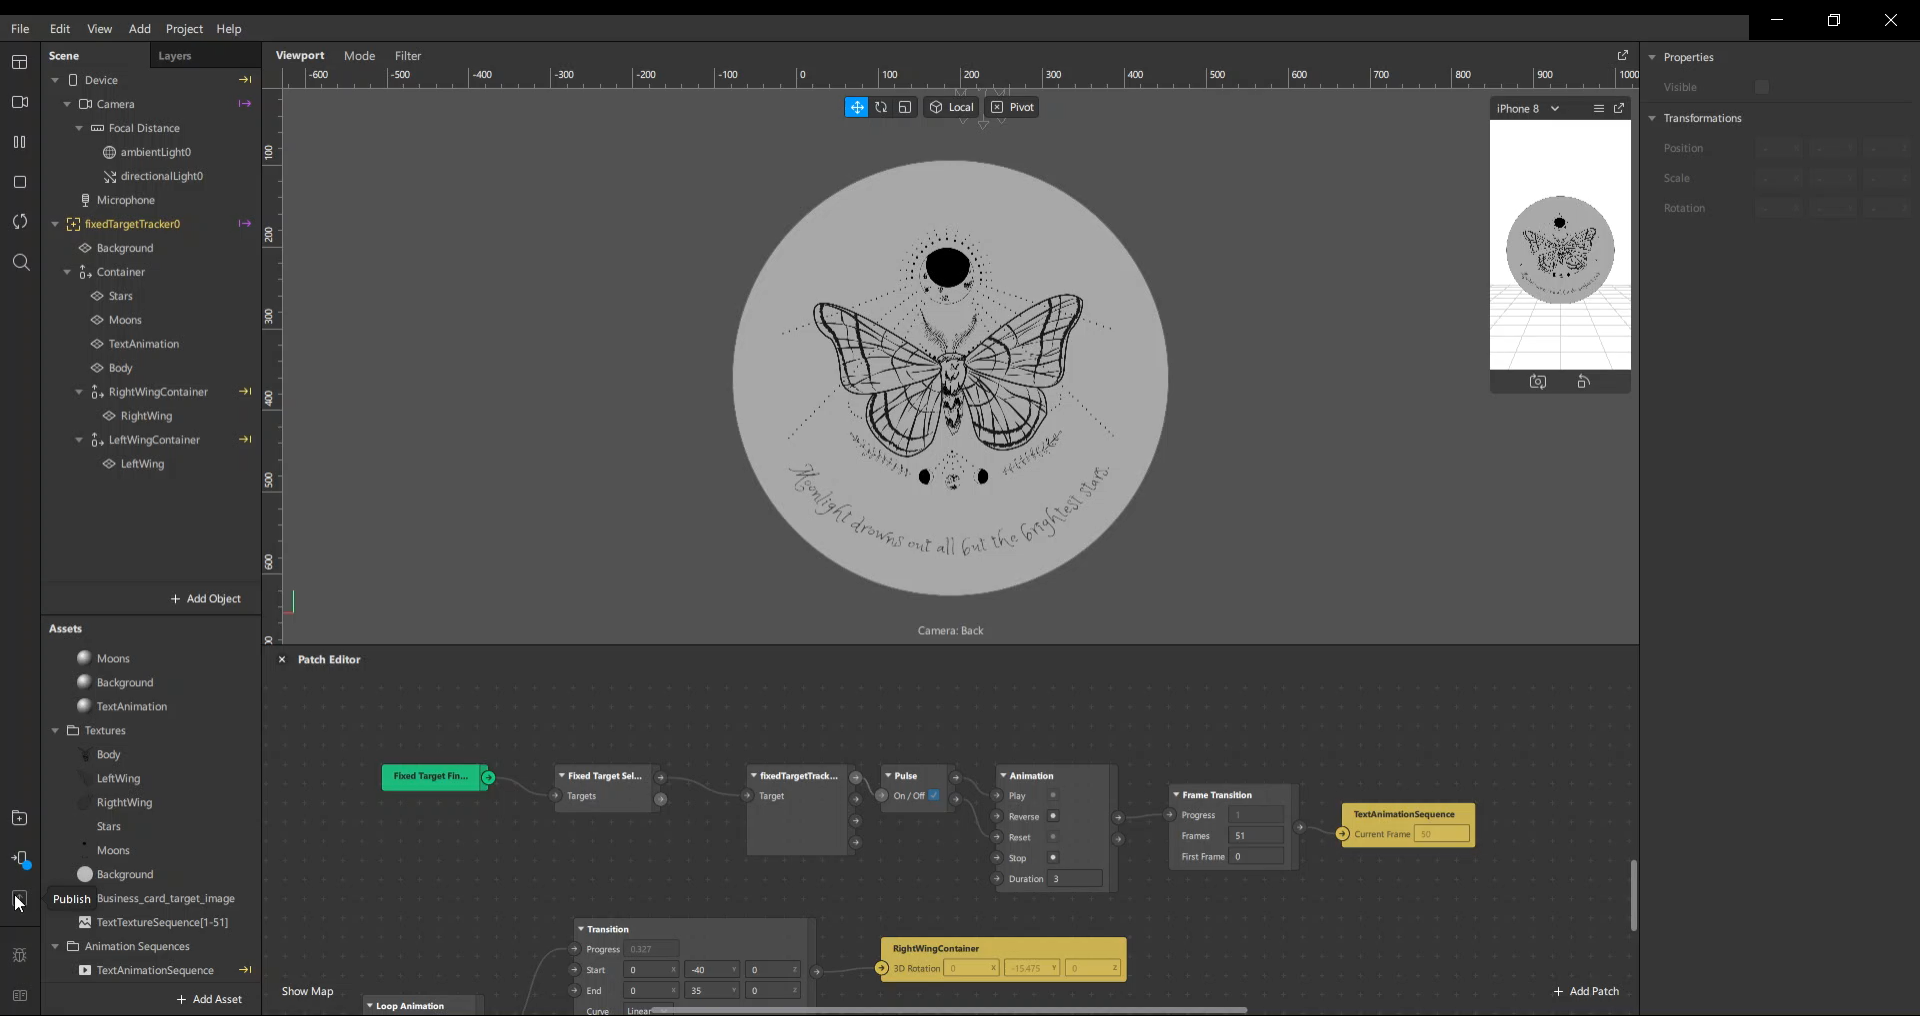
Animate the Text
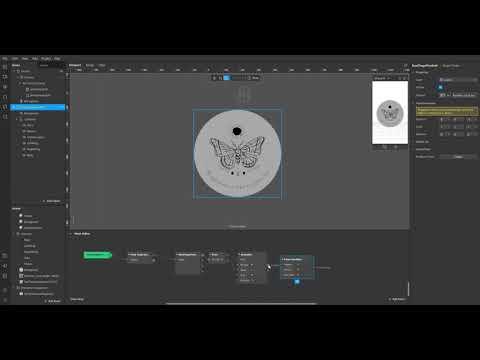
Right Click on fixedTargetTracker0 and choose Create Patch. This will open-up the patch editor.
Right Click in the patch editor and add an Animation patch. Connect the Found connector of the fixedTargetTracker patch to the Play connector of the Animation patch. This will make it so that the text animation starts playing when the AR filter is enabled because the target image has been found.
Doing that will automatically add a Pulse patch in between. Connect the Turned off connector of the Pulse patch to the Reset connector of the Animation patch. This is so that when the camera moves out of the way of the target image, the text animation is re-set and can be played again when the target is found anew.
Add an Frame Transition patch and connect its Progress connector to its counterpart from the Animation patch. Set the number of frames = 51.
Select the TextAnimationSequence to open up the Animation Sequence panel on your right. Click on the arrow preceding Current Frame to add a new patch that will allow us to interact with the frame being shown in the scene. Connect this patch to the available connector of the Frame Transition patch.
Tip: you can control the speed of the animation by tinkering with the Duration parameter of the Animation patch.
Animate the Wings
Select each wing consecutively and make sure that their position on the Z-axis is 0.
To make the the wings flap is not difficult. We simply need to add a rotation animation in the Y-Axis on both of the wings objects. However applying such an effect on the wing object directly would not work. Indeed the center of mass of the object is located in the middle of the wing thus if we were to rotate it it would rotate from the center. What we need is for it to rotate from the part of the edge of the wing, the one in contact with the body. I hope I'm kinda making sense here...
So we need to find a way to somehow shift the center of mass of the wing objects. To do this, we are going to use Null Objects which will automatically be created with a center of mass centered on the middle of the scene. Those Null Objects will hold the wings objects and the rotation will be applied to the Null Object themselves. Let's do it!
Right click on the Container and Add a Null Object inside it. Rename it to RightWingContainer and duplicate it with CTRL + D. Rename the duplicate LeftWingContainer. Select the wing objects and drag&drop them into their respective Null Object containers.
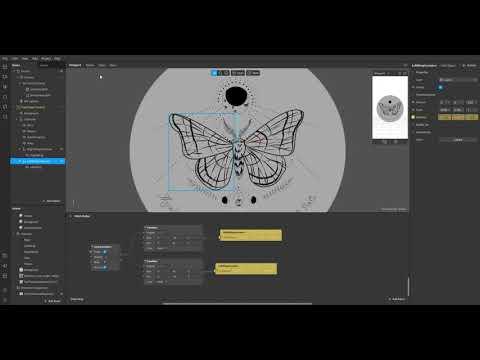
In the Patch editor, Right click and add a Loop Animation patch. Set the duration = 2 and tick the Mirrored checkbox (this is so that the animation loops seamlessly and doesn't start again from the beginning at the end of a wing flap. With Mirrored on, the wing will start flapping backward after reaching the upper limit of an upward flap).
Next add a Transition patch and duplicate it. Link the Progress connector of the Loop Animation patch to their counterparts on both Transition patches.
Fill in the parameters of the Transition patches like so:
[0, -40, 0,
0, 35, 0]
[0, 40, 0,
0, -35, 0]
Select the RightWingContainer and on the Null Object panel on your left click on the arrow preceding Rotation. This will add a patch to the patch editor so that we can interact with those values. Connect the Value connector of the top-most Transition patch to the connector of the RightWingContainer patch newly created.
Repeat the operation with the LeftWingContainer and the bottom-most Transition patch.
At the point you should see both your wings start to flap! Now we just need to move the moth along the Z-axis to a position that makes more sense. Tinker with the Position on the Z-axis of the RightWingContainer, LeftWingContainer and Body objects until you reach a result that pleases you.
Preview the Result
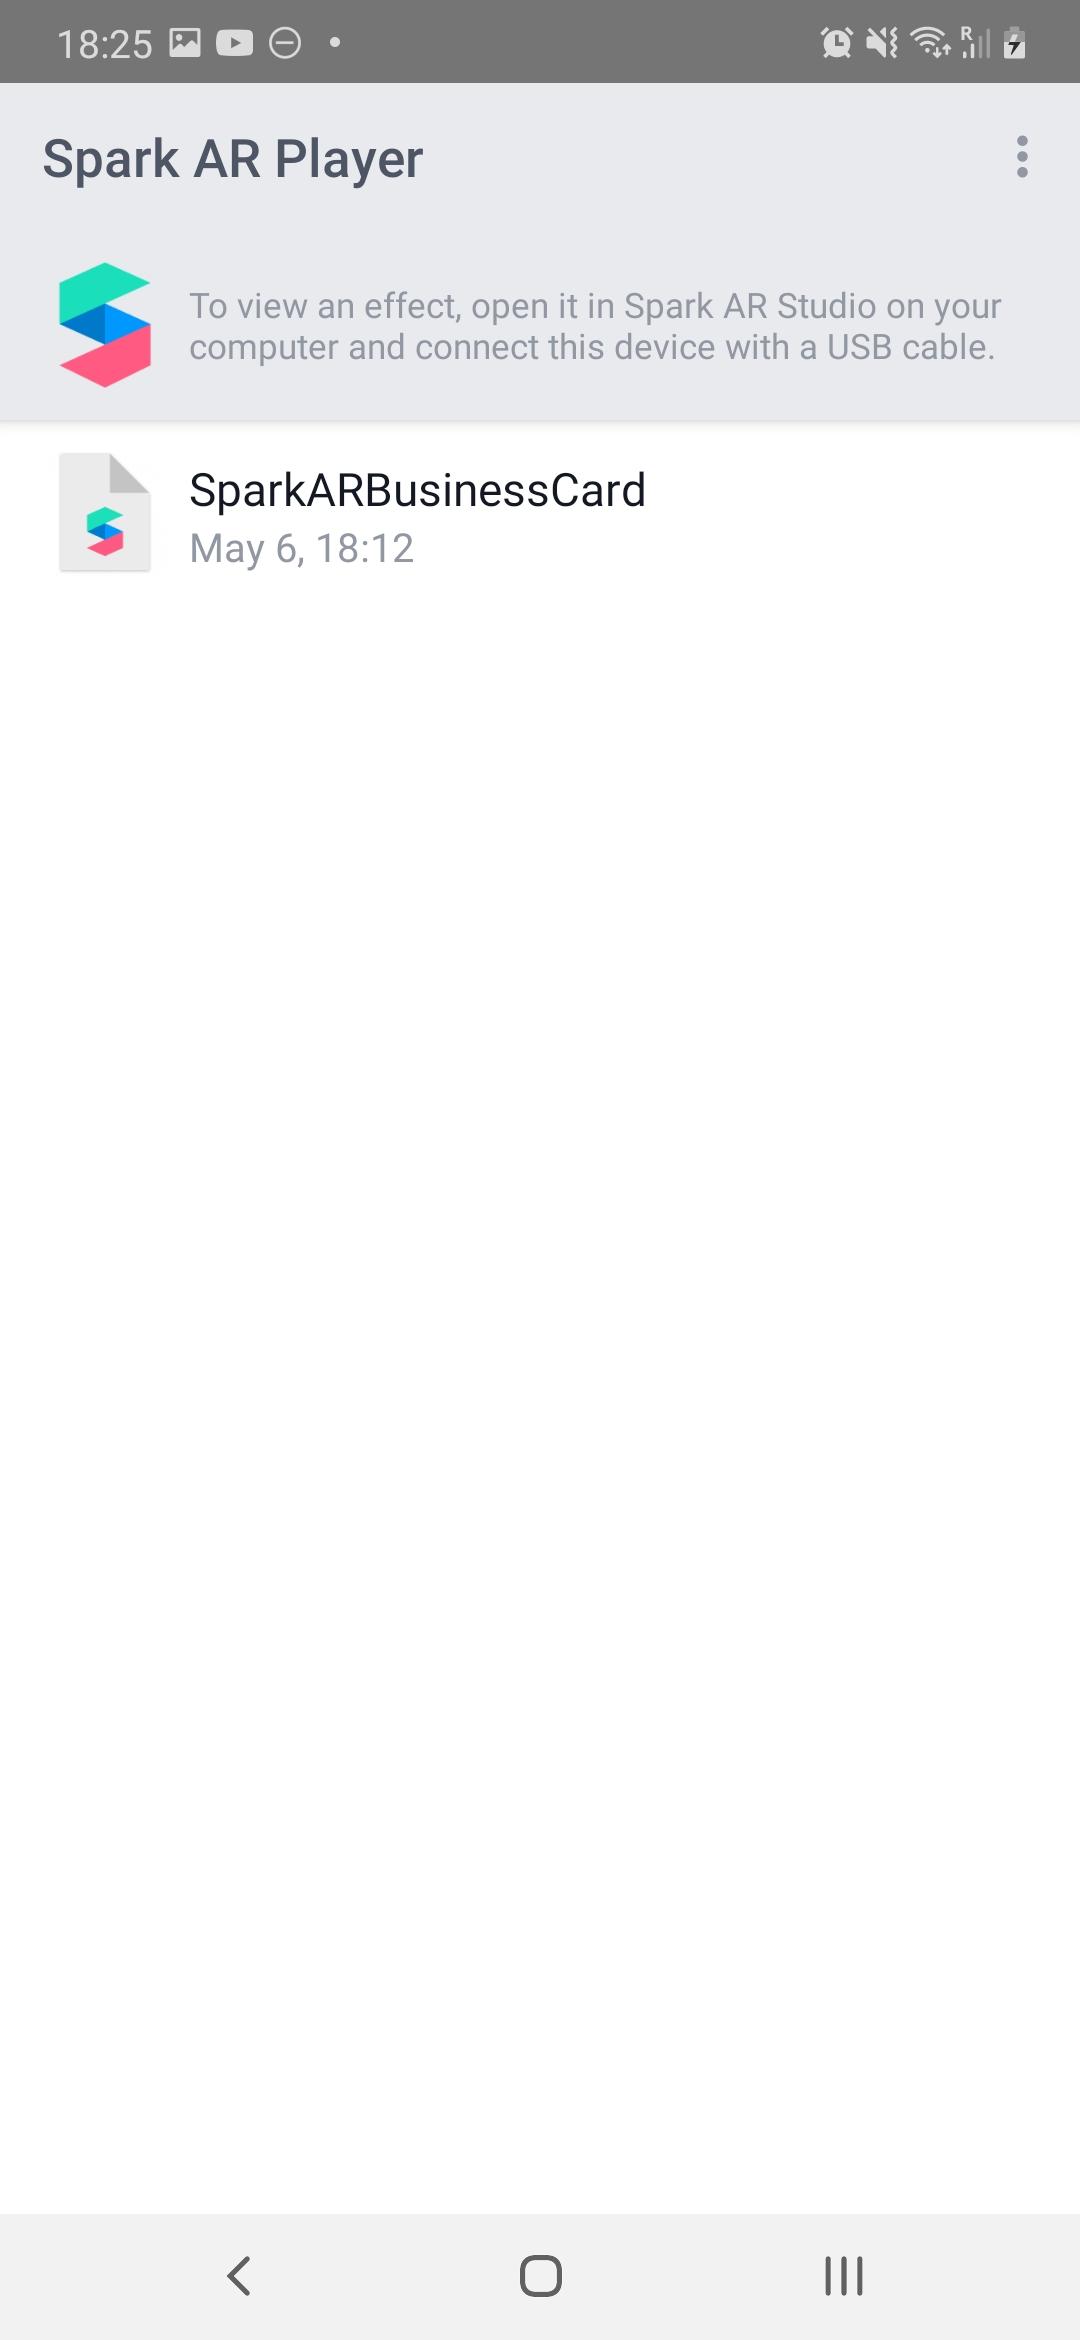
You'll need to download the Spark AR Player app on your phone first.
When your phone will be connected to your computer, you'll see a little blue dot added to the phone icon at the bottom left of Spar AR Studio. Click on it and choose Send to your device.
Point your camera to the business card you printed earlier and enjoy!
At that point use the App on your phone to shoot a video of the effect as we will need it for the next step.
Publish the AR Filter to Facebook or Instagram
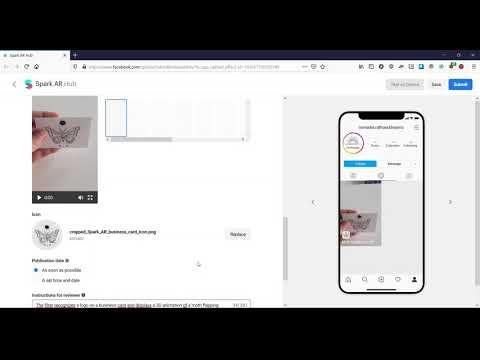
Click on the Publish arrow icon below the Preview icon at the bottom left corner. This will package your project, upload it and redirect you the Spark AR Hub's webpage.
Follow these steps to successfully publish your filter:
- Choose a name for the filter.
- Choose a platform you wish to publish on - either Instagram and/or Facebook.
- Choose a category for your filter and add some keywords if you wish to make it easy for people to find in the filters search engine.
- This is where the video that we saved during the last step is useful. Upload the demo video of your filter.
- Choose an icon for your filter.
- Write a quick description explaining what's happening in your filter and how to use it to help with the review process.
- Hit Submit in the top right corner.
- Wait for the review process to be completed.
Tip: you may want to check the Spark AR Policies before you submit for review. My first attempt was denied because my website's address was visible on the demo video.
Final Result & Two More Examples

I will leave you on a demo of the filters that I have been working with until now.
The first one is the filter created for this tutorial, the second one is the one I created for my own business card and the third one is the first test I made using one of the postcards I make with dried flower petals.
I hope that you enjoyed this Instructable!