Audio Server and Recorder With Intel Edison
by push_reset in Circuits > Audio
16866 Views, 119 Favorites, 0 Comments
Audio Server and Recorder With Intel Edison
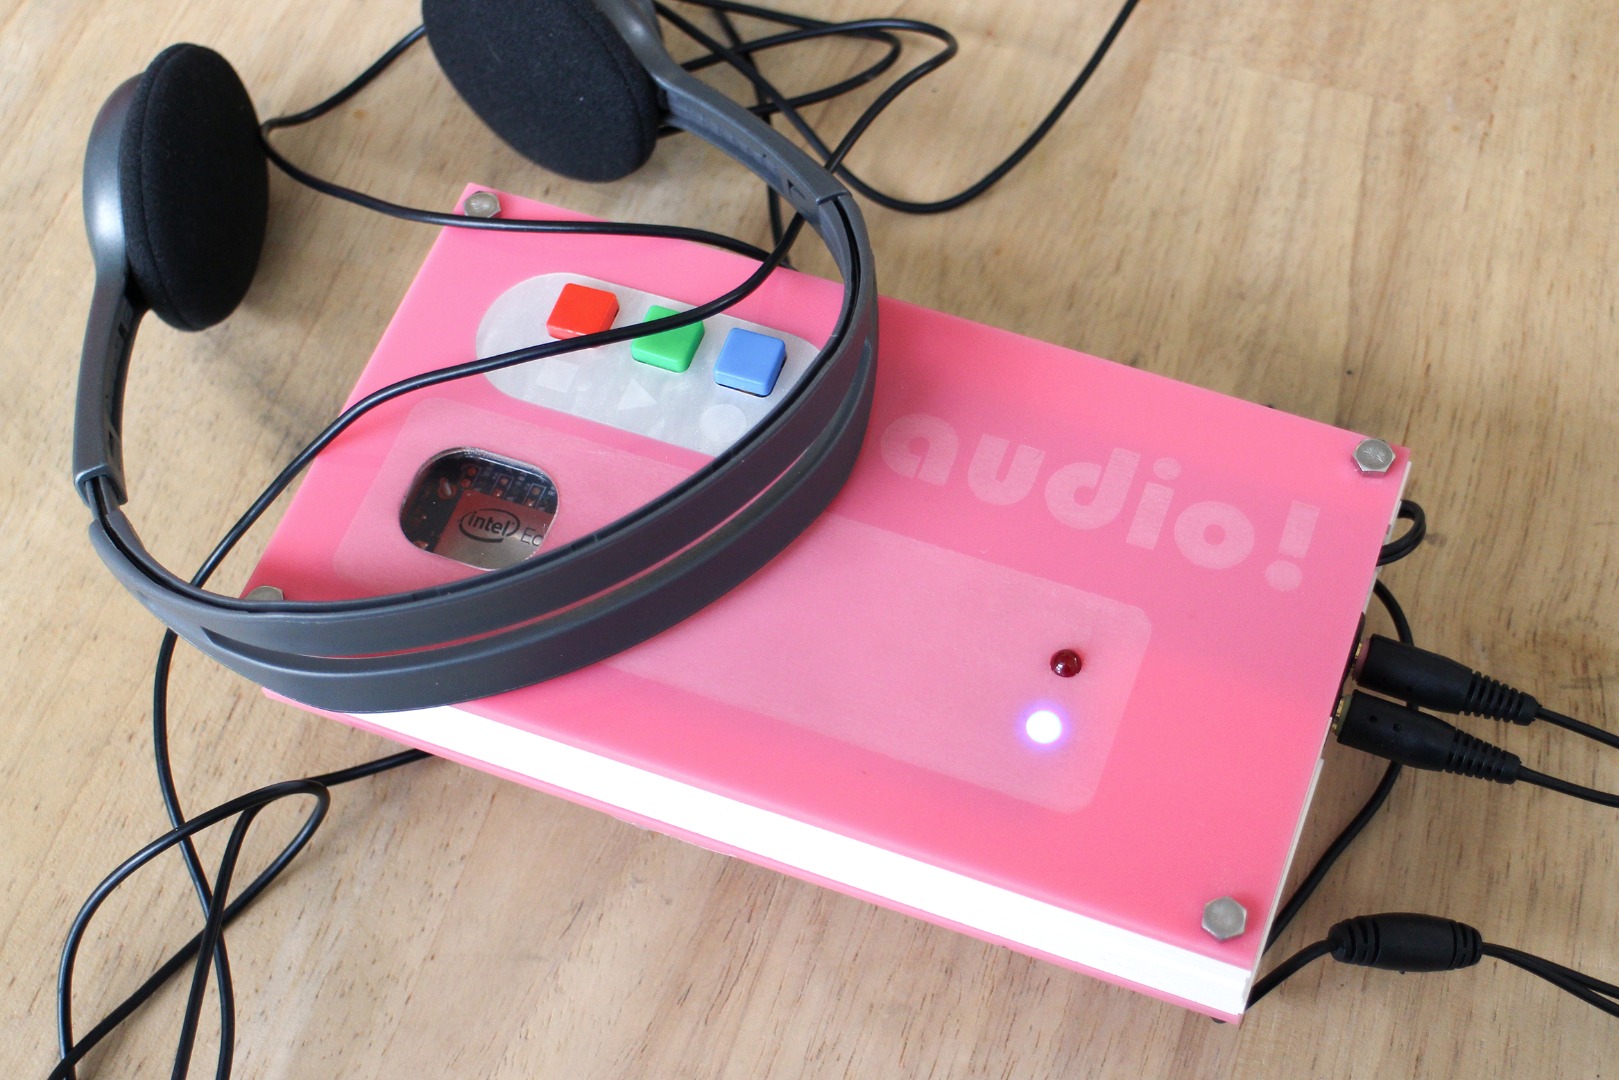
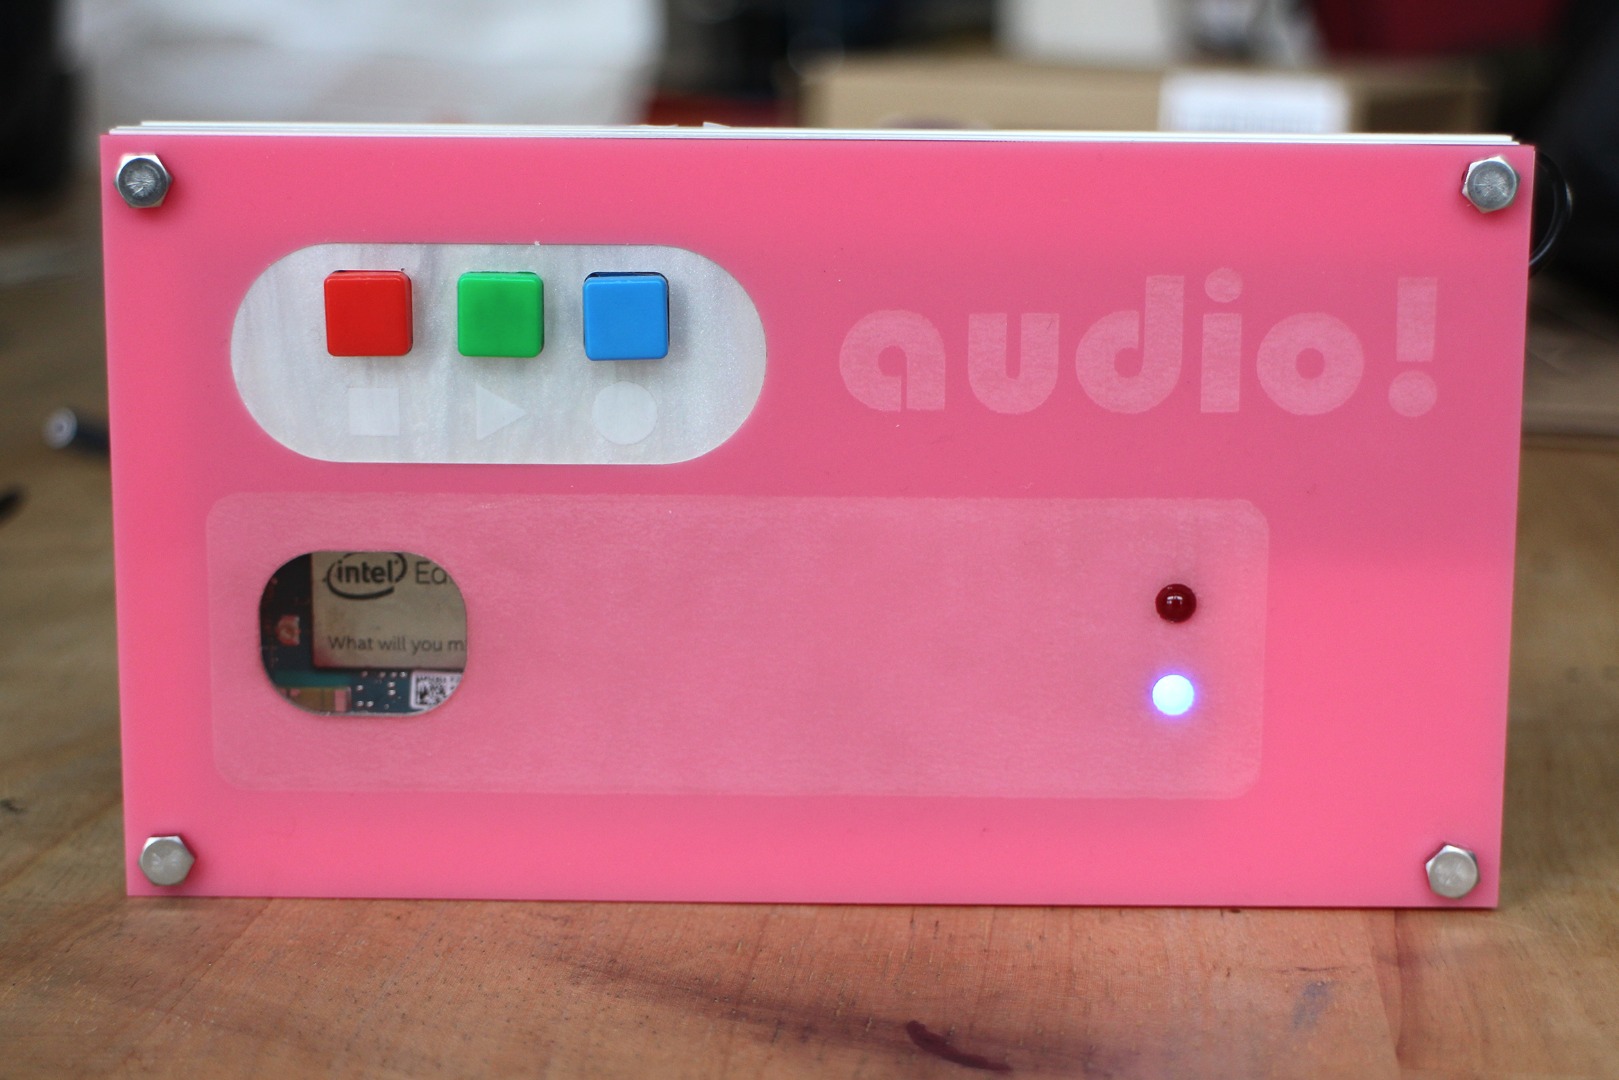
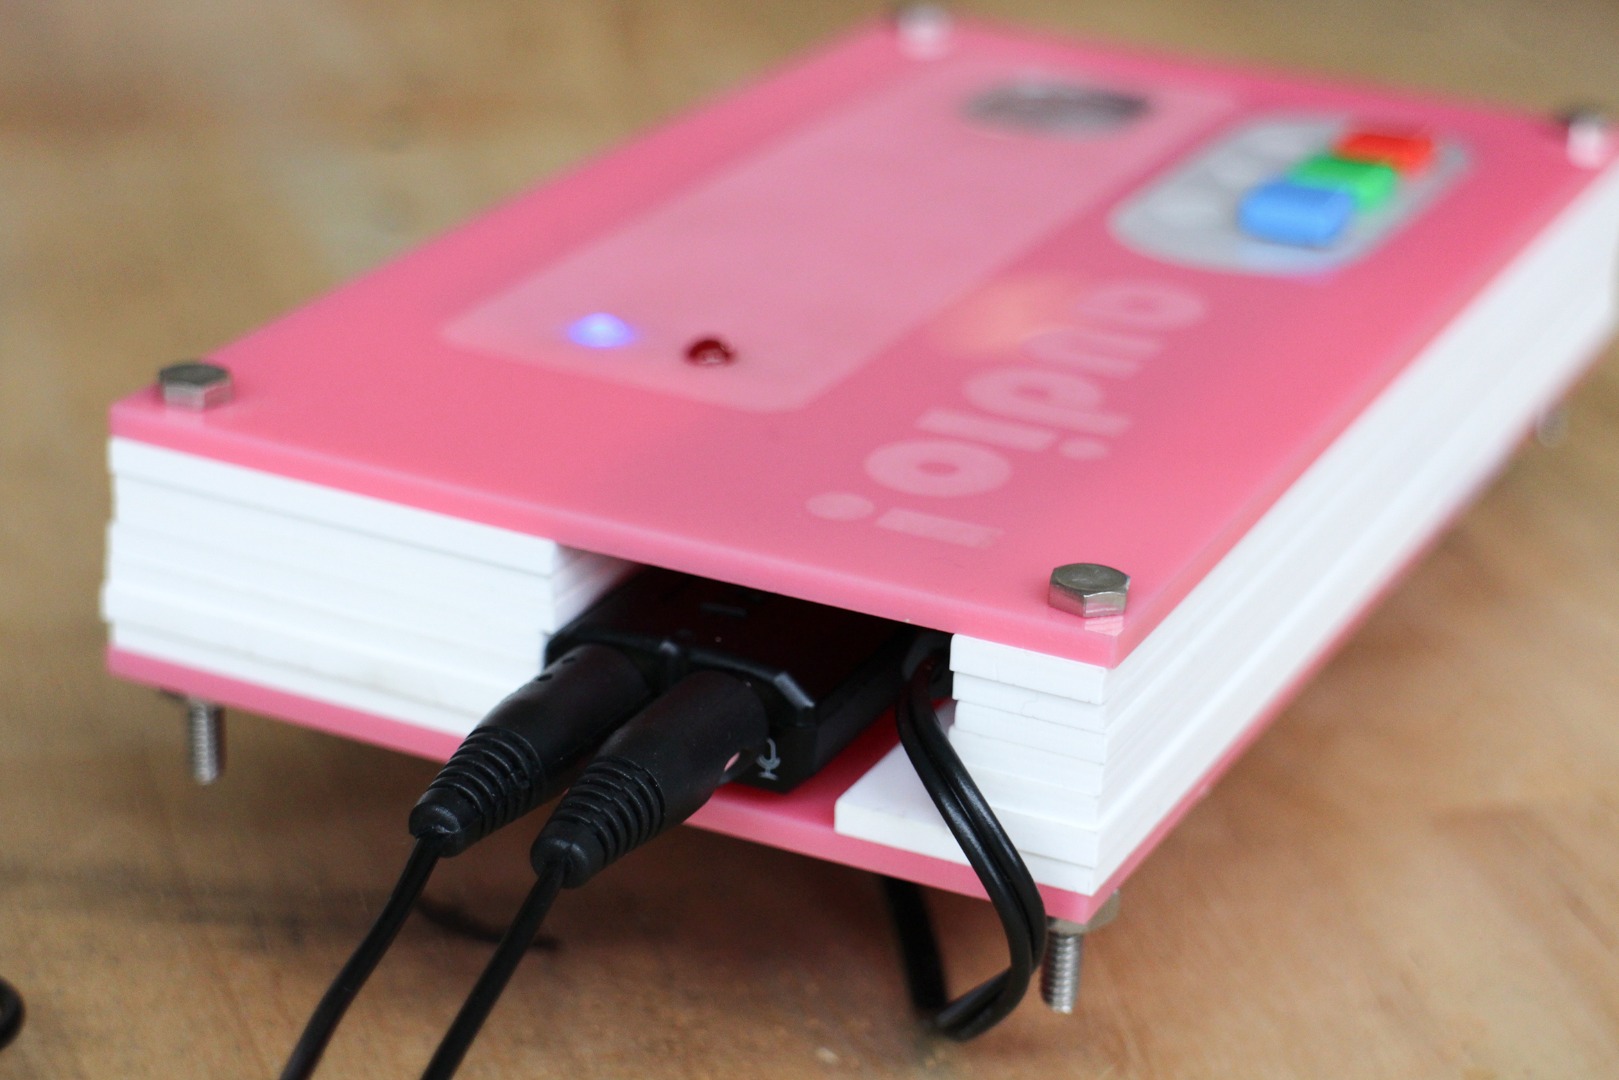
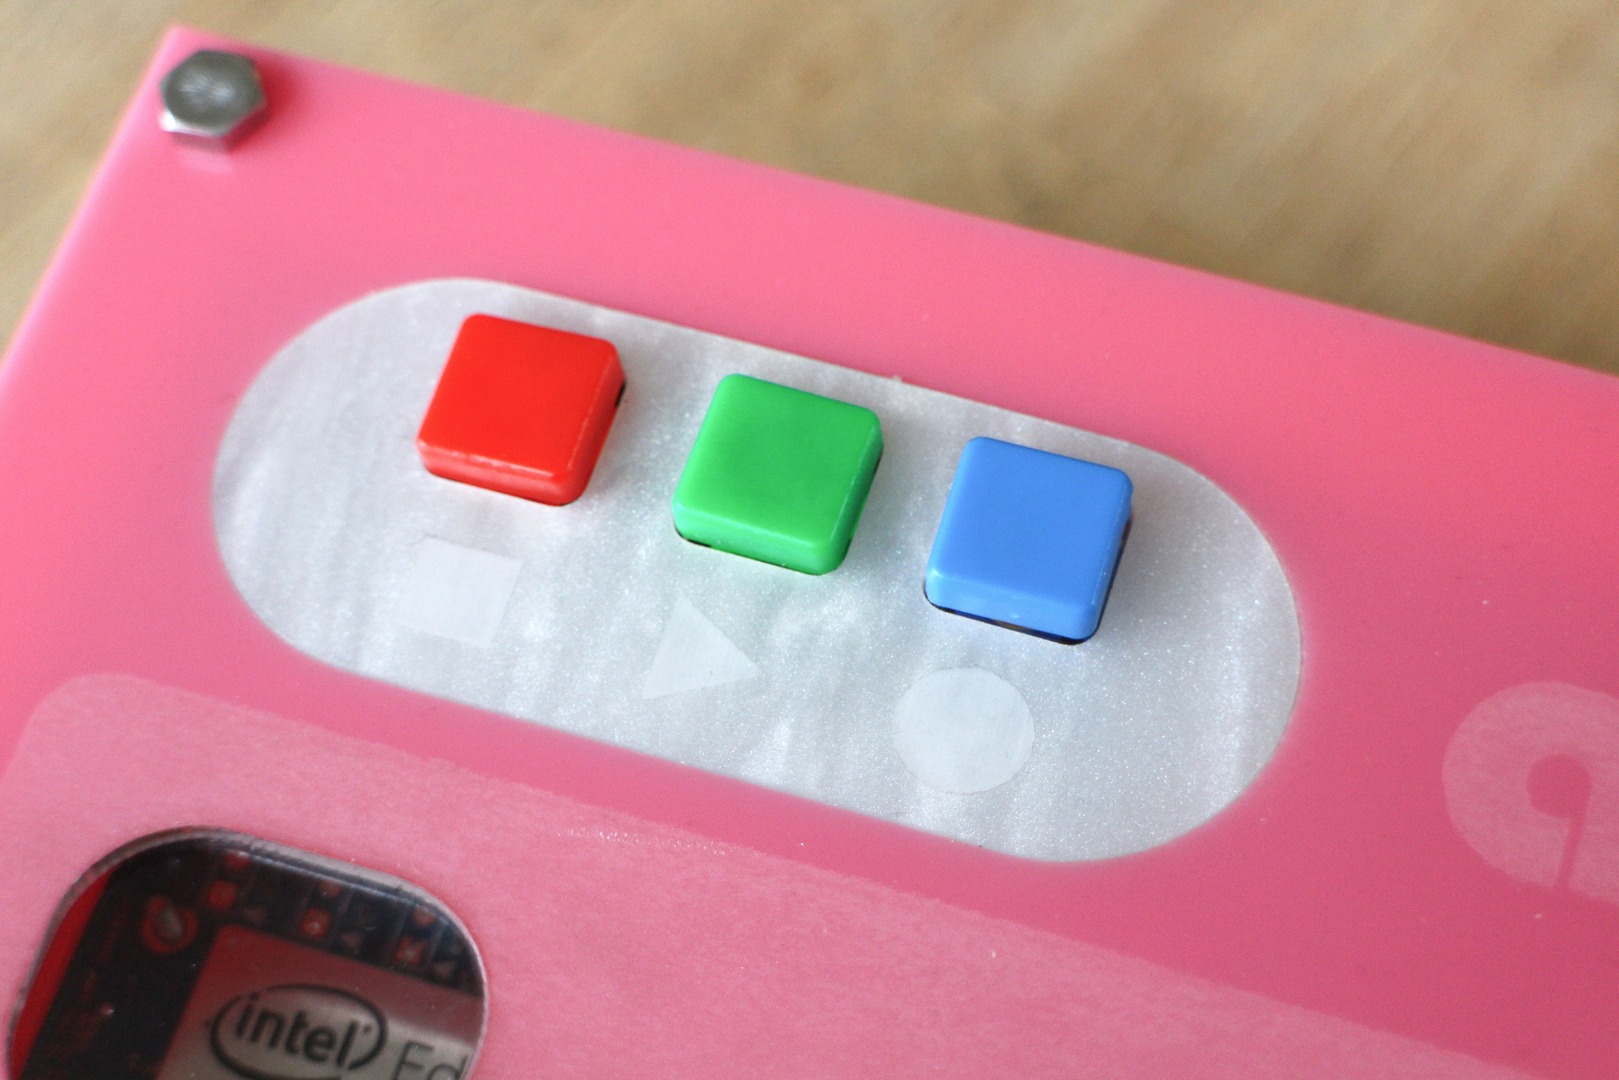
One of the great things about the Intel Edison is that it can act as a server. This means that you can store files and share them if you like. This a great opportunity for curating playlists and storing other audio files. This can kind of be thought of a digital version of the mixtape. I sure miss those!
You can create a directory structure on the Edison and share it with your friends via a HTML page. Anyone with the IP address and who is connected to the same network as the Edison can access your files.
The Edison isn't only a storage unit though, you can interact with it and it's GPIOs. In this Instructable you will learn how to set up an audio server and how to record, play and embed recordings. This can be used to take field recordings or to record your next great idea and share it with the world! Well, maybe just your office.
Setting Up the Edison
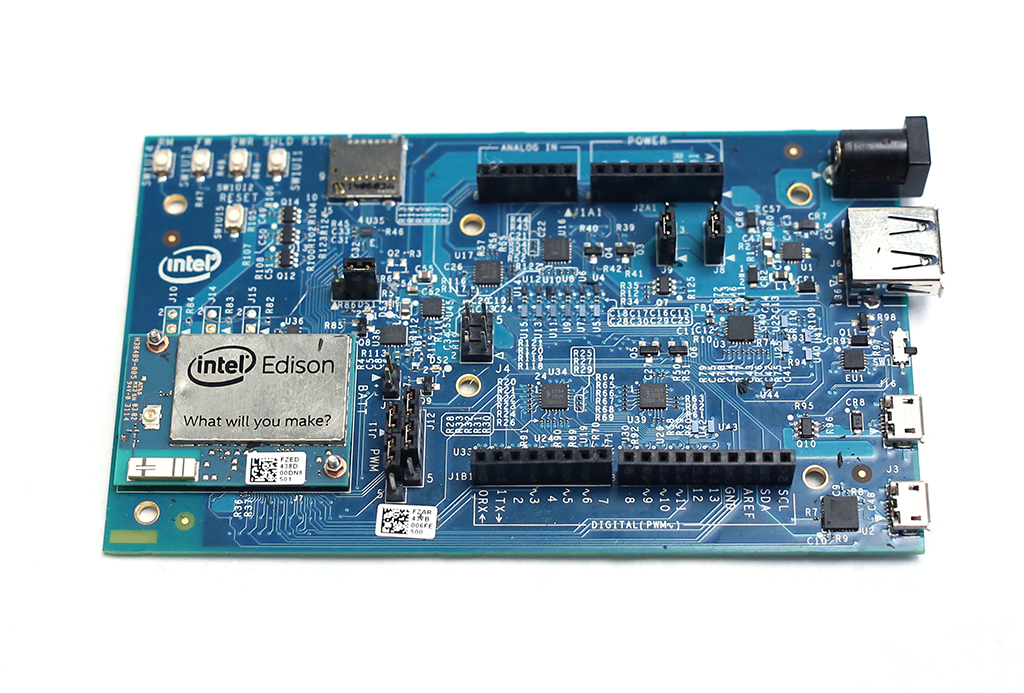
Getting Started
1) If you haven't already, head over to Intel's "Getting Started" page for the Edison. Go through all the steps to connect through serial, enable WiFi and download the Intel XDK IoT Edition.
2) Go through the Blink demo that is linked on the "Getting Started" page. Afterwards, click next and go through the "Creating and debugging projects using the Intel® XDK IoT Edition". I recommend going through the whole XDK guide, but these two will give you enough to move forward.
3) You will need to use a command-line interface to talk to, transfer and manipulate files on your Edison. For Windows, this will be PuTTY, Macs use Terminal. I use both, so I'm going to refer to this as a command-line interface, or CLI from now on.
Going Wireless
Going wireless is very cool and very easy. When you know the board is connected to the network, SSH in using it's IP address. PuTTY has text fields you fill in with your IP, root and password, otherwise type this in a CLI window.
ssh root@Your.Board.Address.here
Power the Edison with a 9 volt battery or plug in a power adapter that supplies 7.5, 9v or 12v, I've seen people use up to 1500 mA with the Arduino board, don't go any higher than that. Communicating with board? check. Powered? check. Now unplug the USB cables and your board is free.
Now that you are wireless, you can upload all your applications this way. Make sure that your computer is on the same network as the Edison before you try doing that.
Moving Files to the Edison
There are two ways to move your JS applications to the Edison.
1) Import or copy and paste your code to a blank template in the XDK, upload and run from there.
2) Use a FTP client to transfer files over to the boards root directory (you should be dropped there automatically after logging in). For Windows I use WinSCP, Cyberduck is good for Macs.
Gather Materials
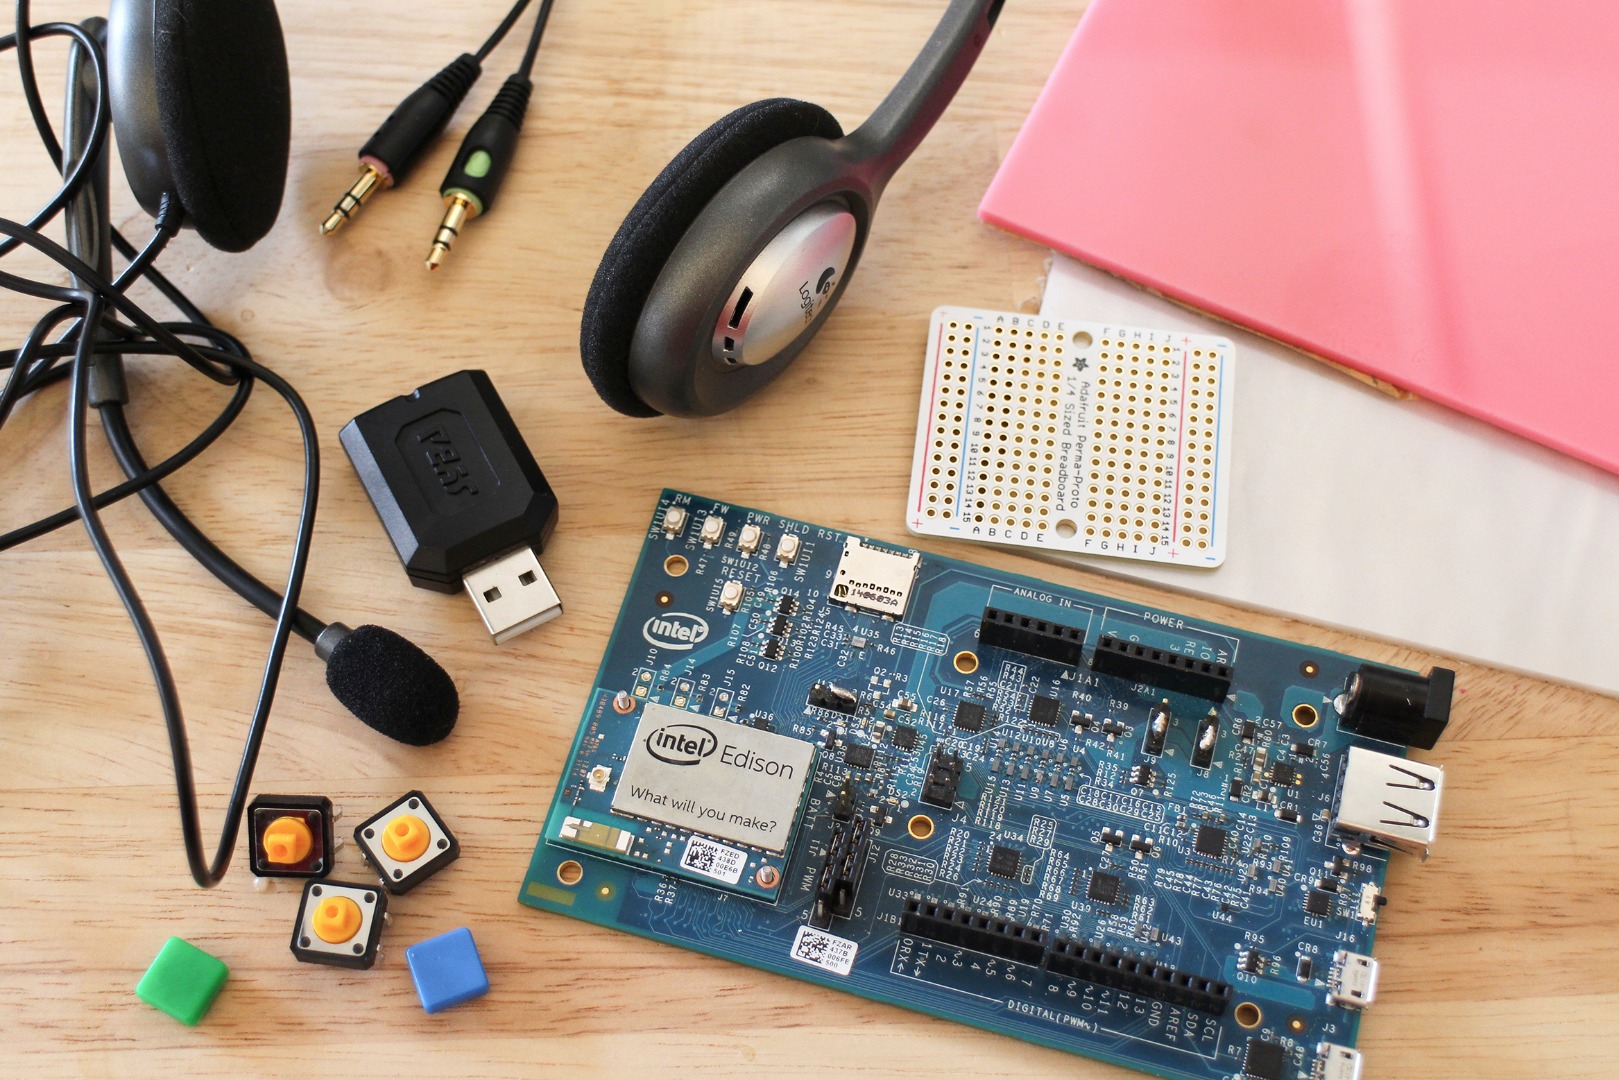
Materials
[1] Intel Edison with Arduino breakout board
[1] USB sound card
[1] Perfboard
[3] Square capped tactile button (I used a red, blue and green one)
[1] Red 5mm LED
[1] Blue 5mm LED
[3] 10K resistors
[1] 220 resistor
[1] 9 Volt battery
Stranded and solid hook-up wire
Electrical tape
5-minute Epoxy
Enclosure
[4] size 6 screws 1.5" long
[small piece] 1/8" clear acrylic
[small piece] 1/8" pearl acrylic
[9" x 8"] 1/8" pink acrylic
[14" x 17"] 1/8" white acrylic
Tools
Soldering iron
Wire strippers
Angled cutters
Wooden mallet
Setup USB Sound Card
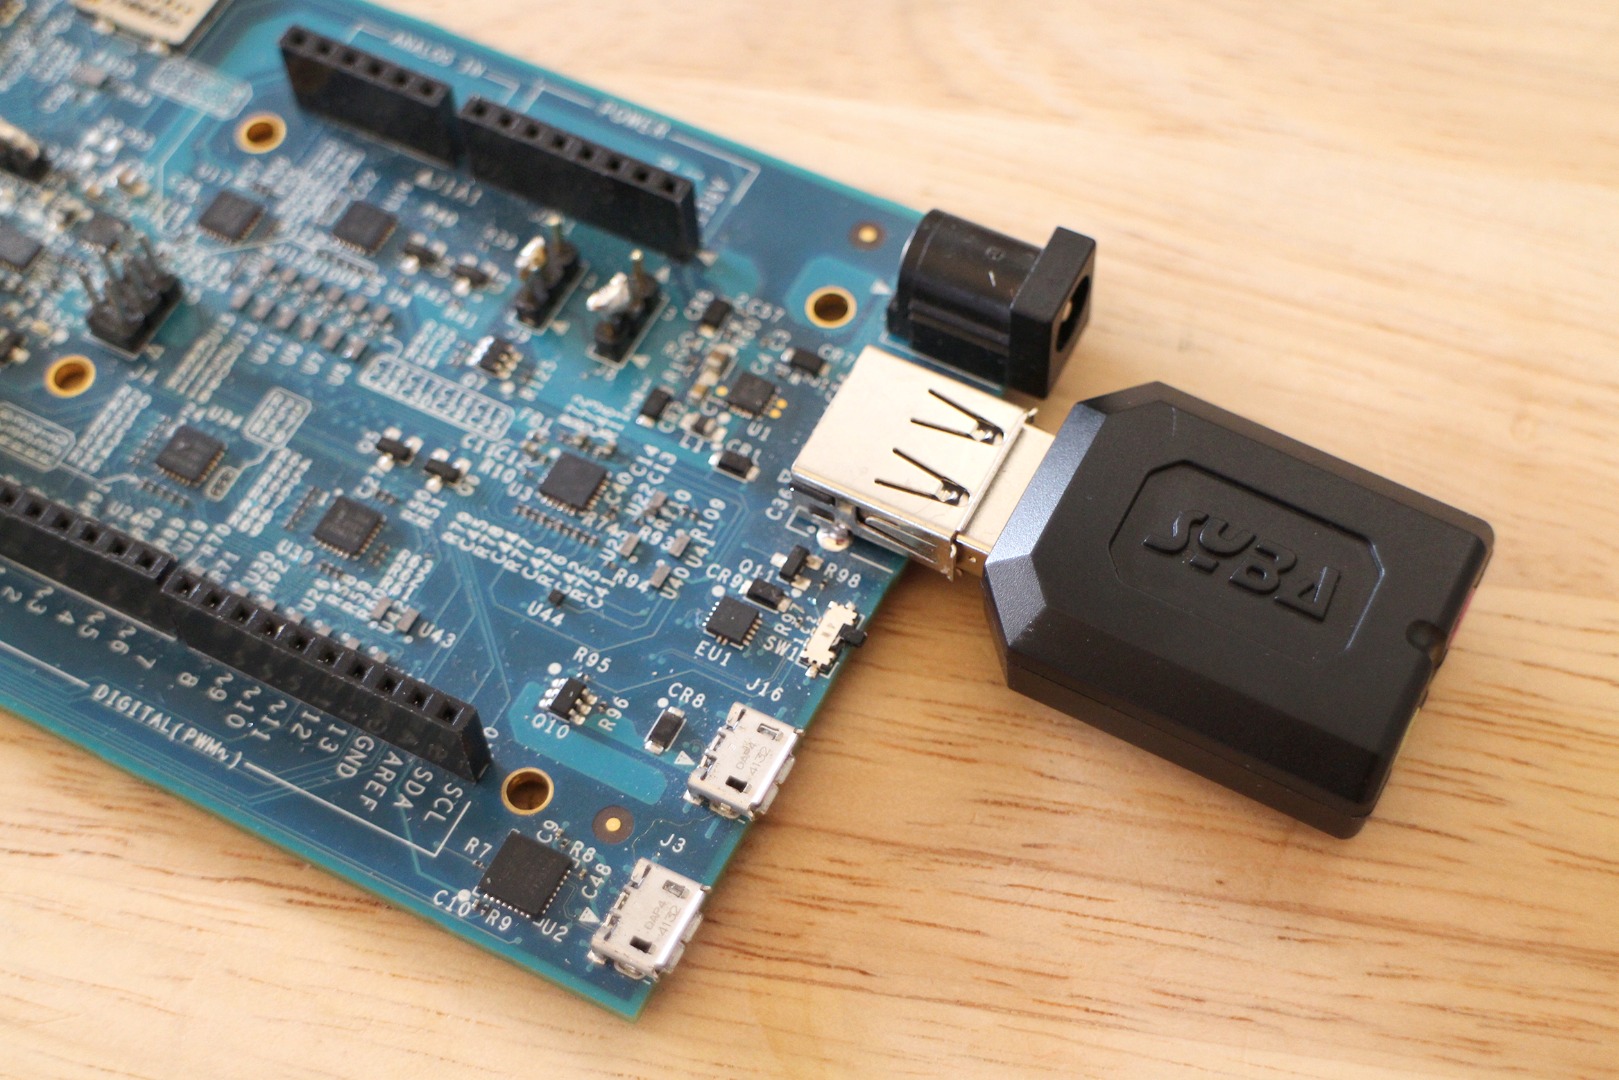
These instructions work with a USB sound card with headset pair or a USB headset on it's own.
Go ahead and plug the sound card into the standard size USB port. Flip the mini slide switch towards the standard port and away from the micro ports. This puts the Edison in host mode and you can now access your sound card.
When the Edison is in host mode the Edison's serial connection and power through the micro USB is disabled. Instead, you will need to communicate with your board by SSHing in and power it by the barrel plug or a battery.
It's very easy and feels pretty awesome when you are able to load applications and communicate with the board without wires. Go back to the Setting up the Edison step for more on how to go wireless.
Head over to Alex_T's webpage and follow the instructions on how to set up ALSA and your sound card. When going through his steps, if you have trouble downloading the alsa-utils package, use these commands instead.
wget <a href="ftp://ftp.alsa-project.org/pub/utils/alsa-utils-1.0.29.tar.bz2"> ftp://ftp.alsa-project.org/pub/utils/alsa-utils-1...</a> && tar xvf alsa-utils-1.0.29.tar.bz2 && cd nano-2.2.6 && ./configure && make && make install
After you are able to hear a sound play through your sound card, you are ready to setup the headset.
Install Apache and PHP
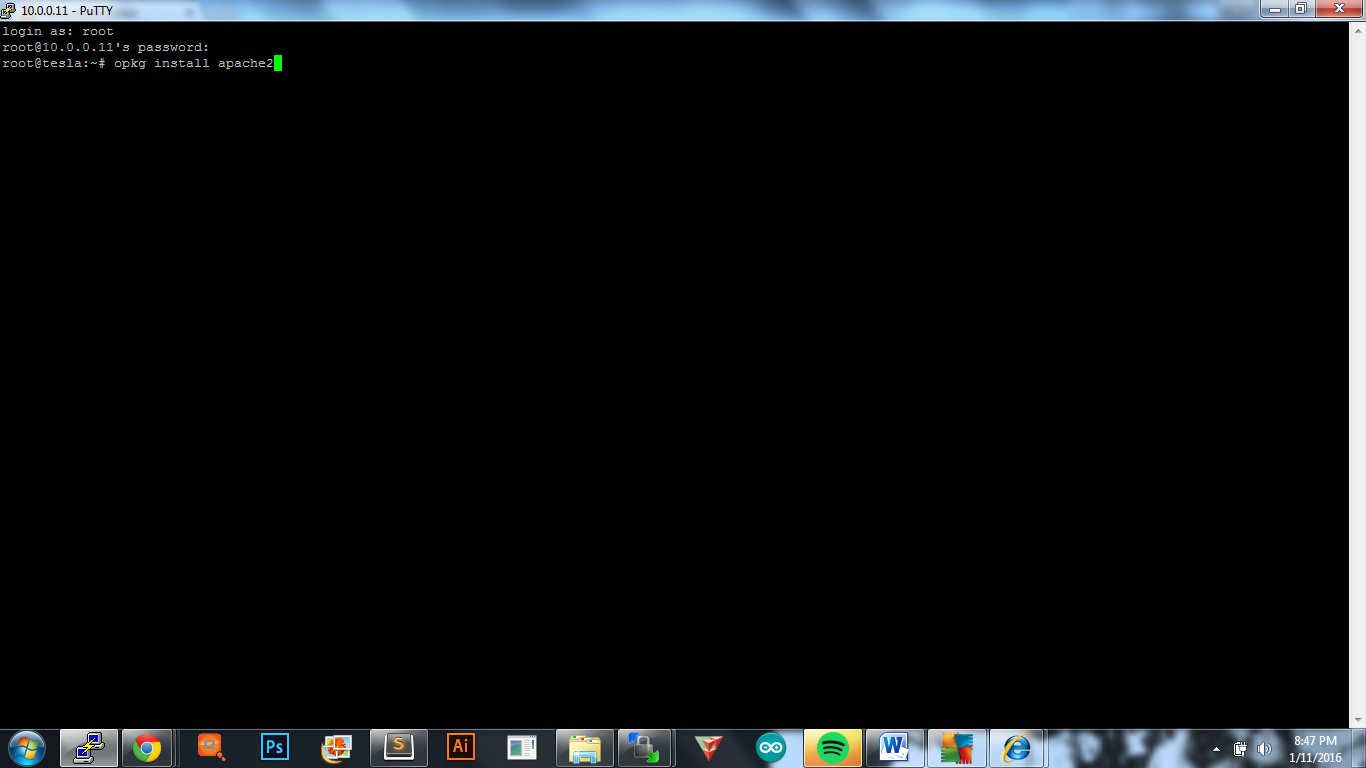
To have a directory of songs and podcast recordings show up as a directory, Apache and PHP need to be installed on the Edison.
opgk install apache2
opkg install php
systemctl start apache2
systemctl enable apache2
Reboot board.
Open up a browser and type in the Edison's IP address. You will "it works!" on the a HTML page.
That HTML page will be located here /usr/share/apache2/htdocs/index.html
We will do some minor changes to this HTML file later on.
Create Directories
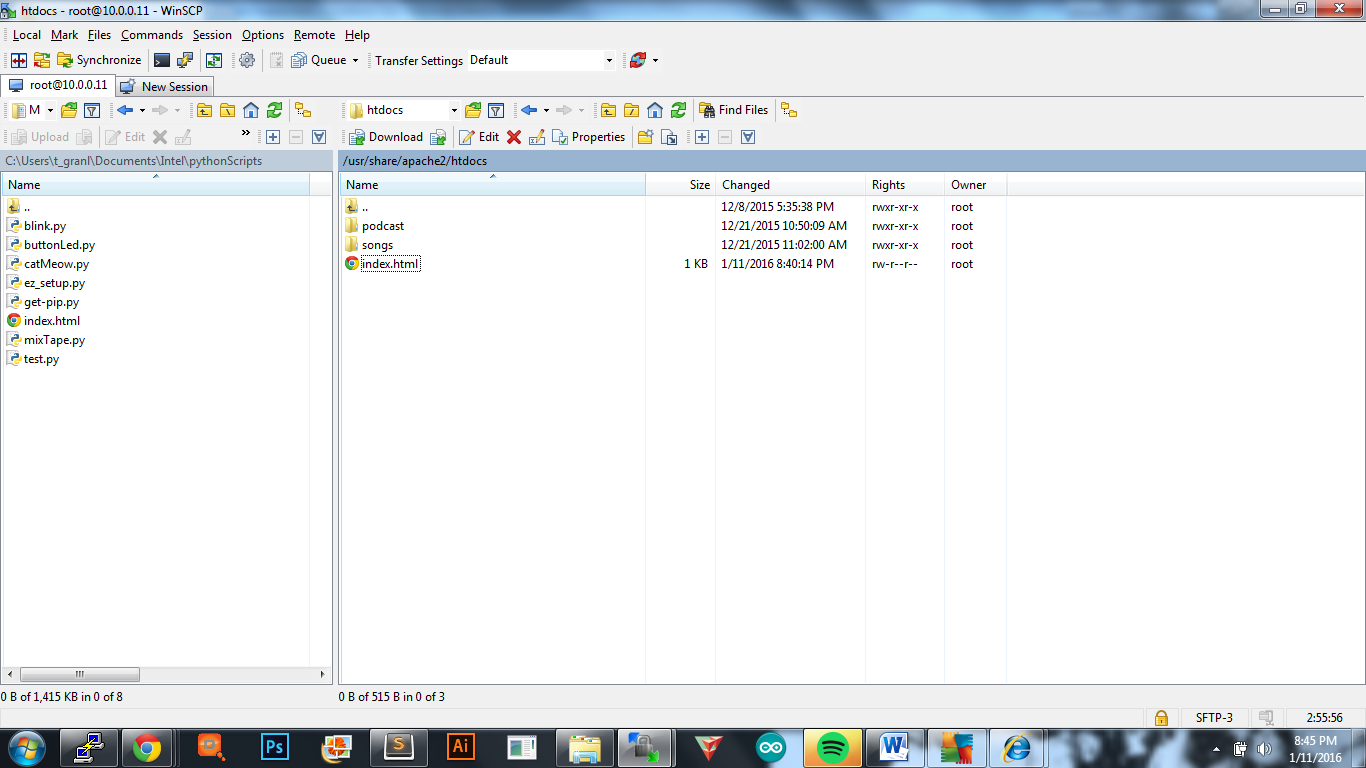
Move to the directory were the index.html file is.
cd /usr/share/apache2/htdocs
Create two new directories.
mkdir songs
mkdir podcast
Put all of the songs you want to share with people in the "songs" directory.
The audio files will be recorded and played from the "podcast" directory.
Python Script : Record and Play

Test arecord and aplay
Plug the headset into the sound card, if you have one separate from the sound card.
In puTTY or terminal type:
arecord -f cd podcast.wav
This will record a 10 second WAV file at CD quality to your root. CD quality is defined as stereo digital audio recorded with a 44.1 kHz sampling rate and 16-bit resolution. There will be a print out of stating that it is recording. Speak into the headset's mic, when you are done, hit CTRL-C to end. A file called podcast.wav will pop up in the Edison's root. To play the file:
aplay podcast.wav
Upload Python Script
When you have these two tools working, it's time to record and play with a push of a button and to the /usr/share/apache2/htdocs directory.
The attached python script is used to read the button presses, using the mraa library, and to record, play and stop a file. Open it up and let's take a look at some of the lines of code.
In the python script you will see the record variable holds our arecord command, but now with a new path.
record = 'arecord -f cd /usr/share/apache2/htdocs/podcast/podcast.wav'
To stop arecord and aplay:
stopRecord = 'killall -9 arecord'<br>
stopPlay = 'killall -9 aplay'
This will kill the process, but keep the script running.
When a button is pressed, it will print which one for debugging.
print("record pressed")The LED on pin 5 will blink twice on the second when record is pressed.
led.write(1)
time.sleep(1.0)
The LED on pin 5 will blink fast 6 times when stop is pressed.
led.write(1)<br>
time.sleep(0.1)
Upload the script to Edison's root and run in background.
python mixTape.py &
Downloads
Accessing Songs From Webpage
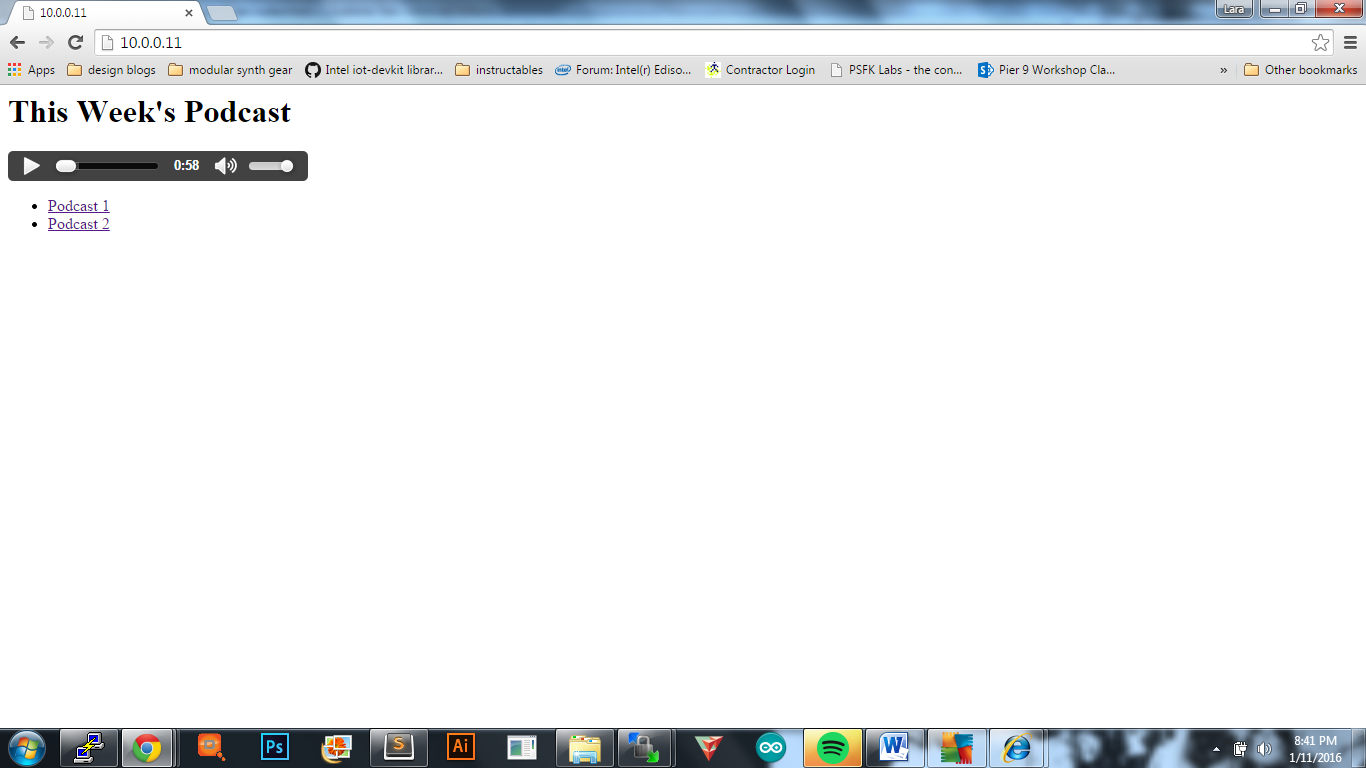
Download the attached index.doc, open and rename with a .html extension.
Using the HTML audio tag, an audio source is loaded into a simple media player. I've also made a simple list of songs which are played when clicked.
Plug in the name of a song or recording you made.
<source type="audio/wav" src="songs/yourSong.wav">
Or a recording you made with the headset.
<source type="audio/wav src="podcast/week1.wav">
Upload index.html to /usr/share/apache2/htdocs on the Edison.
Type the Edison's IP address in the address bar of the browser. You will see the player and the list of songs on the page.
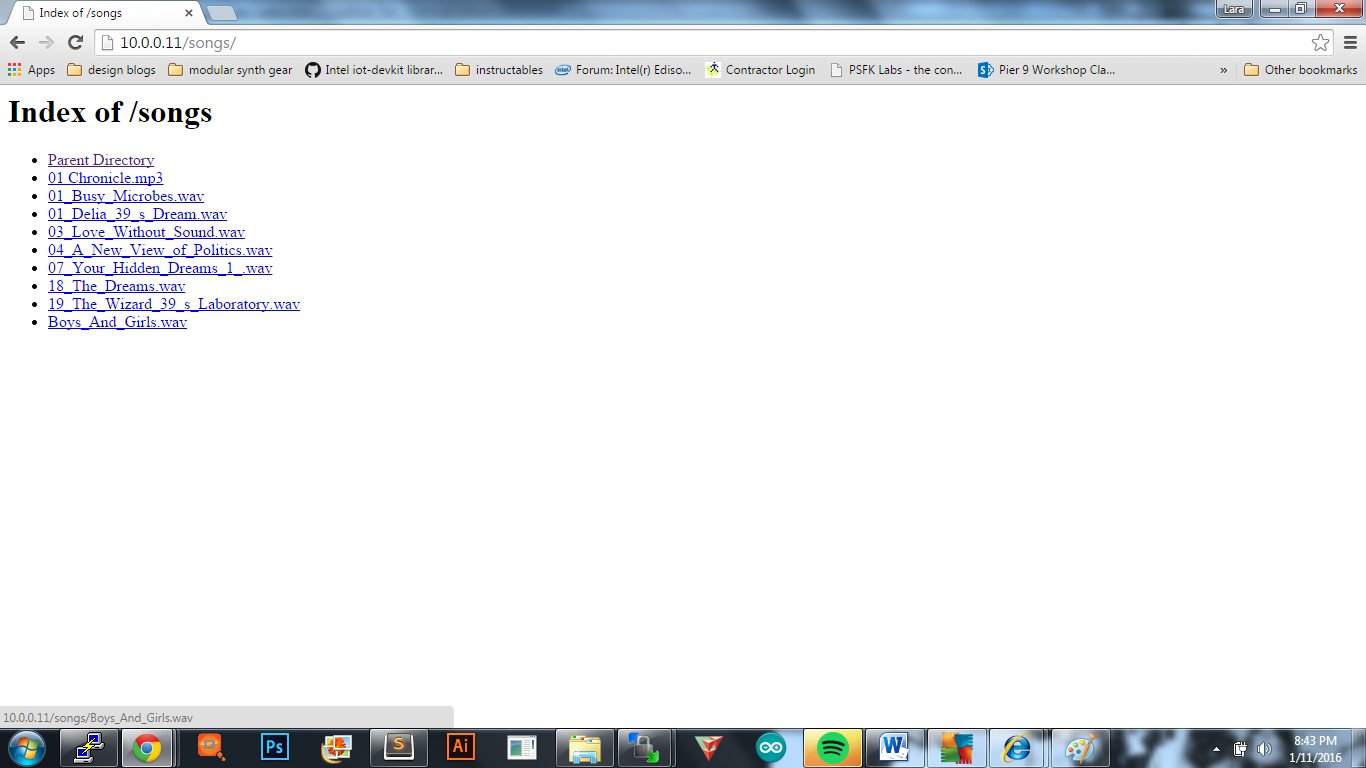
Type /songs at the end of the address to access that directory, any of these songs can be clicked on and played too.
If someone has the IP address and is on the same network, they can now access your playlists.
Downloads
Build Circuit
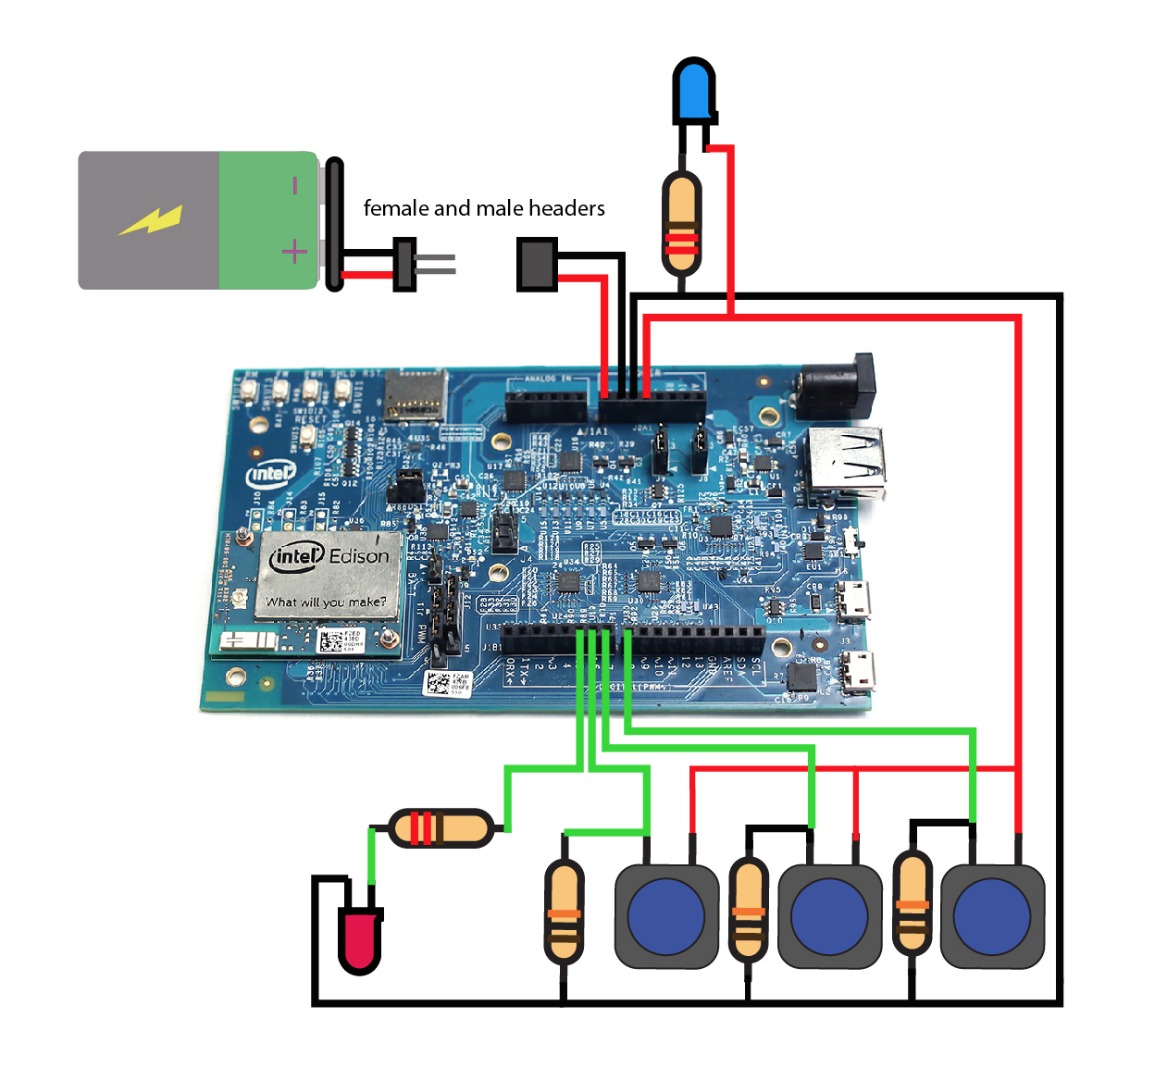
The circuit is simple, 3 momentary buttons with pull-down resistors, one LED in series with power for the on/off light and one LED hooked up to pin 5.
The battery can be attached and detached by female and male headers, essentially being the on/off switch. When the Edison is being used as a song server, this circuit isn't necessary and a wall adapter can be used to power the board instead.
Build Enclosure
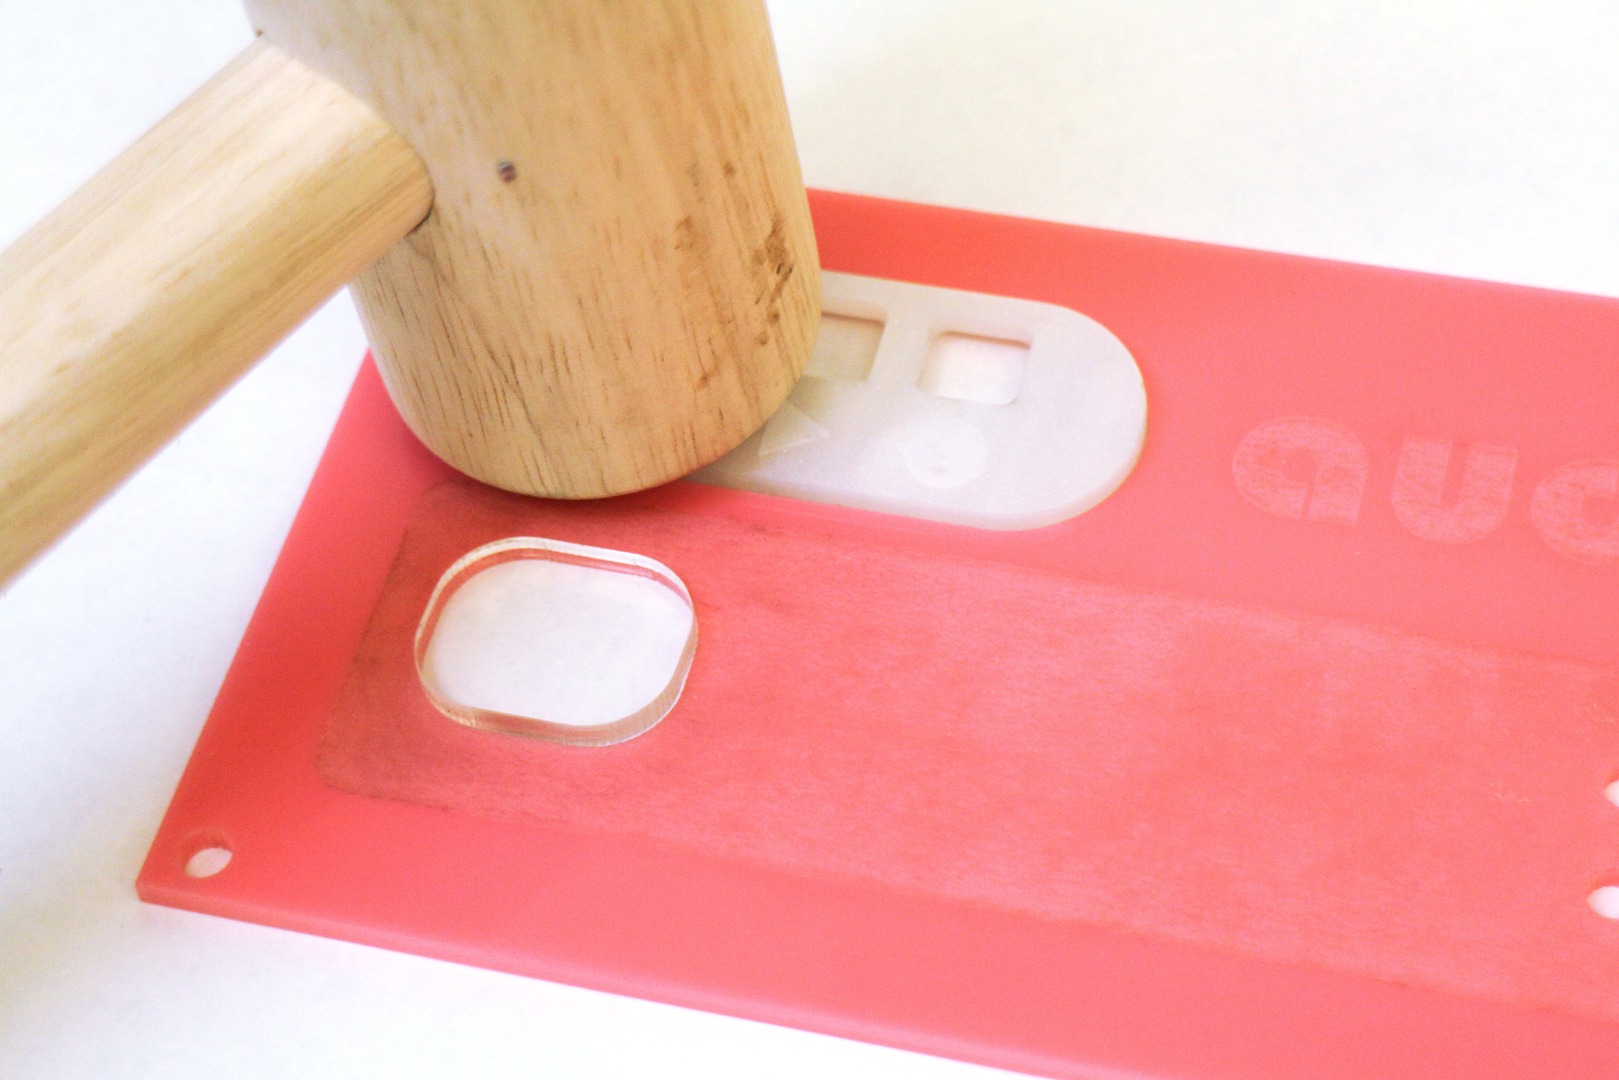
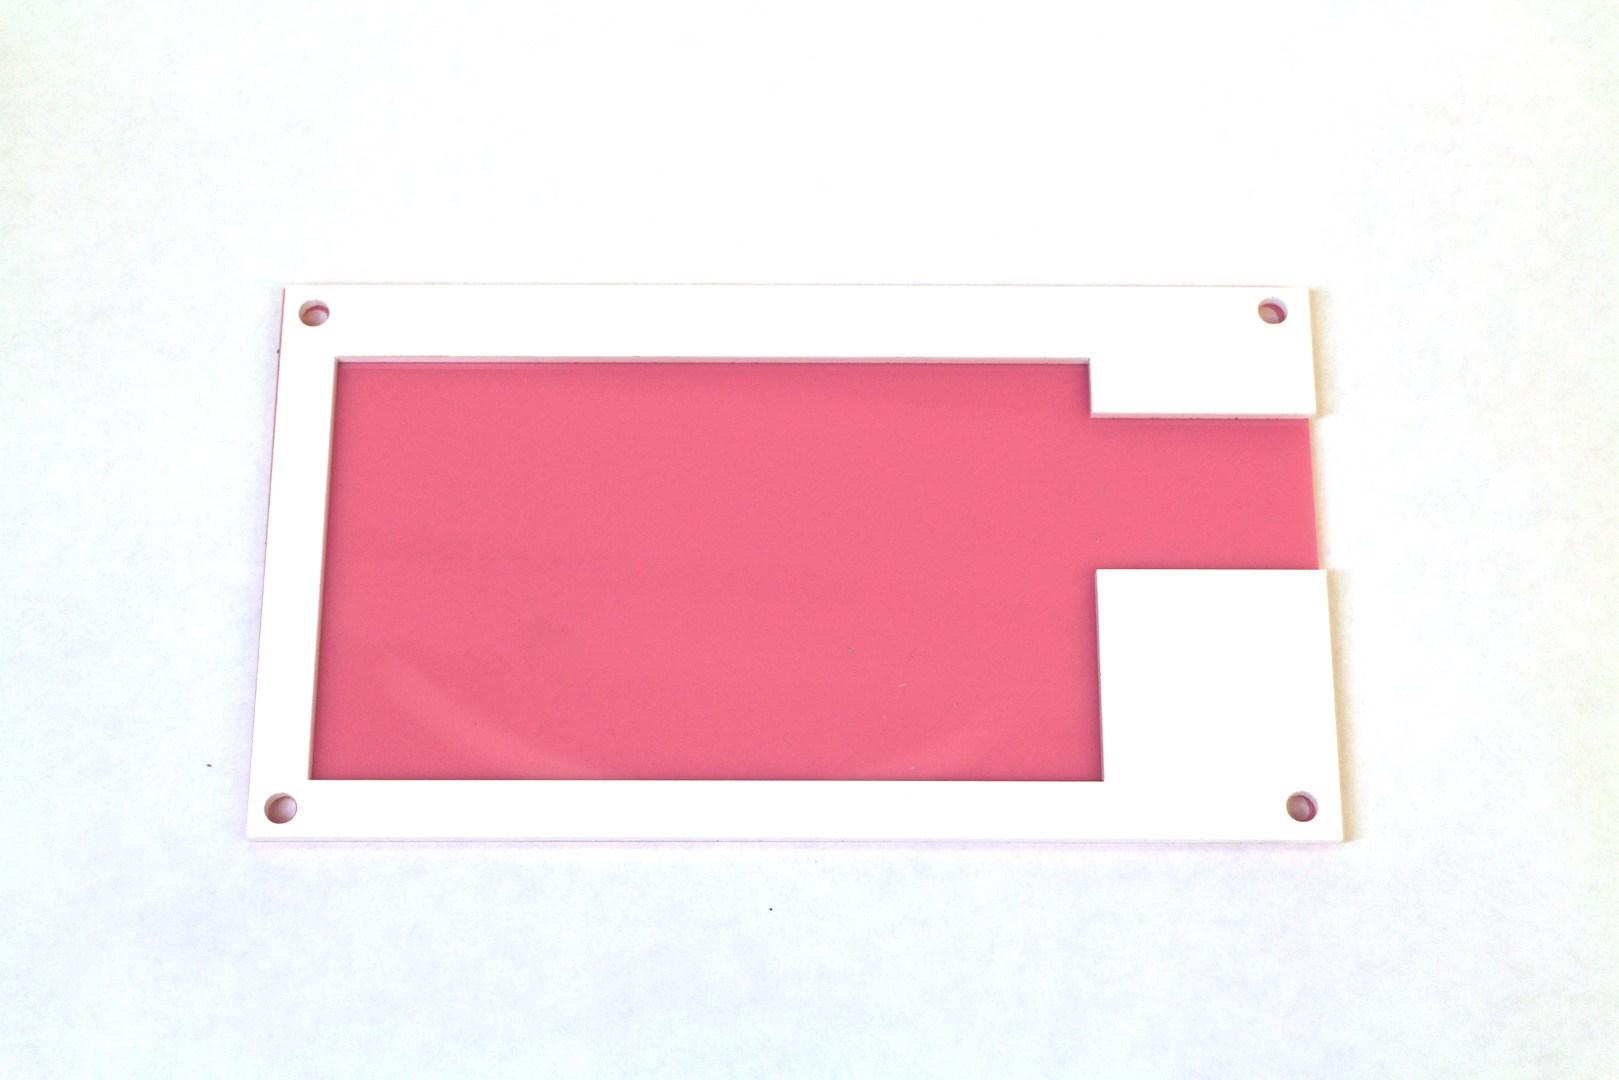
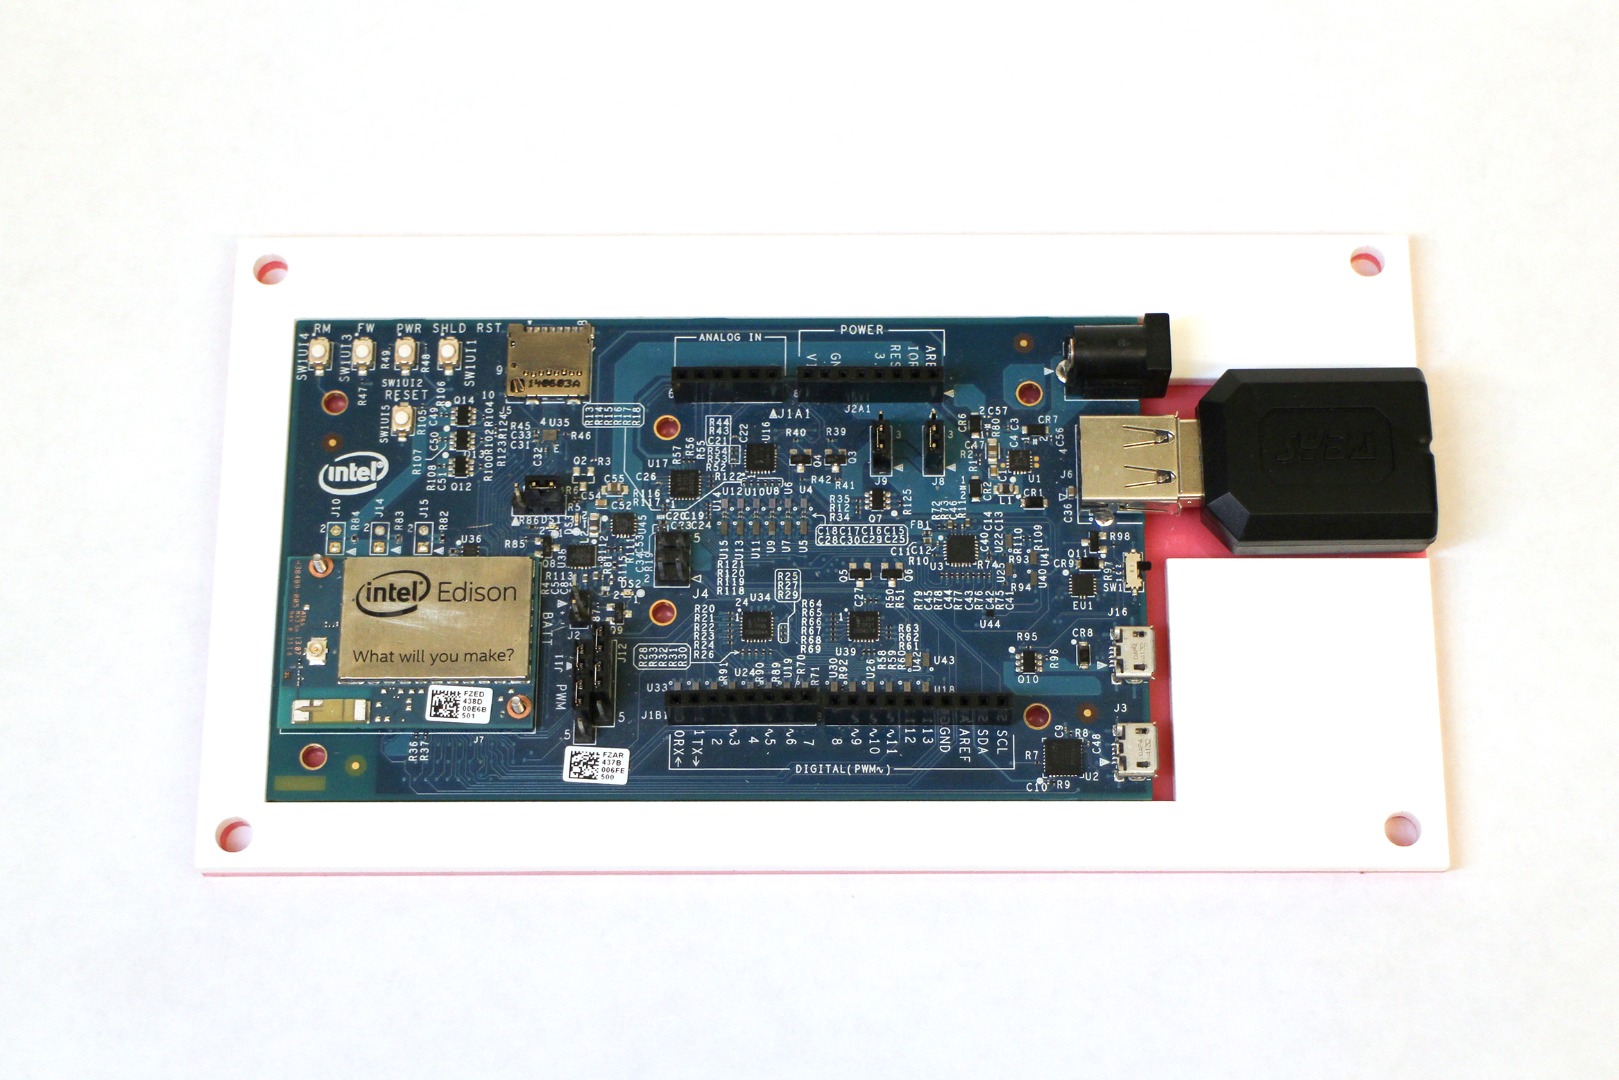
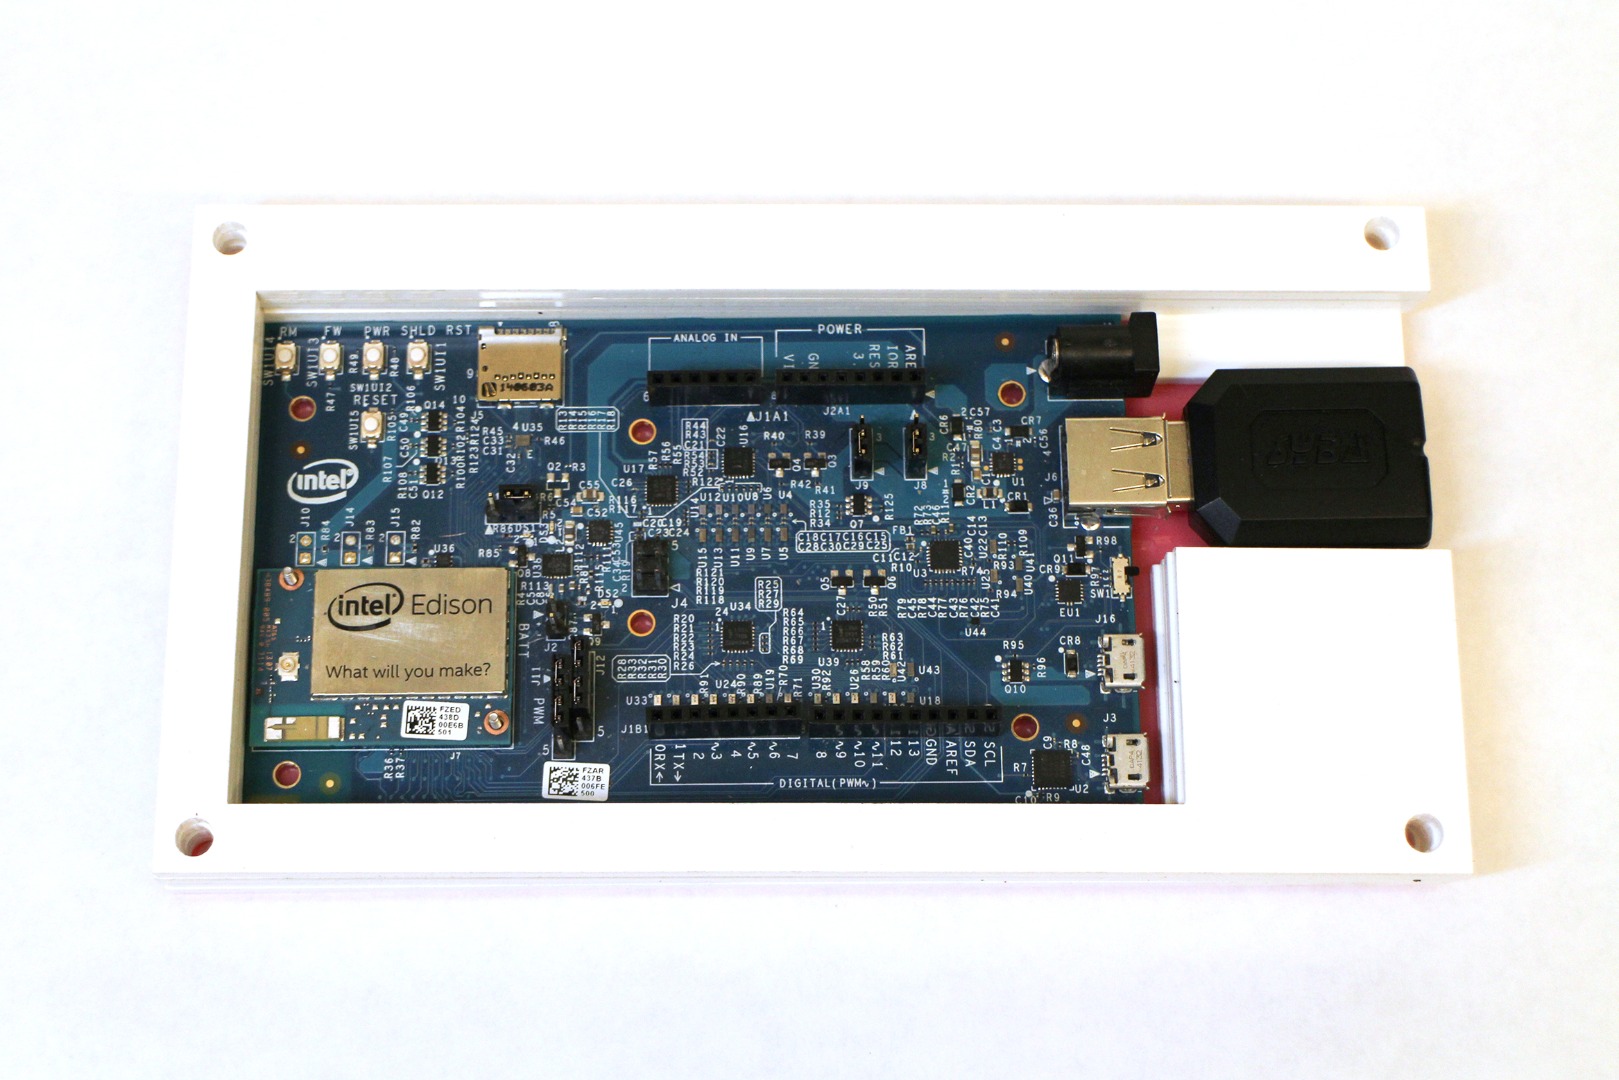
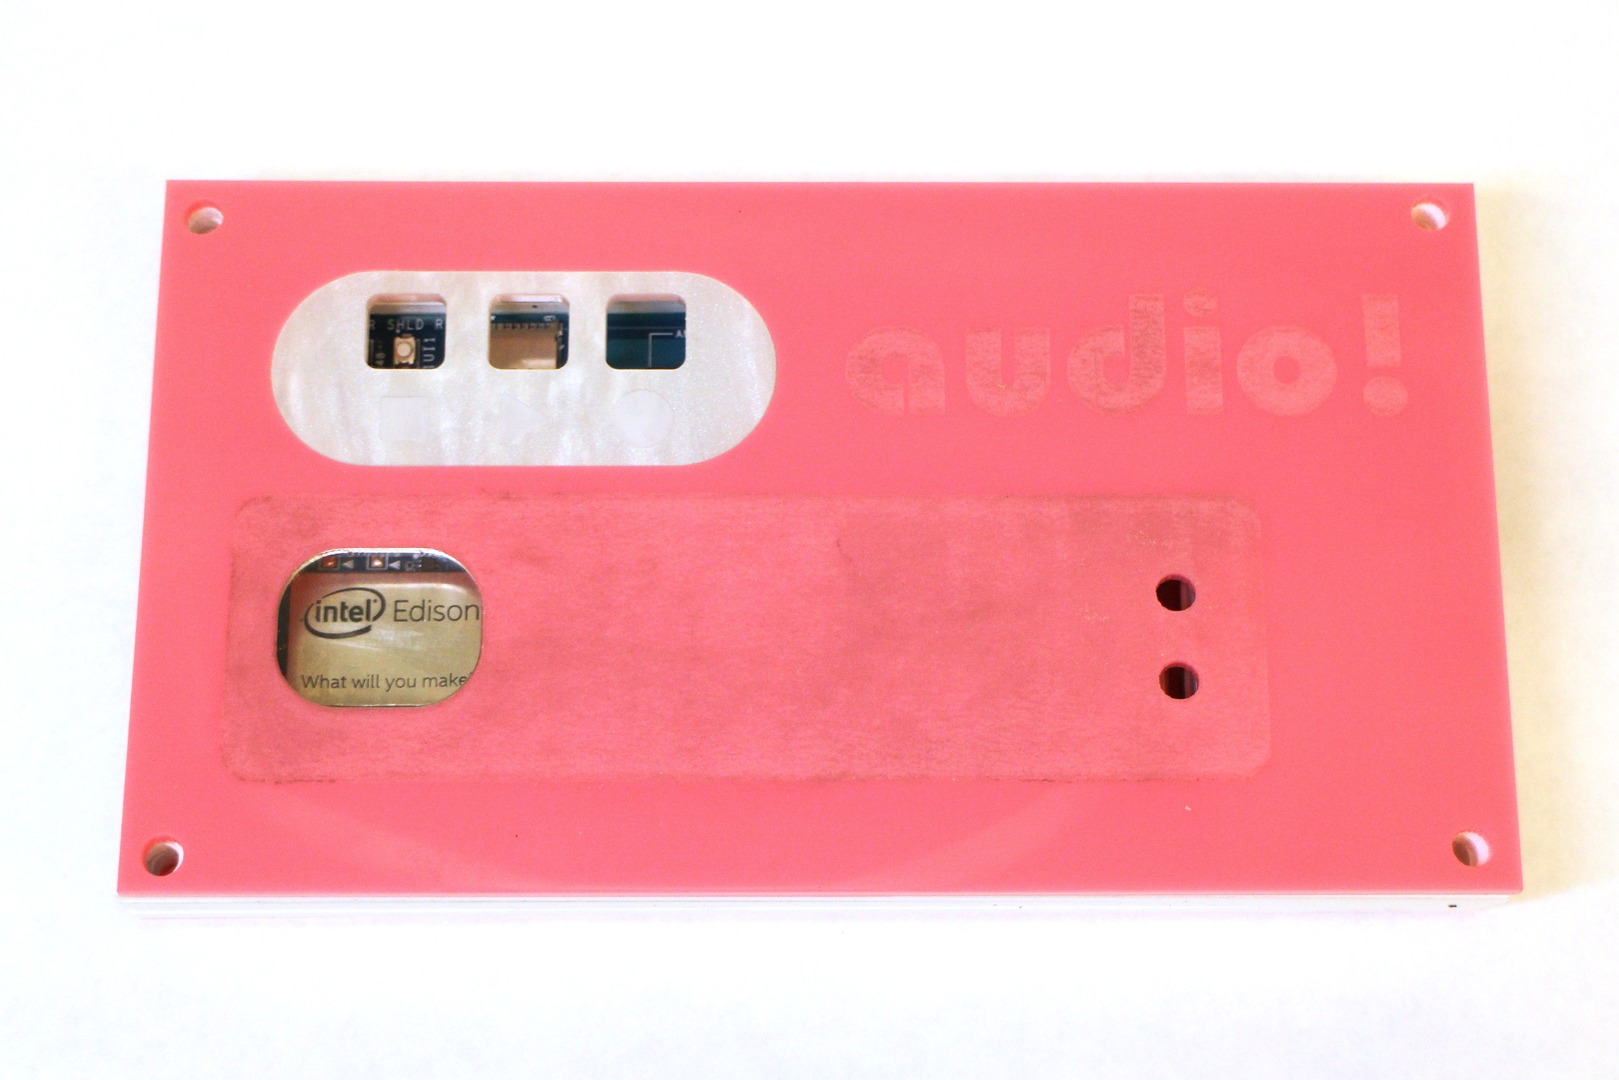
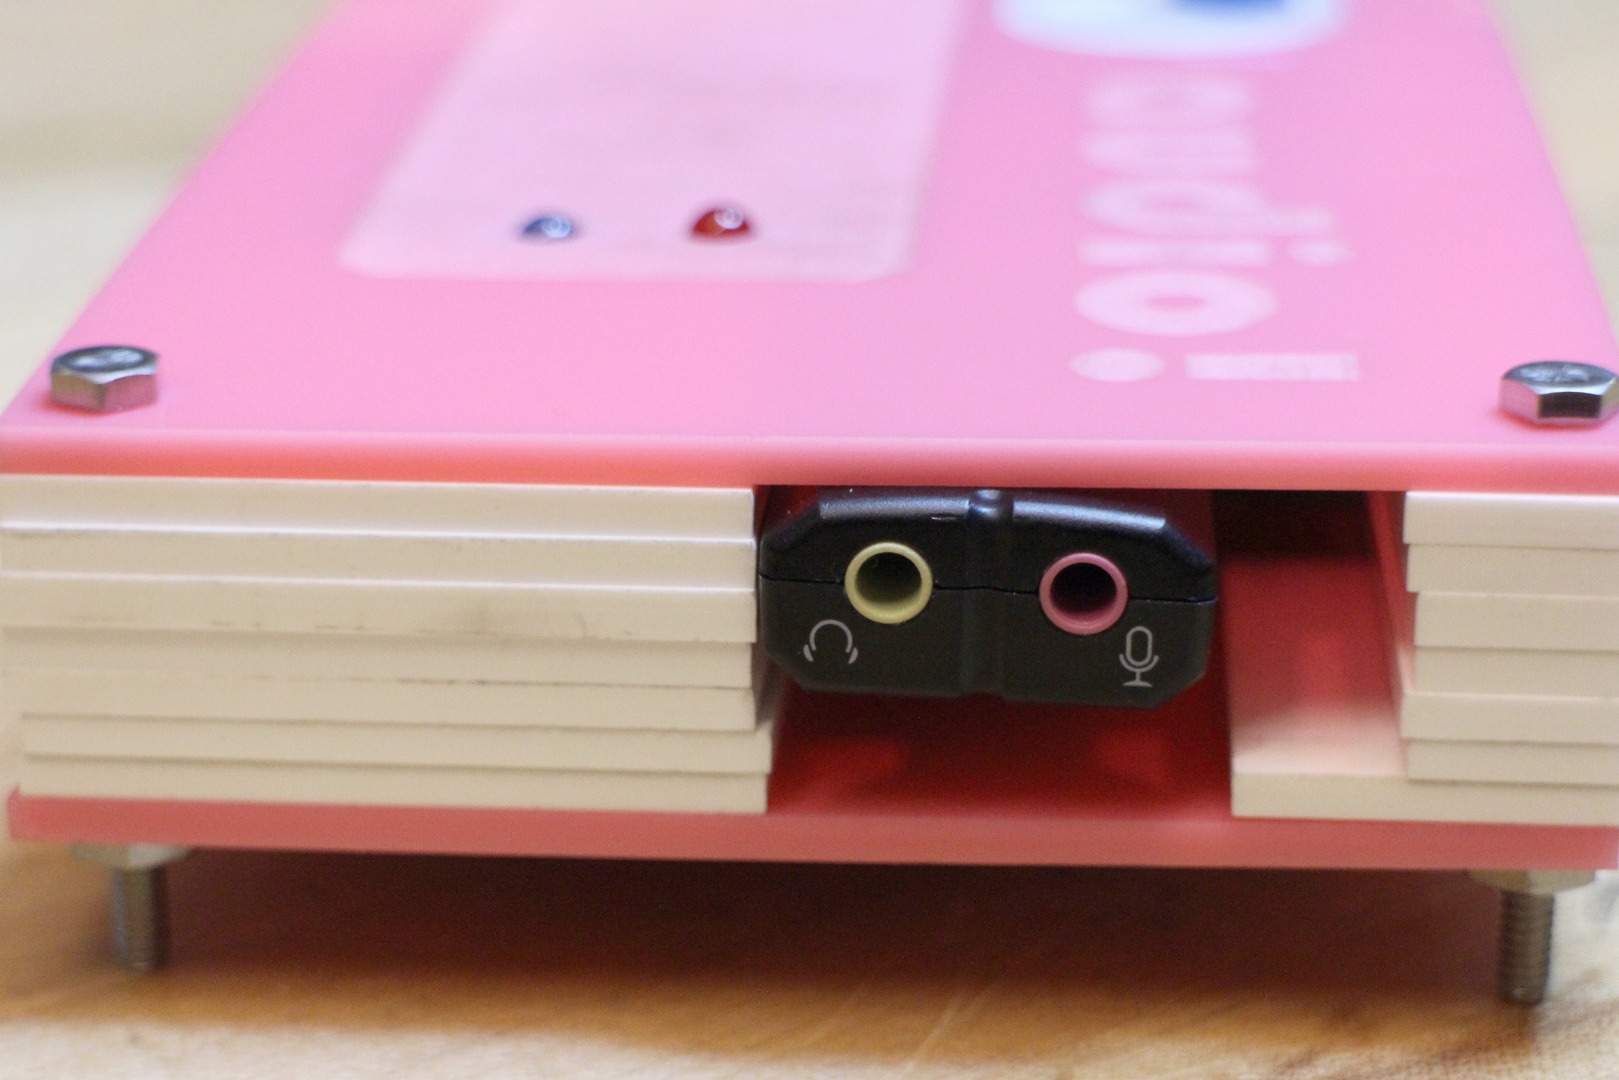
The body is designed to look like a walkman, I really still love some of the personal electronics that were designed in the early 90s. Some were colorful and bubbly, like this and this. The design fits snugly, so will only work with specific sound card used linked to in the project.
I used four different colors of acrylic, each file is named accordingly. The pearl control panel and pink outer body are laser etched then cut, the others are all cut.
Use a wooden mallet to press fit the pearl control panel and clear window.
To put the enclosure together put the bottom down, then the bottom of the middle layer down, it's the only one with a notch in it to keep the sound card in place.
Plug the circuit into the Edison. To prevent a short from happening, use electrical tape to cover any exposed metal on the perf board you use and wrap the battery in it. Fit it in the bottom layer and stack the rest of the middle around it, ending with the top cover.
Insert the screws, apply the nuts and tighten all the layers together.