Audio Broadcast and Video Streaming Using Raspberry Pi 3.
by charan29299 in Circuits > Raspberry Pi
11637 Views, 6 Favorites, 0 Comments
Audio Broadcast and Video Streaming Using Raspberry Pi 3.
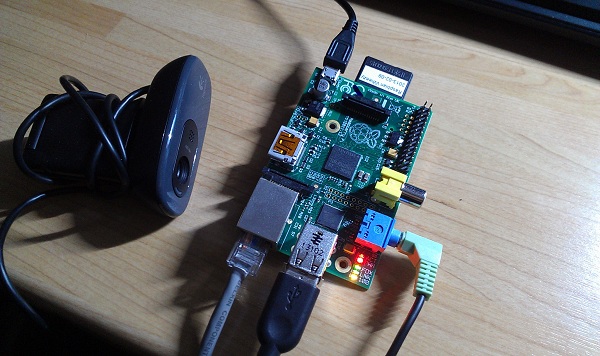
The main utility of this project is broadcasting Audio to Raspberry Pi 3 from any device connected to the common WiFi network and acquiring video from Raspberry Pi 3 to any device connected to a common WiFi network.
Materials You'll Need:
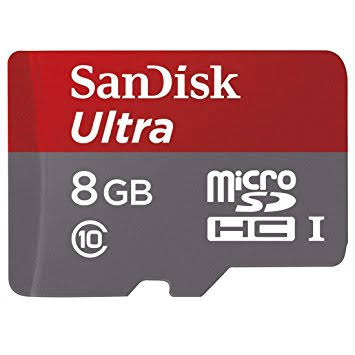
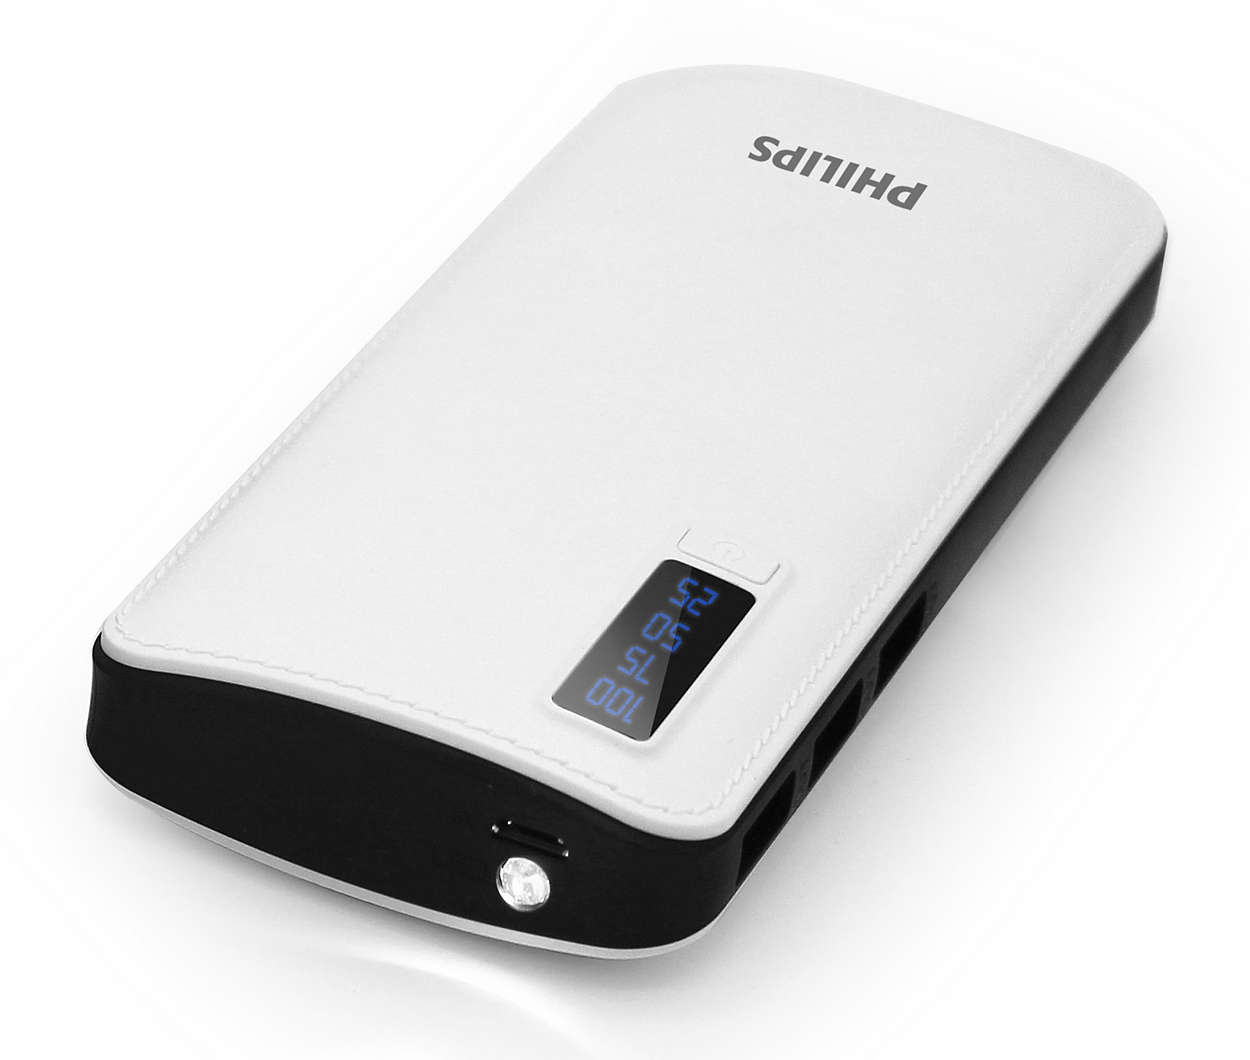
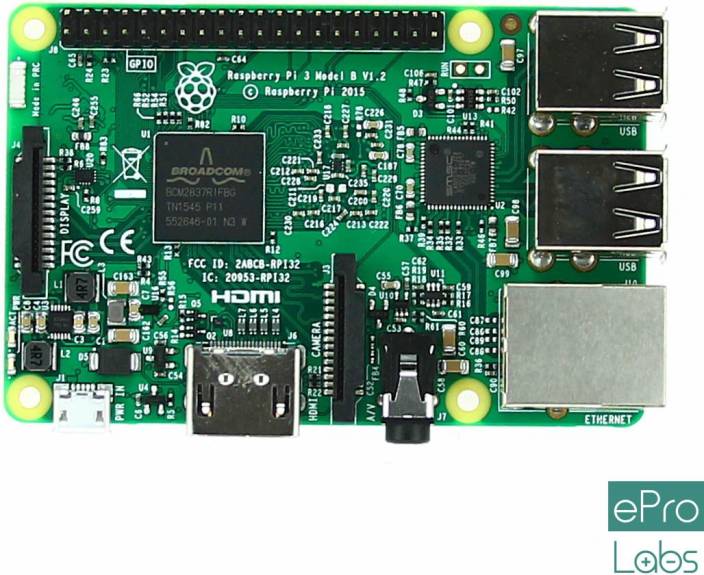
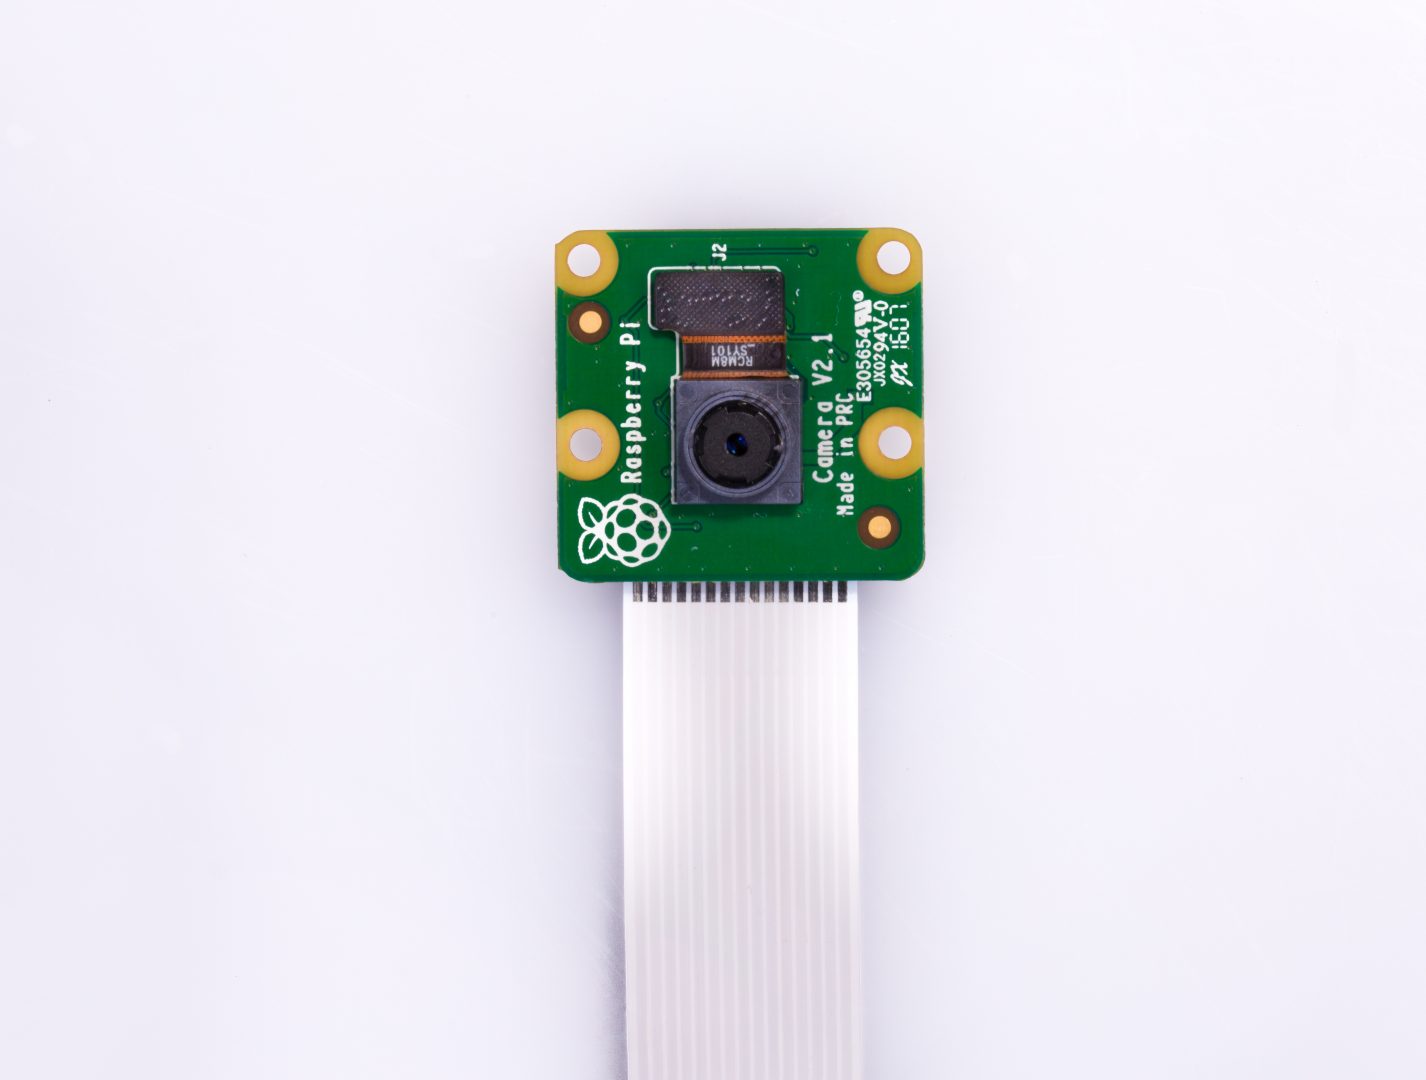
1.Raspberry Pi 3.
2.Raspberry Pi Camera
3.Micro SD card with a compatible USB card reader(For installation of Raspbian OS)
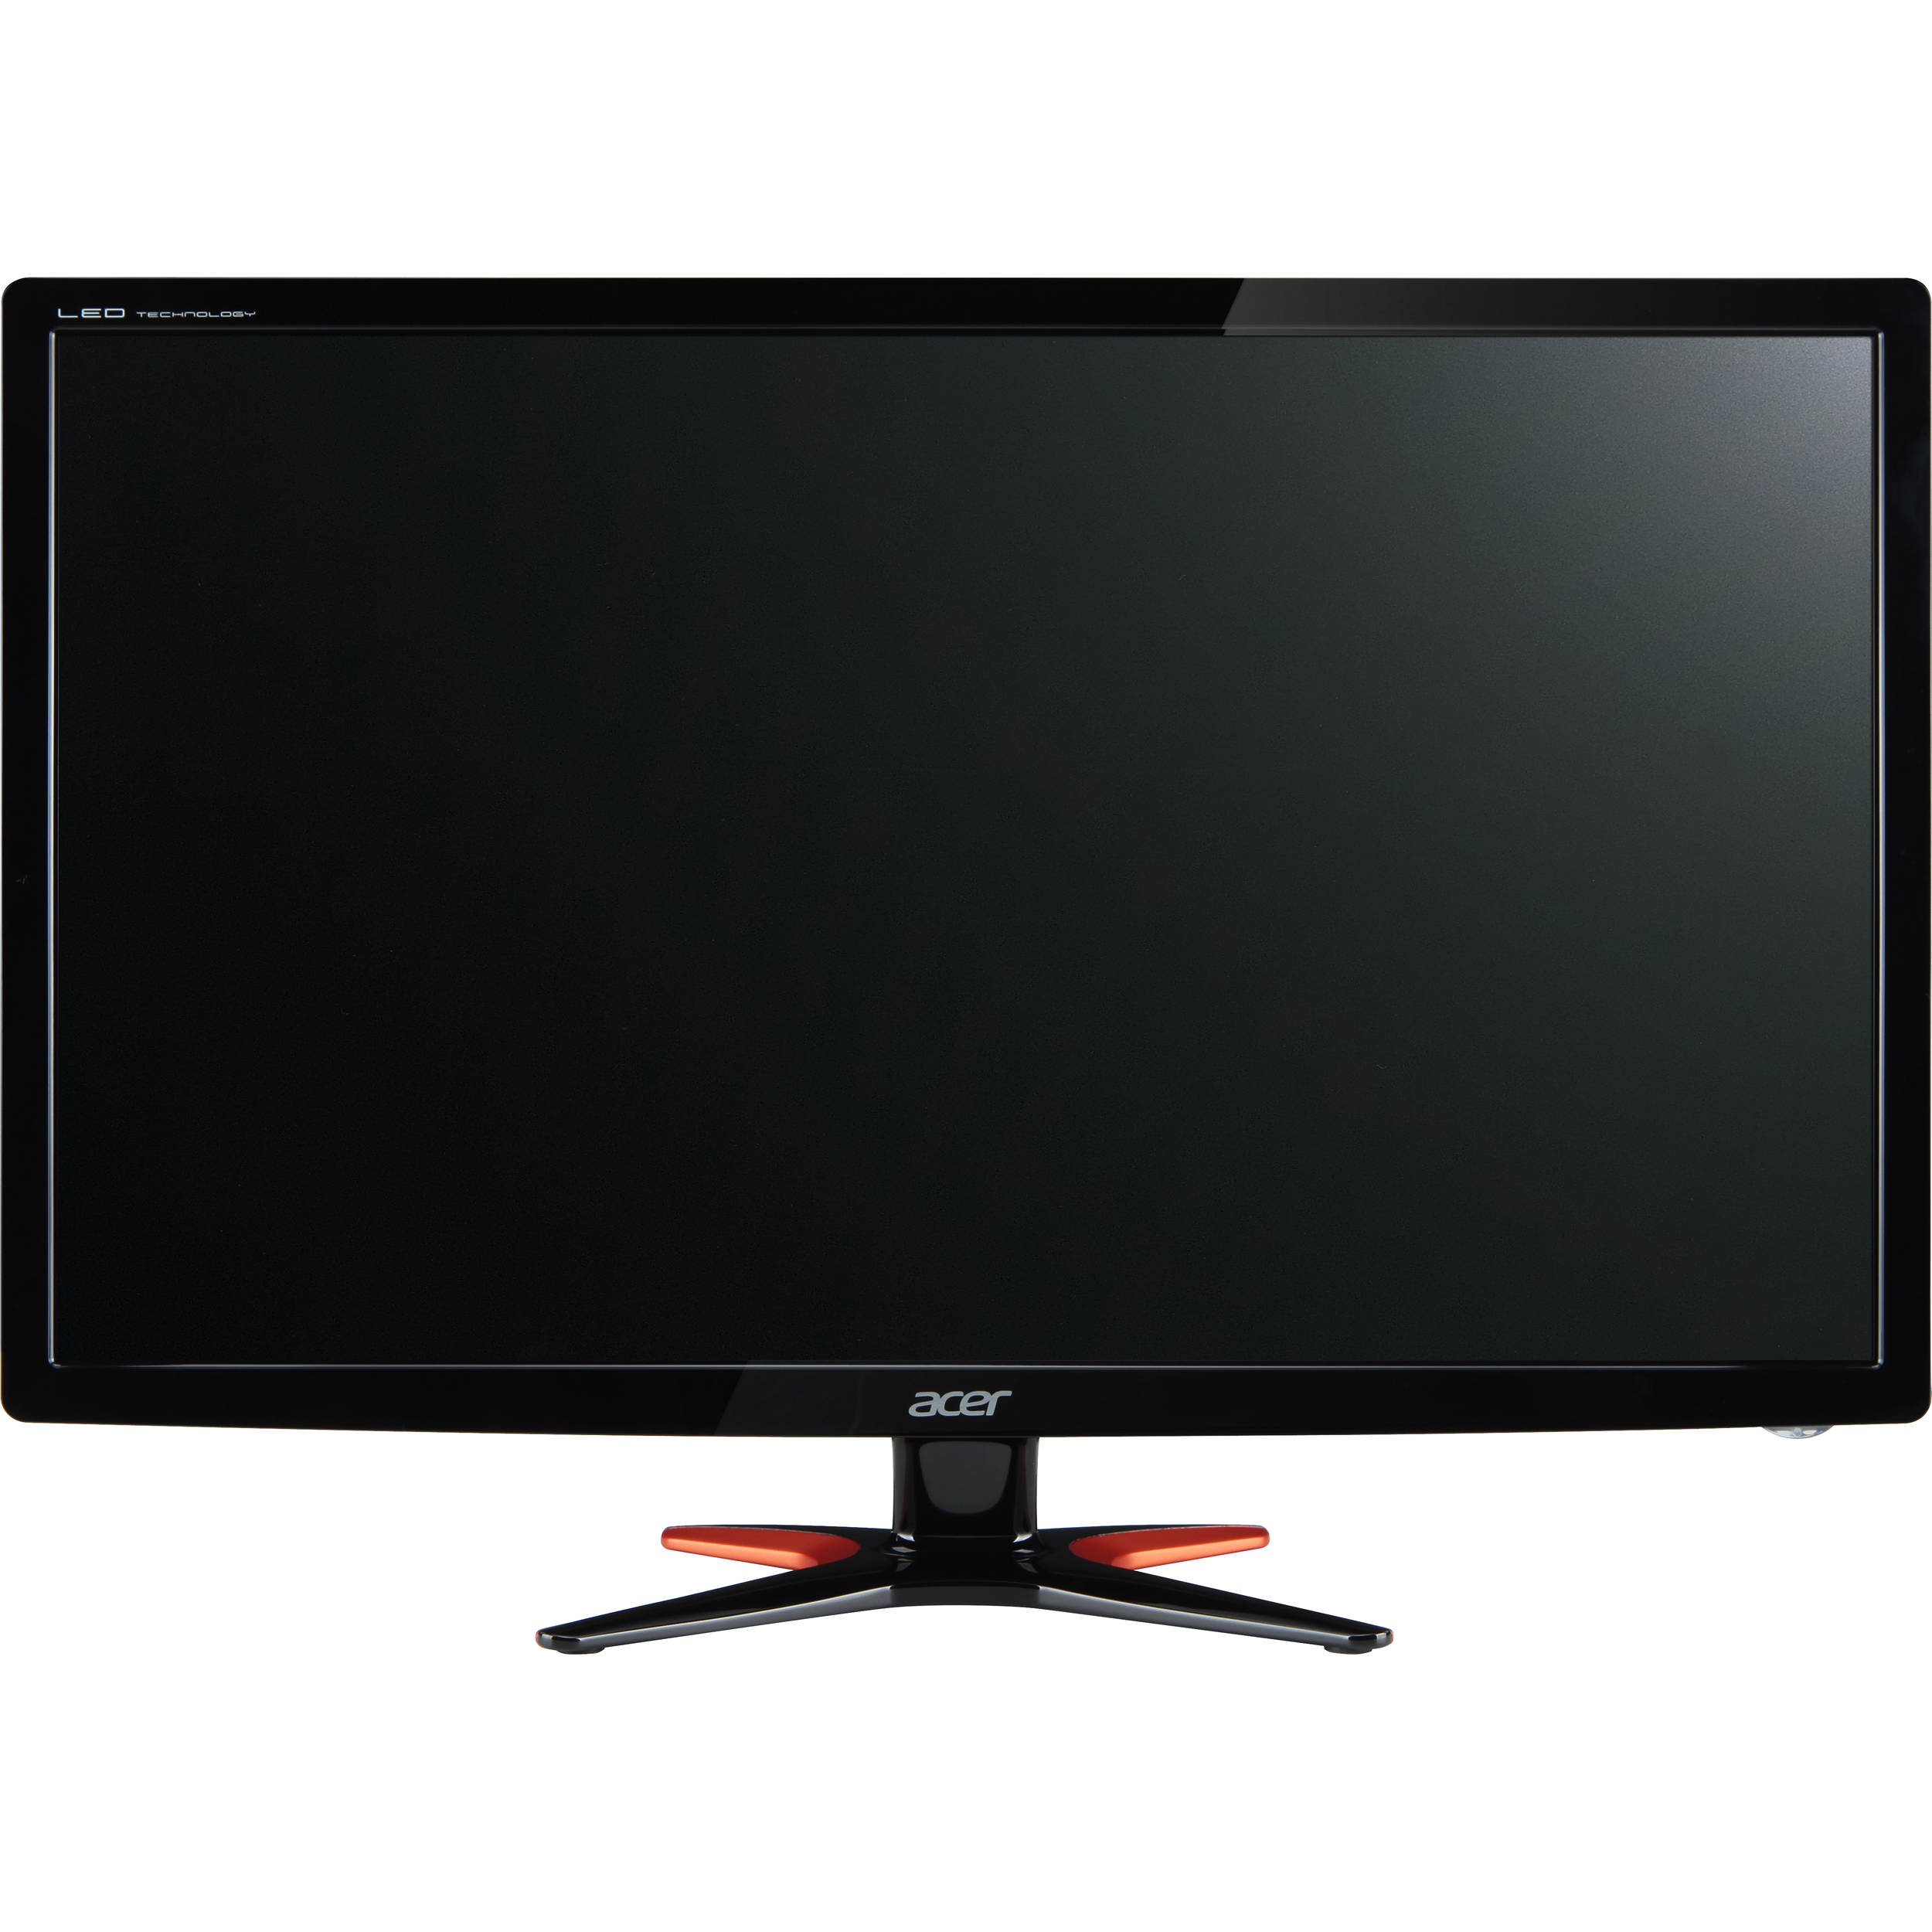
4.Monitor( for initial Configuration)
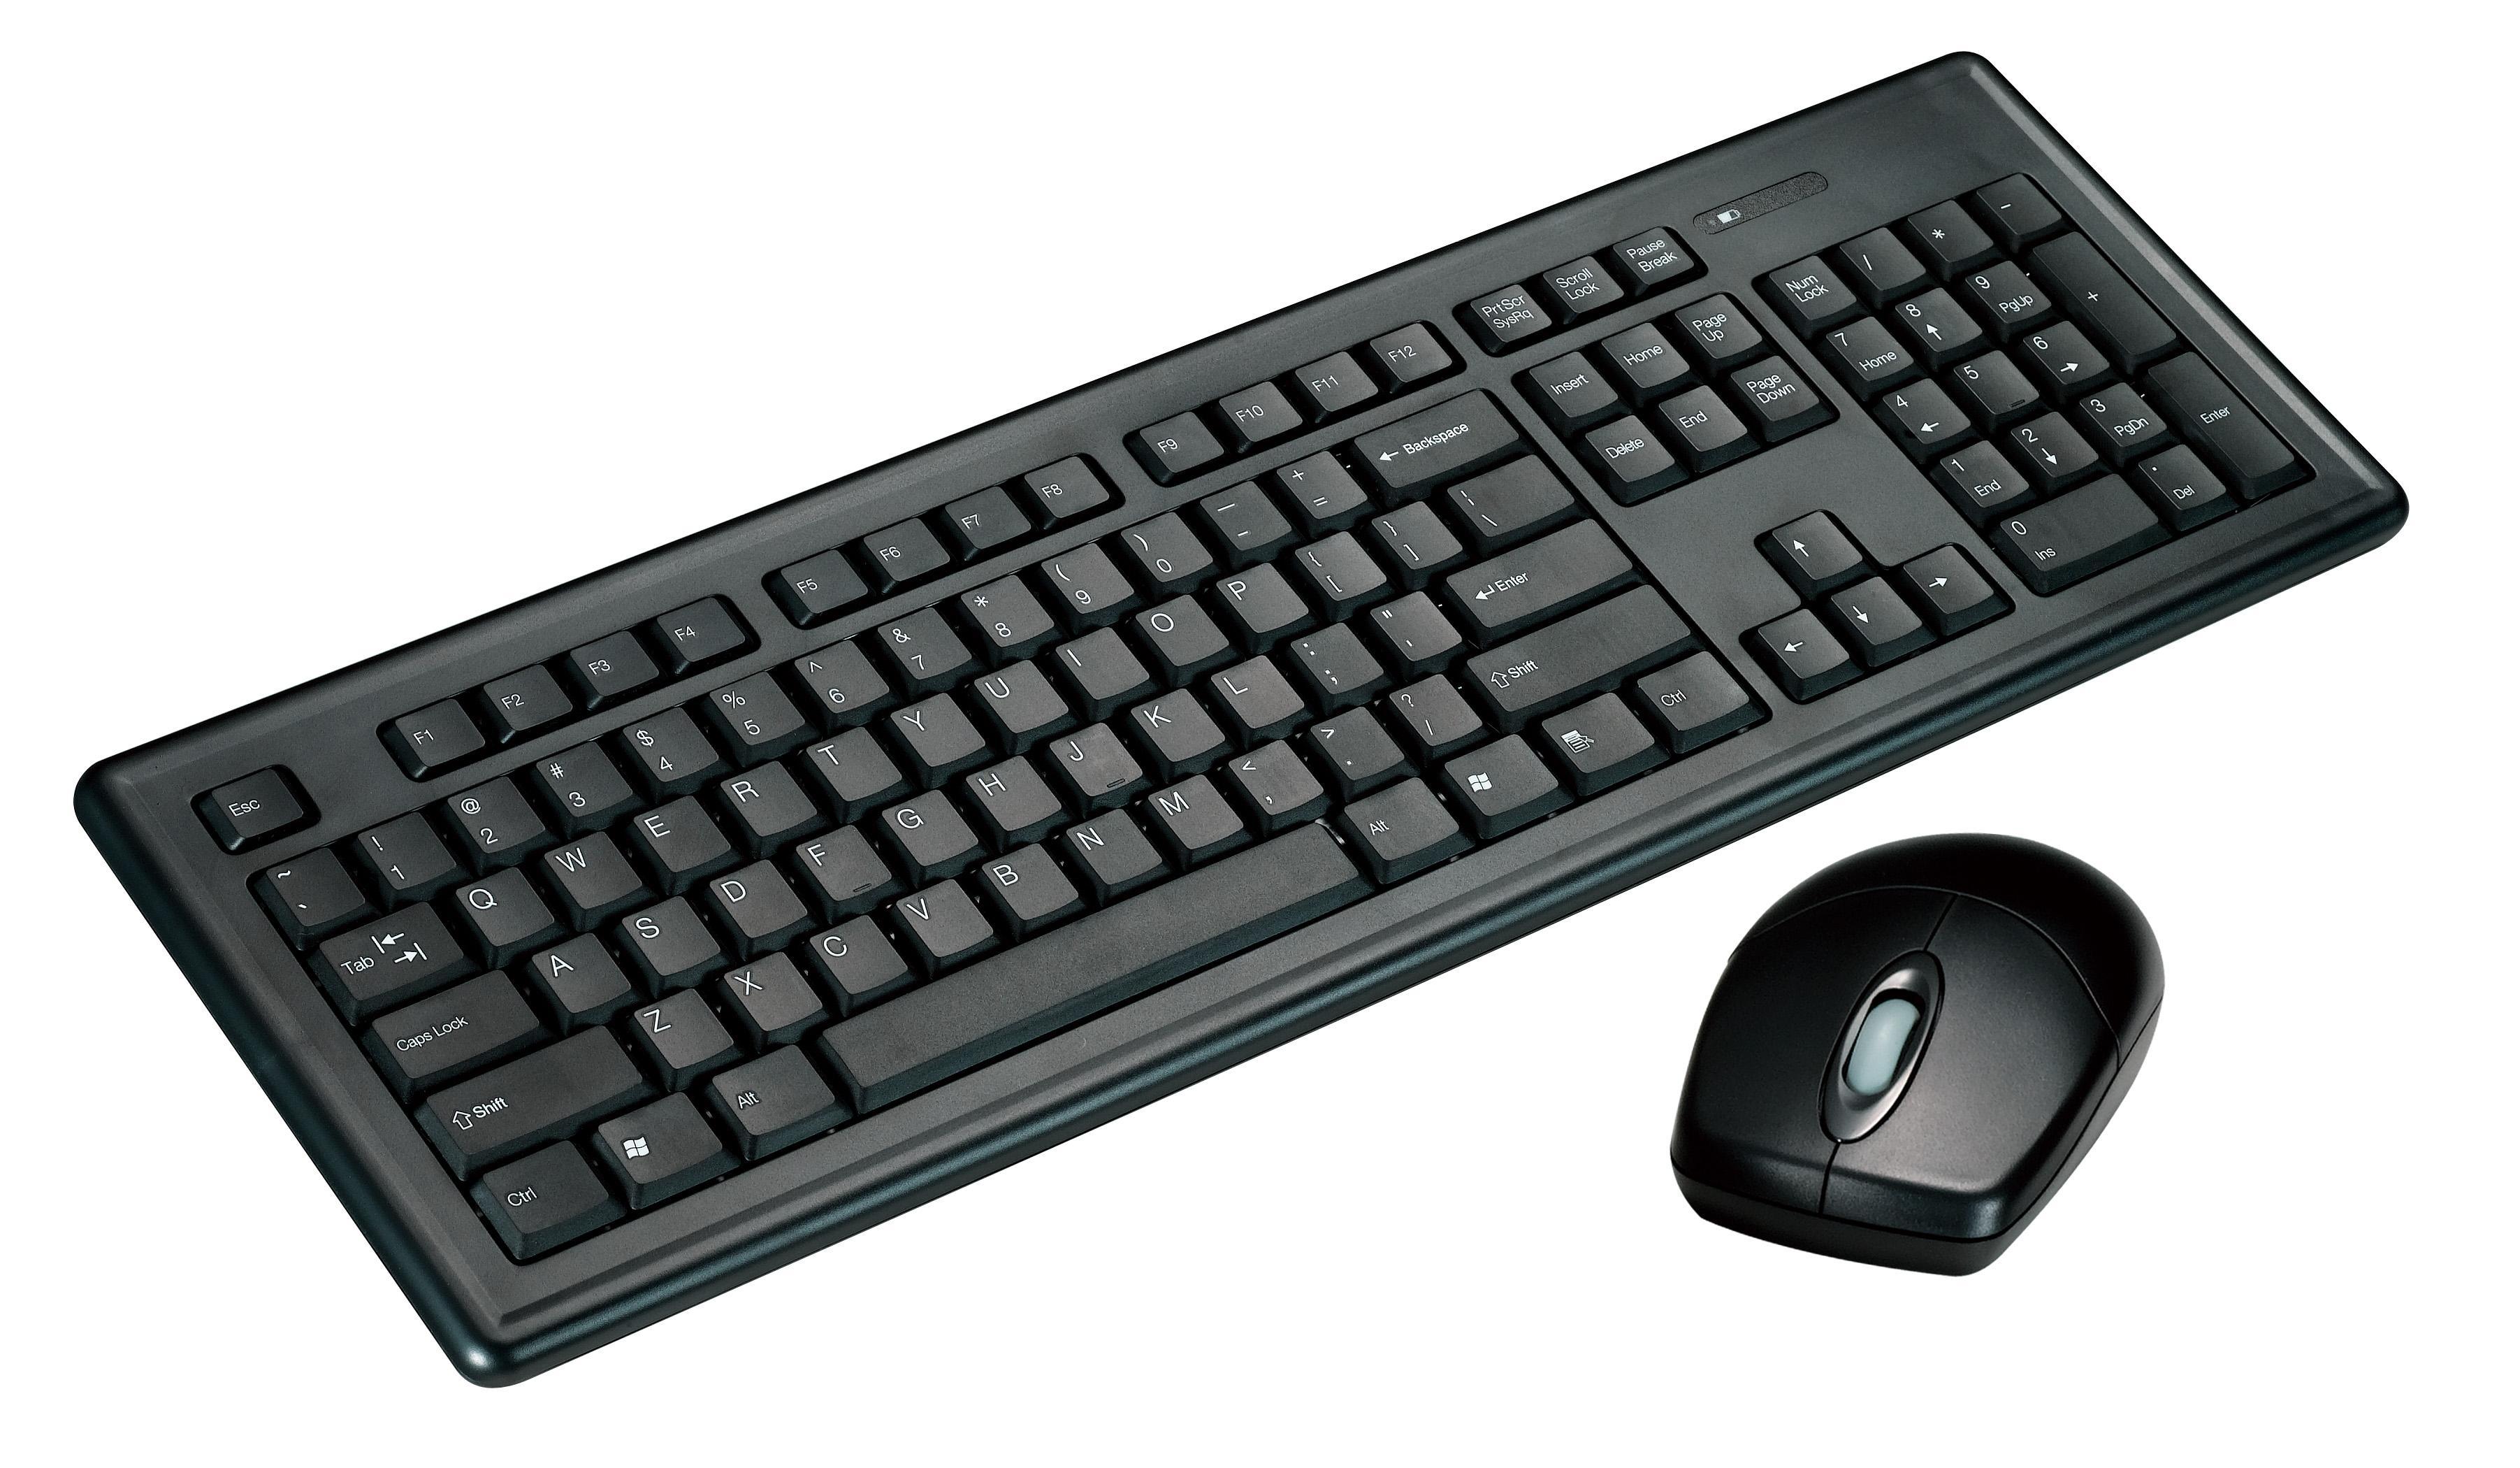
5.Keyboard and Mouse( for initial Configuration)
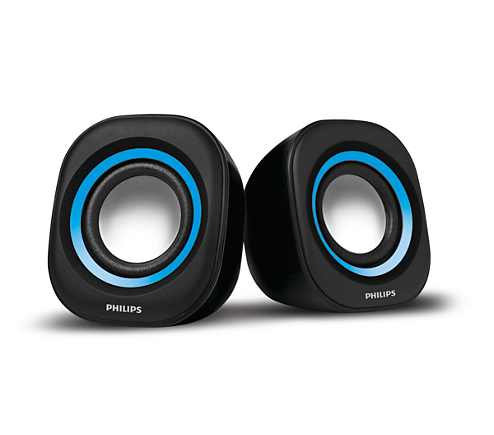
6.Speaker(s) with 3.5 mm jack(for Audio Output)
7.Power Bank.
Installing Raspbian OS on Your Raspberry Pi 3 :
Follow the instructions from the given Instructable to install the OS on your Raspberry Pi 3.
https://www.instructables.com/id/HOW-TO-INSTALL-RASPBIAN-OS-IN-YOUR-RASPBERRY-PI
Installing Apache and PHP :
Apache is a popular web server application you can install on Raspberry Pi to allow it to serve web pages.
PHP is used to run PHP code.
Installing Apache:
1. Open terminal and update the available packages by typing the following command.
sudo apt-get update.
2. Install Apache 2 with this command.
sudo apt-get install apache2 -y
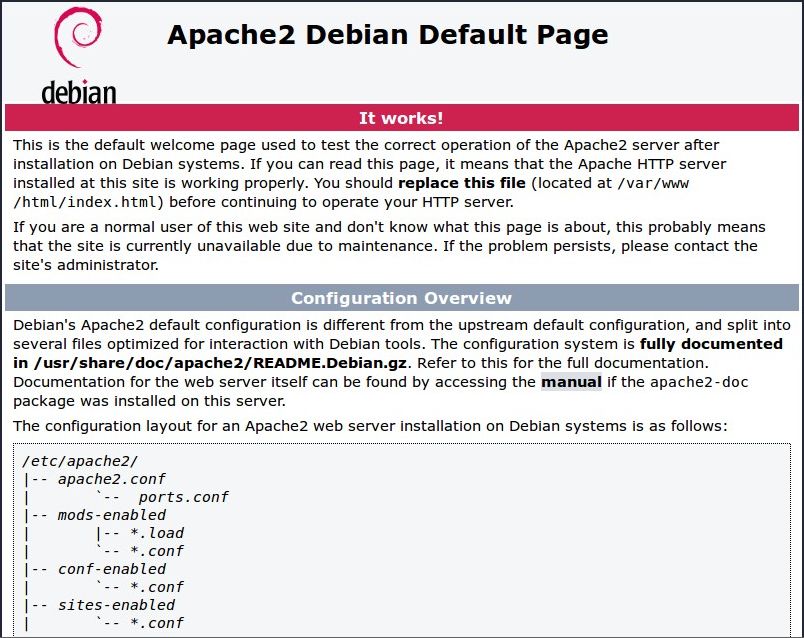
3.Test the web server by typing your Raspberry Pi IP address.If you get something like in the image,that means your Apache server is working.
Installing PHP:
1.Run this code in the terminal to get PHP installed on your Raspberry Pi.
sudo apt-get install PHP libapache2-mod-php -y
2.Now, PHP will be installed on your Pi.
Code :
You need to have the following code in the directory "var/www/html"
Open file explorer and open the above directory and paste the given code in the html folder.
Downloads
Installing MJPG Streamer:
MJPG streamer is used to stream video from Raspberry Pi to a device.
1.Open terminal and type the following:
sudo apt-get install libjpeg62-turbo-dev
sudo apt-get install cmake
2.Now, in terminal type the following:
sudo apt-get update
sudo apt-get upgrade
wget http://lilnetwork.com/download/raspberrypi/mjpg-streamer.tar.gz
tar xvzf mjpg-streamer.tar.gz
sudo apt-get install libjpeg8-dev
sudo apt-get install imagemagick
cd mjpg-streamer/mjpg-streamer make
./mjpg_streamer -i "./input_uvc.so" -o "./output_http.so -w ./www"<br>
Output:
On your Raspberry Pi:
1.Open the web browser and type in your IP address/openlast_content.php
On your device:
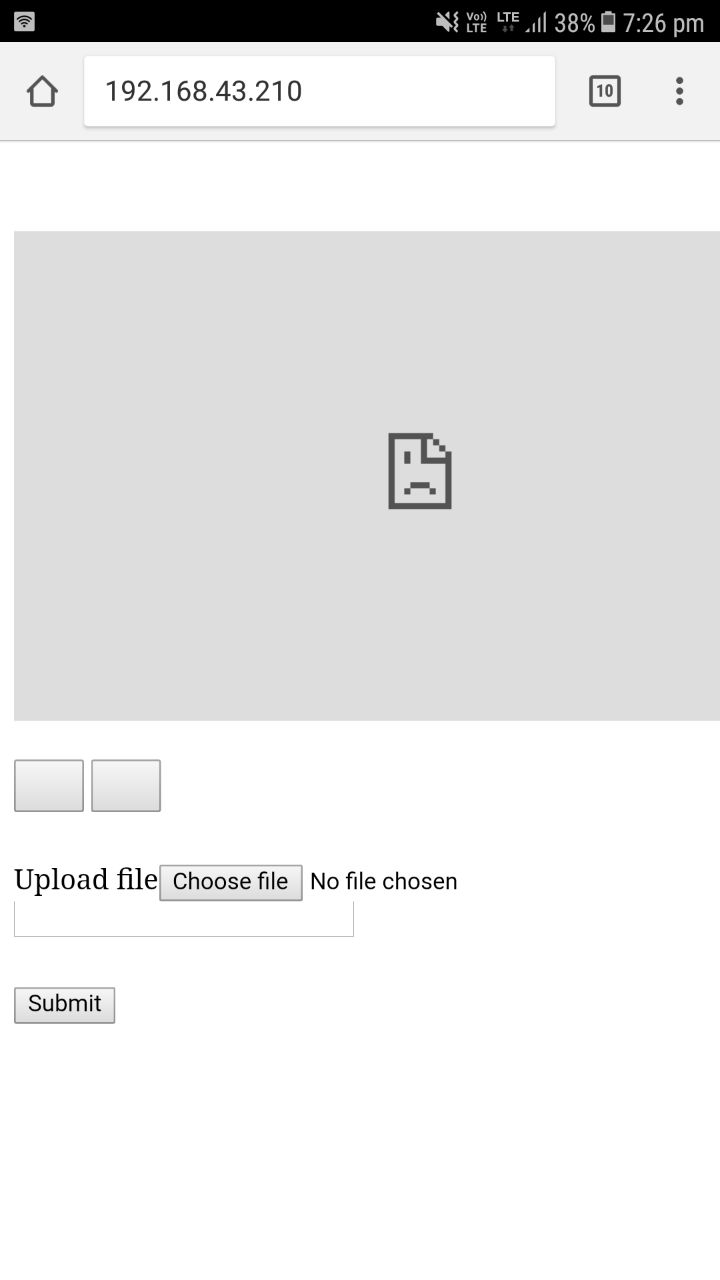
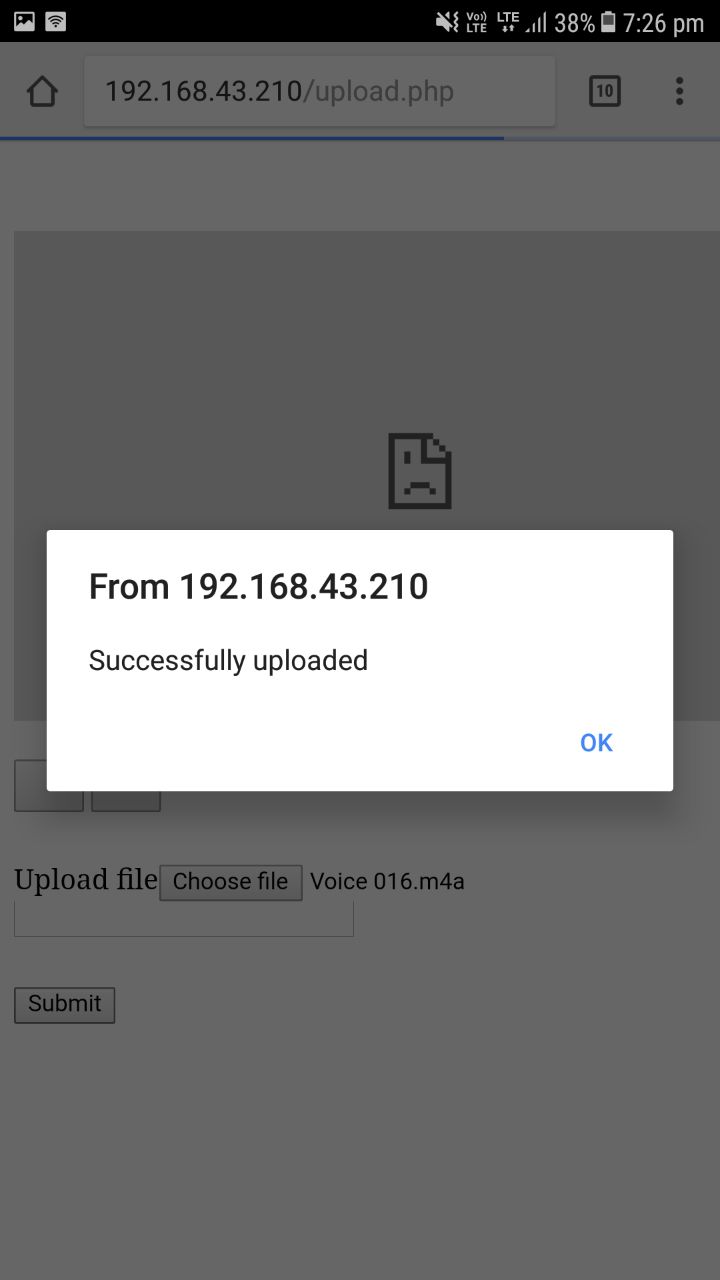
Go to the web browser of your mobile phone or Laptop that's connected to the same WiFi network as your Raspberry and type the IP address of your Raspberry Pi and click/tap on the upload button and choose an audio file( can be recorded live) and click/tap upload.
Then you'll end up with the second image above. In this instance, the camera module was not initialized. Upon installation of Apache and PHP connect your camera to the Raspberry Pi and you can receive Video output on your Device.