Attiny LED Letter Keychain
Hello everyone!
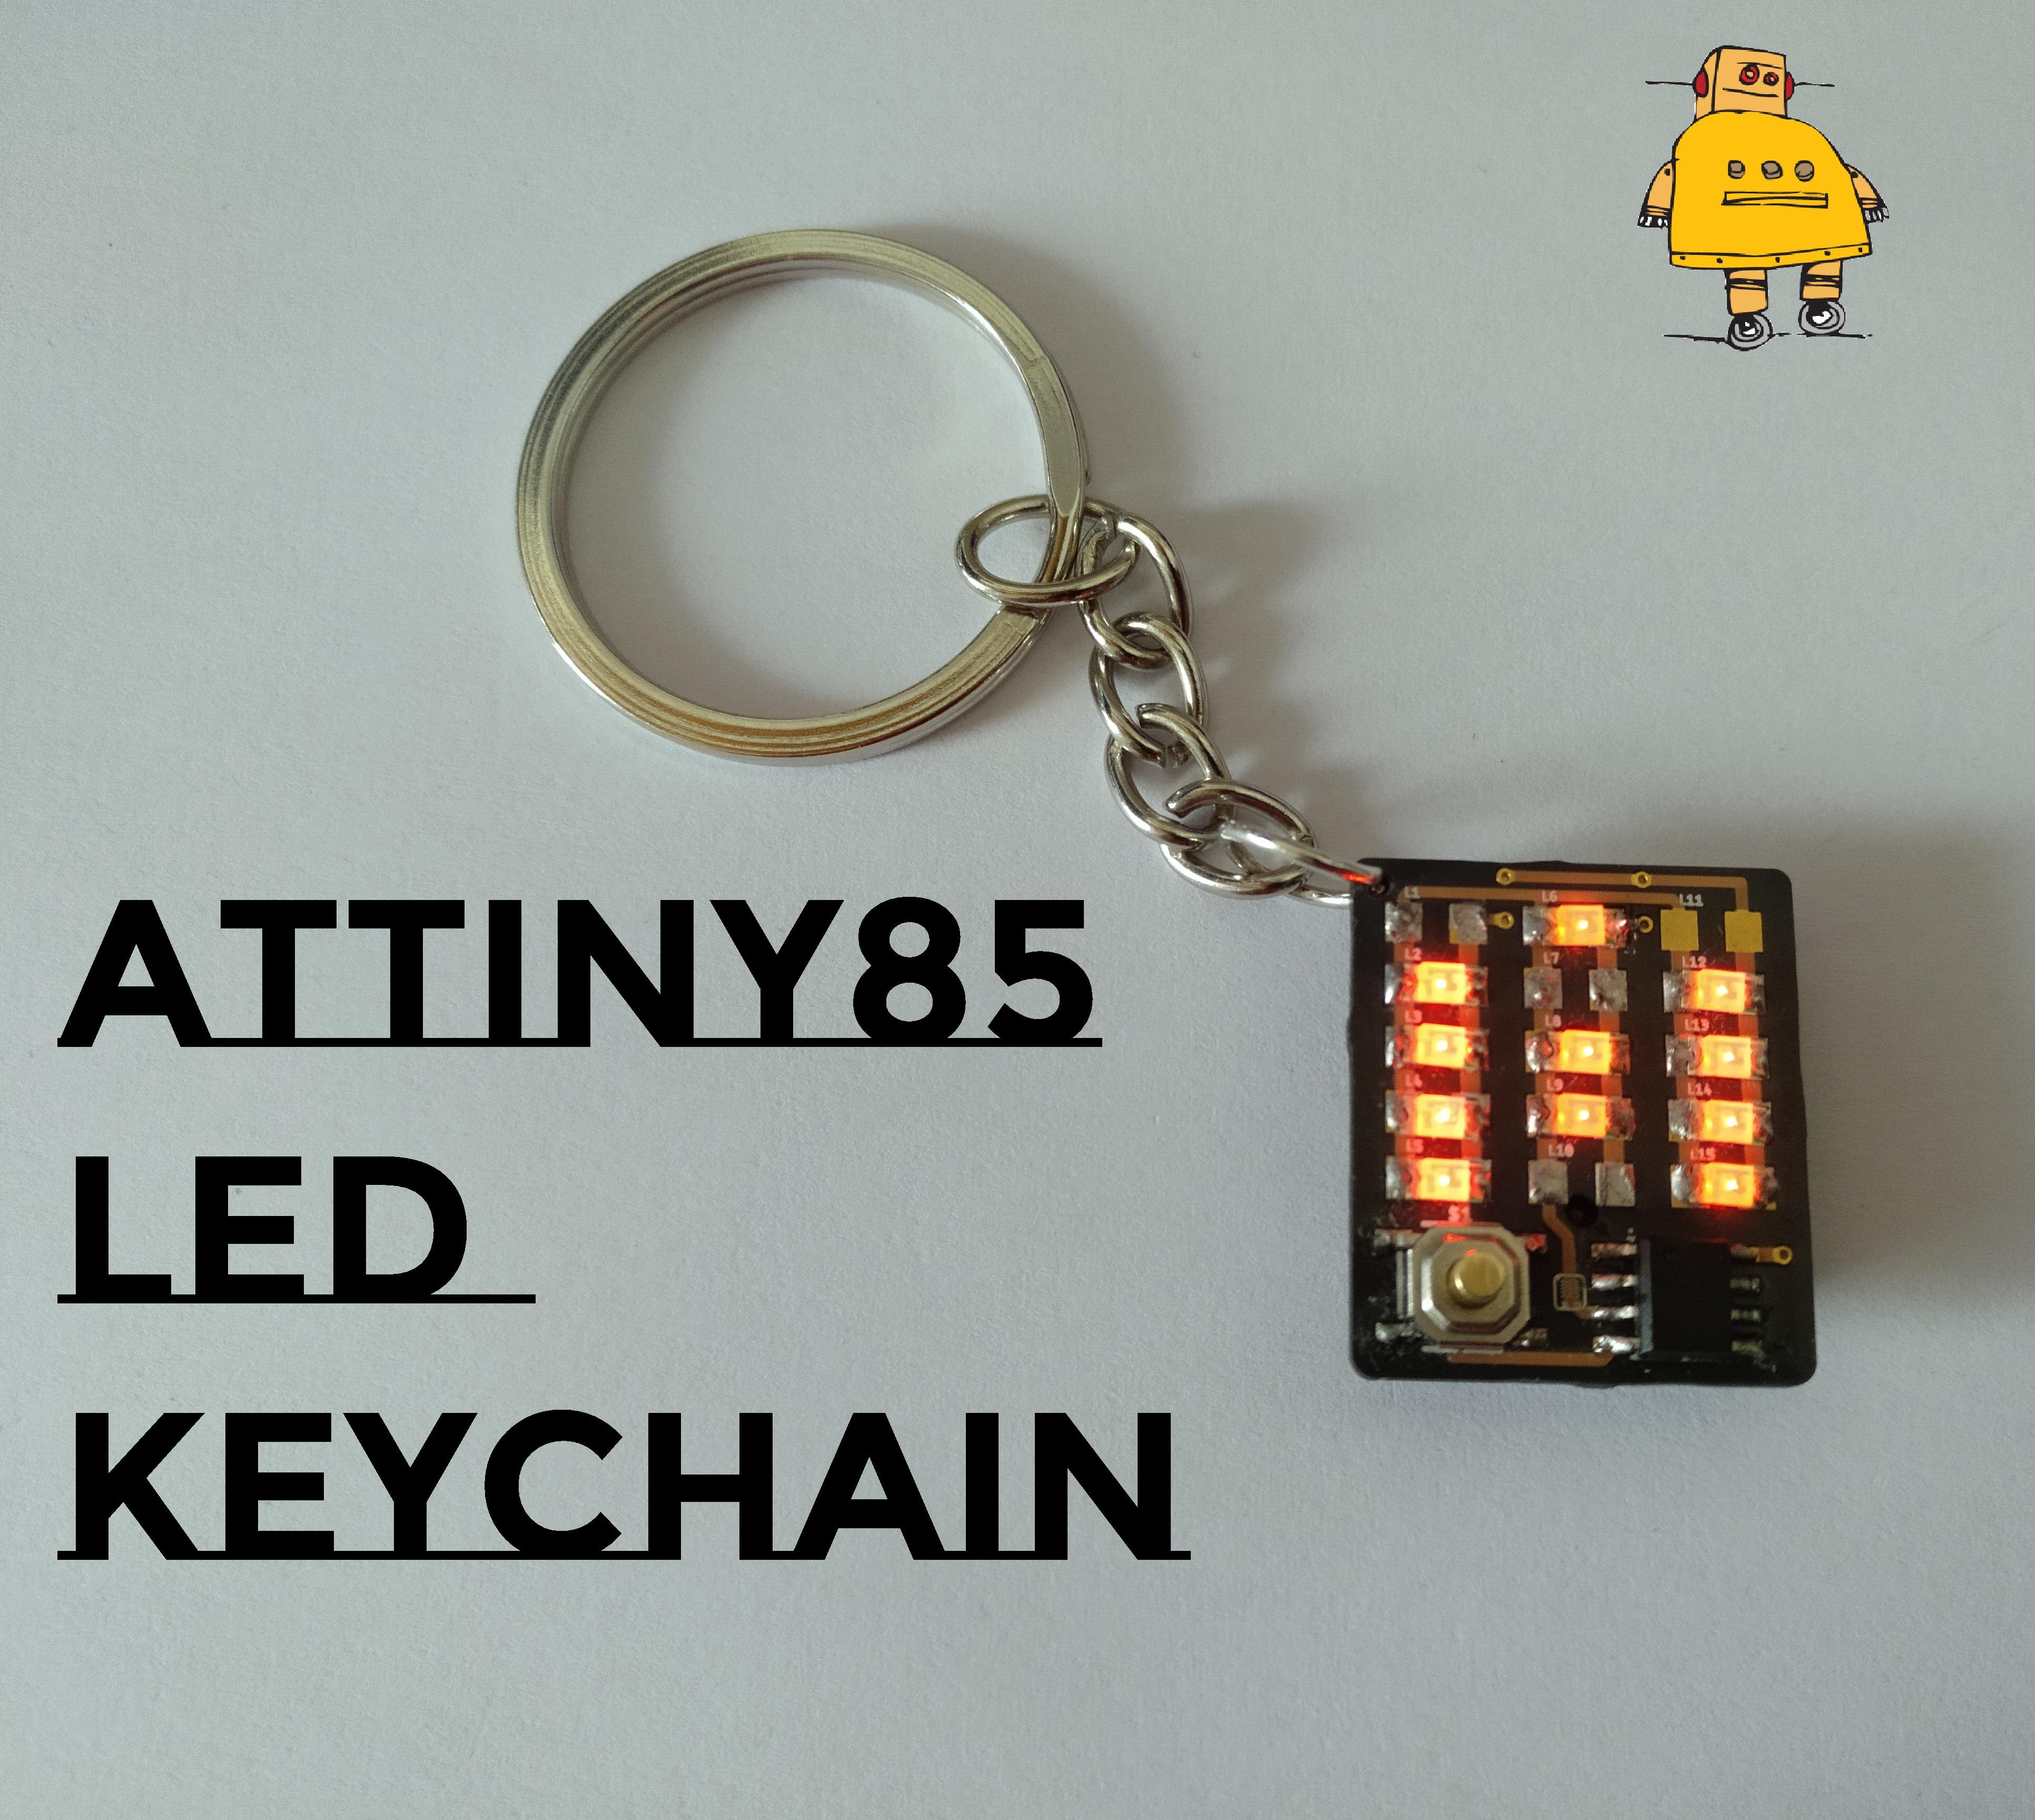
Today I am going to show you how to make a very cool LED keychain. To do this, we are going to use an ATtiny to make the LEDs blink and fade. This is going to help us to learn how to solder SMD components and also how to program an ATtiny.
You can also find the code here in case you want to modify it or even create a new one! This code has 4 modes: All on, slow blink, fade and fast blink that change every time we press the button and then it enters in sleep mode to save battery.
Once we have finished, we can carry our creation around with our keys as a keychain!
Are you ready? Enjoy!
Parts and Tools
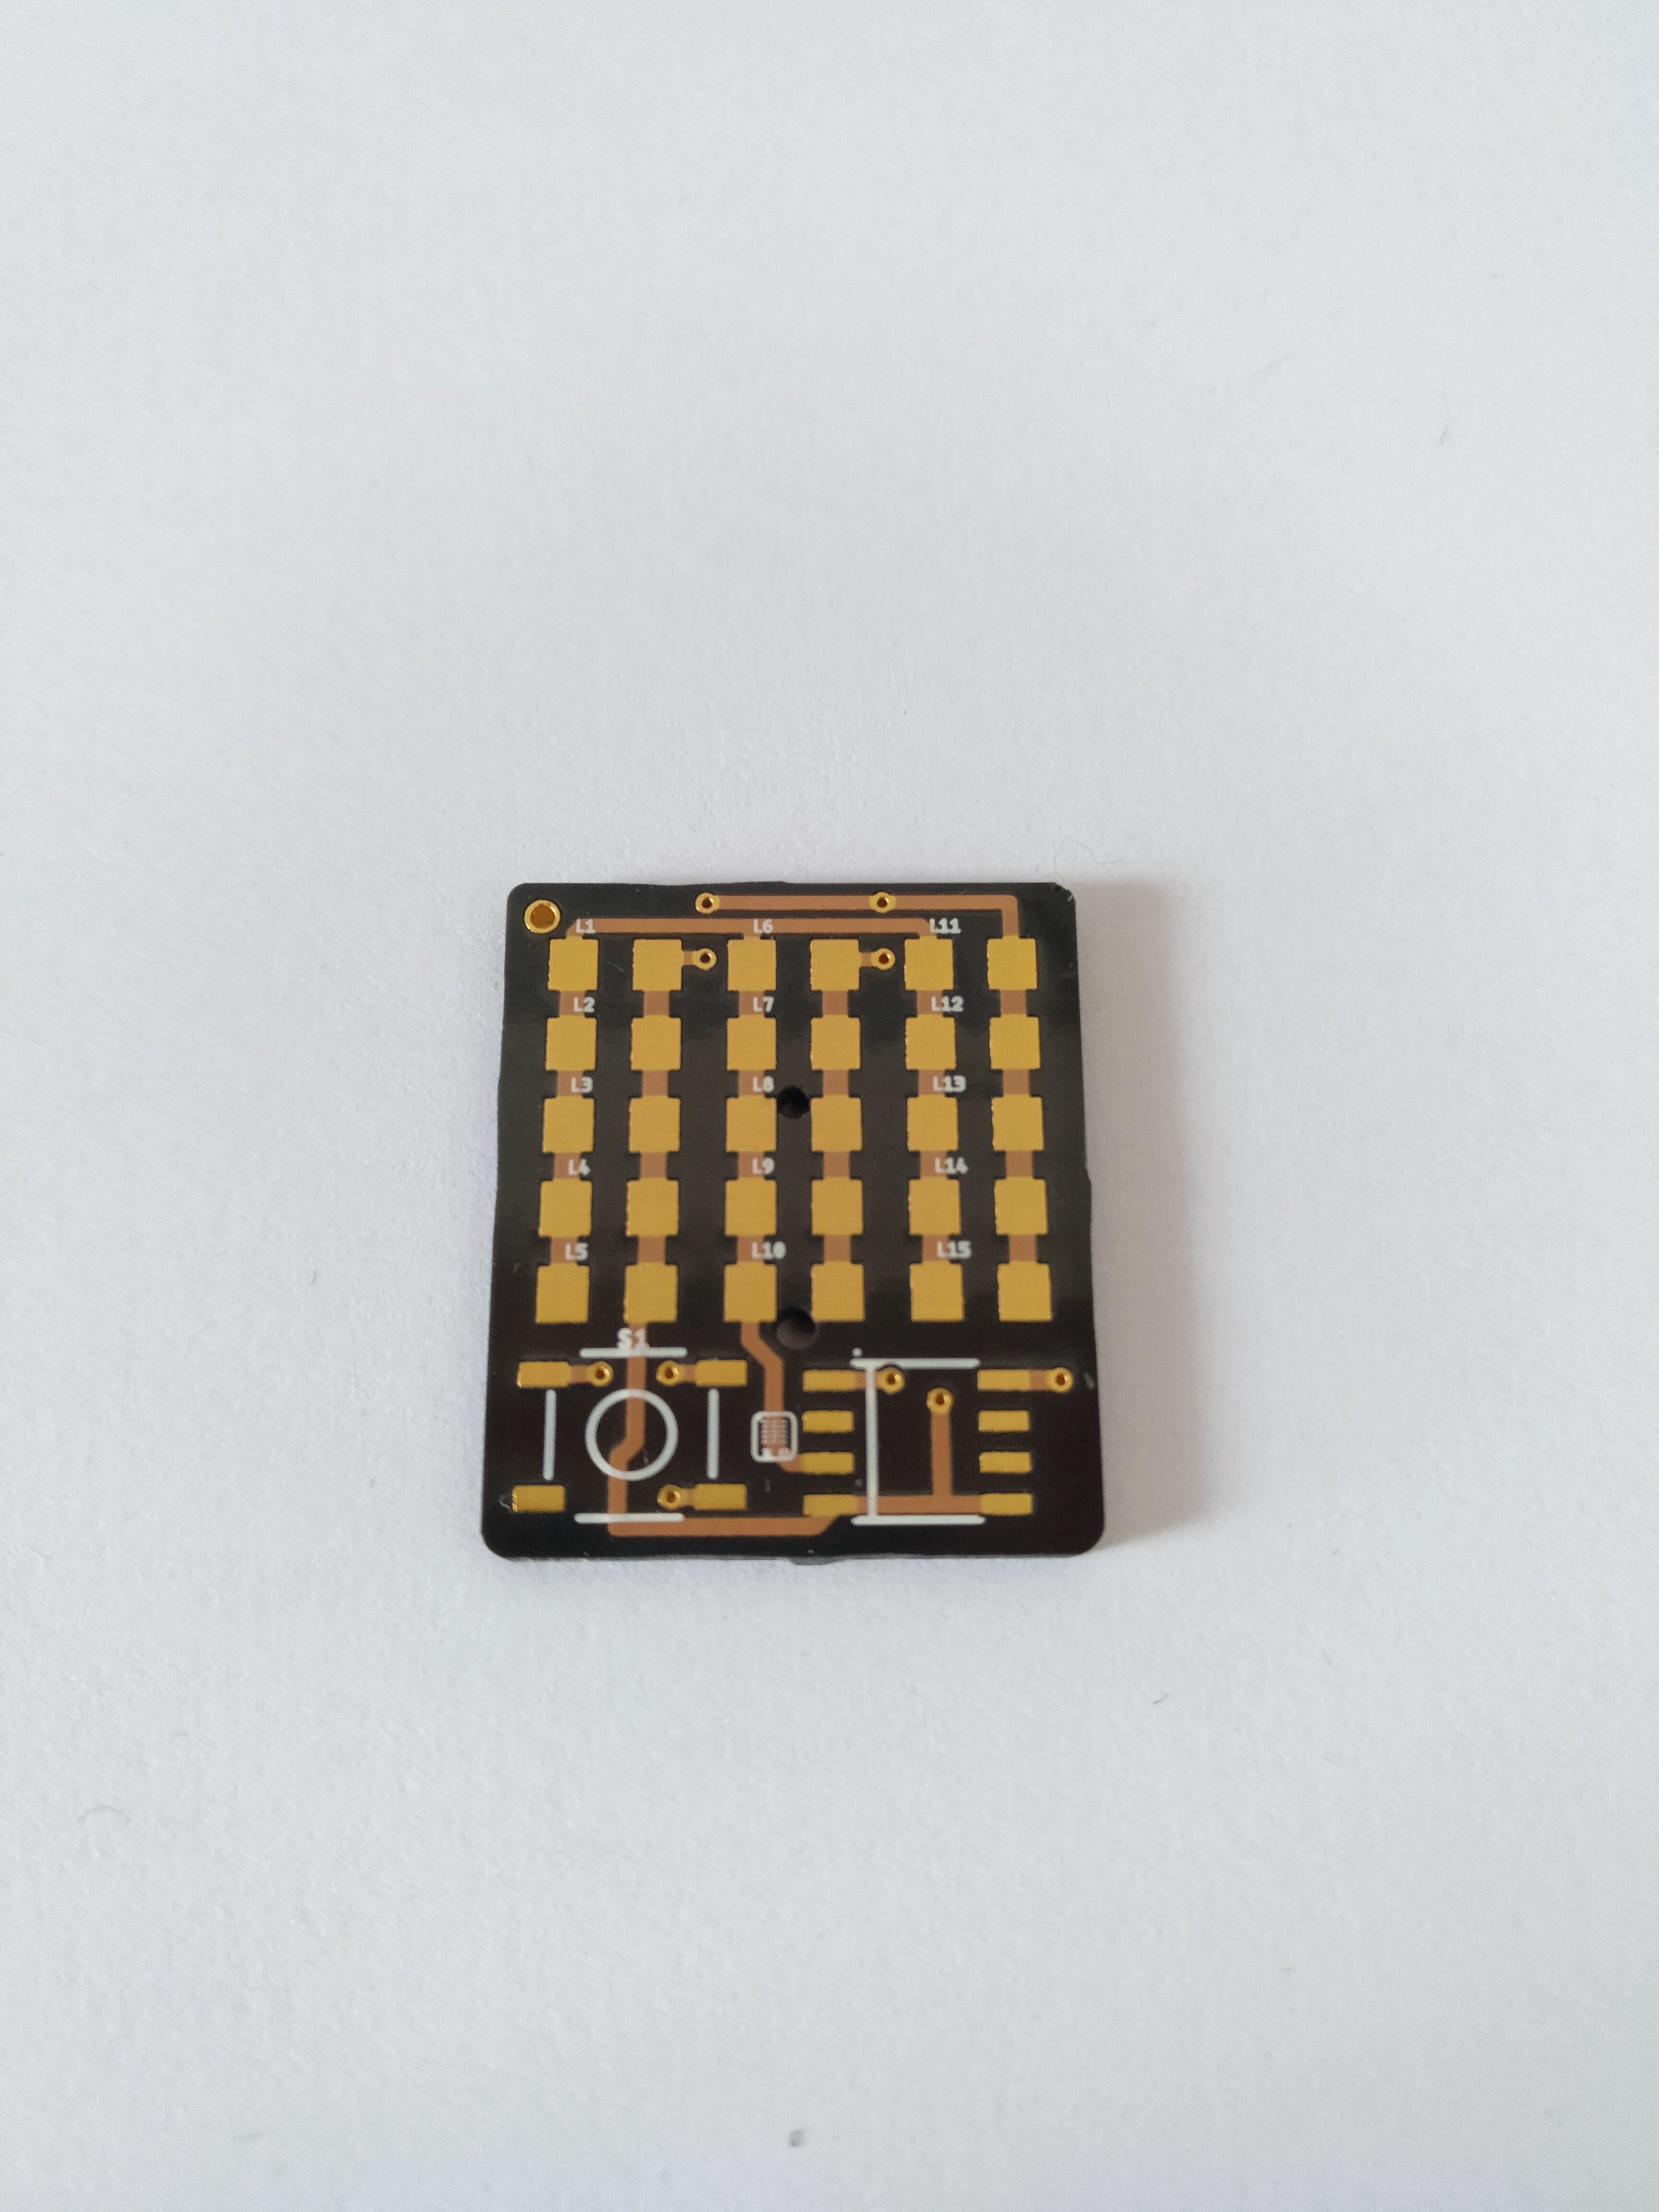
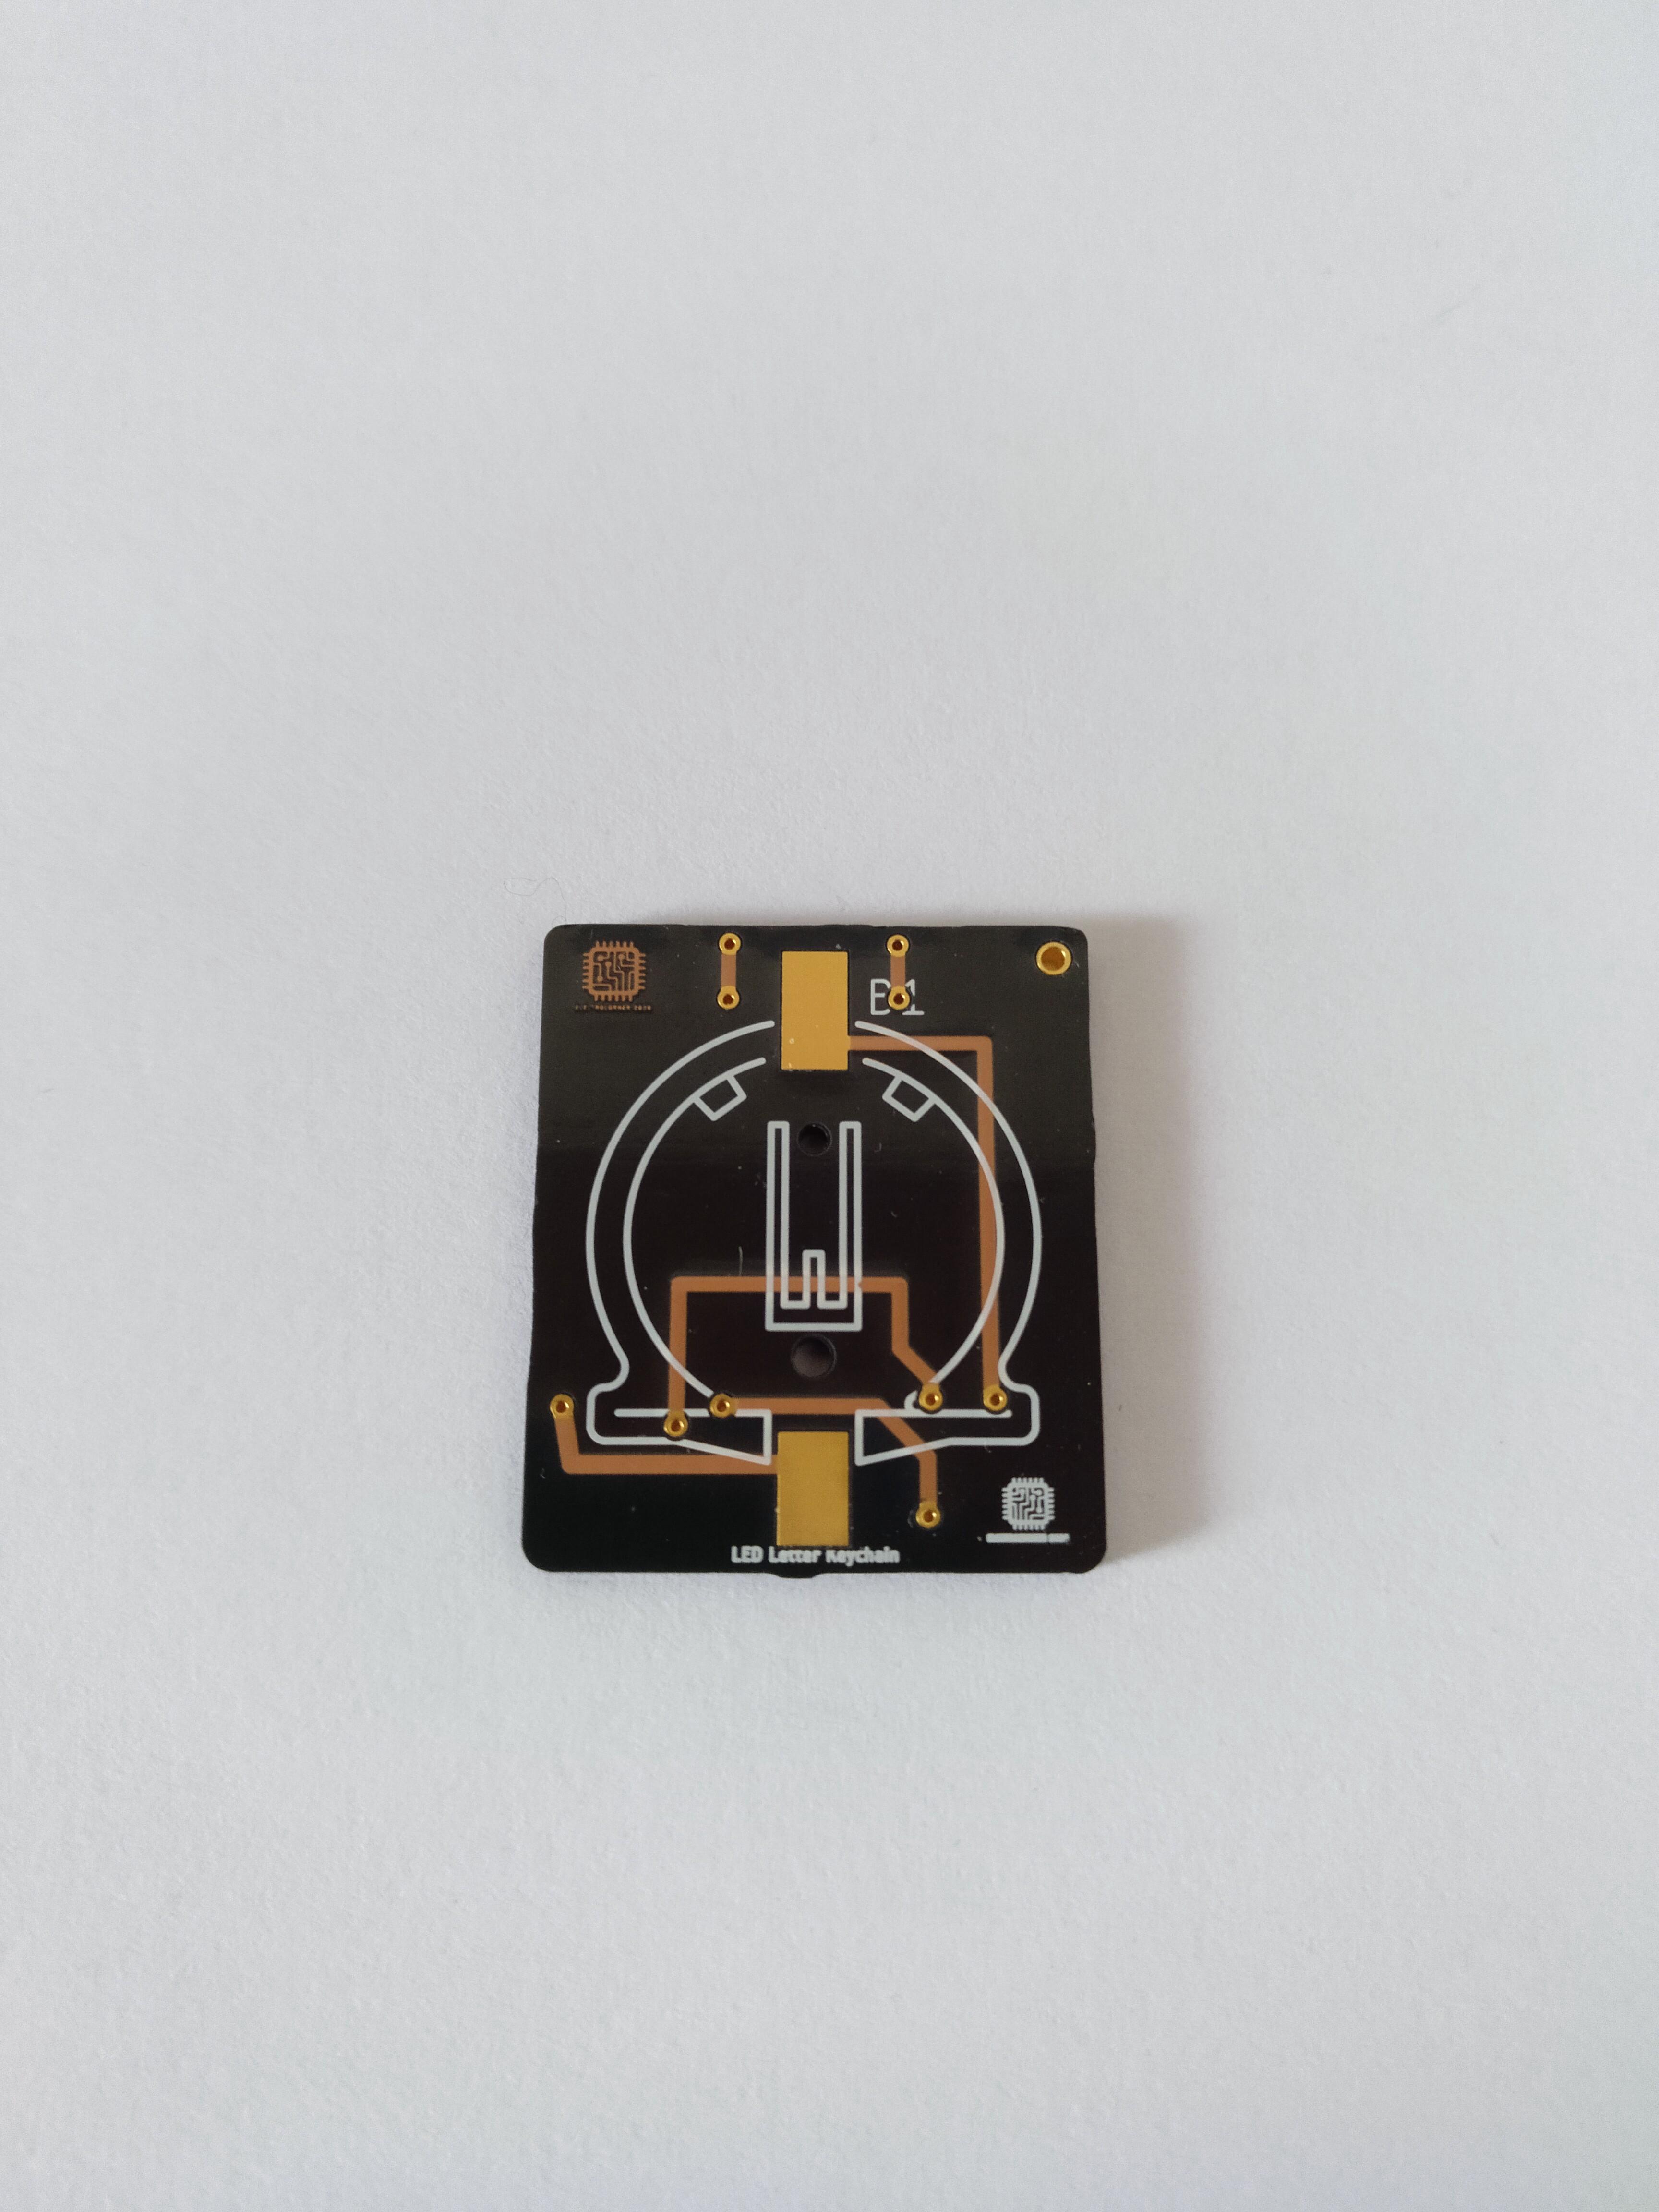
Components
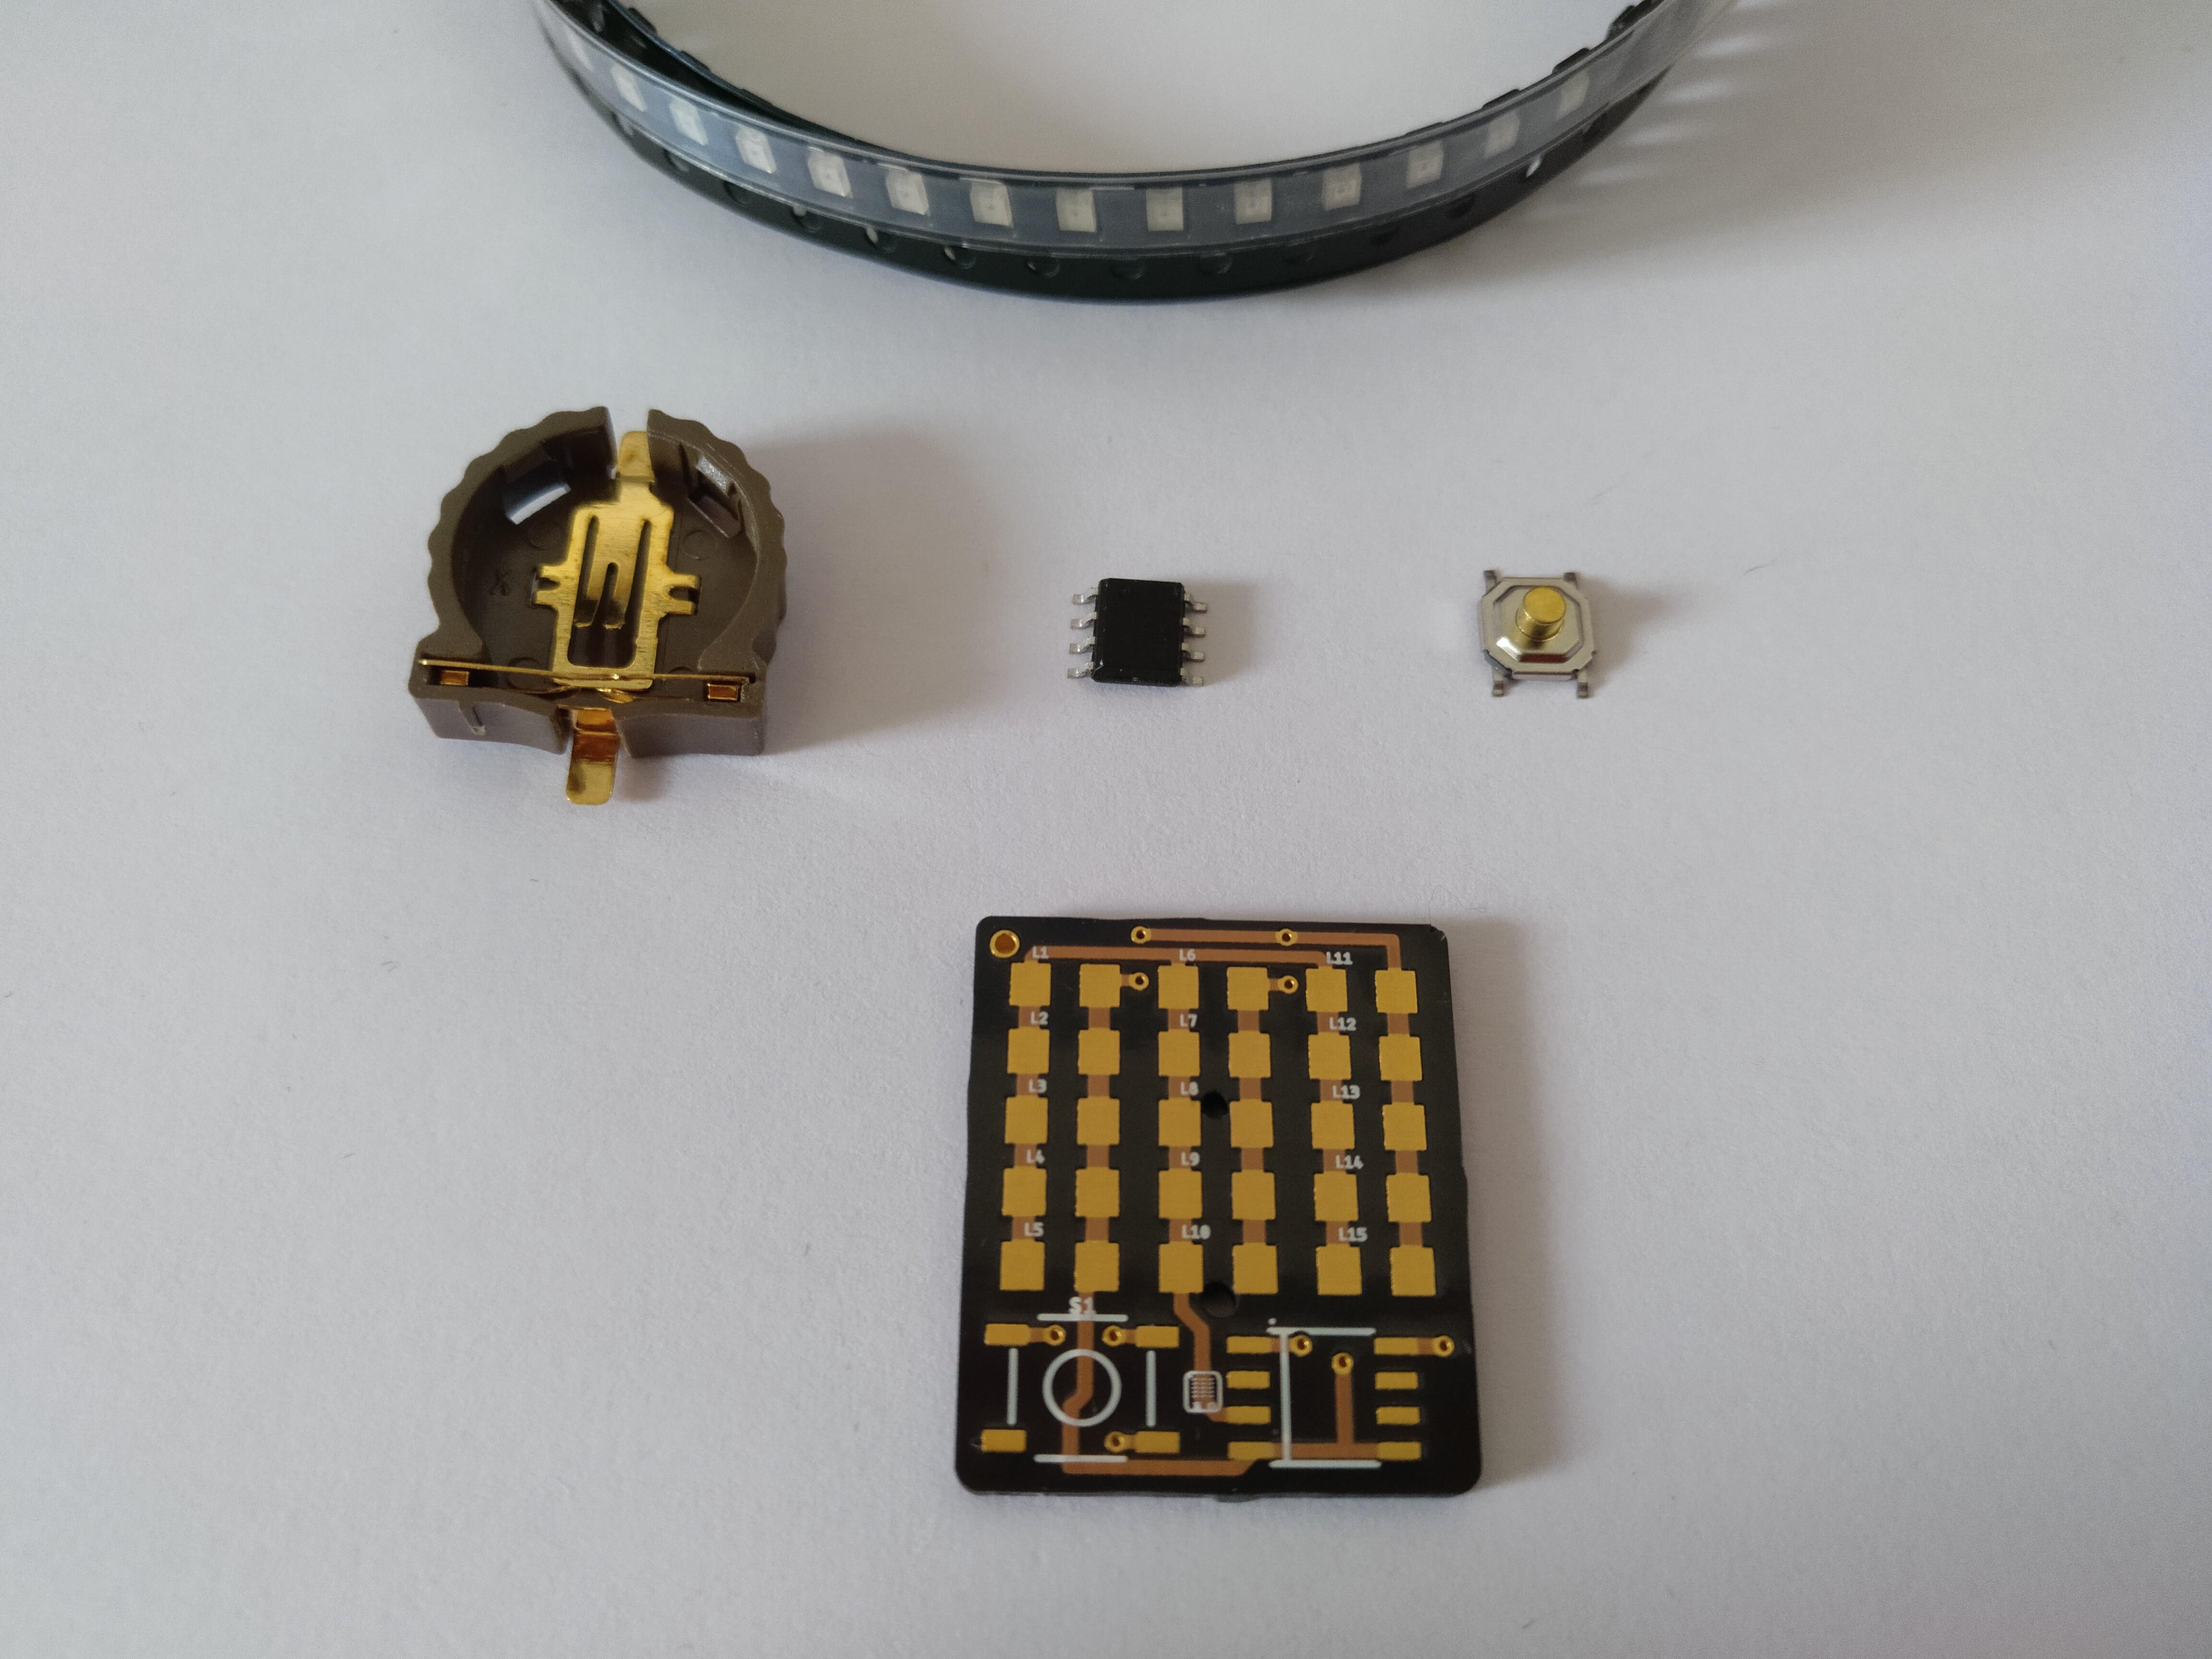
- Custom PCB
- ATtiny85 or ATiny13 SMD package
- 1206 SMD LEDs (depends on the letter we are going to create) You can choose any colour!
- SMD tact switch
- CR1220 coin cell holder
Tools needed
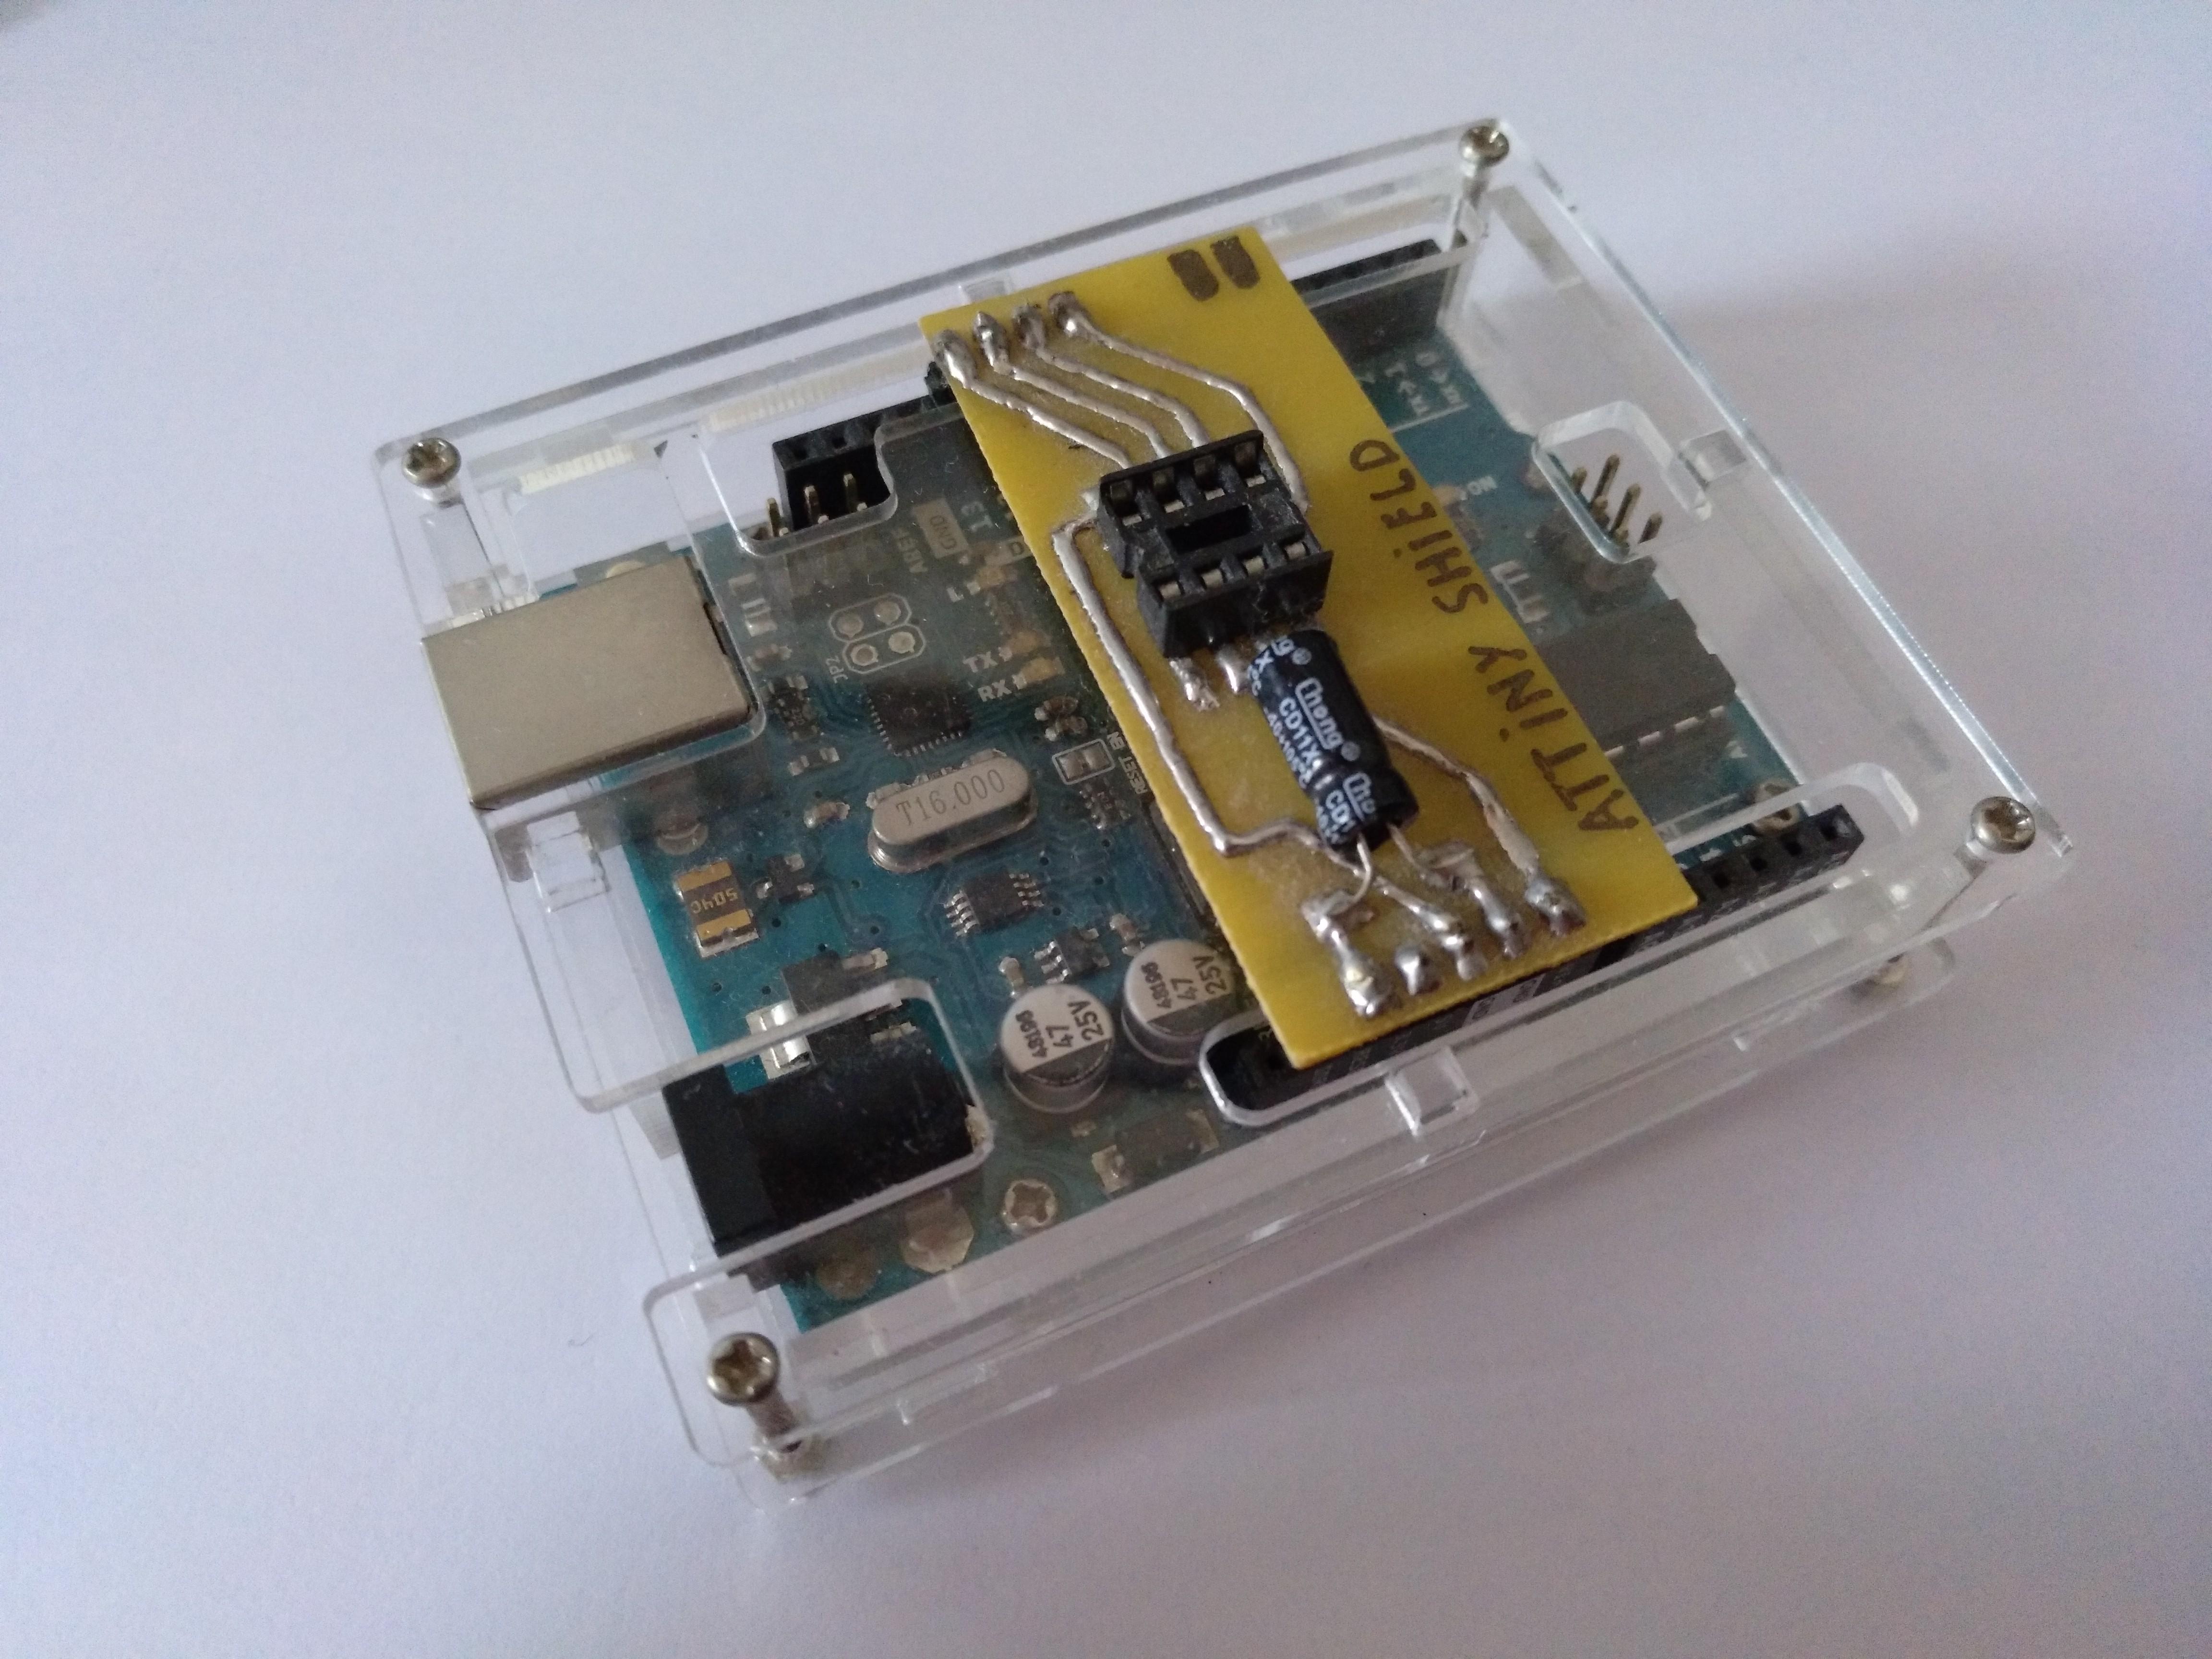
- Arduino to program the ATtiny
- Soldering iron
- Rosin core solder
- Tweezers
Here is the link to my Tindie store in case you want to buy it because it comes all together as a kit and it will be easier for you! Tindie
Soldering the LEDs and the Button
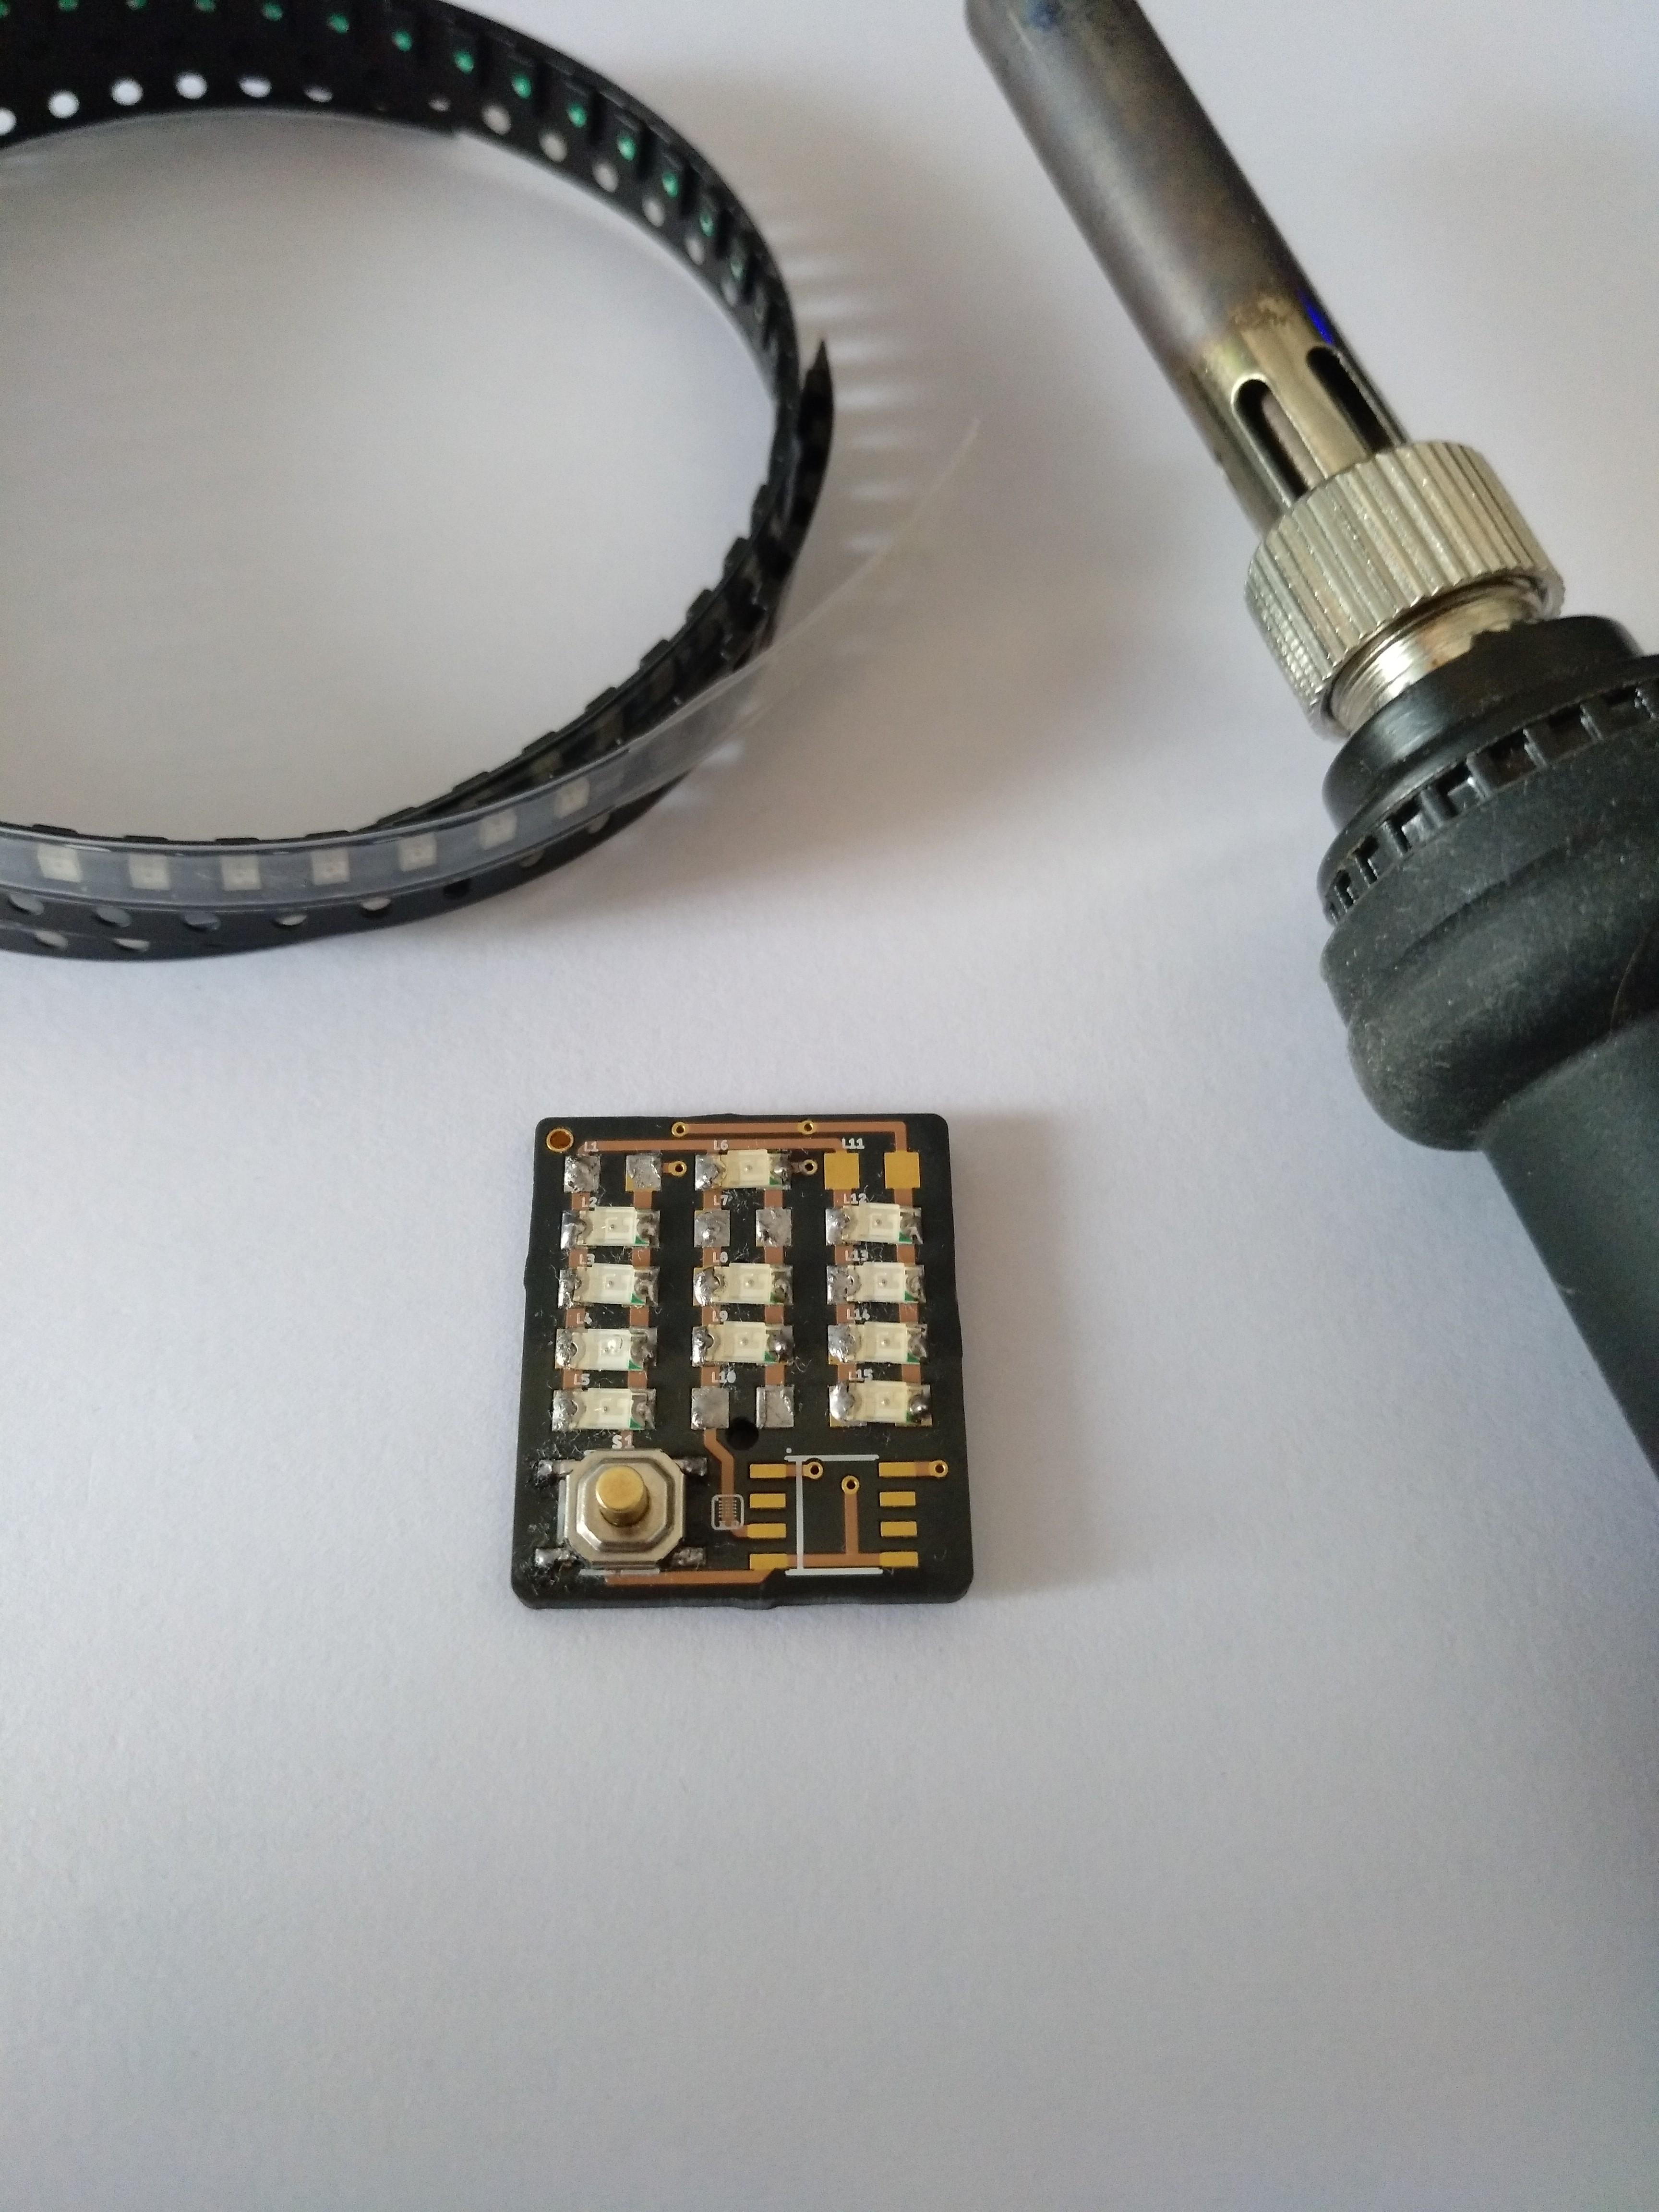
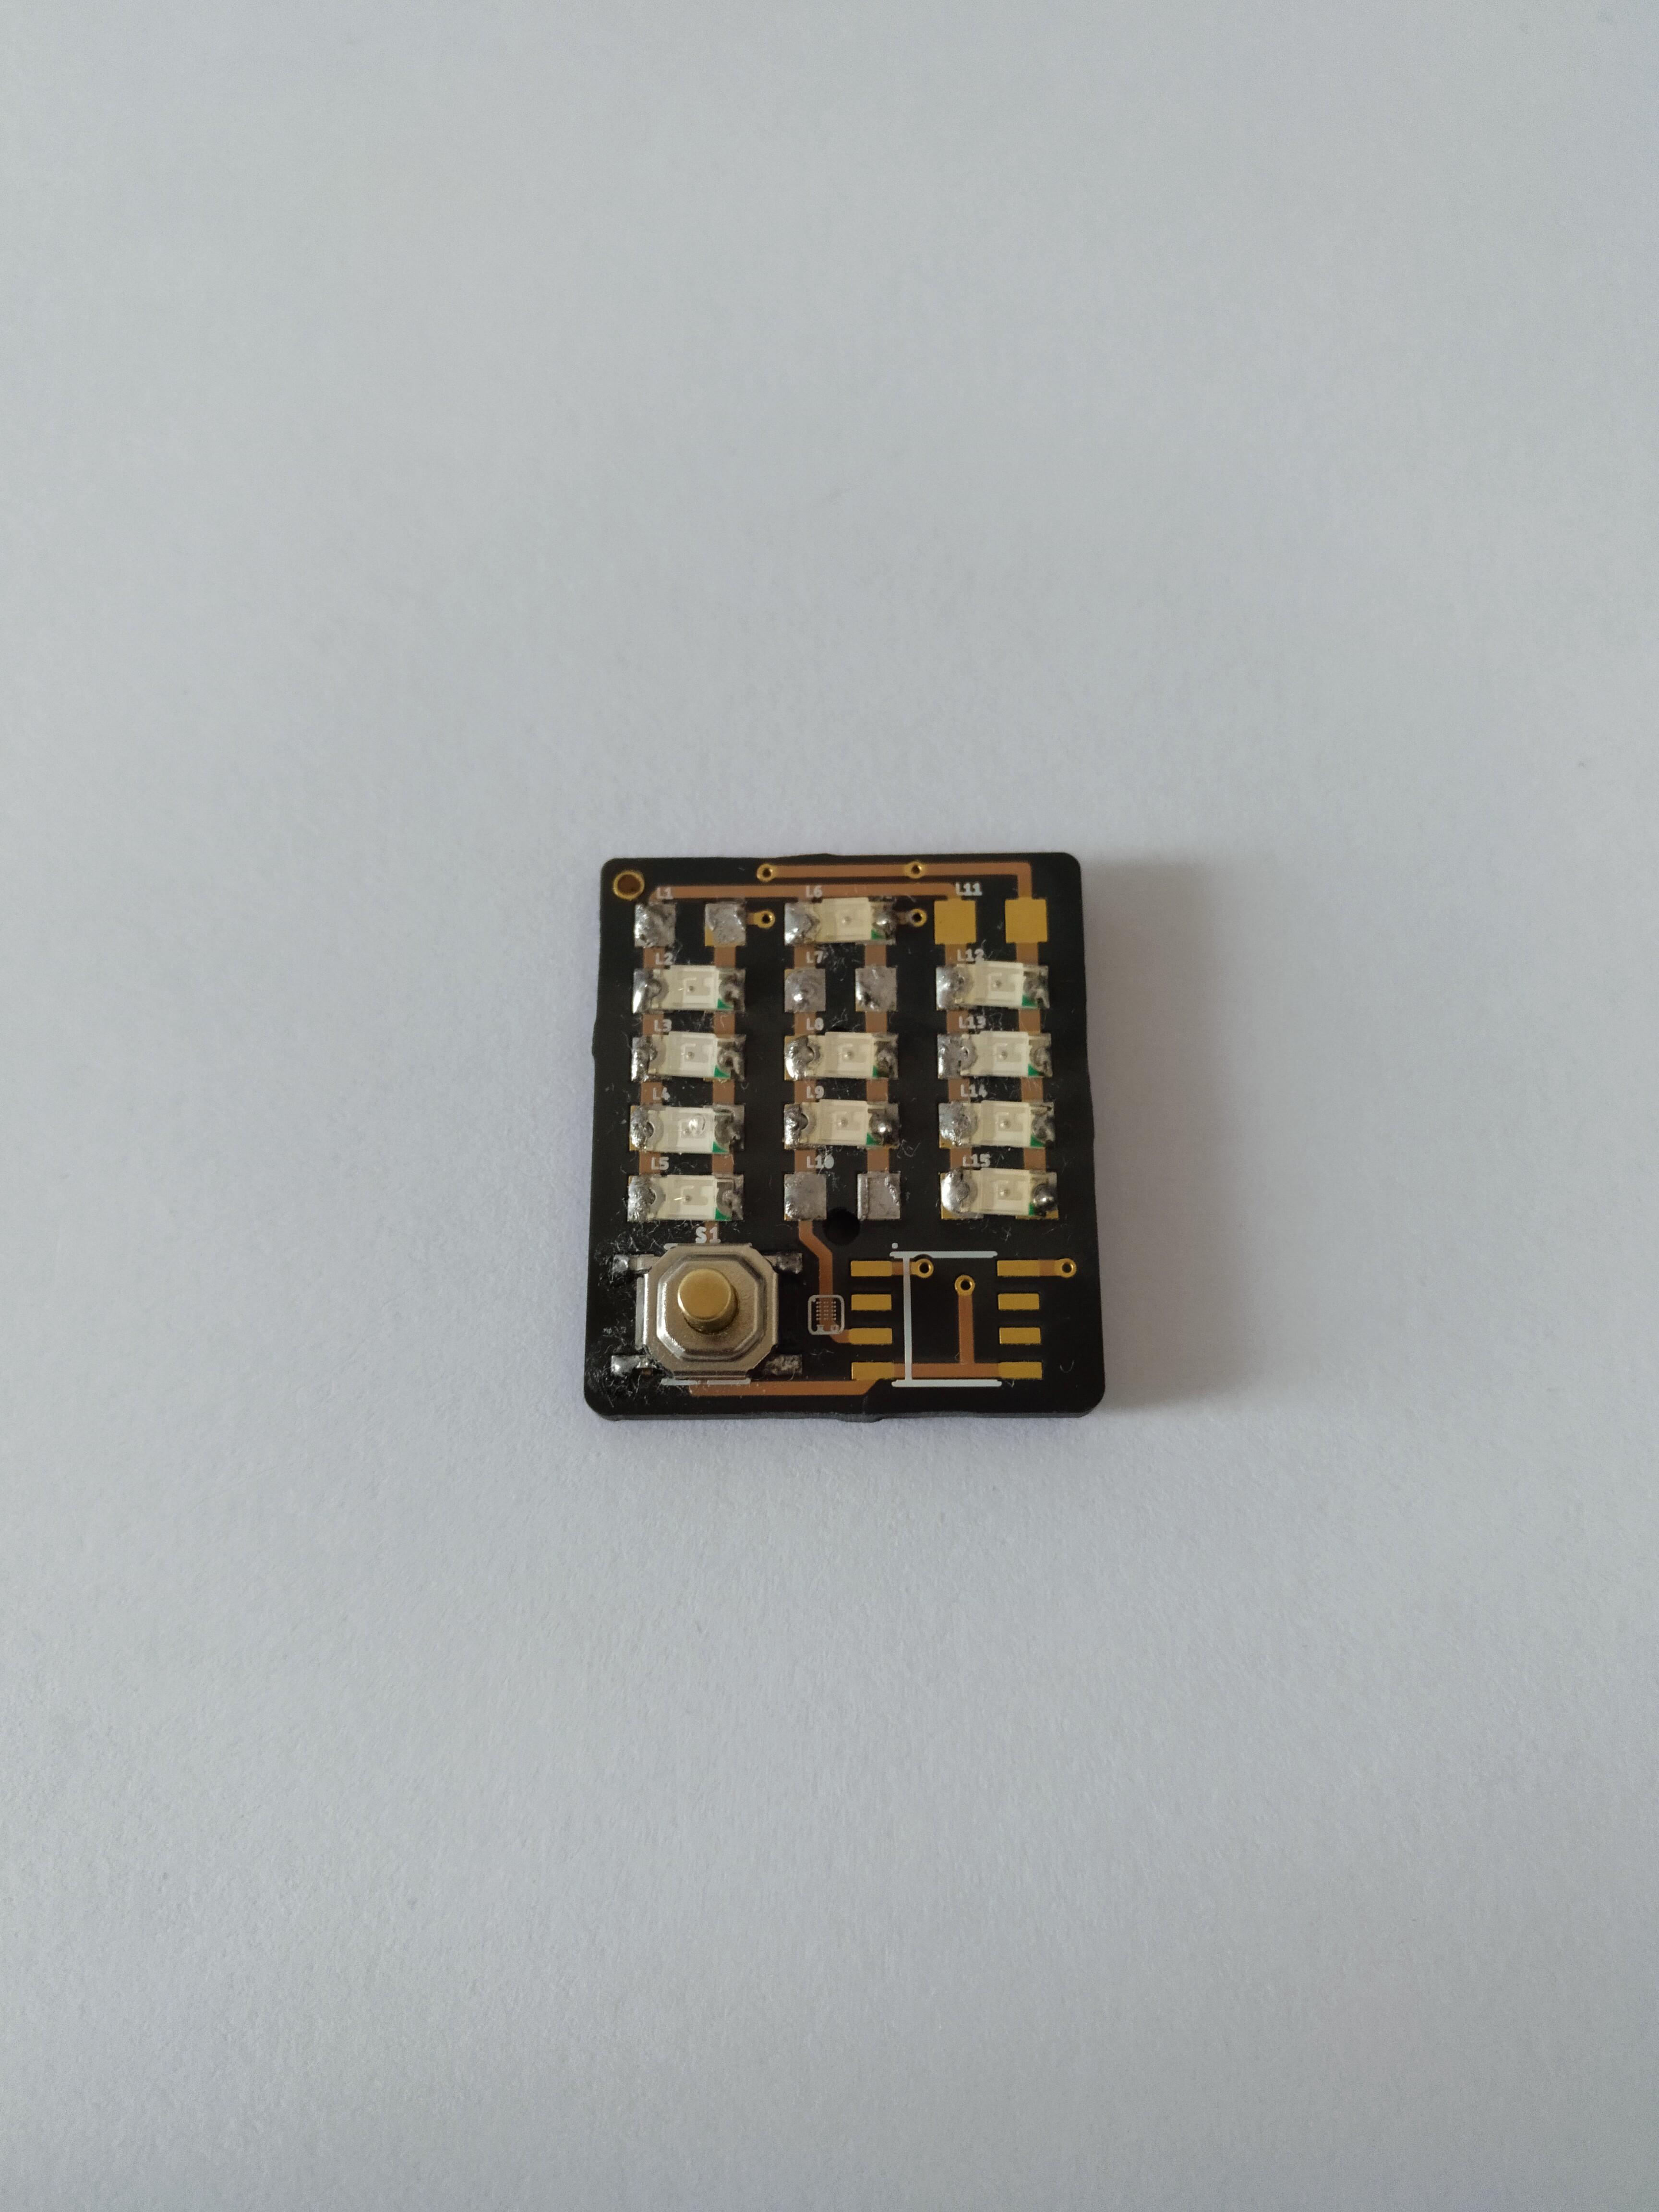
Now we are going to solder the LEDs first. You can solder any letter you want as the board has a small matrix made of three columns with five rows each that makes possible soldering and creating any letter of the alphabet!
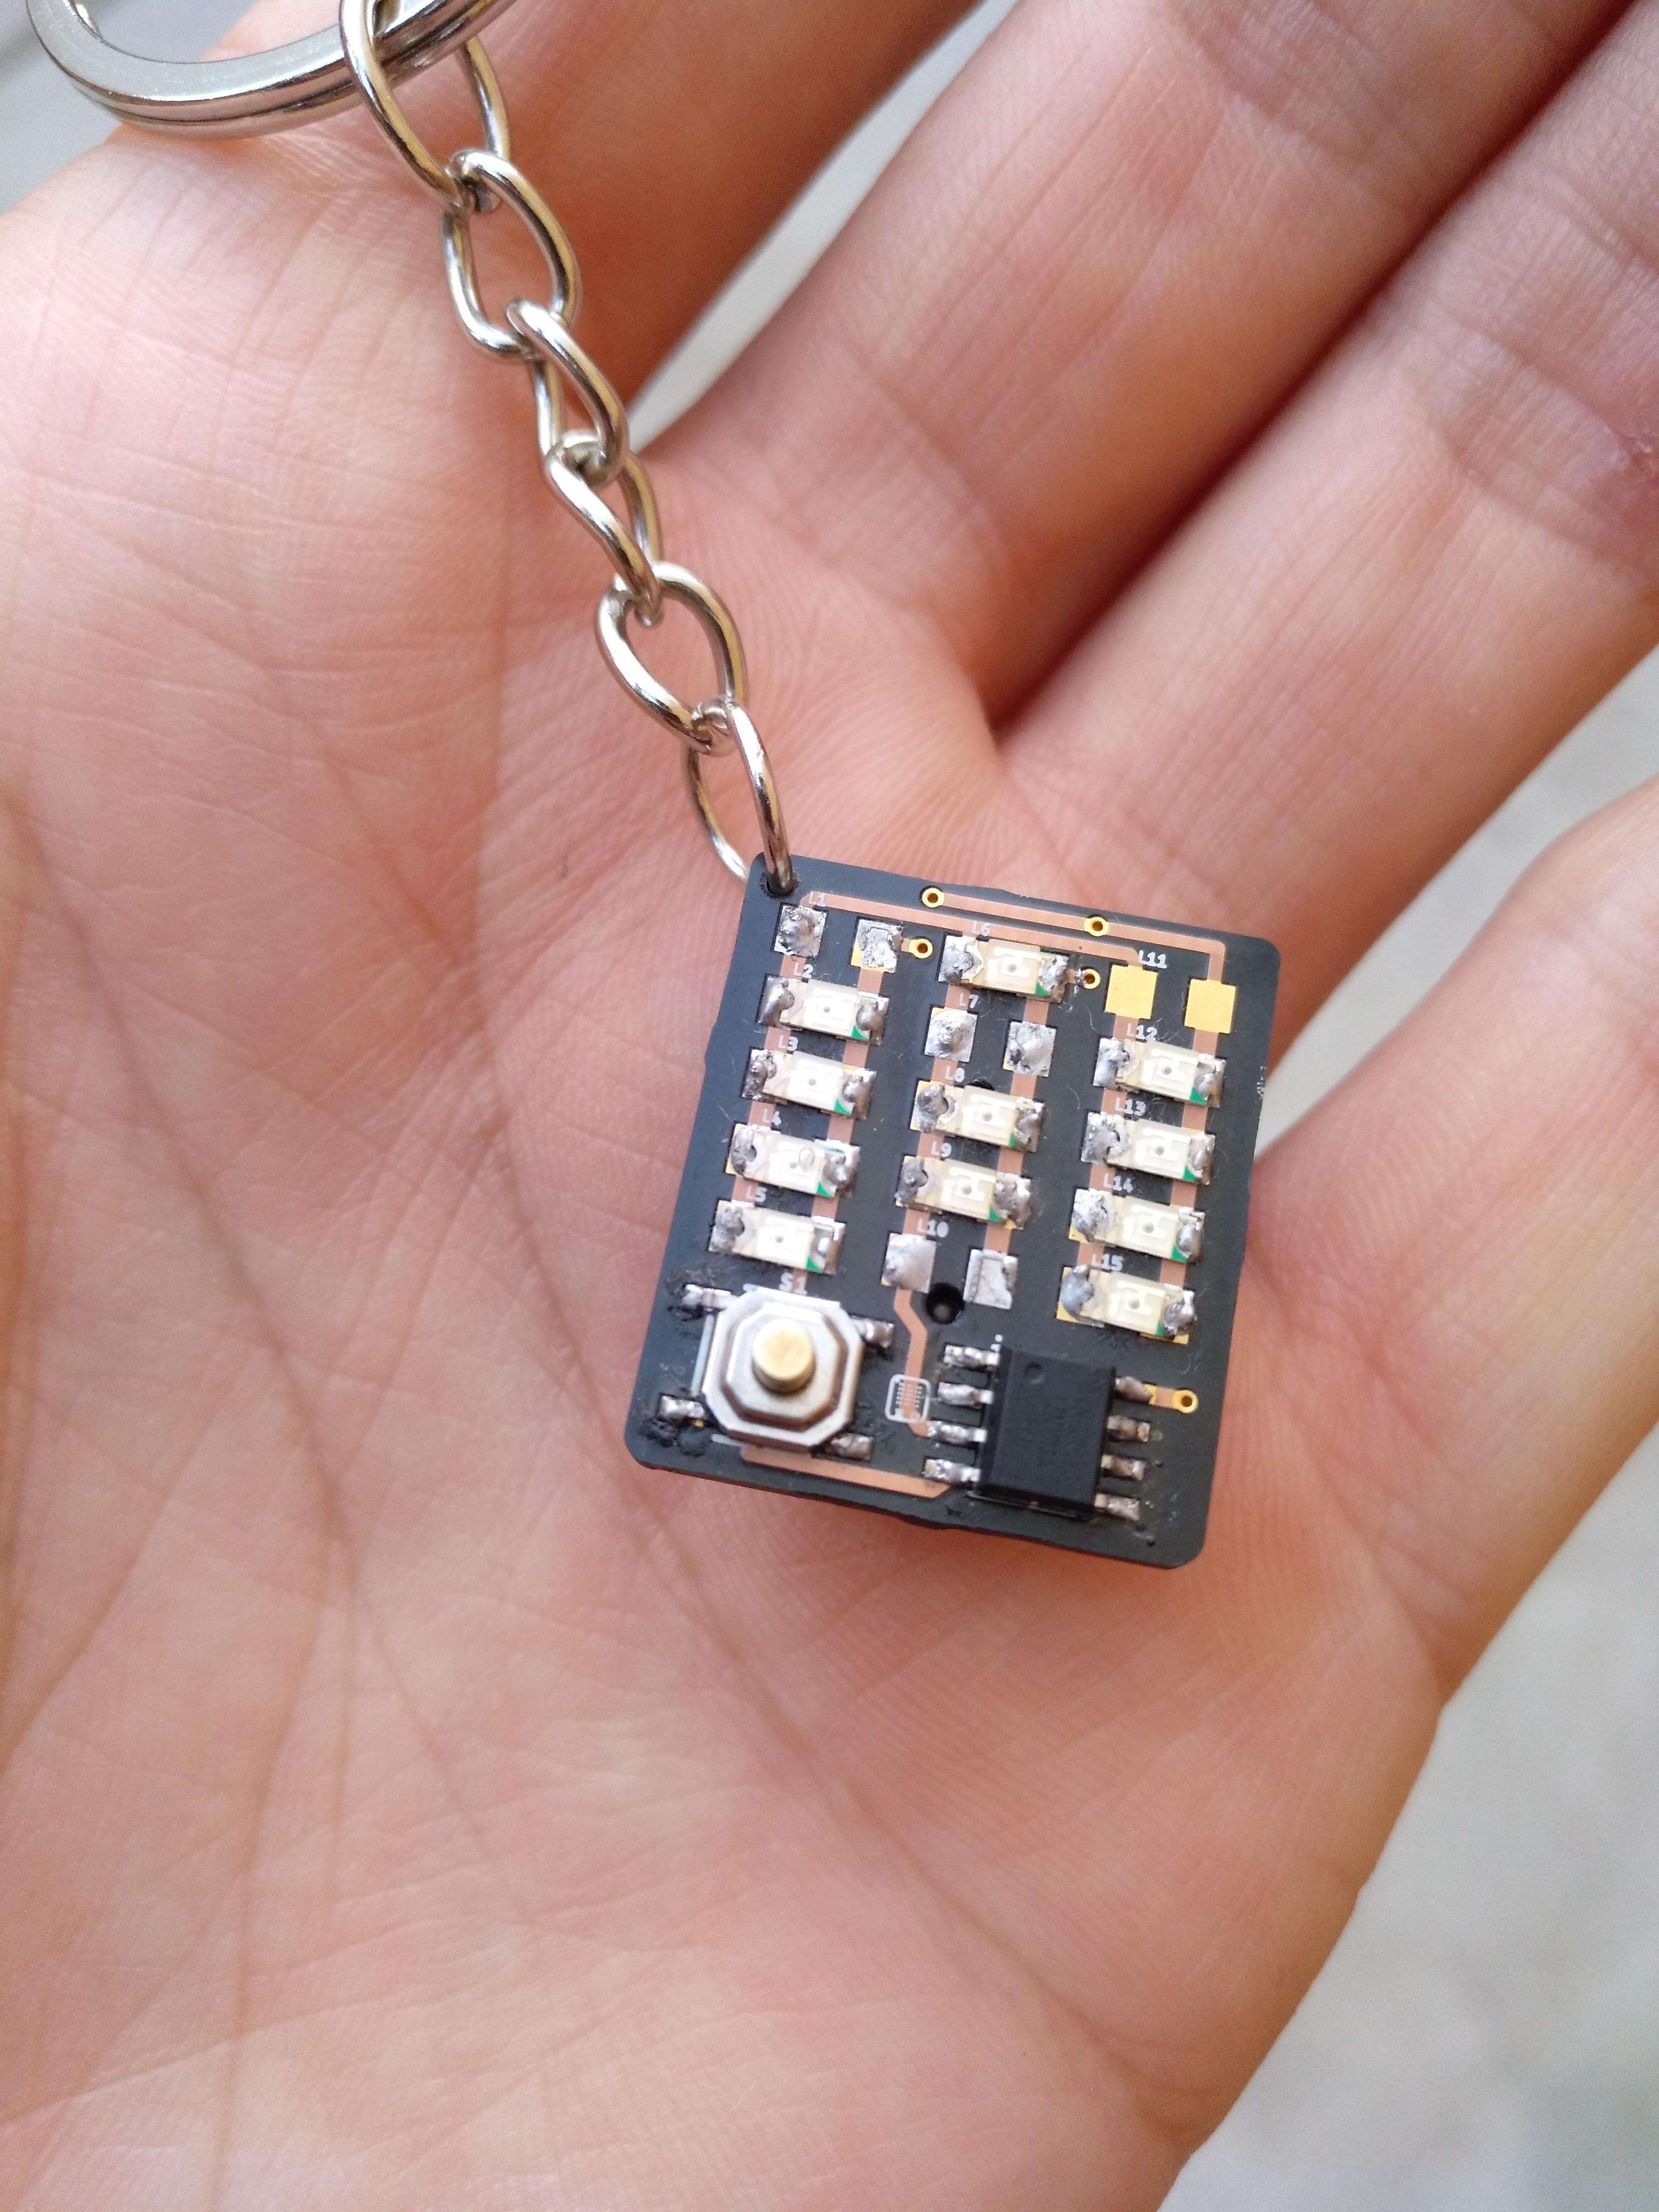
The positive part of the LED has to match with the L1 to L15 text of the silkscreen. It is a bit small but it can be seen. To make it easier, all the positive parts go on the left column and the negative on the right one. See the image to understand it
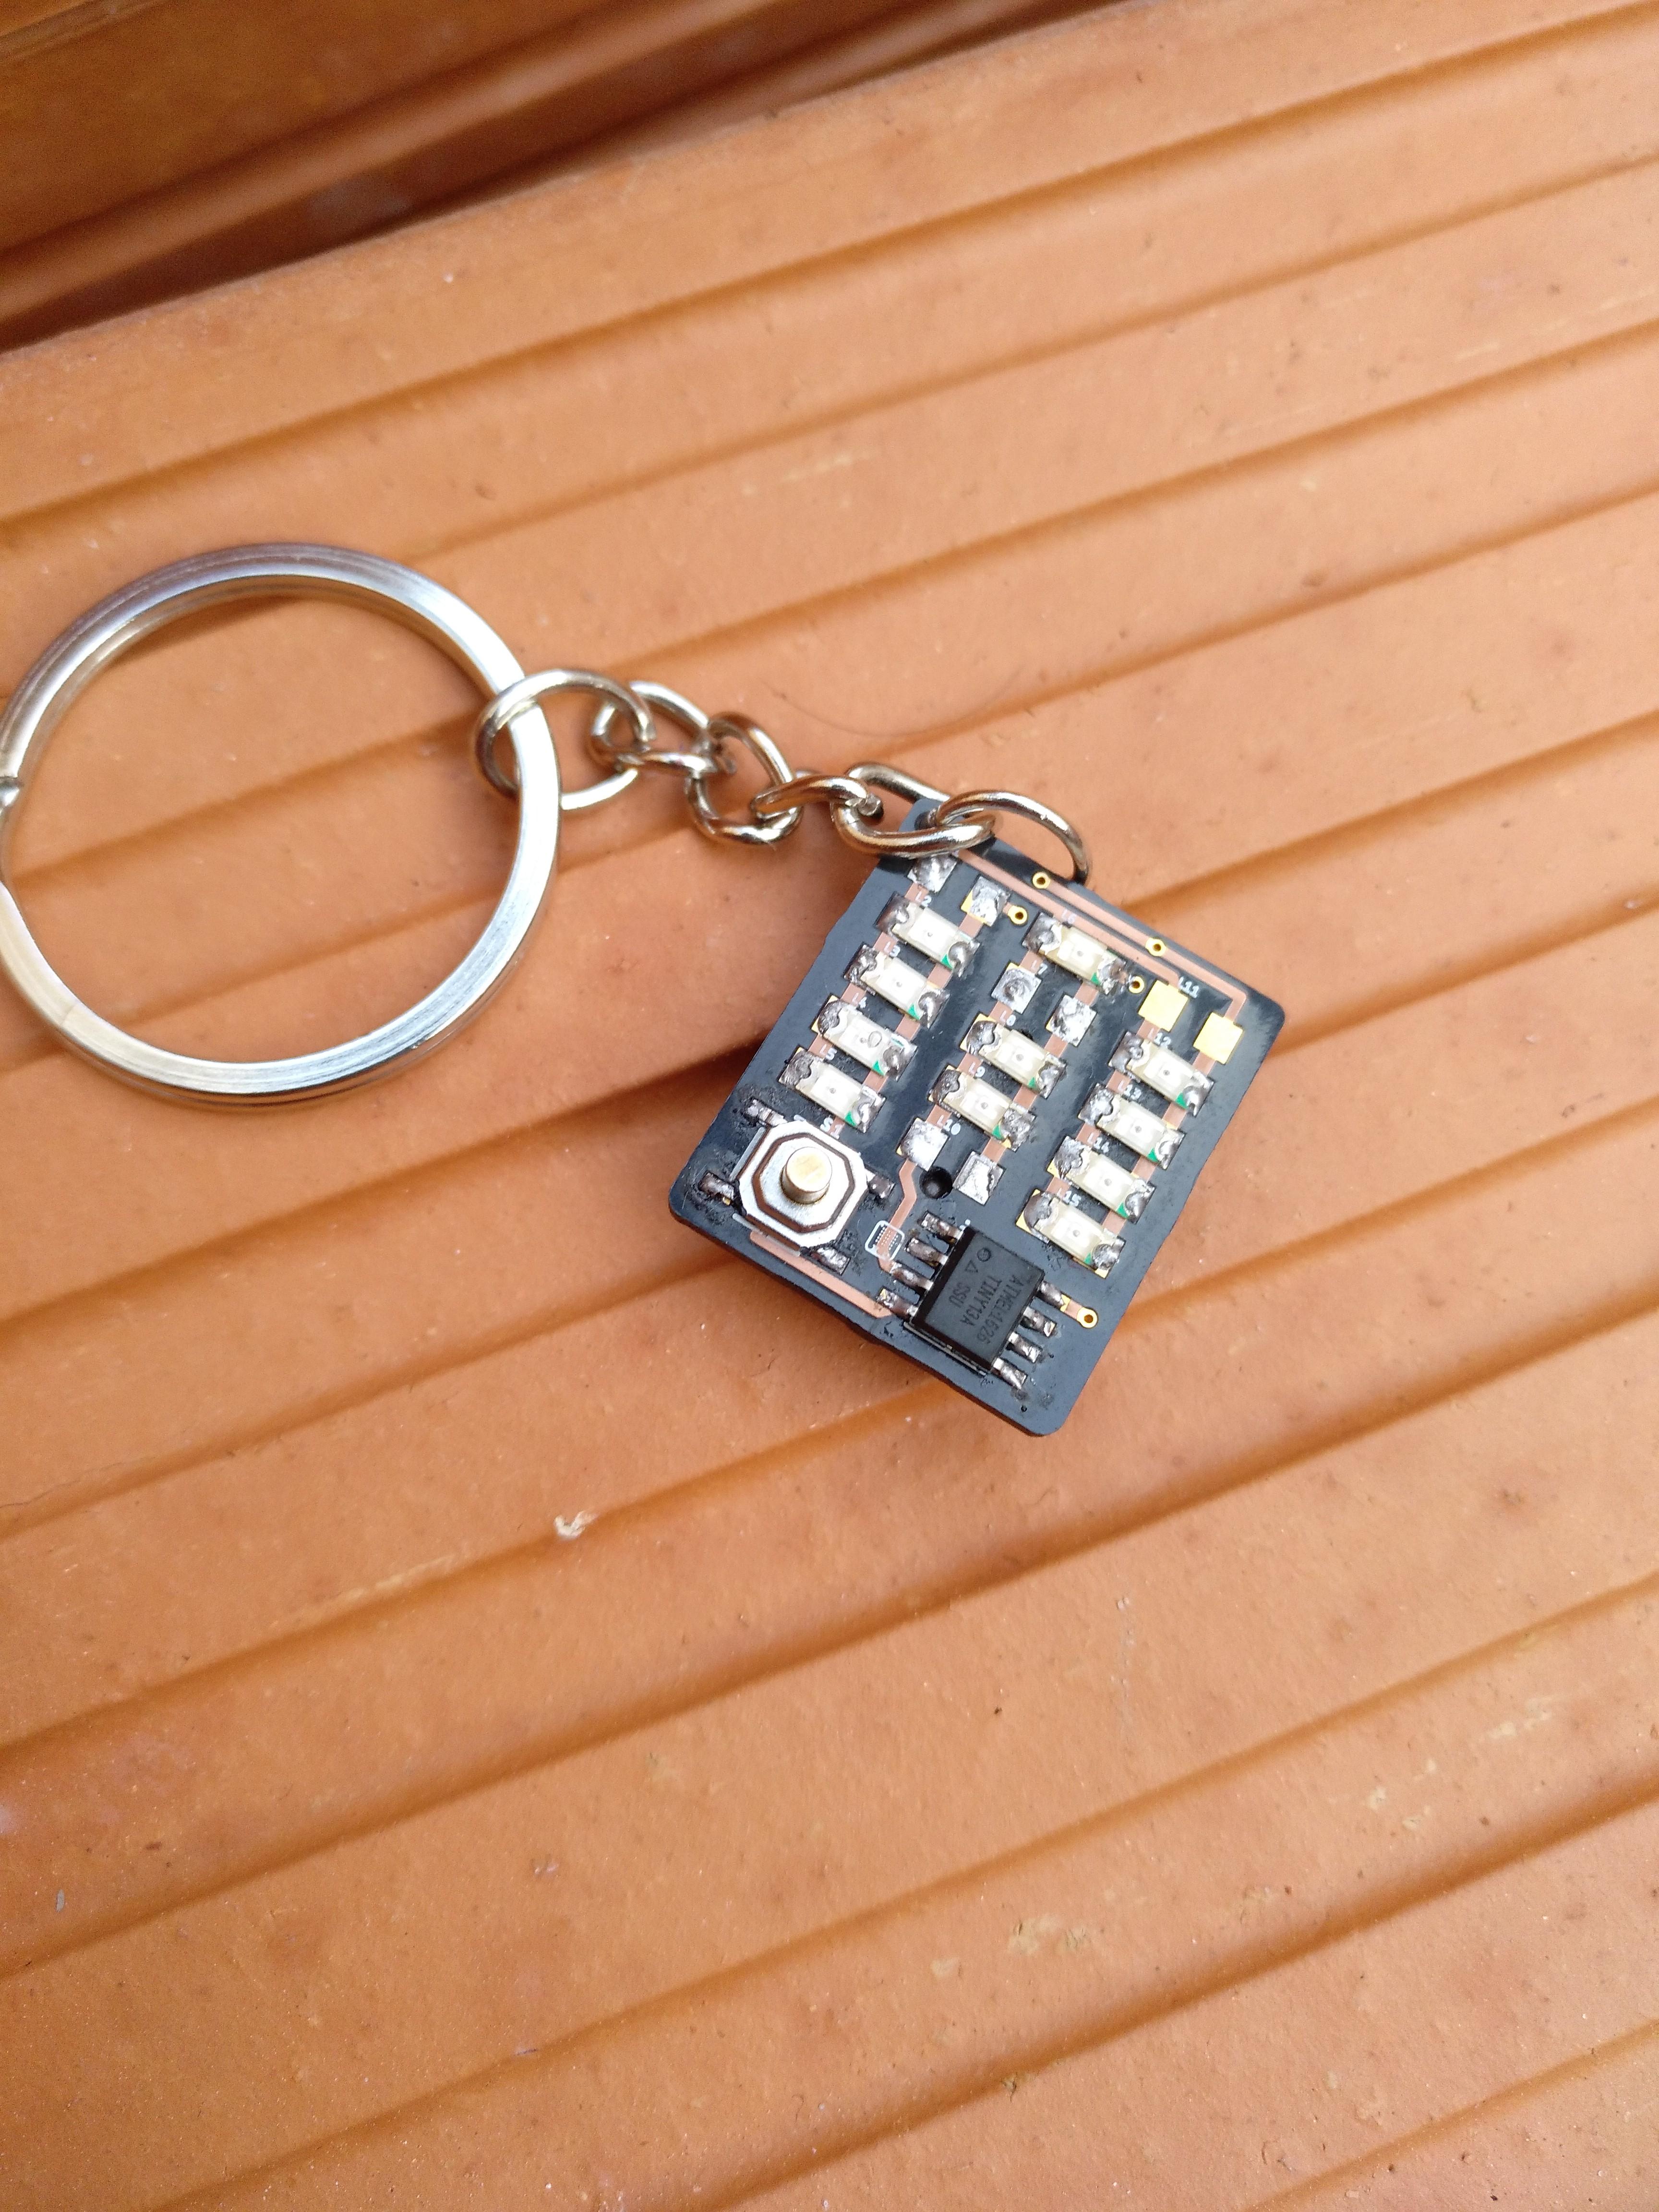
As you can see, I decided to create a letter A and it turned out great!
Once you have decided which letter to create and solder the LEDs to make it, solder the switch too.
Programming and Soldering the ATtiny
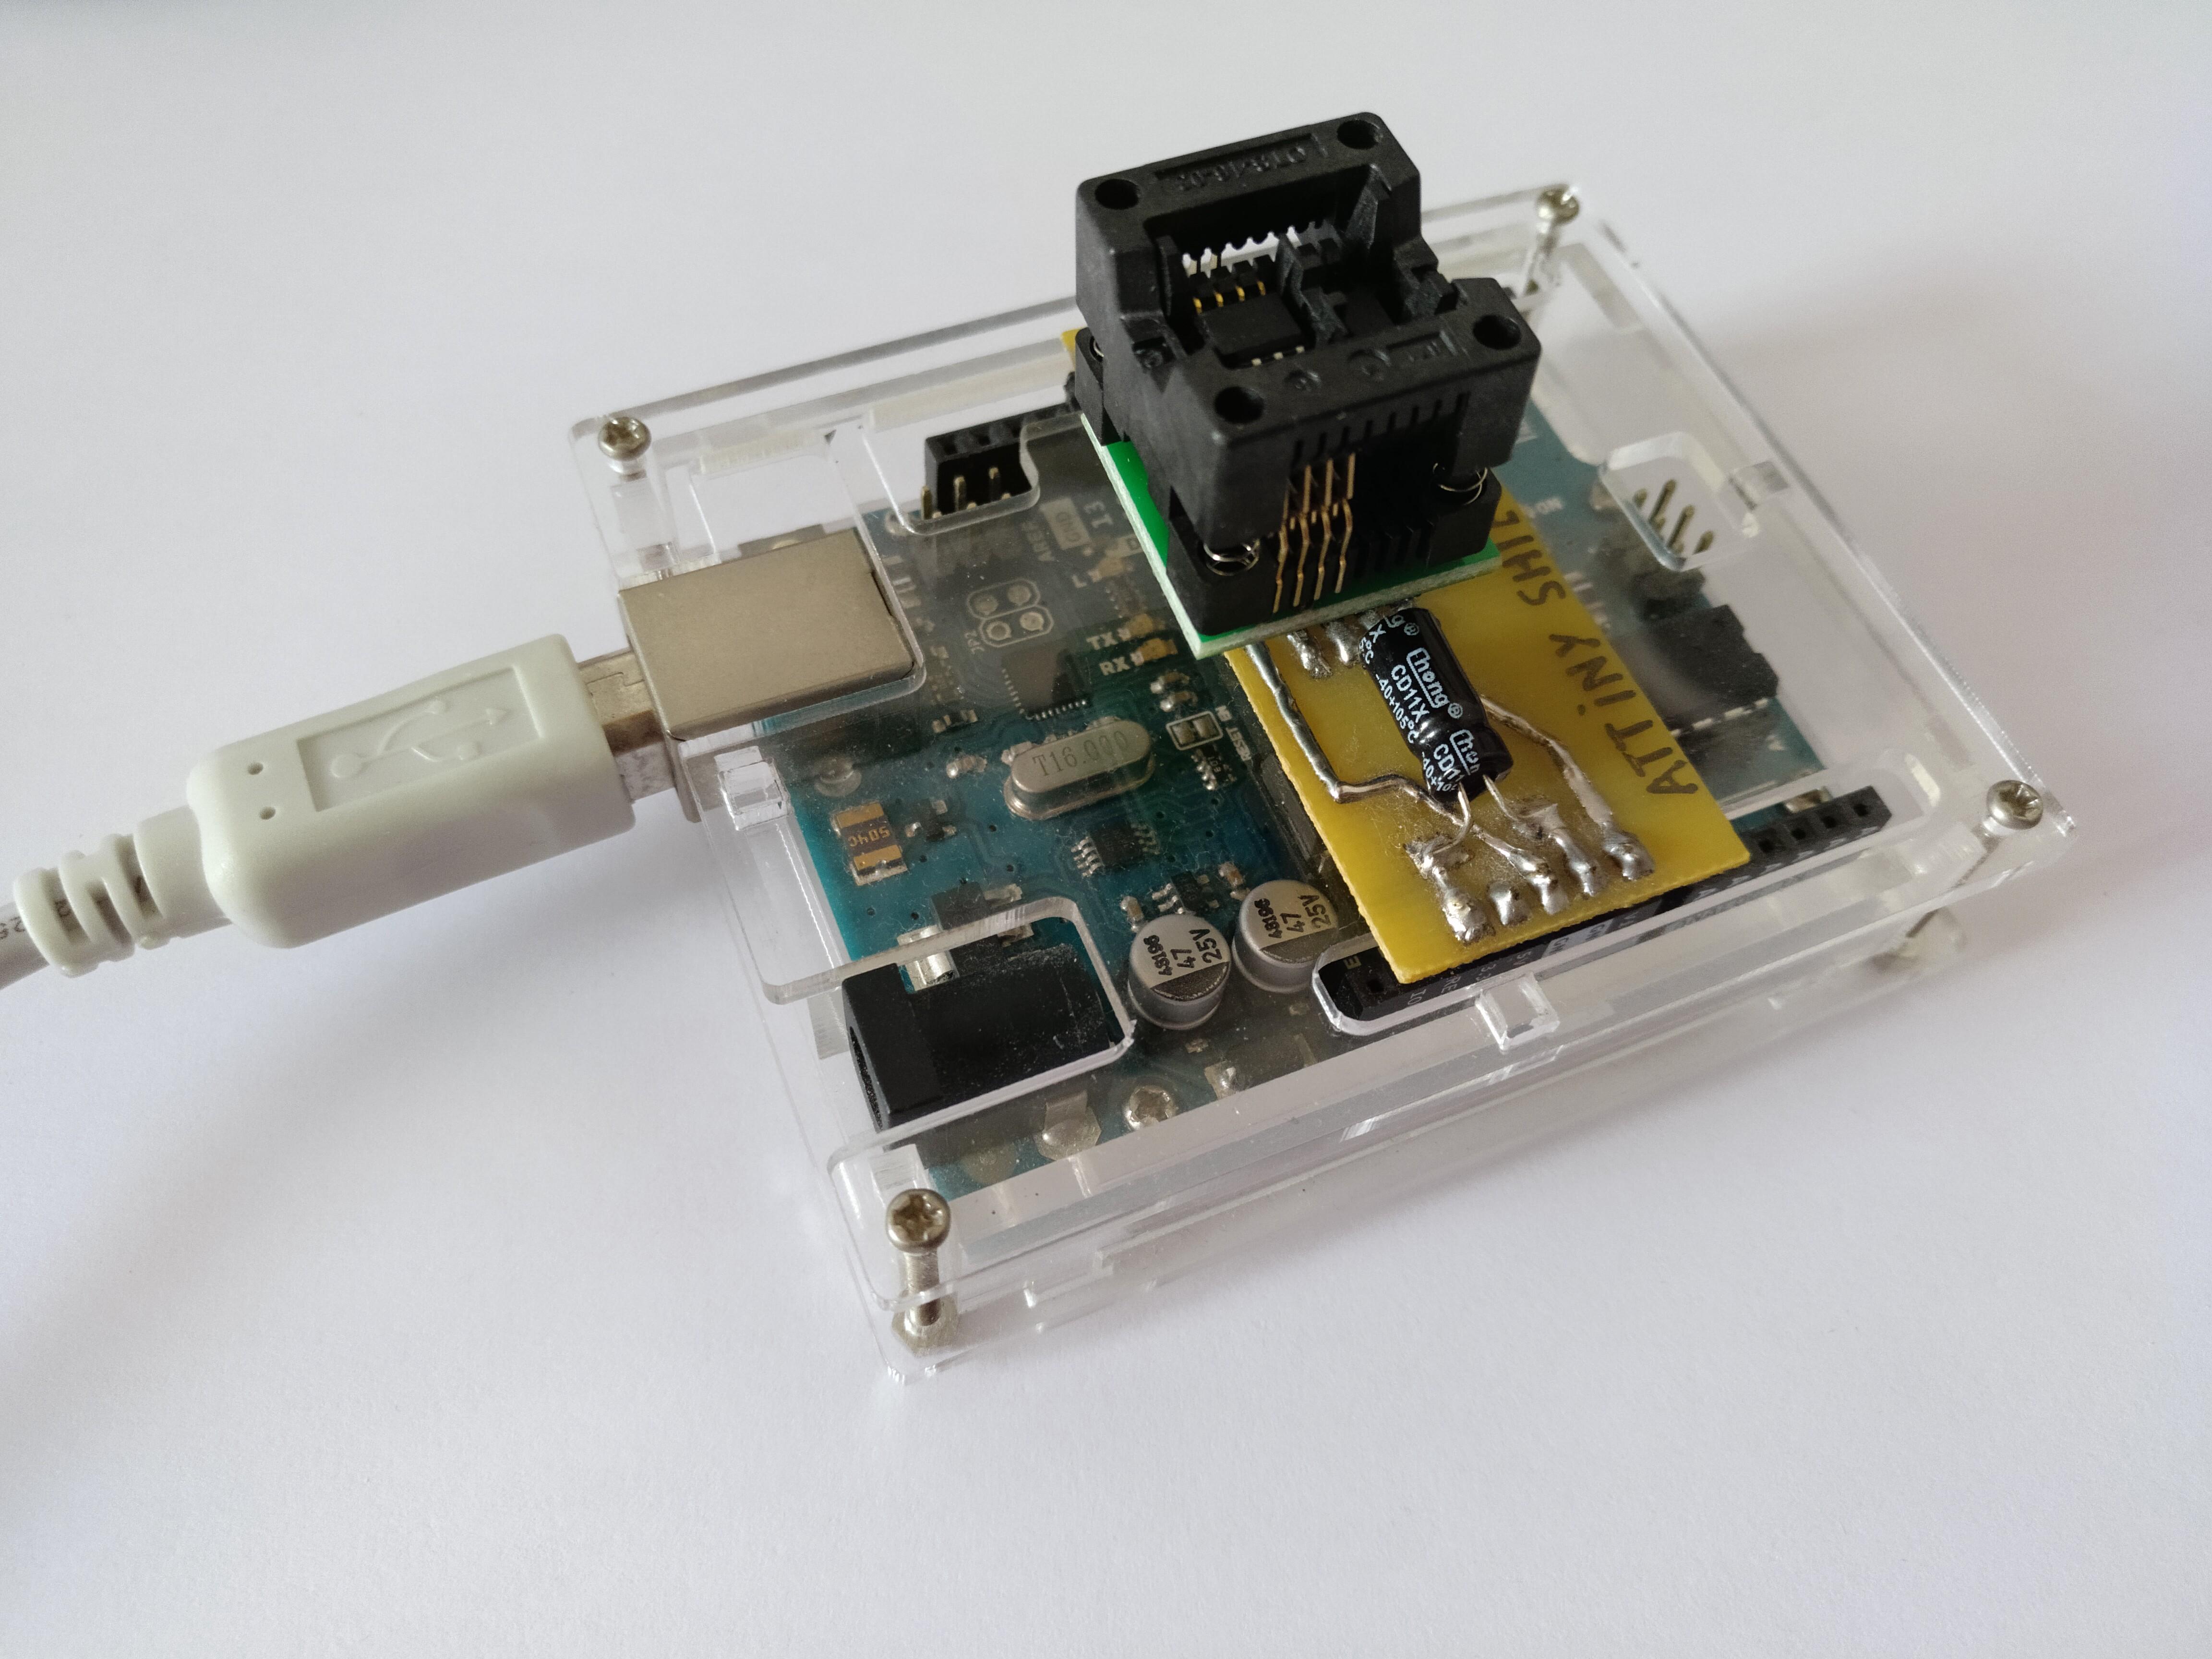
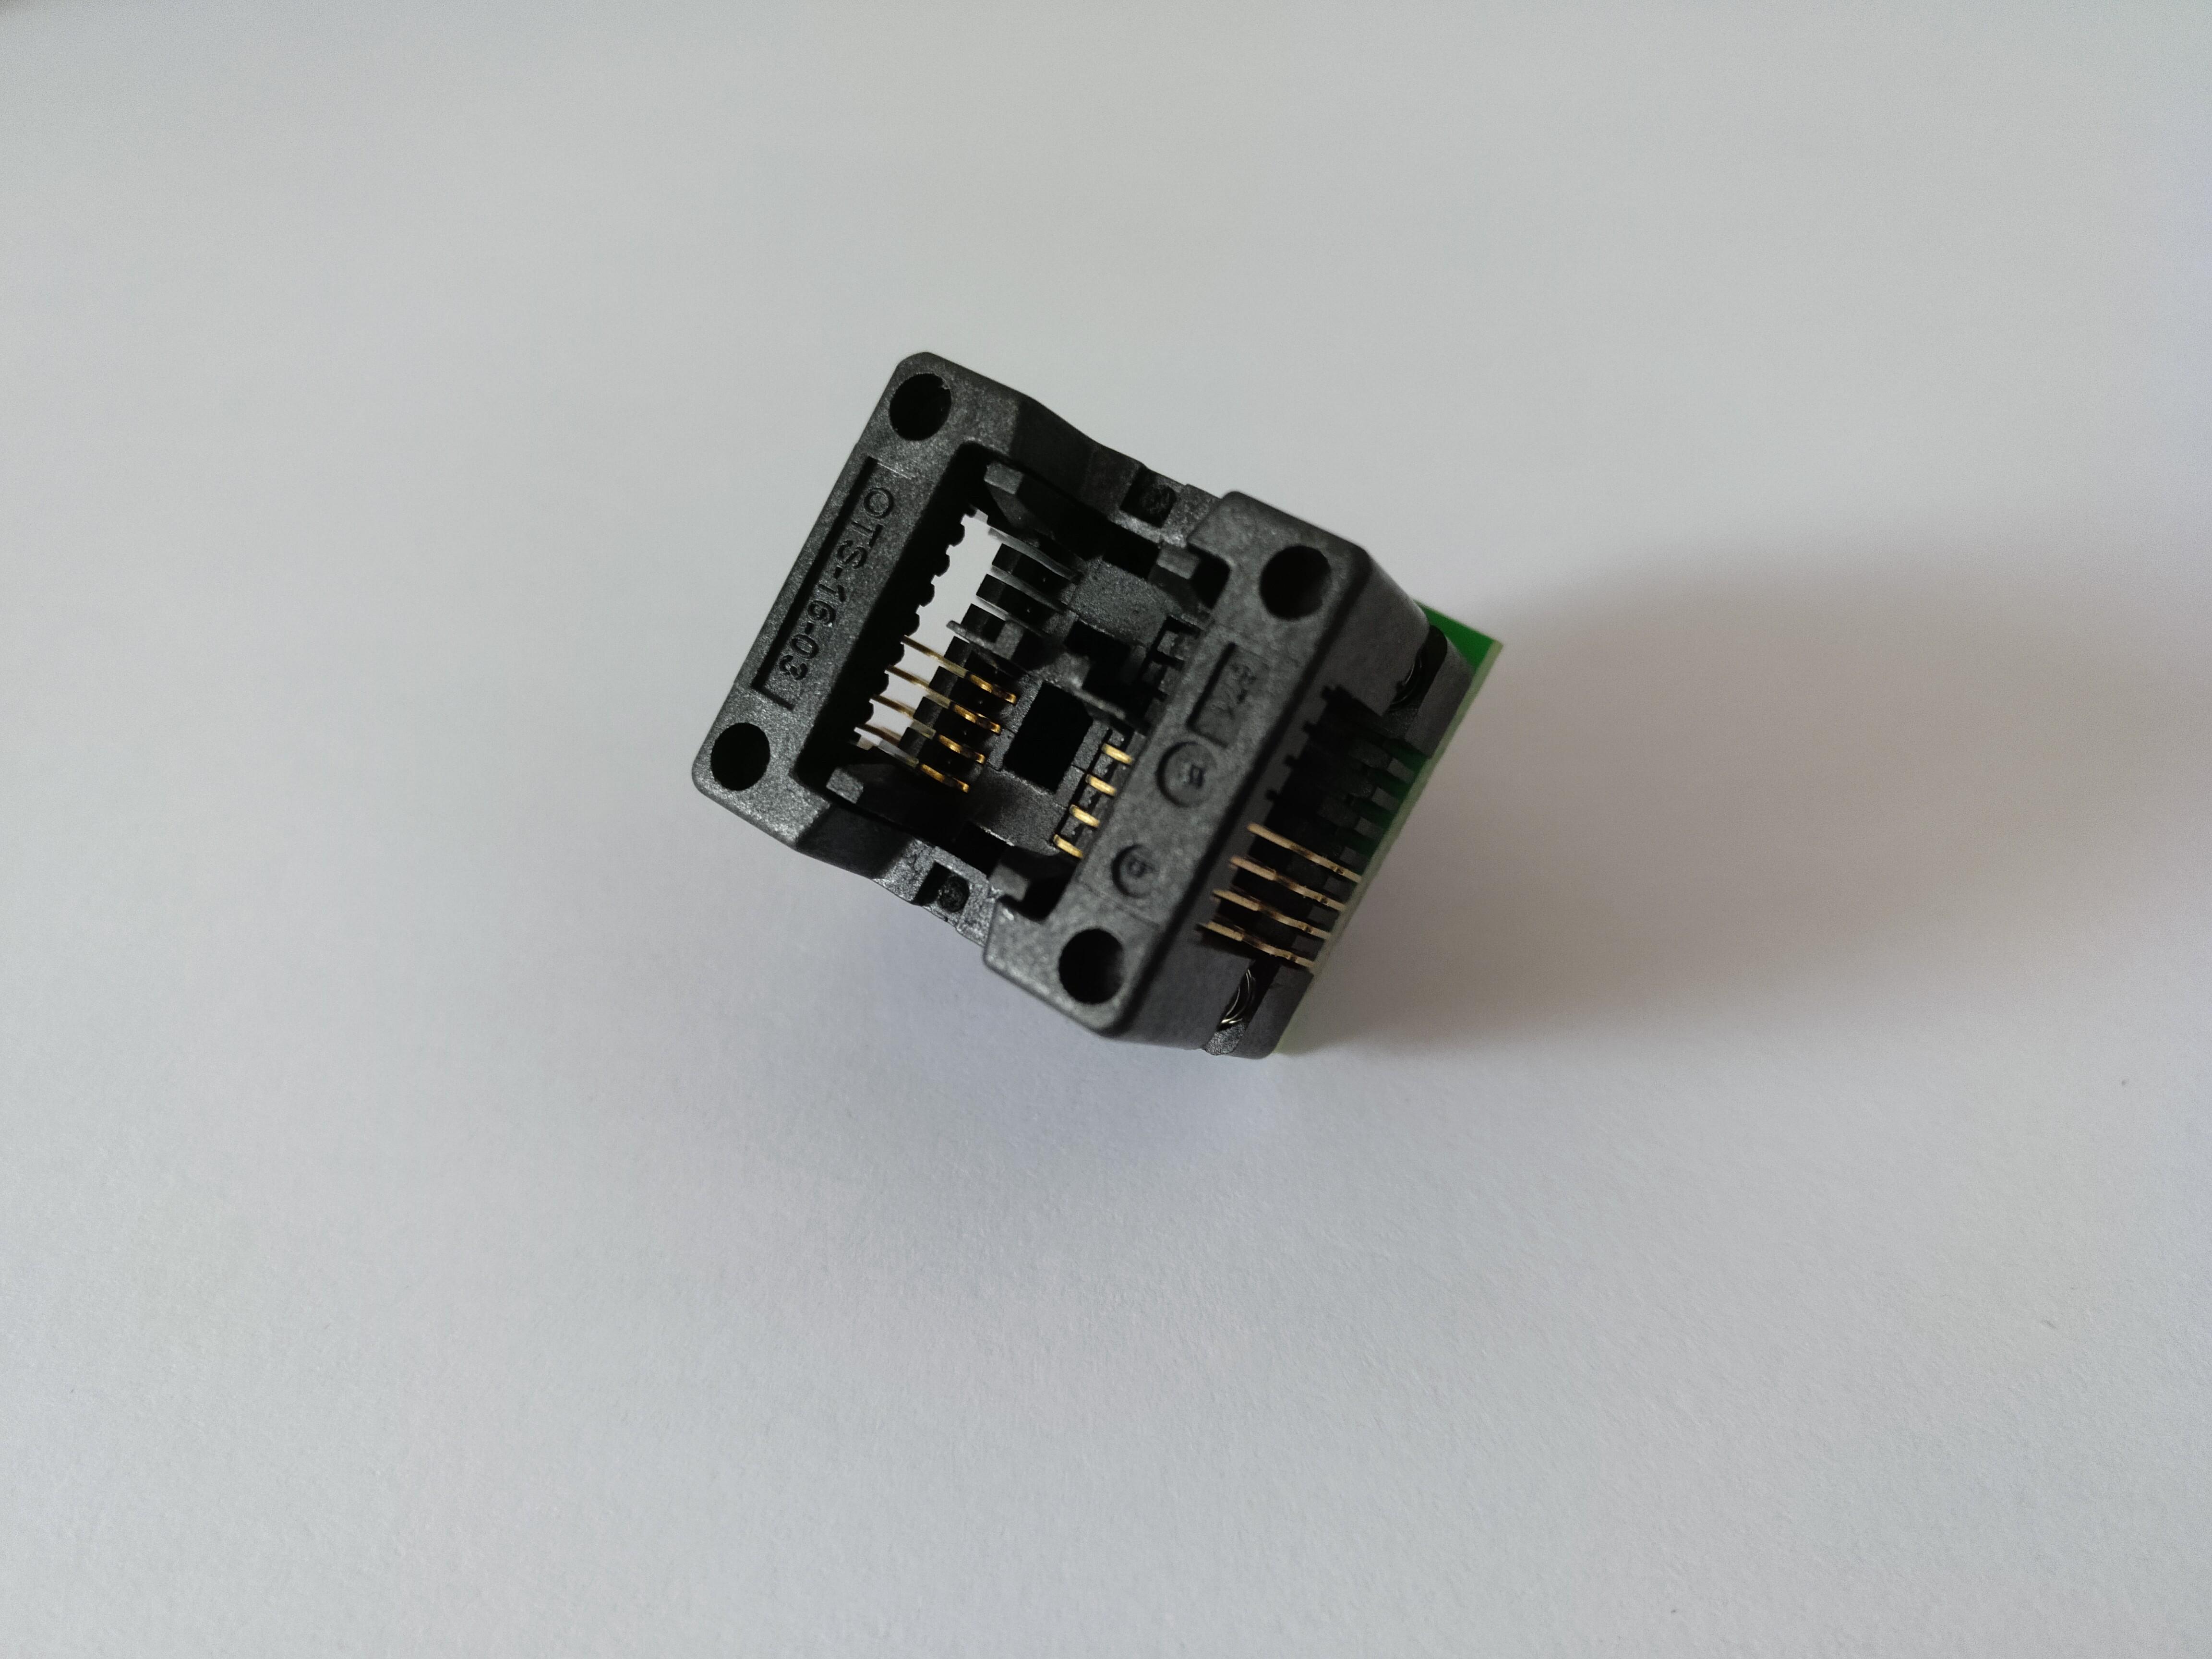
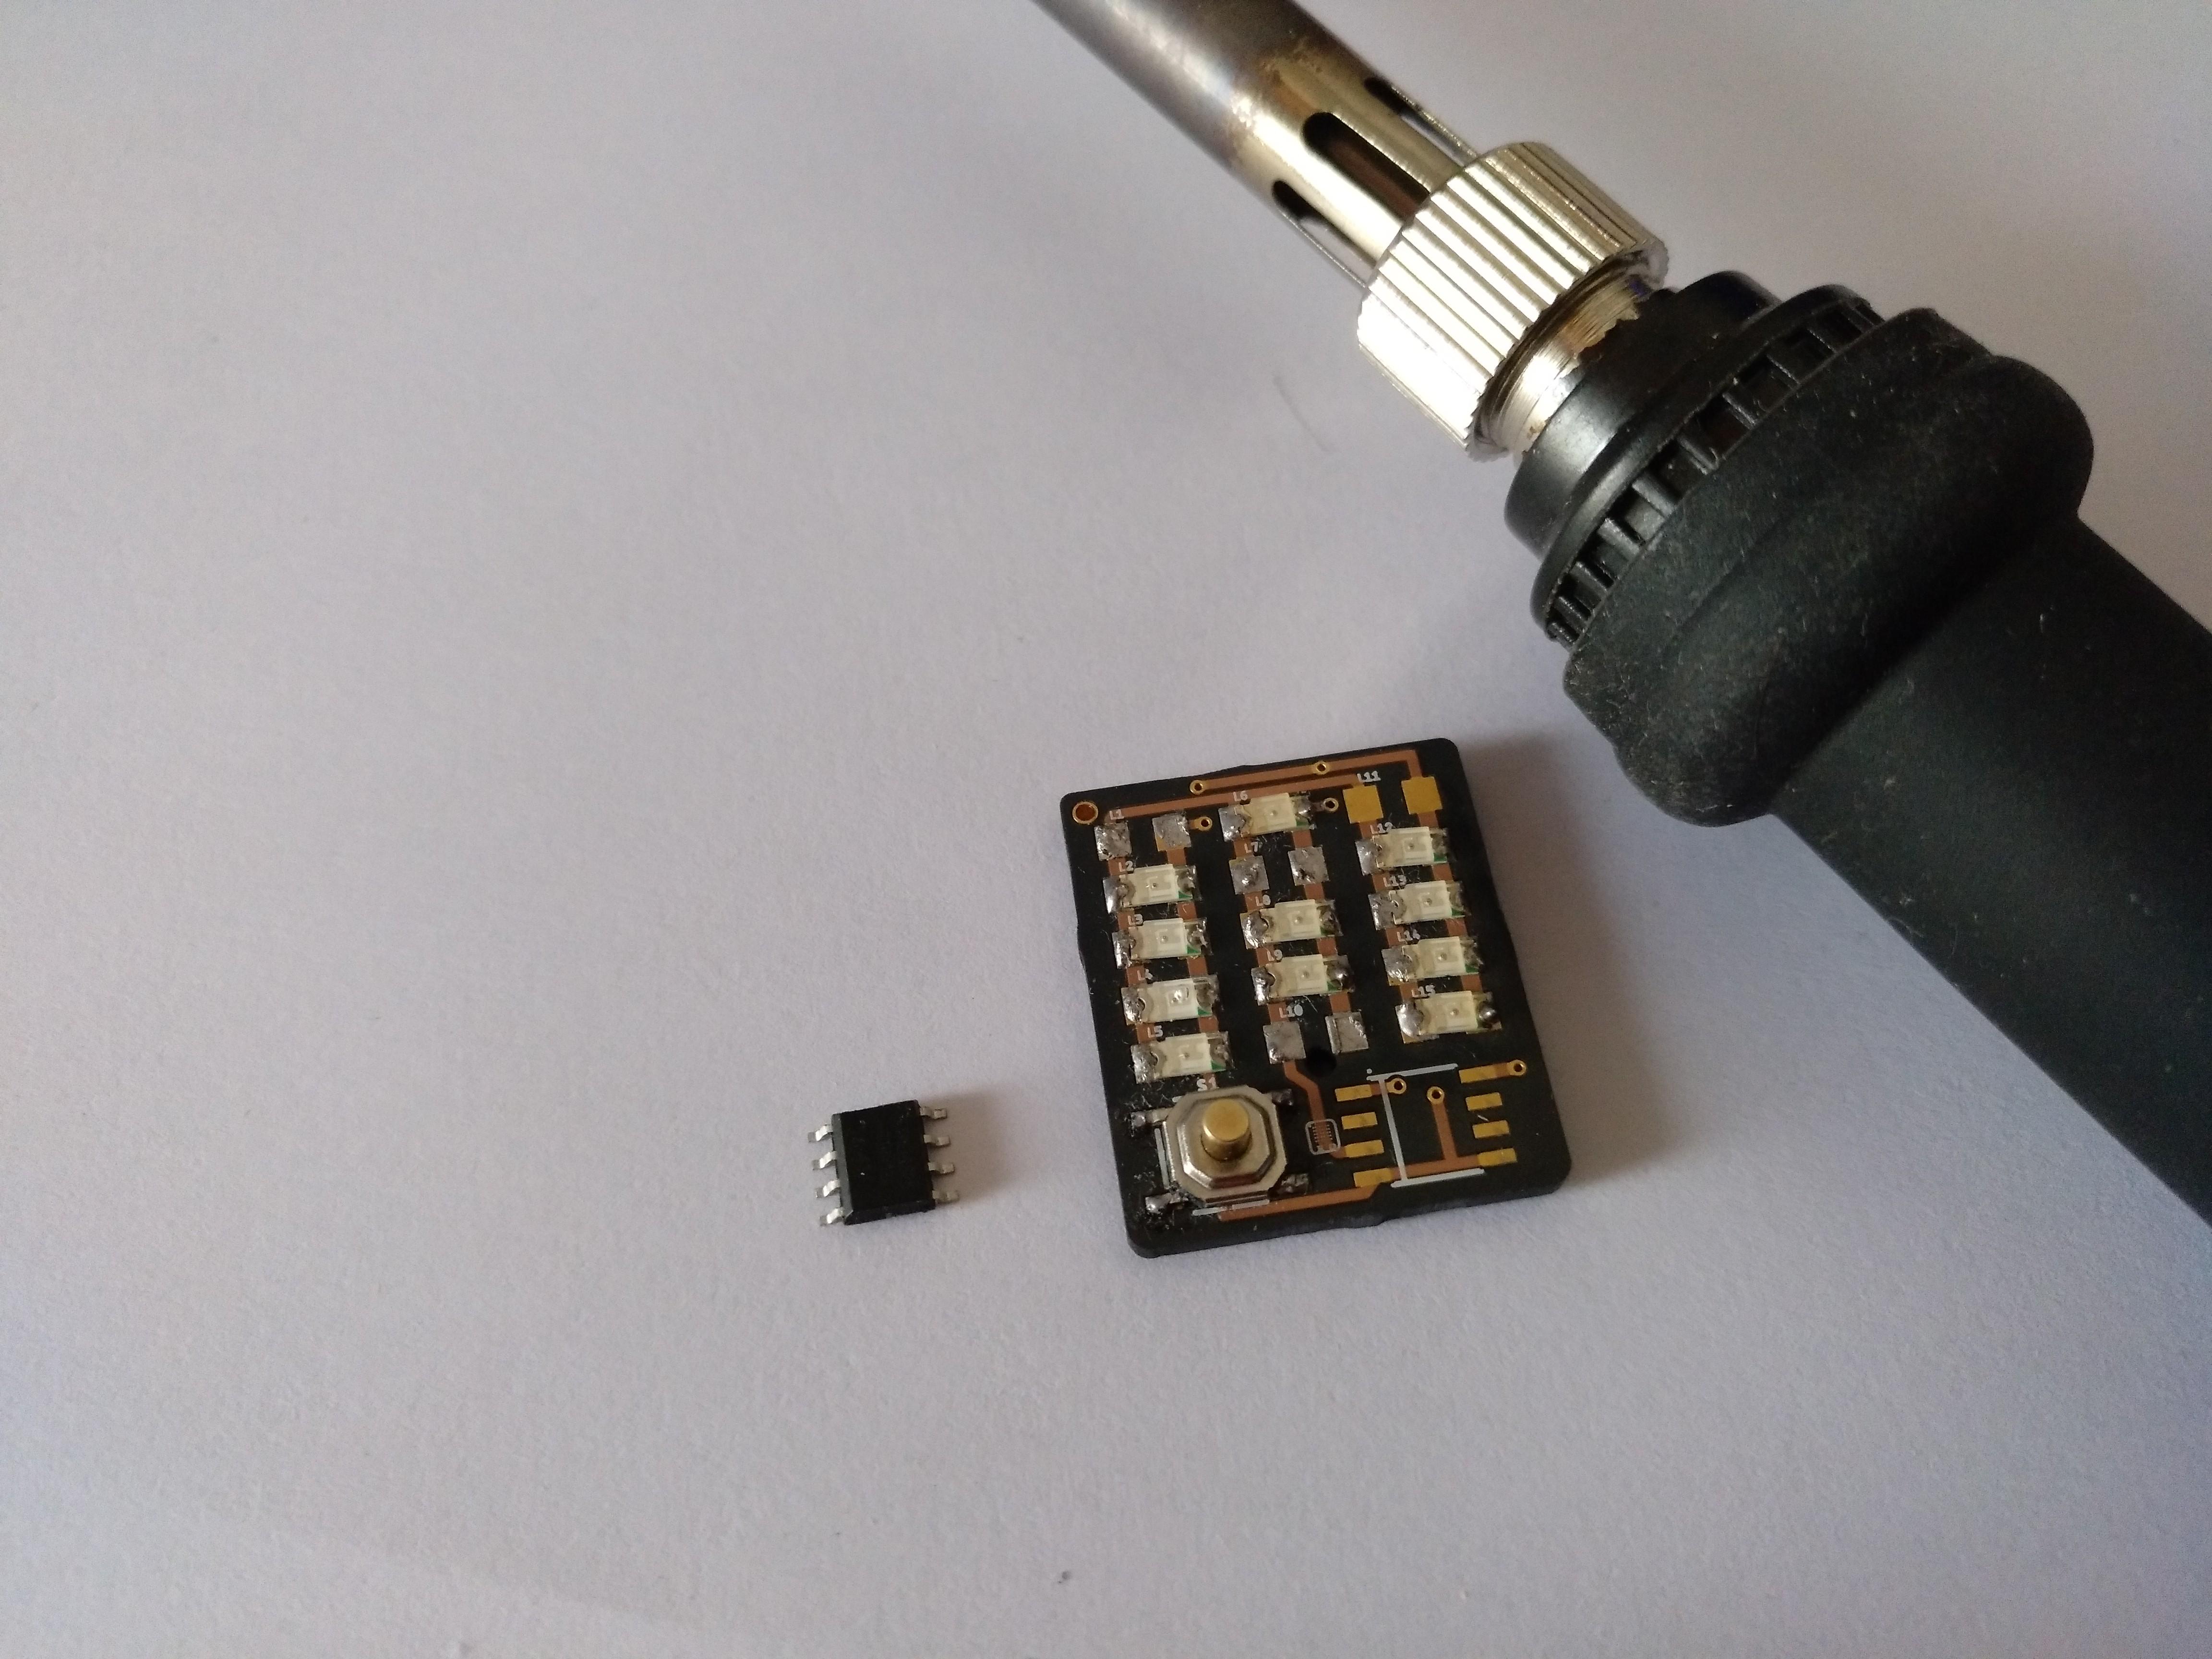
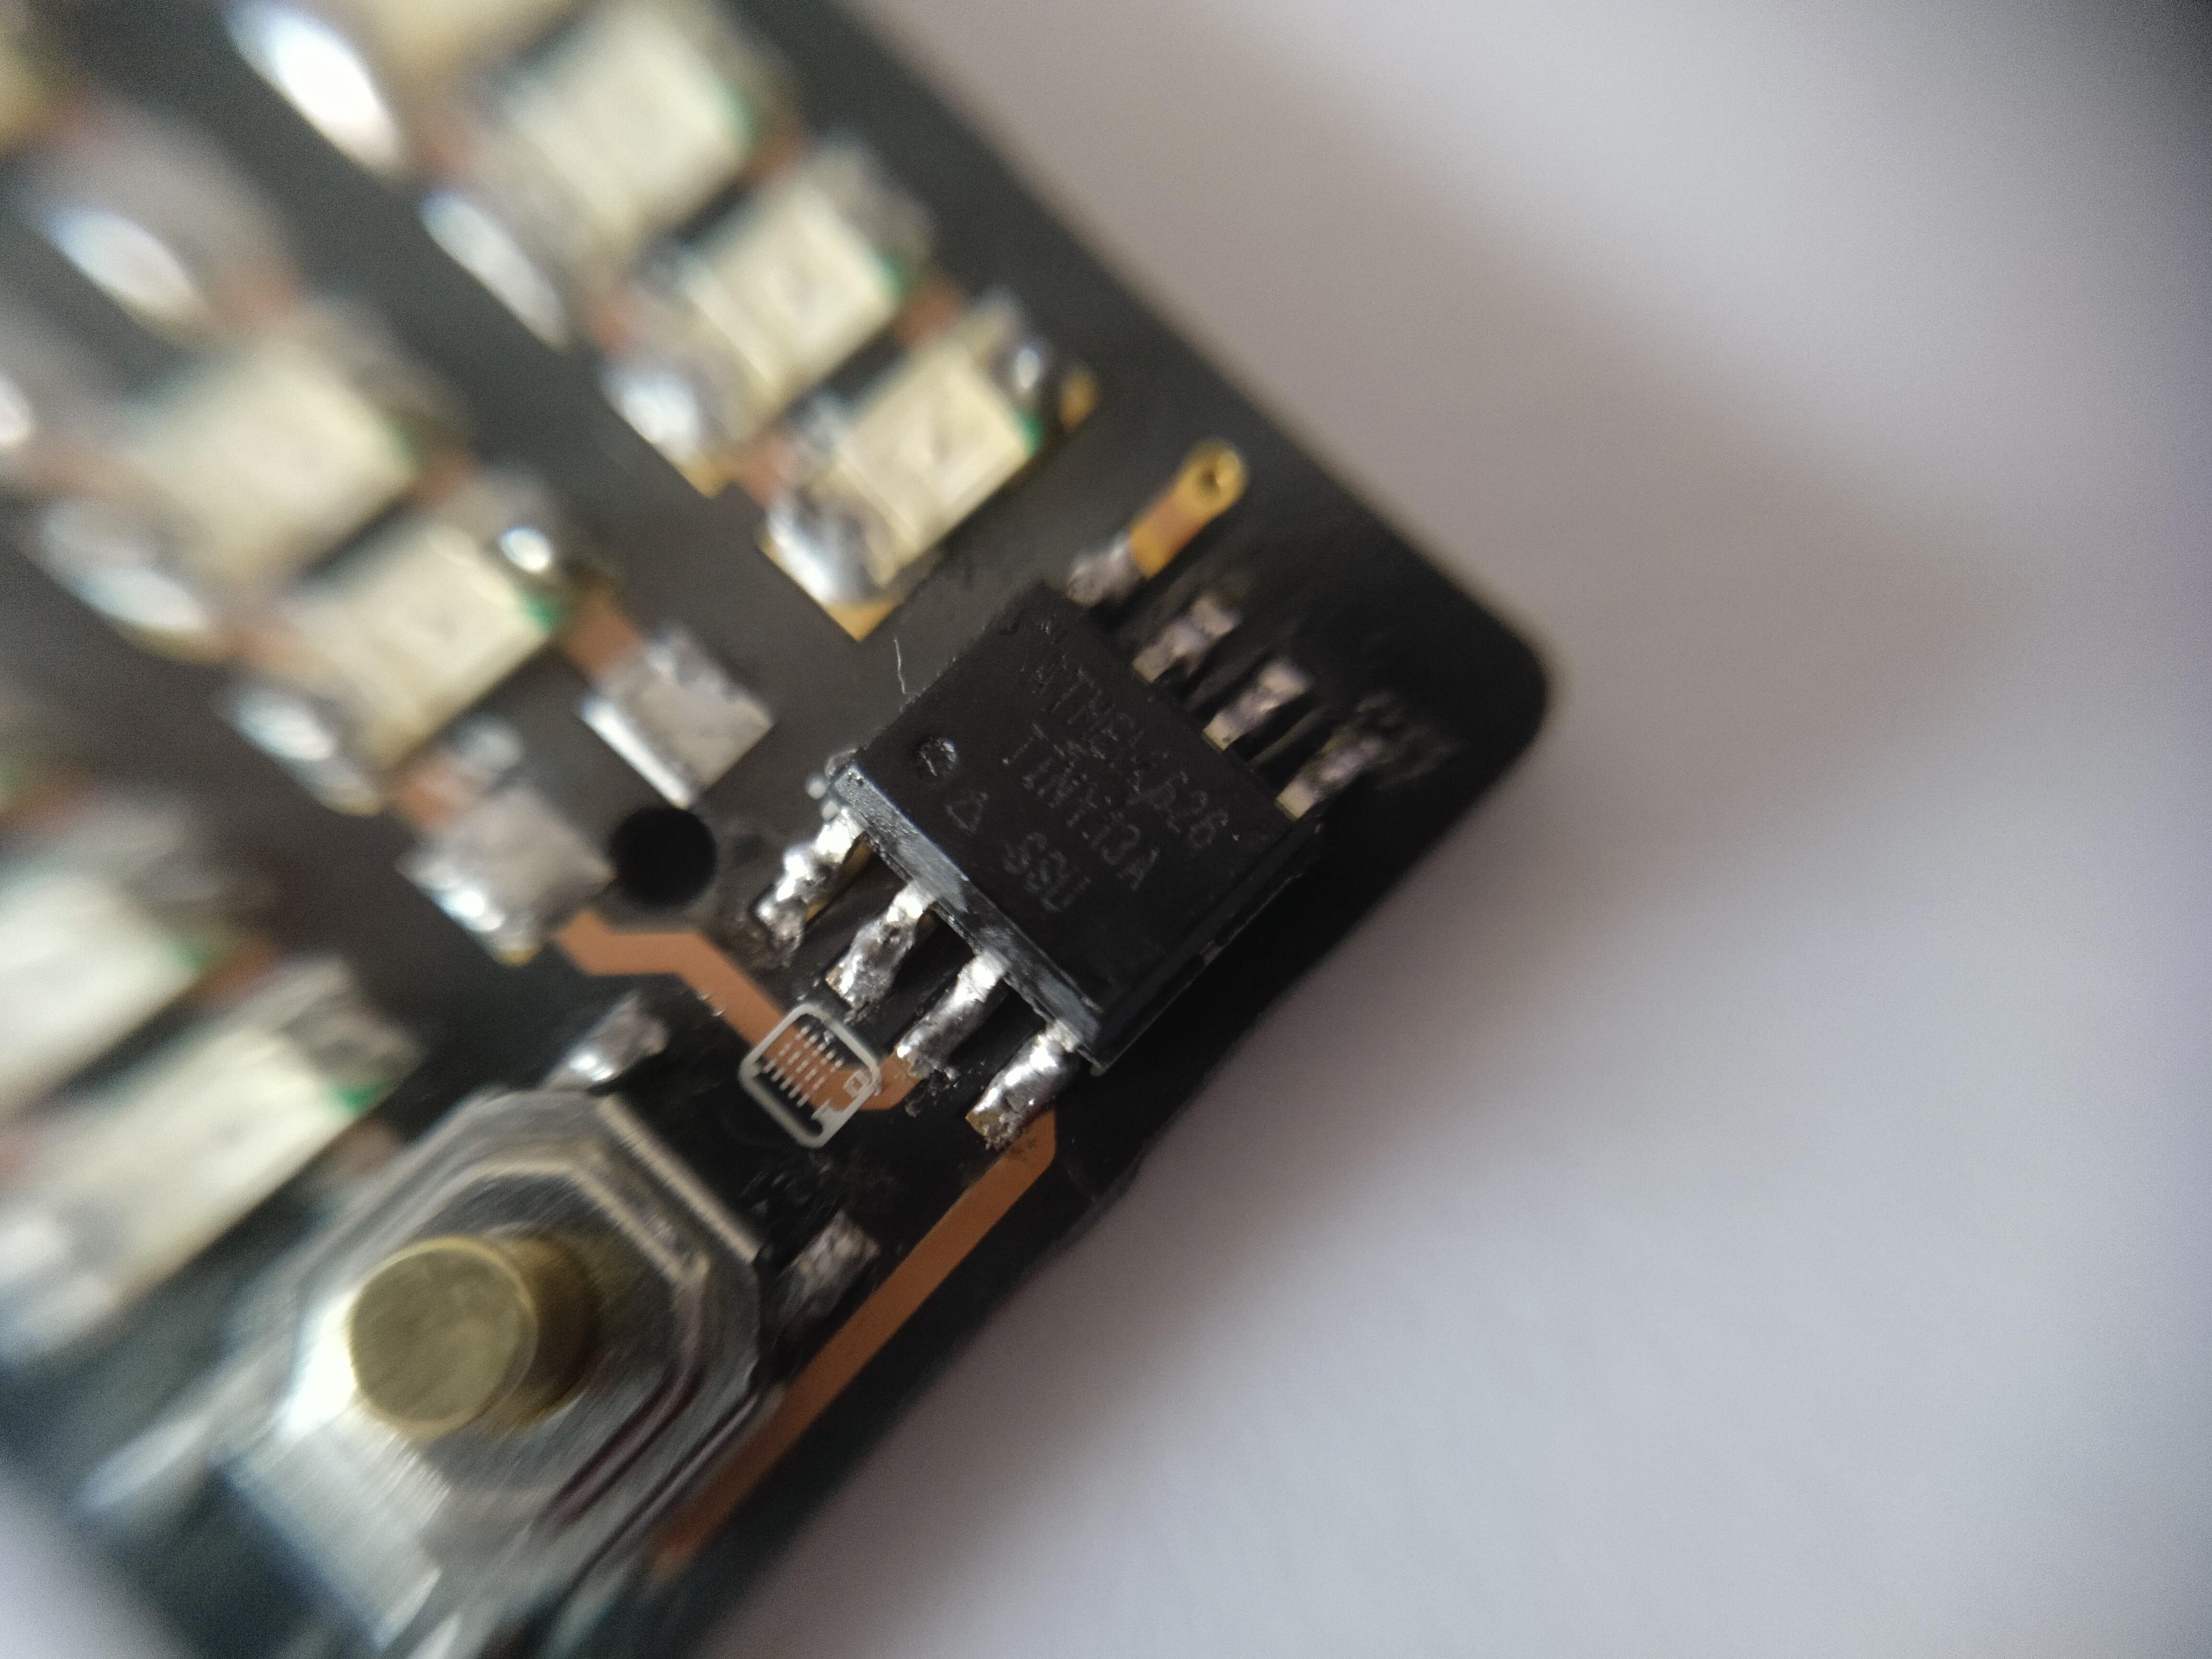
Before soldering the ATtiny we have to program it. You can choose any 8 pin ATtiny you have. I have tried with an Attiny85 and an ATtiny13 and both work fine. The board is quite small to program it once we have it soldered so before soldering it on the board, just take your Arduino and, to make the job easier, your SMD programmer adapter, this way it is easier to program it and we don't have flying wires anywhere.
However, I am working on the second version for this awesome keychain and I will inclñude some programming points on the back of the board so this way it can be easier to program. Stay tuned for the release of this second version!
Now to program it, just connect it to your Arduino and program it with the code you can find here. If you don't know how o program it, simply follow these steps or leave a comment below and I will try to help you.
https://www.instructables.com/How-to-Program-an-At...
https://create.arduino.cc/projecthub/arjun/program...
First of all, open the ArduinoISP code example code and upload it to your Arduino.
Then, wire the ATtiny (or use your adapter). Now open the code you want to upload to the Attiny.
This code is going to scroll through 4 different modes when we press the button. In the first one, the LEDs will be all on. If we press the button, it enters the second mode which is blinking. Press the button again and the third mode is fade. If we press it again the last mode is a faster blink and if we press the button again it will enter in sleep mode so it can save battery.
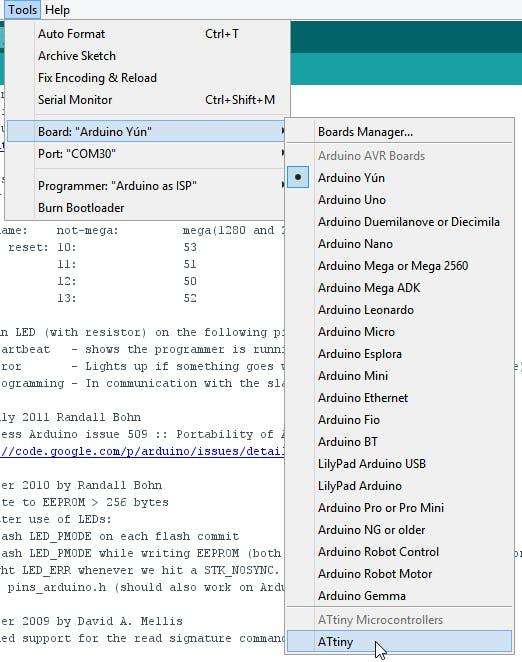
Now you have to select the ATtiny board. To do this go to Tools>Board and there select yours.
After all this, we can click on upload code, wait a few seconds and the code will be ready. You can make changes to your code if you want to change the fading duration or the blinking intervals too!
Now, solder the Attiny carefully not to make any bridges.
Downloads
Soldering the Coin Cell Holder
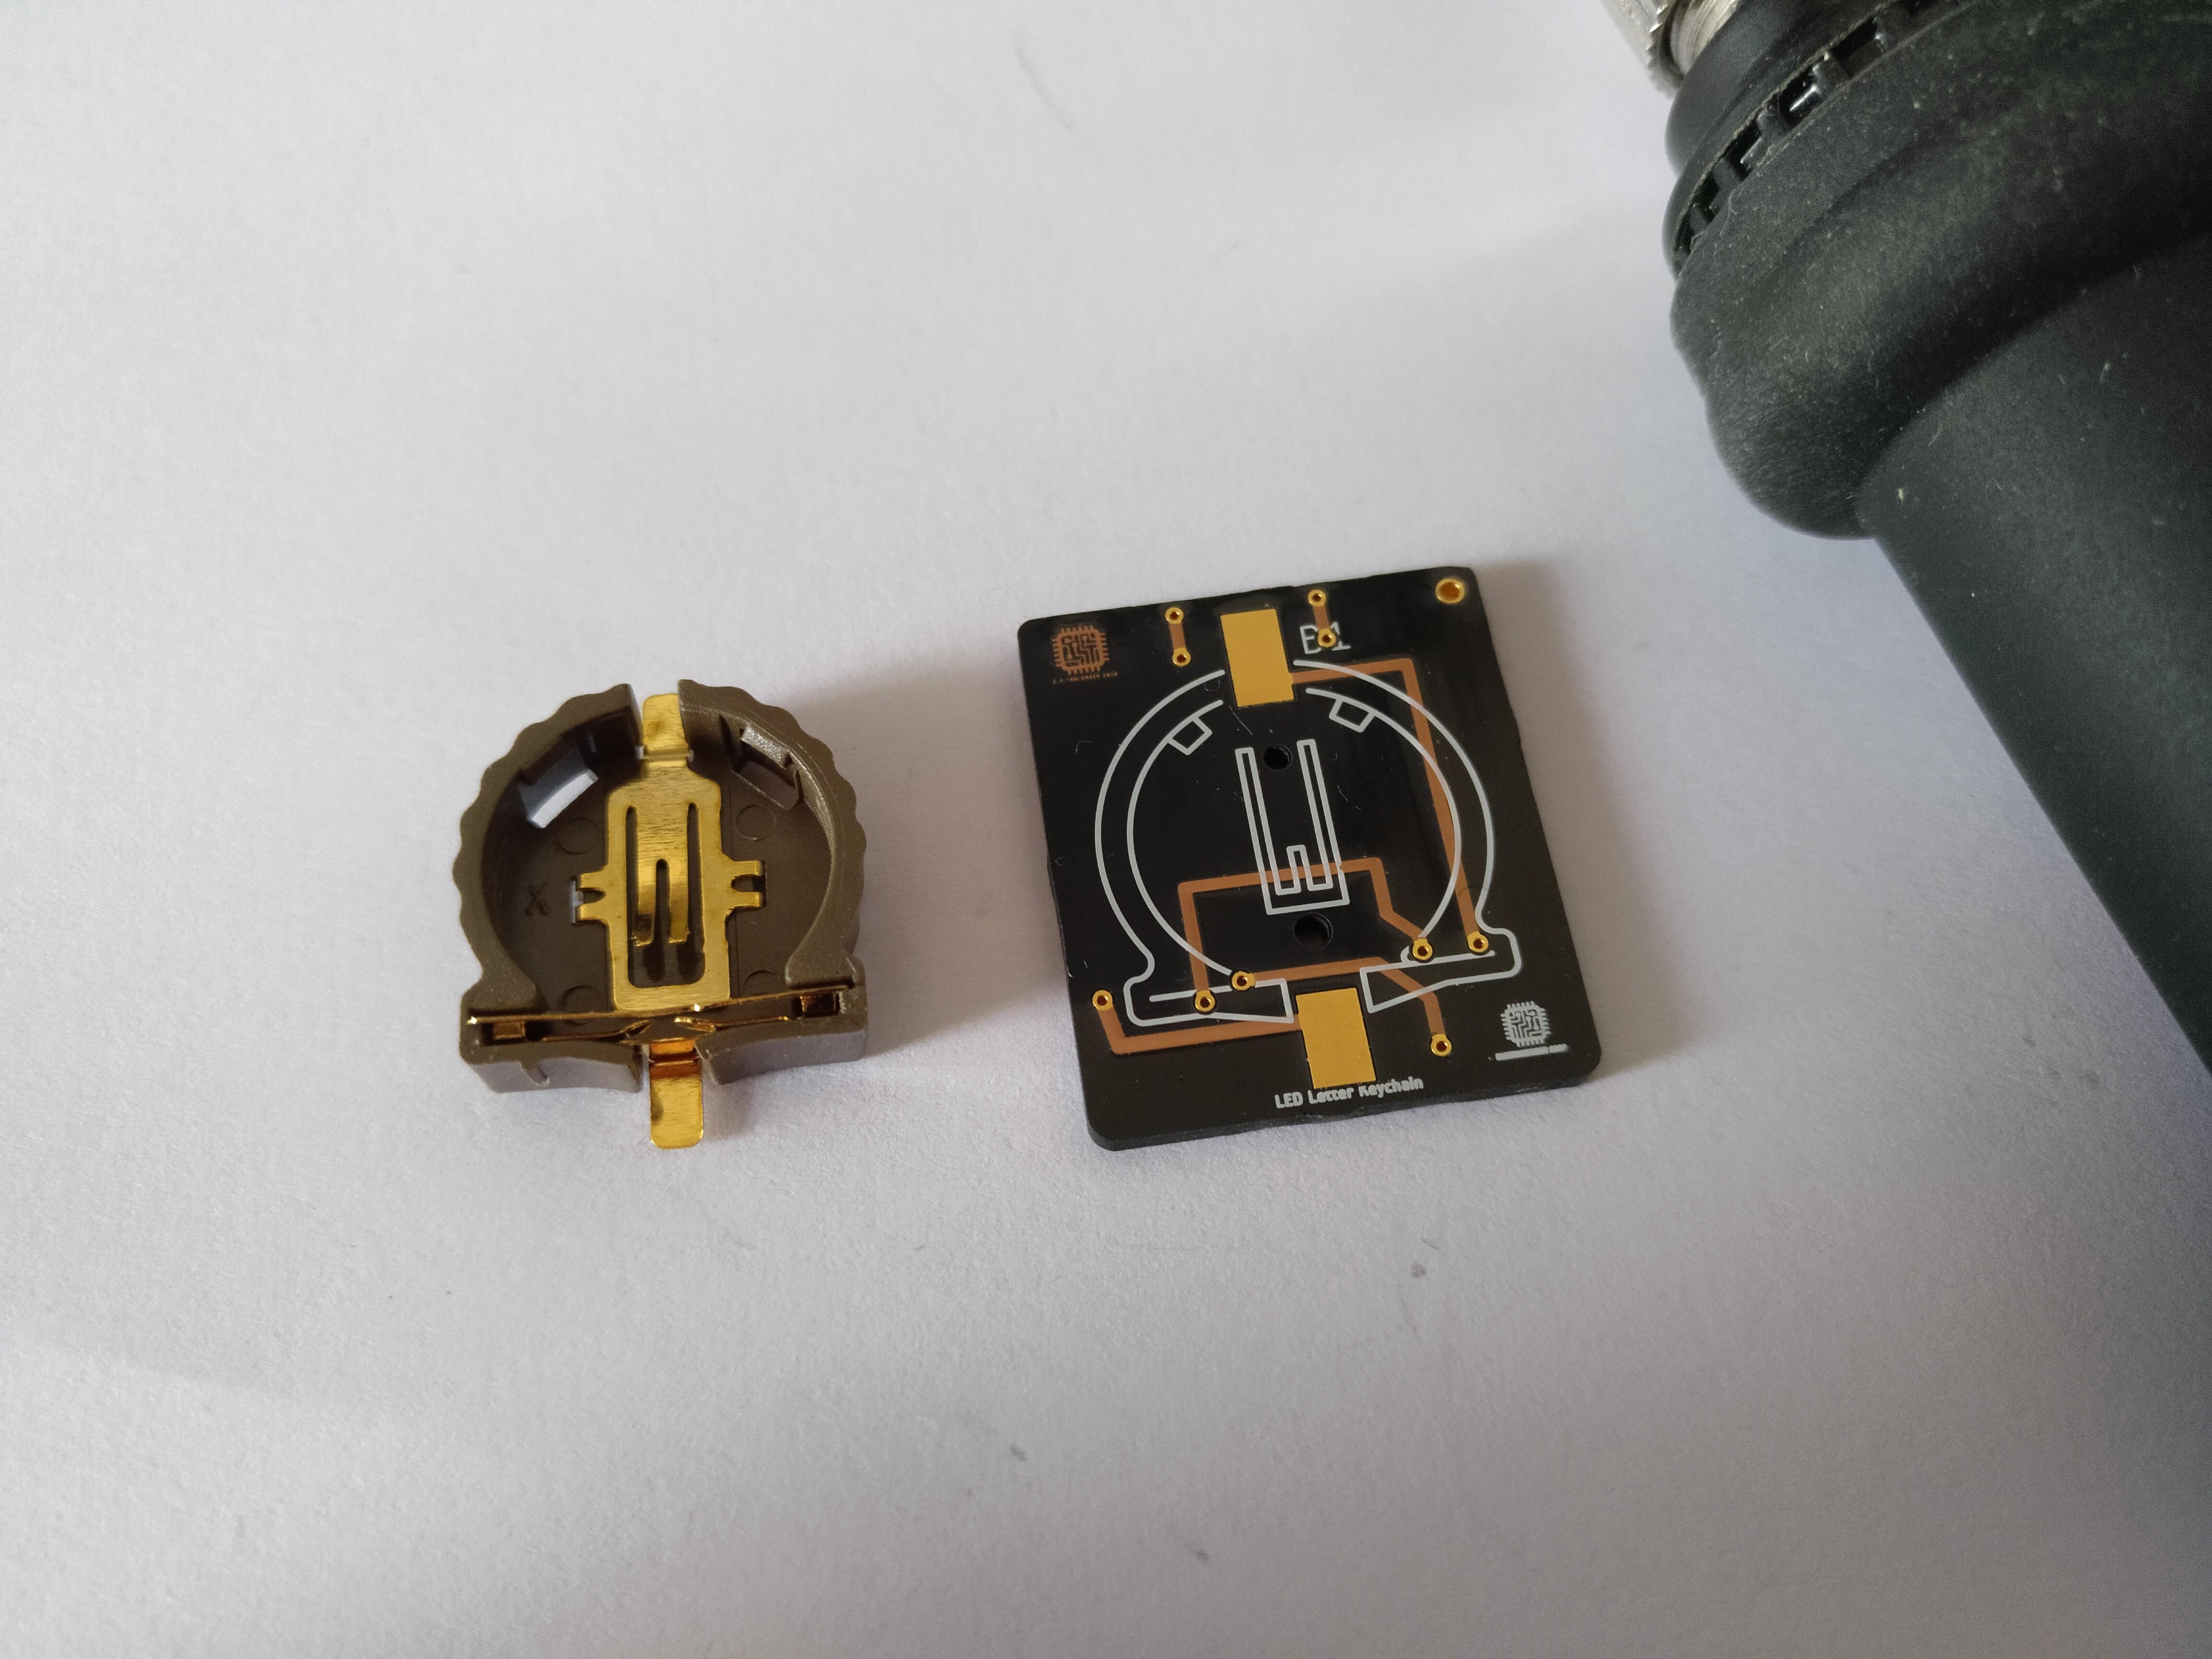
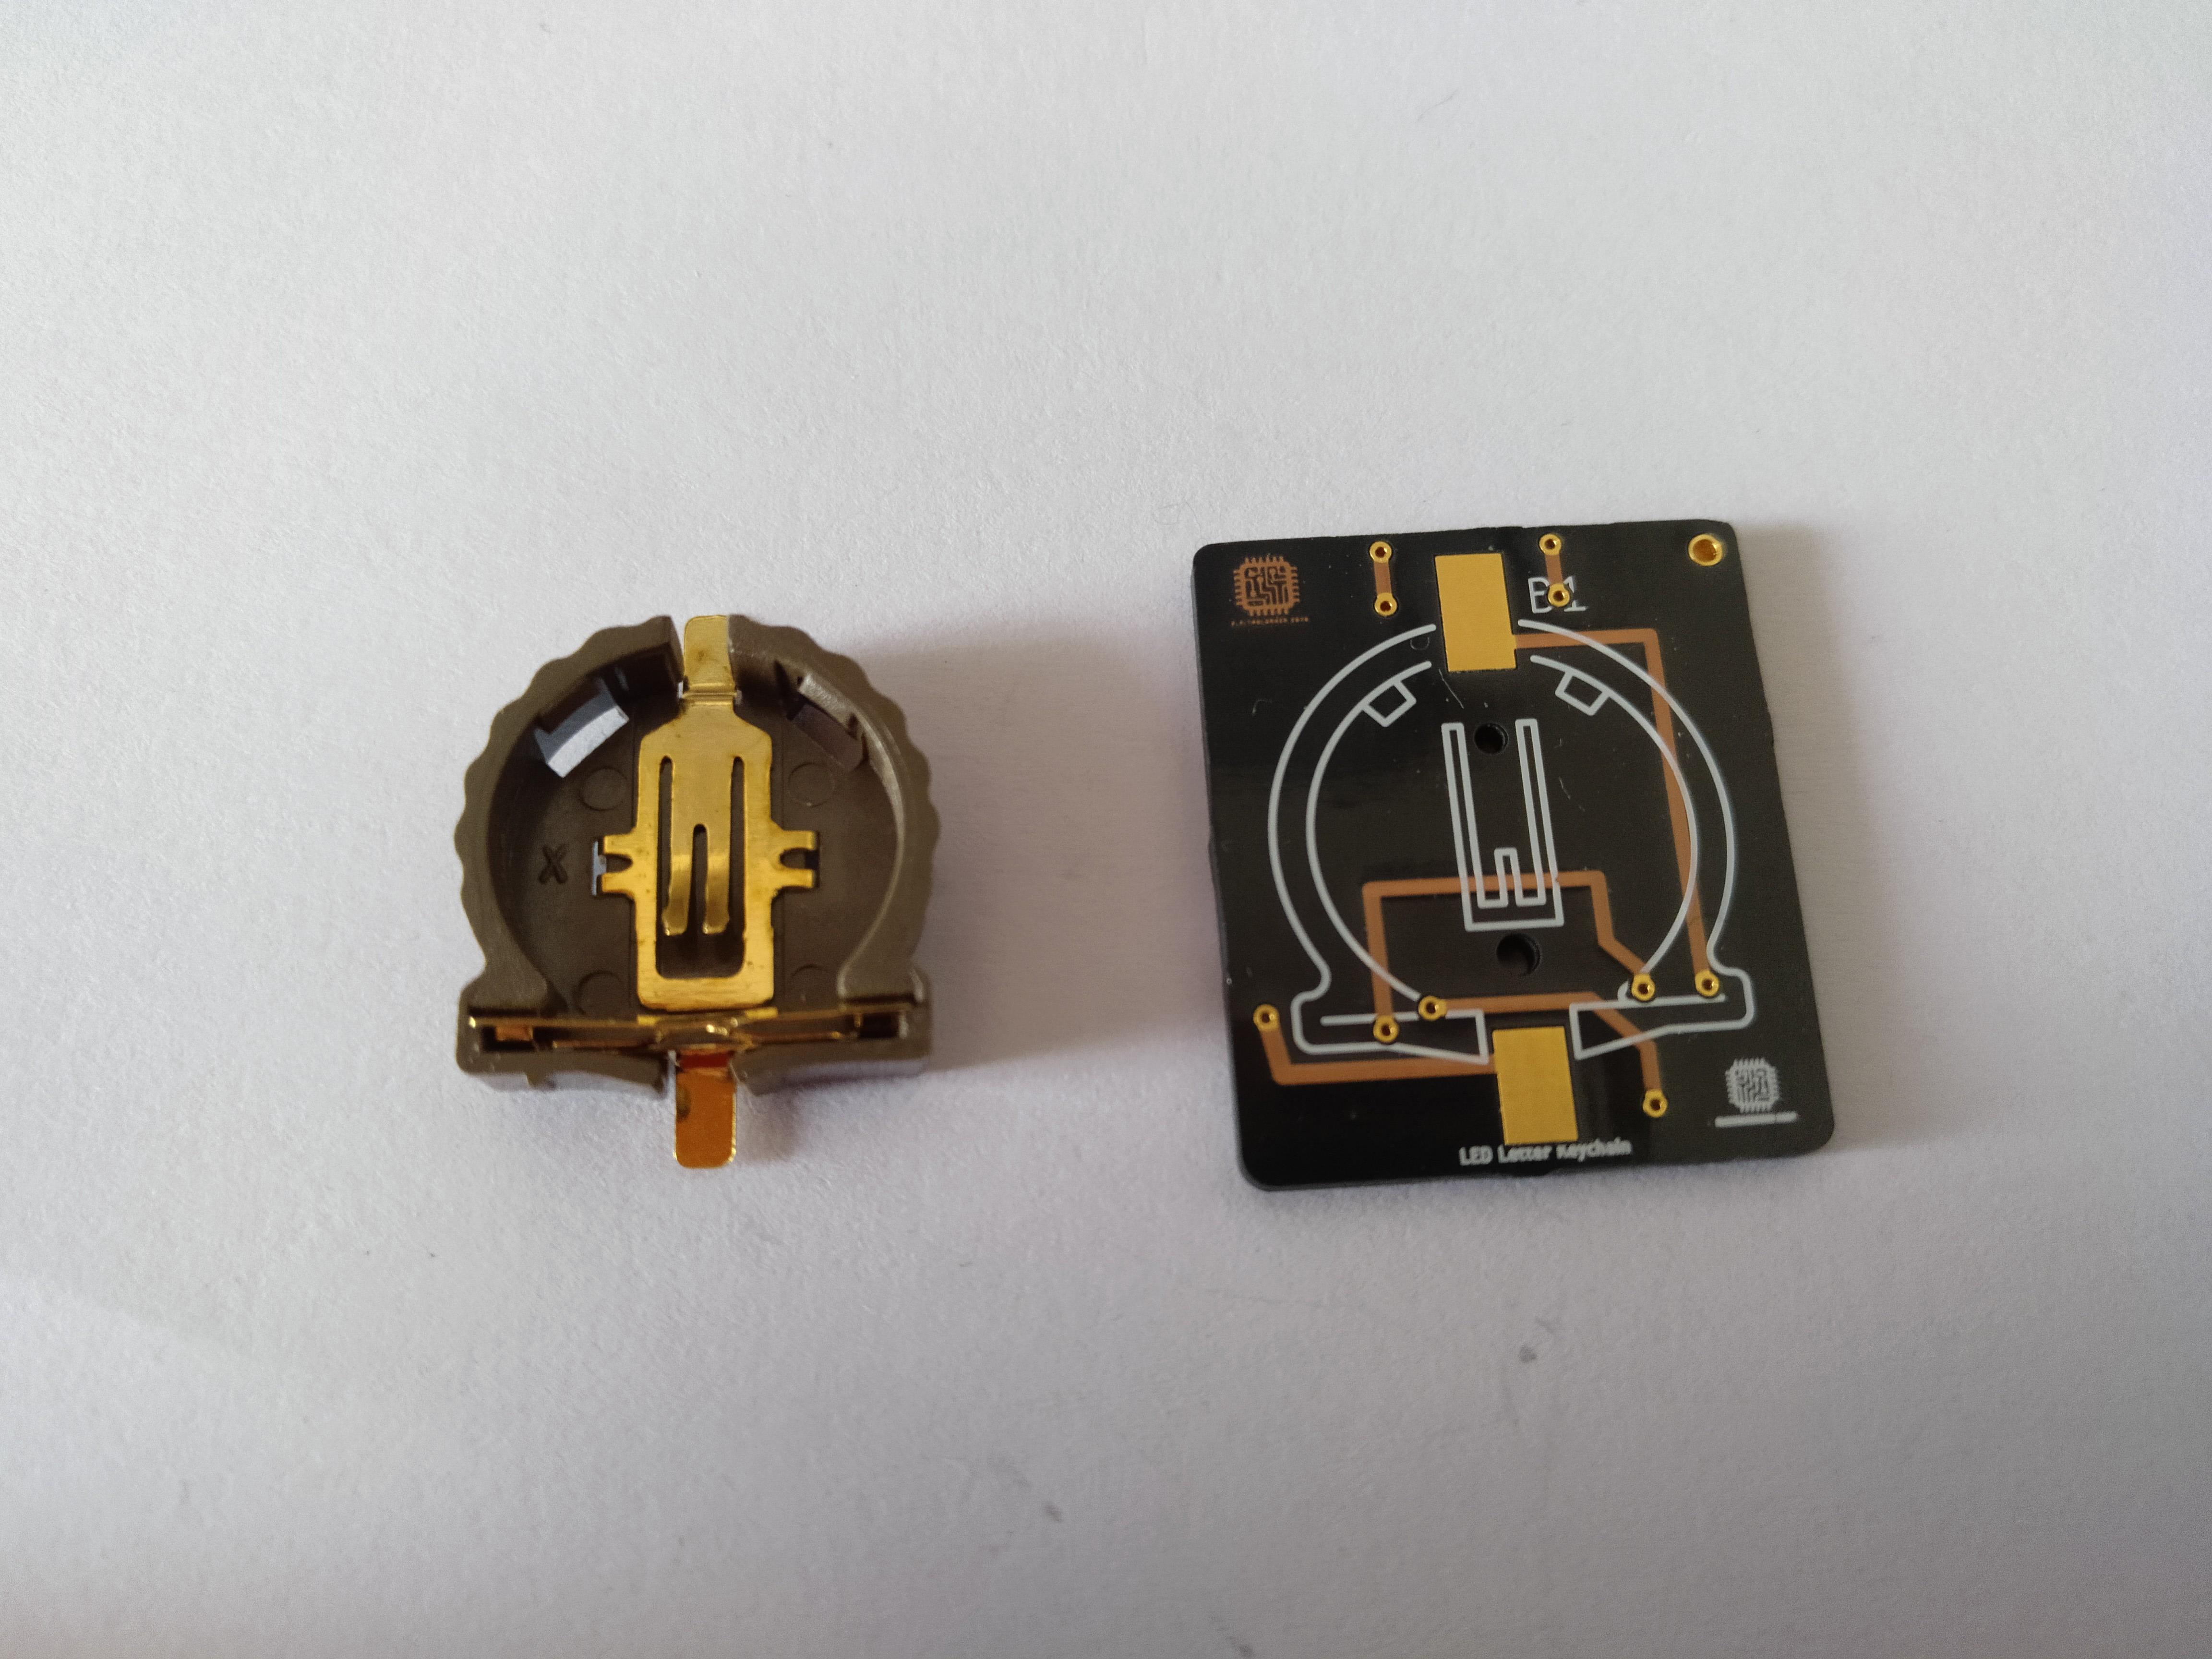
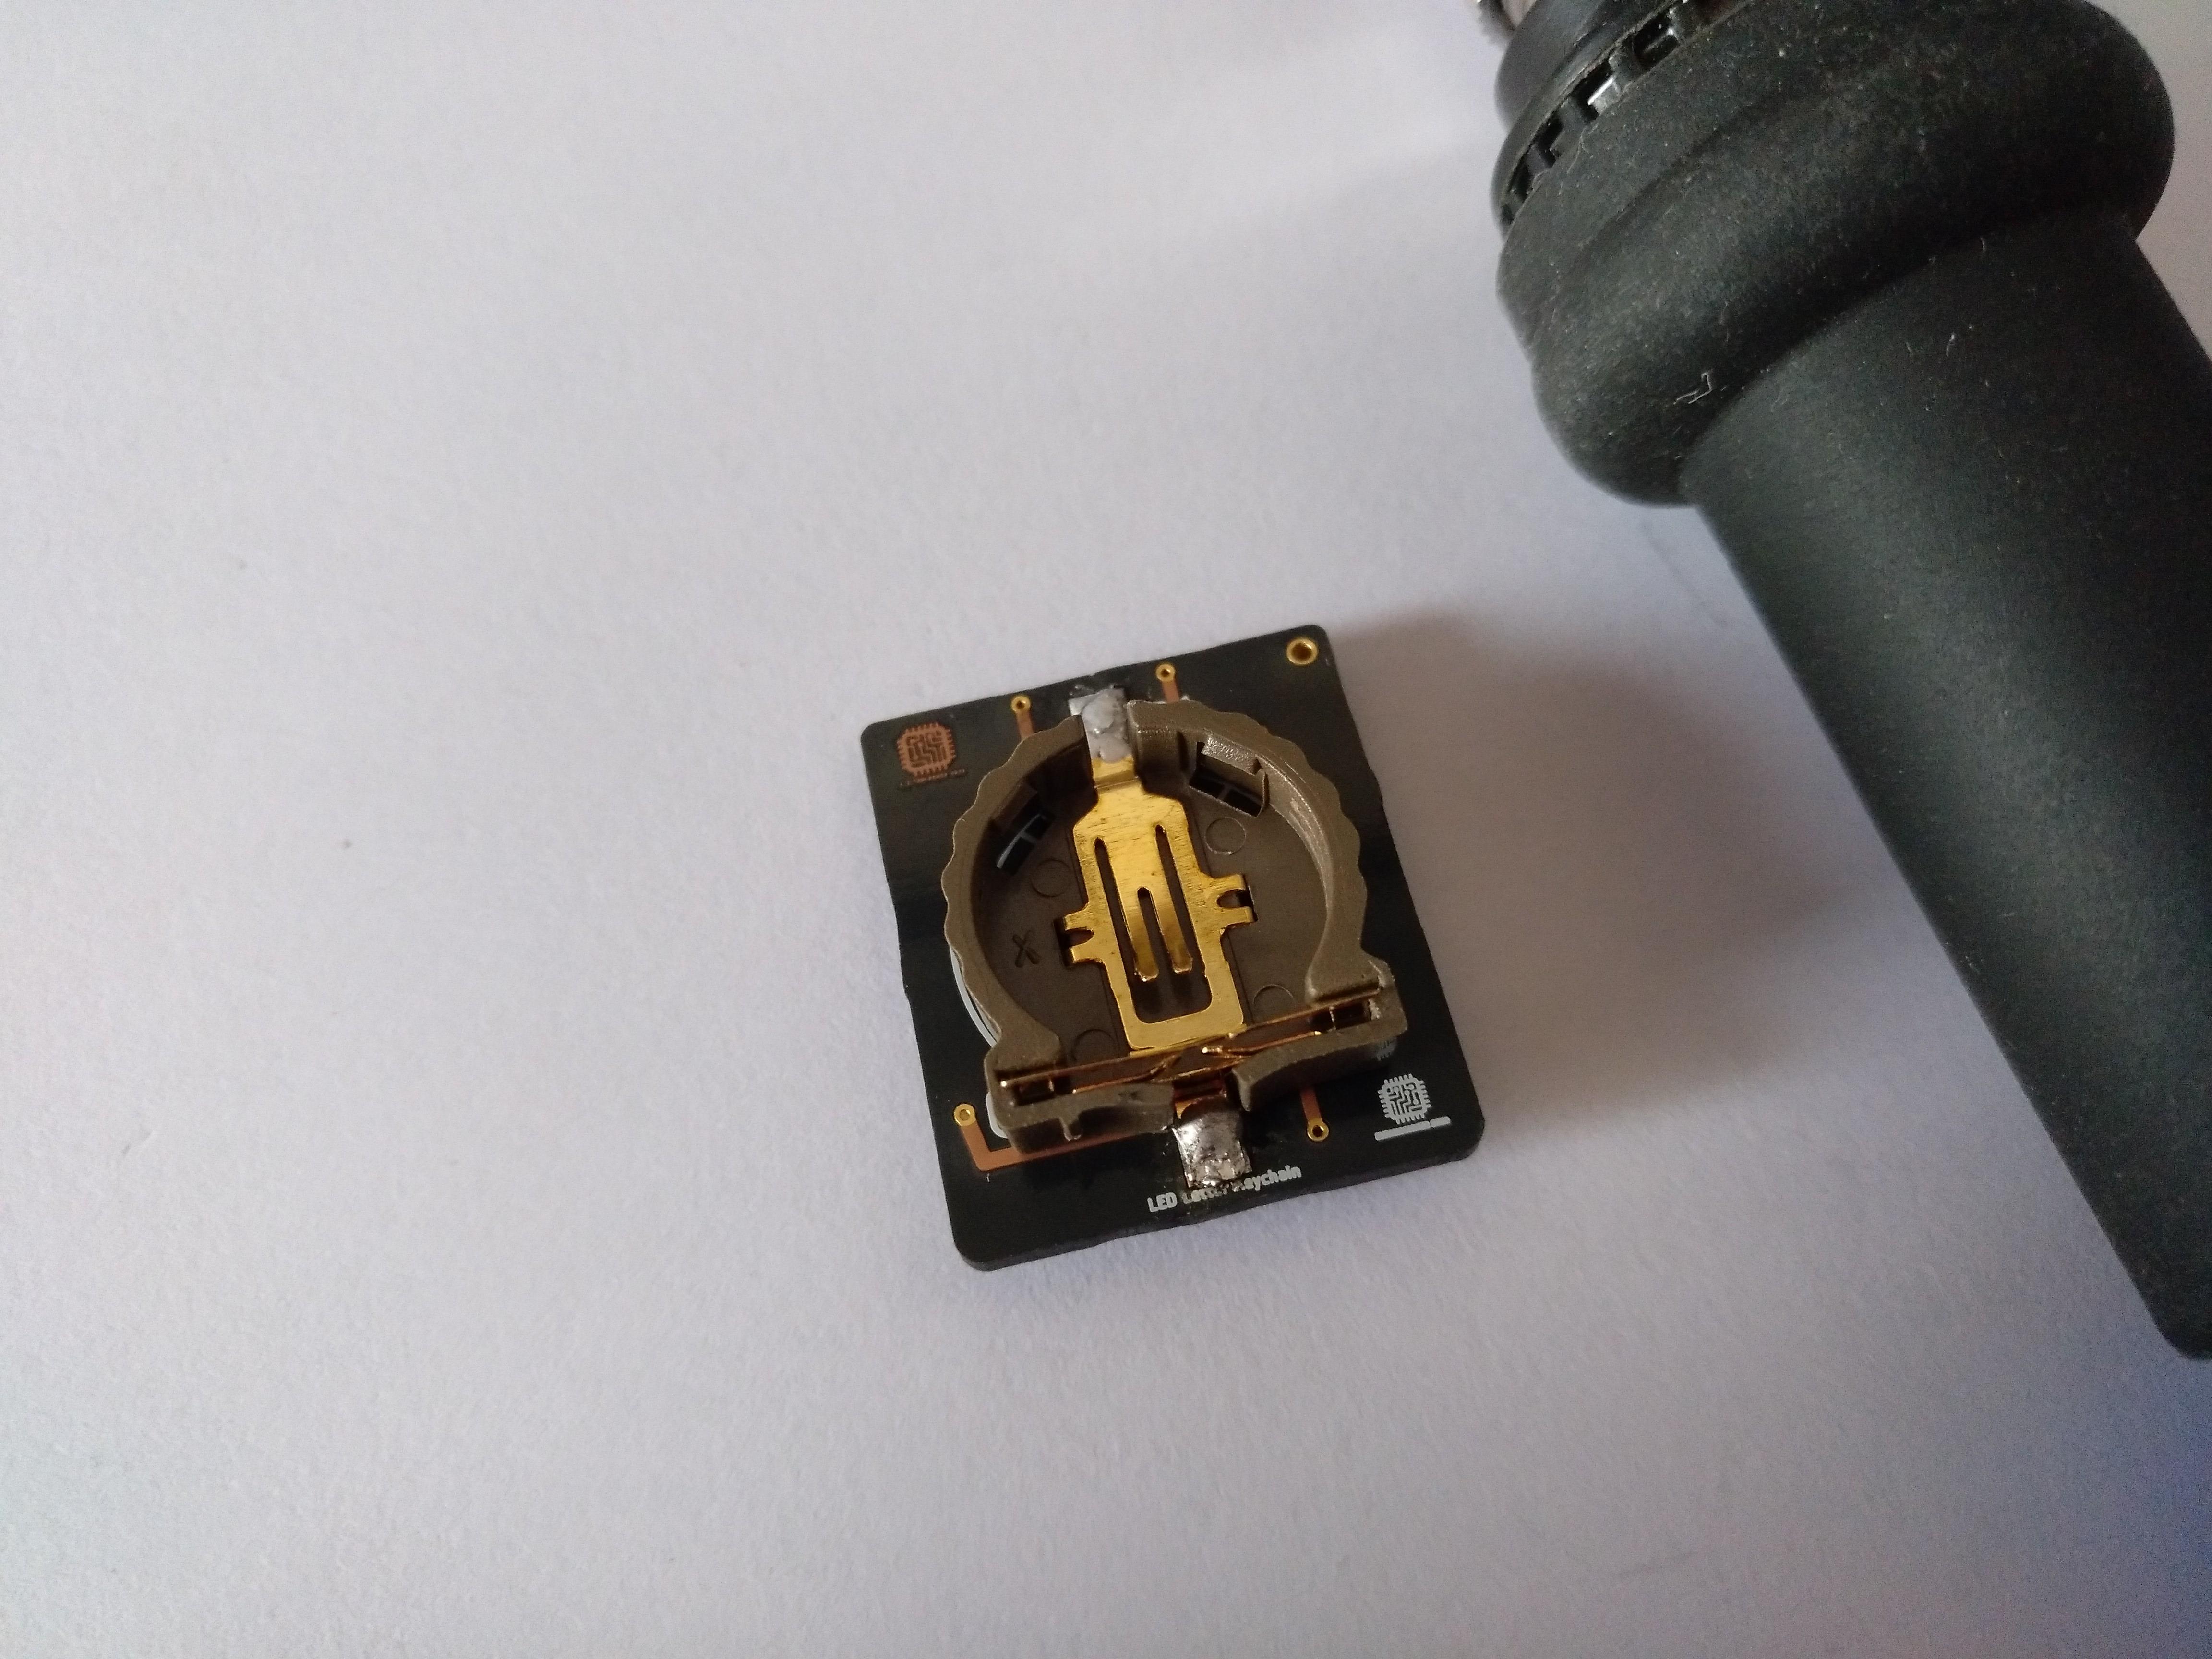
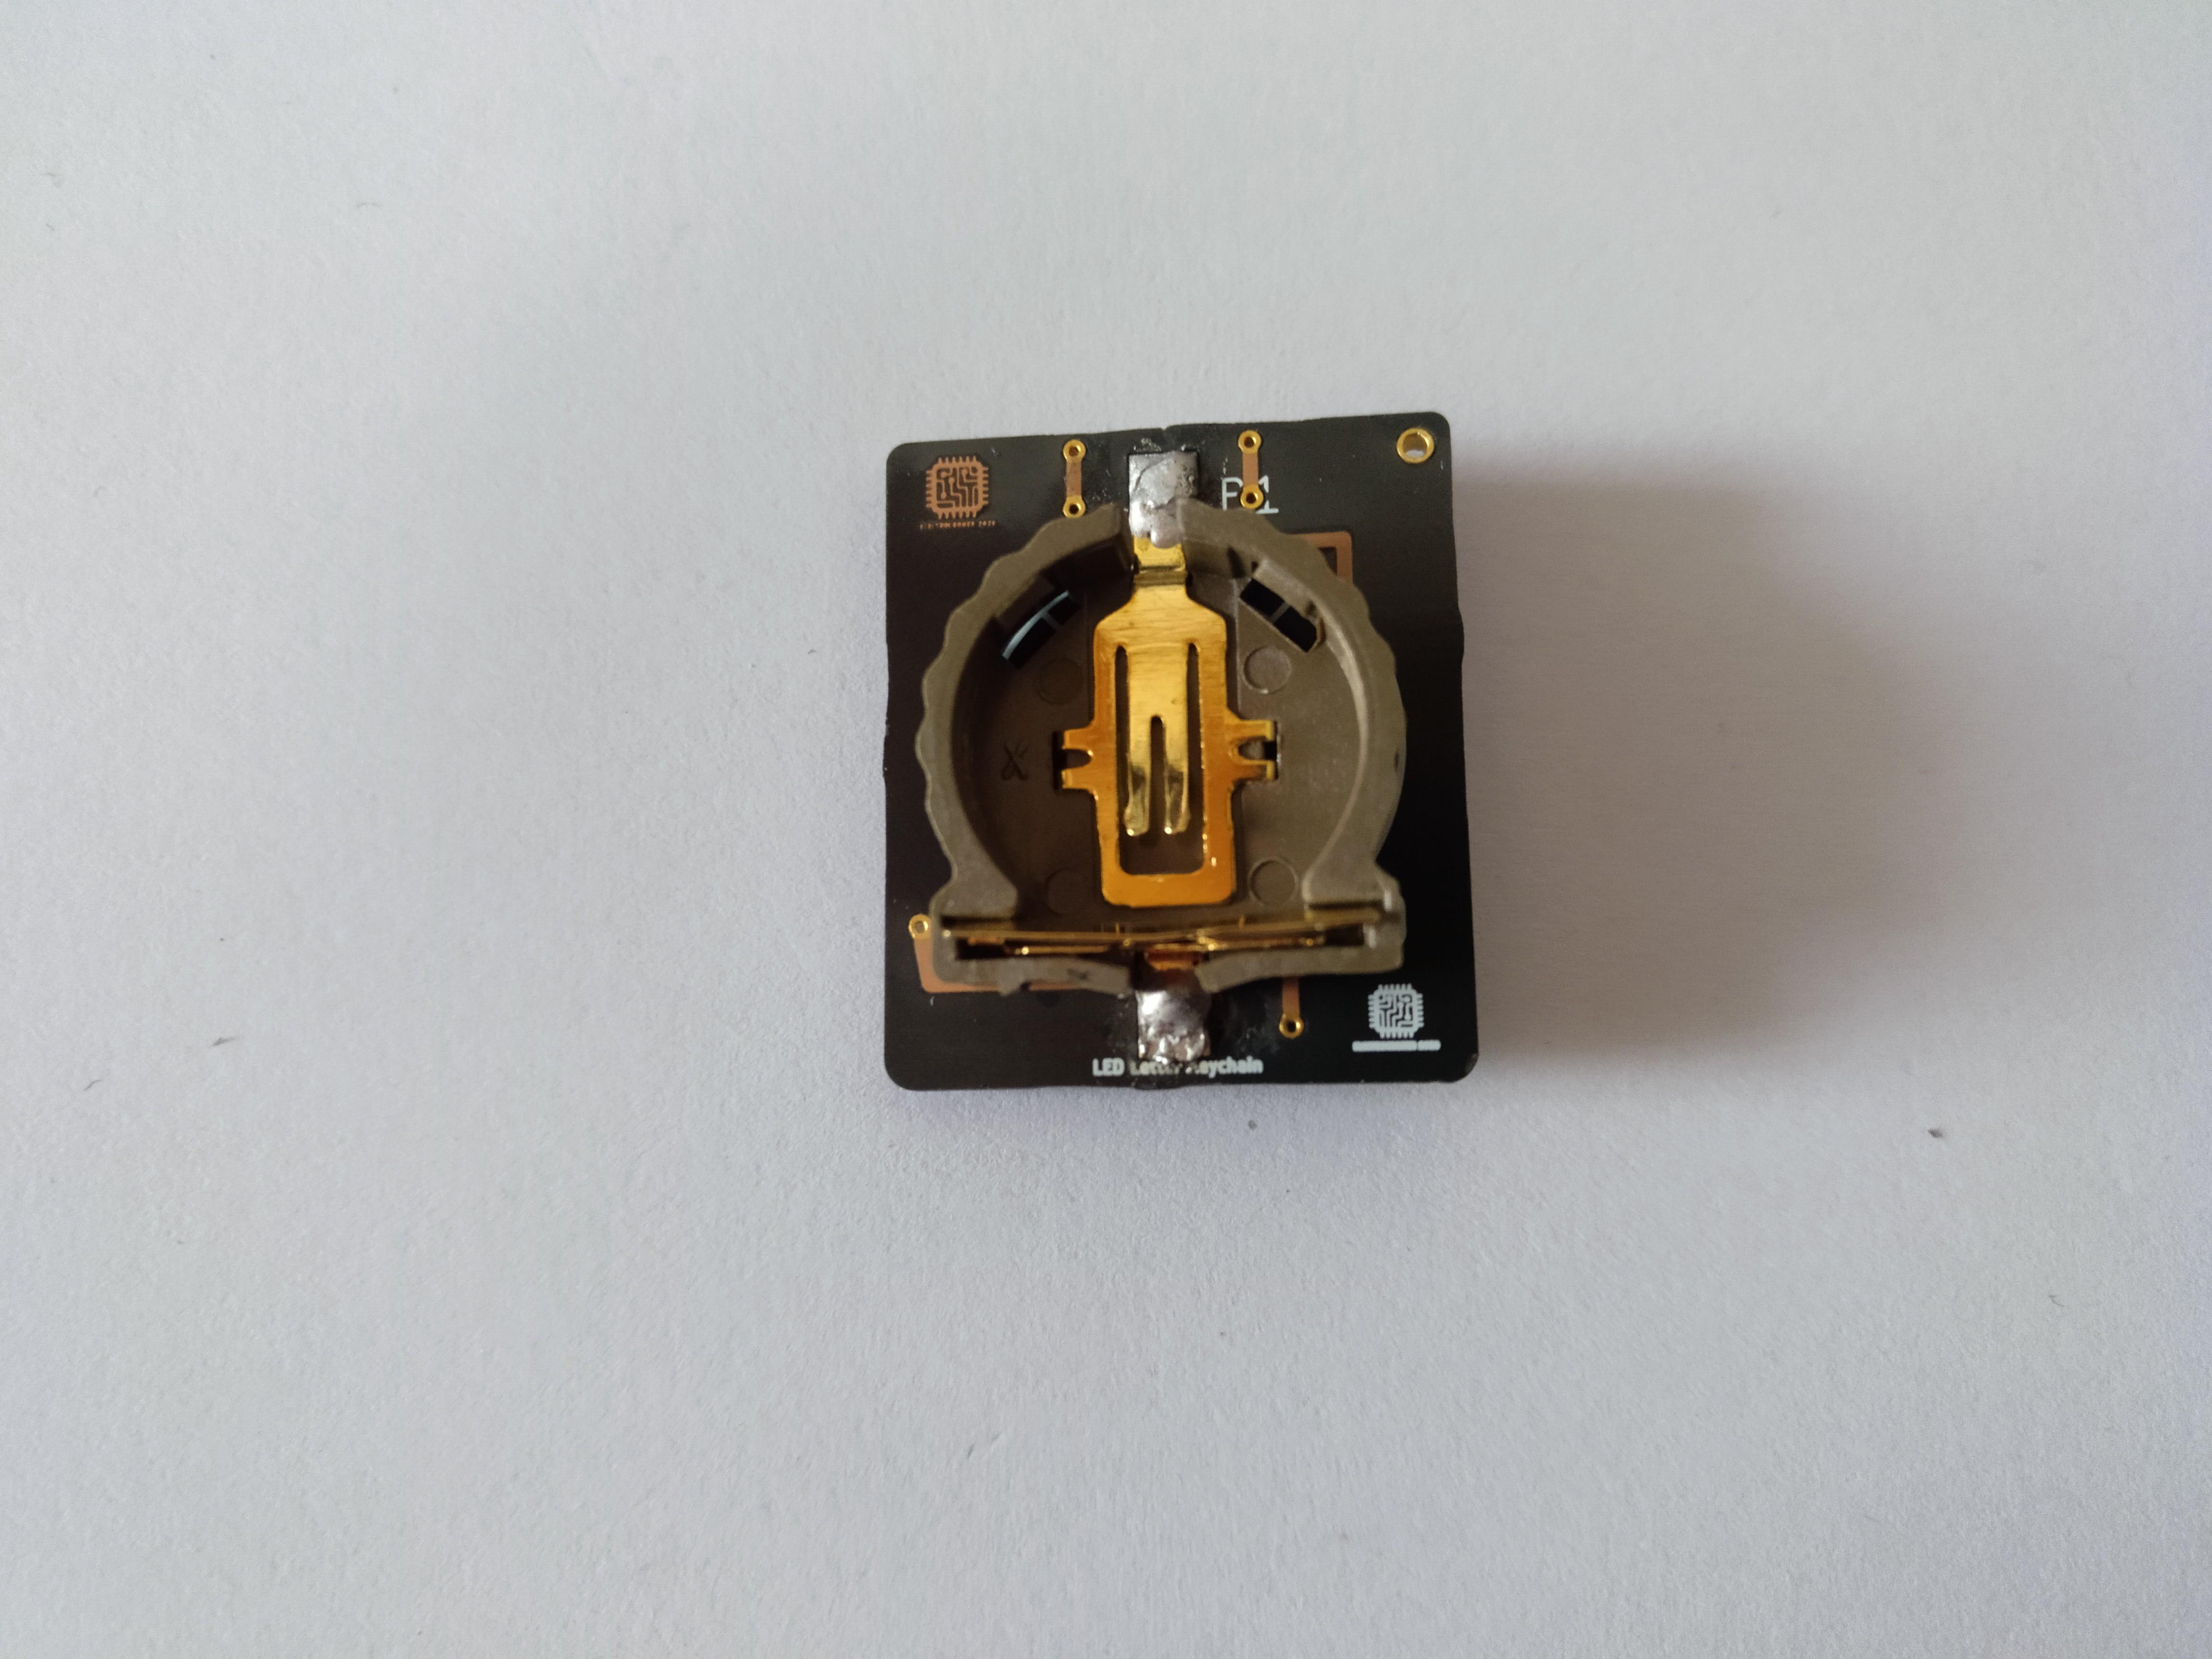
Now flip the board and solder the coin cell holder.
Attach the Keychain Ring

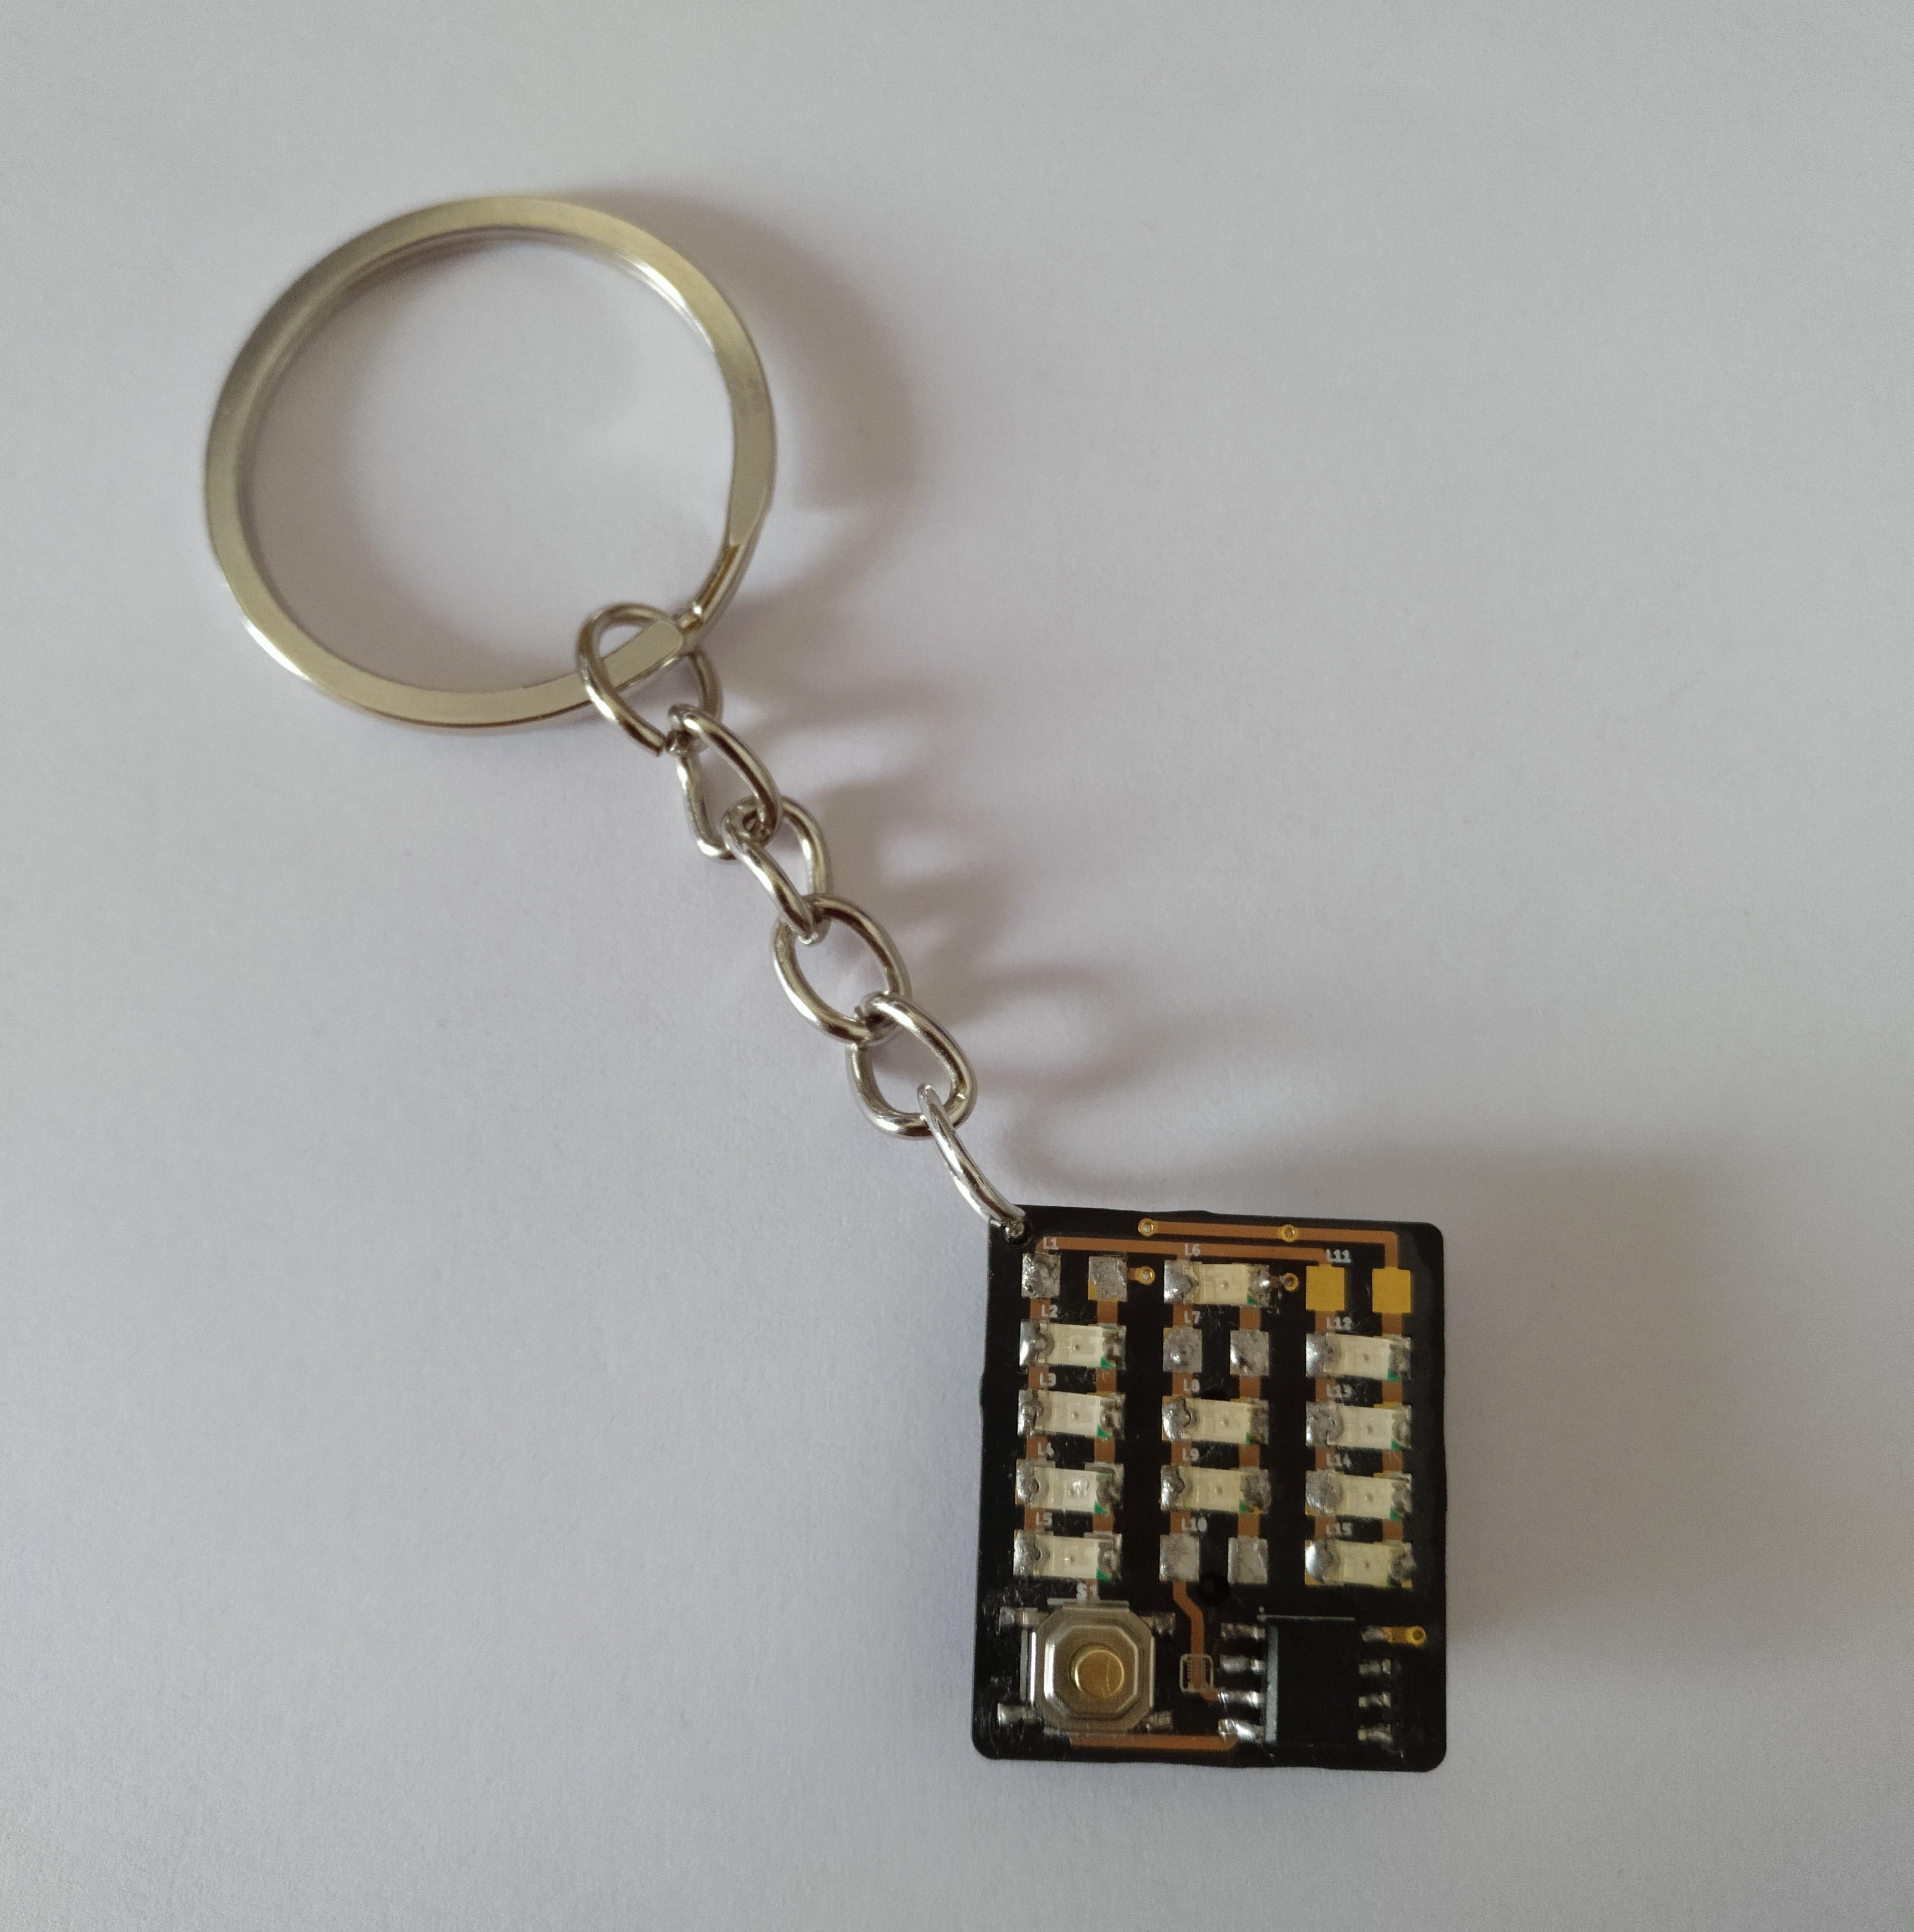
In this final step we need to attach the keychain thingy. To do so bend and open the last ring a little bit and insert it through the little hole at the left top corner. Then just press and close the ring so it doesn't fall off. And that is all!
Finished!
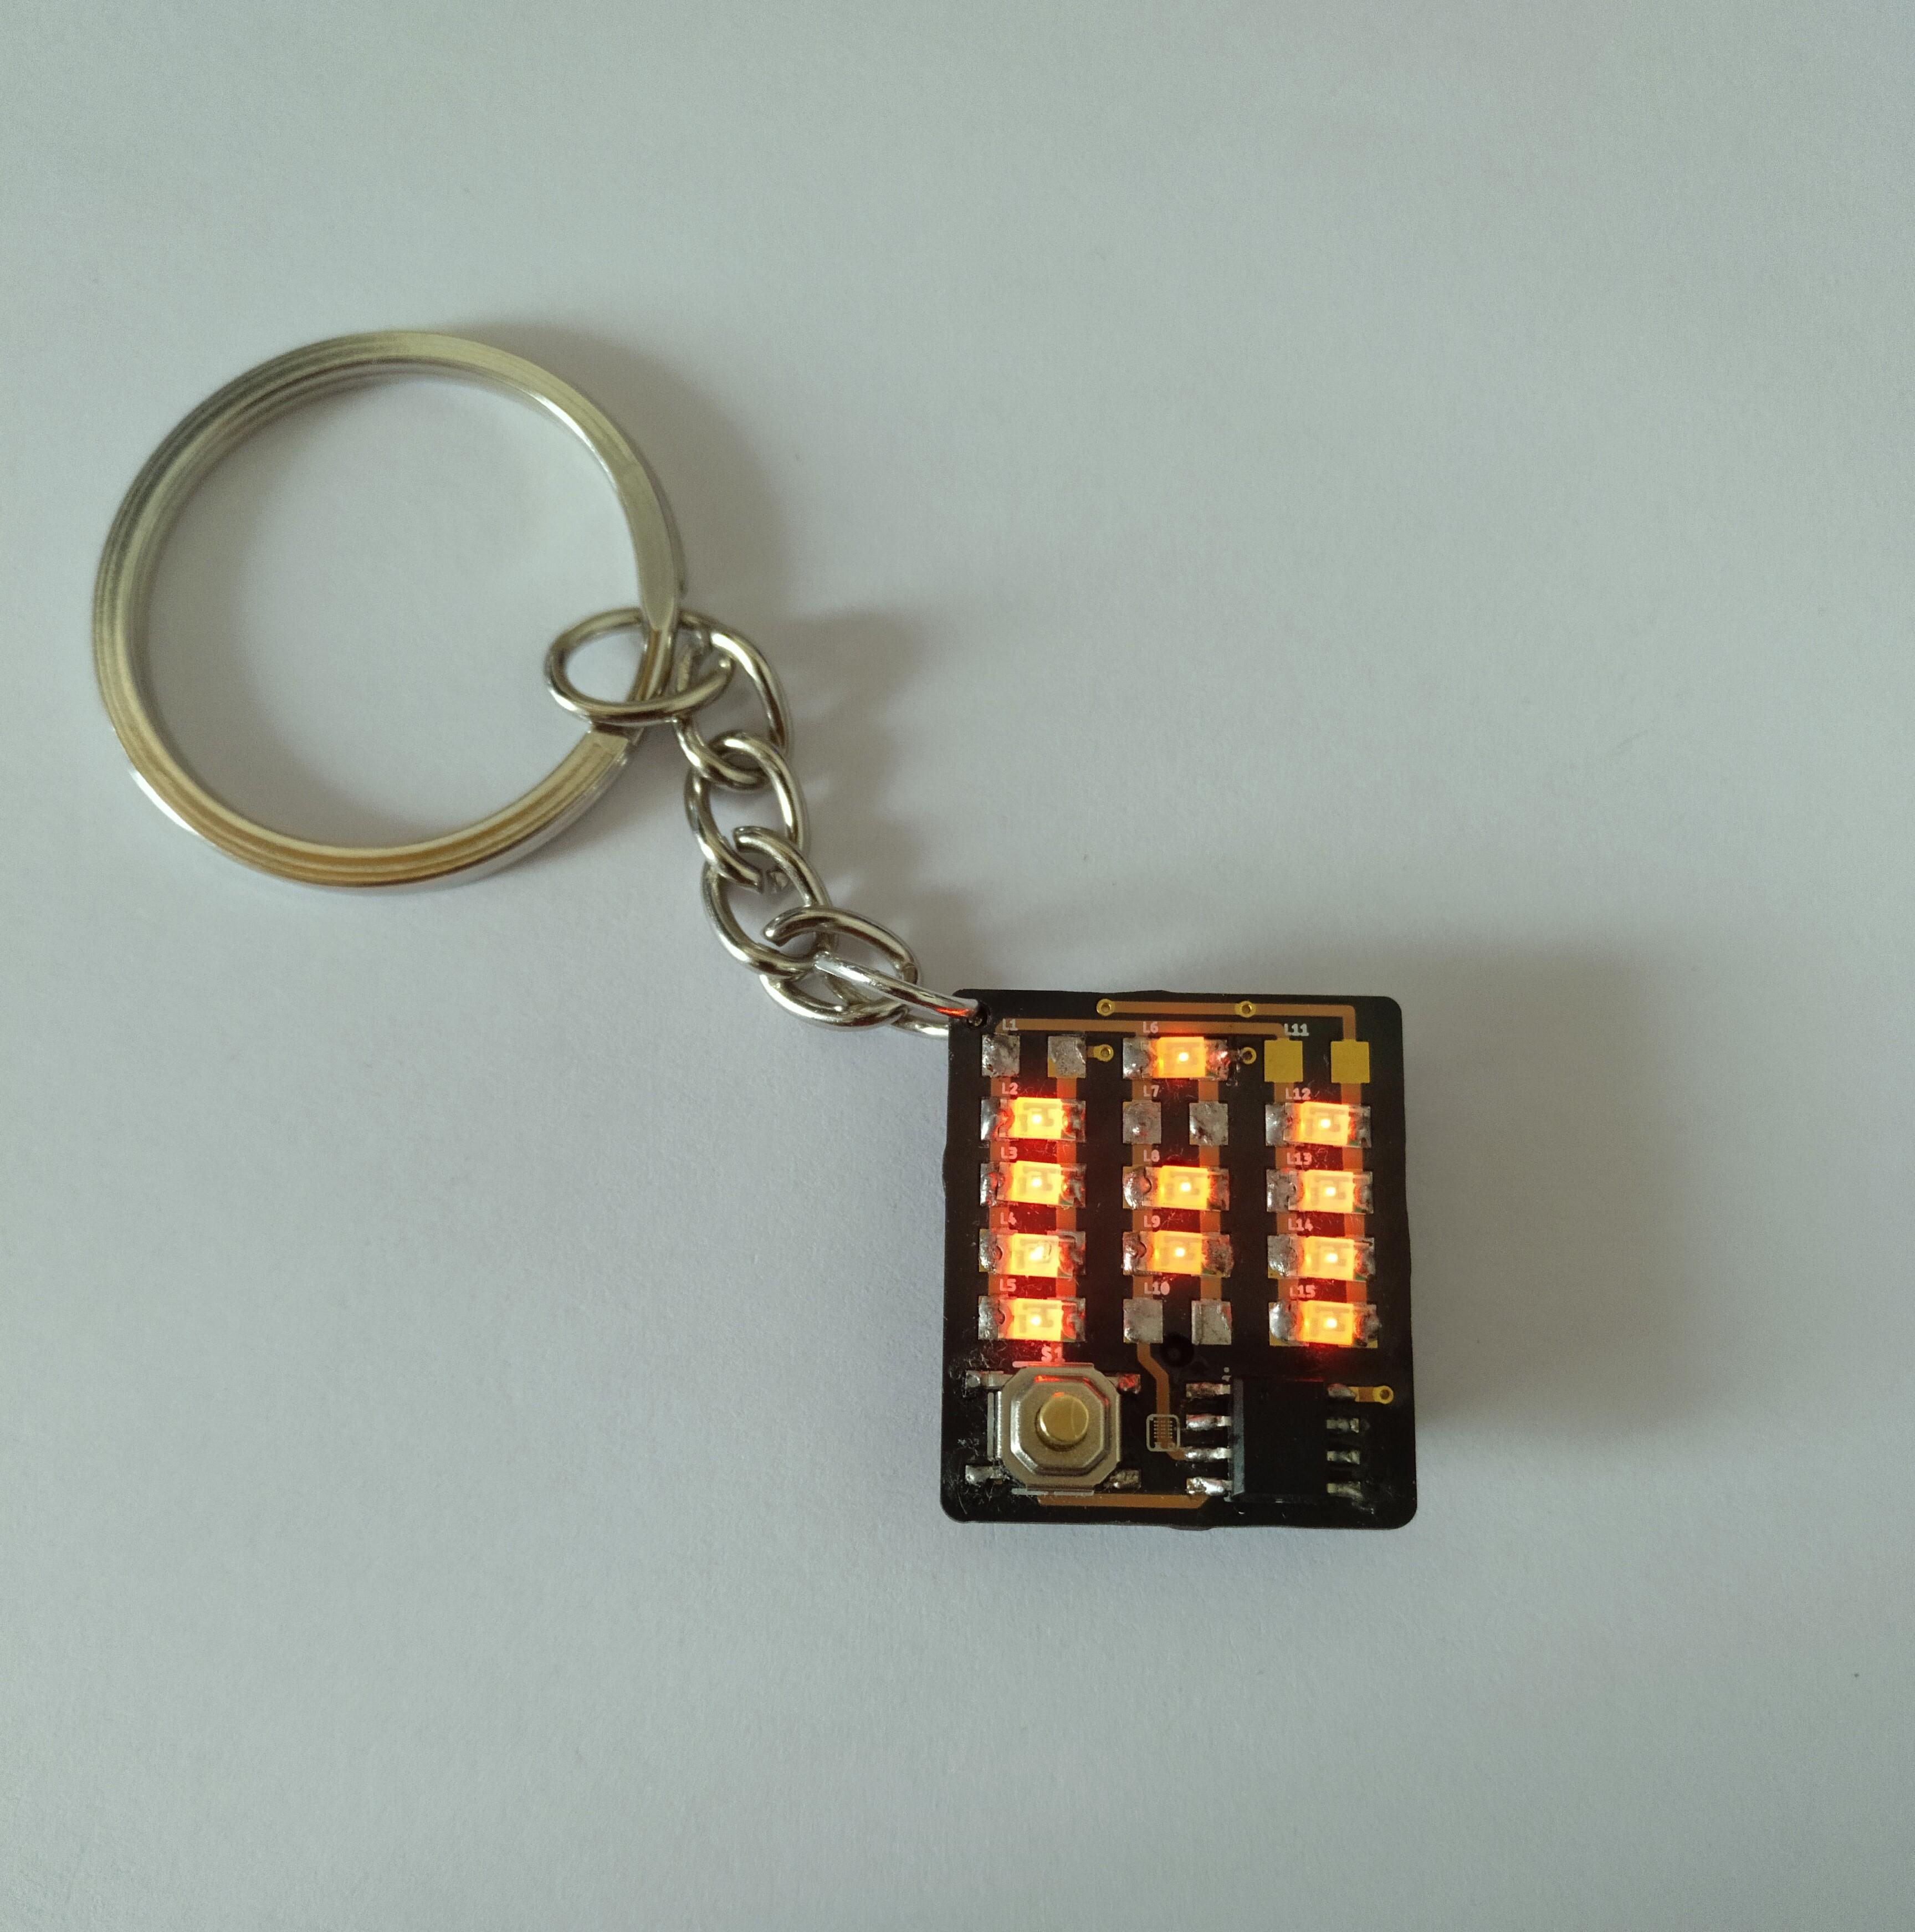
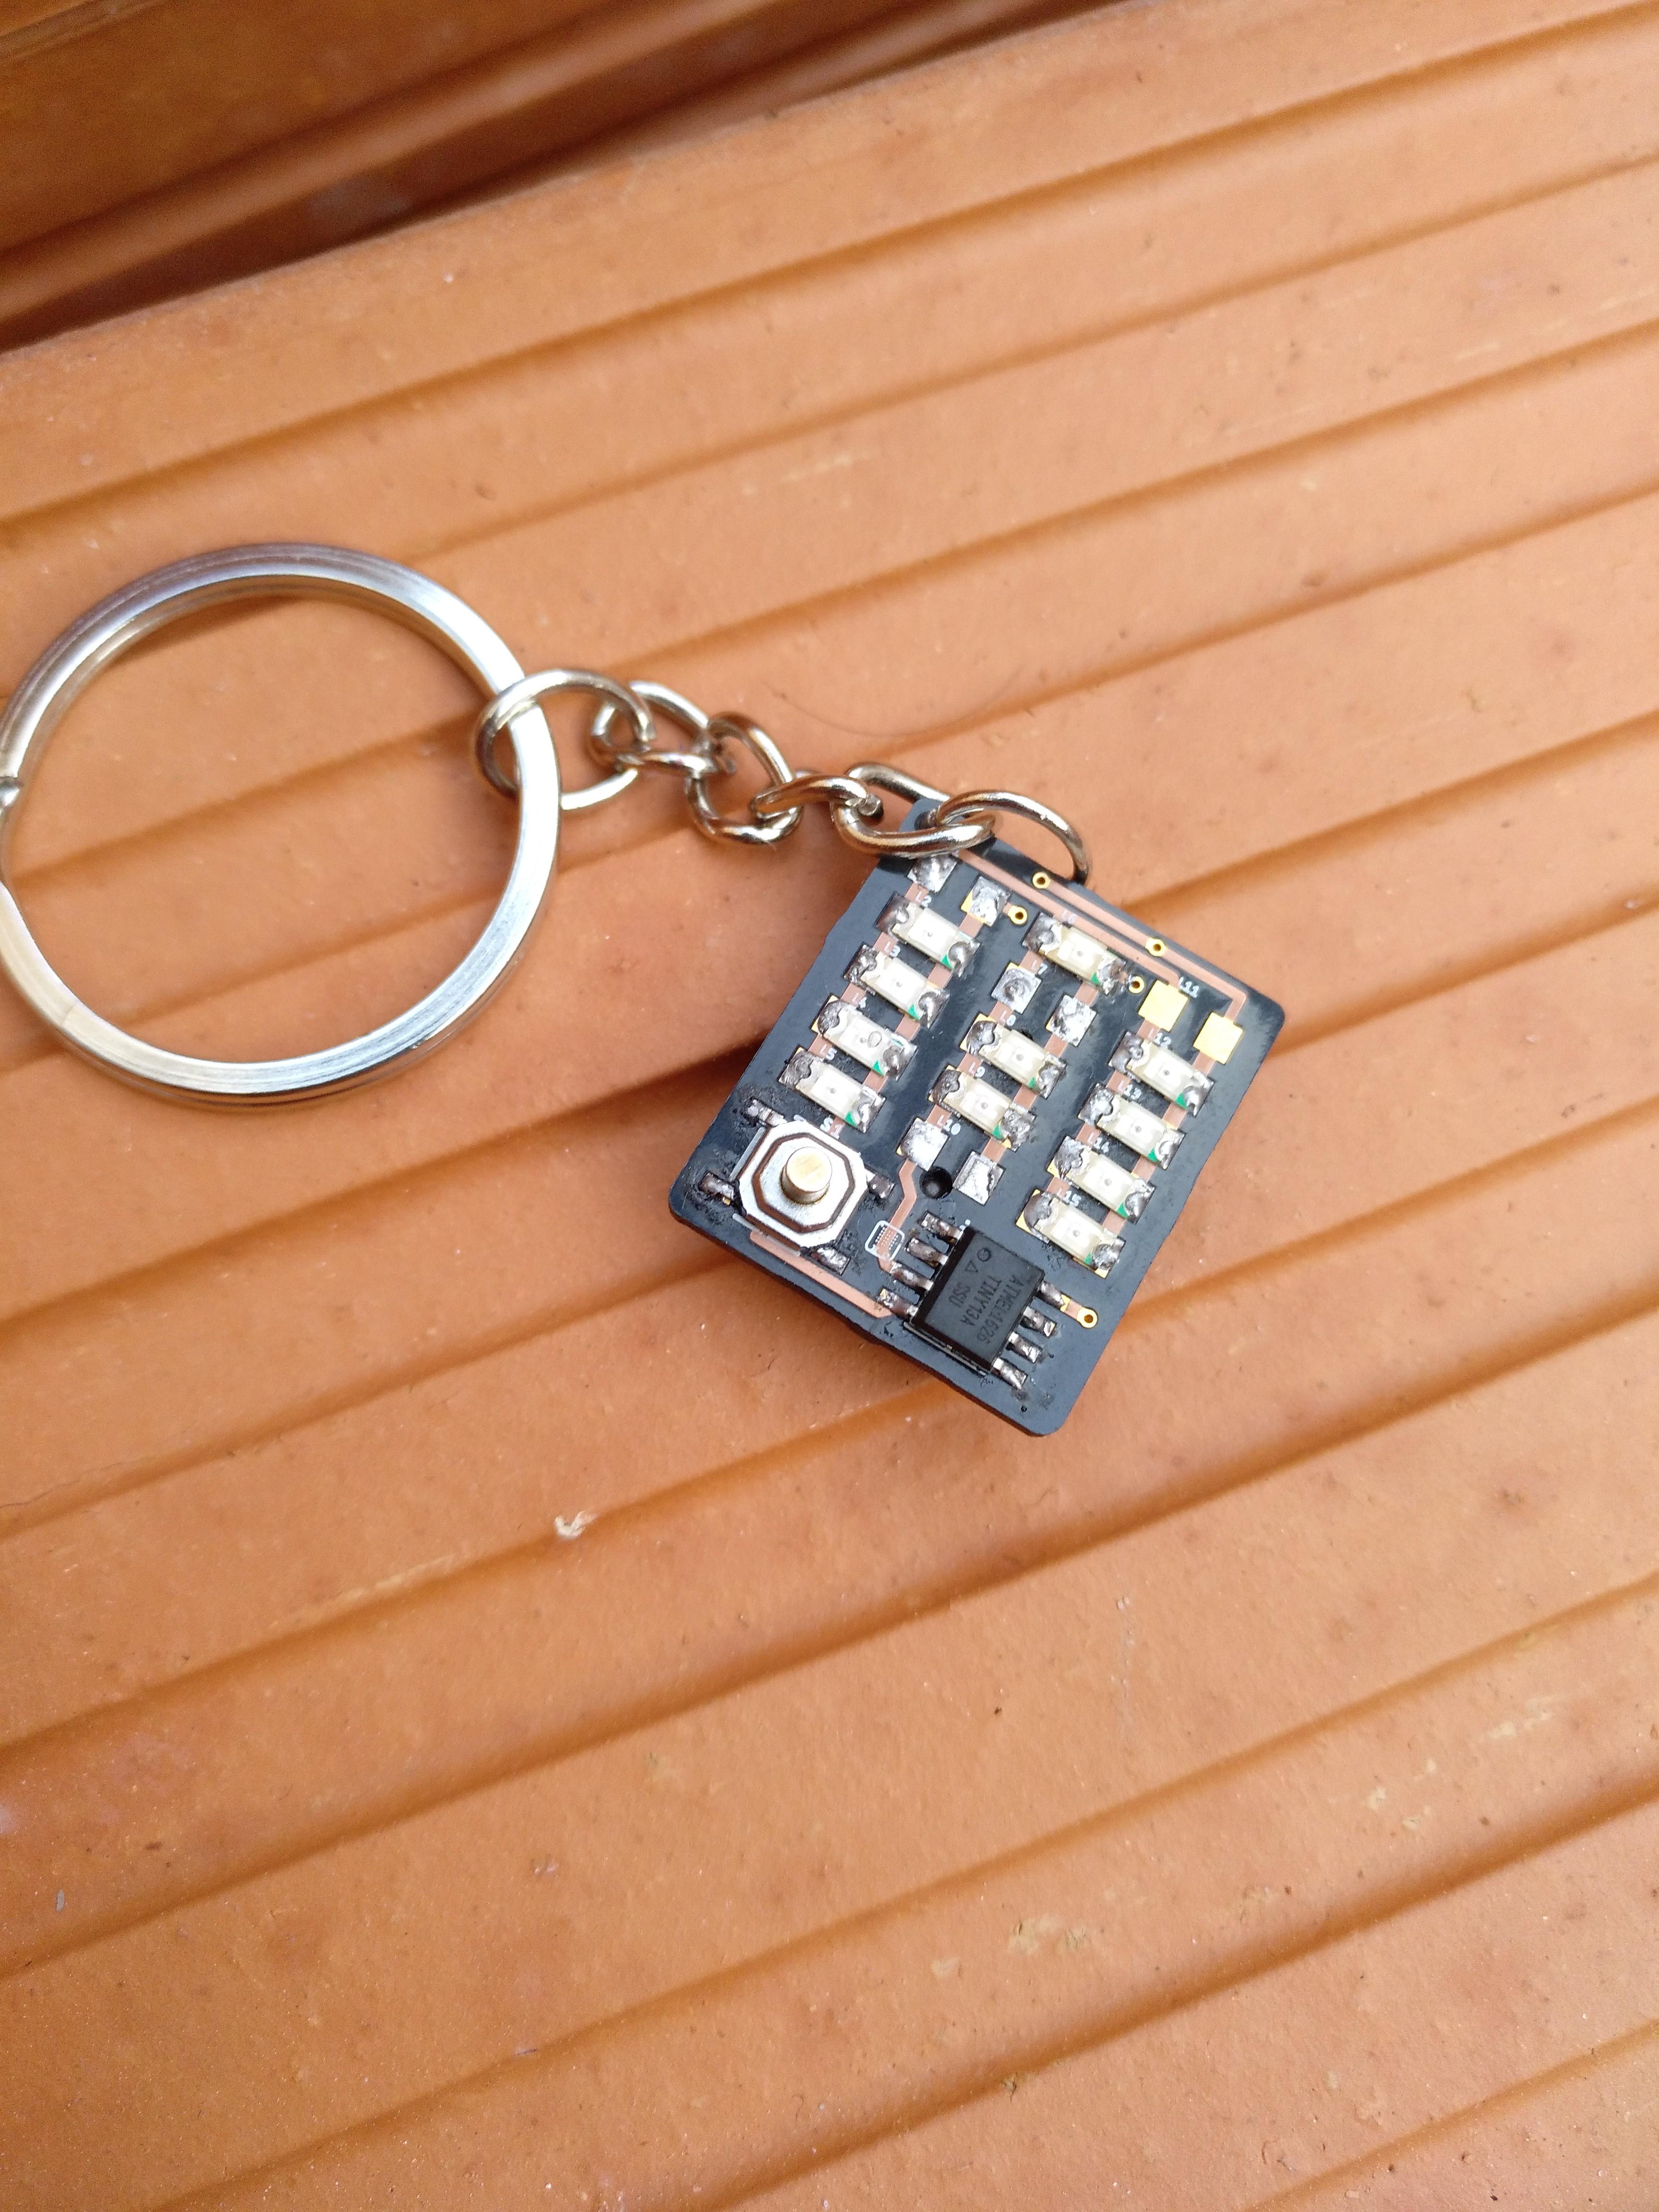
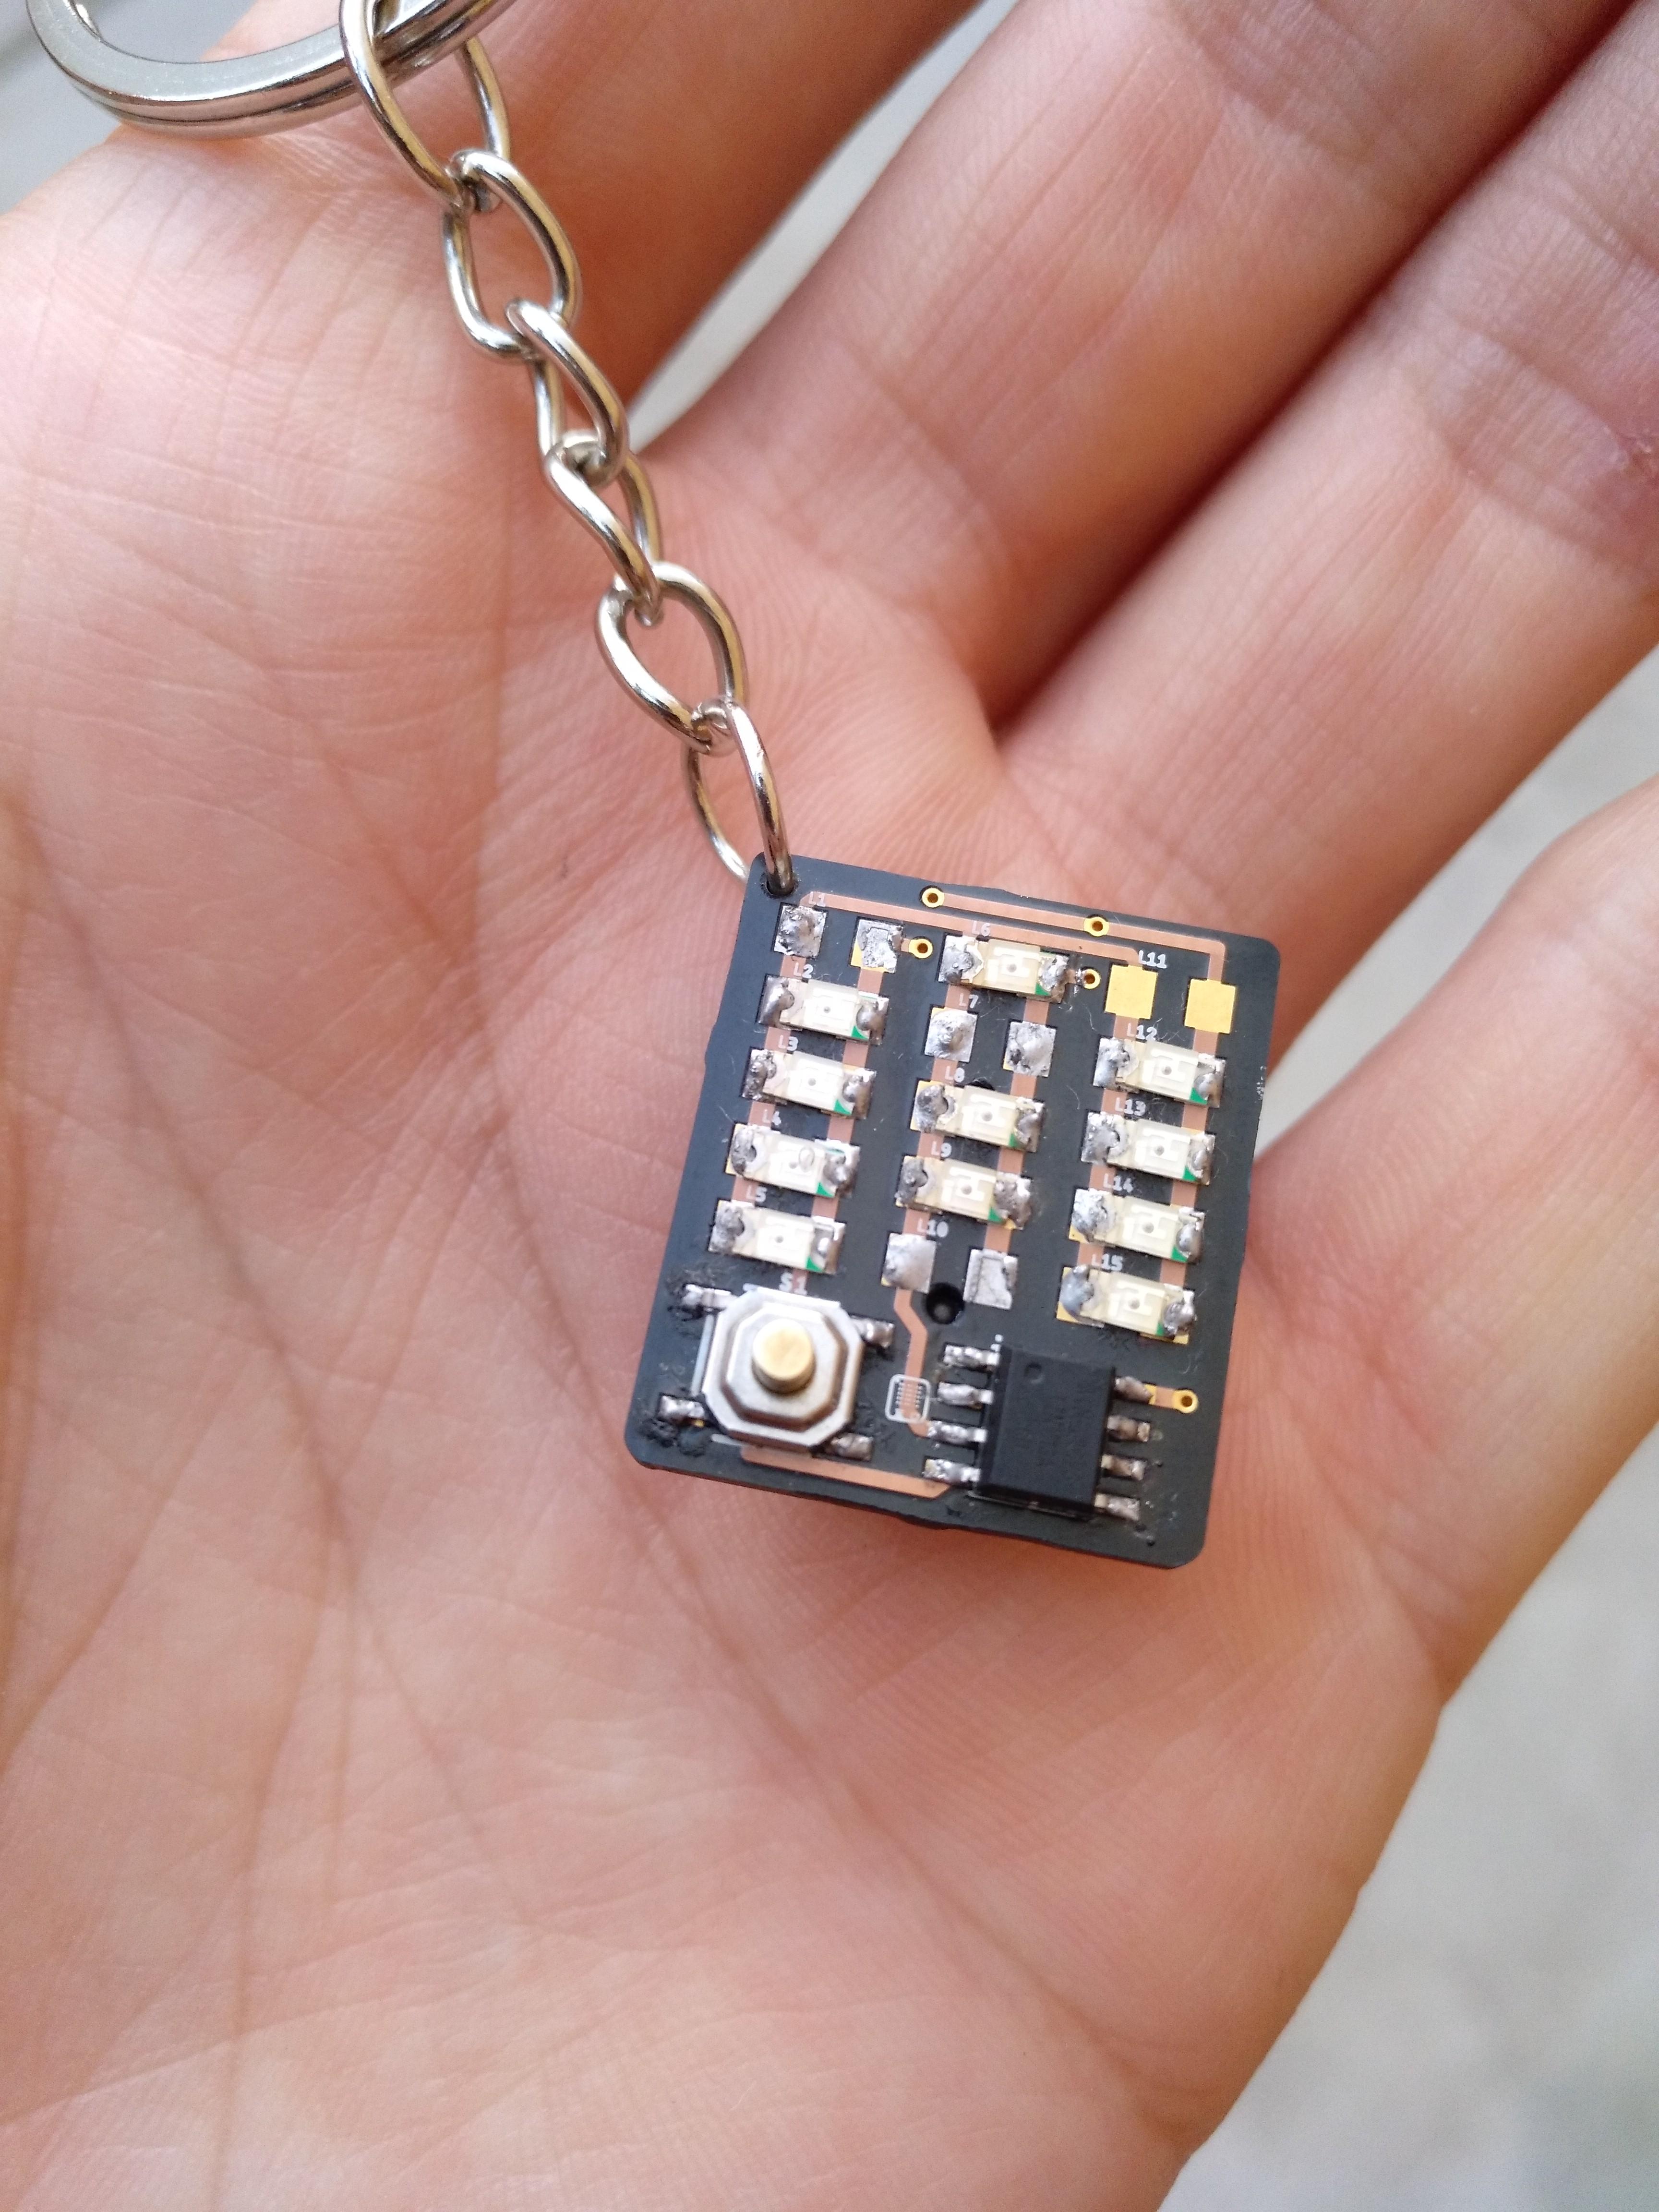
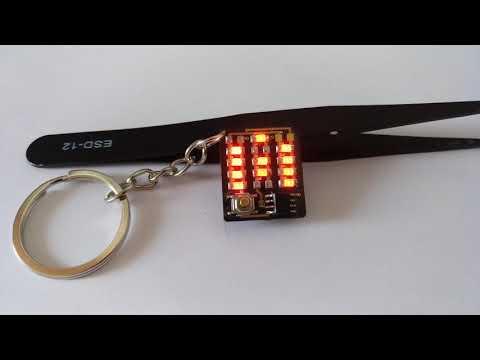
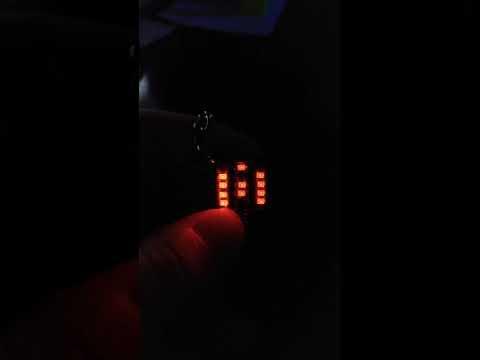
We have finished! Now put a CR1220 coin cell and press the button to see if you have done it correctly. If you have, you should see the LEDs on! If you keep pressing the button it changes through different modes and then it turns off to save energy
I hope you liked this instructable and don't forget to vote me in the Microcontroller contest!