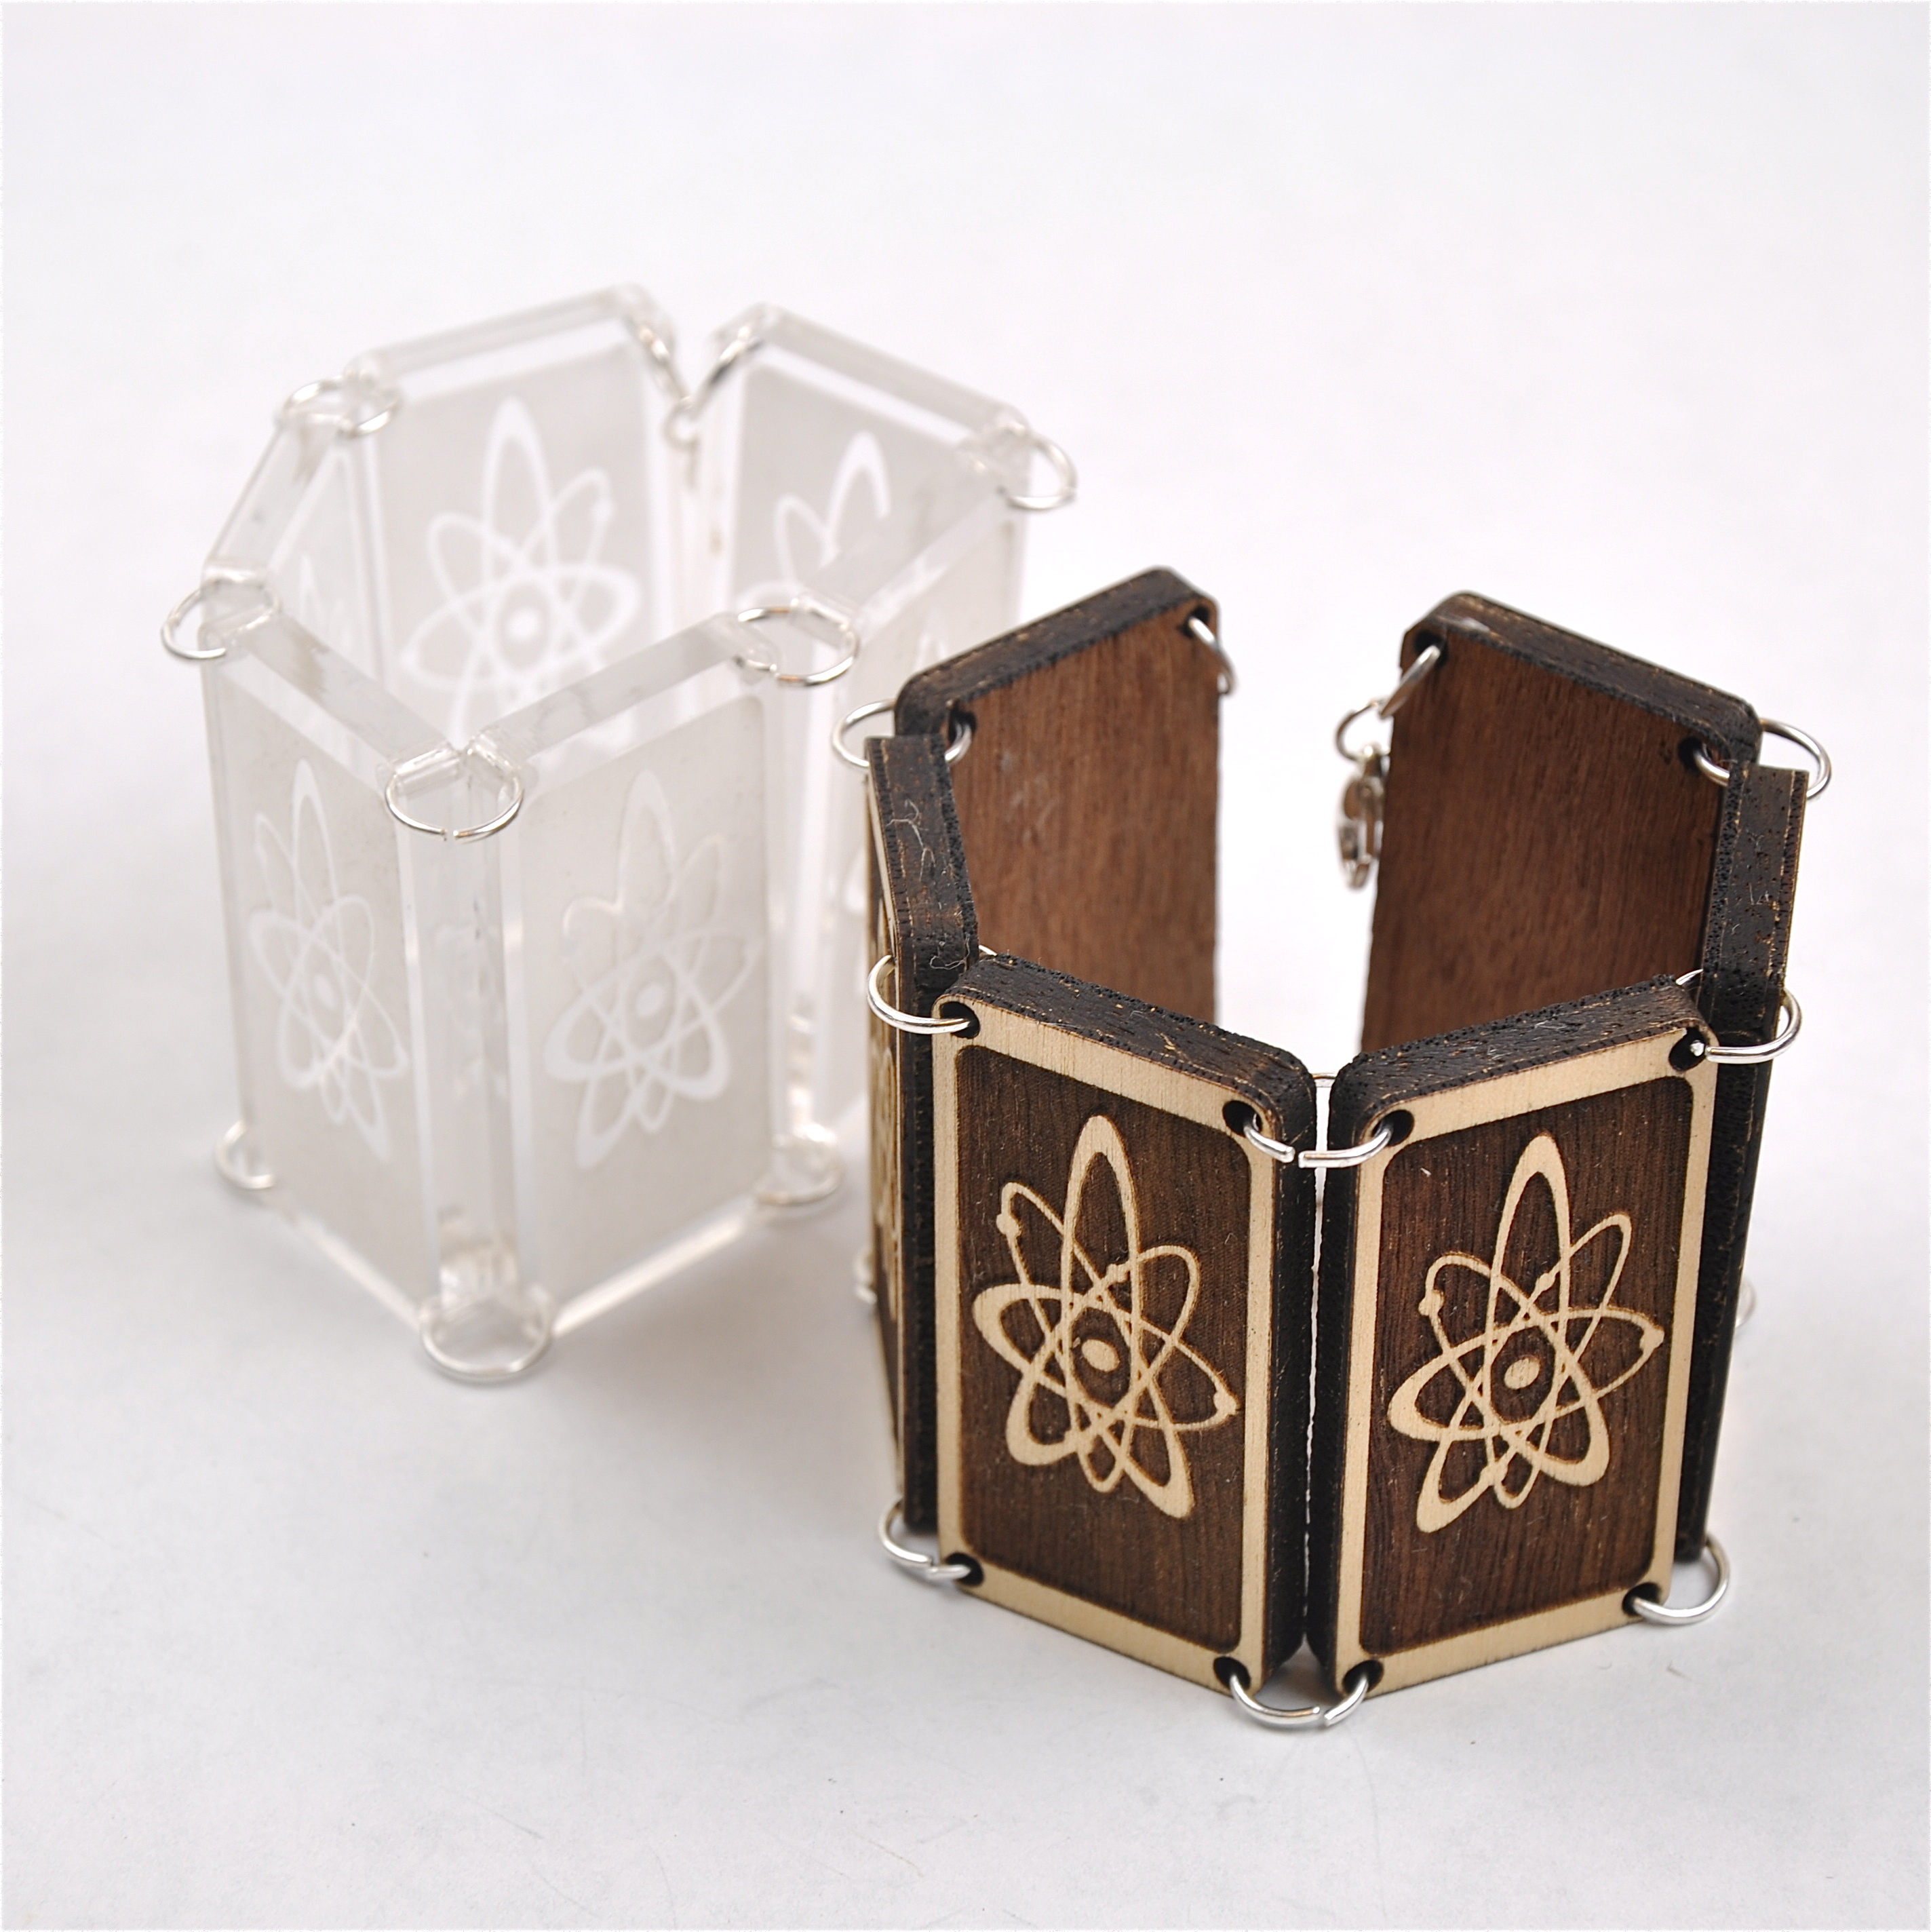
Atomic Bracelet
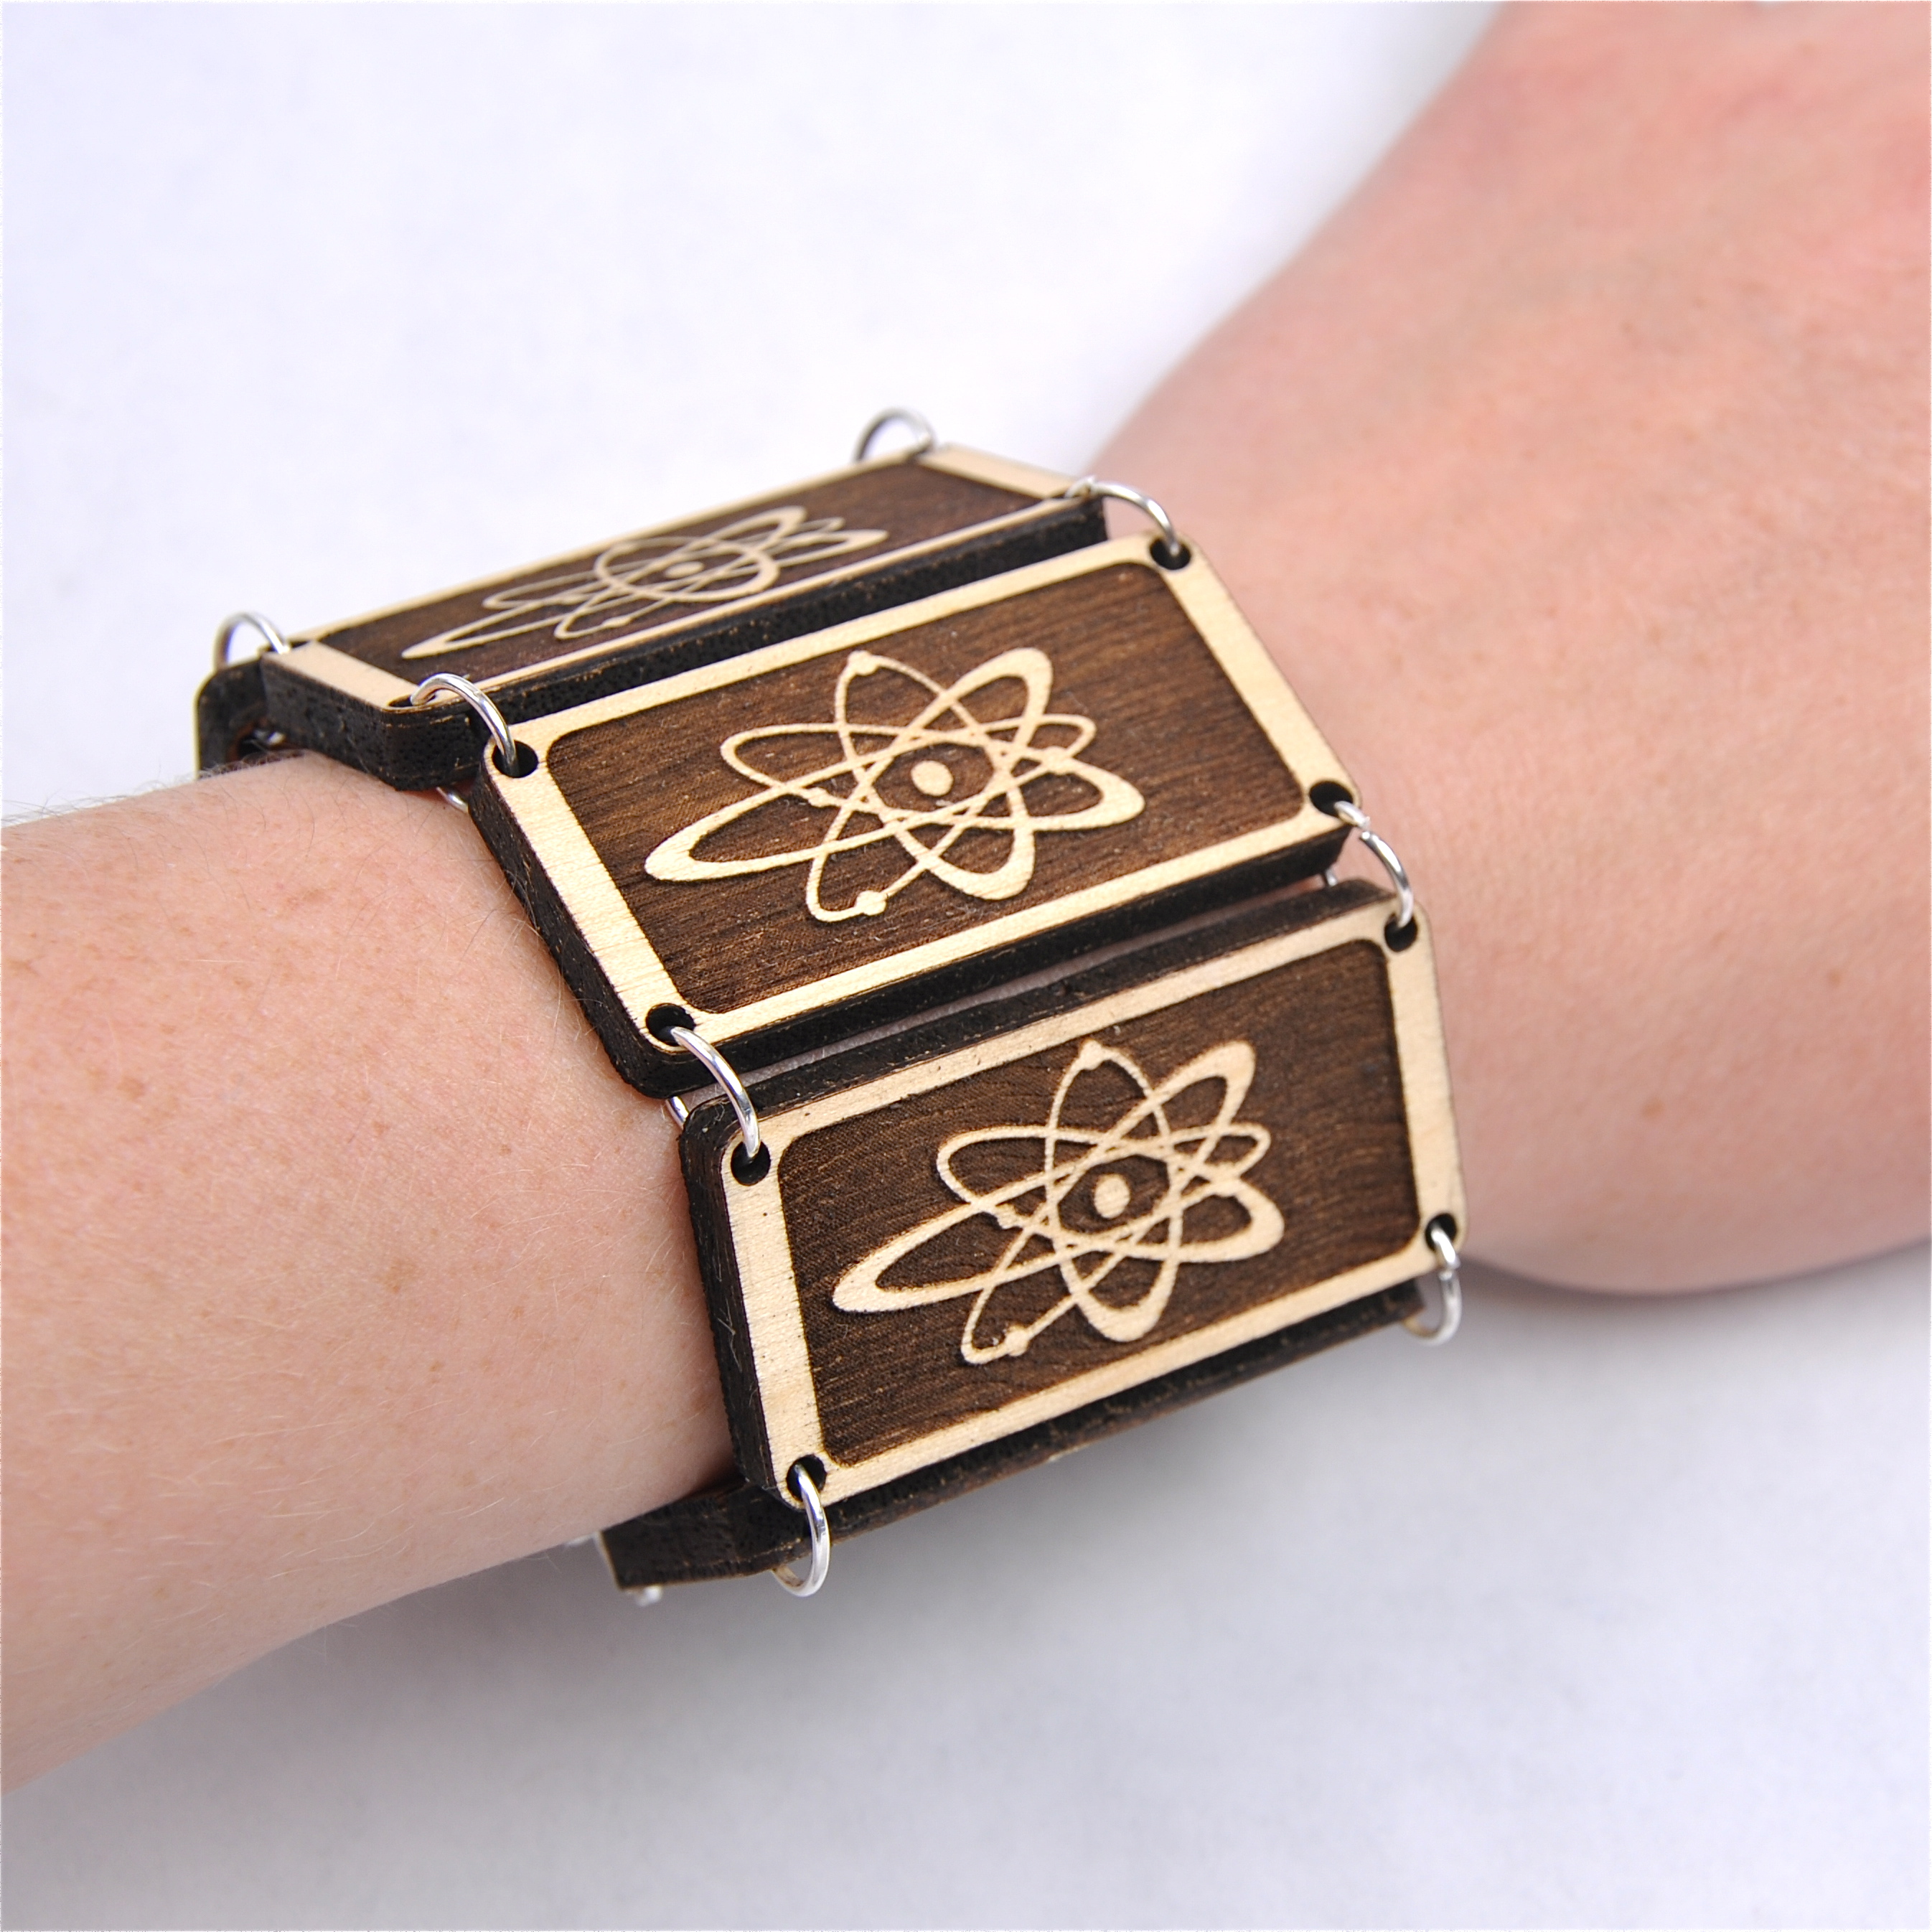

After making my necklace and earrings, I decided I needed a bracelet. I decided over the weekend how I was going to make it, but not what it would look like. So today I figured out my design and got my pieces all cut out. I hope you like it; I sure do, and I'm excited about wearing it tomorrow :D
I made this at Techshop in SF!
I made this at Techshop in SF!
Supplies
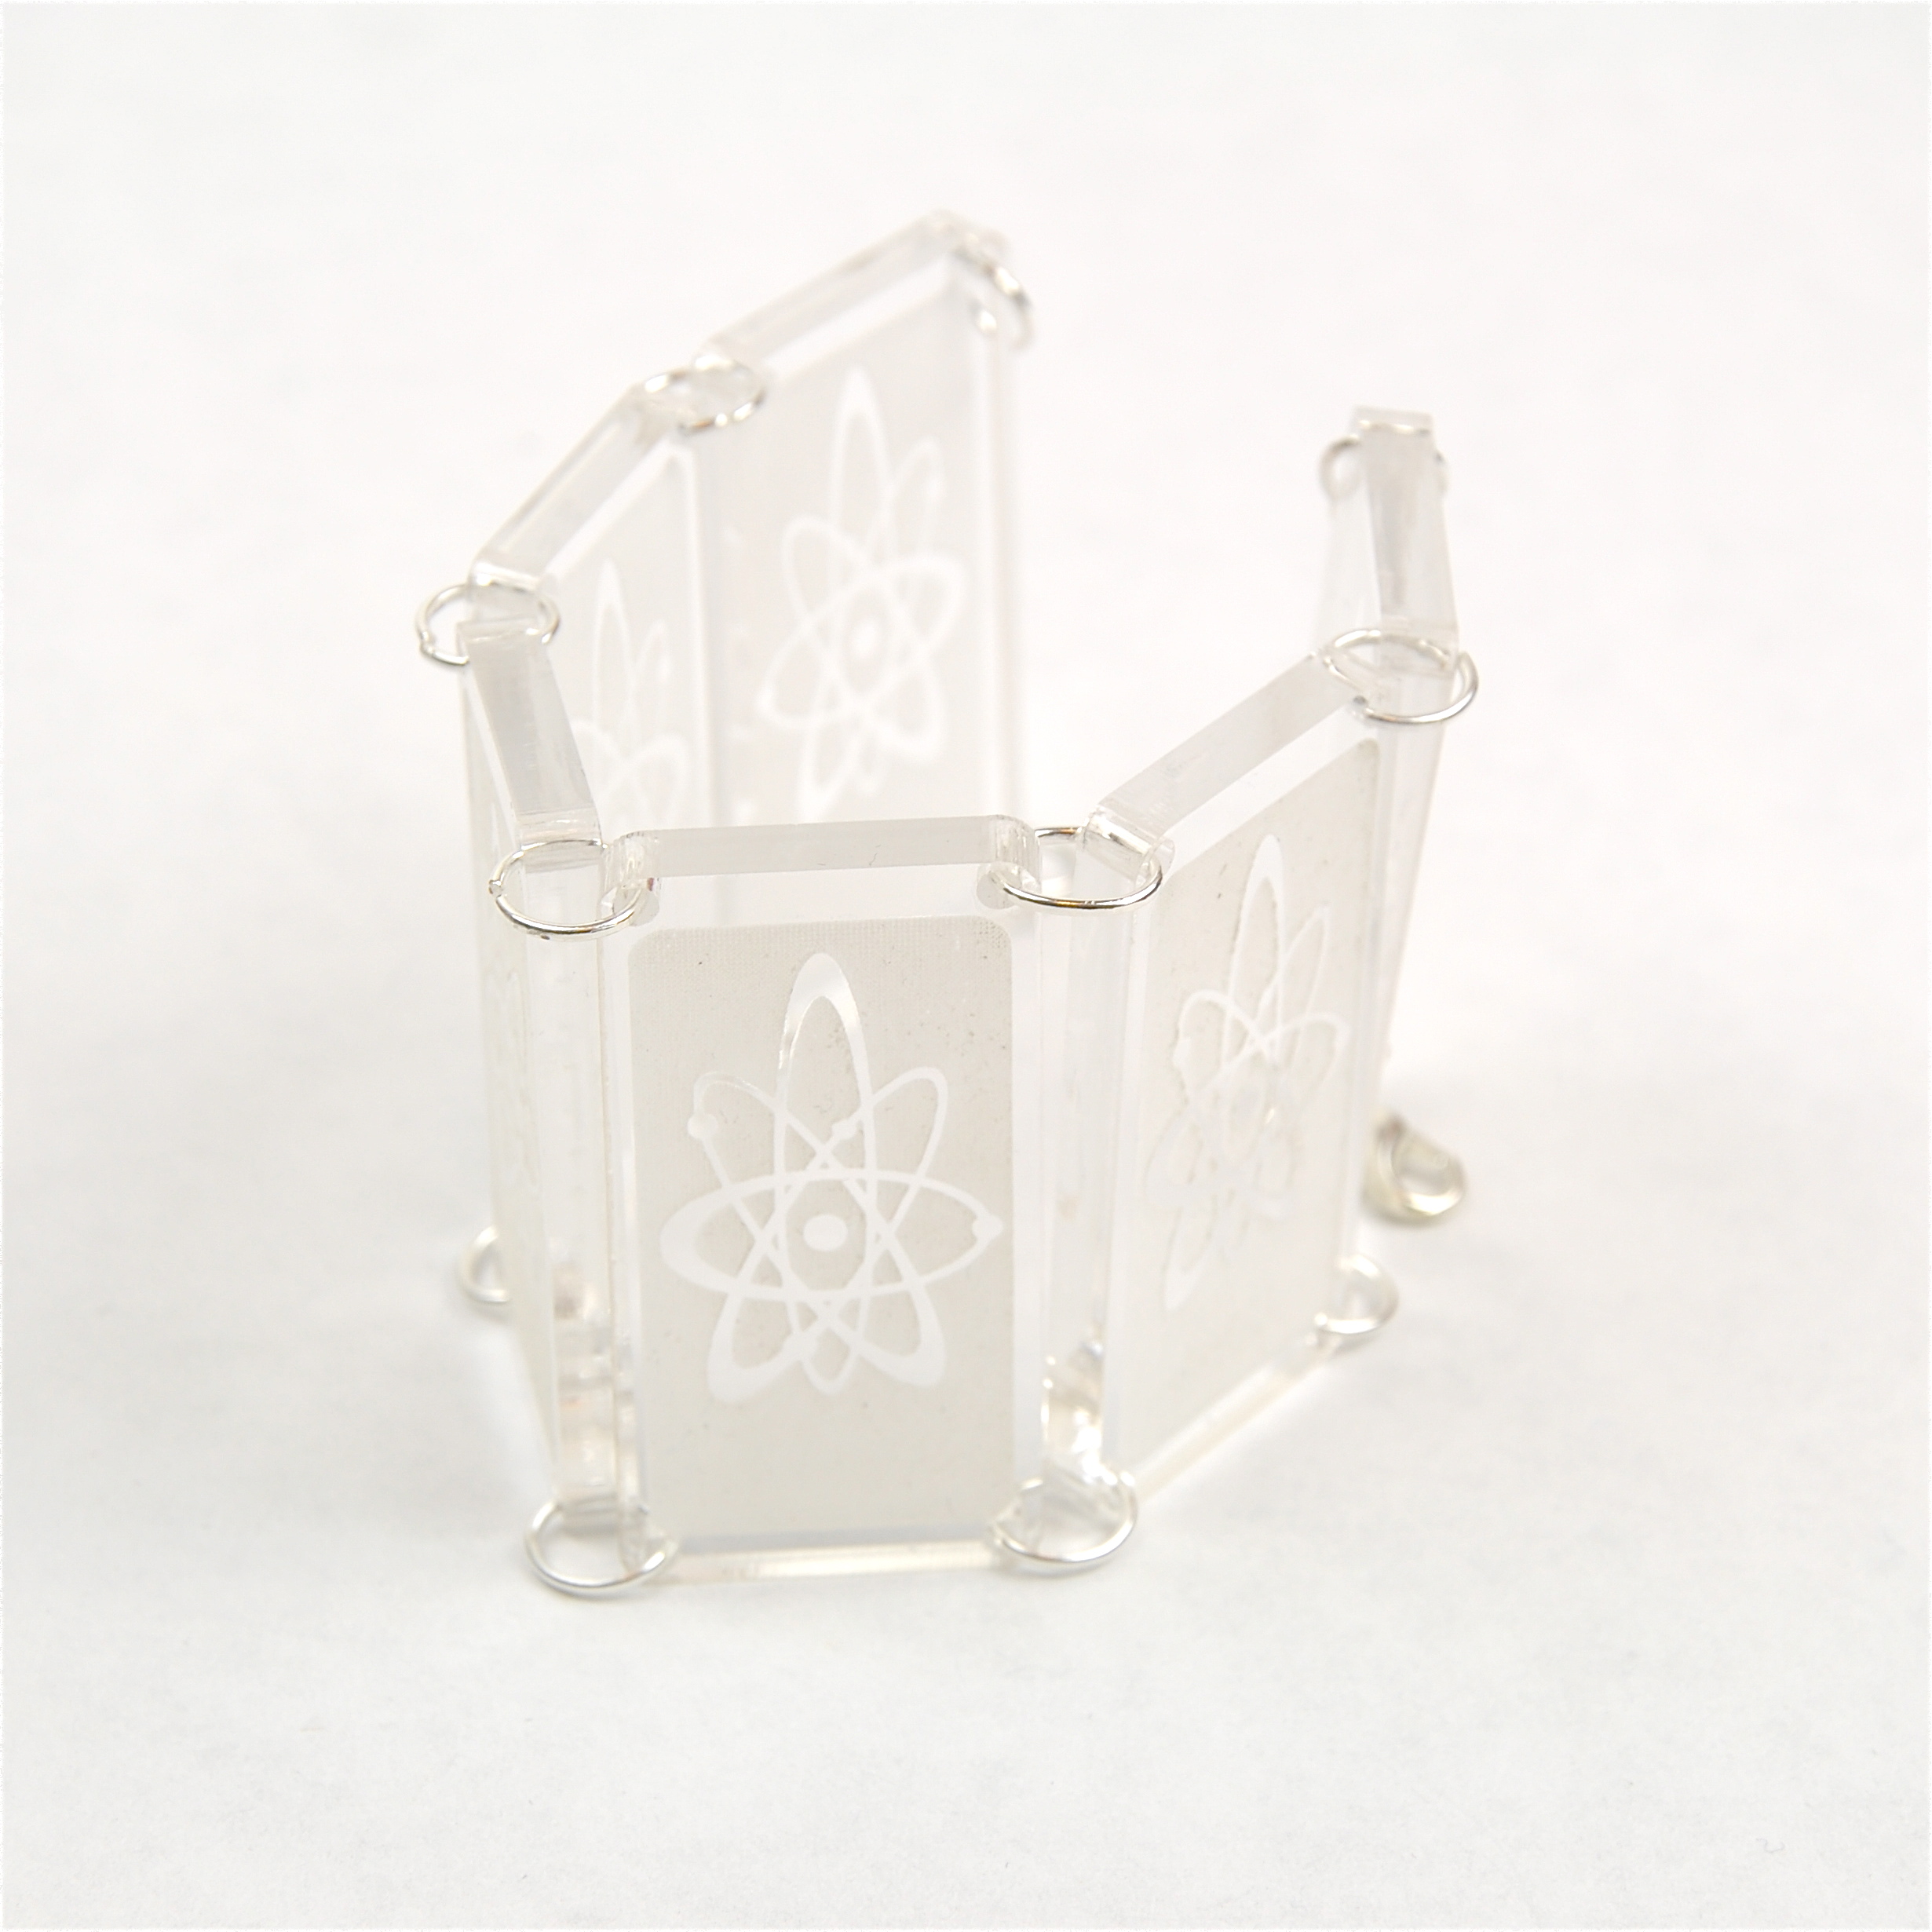
There may be a few things you have to stop at Michaels to get to complete this project. The circumference of my wrist is just less than 6 inches and the end bracelet is just the right size, so keep that in mind when deciding how many tiles you need.
Supplies:
Supplies:
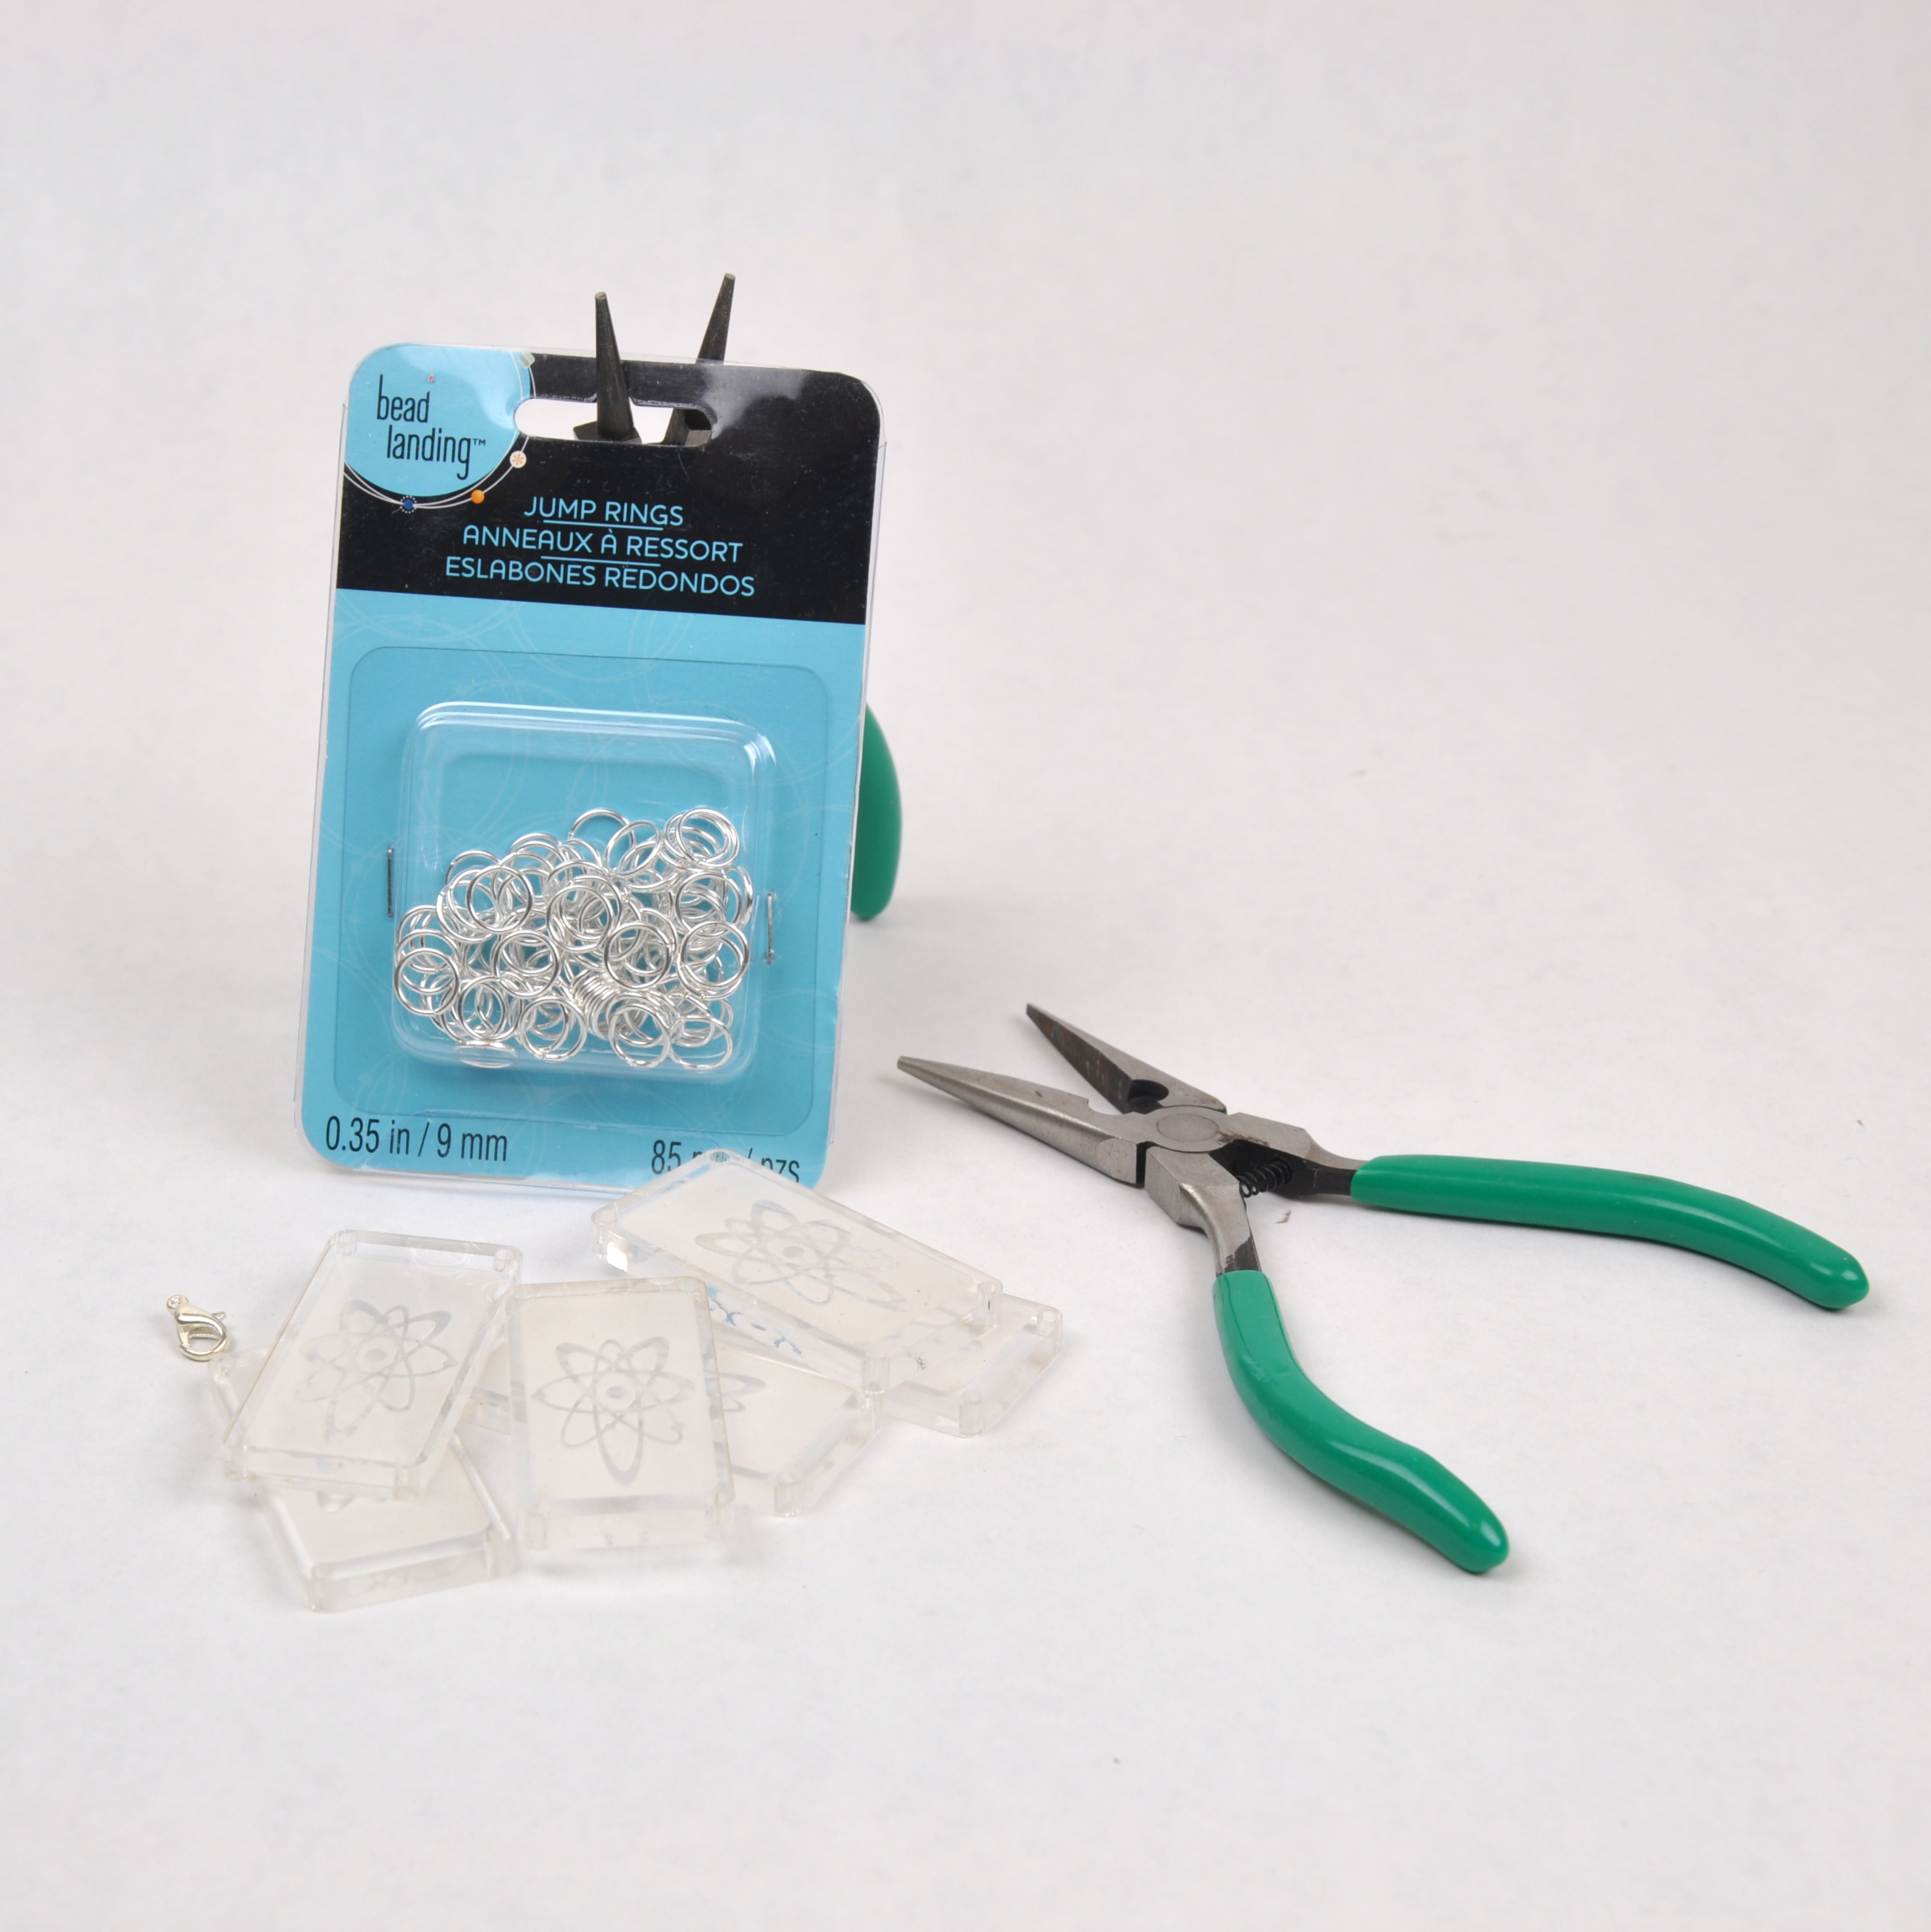
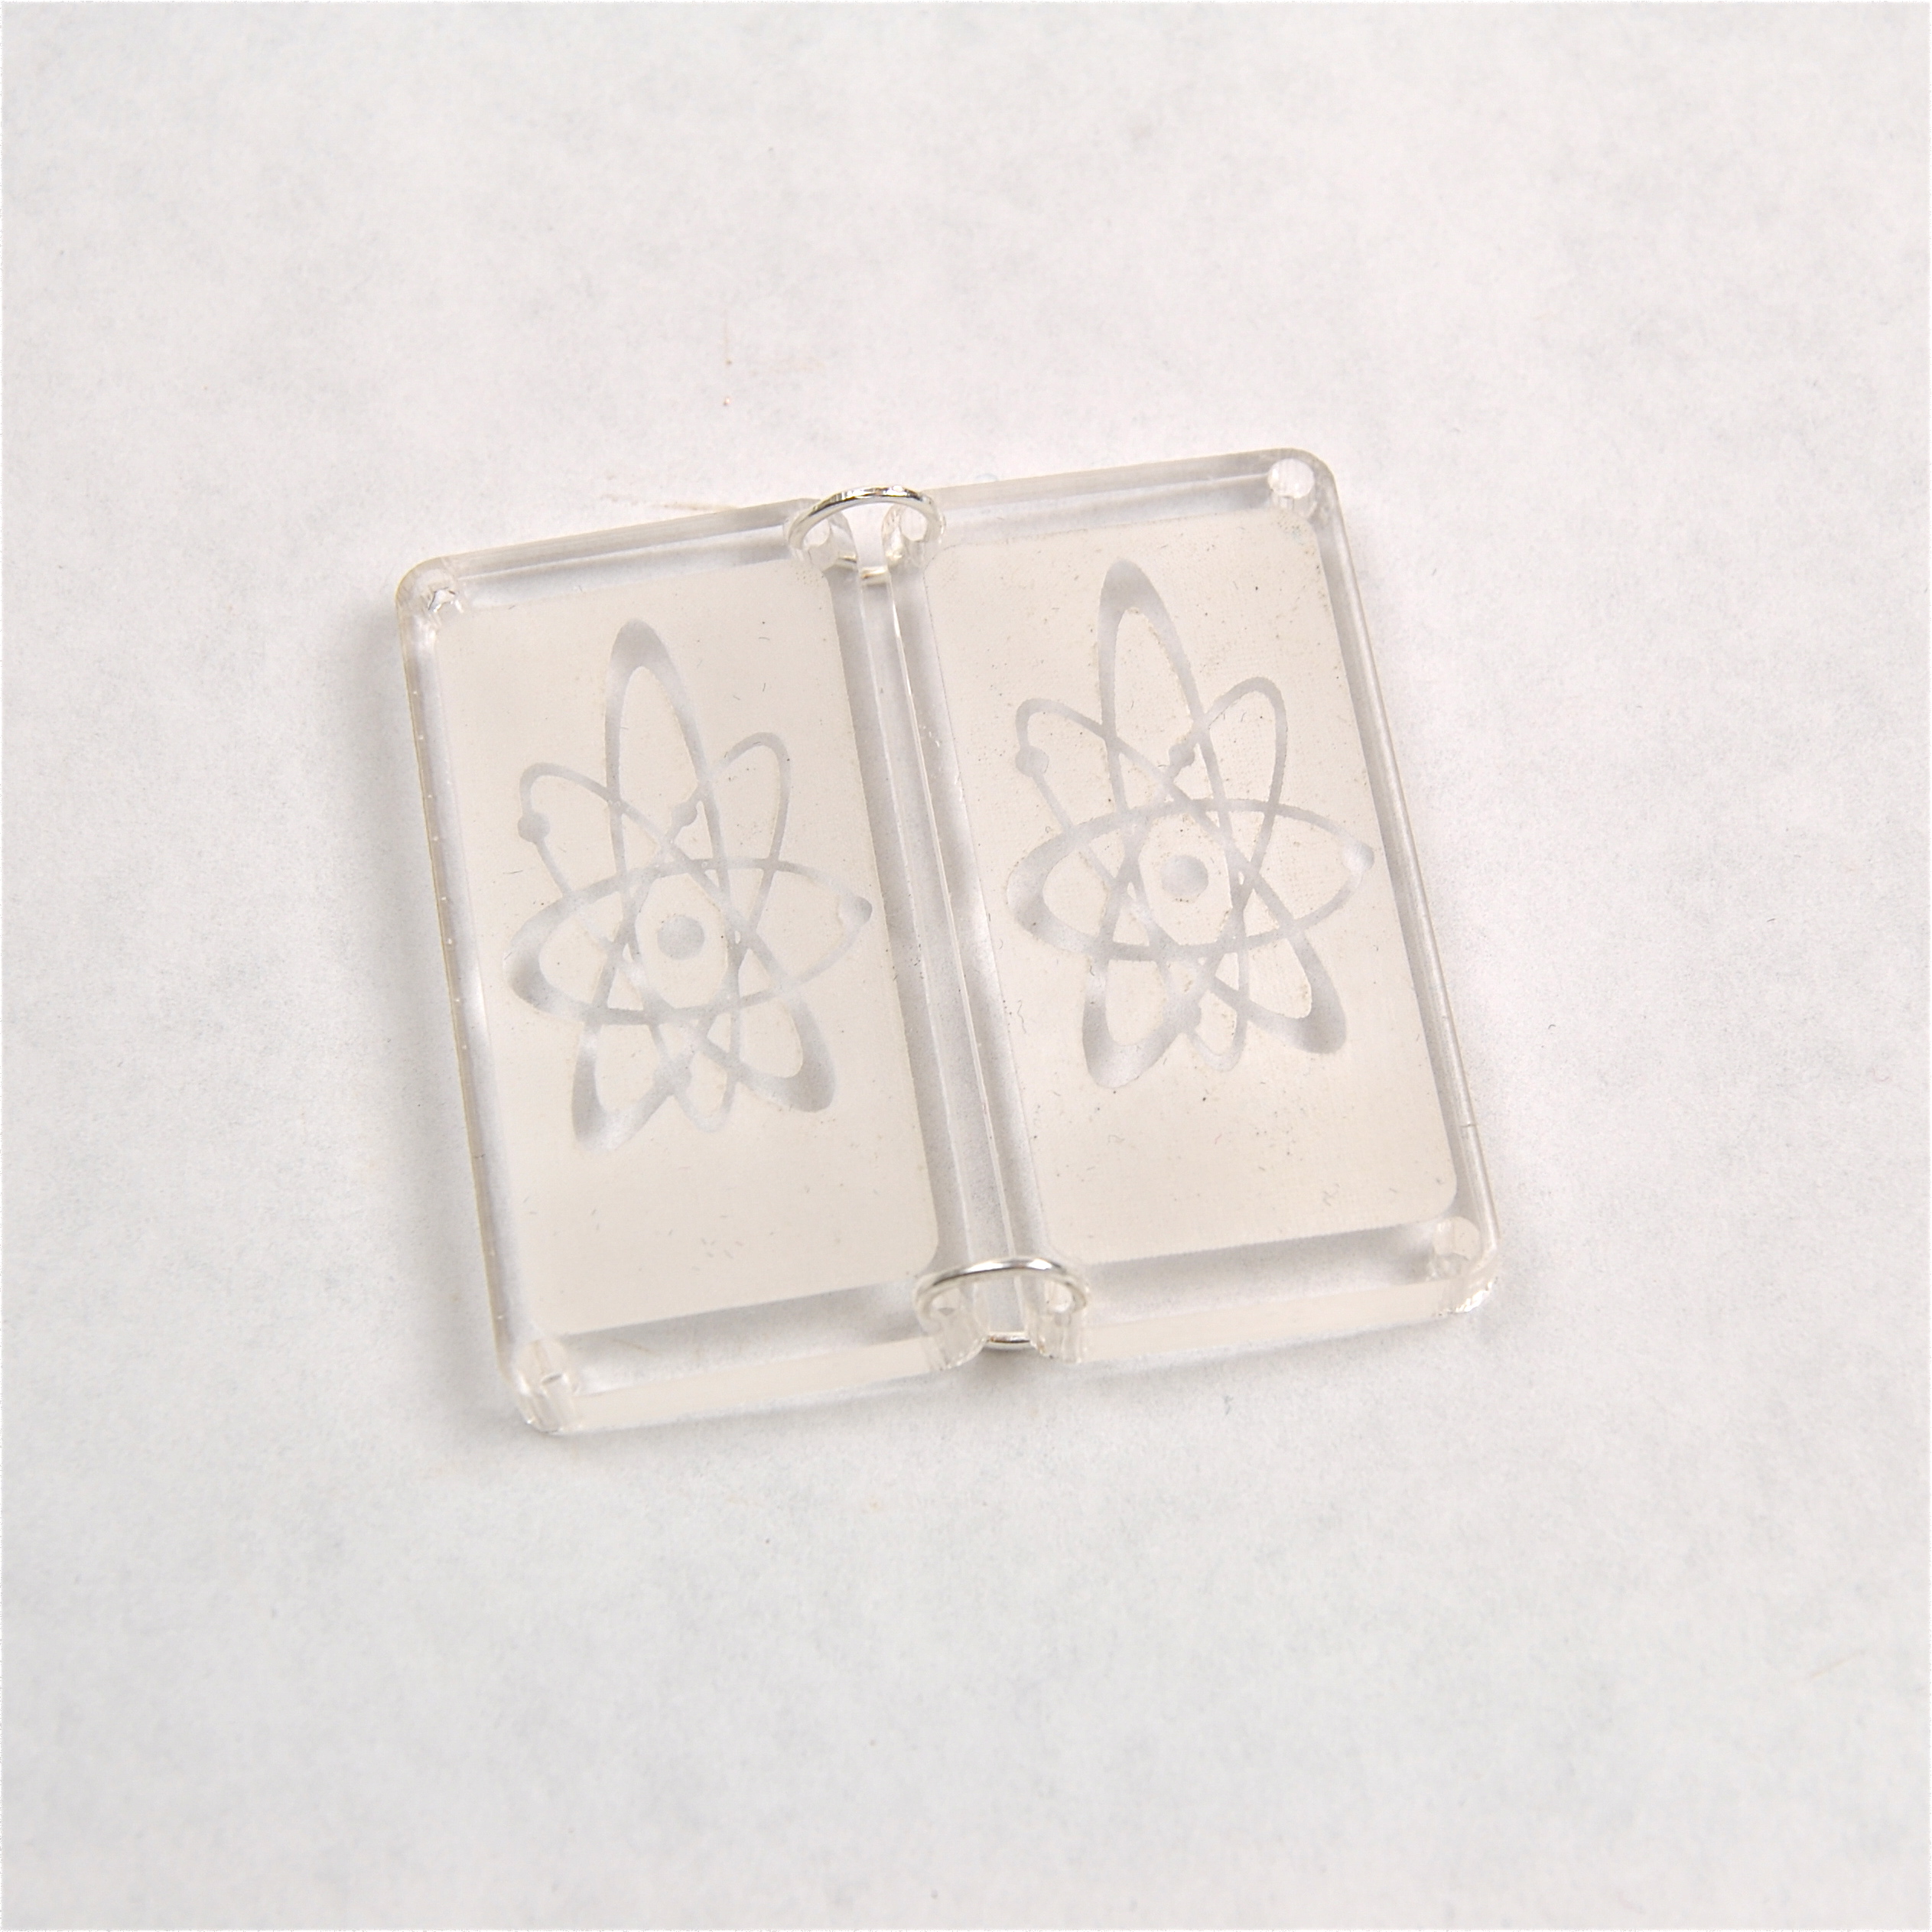
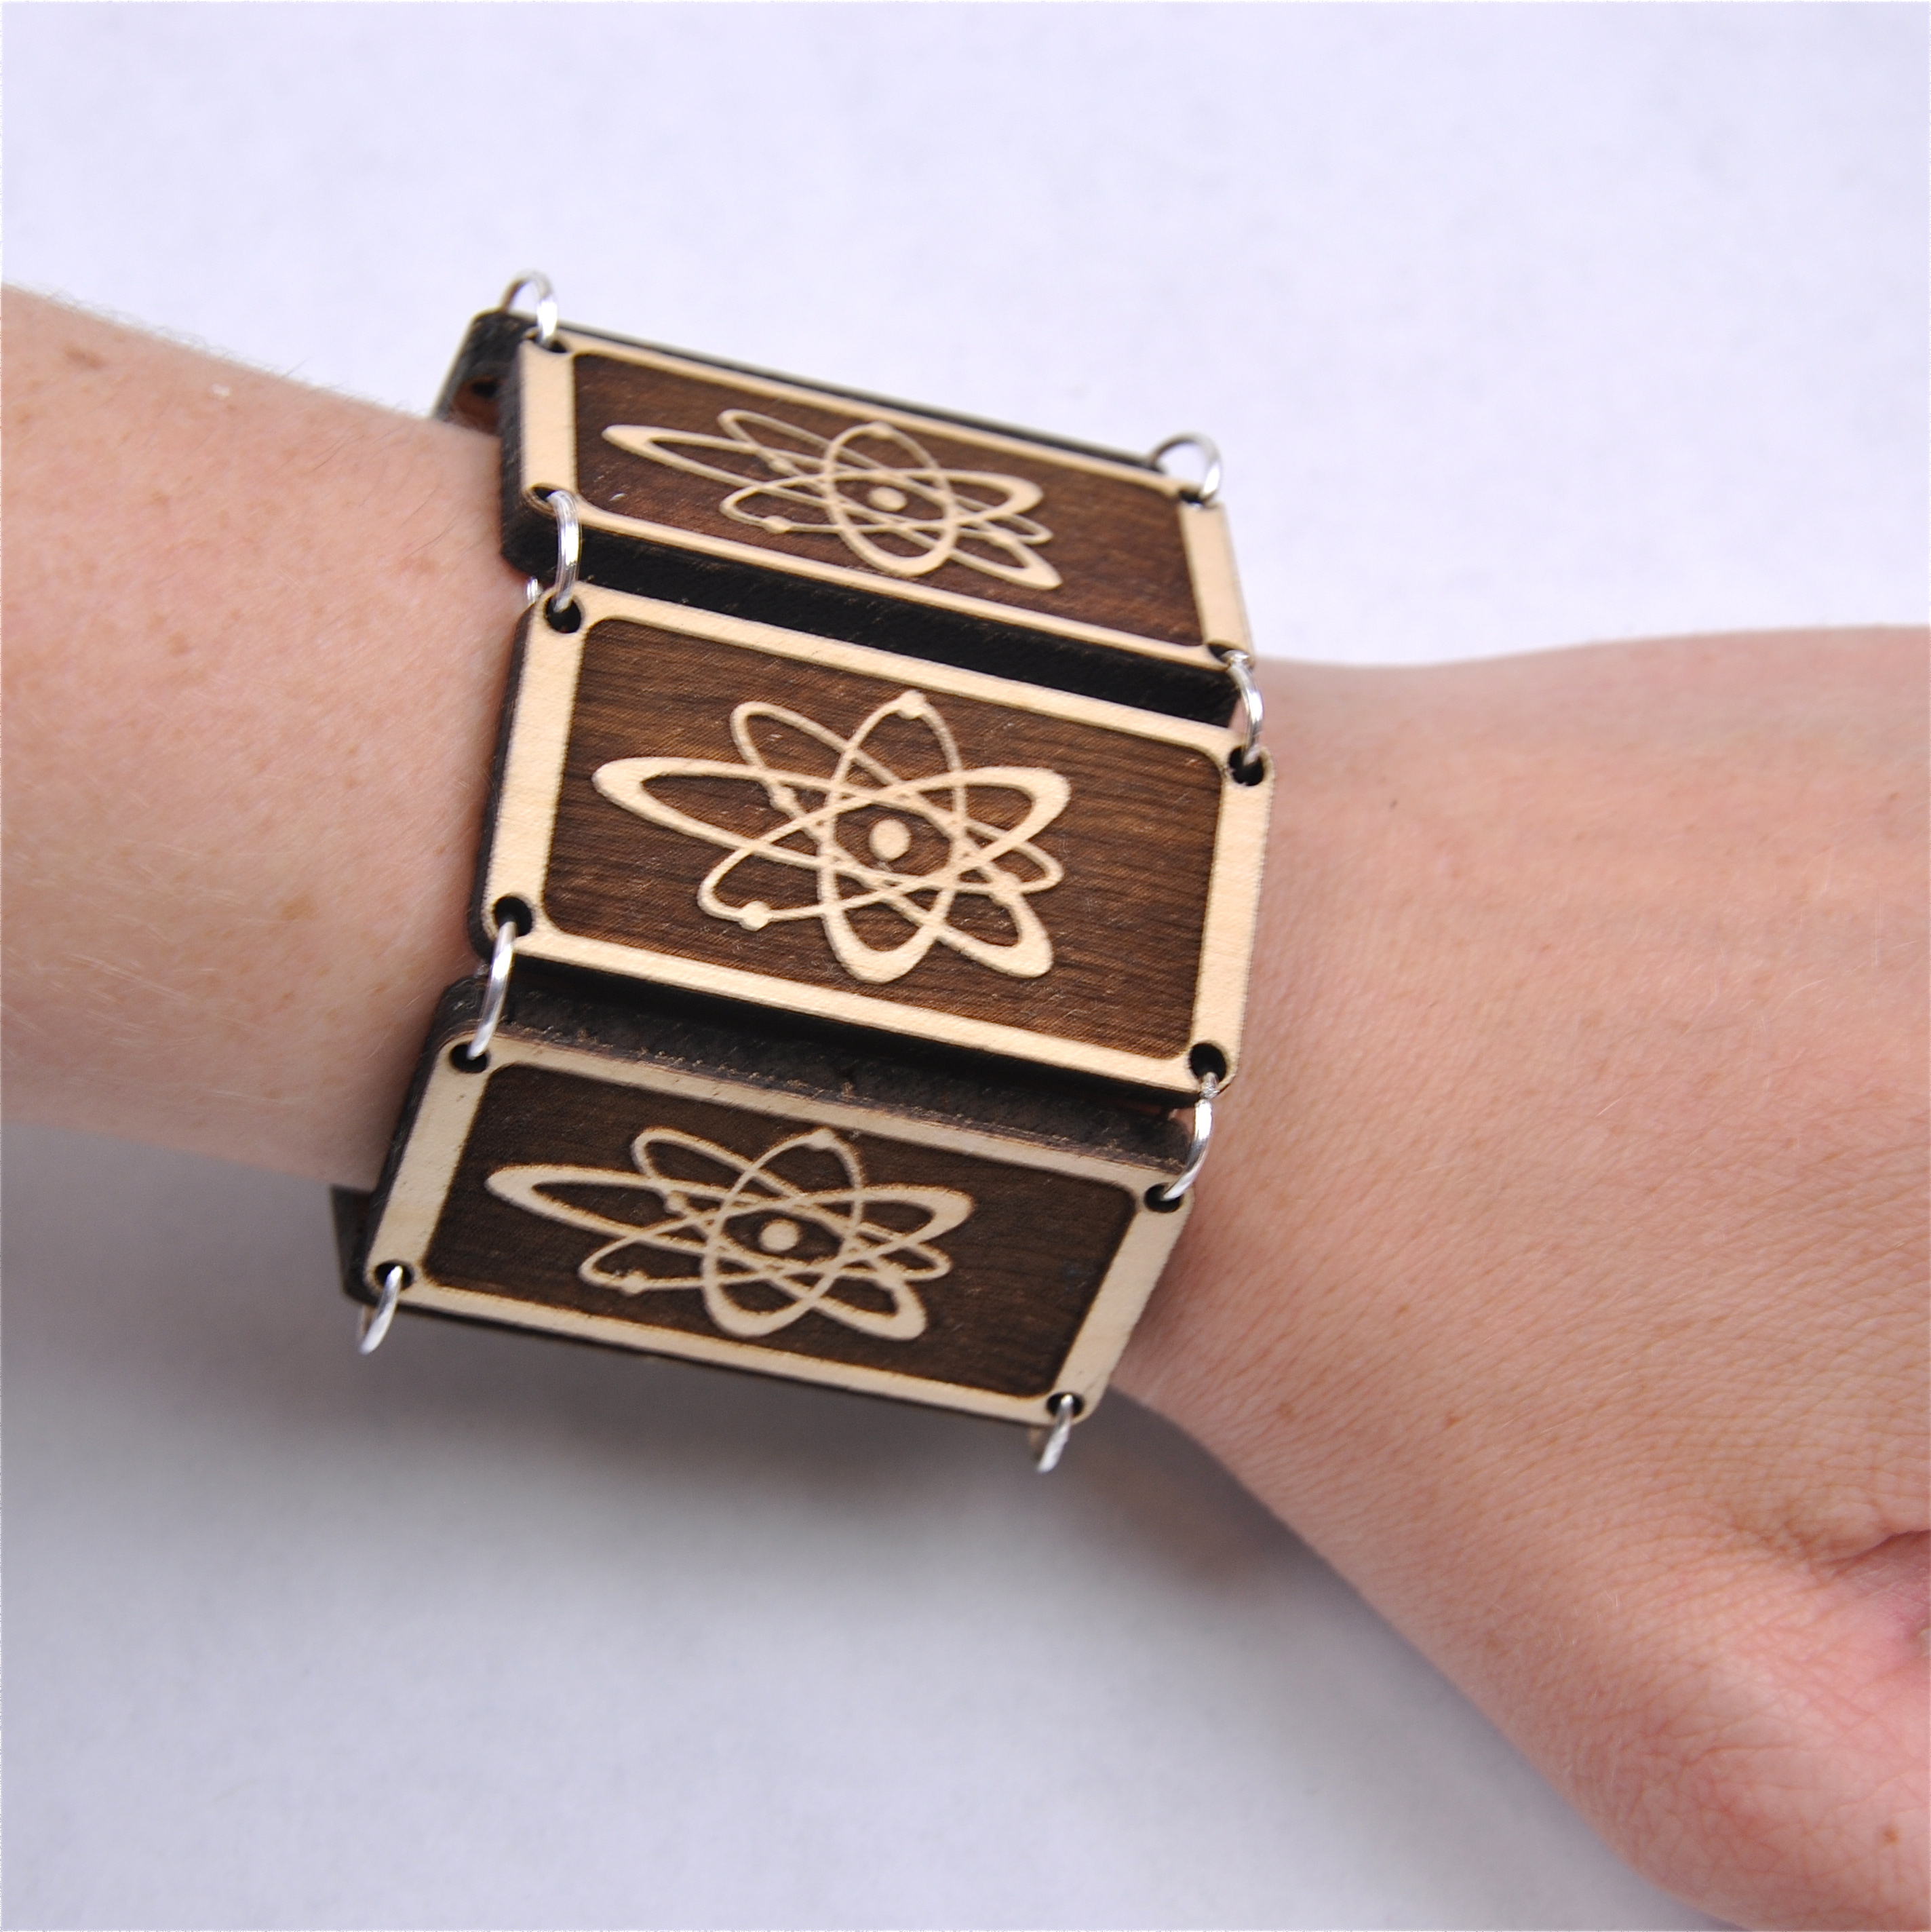
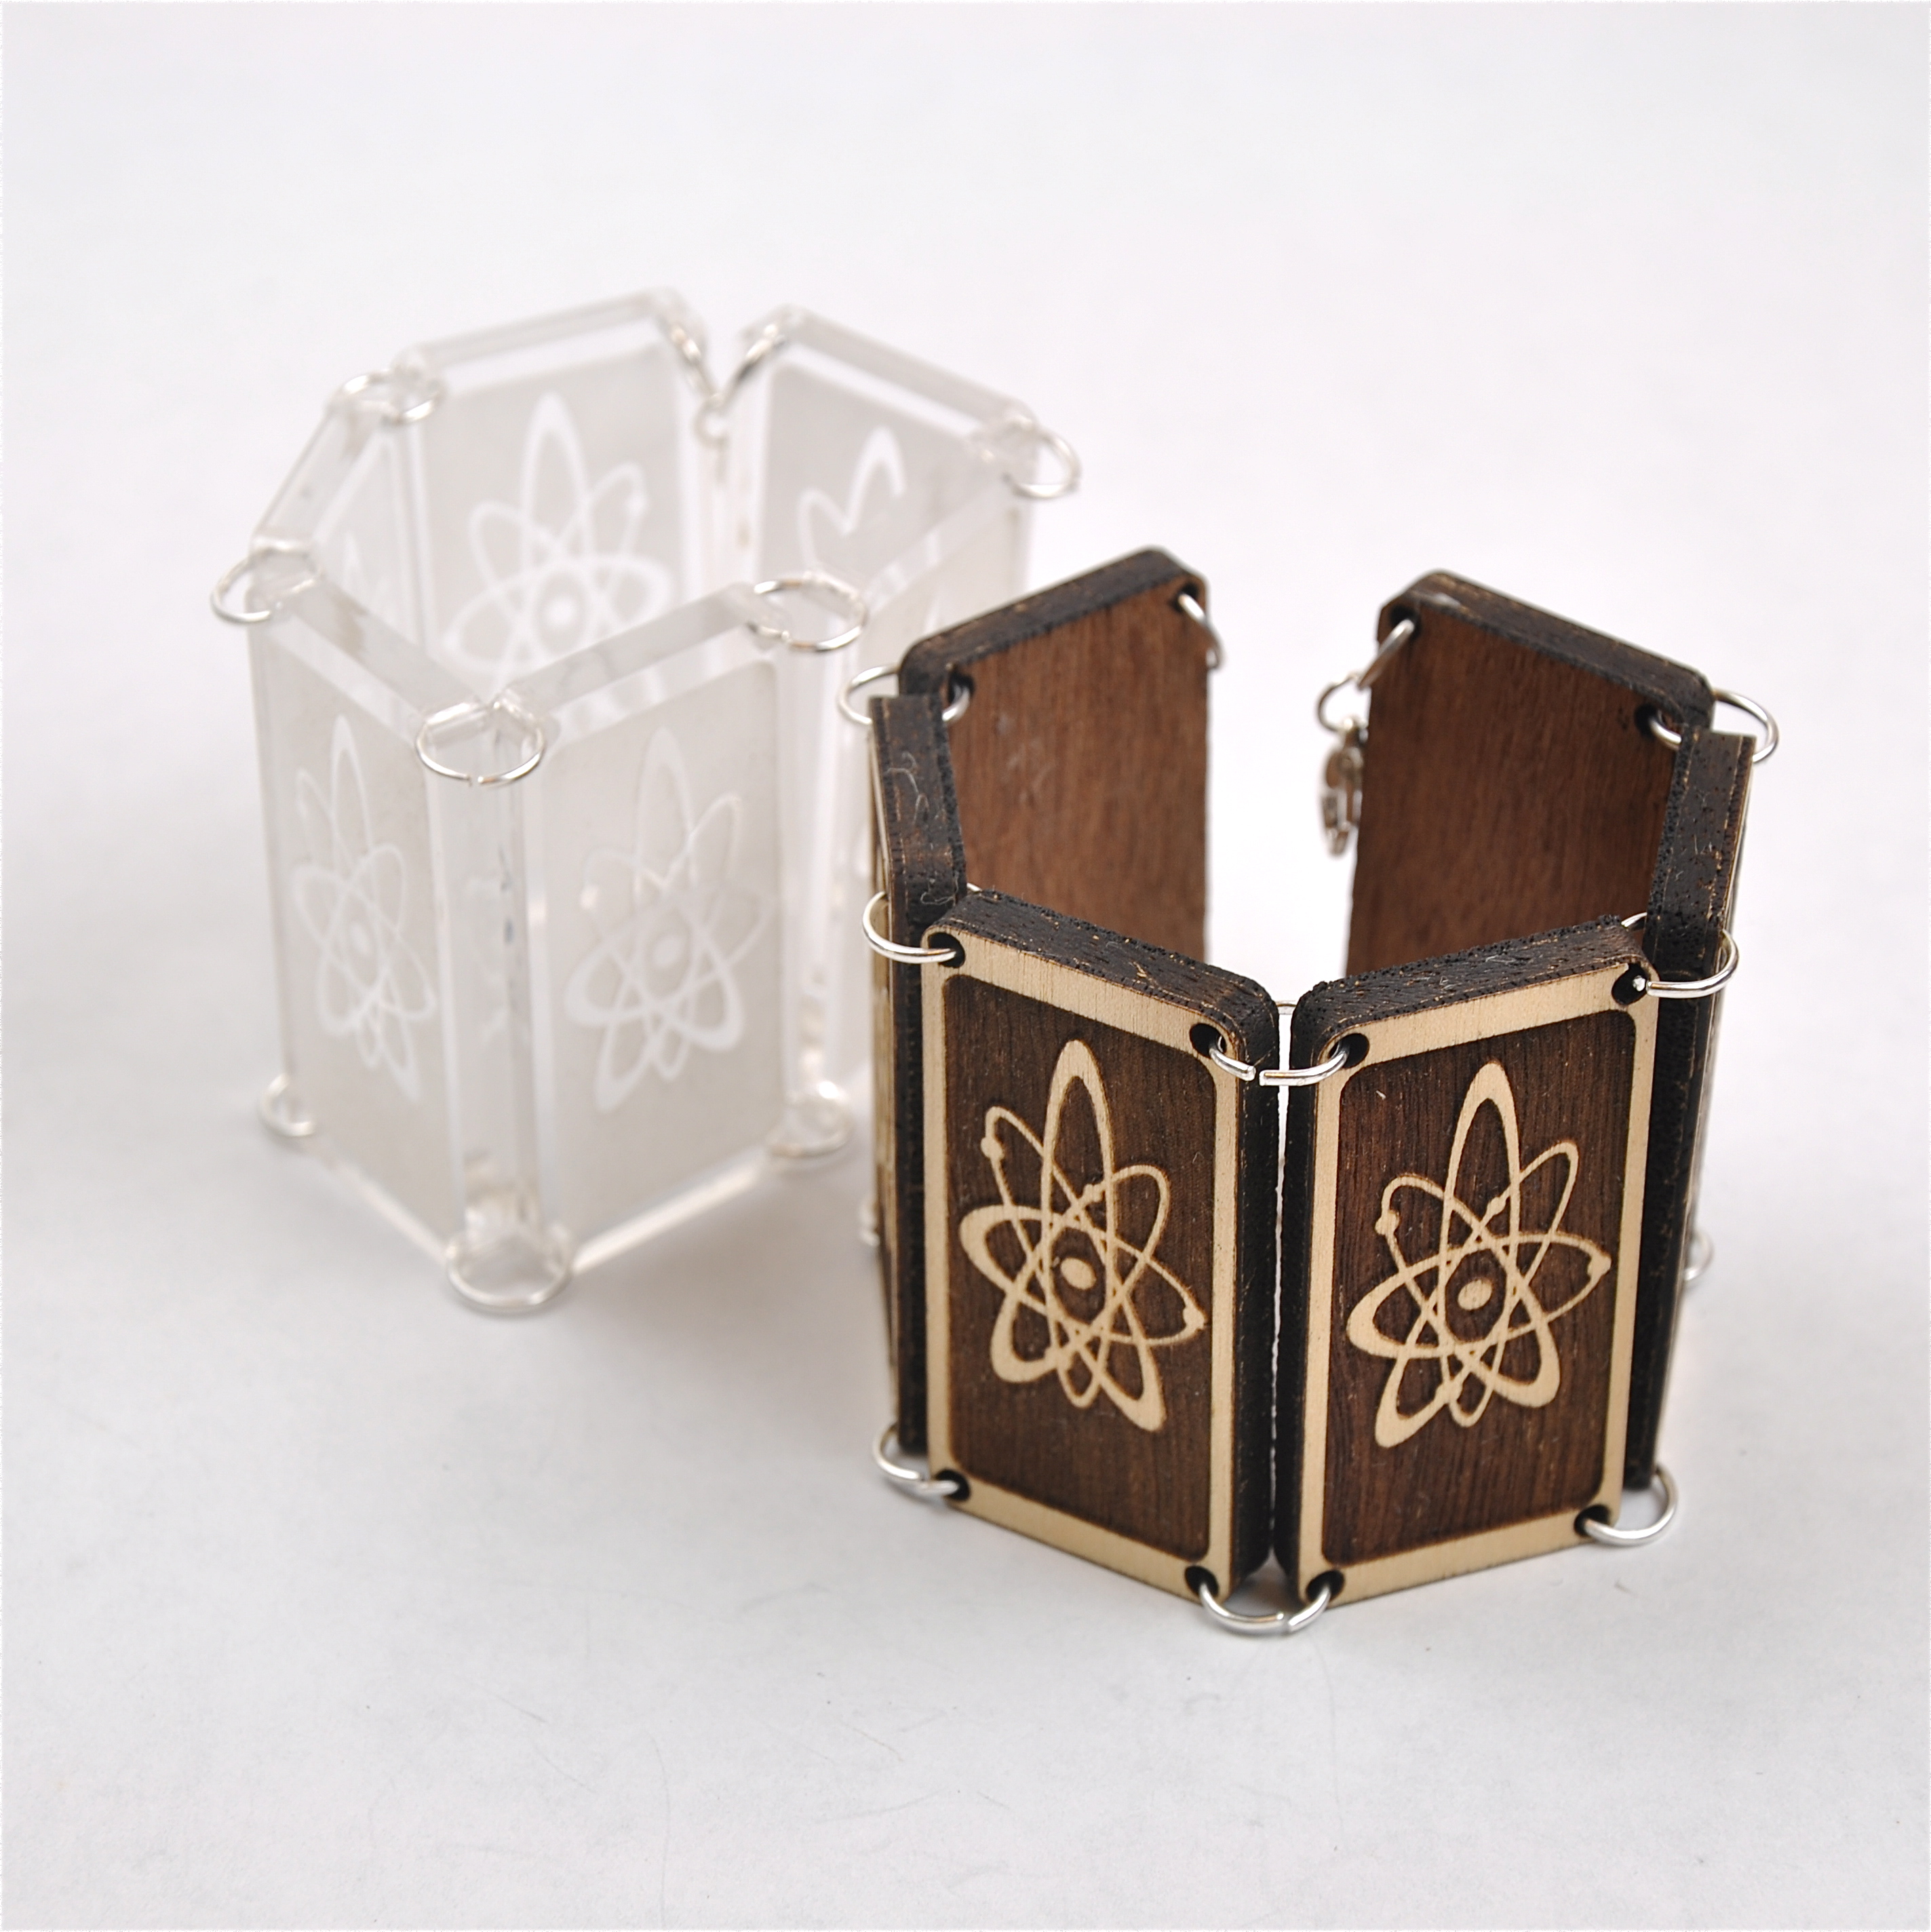
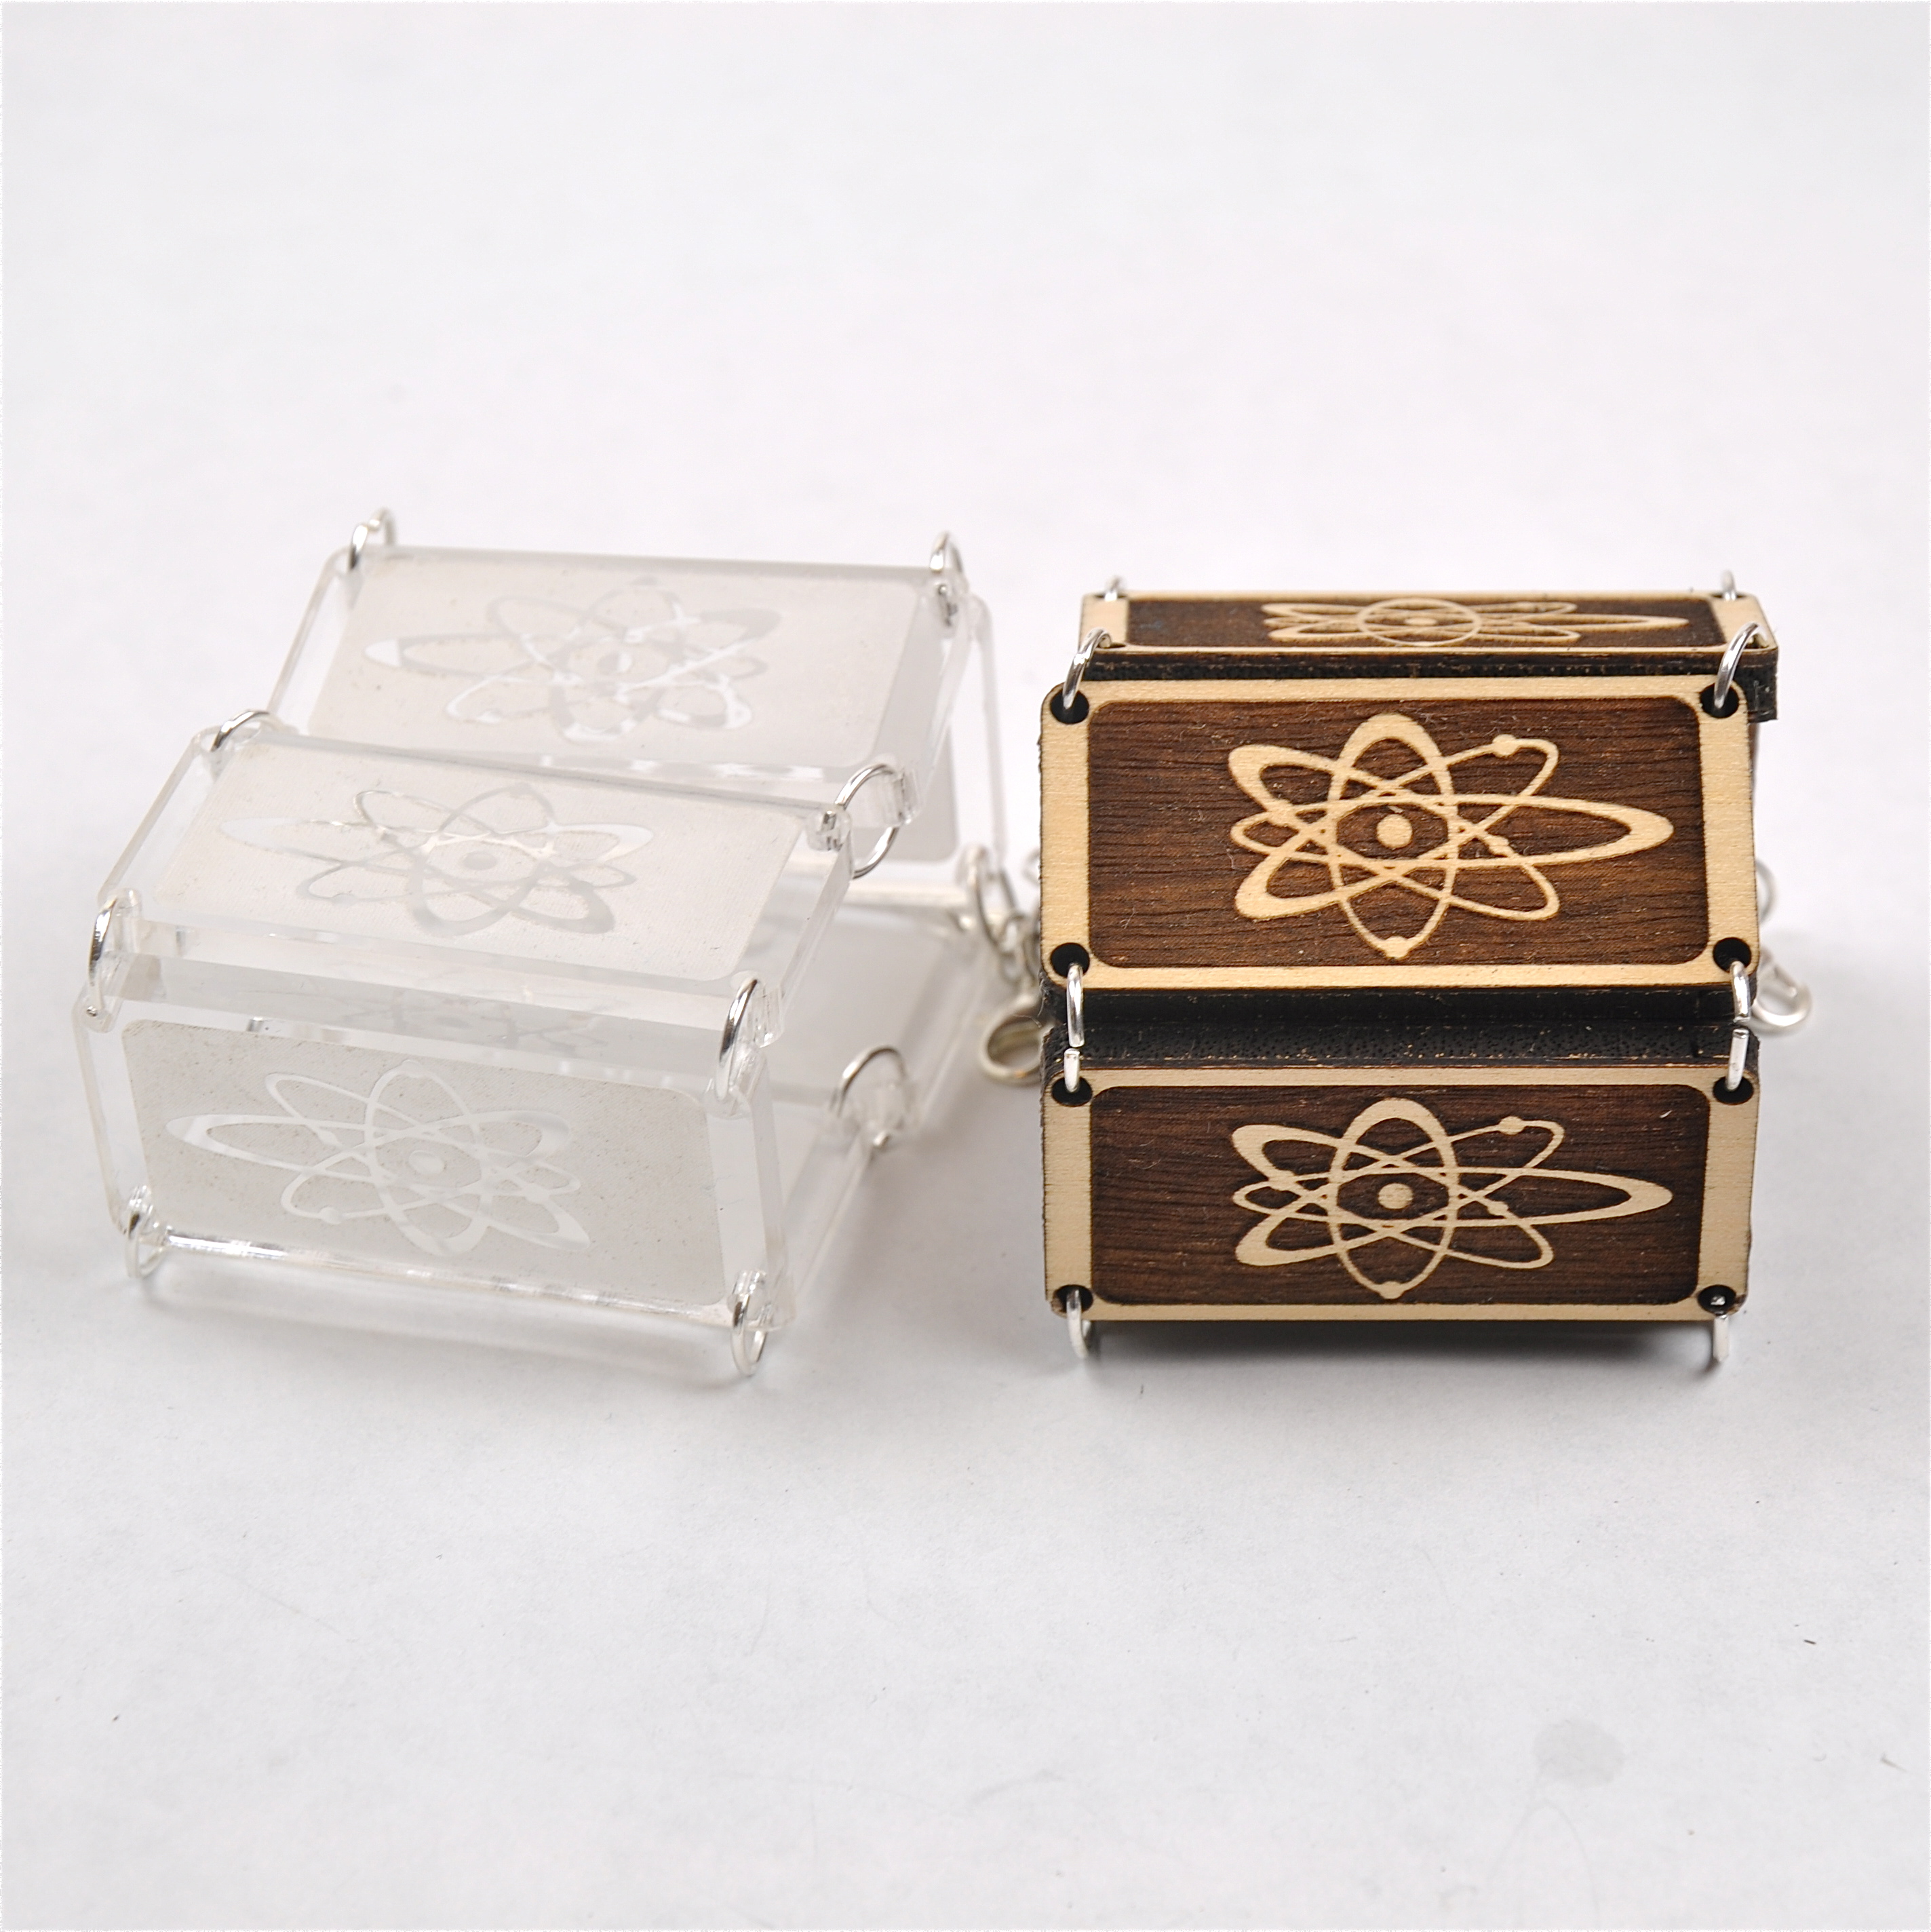
- 6 Acrylic or Wood Tiles for Bracelet (see next step)
-
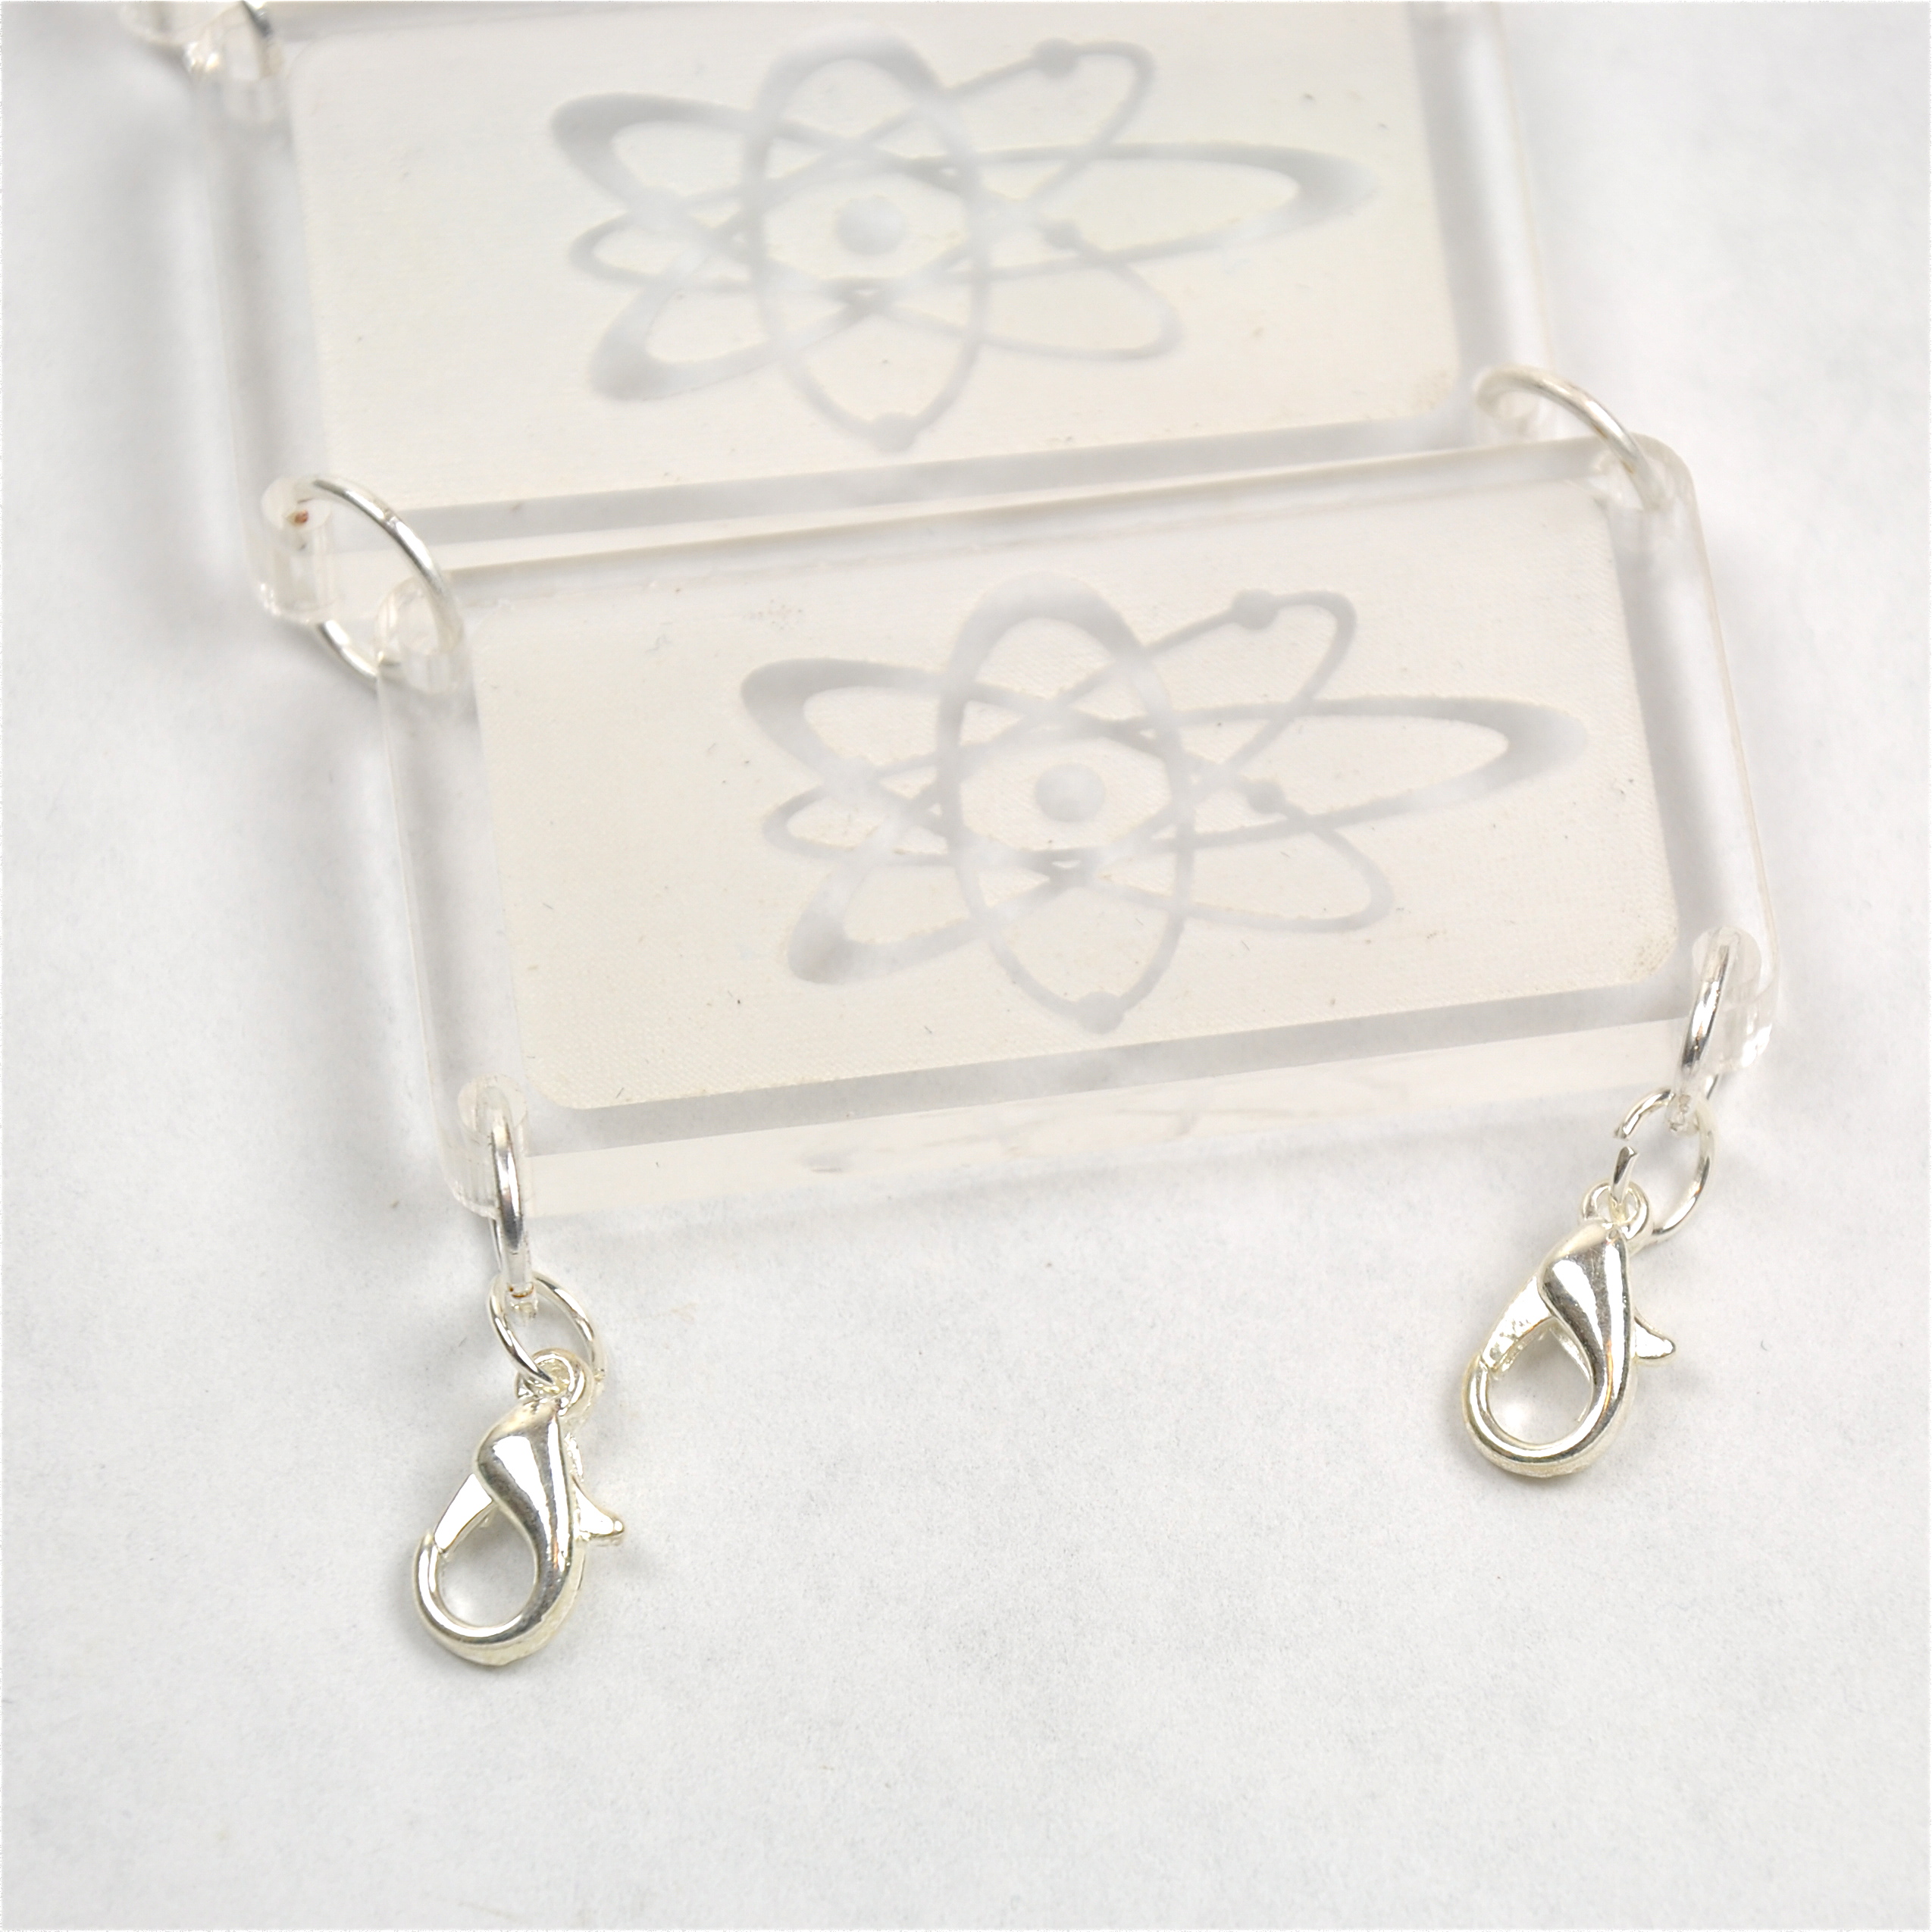
2 Clasps
-
9mm Jump Rings
-
Needle Nose Pliers
Designing Your Tiles
This is how I went about designing my bracelet. Mine is attached in eps format.
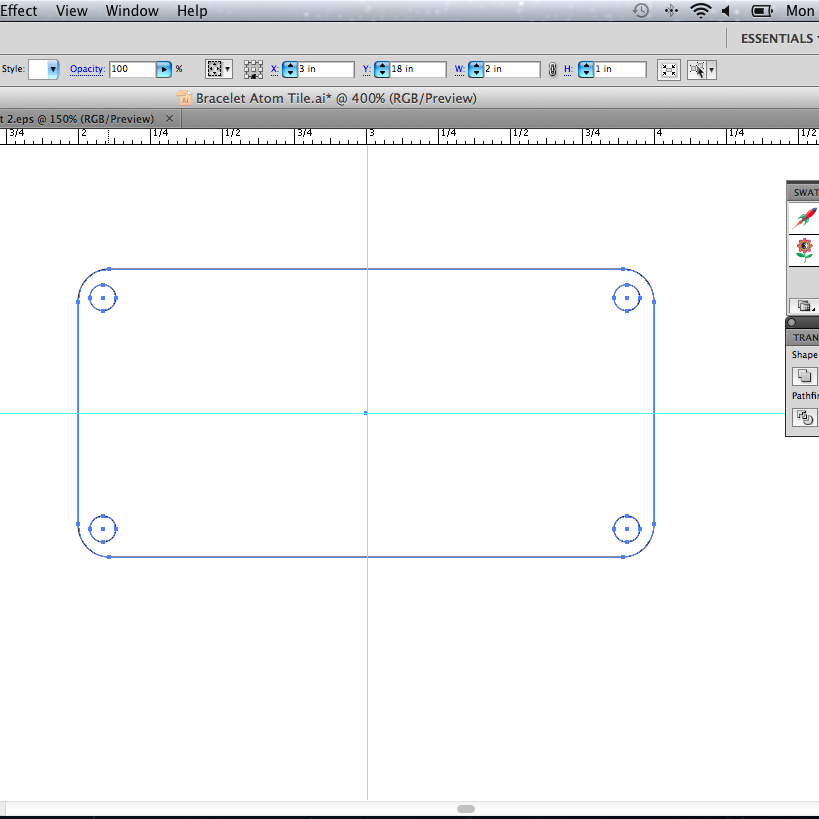
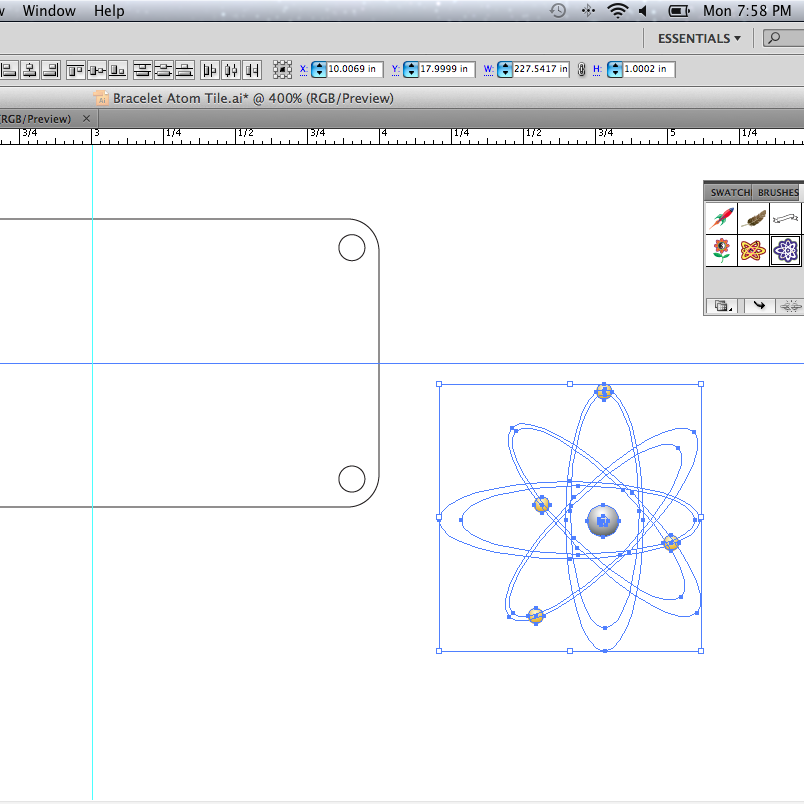
- Make a rectangle with curved corners that is 2 inches by 1 inch.
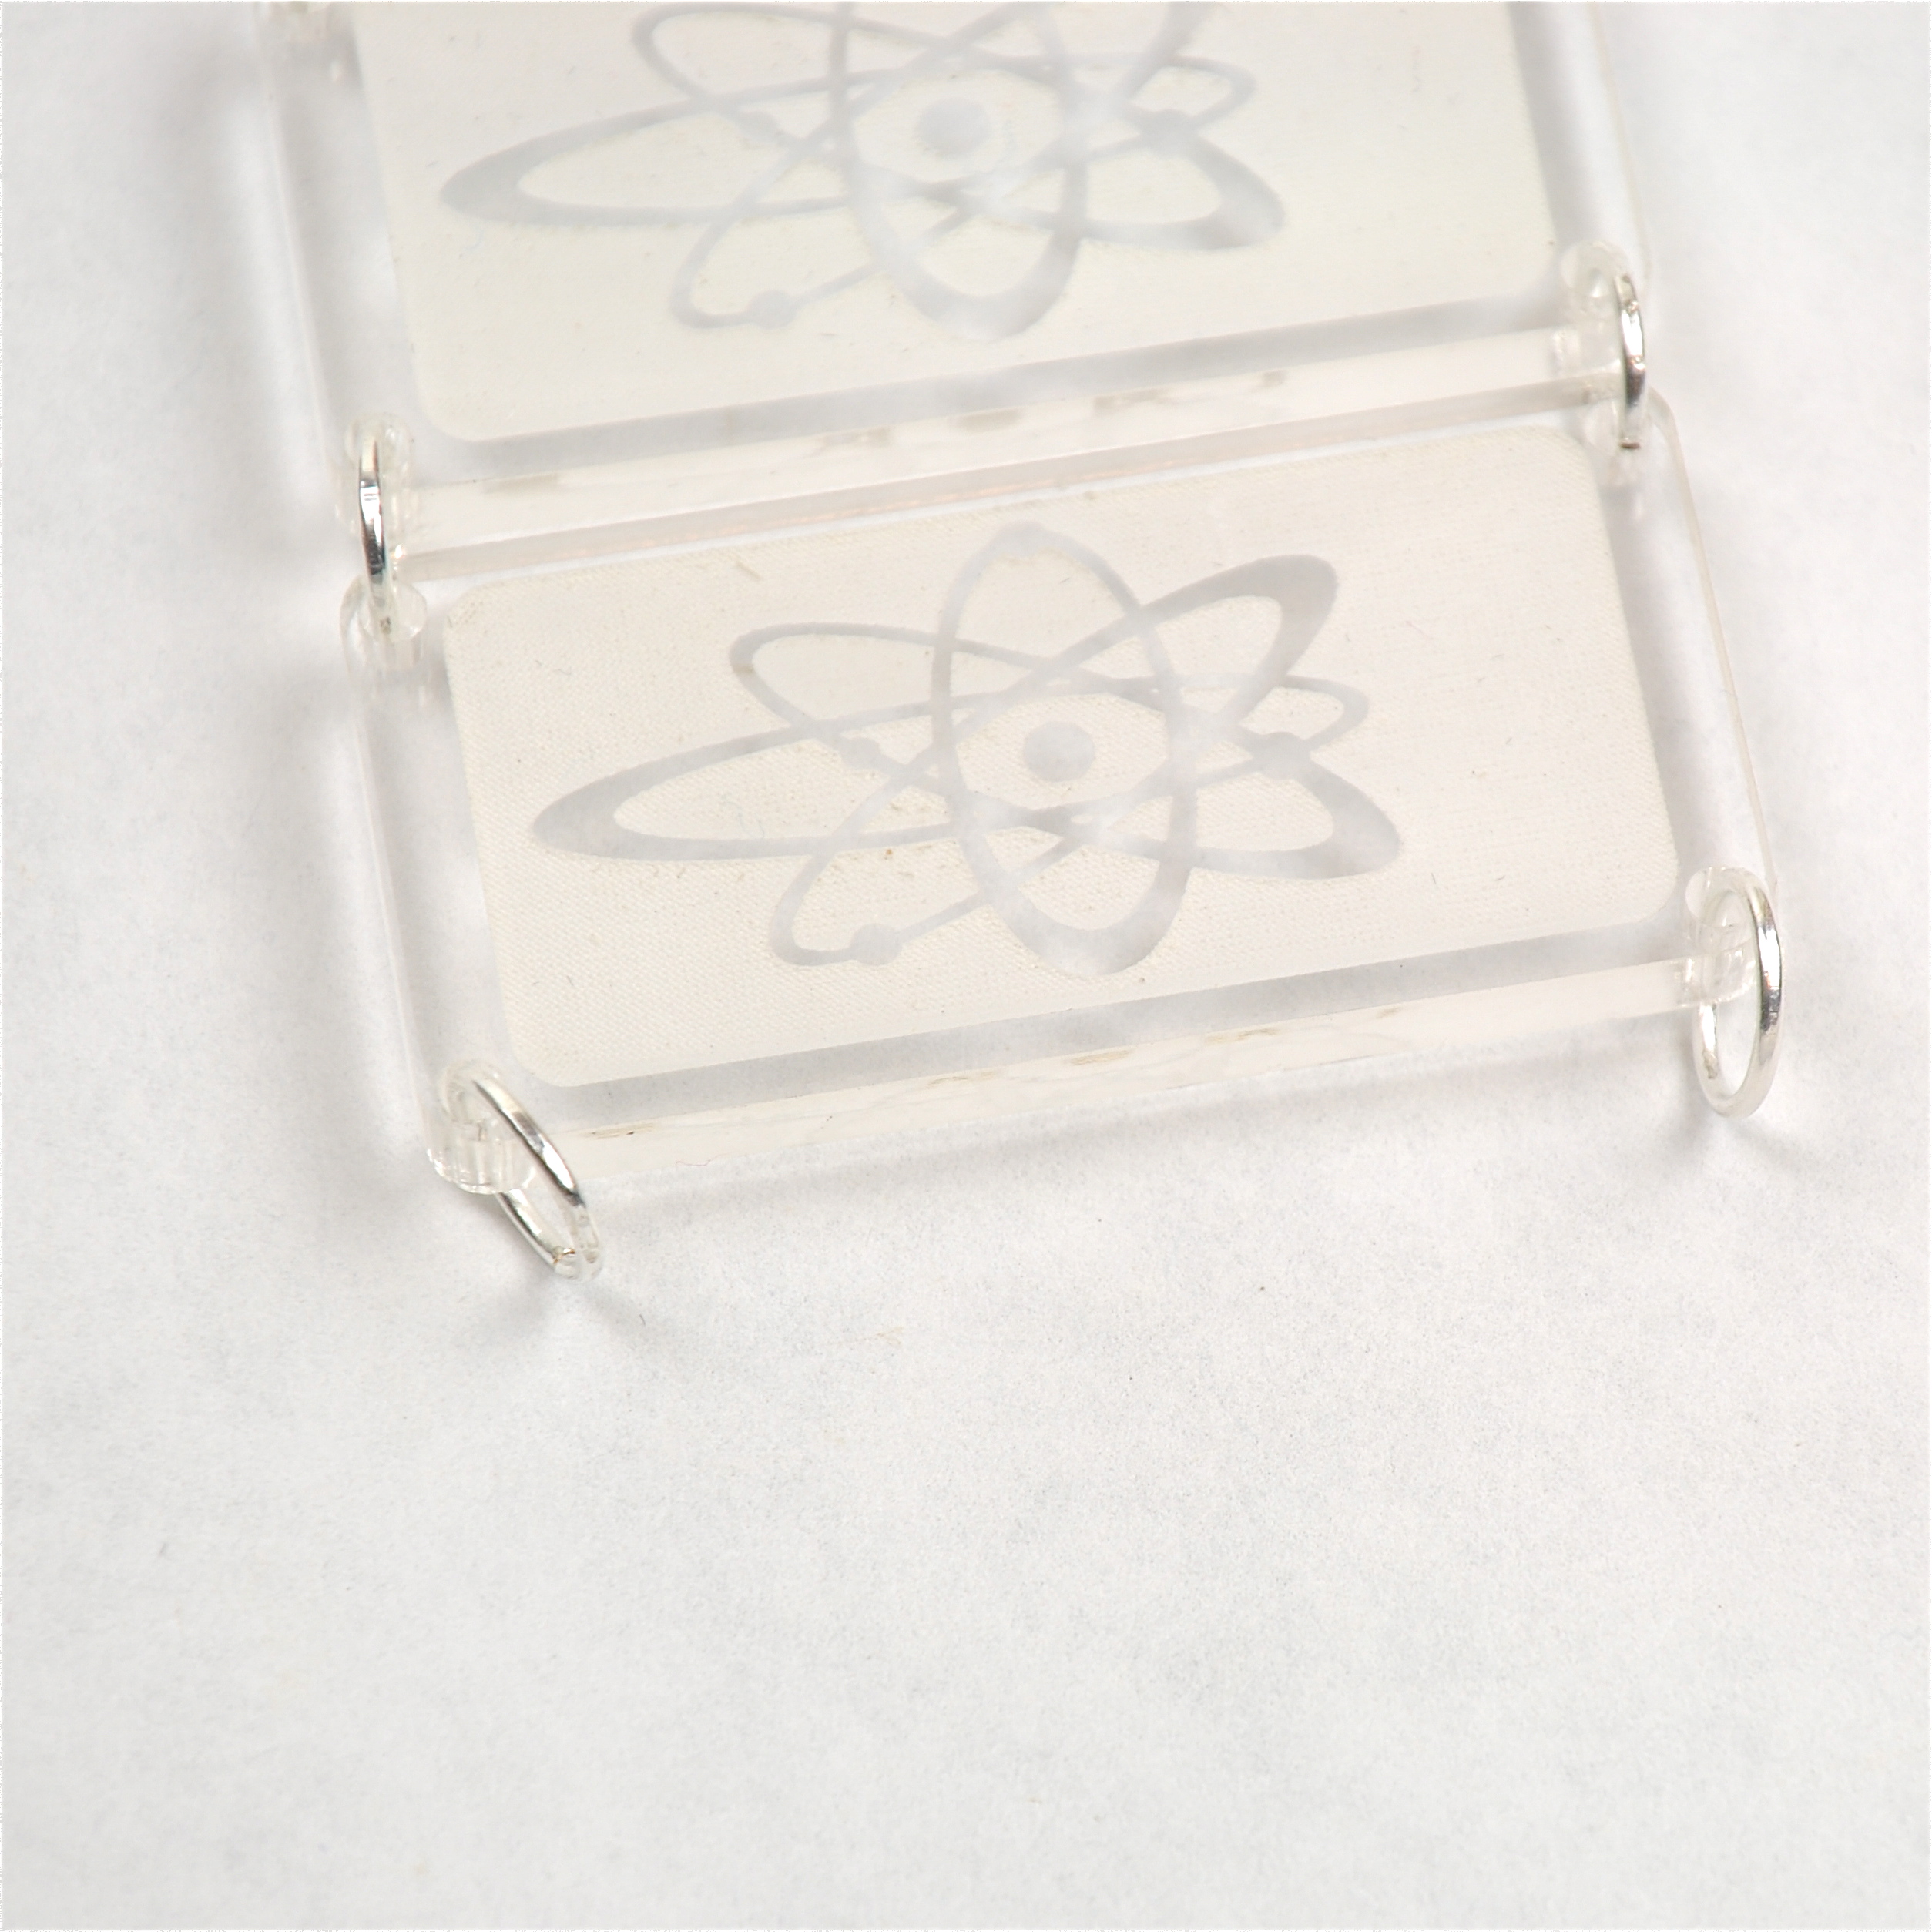
- Place a circle in each corner that is about .09 inches in diameter. Don't put them too close to the edge or it will cut off the shape.
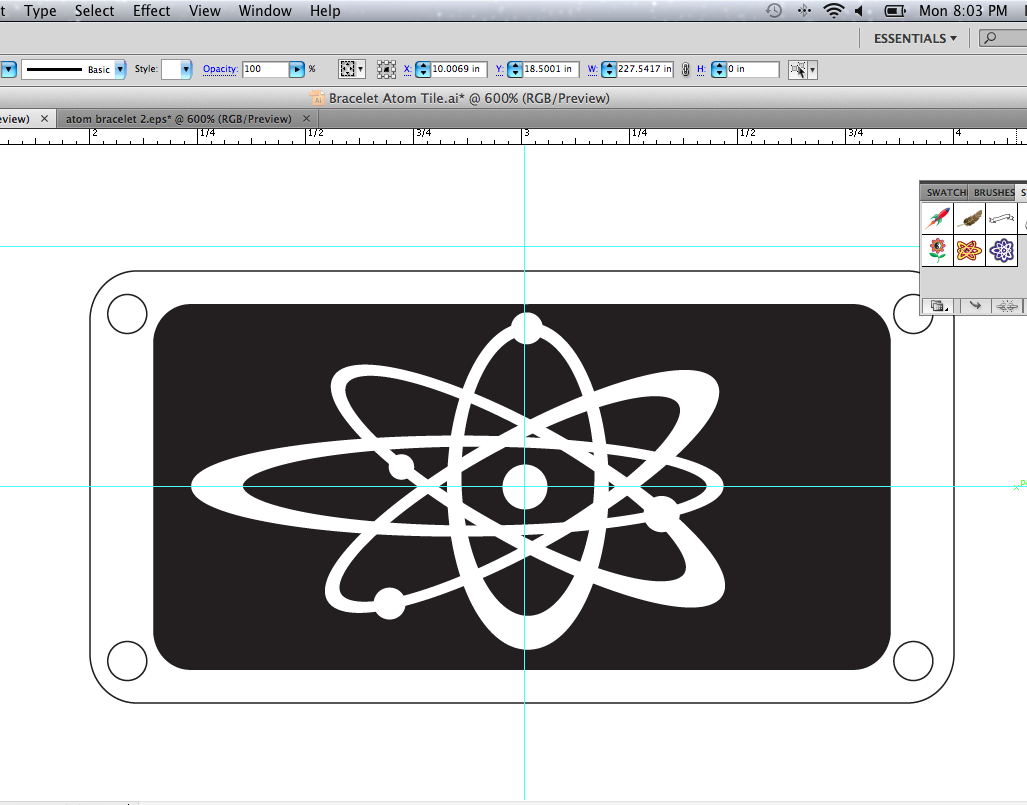
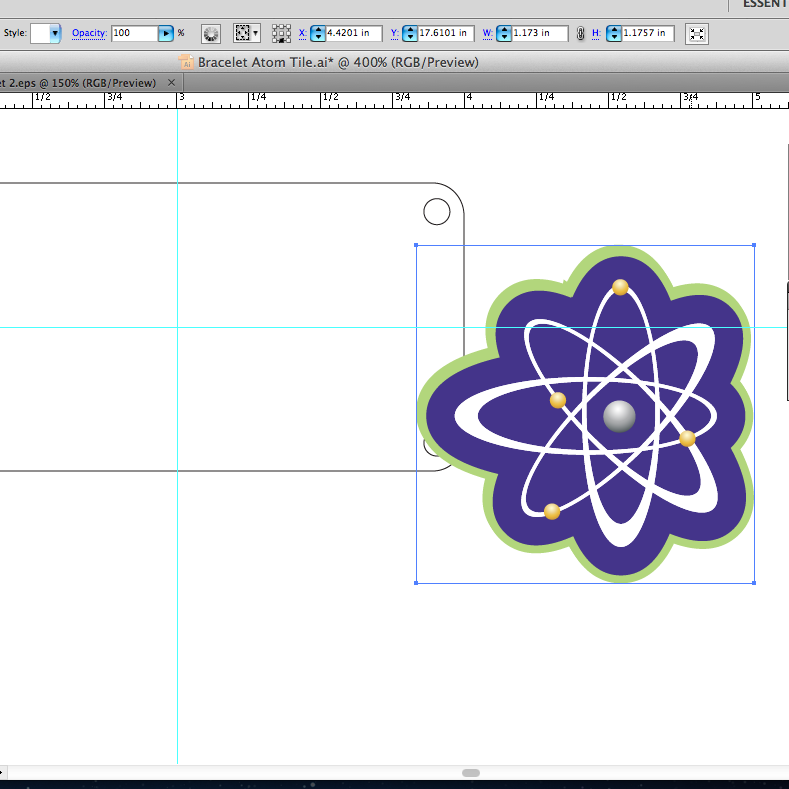
- Decide on your symbol. I was messing around and clicked on the "Symbol Sprayer Tool" and looked through the symbols.
- I chose "Atom 1" from the "Mad Science" symbol library.
- I deleted off all the extra junk, leaving just the lines of the atom by "Expand" and "Ungroup." Or, if given the option, "Break Link to Symbol" and "Make Clipping Mask."
- When Left with your image, make it white.
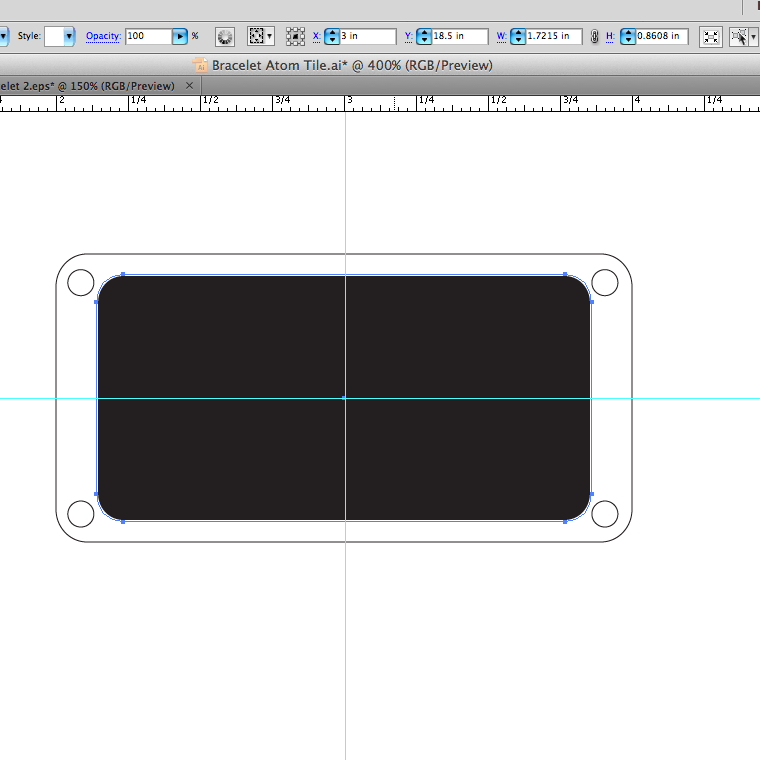
- Meanwhile, make another rounded edge rectangle that has a fill of black and a white line, or no line. Line that up in the center of the other rectangle. Mine was 1.72 inches by .86 inches.
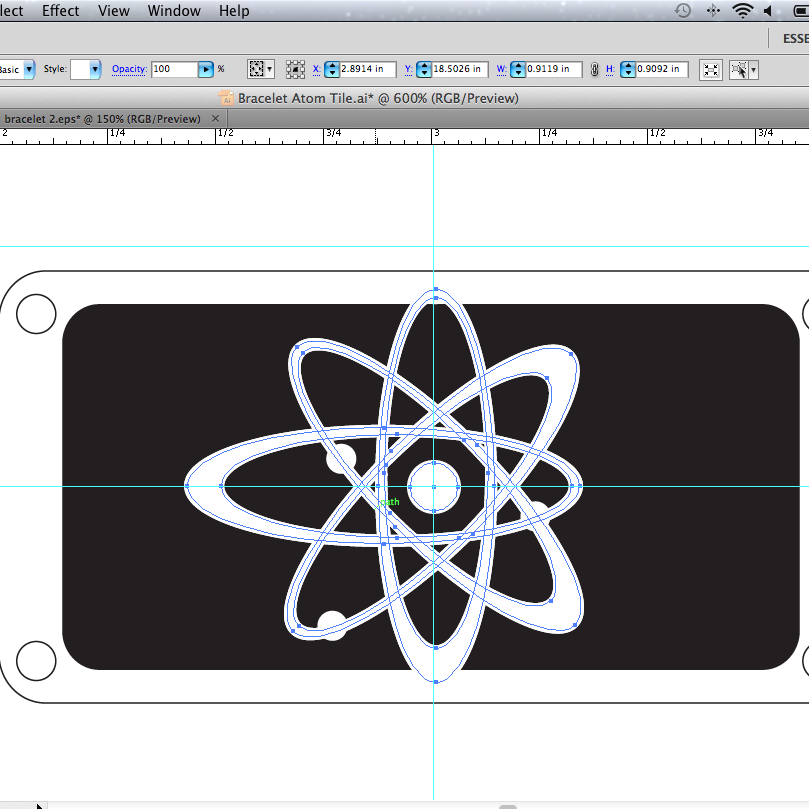
- Make your shape fit within the black rectangle without going outside it.
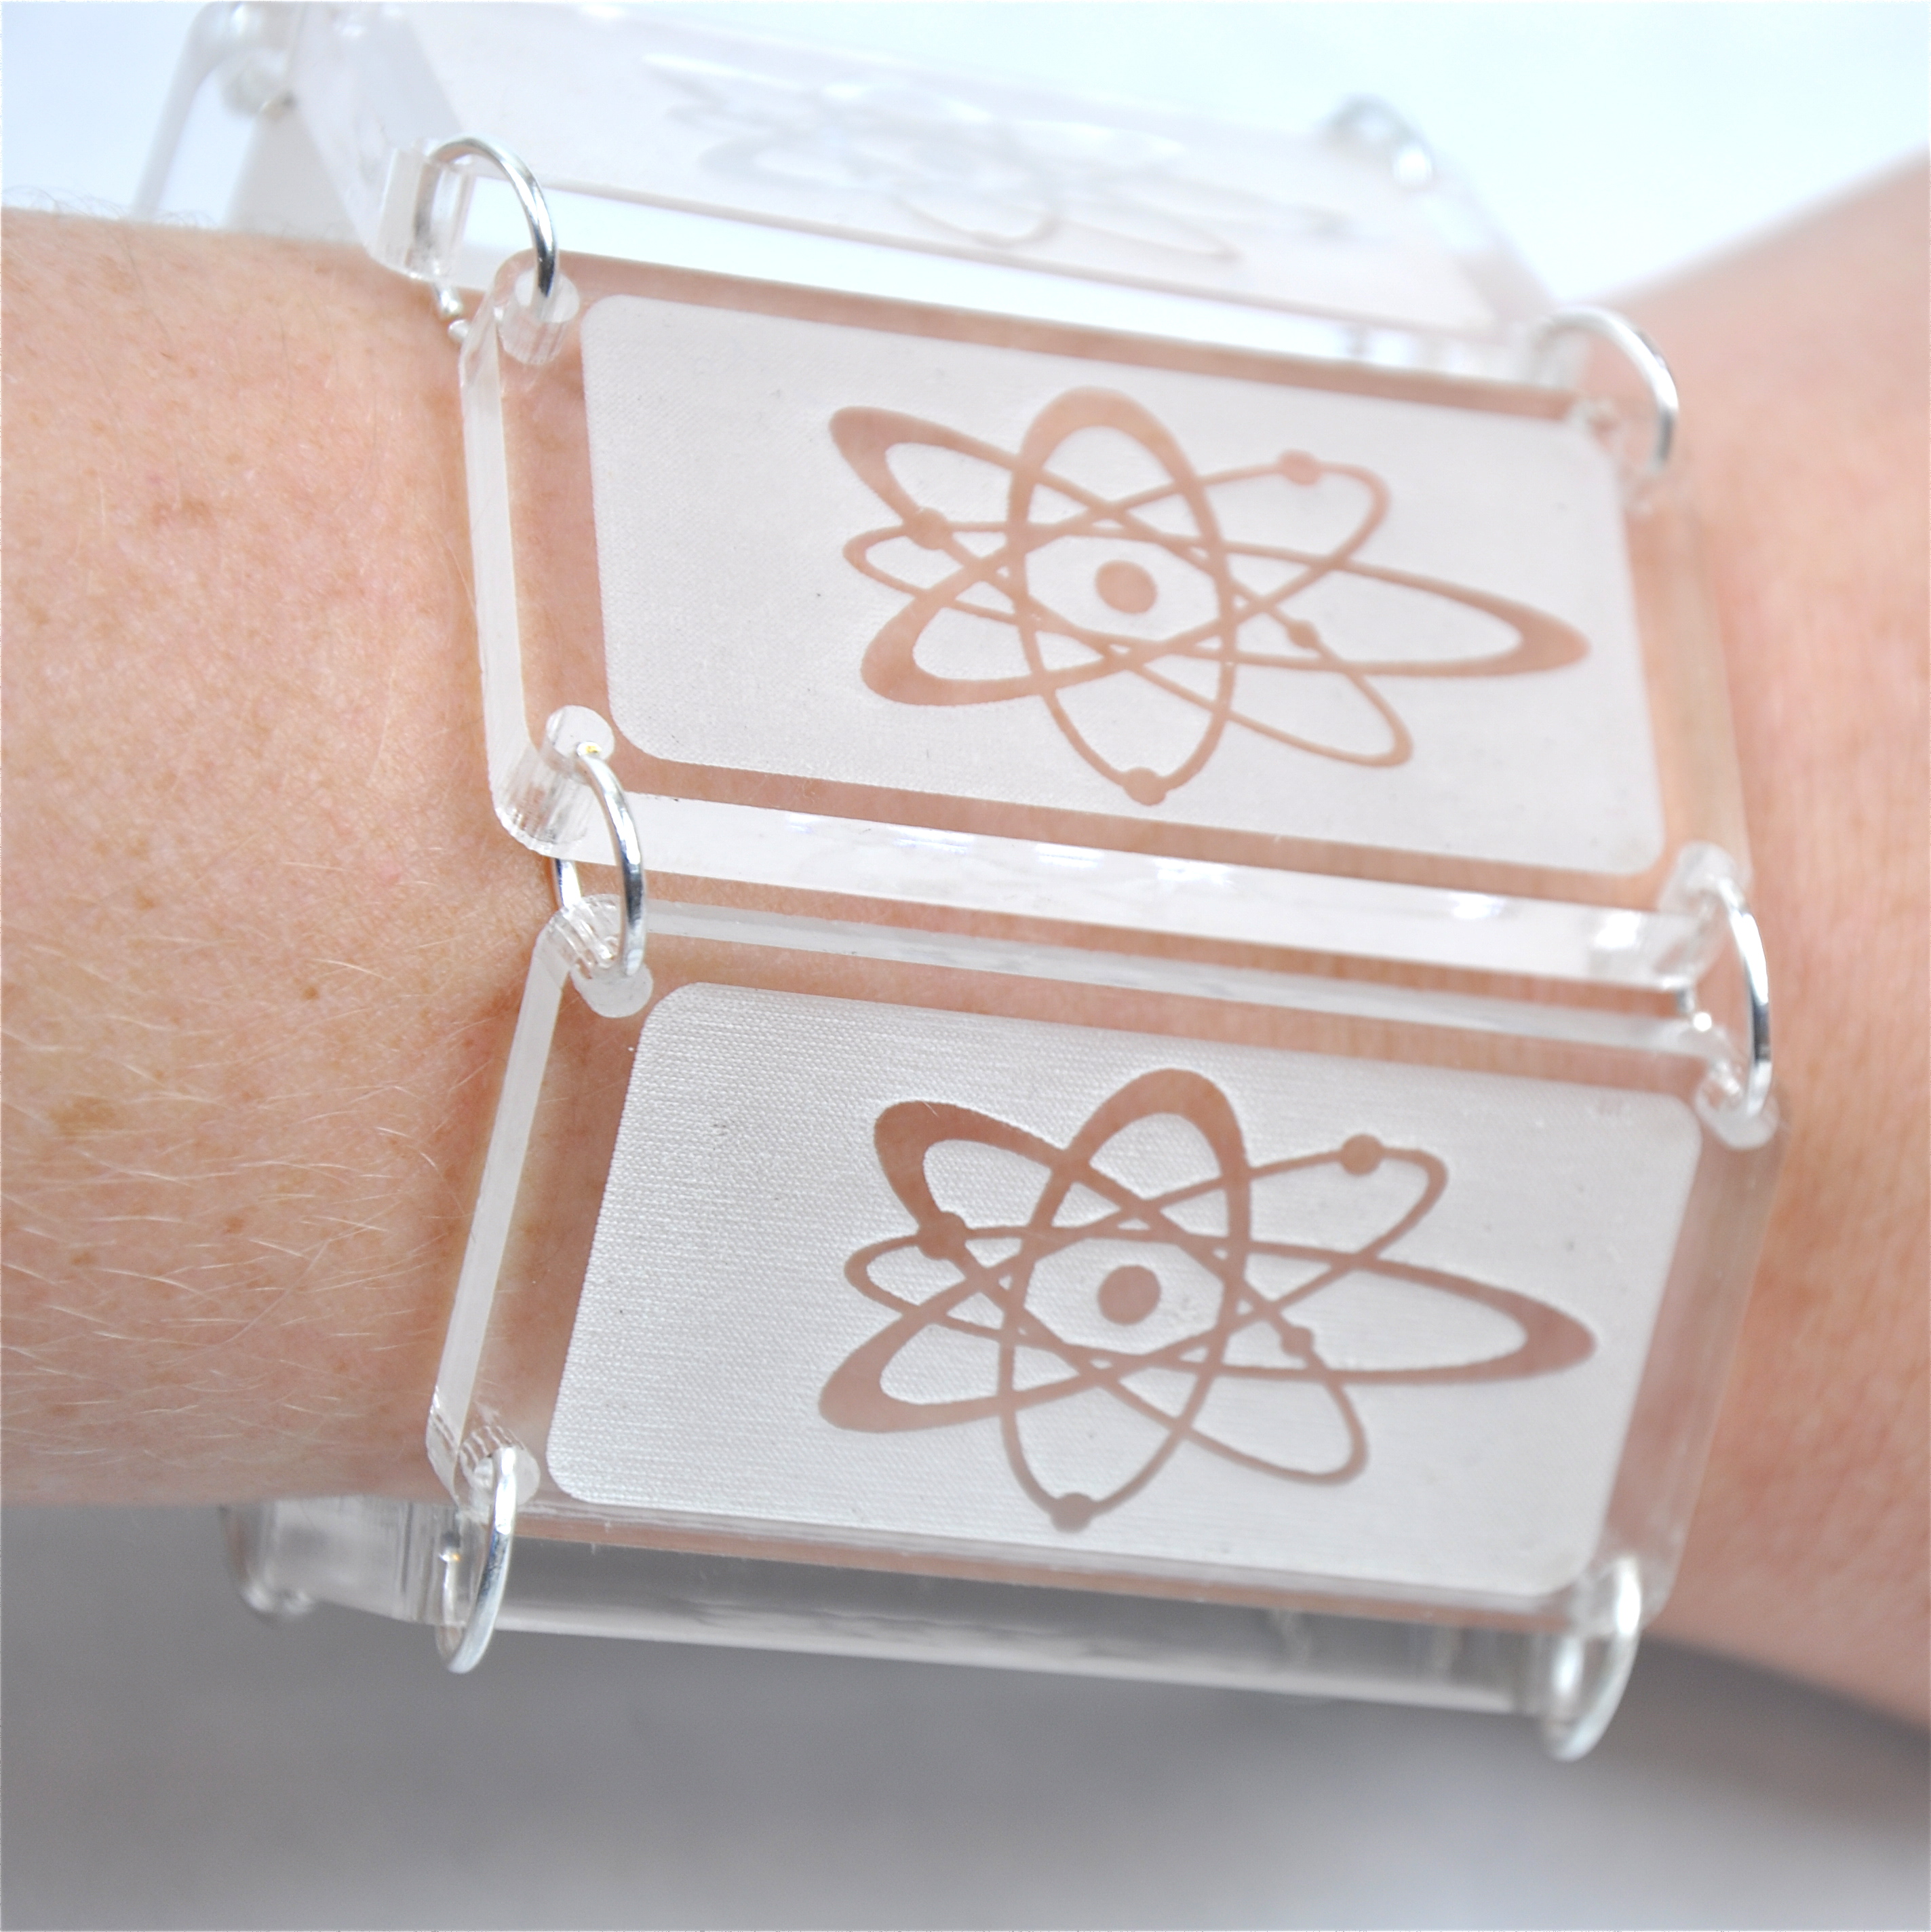
- I set mine up like this so that the image would be what isn't etched so it would stick out more.
- Send it to the laser cut it and cut out how many you need.
Downloads
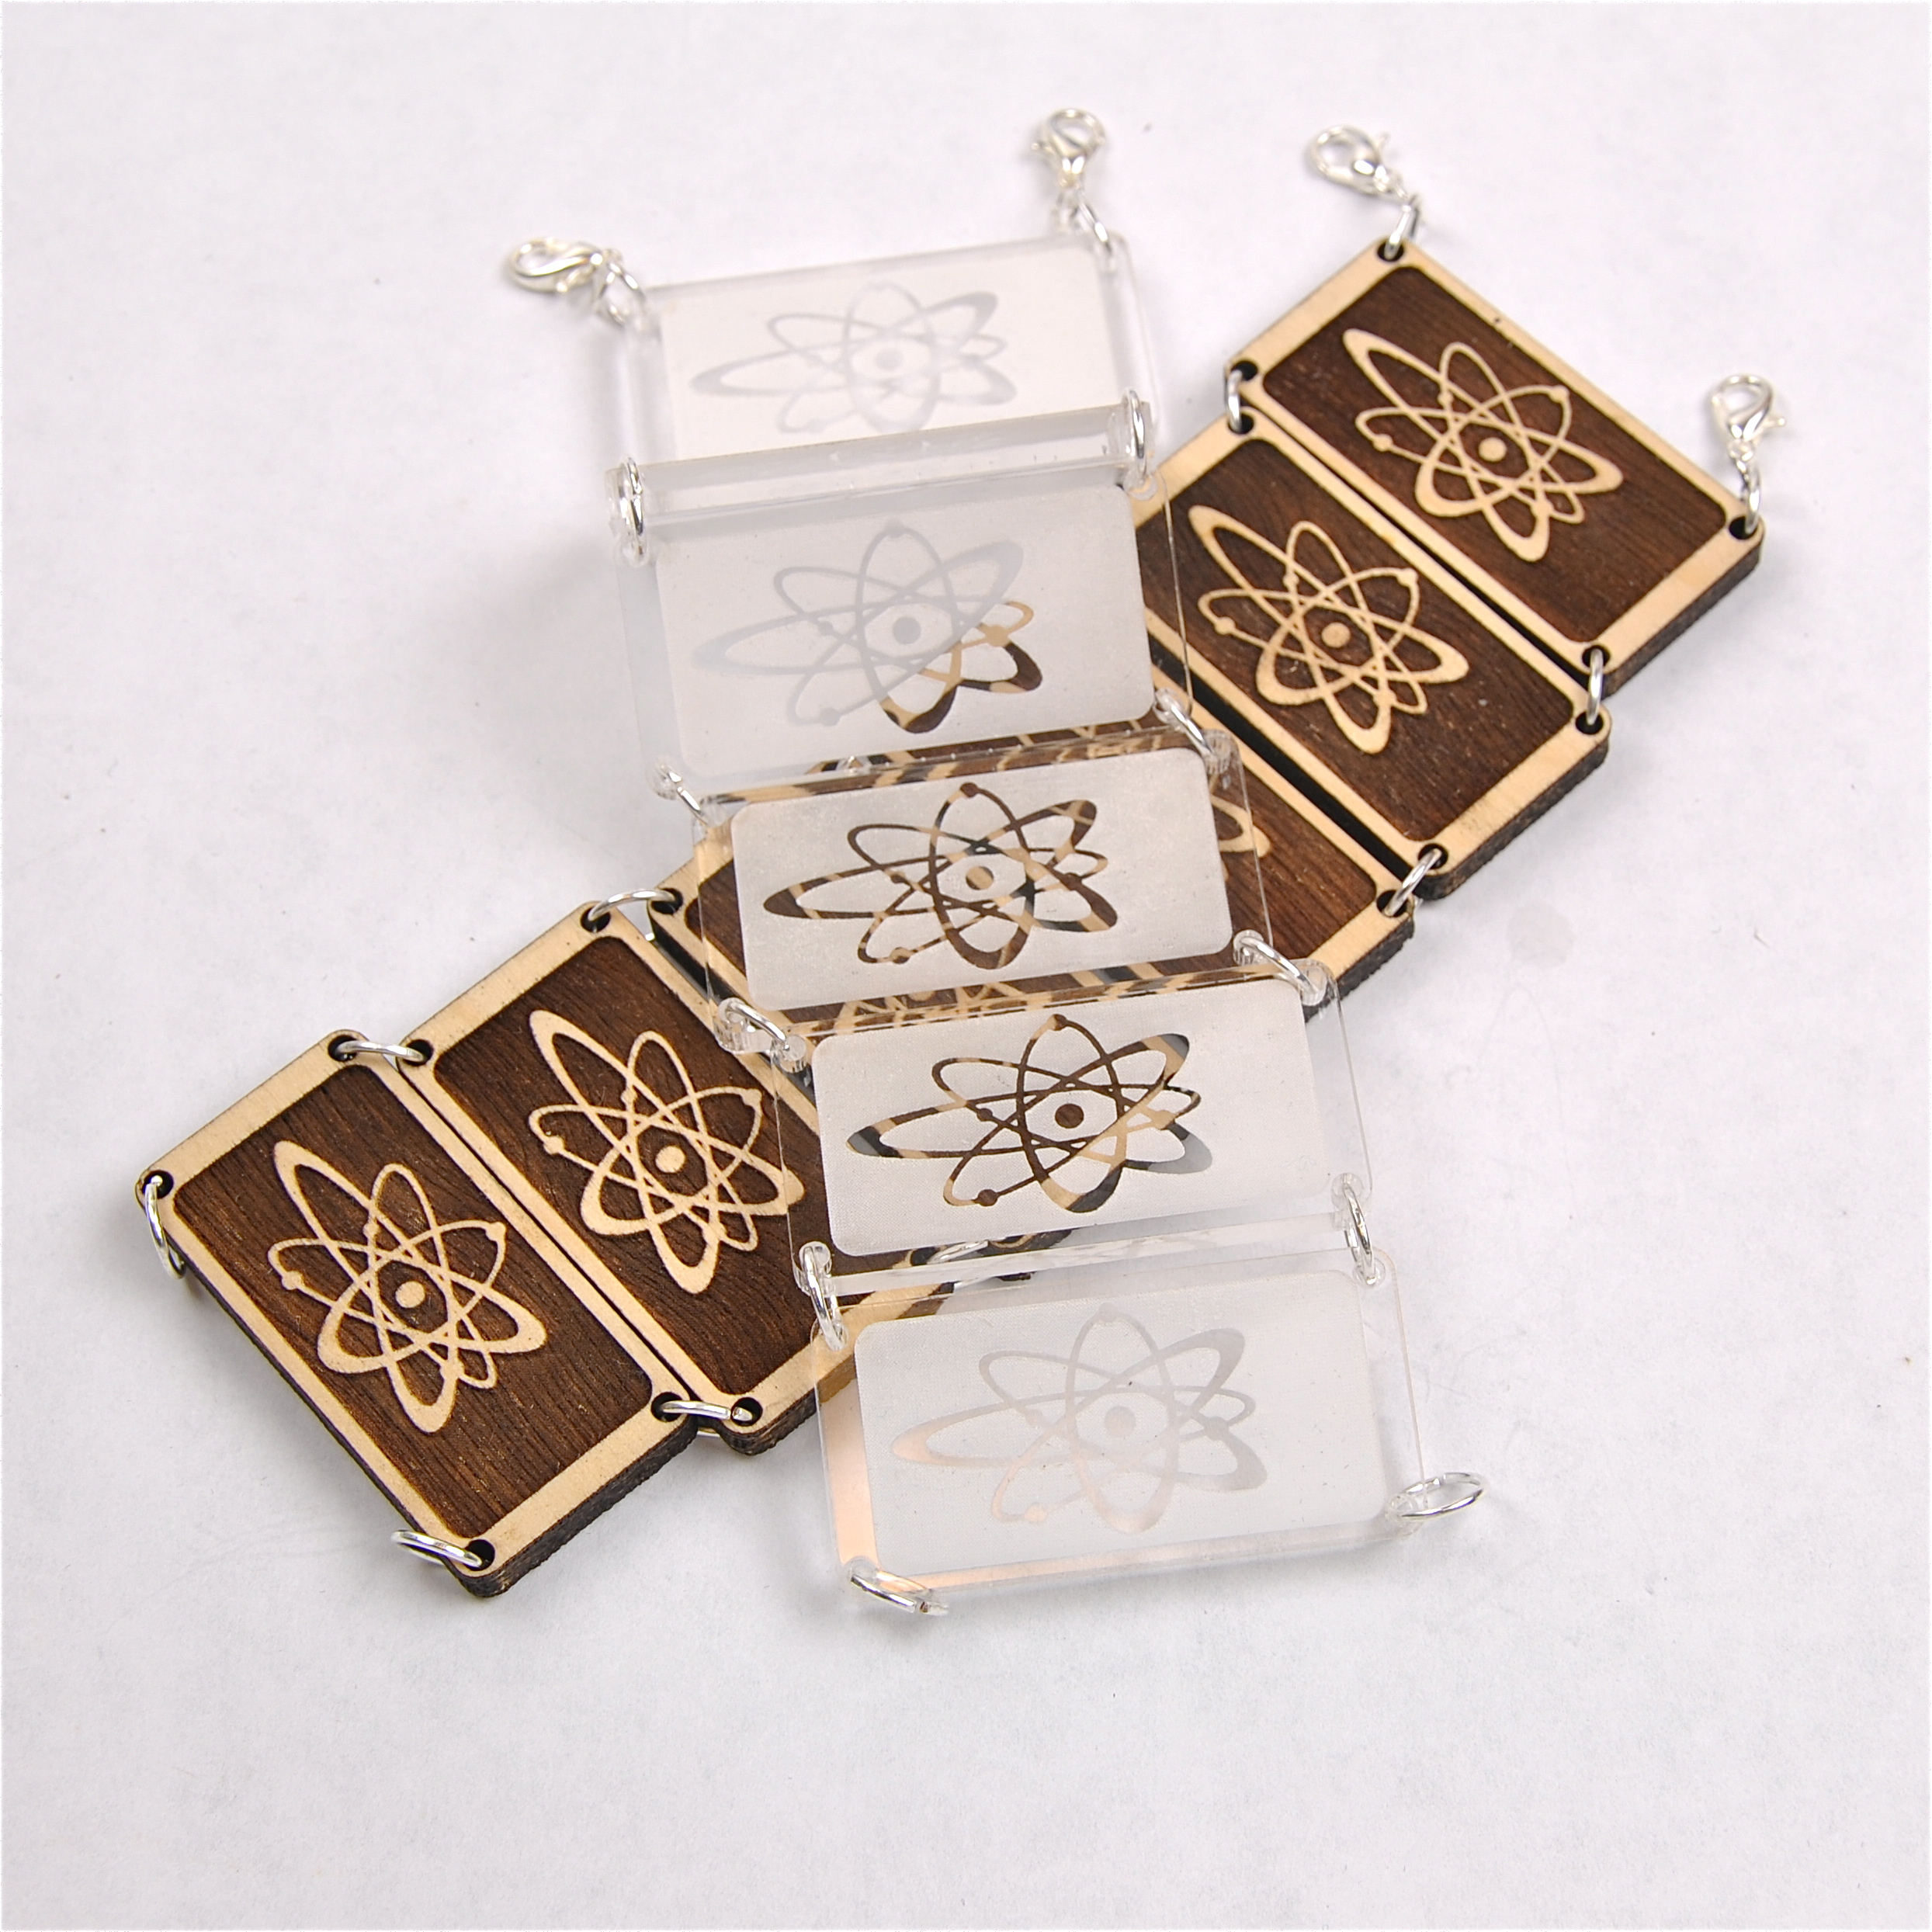
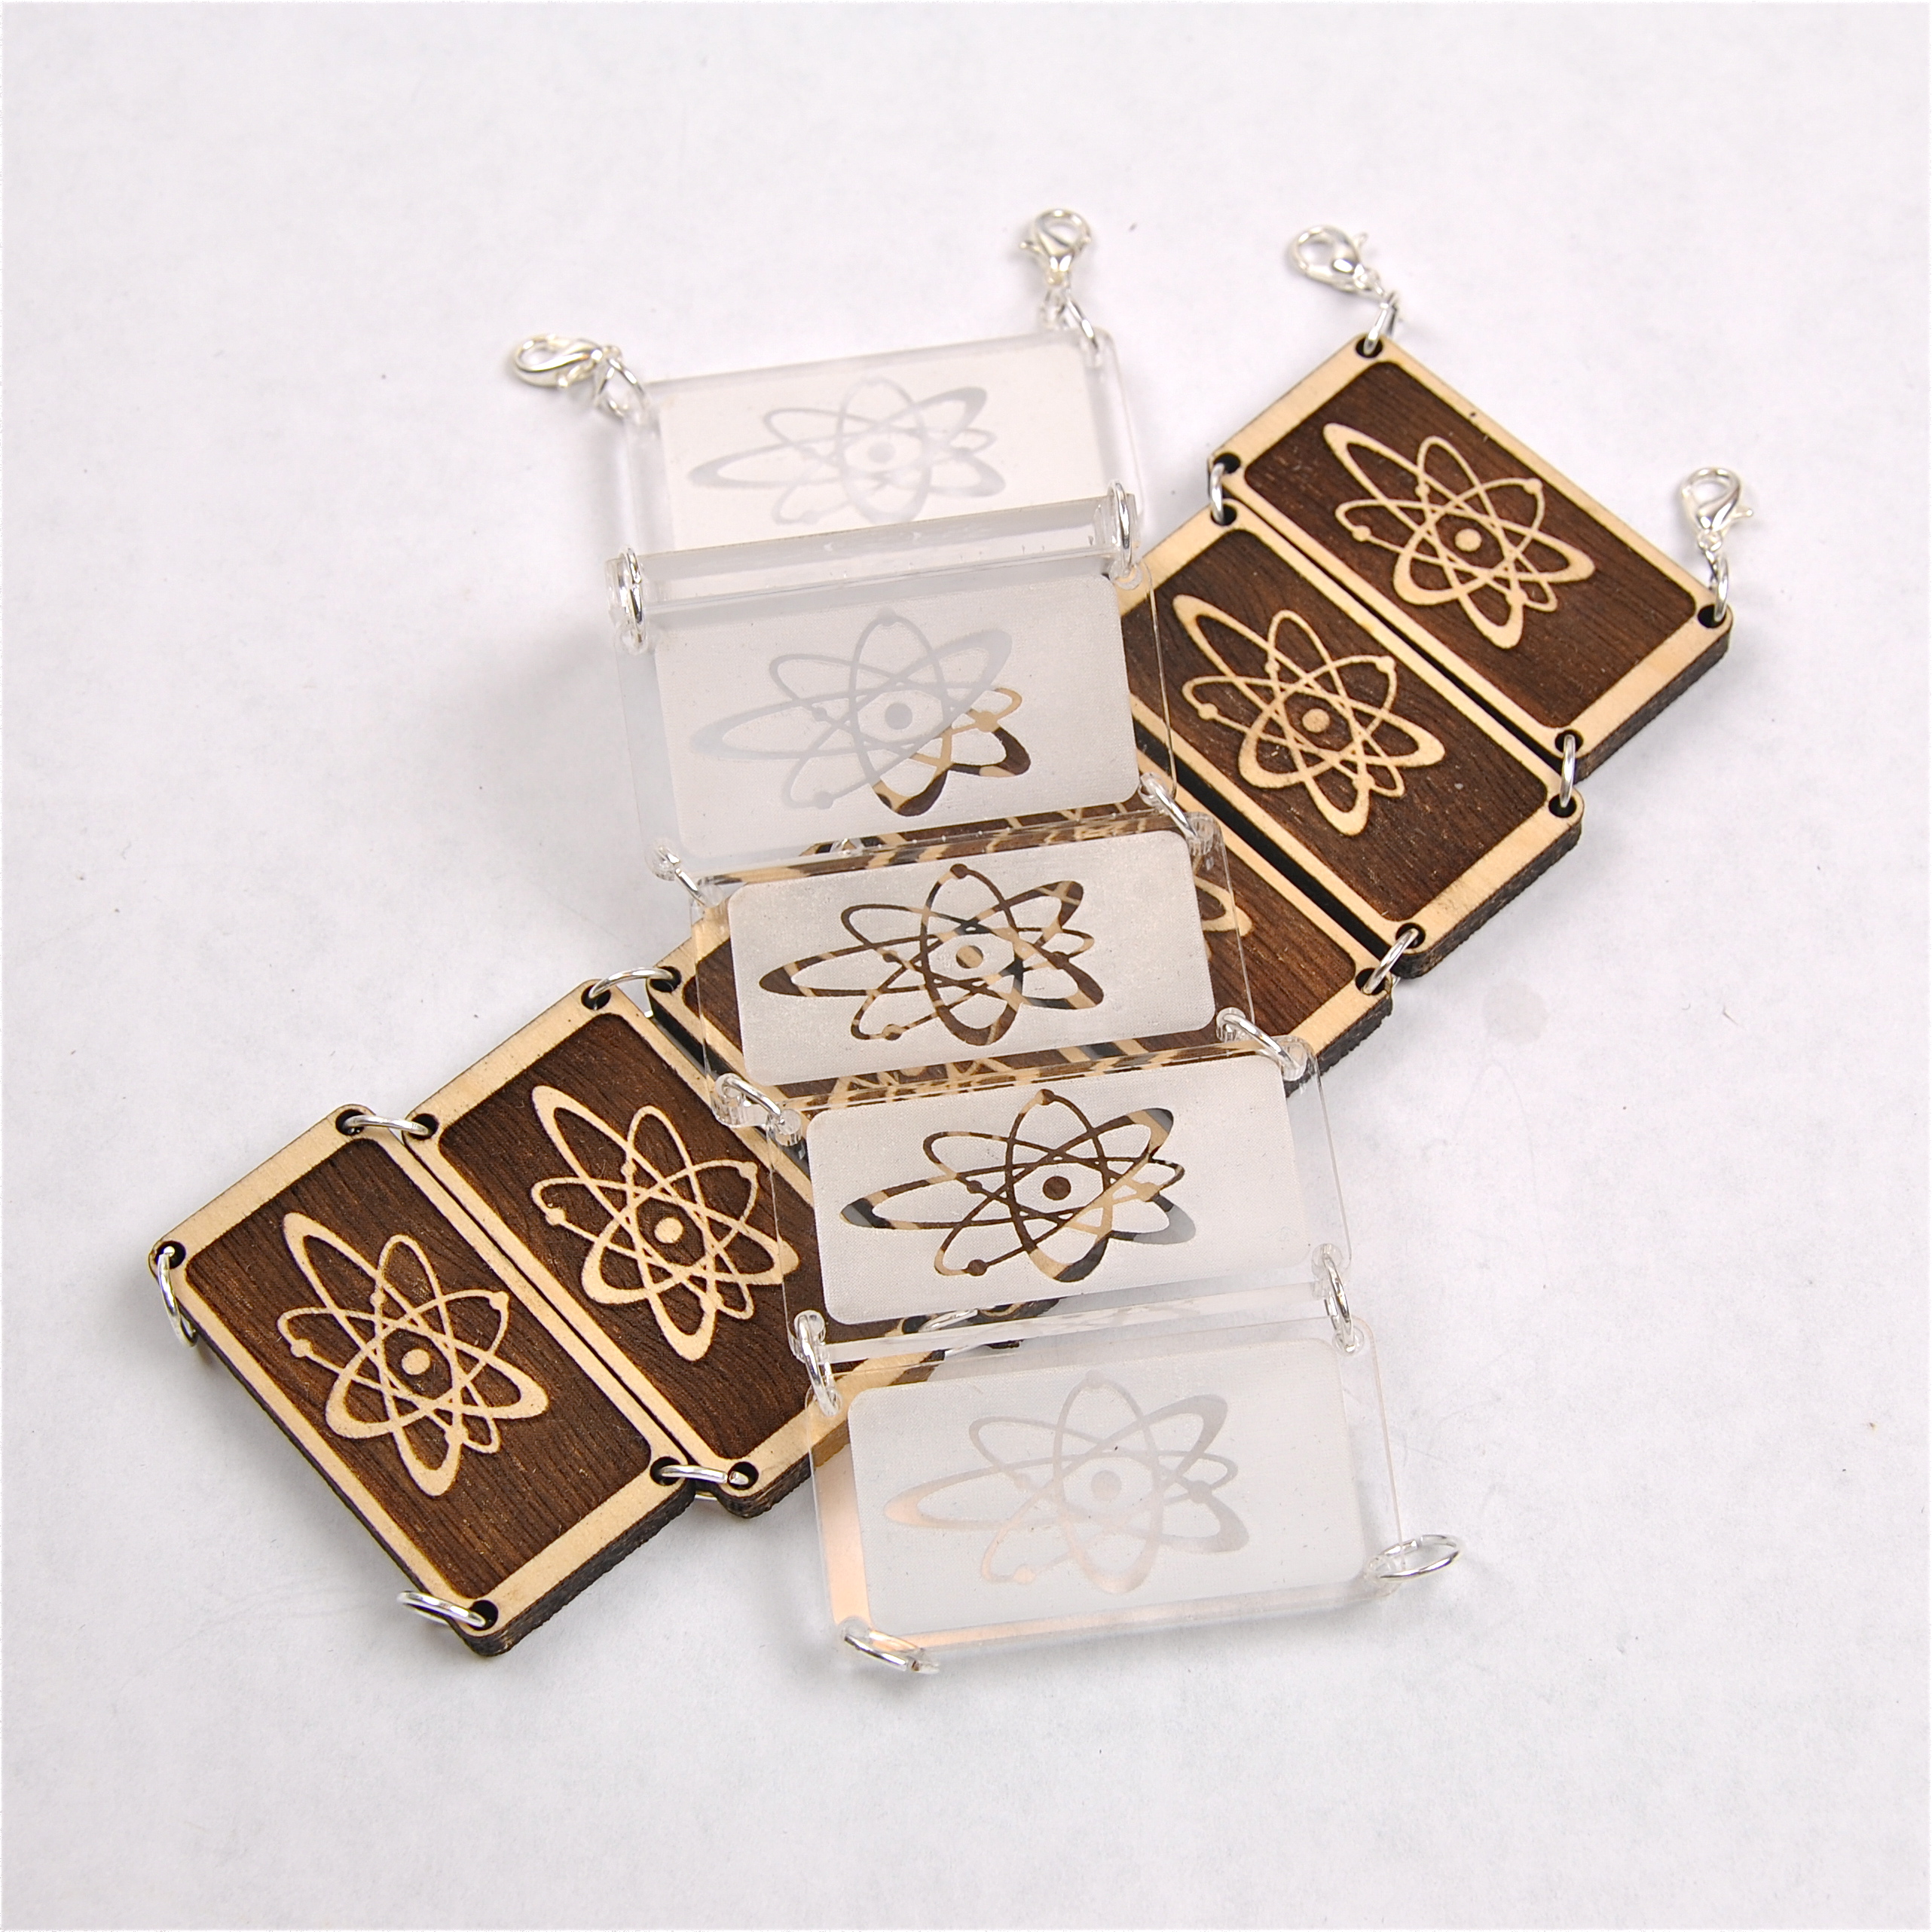
Assembling

Now it is time to put the bracelet together.
To Assemble:
To Assemble:
- Take your jump rings and start attaching your tiles together.
- When you have them all together attach two more jump rings on one end.
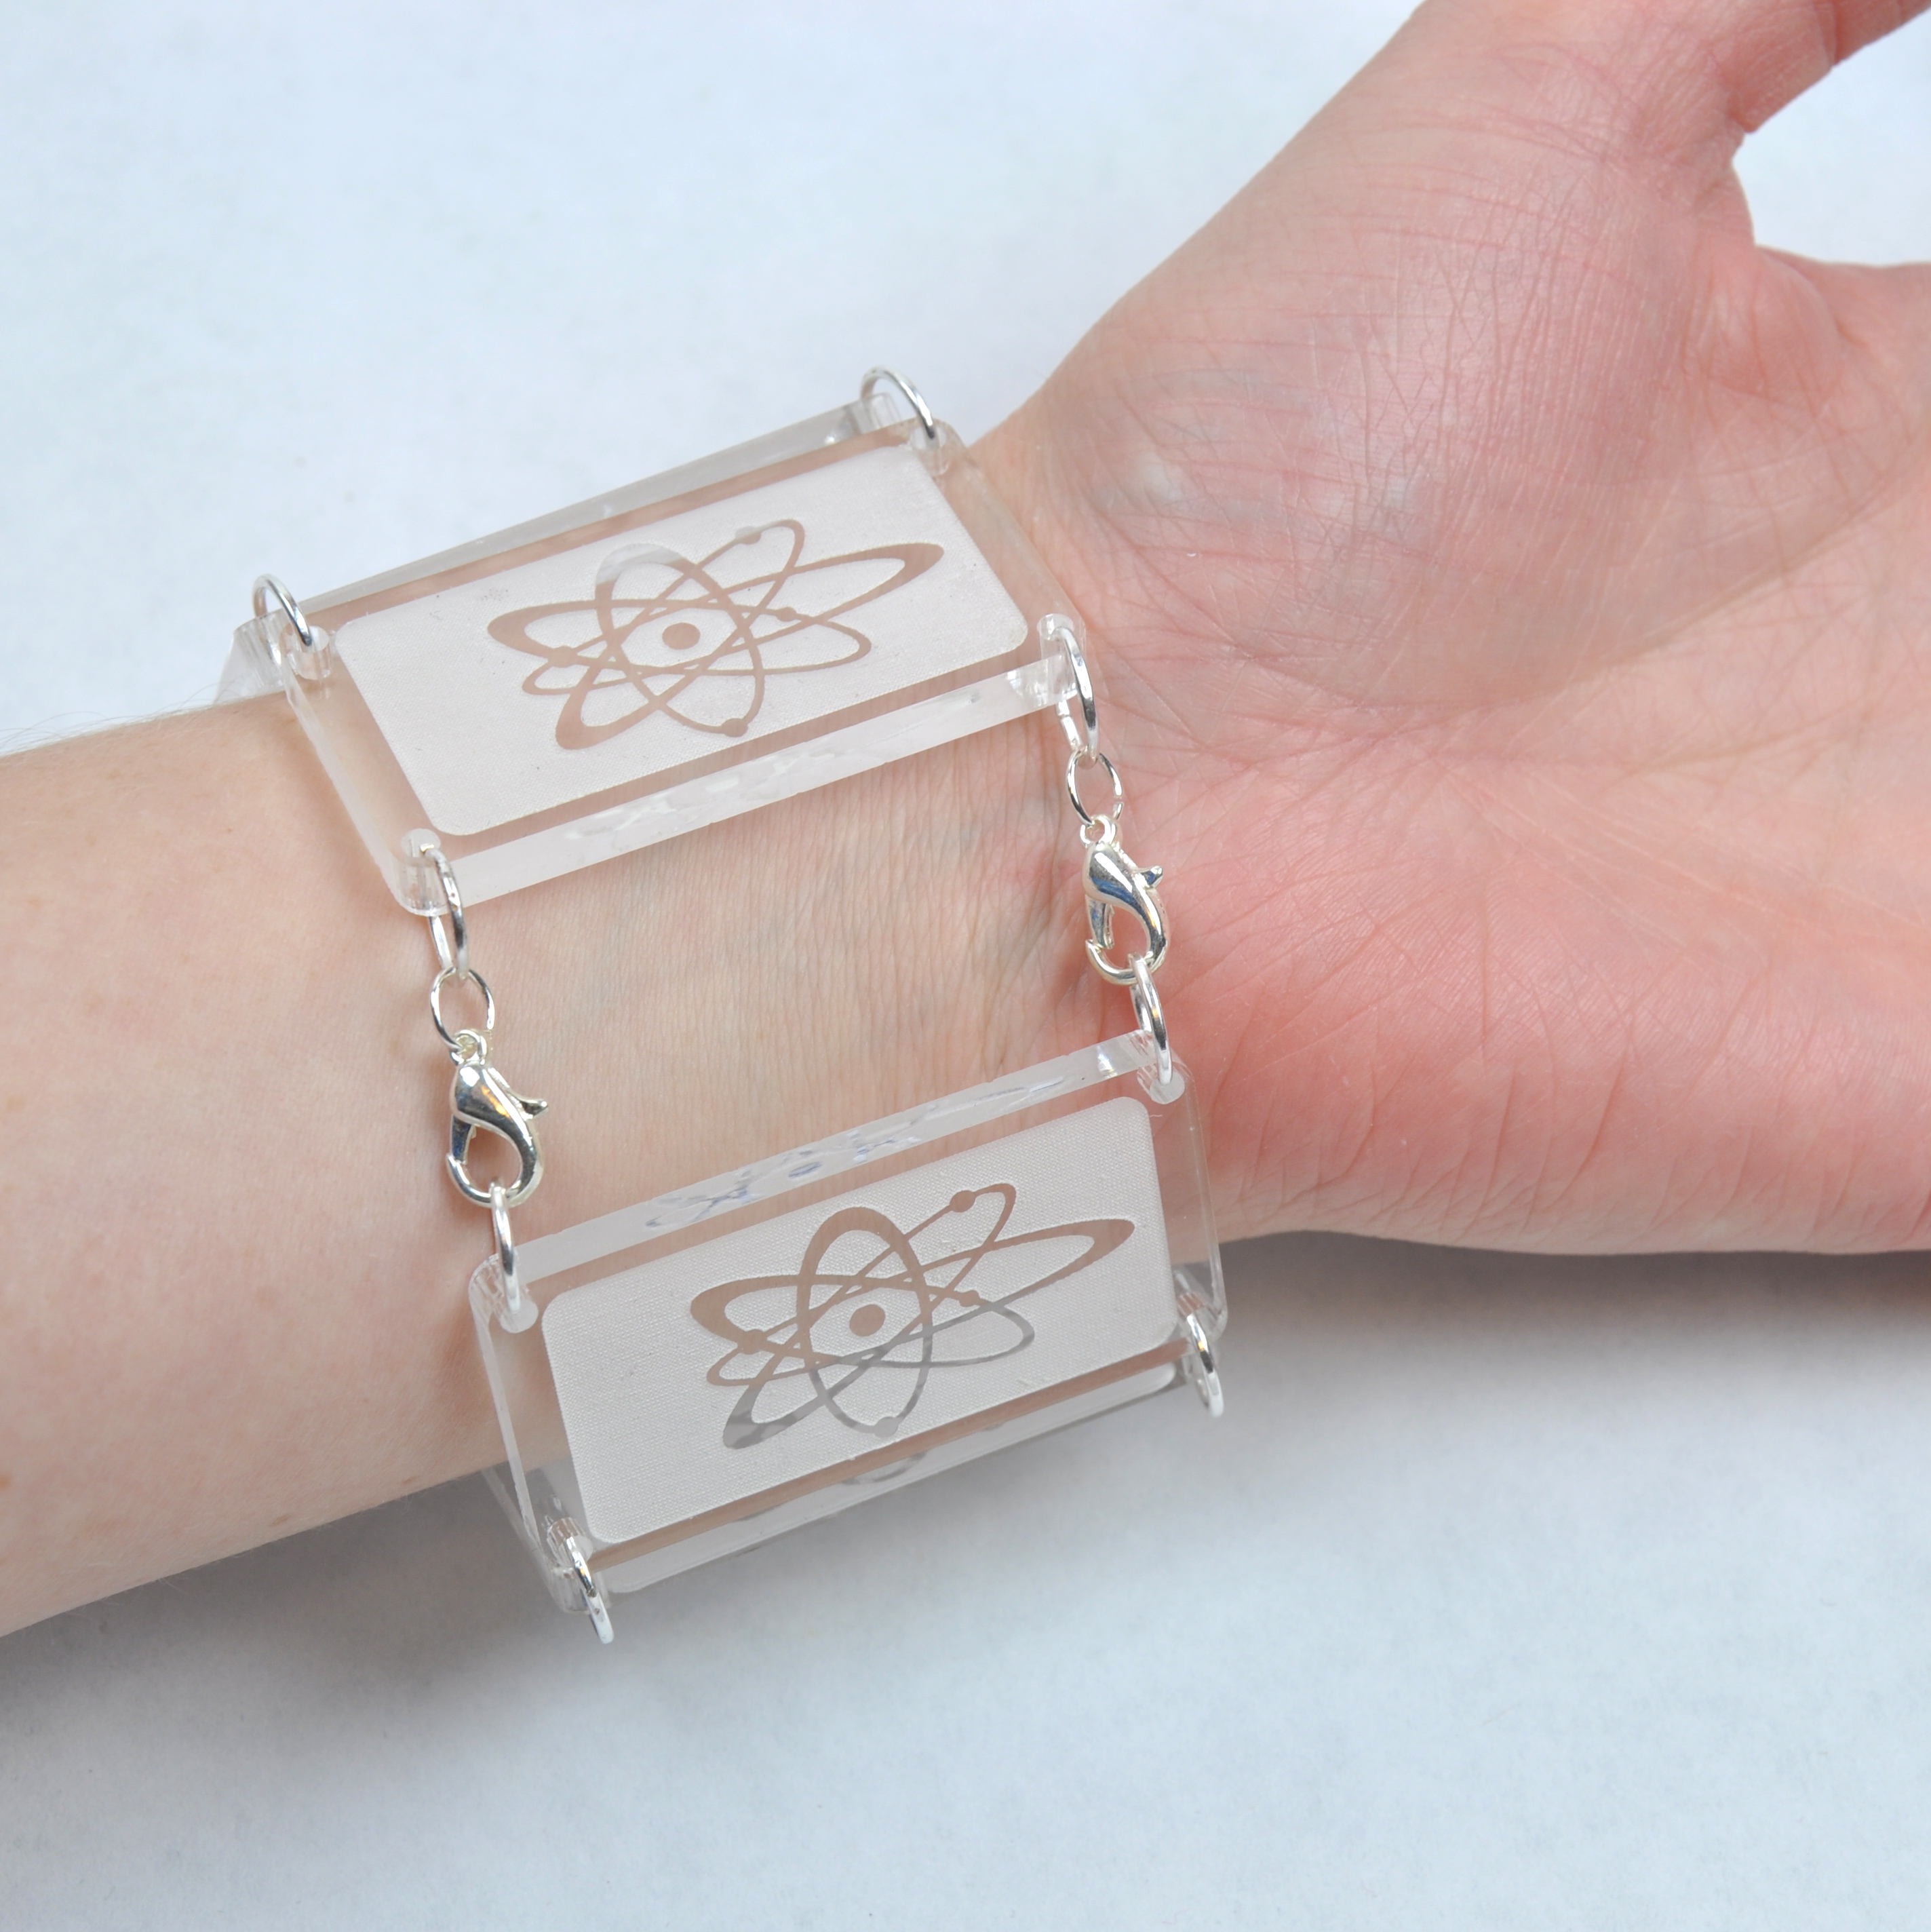
- Attach jump rings and your clasps to the other end.
- Done! It isn't a lot, but it takes some patience.
Wear
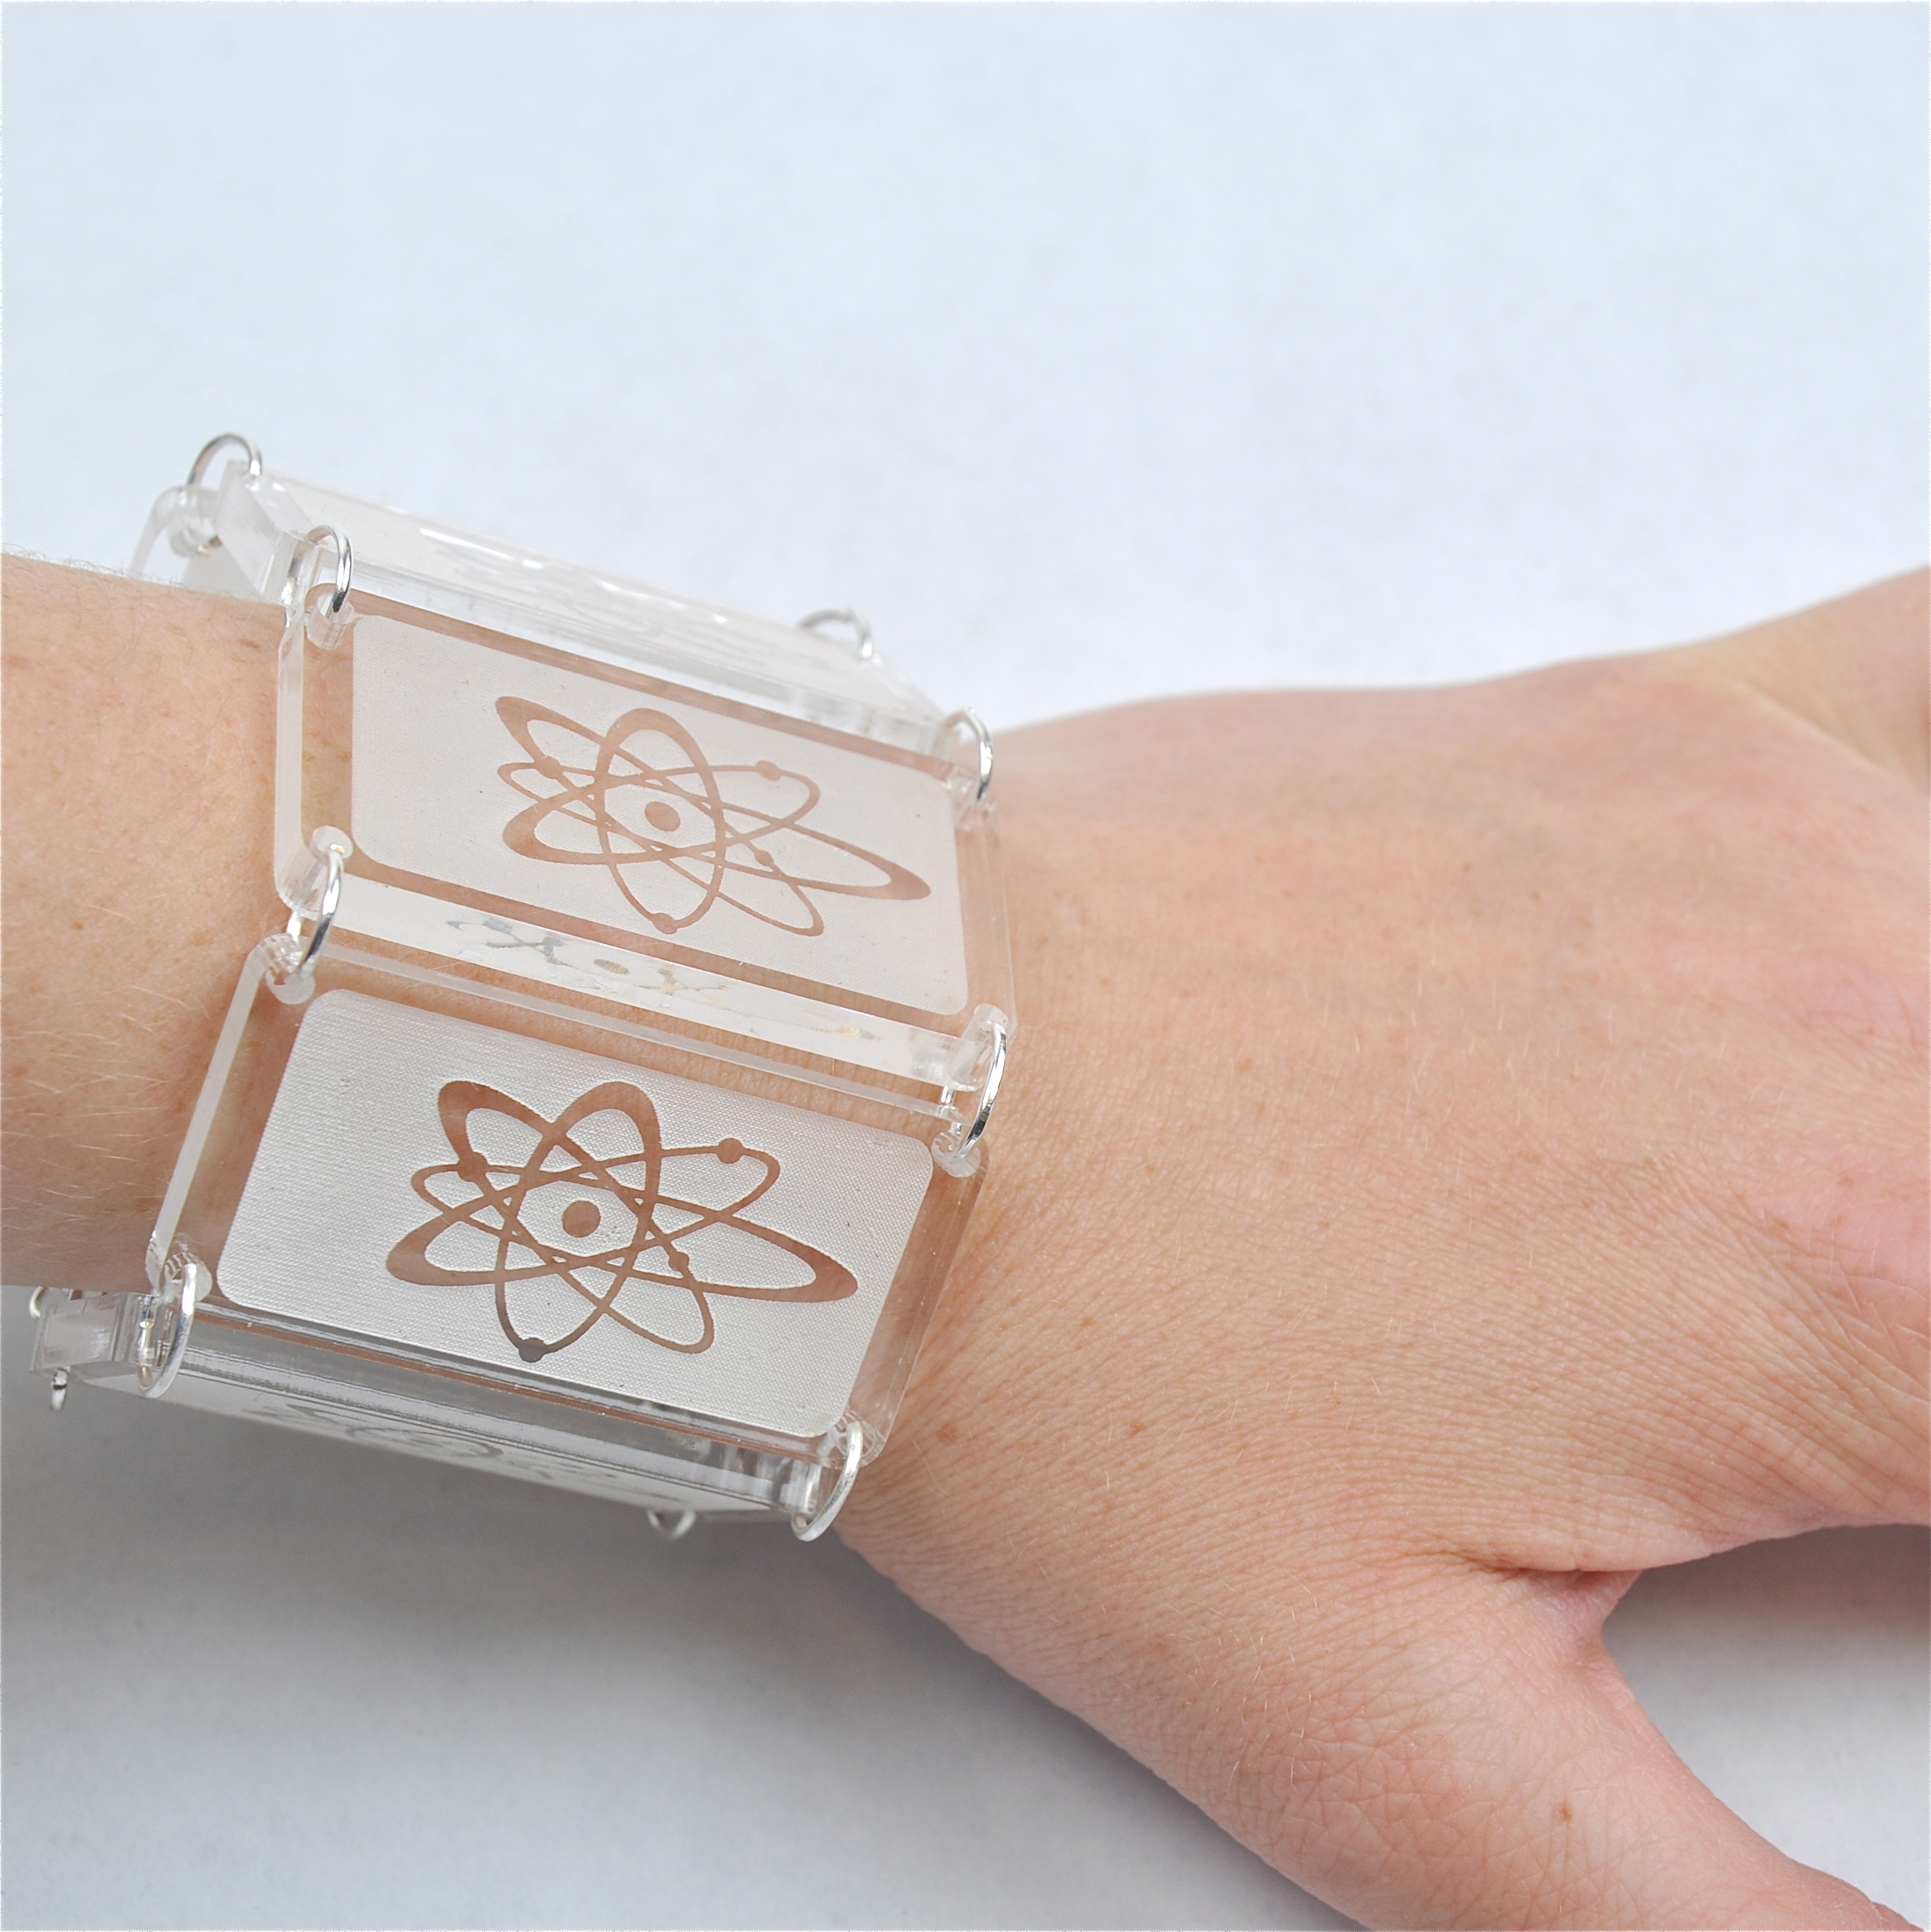
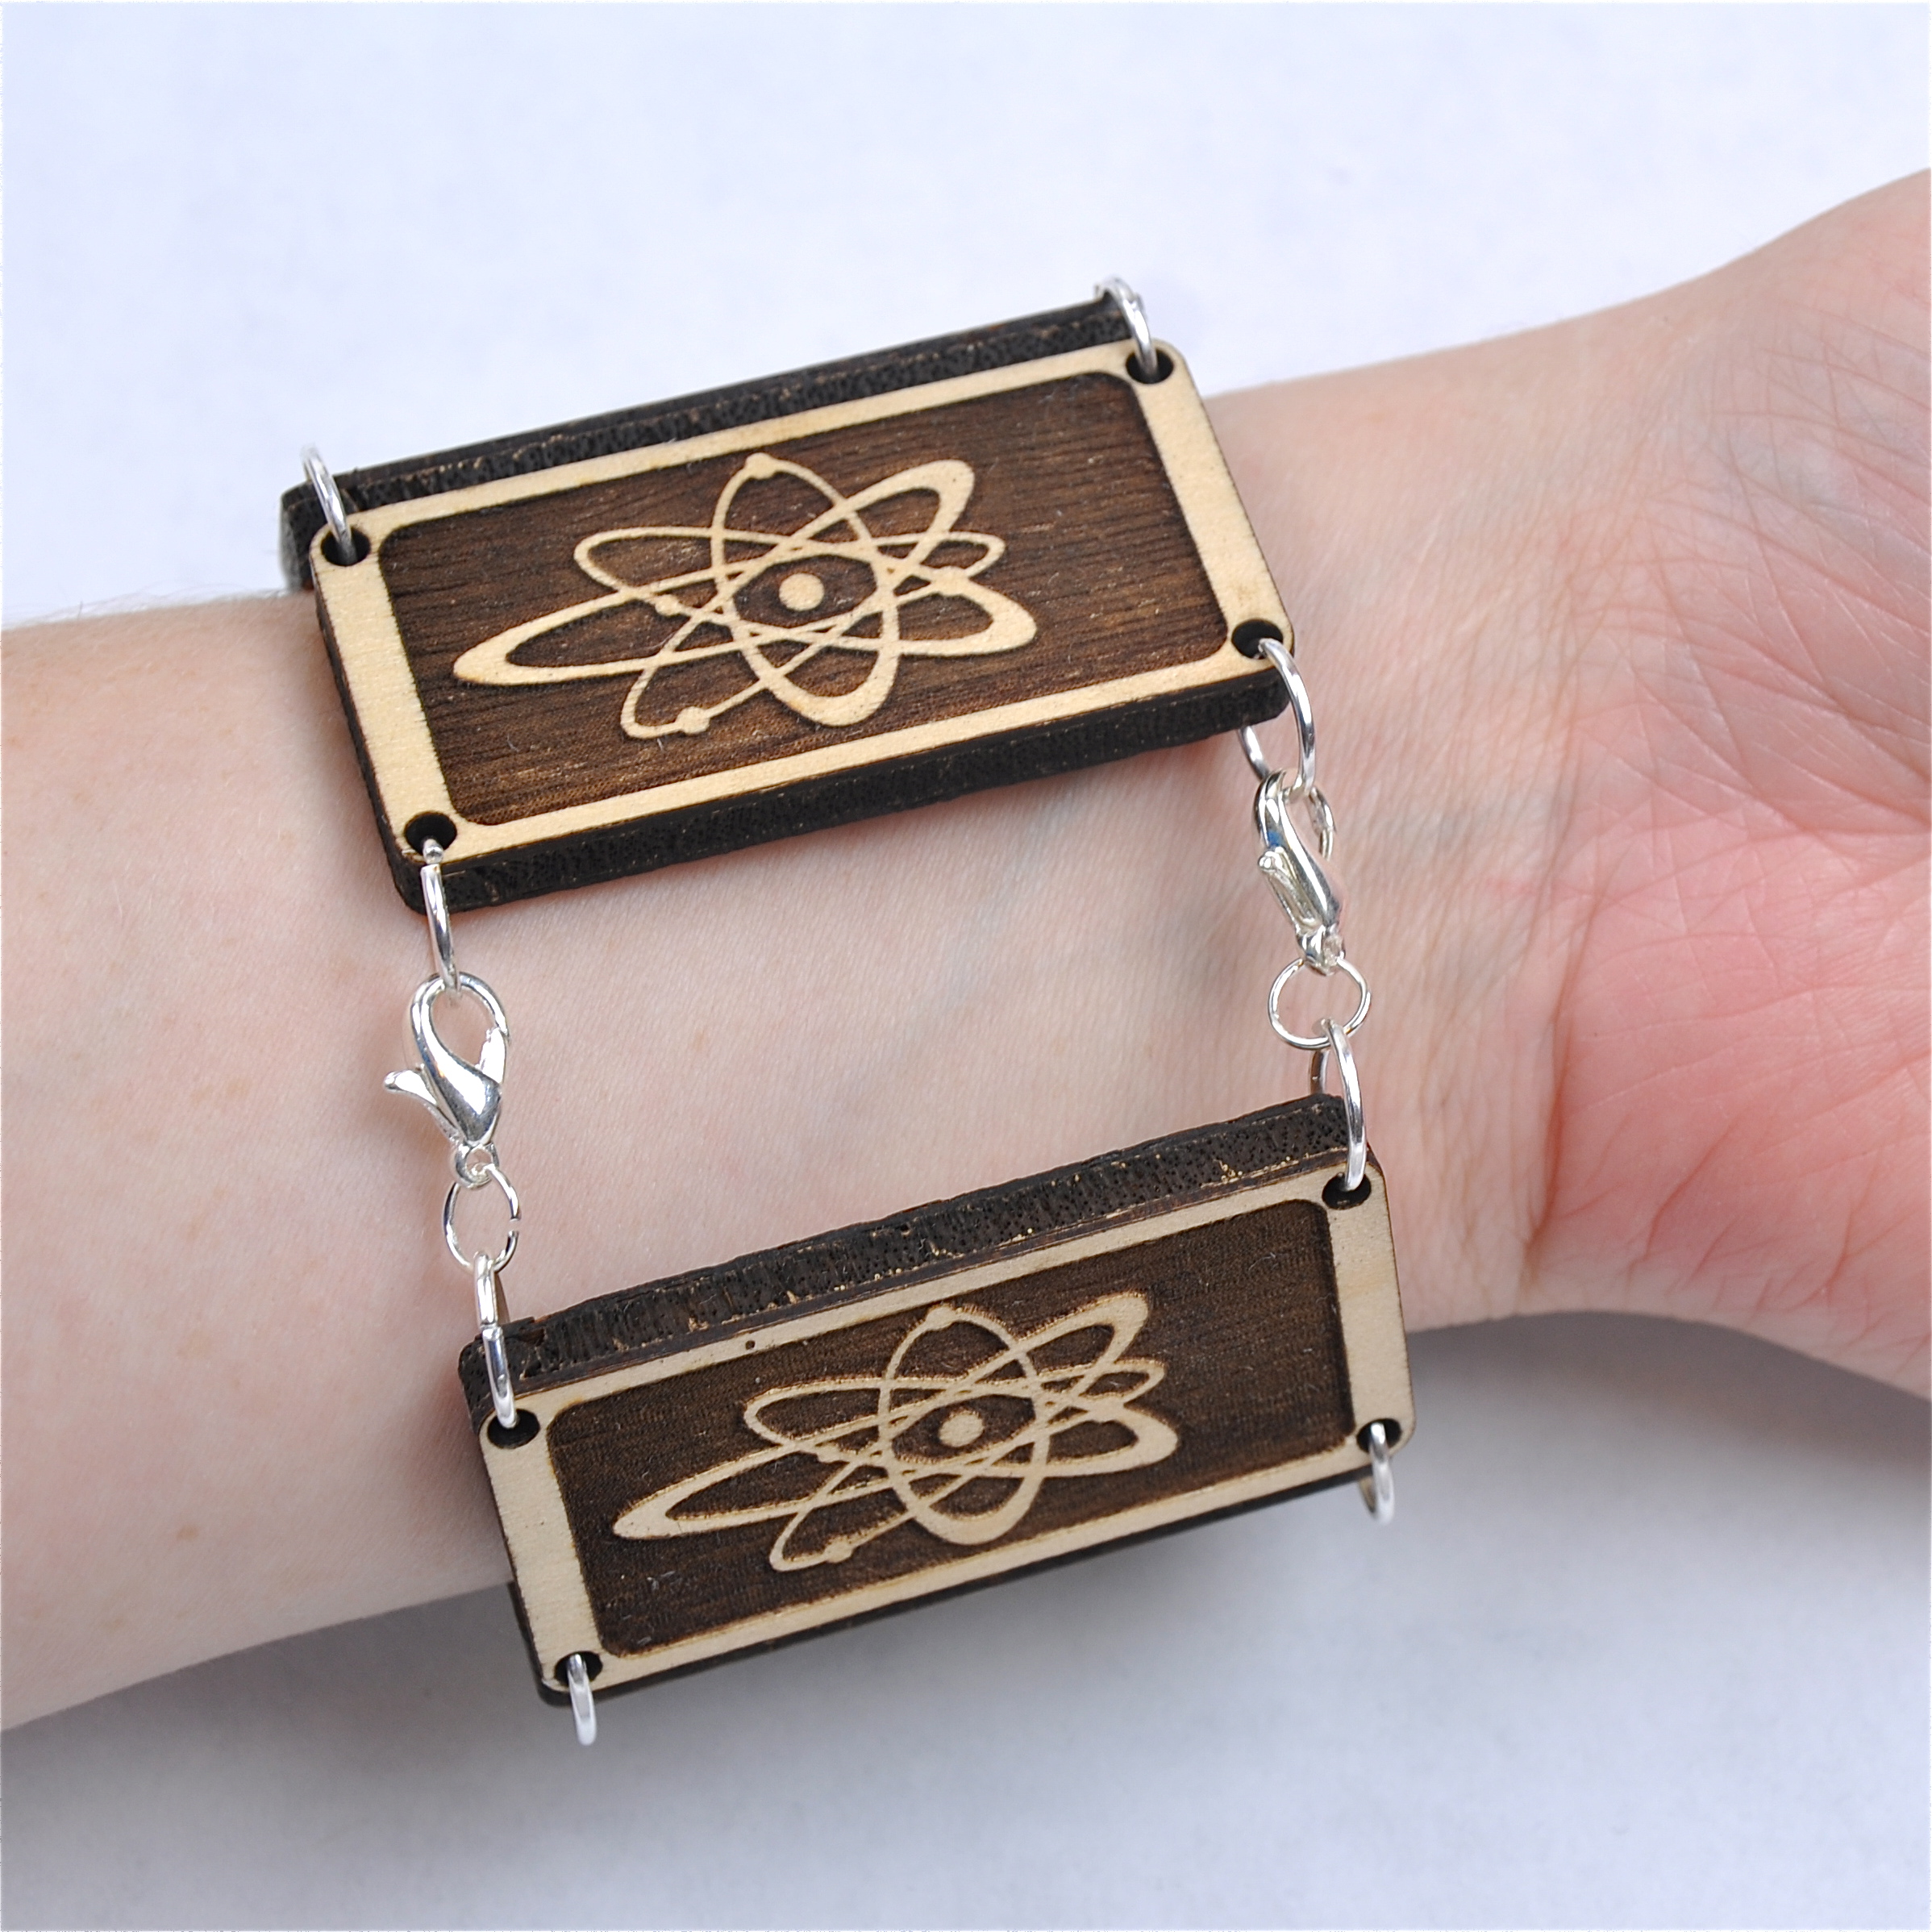
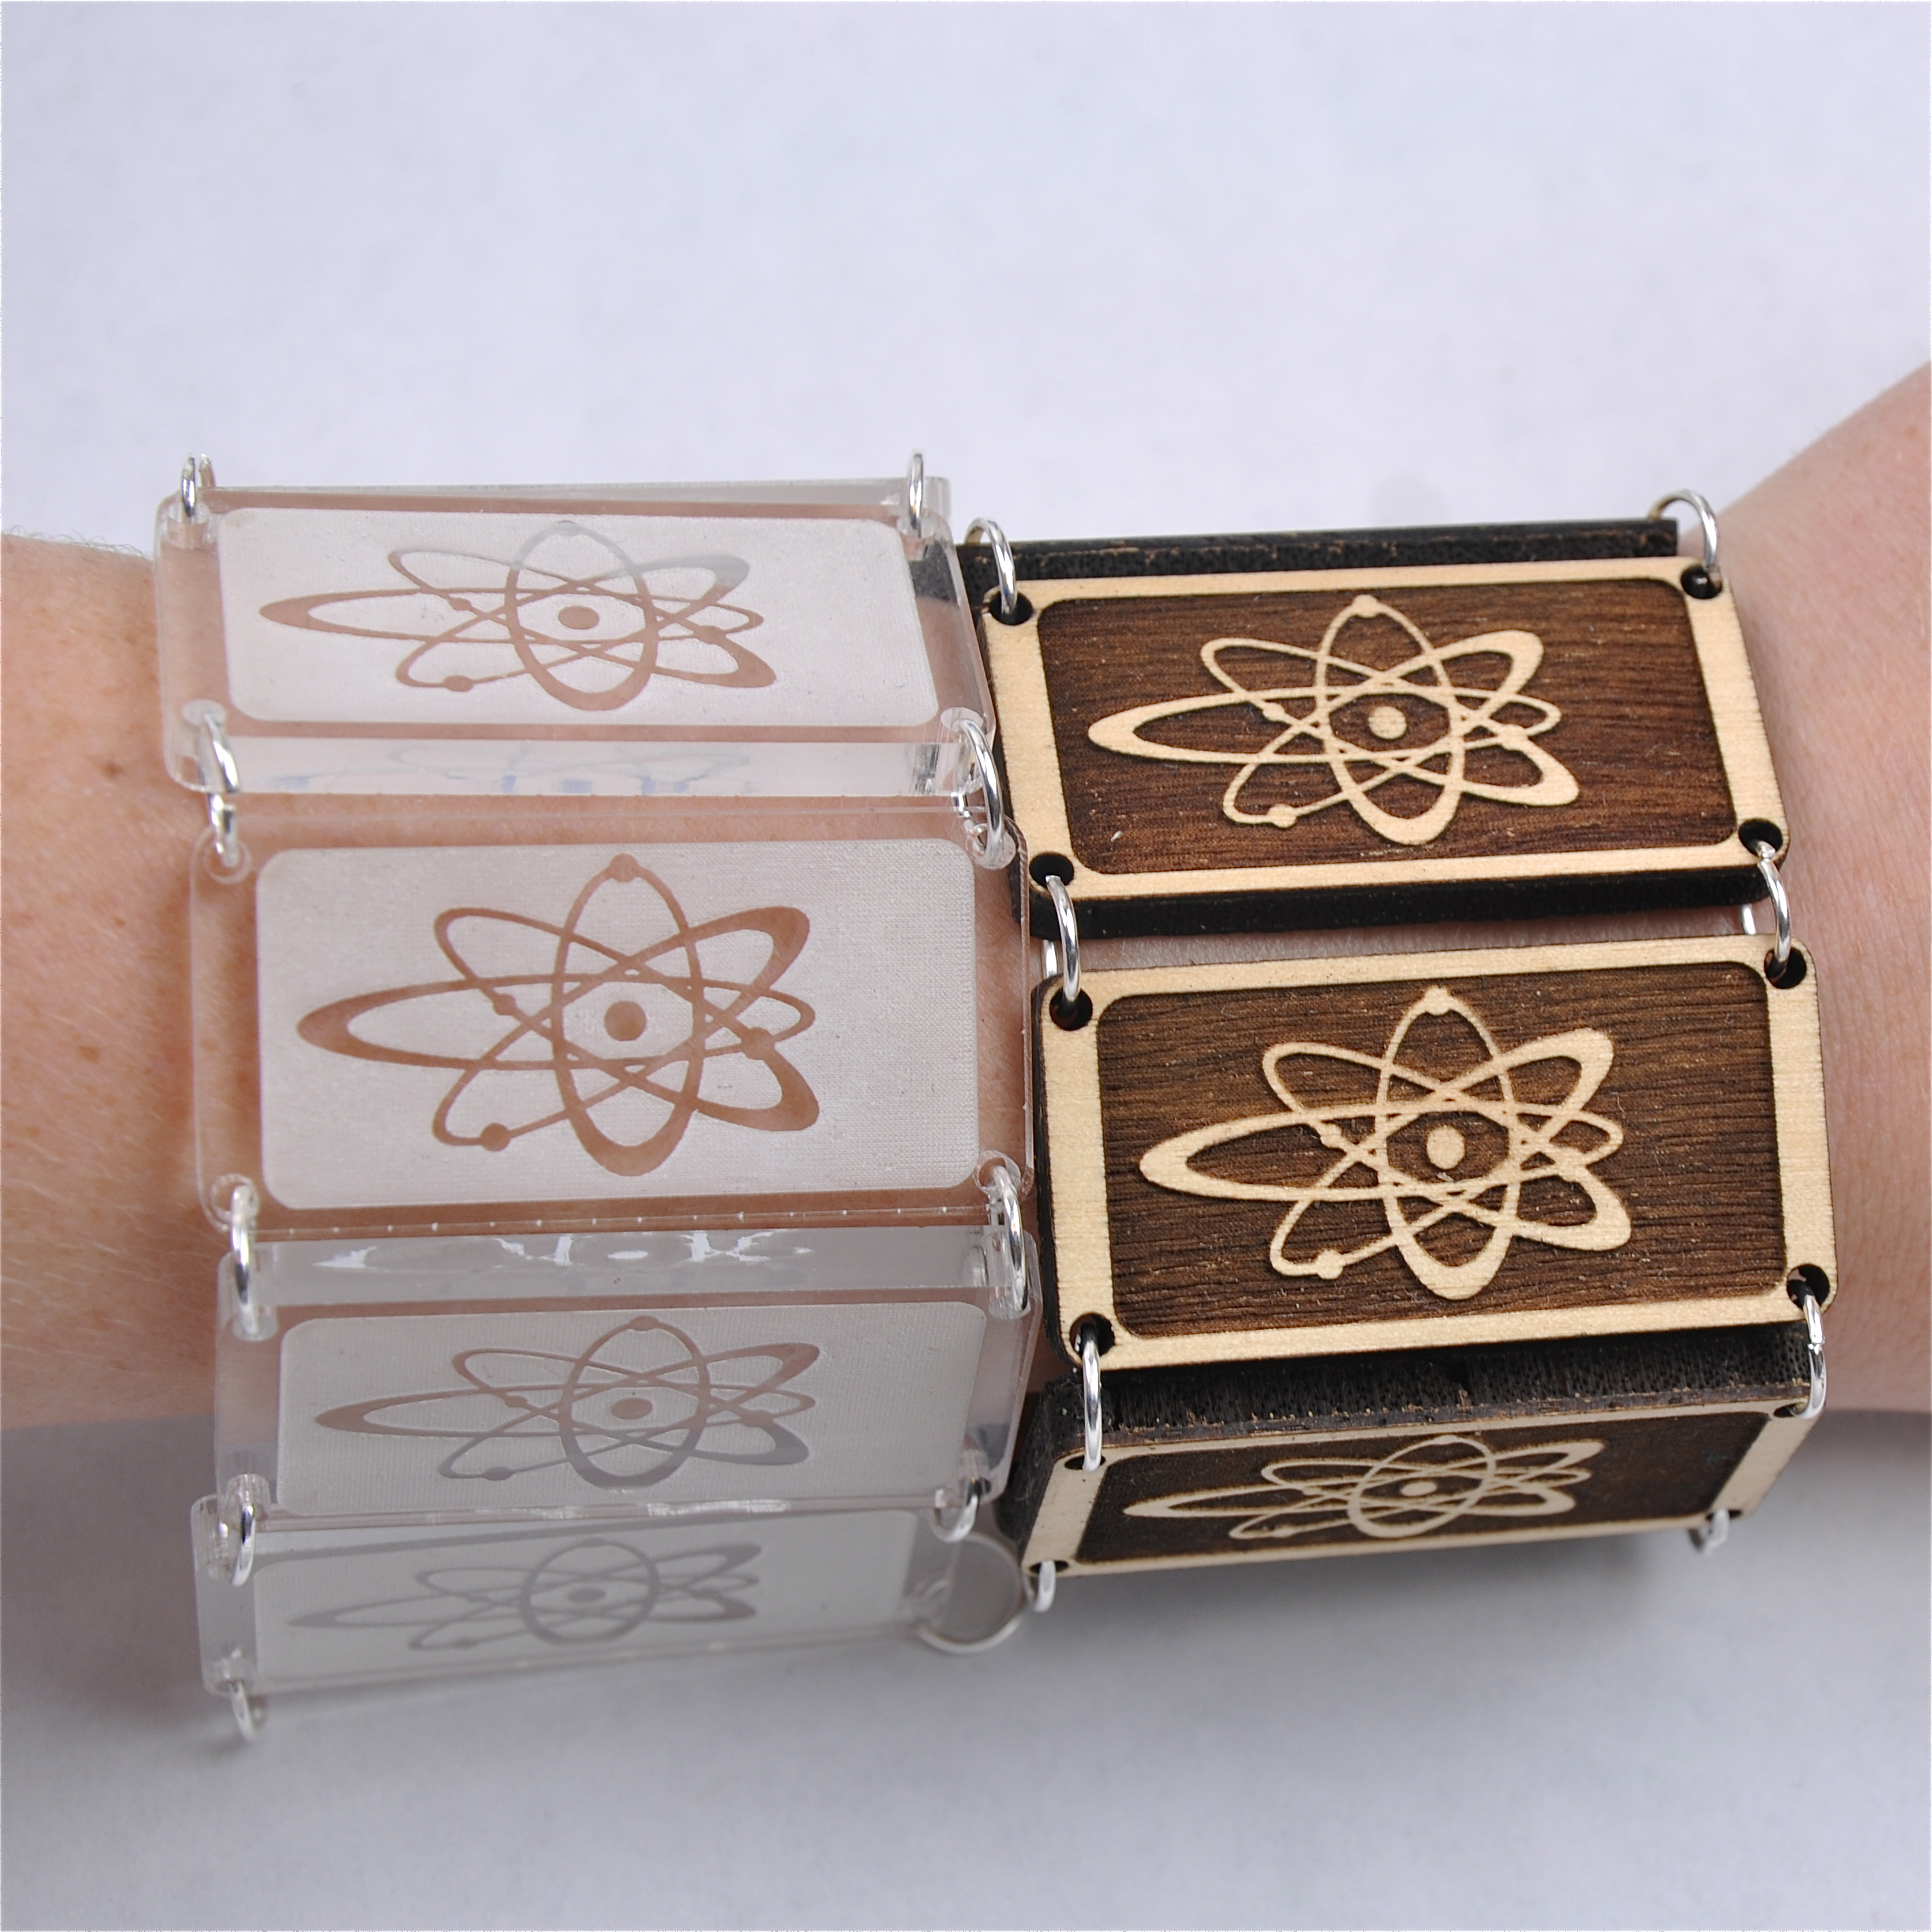
It isn't too hard to put on, but it depends on how tight it is and how thick your pieces are.
Wear and enjoy :)
(I tend to take a lot of pictures of my finished project to make sure I get at least one good one, so I like to use my last step to show off all the pictures.)
Wear and enjoy :)
(I tend to take a lot of pictures of my finished project to make sure I get at least one good one, so I like to use my last step to show off all the pictures.)