Atari 8 Bit USB Mouse

Overview
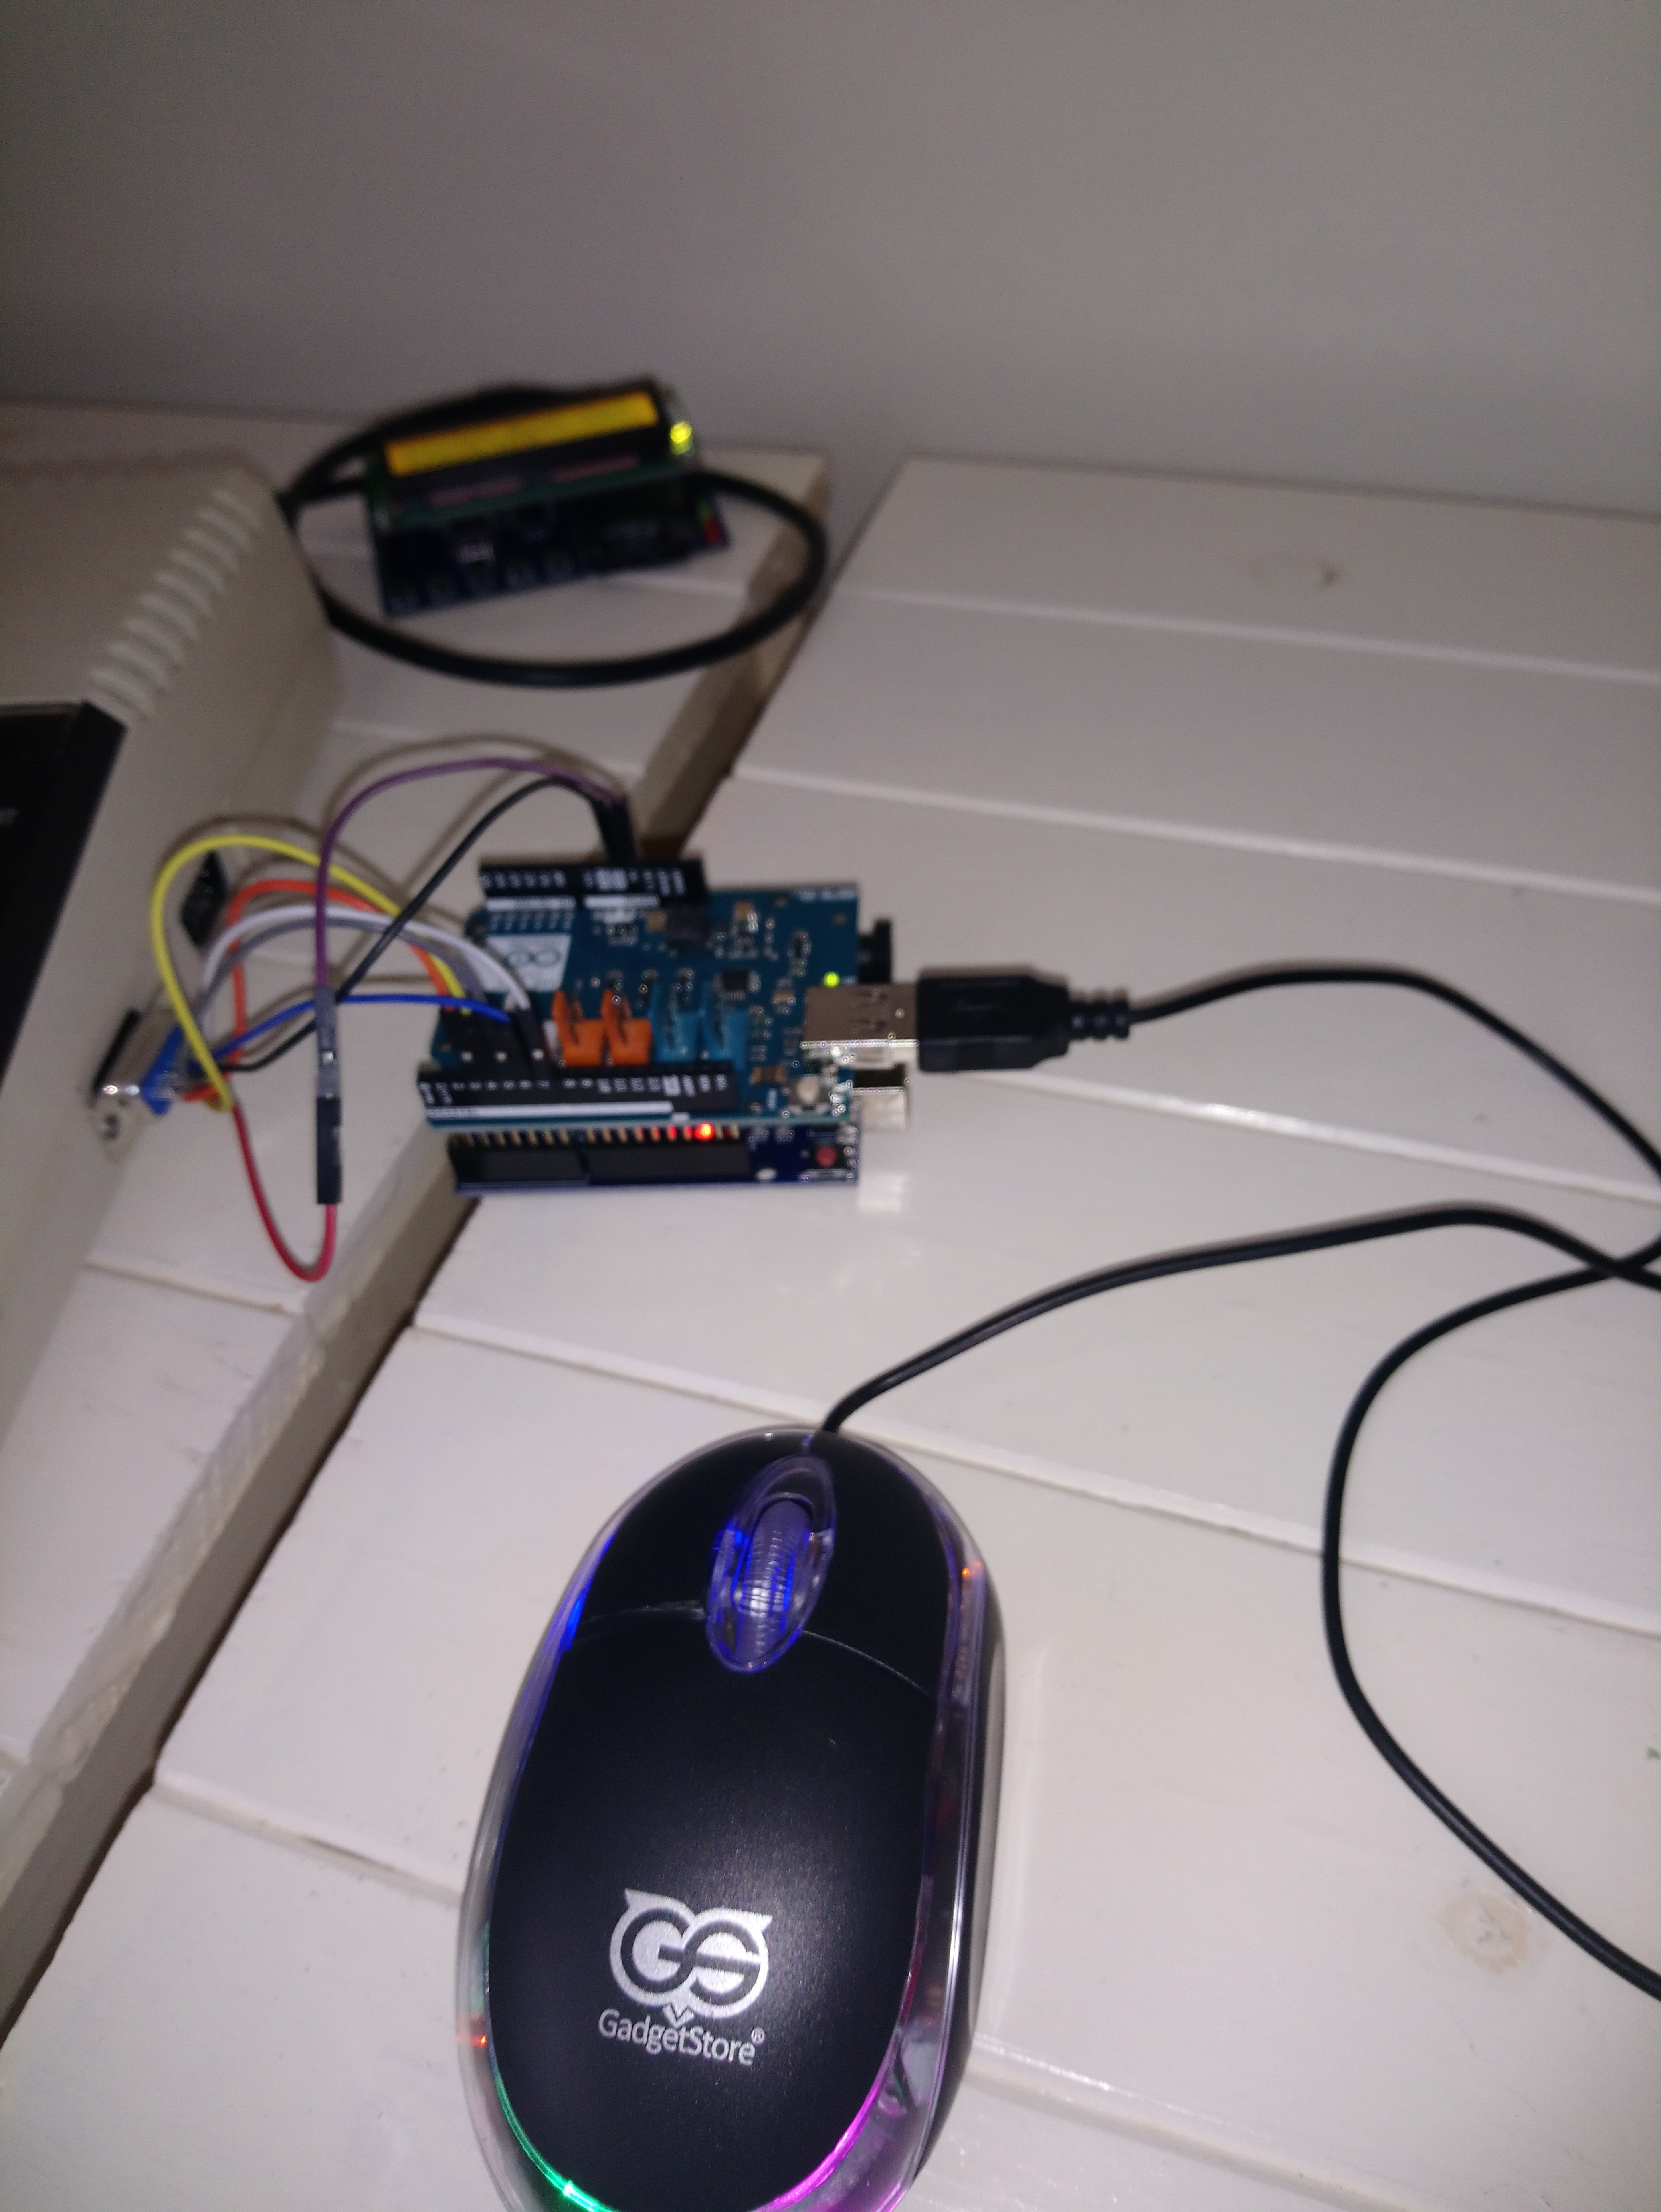
This Instructable shows the steps required to attach an Optical Mouse to an Atari 8 bit home computer
Introduction
How hard can it be to attach a modern optical mouse to an 8 bit home computing relic? Not that hard as it turns out.
There's two sides to this; reading the mouse and then telling the Atari what's going on.
The idea here is that the joystick works by switching on whatever pins correspond to a movement in a particular direction. All we need to do is replicate this with the Arduino using digitalWrite.
Reading the mouse is done by the USB shield.
Supplies
Arduino Uno
Arduino USB shield
Wires. I'm using Dupont connectors as they plug straight into the USB shield
Optical Mouse
Female 9 pin D connector
Atari 8 bit computer. I'm using an 800 XL but I expect it to work with anything with a suitable joystick port
1) Attach the USB Shield

Mount the USB shield on the Arduino as shown in the image. That's it!
During the initial development stages I tried a cheap knock-off USB shield from Ebay and some other piece of junk from Hobbytronics. Learn from my mistakes; buy the proper components. They might cost a few pounds/dollars more but you save so much aggravation.
Program the Arduino
I'm assuming that you know how to program an Arduino. If not, learn! It's a great micro processor and your life will be much better. There's tons of support on the internet, and https://www.arduino.cc/ is the starting point.
The Arduino Code is attached. I'm going to own up to some 'standing on the shoulders of giants' and not claim this as all my own work. I just hacked a demo file a bit.
You'll also need some libraries
https://github.com/felis/USB_Host_Shield_2.0
https://www.arduinolibraries.info/libraries/usb-ho...
Also take a look at this site
Downloads
Add Some Wires


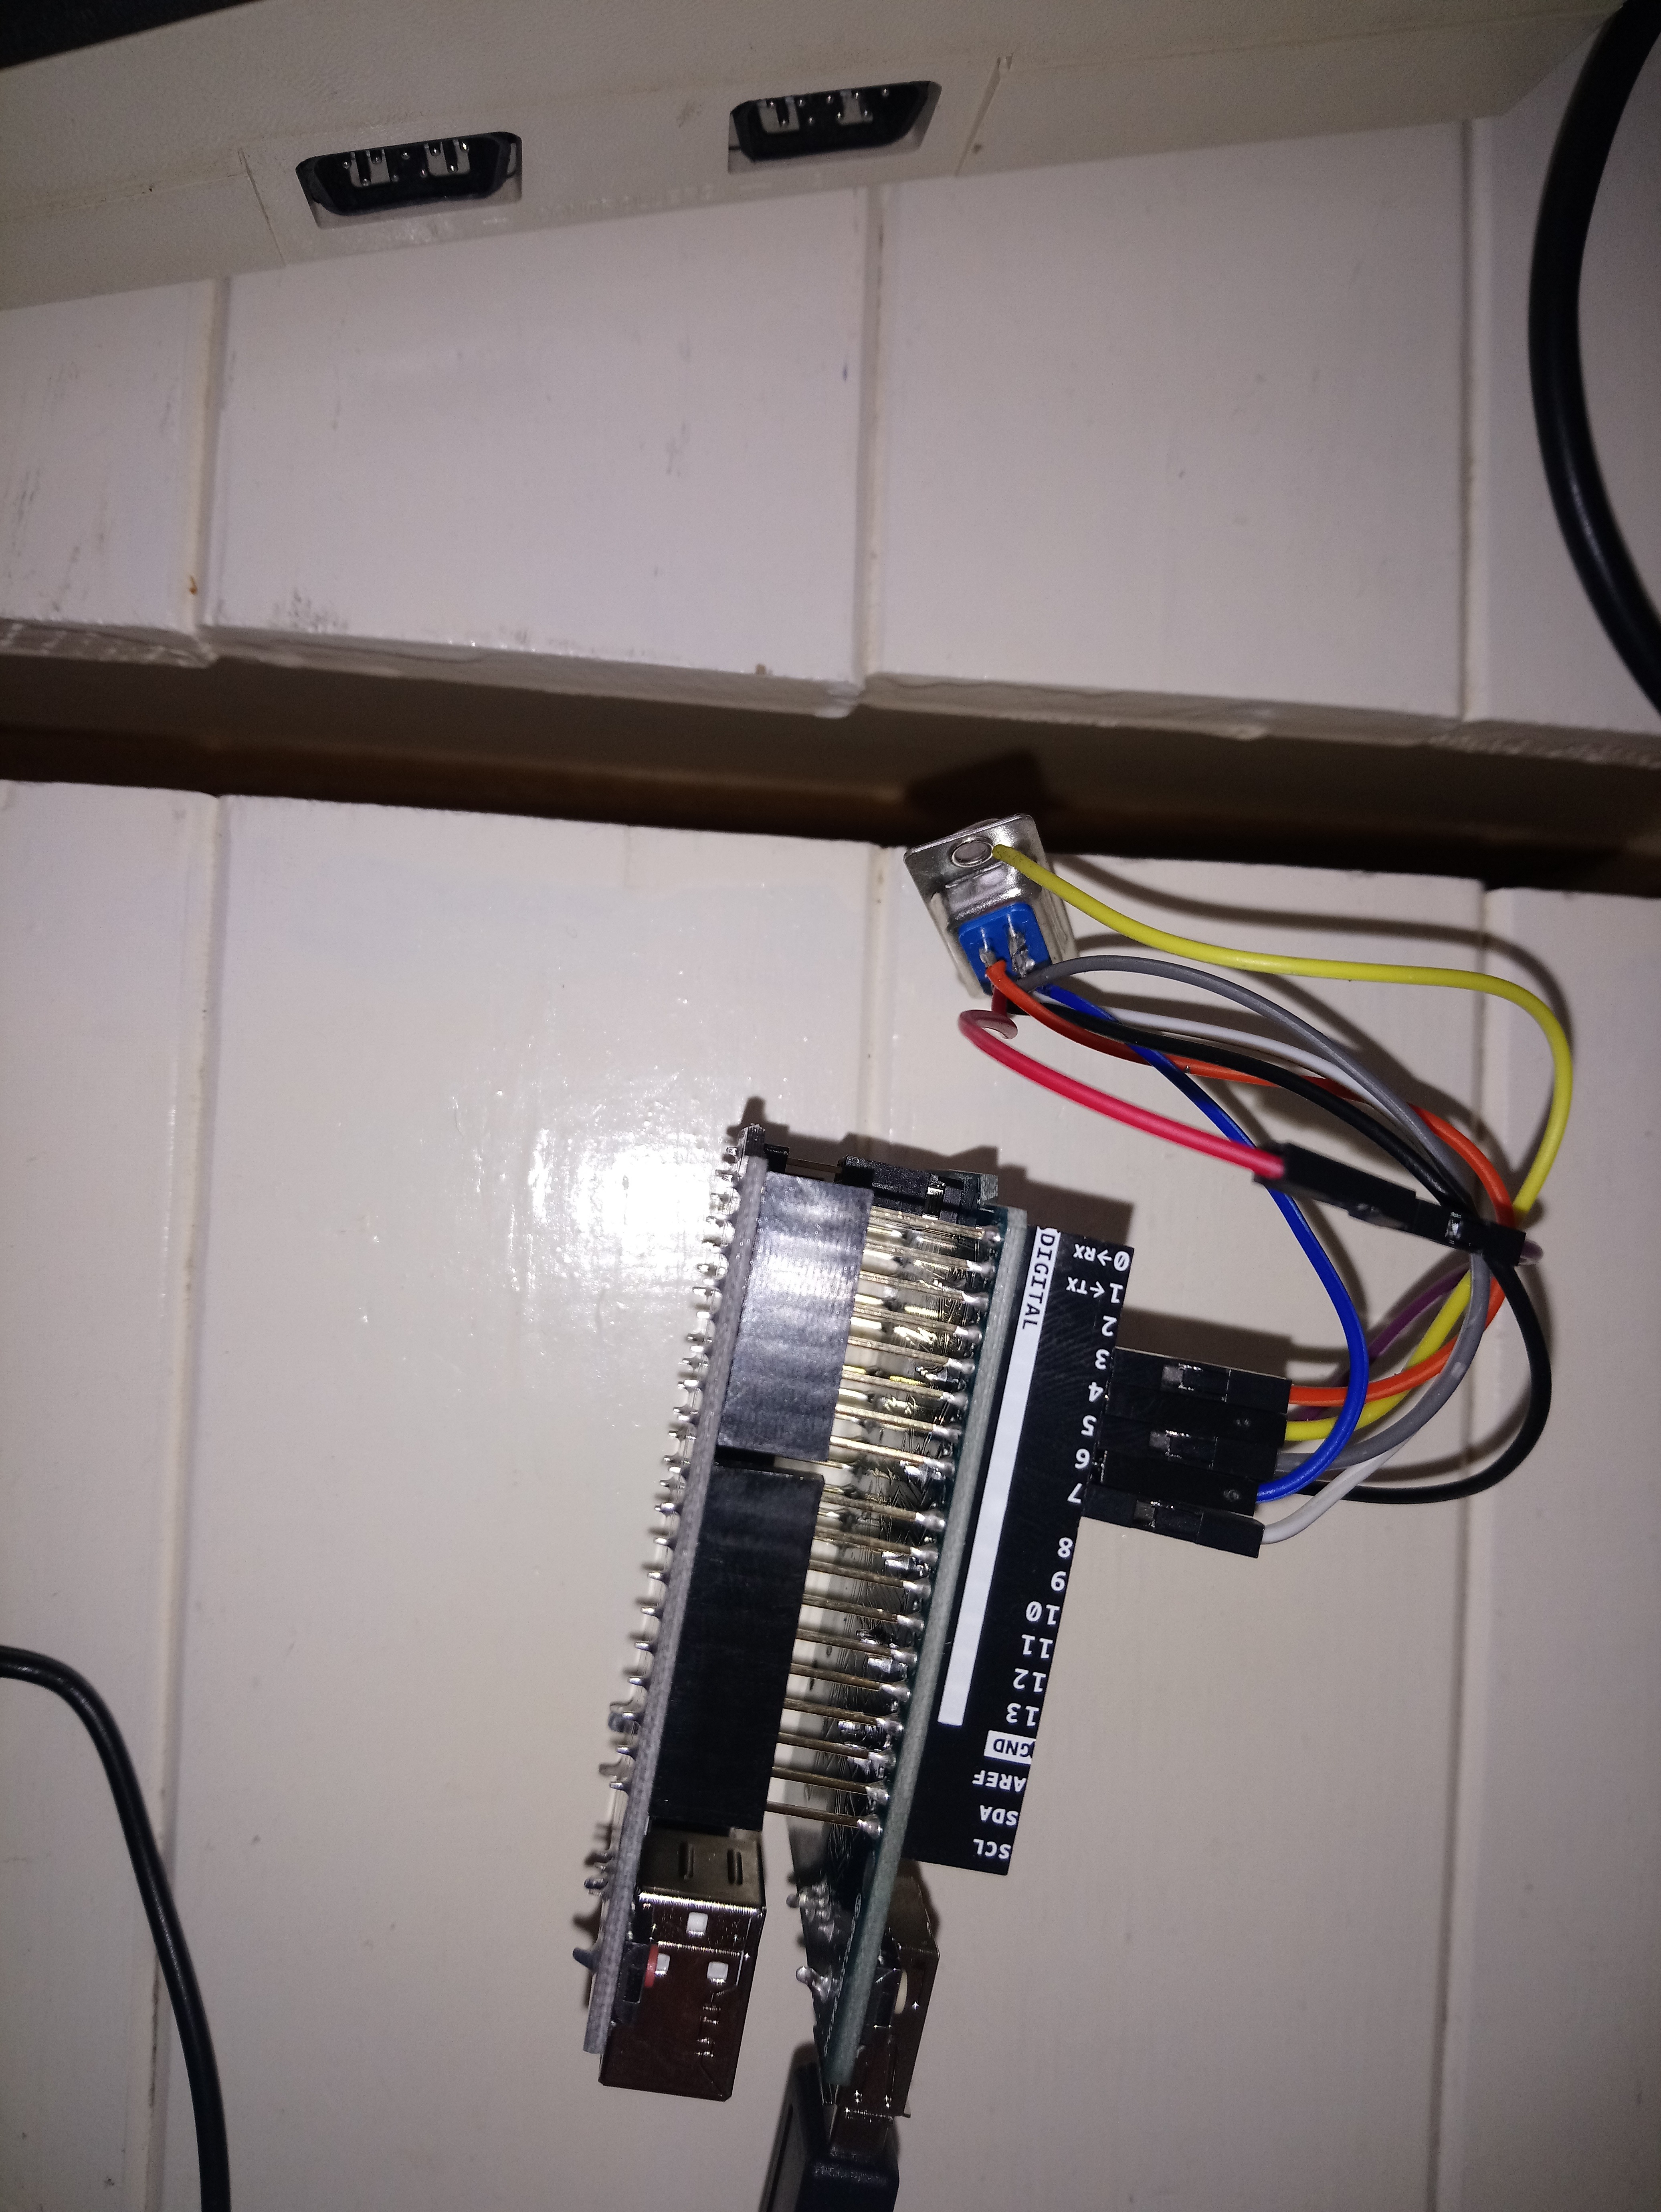
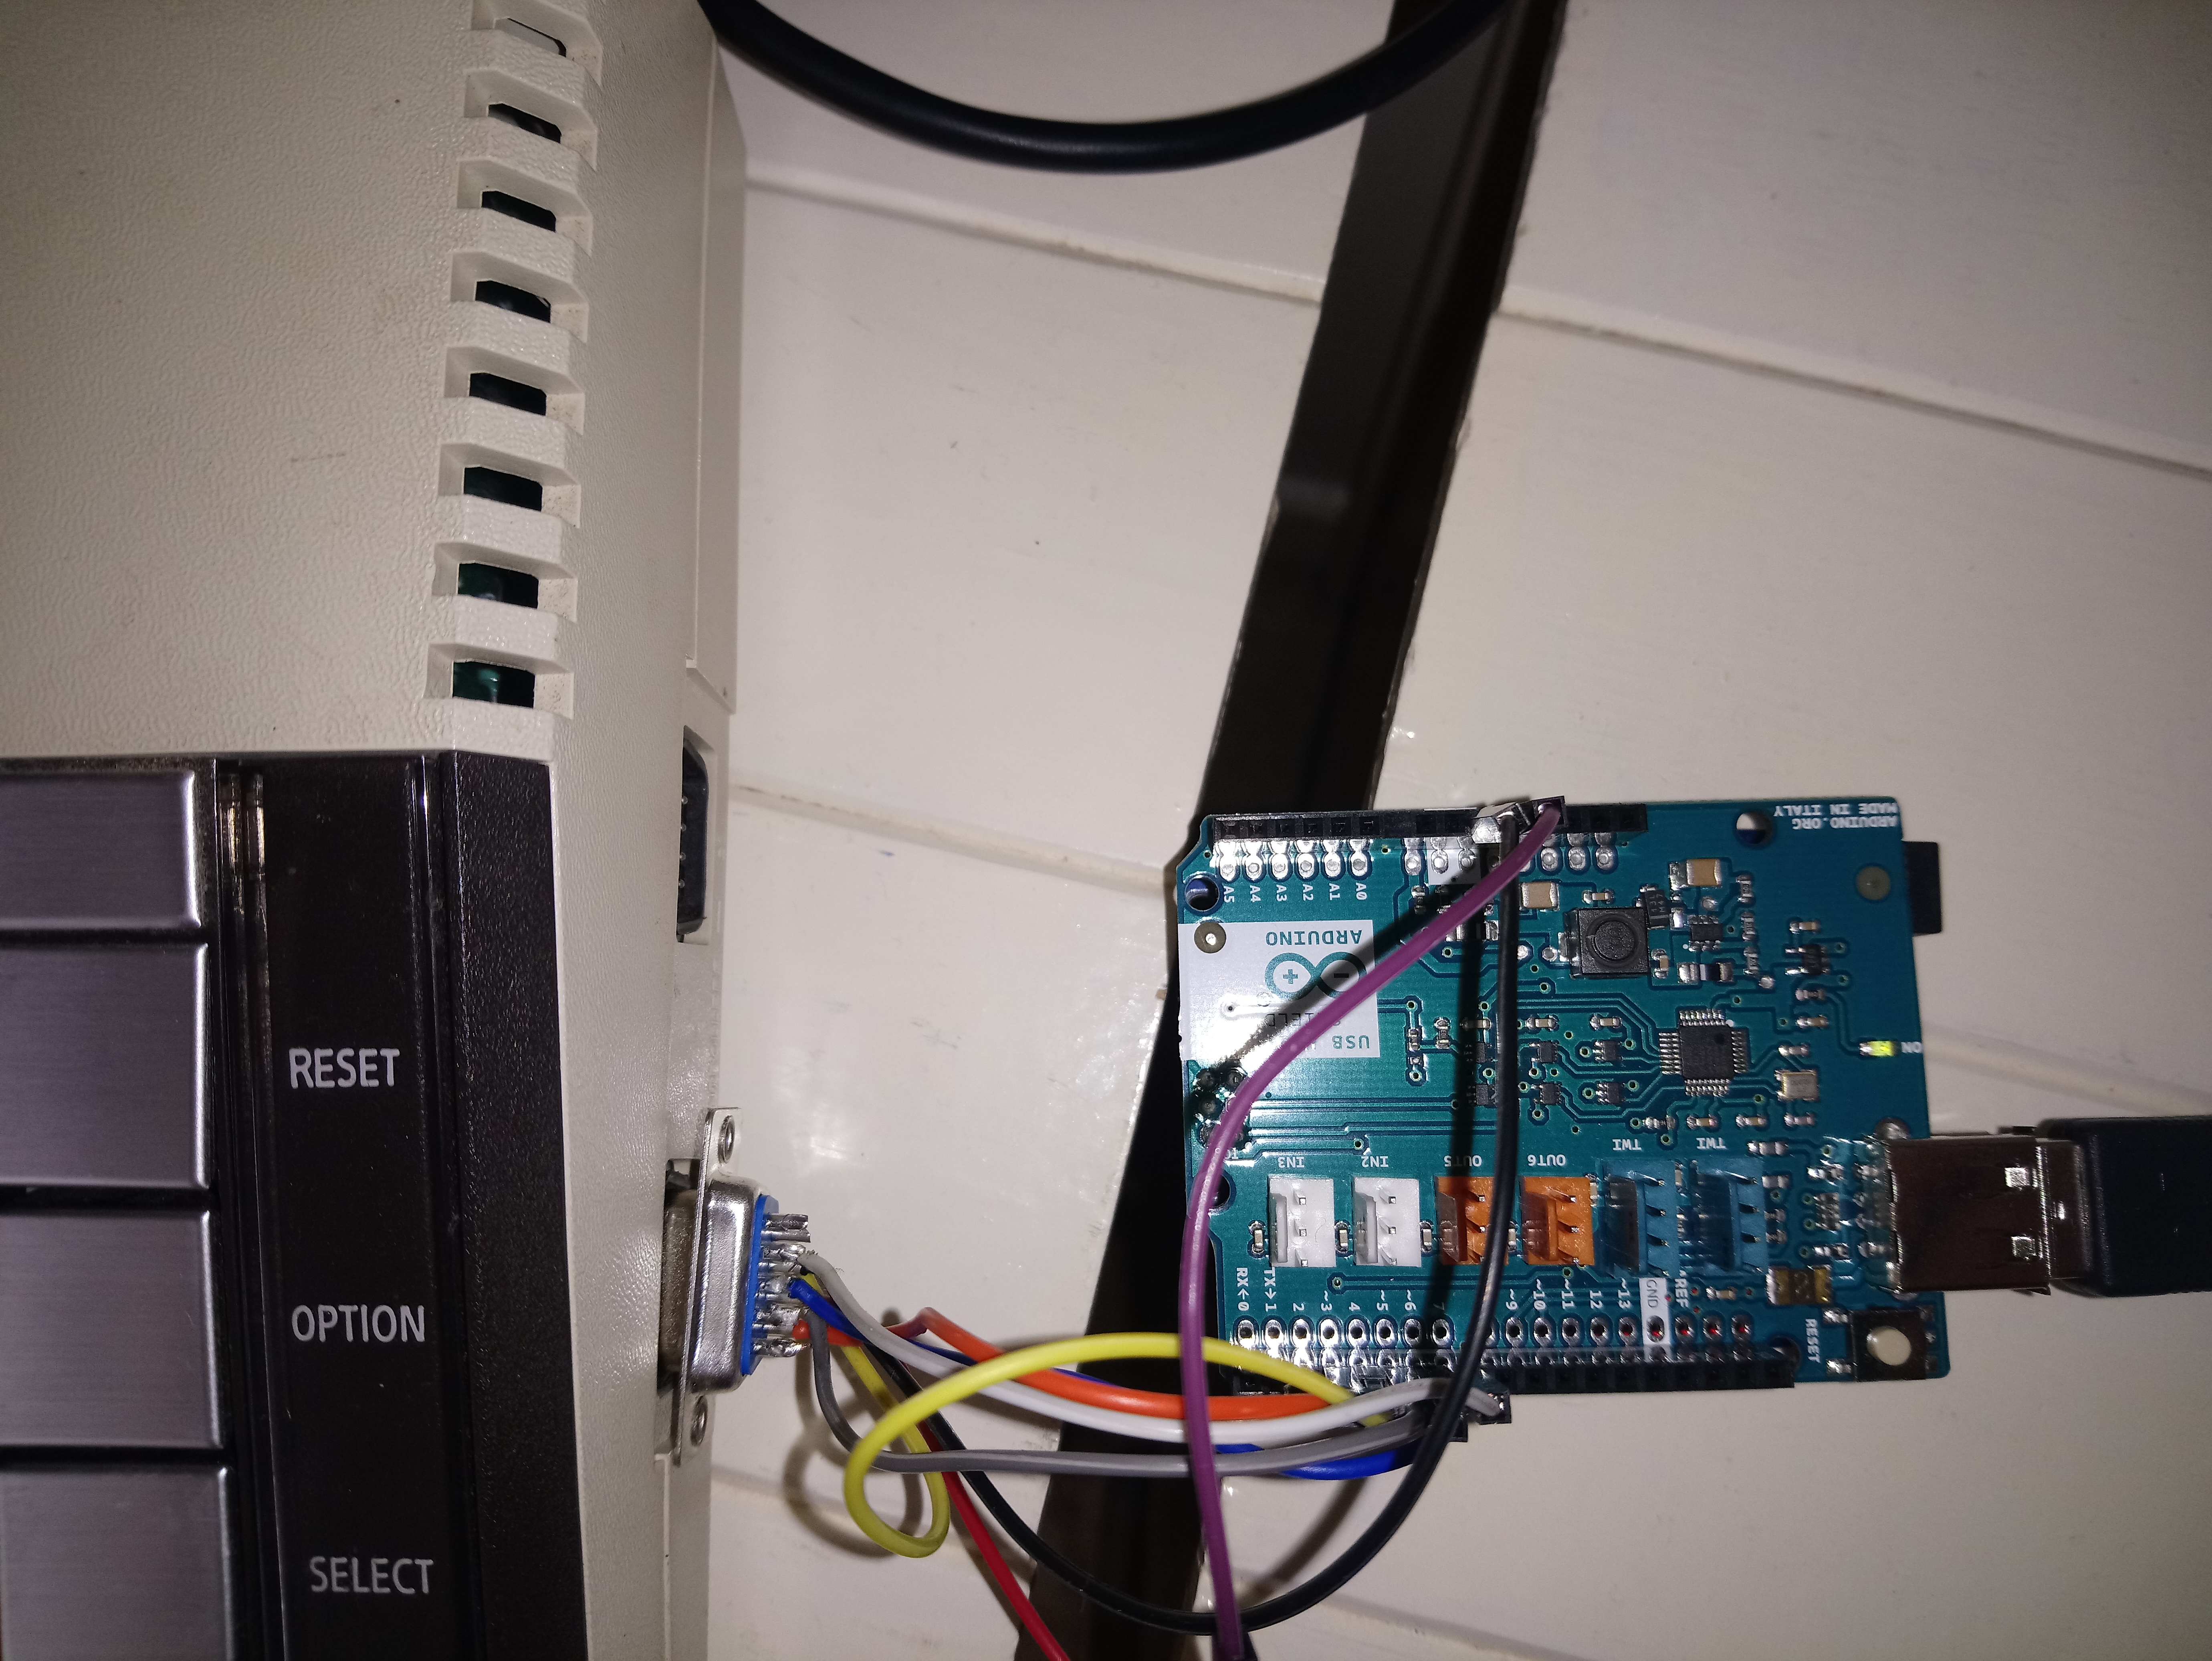
Using the Dupont wires,
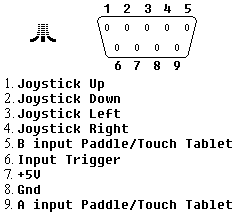
connect Arduino pin 3 to pin 6 on the Atari
connect Arduino pin 4 to pin 1 on the Atari
connect Arduino pin 5 to pin 2 on the Atari
connect Arduino pin 6 to pin 3 on the Atari
connect Arduino pin 7 to pin 4 on the Atari
Done!
Further Development
I haven't included it, but you could change the Arduino code to have auto fire.
The USB shield doesn't only work with optical mice. You can also plug in game controllers, USB storage, blue tooth dongles, all of which could then be added to your Atari...
https://store.arduino.cc/arduino-usb-host-shield
A further thought. I'm using an Atari 8 bit computer because it's the best, but if you bought a C64 or Vic 20 by mistake it'd probably work with them as well.
Testing
Using a mouse as a game controller isn't always a good thing, but I re-discovered how much I sucked at Pac Man, Caverns of Mars, and Defender. You also need a good mouse and a decent surface to use it on,
I've made two modes. In the first the cursor movement is proportional to the speed the mouse is moved (as you'd expect with a modern OS like Windows). The second mode is called sticky and used for games such as Defender where the spaceship's lateral movement relies on the joystick being constantly held in one direction. To toggle between the two modes, click the right mouse button.
The sensitivity of the mouse can be adjusted by changing
int sensitivity =12;
More the 12 decreases the sensitivity, less than 12 increases it.
Another adjustment for those who bought the wrong computer is to change the delay value in the main loop.
void loop()
{
Usb.Task();
showpins();
delay(5);
if (sticky)
{
delay(15);
}
resetpins();
}
Increasing the delay will leave the pins on for longer which might be useful if the computer's having trouble reading them. The values seem to work fine for an Atari 8 bit.
Enjoy!